Use an Arduino UNO. Program and upload a simple blinking:
// We will connect 5V of the big wireless coil hereint my_led =7;
// the setup function runs once when you press reset or power the boardvoidsetup() {
// initialize digital pin LED_BUILTIN as an output.
pinMode(my_led, OUTPUT);
}
// the loop function runs over and over again forevervoidloop() {
digitalWrite(my_led, HIGH); // turn the LED on (HIGH is the voltage level)
delay(1000); // wait for a second
digitalWrite(my_led, LOW); // turn the LED off by making the voltage LOW
delay(1000); // wait for a second
}
You can also use Analog:
// We will connect 5V of the big wireless coil hereint my_led =A0;
// the setup function runs once when you press reset or power the boardvoidsetup() {
// initialize digital pin LED_BUILTIN as an output.
pinMode(my_led, OUTPUT);
}
// the loop function runs over and over again forevervoidloop() {
analogWrite(my_led, 255); // turn the LED on (255 is the max voltage level)
delay(1000); // wait for a second
analogWrite(my_led, 0); // turn the LED off by making the voltage 0
delay(1000); // wait for a second
}
Conect big Coil of the charger like this:
GND -> GND
5V -> pin 7 or pin A0
We will be talking about big coil and small coil. Spot the difference before start!
2
Now connect the small coil to the led, 5V -> 5V and GND -> GND easy peasy!
3
Approach the Big coil connected in the arduino to the small coil connected to the led. Se if it works!
4
Now, sewing time!
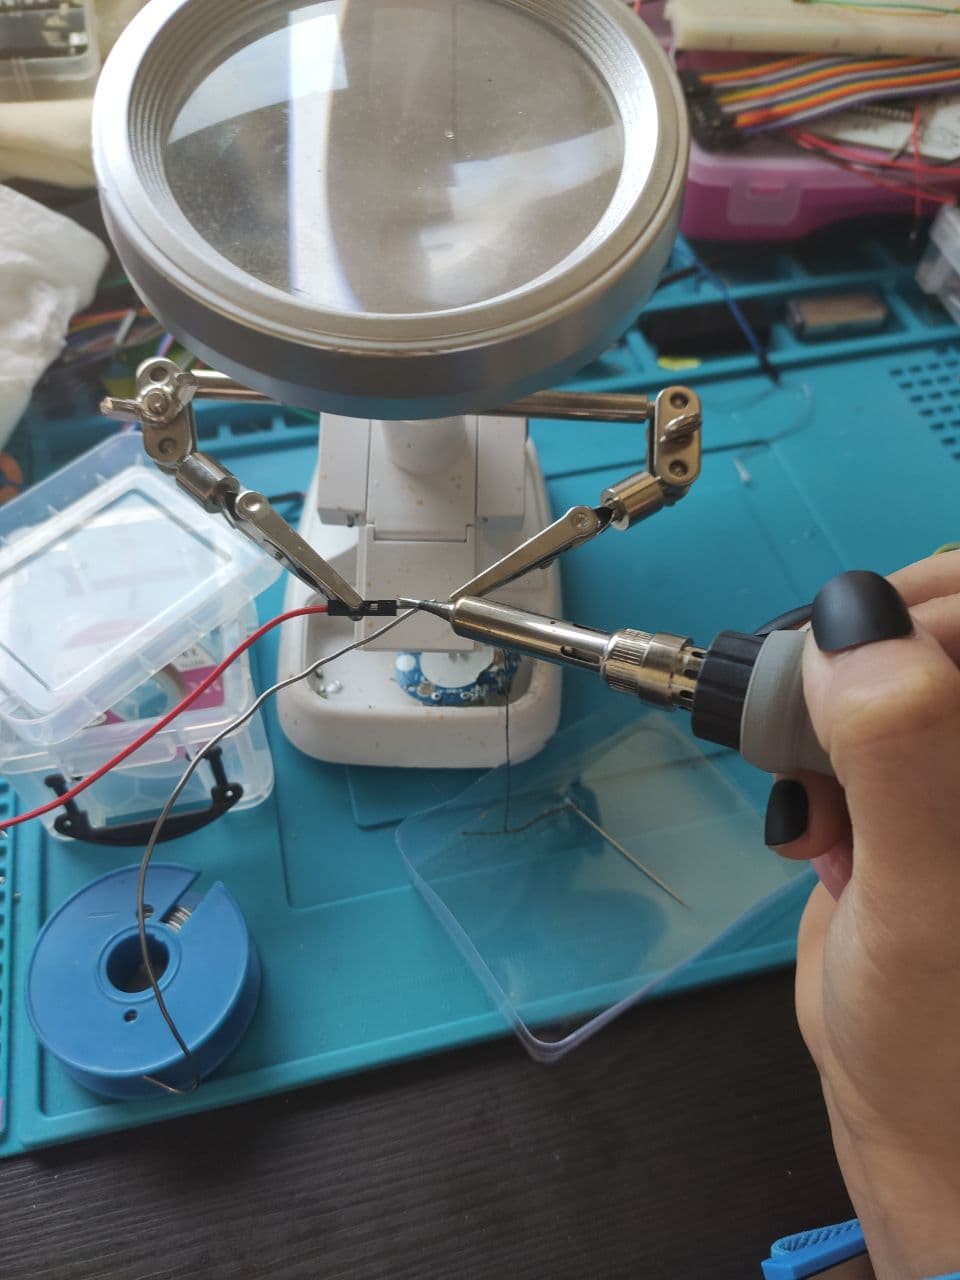
Solder the tip of the GND and 5V with conductive thread.
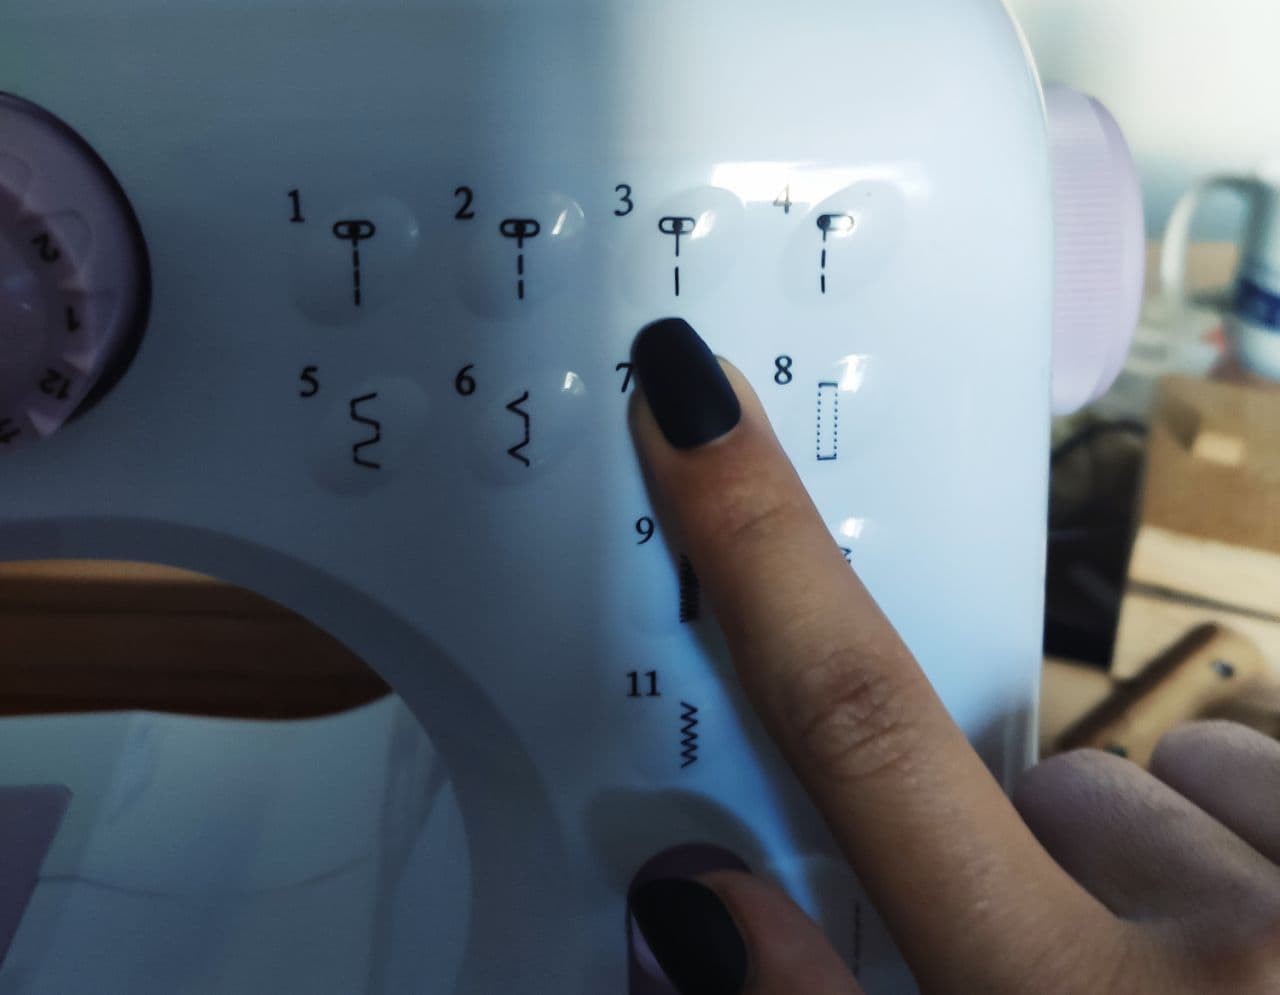
If you are using a sewing machine, choose a line pattern, in order to make it work as best as possible without wasting too much thread.
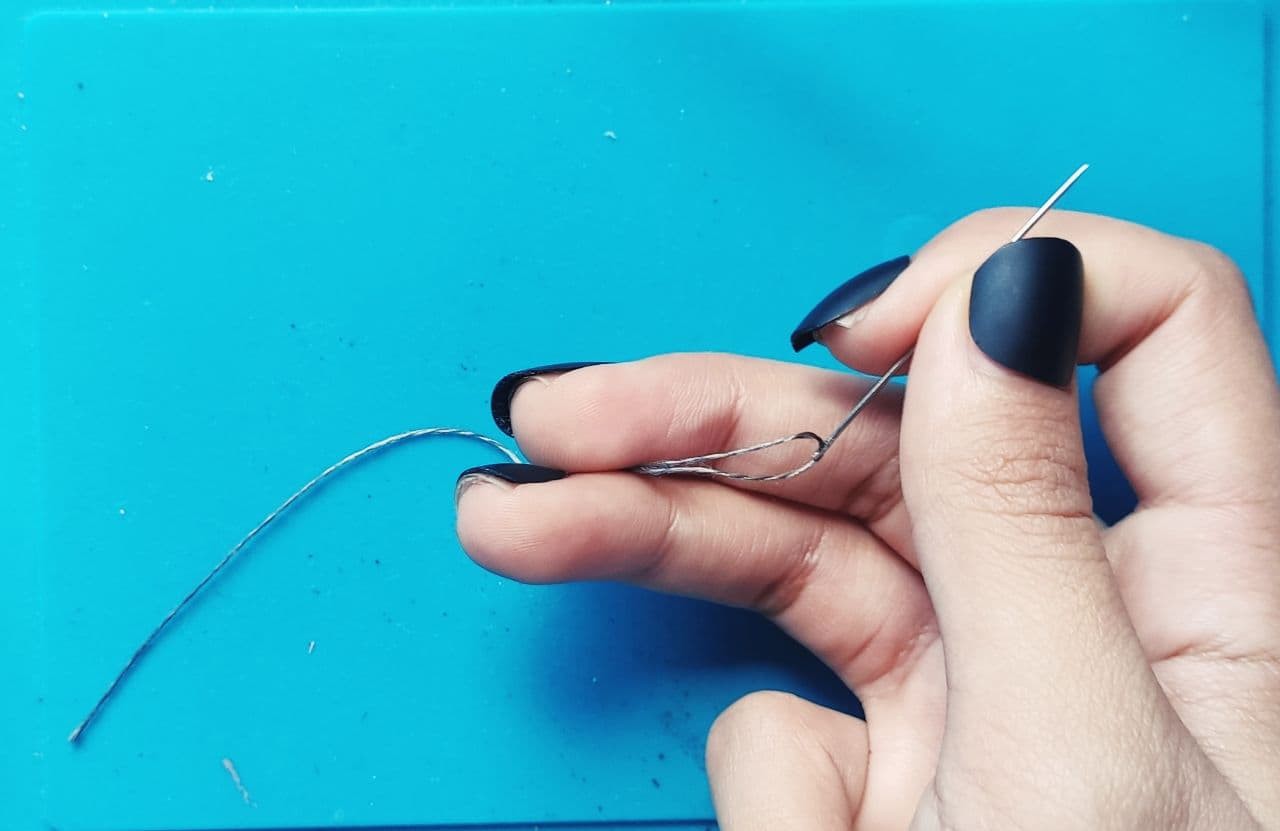
But you can also use a needle! this is encouraged.
 Paula
Paula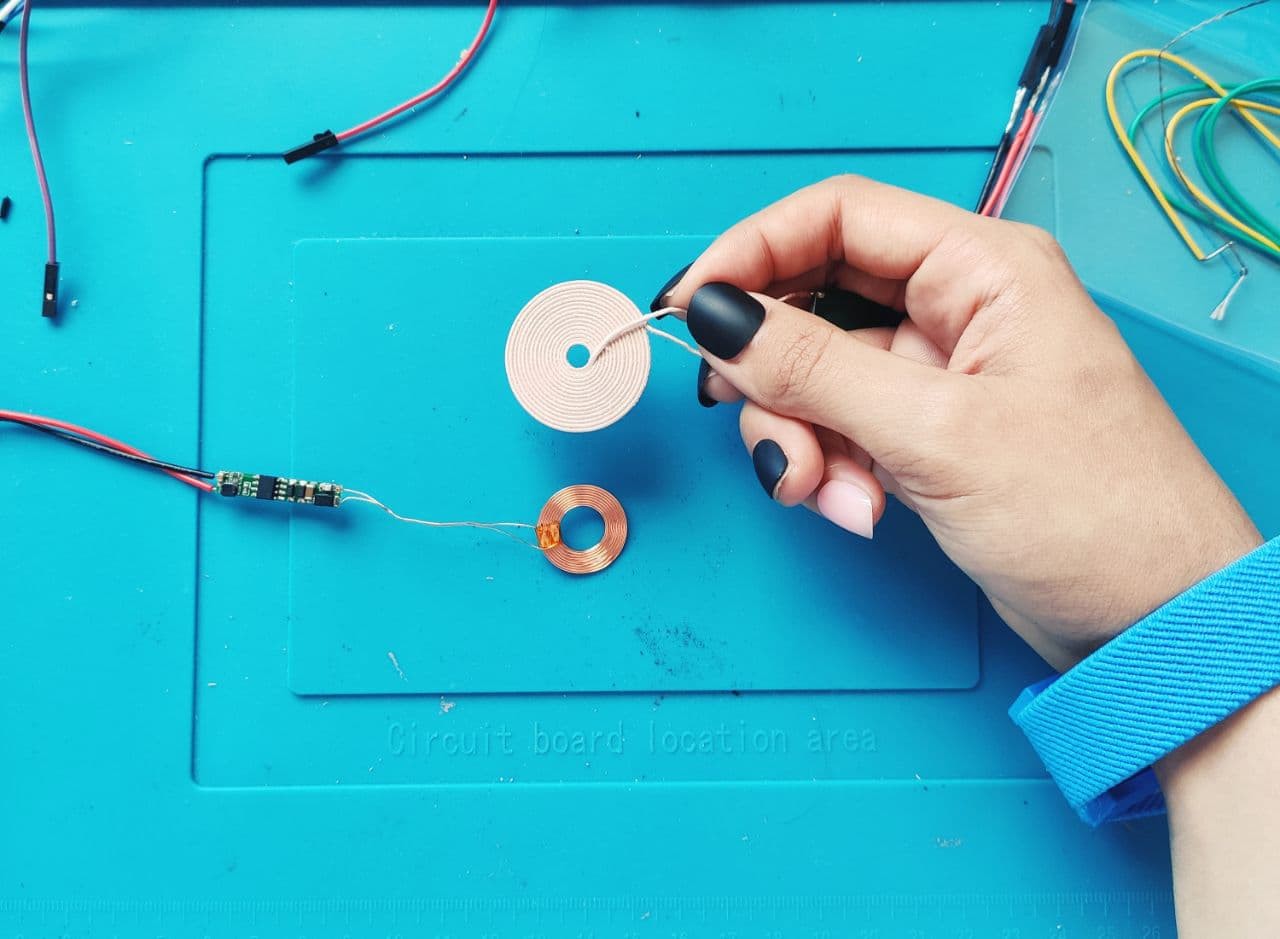


Discussions
Become a Hackaday.io Member
Create an account to leave a comment. Already have an account? Log In.