Close
0%
0%

Raspberry Pi Wireless Print Server

Documentation for how we turned an RPi into a wireless print server for a Munbyn ITPP941 thermal USB shipping label printer

Similar projects worth following
Well, apprently people don't make wireless print servers anymore. I would have loved to just buy something, plugged in the printer, and had everything magically work, but alas, it was not to be. I could only find one wireless print server for sale and spent 2 days trying to get it to work with the thermal printer, to no avail. Time to DIY it, I guess!

I'm mostly documenting this for the next time I have to set this up. It was painful enough that I don't want to have to look up every step again. And hey, maybe it'll help someone. It took me about 6 hours to get everything up and running, but with these instructions, should only take about 45 minutes.

Note that this all assumes you're using a private, secure network. This is definitely a more DIY and hacked solution.

I bought a Munbyn ITPP941 thermal USB printer for shipping labels.  These printers are reasonably expensive considering they're small format and relatively low quality black adn white - this one was $144 from amazon.  But compared to a traditional laser printer, the savings in toner and the speed they print at make them totally worthwhile.  Plus there's a lot less label/paper waste since the labels are exactly the size of all the info printed on them.

I wanted this printer to live in the shipping area, it just seemed a litlte more convenient there than on my desk (taking up valuable space).  But I wanted to be able to send a print job to it from my computer, - it's still a bit of a complex routine to create labels (especially international ones) so I still do that job.  Also, I didn't want to have to dedicate an entire computer to the shipping area, just for the printer.

You used to be able to find wireless print servers pretty easily, but I guess those days are gone.  The only one I could find was the StarTech.com PM1115UW for $60 on amazon.  I spent 2 days trying to get it to work with the Munbyn, every possible combination of installing the printer and the server, and never could get it up and running.

I figured this was a great excuse to play around with a Raspberry Pi, this should be exactly the kind of thing it's good at.  Well, it does all work - finally, after 6 freakin hours! - and the worst part was (of course) getting 2 different Windows machines talking to it.  Even though both were running Windows 10, one was Windows 10 Home and the other was Windows 10 Pro, and it took 2 different methods of installing the printers, and 2 different drivers, to get everything working.

My pain is your gain.  Enjoy!

Munbyn-941Windows-Driver.zip

Munbyn ITPP941 .exe file that installs Windows drivers (by Munbyn)

x-zip-compressed - 10.08 MB - 01/22/2021 at 05:04

Download

RPi Driver Installation Guide.pdf

Munbyn ITPP941 Raspberry Pi (RPi) printer driver installation guide (by Munbyn)

Adobe Portable Document Format - 1.19 MB - 01/22/2021 at 04:00

Preview

RPI install.run

Munbyn ITPP941 Raspberry Pi (RPi) printer driver run file (by Munbyn)

run - 40.21 kB - 01/22/2021 at 04:00

Download

  • 1 × Munbyn ITPP941 USB thermal printer
  • 1 × Raspberry Pi with N00BS SD card

  • It Survives Unplugging

    Alpenglow Industries01/22/2021 at 21:24 0 comments

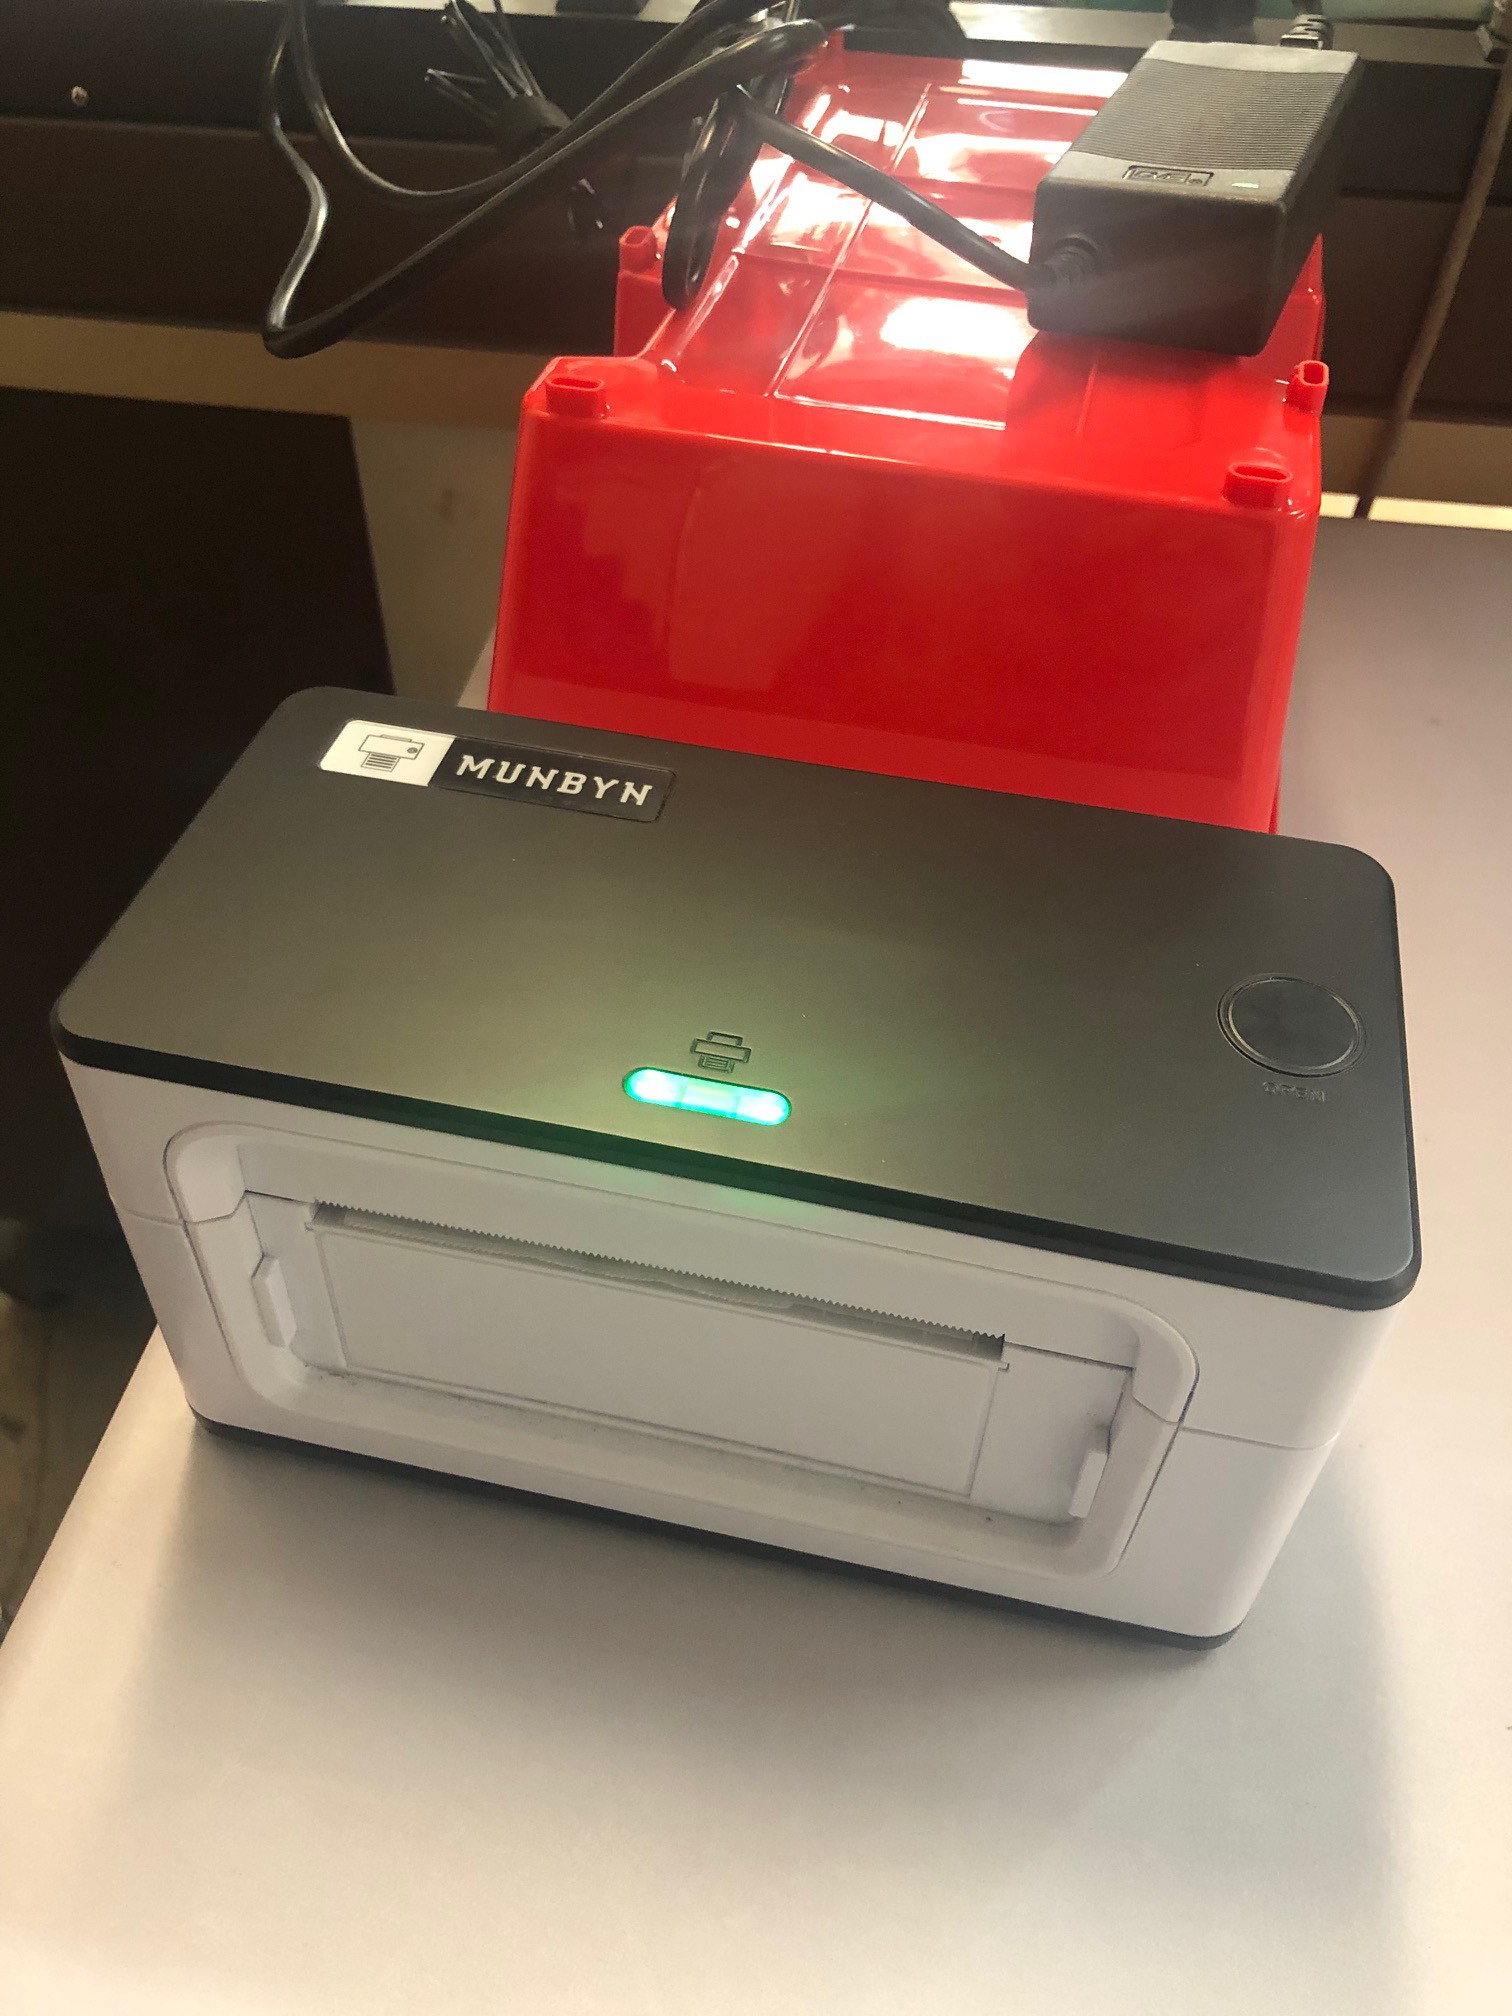
    The last step of setting everything up was really getting it settled in its final home.  Behold our super fancy dust cover, which is just an upside-down Dollar Store bin.

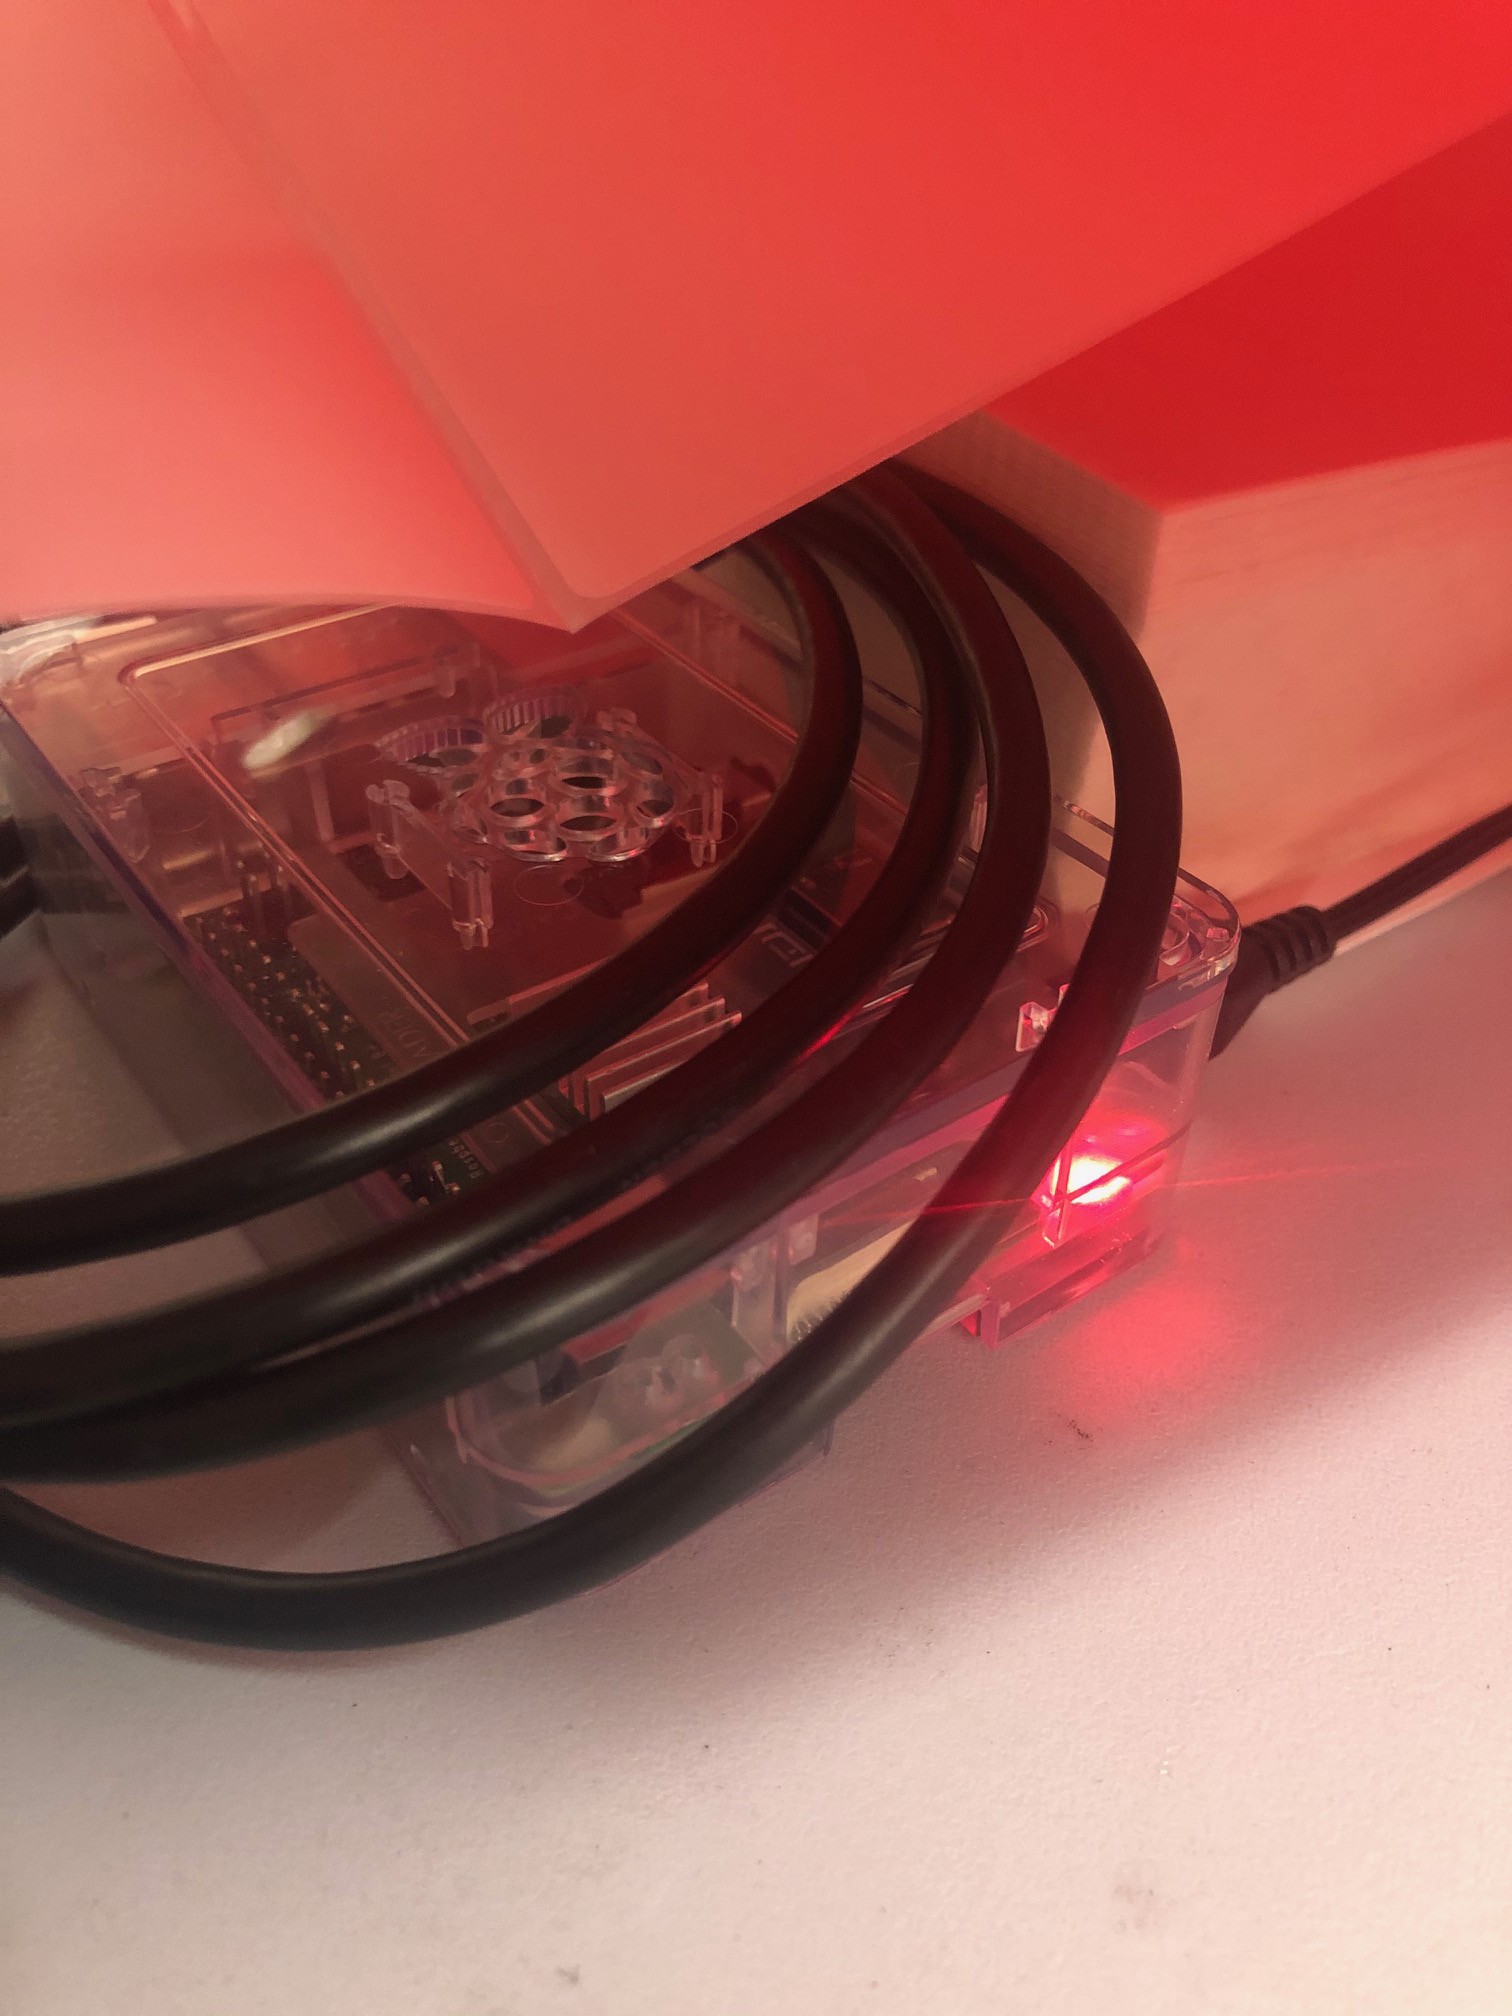
    We're using accordion-fold labels that self-feed pretty nicely, and those and the Raspberry Pi and the USB are all tidily bundled under the dust cover.  We found early on that leaving the labels uncovered resulted in printing a lot of small blank spots which could interfere with the bar code.  The $1 bin was the perfect size, keeps everything clean, and everything feeds underneath it nicely.

    Of course, when we bundled everything tidily and set it up in its forever home, we had to unplug and replug everything.  We waited about 5-10 minutes just to give everything a chance to boot and find each other again.  I'm happy to report that a test page printed just fine!  Be sure that your Raspberry Pi is configured to automatically log in, you can do this via command line or GUI (Menu -> Preferences -> Config).

View project log

  • 1
    Get Your Pi Up and Running and Updated

    If you haven't gotten a Pi up and running before, there are instructions all over the place, here are some from raspberrypi.org.

  • 2
    Install CUPS and SAMBA on your Raspberry Pi

    There are also a bunch of online tutorials on how to set up a Raspberry Pi as a wireless print server.  I used these:

    Read through them first to get an idea of the whole process.  Go ahead and install CUPS and SAMBA and make all the config file changes you need to.  Do all of that BEFORE installing the printer and printer drivers on CUPS.  More on that in the next step.

  • 3
    Install your printer/printer driver in the CUPS web interface

    When you get to the part about installing the printer drivers on CUPS, that's where the fun begins.  Since the Munbyn ITPP941 is an off-brand, I had a bit of trouble finding the proper drivers for the Pi.  Munbyn advertises support for Windows, Mac, Linux, and the Raspberrry Pi in particular, so I assumed their drivers would be easily accessible.  HA.  HA.  HA.  They ship a USB stick with the printer, but it only contains Mac and Windows drivers (and more about that Windows driver later).  All of the easily accessible links from their site are for direct downloads to the same.  Or are broken links.

    After Bob knows what kind of google searching and link clicking around the Munbyn site I did, I finally found a link for their entire directory of driver downloads.  And there it was, in the "ITPP093+941+168+966+942" folder, The RPi Driver Installation Guide and the RPI install.run file.  I've attached them in the Files section so you don't have go through the same kind of digging hell I did.

    The installation guide is graphical and good - just know that Step 0 is to   Then follow the rest of the instructions.  A few clarifications:

    • Step 0 is to put the "RPI install.run" file on your Raspberry Pi desktop, and rename it install.run.  Then follow the command line instructions.
    • When you get to installing it in CUPS, be sure to click "Share this Printer" checkbox.
    • The driver you'll select is under a "Rollo" printer.  
    • The stock size for shipping labels tends to be 100 x 150 mm.

    Print a test page from CUPS, just to make sure that the setup on the Pi is all good.

    Congratulations!  You're maybe almost halfway there.  Because now you have to tackle Windows and more printer drivers, and that's a doozy of a next step.

View all 6 instructions

Enjoy this project?

Share

Discussions

lapoltba wrote 10/28/2022 at 04:36 point

So I'm good with this up until trying to configure the printer in the CUPS GUI.  I have two HP printers, a redirected VNC printer (connecting to the RPI with VNC), and a  "CUPS-BRF" Virtual Braille.  None of those are correct, but the PDF instructions have the name blocked out.  I'm not sure where to go.  The install.run seemed to work correctly. 

Thoughts?

  Are you sure? yes | no

Similar Projects

Does this project spark your interest?

Become a member to follow this project and never miss any updates