-
Demo of the 2nd Prototype
10/31/2021 at 17:46 • 0 commentsDuring the last week I've fixed all the issues I had with the new prototype PCBs that I ordered. I still need to make some final adjustments and the I will order a new small batch that will hopefully be the final prototype.
In the mean time I also recorded a small demo to show the second prototype and how I create a simple Jill of the Jungle inspired beat
Transmitting the internal clock over MIDI
It is now possible to transmit MIDI clock events when the internal clock is used to sync other devices. When enabled also start, stop and continue events will be sent. When I was testing the transmission of the MIDI clock I found an issue in the internal clock that I was sort of expecting. I had noticed that the internal clock seemed to start drifting over time and this was confirmed by the clock that I was sending. The fix was simple enough: just using a higher resolution timer fixed the problem.
-
The 2nd Prototype: Some Bodges Required
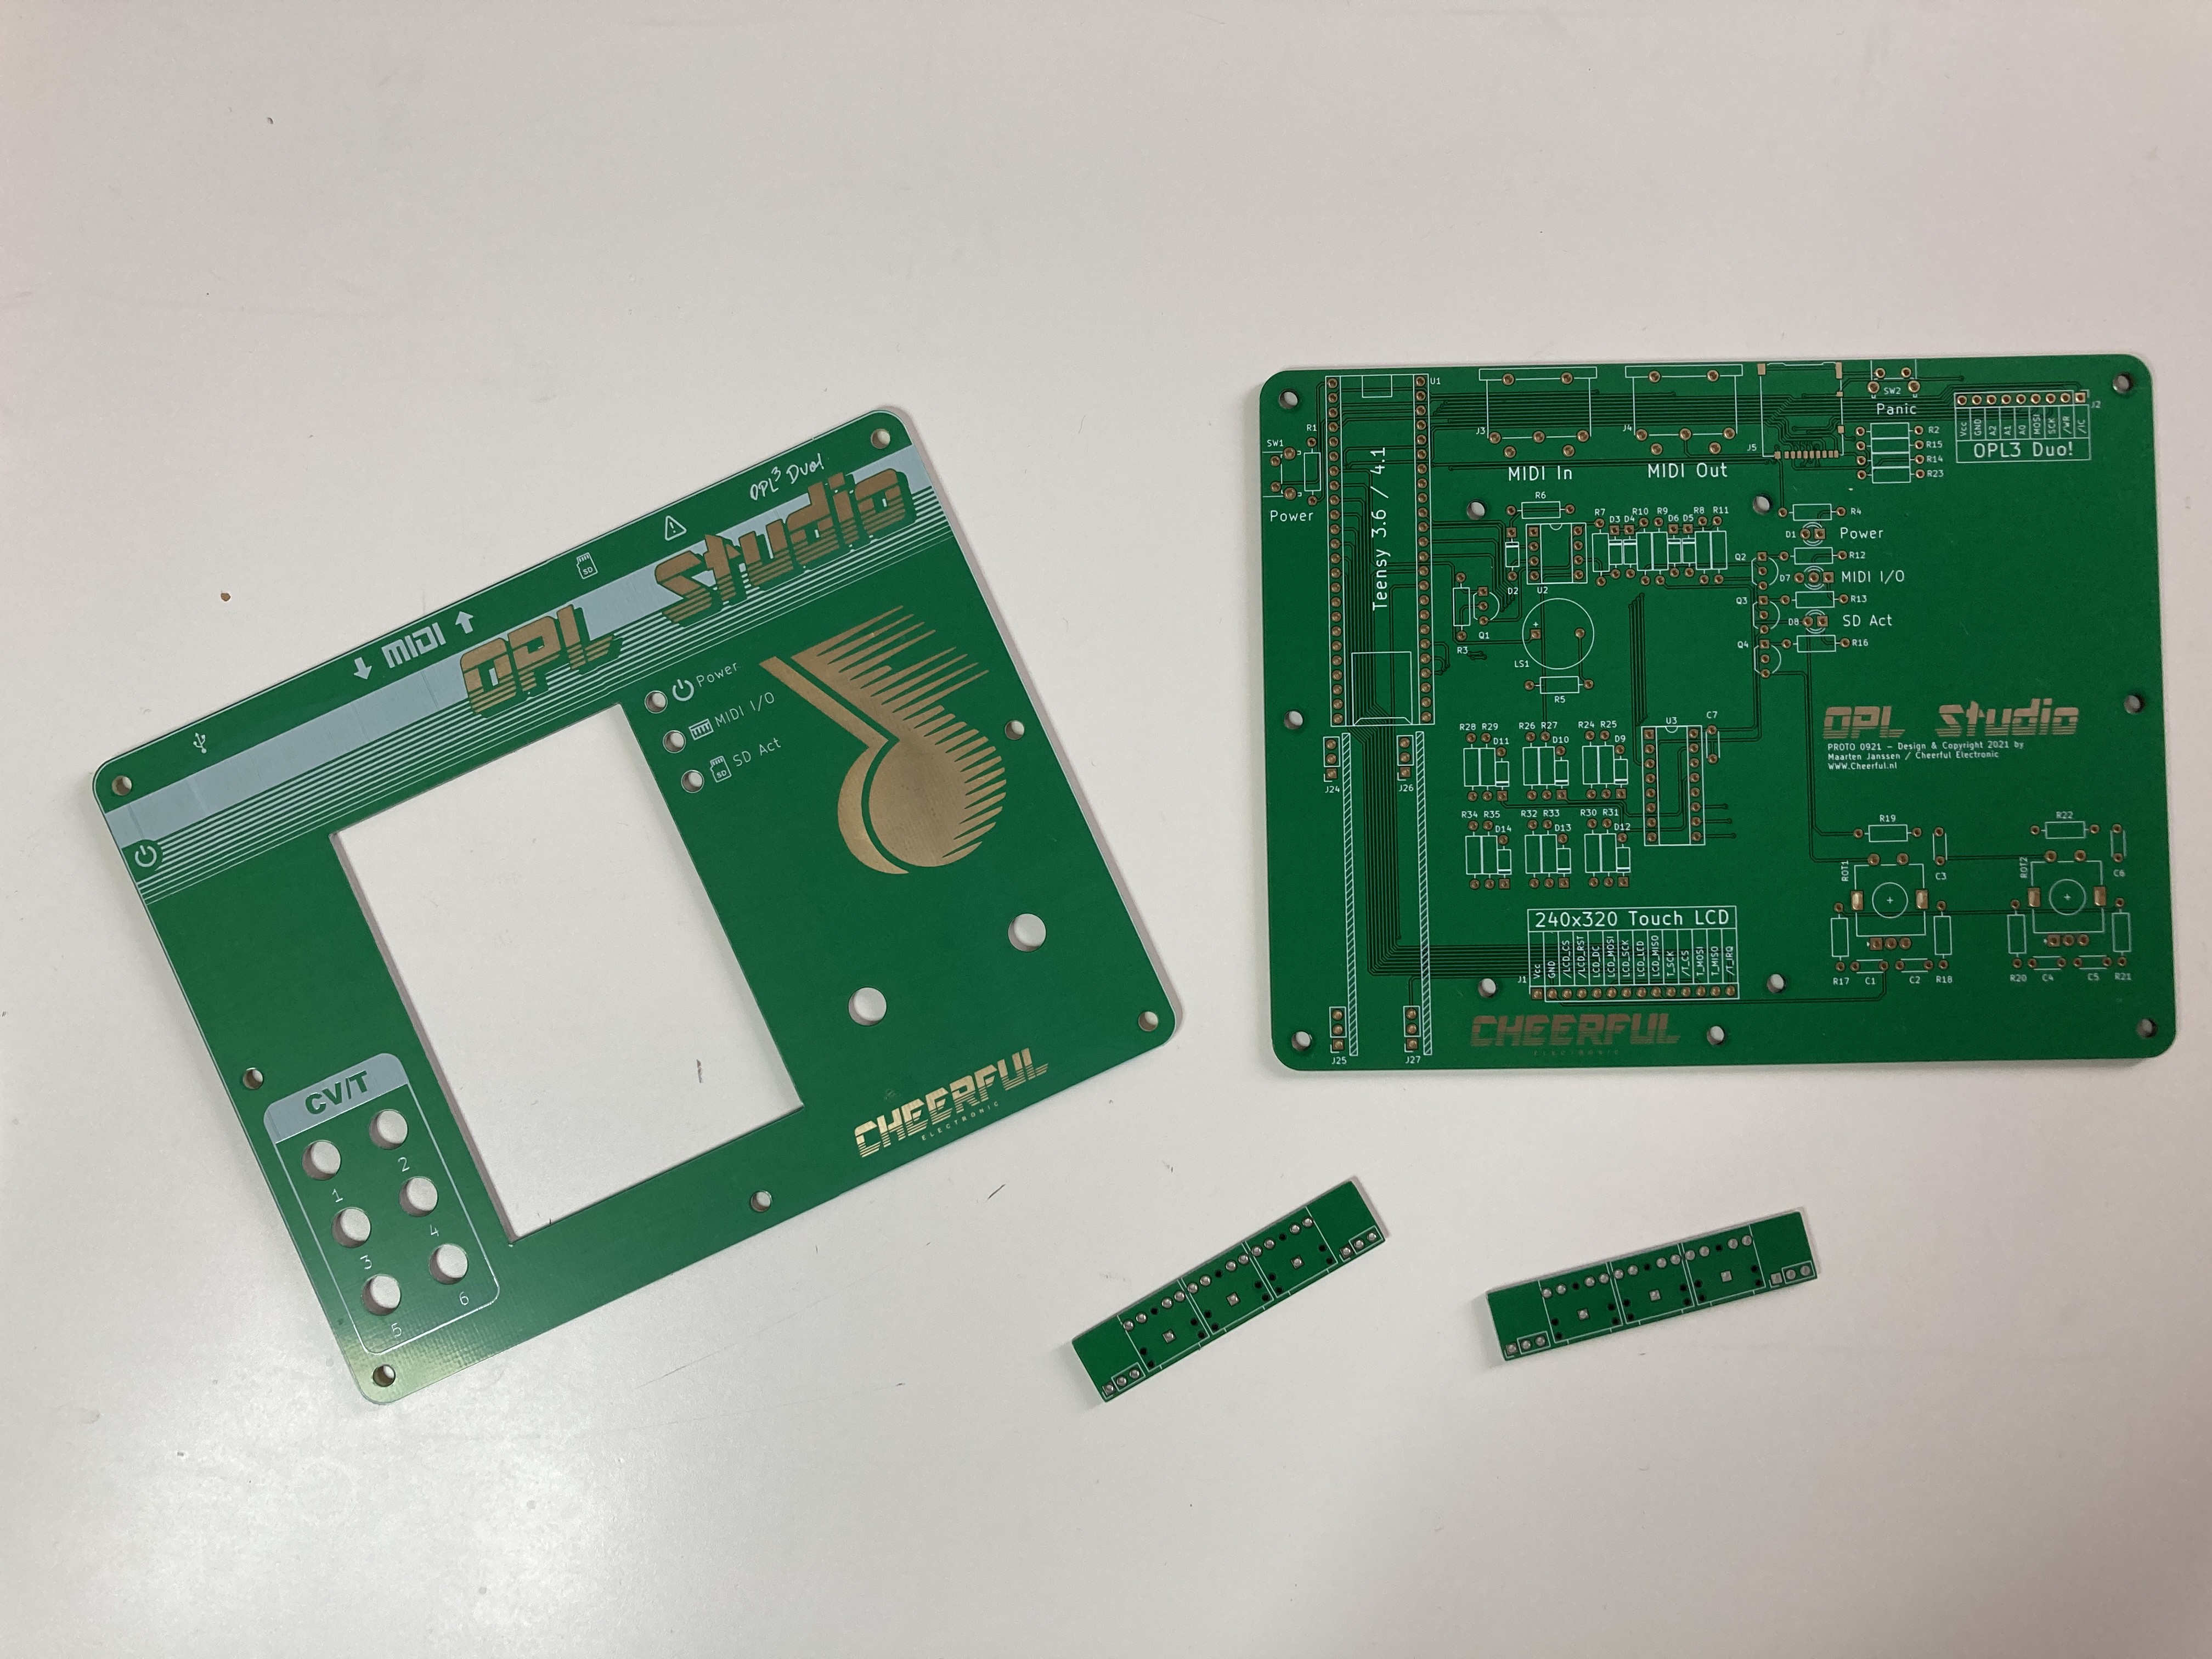
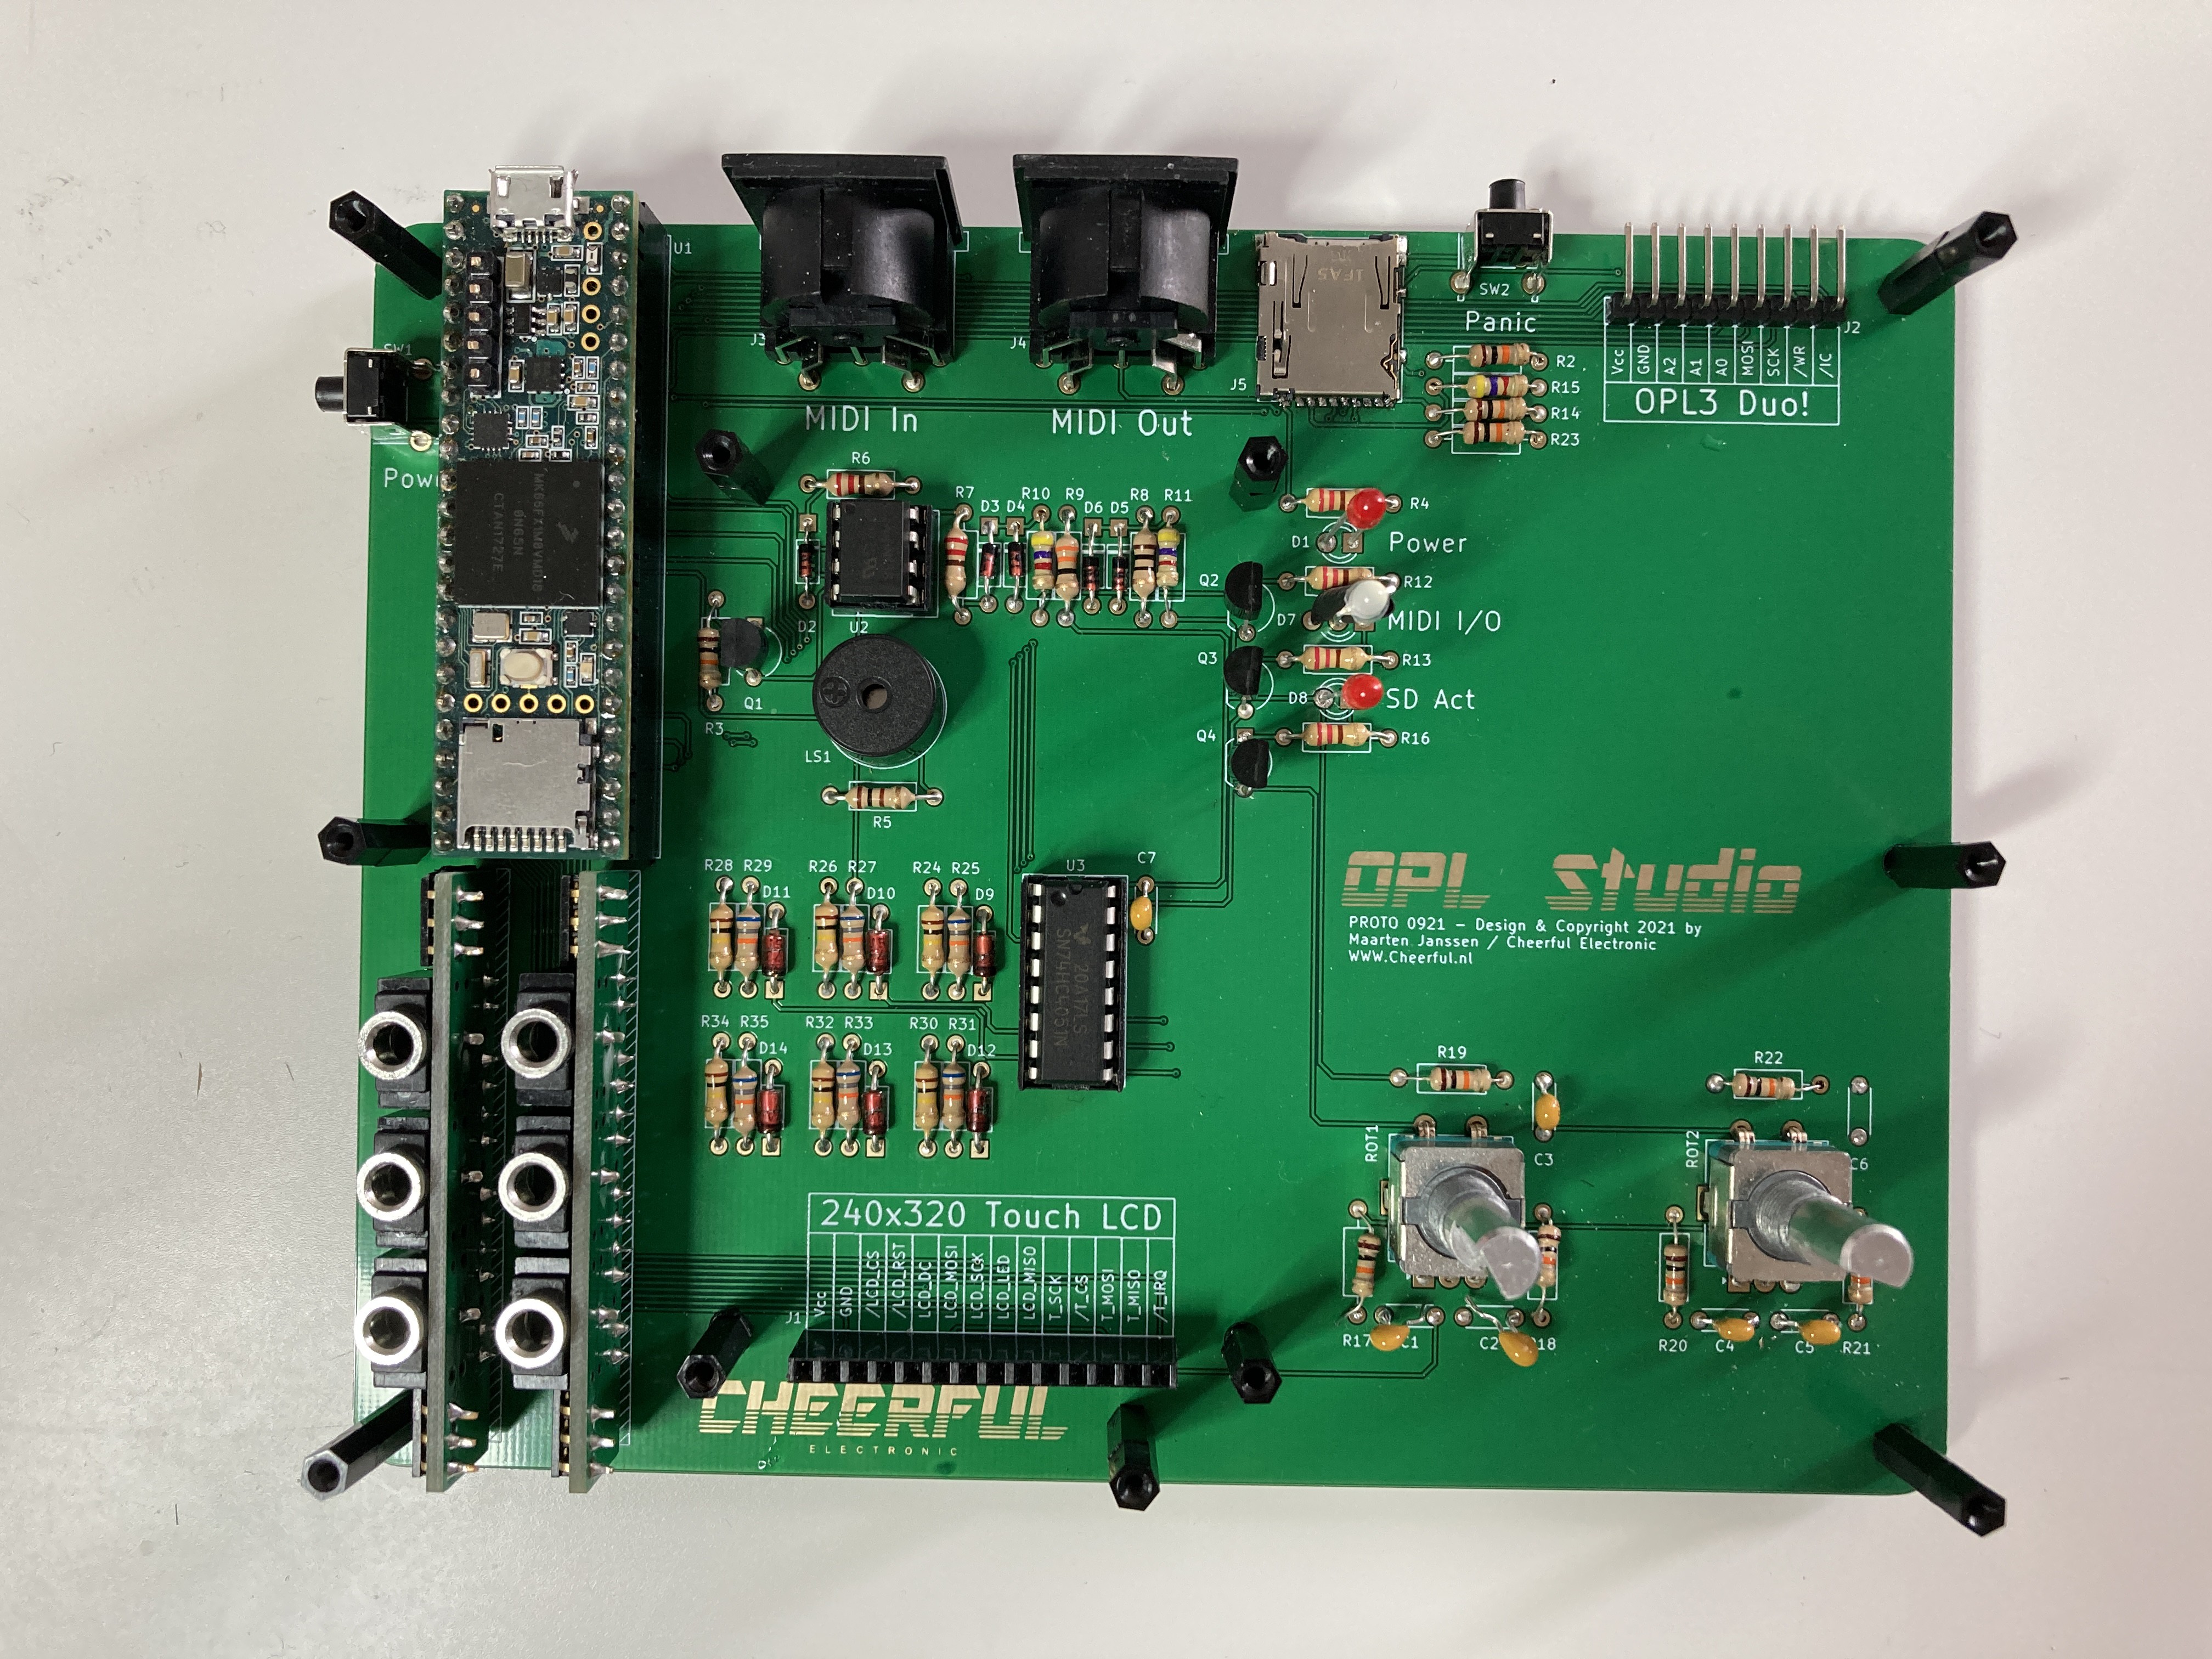
10/23/2021 at 13:38 • 0 commentsFinally the PCBs of the 2nd prototype arrived! As you can see it's quite a big change compared to the first prototype. All the potentiometers and buttons are gone in favor of two rotary encoders and the Eurorack inputs have moved onto small plugin boards. What I'm most excited about is the front panel. It's the first time I'm trying to make one.
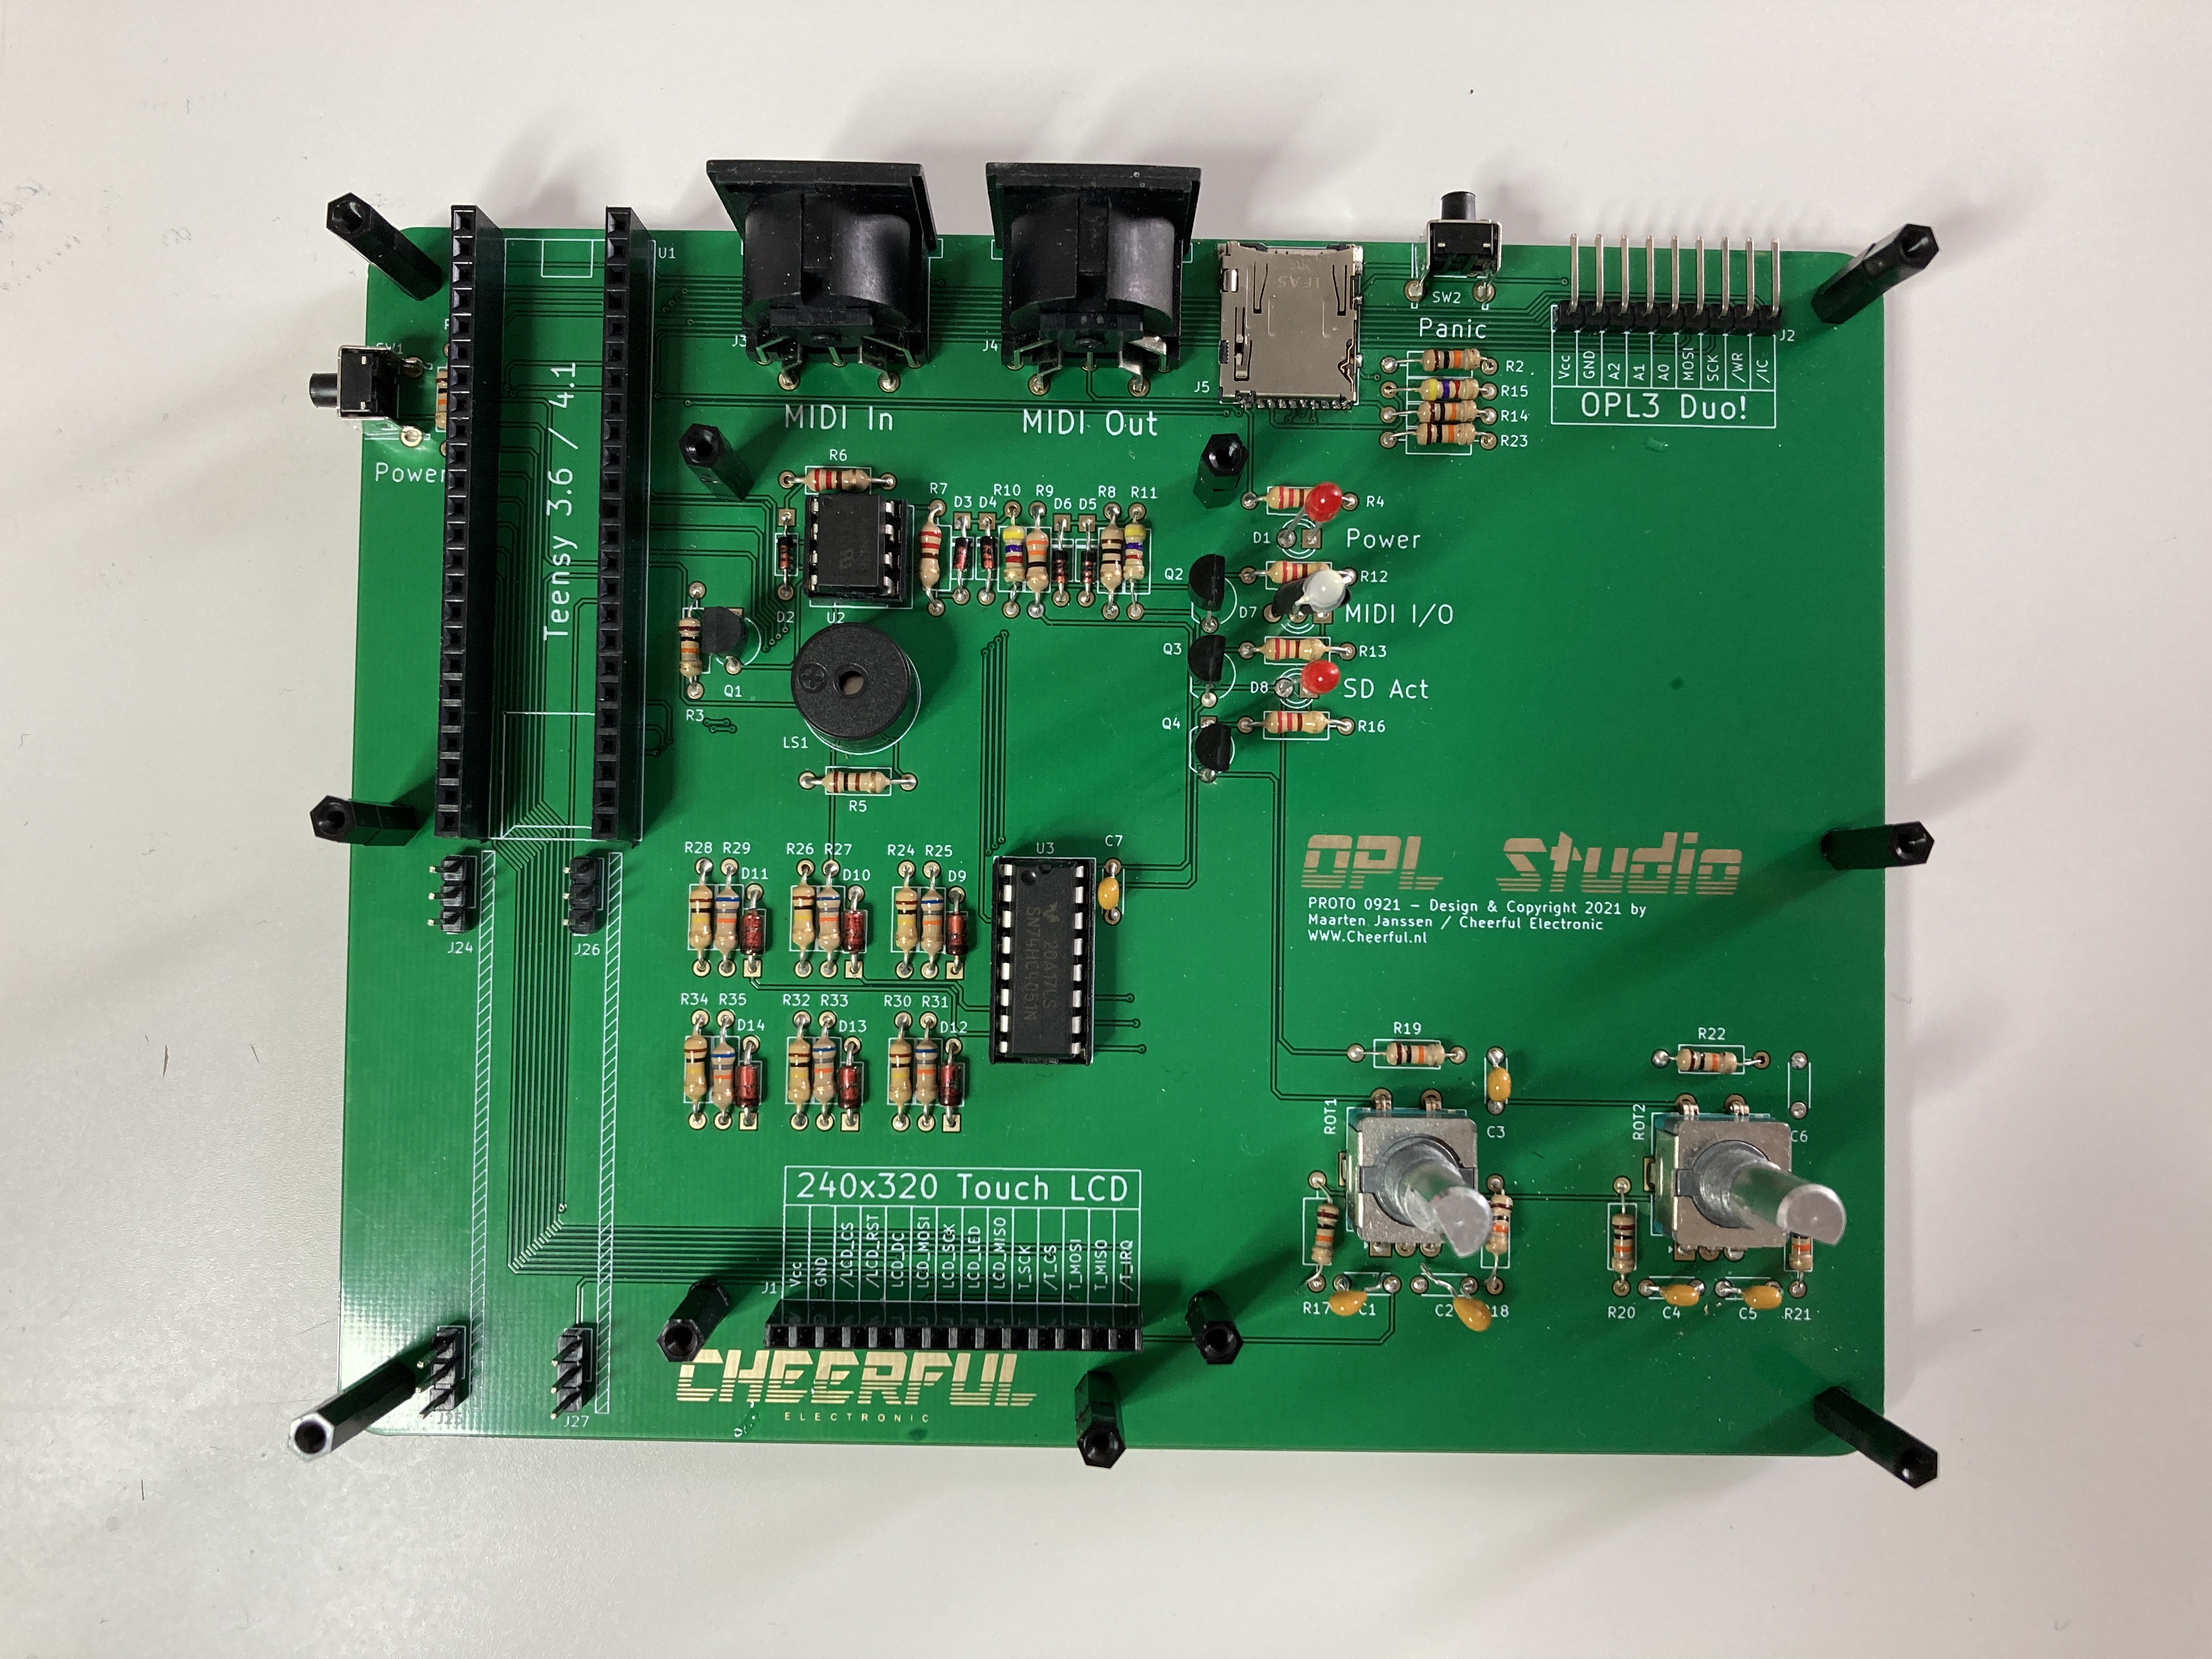
I did however make quite a number of mistakes while designing the board. For starters I completely forgot the connections for the power and panic buttons and the connection from the Teensy to the mosfet that powers on the device. Oops! Nothing that a few bodge wires won't fix however.
Next problem was with the LEDs. I'm not sure what I was thinking while working on the schematic, but I messed up. Long story short the LEDs where on when they should be off and vice versa. Swapping the NPN transistors for PNP transistors also got that problem fixed. Except for the bi-color LED that indicates MIDI activity. I used the wrong footprint and had to bend some wired to make it work. I also swapped the green LEDs I initially installed for some red ones I had lying around since the green ones were so bright they were hurting my eyes.
Then still the rotary encoders are a bit to eratic for my liking, the footprint of the little beeper is too large and the SPI bus is having some issues, yet I got it all to work! :)
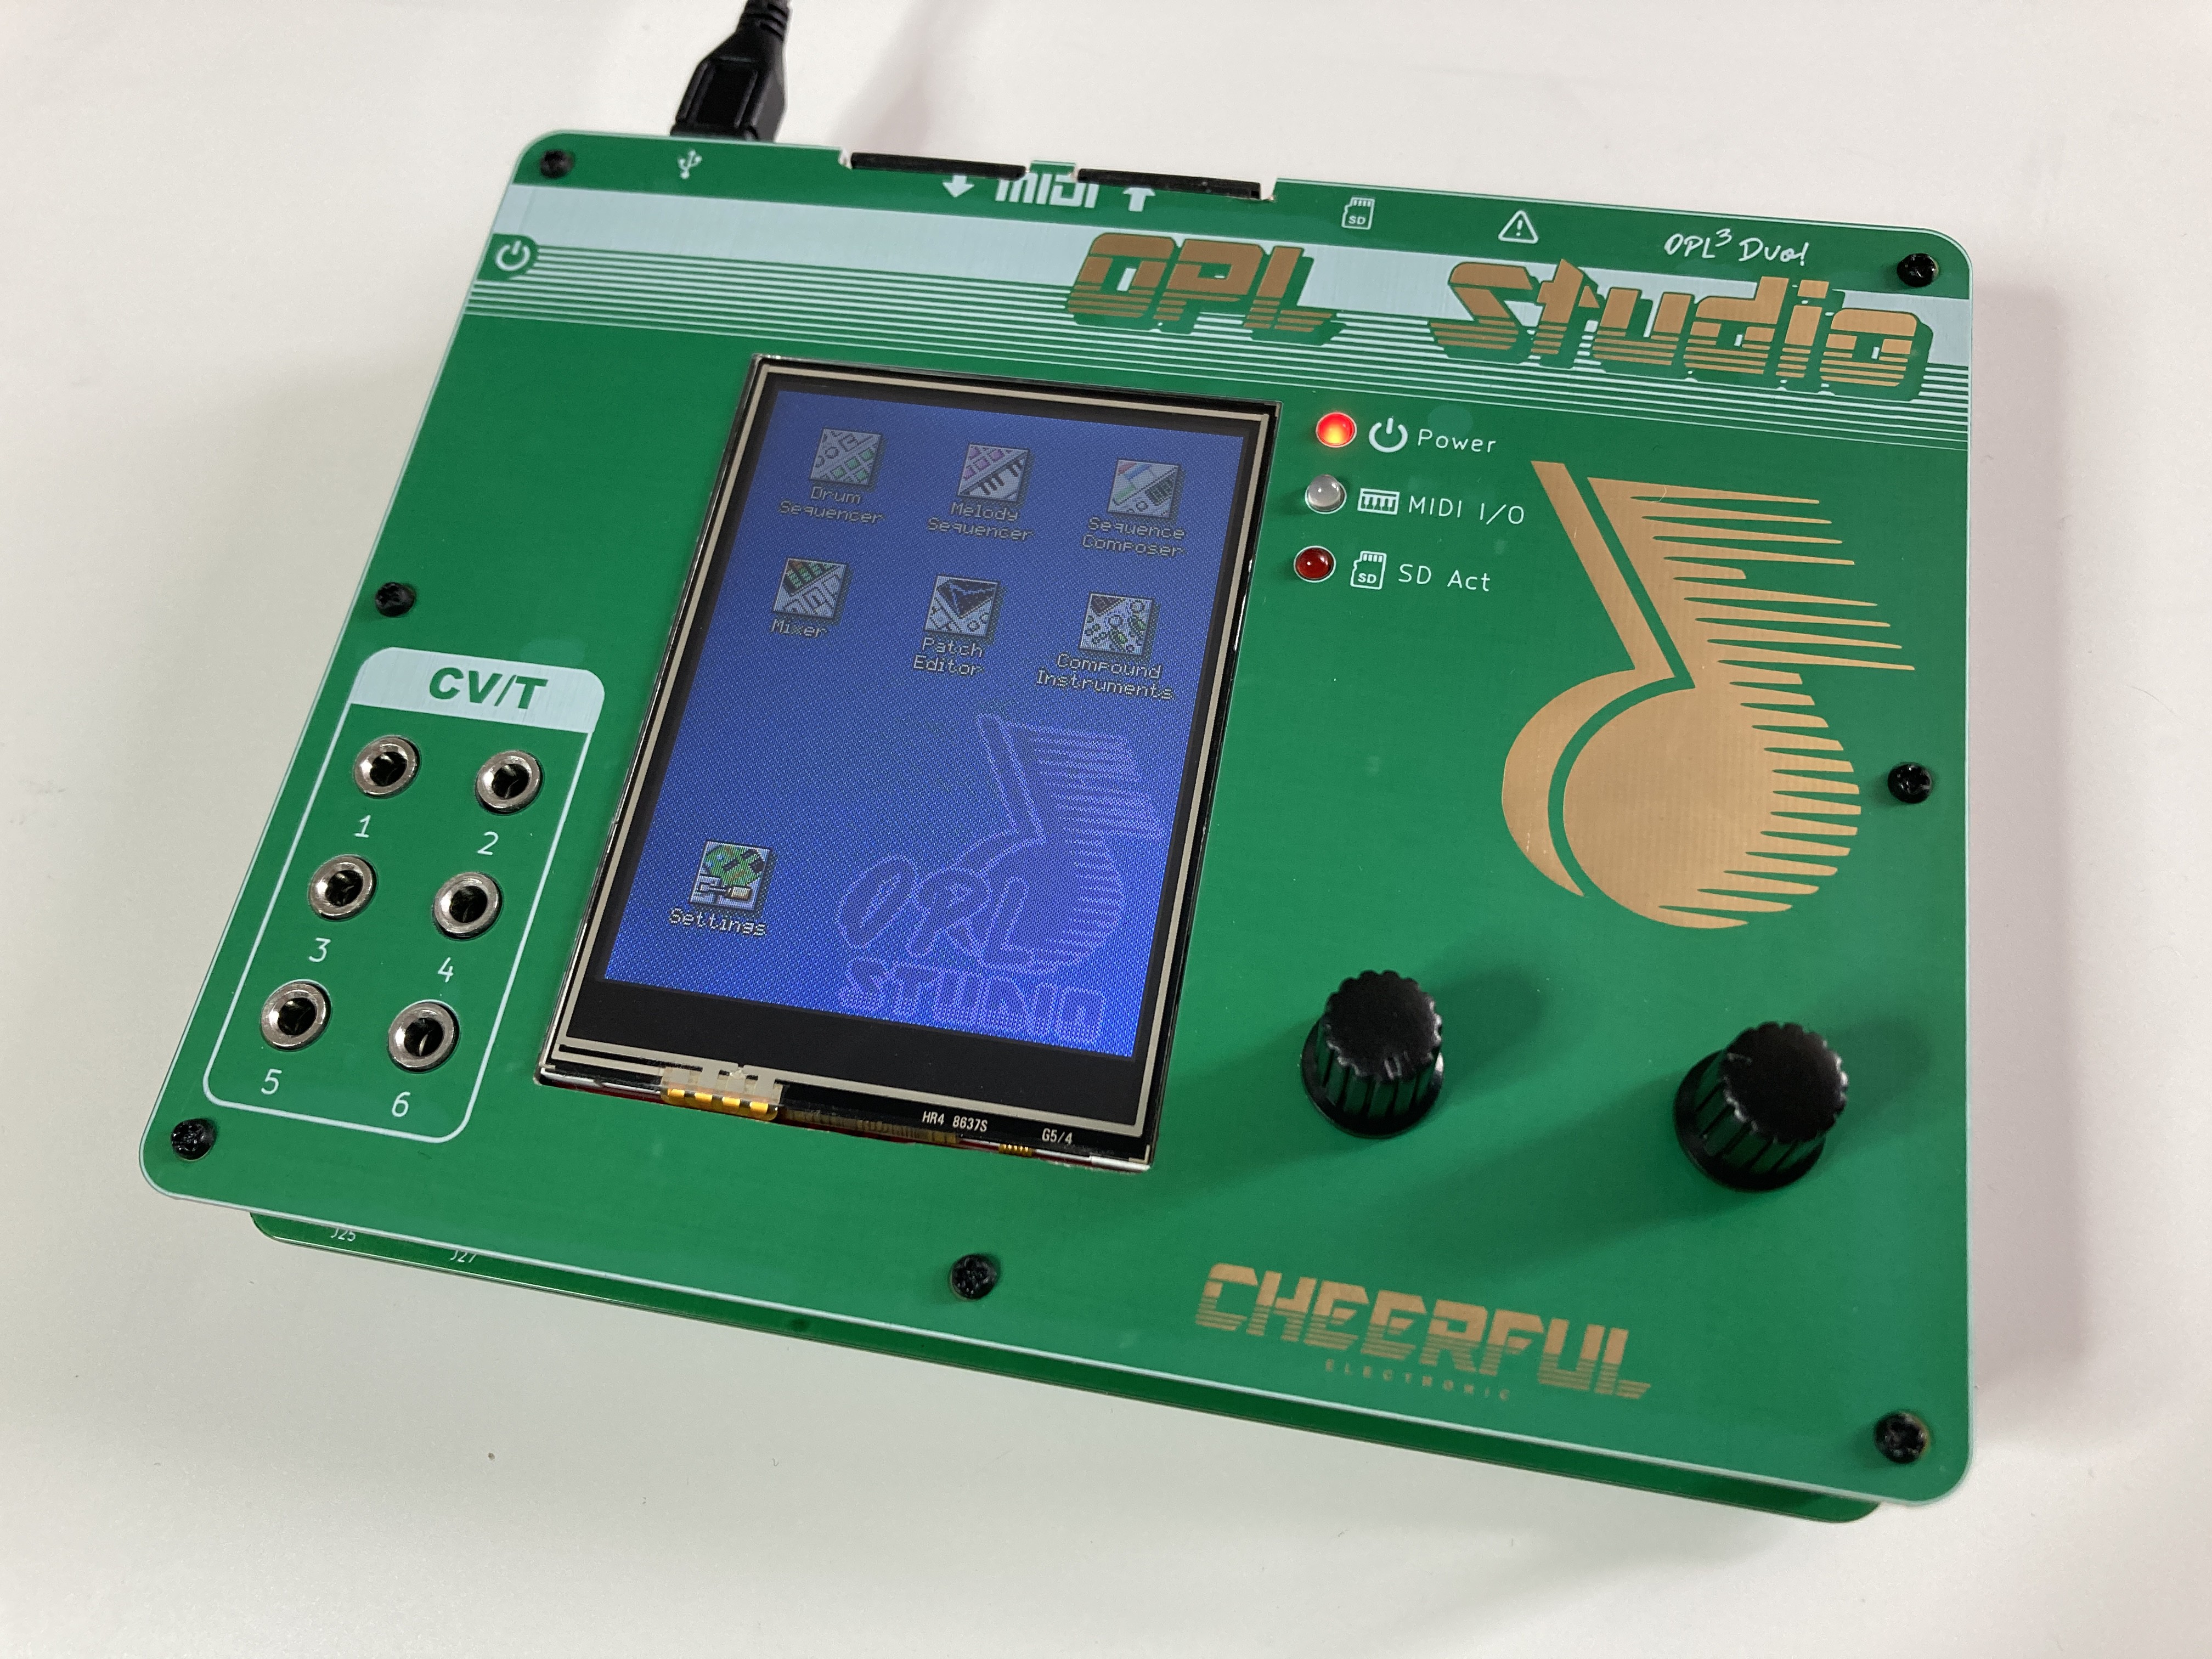
Now the electrical side is all good, next came some physical issues. The front panel didn't quite fit as intended, though it came pretty close. With some filing to allow the screen to fit and some dremeling to make room for the MIDI plugs the front panel fits nice and snug!
For my first time making a front panel I'm really happy, but I also thinks that it looks very plane and boring. Maybe it needs a more interesting graphics than the double note I took from my OPL3 Duo! board. I'm also thinking of trying a black front panel to make the screen stand out more and make the graphics really pop.
With every error I found I've immediately gone back to my KiCad design files to make the changes so I won't mis any changes I make and so another run of prototypes within a week or two to hopefully get the final issues ironed out.
In the mean time I also hope to find a slightly taller connector for the screen or think of another way to connect it. Right now the screen is pressed into the connector on the main board just barely. Also the plastic screws and standoffs really need to go and be replaced with metal ones.
Saving and Loading Sessions
Up to now the OPL Studio is not yet able too save or load anything other than instrument patches. That's of course really annoying when you're working on a bigger project. You don't want to start from scratch every time you power on the device. So besides working on the prototype I've also put some time in allowing to load and save sessions.
The first step I've taken is to allow other devices to send system exclusive (sysEx) MIDI events to the OPL studio. These SysEx events can contain and data the OPL Studio works with, such as instrument patches, drum or melody sequences and songs, but through SysEx messages you can also directly control the OPL3 chips. Of course the OPL Studio also needs to be able to send these SysEx events and allow you to save and load sessions to the SD card.
The Session Manager will be the new module that I'm working on that allows you to save and load a session from SD or send particular settings as SysEx events. Receiving SysEx events can of course happen and any time and it will immediately update the UI. This is very cool to see!
Small Minor Improvements
Lastly I made some extra improvements to the melody sequencer. So far all notes that were played in a sequence would have their key on for the full duration of a step, giving a legato effect. This often didn't sound right so I now allow to select the key on duration of the notes per sequence in 3 steps from staccato to legato.
Another annoyance that I managed to fix was due to the metronome. While live recording a melody by listening to the metronome beeps for timing I found that in the recording the notes always ended up on the previous step. I had already tried many fixes in the software before I realized that this was actually a human bug! The metronome would play a beep exactly at the start of a beat. This was causing the human to incorrectly time its key presses slightly before hearing the beep and the note being registered in the wrong step. Offsetting the metronome beep to sound just a few MIDI ticks after the start of the beat fixes the issue. Recording is now really smooth!
-
Second Prototypes and Improved Controls
09/29/2021 at 20:00 • 0 commentsReducing the number of controls
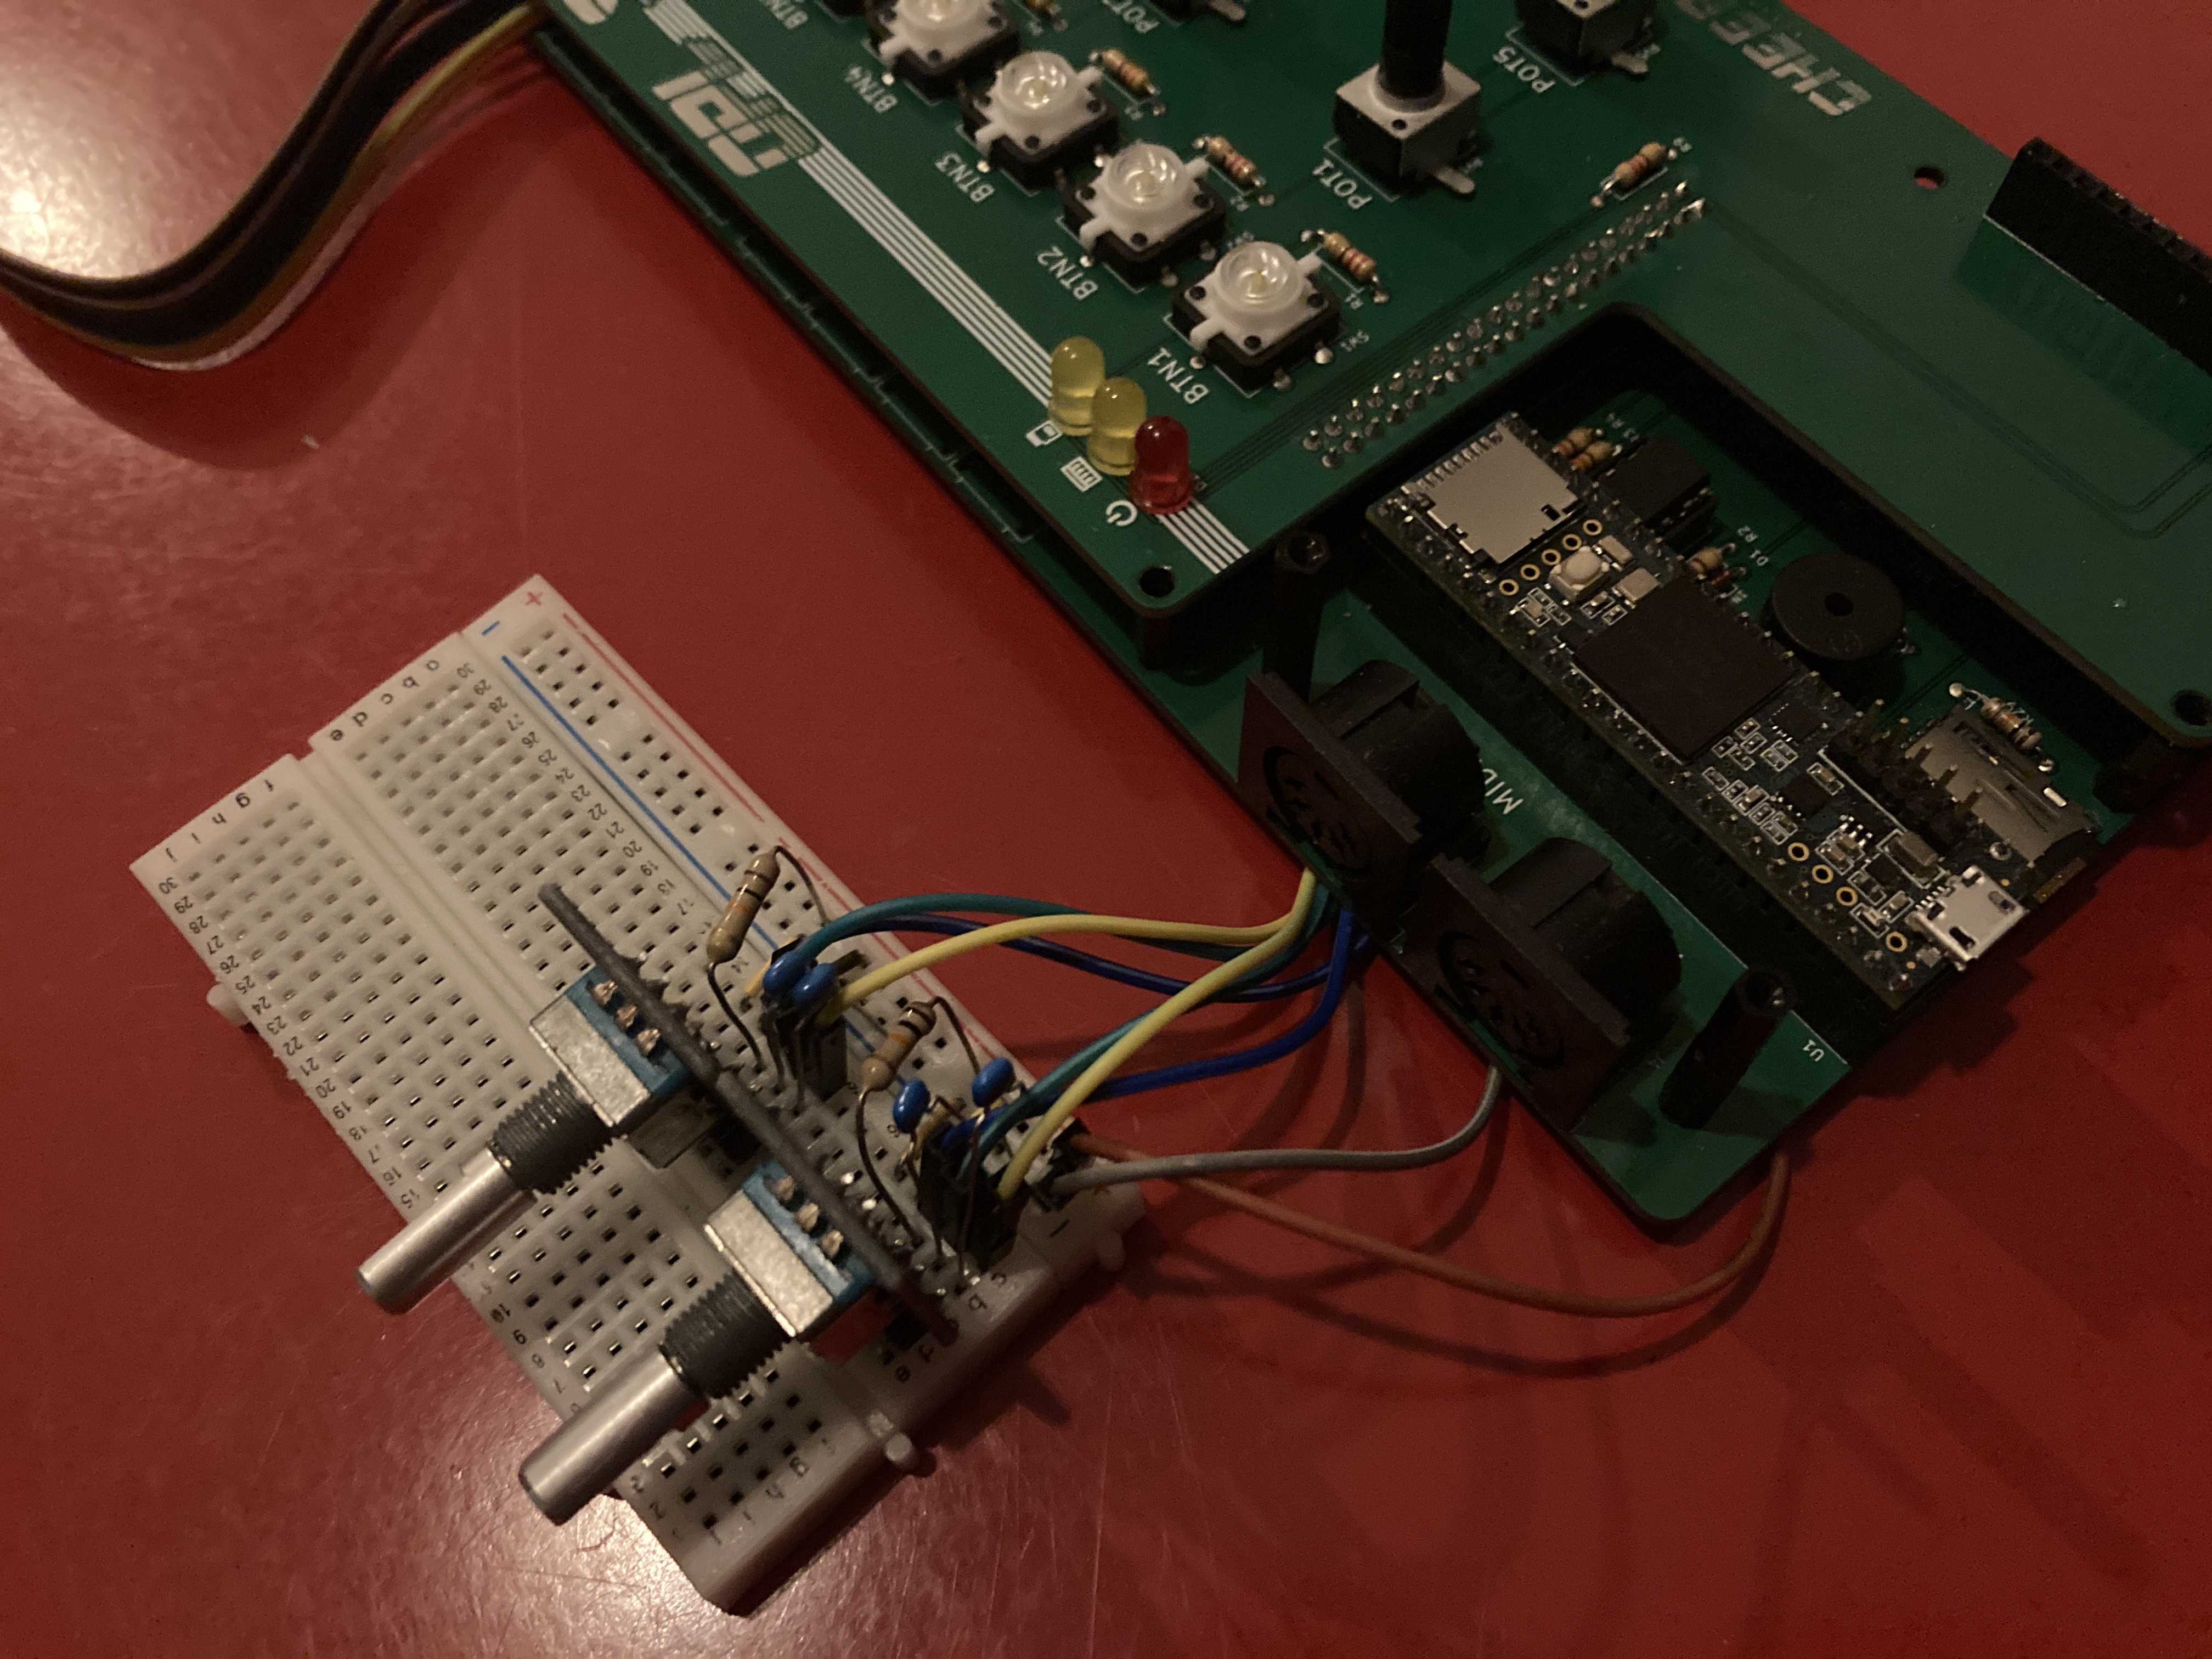
On the last update I wrote that I thought about getting rid of the buttons and the potentiometers on the second board, or maybe to replace them for rotary encoders. A reader suggested to use a single rotary encoder to change the value of the active control in the UI. This was a great suggestion, thanks again!. I soldered some breadboard wires on the back of the board to the Teensy and hooked up a rotary encoder.
Being able to change control values this way really improves the workflow for example when you're cediting patches or while making a step recording to advance the sequence. As you can see in the picture I added a second encoder that allows you to cycle through the controld on the screen. Tapping on a control with the pointer will also make it active so its value can be changed using the rotary encoder. It took some time to implement this new feature for all of the modules in the UI, but it was well worth the effort to make the workflow a lot smoother compard to just the stylus input.
I'm trying to keep this update short, so in the next update I'll add a video to demonstrate the use of the rotary encoders.
Smaller software updates
Besides the addition of the rotary controls I had some time to make a few bug fixes and improvements. For example a long open small bug where buttons in the UI would remain in a clicked state if the coordinates of the stylus jitter is now fixed.
A fix that I really like, which also improves the workflow in the UI, is that now modules can now link from one to the other. For example it's now possible to double tap on a sequence block in the composer module to directly jump into the drum or melody editor for that sequence.
A final fix I did is to speed up the rendering of patterns such as the home screen background and the patterns rendered on sequence blocks.
New prototypes are coming!
After making the decision to get rid of the flashy buttons and pots I started to redo the schematic and PCB designs to have a second small batch of prototypes made. The second prototype is going to be smaller than the first one after removing the controls and all components are now integrated into a single PCB instead of the two layers I had before. The control voltage and trigger inputs have been reduced from 8 to 6 and moved to two small plug-in boards that mount below the Teensy. I added a power button and a panic button. The panic button will be to reset the OPL3 Duo! when it gets stuck on a note due to wrong instrument parameters or broken MIDI messages. I really missed having this button while playing around.
![]()
I'm trying something new as well by adding a front panel in the form of a second PCB that can be mounted on top of the main board using standoffs. If I did my measurements correctly then front panel should nicely fit around the screen, the LEDs, rotary encoders and secure the control voltage sockets in place.
![]()
-
Finally there is an update on the composer module
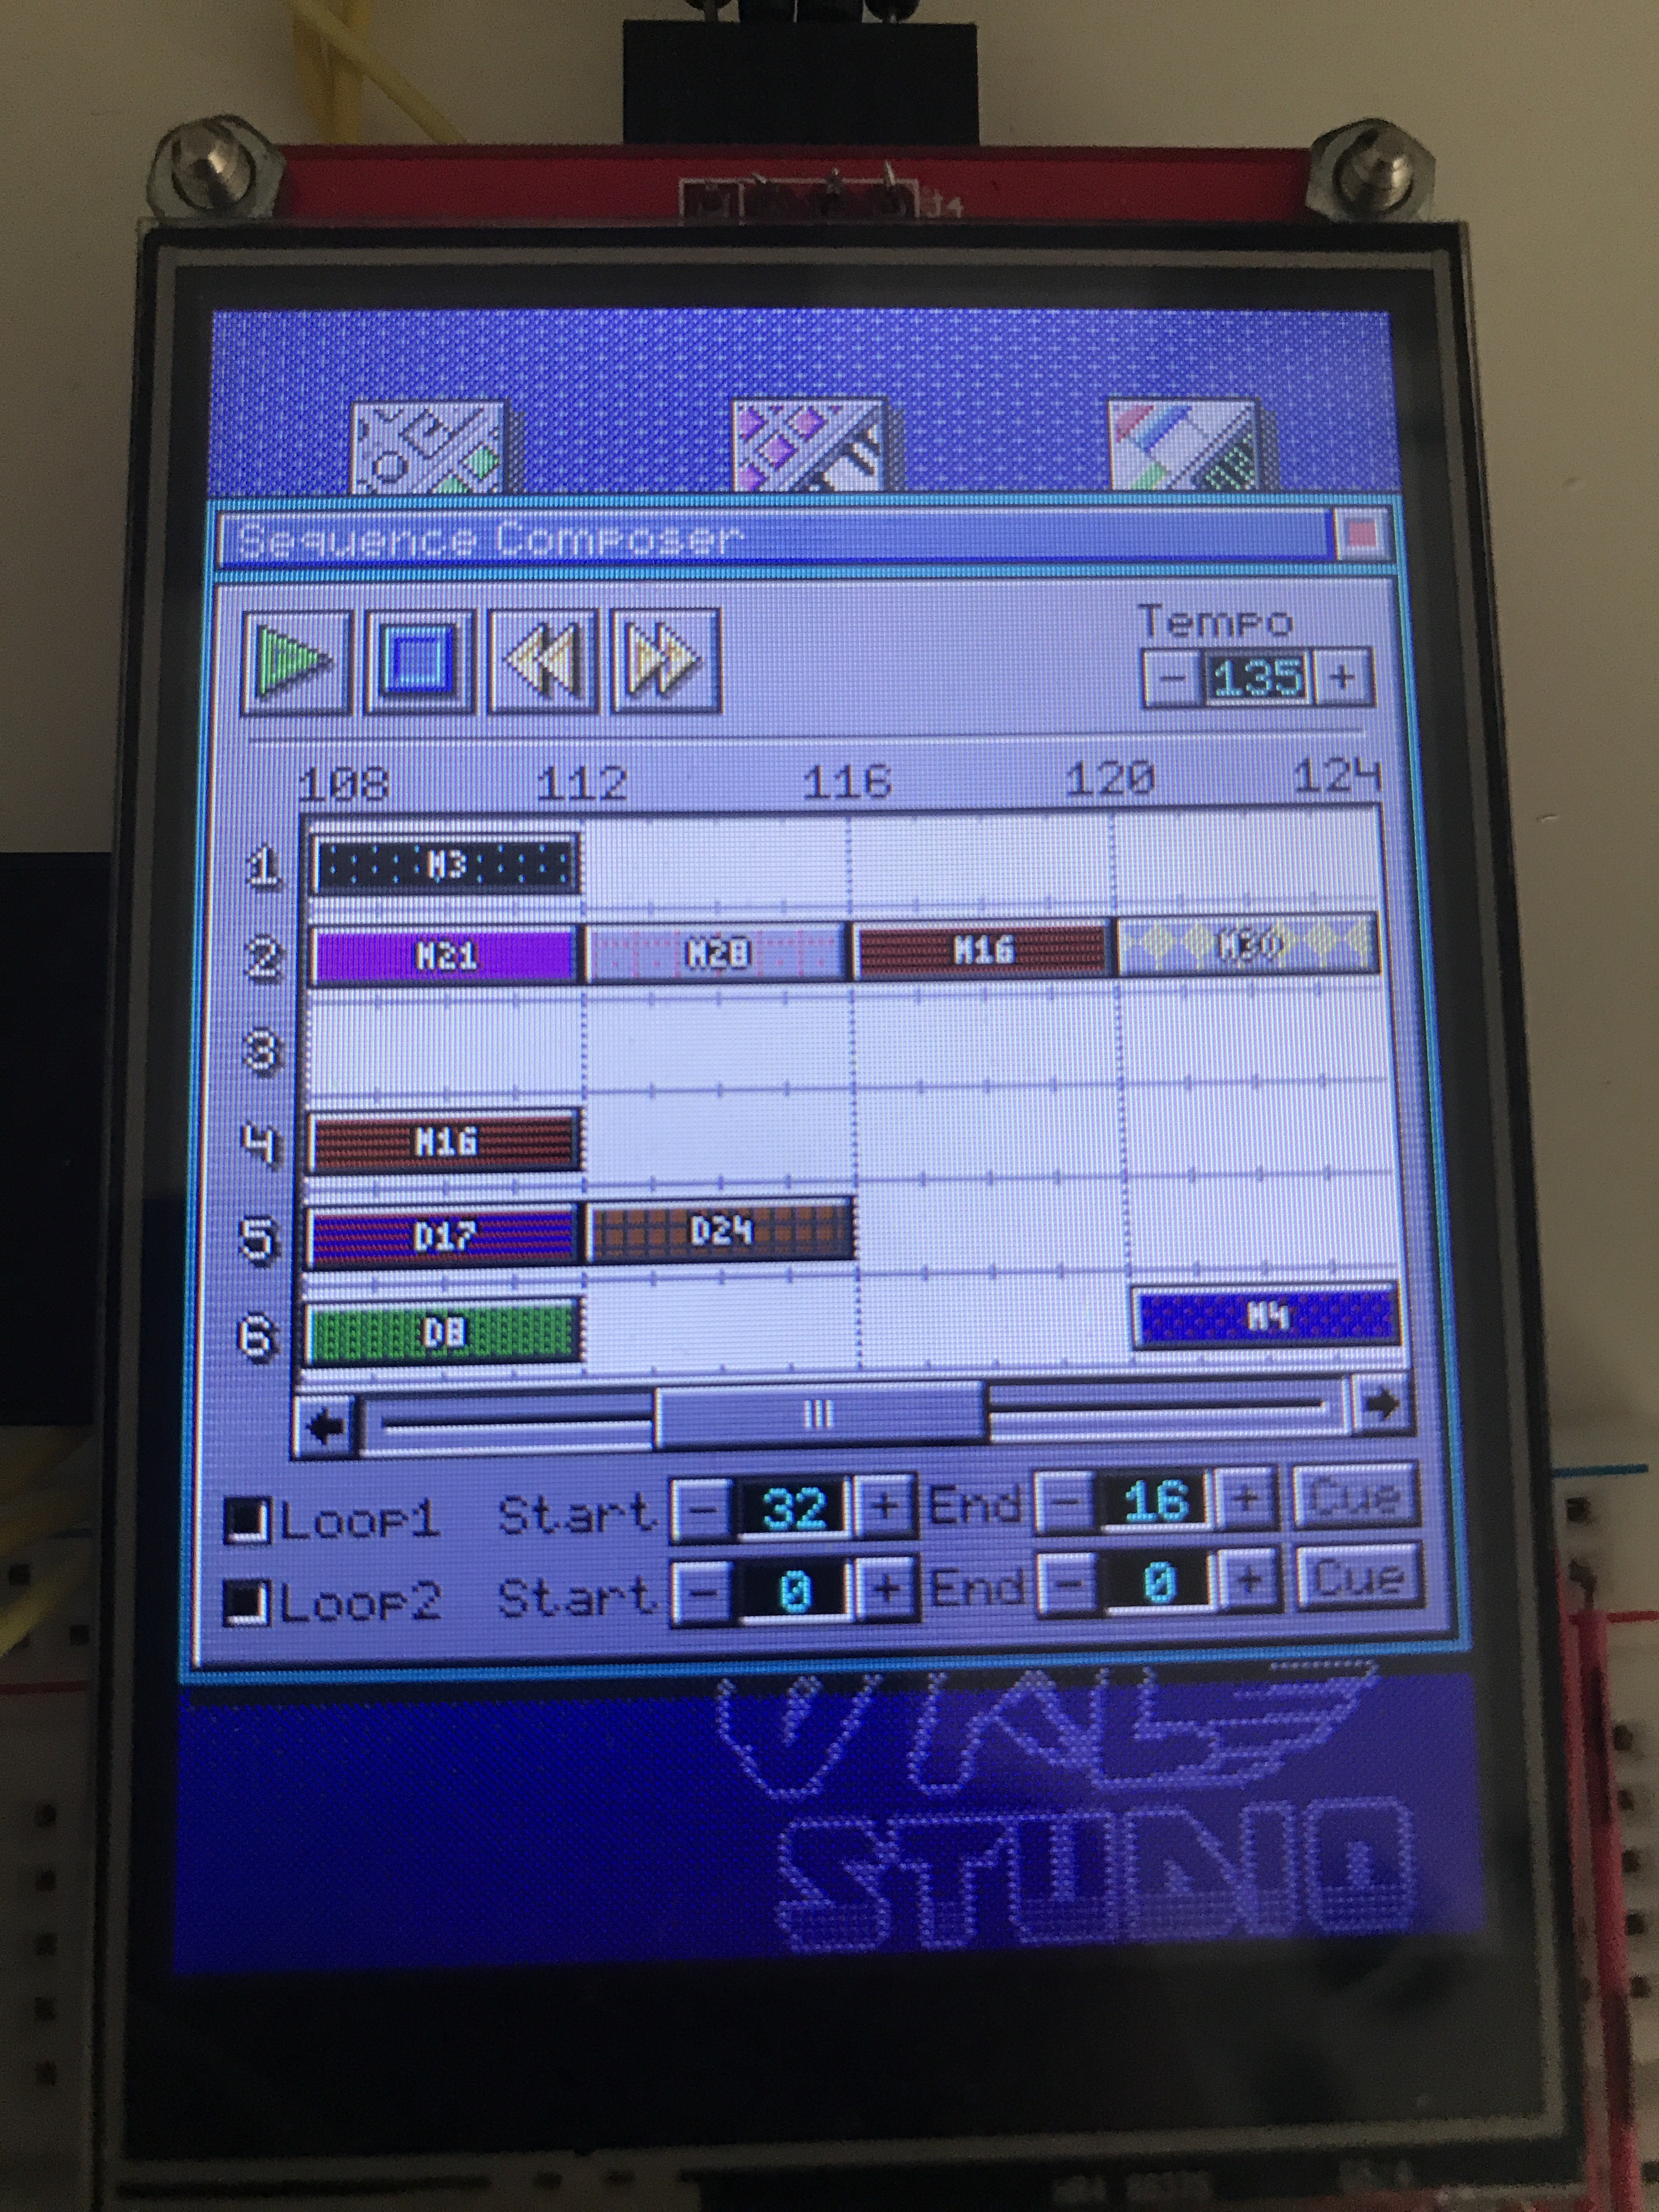
09/06/2021 at 19:05 • 0 commentsThe last two weeks I did a lot of work on the composer module of OPL Studio. This will be the module where you can arrange your drum and melody sequences into songs. Sequences are placed on a grid where they will be shown as sequence blocks.
I had already spent some time on this module quite some weeks ago, but I got stranded when I started to make things too complicated for myself. I had started on a very complex implementation where I wanted to make draggable sequence blocks and complex selections possible in the editor. I got rid of that idea for now in order to get things done. Making the editor more fancy will be for later.
The biggest change in the compser is the song grid. This used to be handled partially in the composer app module and partially in spearate UI elements making it very complex. The sequence blocks could only be rendered as 4 beat long blocks, which made it impossible to render blocks for sequences that are longer than 4 beats. Adding insult to injury, the sequence blocks could only be aligned by 4 beats and the code wasn't built to allow for efficient repaints.
In the new code sequence blocks are handled more efficiently as small 1 beat long segments. It can render the left, middle and right sides of blocks to be more efficient with less repainting while scrolling. Another part of the song gird UI that has now been fixed thanks to the smaller sequence blocks is the play head. This is a red line that passes over whe grid while the song plays to indicate the beat being played. The play head now updates currectly as playout progresses without leaving artifacts in the UI and slowing down while scrolling.
I also want to render the sequence number on top of the block, but haven't implemented that yet.
Sequence selection
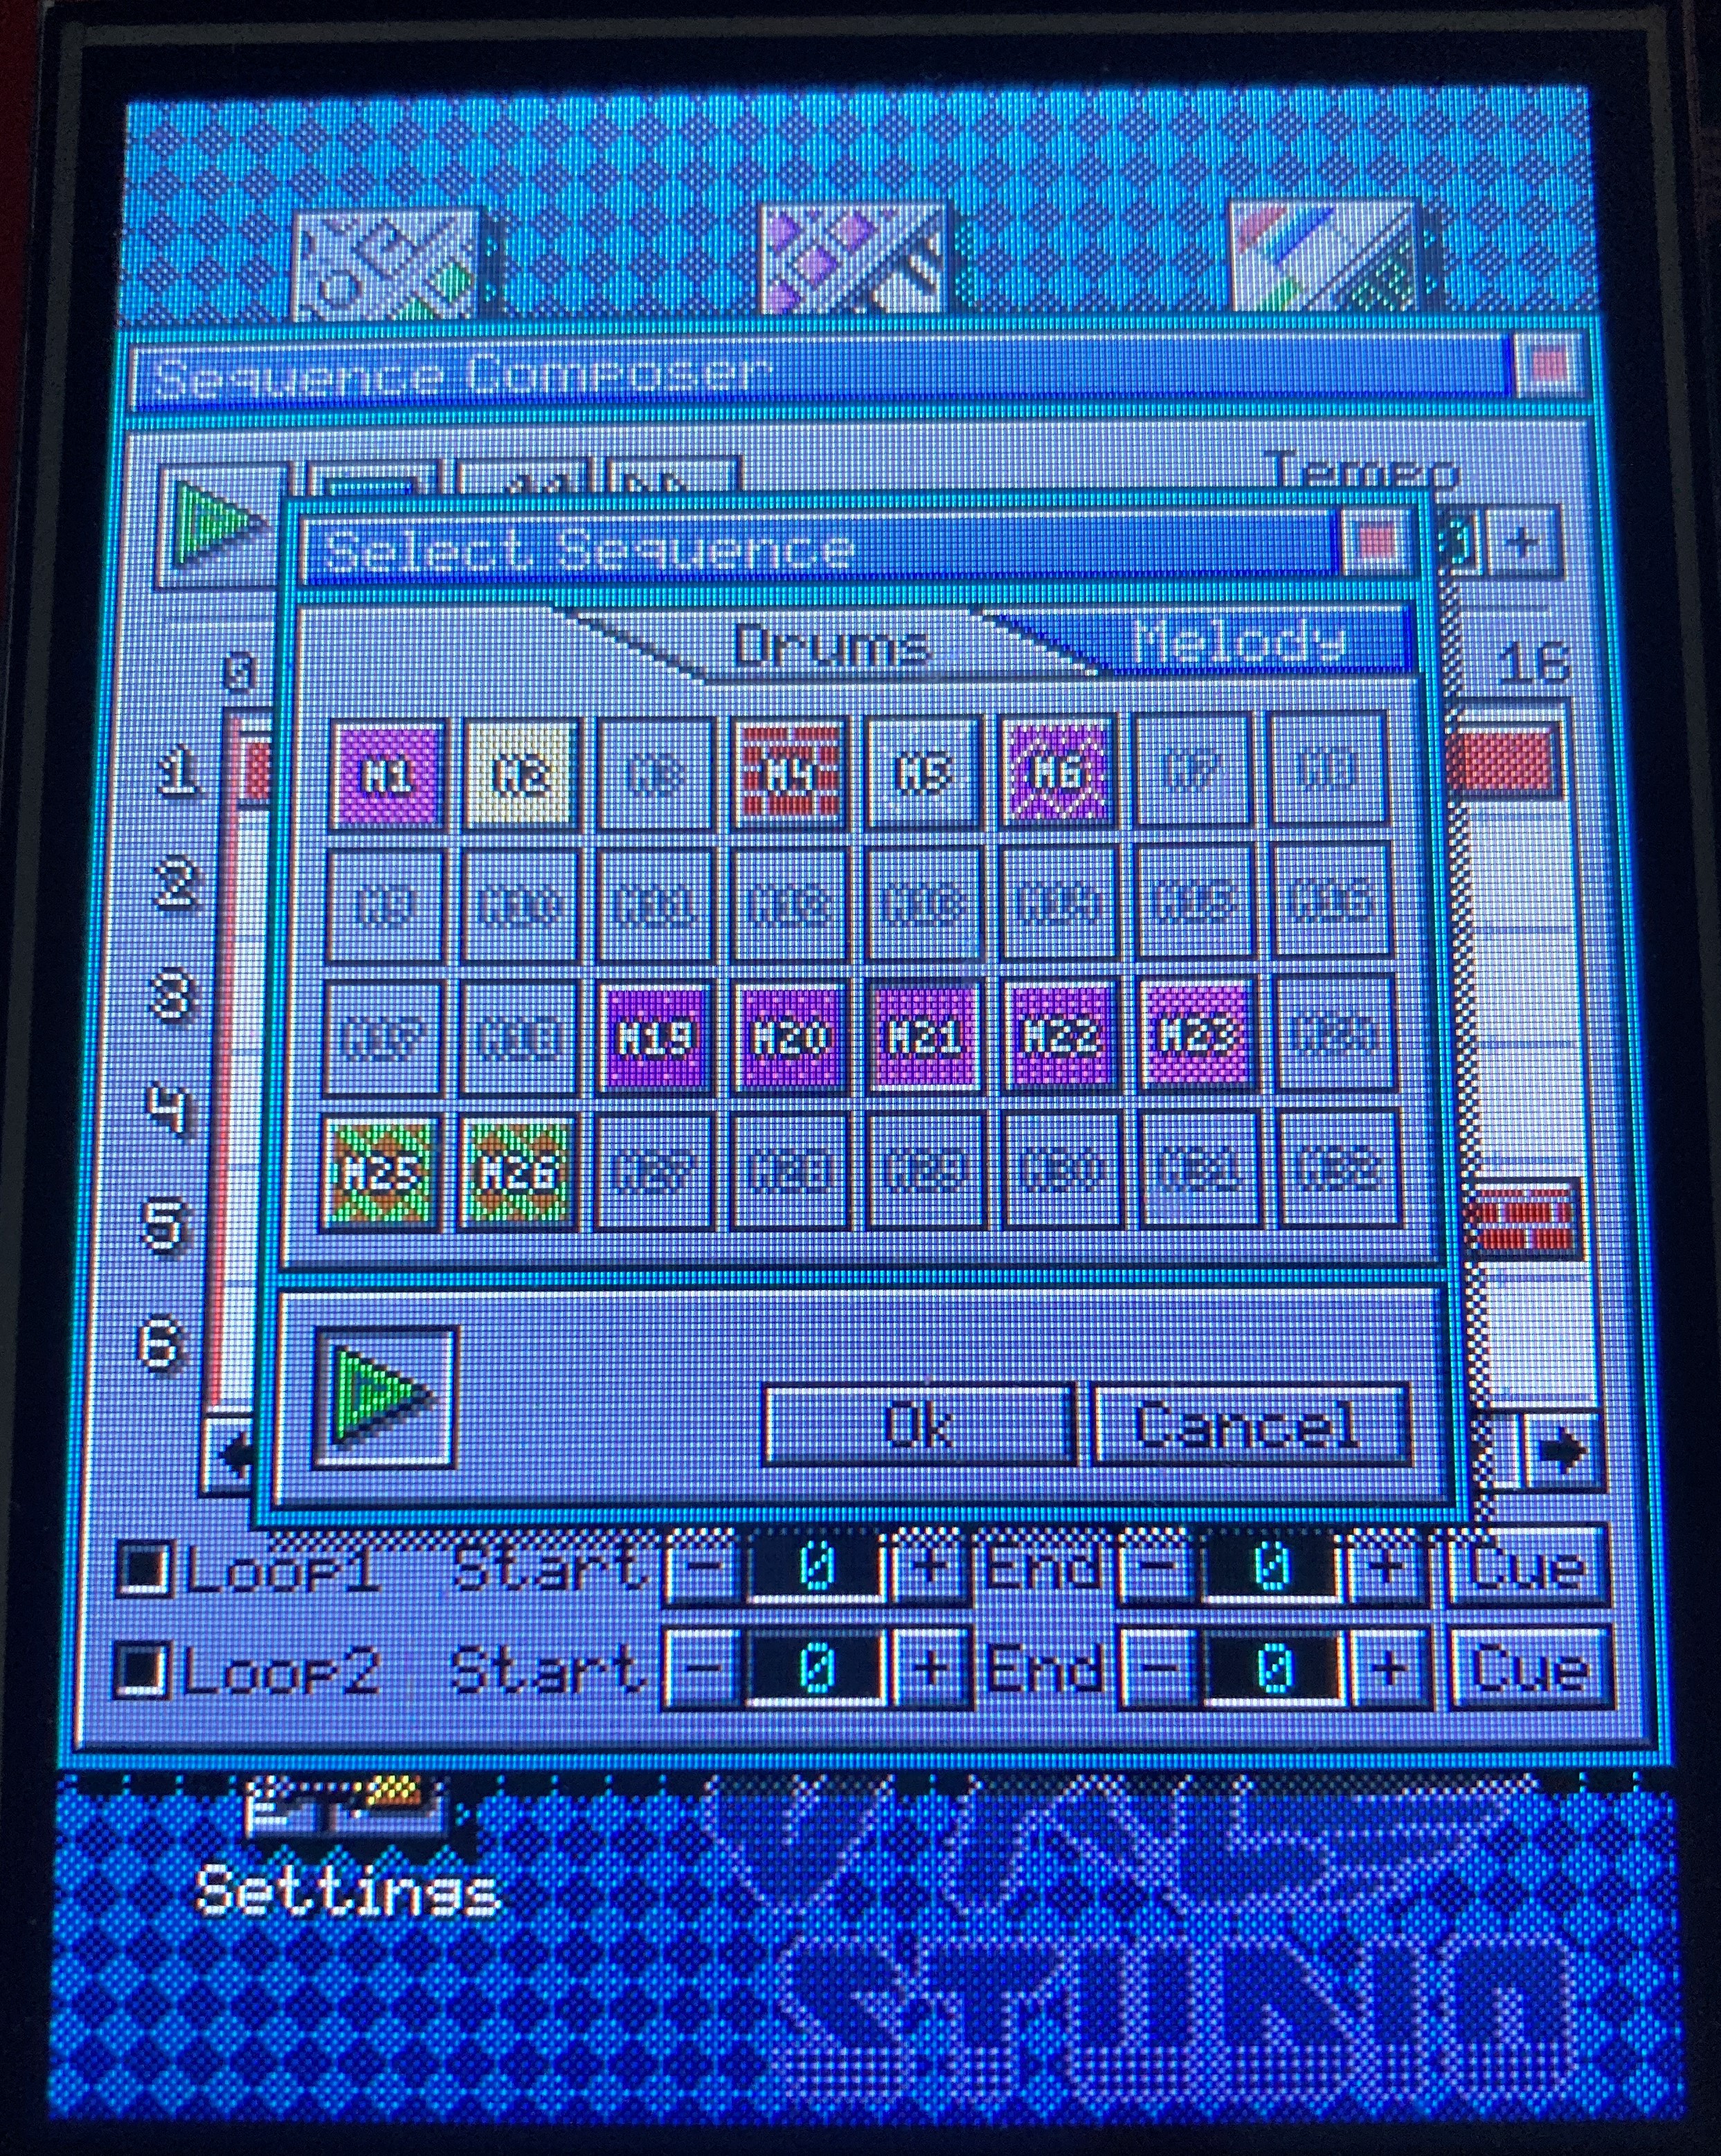
To add a sequence to the song you press and hold a cell in the song grid with the pointer. This will open a new dialog: the sequence selection dialog.
In this dialog all sequences that were created in the drum and melody sequence editors are shown in a grid of toggle buttons. The buttons show the sequence number and the pattern and colors that were assigned. Tabs on top of the dialog allow to switch between drum and melody sequences. The play button on the bottom left of the dialog can be used as a preview button for the sequence that was selected.
Right now it's finally possible to arrange sequences into songs, though the composer module is still far from being finished. There are still bugs to fix, features to implement (loading and saving would be nice!) and time needed to play with the module to see if it all works as I intended.
Should I kill some of my darlings?
Lately I've been thinking about the buttons and potentiometer controls I added. I'm not sure how useful they will be. Especially the potentiometers might have been not the best choice. They always give an absolute value which would not be ideal unless the potentiometers are always used for the same function. Otherwise rotary encoders, which give a relative up / down value would be more appropriate. Right now the potentiometers don't even have a function yet.
Also the buttons are not of any use right now, other than looking fllashy with their lights I haven't given them any function and it's not something that I'm missing right now.
So I'm still thinking that maybe I should get rid of the buttons and the pots and make it a smaller device...
-
Overhauling the Sequencers
08/22/2021 at 10:54 • 0 commentsEver since I added the melody sequencer to OPL Studio I never was really happy with it. Compared to the drum sequencer it always felt a bit clumsy and awkward to work with. It was time to once again refactor the melody sequencer an take care of all the annoyances I had with it.
Variable Sequence lengths
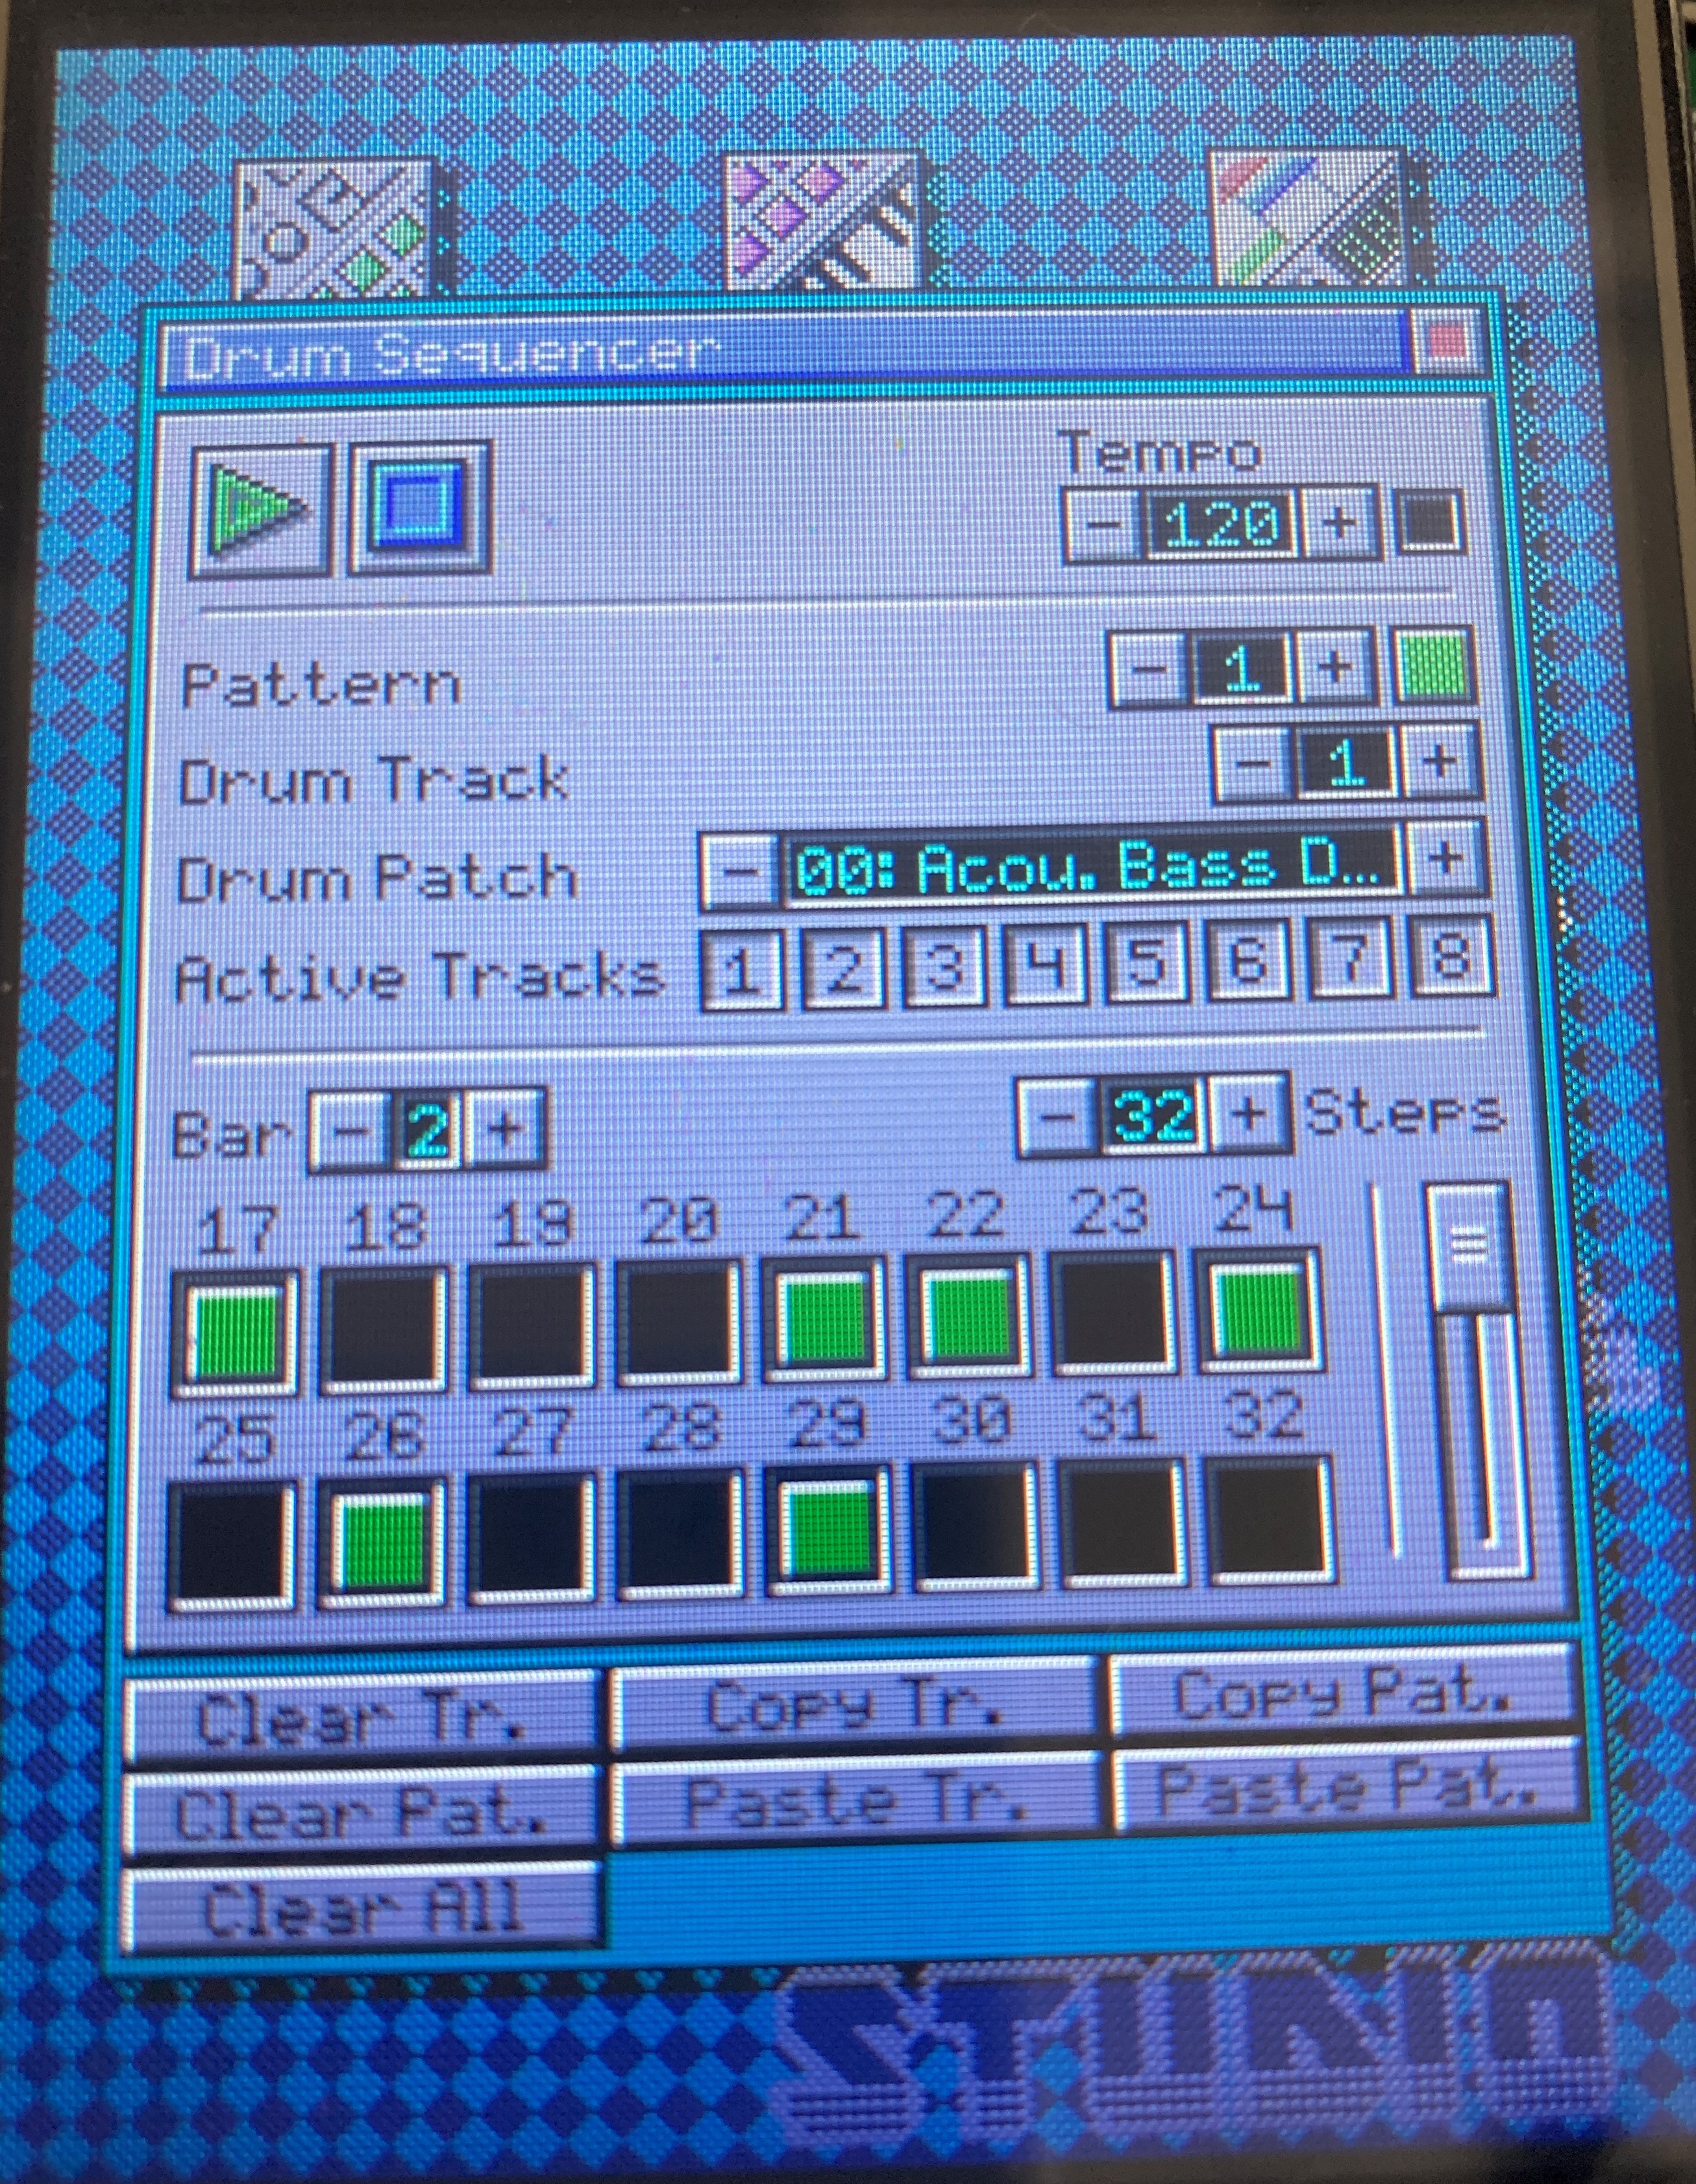
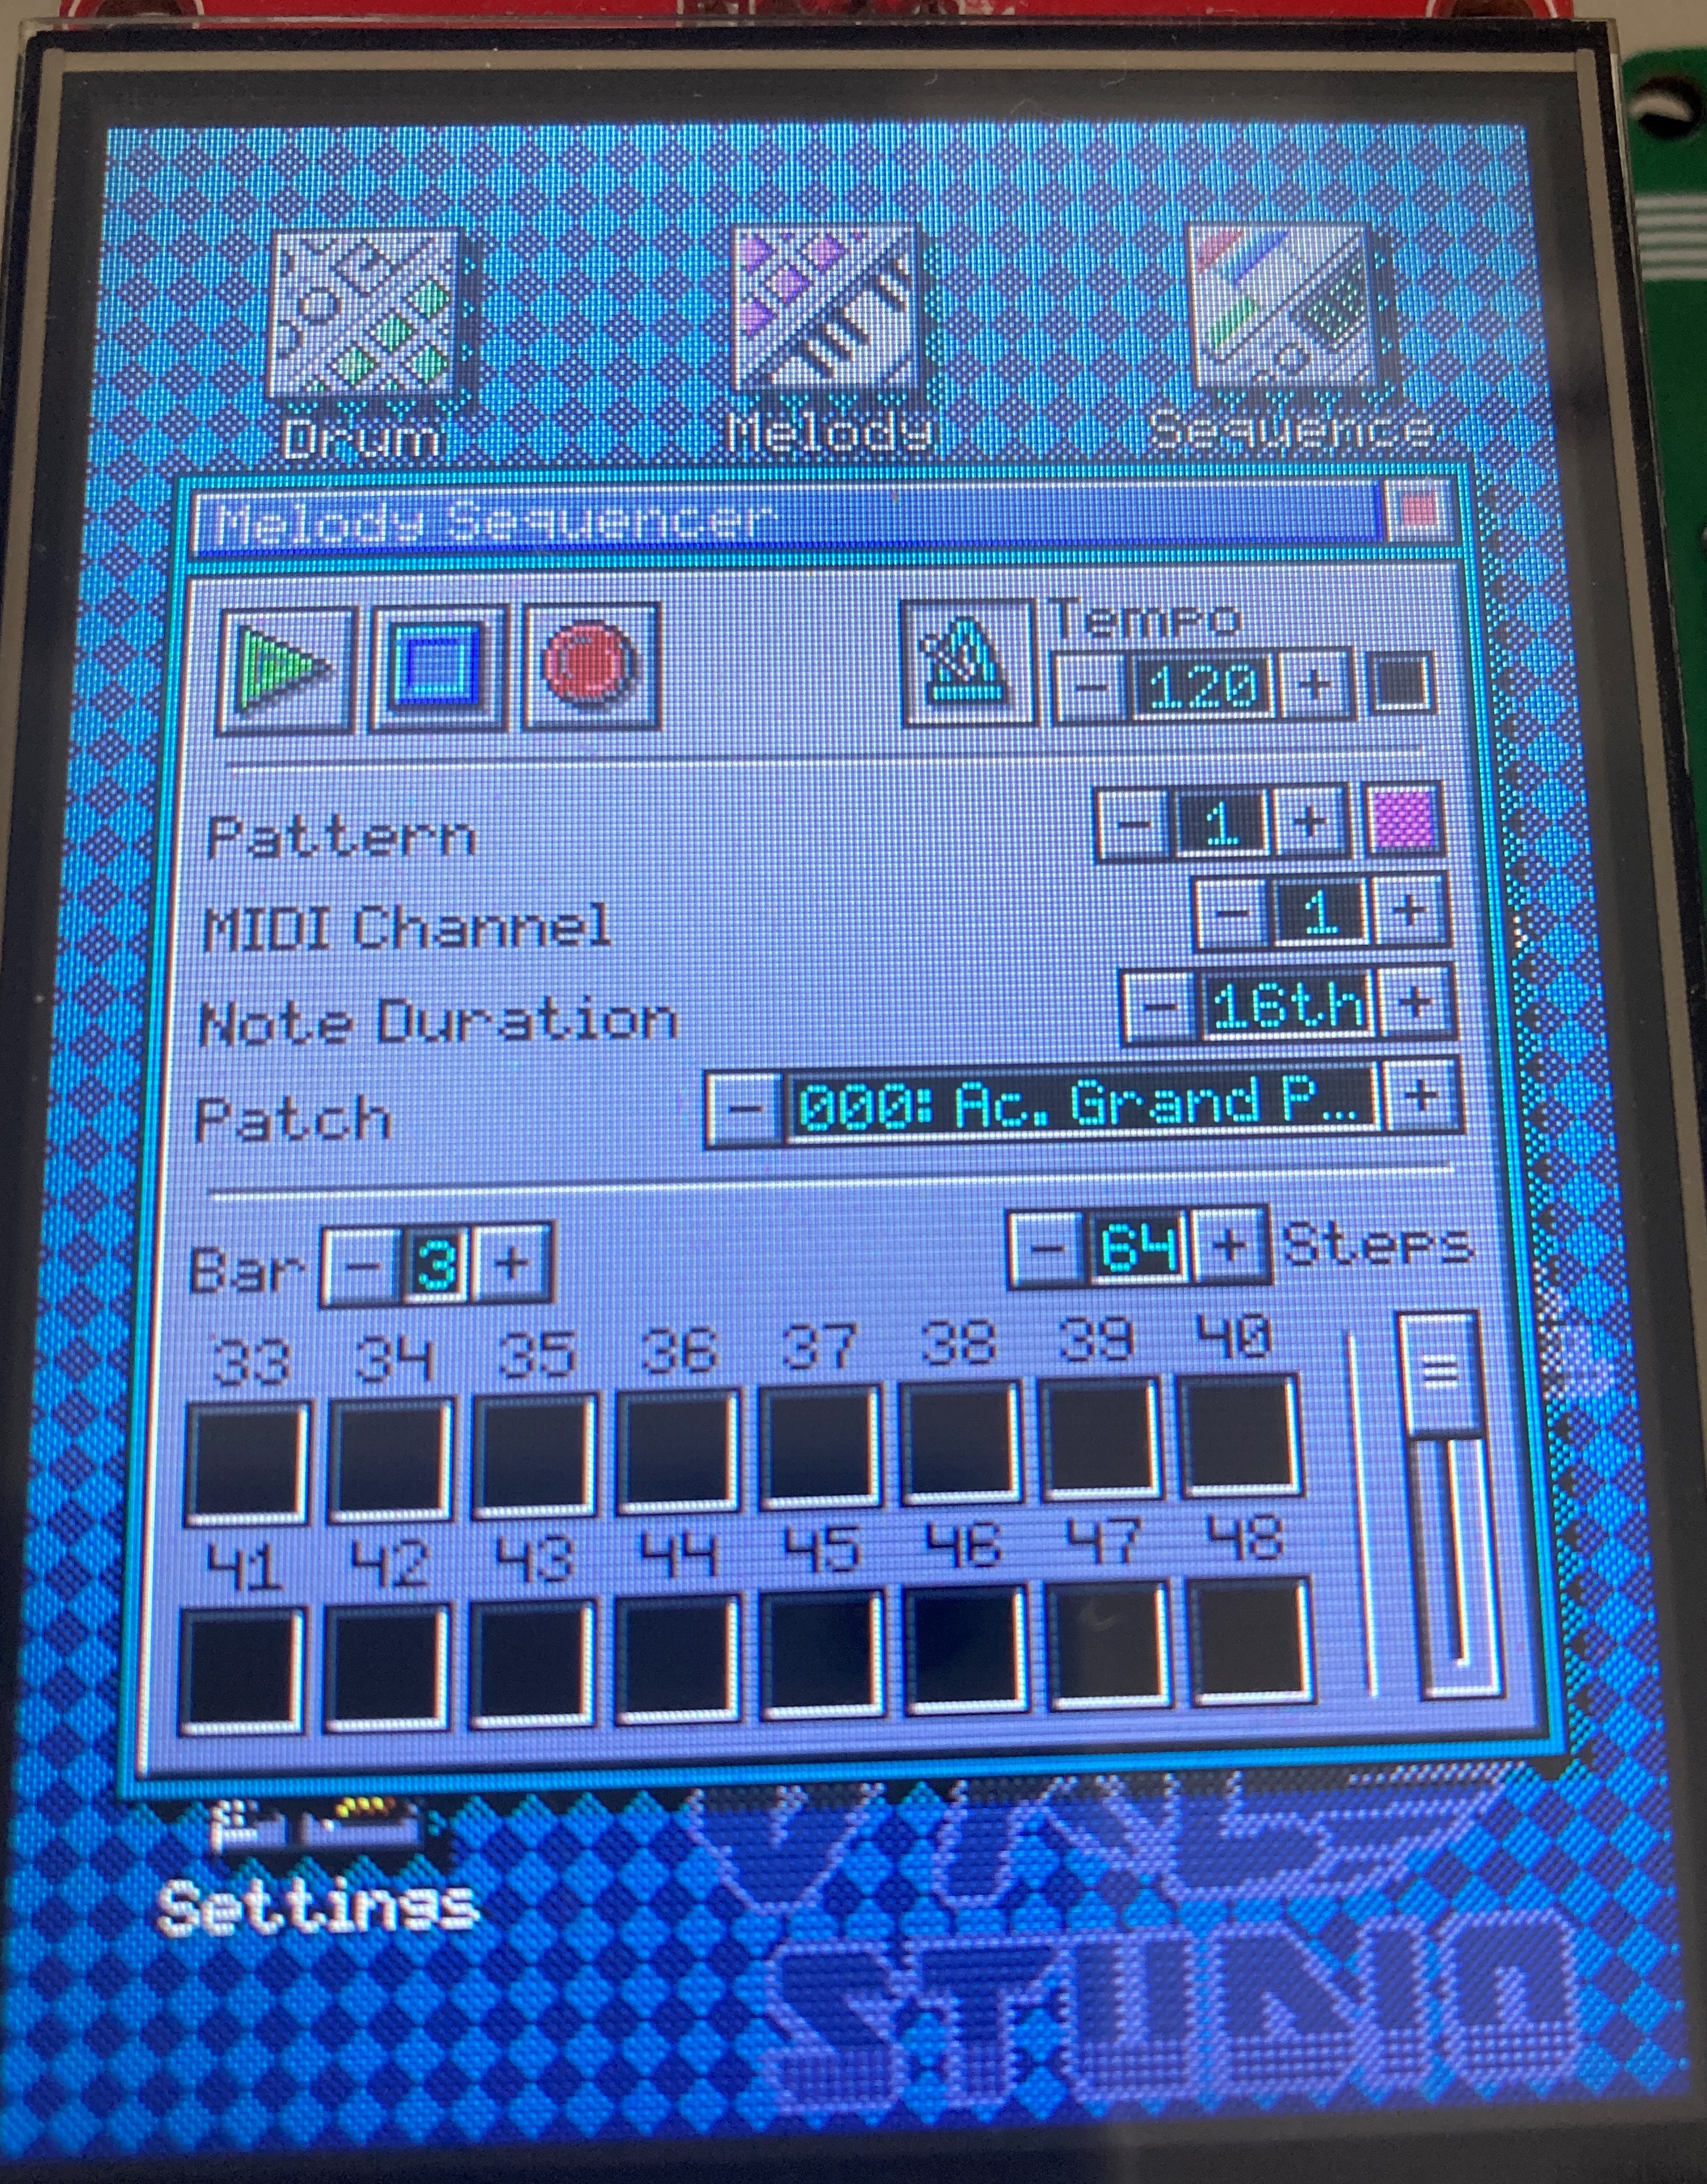
One of my issues was that the sequences, both drum and melody, were too short. They were always only 16 steps. So the first thing I changed was to make all sequences have a flexible length between 16, 32, 48 or 64 steps. This ment some rework for the sequence code as well as for the UI where I had do add some spinners to select the sequence length and the bar that's being edited.
Melodt Sequencer Changes
For the melody sequencer my biggest issue was that I never liked how is made its recordings from MIDI. I was always missing the beat and although it could kind of do step recording it was very inconvenient as it would also start the MIDI clock when you entered a note. To fix this I rewrote most of the melody sequencing code. I implemented a step recording mode that works like typing text on a keyboard. When recording is enabled and the MIDI clock is not running you are in step recording mode. The sequence button of the active step will blink and when you play a note on the keyboard it will be registered. When you release the key the sequencer will advance to the next step, just like typing text where the cursor moves to the next character position. To add longer notes to the sequence you simply hold down the key and the sequencer will start to step automatically with a slow interval. Making this change was a game changer for me when it comes to the usability of the melody sequencer. It's now feeling much more solid and usable!
Of course live recording is also still possible when arecording mode is enabled and the MIDI clock is running then key strokes will also be recorded to the sequence.
I also made a change to the clock divider on the melody sequences. Before you could set any arbitrary division between 1 and 16. This is now changed to selecting a note length between 16th, 8th or 4th note.
Lastly, I had moved the setting to switch the metronome on or off during recording to the settings panel in an earlier change. That was a mistake! When I really started to use the melody sequencer I found that I wanted to be able to switch the metronome on or off all the time. So I restored the metronome and I gave it it's own toggle button with a nice icon among the transport controls.
Support for More Instrument Banks
I also spend some time on less sexy things like adding support to load more instrument bank formats. I added support for Adlib Timbre Banks and Apogee Sound System Timbre files.
In the demo below you can see how I load a new instrument bank from an Apogee file on the SD card and how I use the newly implemented changes on the sequencers.
-
Serial MIDI
07/27/2021 at 11:44 • 0 commentsToday I tested the DIN MIDI input on the main board and implemented serial MIDI in the OPL Studio code. Code wise this is not a huge update, but this puts another check in the box for another item on my to do list. Next to the serial MIDI code I've also started on a controller for the front panel that for now will only handle the button lights. I made a demo video to show the front panel lights blink in tune with the music and the MIDI data is of course coming through the DIN plug.
-
PCBs and Compound Instruments
07/24/2021 at 12:49 • 0 commentsIt has been a very exciting week for the OPL Studio project wherer thing are really starting to take shape.
A New Home For The Project
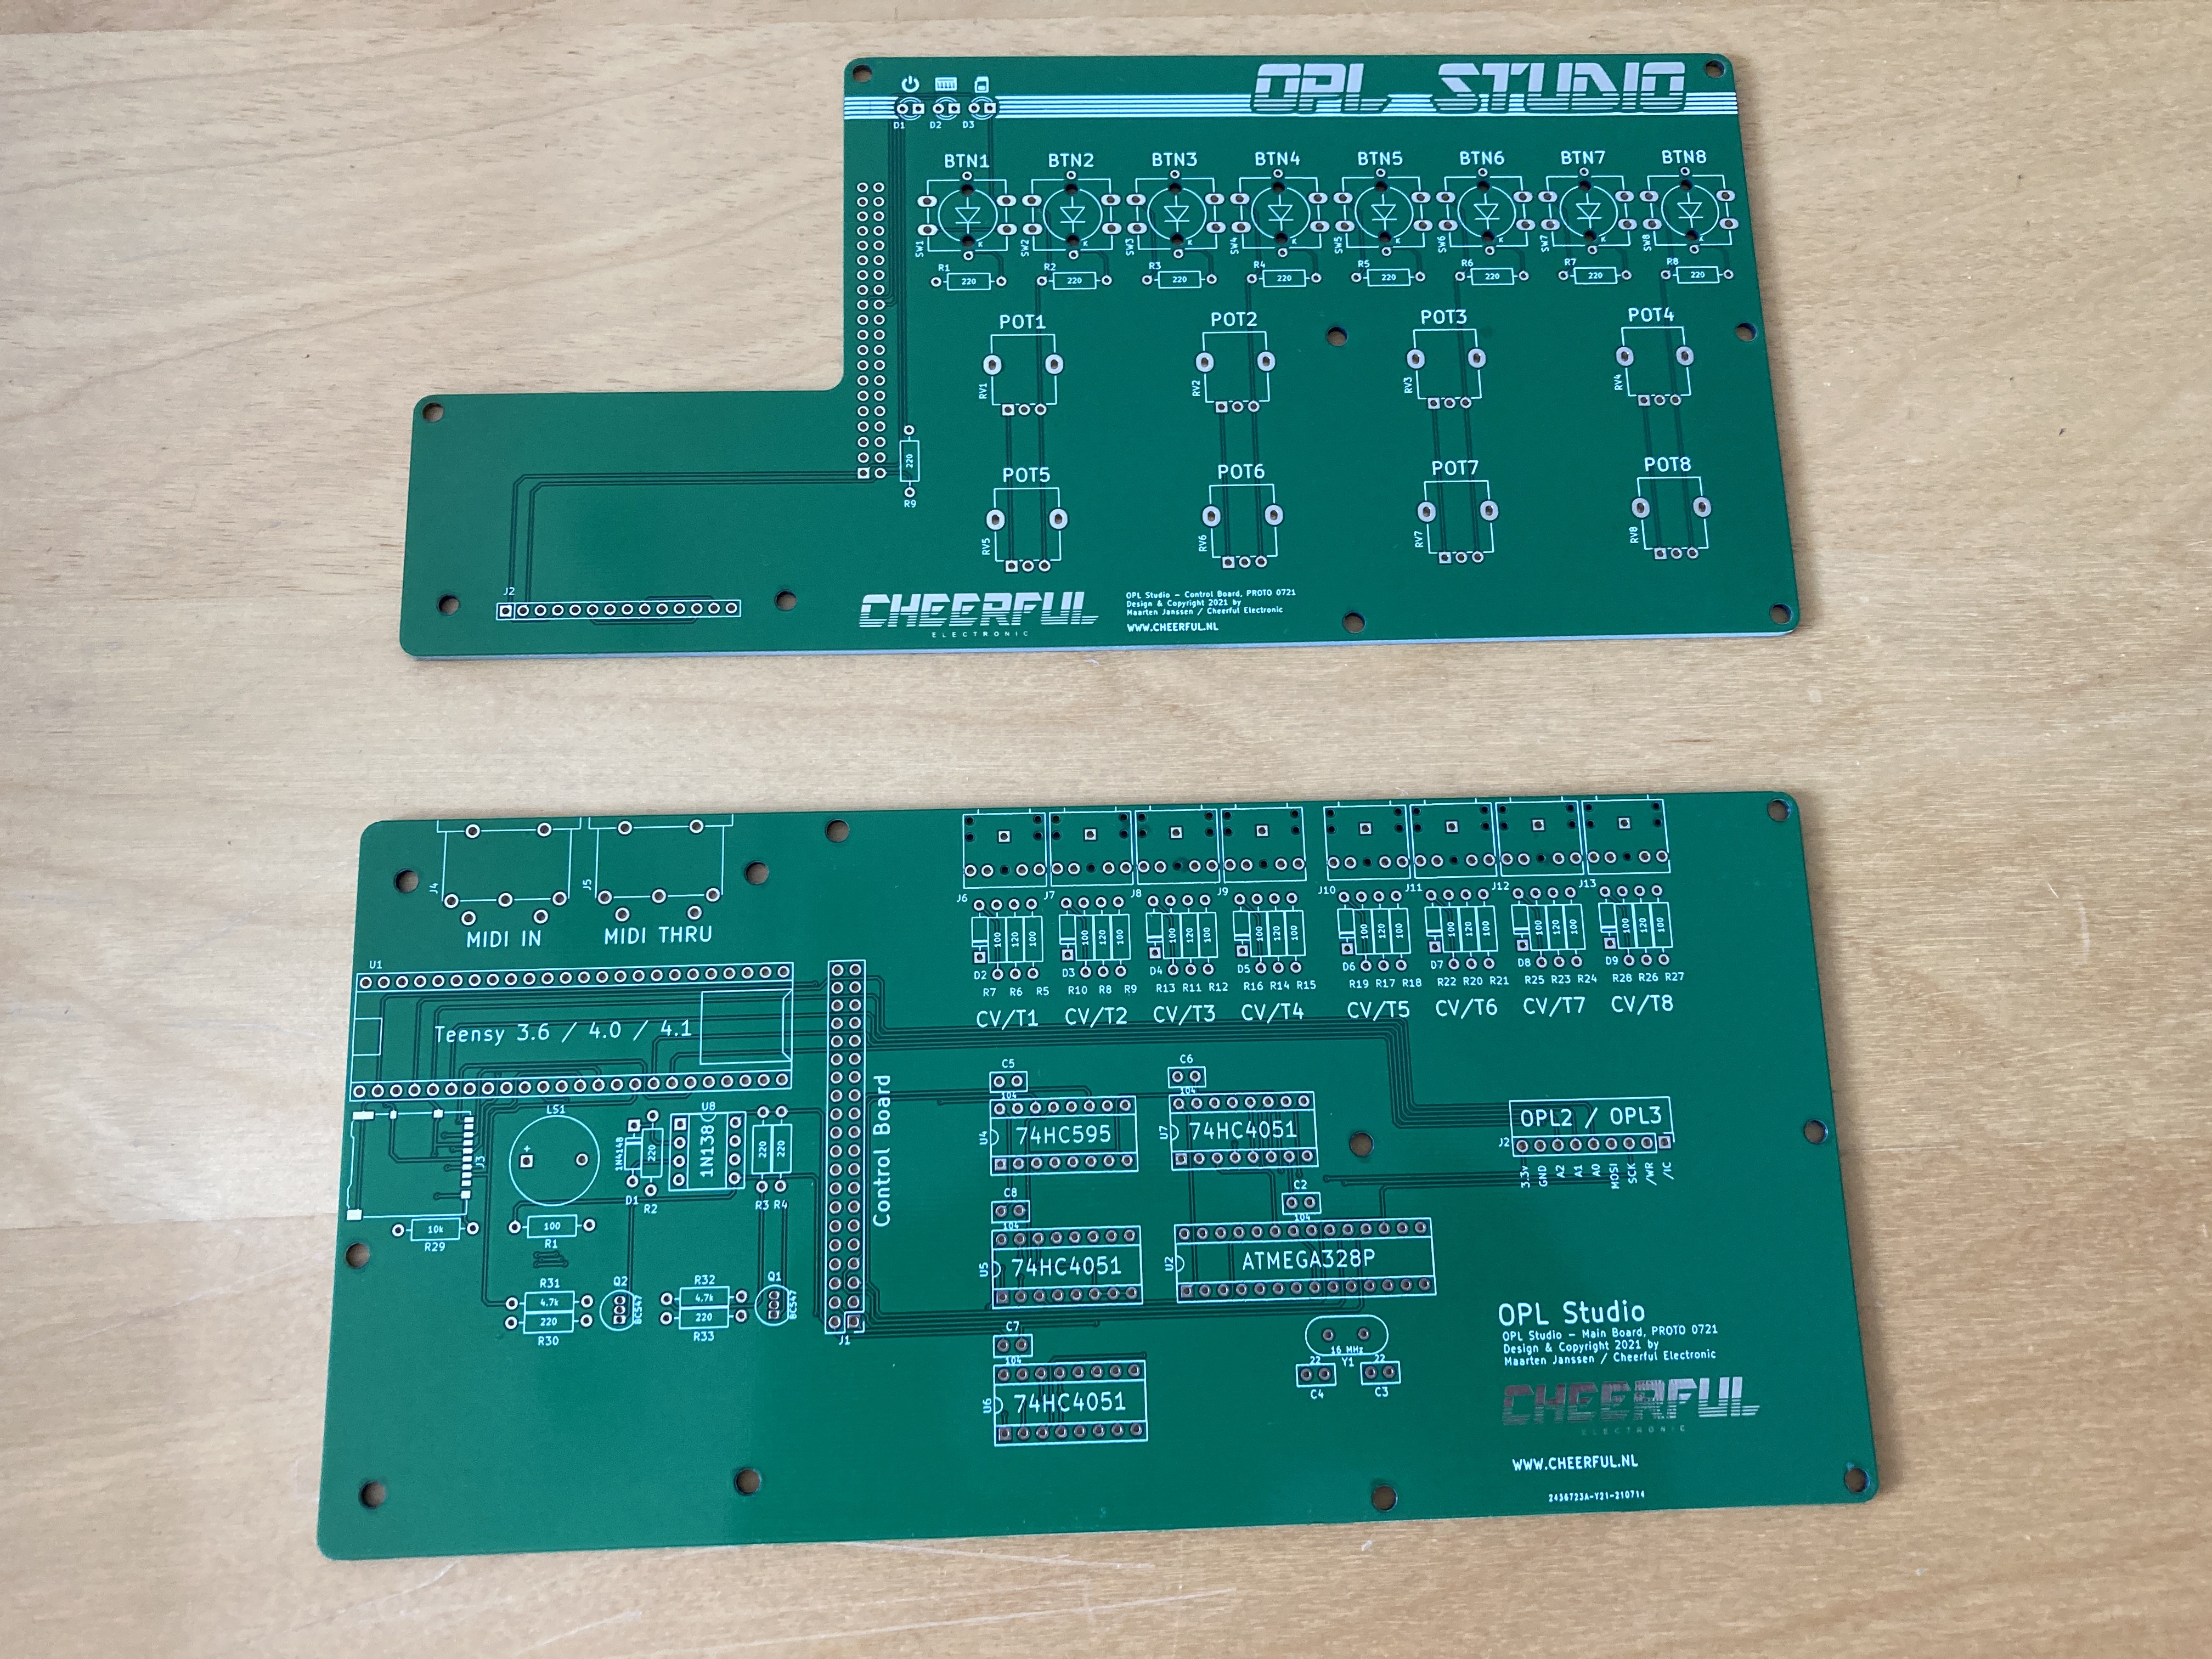
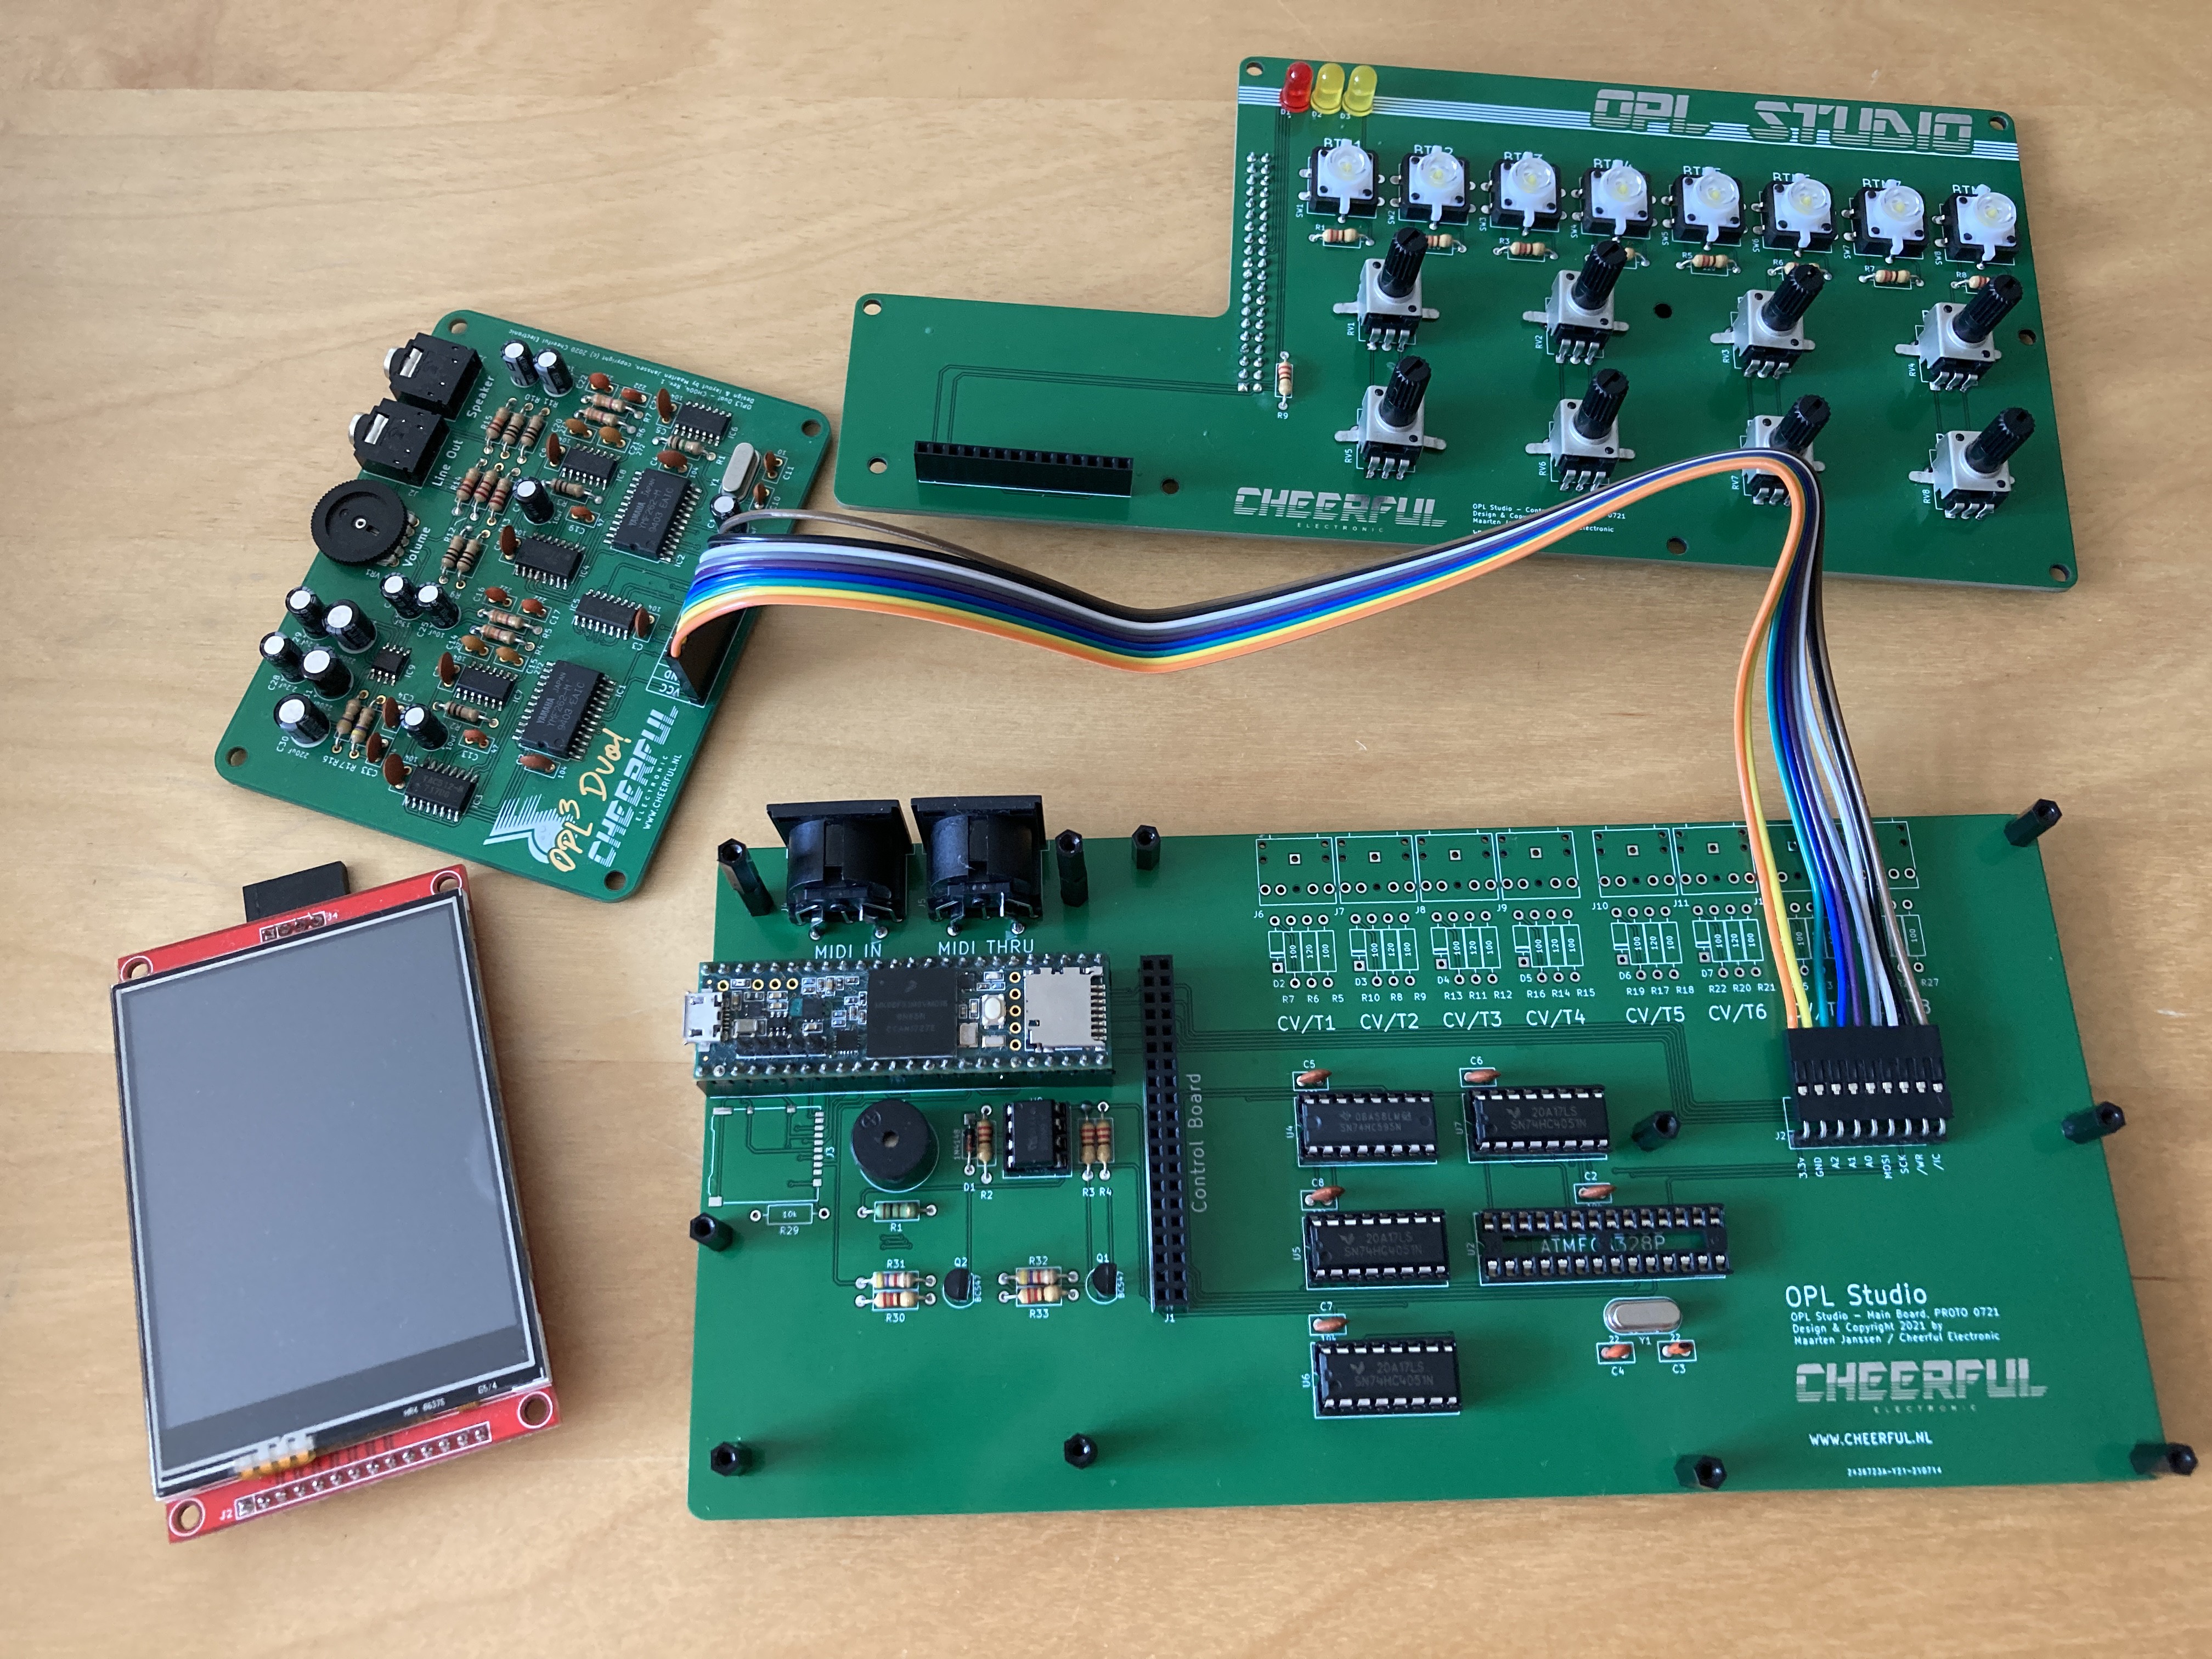
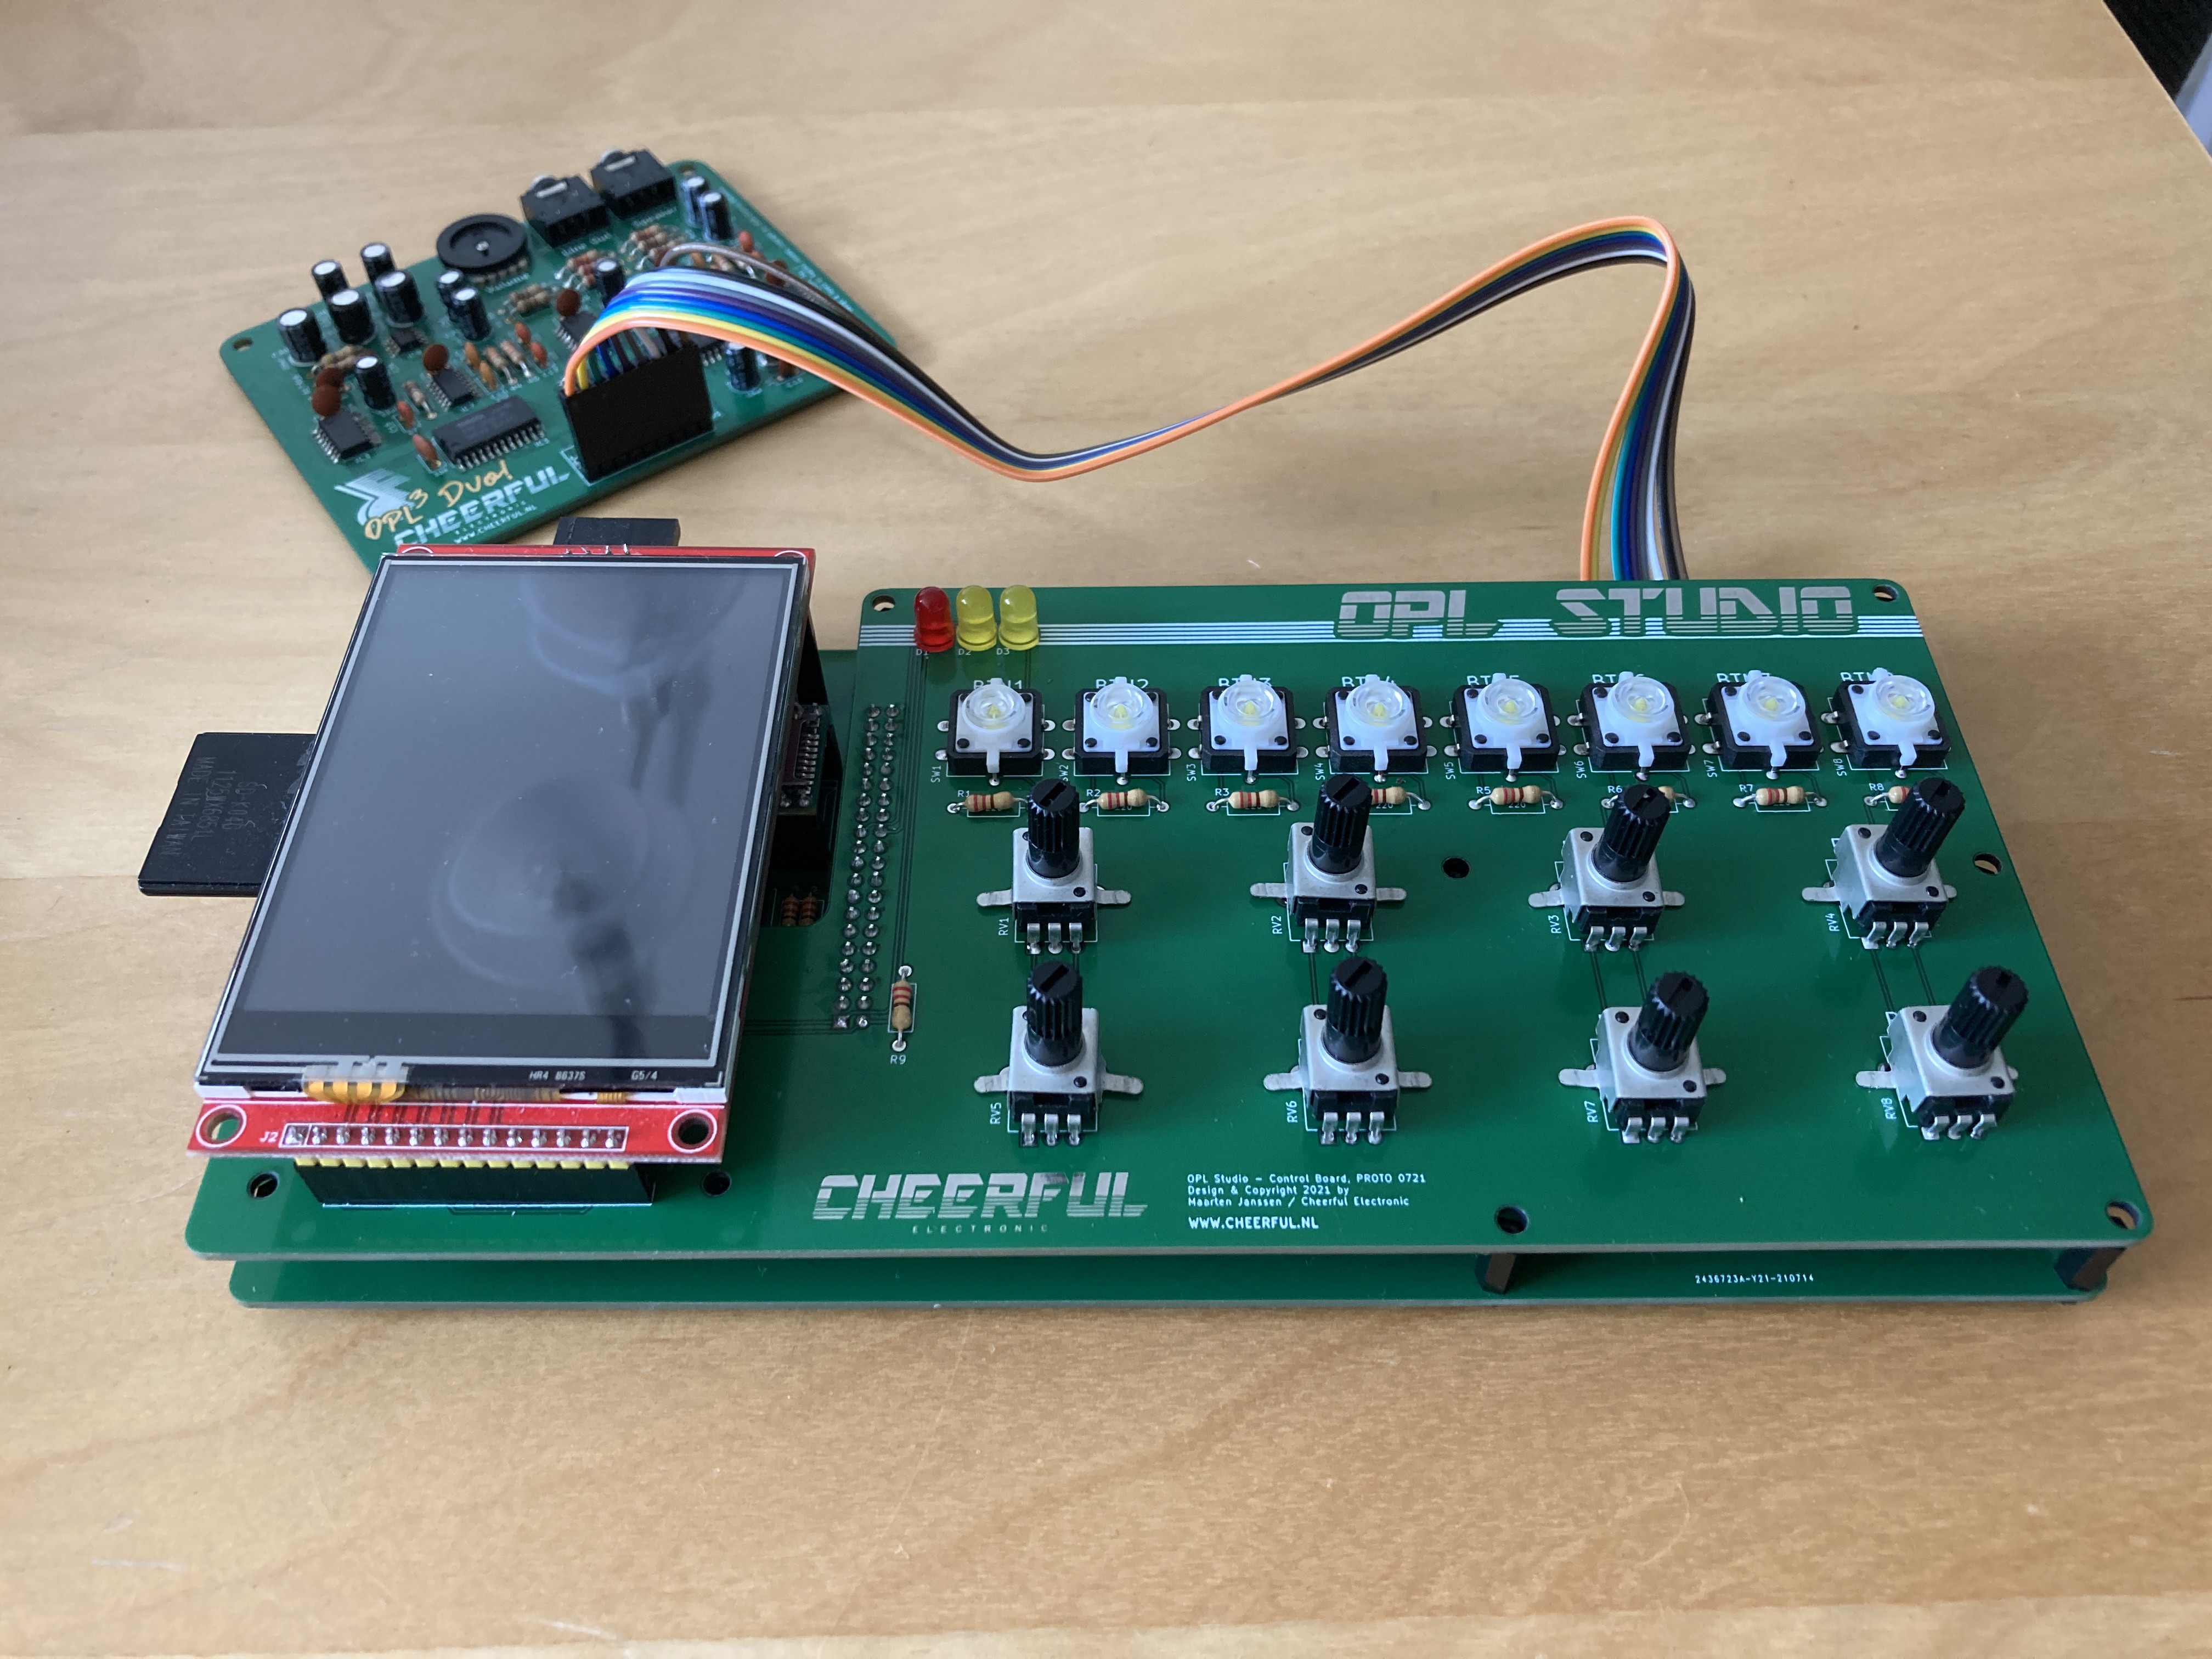
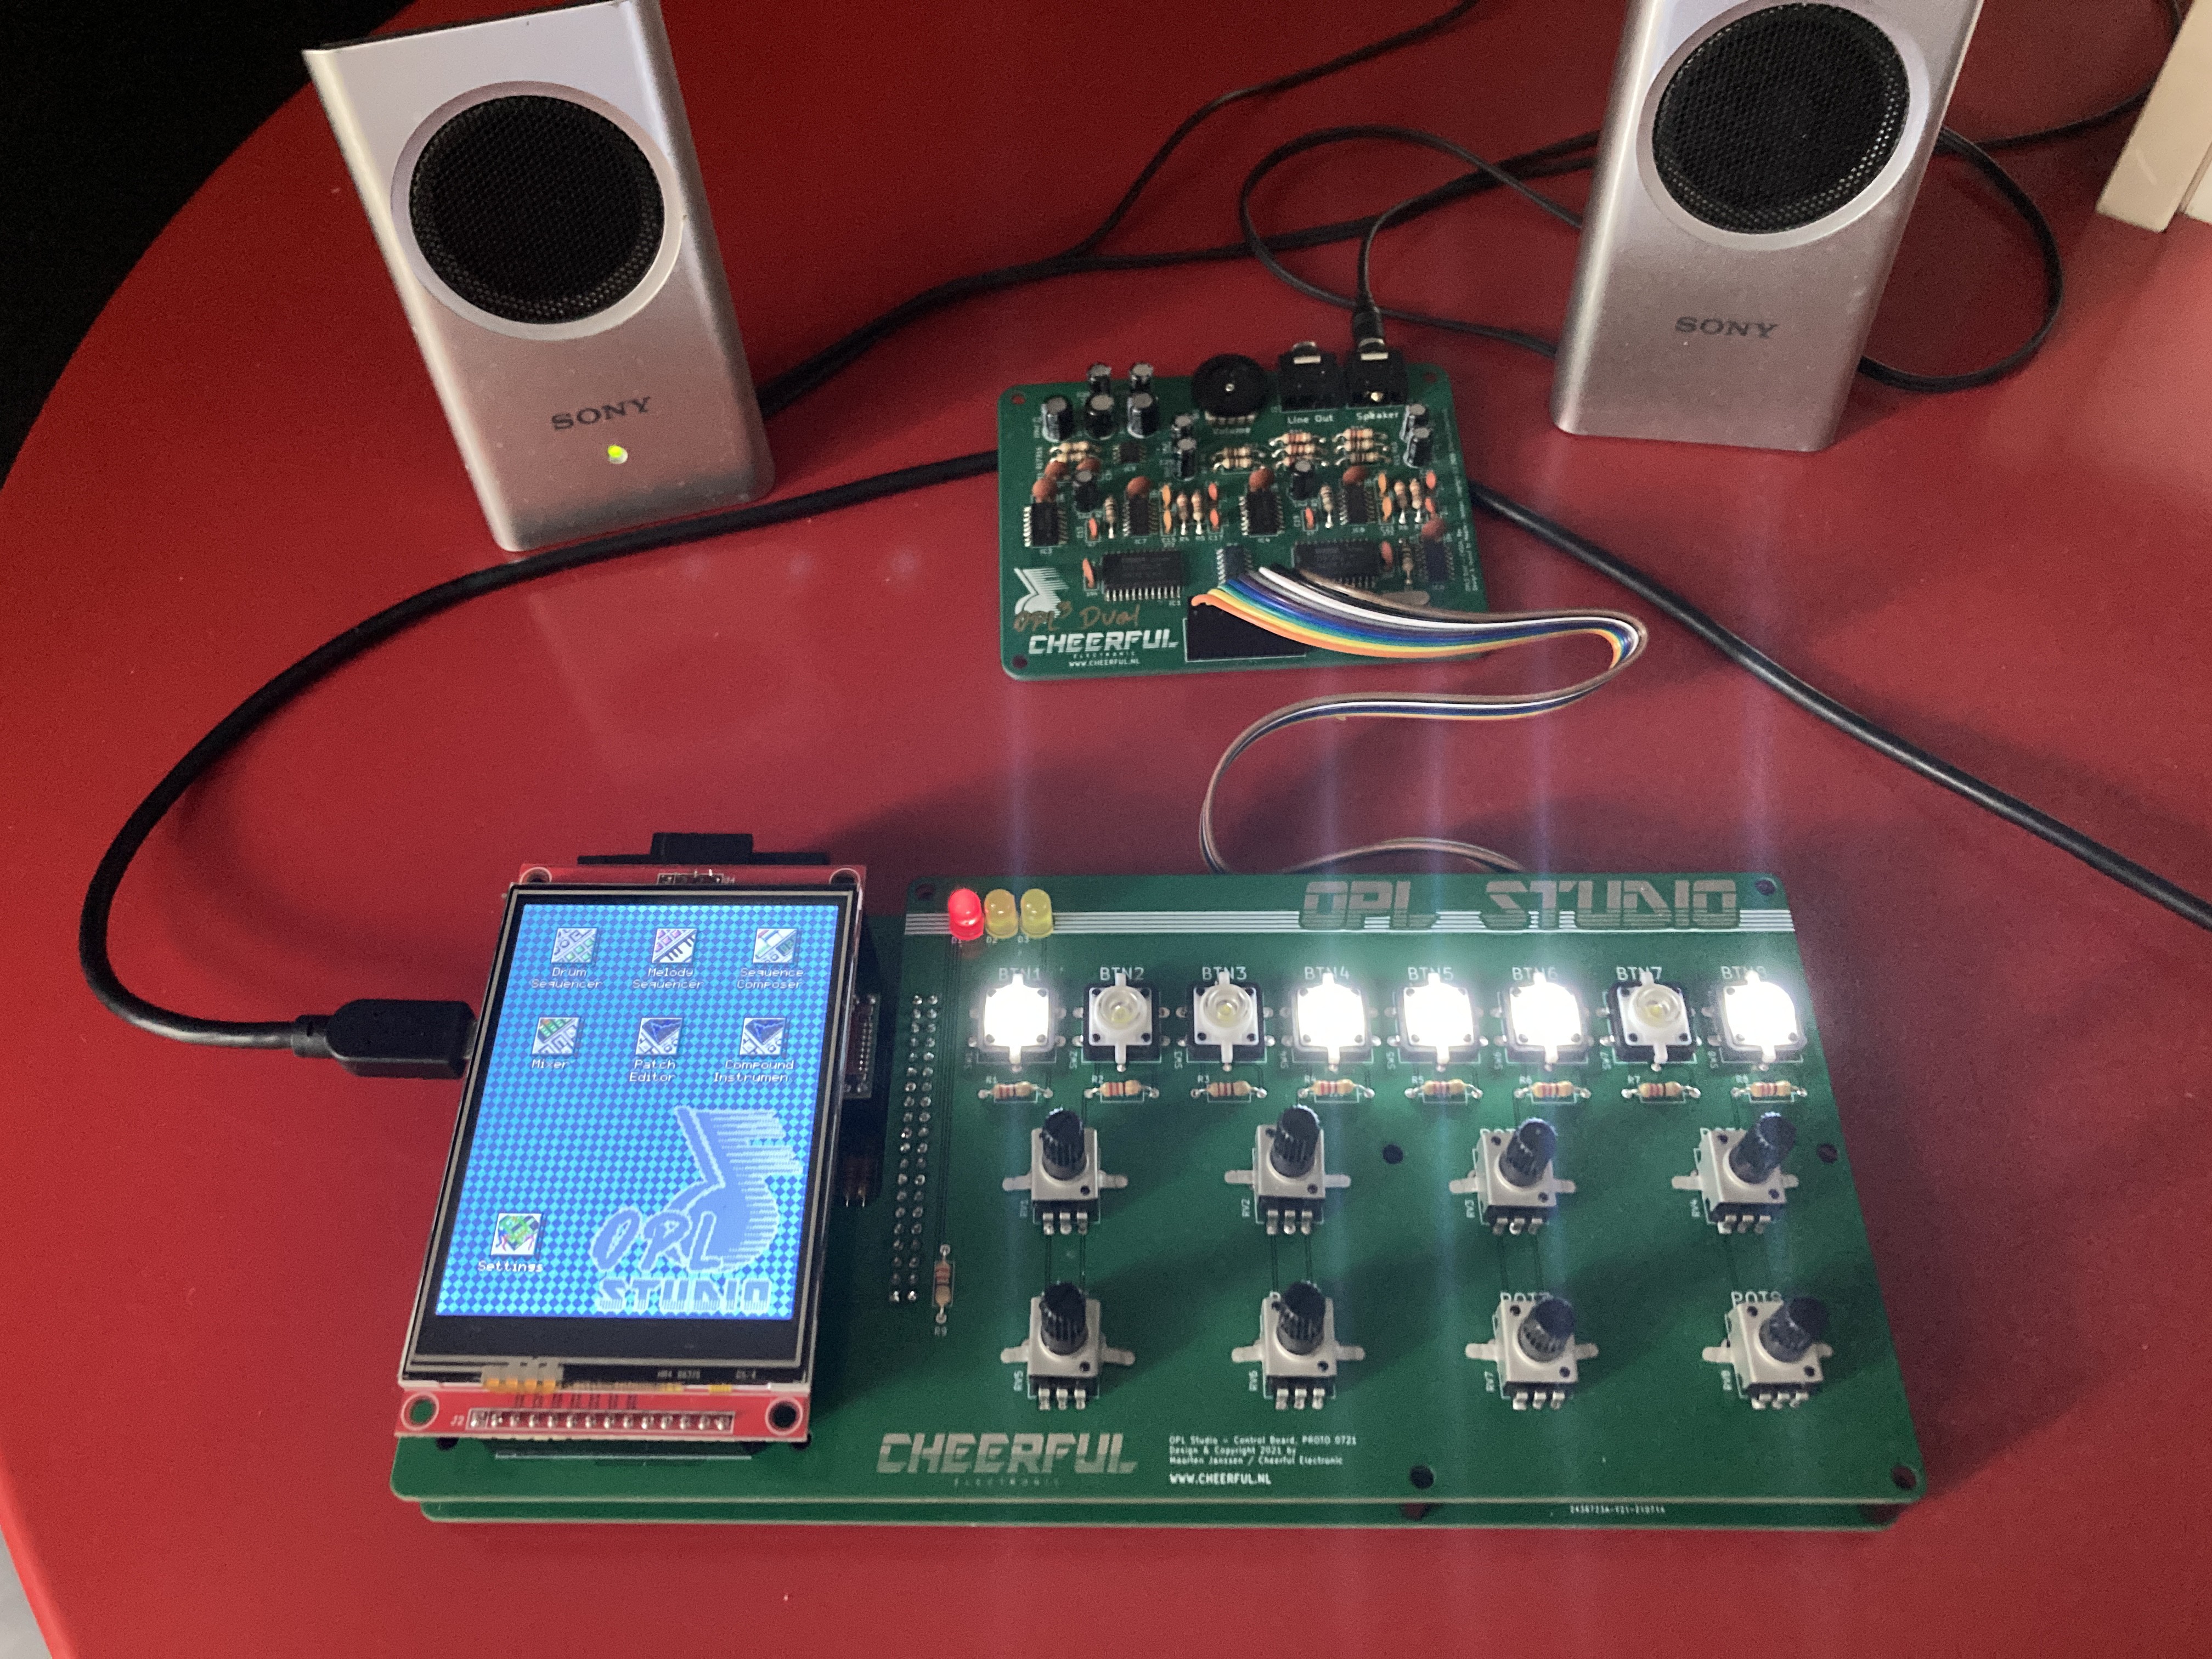
This week the first prototype PCBs for the project arrived! They turned out really nice and I immediately started building them up. The OPL Studio will have 3 layers. I'm extremely happy with my current design. It feels sturdy, has some nice weight to it and most of all, gone are all the headaches due to breadboard wiring! :)
On the bottom is the main board wher the Teensy is plugged in and where the OPL3 Duo!, SD card, MIDI and Eurorack interface are found. There are some logic chips on the board to help interfacing with the buttons, pots, lights etc. I thought it would be a good idea to not let the Teensy poll the controls, but let a separate controller take care of this task. I'll call it the Arduino part since it will be using an Atmel 328p. I have not yet fully assembled and tested the main board. So far only the Teensy, SD card, speaker and interface to the button lights and LCD have been tested. Bodge wire count so far: 1.
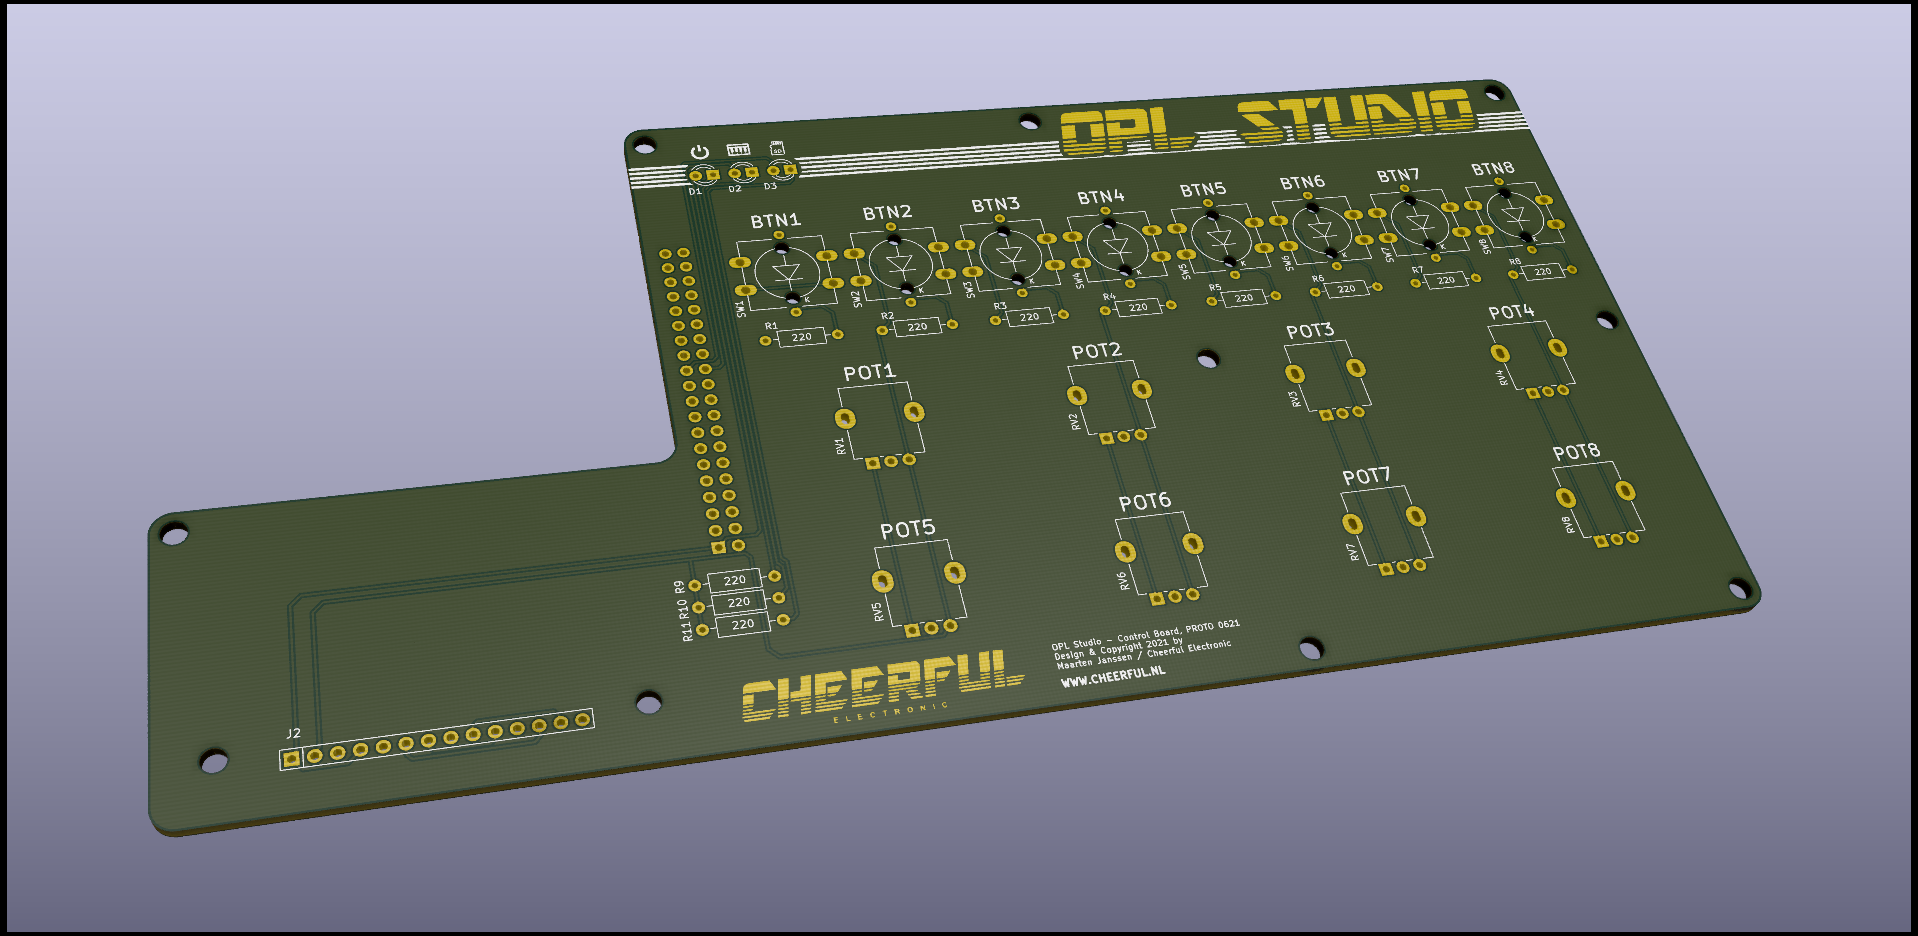
The 2nd layer is the PCB that contains the push buttons with LEDs, potentiometers and 3 status LEDs. This is also where the 3rd layer, the LCD plugs in. On this board the button LEDs and the power and SD status LEDs are already working.
I still have plenty ideas of what I want to change and add to the boards, but for now I couldn't be happier with it!
Compound Instruments!
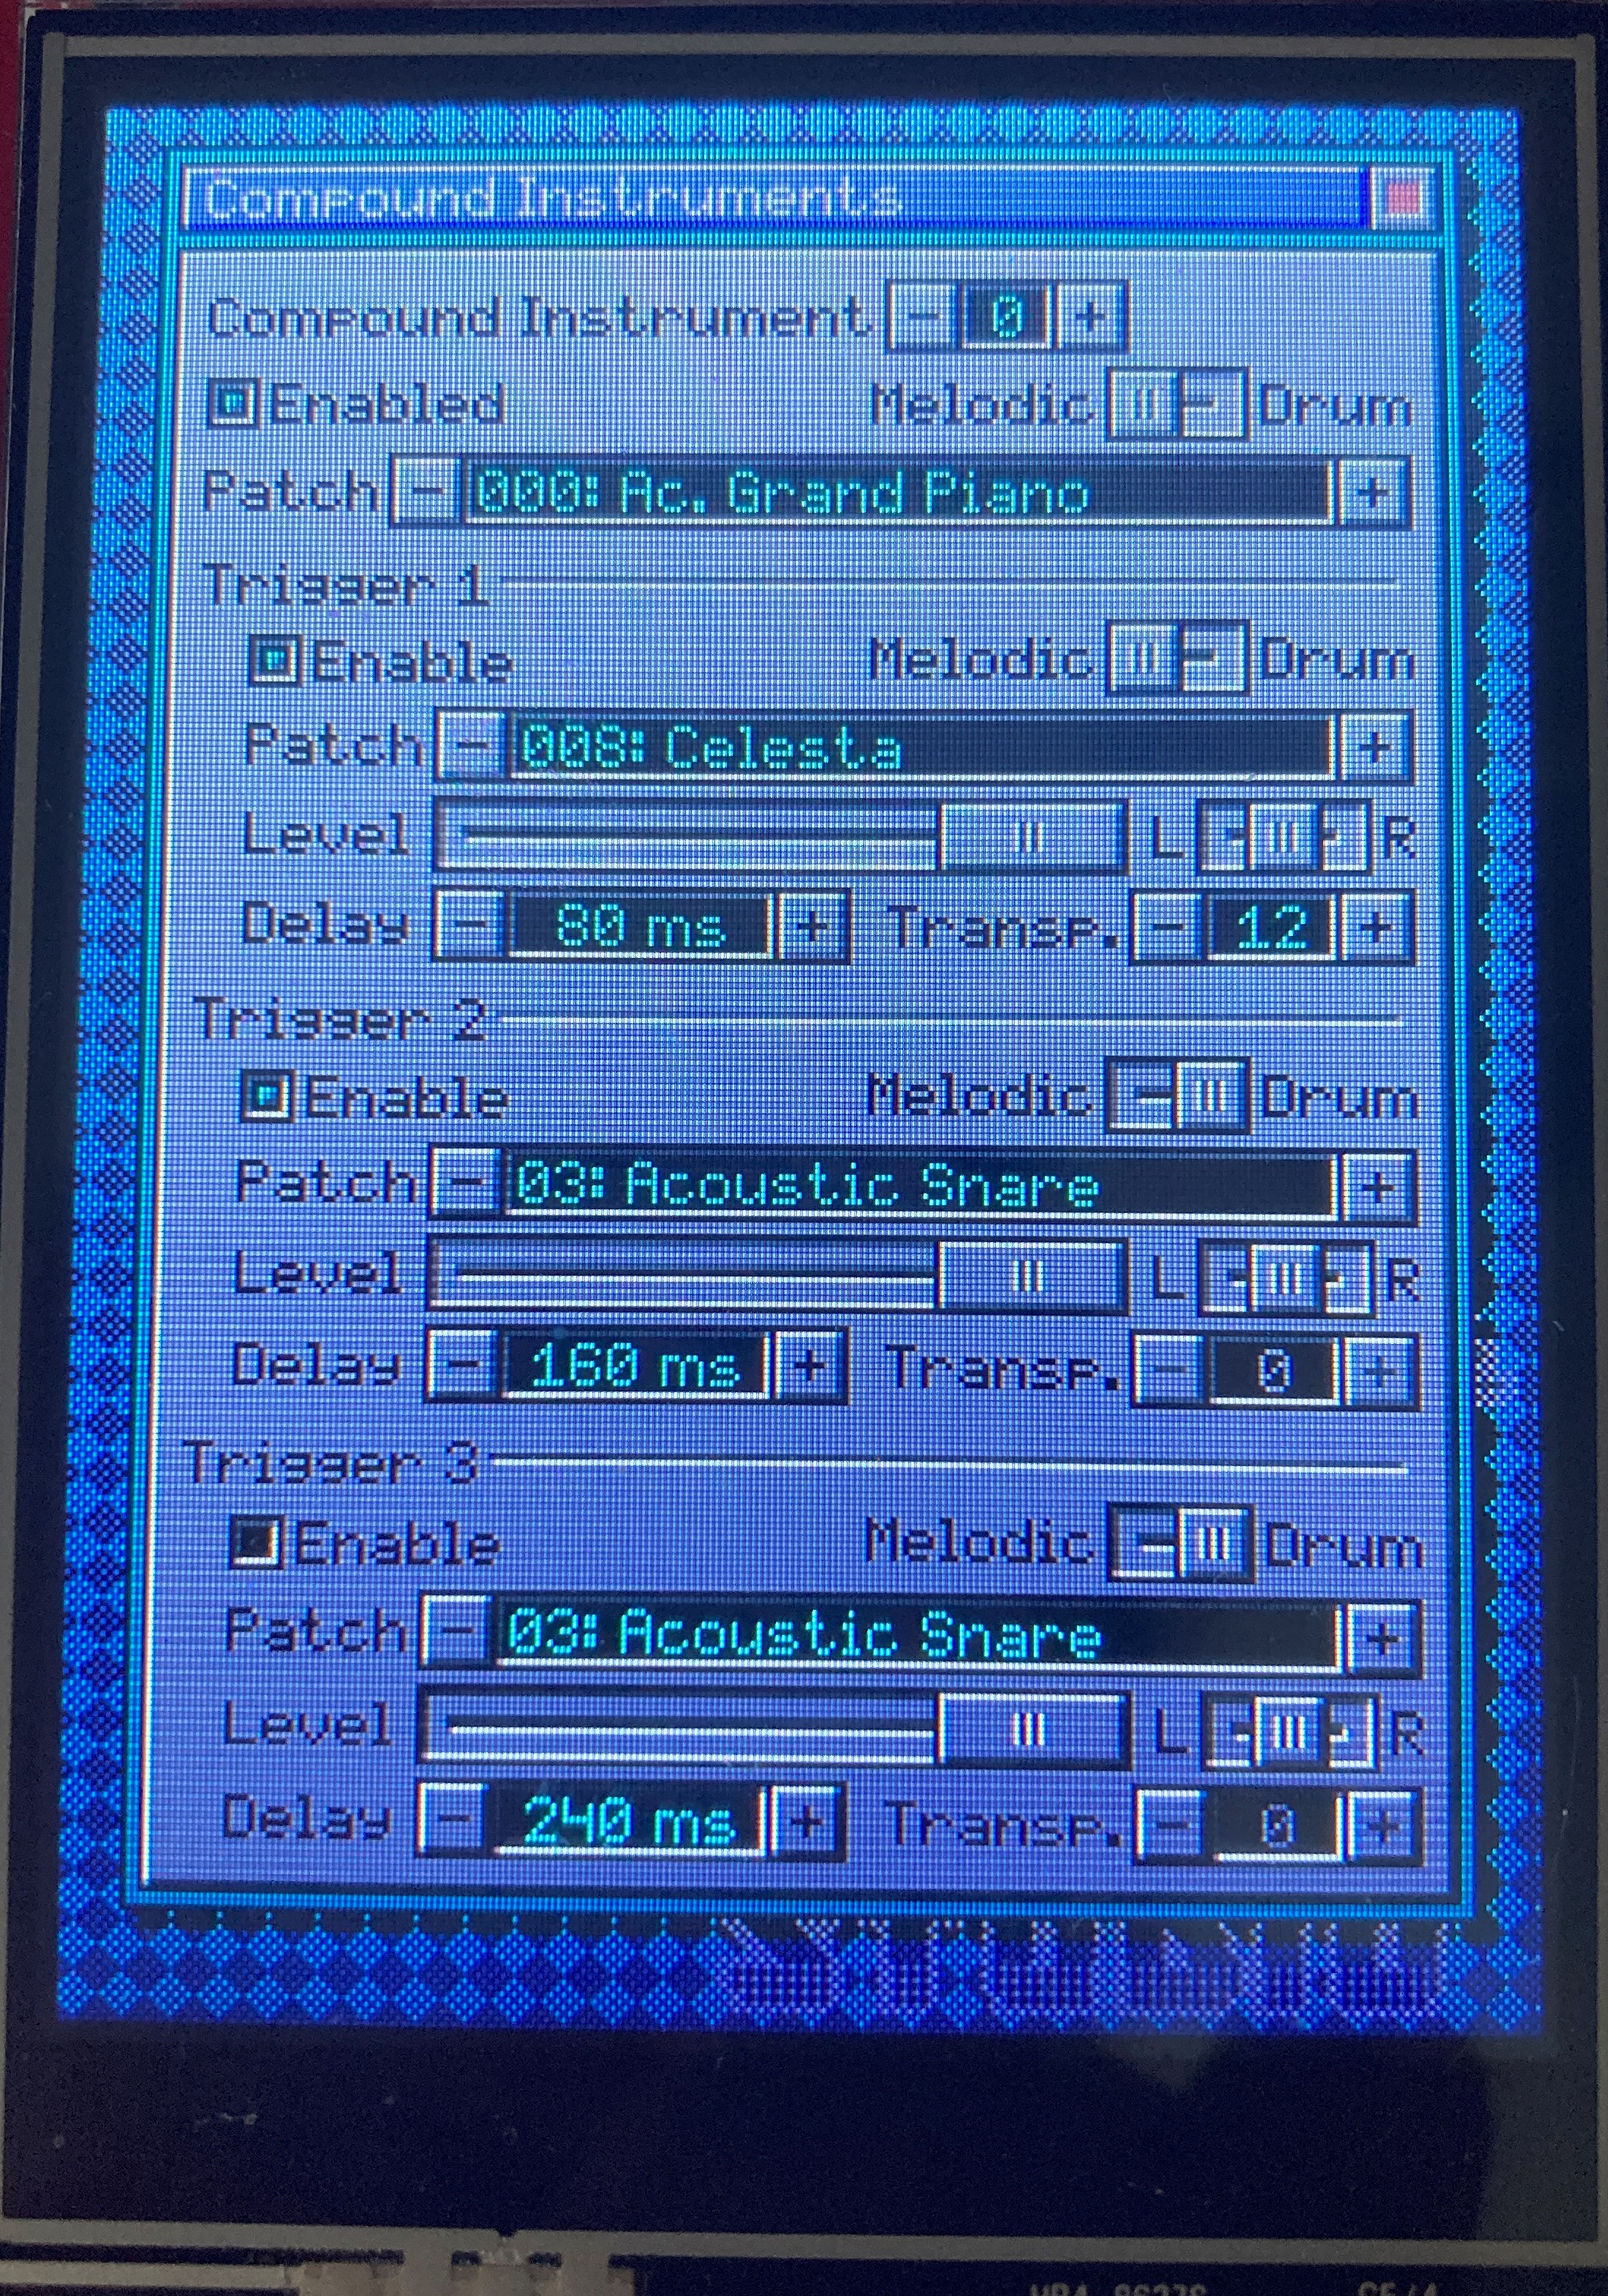
This is a new feature that I've been thinking about since the beginning of the project and I'm very excited about. Compound instruments allow me to trigger multiple patches when a single note is played. For example you can play a piano, an organ and a bass drum patch at the same time on 1 MIDI channel. It also allows creating more complex sounds because you will be layering different patches on top of each other.
A compound instrument can be constructed from 4 instrument patches. The first patch, the base instrument, will trigger the 3 sub instruments whenever it's played. To make things more interesting each sub instrument has a few parameters to influence it. The first parameter is of course the patch for the sub instrument. Next to that you can change the volume, panning (in the future), transpose (not in case of drum patches) and a set a delay before the sub instrument starts playing after the main instrument is triggered.
This is a lot of fun to play around with and it can give some very interesting sounds! Besides assembling the first prototype PCB this has taken all my time this week to nicely integrate the code, make the UI, test it and play around :)
UI Improvements
Spinners would already keep incrementing and decrementing their value when you hold the + or - button, but still spinners with a big value range, such as those for instrument patches or tempo, it could take a long time to find the value you want. In this update spinners with a big range will start to make bigger value changes when you hold their buttons longer.
Blinkenlights
While I was trying out the lights for the buttons I added a little bit of code to the MIDI controller that can blink the lights when it receives note on events on certain channels. It will blink the buttons for the first 7 channels and the drum channel on the 8th button. I thought that it would look really gimmicky, but I must say that I ended up quite liking it, though the LEDs are way too bright currently and it get annoying fast if the thing is flashing its lights from the corner of your eyes. This will be fixed by some higher value resistors. I'll also add a setting to enable / disable the blinking, because I thiink it's not something I want all the time and the lights may end up getting some more serious function later.
-
Starting on the PCBs, Settings and audio improvements
07/09/2021 at 20:22 • 0 commentsSince writing my last log I've had a few very long and frustrating debug sessions. I was facing an increasing number of unexplained bugs where synthesizer functions would mysteriously stop working even though I was sure I had left the code in a working state. Only after dumping a huge amount of logs over serial, all of which looked fine, I finally found the issue after a full week of debugging. My mystery bugs were caused by intermittent connections on my breadboard! Frustrated, yet relieved I decided that it was time to start working on a more permanent home for the project.
PCB Prototypes
So I've been busy with KiCad to design the first prototype PCBs. There will be two PCBs that will be stacked on top of each other: a main board and a control board. The control board will have 8 LED push buttons and 8 potentiometers to change various parameters. This board will also connect to the LCD screen. The bottom board will be the main board that holds the Teensy, SD card reader, DIN MIDI in and thru connectors, 8 control voltage / trigger inputs for Eurorack synths, and all the (logic) components to connect everything together.
![]()
Settings
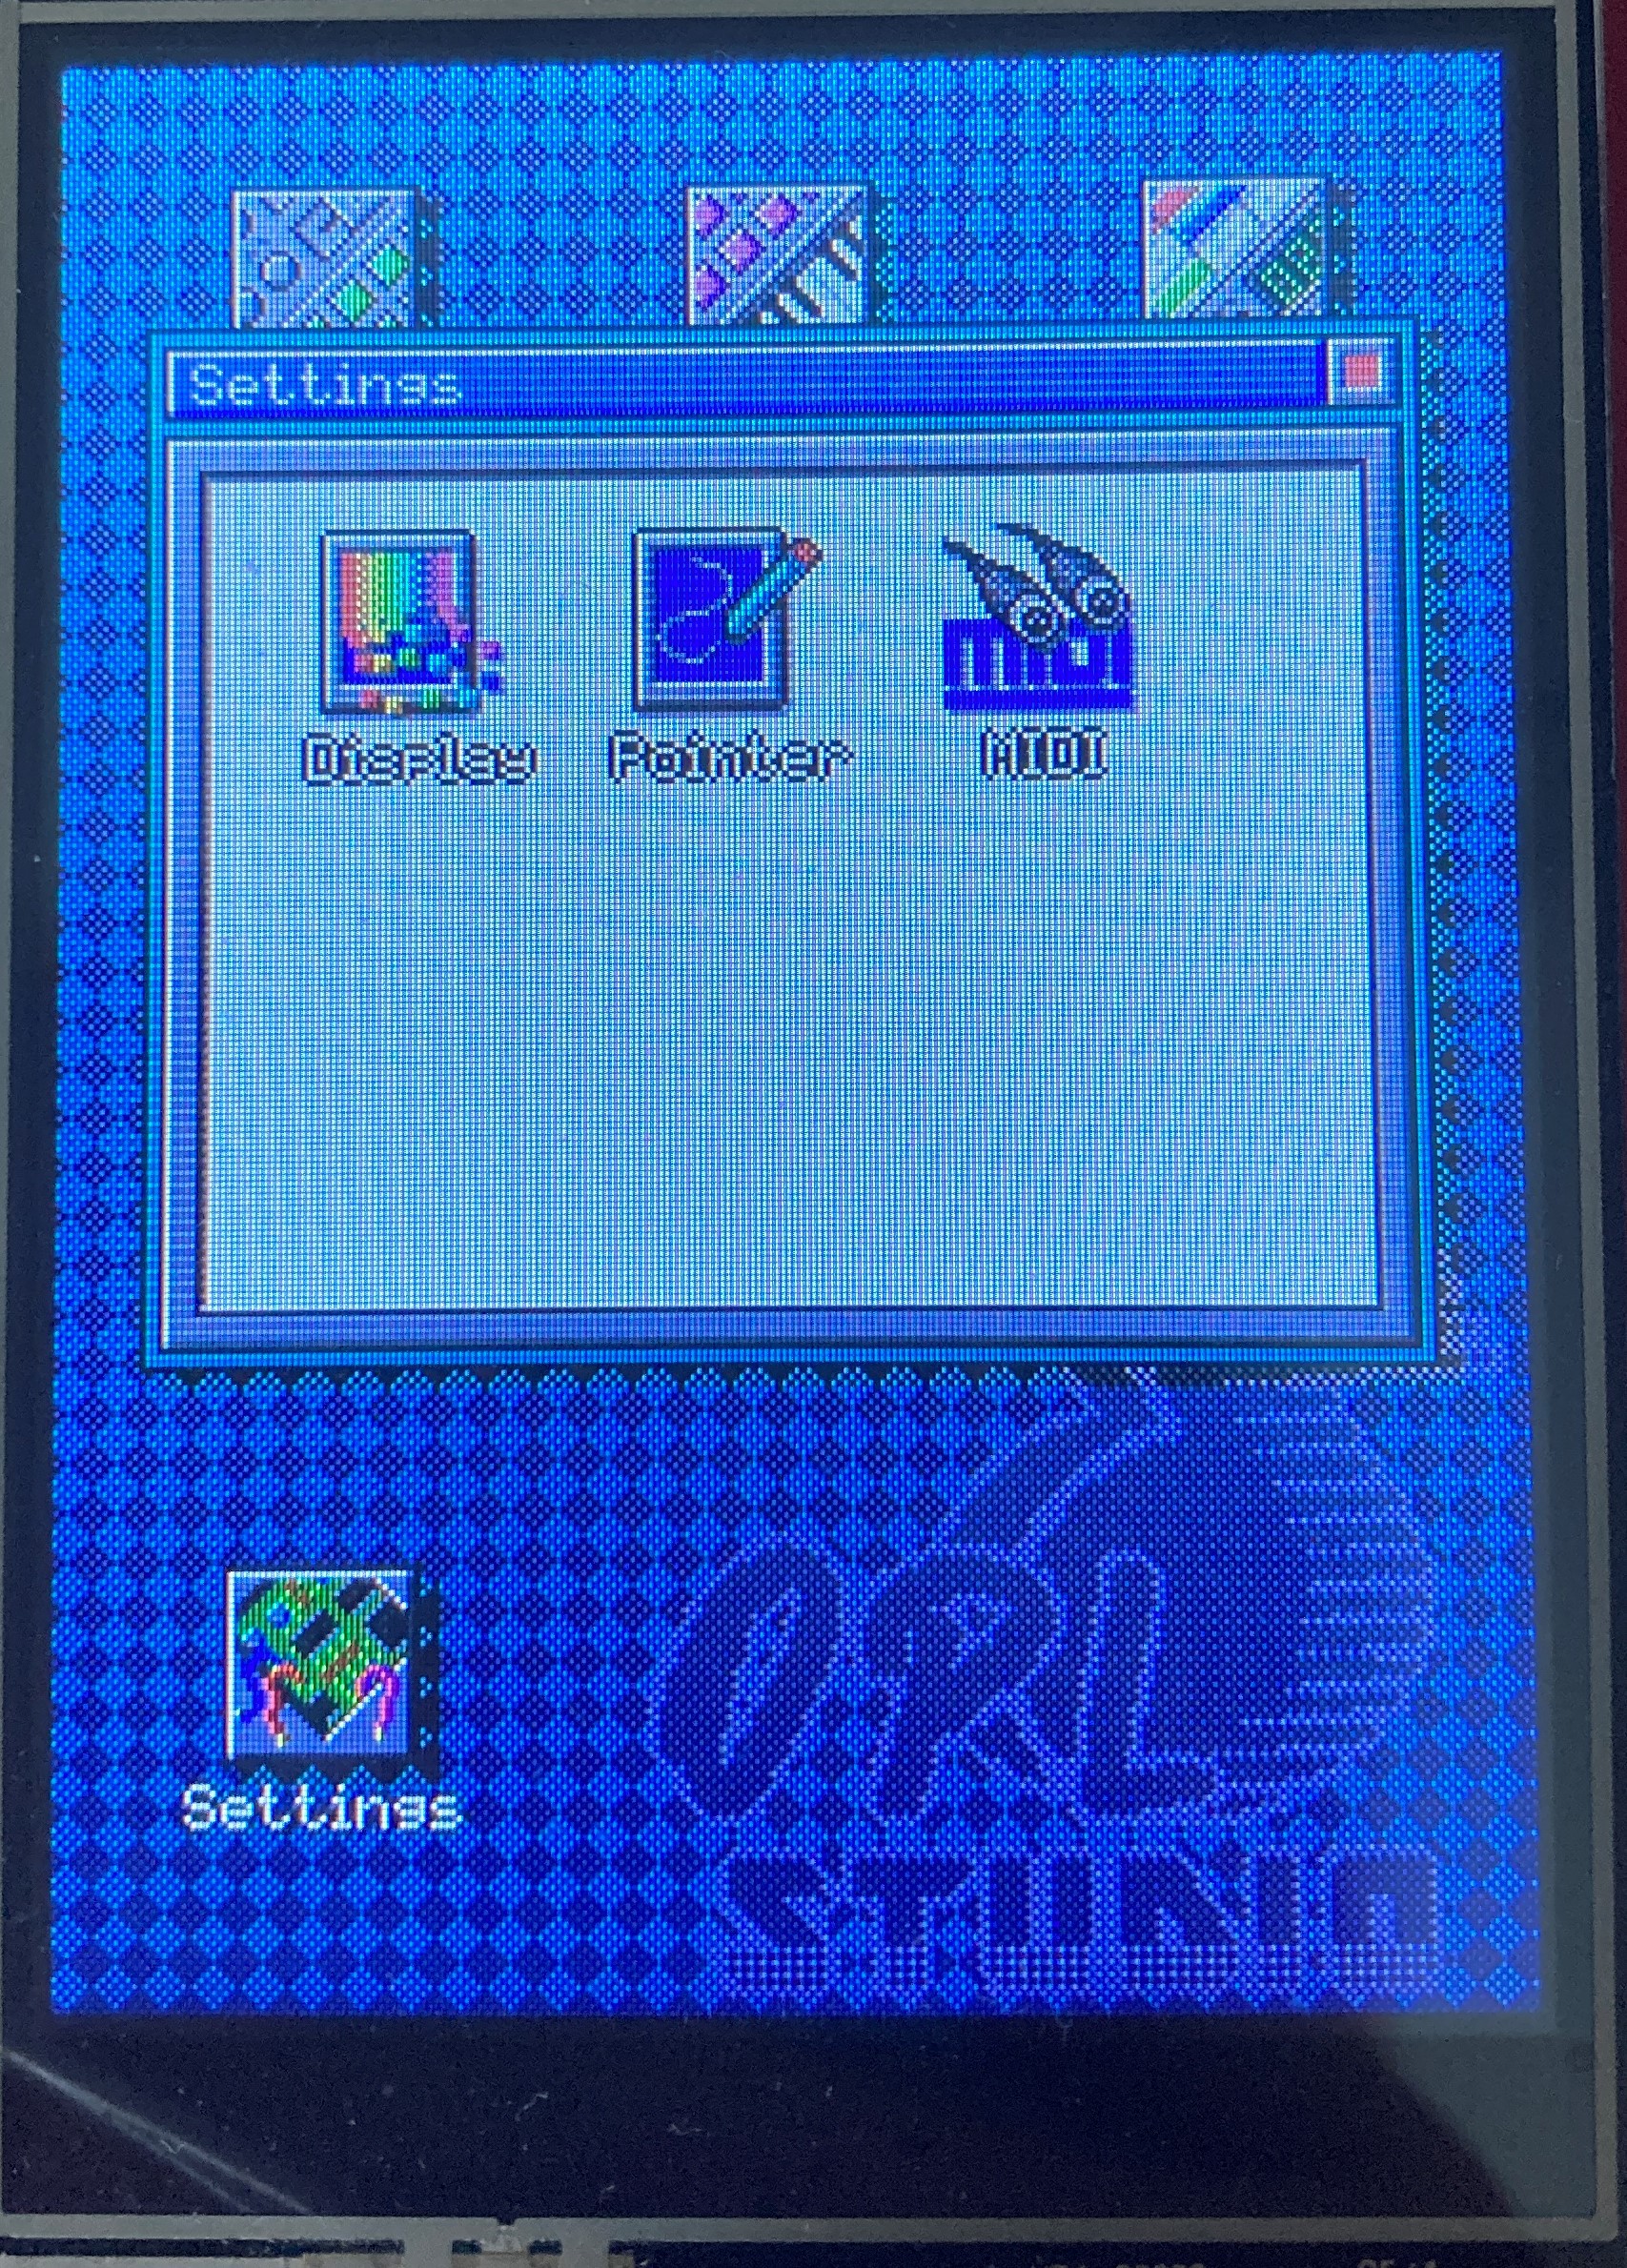
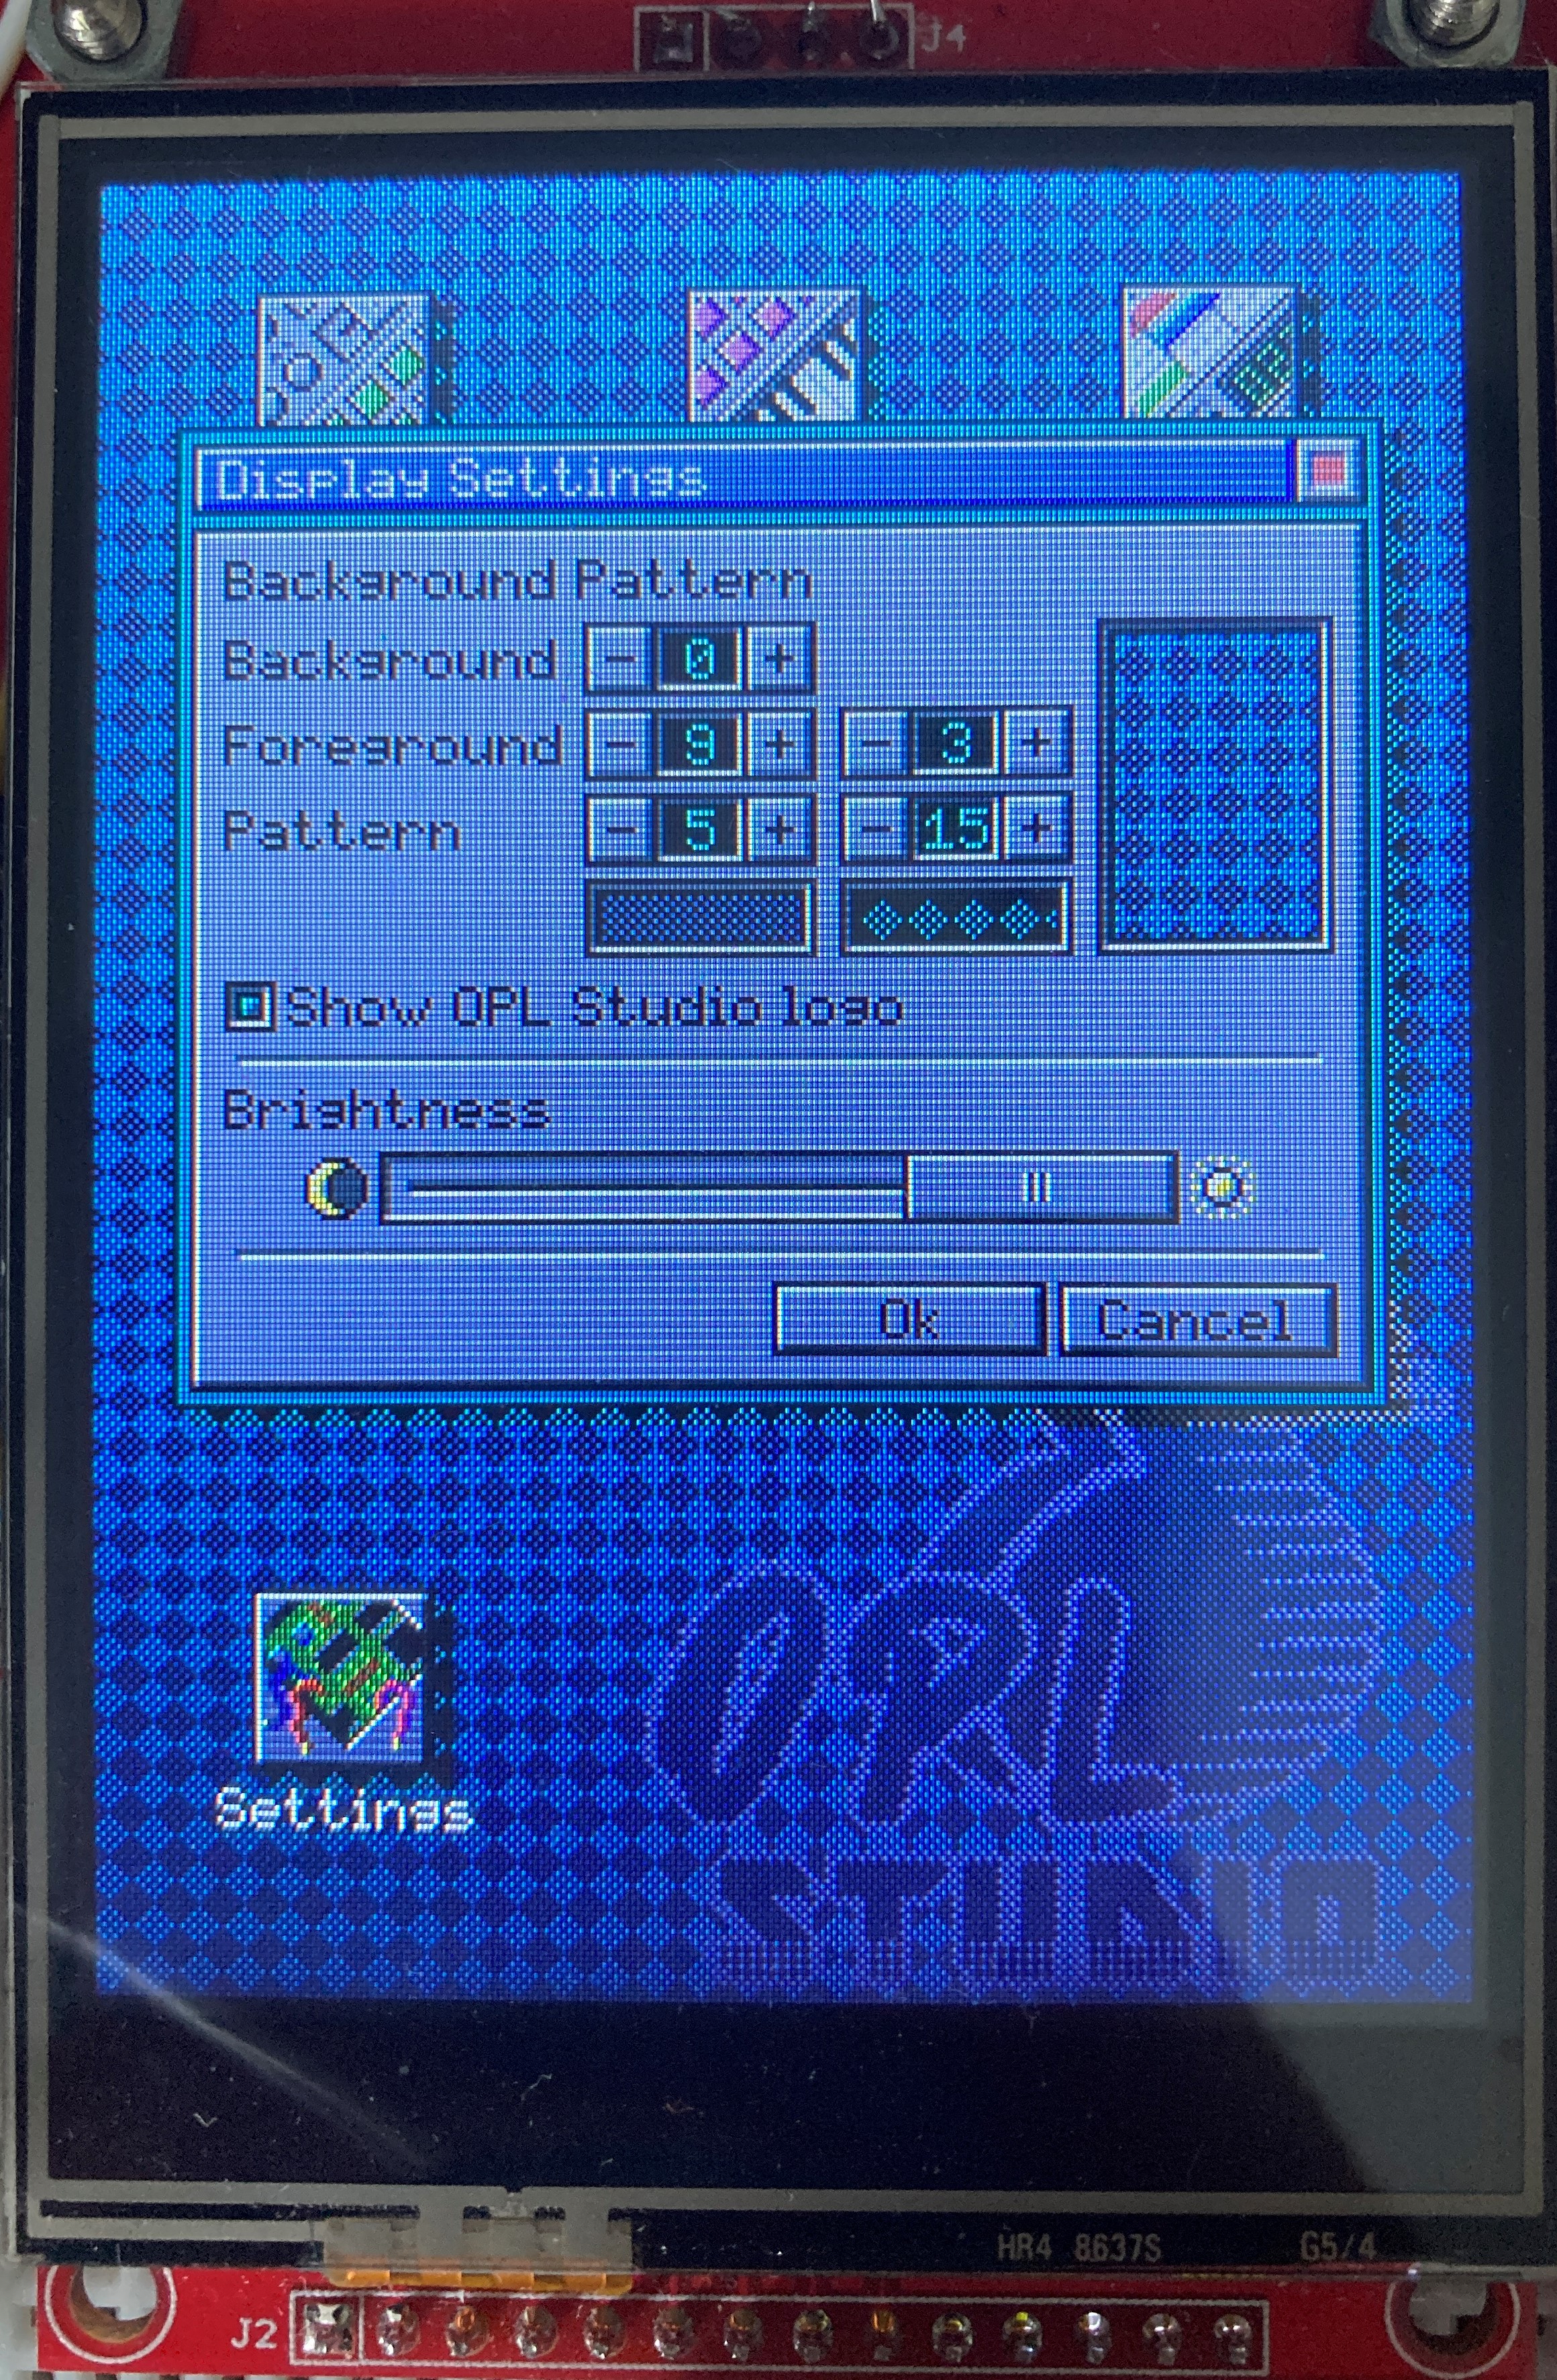
While I was stuck with my mystery bugs I did however continue working on another part of the OPL Studio software that wouldn't depend on the OPL3 Duo synthesizer. I started to work on the settings screens. Right now three settings screens are ready.
The first is display settings where you can change the background color and pattern and screen brightness.
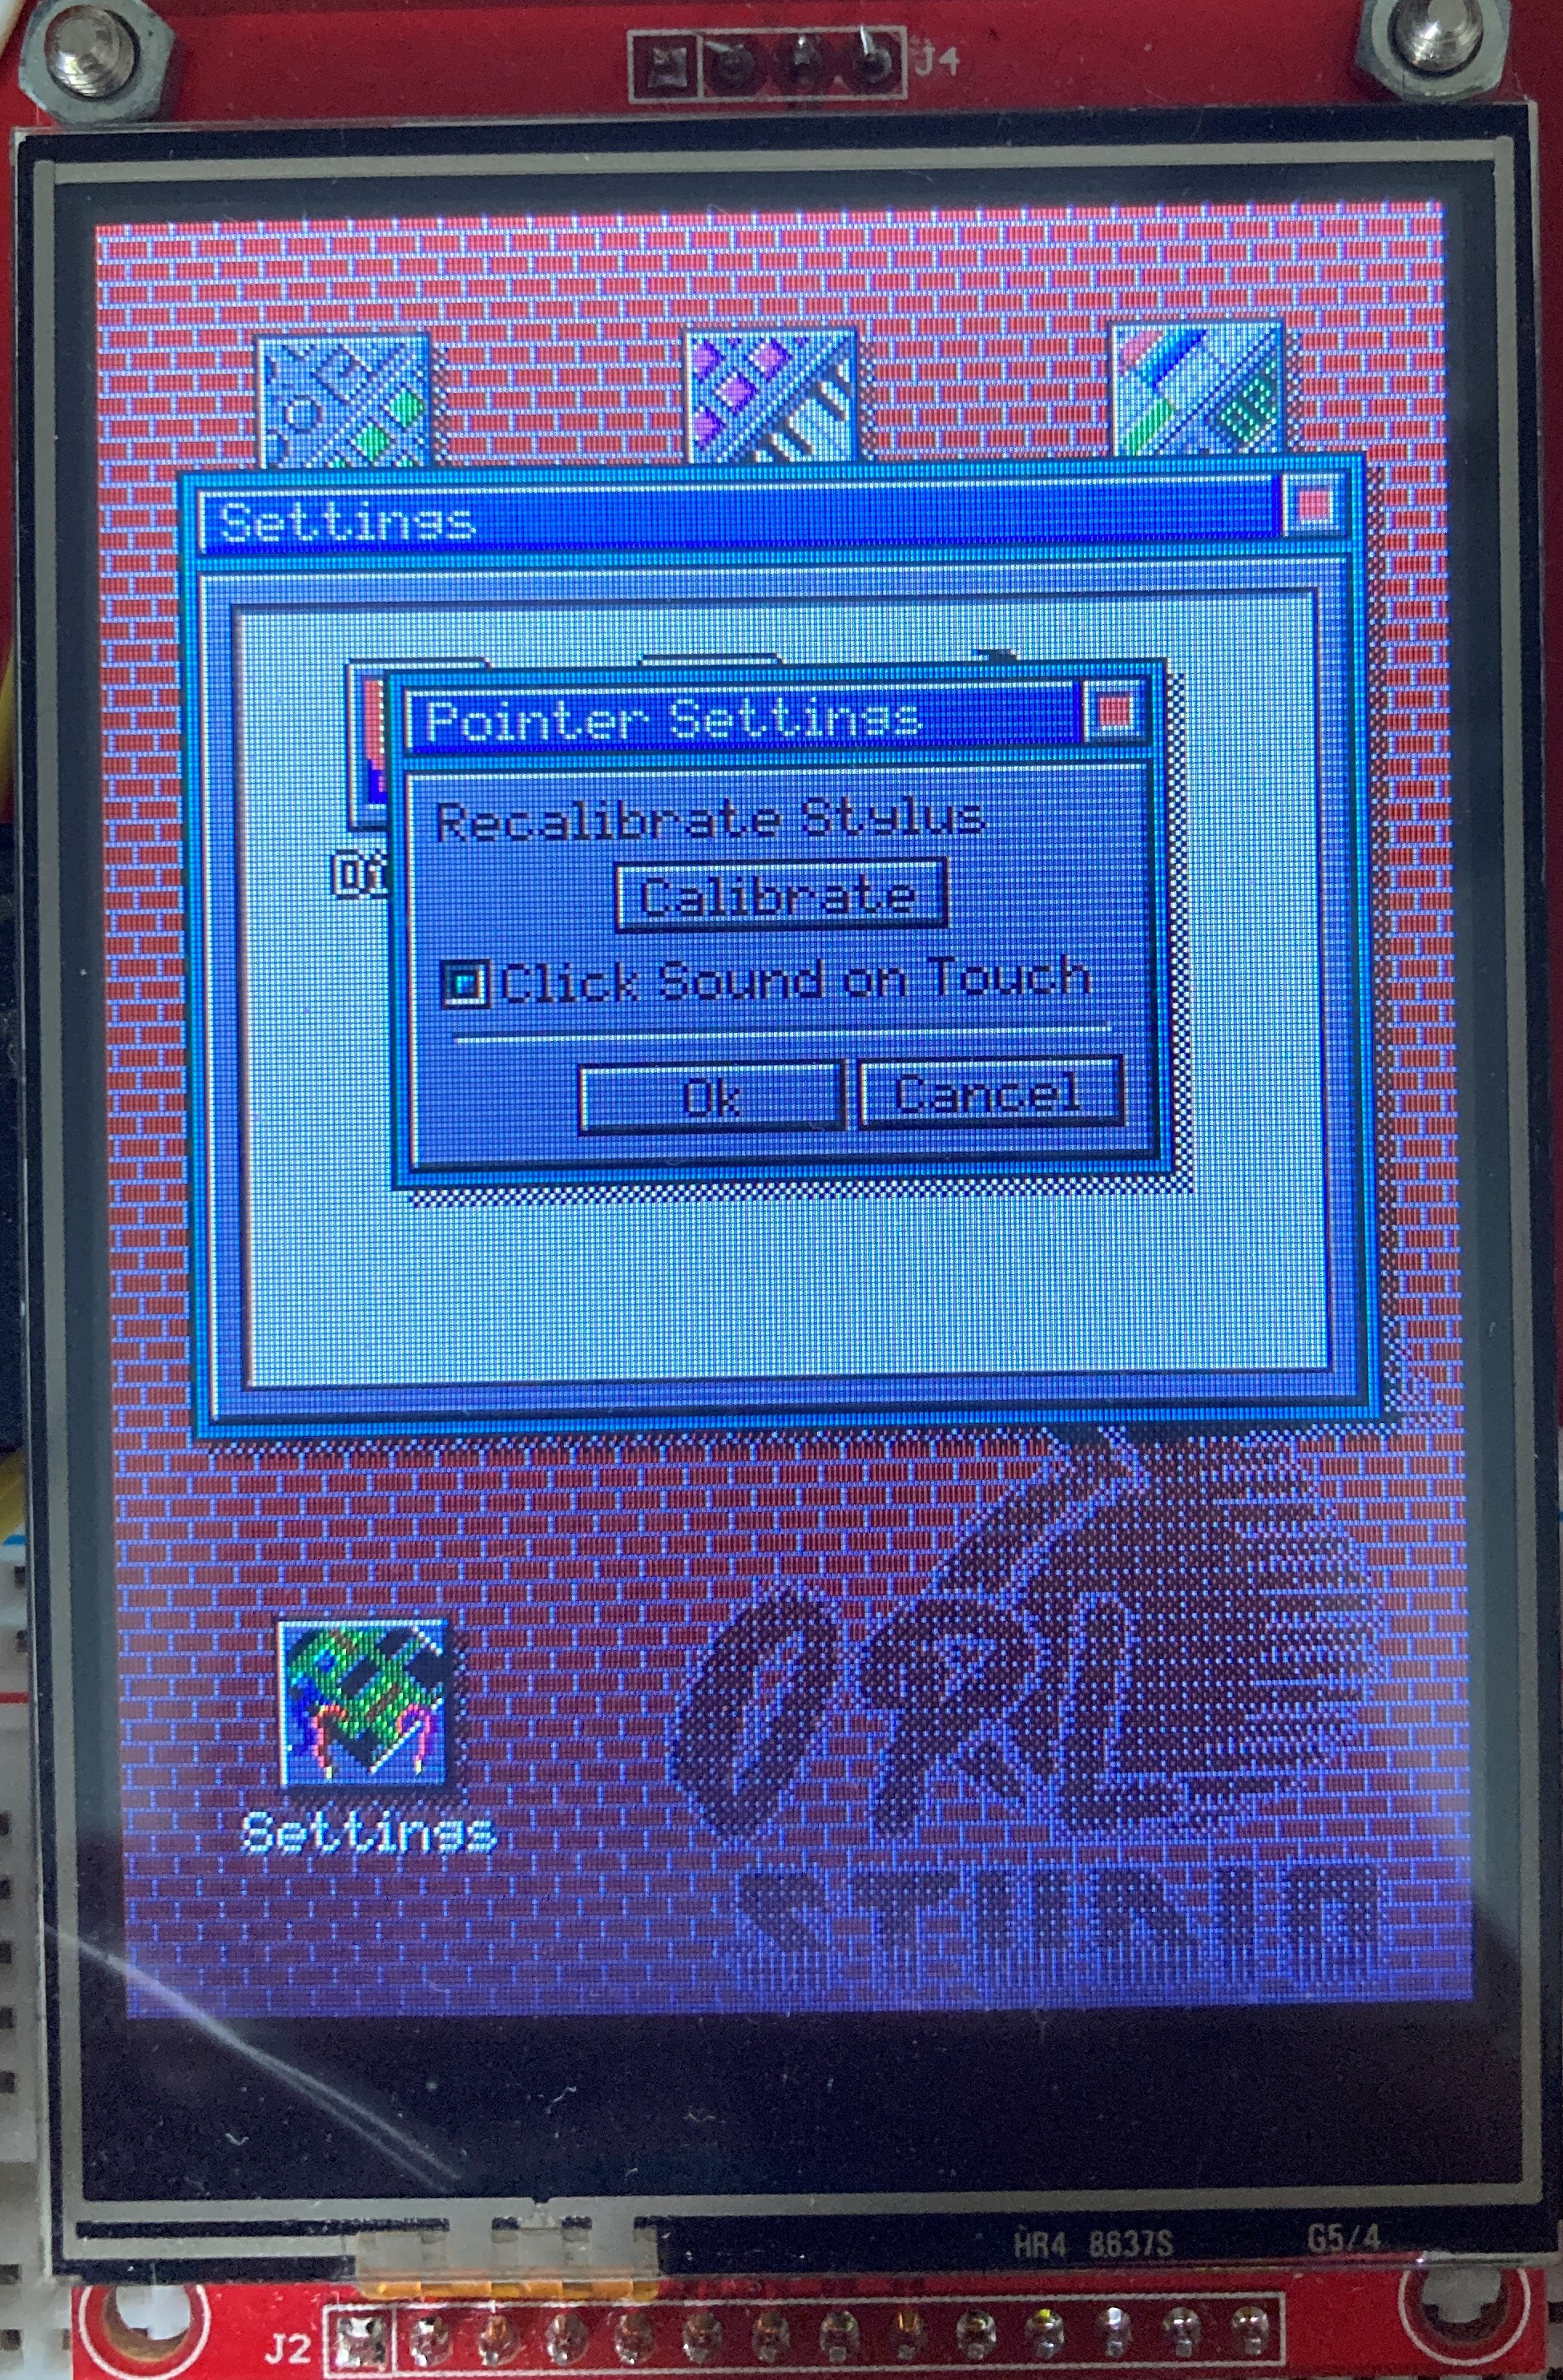
The second settings screen is for the pointer. Here you can recalibrate the stylus and enable or disable the UI click sounds.
This MIDI settings allow you to change the clock source between MIDI clock and the internal clock. You can enable or disable the metronome sound during recording and you can select the depth of pitch bends between 1 seti-tome or the default 2 semi-tones. That last setting I included because I found that there are quite a number of MIDI tunes that don't respect the GM standard 2 semi-tone pitch bend and therefore they will sound broken.
Playing in the background
Up to a little while ago the drum and melody sequencers would remain playing in the background when you were using other parts of the OPL Studio UI. However after the last round of refactoring to enable playing the various sequences in the Sequence Composer I had to disable this background playing. Now after a bit more refactoring this functionality is back again and better than before! The audio now has priority over the UI. this means that when I need to render a lot to the screen, for example when a window is opened or closed, the rendering process periodically holds briefly to allow processing MIDI and sequencer events.
Sequence Composer
What about the Sequence Composer? For now I put it on hold while I figure out how to make its very complex UI work. Dragging and dropping the sequence blocks is still a tall order, so I may go for something simpler...
-
Going Crazy With Sequence Blocks
06/02/2021 at 17:26 • 0 commentsA lot of work has been done this week on the Sequence Composer module. The idea is that you can compose loops and simple songs from the drum and melody sequence that you create in the two sequencer modules. To do this you have a grid of 6 tracks where you can place the sequences represented by different color blocks (sequence blocks).
Without having covered the basics of a grid with sequence blocks that you can scroll through I started on the most difficult part for this module. I wanted to be able to drag and drop sequence blocks in my editor! Without thinking it through I started working on dragging a single block. This was already a difficult thing to do and while working on the code I though of more and more edge cases I'd need to cover, such as dragging multiple sequence blocks, making the editor scroll when I drag block over the edge, what happens when two block overlap. it was becoming a real nightmare and after 3 or 4 failed attempts I decided to park it for now and first get the 'easy' part over with.
The easy part would be a scrollable grid filled with sequence blocks that all have the same size. Later sequence blocks can have different lengths due to a sequence taking more bars to play because of its clock divider, but that's not important now. Keeping rendering efficiency into account was still important to do from the start, so I made the grid and sequence blocks in such a way that only the part that will actually change while scrolling is updated. This turned out to be a relatively simple UI task to implement.
The screenshot below shows the result of rendering random sequence blocks in the editor. Each sequence has an identifier D for drum and M for melodic followed by the sequence number. To make them easier to recognice each sequence can be given a unique color and pattern as well.
What is needed next is to link sequence blocks to a sequence. For this quite some refactoring was needed, especially for the drum sequences that were not stored as individual objects yet like the melody sequences. So this has been changed now. Both drum and melody sequences are now objects that inherrit from a common Sequence class. As a bonus this allows me to now play any sequence at any time. Exactly what I need for the editor.
This was quite a big effort and after testing that I didn't break anything it will now be time to link sequences and sequence blocks and make a start on an actually functioning editor!
OPL Studio - OPL2 / OPL3 MIDI Synthesizer
The ultimate dual OPL3 MIDI syntesizer with touch screen
 Maarten Janssen