-
1Purchase your fans
Head out to DigiKey and find some fans you like. Here is a query to get you started.
- 12V
- 4-pin
- Tube axial
- Static Pressure at or above 0.5 inches of H20
- Sizes (square)
- 70mm
- 80mm
- 92mm
- 92.5mm
- 119mm
- 120mm
NOTE: The GitHub repository only includes OpenSCAD code and STL models for 70, 80, 92, and 120 mm fans.
Update (2022-04-12):
About a year has passed since I put this project online. Everything has worked great. There have been no issues with the build, and the inside of the case is still spotless, but I do still have some valuable information to pass along.
- Some time after I completed this project using the 70, 80, & 90mm fans that you see in Step 14, I went back and added a variant to hold 120mm fans. Then I swapped out the 80 and 92 fans for two freshly printed 120s. They look pretty sweet, but don't push a lot of air despite being nearly 12 Watts each, and their noise signature cannot be easily ignored at full speed. Conclusion: Stick to the 80/92 sized fans.
- This is the 70mm fan used in the pictures. At full speed it draws 2.60 Amps / 31 Watts and screams. It's sound signature is that of a wailing banshee, but it pulls air through that filter like a champ. I keep it spun down to 15% duty cycle by way of a custom fan speed profile on my motherboard. It only spins up when something gets overheated, which is never. I don't recommend this particular fan. If I were to do this over again, I would move up to an 80 for the bottom unit.
- Each of your motherboard fan headers probably don't like powering fans that draw more then 1 Amp / 12 Watts. When looking at the list of fans, keep that in mind.
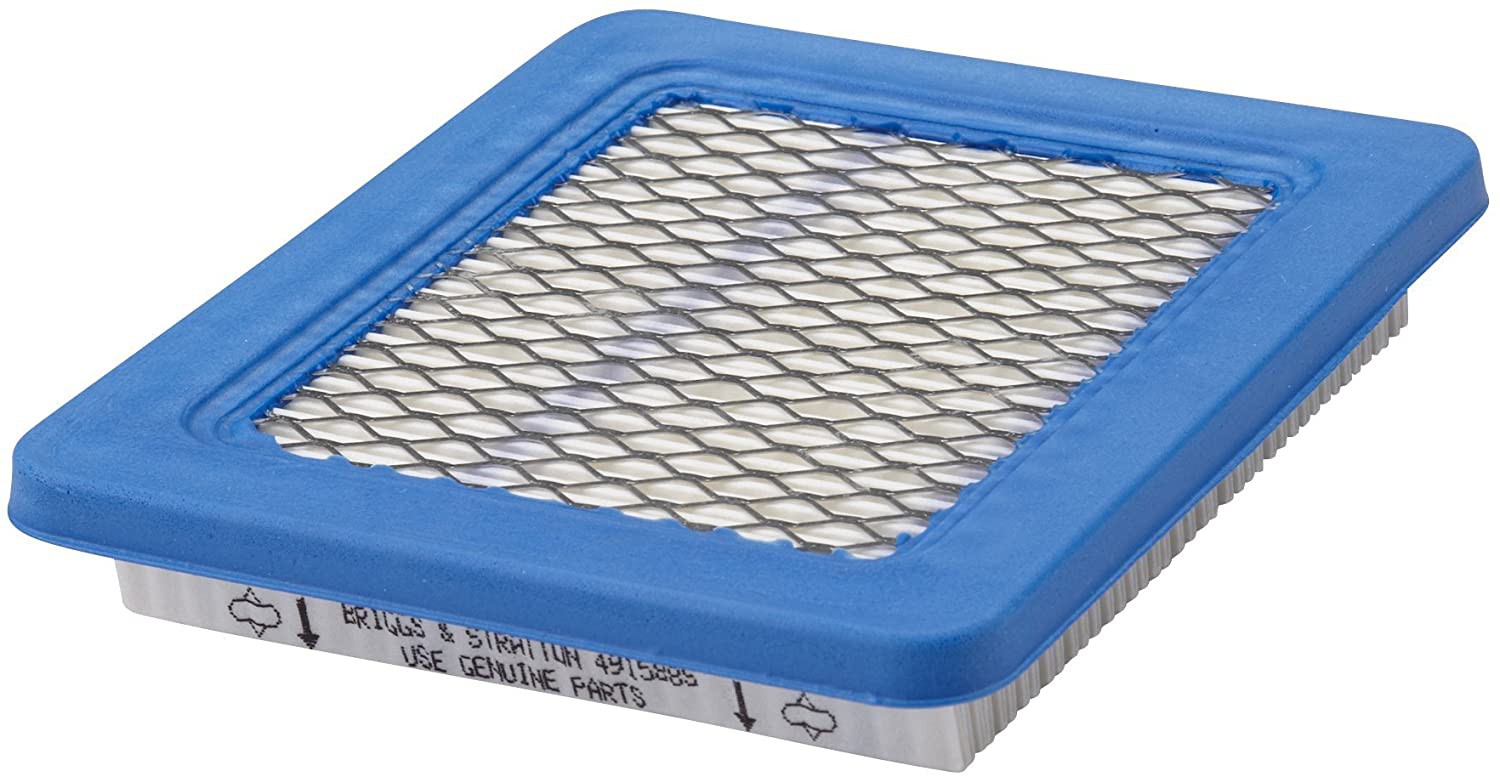
- If you want to power one or more fans from a single motherboard header, and that load exceeds 12 Watts, you will probably need one of these.
-
3Beg, borrow, or buy a soldering iron
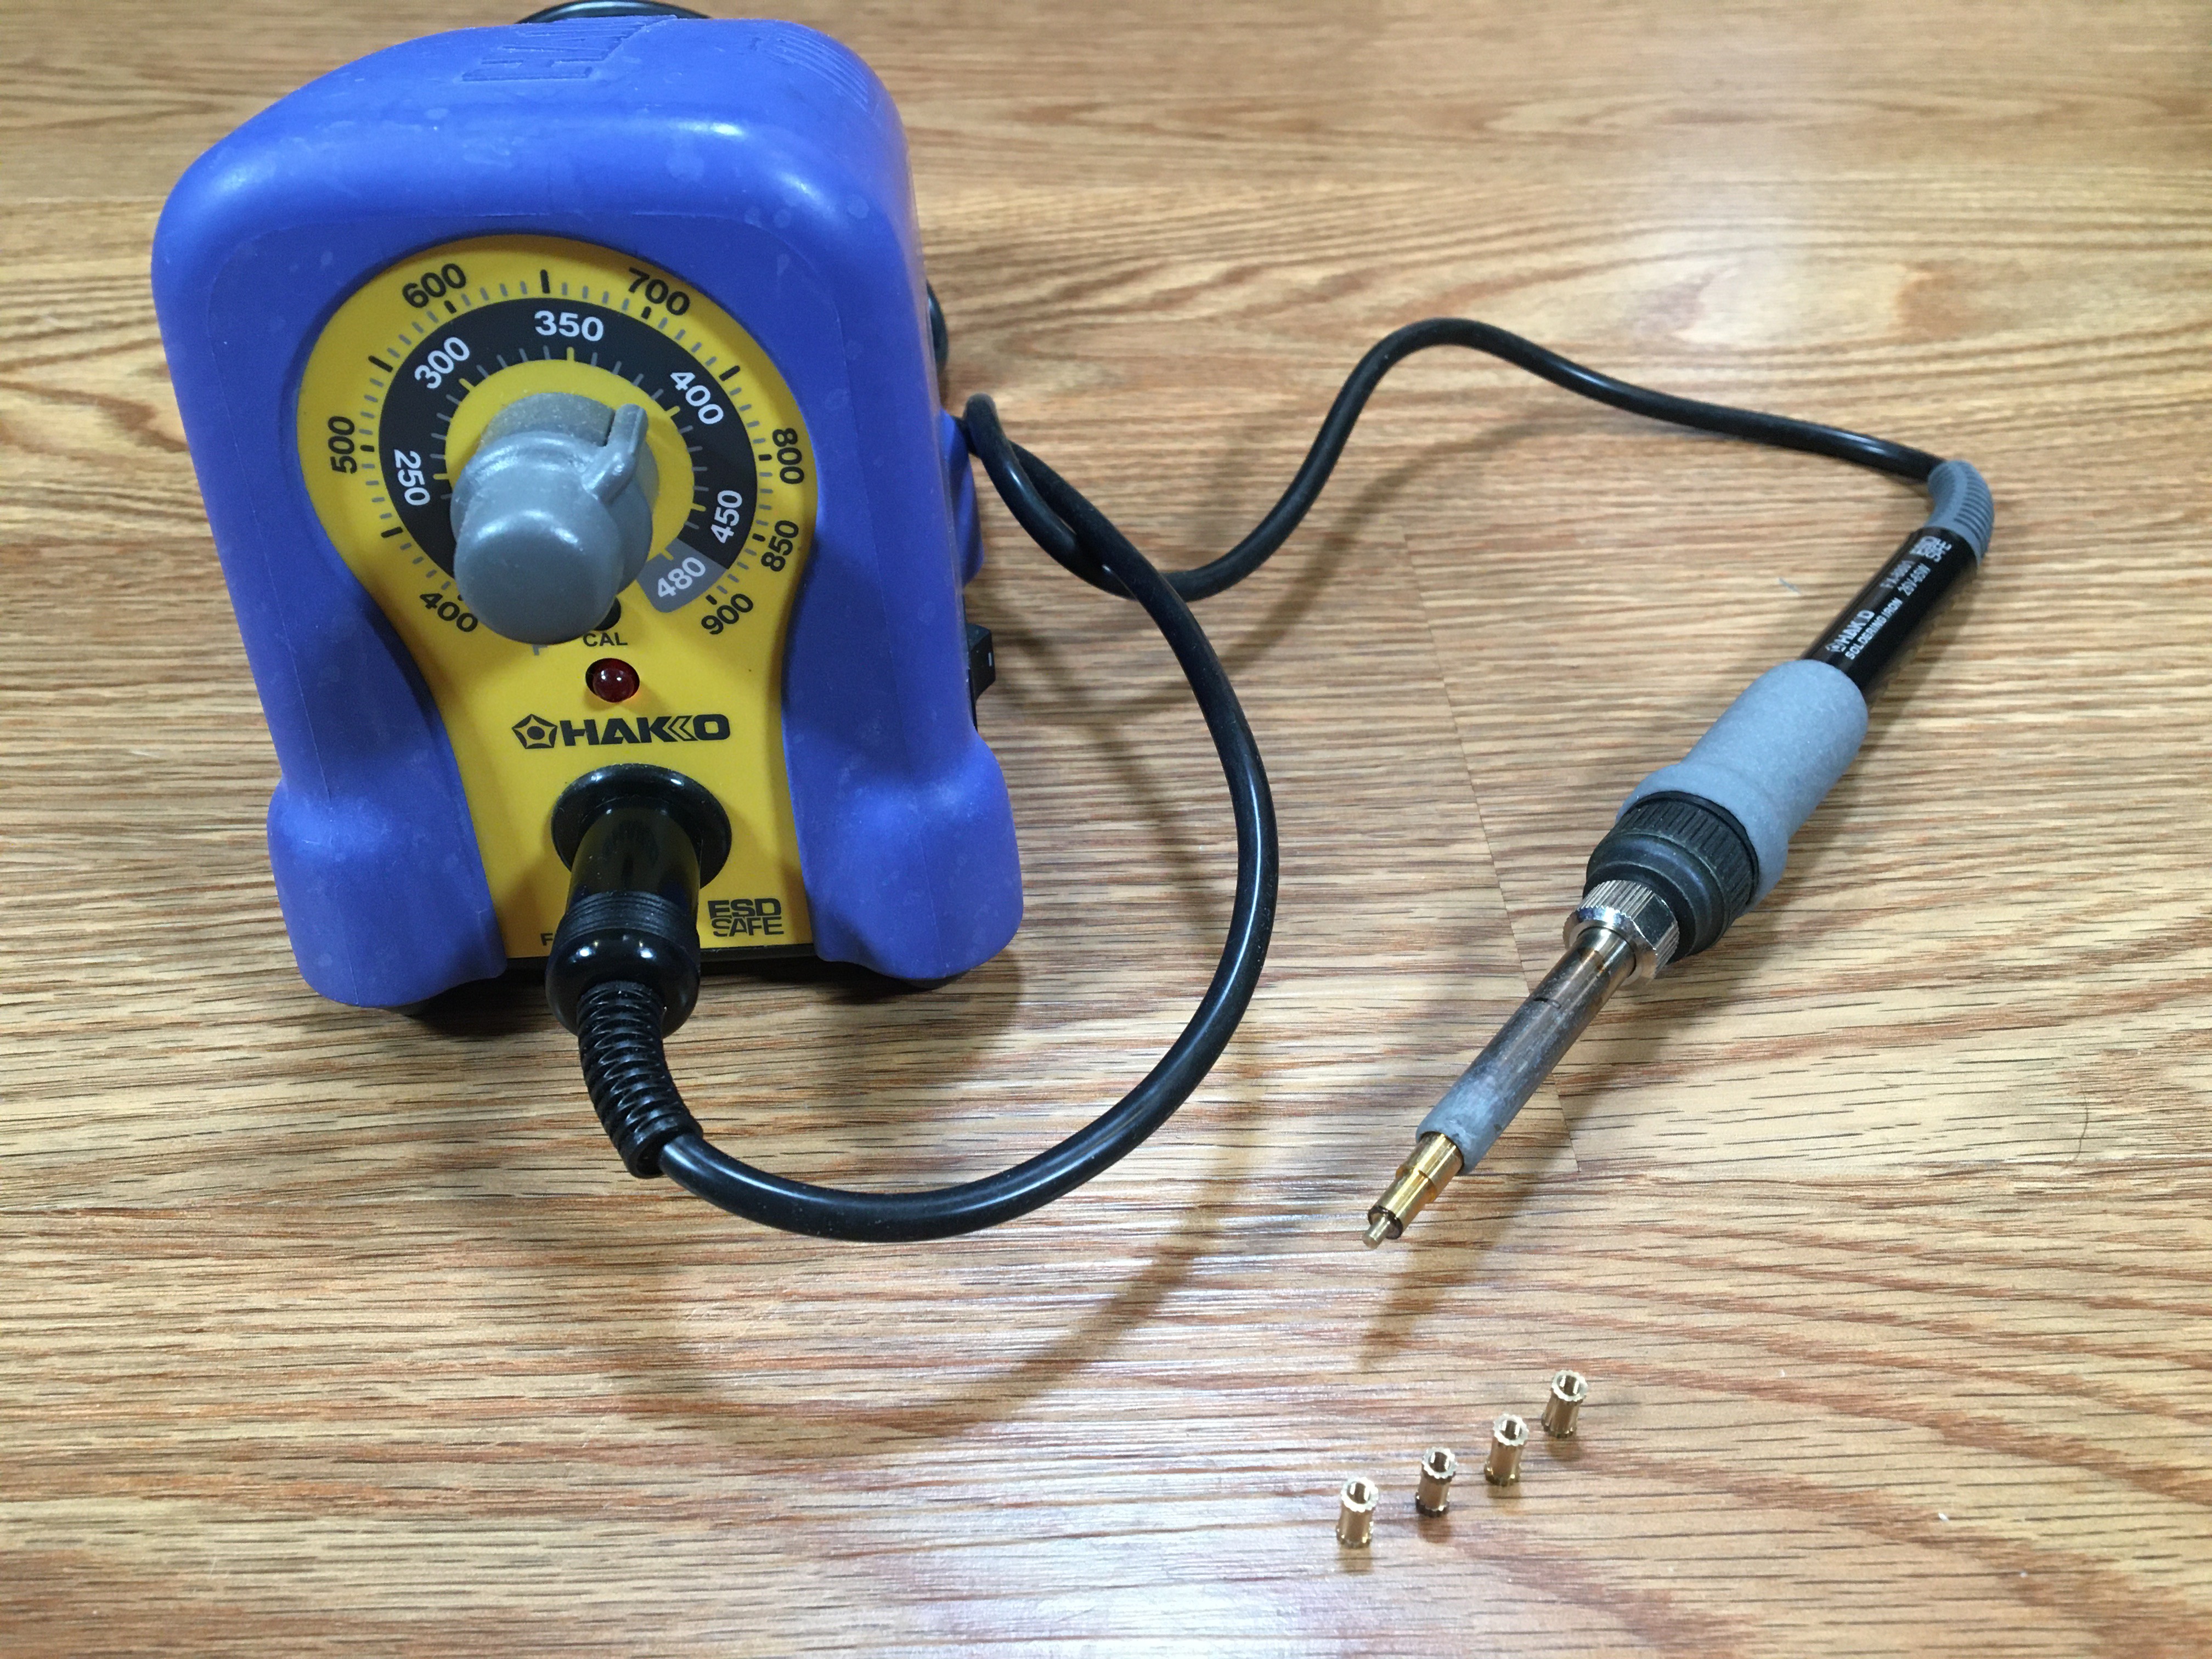
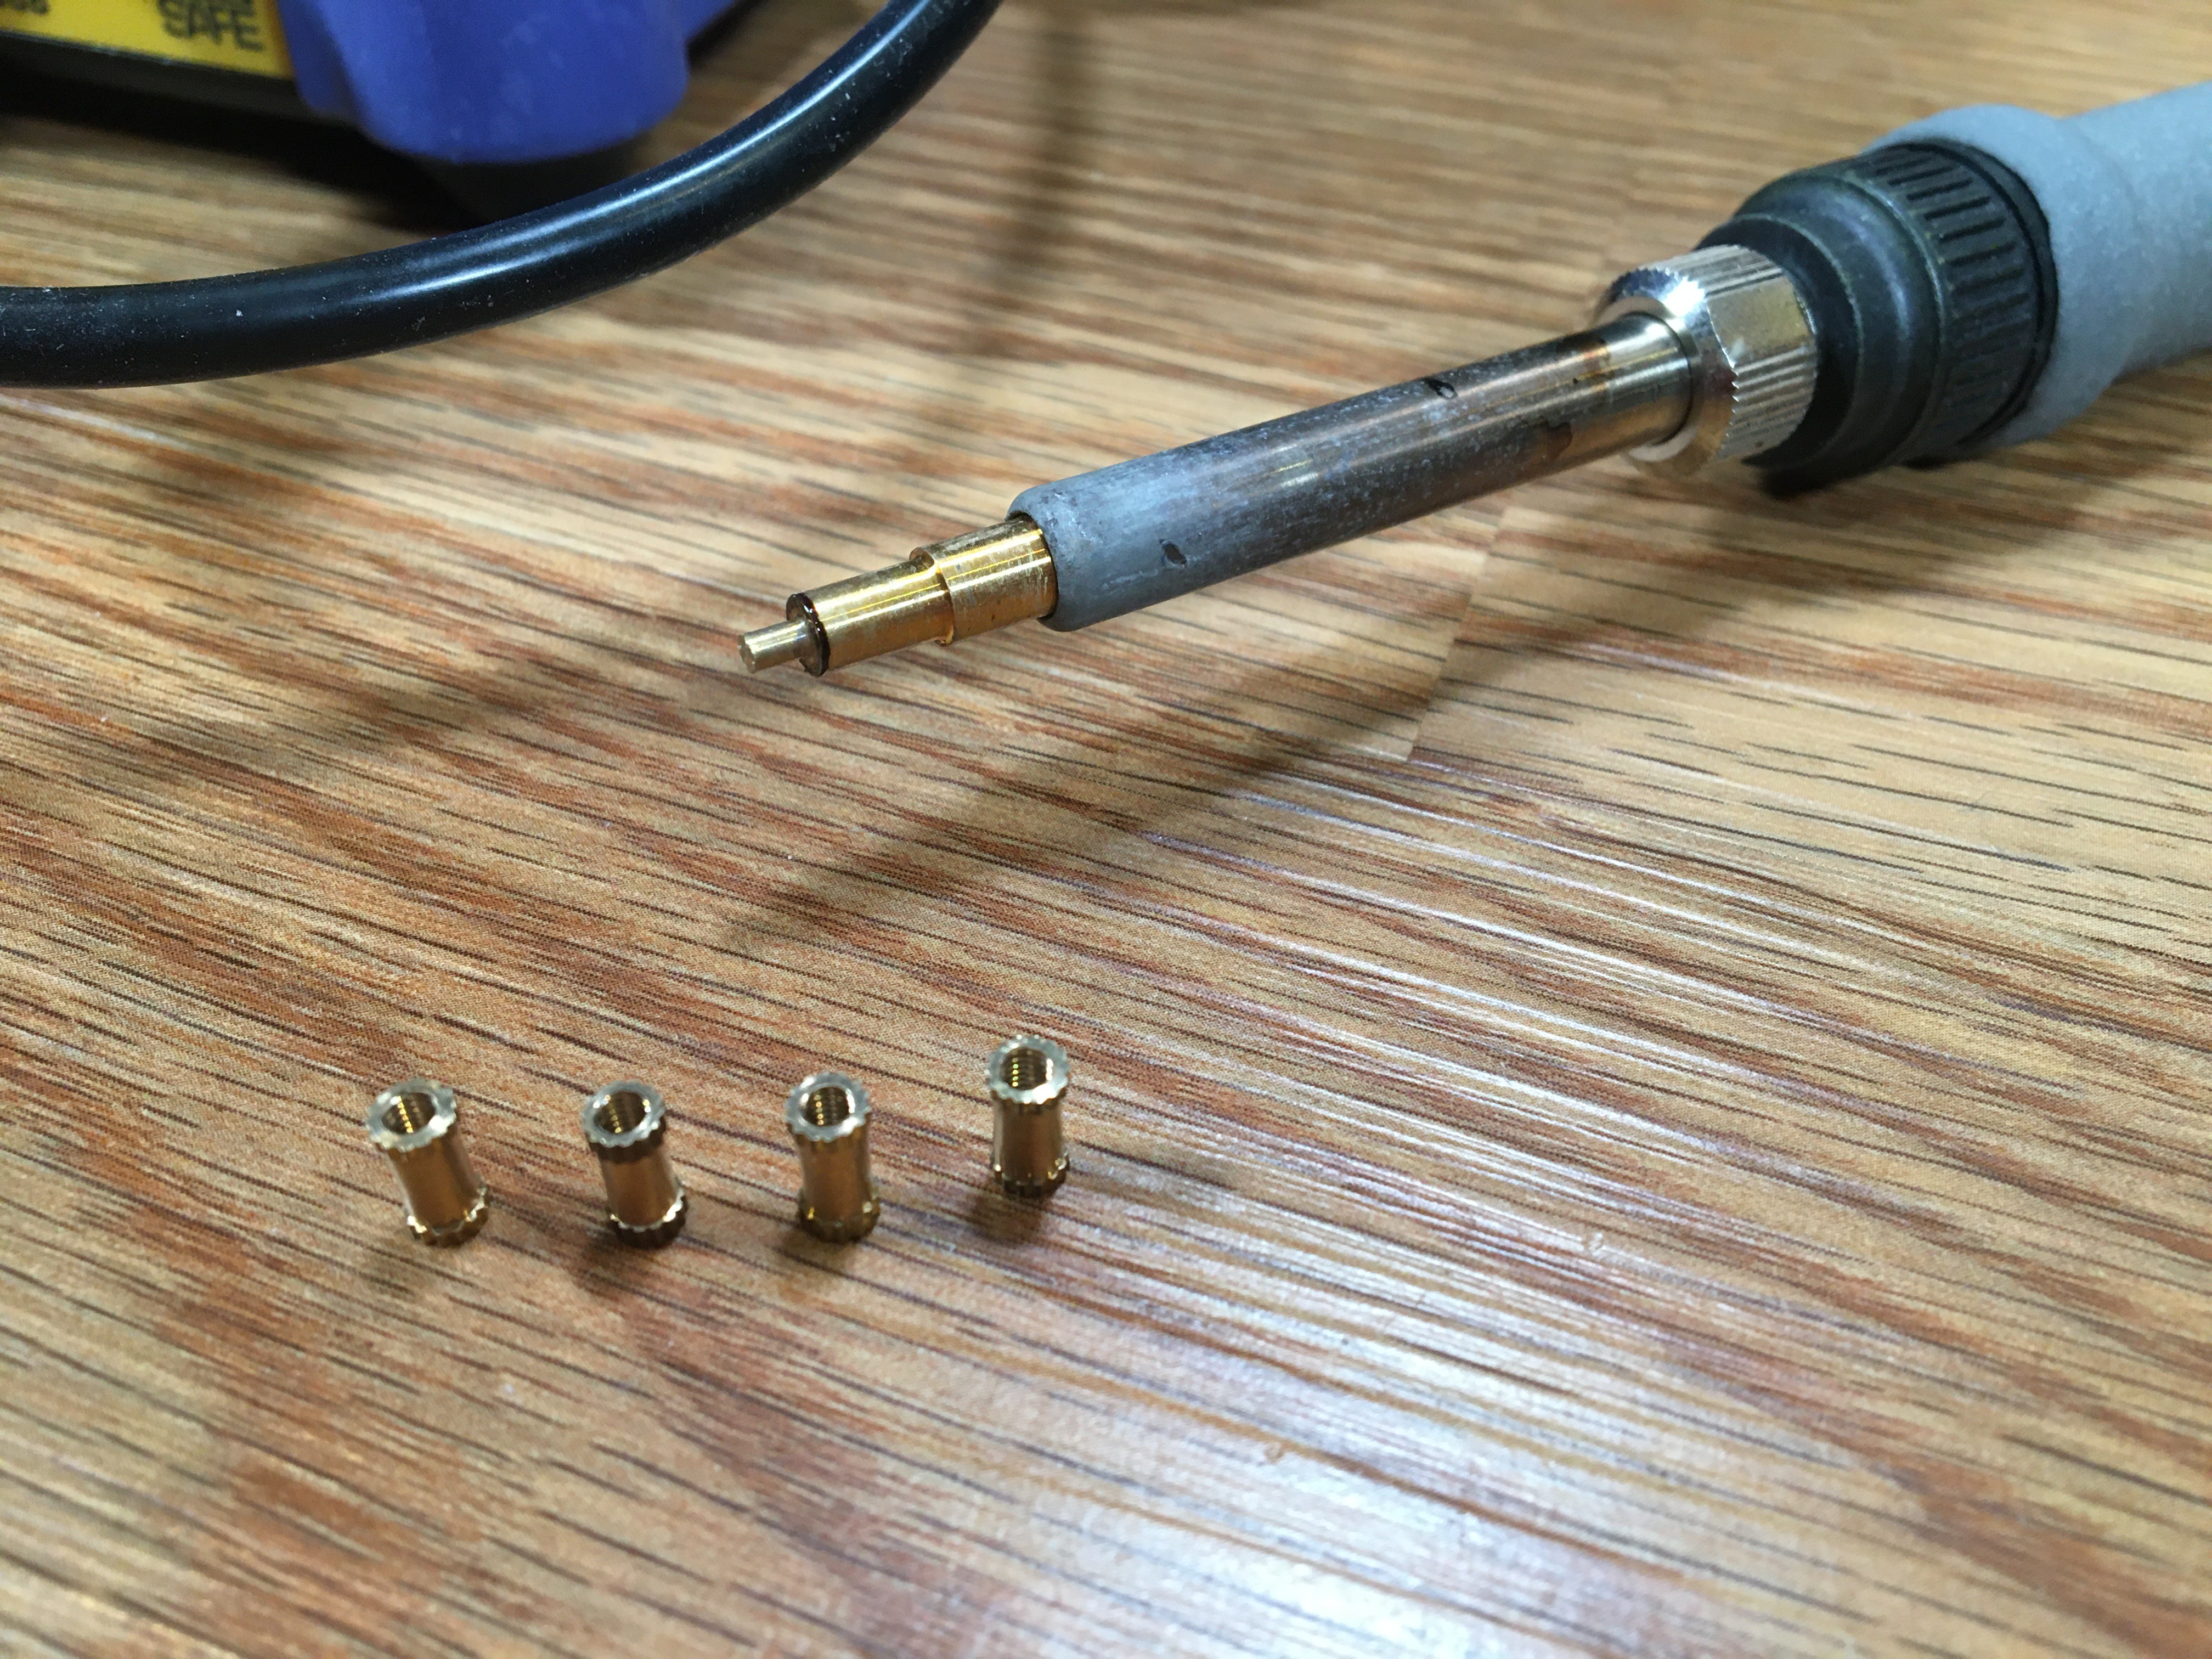
The soldering iron is used to heat the brass knurled inserts into the printed model. My iron is a Hakko FX-888. Total power is 70W, and works great for heating the #6 steel hex nuts when set to 730 F / 390 C.
-
4Buy a heat-set insert installation tip
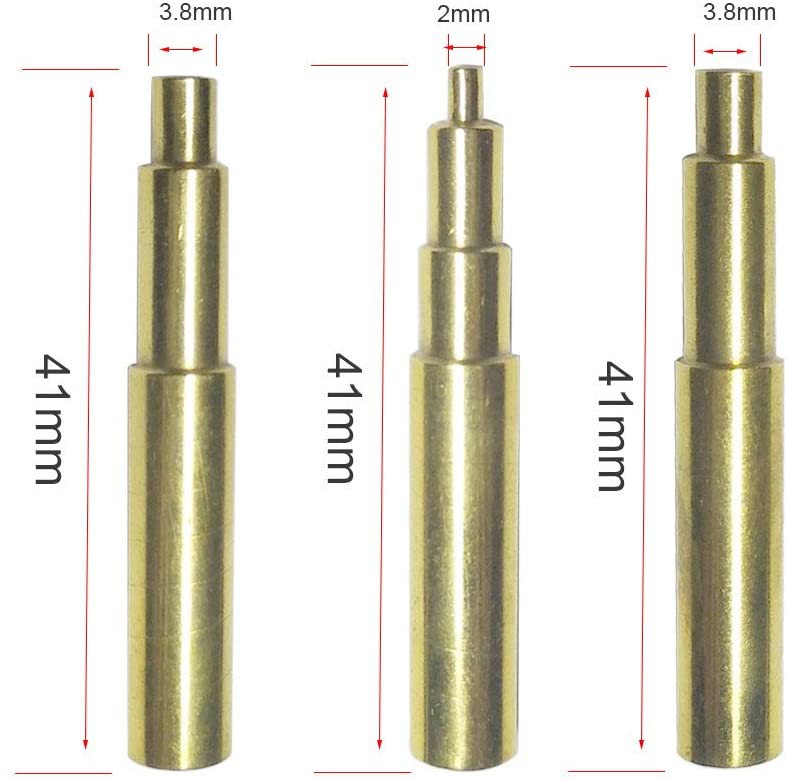
A standard soldering iron tip isn't made to press a steel hex nut or brass inserts down into a 3D model. Therefore, I recommend a set of these heat-set inserts:
Heat-Set Insert Installation tip for Hakko FX-888D #4-40, M2, M2.5, M3, M4, and M5 Inserts
![]()
-
5Buy brass insert nuts
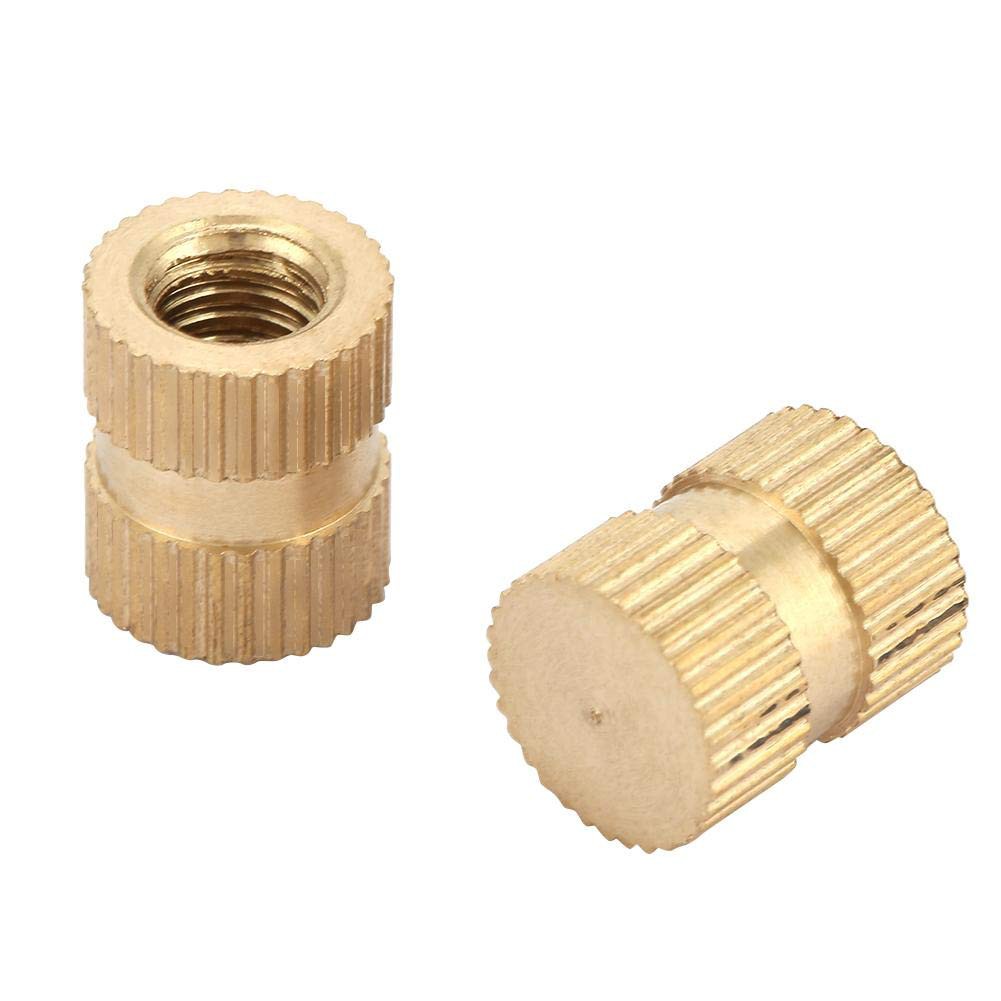
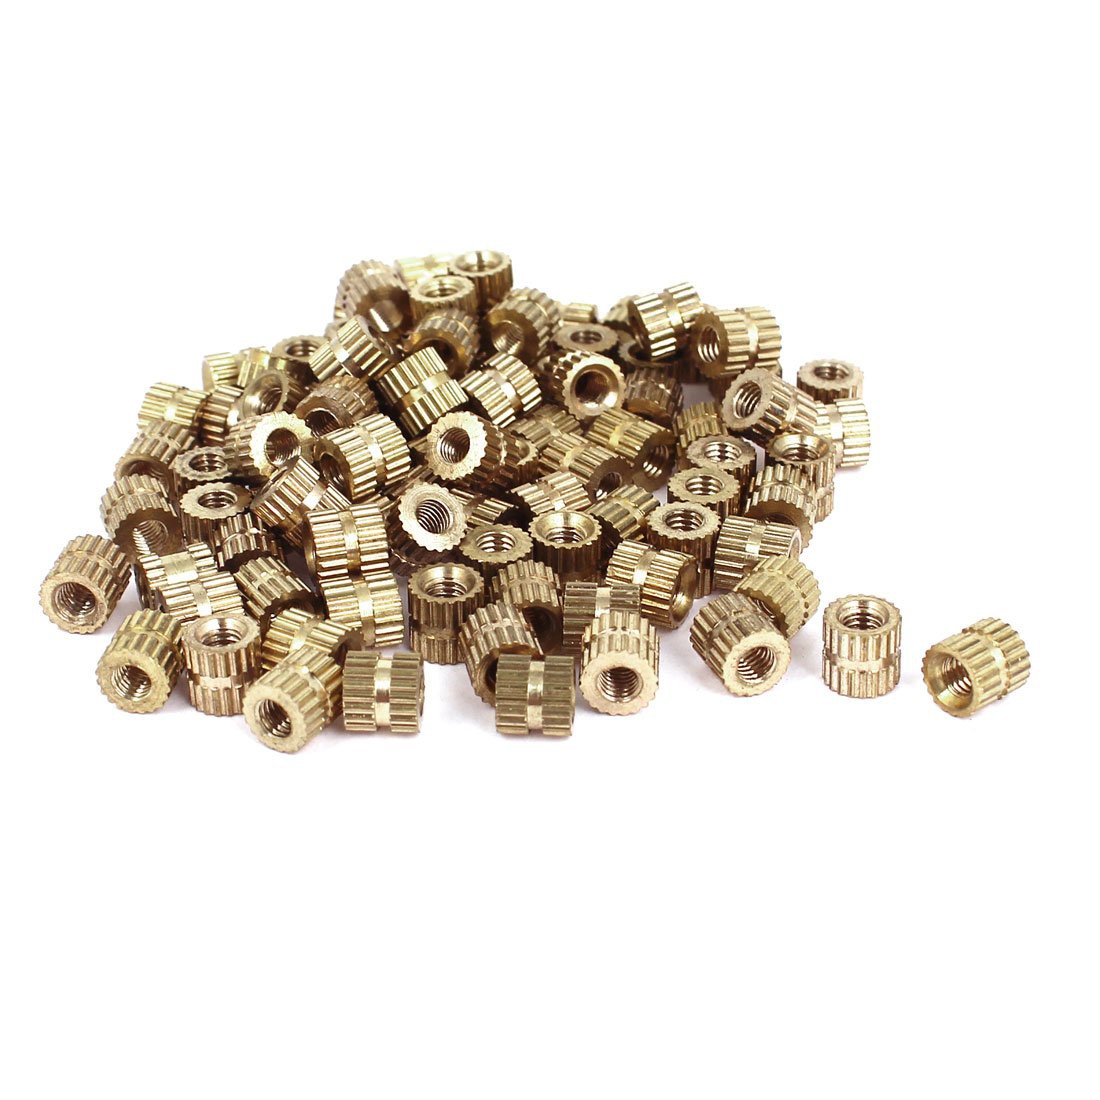
These bad boys have so many different names that a single eBay/Amazon search won't find all the sales. Here is a list of adjectives that you should use when searching.
- Knurled
- Insert Nuts
- Blind
- Blind Hole
- Single Pass Through
- Brass
- Injection Molding
- Threaded
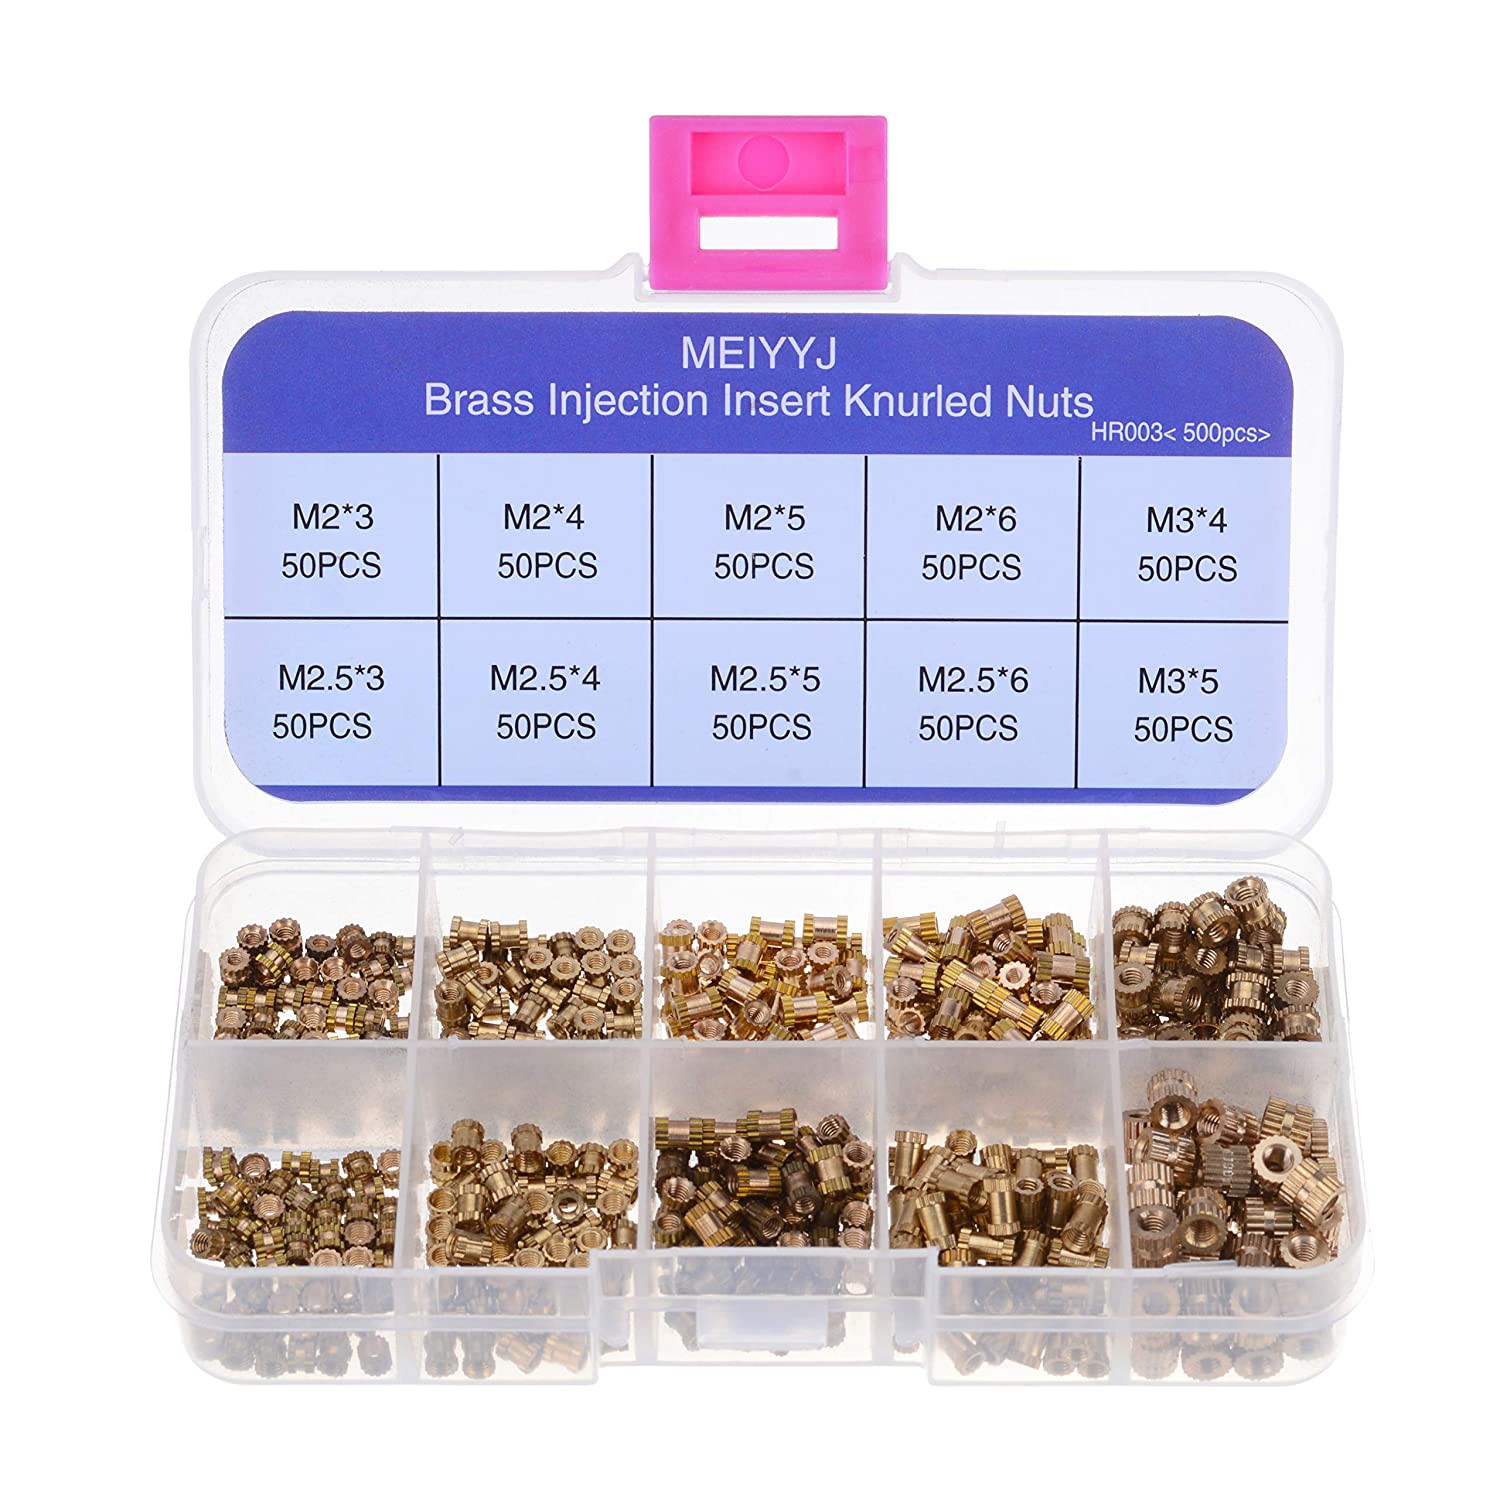
Here are some photos of what you are looking for:
![]()
![]()
![]()
I highly recommend that you look for the inserts that are labeled "blind". These nuts are closed at one end; see the middle photo above. I believe the blind nuts are superior to the open-ended nuts because when you press a hot brass nut down into the filament, it melts and scrapes the walls. This melted filament has the potential to build up at the bottom of the nut and ooze its way up into the threaded area. Effectively, this can reduce the total length of internal threads that a screw/bolt can grab on to. Blind nuts do not suffer from this problem. Unfortunately, M3 blind nuts are difficult, but not impossible to find.
This is the
droidsize you are looking for: -
6Buy bolts, washers, and nuts
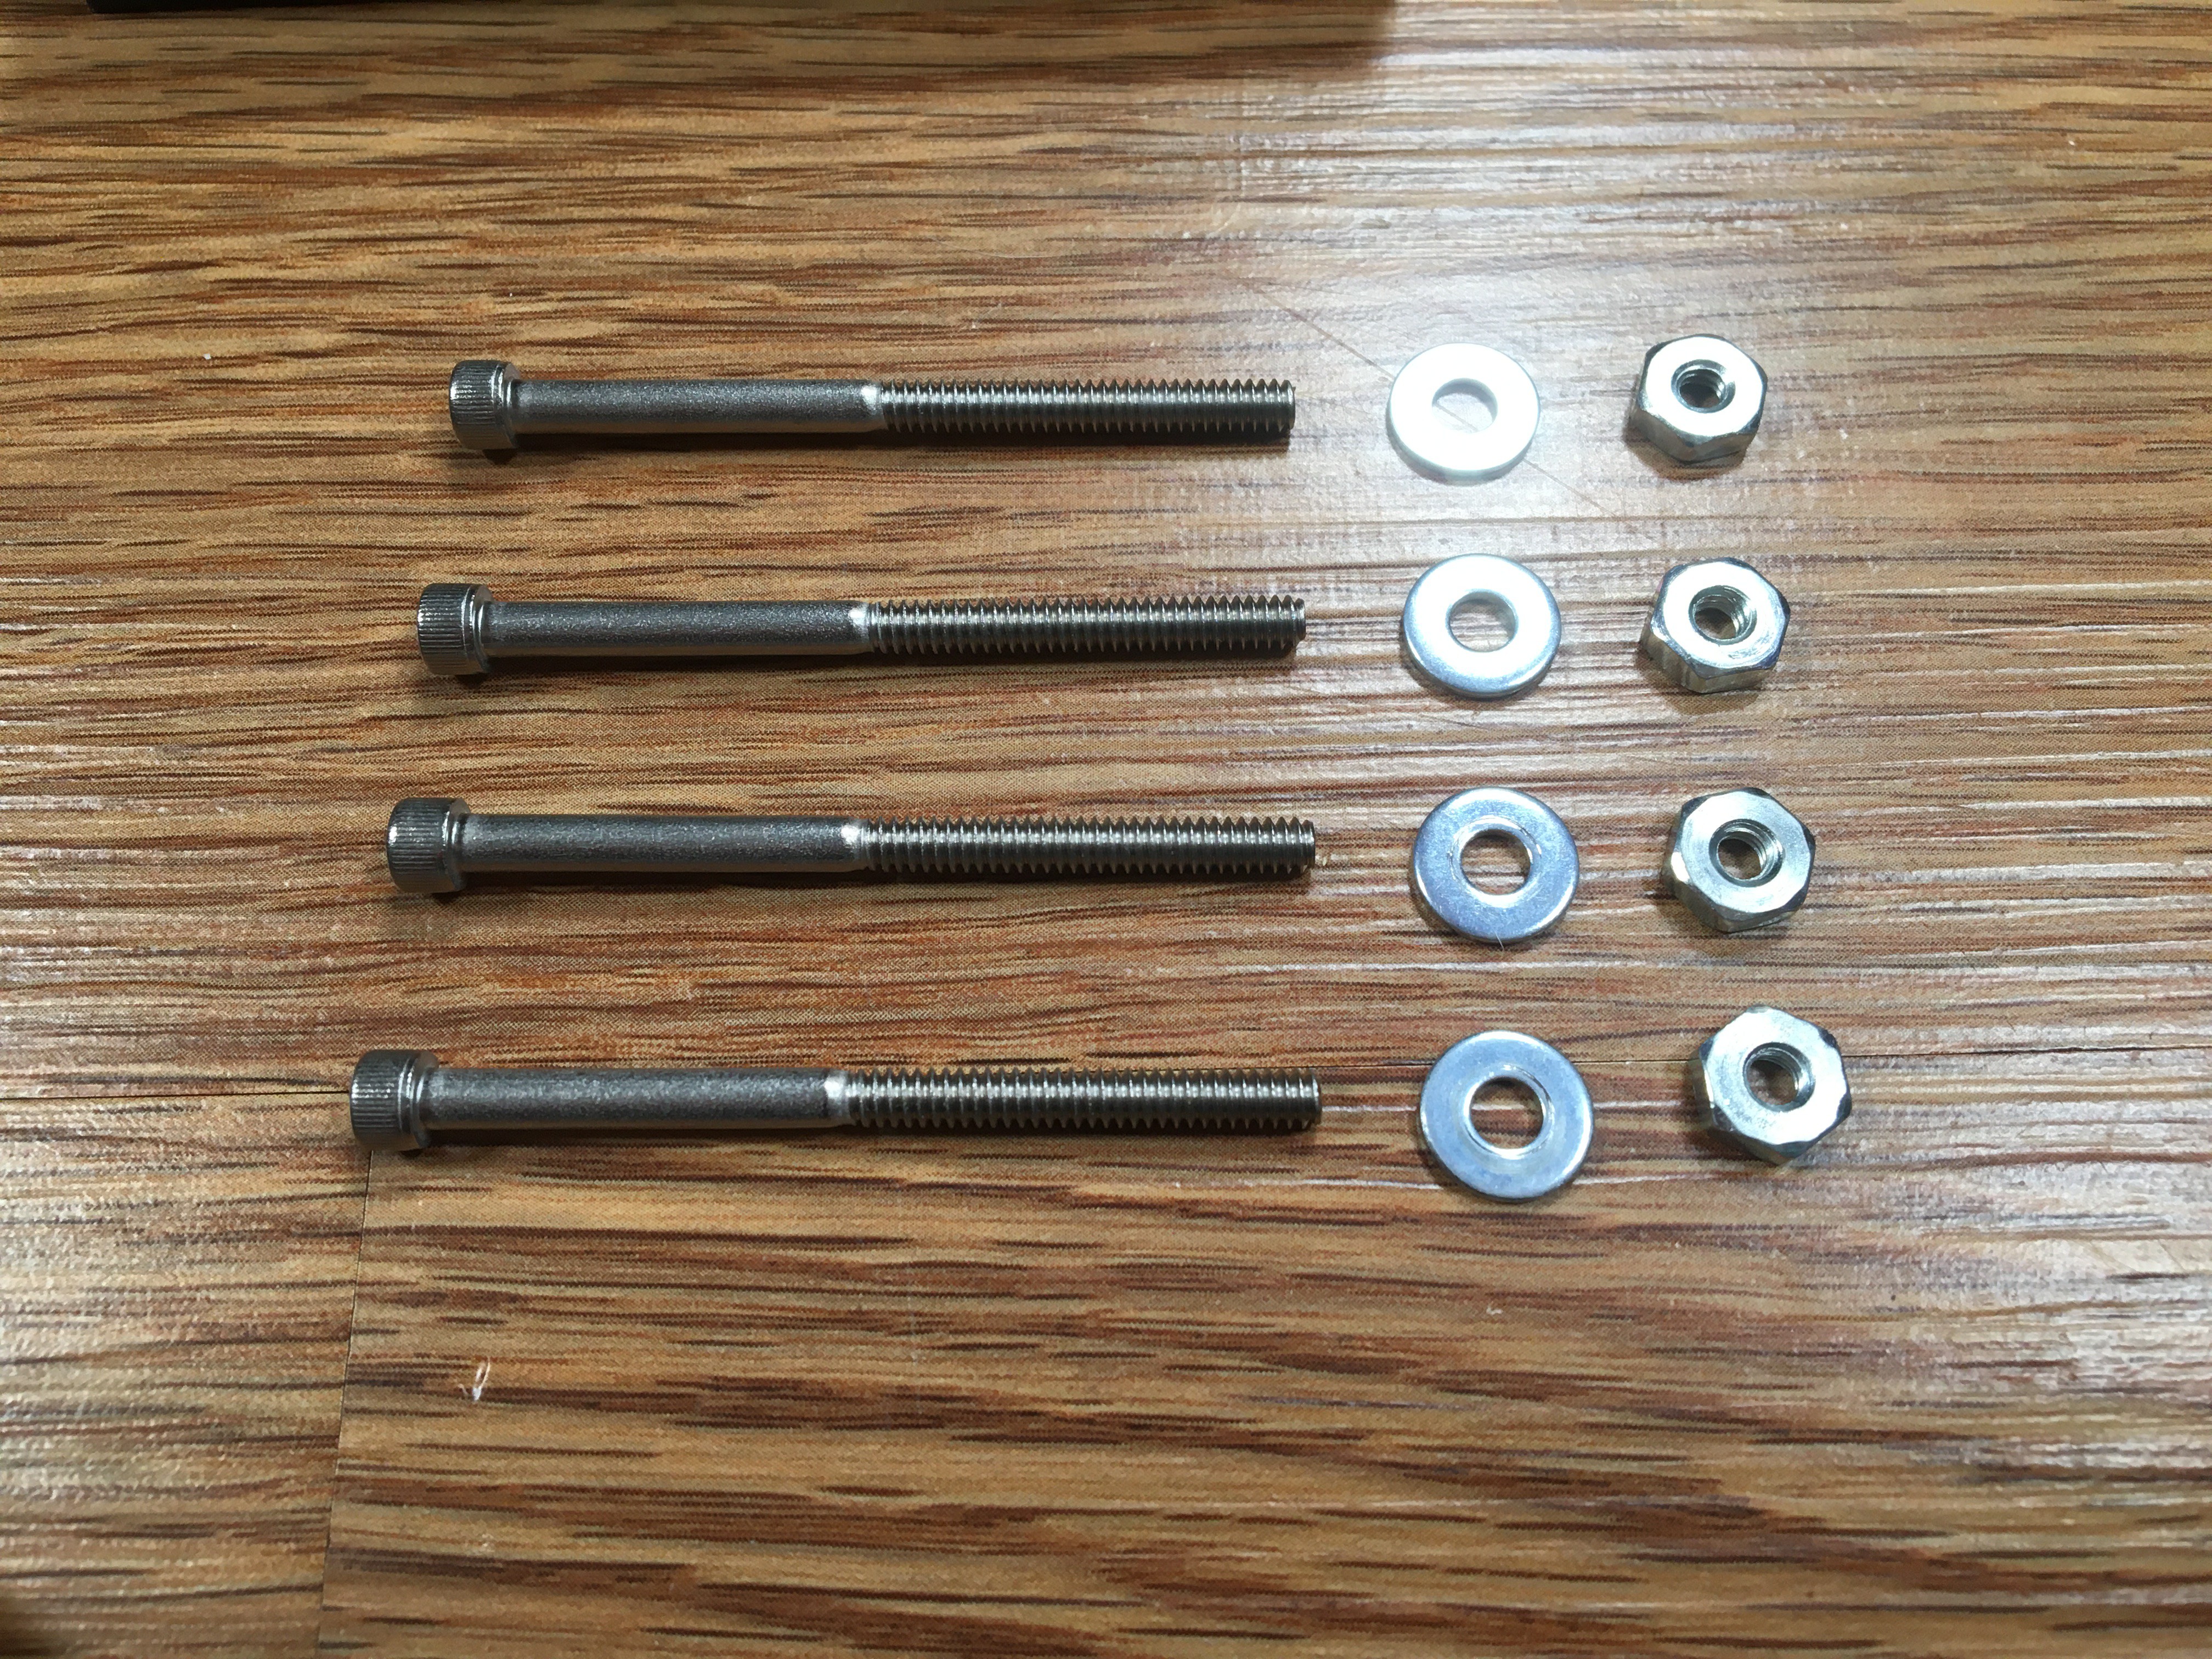
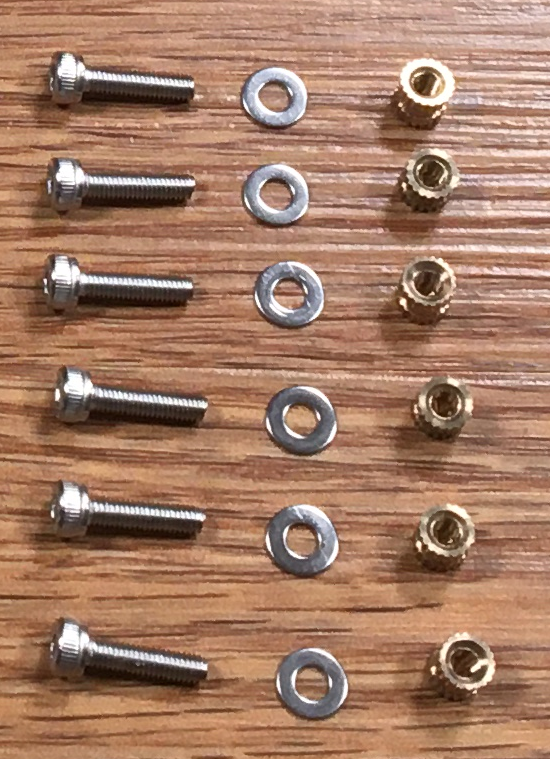
This is a long list, with some very small counts. You might be able to find some of the M2.5 and M3 bolts as a combination pack.
Diameter Length Type Count Purpose Link M3 12mm Hex Socket Cap Bolt Six Link M3 Washer Six Joins the 40mm fan to the ATX Adapter Link #6-32 2 inch Hex Socket Cap Bolt Eight Joins the filter pieces to the chassis and mounts the fan in the fanbox Link #6-32 Hex Nut Eight Joins the filter pieces to the chassis and mounts the fan in the fanbox Home Depot #6 Washer Twelve Joins the filter pieces to the chassis and mounts the fan in the fanbox Home Depot ![]()
-
7Slice and print
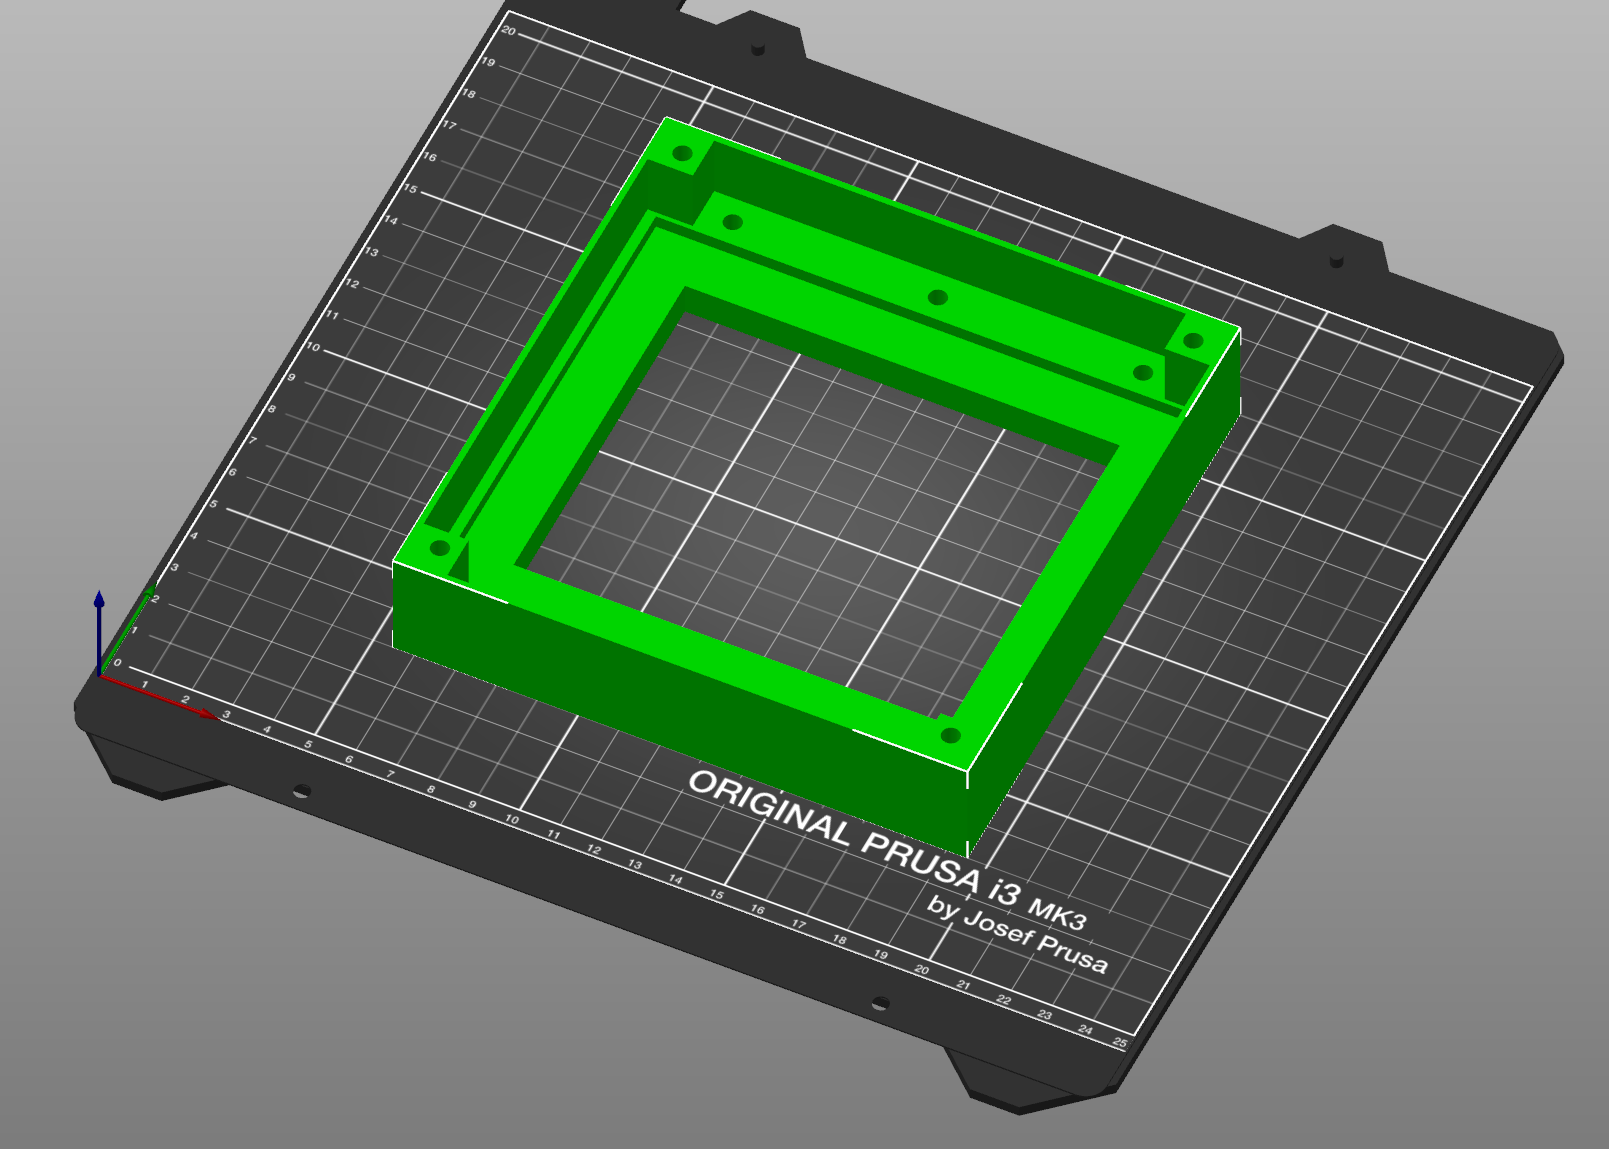
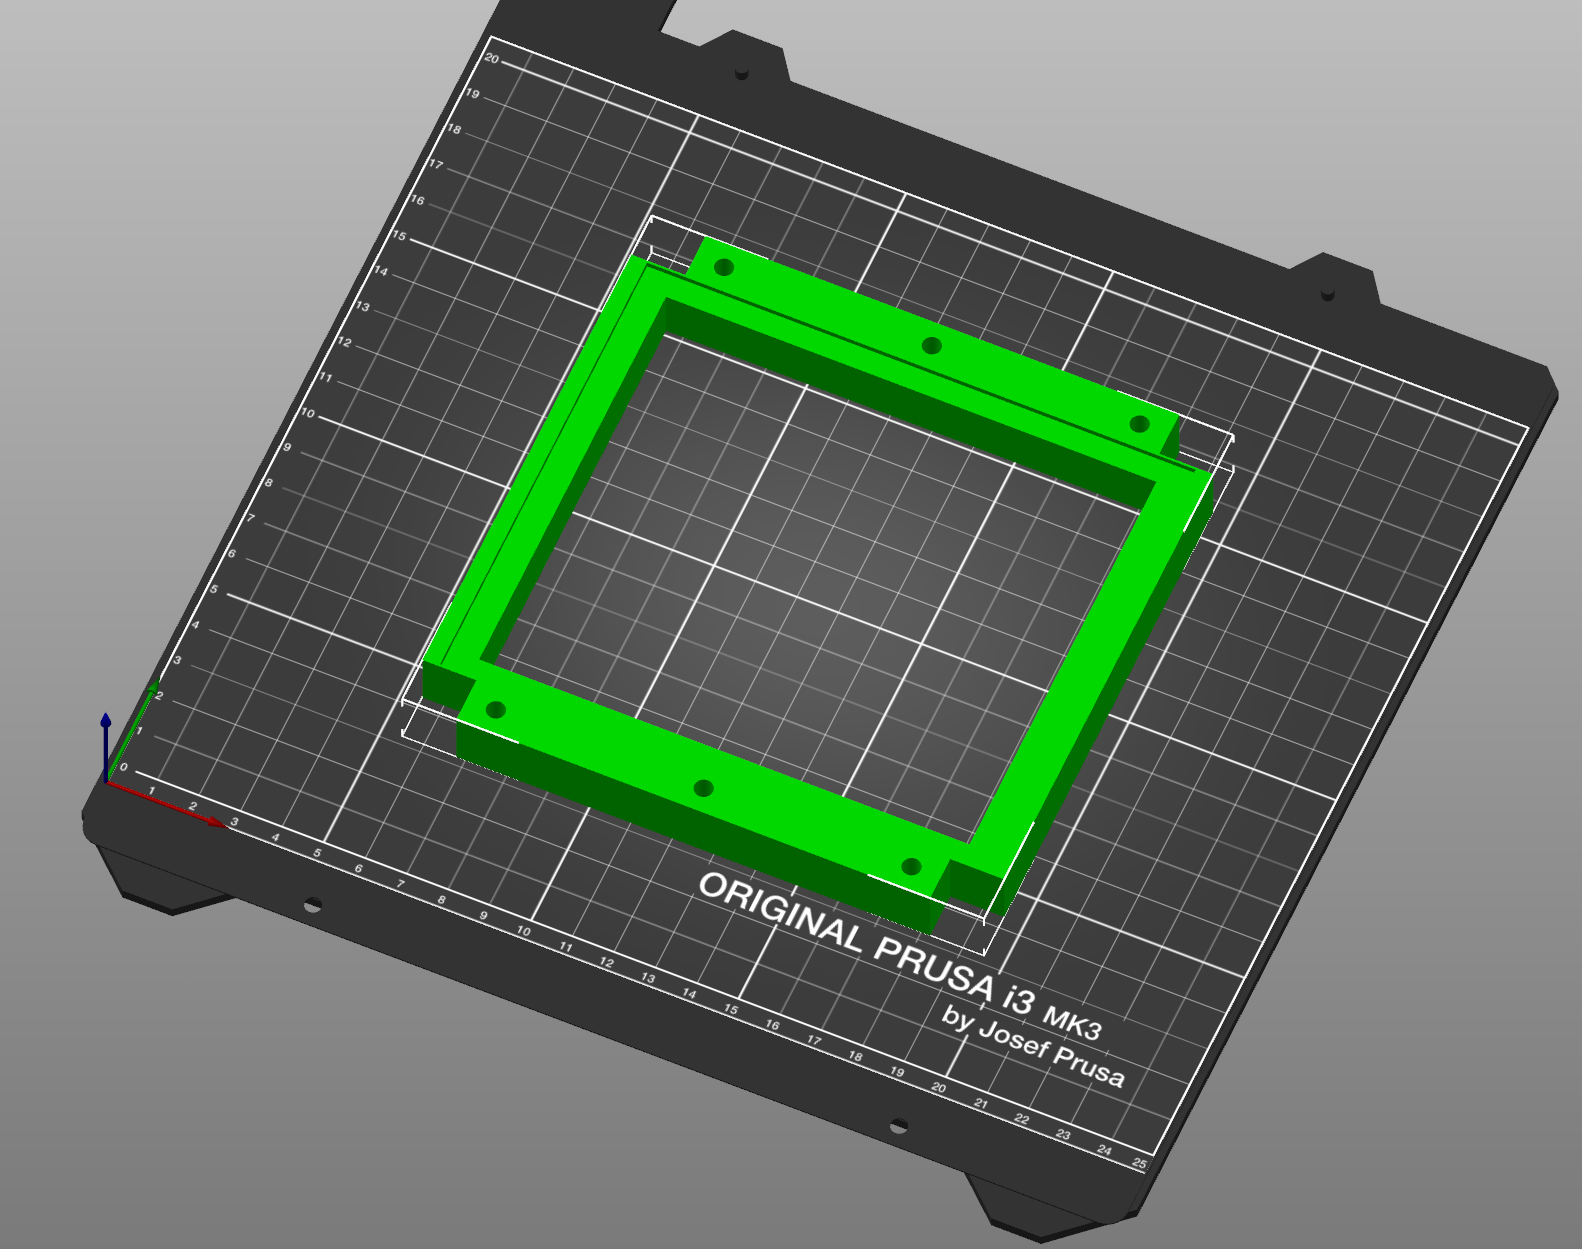
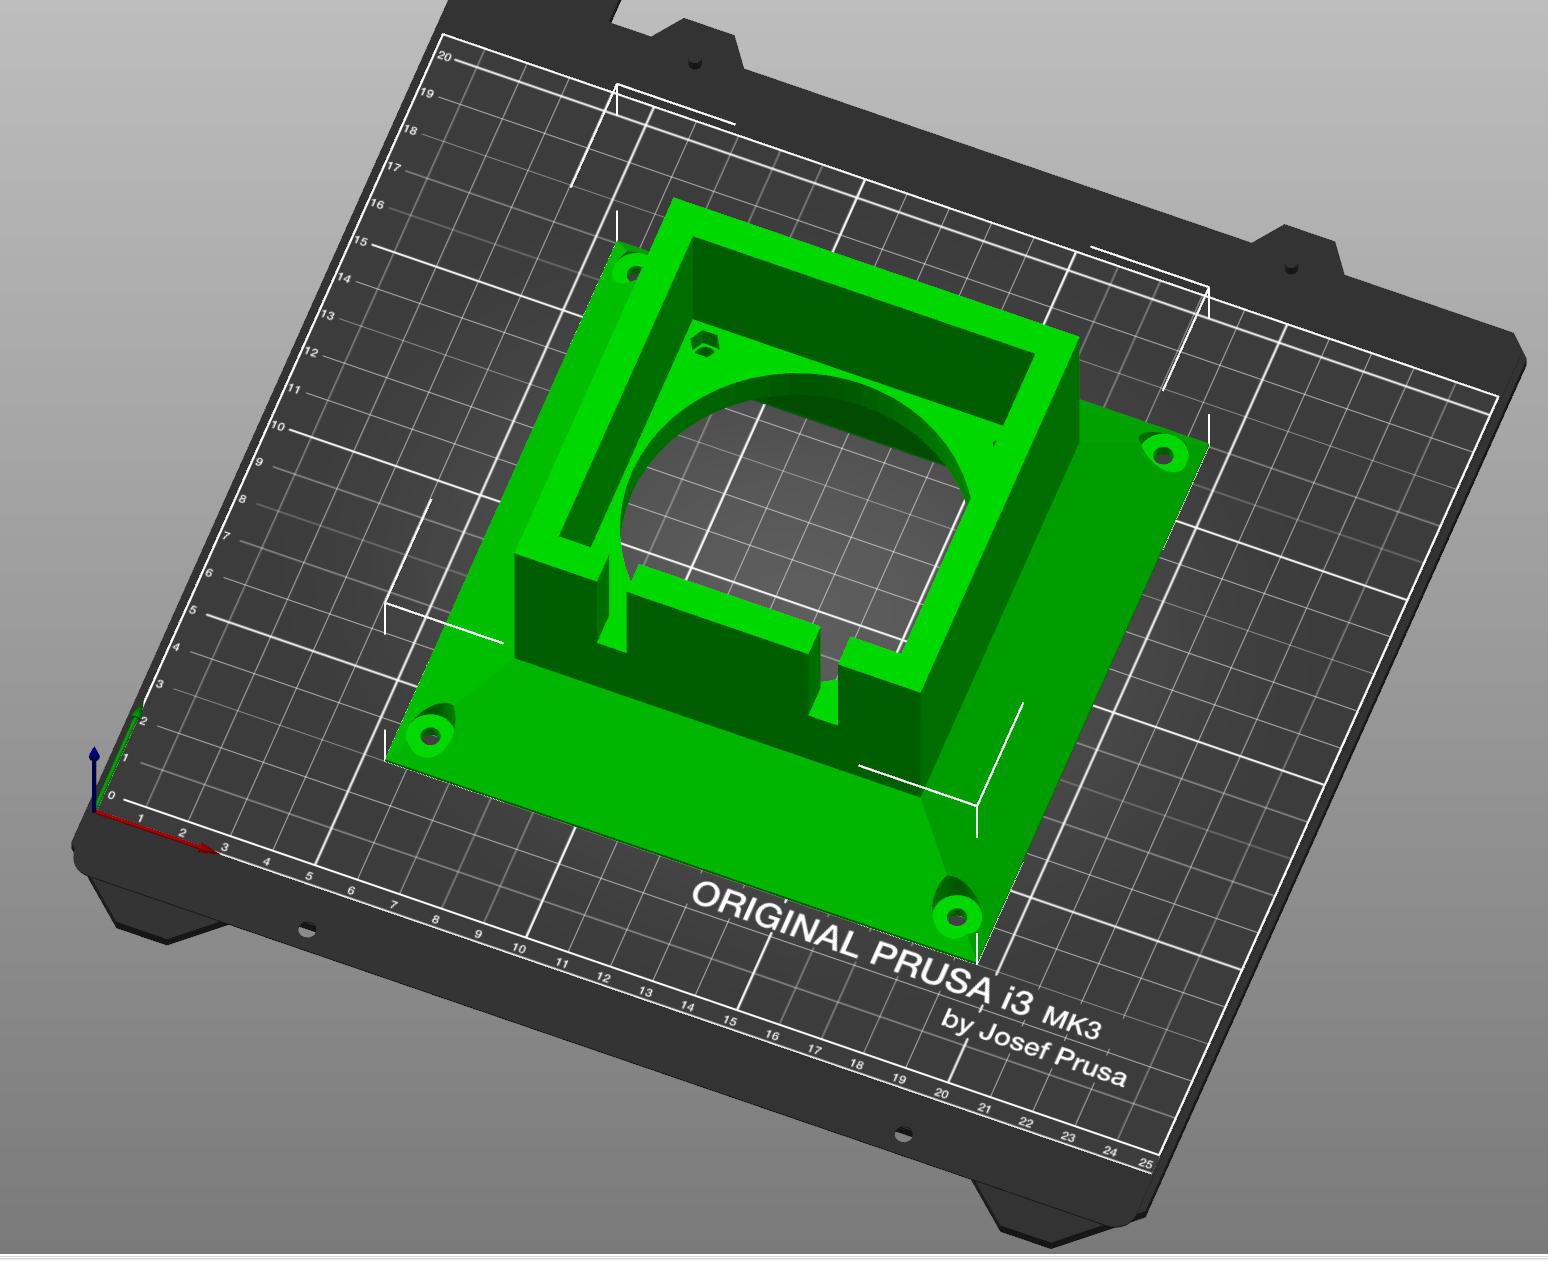
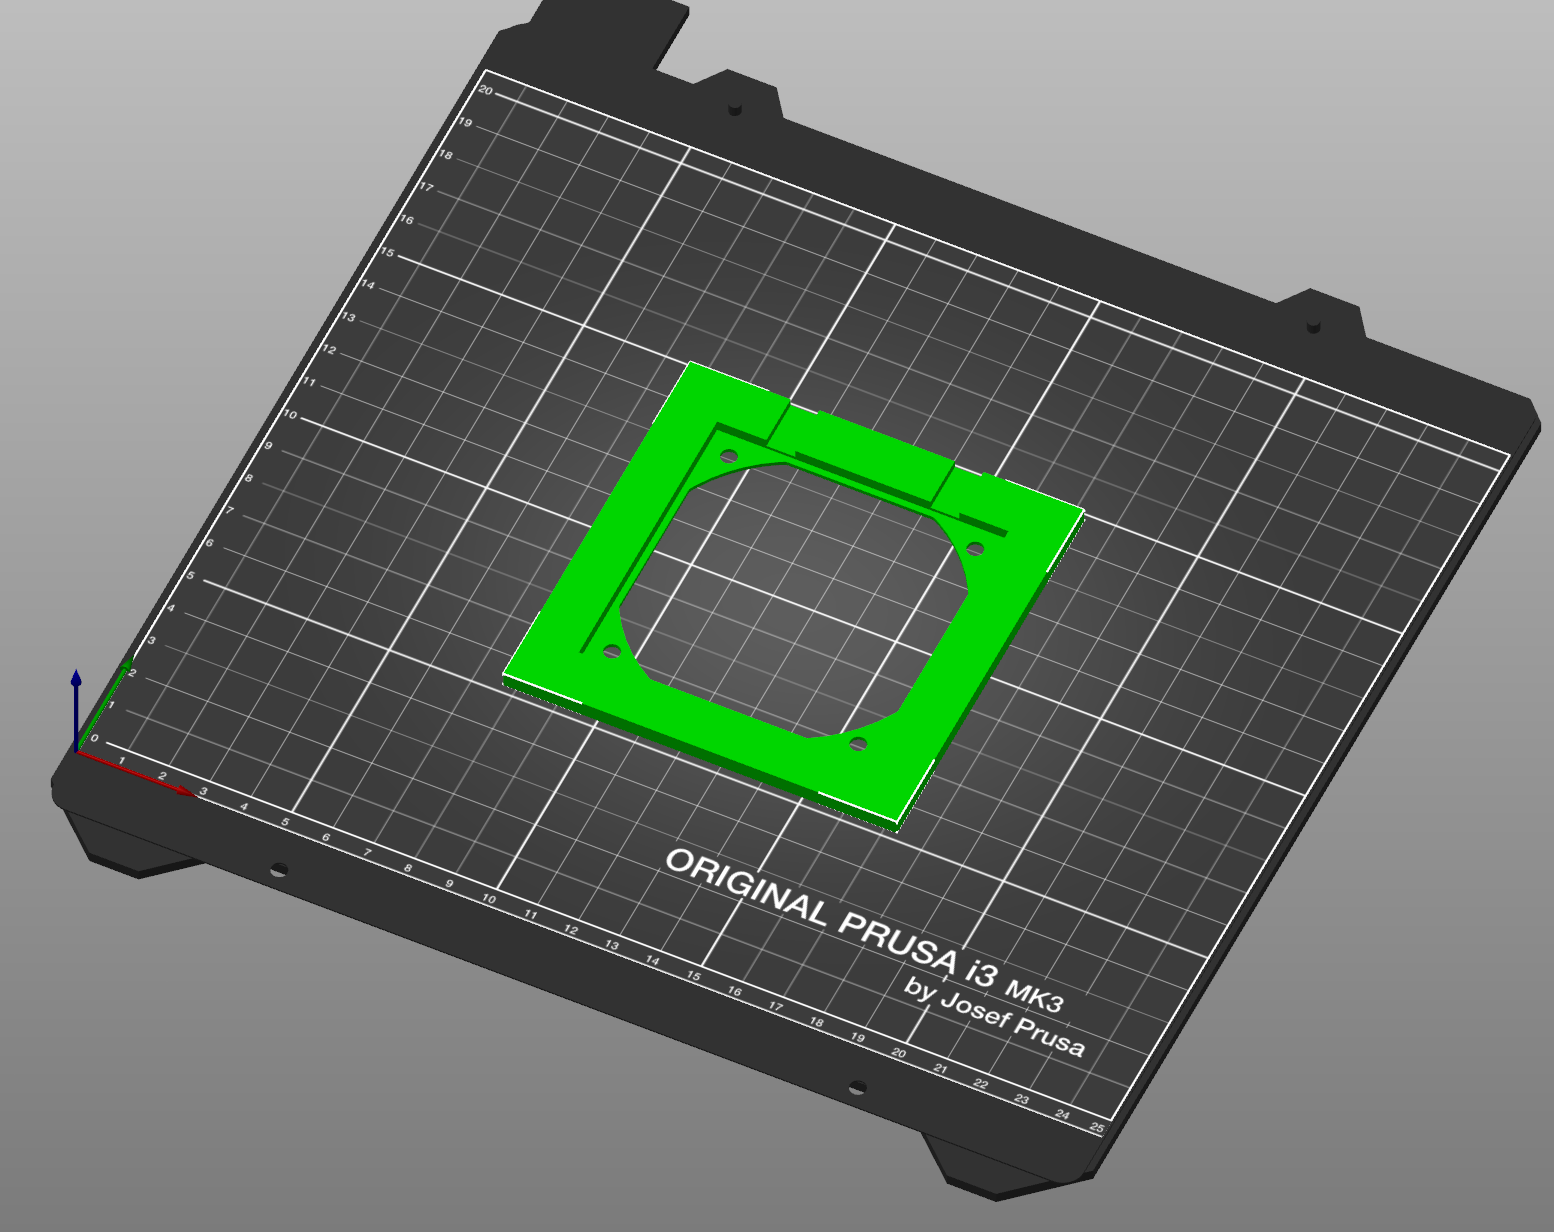
Open your slicing program. Orient the pieces as shown. Infill at 25%. Use a minimum of 5 perimeters. Add supports where noted. I also recommend you use a seam position of "Nearest".
Base Plate (No Supports):
![]()
Pressure Plate (With Supports):
Fan Box (No Supports):
Fan Box Cover (No Supports):
-
8Install the brass inserts into the Base Plate
Reach for your soldering iron. Install the 'heat-set insert tip'. Set the temperature to nearly 400 C. Gather your six brass threaded inserts.
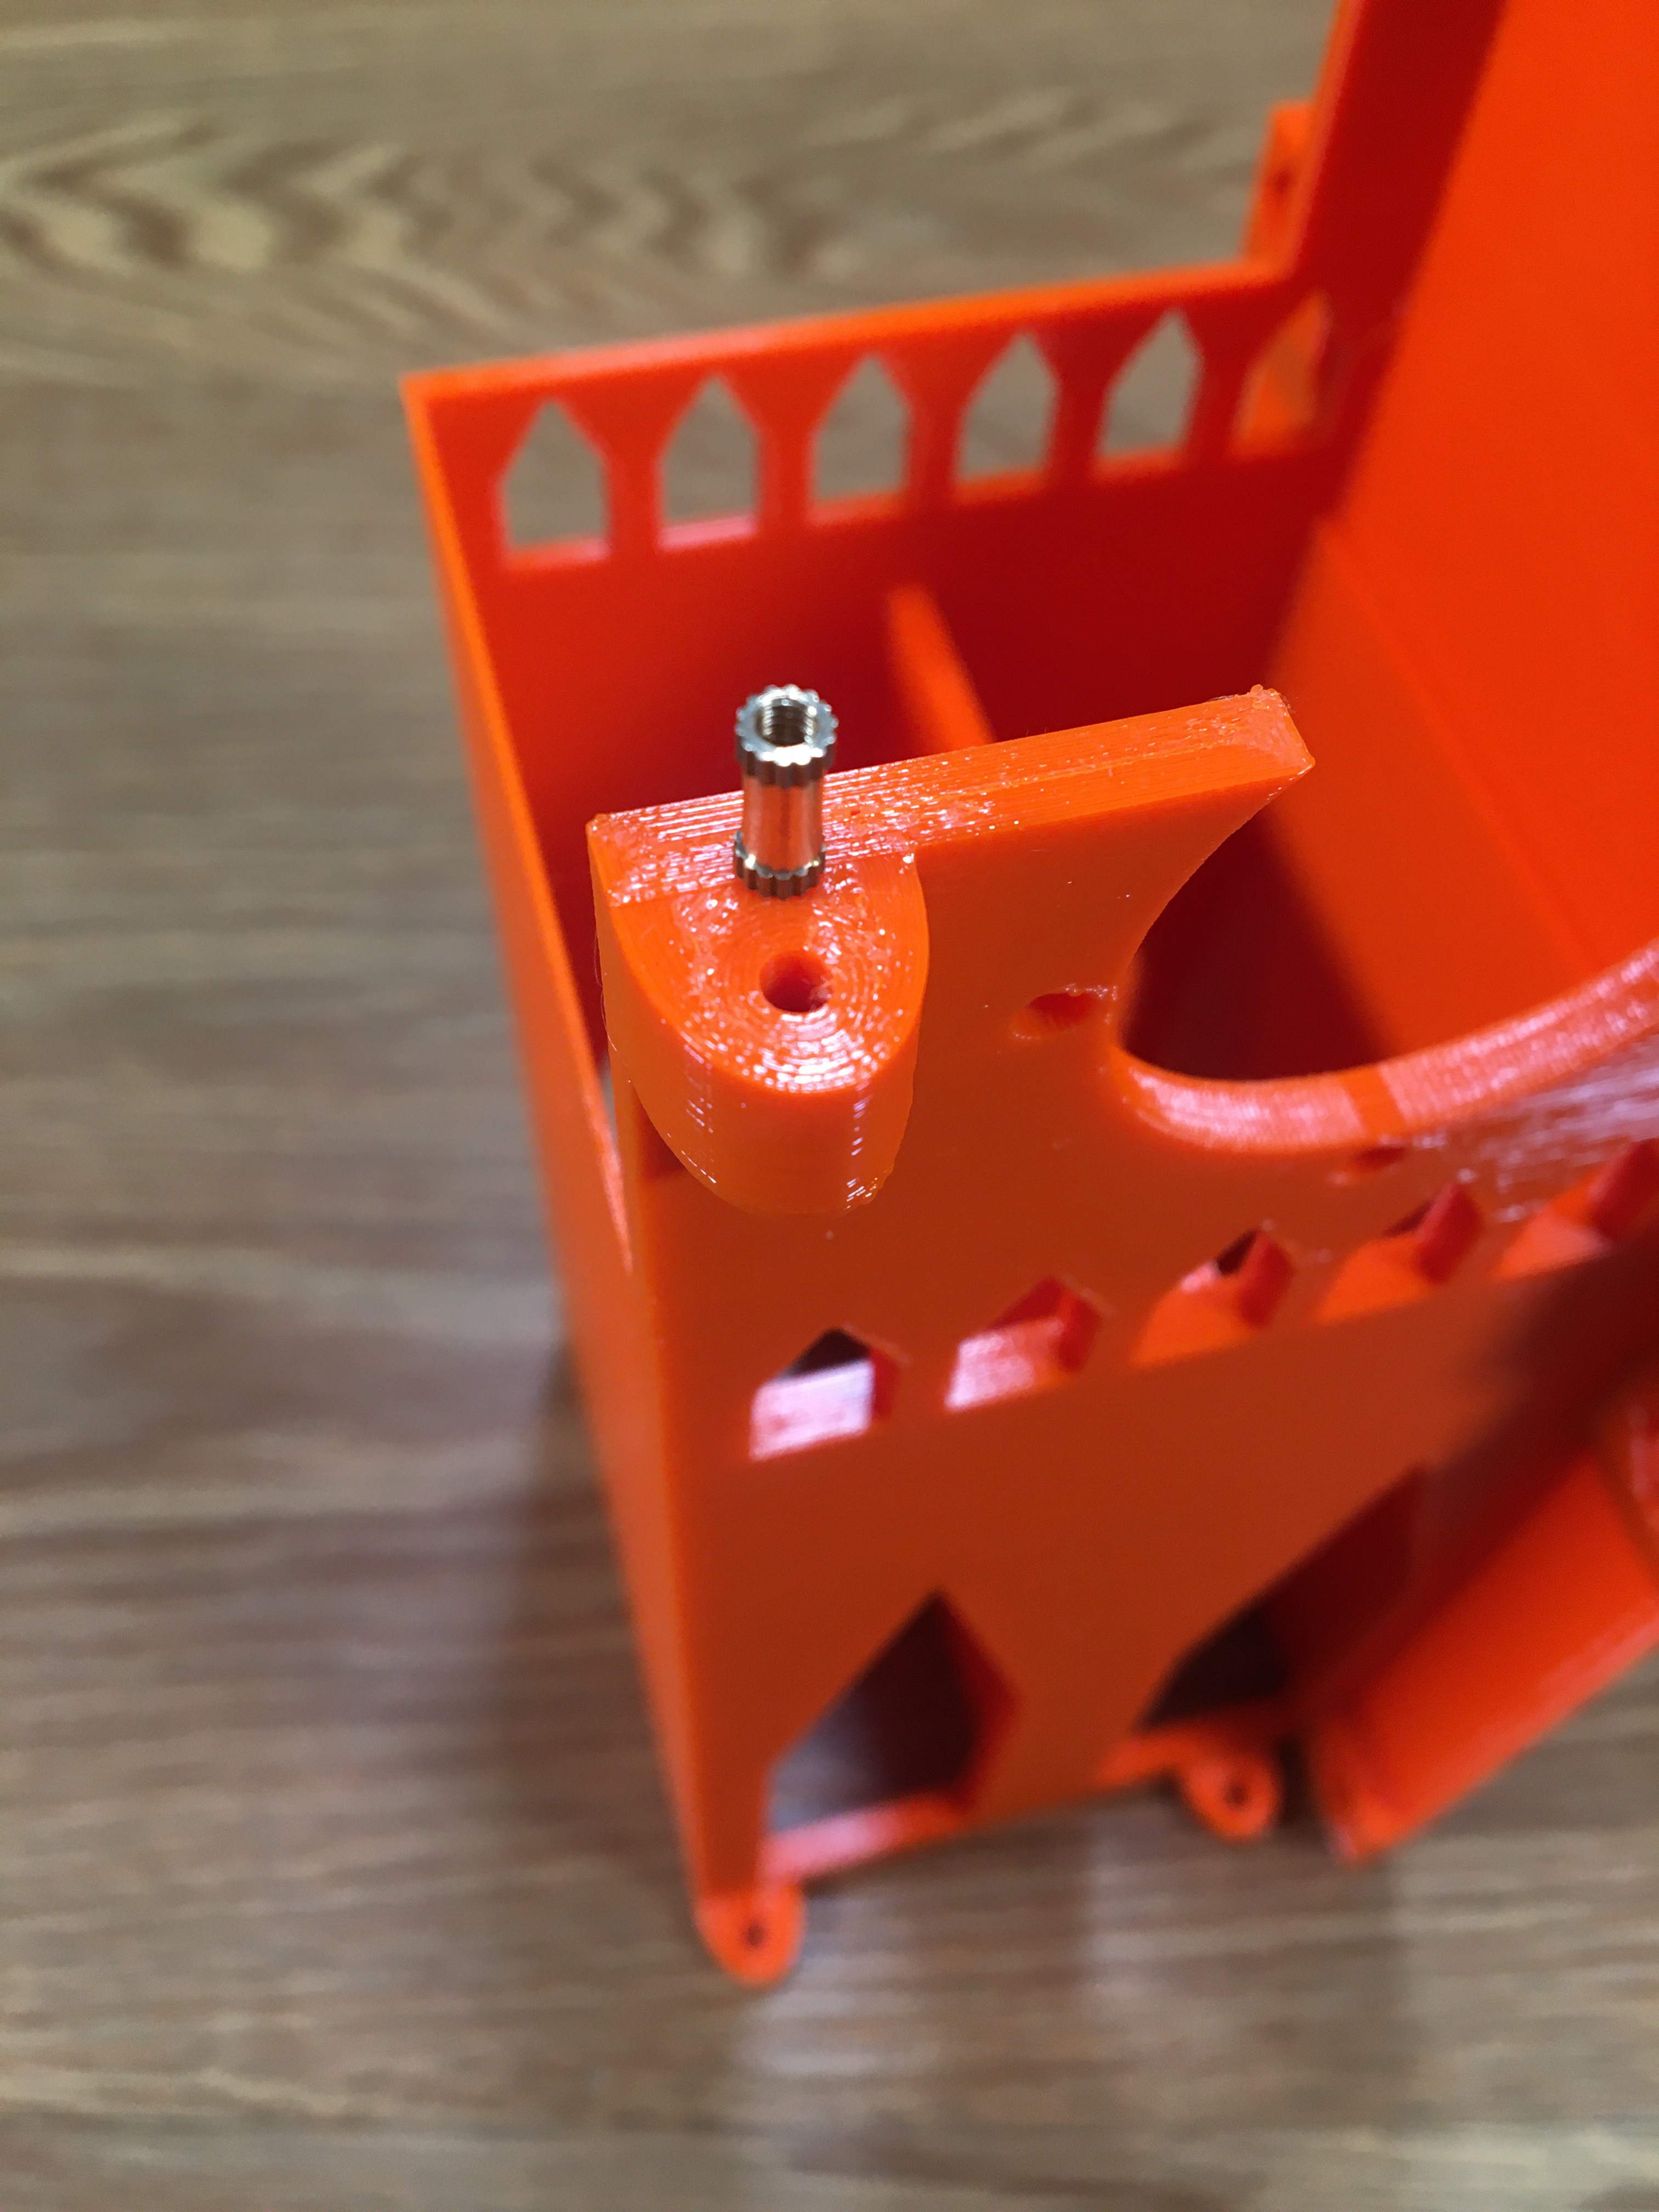
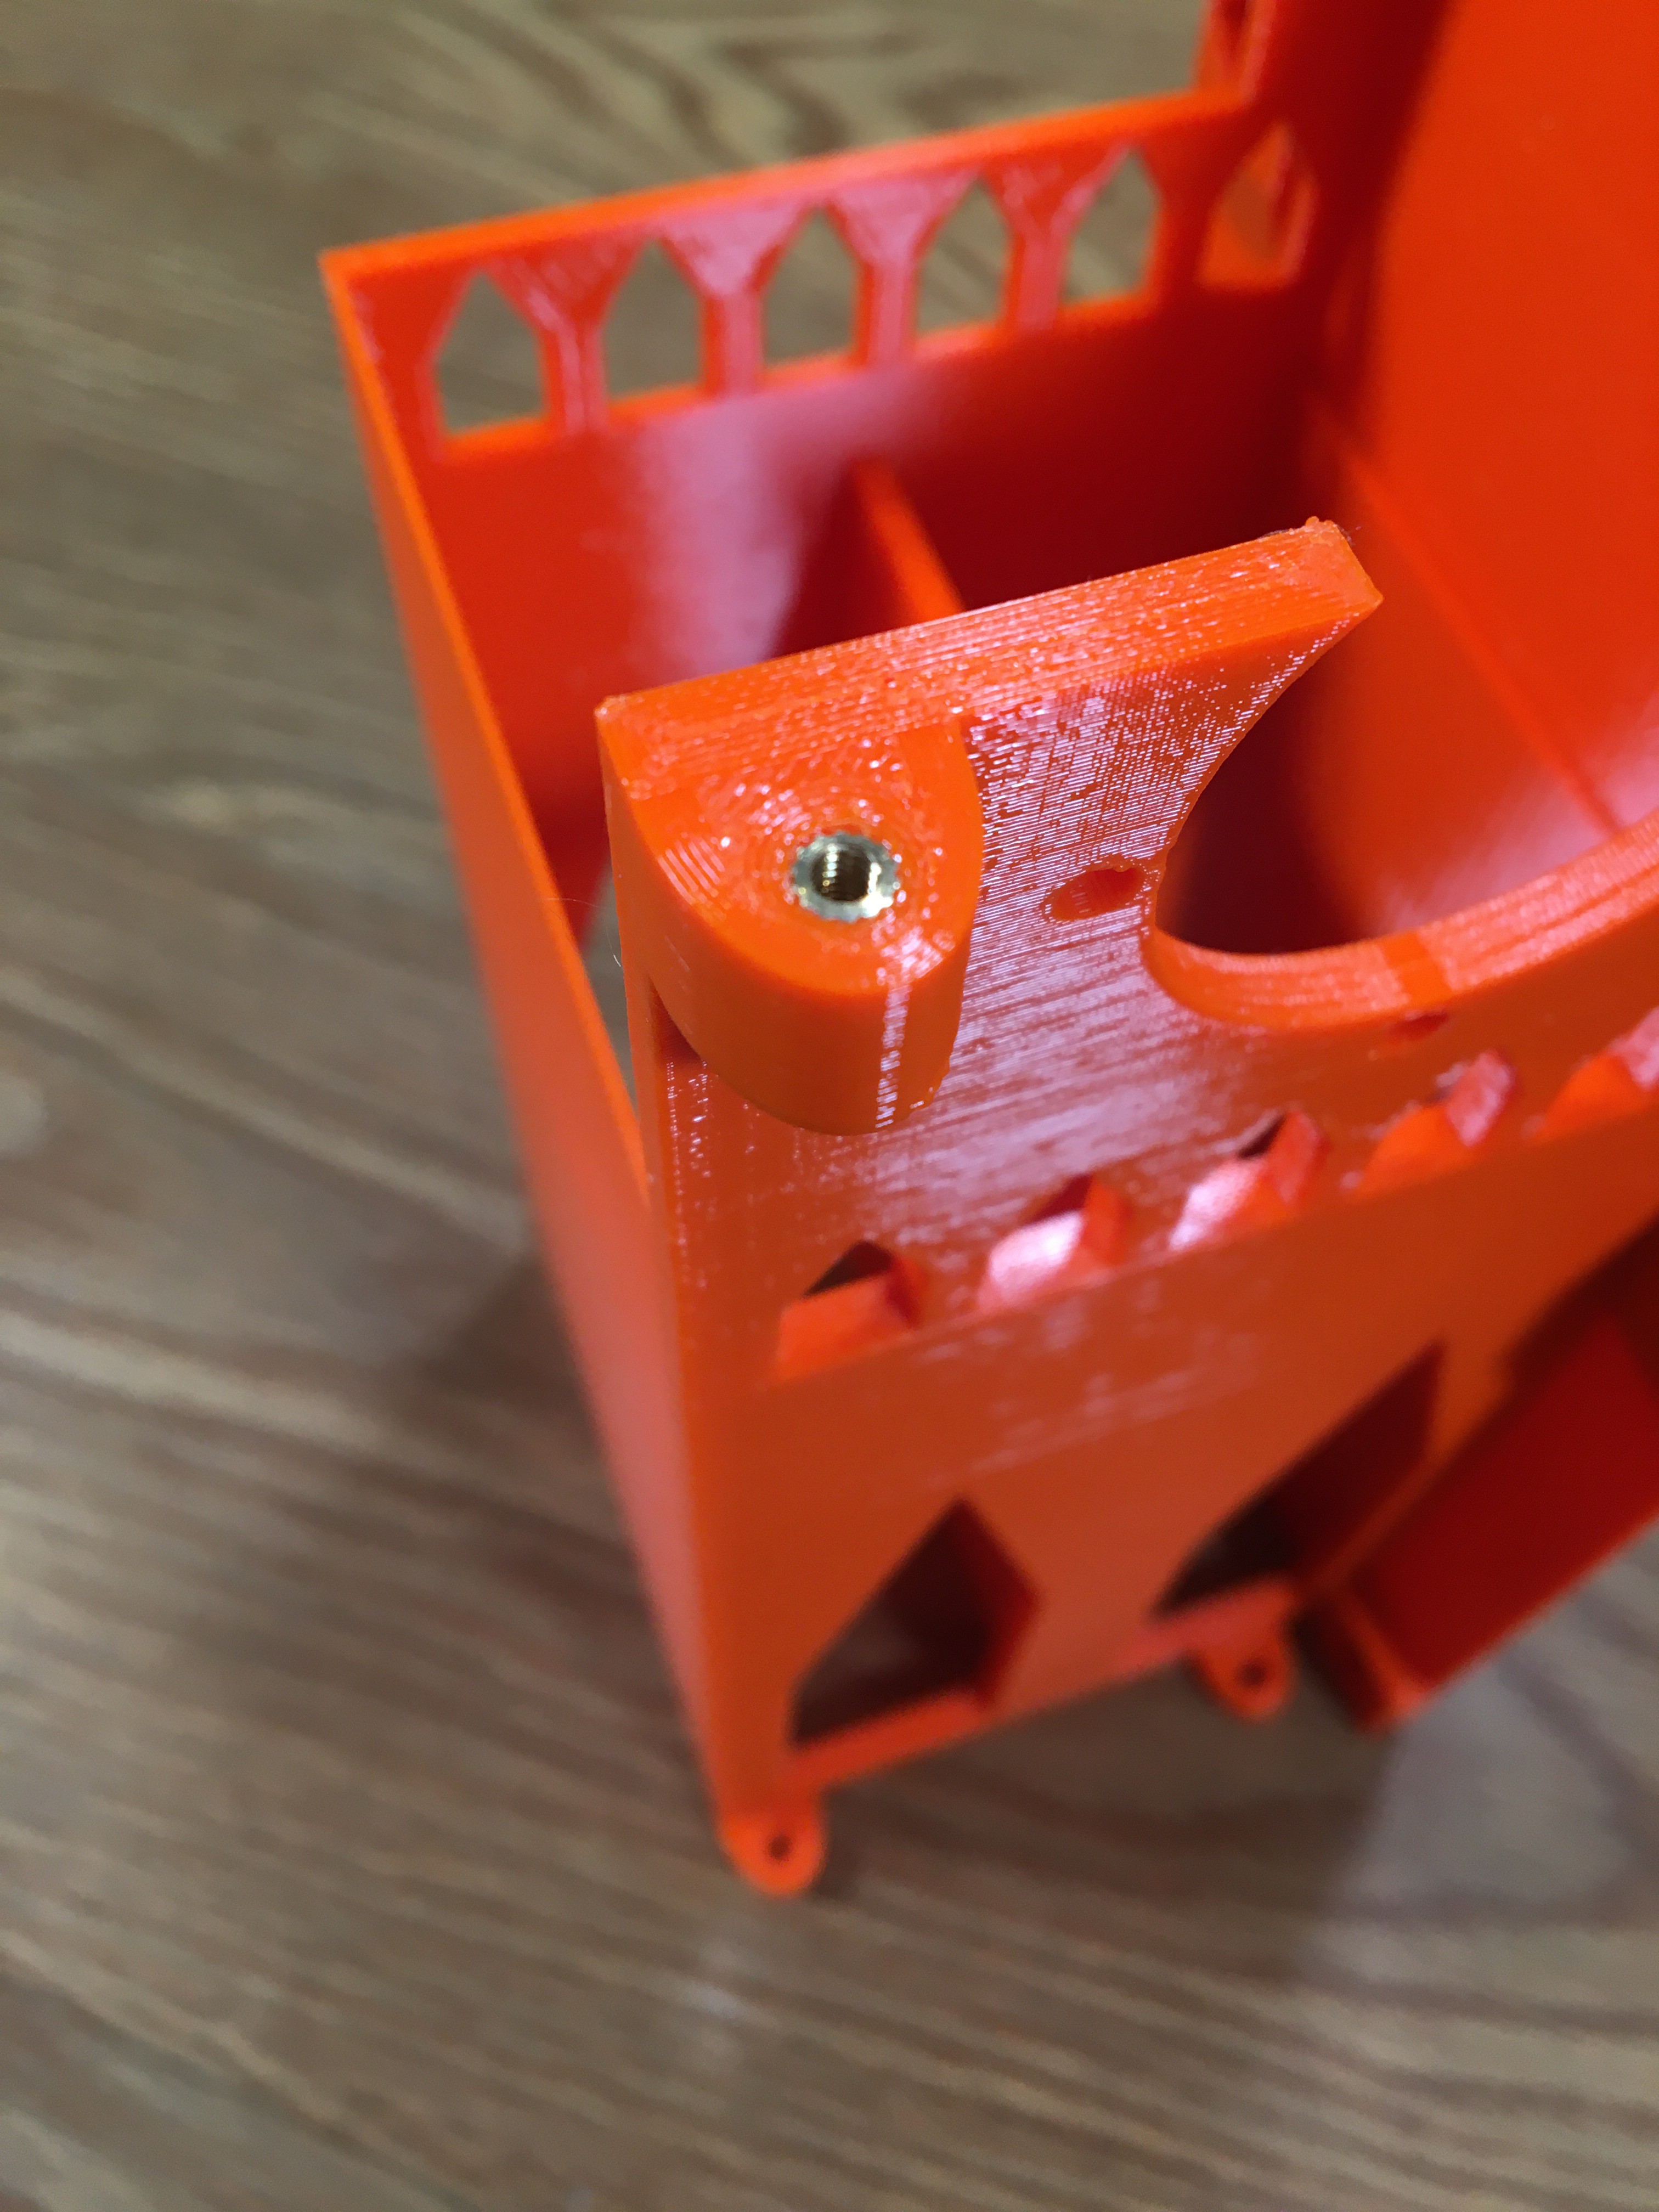
Put the brass insert over the hole. Use the perimeters of filament around the hole to guide you into centering the insert. Put the tip of the soldering iron into the hole of the insert. Press down very gently. After a few moments, the brass insert will start to melt the filament and descend into the hole. I don't have any images of this process from this project, so here are two images of brass insert installation from a different project.
Before:
After:
-
9Install the #6 hex nuts into the Fan Box
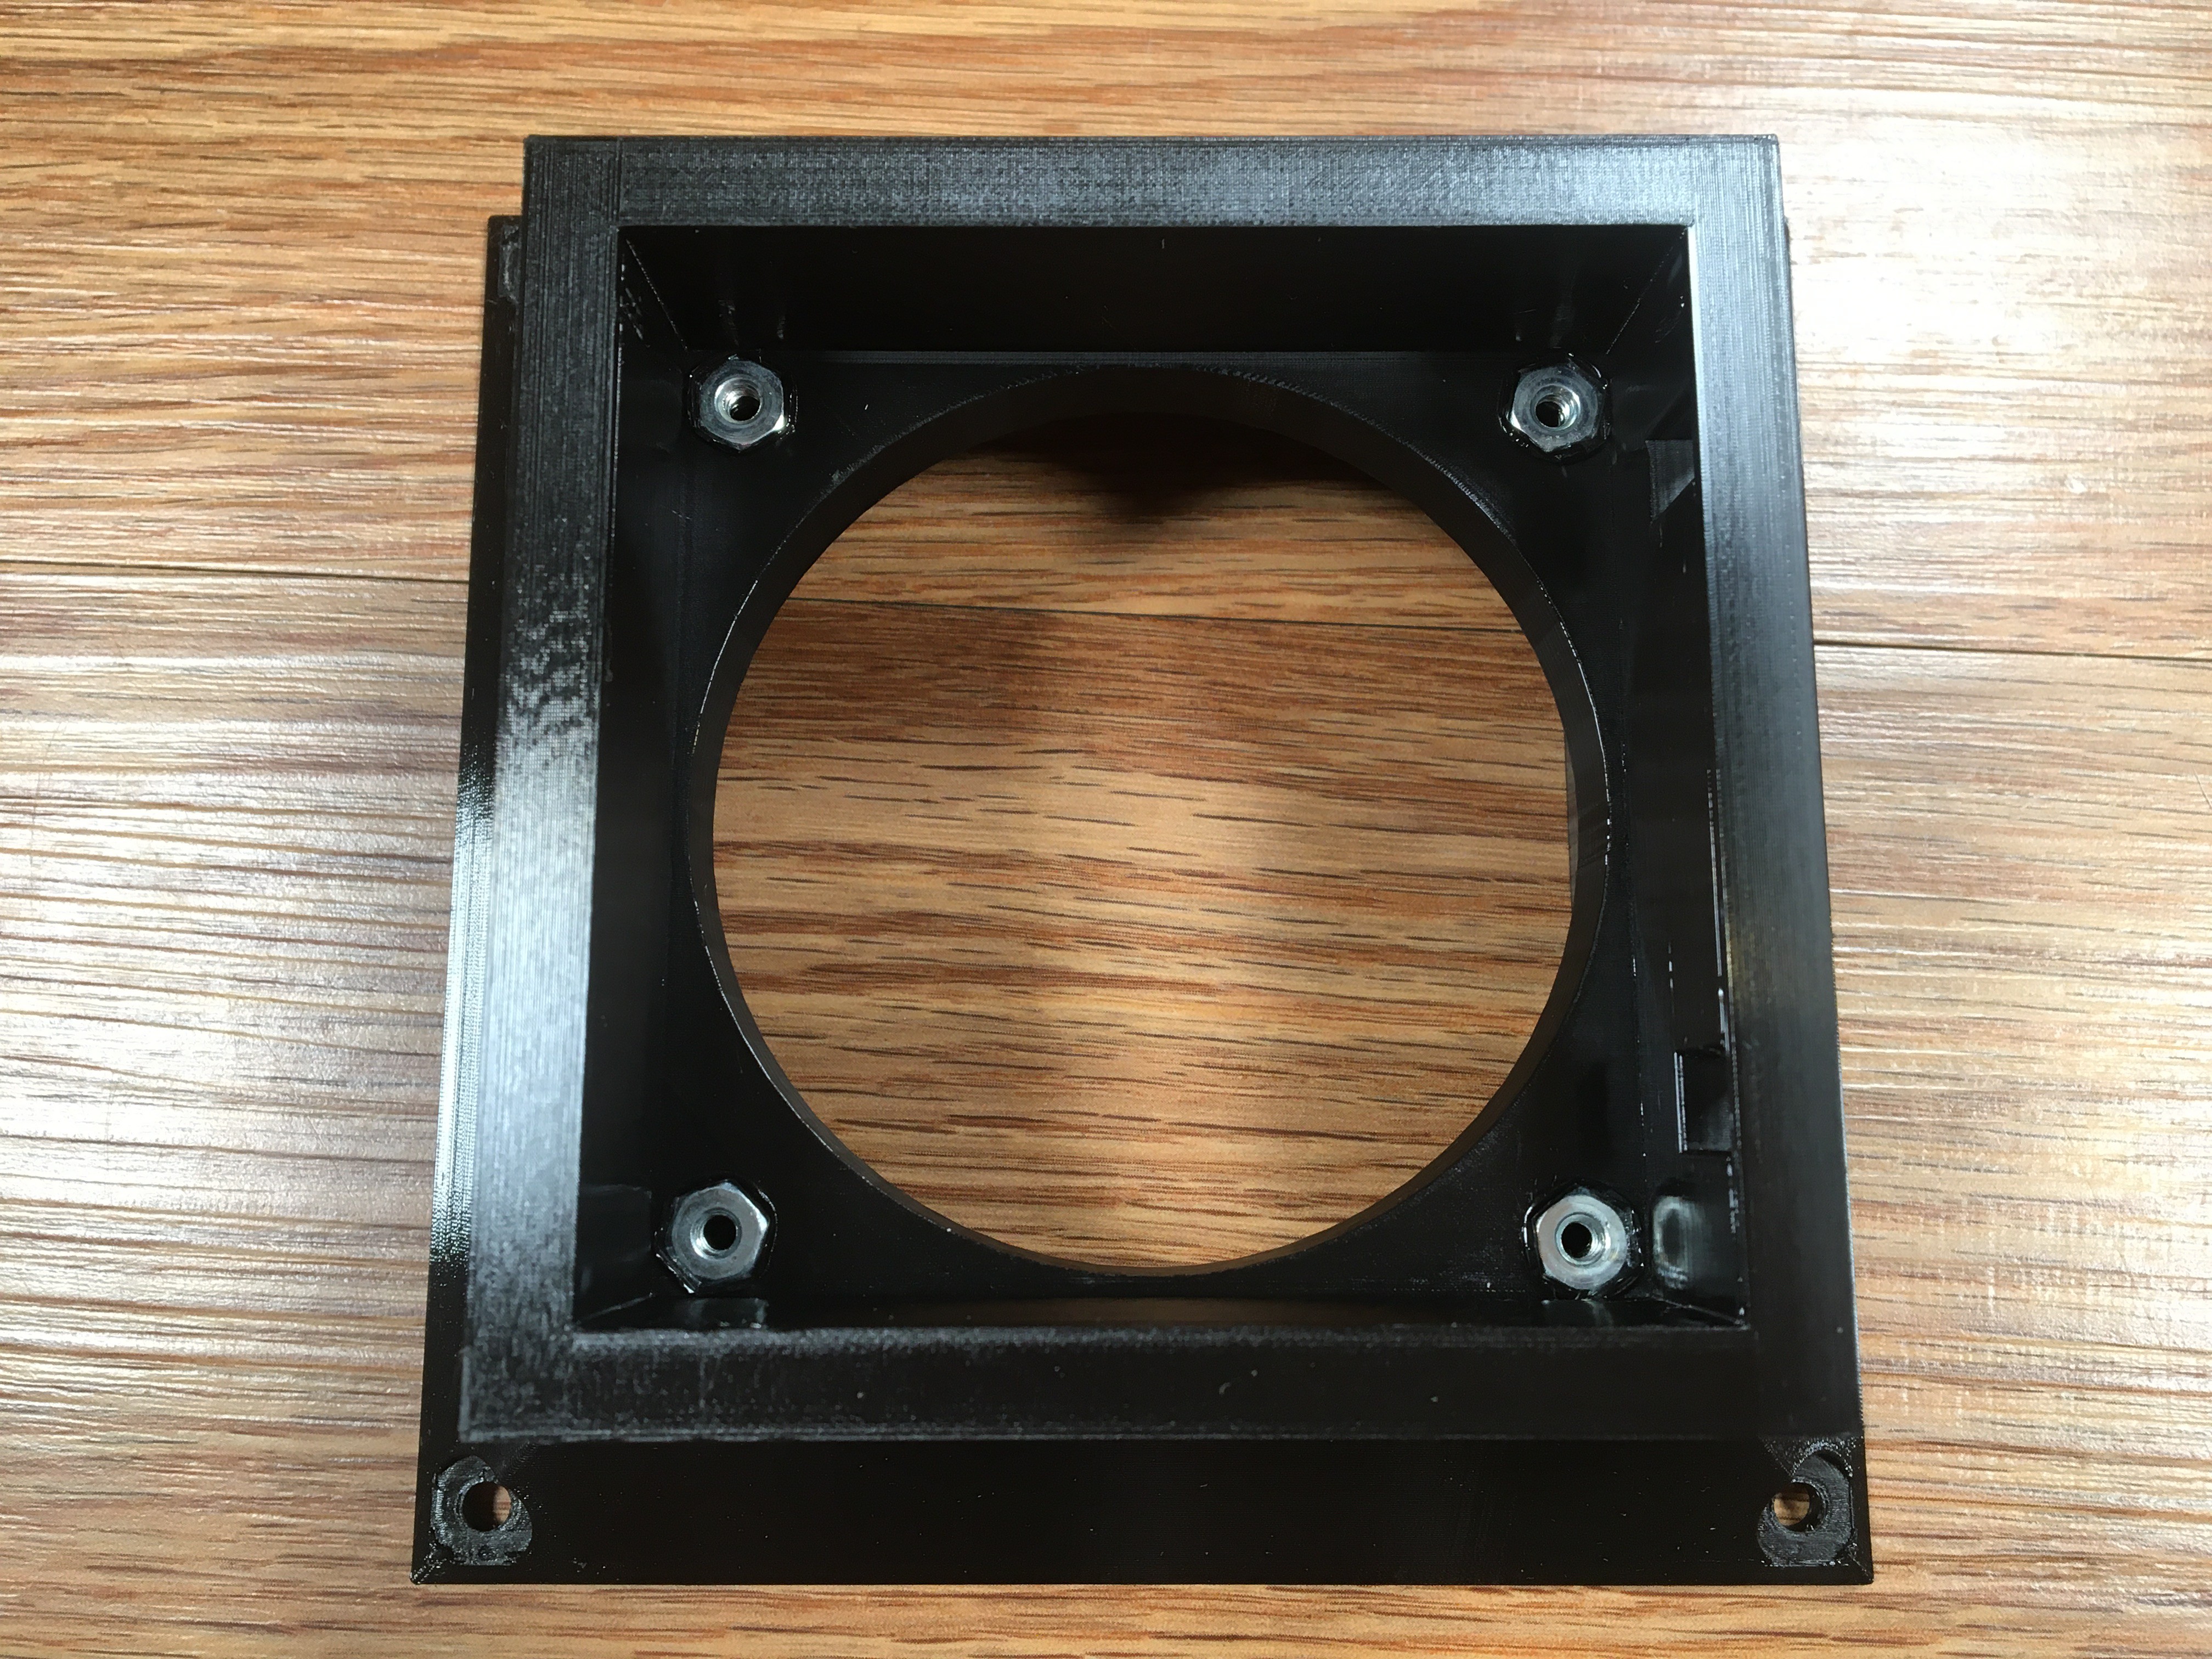
While your soldering iron is still hot from the previous step, grab four #6 hex nuts. Put each hex nut into the hole. Put the tip of the soldering iron into the hole of the hex nut. Press down very gently. After a few moments, the hex nut will start to melt the filament and descend into the hole.
-
10Install the fan into the Fan Box
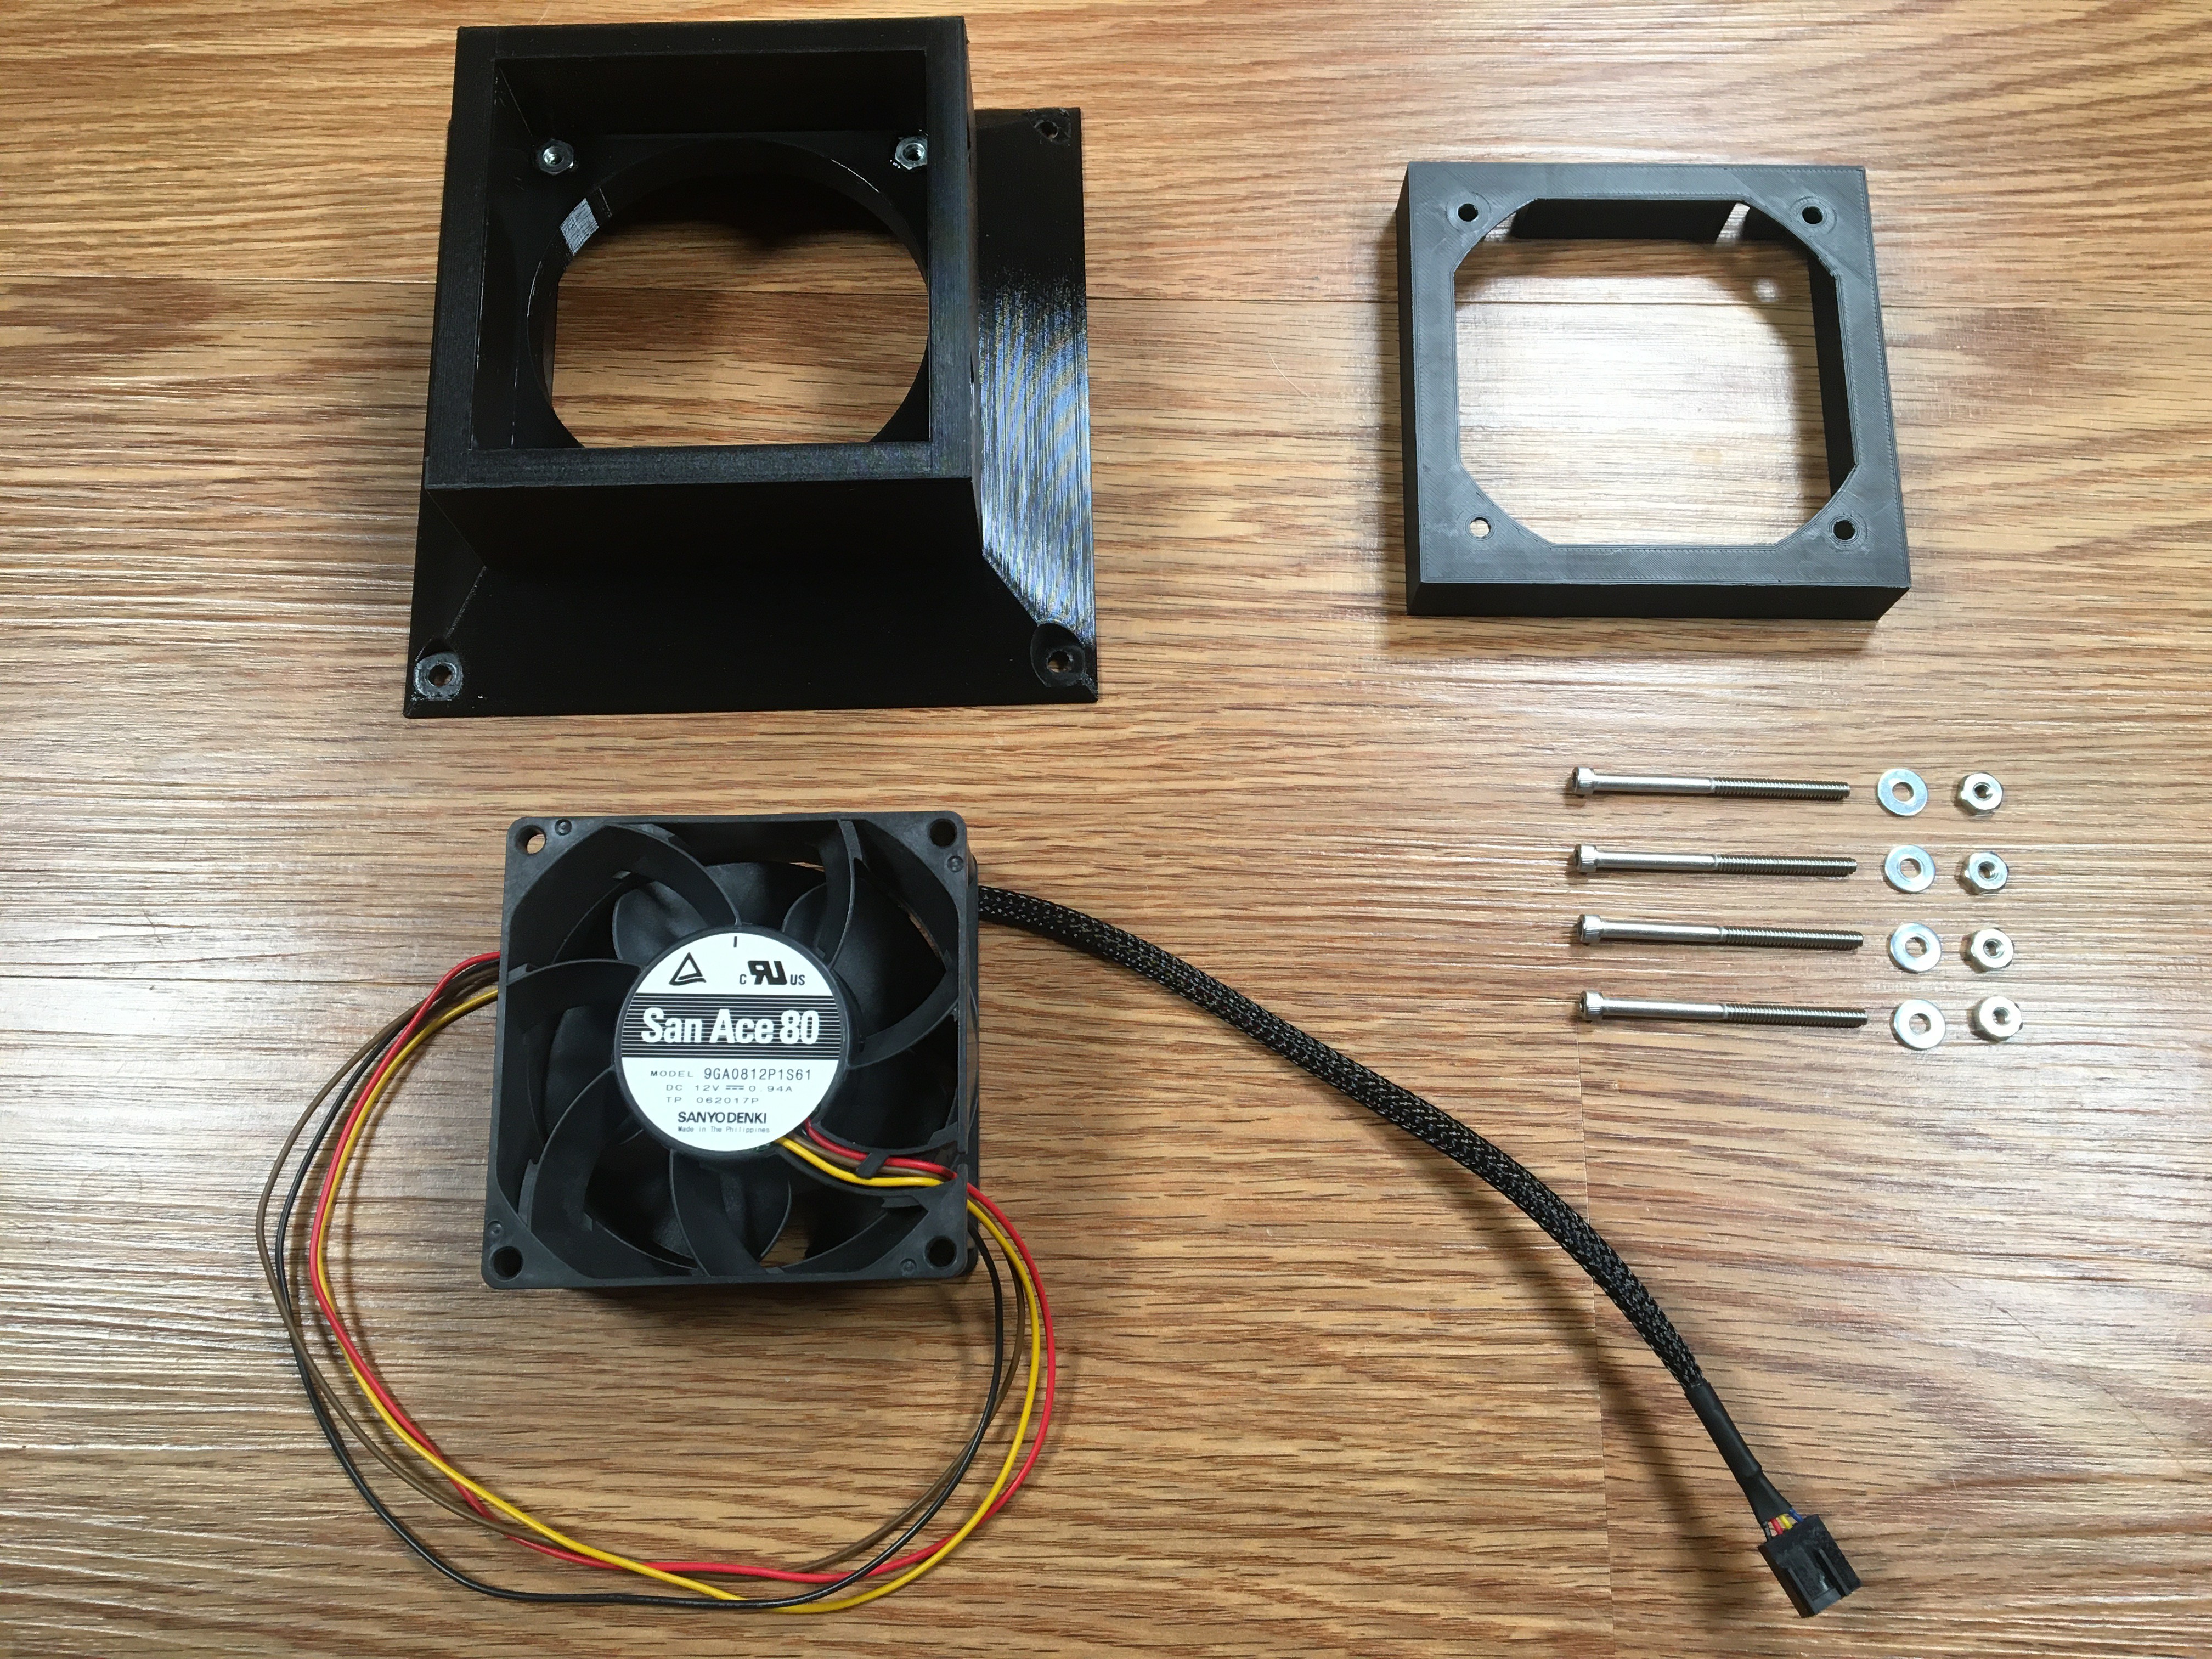
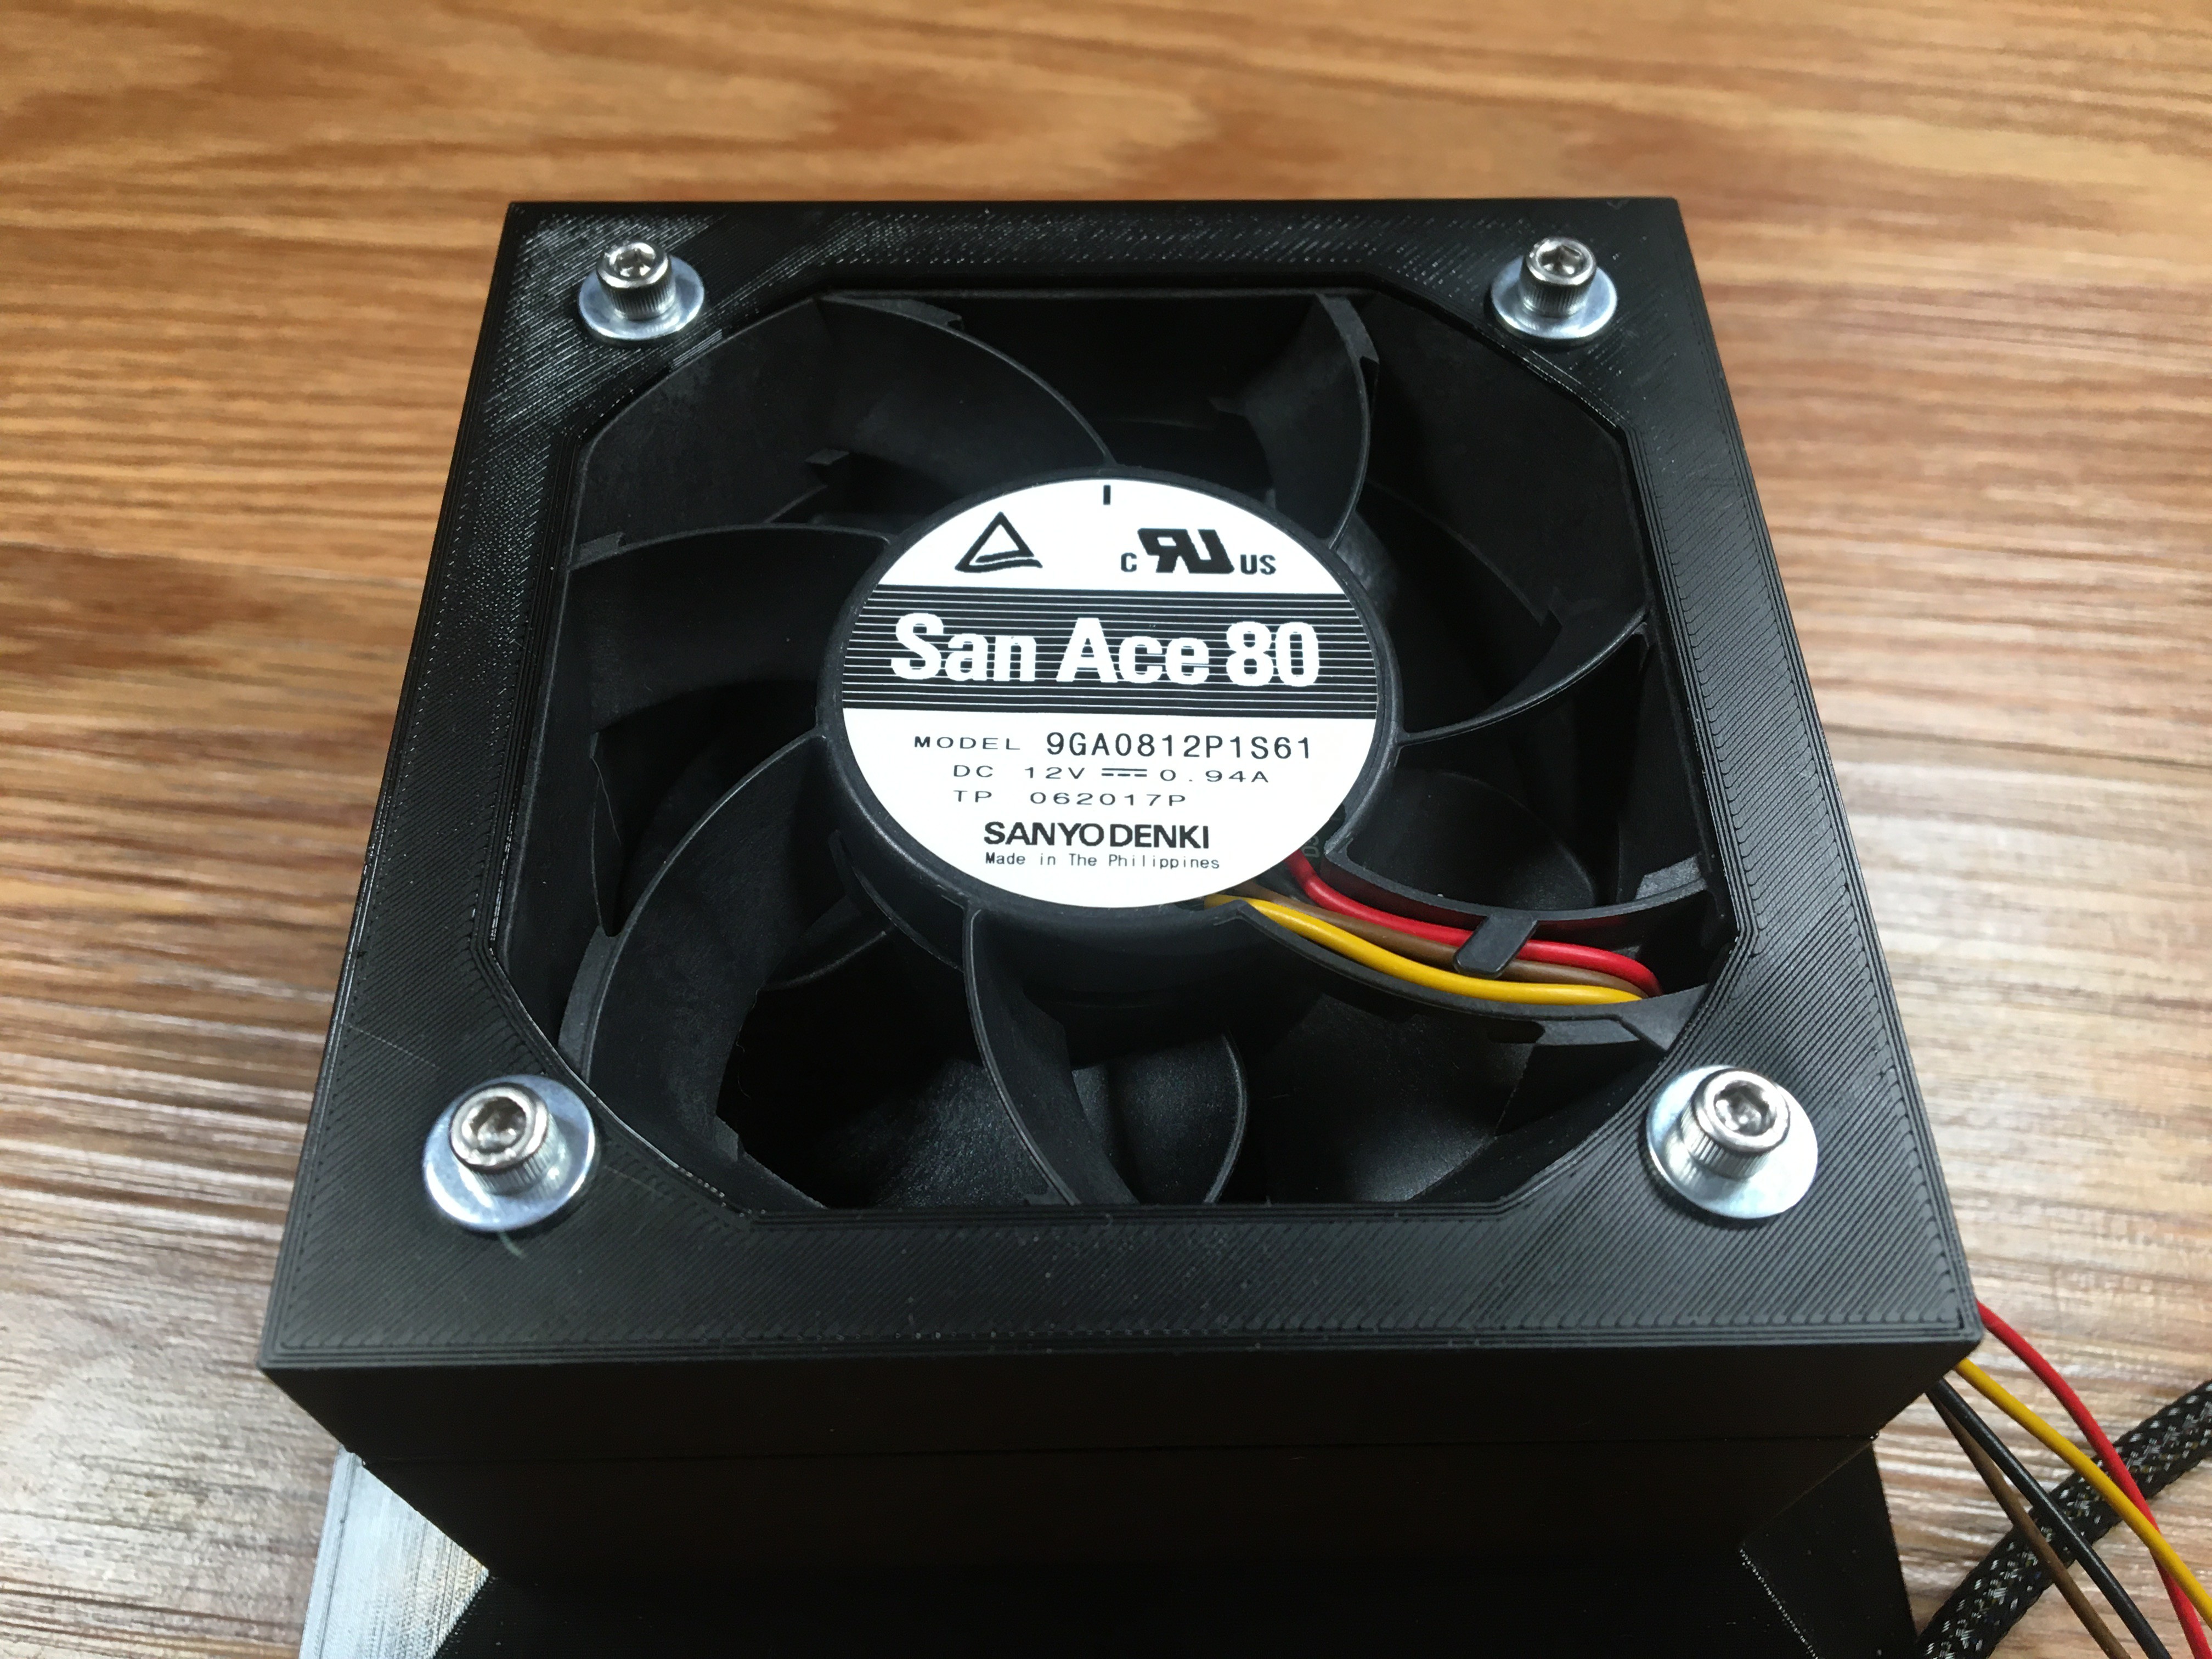
Grab your fan, fan box, fan box cover, #6 bolts, and #6 washers.
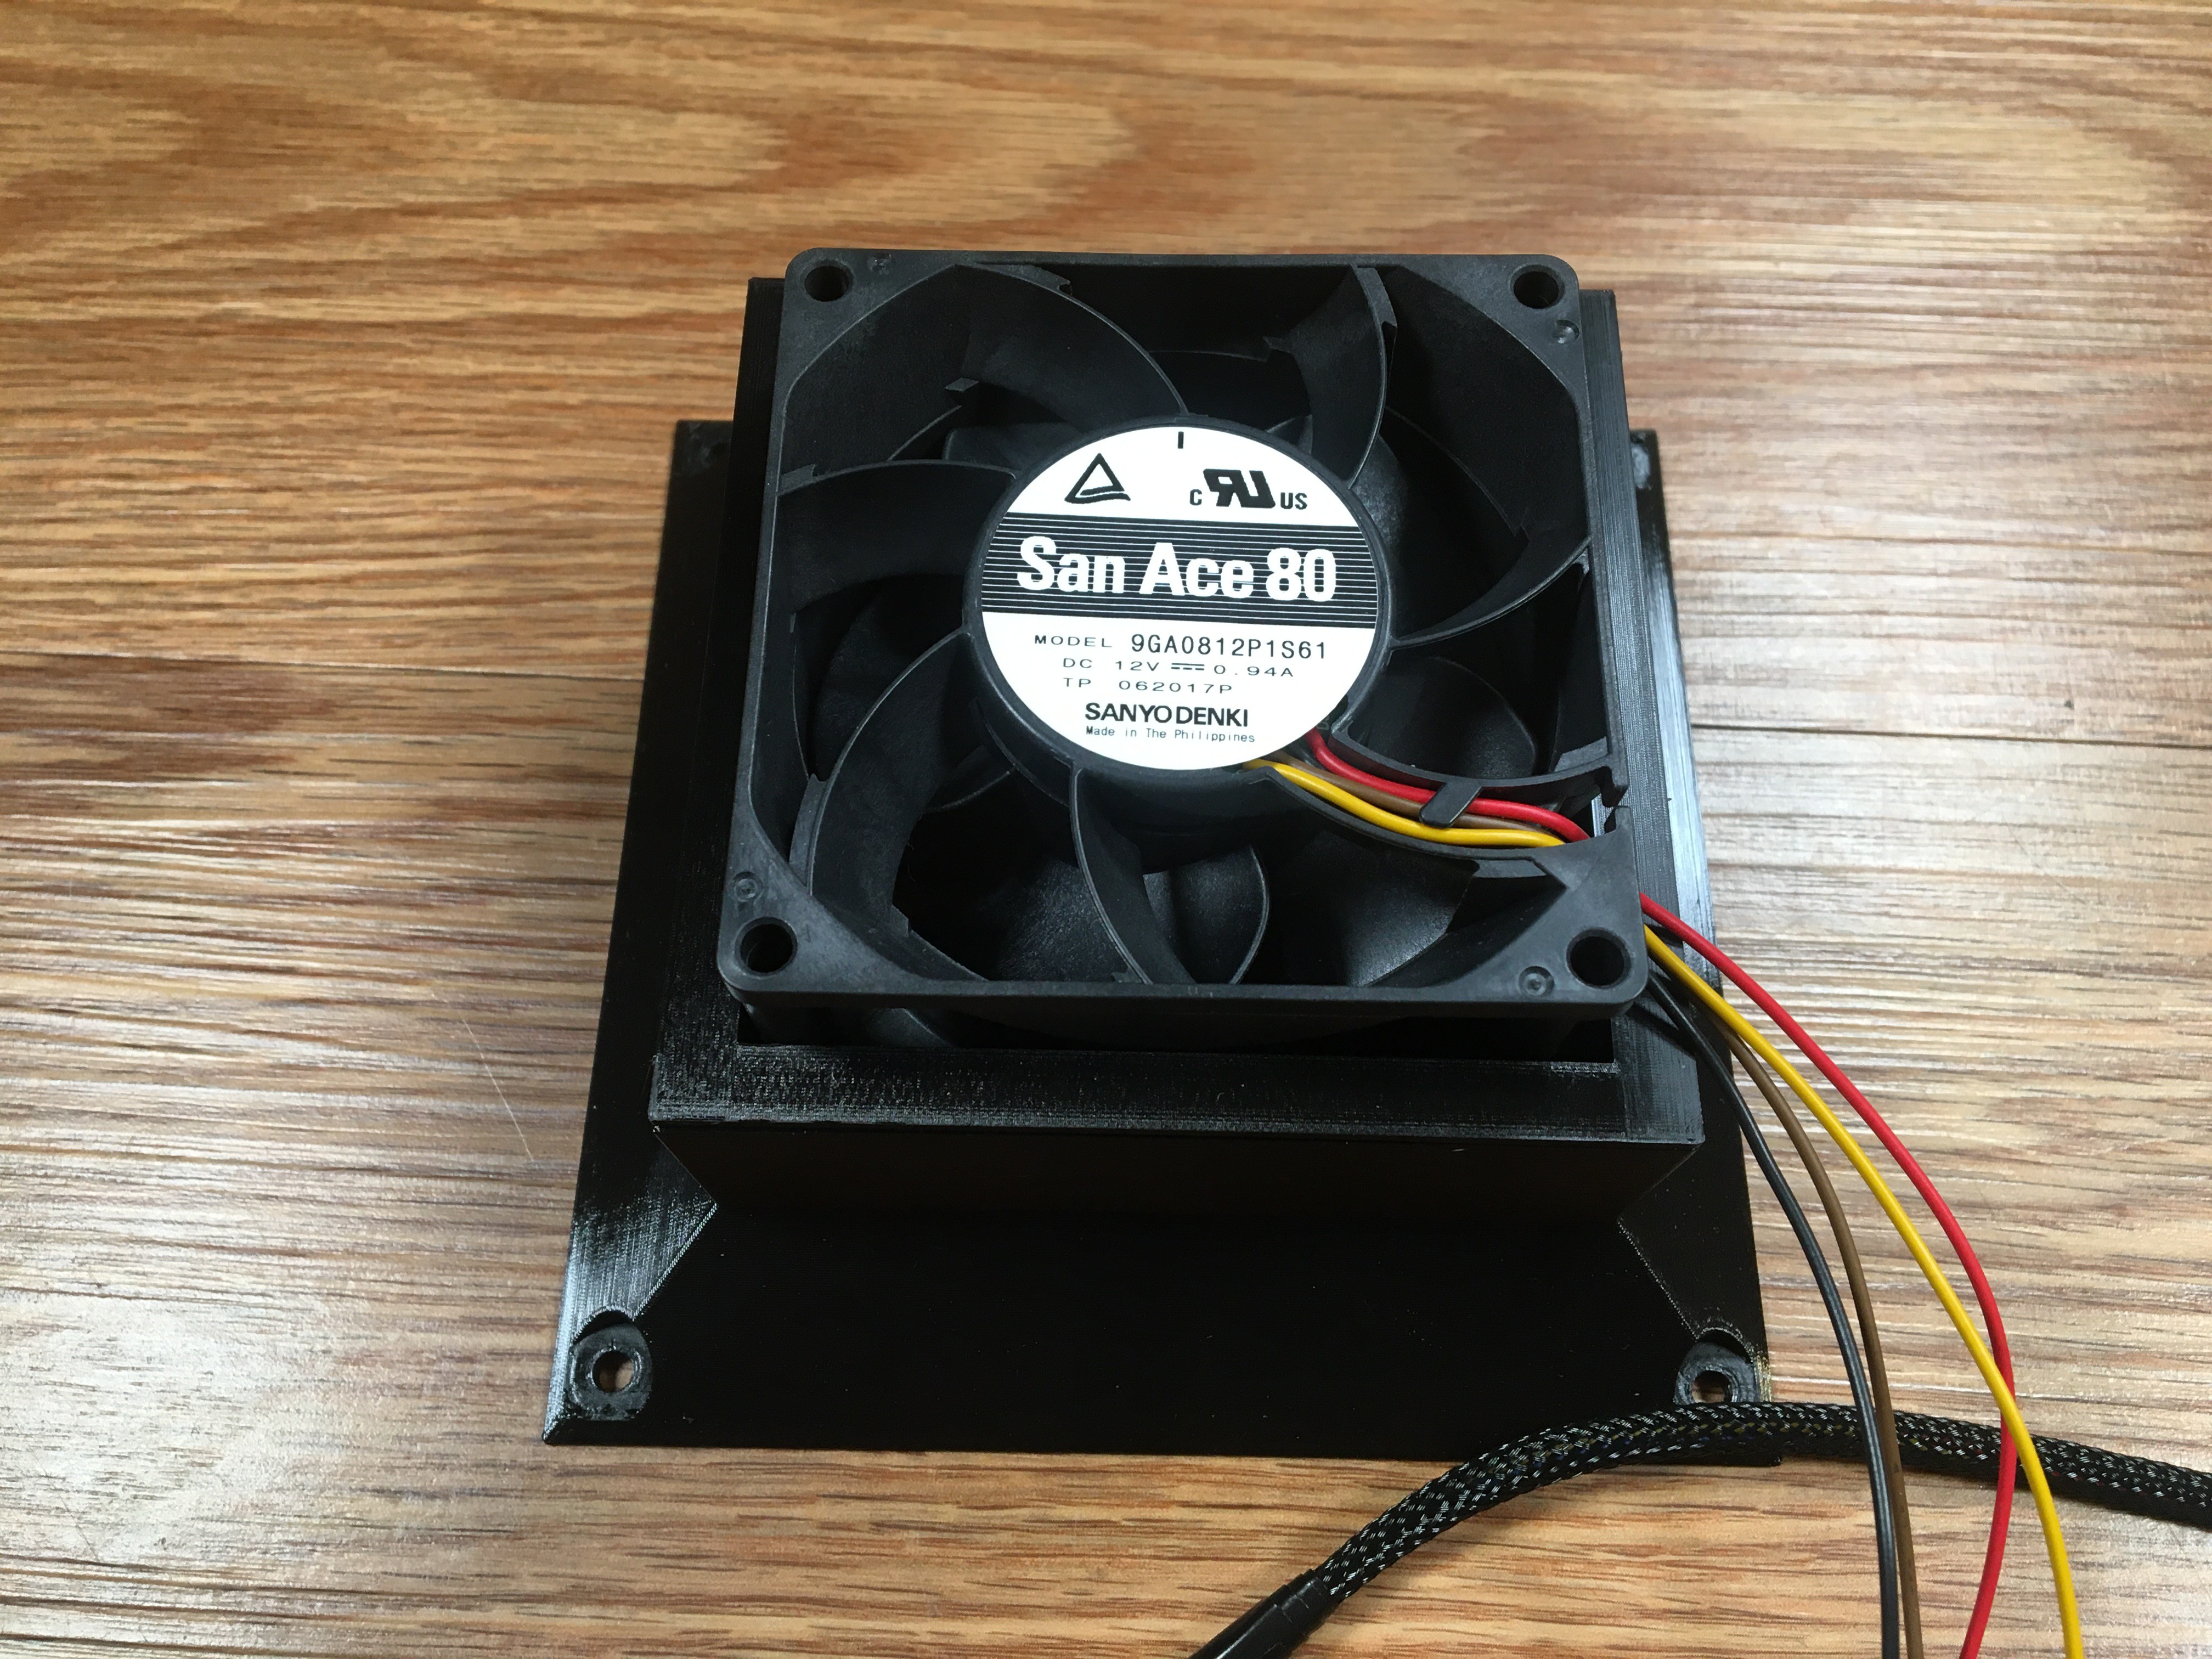
Insert the fan into the fan box.
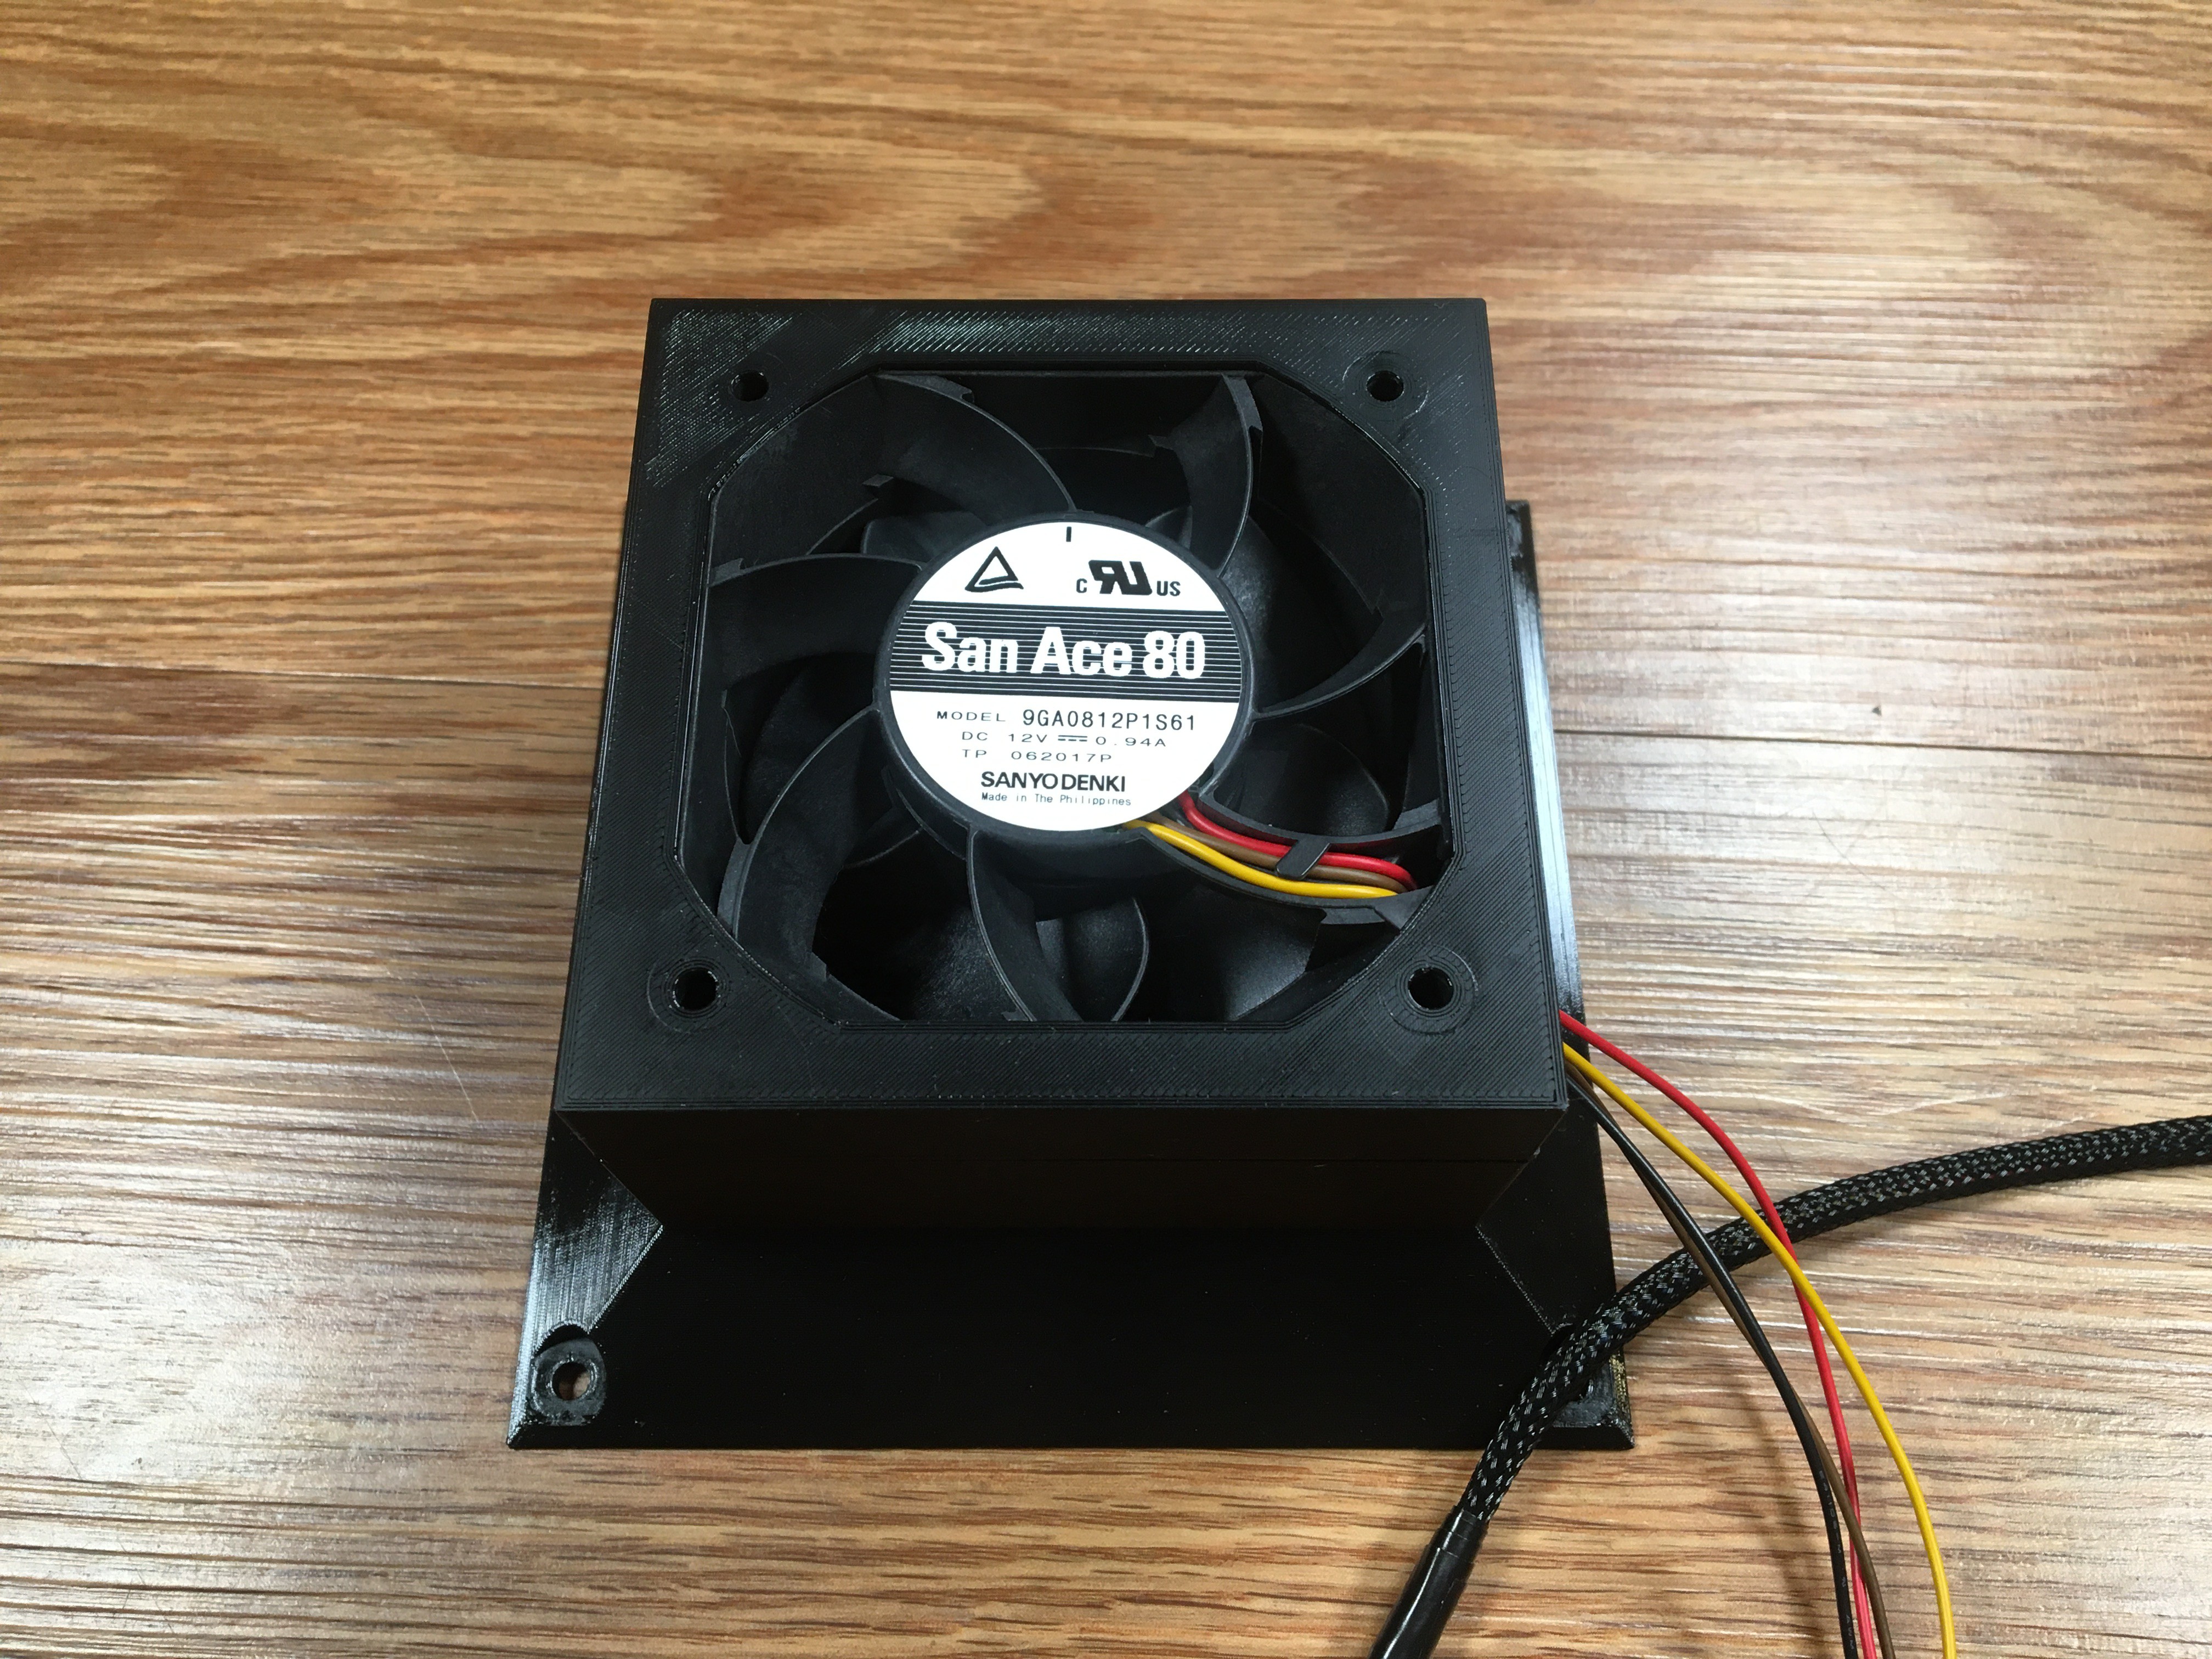
Put the fan box cover on top.
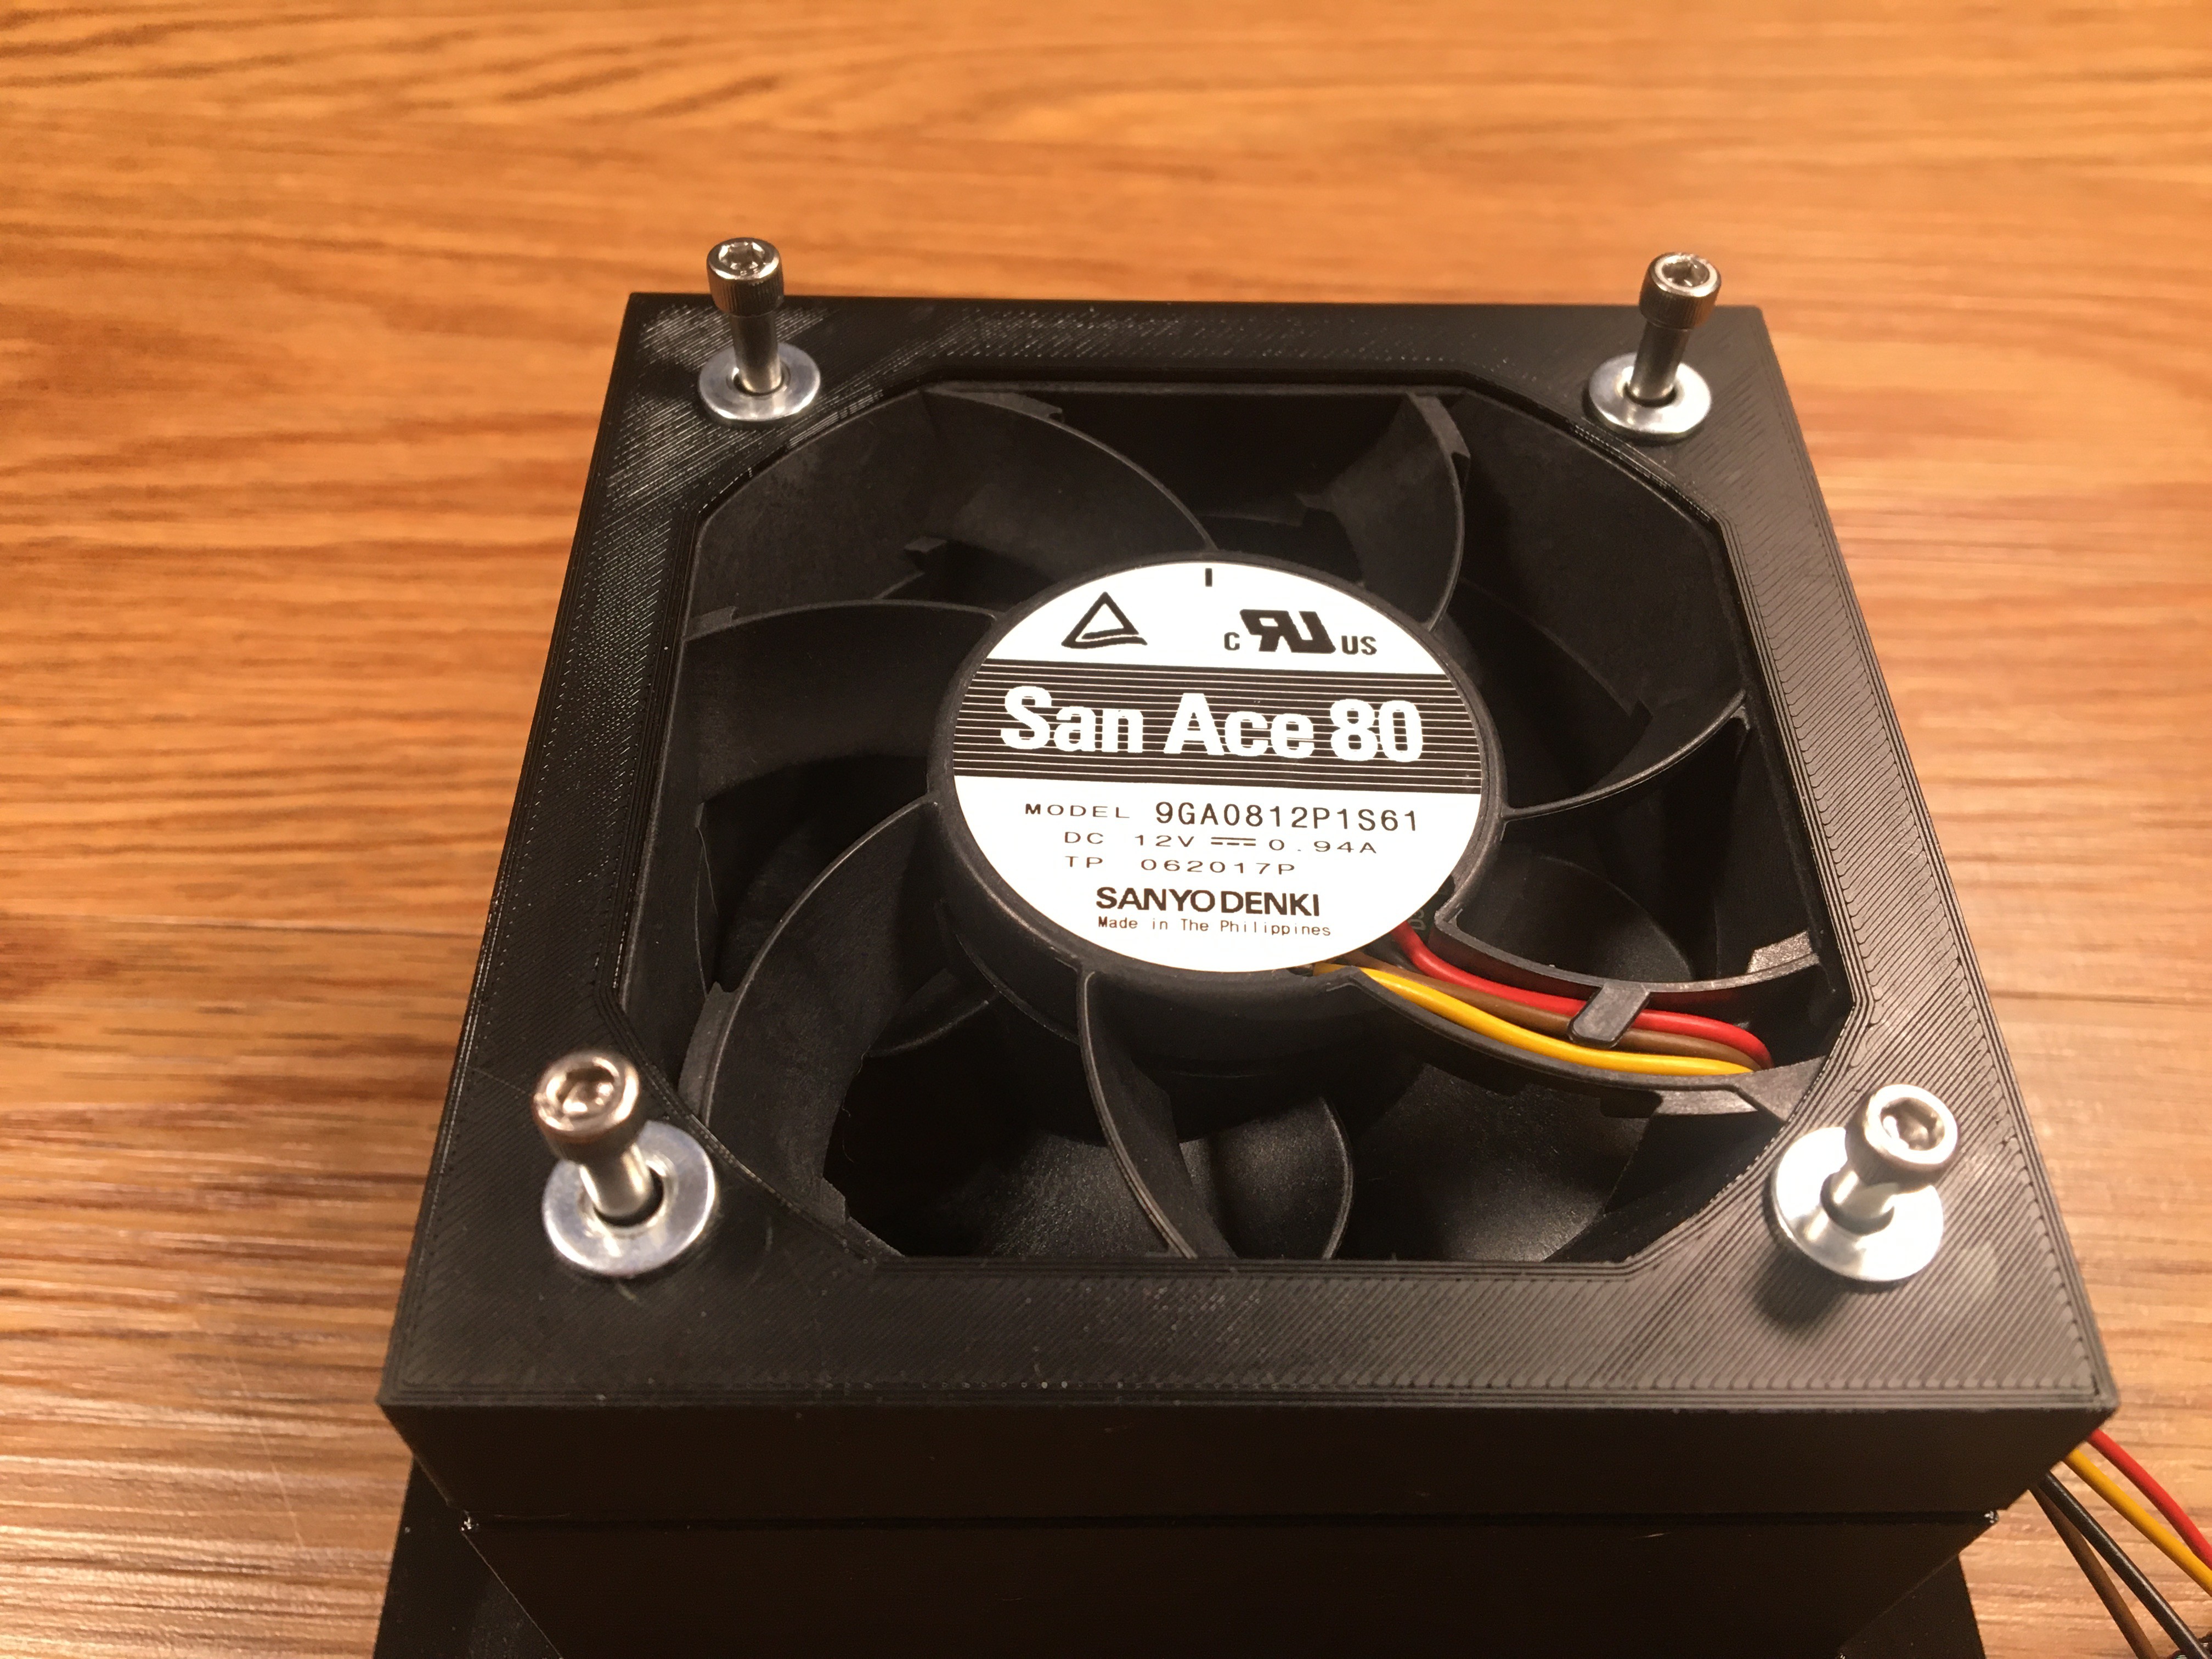
Add the #6 bolts and #6 washers.
Tighten everything down.
 Turranx
Discussions
Become a Hackaday.io Member
Create an account to leave a comment. Already have an account? Log In.