Close
0%
0%

BlakRPI CLIVE

A cool opensource RPI3/RPI4 based panoramic display computer

Similar projects worth following
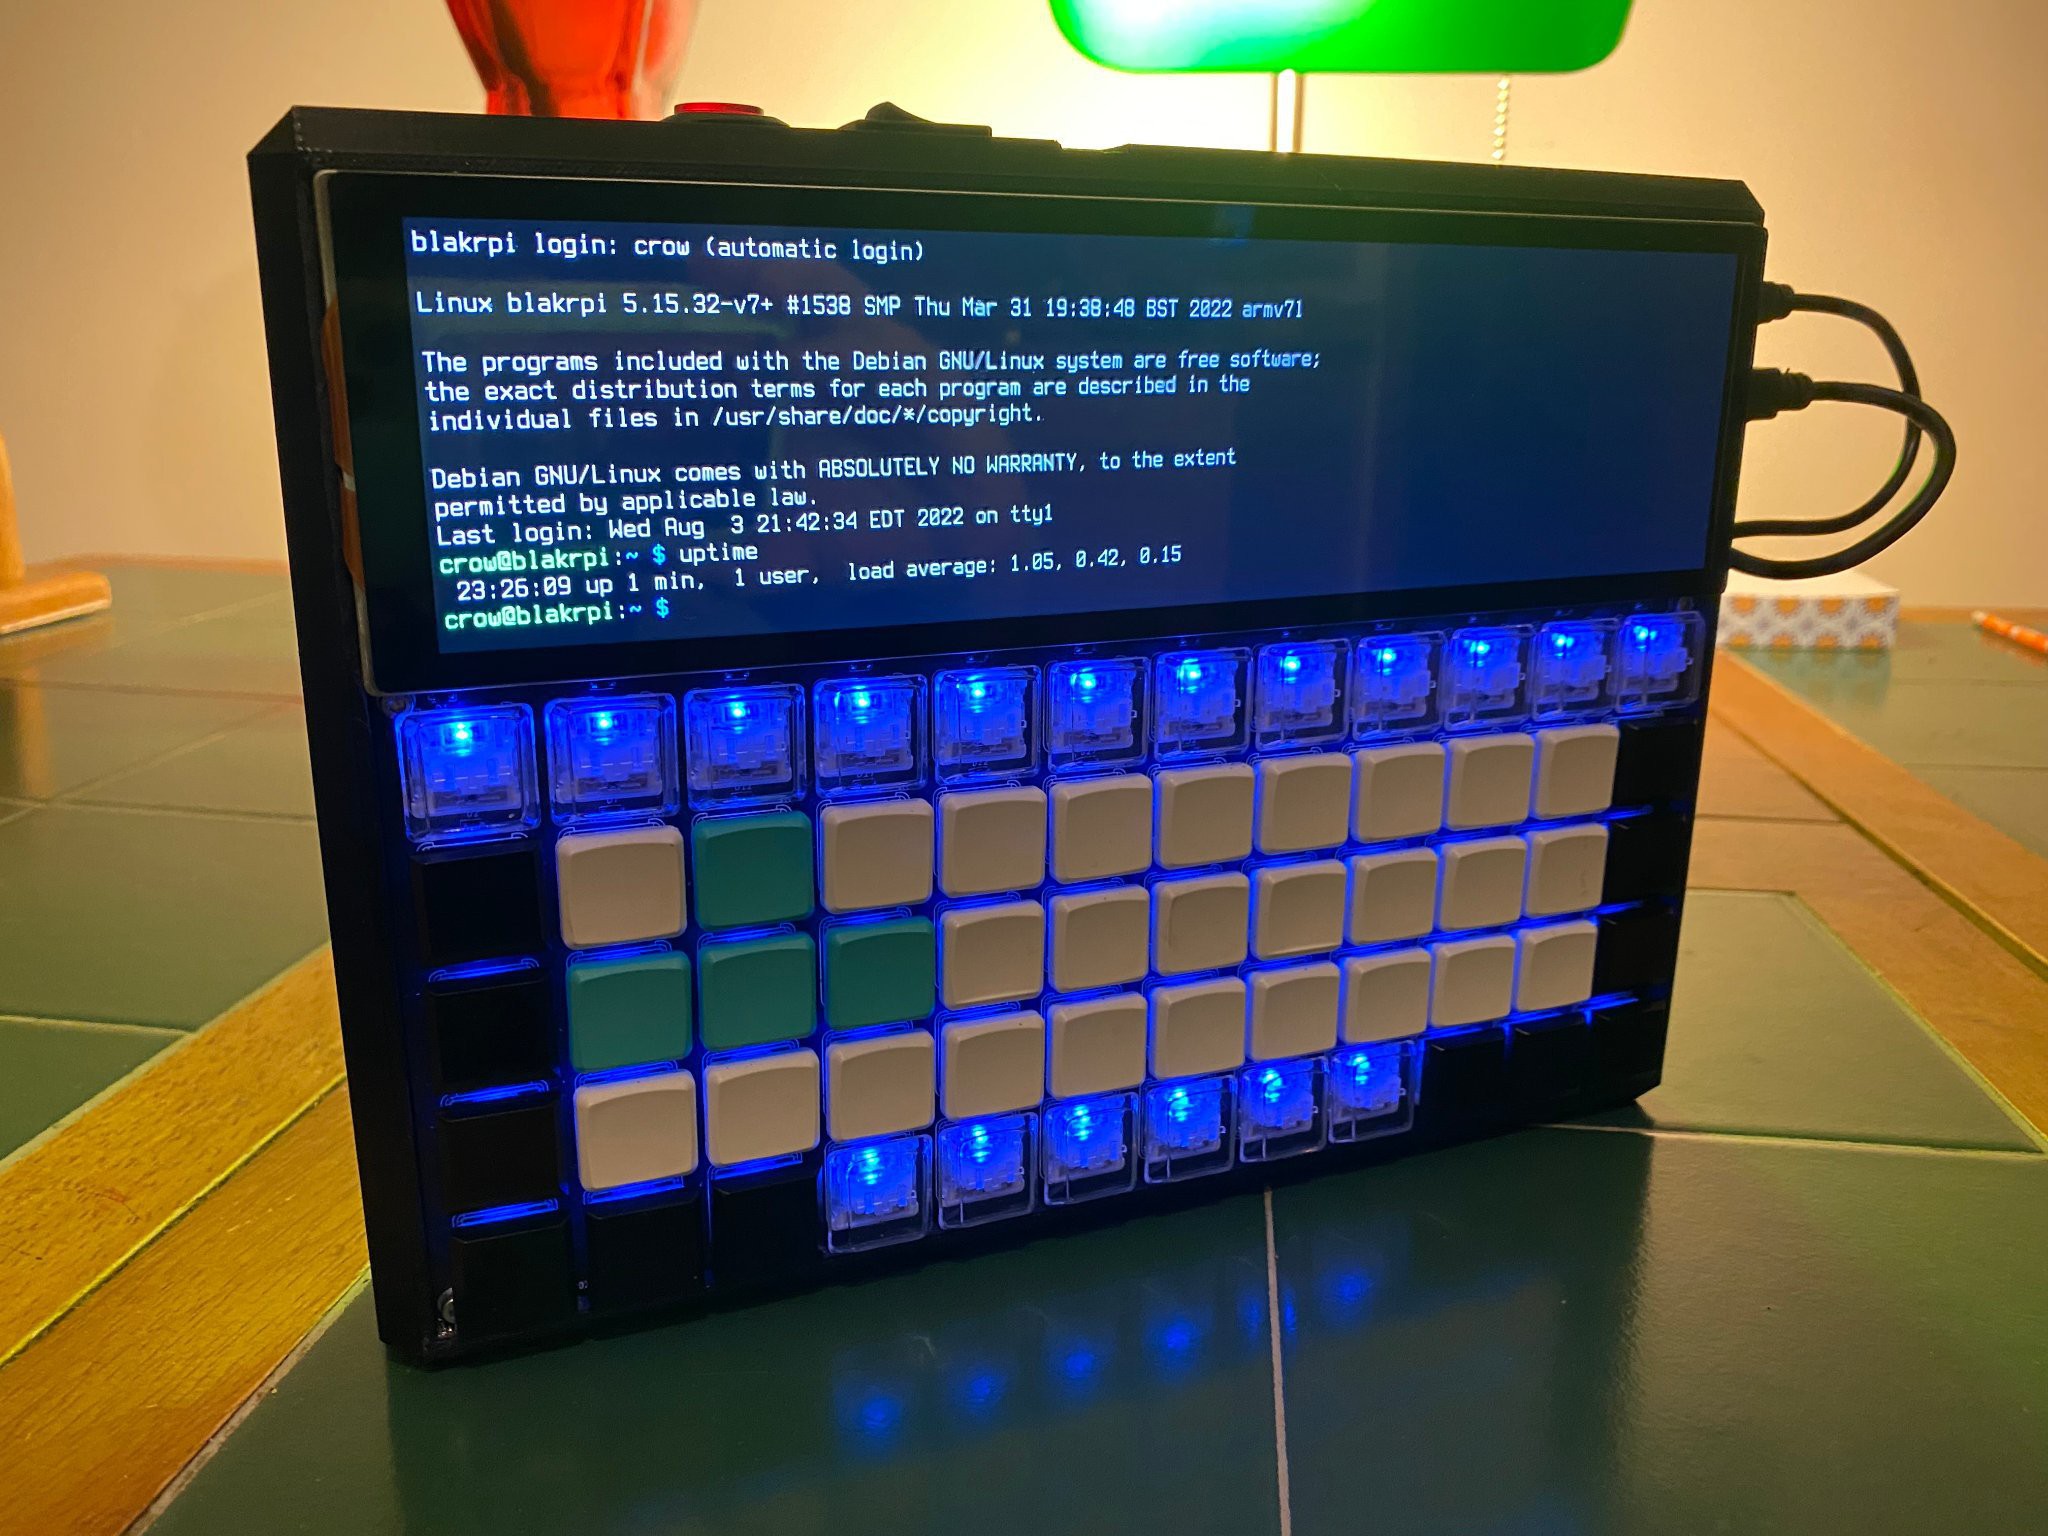
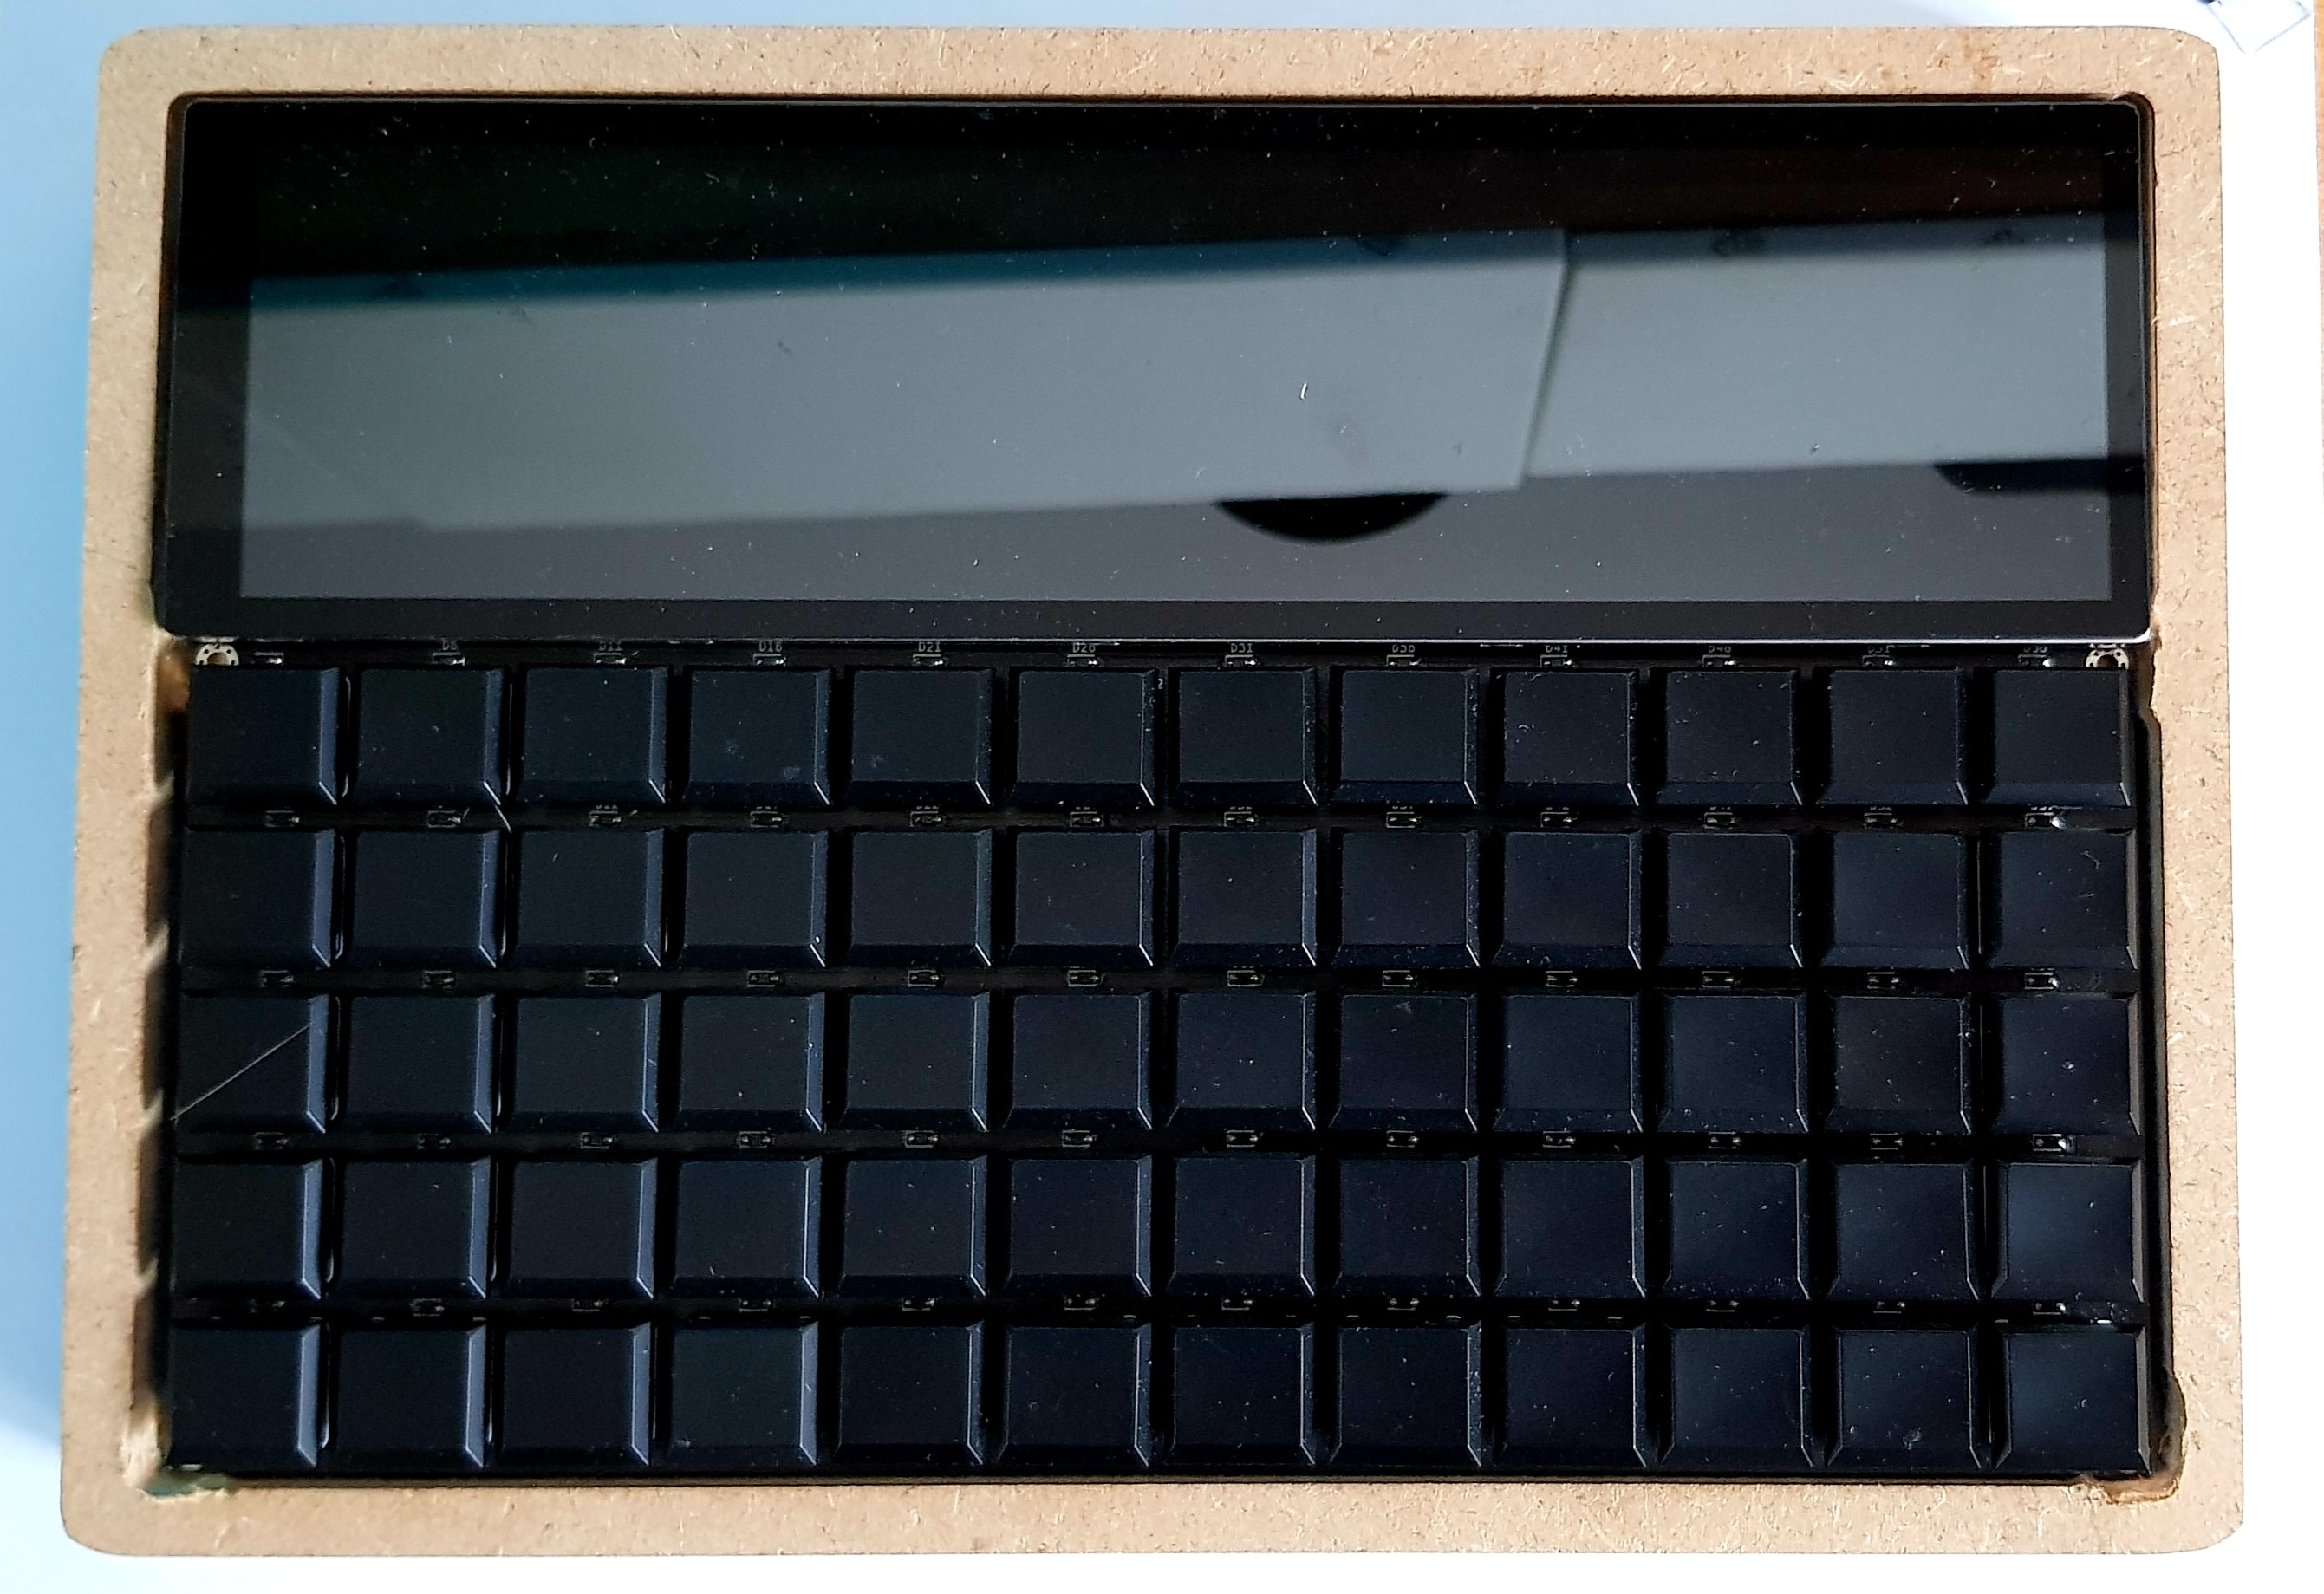
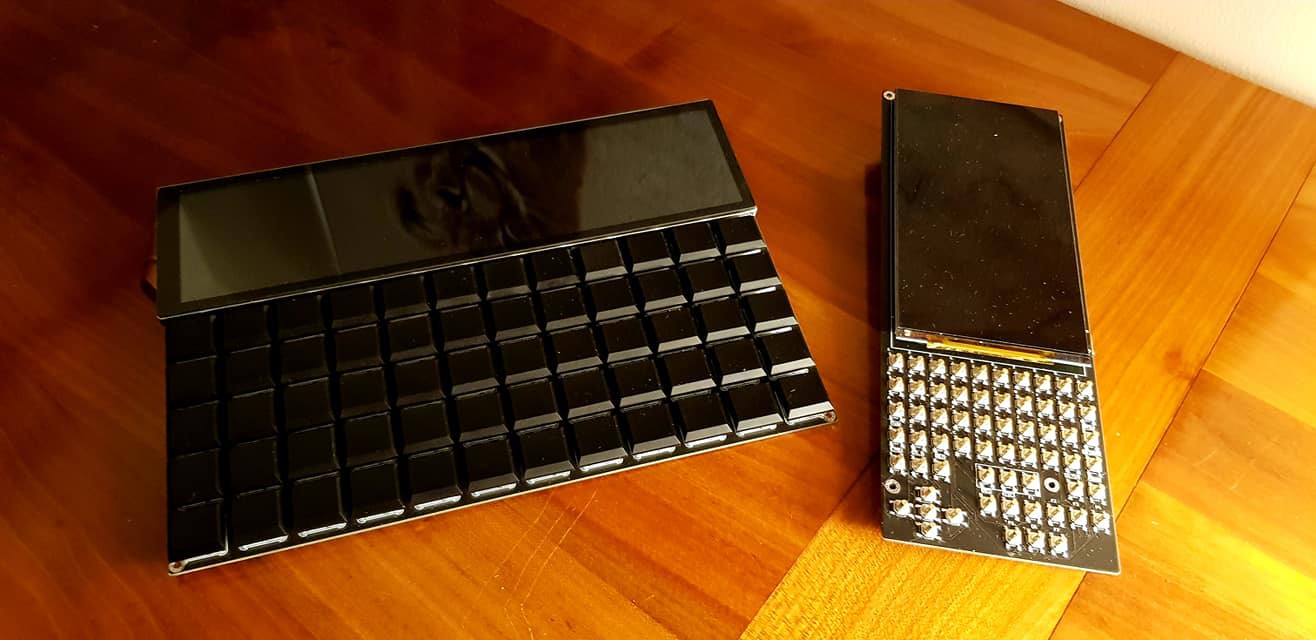
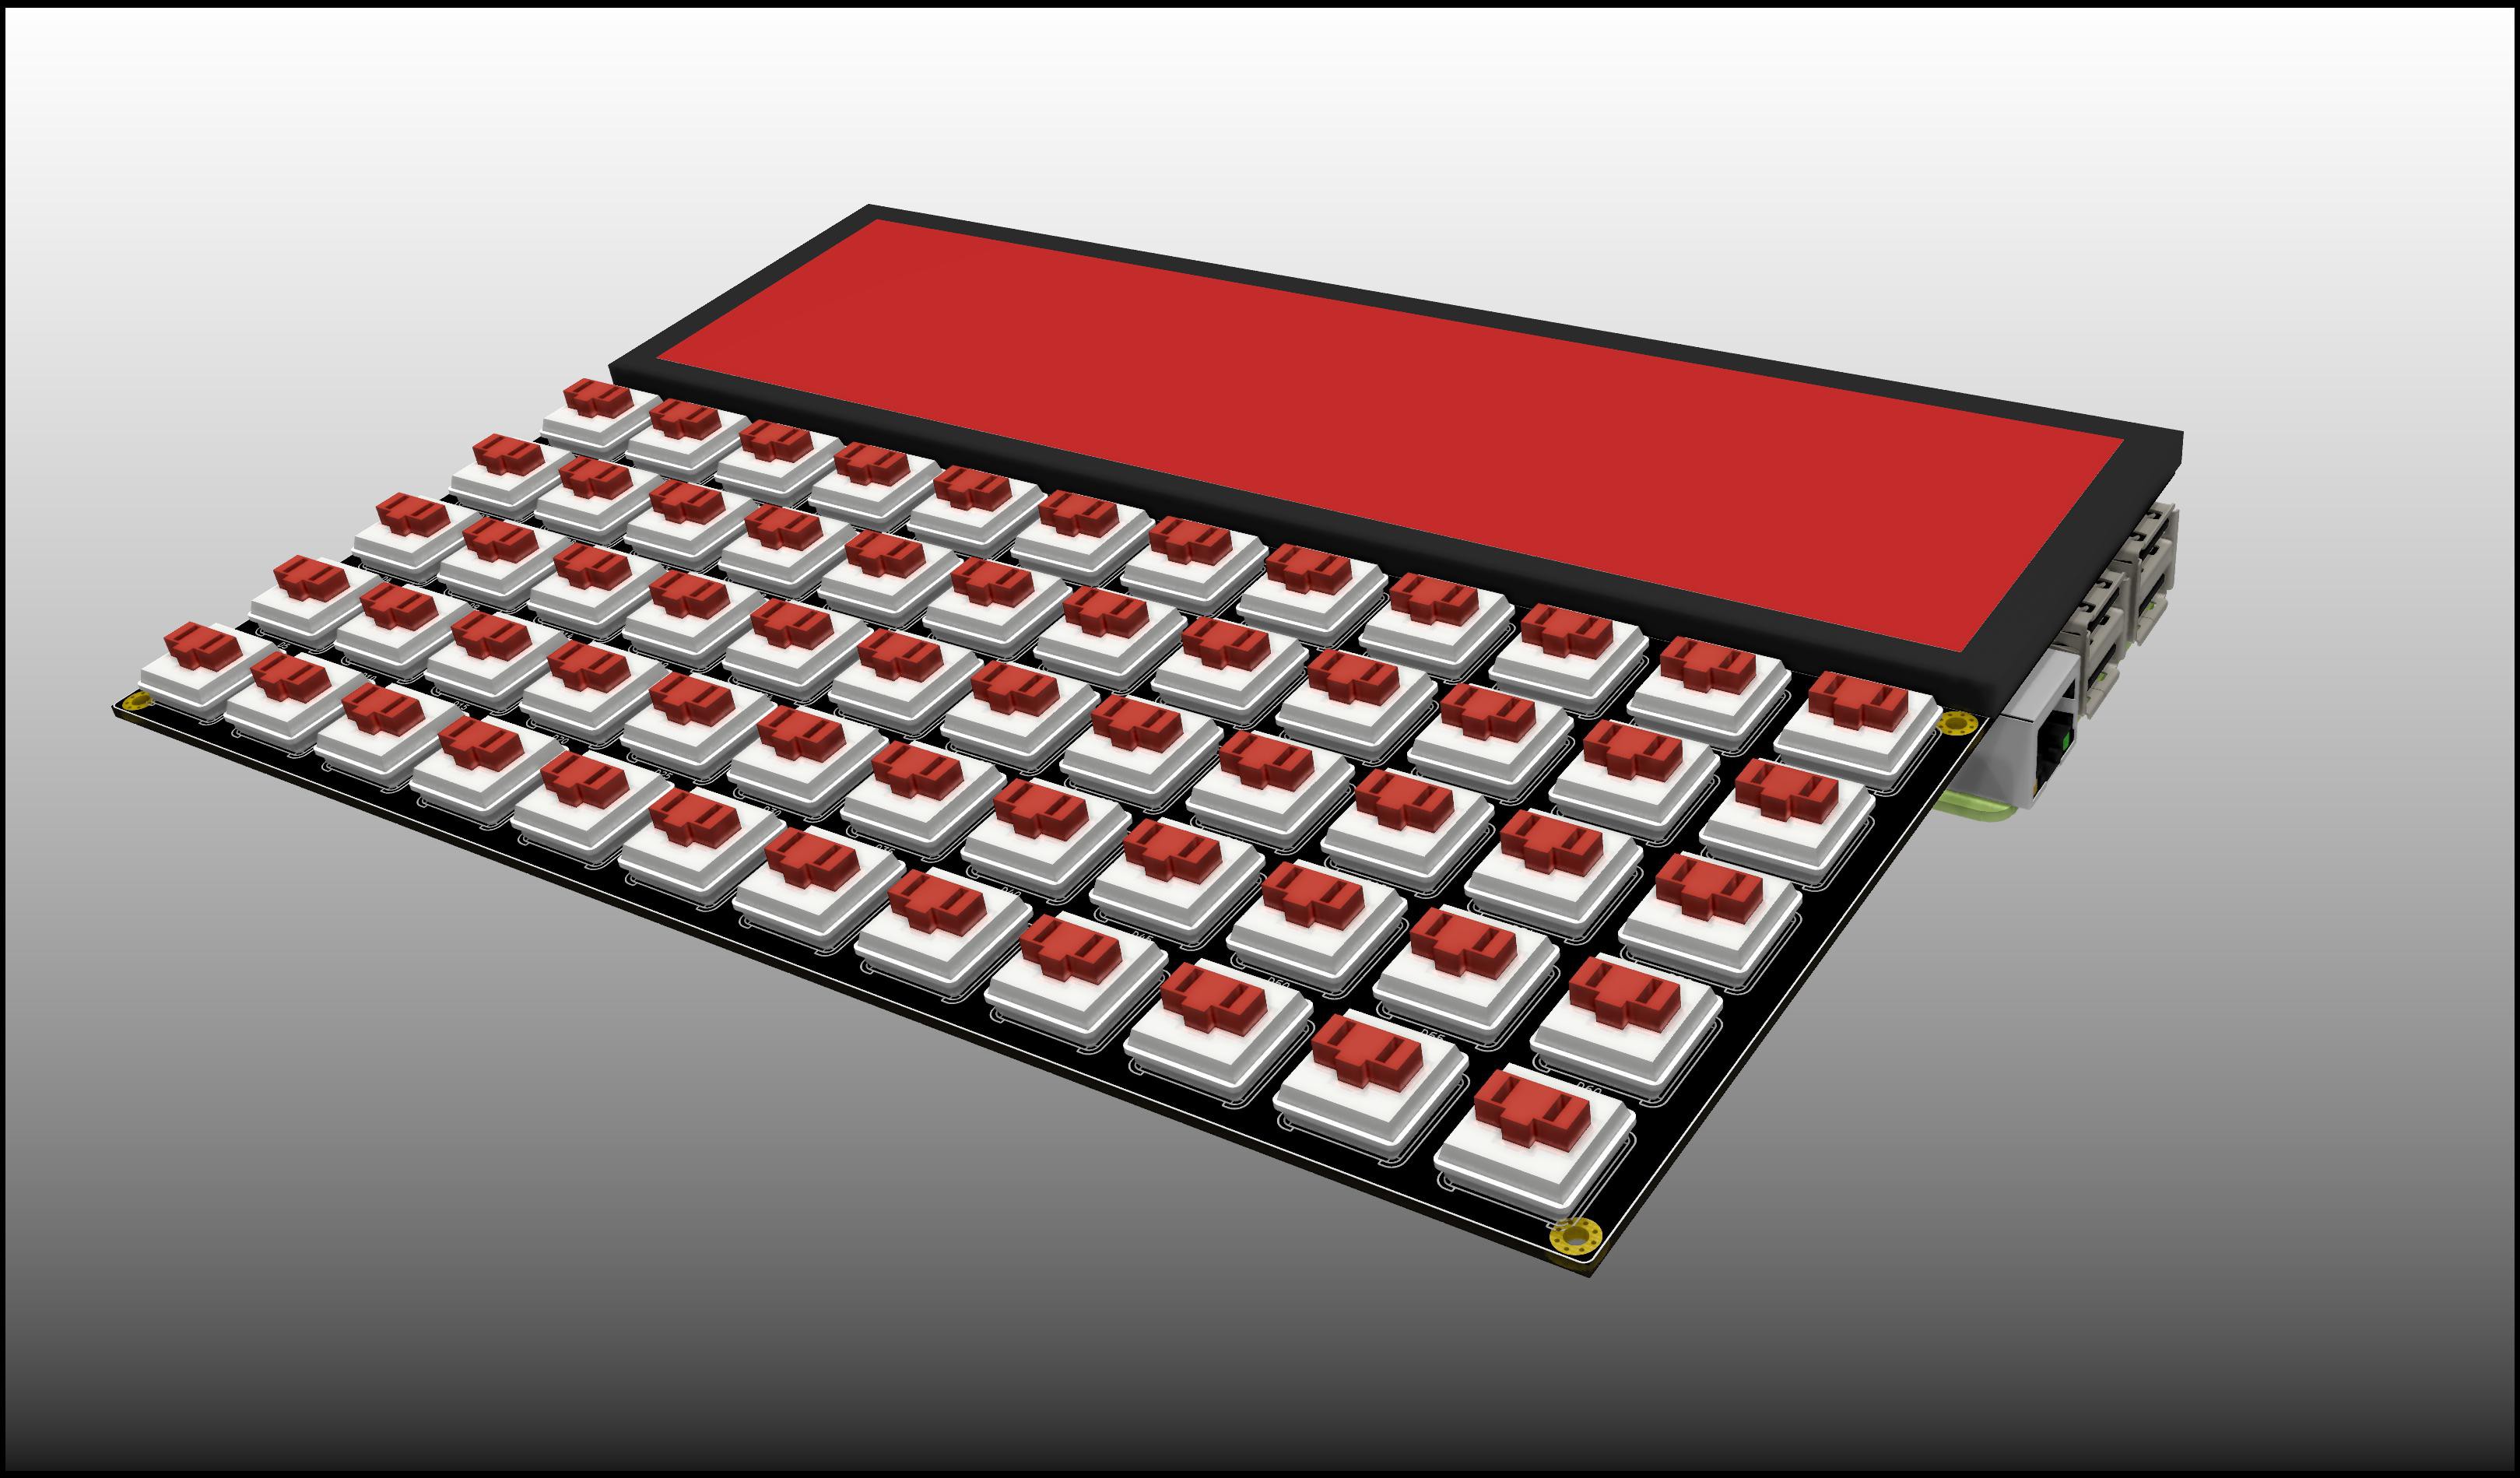
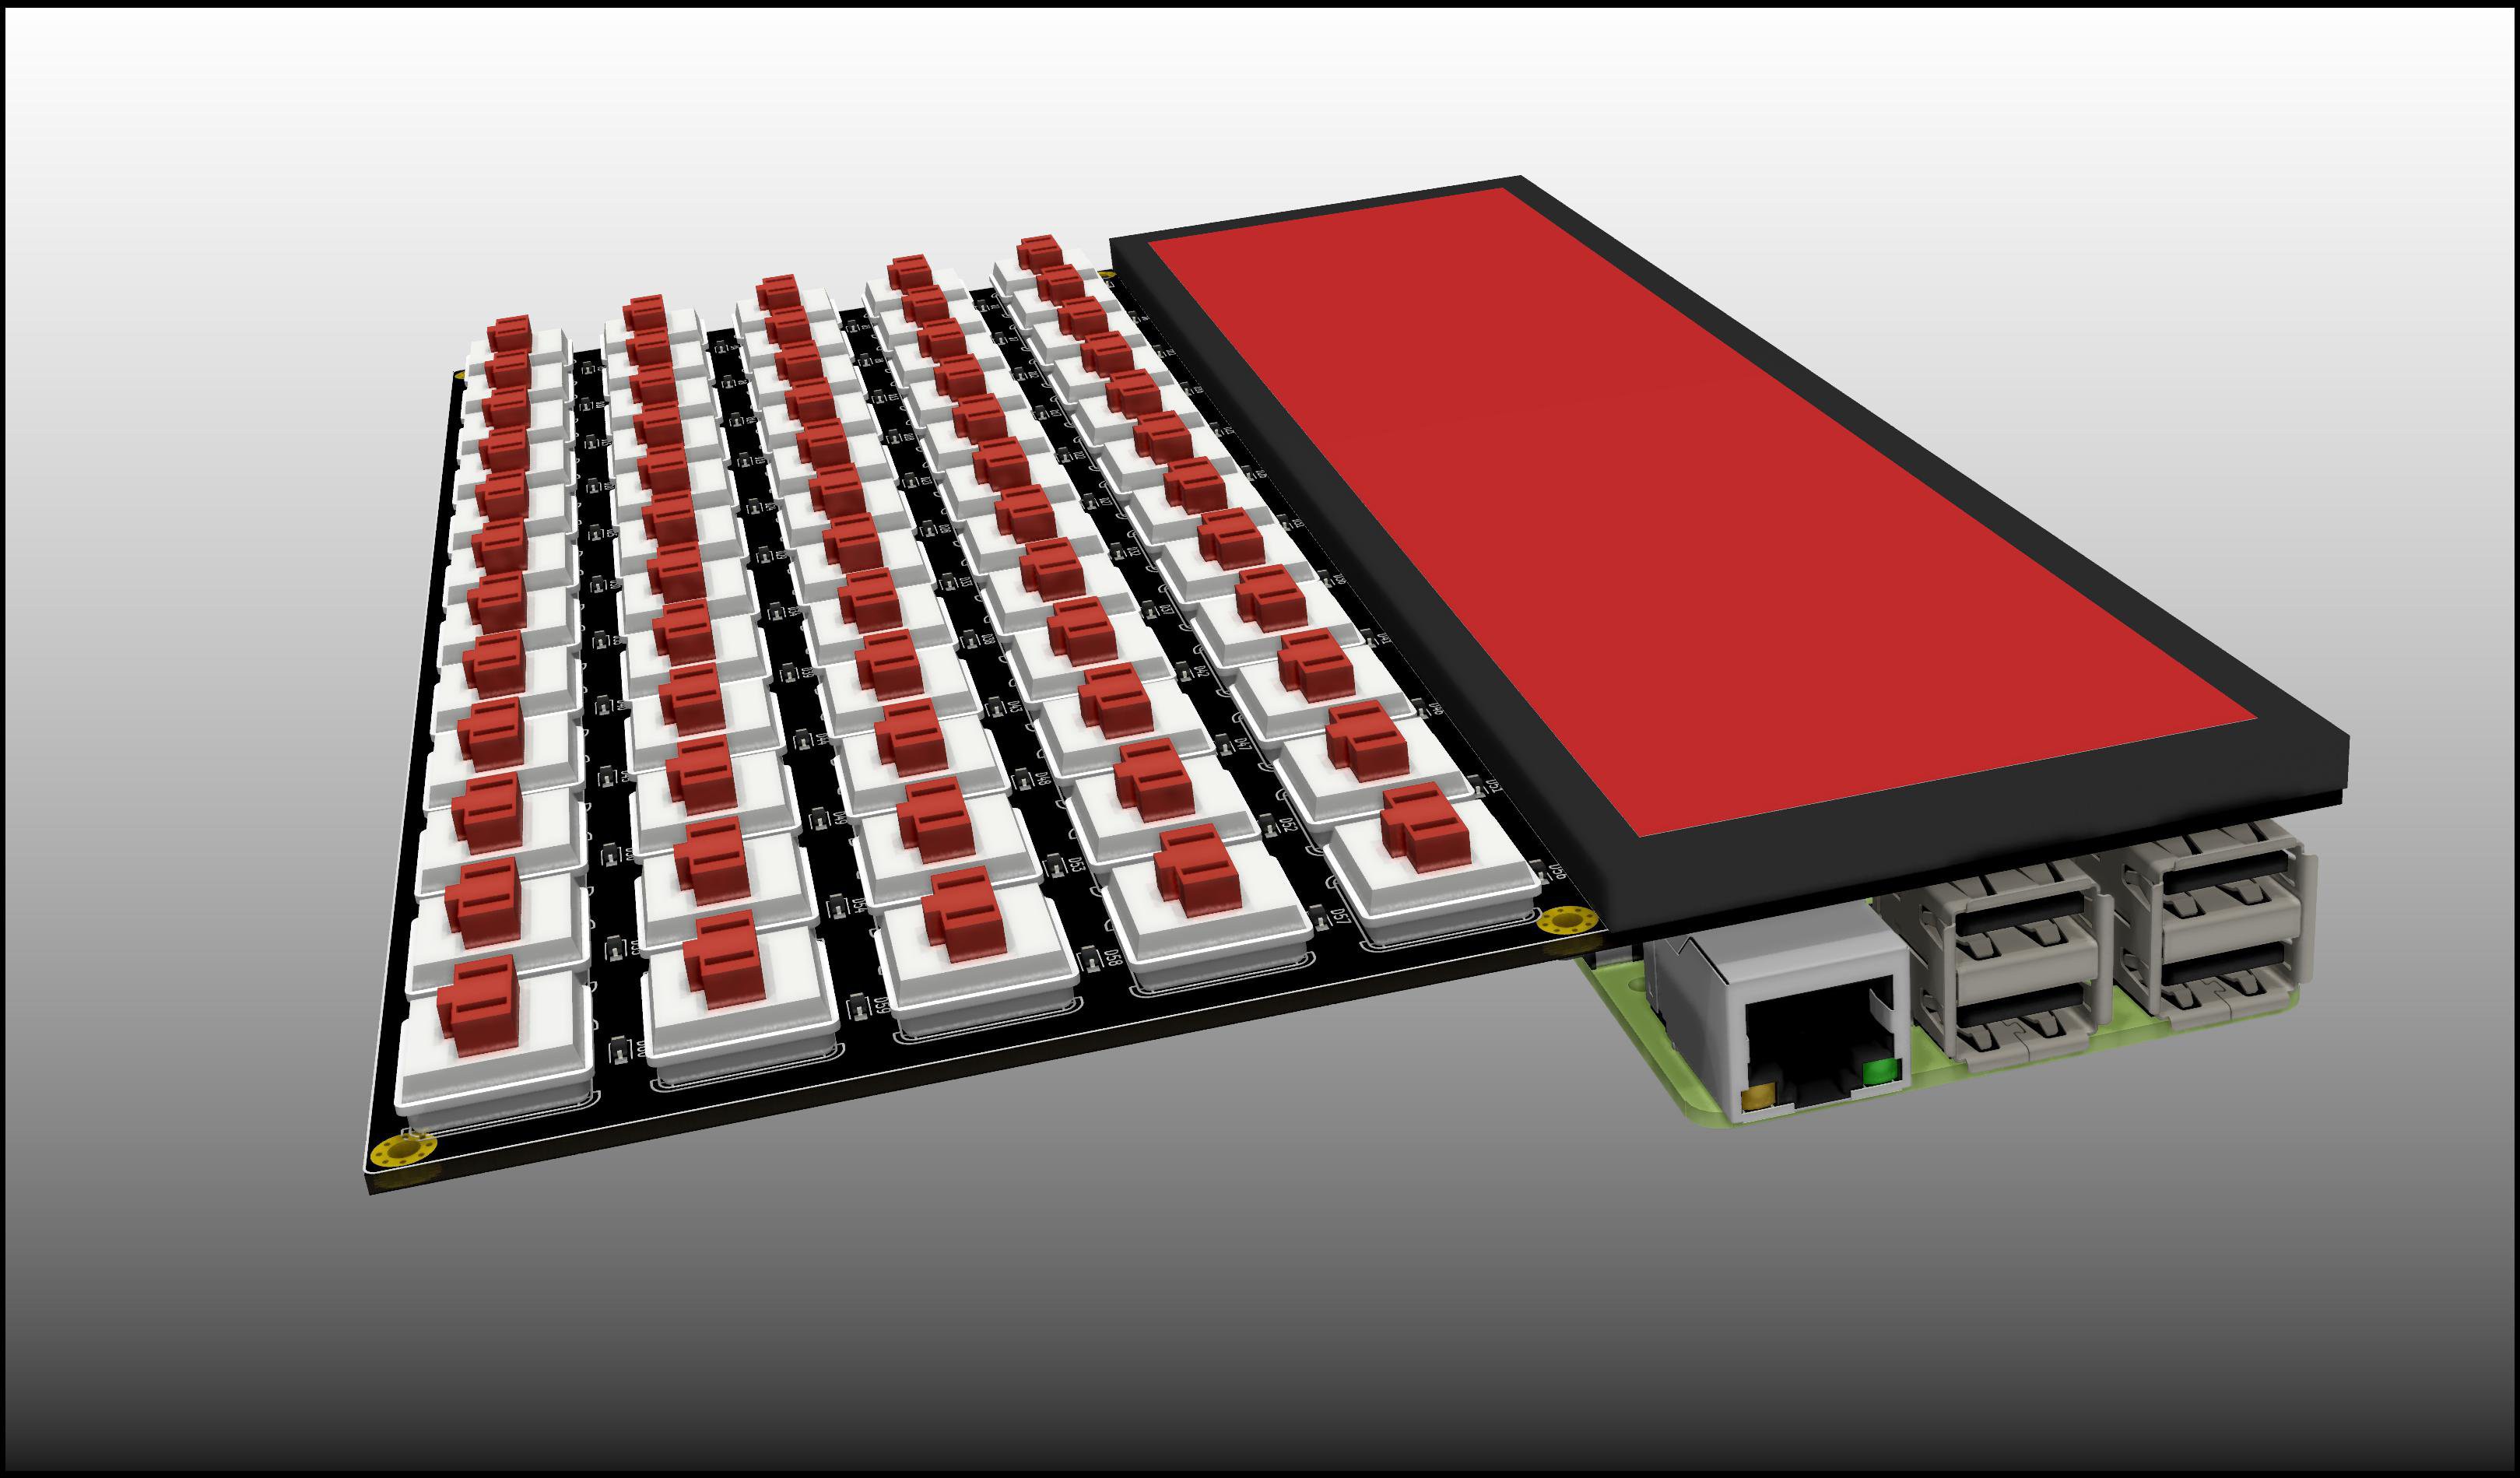
I'm buiding a small original RPI3/4 based computer with a 1920x480 pixels panoramic touch display. The computer can also be used as a USB keyboard with display to connect to any computer.

The project was inspired by another cyberdeck creation, found by accident during a web surf.  I also have a previous dev which is close to this project: the BlakRPI (www.blakrpi.com) based on a RPI Zero and a small 320x240 display.  

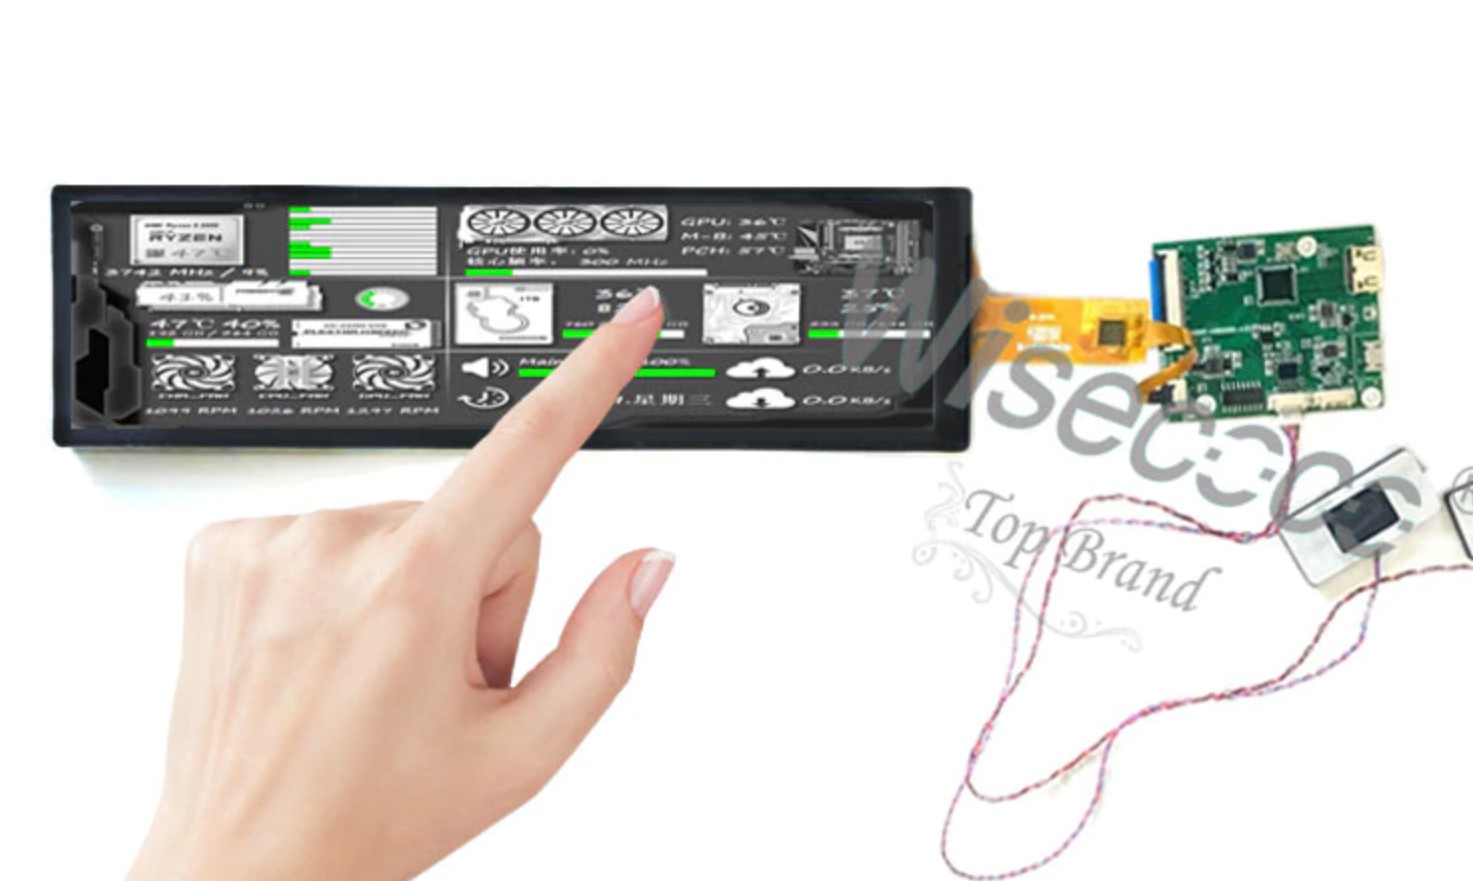
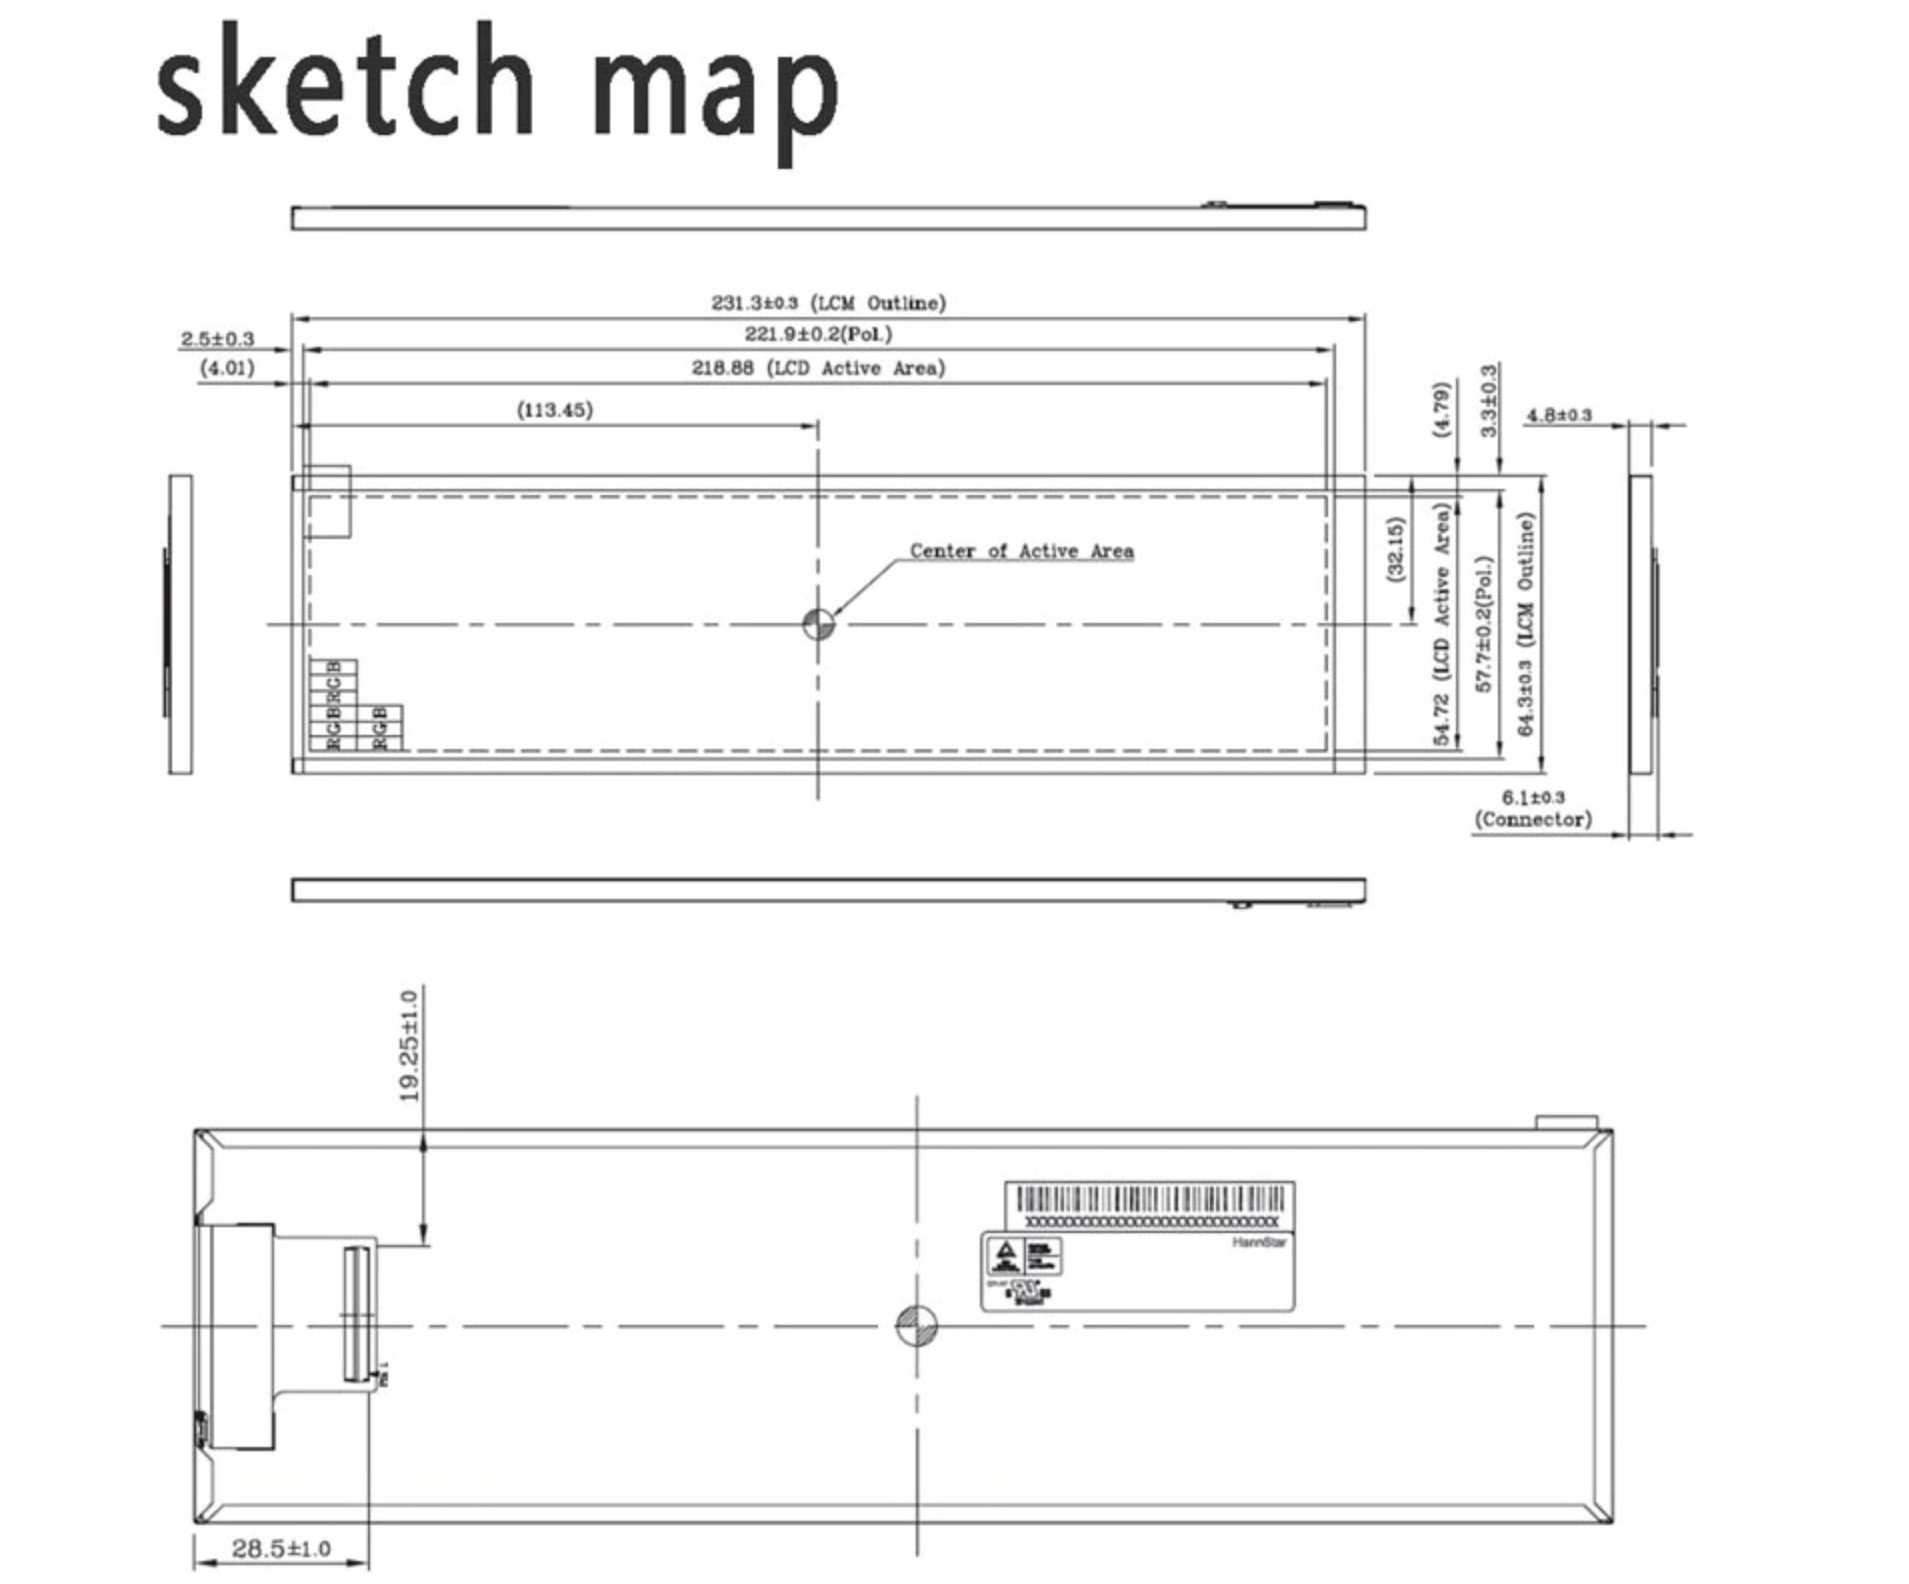
The display is a 8.8 inch , 1920x480 IPS HDMI touch display. bought on aliexpress.
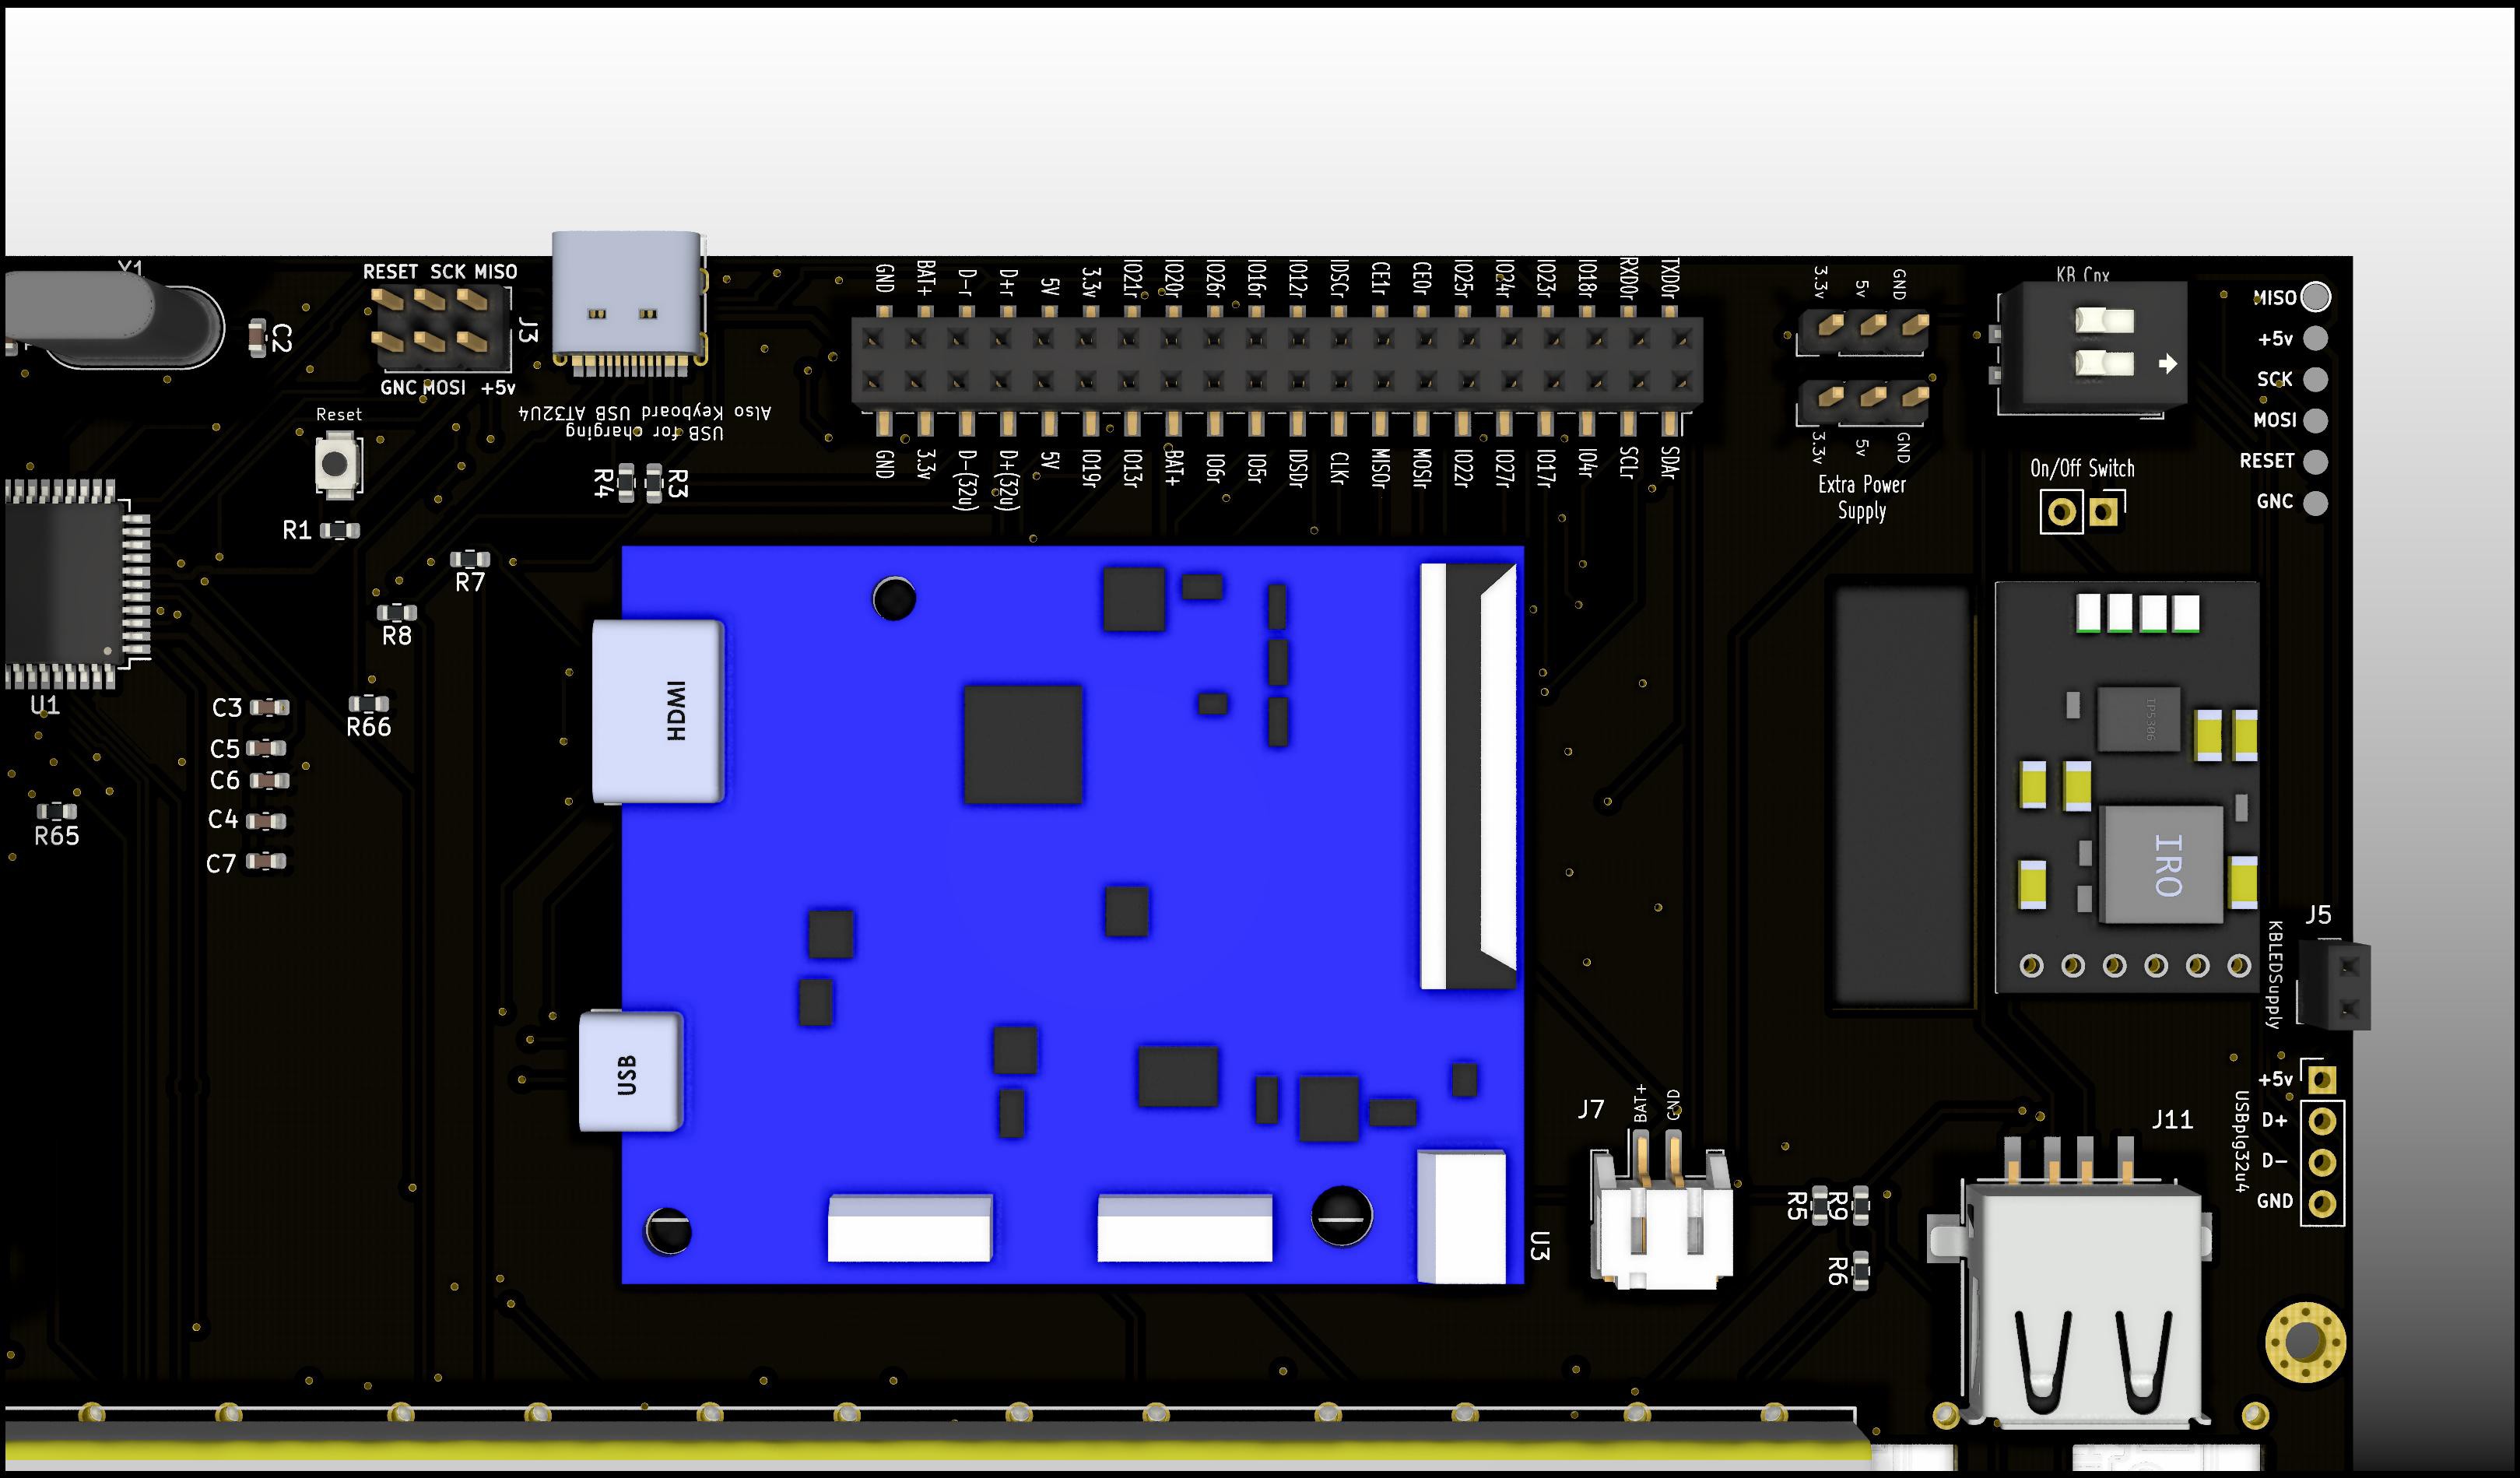
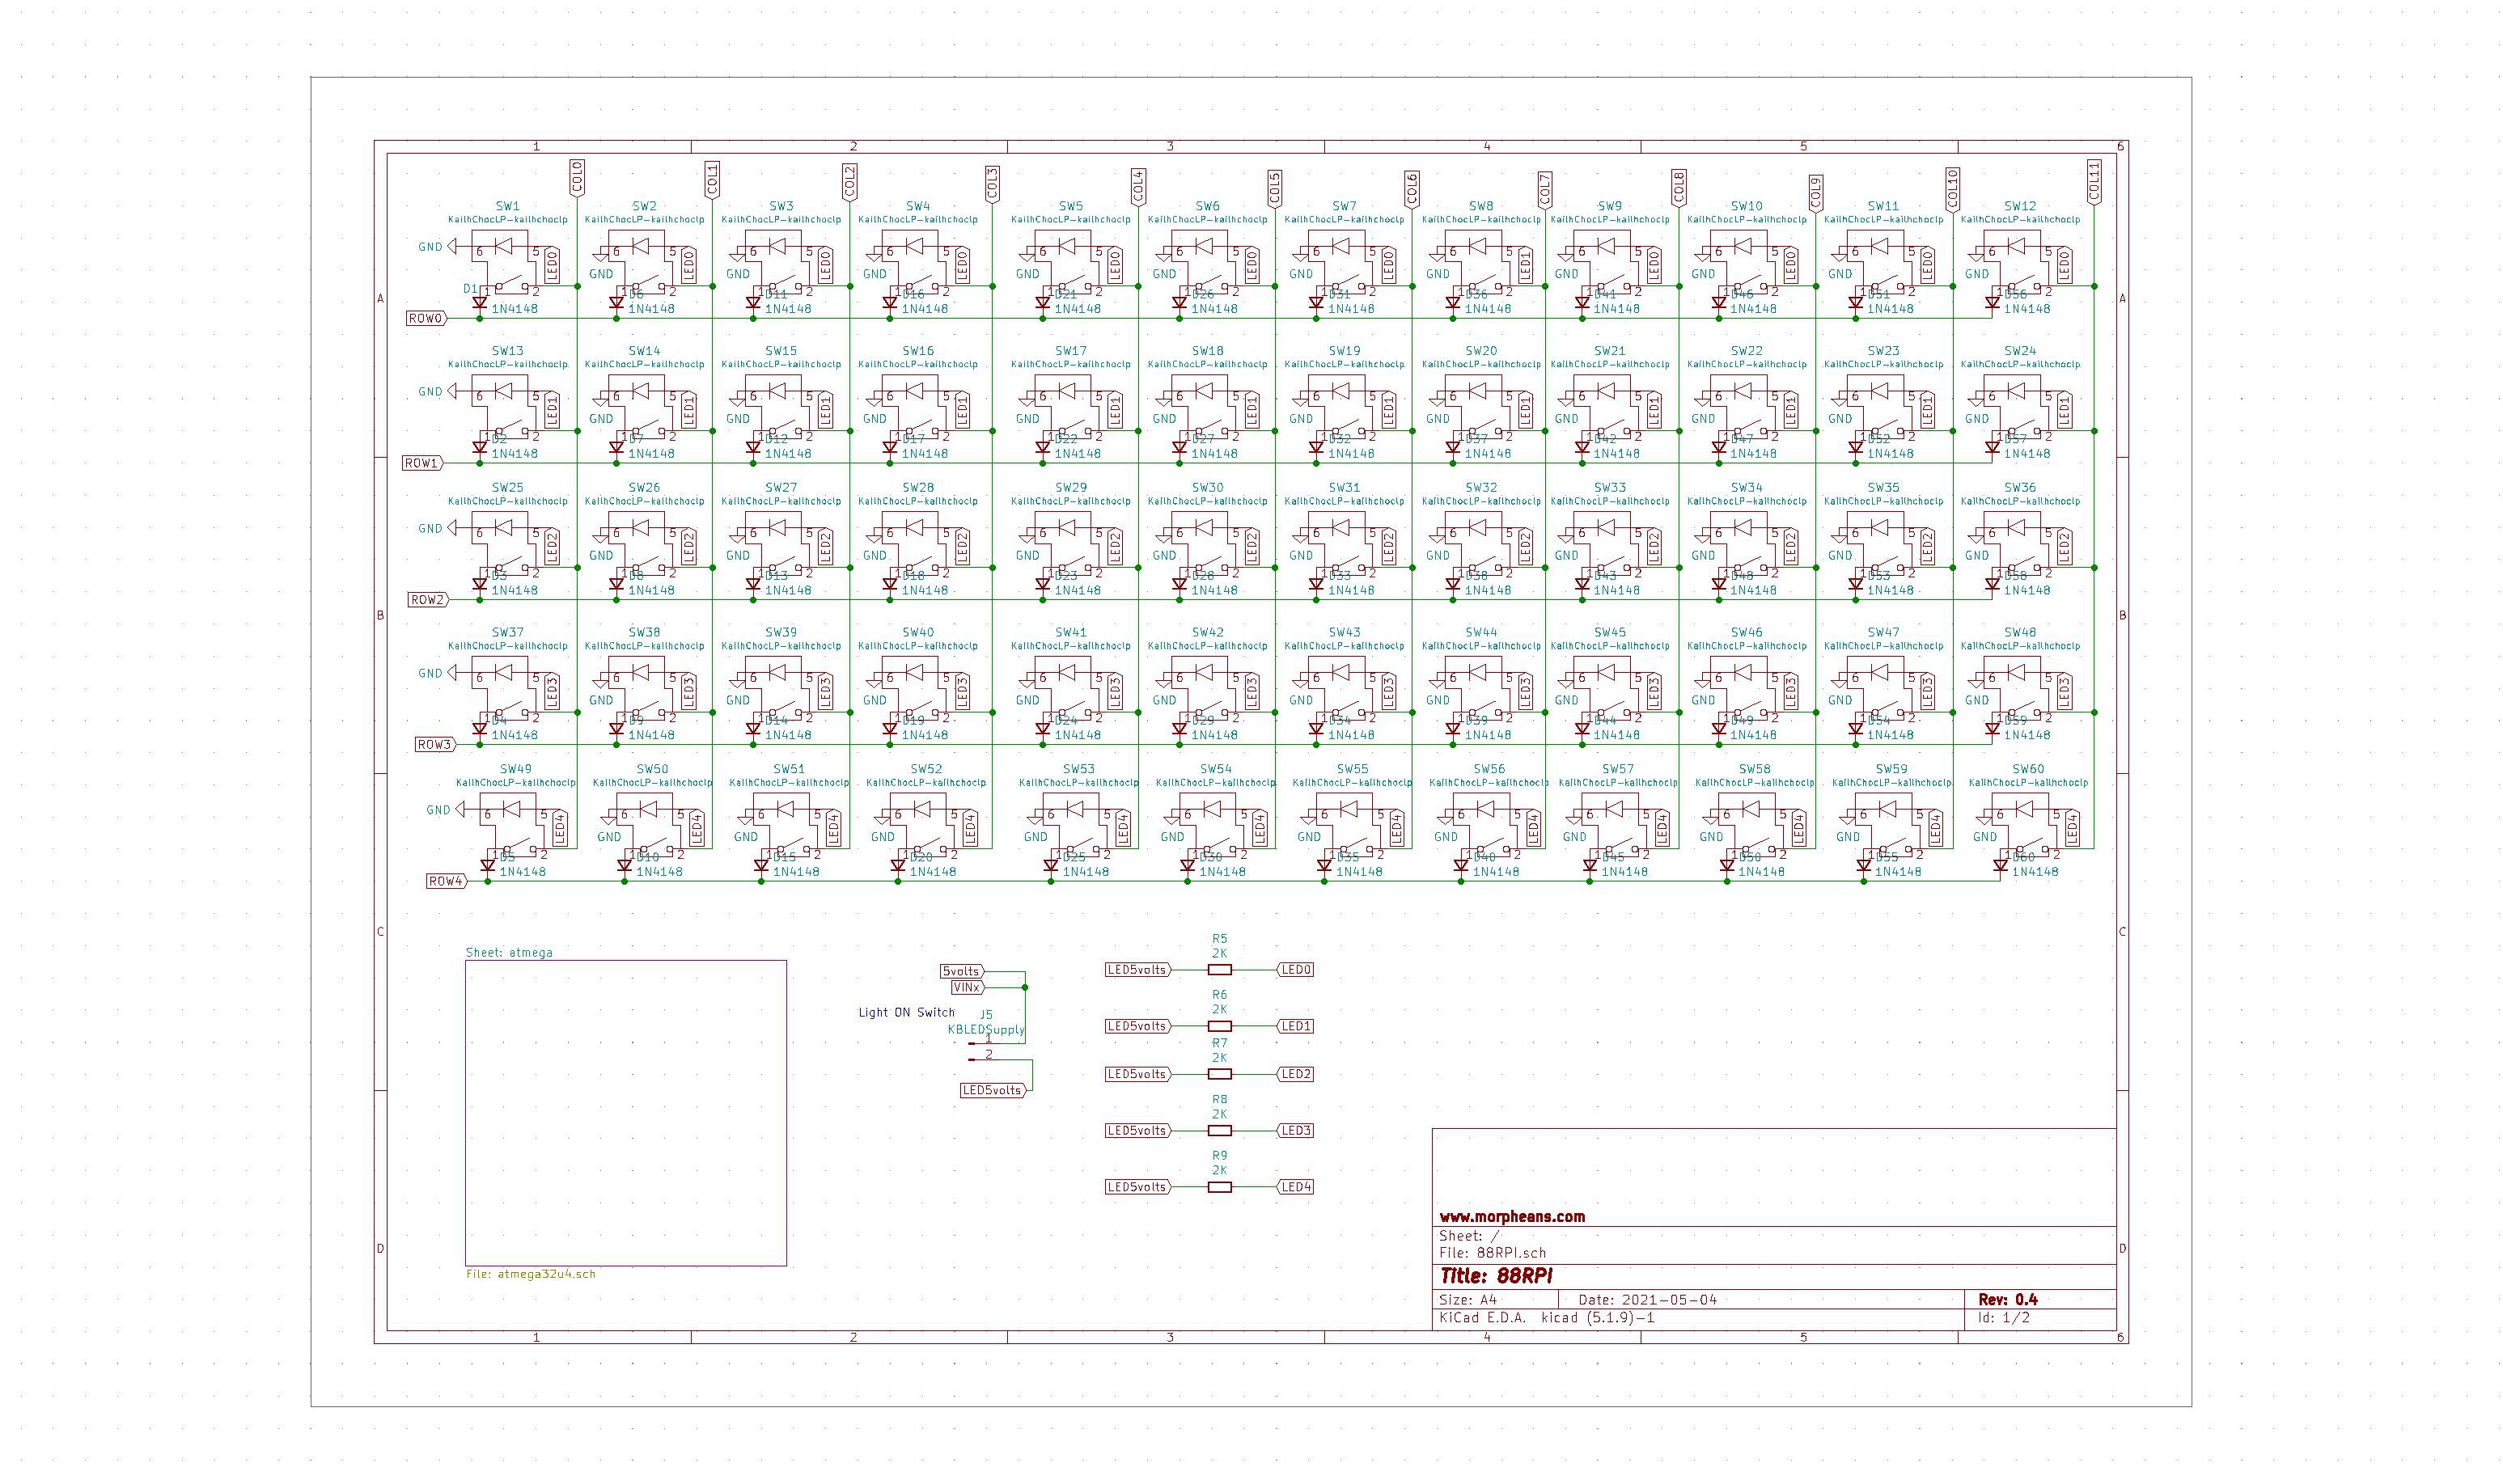
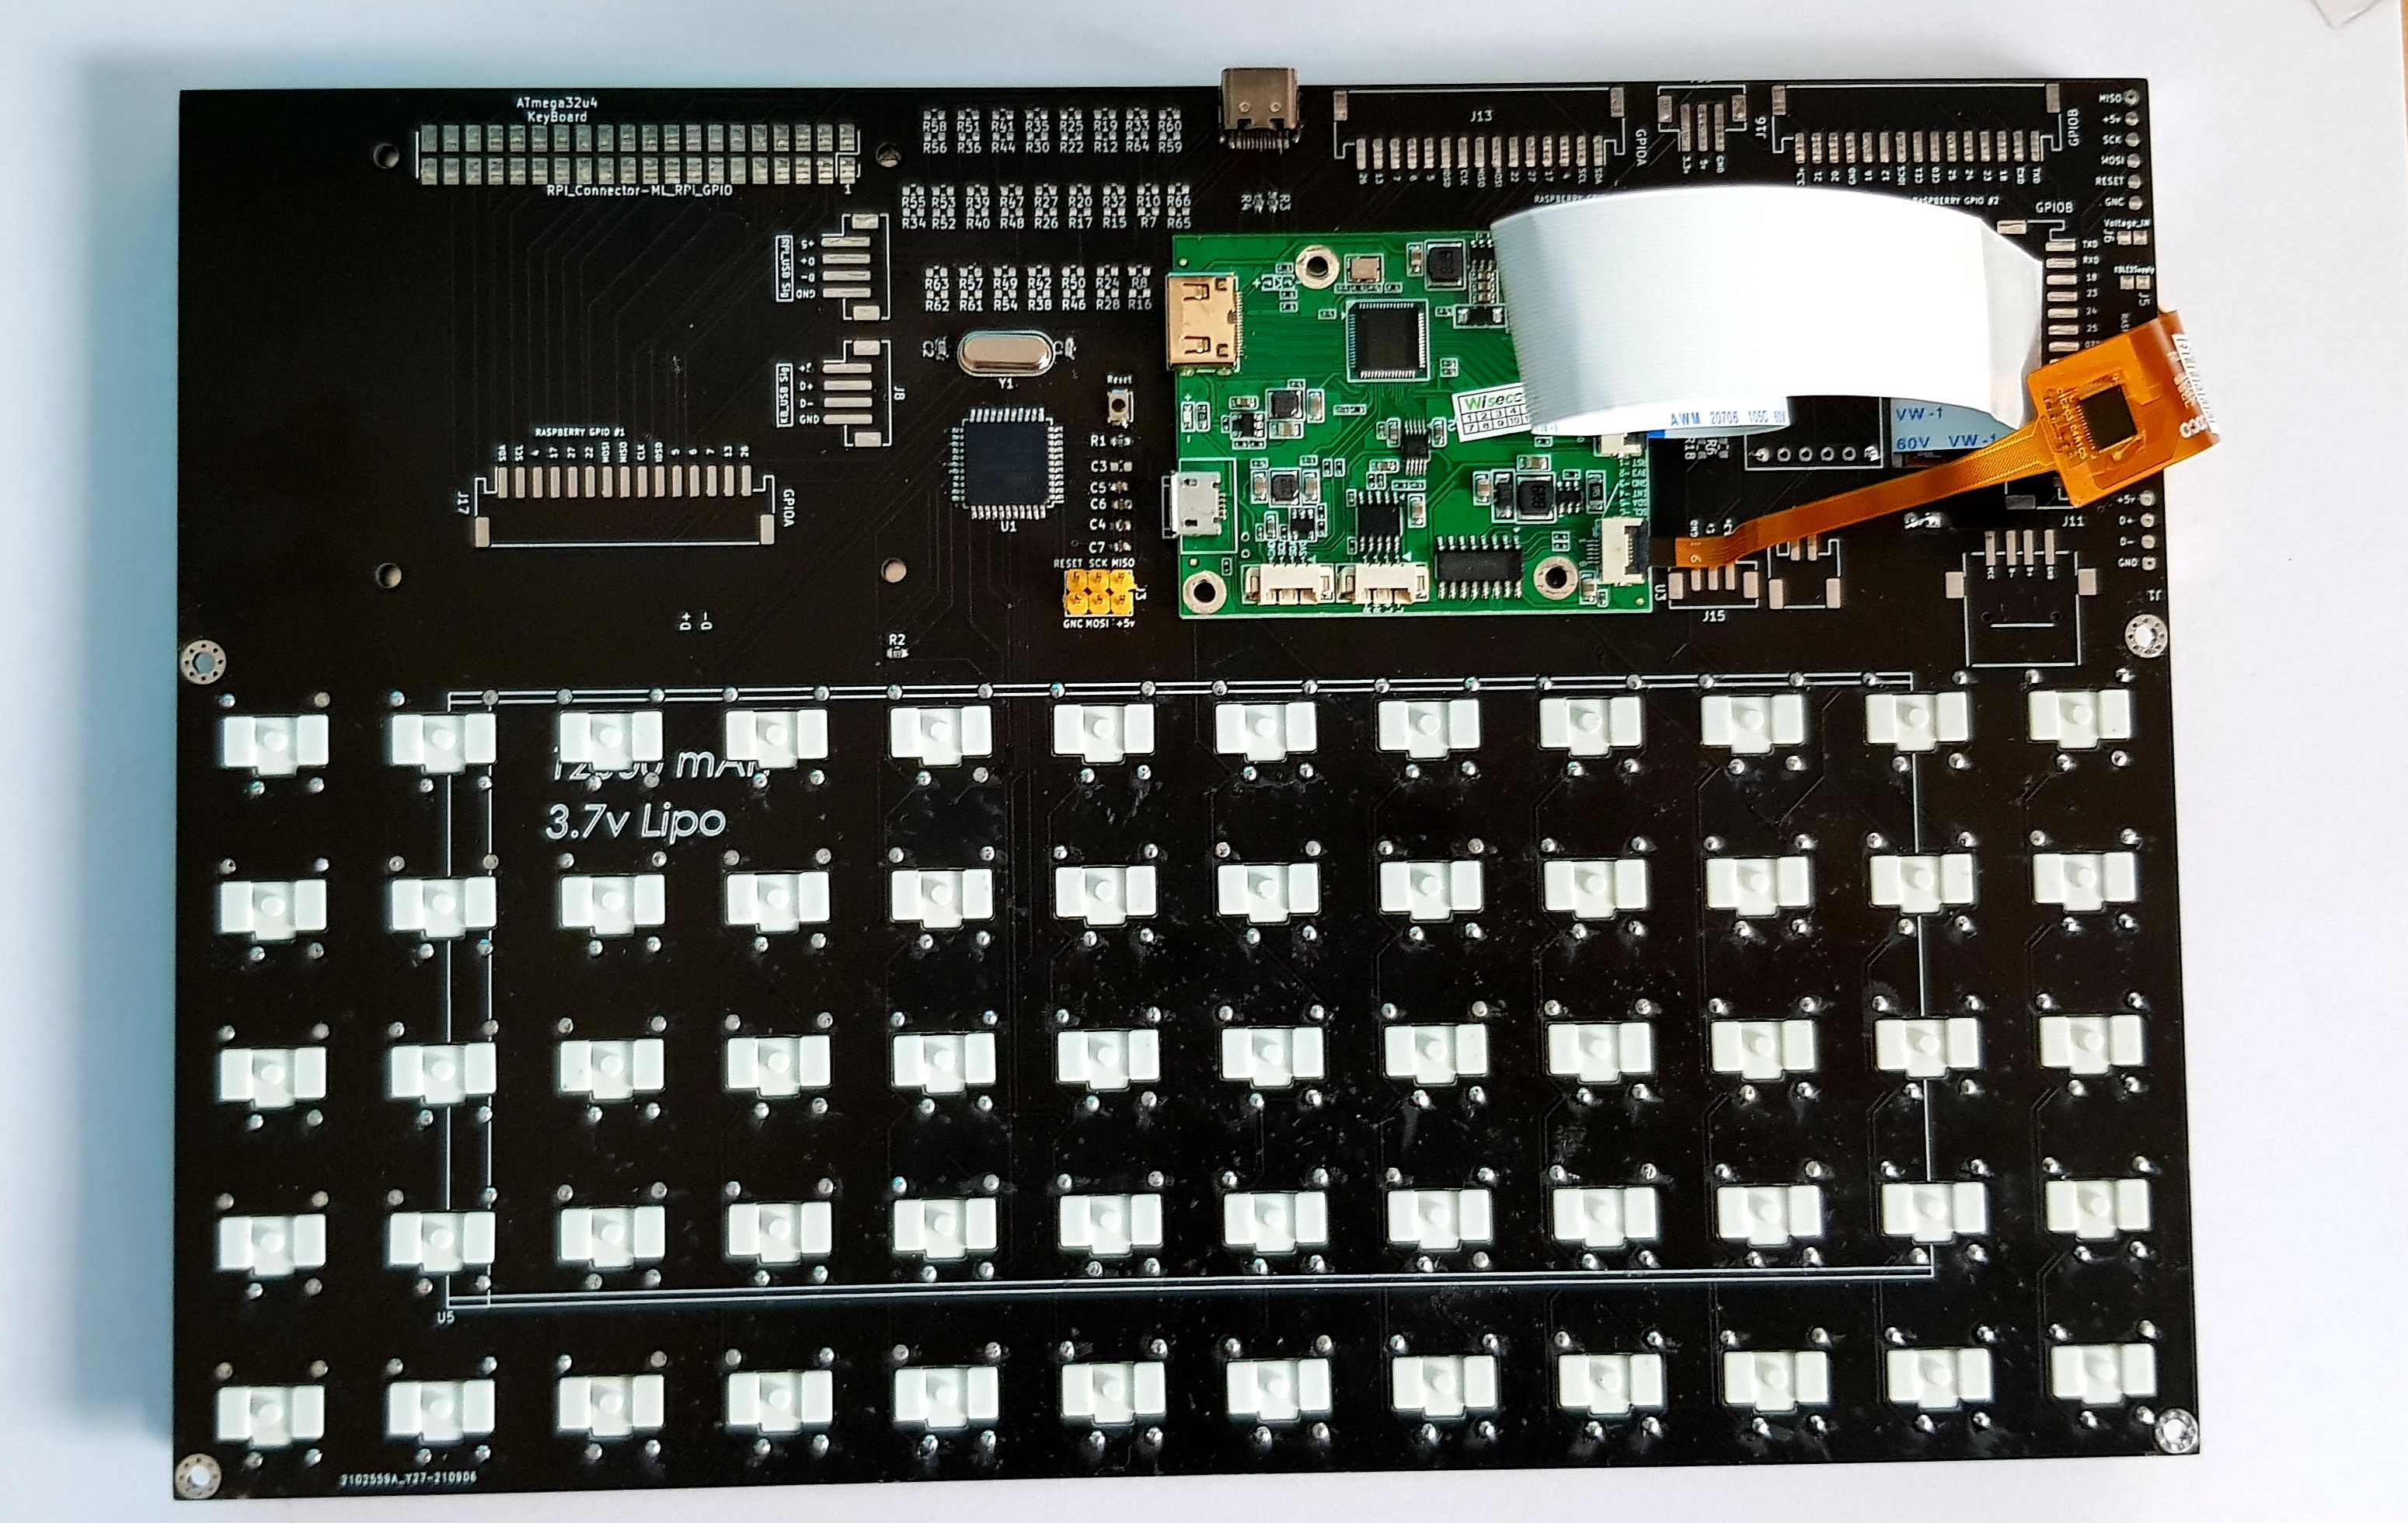
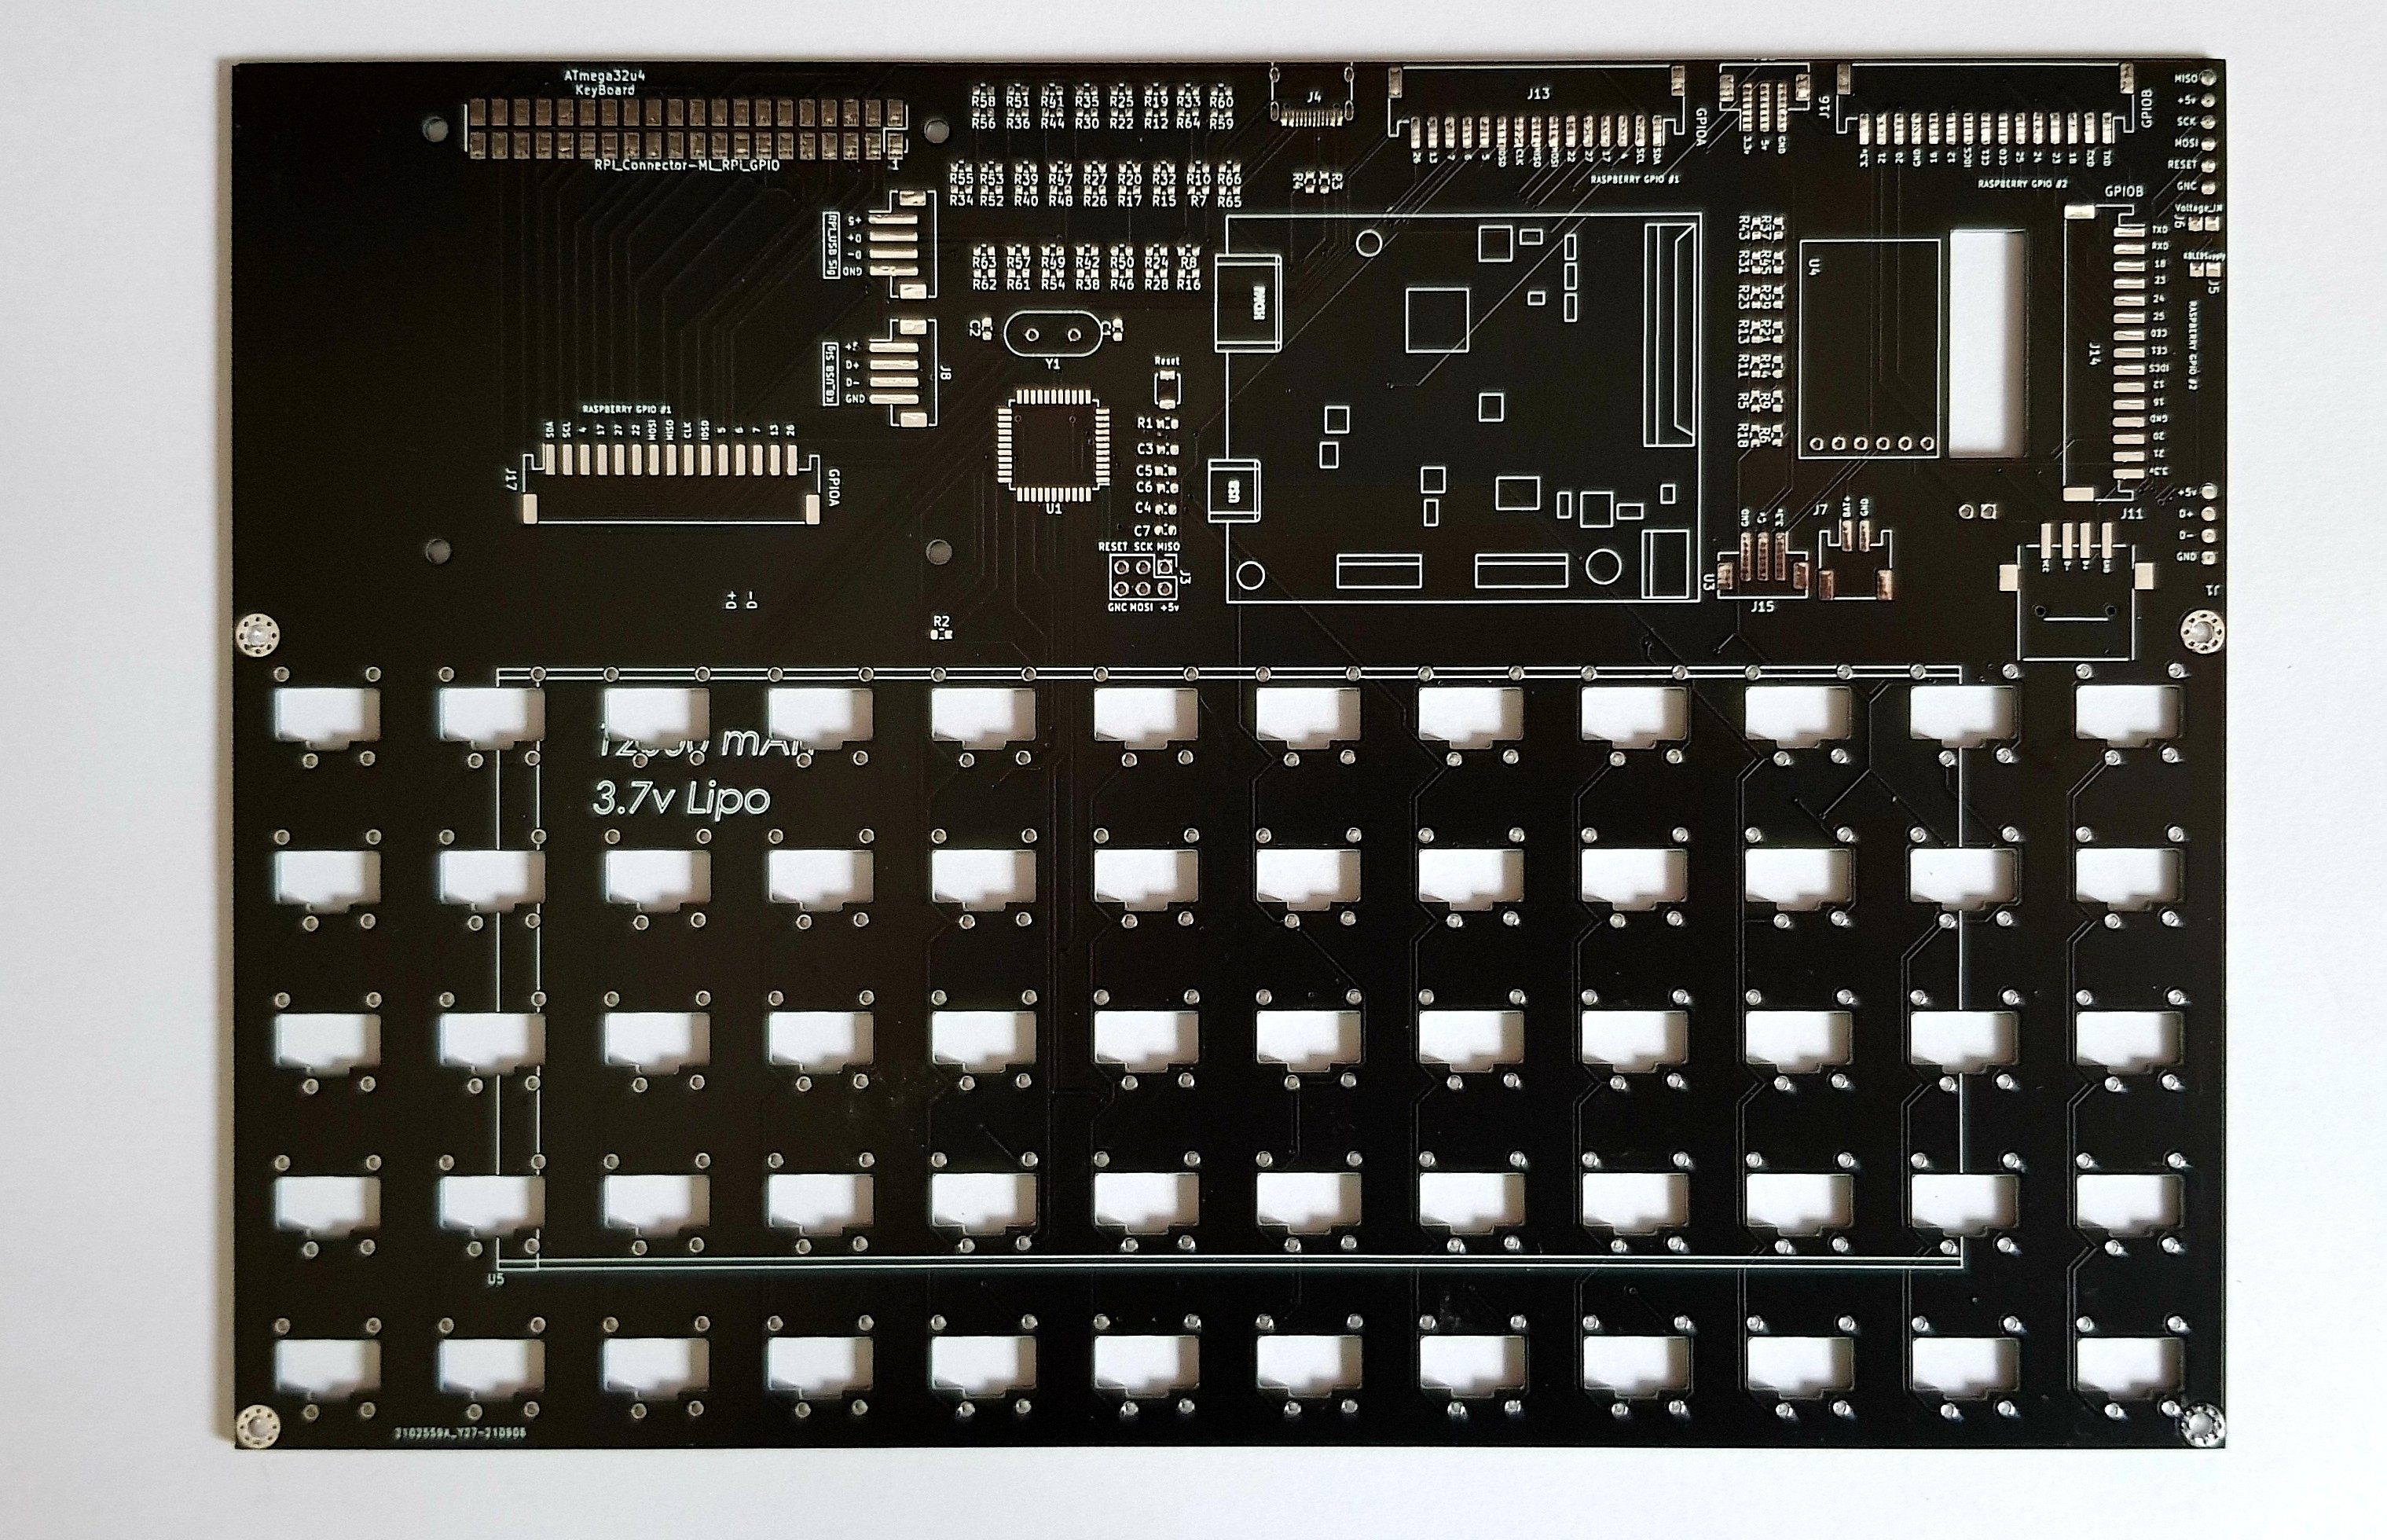
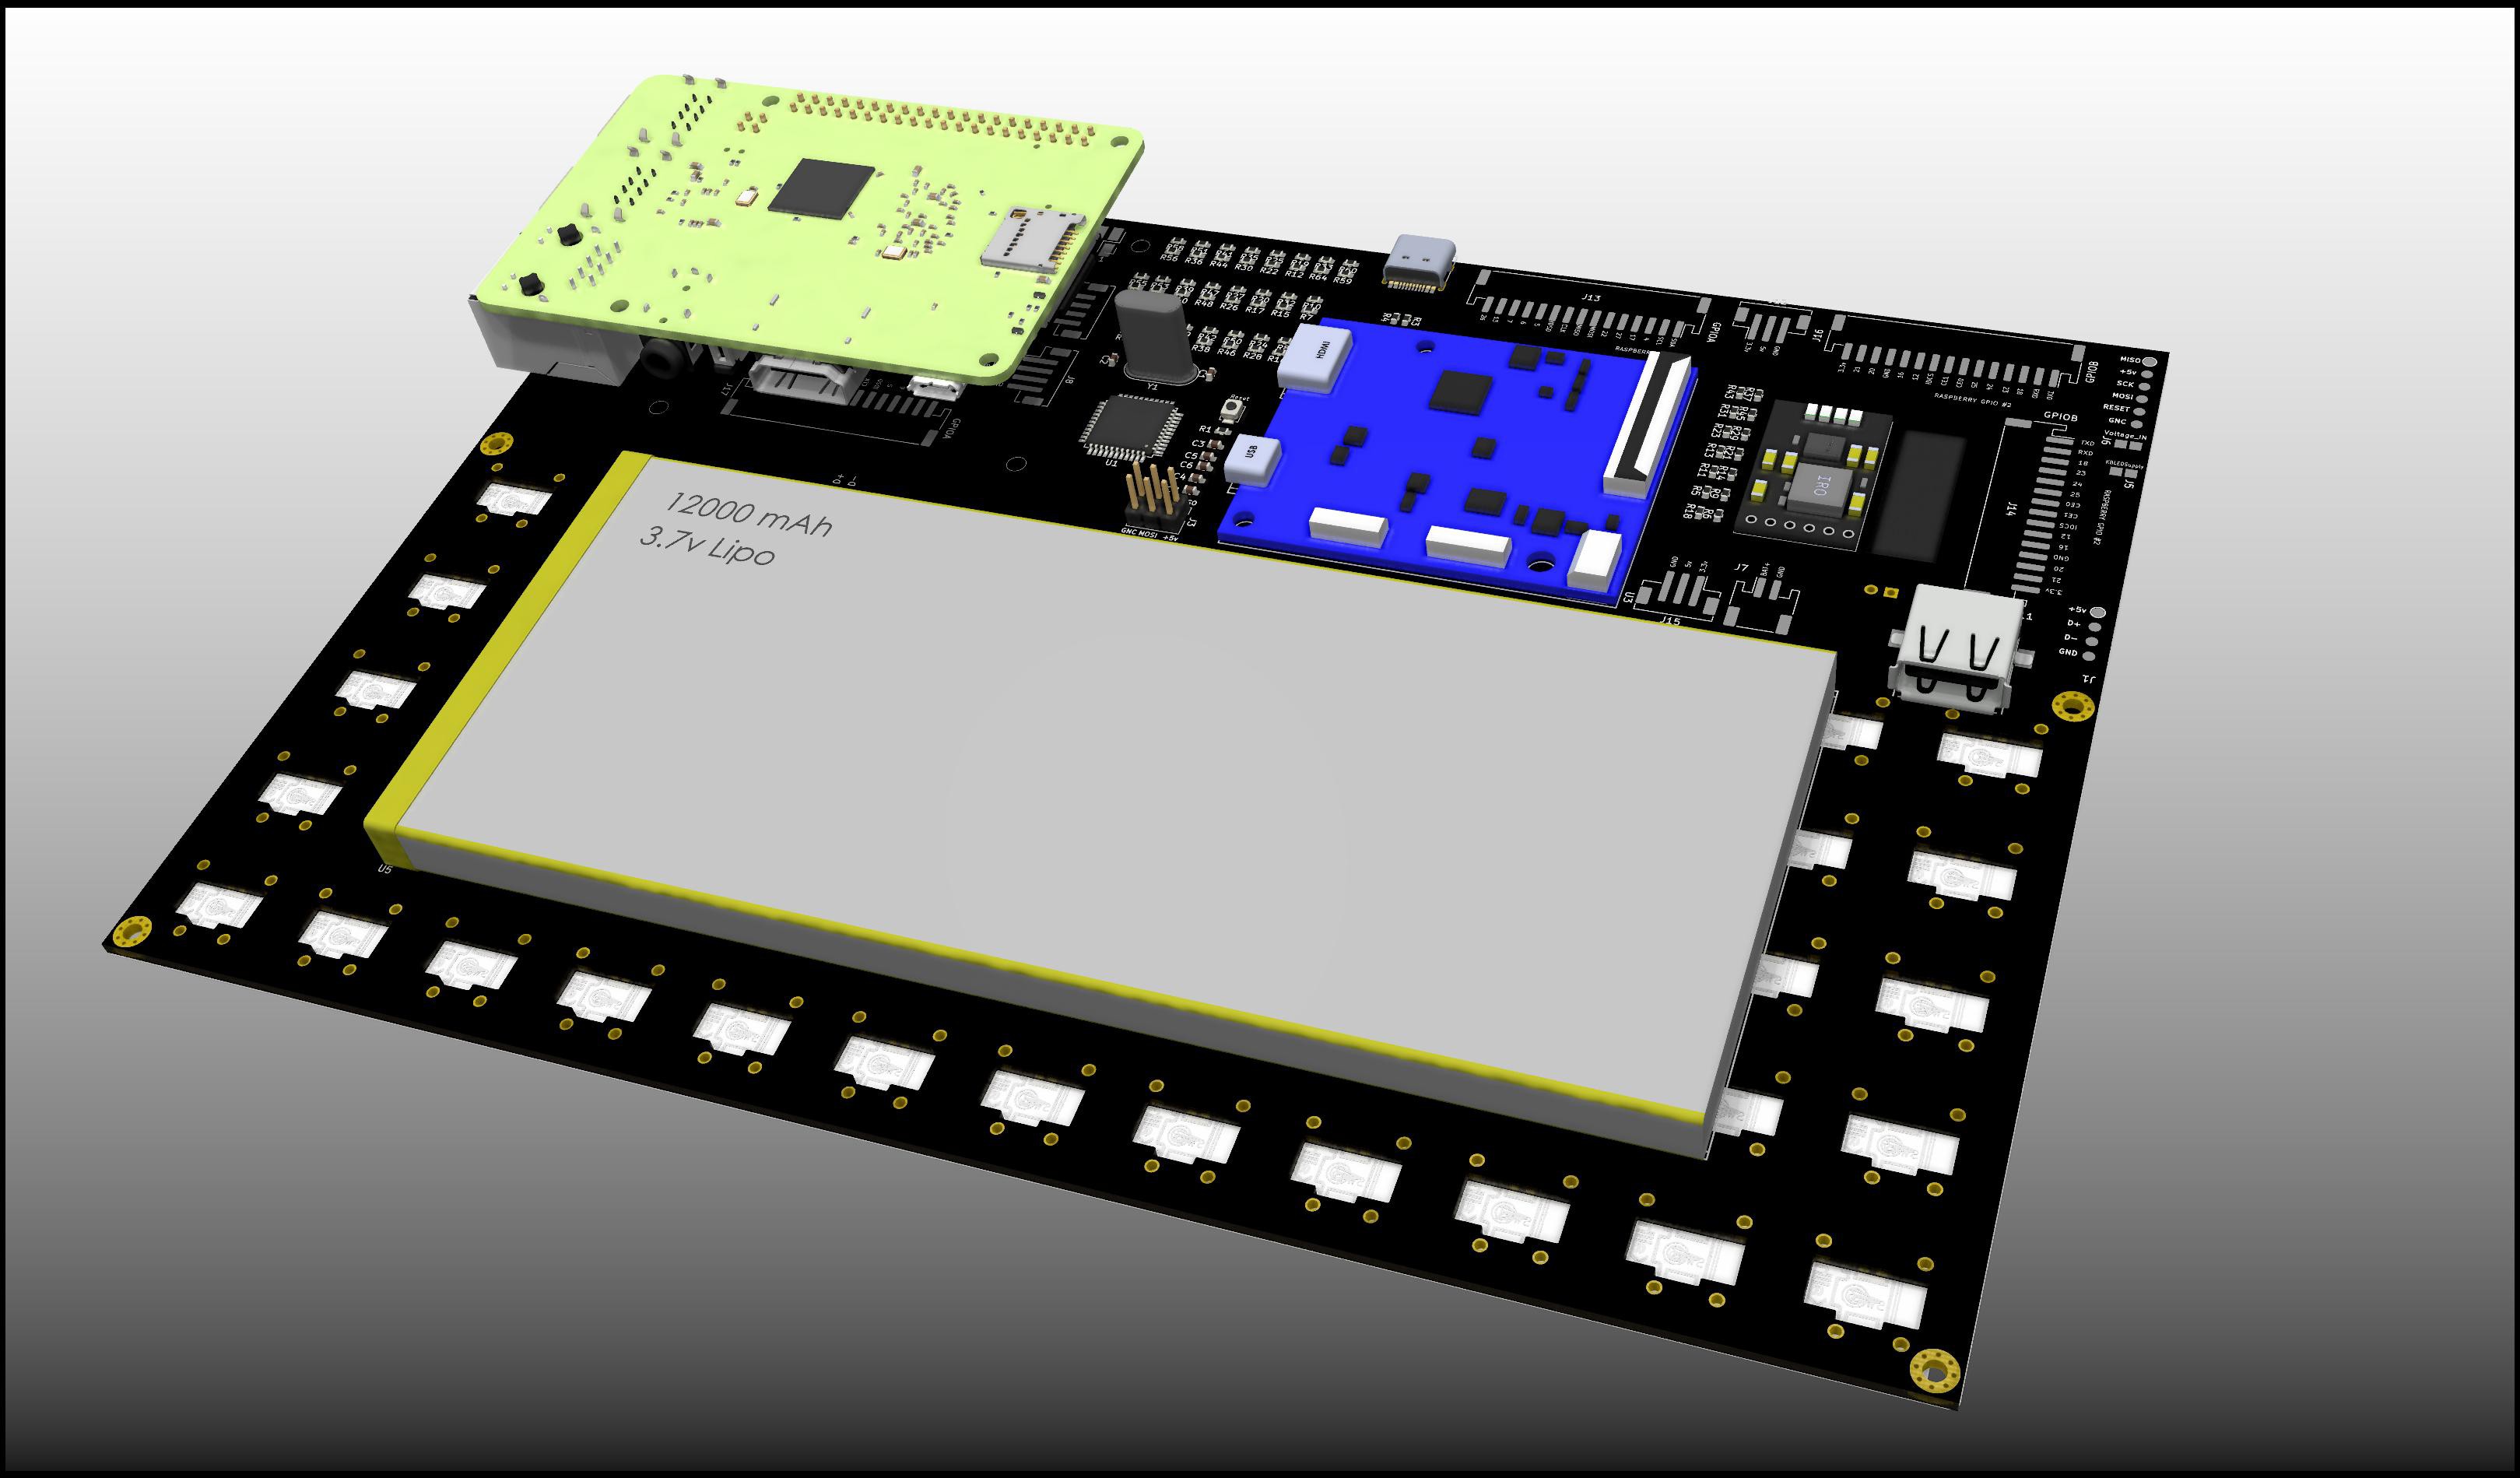
There is a specific part of the PCB to emulate a USB keyboard. It is made of an ATMEGA32U4 at 12 mhz. 

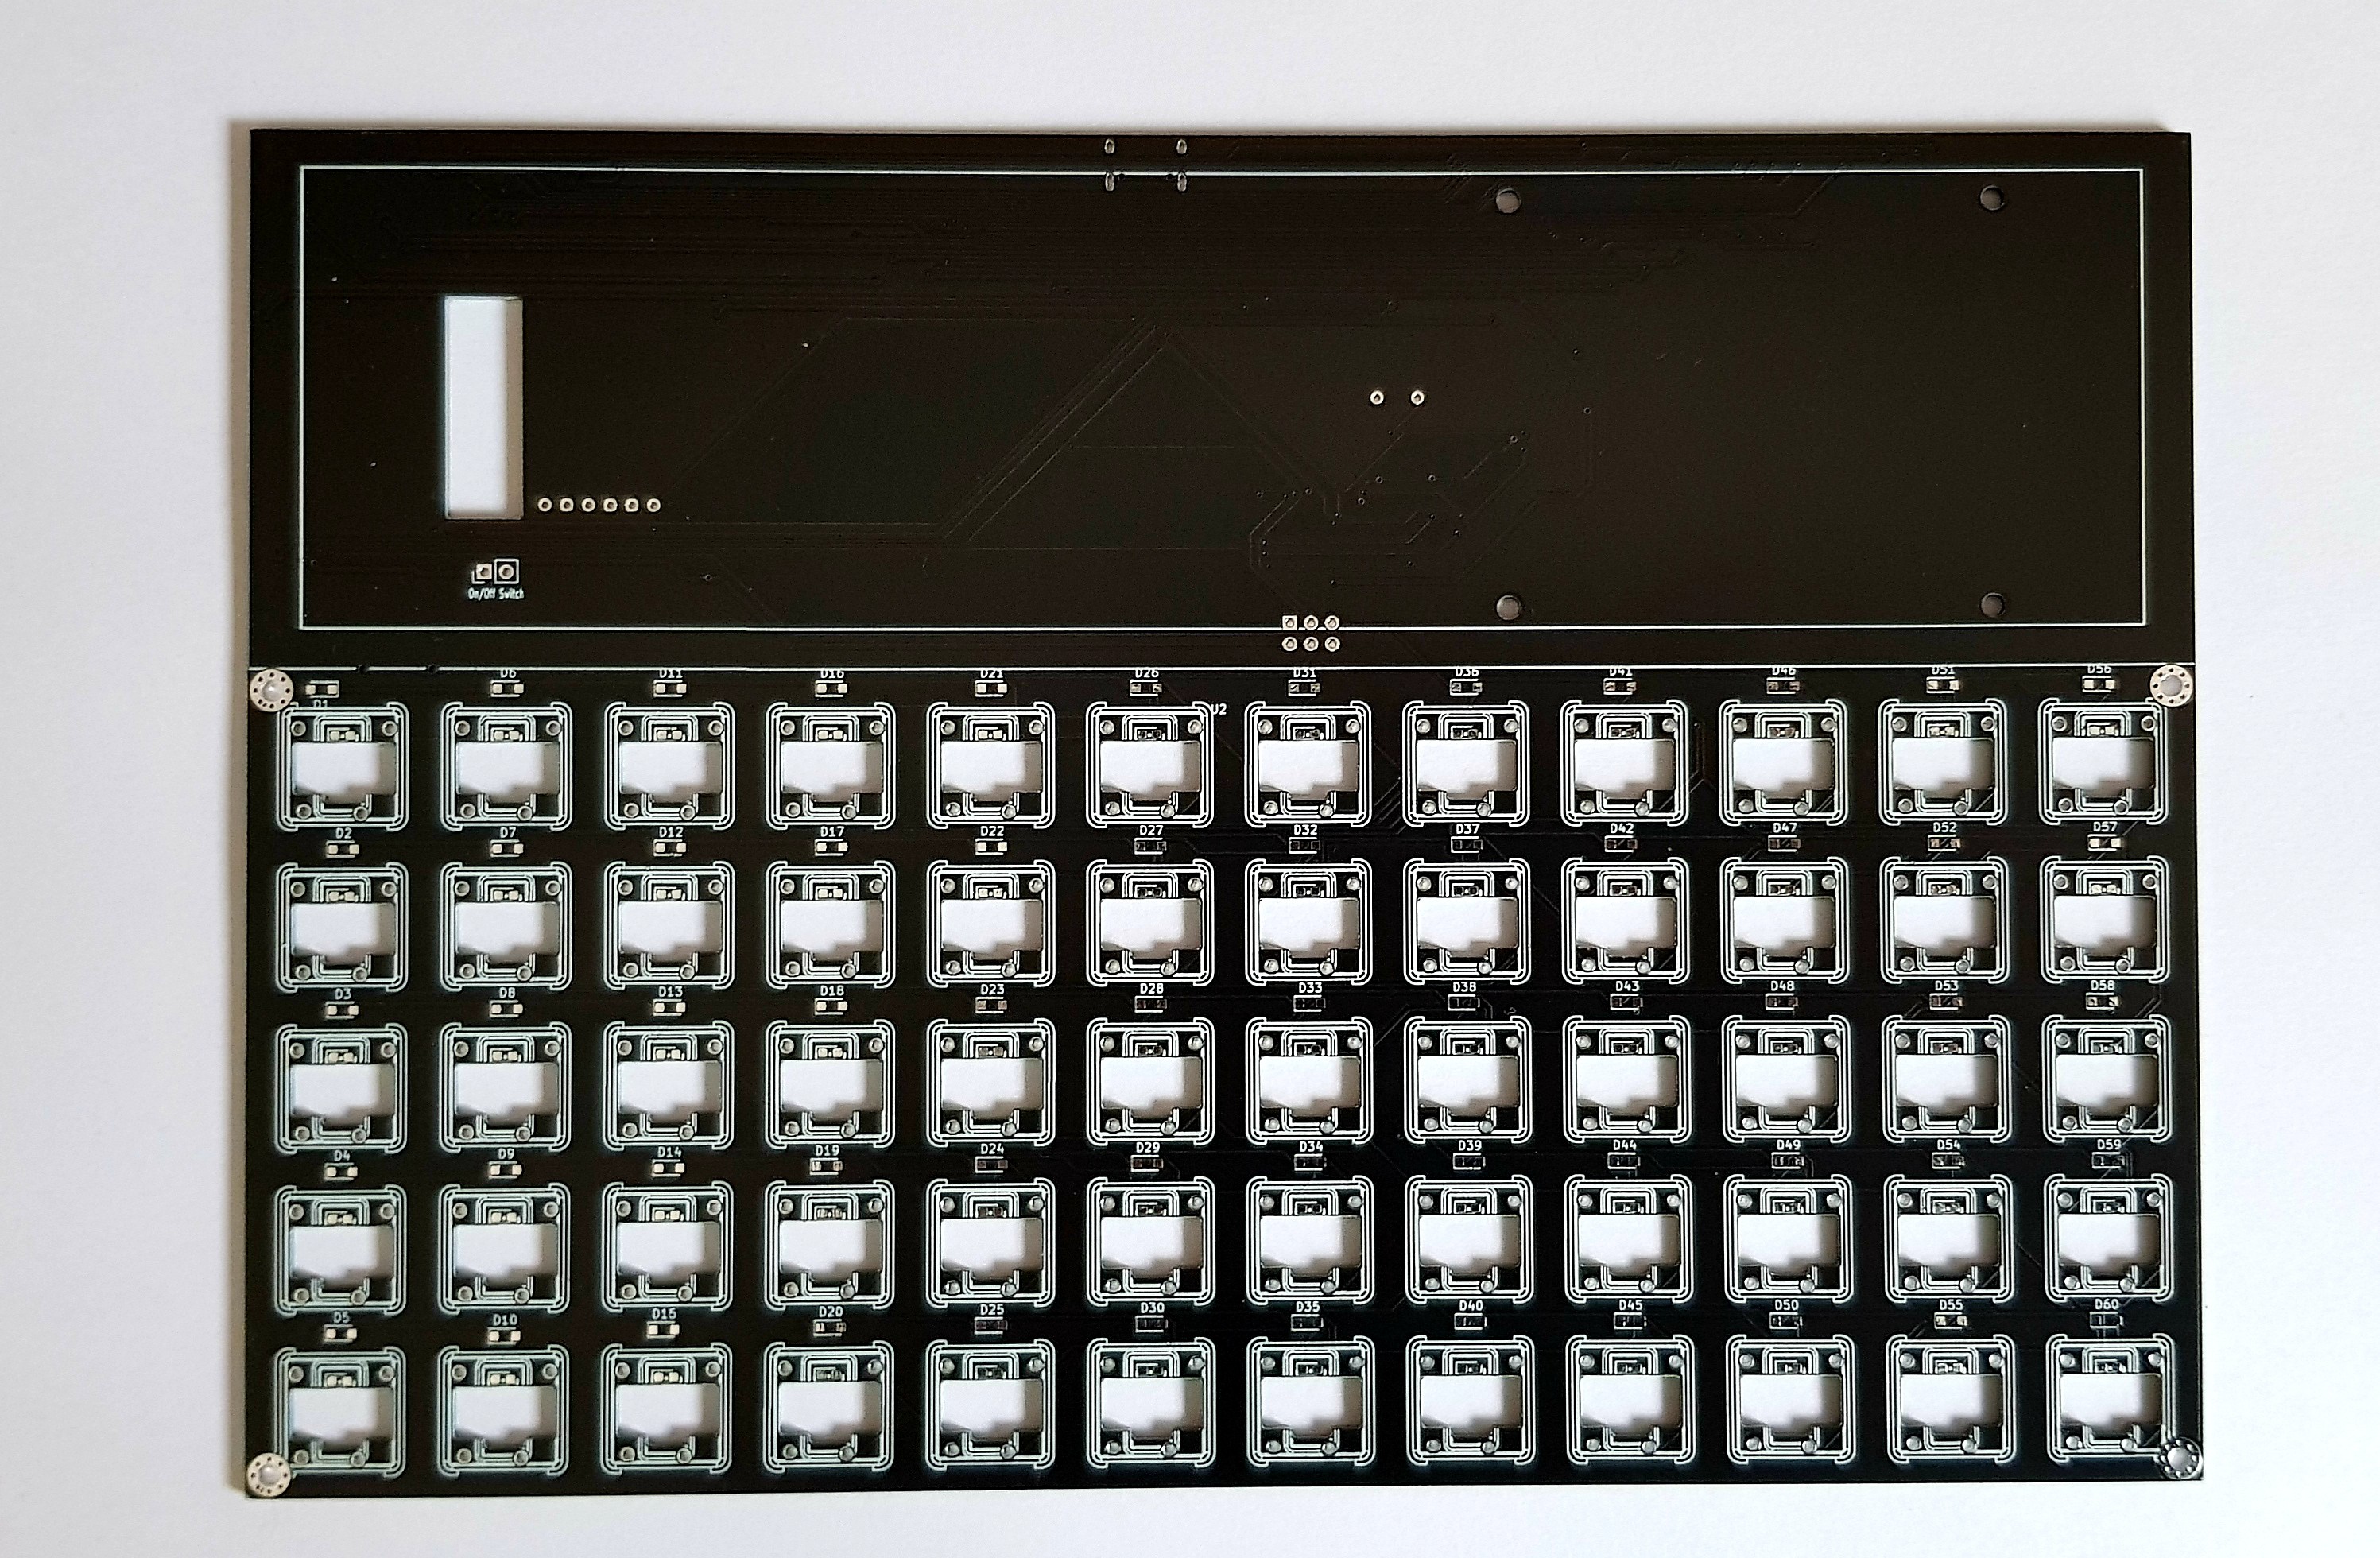
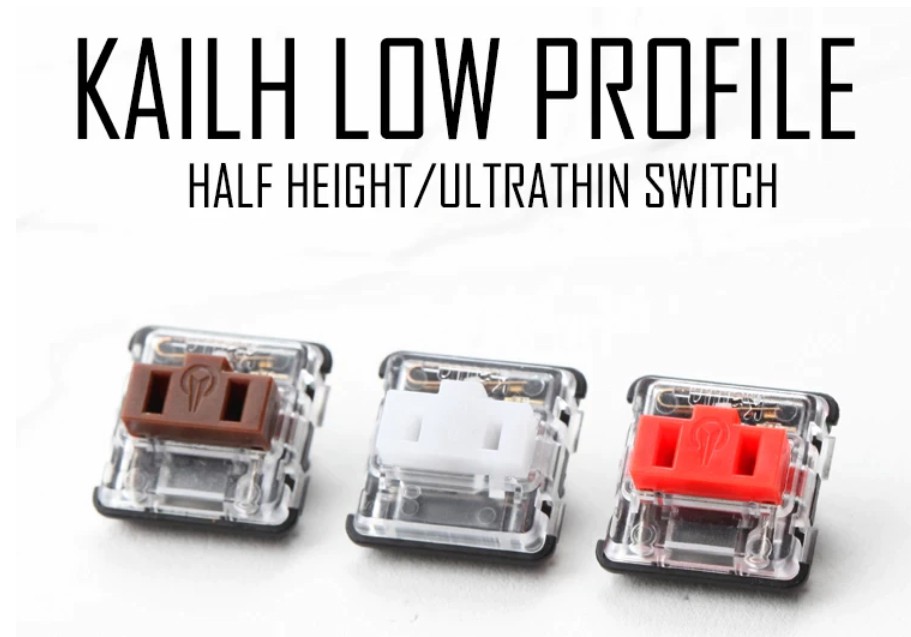
The keys are KAILH Low profile also found on aliexpress
The battery charger is a simple 2A LIPO charger bought from aliexpress also.

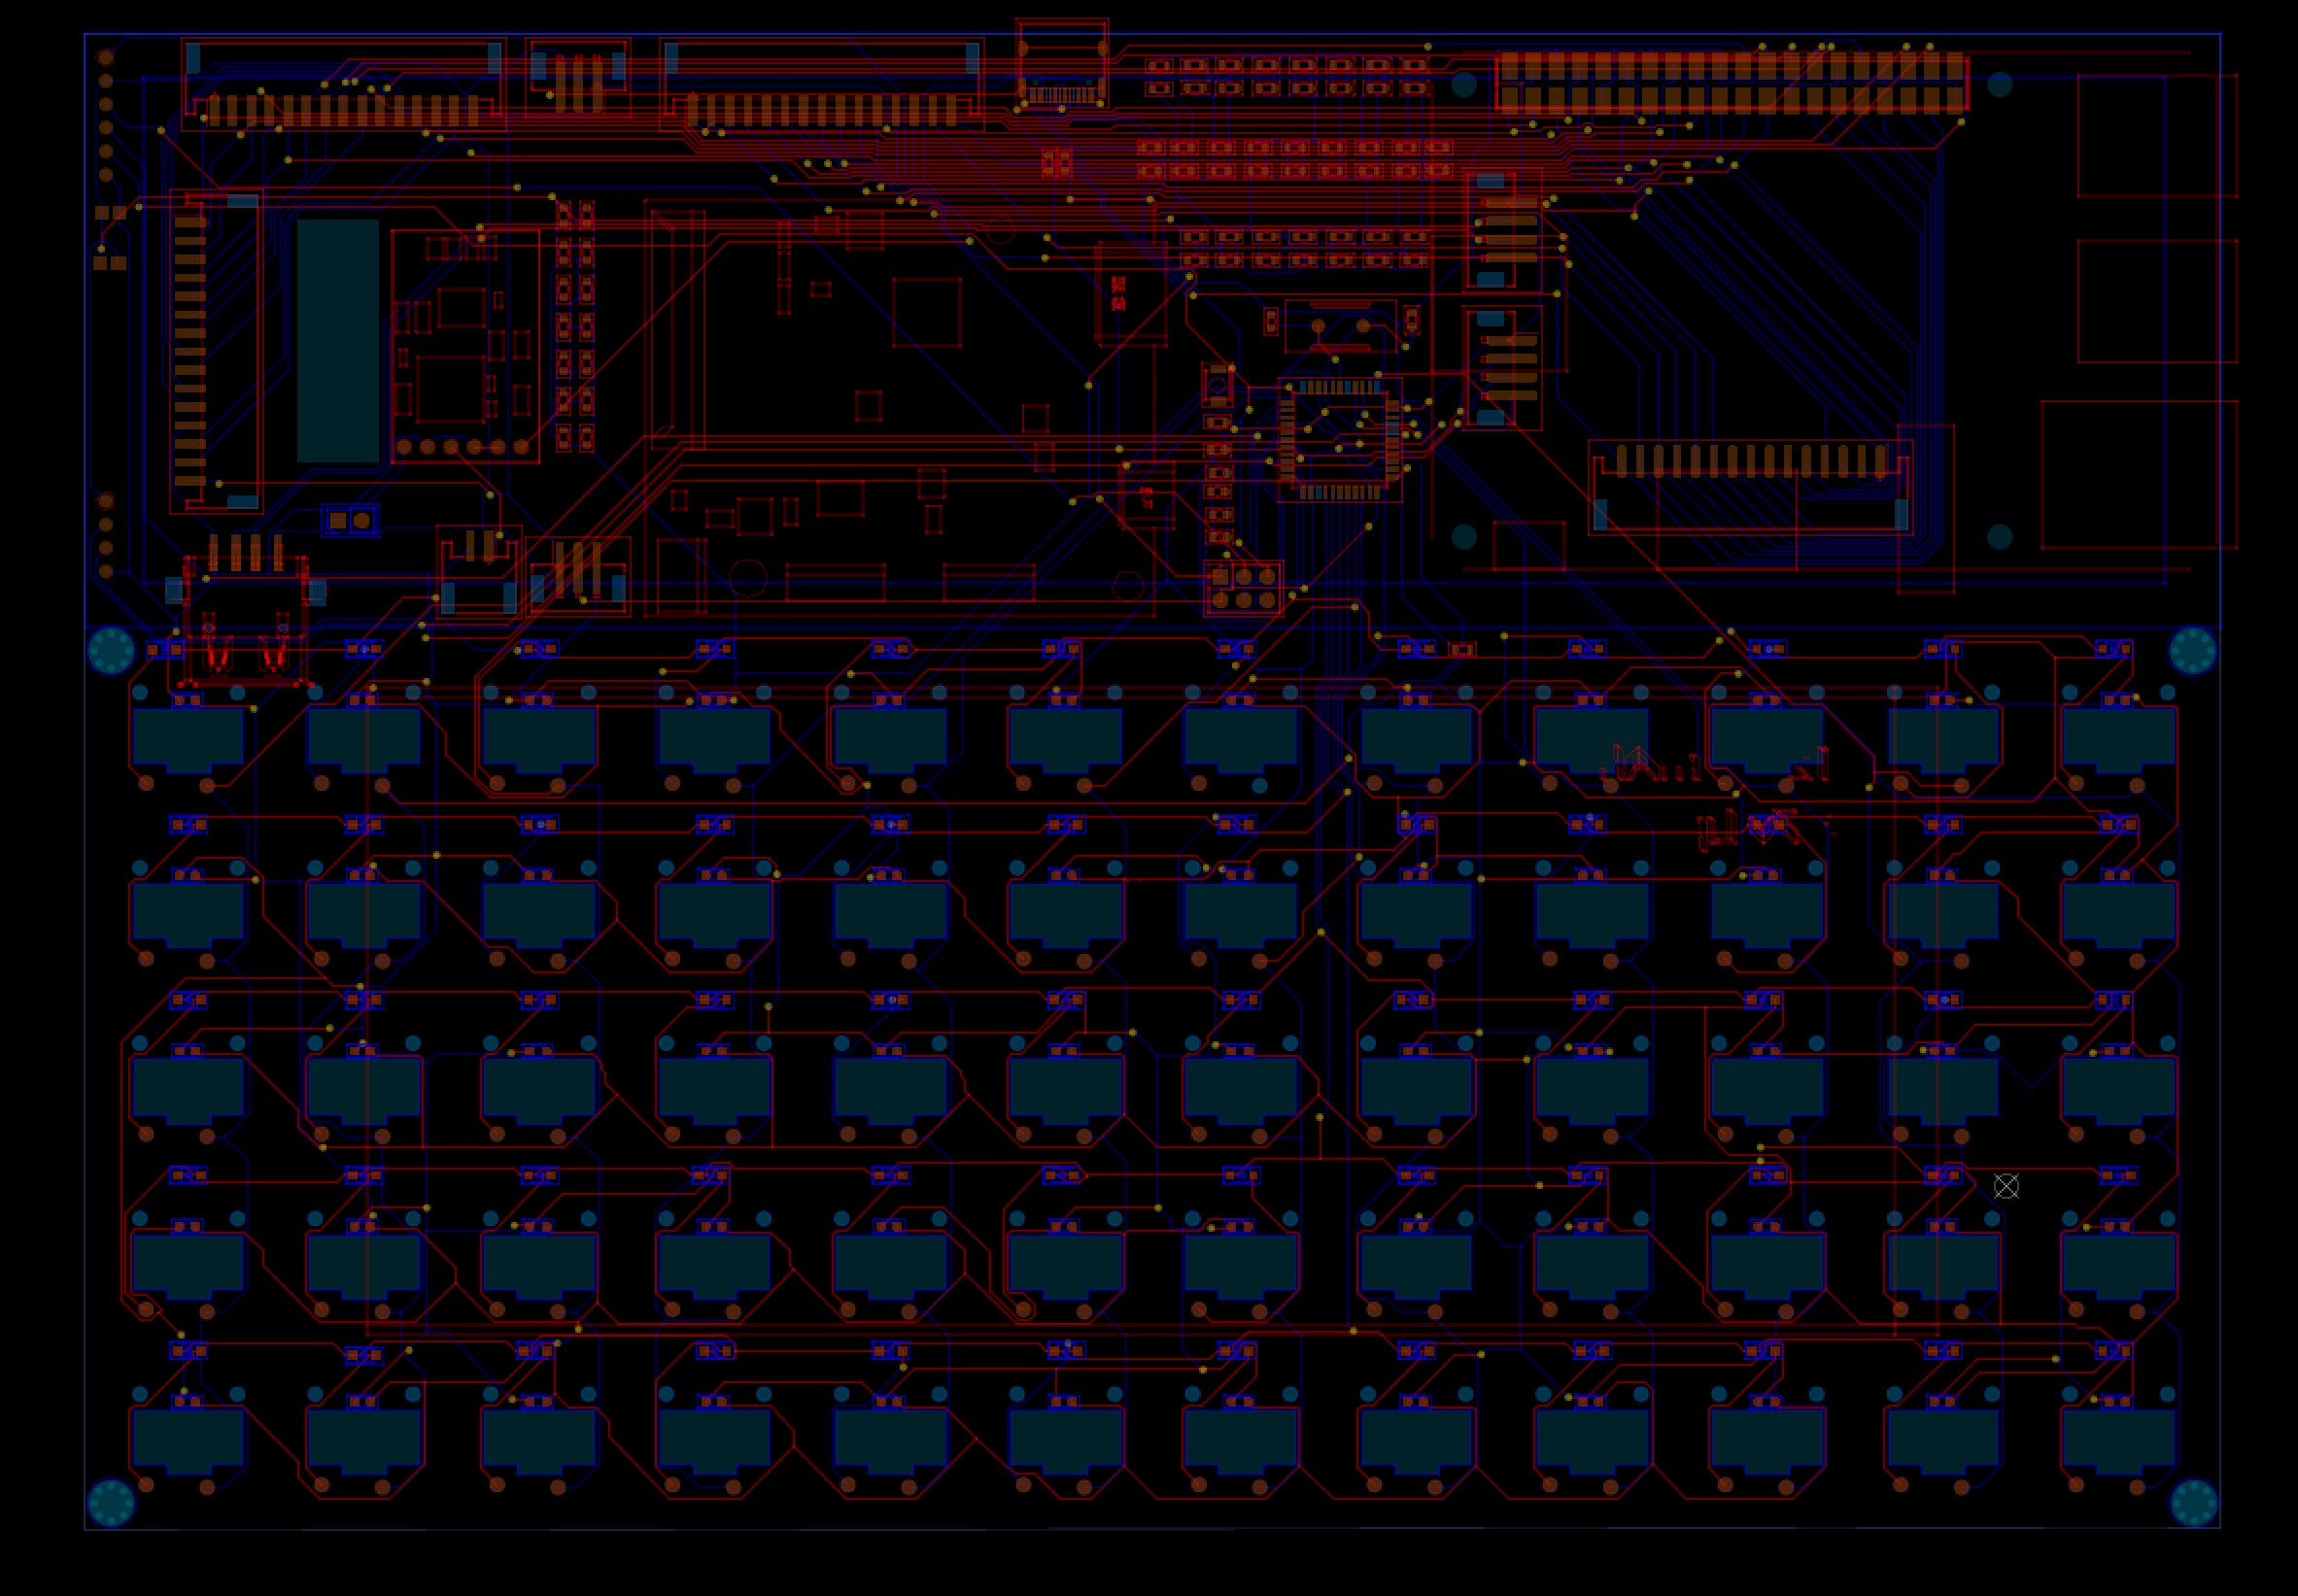
The board is not a mega invention. It is just a good arrangement to have all this stuff fitted into a small space with a good design.
BlakRpi-BOM-UPDATE.xlsx

Updated BOM

sheet - 8.86 kB - 08/17/2022 at 17:03

Download

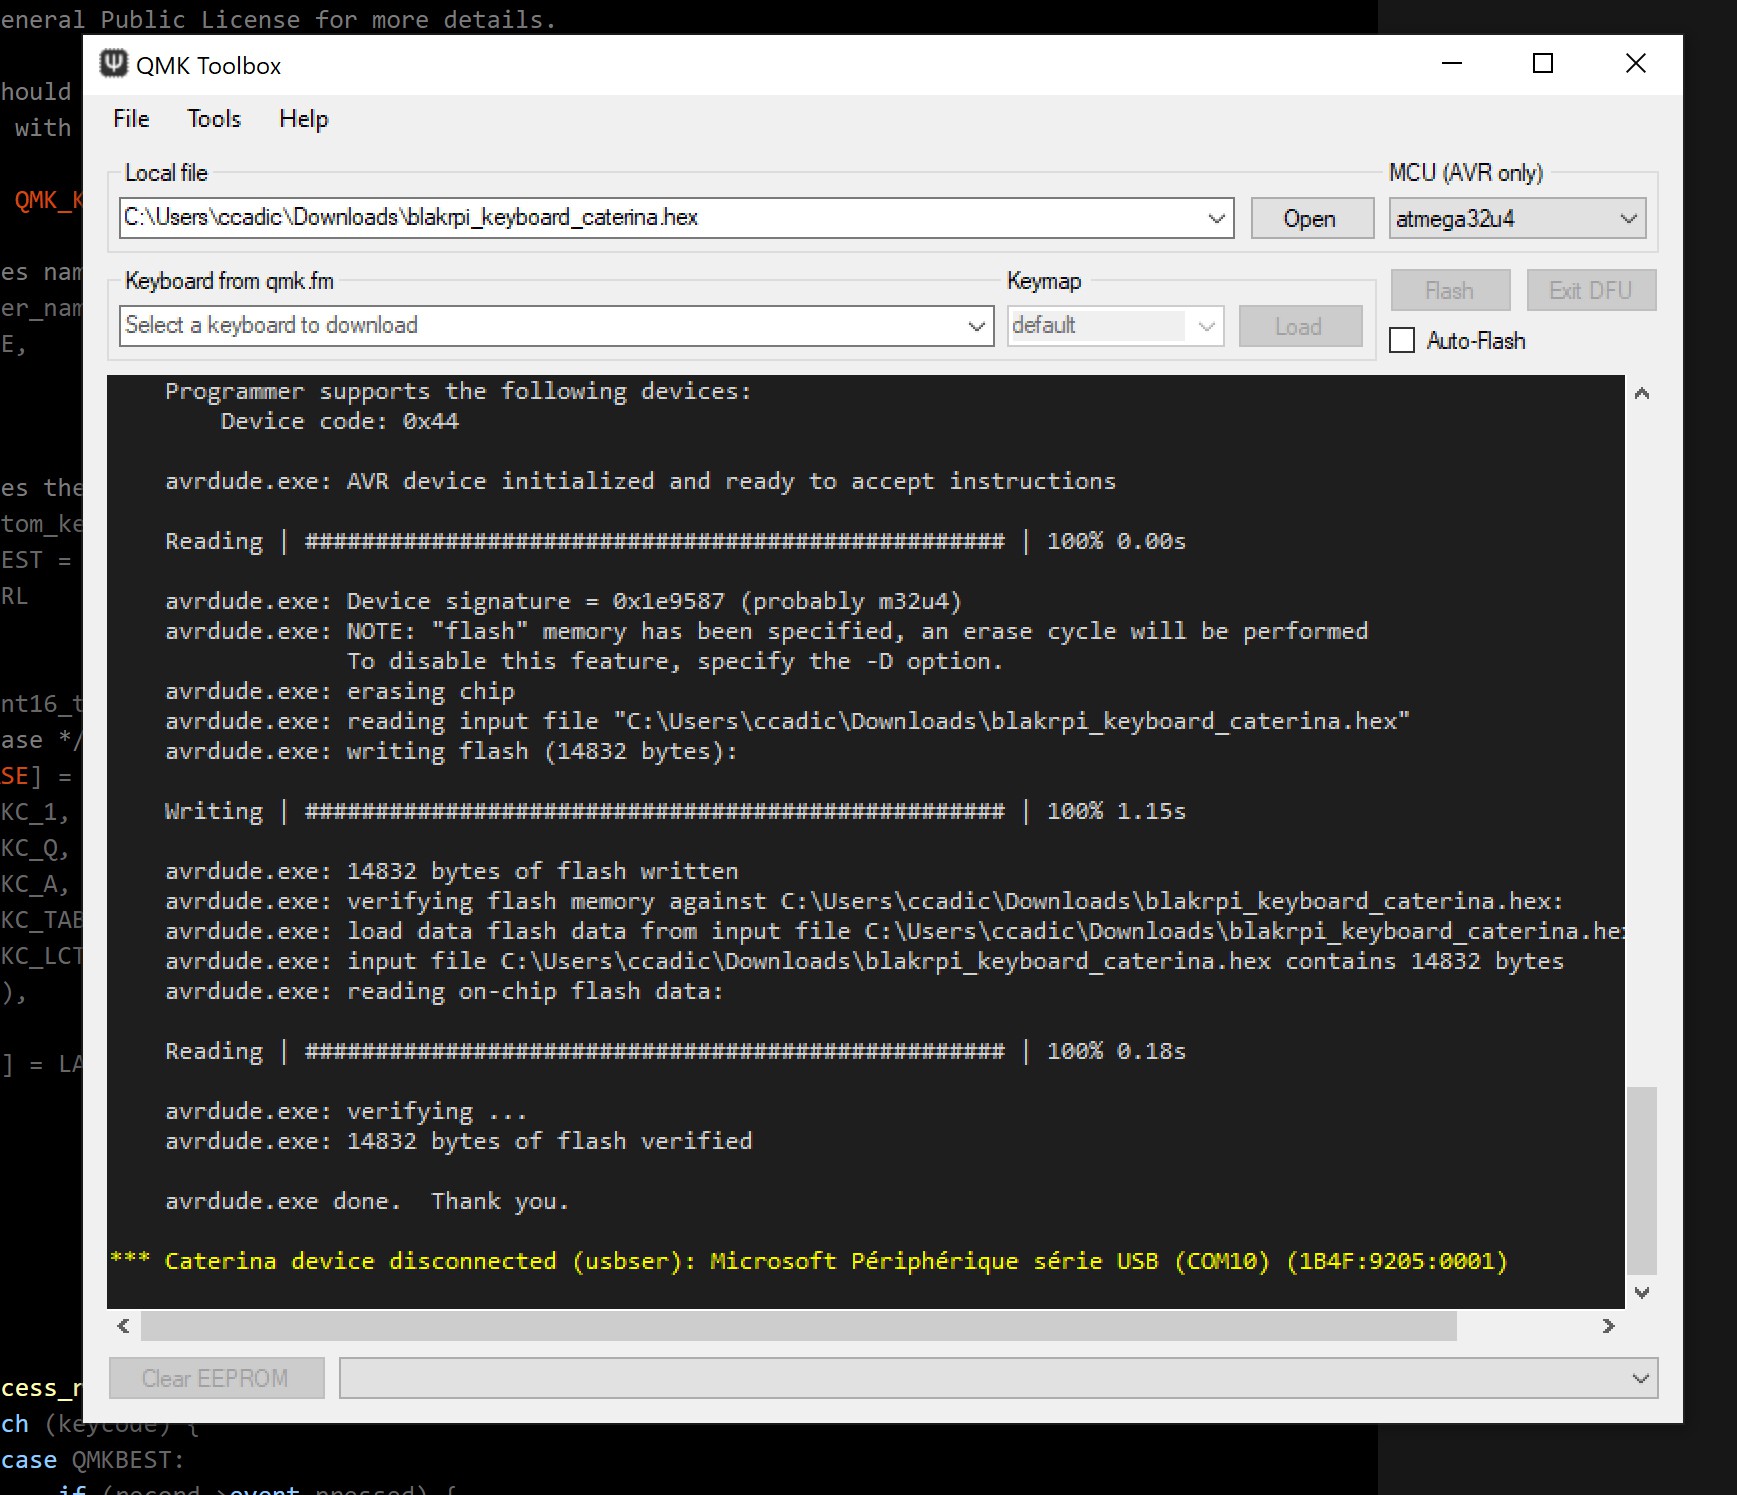
blakrpi_keyboard_caterina.hex

QMK HEX to flash...

hex - 40.76 kB - 11/11/2021 at 21:26

Download

BOM_88RPI.xml

BOM FILE

XML - Extensible Markup Language - 118.26 kB - 10/30/2021 at 13:50

Download

BOM_88RPI.txt

BOM FILE

plain - 24.67 kB - 10/30/2021 at 13:50

Download

  • 1 × 8.8 inch touchscreen display with HDMI board

View all 8 project logs

  • 1
    Flashing the Bootloader

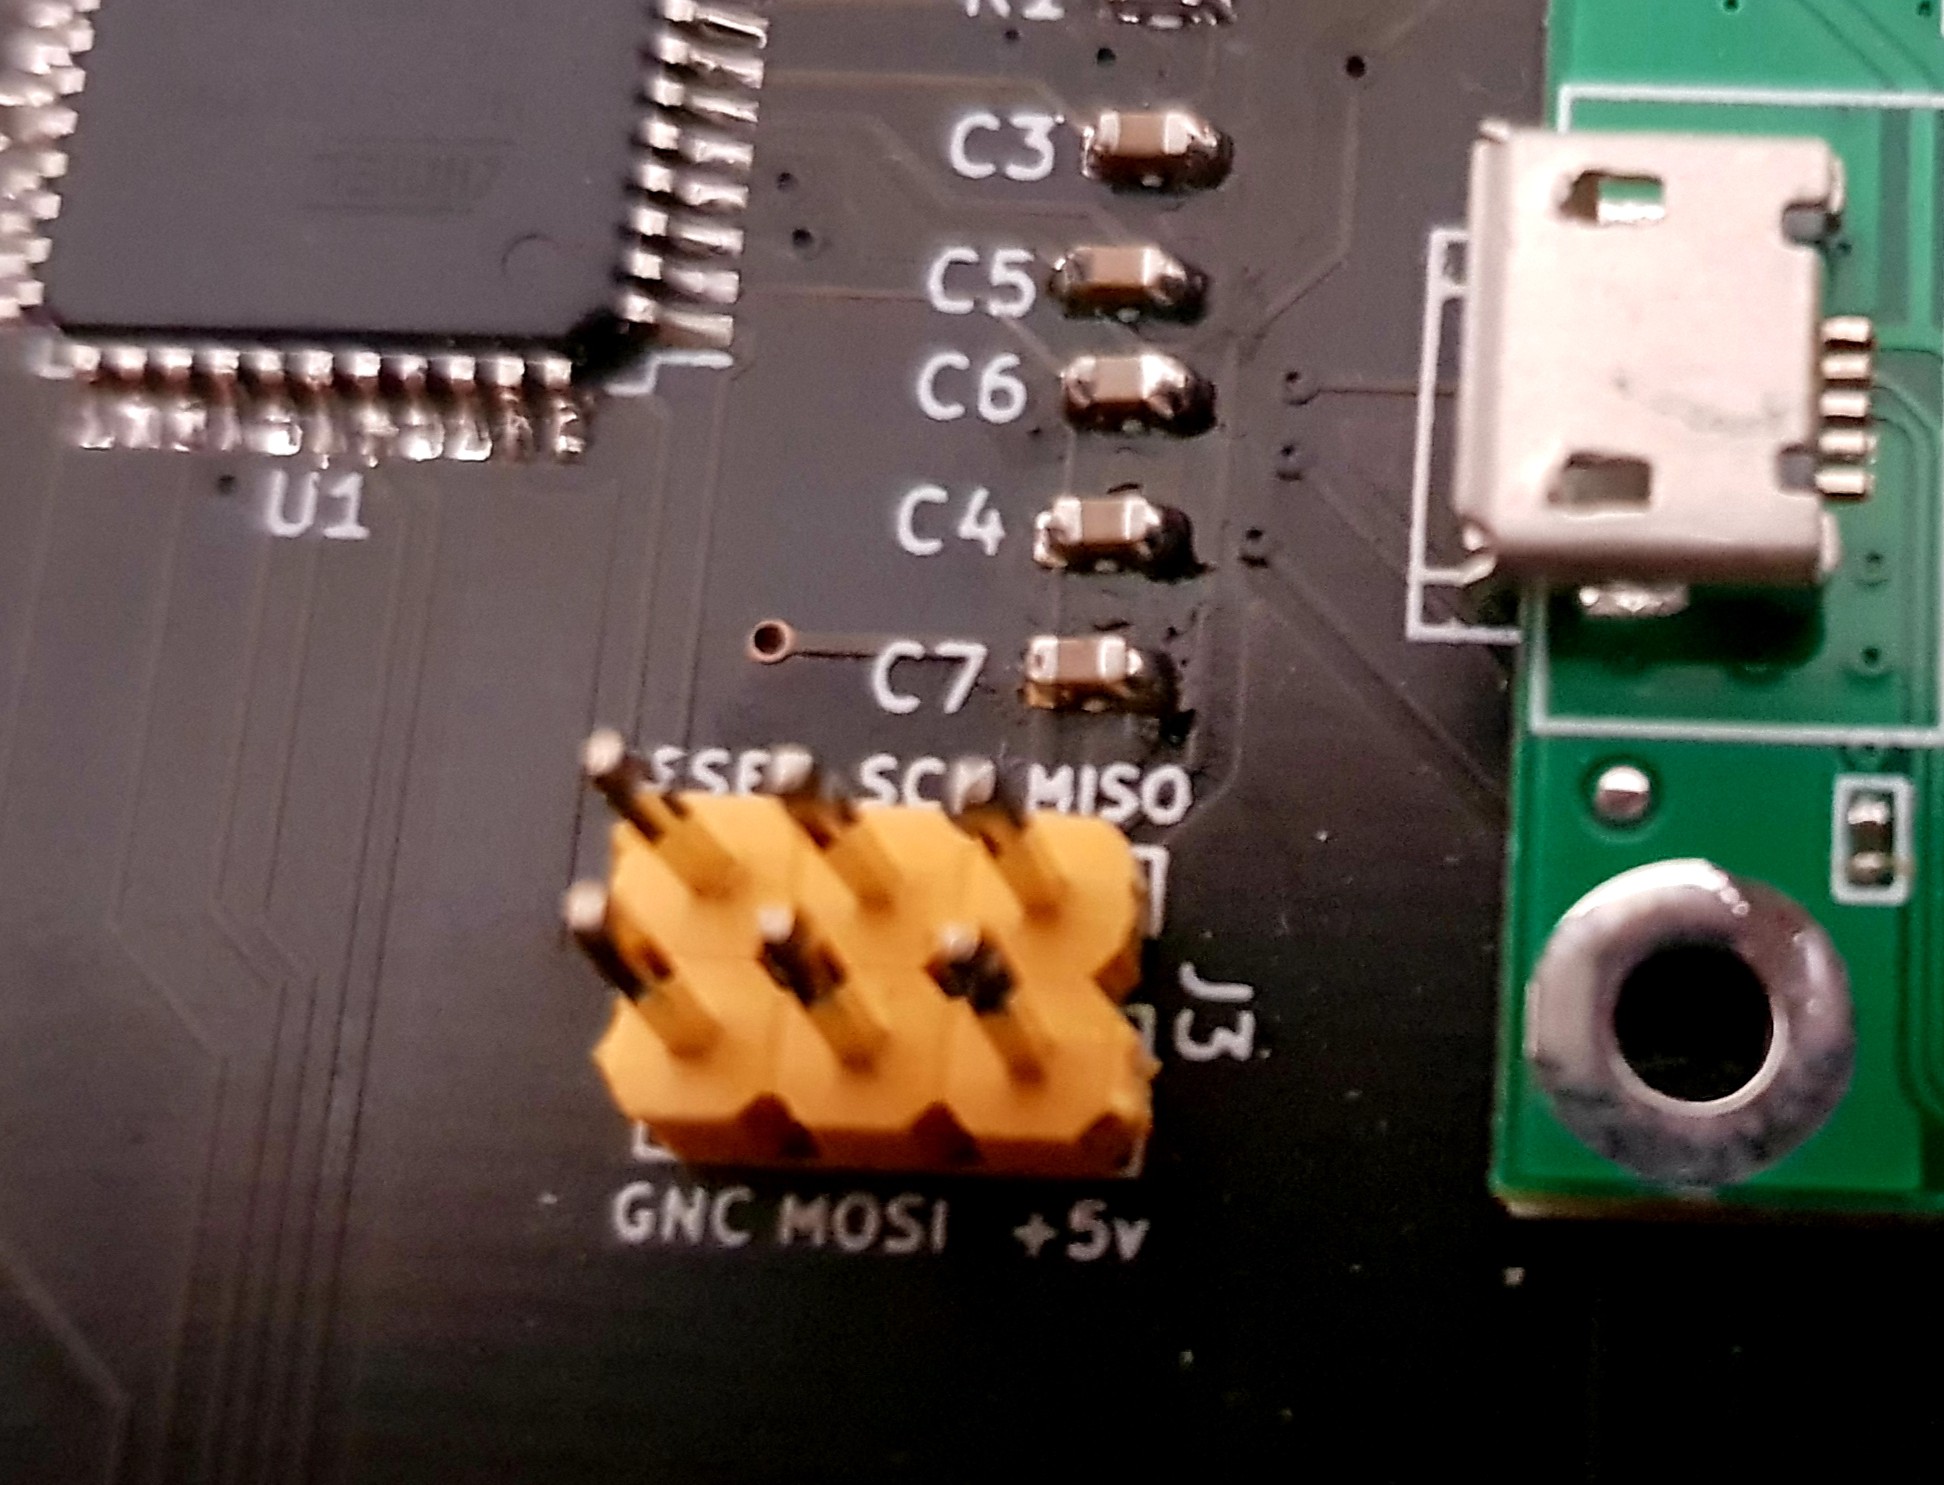
    The keyboard module is based on the ATMEGA32U4.  You can flash thebootloader using the ISP 6 pins connector on the back side of the PCB

    You will need to use a bootloader .HEX file which is compatible with the ATMEGA32U4 16 MHZ crystal version. (5v arduino pro micro equivalent). I used the Caterina-Promicro16.HEX for this.

    To flash the ATMEGA32U4, I used  AVRDUDE with its GUI interface  AVRDUDESS

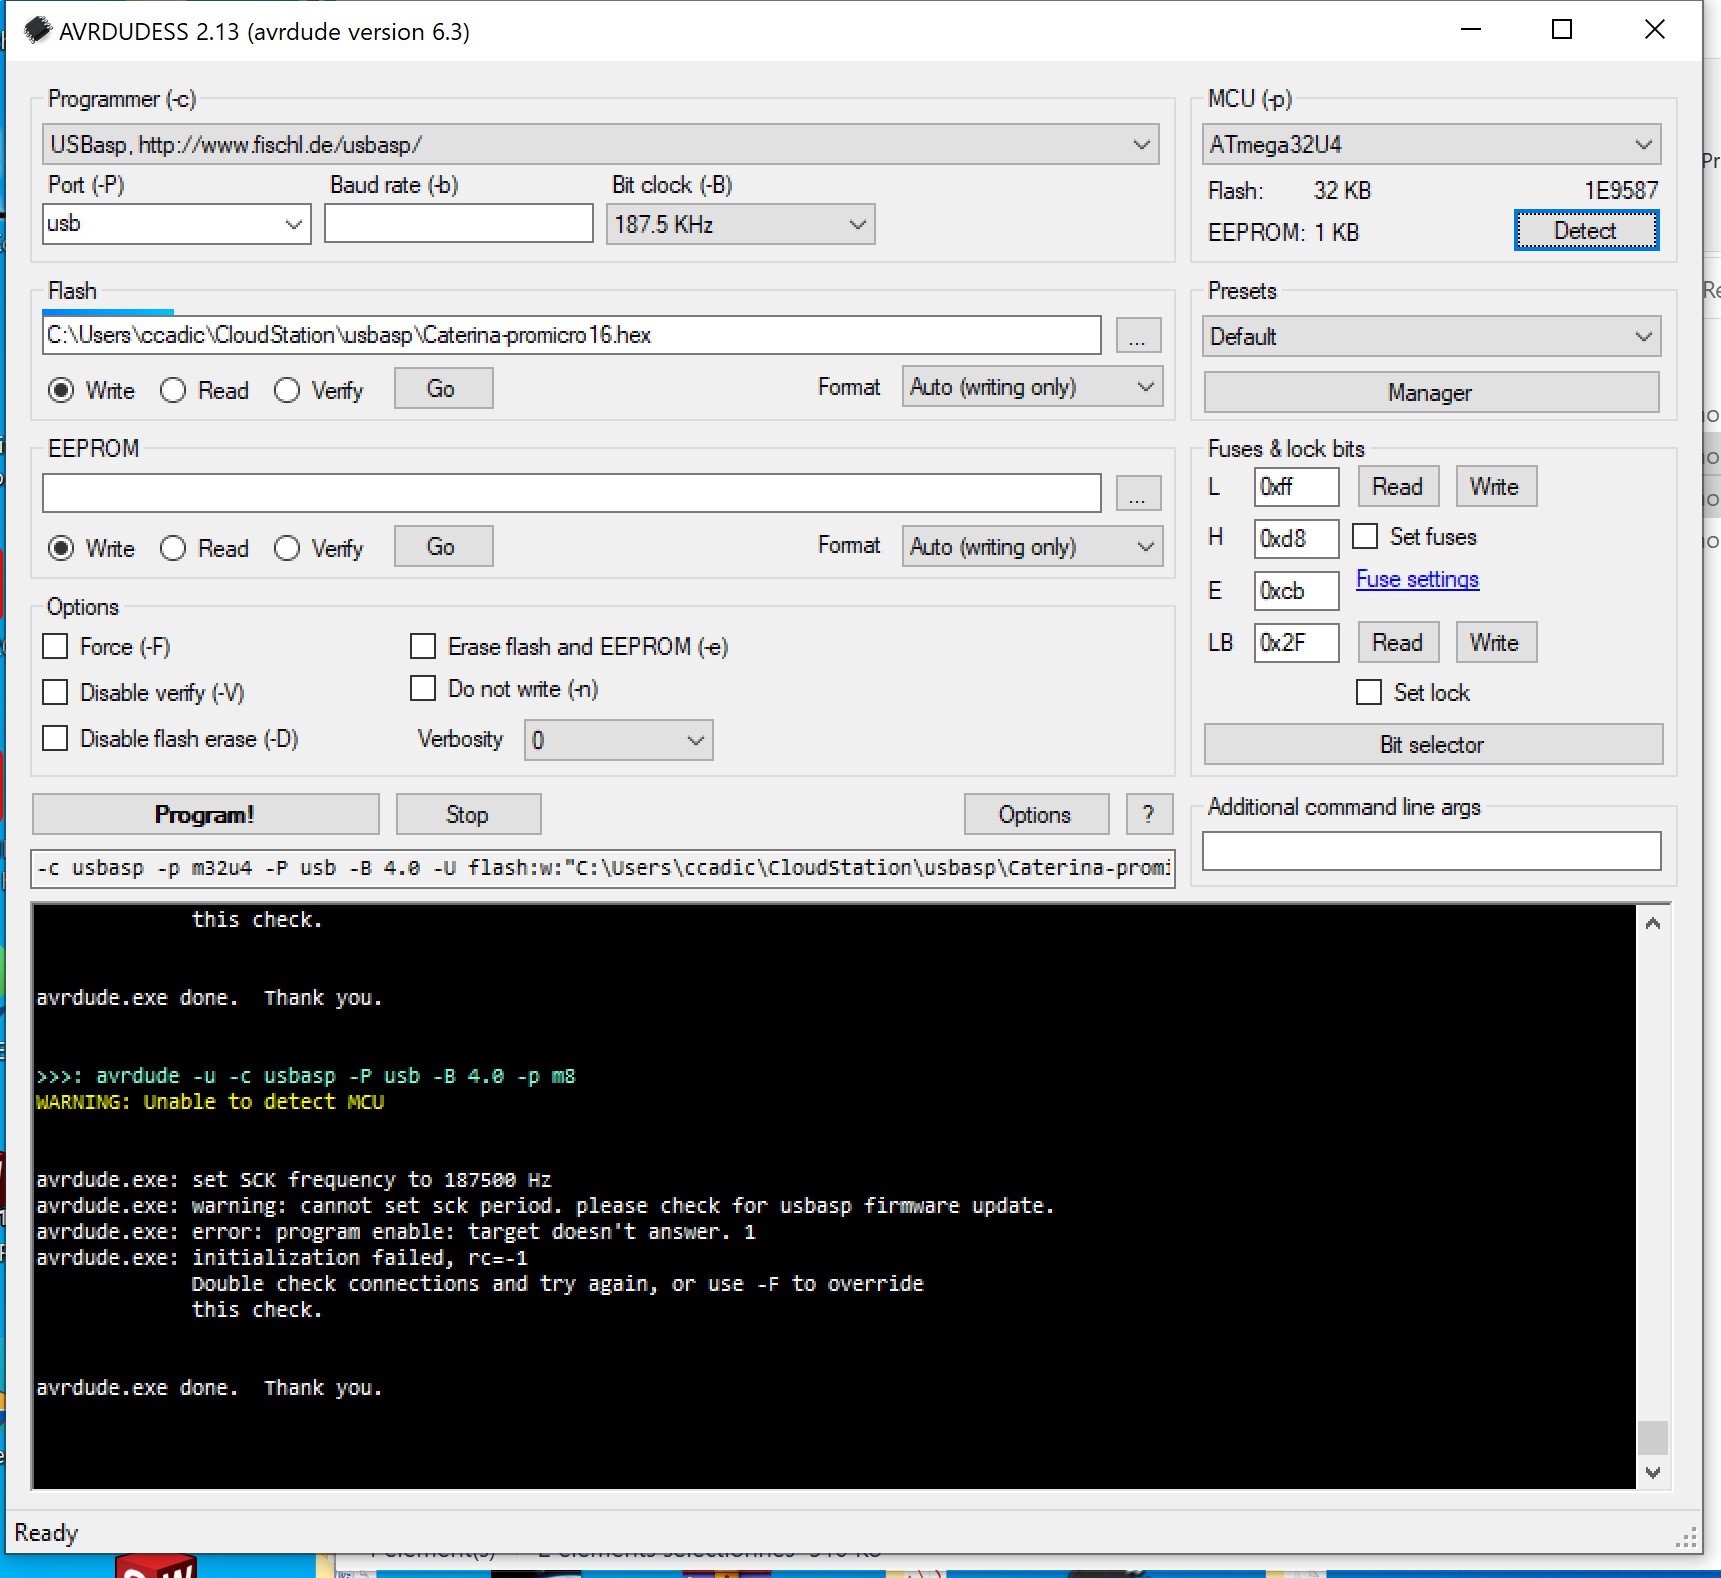
    Take care when you flash the bootloader. You will need to define FUSES and BITLOCK with care. Here is the screencapture of avrdudess which will let you burn the blank ATMEGA32U4

    Before you burn the HEX, you will have to click "Detect". It should display ATMEGA32U4. Then you have to press both "WRITE" buttons to write FUSES and LOCKBITS. Once done, select the Caterina-Promicro16.HEX to fill the FLASH textbox, then click PROGRAM!  This should upload the ardiuno bootloader like a charm.

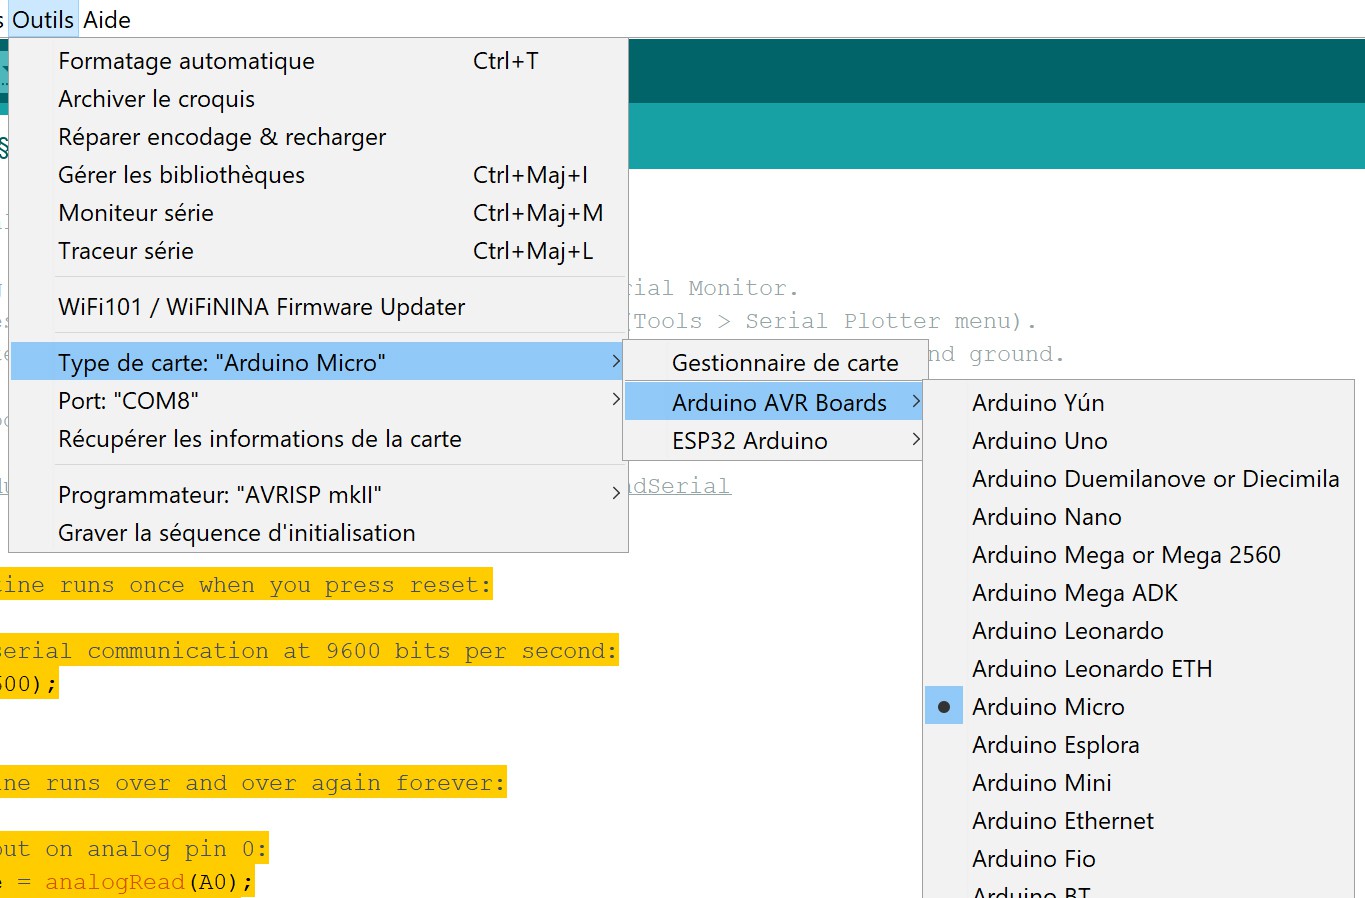
    You can test using ARDUINO IDE  via USB-C cable. Select AVR PRO MICRO board and the appropriate port (COM8 in the example).

    Then upload this sketch

    // the setup routine runs once when you press reset:
    void setup() {
      // initialize serial communication at 9600 bits per second:
      Serial.begin(9600);
    }
    
    // the loop routine runs over and over again forever:
    void loop() {
      // read the input on analog pin 0:
      int sensorValue = analogRead(A0);
      // print out the value you read:
      Serial.println("Testing the computer... RPI ..");
      delay(1);        // delay in between reads for stability
    }

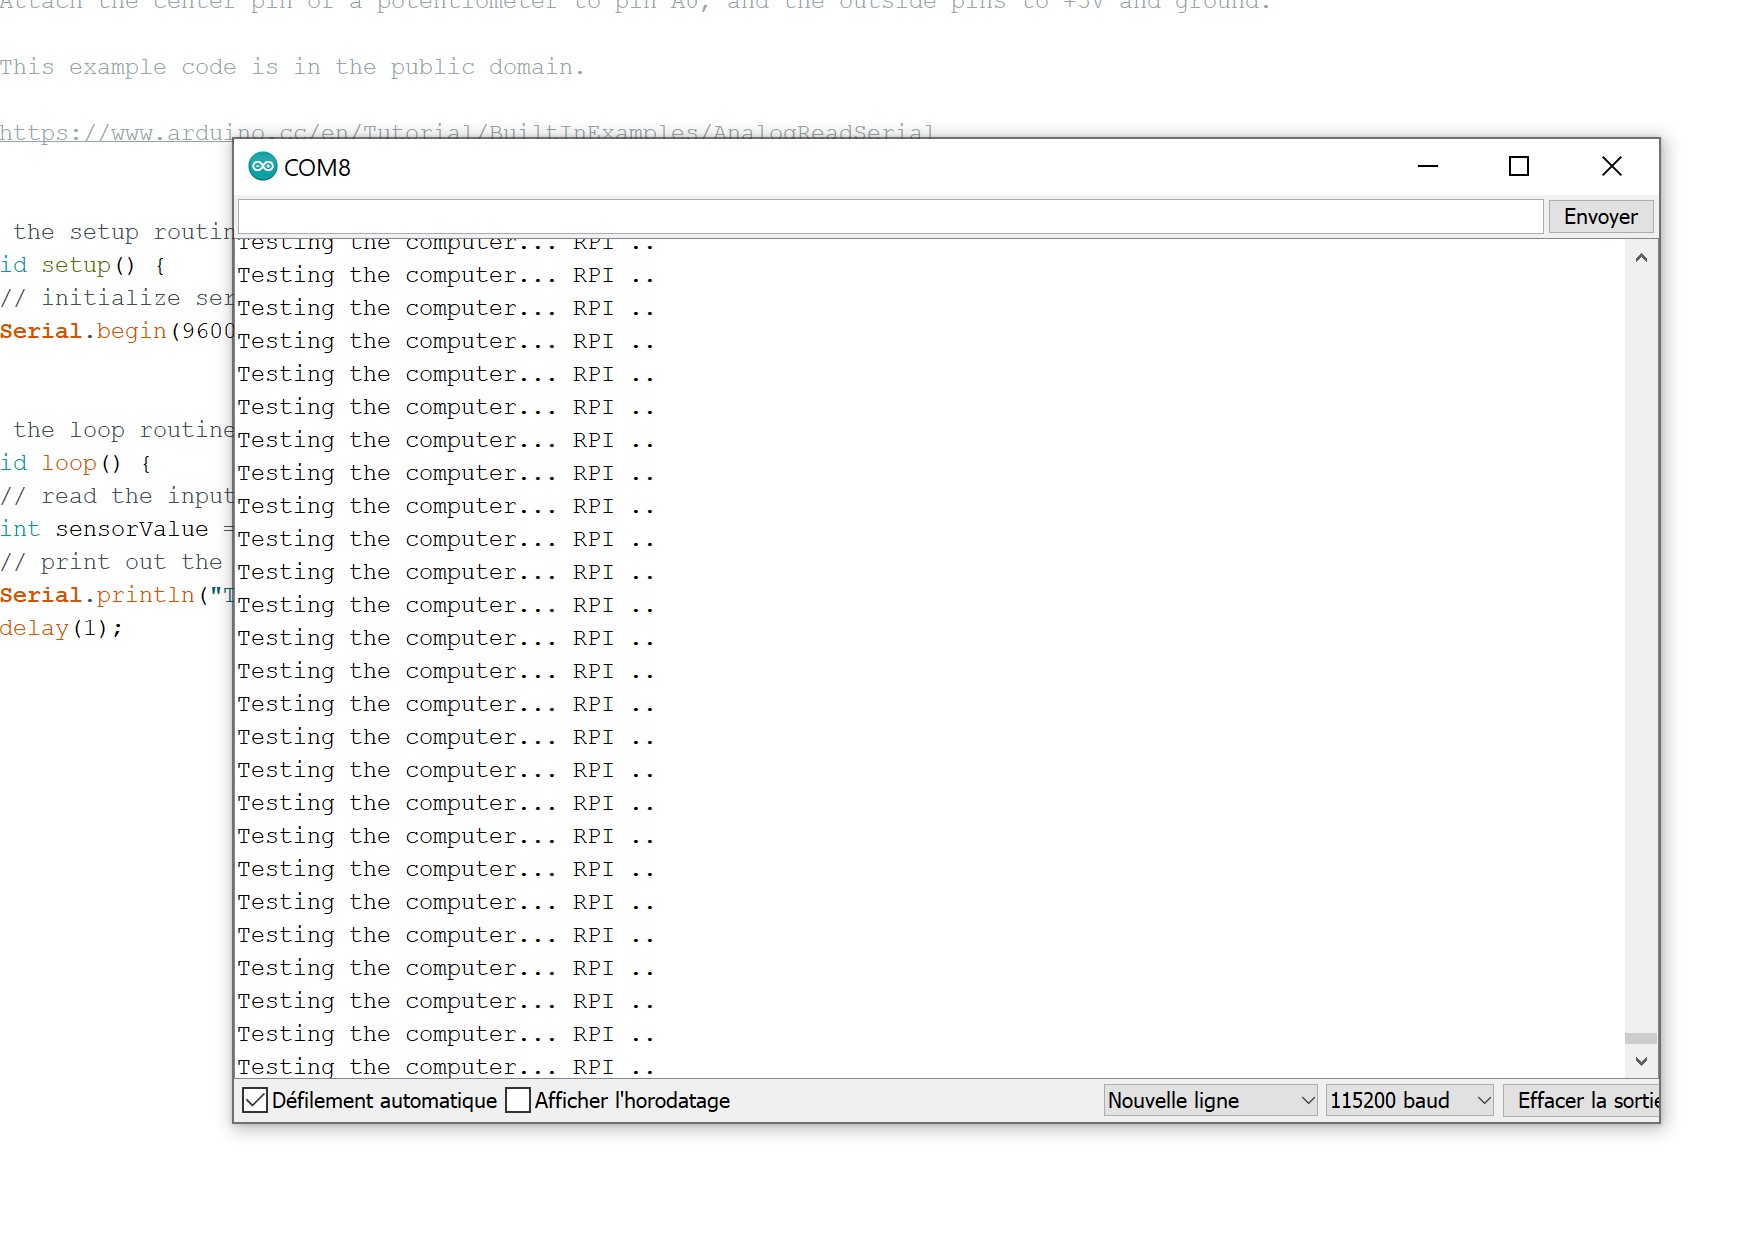
    It should display the echo.

View all instructions

Enjoy this project?

Share

Discussions

whizzard wrote 08/11/2022 at 01:36 point

I updated the BOM for easier part locating in the US, located on the project github fork I just created here: https://github.com/whizzard80/BlakRPI-Clive-additional/blob/main/UPDATES/BlakRpi-BOM-UPDATE.xlsx

  Are you sure? yes | no

whizzard wrote 07/31/2022 at 17:57 point

I have my blakrpi up and running well.  If anyone wants to discuss this project or has any questions a great place to go is the facebook group started by the designer here: https://www.facebook.com/groups/204297487146235
hope to see you there!

  Are you sure? yes | no

whizzard wrote 07/16/2022 at 07:08 point

Can confirm that I got the Atmega32U4 flashed using the instructions and files, and it does work as a USB keyboard!  Please note that the "ON/OFF" switch is not momentary it is open/closed and you need to have it bridged to flash using the USB-C port.  The next steps are getting the screen, battery, and pi hooked up.

  Are you sure? yes | no

whizzard wrote 07/07/2022 at 17:13 point

I am making progress with the build.  I should be able to test soon.  I have been told the best place to discuss this is twitter and this facebook group: 
https://www.facebook.com/groups/204297487146235
Trying to figure out a few general things about the board that I am not sure about but hopefully I can help others if I get mine working.

  Are you sure? yes | no

whizzard wrote 06/18/2022 at 16:09 point

The project's author added it to a GitHub, so some images and source files are now available!  Super helpful if you need help knowing how to install the diodes, where some components go, and other little issues you may run into during the build.  Check it out here:  https://github.com/ccadic/BlakRPI-Clive

  Are you sure? yes | no

dzaczek wrote 06/05/2022 at 08:38 point

Hi Does anyone have full bom files with links to some shop like lcsc or tme . I trying to complete bom and make order but it is my first time with smd elements and that big project 

  Are you sure? yes | no

whizzard wrote 03/02/2022 at 23:19 point

I have been trying to contact the dev about getting a solder stencil for the PCB... it seems rather necessary for so many small diodes and other SMD parts.  If there is another way I am not thinking of, let me know.  It just seems almost necessary to put that many components on the PCB.

  Are you sure? yes | no

whizzard wrote 02/27/2022 at 01:43 point

Just in case anyone else was confused, the Kailh "low profile" switches pictured did not fit on my PCB.  I looked deeper and found that it probably takes the "PG1232 Mini Chocolate" from kailh.  The pins are in a different place, and the low profiles pictured did not fit on the PCB I got from tindie.

this is the listing I think will work; not sure yet just ordered them from the ali kailh store. https://www.aliexpress.com/item/32989908397.html

I am also going to give this project a try... hope it goes well.

  Are you sure? yes | no

CA Price wrote 02/28/2022 at 03:03 point

I just ordered those as well. 

  Are you sure? yes | no

CA Price wrote 01/20/2022 at 19:09 point

Would it be possible to use the low-profile switch sockets for the keyboard with this project?

  Are you sure? yes | no

skylerthuss wrote 11/21/2021 at 18:00 point

just purchased one of the PCBs from tindie, currently making order for all the components from aliexpress and the electronics store I have in town. I will be making a video of the build and posting it to the facebook page and here once it's completed. I expect the project to start in January 2022 and finish in march 2022. I'm excited to complete and share this awesome project!


  Are you sure? yes | no

dzaczek wrote 06/05/2022 at 08:40 point

Hi do you have bom files with detailed components url etc ?

  Are you sure? yes | no

aldolo wrote 10/09/2021 at 20:05 point

a bit pricey...

  Are you sure? yes | no

teraz wrote 09/27/2021 at 17:46 point

mechanic keys are great, meybe using vocore? https://vocore.io/v2.html for example with ethernet.

How long this device work on one baterry charging?

  Are you sure? yes | no

adam.klotblixt wrote 08/26/2021 at 15:05 point

Very nice idea, and good looking!
Have you considered the CM4 module since you already need a PCB? Would make it possible to have ports you want anywhere. Possibly thinner as well.

  Are you sure? yes | no

pcadic wrote 09/07/2021 at 10:00 point

Yes. There will be a CM4 version. the pcb is then more costy because we ave to add extra components the PIZERO/PI 2 3 4 already have on board

  Are you sure? yes | no

MinerBigWhale wrote 03/16/2021 at 12:30 point

Amazing idea and great design

  Are you sure? yes | no

pcadic wrote 09/04/2021 at 19:39 point

thanks.....  now at version 1.2 . sent to pcb factory

now accepts all RPI 3 , 4, PI zero boards

  Are you sure? yes | no

marazm wrote 03/14/2021 at 12:48 point

great idea!

  Are you sure? yes | no

Similar Projects

Does this project spark your interest?

Become a member to follow this project and never miss any updates