-
1Skills Required:
![]()
This project may seem difficult or very complex, but it is definitely not completely, since you will have all the guidance for the construction, it was difficult for me to design it to make life a little easier for you. Any conceptual doubt, you are free to ask it without problems.
- You should have an understanding of:
- 3D Printing (Optional for the case).
- Arduino programming (I give you the code).
- Soldering through hole components.
Warning: In this project we will handle main power, so please be careful
-
2Components and Parts List
![]()
![]()
![]()
The Electronics discrete components as resistors and transistors will be attached in a BOM file in the PCB Step.
- Here is the list of what you will need for the whole process:
- -10kohm Potentiometer.
- -2 Double Terminal blocks.
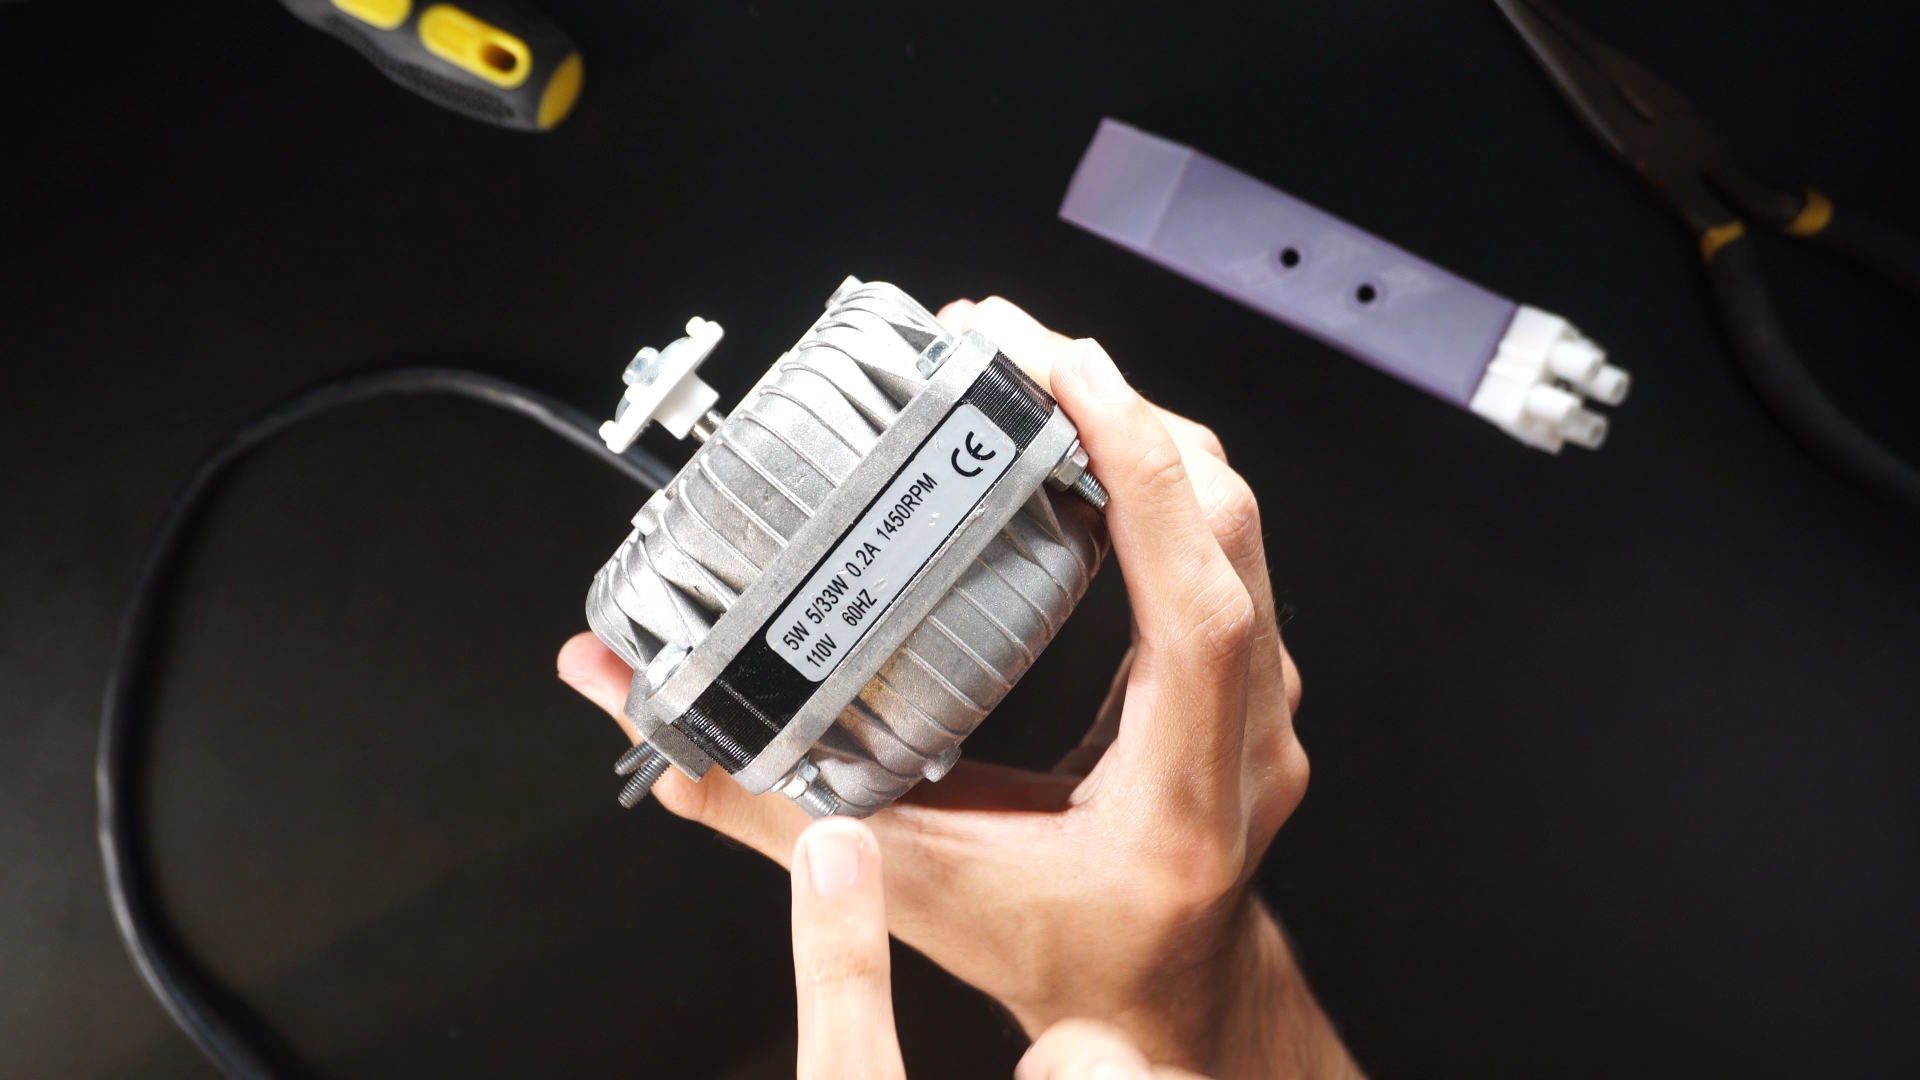
- -AC motor of your preference (single phase).
- -Dimmable Lightbulb.
- -Small 5 volts cellphone power supply.
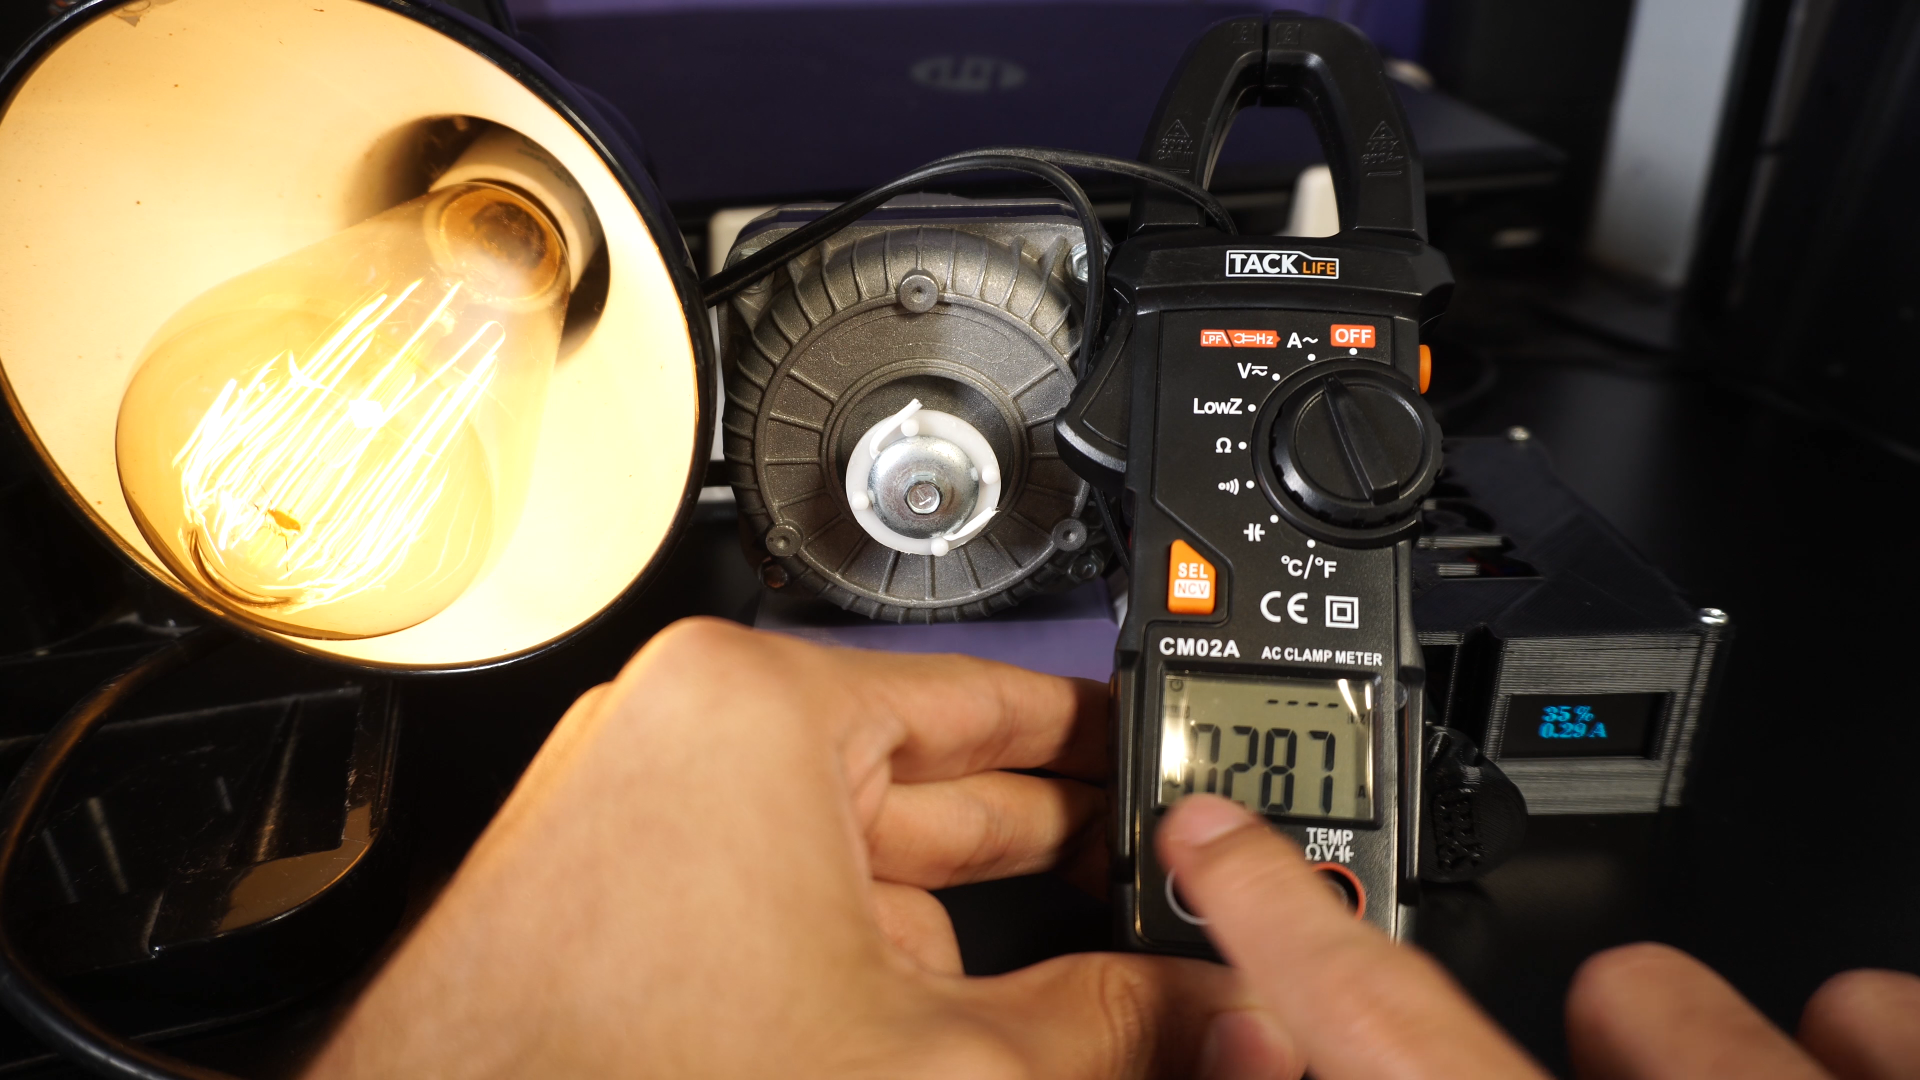
- -Measuring tools: multimeters, clamp meters (optional).
- -Micro USB SMD connector.
- -1.3 inch OLED Display.
- Wire.
BOM list of PCB components attached.
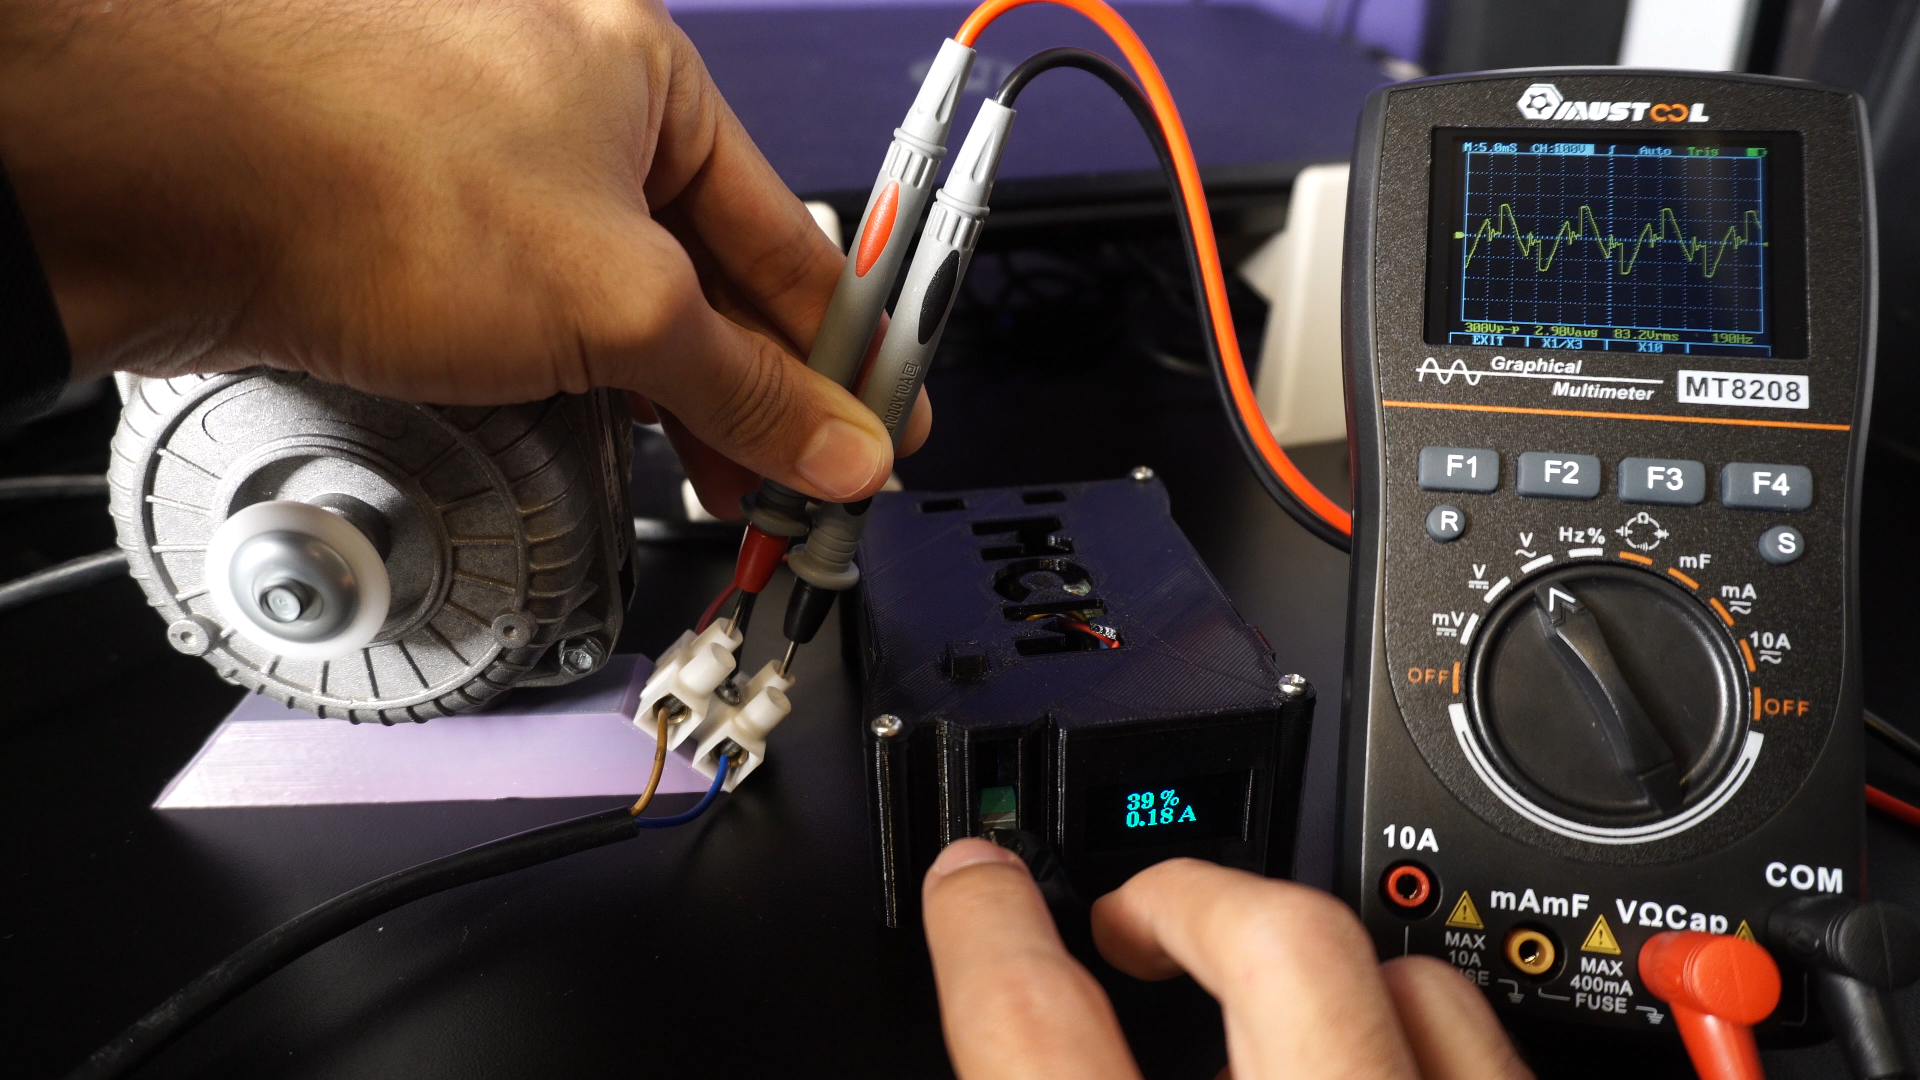
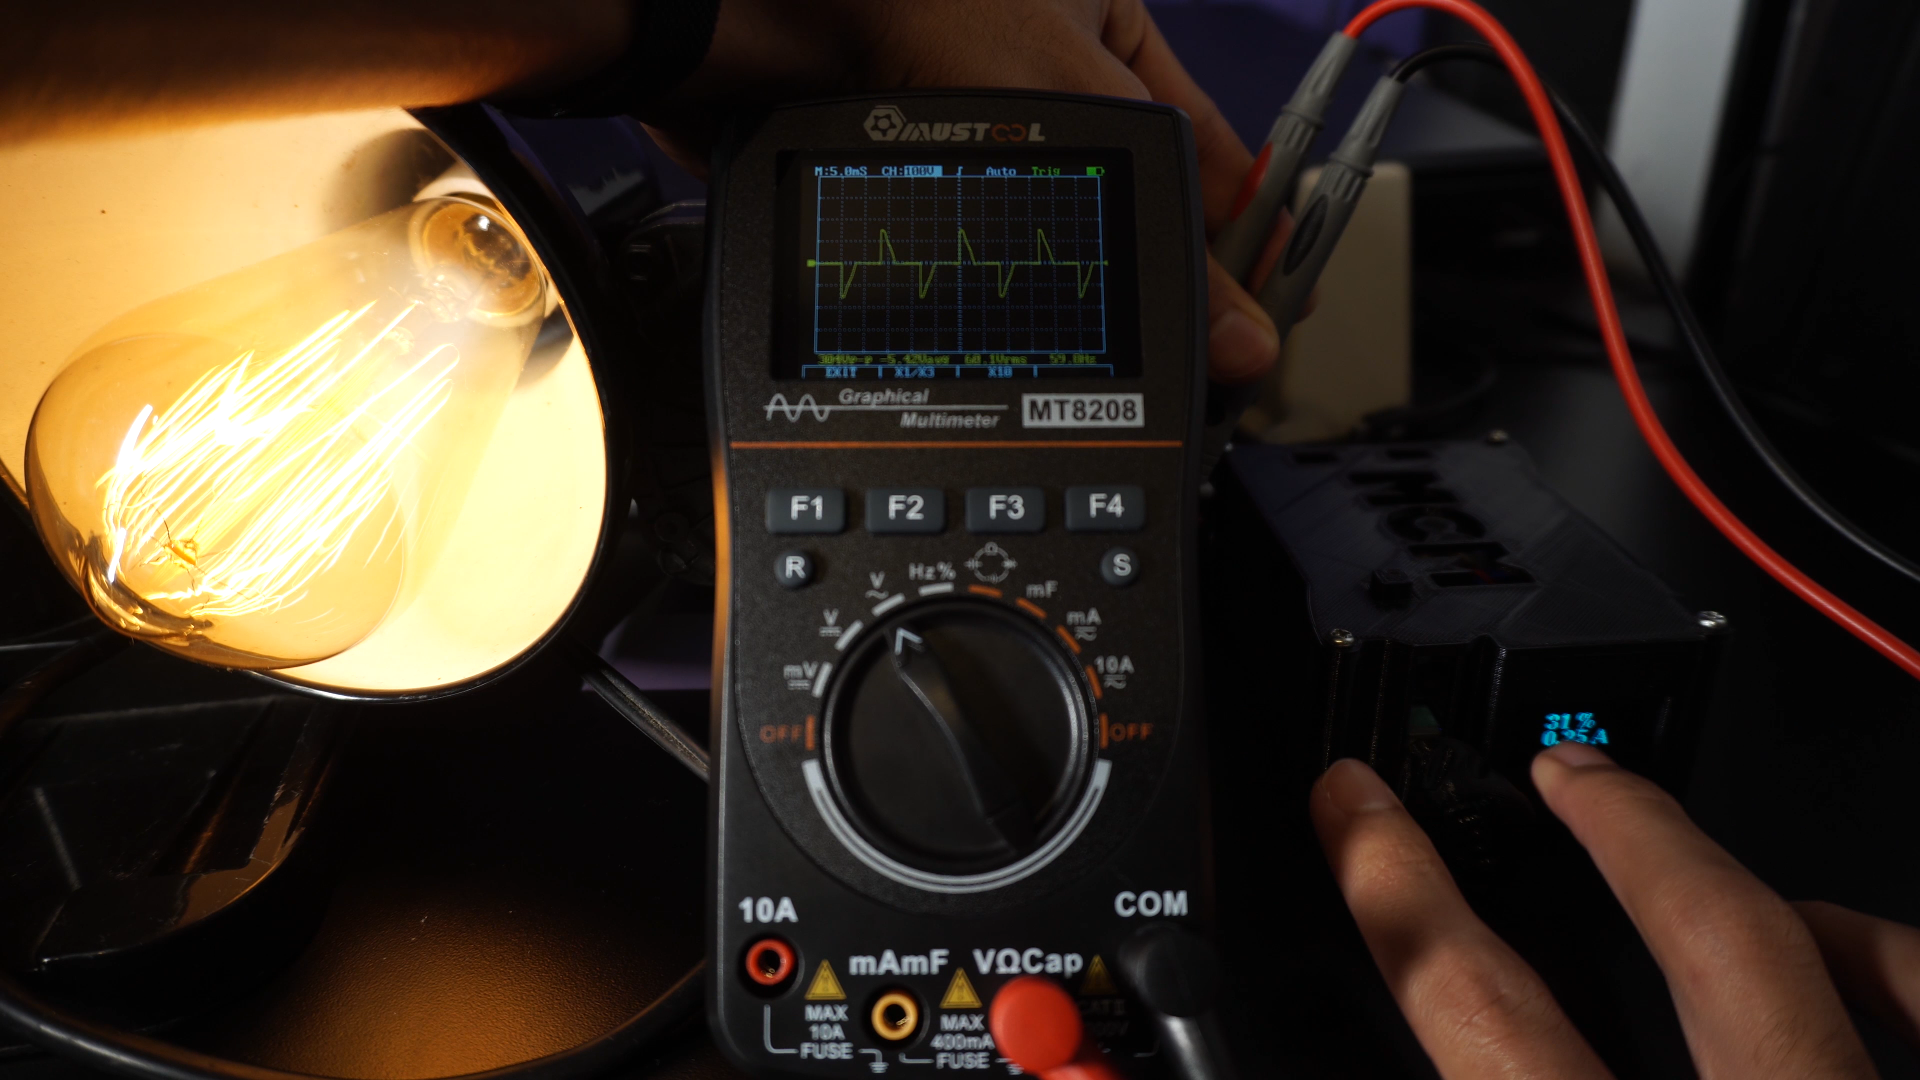
Great, cheap and awesome Graphical Multimeter to watch the Sinusoidal AC wave form
-
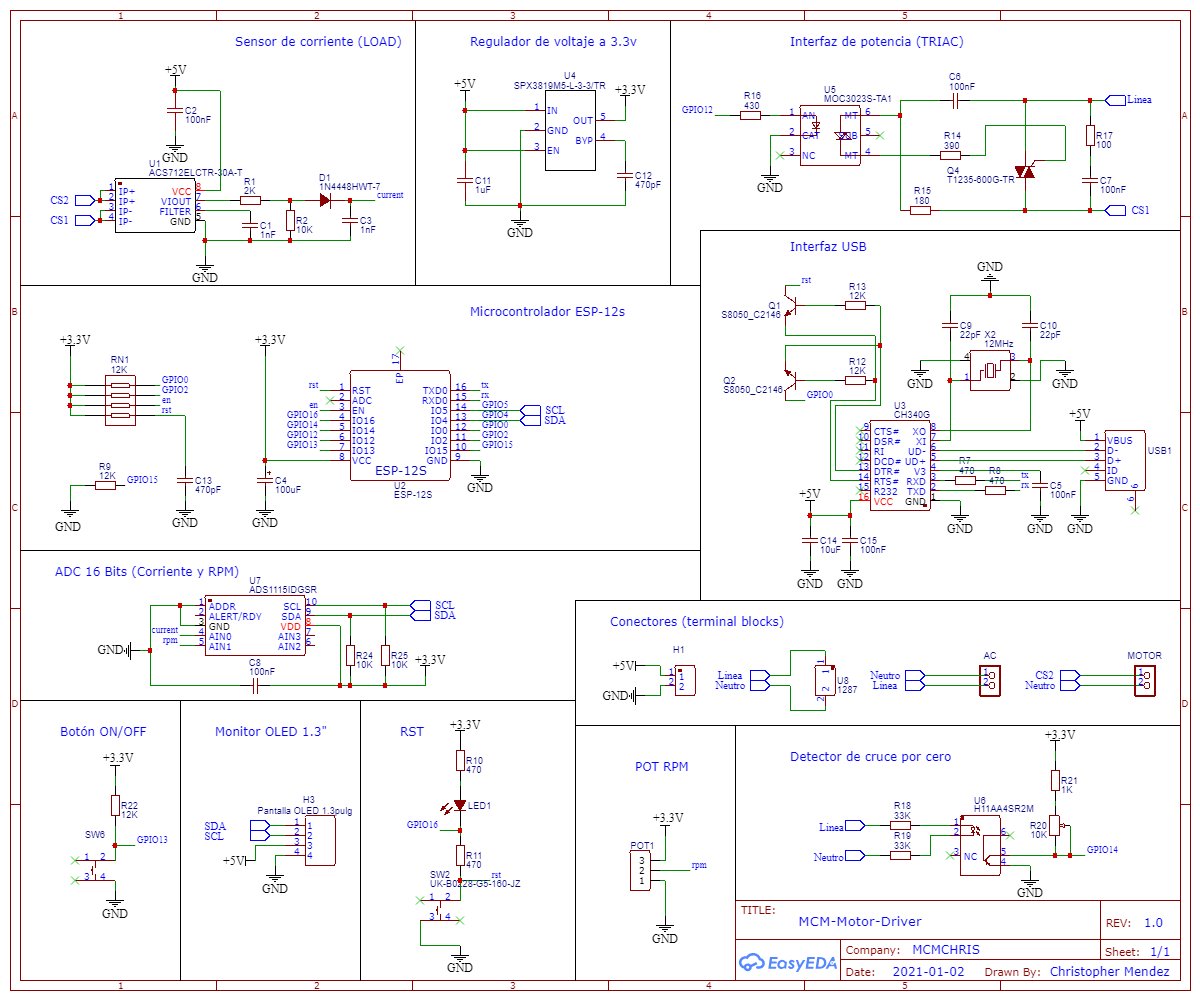
3Circuit Diagram
![]()
Here is the Circuit Diagram of our project:
It has all the internal conections of the circuit that will us allow to create the PCB design later.
I also attached the PDF of the Schematics so you can see it better.
-
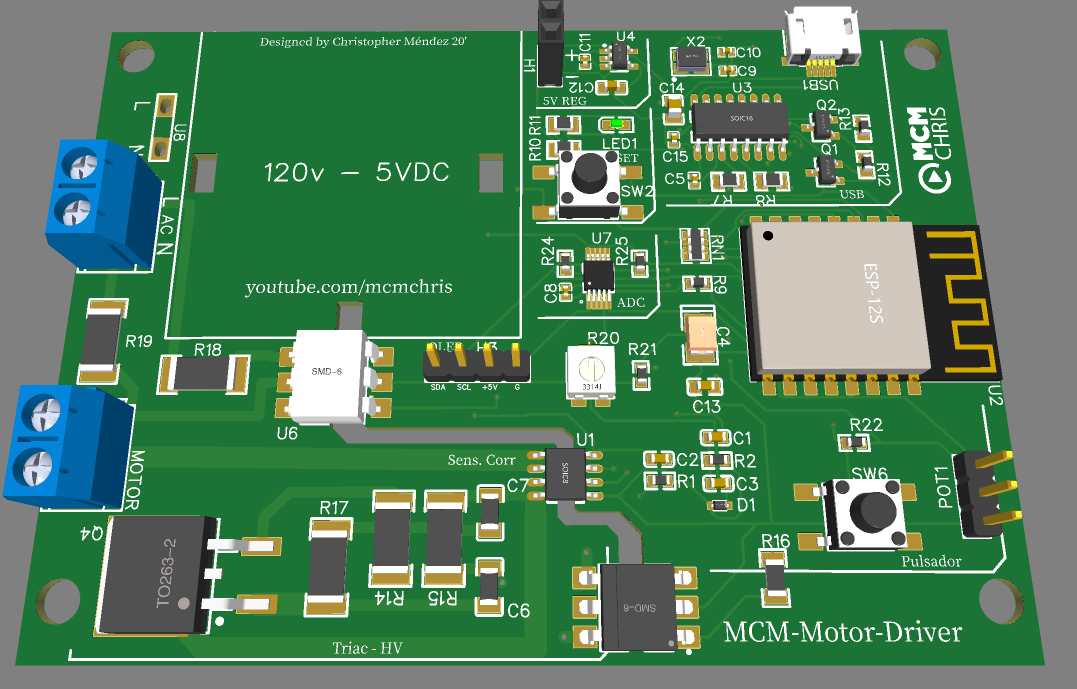
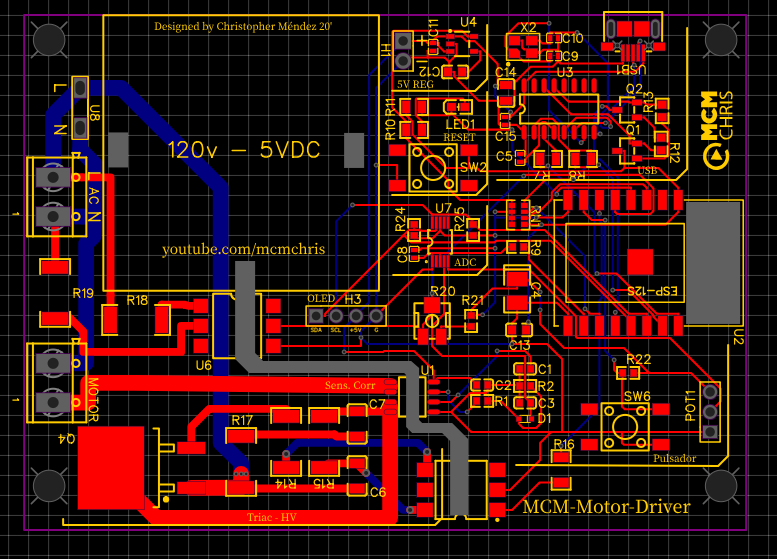
4PCB Design and Ordering
![]()
![]()
![]()
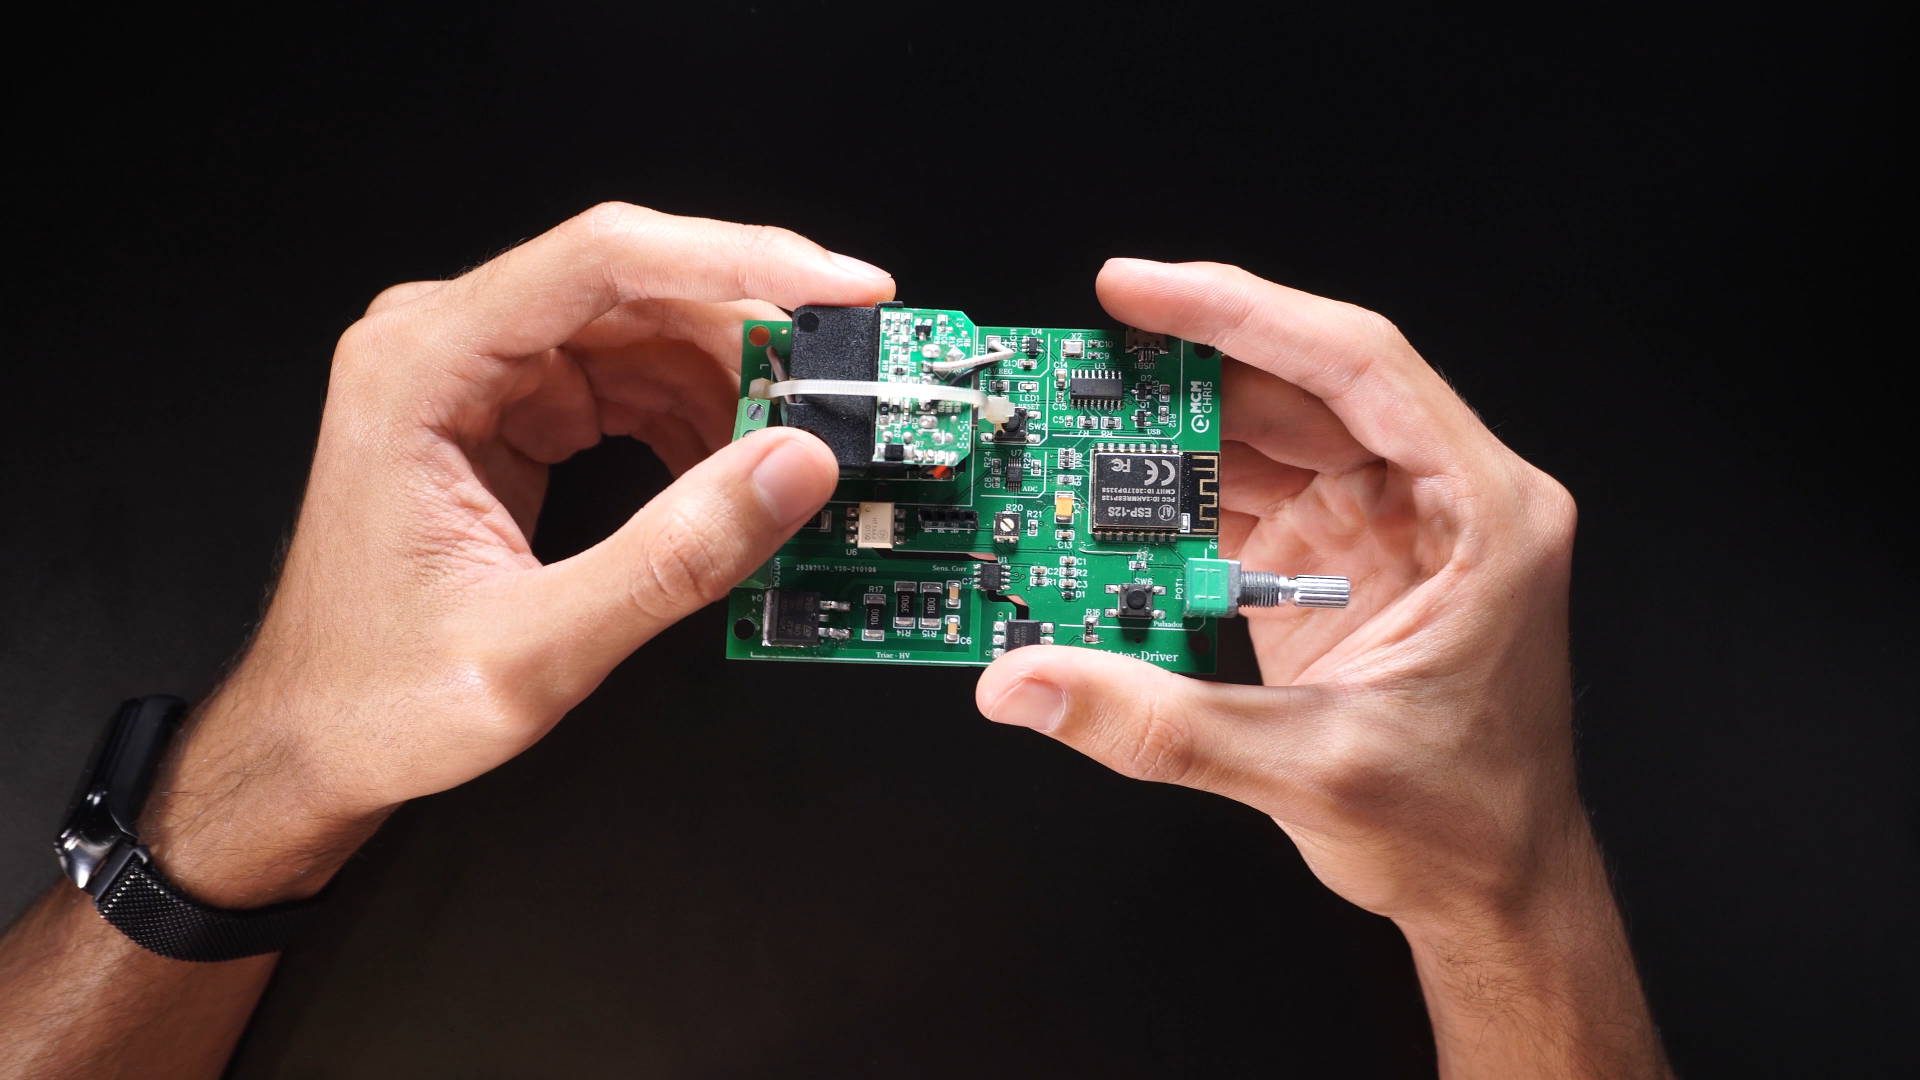
For the implementation of a good project we need a reliable assembly for the circuit that makes it up, and there is no better way to do it than with a good PCB.
Here you can download the Gerber, BOM and Pick & Place Files, the ones you need to order your PCB on your PCB manufacturing company.
I suggest JLCPCB:
-
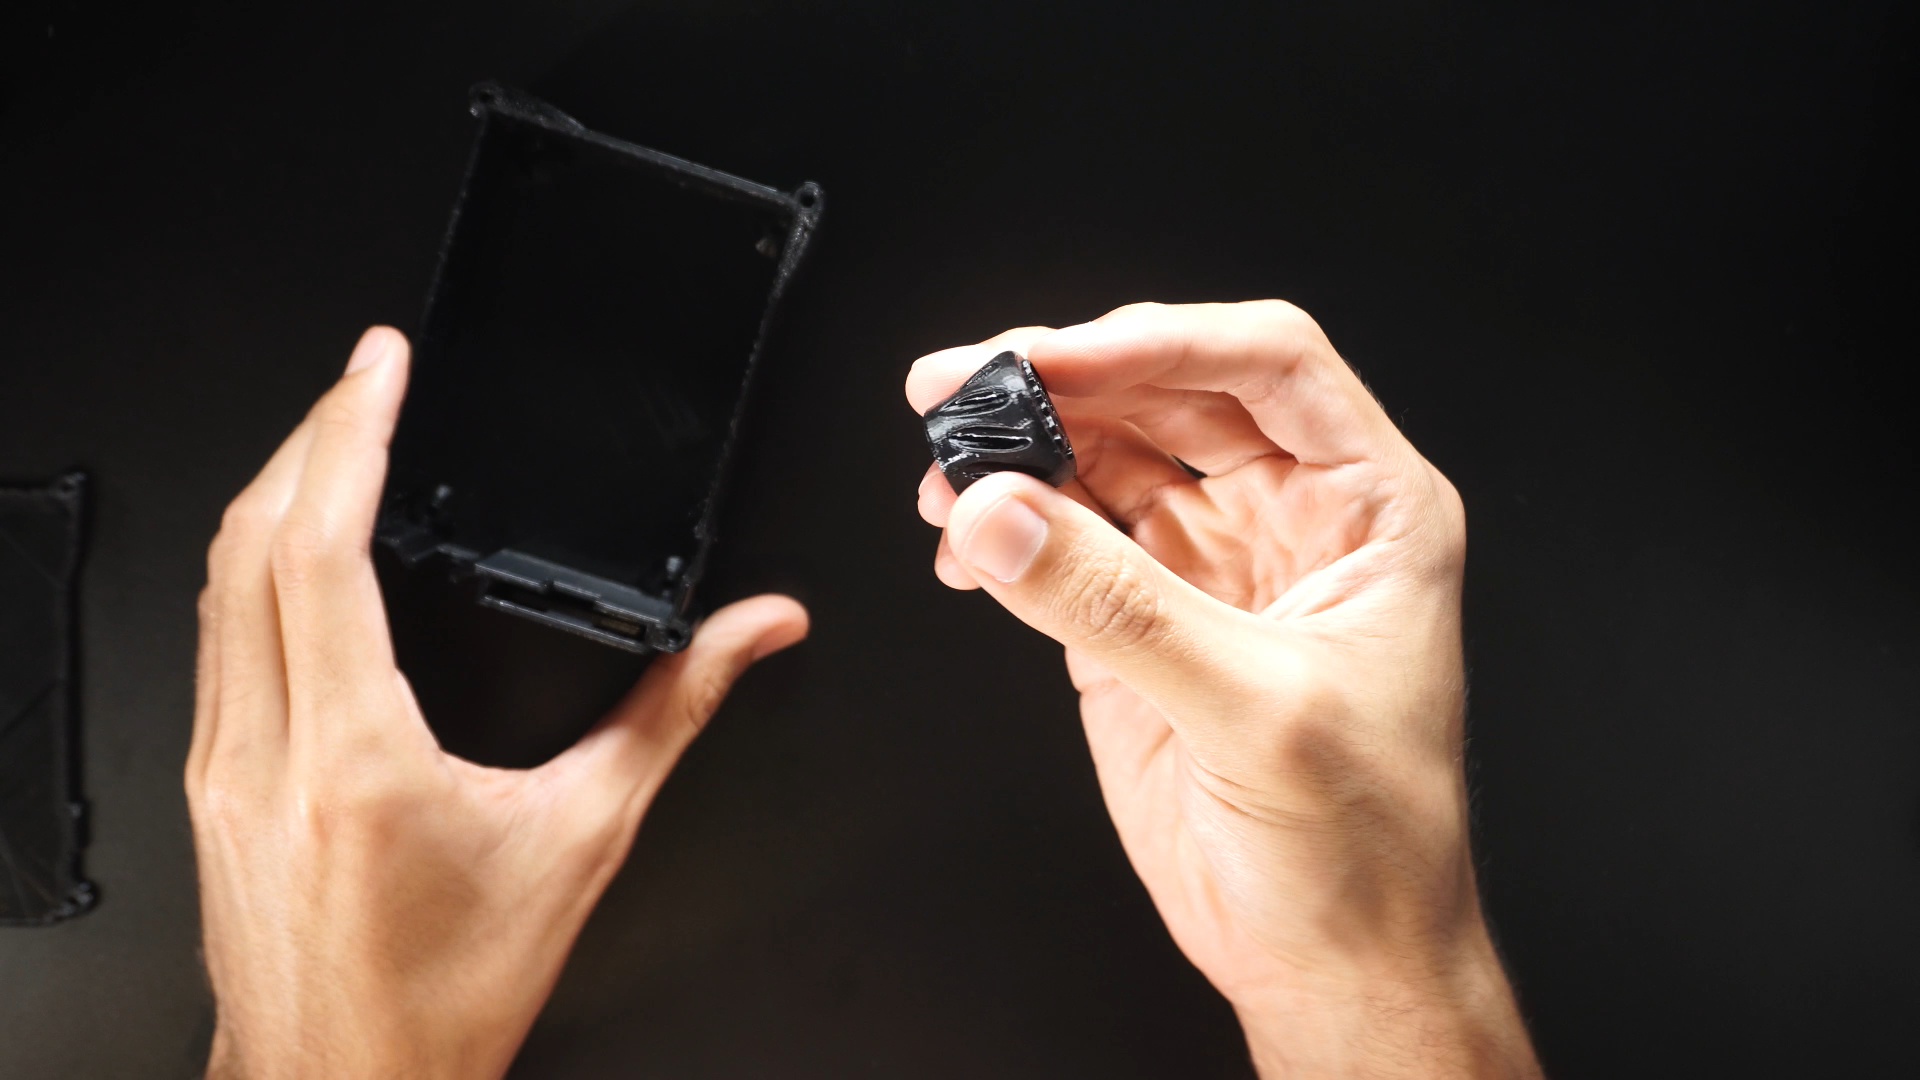
53D Parts (Housing + Motor Holder)
![]()
![]()
![]()
![]()
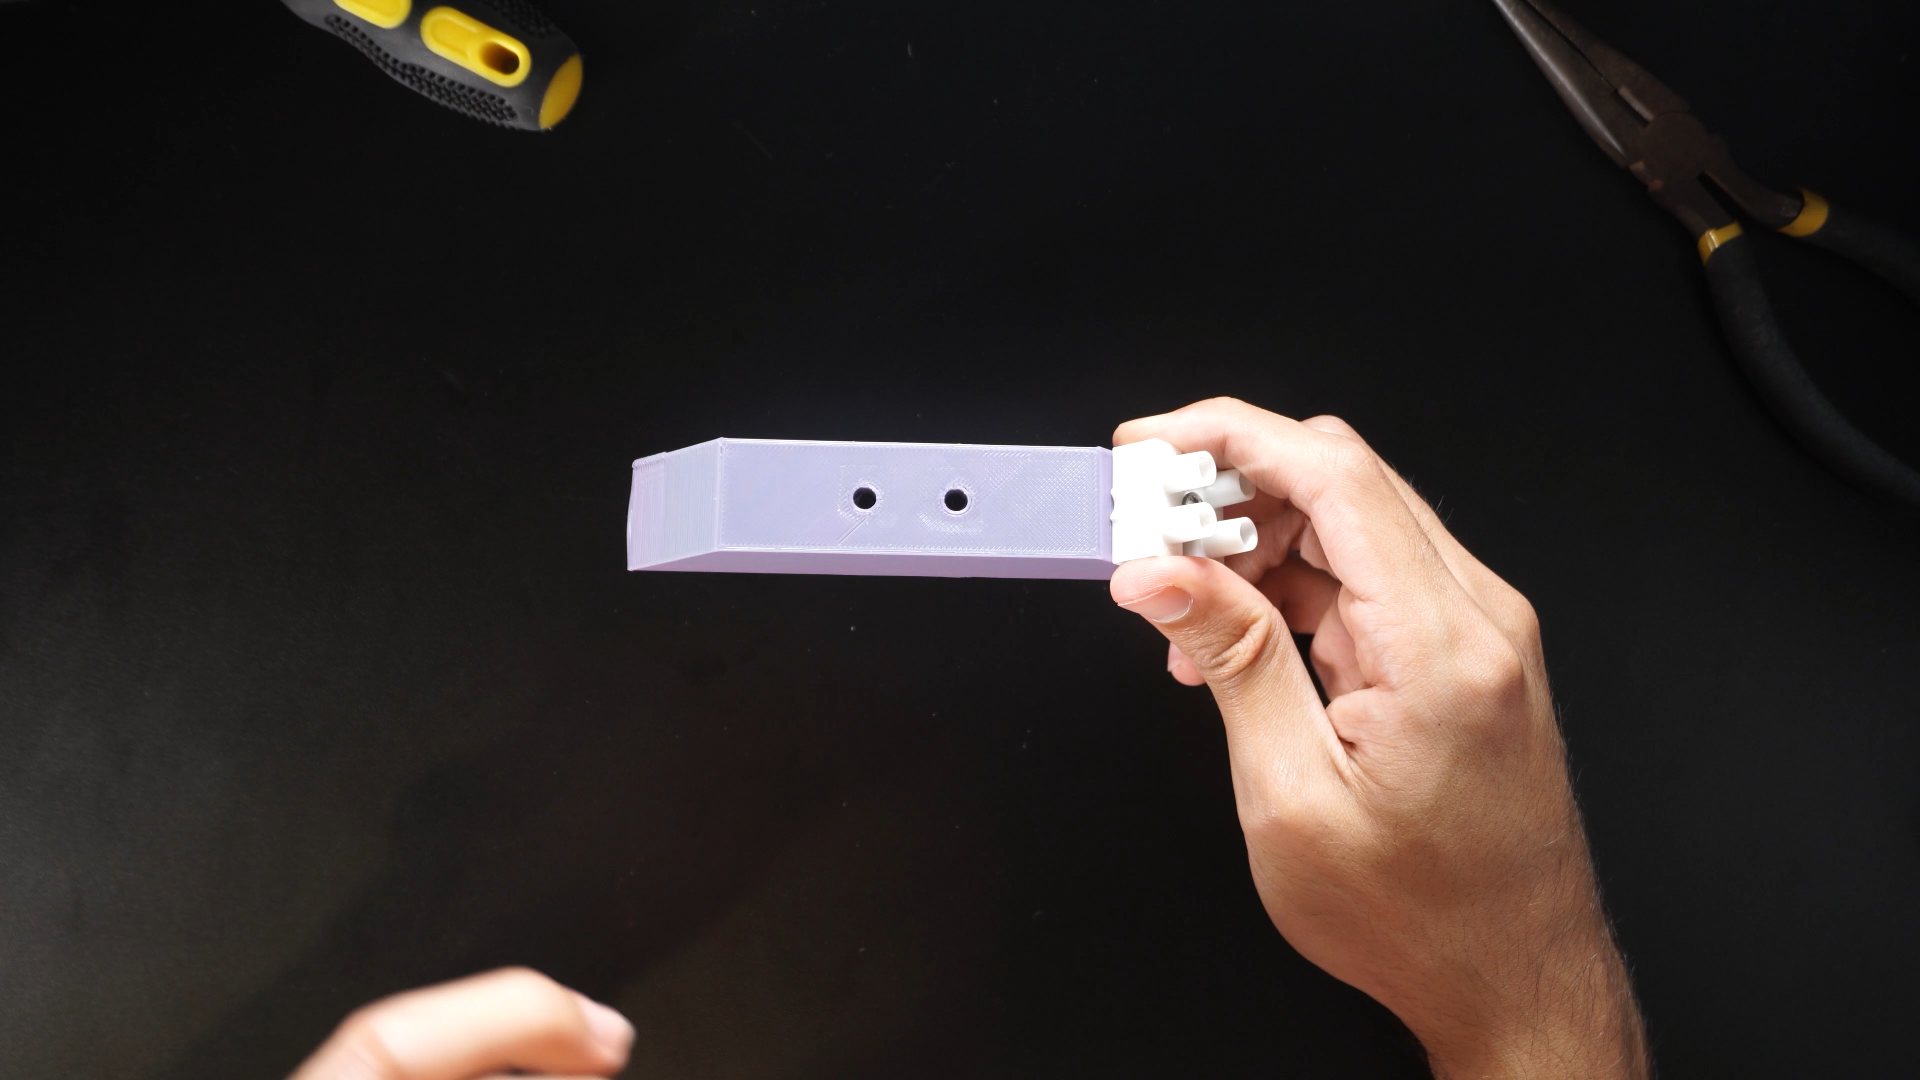
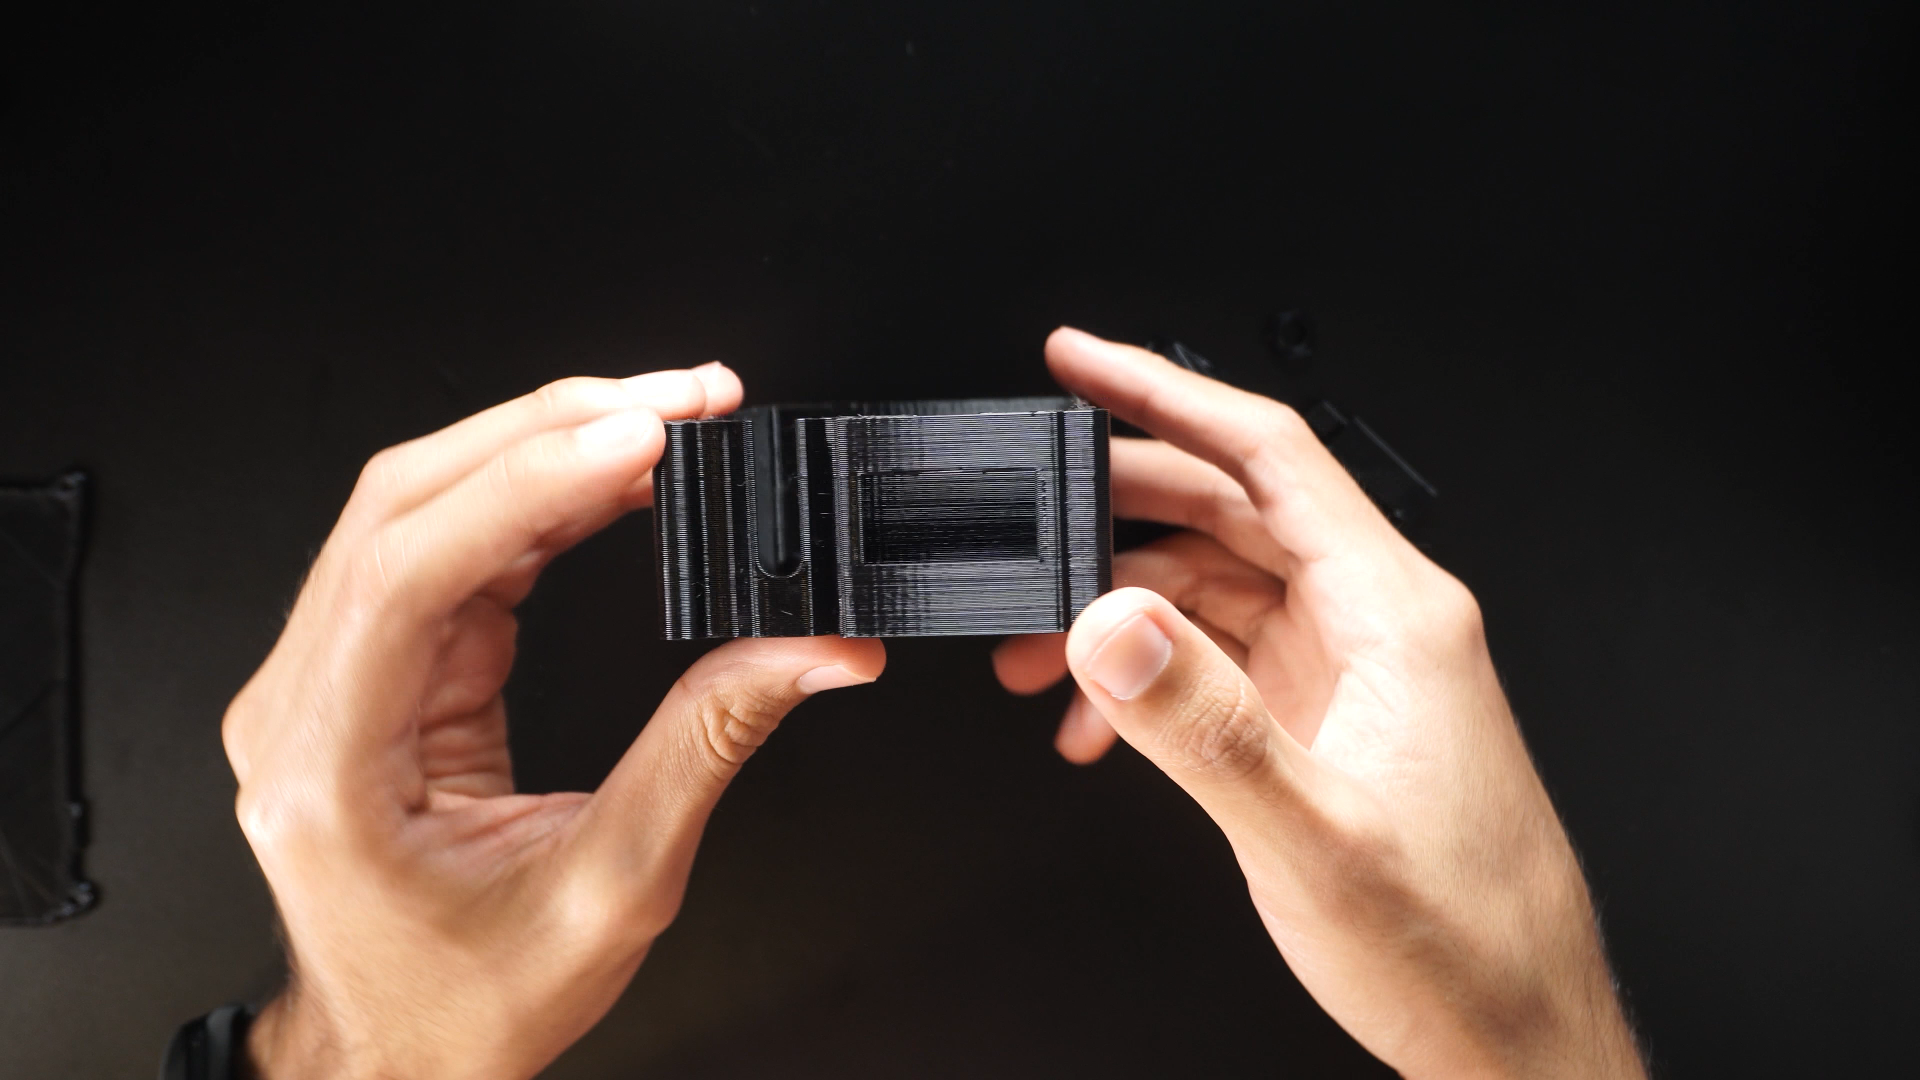
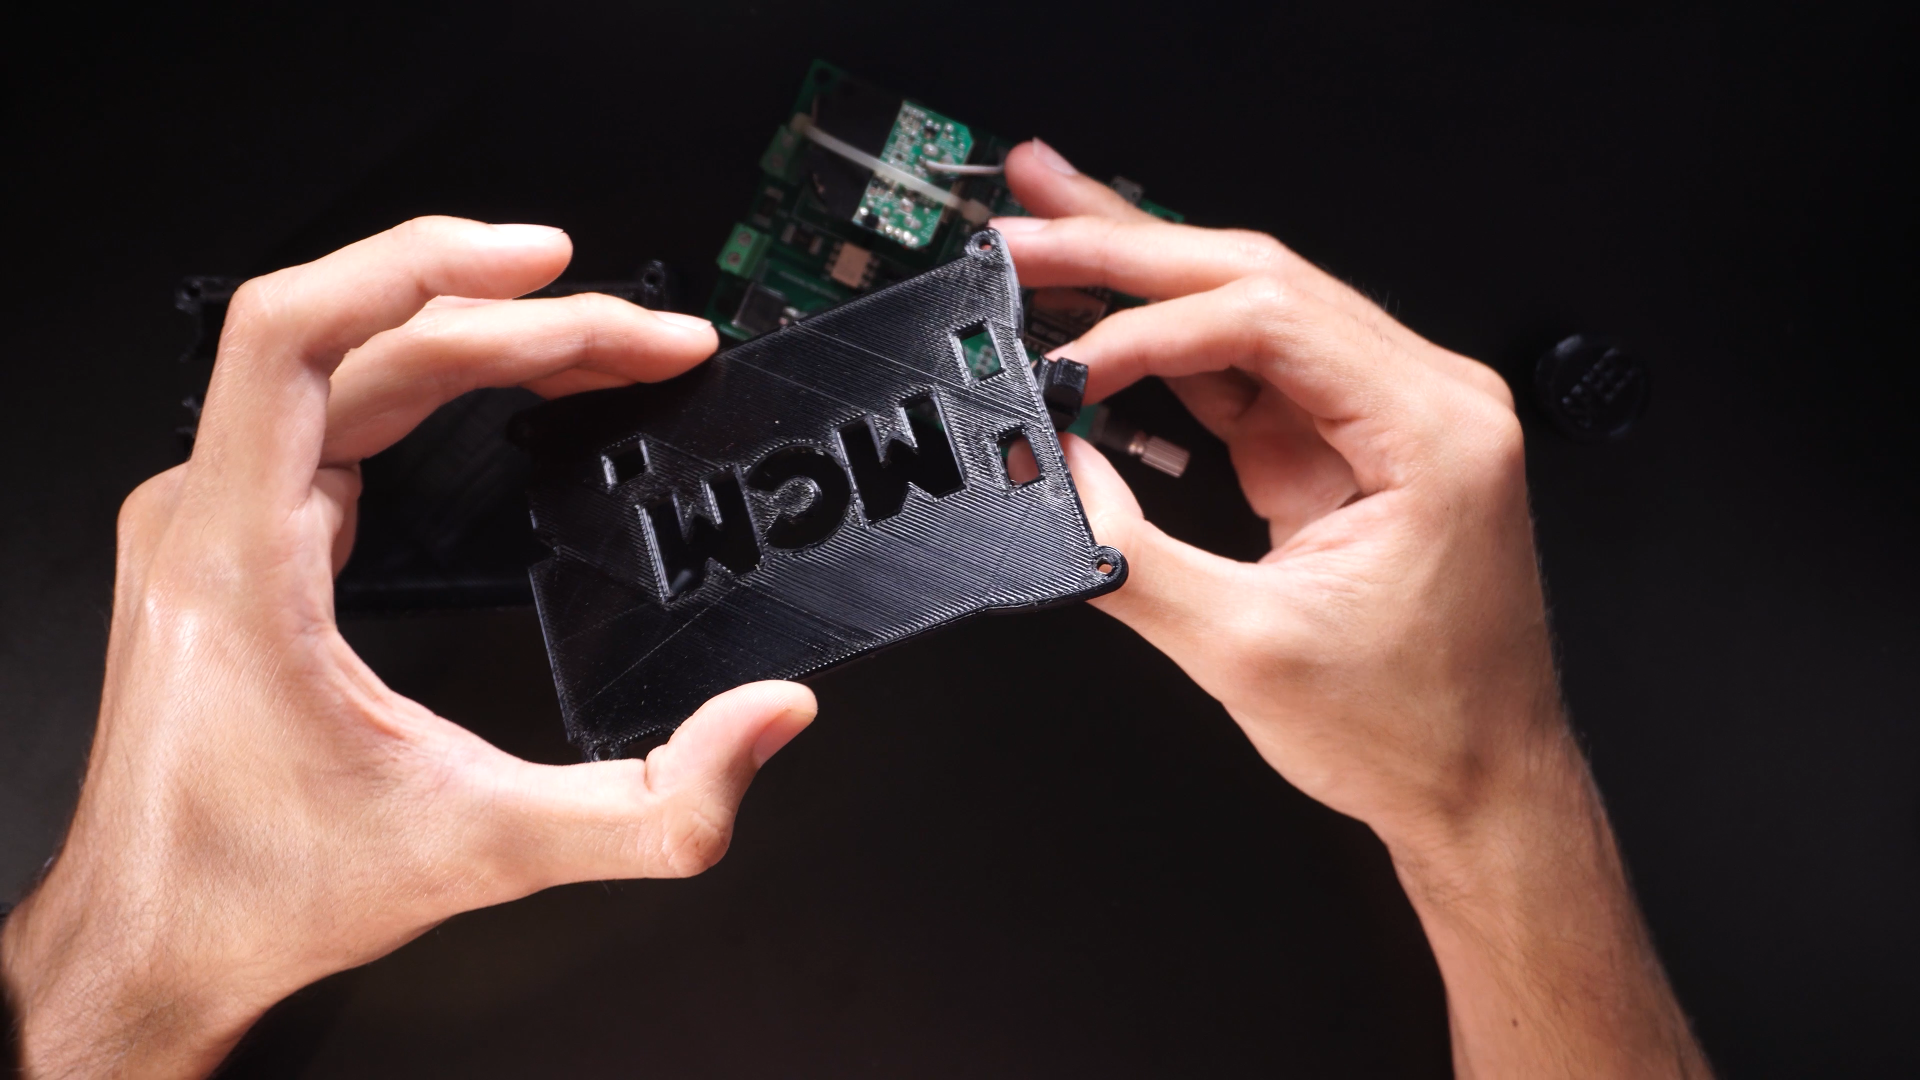
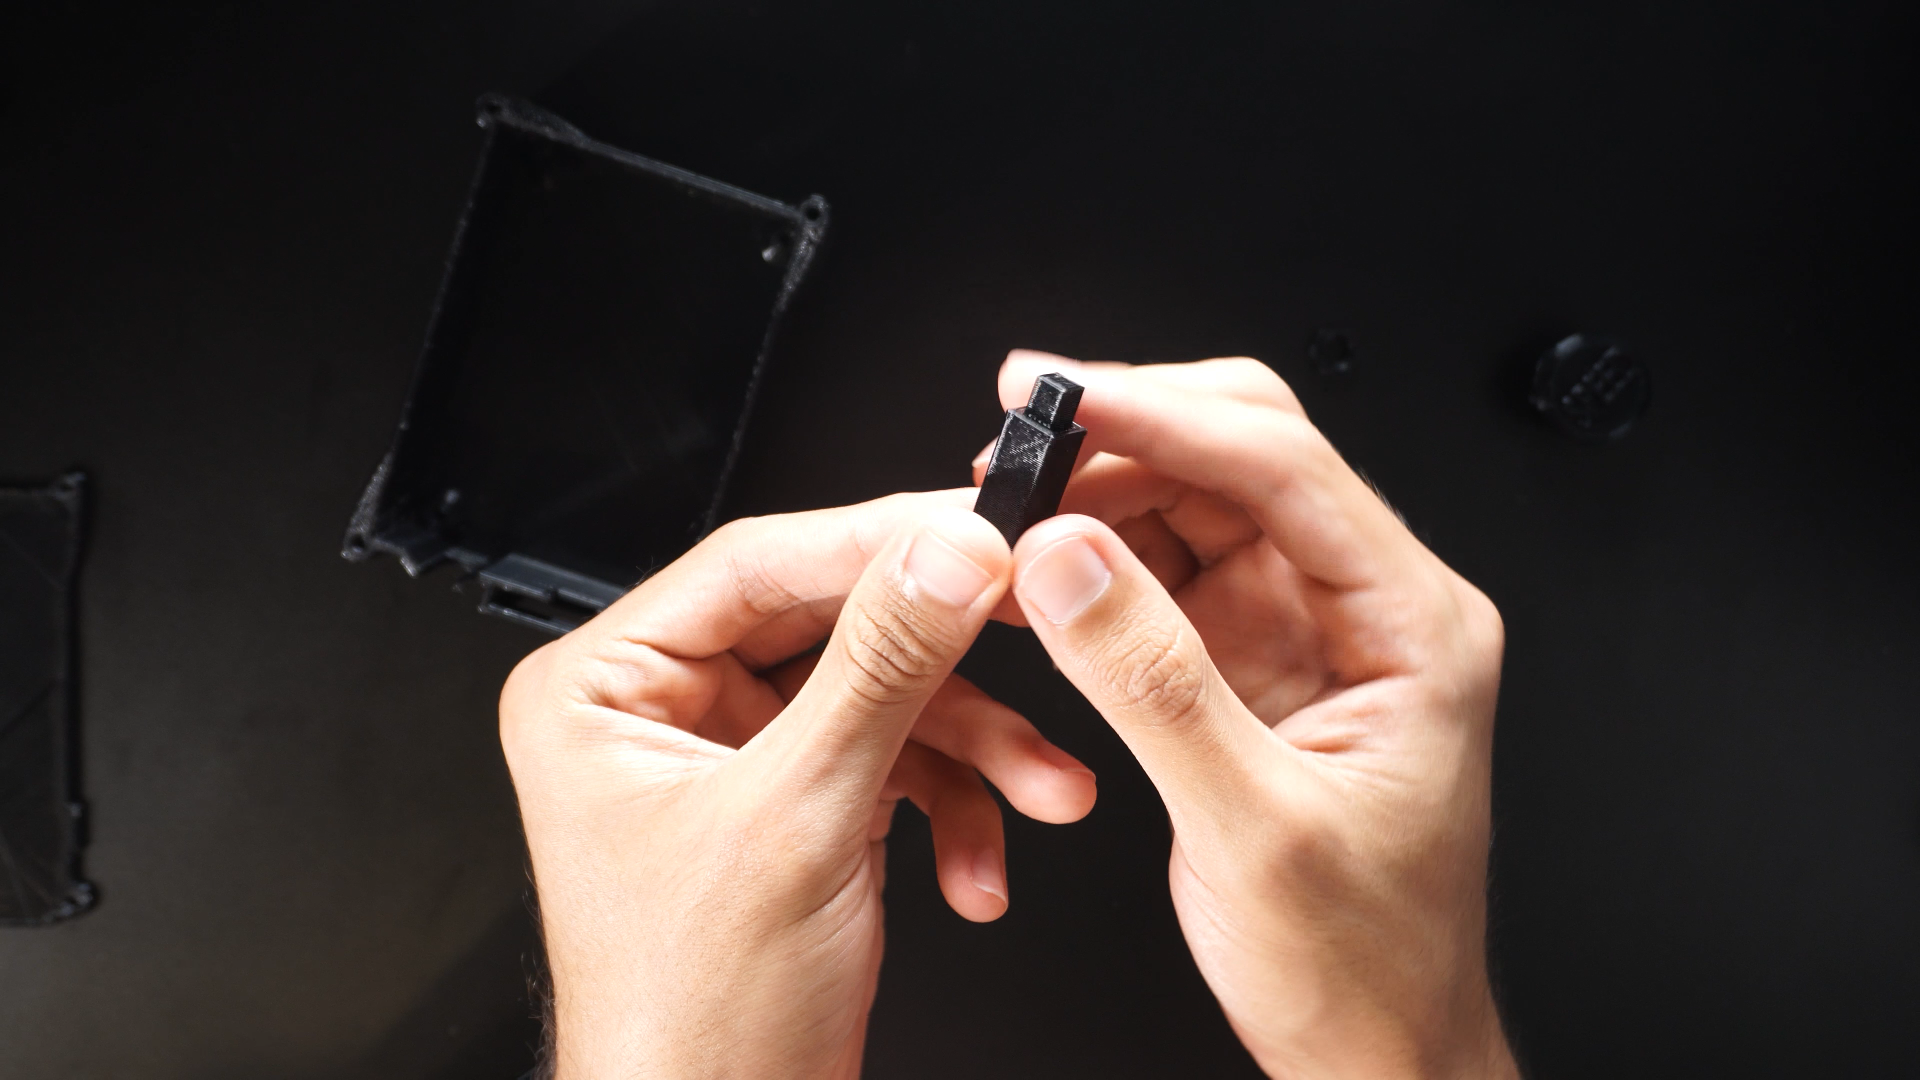
Here you have the STL files for the 3D parts of the project.
- Housing.
- Cover
- Potentiometer Knob and nut.
- Button cap.
- Motor holder.
-
6Programming the ESP8266 Microcontroller
![]()
![]()
![]()
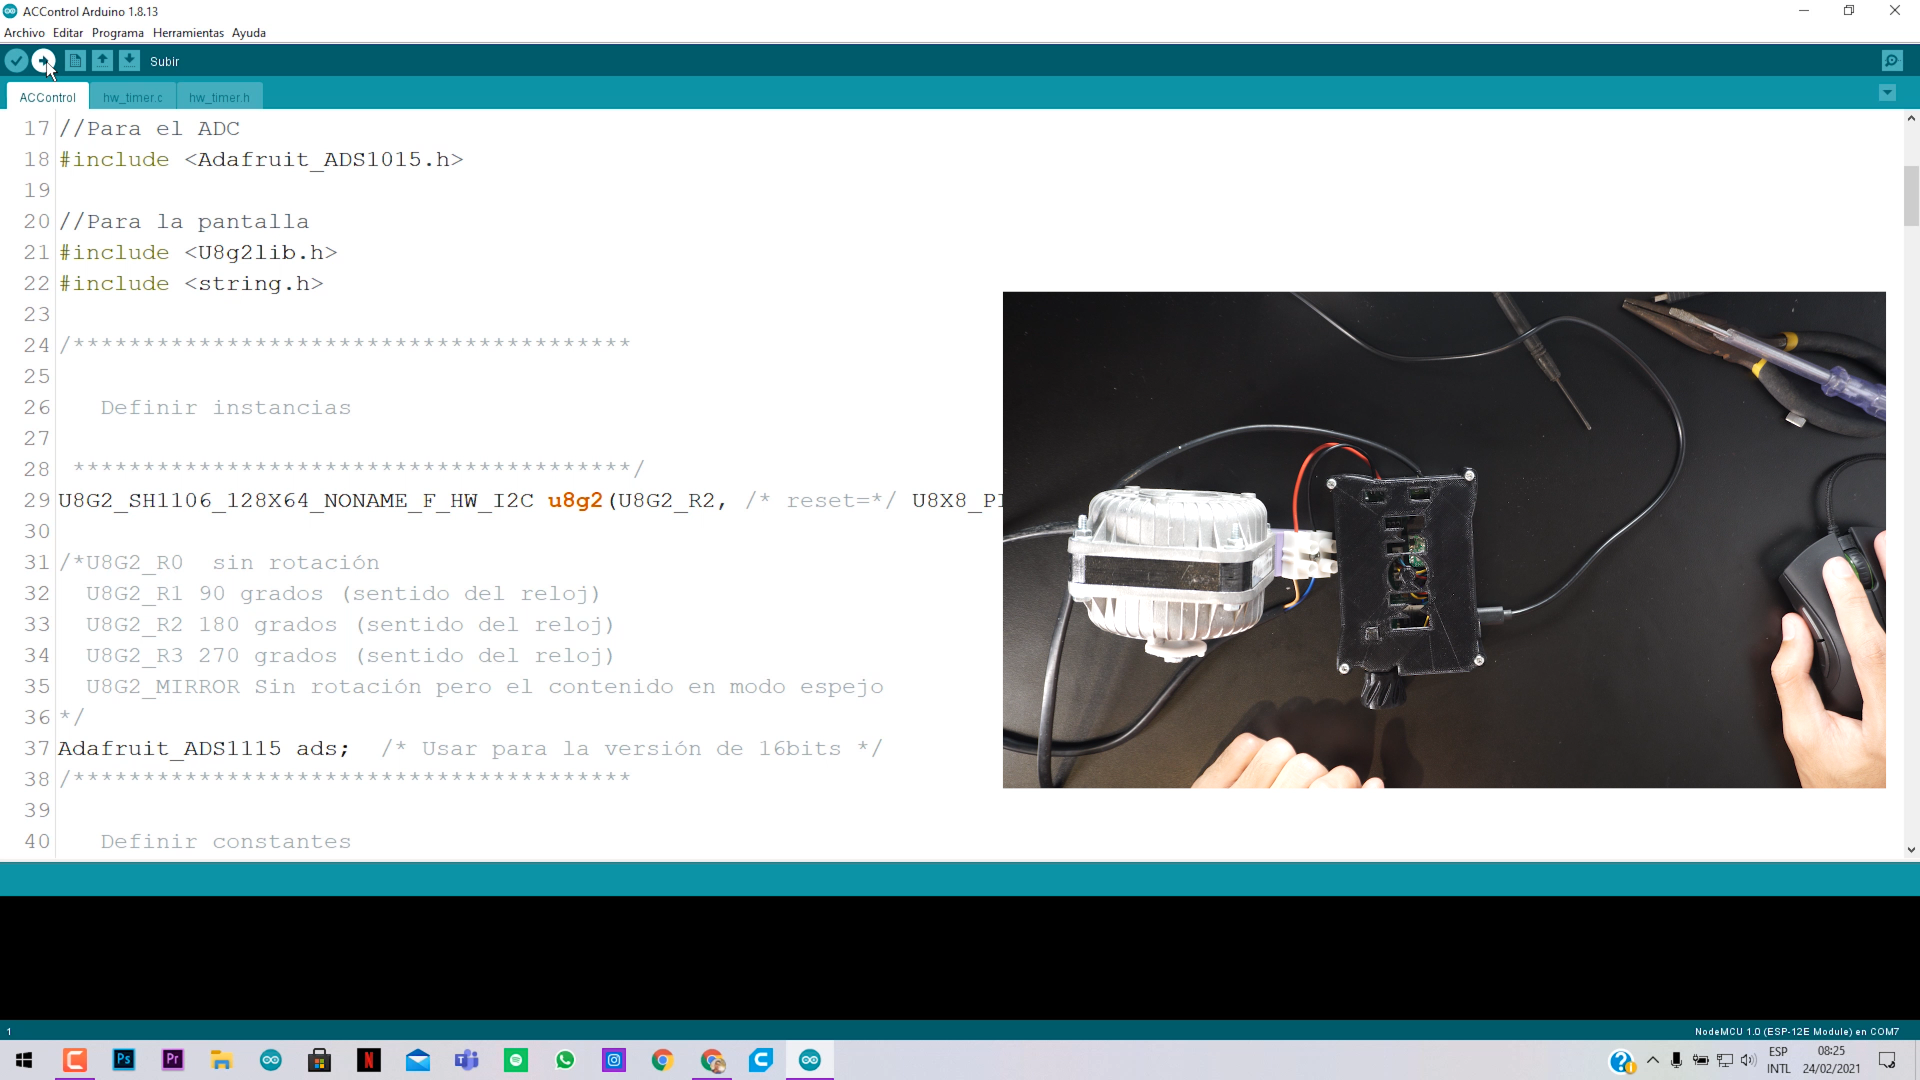
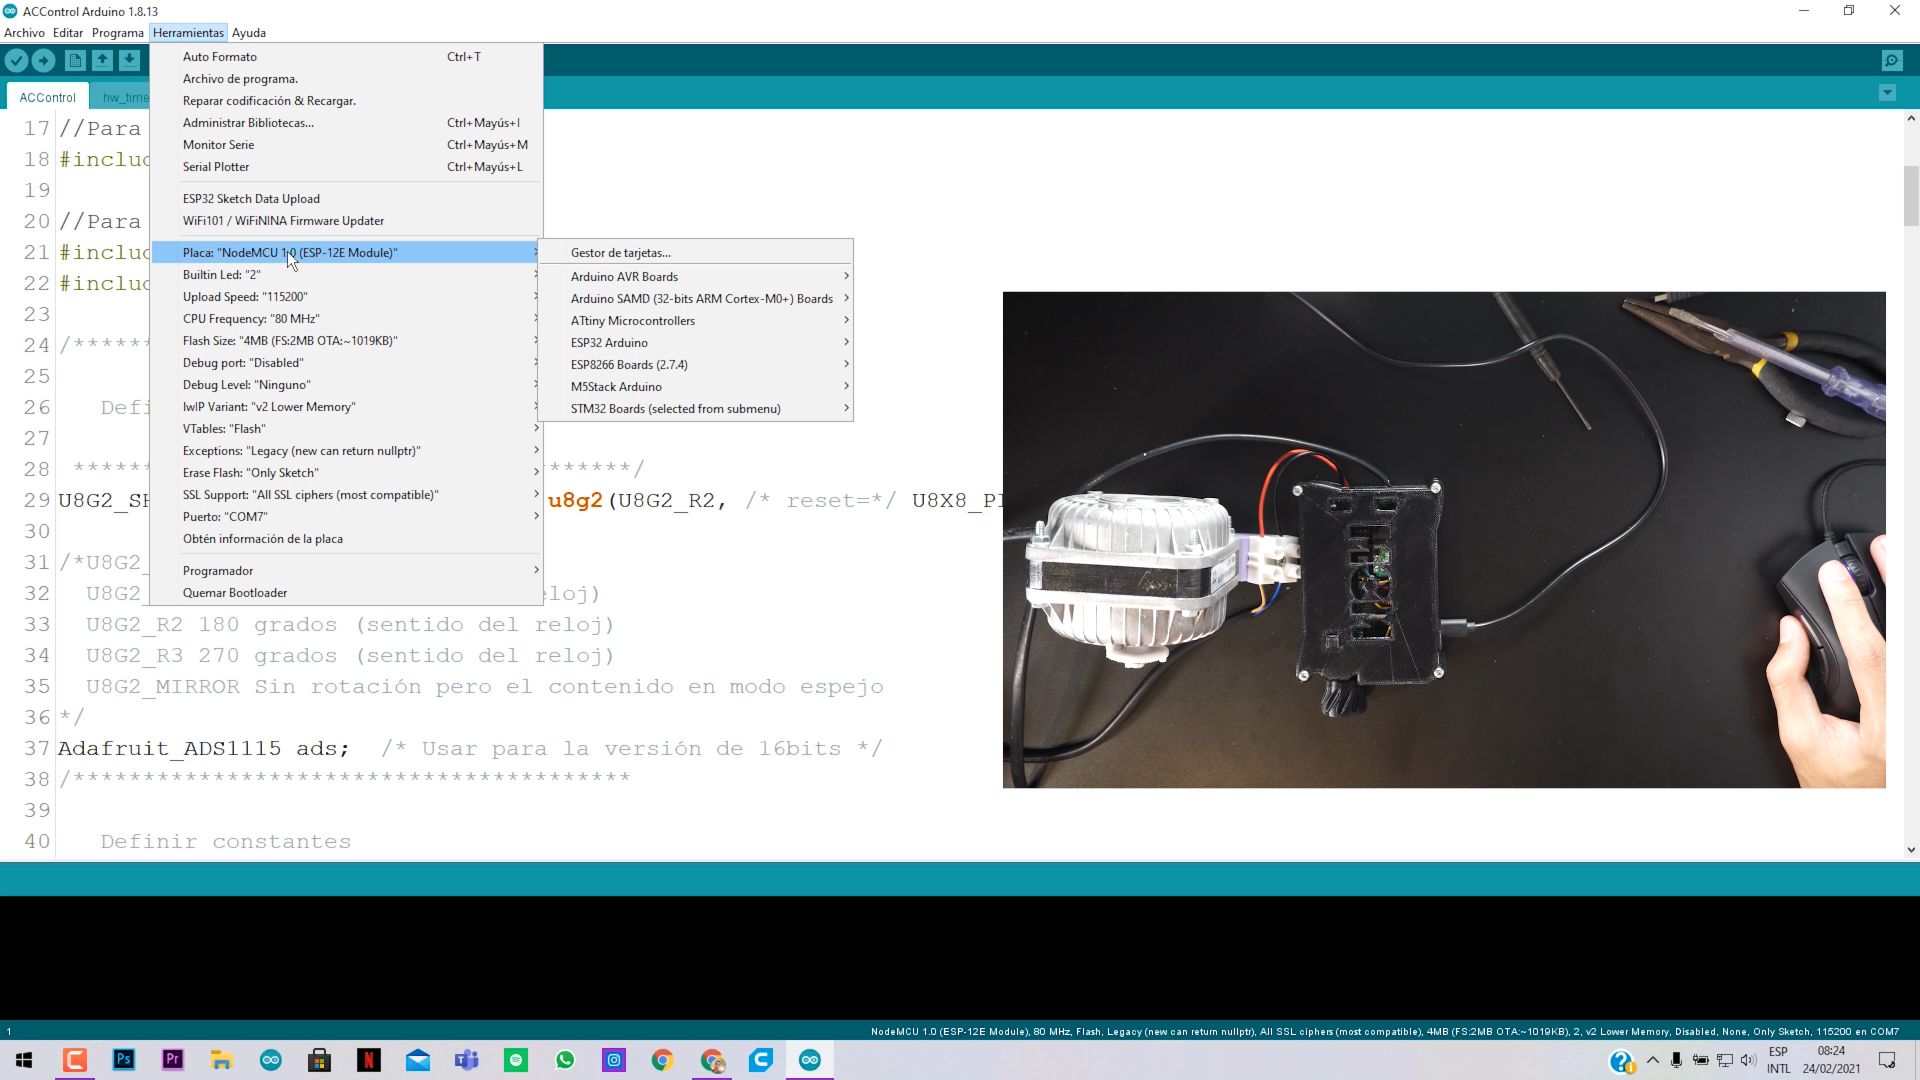
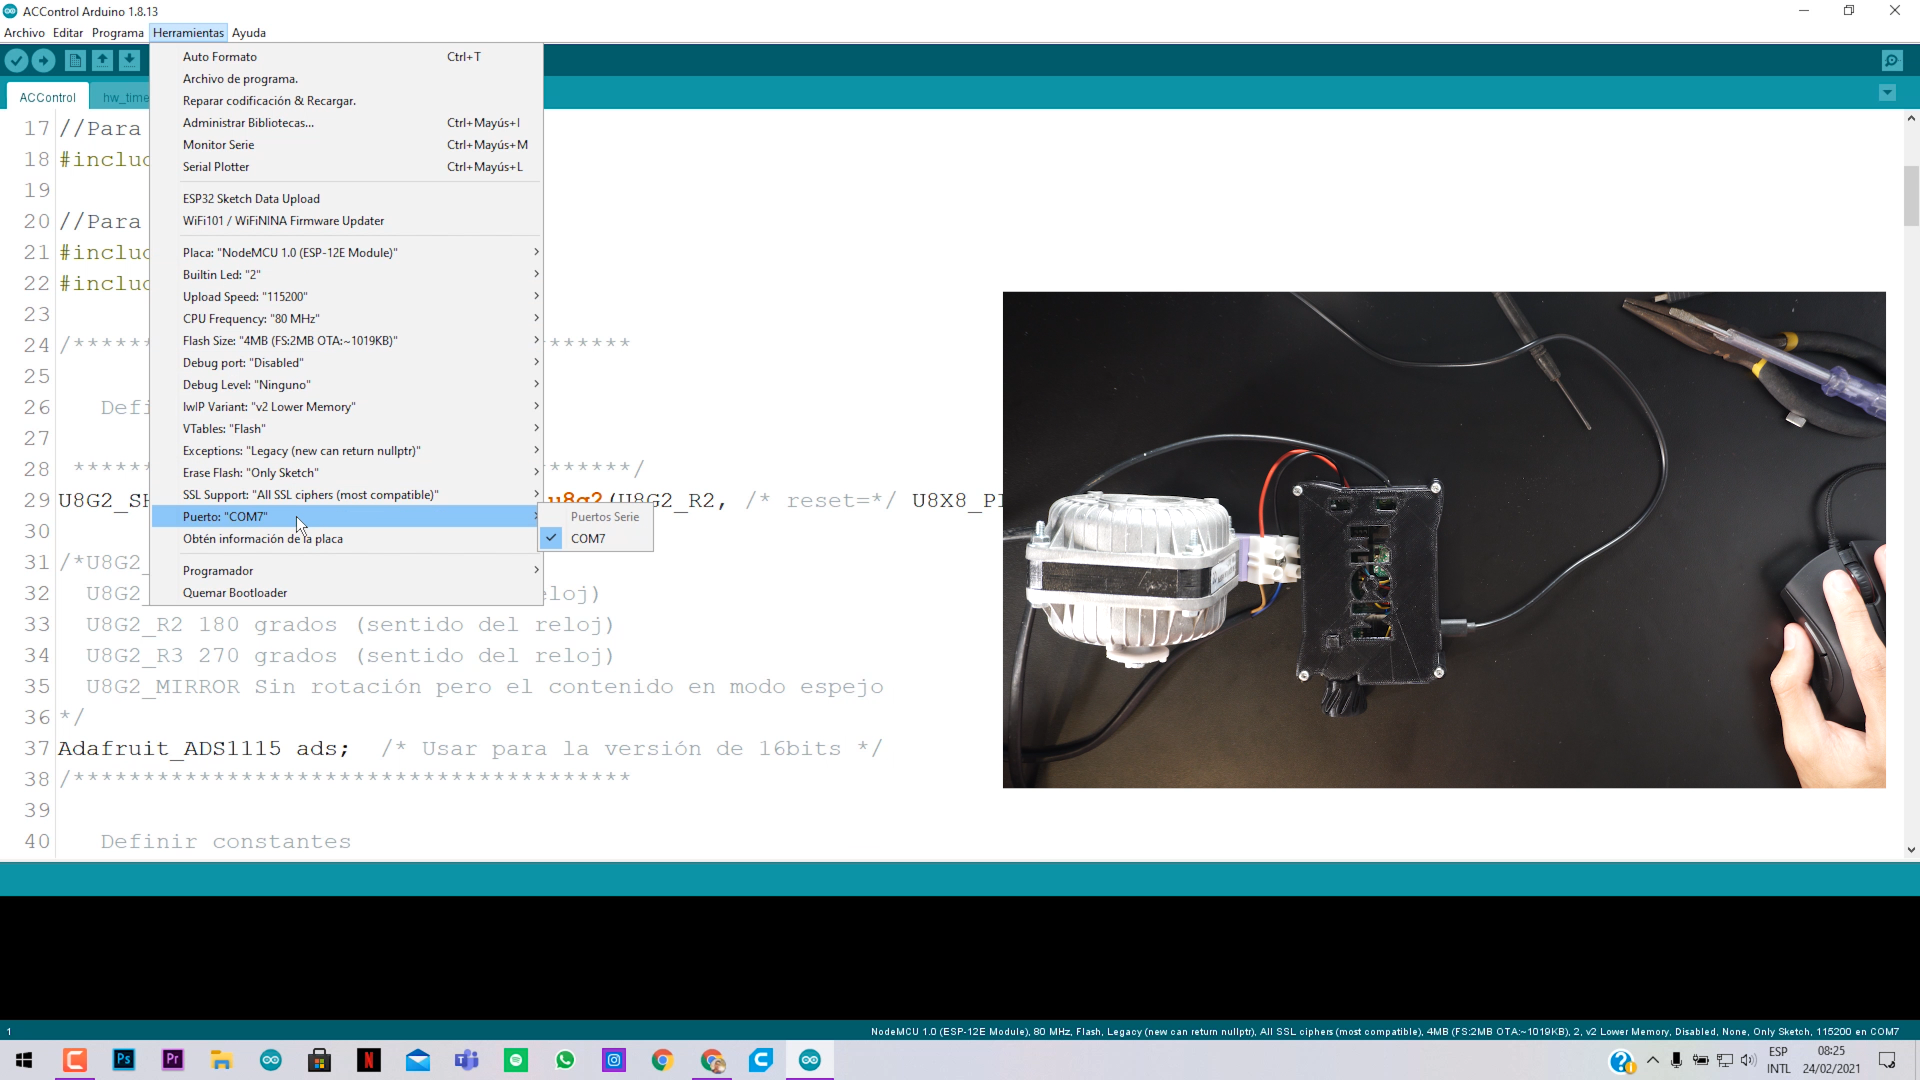
1- To program the ESP-12s we need to connect it directly to our PC through the USB cable, open the Code "ACControl", install the libraries that I also attached and click on upload.
If the current measurements are wrong on your display, or you want to improve them, you can tune experimentally this parameters in the code:
- float Sensibilidad = 0.066; //sensitivity of the 30Amps sensor (see datasheet of ACS712 if use 20A or 5A version).
- float intercept = 35952.685; // Change this until you got closer as posible to the real current.
- float slope = 273; // Change this until you got closer as posible to the real current.
- float testFrequency = 60; // frequency of your circuit (Hz)
- float windowLength = 40.0 / testFrequency; // num of cycles that will be test.
-
7Wiring Up
![]()
![]()
![]()
![]()
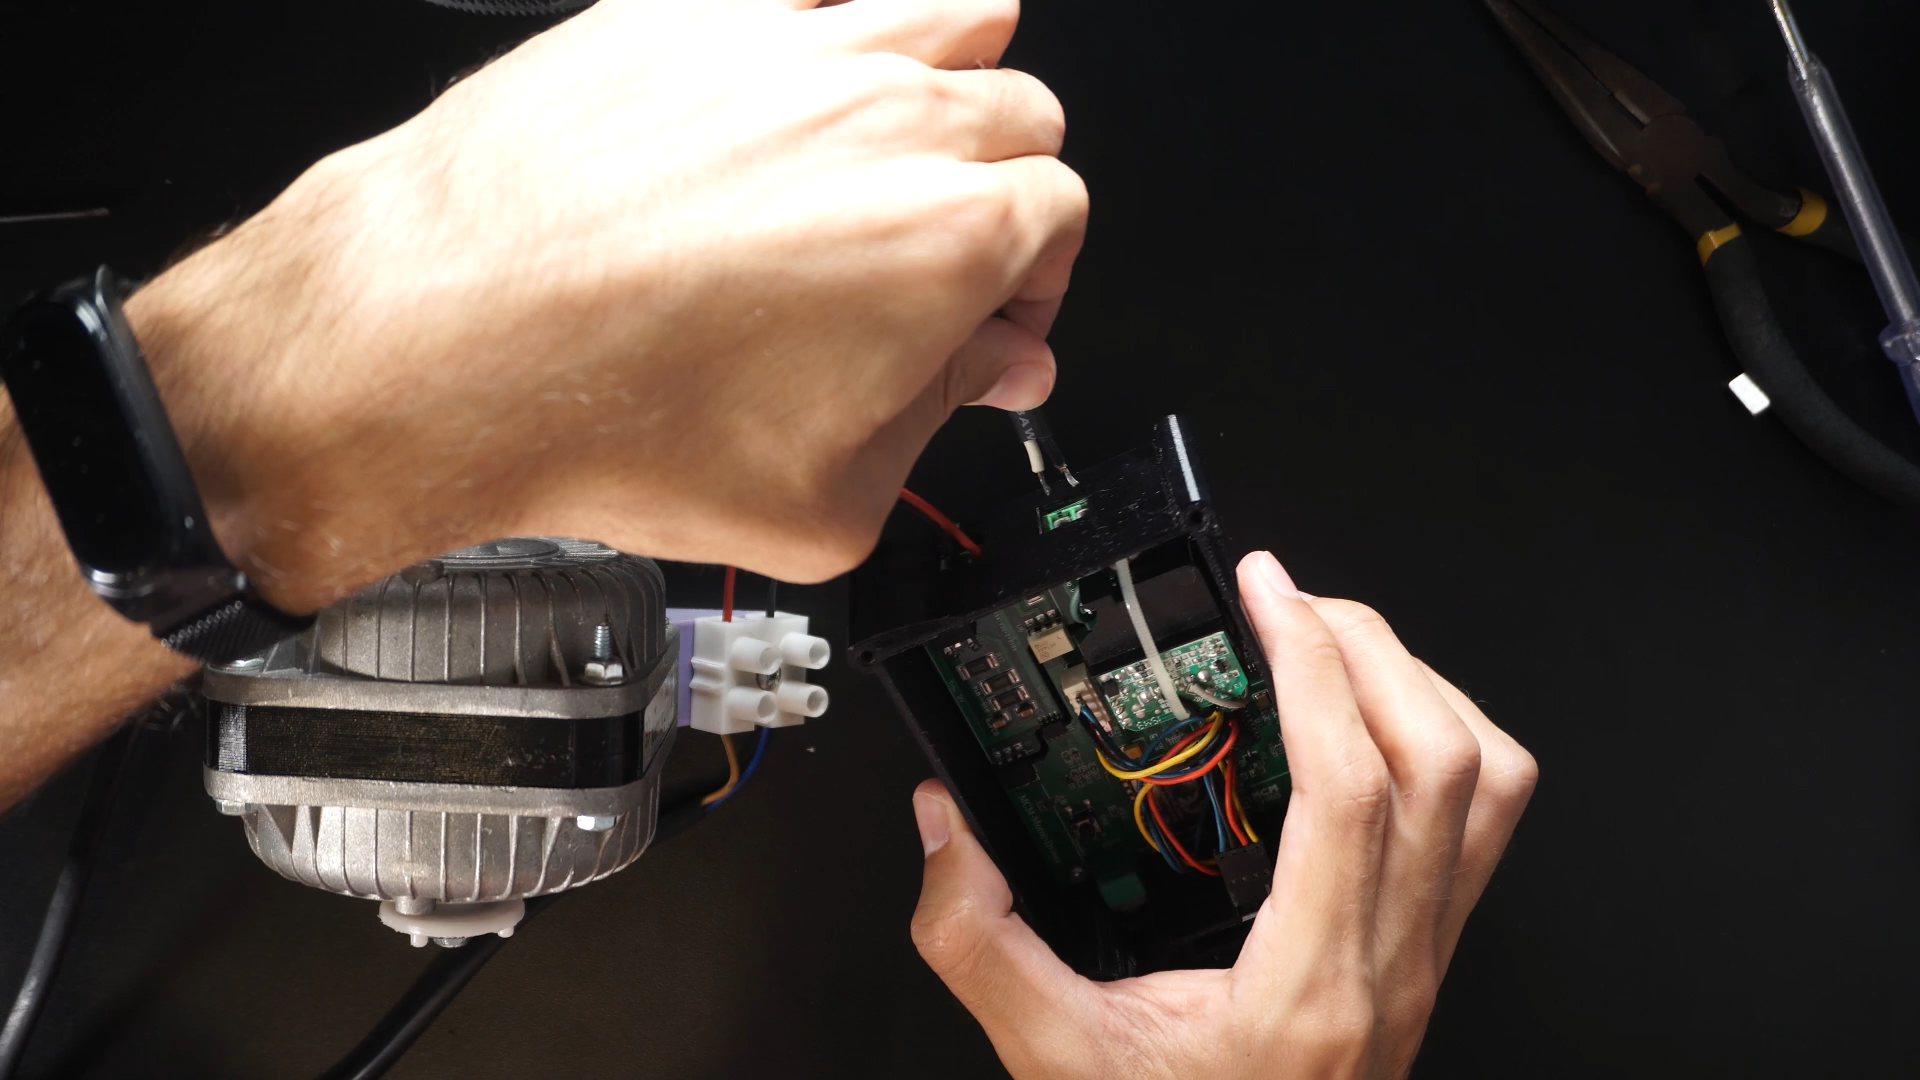
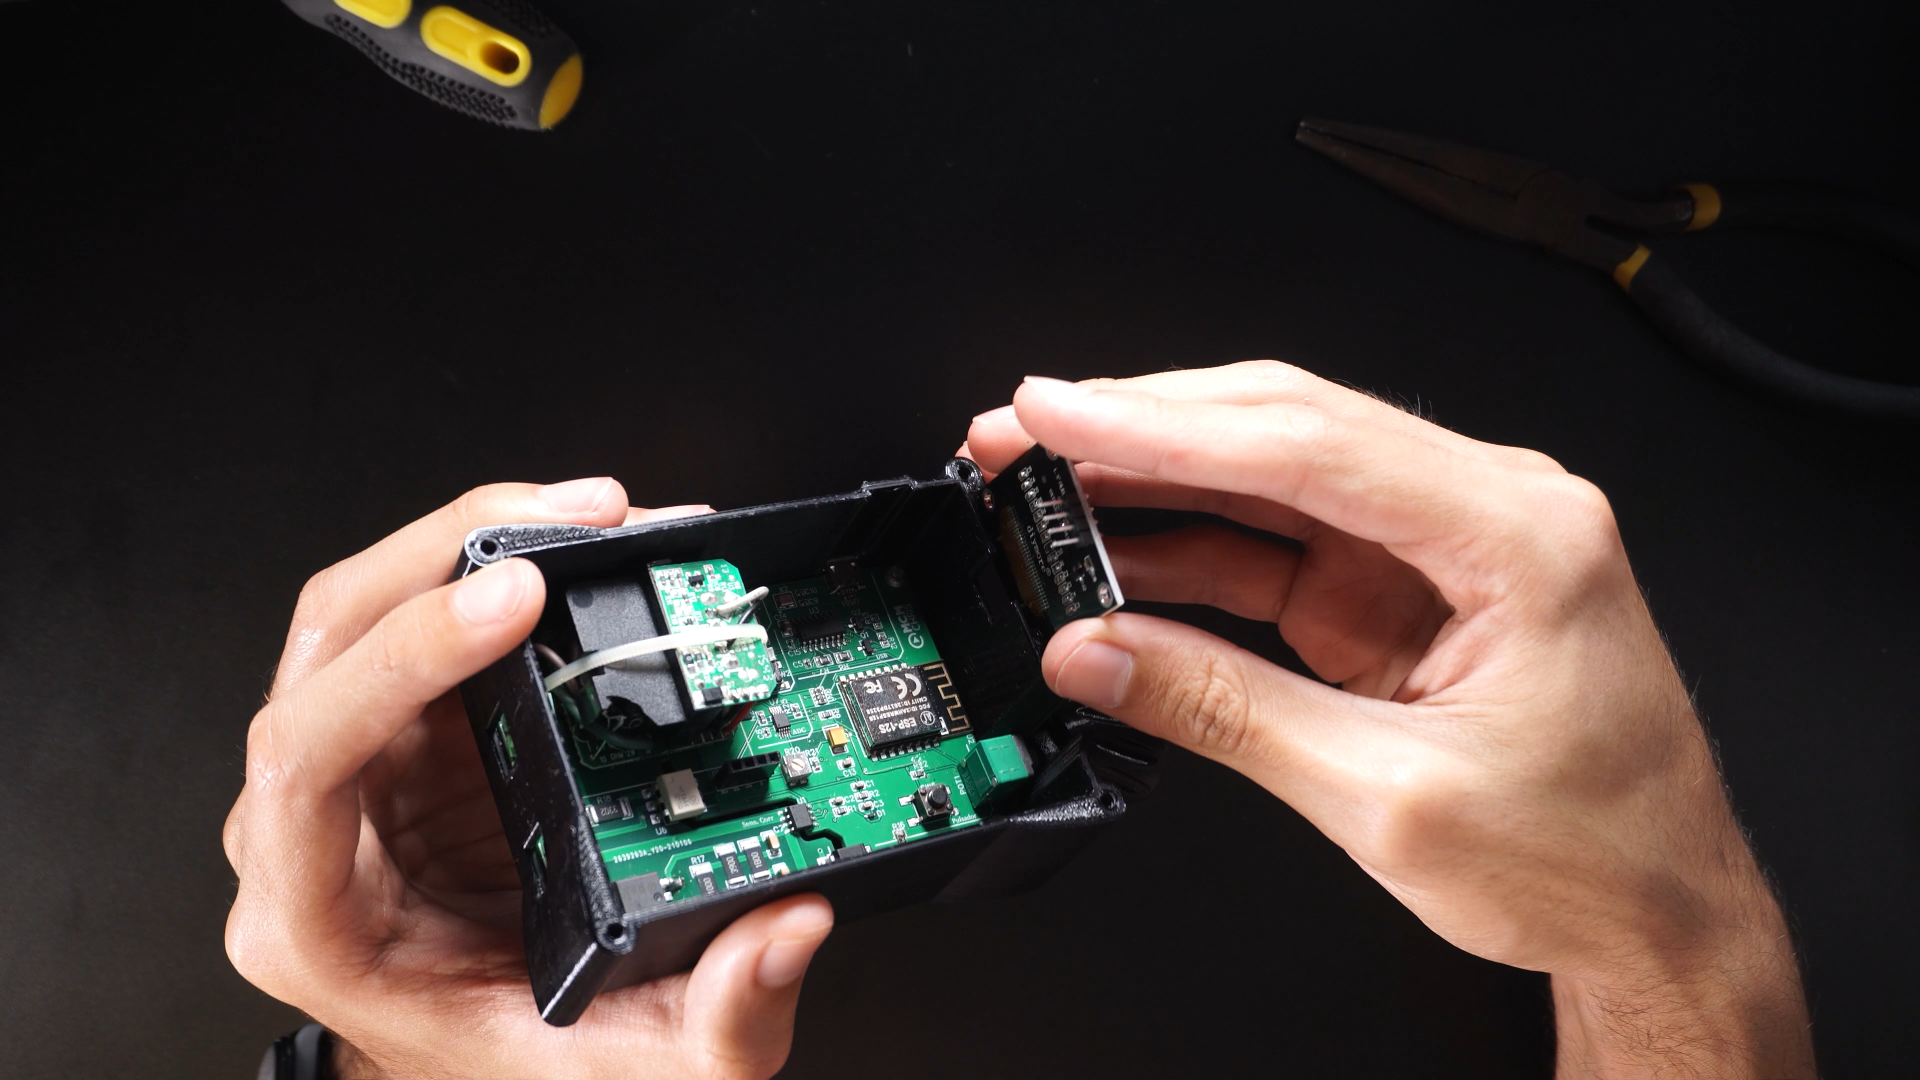
Follow this few steps carefully:
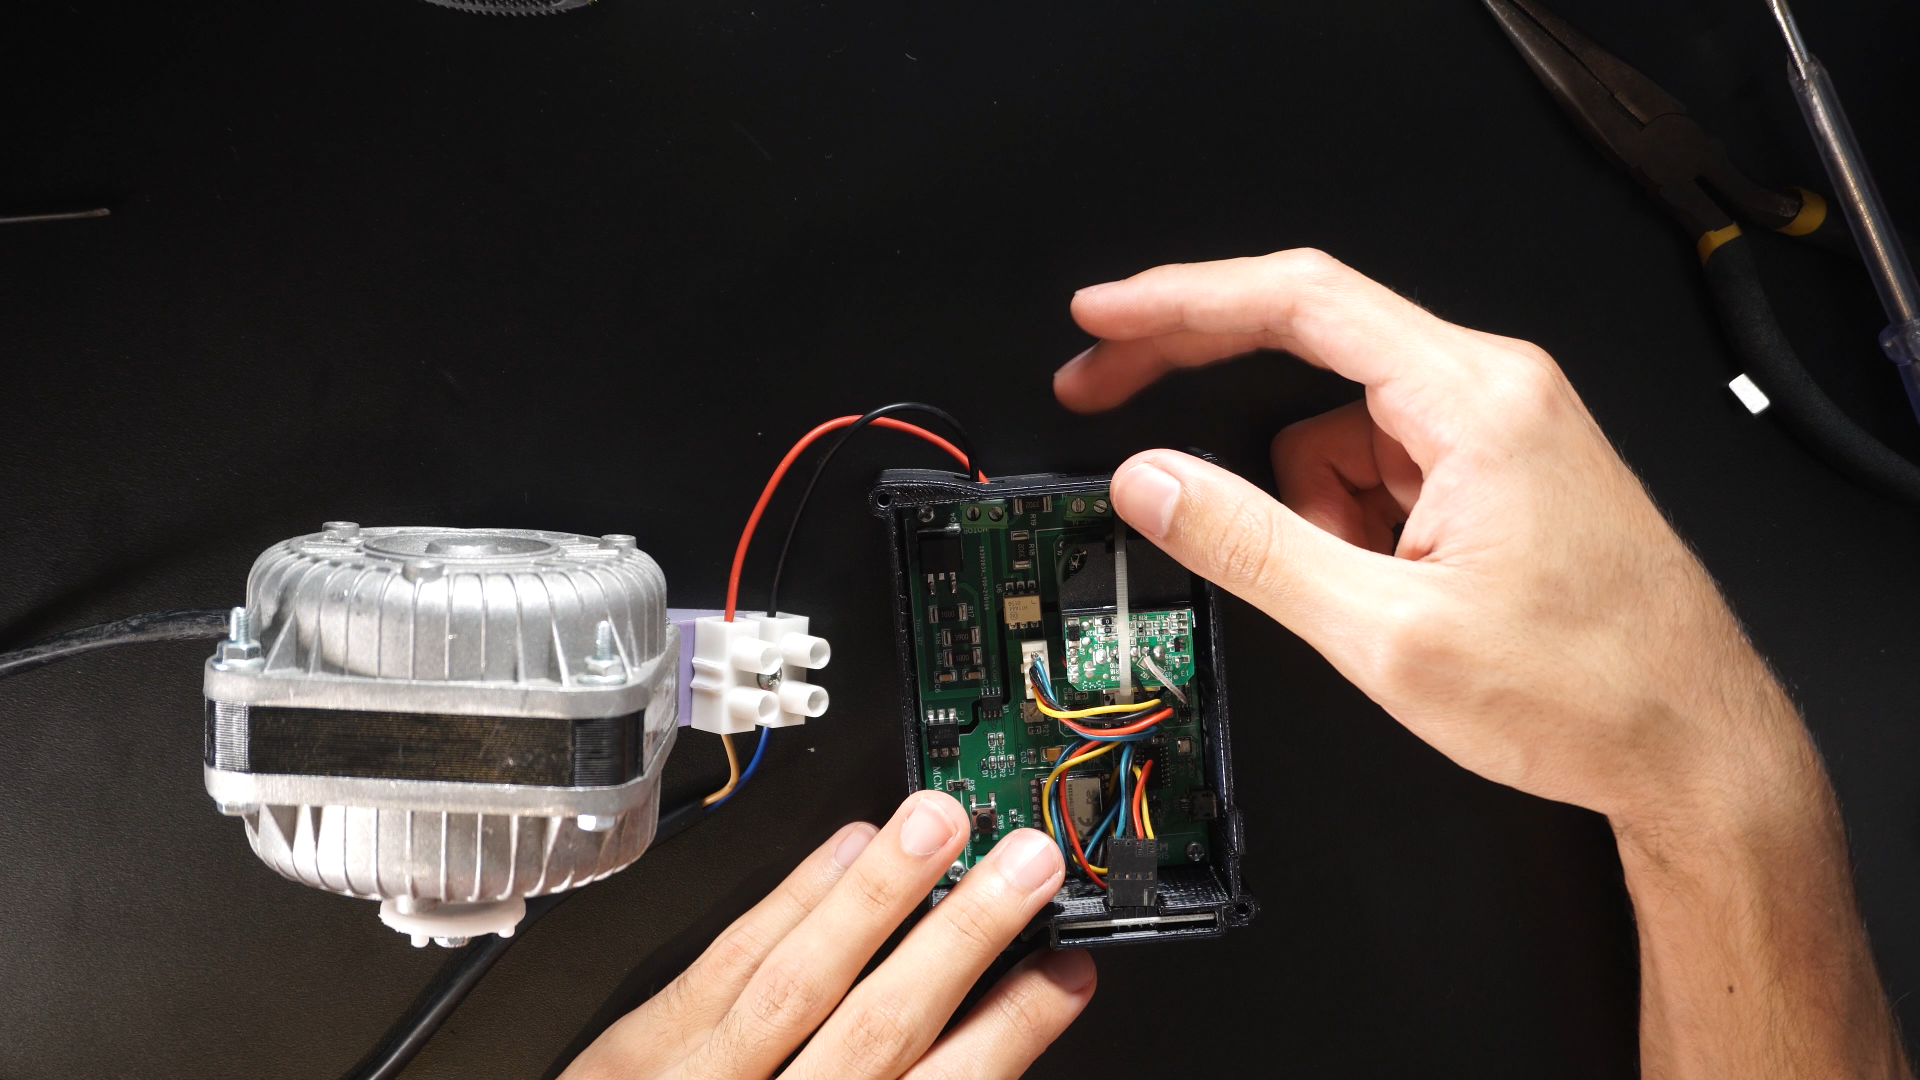
- Insert the OLED Display in the case slot.
- Wire the Display and make shure the connections are right between the PCB and OLED (Pinout may vary).
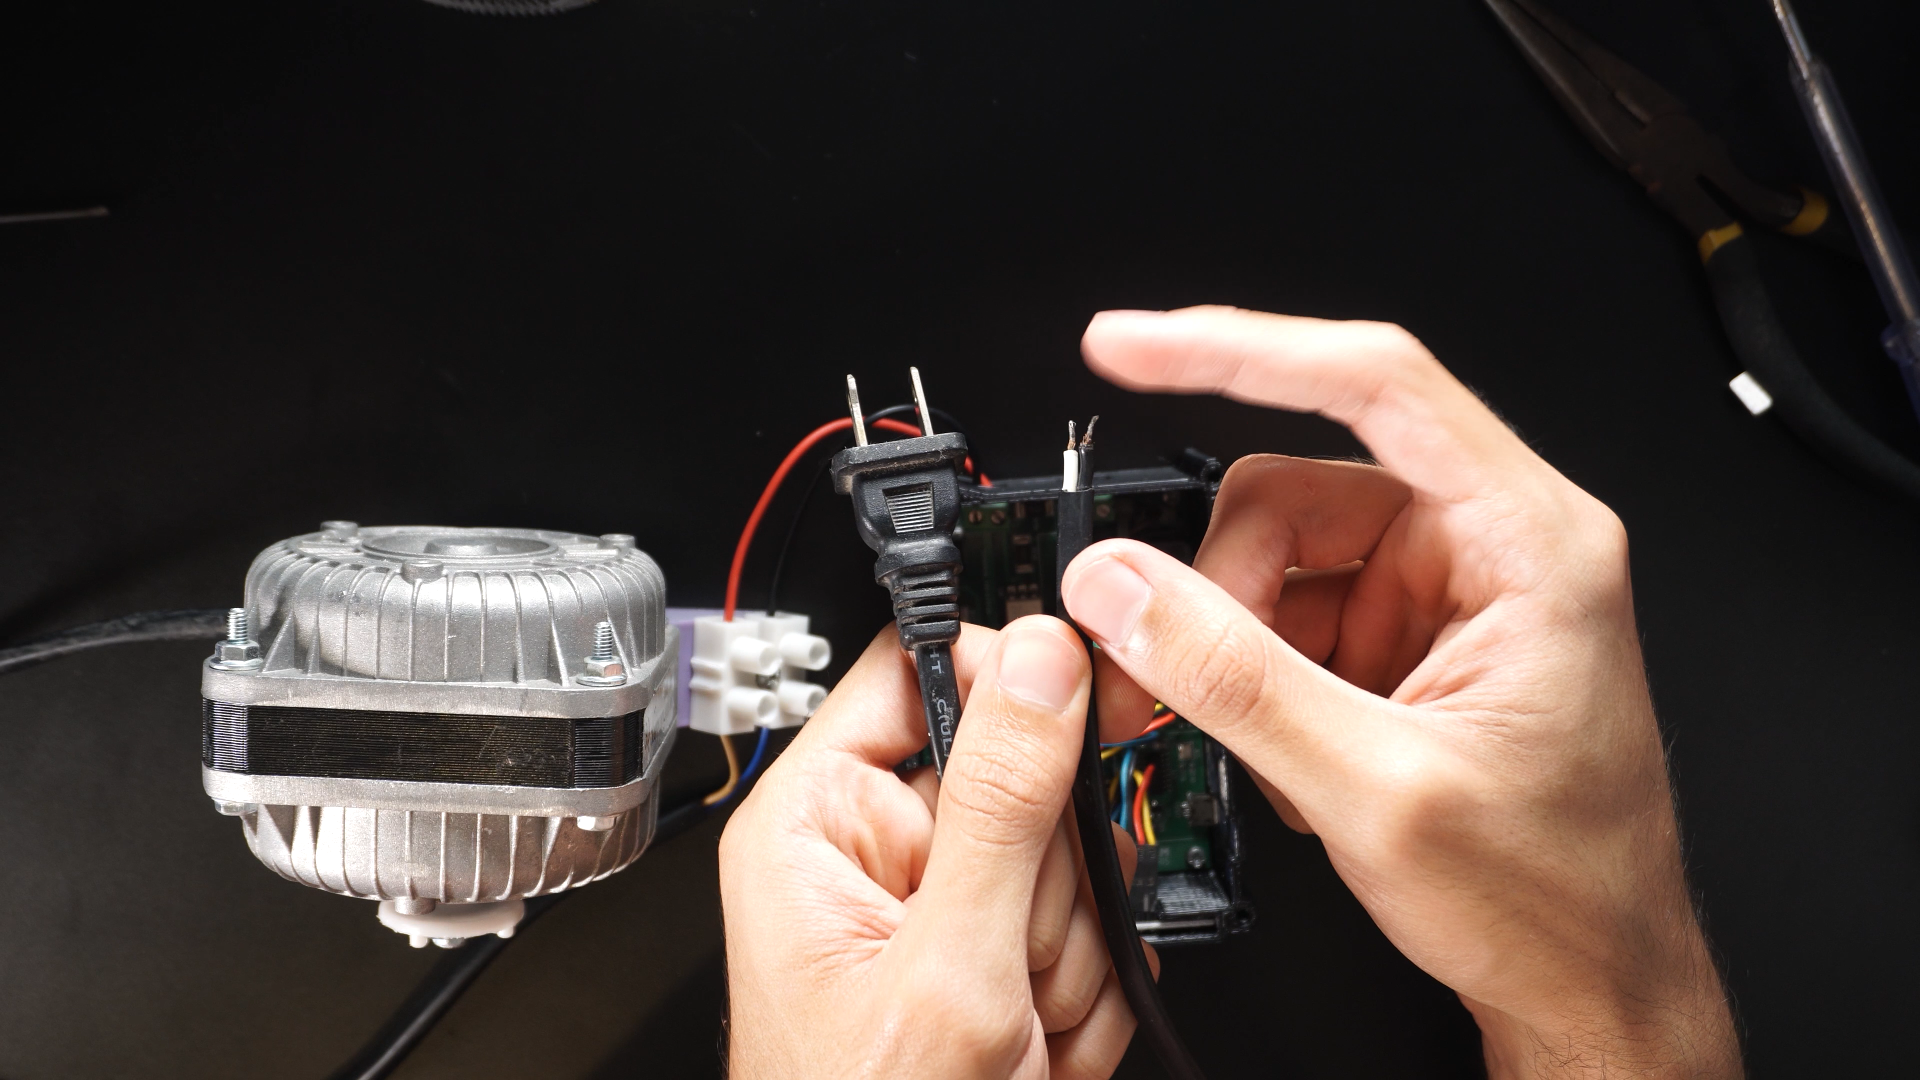
- Connect the motor or light wires (Black and Red) to the output terminal block, it doesn't matter the polarity.
- Get an AC Cable, findout the Line and Neutral wires, and connect them respectively in the power terminal block ( INPORTANT).
-
8Controlling a Single Phase AC Motor
![]()
![]()
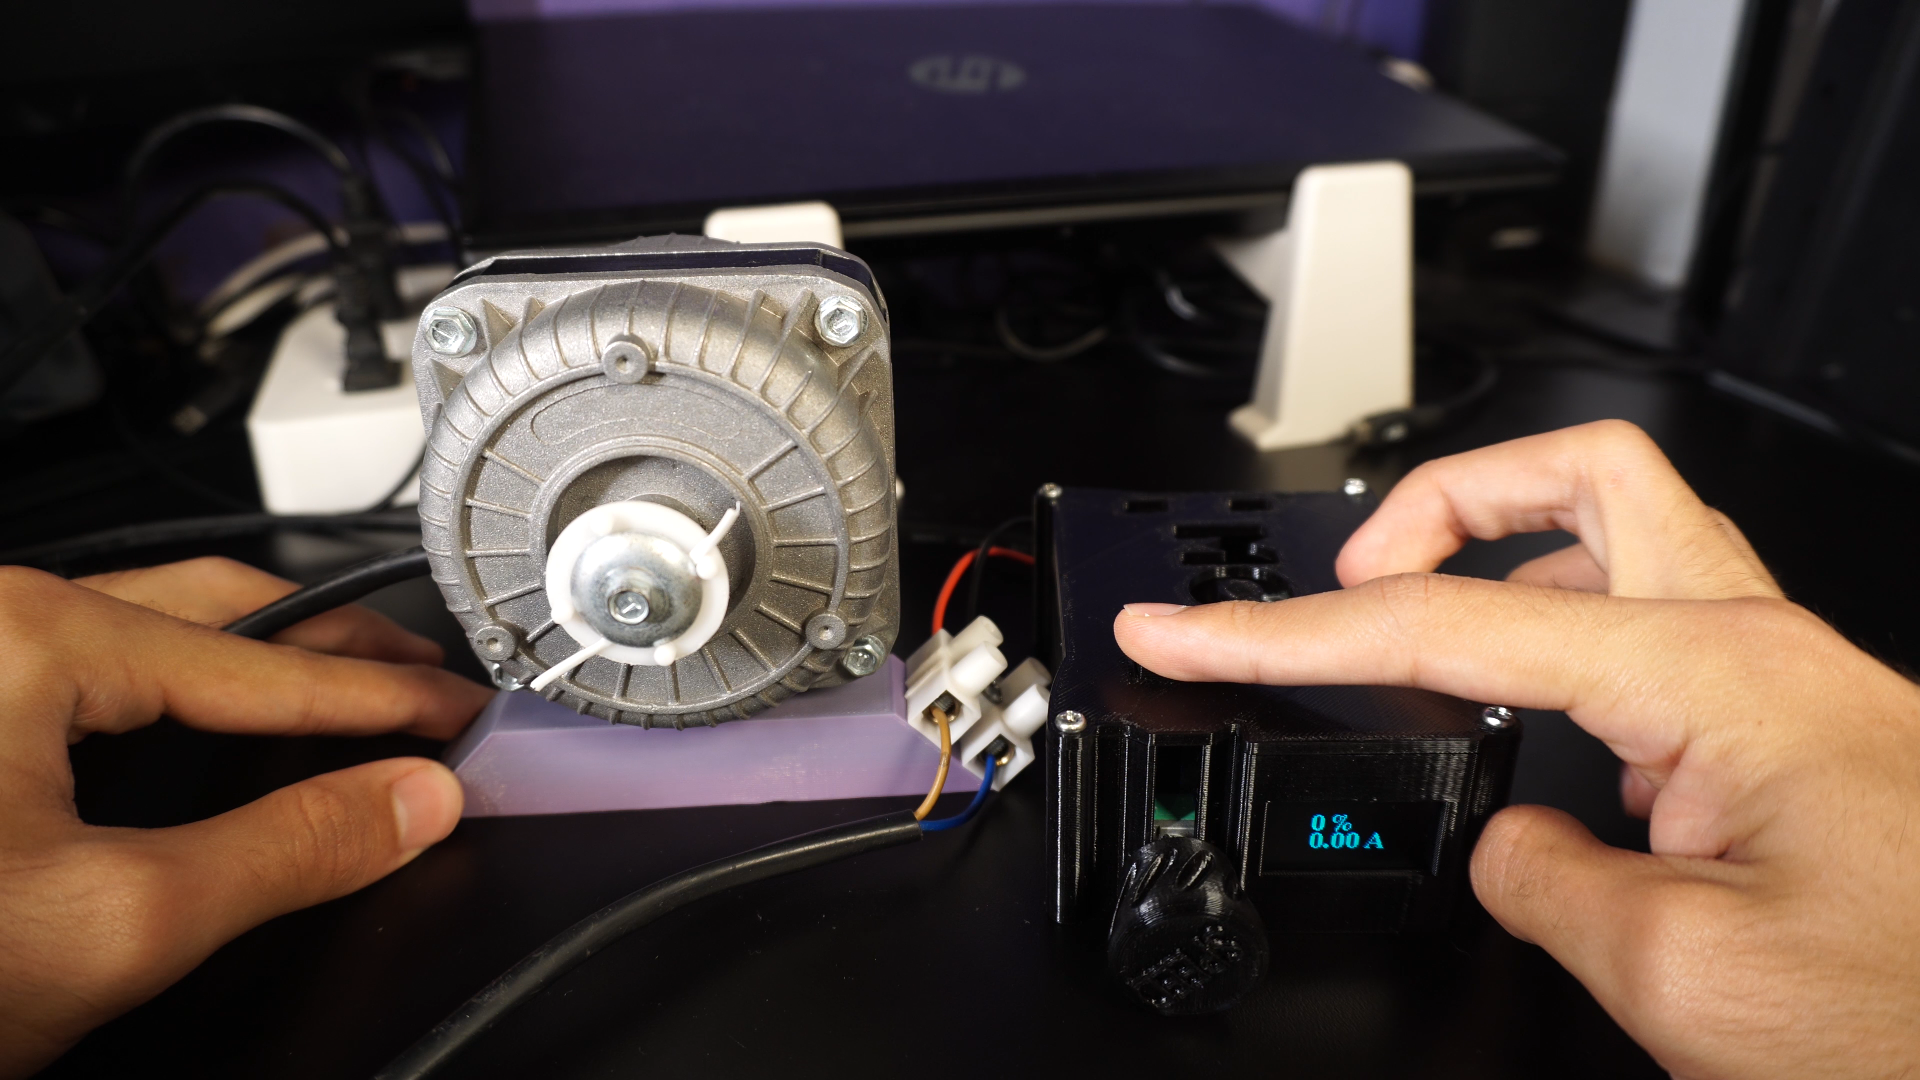
If you are in this step, you are already enjoying the successfull end of the project:
- Make shure the potentiometer is on it's min position.
- Turn on the system.
- Click on the push button to enable the dimming function.
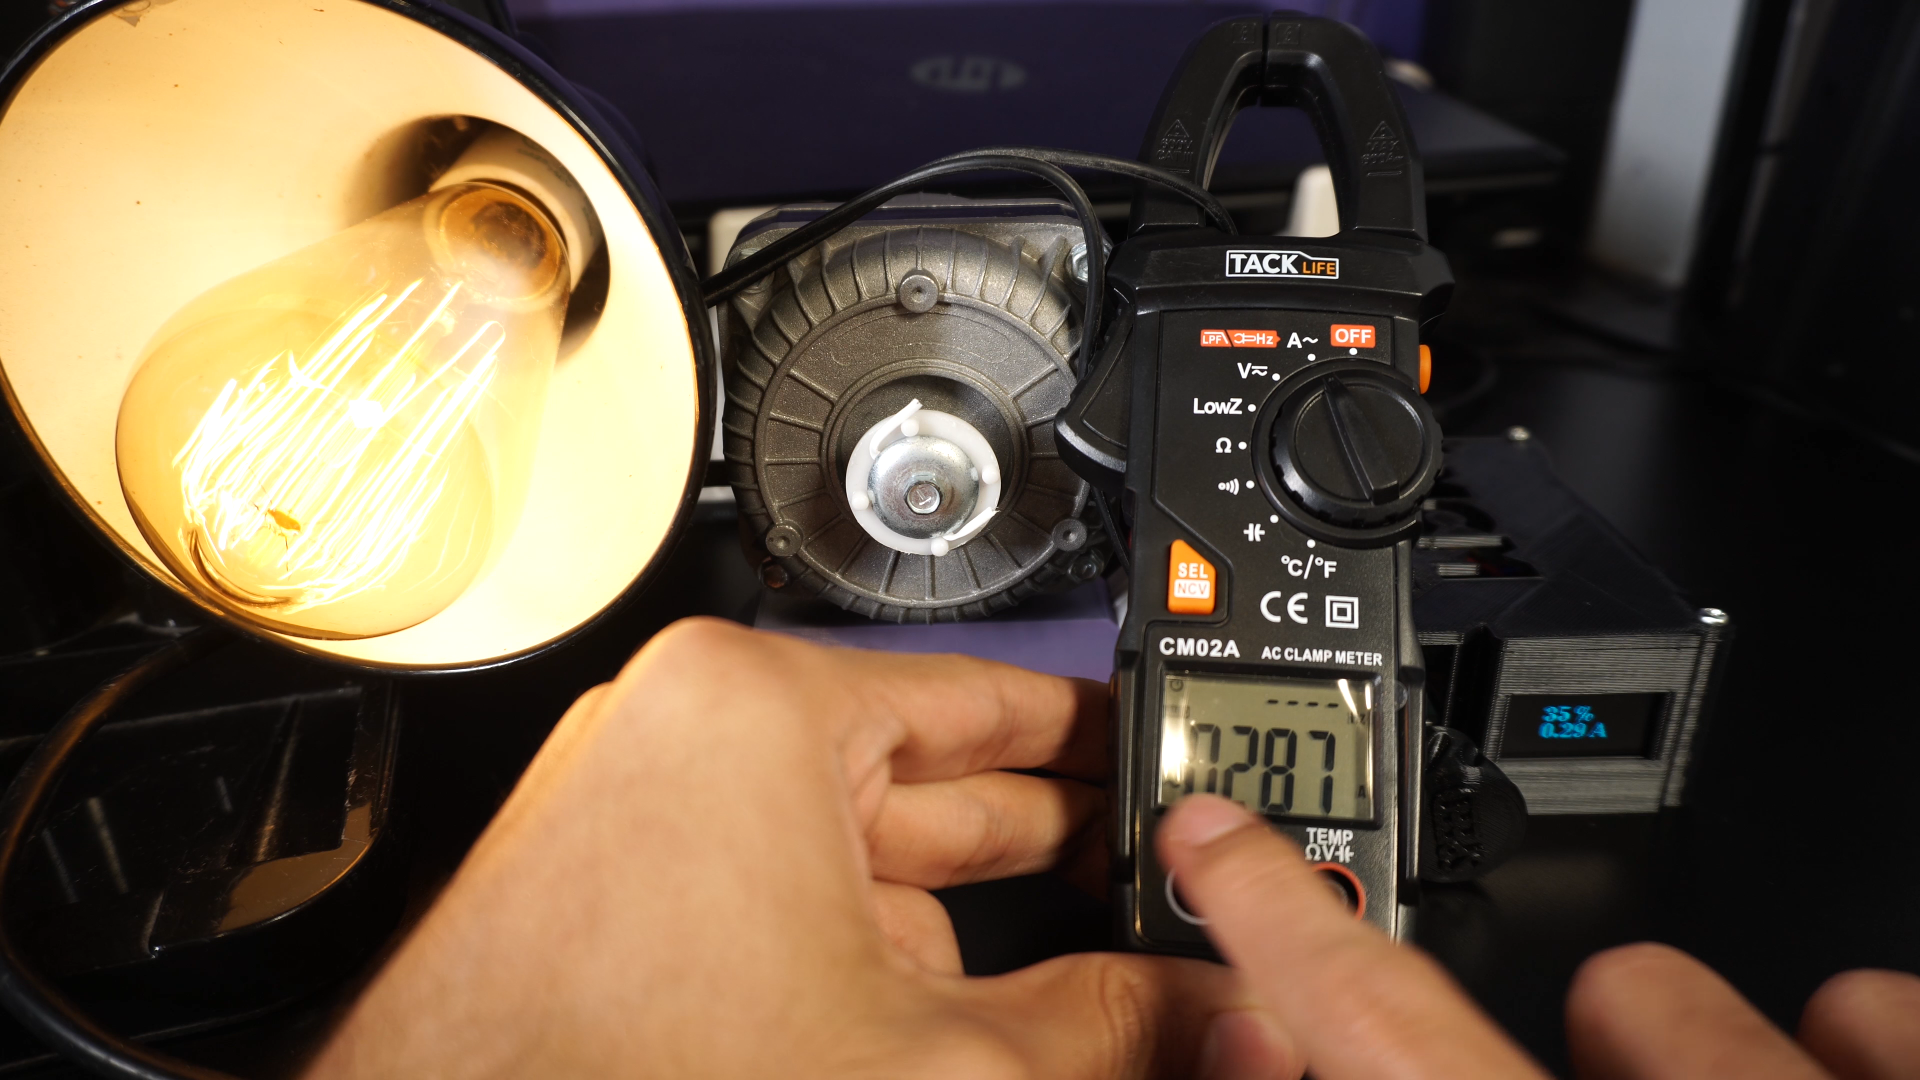
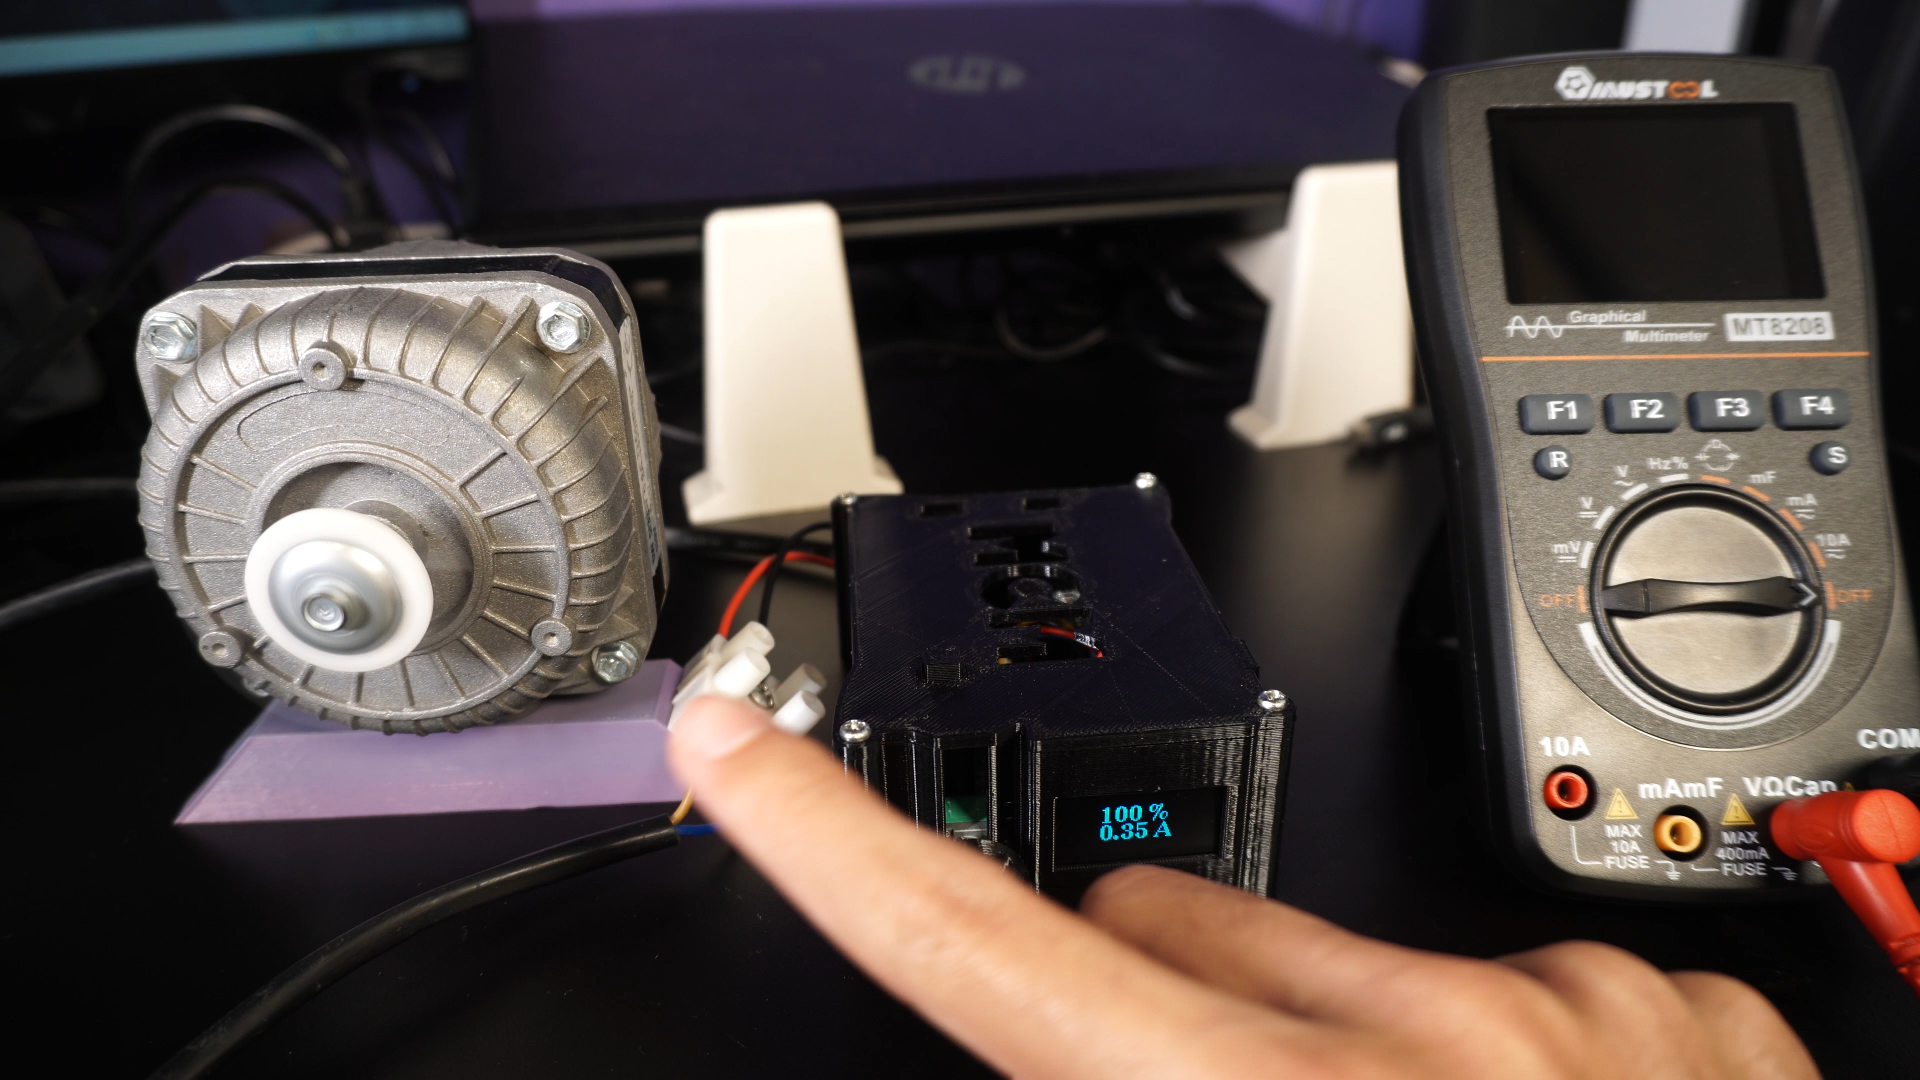
- Turn the potentiometer, gradually and the motor should start.
- You must see in the display the motor current.
- If you click on the push button again the motor will turn off.
-
9Intelligent Functions Setup
![]()
![]()
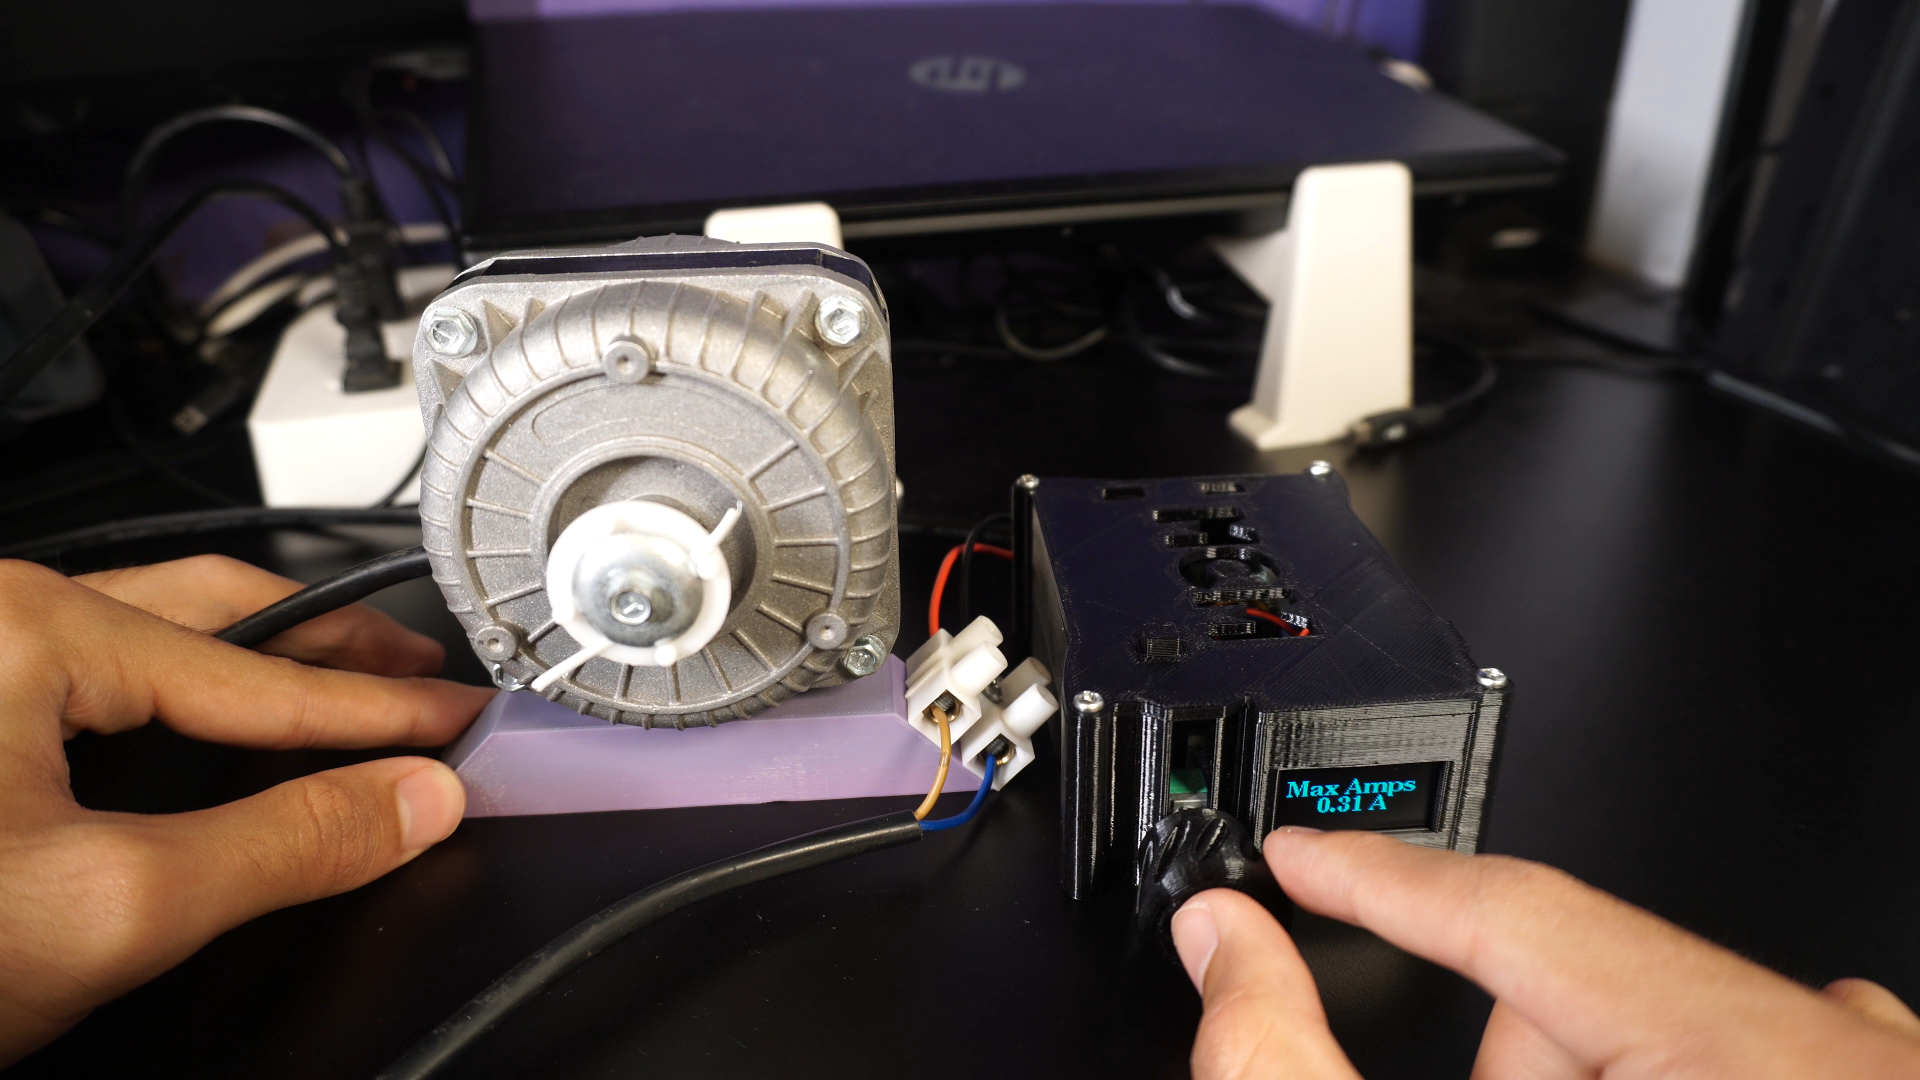
This isn't a simple dimmer, it has some interesting functions and let's try them.
Press the push button for +3 seconds.
The display should show up "Max Amps".
Turn the potentiometer to set up the max amps setpoint.
Click on the push button again and you should be in the start screen again.
Now, if you simulate an overload of your motor, it should turn off when the current exceeds the setpoint. -
10Controlling Lightbulbs.
This type of dimmer is perfect and IDEAL for controlling resistive loads, so in this case we will enjoy a better and more linear control of the brightness of the lightbulb.
Some LED dimmable lights will flicker a little. Filament lamps are the best for this.
![]()
![]()
Smart DIY Arduino AC Dimmer | Drive AC Loads
A DIY AC dimmer with Arduino that let you control Single Phace AC motors or lights easily.
 Christopher Mendez

Discussions
Become a Hackaday.io Member
Create an account to leave a comment. Already have an account? Log In.