-
13D printed parts and electronic components
Here is the list:
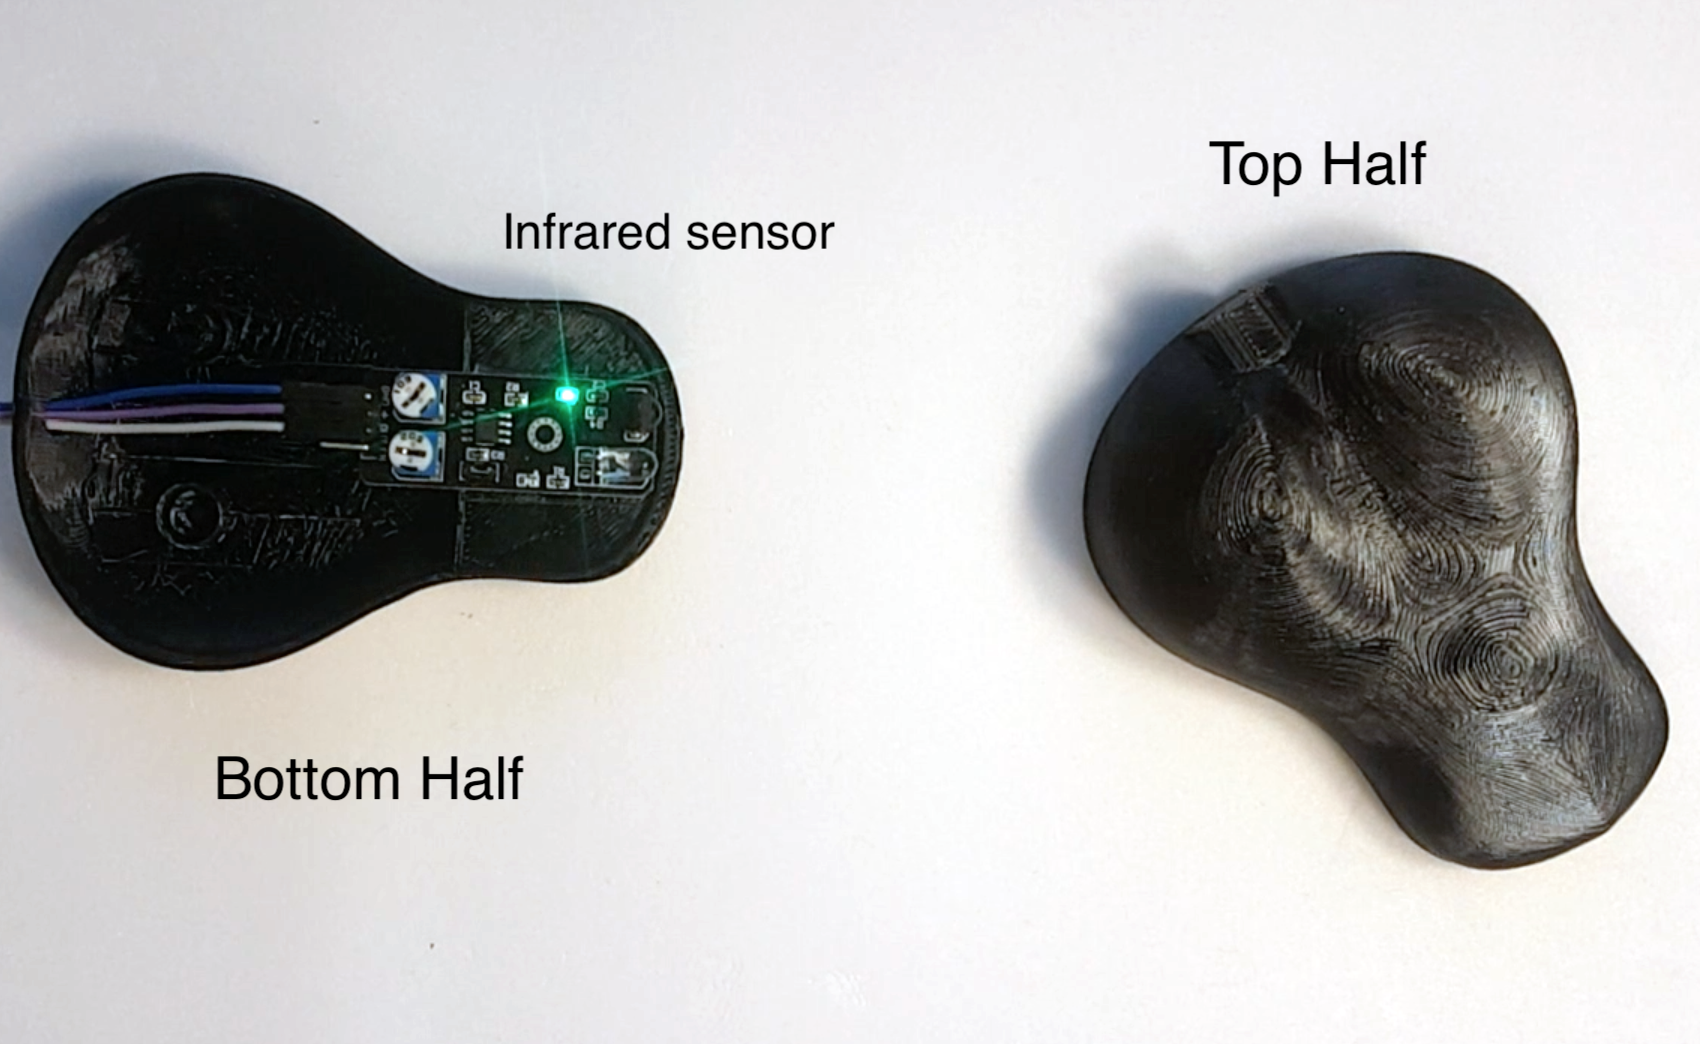
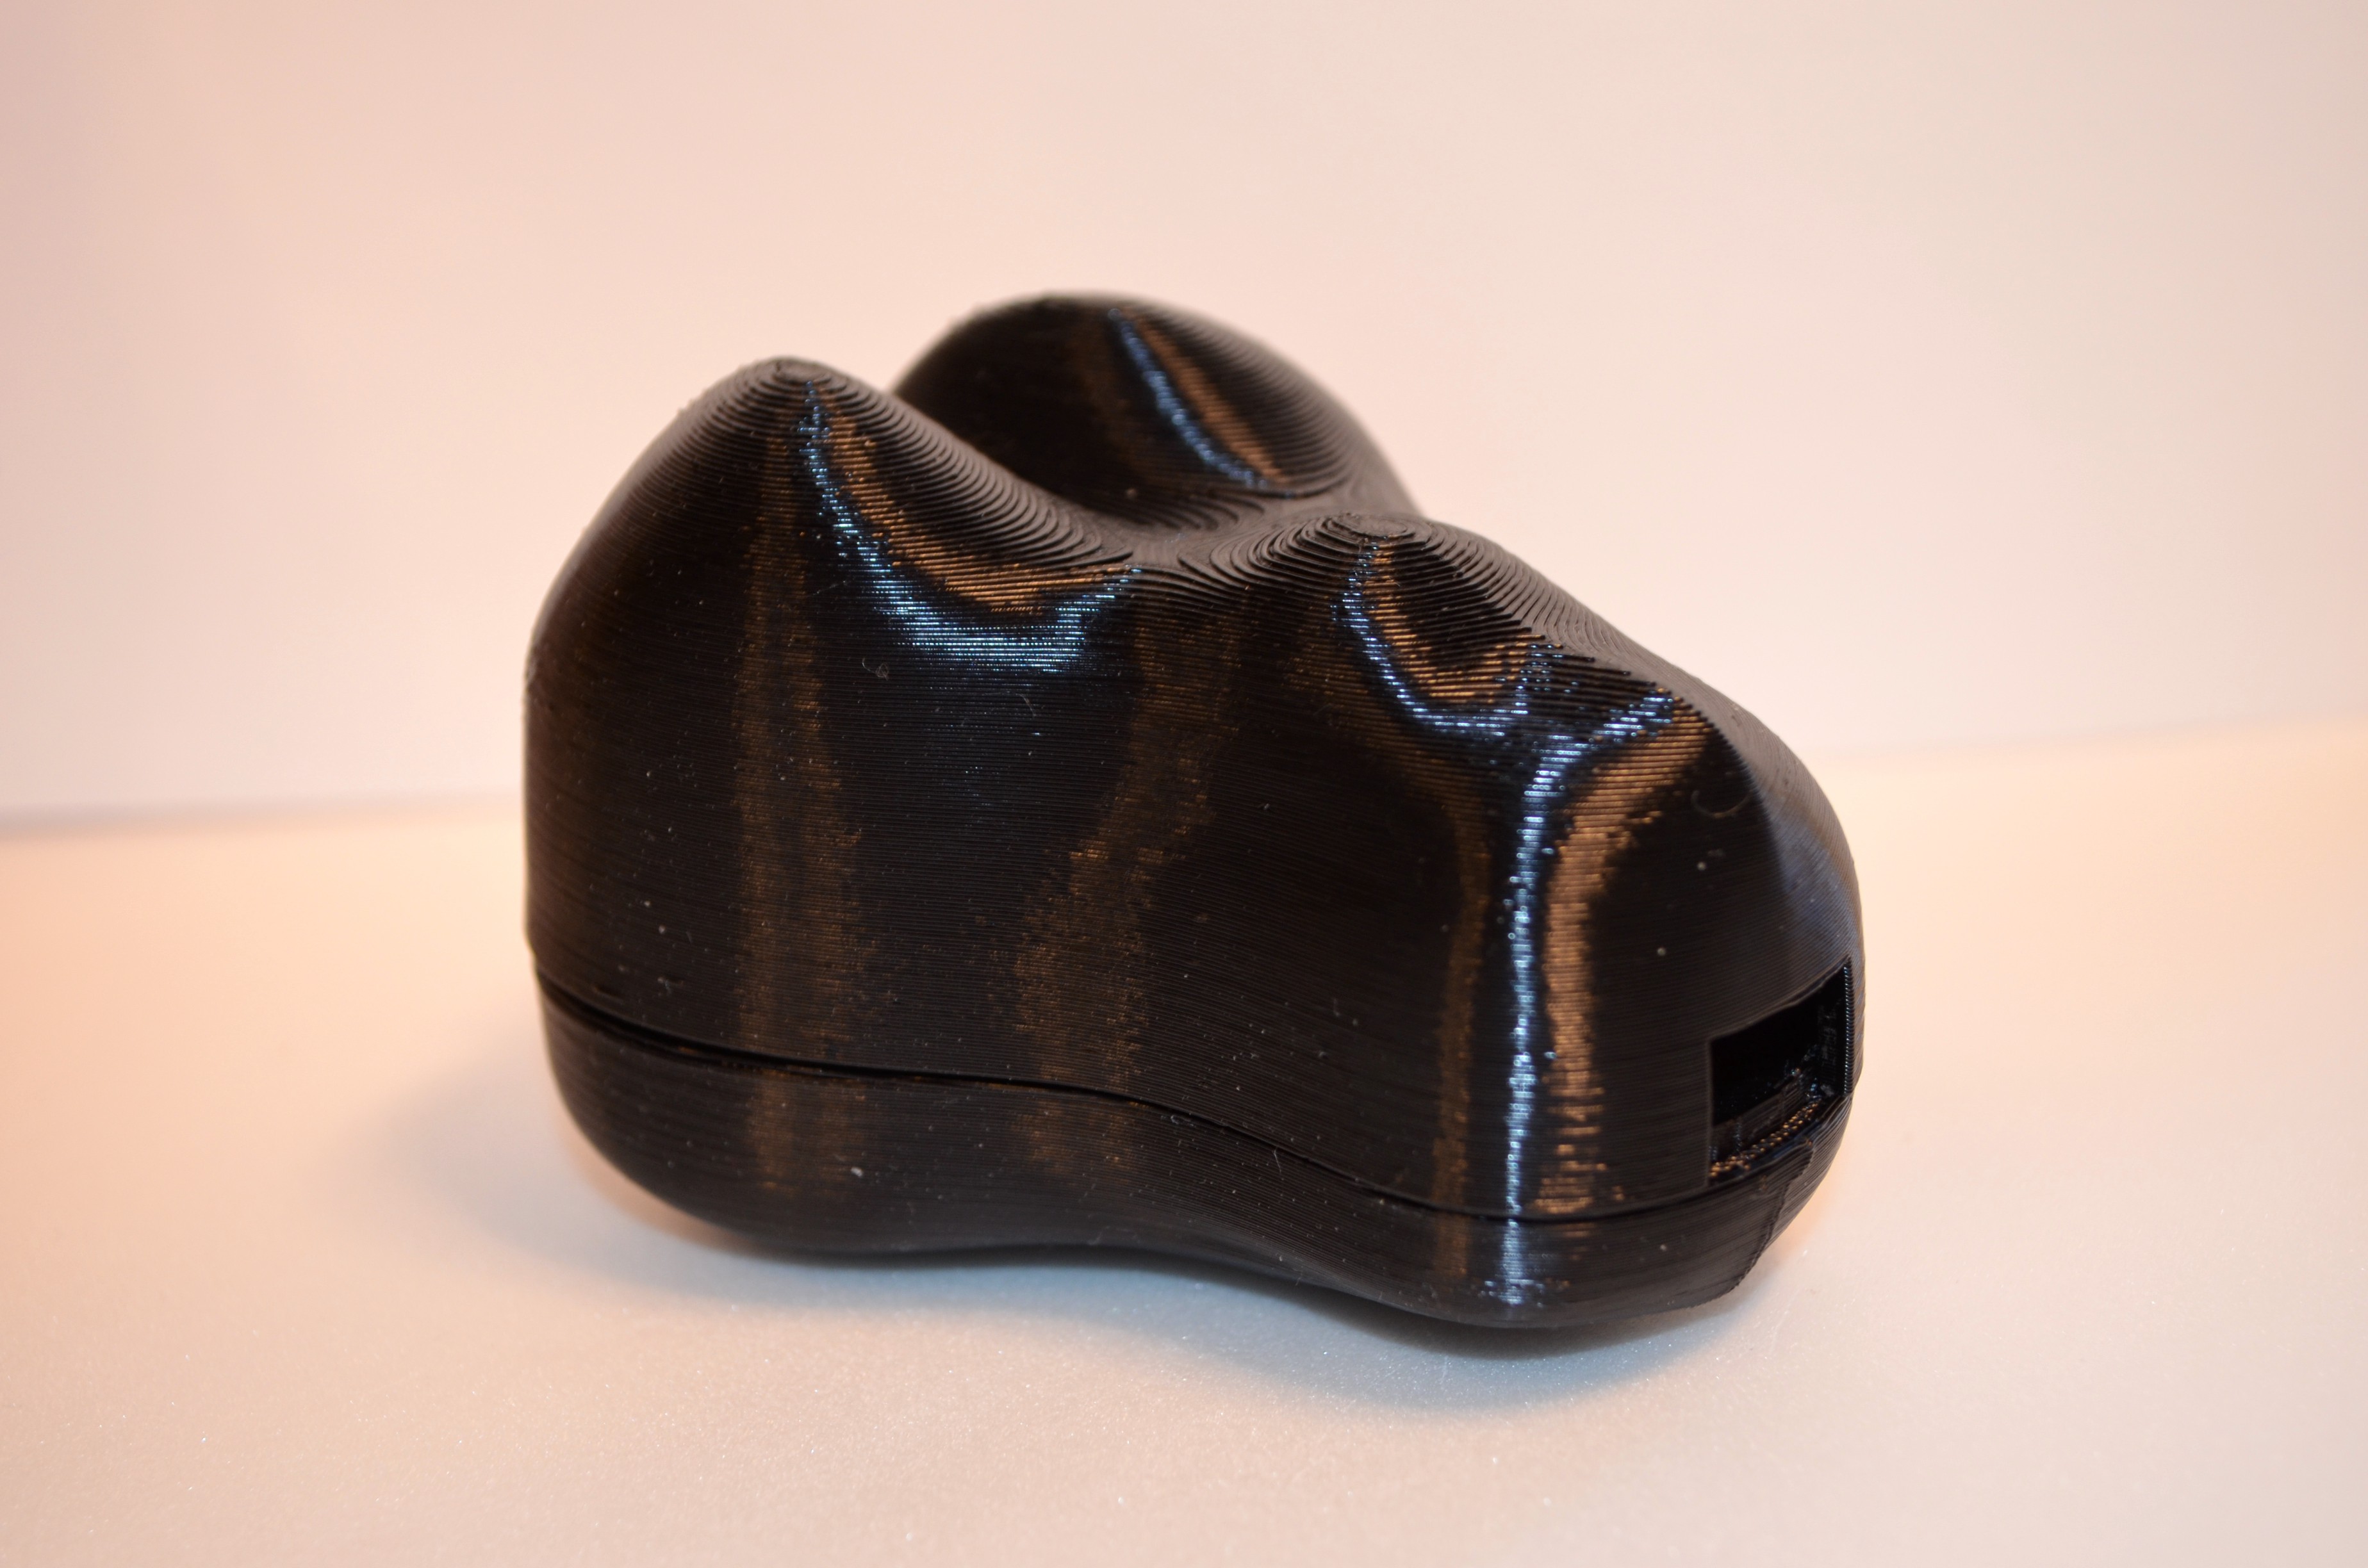
- Snake head consisting of a top and a bottom half that snap together. It houses the infrared sensor for proximity detection.
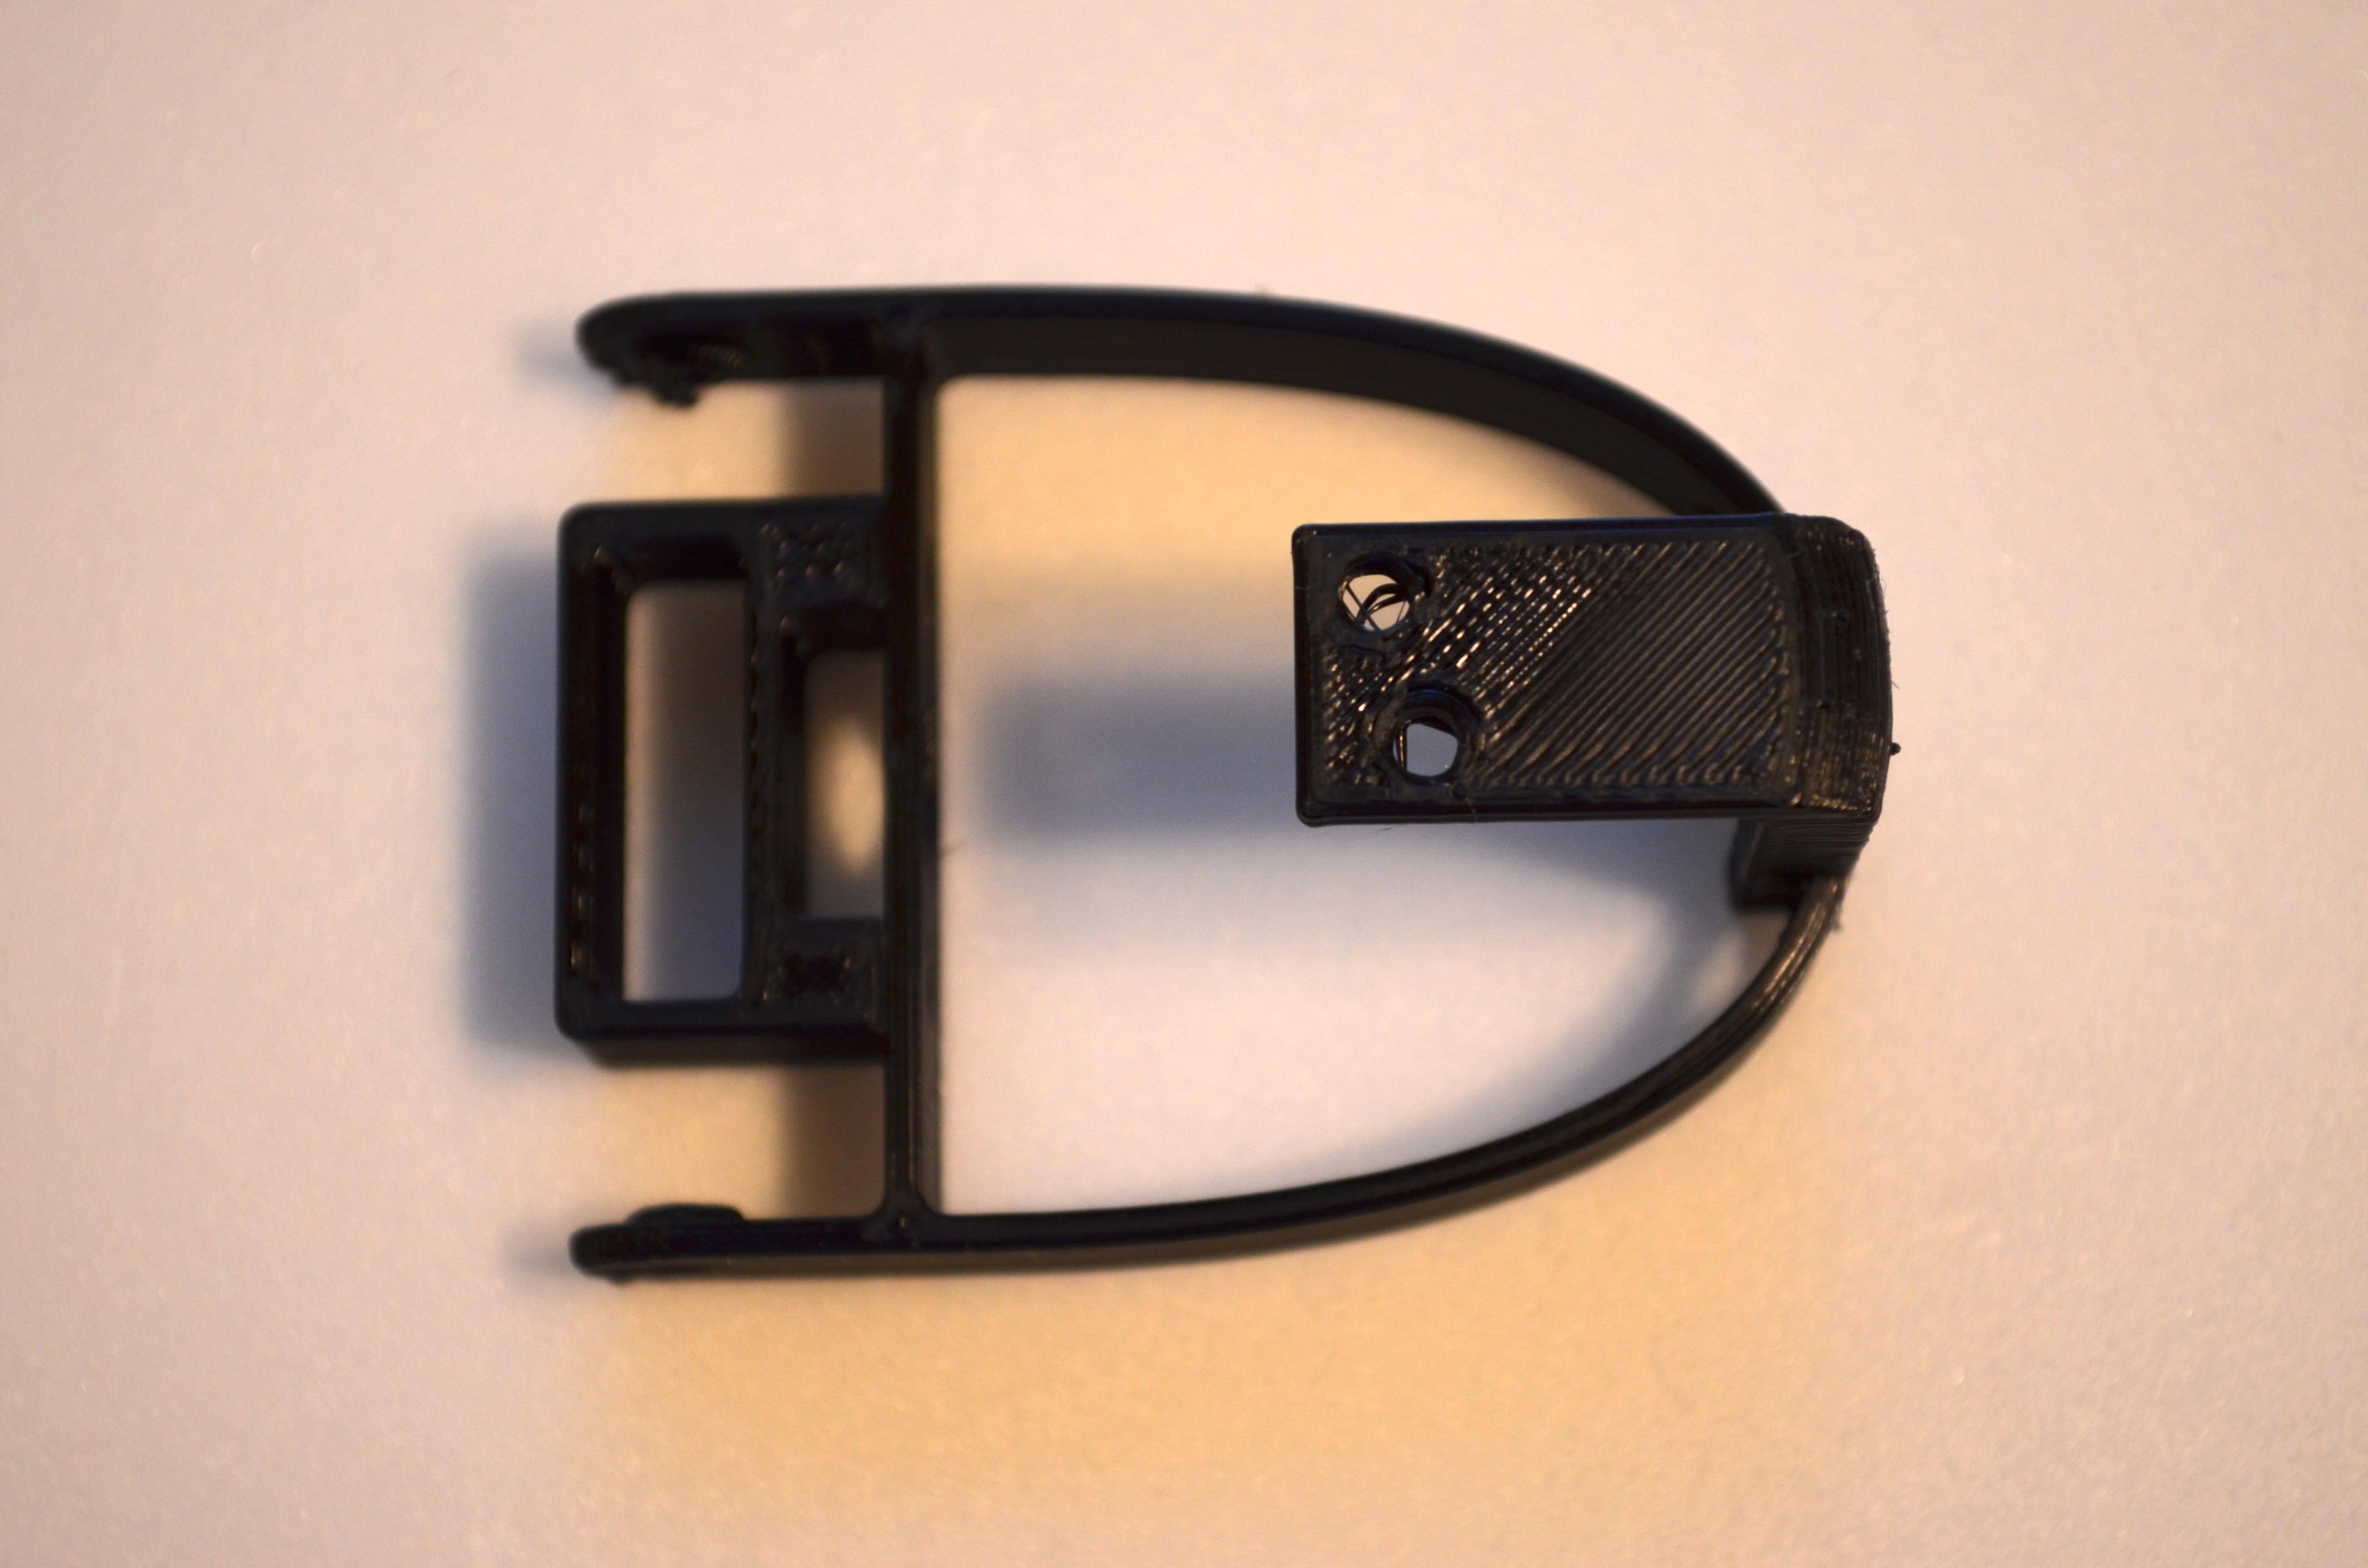
- Mid section or the body. It consists of a series of individual elements or the 'ribs'. Each rib is connected to the next through a vertebrae section integrated into the printed part.
- The belly portion enclosed within each rib is used to house the motor for locomotion.
- Each rib is actuated by a micro servo motor using 2 wheels attached on either side.
- The space between the wheels is slotted to carry the wires for power, ground and PWM signal to the motors and the infrared sensor.
- The caboose is used to house the rest of the electronics including:
- Arduino Nano as the microcontroller to run the code for locomotion and proximity detection.
- A 16-Channel 12-bit PWM/Servo driver, PCA9685 to driver the 16 servos over I2C.
- An MP1584EN DC-DC Buck Converter to provide 5V to the servo driver.
- A 2S lipo battery to power the entire robot.
All parts except the skin were printed in PLA with 0.28 mm layer height and a 0.4 mm nozzle on an Ender 3. The skin was printed in TPU.
The STL files can be found on Thingiverse.
Click on the github link for the software.
-
2Assemble the head
- Install the infrared proximity sensor on the bottom half of the head.
![]()
Snap the 2 halves together.
- Install the infrared proximity sensor on the bottom half of the head.
-
3Assemble the body
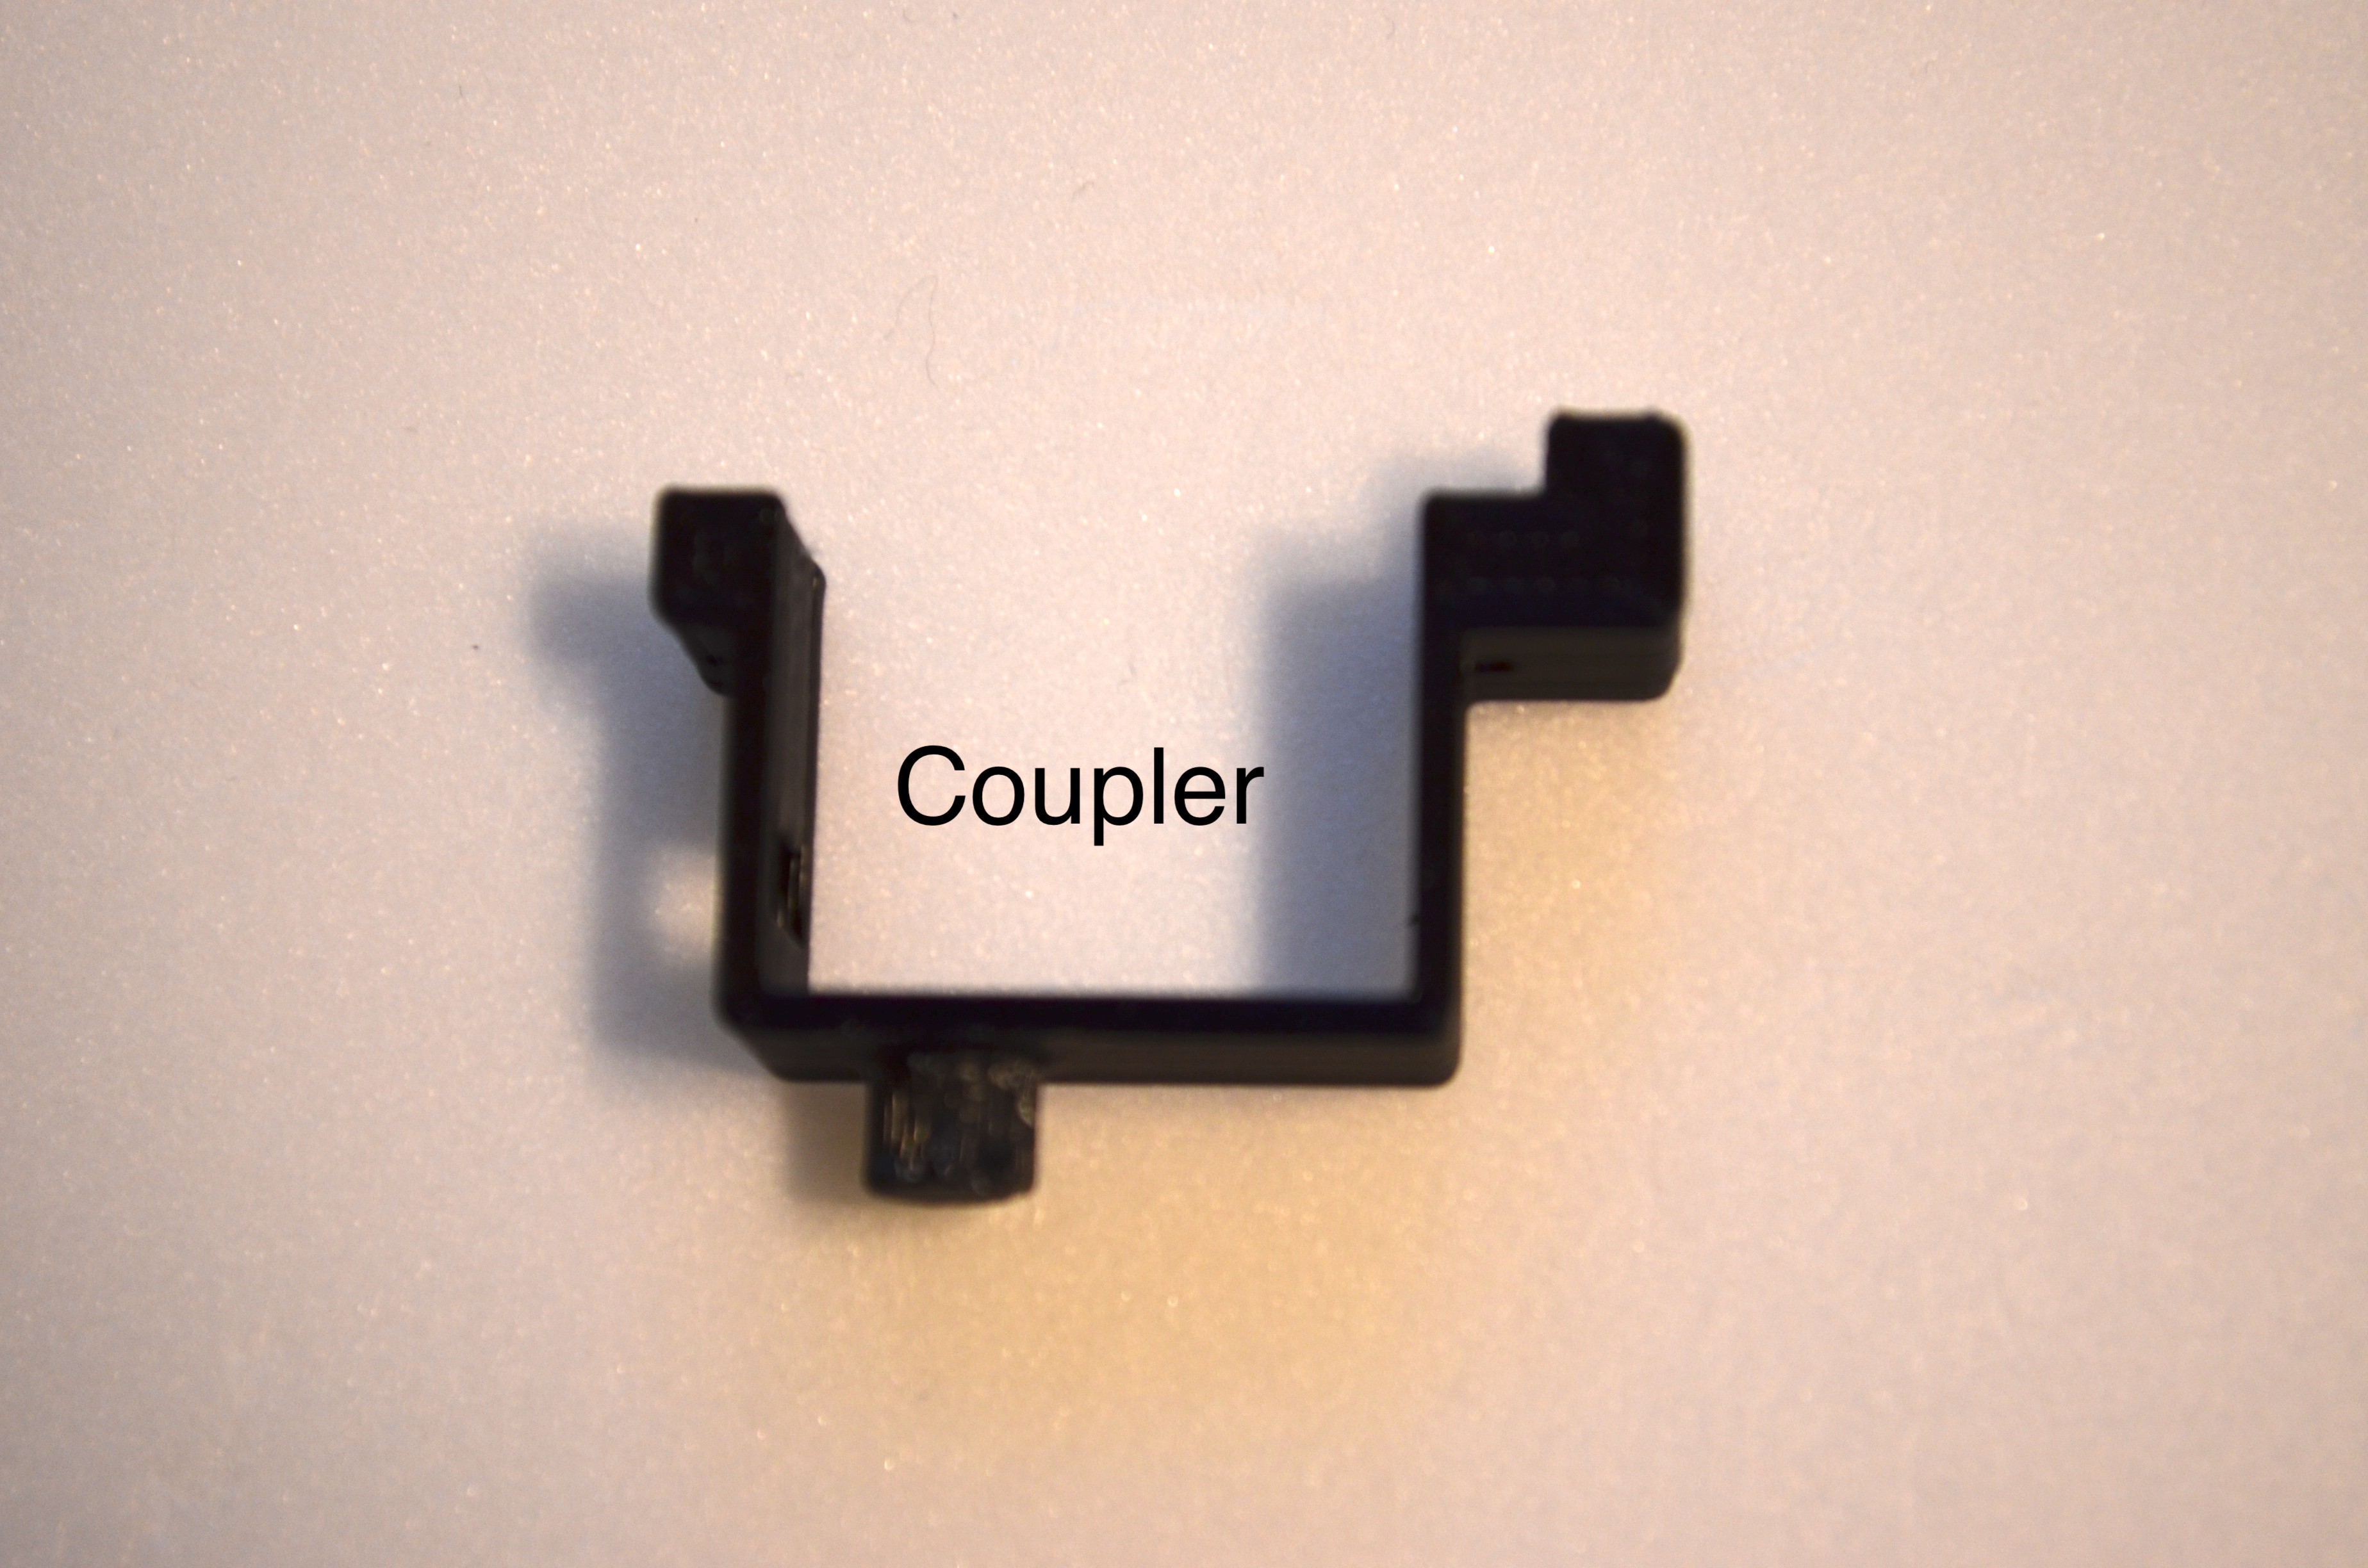
- The body is a collection of ribs connected together through the vertebra using a coupler.
- Assemble the rib section as shown in the video.
-
4Assemble the tail
- Install the servo controller, Arduino nano, voltage regulator and the lipo battery in the caboose.
- Cover it with the tail.
- Install the servo controller, Arduino nano, voltage regulator and the lipo battery in the caboose.
-
5Add the skin
- Attach the skin using a double sided tape or glue.
-
6Wire up the electronics
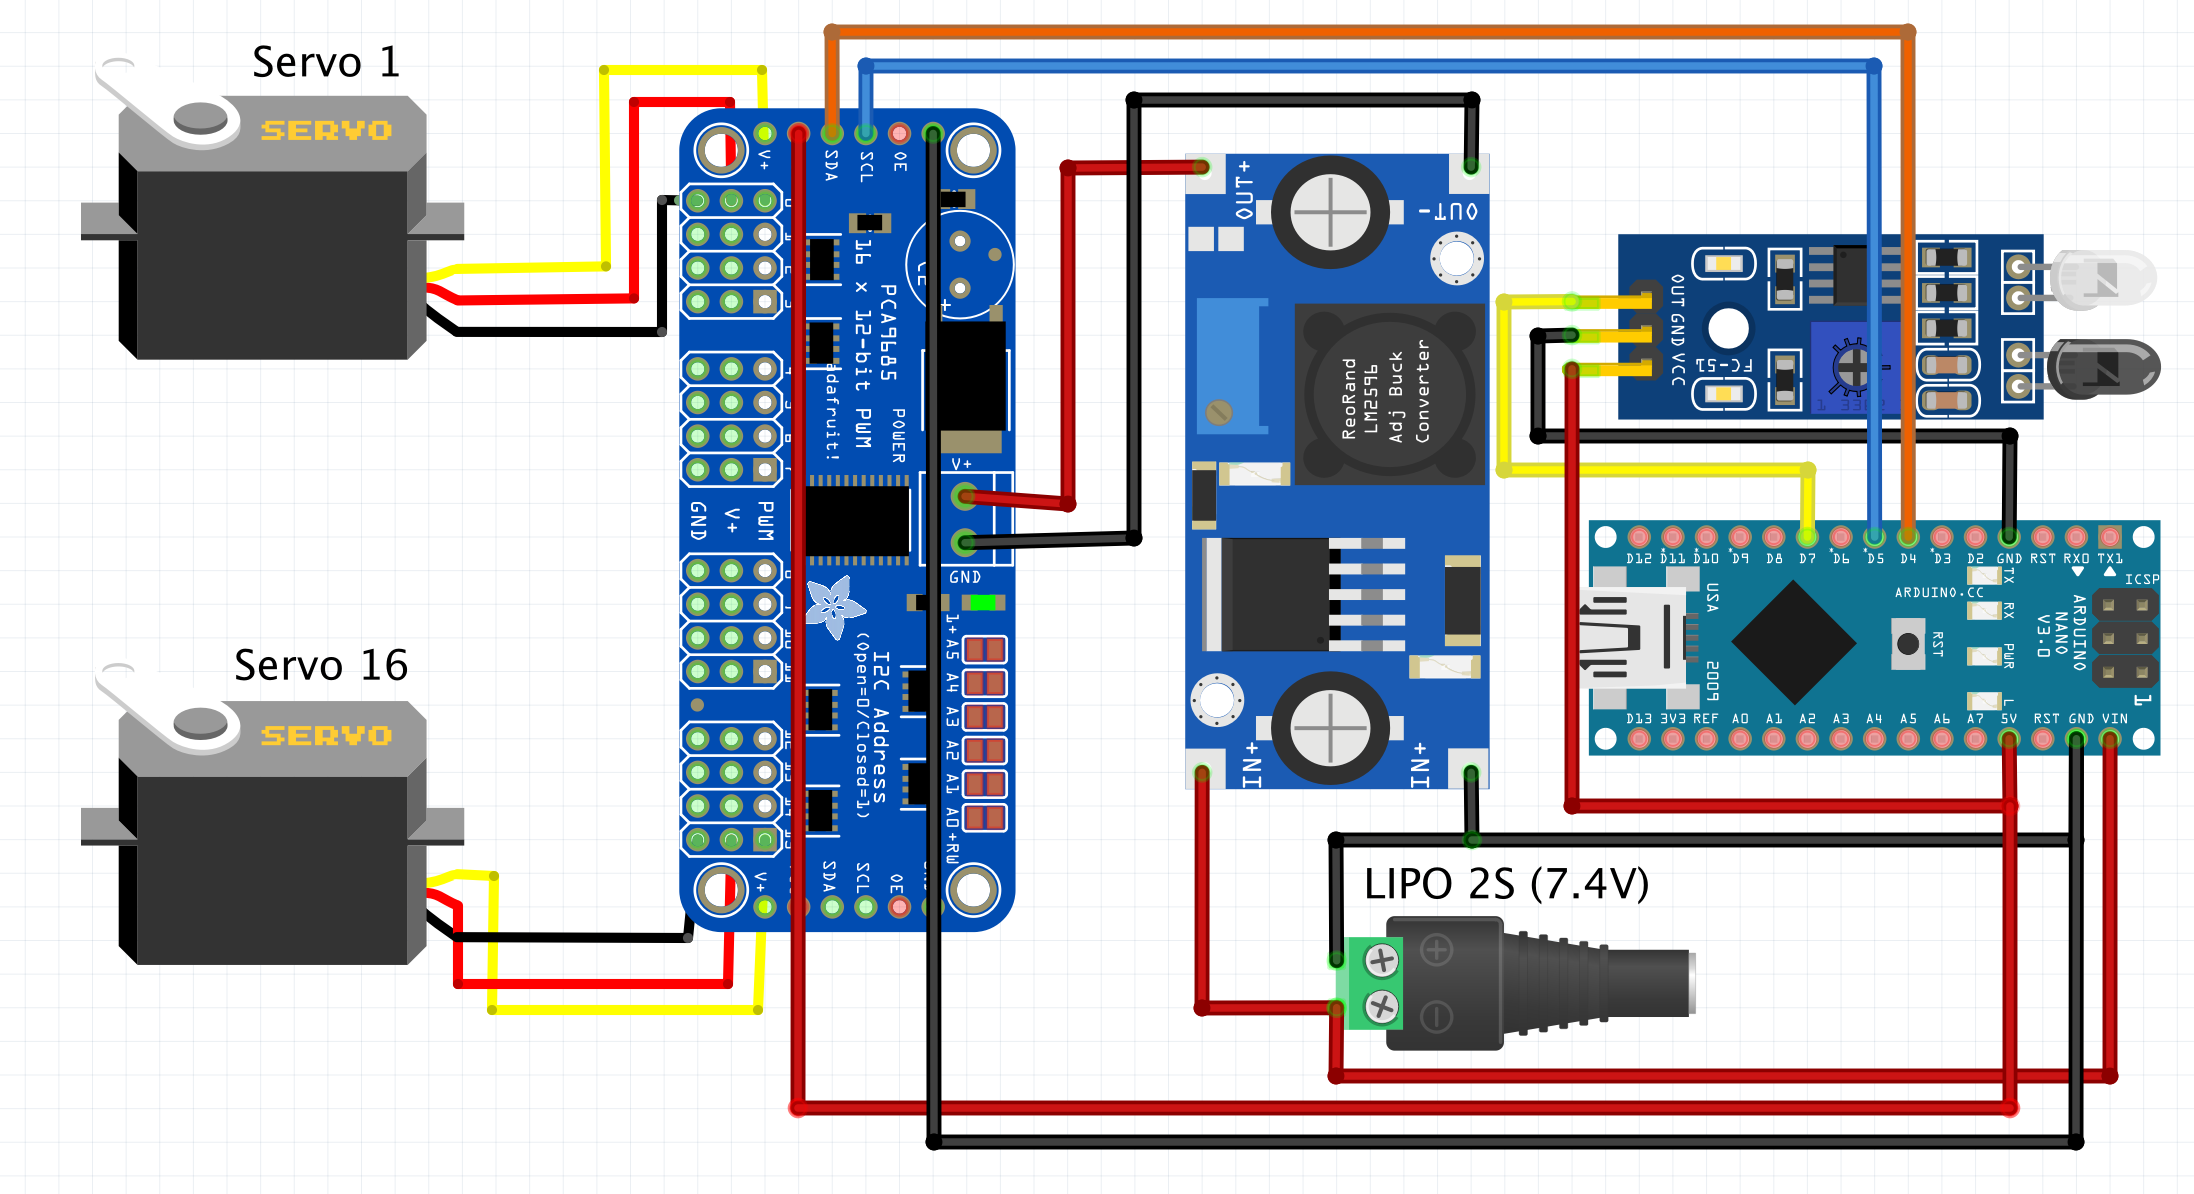
Complete the electrical connections as per the wiring diagram.
![]()
 Vipin M

Discussions
Become a Hackaday.io Member
Create an account to leave a comment. Already have an account? Log In.