-
1Disassemble device
See my other project for this:
-
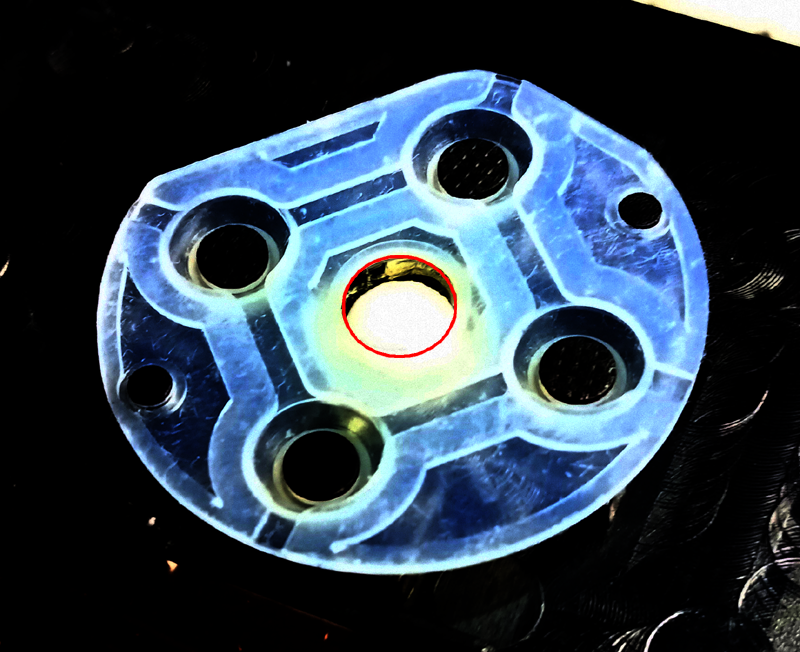
2Cut the central part of the rubber.
Cut a hole to let the pivot pass thought.
Sorry, I didn't take any picture before doing the cut, but IIRC the hole was already marked, so I just had to follow the circle mark.
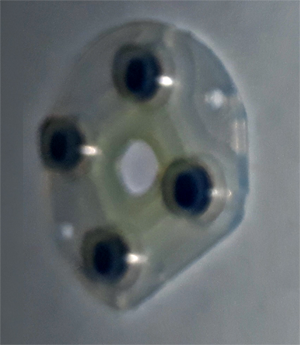
I've enhanced the only 2 pictures I took after the cut:
![]()
The other not so good picture, but you get the idea:
![]()
-
3Modify the DPAD adding a center ball
You can use whatever you can as a pivot-center ball, the important things are:
It must:
- Be Rigid.
- Be Resistant
- Have a polished surface (to avoid friction).
- Be Small enough to avoid touching the rubber pad.
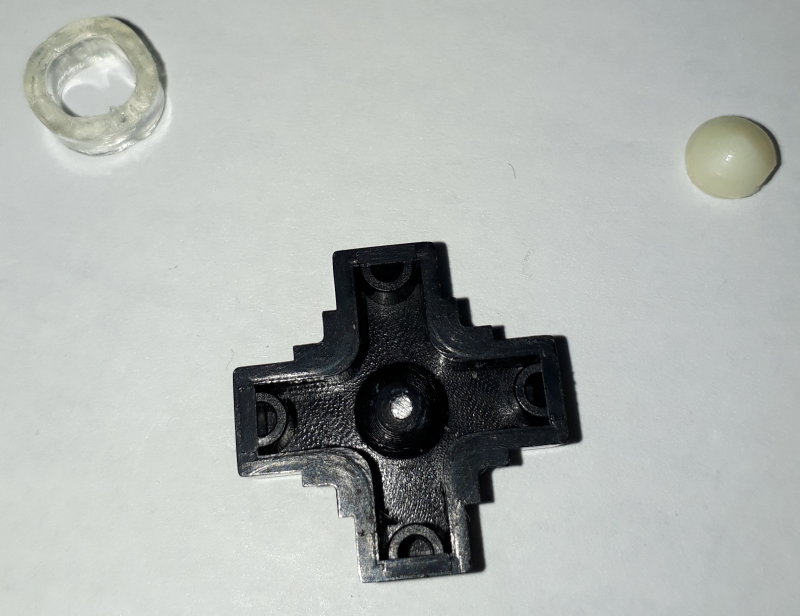
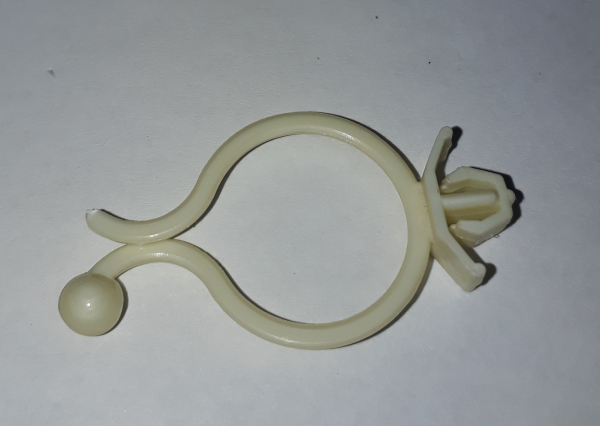
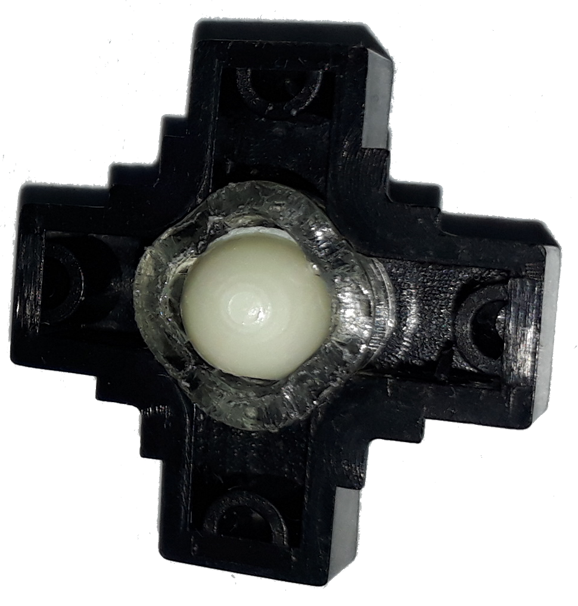
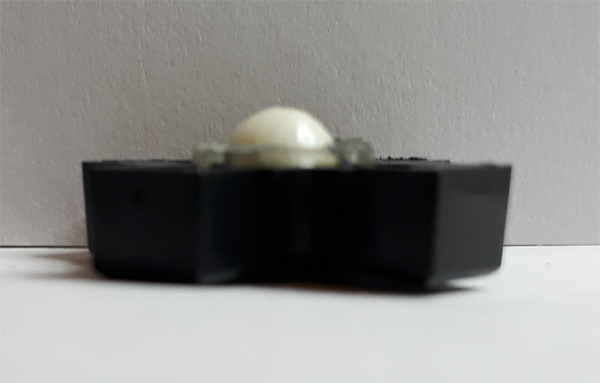
In this case I used a short section of a plastic tube to generate a narrower fit and afterwards I pressed a ball from a cable managing system (you can find these in many electronic devices, it's an special cable tie).
Alternatives:
Use glue/epoxy instead of a tube to hold the pivot in place.
Use a 5mm led, the top dome is almost perfect for this (cut the legs and shorten the plastic body as much as needed). I've successfully used it with other ebay cheap controllers, those D-PAD had an inner hole of about 5mm, so it was the perfect choice.
![]()
![]()
![]()
![]()
-
4Adjust the height
Before gluing and assembling the whole thing back, make sure to adjust the height of the pivot to suit your taste.
Too low, and you get no benefit.
Too high and the directions and specially the diagonals become more difficult to press.
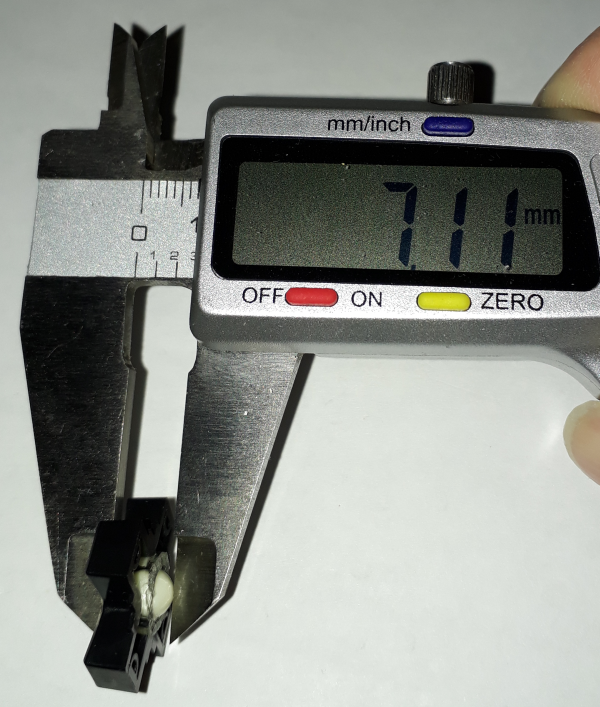
To me, the right height was about 7.11 mm measured from the D-PAD center point (the DPAD is taller at the edges).
![]()
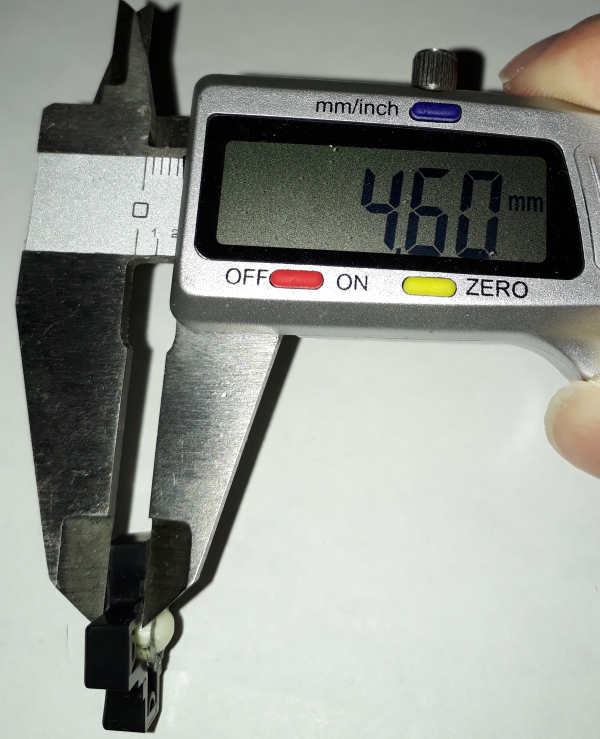
For reference, here is the center height of the D-PAD only.
![]()
So, the pivot added height is about 2.50mm.
I compared the feel against my old Famiclone and NES mini, and it was pretty close.
Discussions
Become a Hackaday.io Member
Create an account to leave a comment. Already have an account? Log In.