-
1Download the EmotiBit Arduino Example
Get the EmotiBit FeatherWing firmware and dependencies via the Arduino Library Manager or in the EmotiBit FeatherWing github repo (see the full instructions and dependency list in the EmotiBit_Docs github repo).
-
2Program the Feather
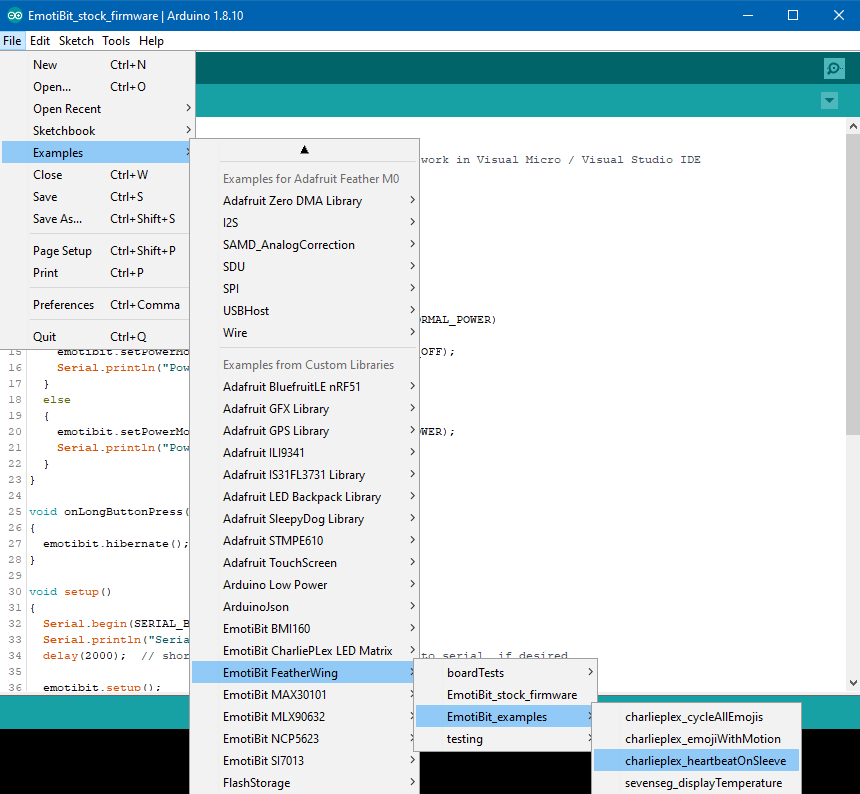
Program the Adafruit Feather with the following example: File>Examples>Emotibit FeatherWing>EmotiBit_examples>charlieplex_heartbeatOnSleeve
![]()
-
3Stack it up!
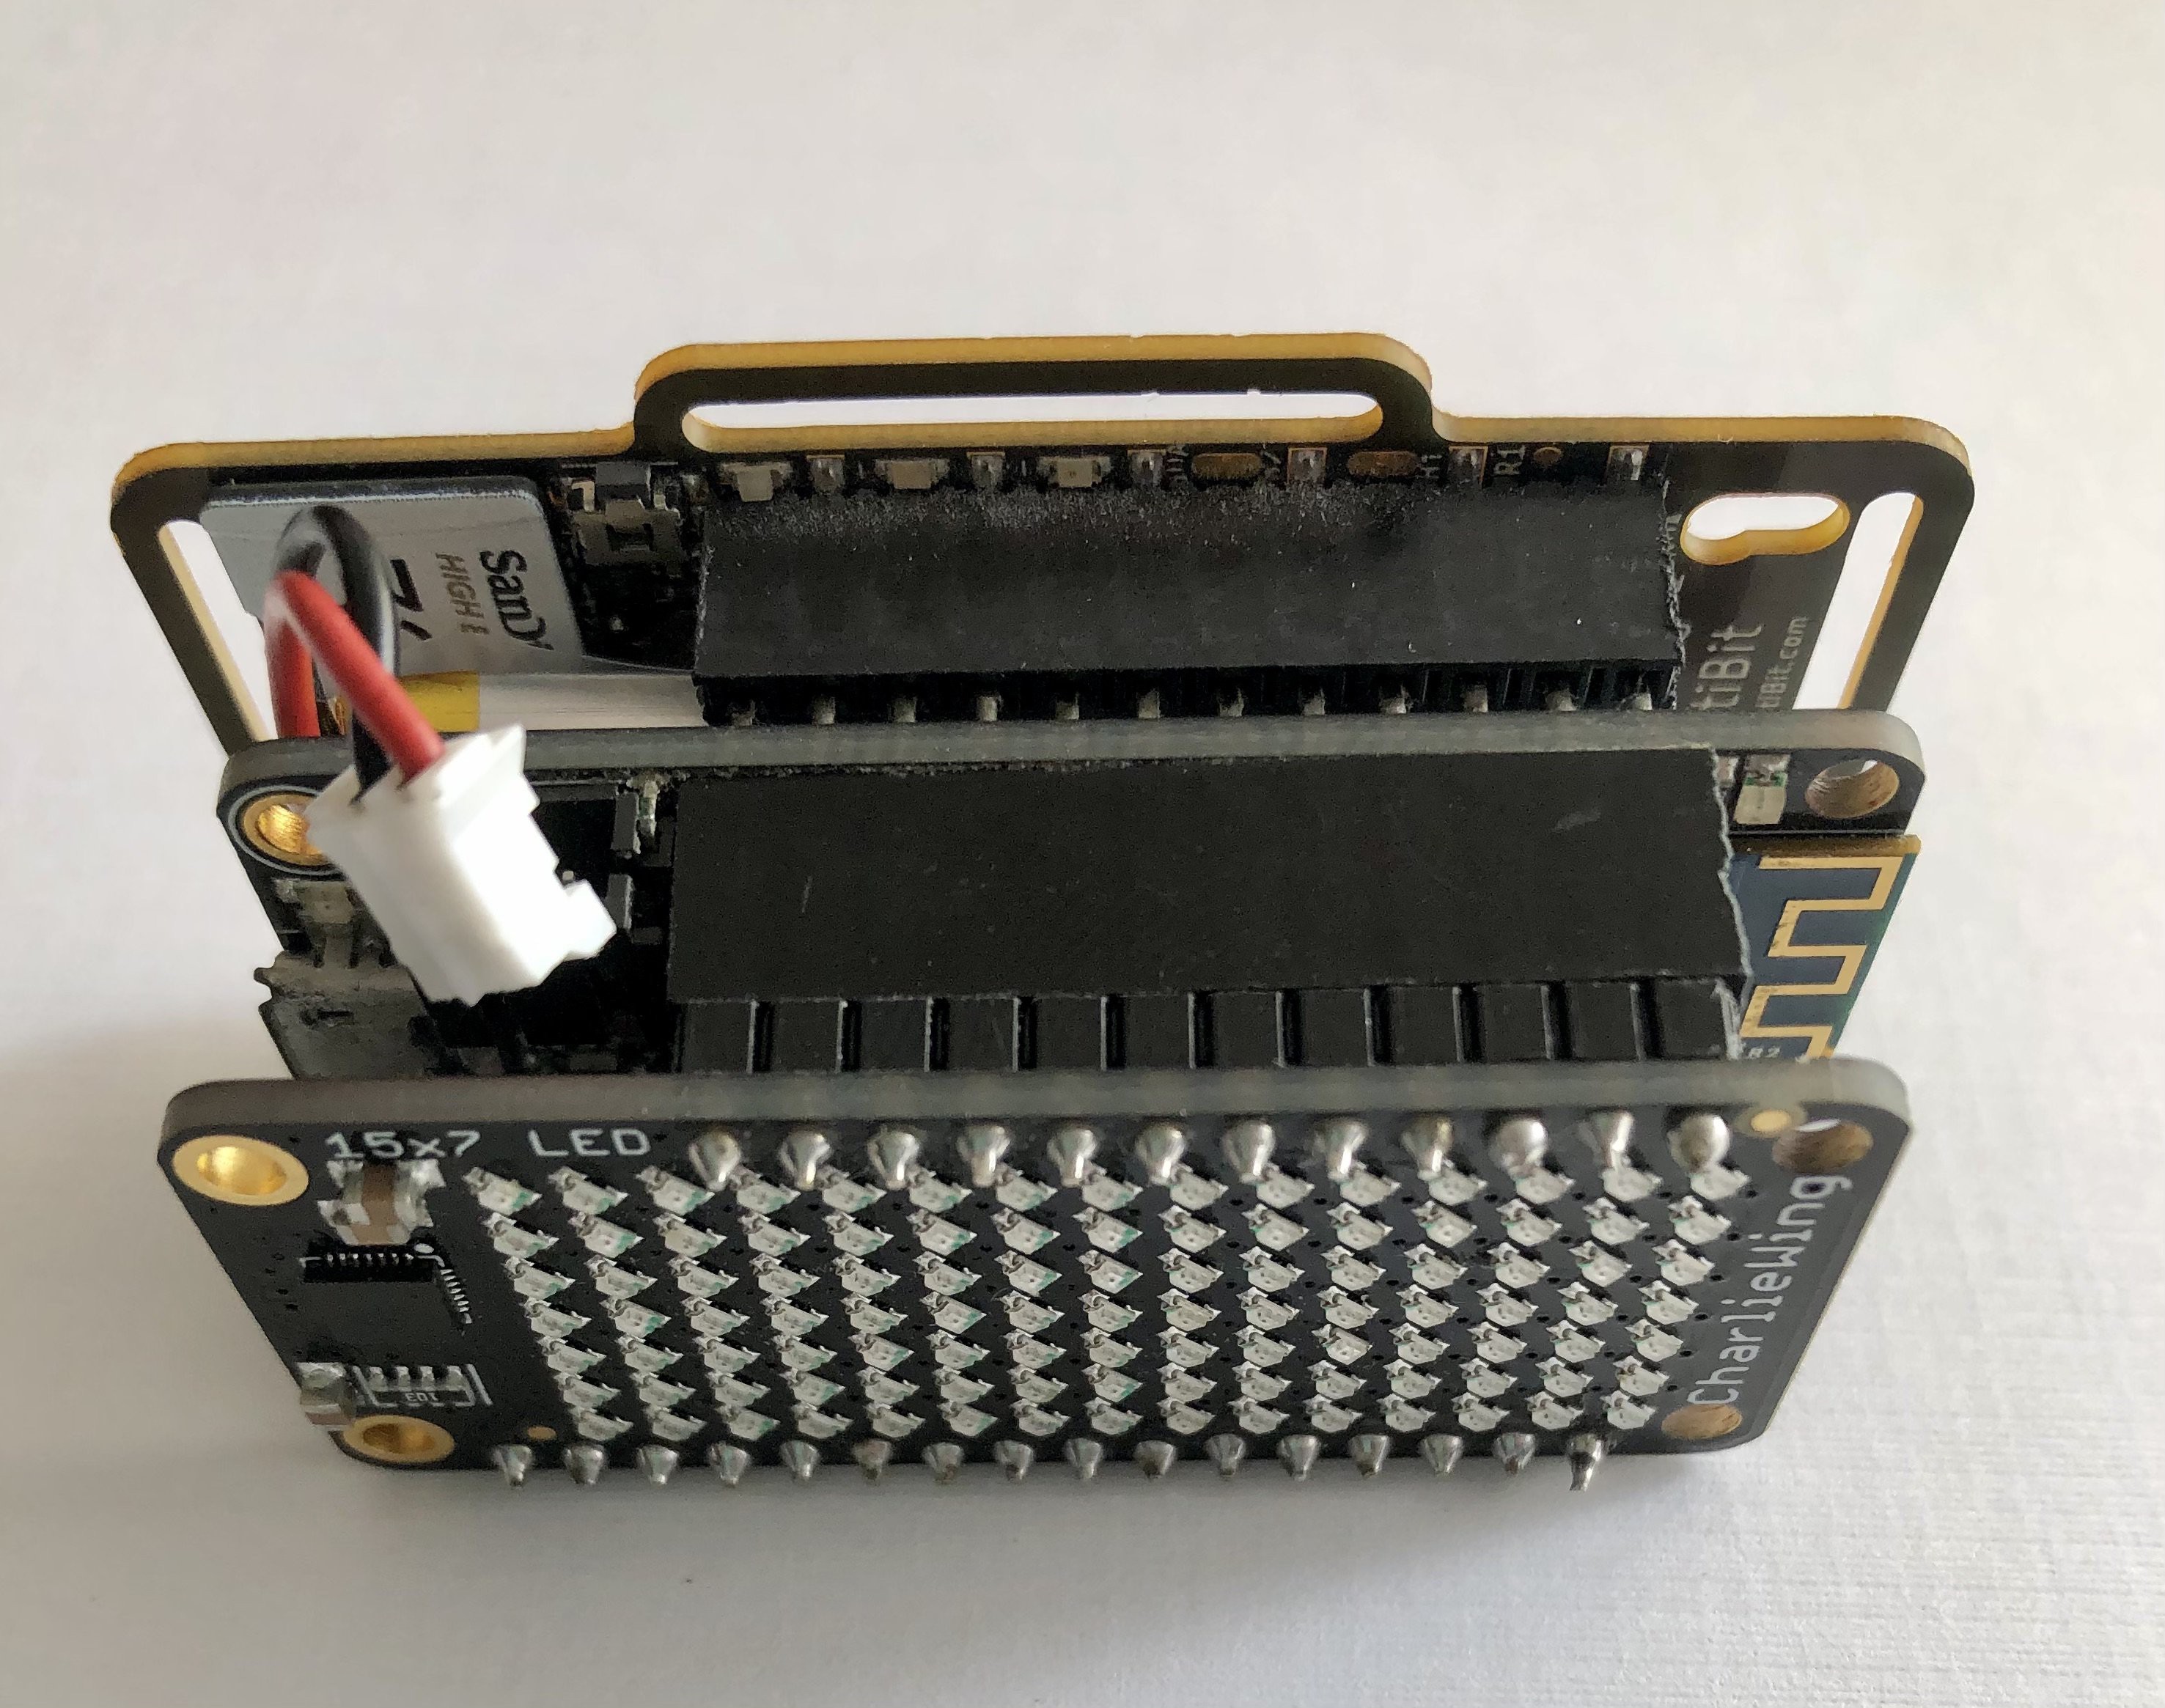
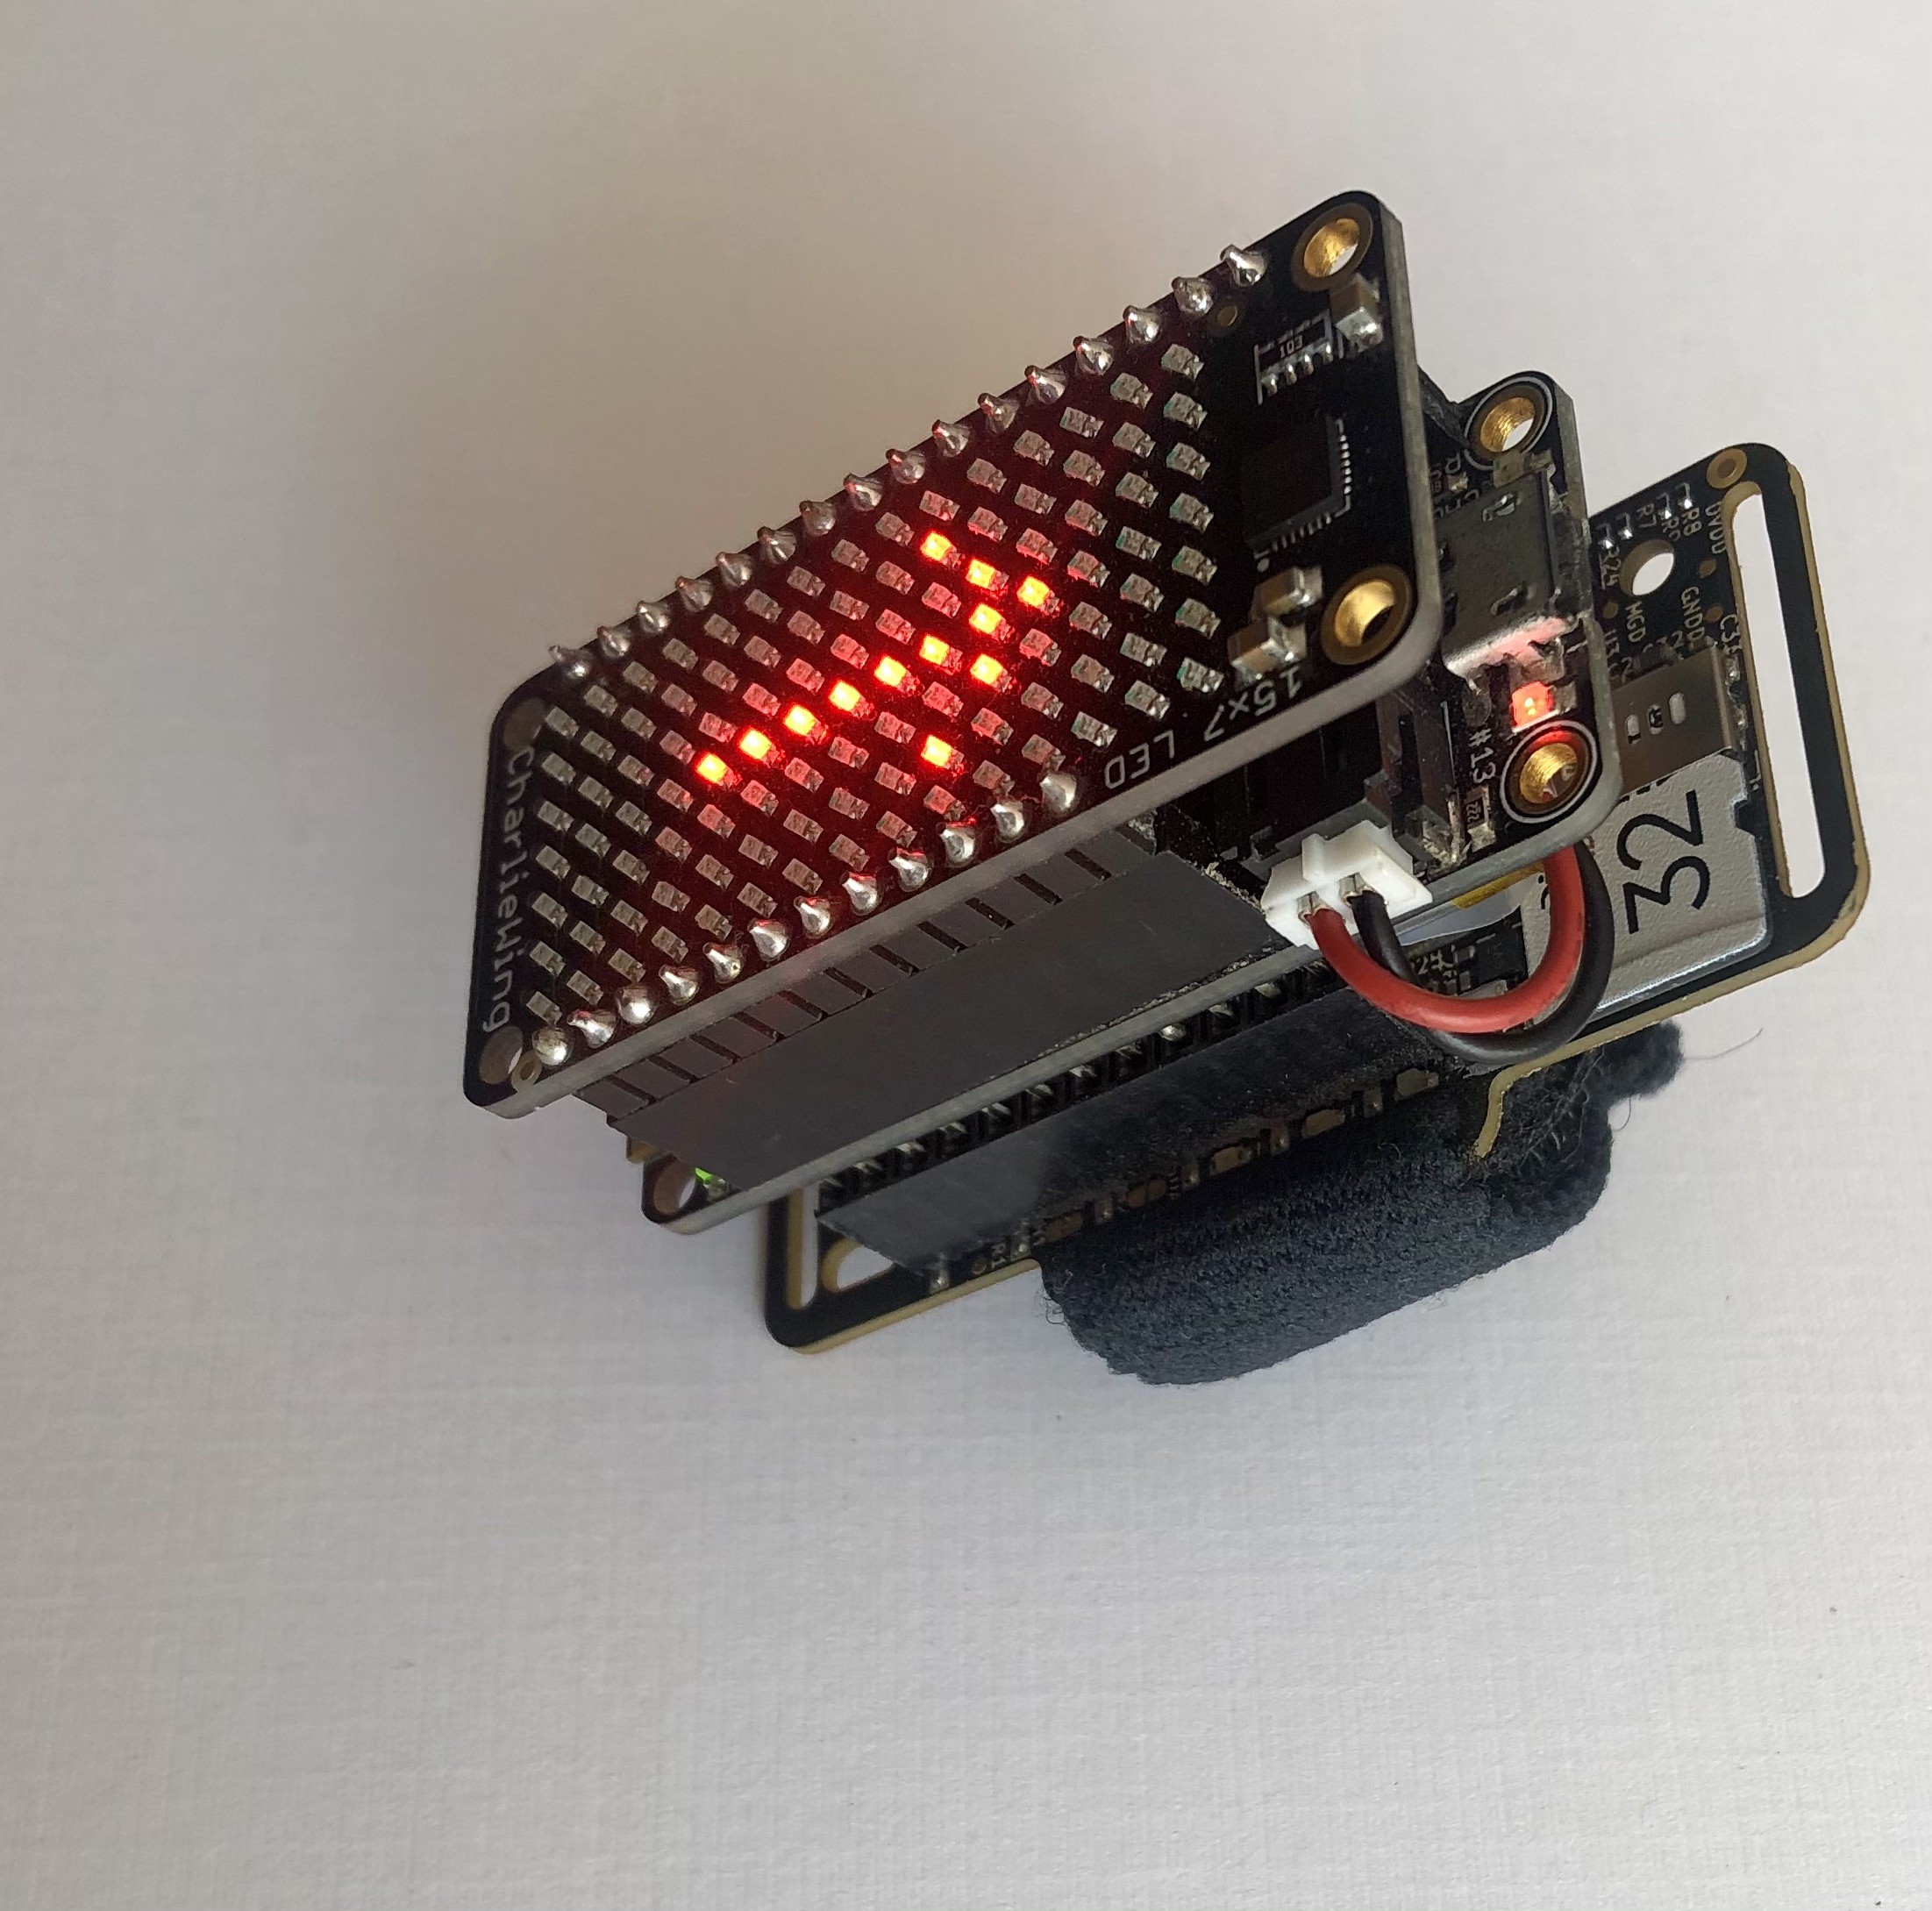
- Stack the Feather + EmotiBit + CharliePlex wing. Note that you will need stacking headers on your adafruit feather to assemble the whole setup.
- Plug in the battery.
![]()
-
4Sense and Display
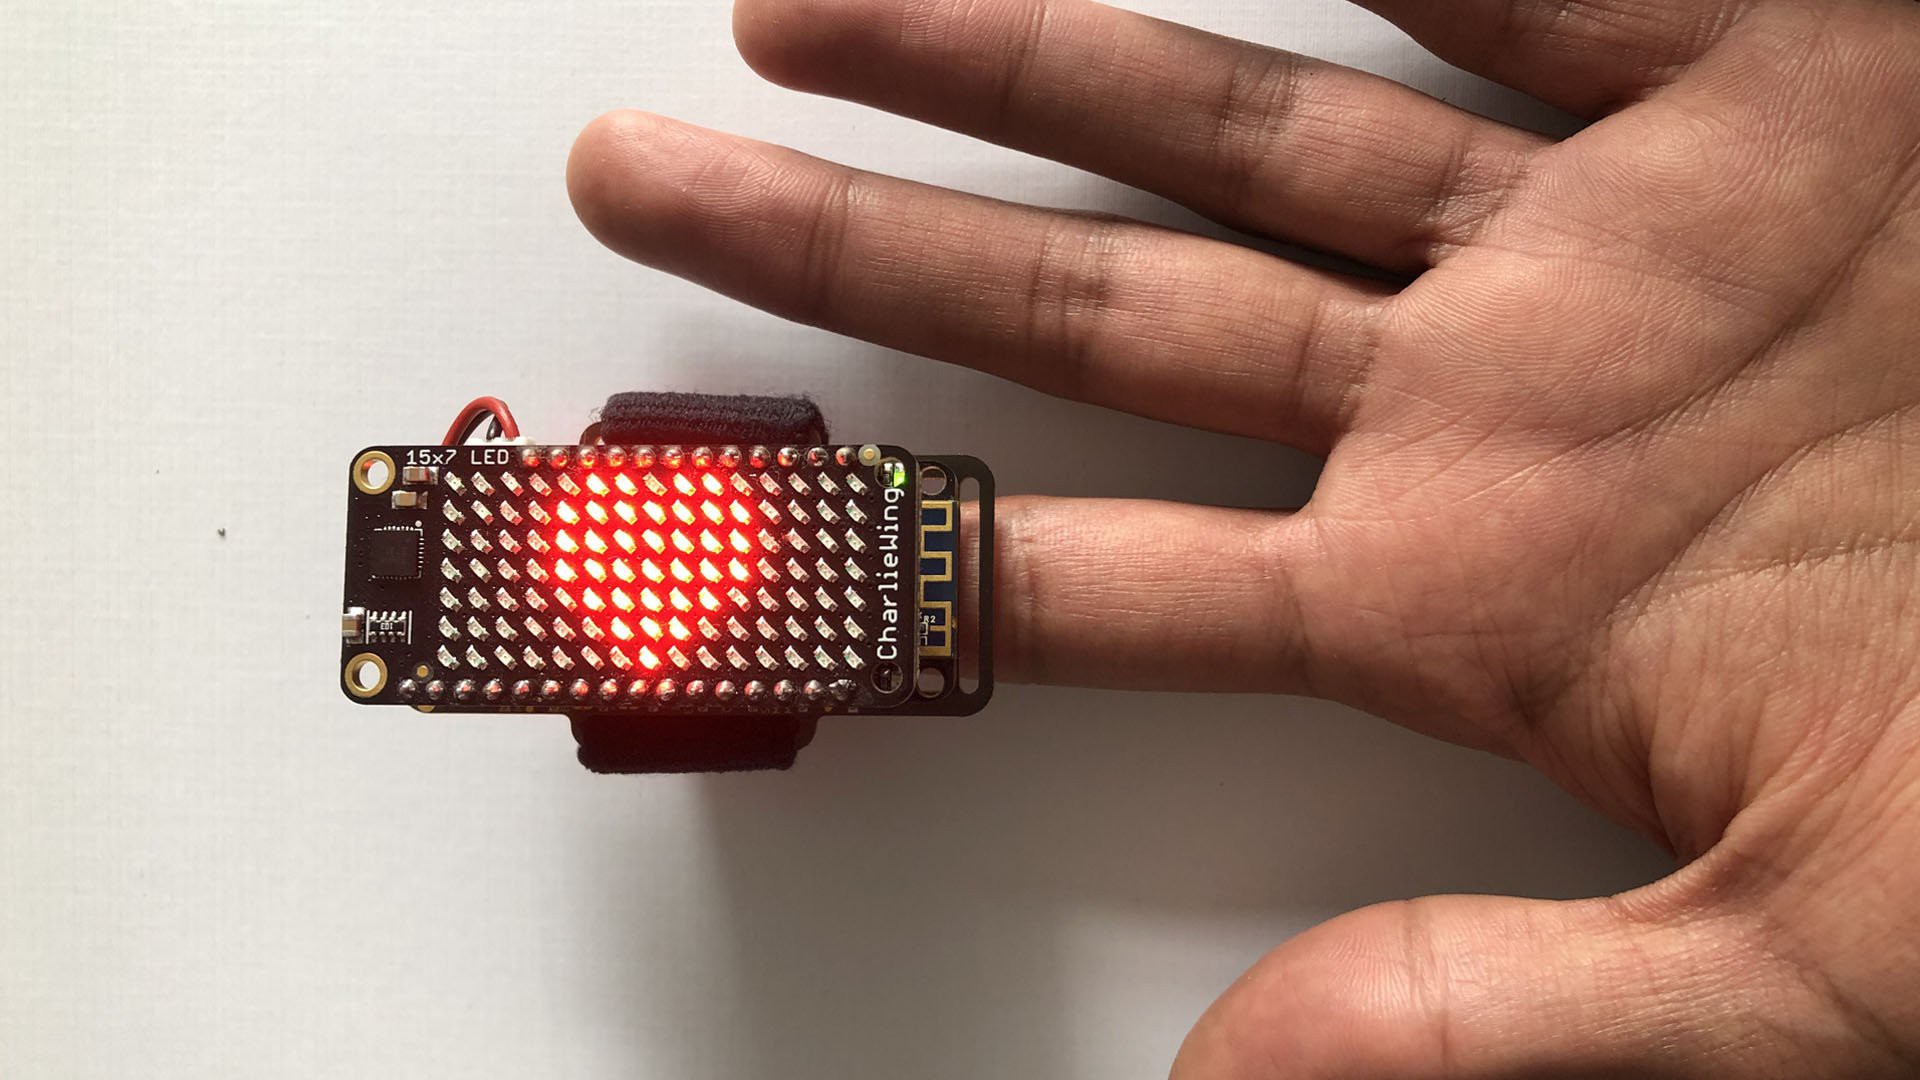
- Wear the EmotiBit on your sleeve, finger, arm, or wherever you want!
- Wait for a few seconds for the signal to normalize. The heartbeat data is transmitted over serial as well -- open the Arduino Serial Plotter to see how the heartbeat detection works!
- And BOOM! DONE!! The CharliePlex Wing will blink with a heart Emoji whenever your heartbeat is detected.
![]()
-
5Working with other Biometrics
The EmotiBit has 16+ data streams available as individual data channels (see EmotiBit’s complete biometric data list here), all of which can be easily accessed from the Arduino example.
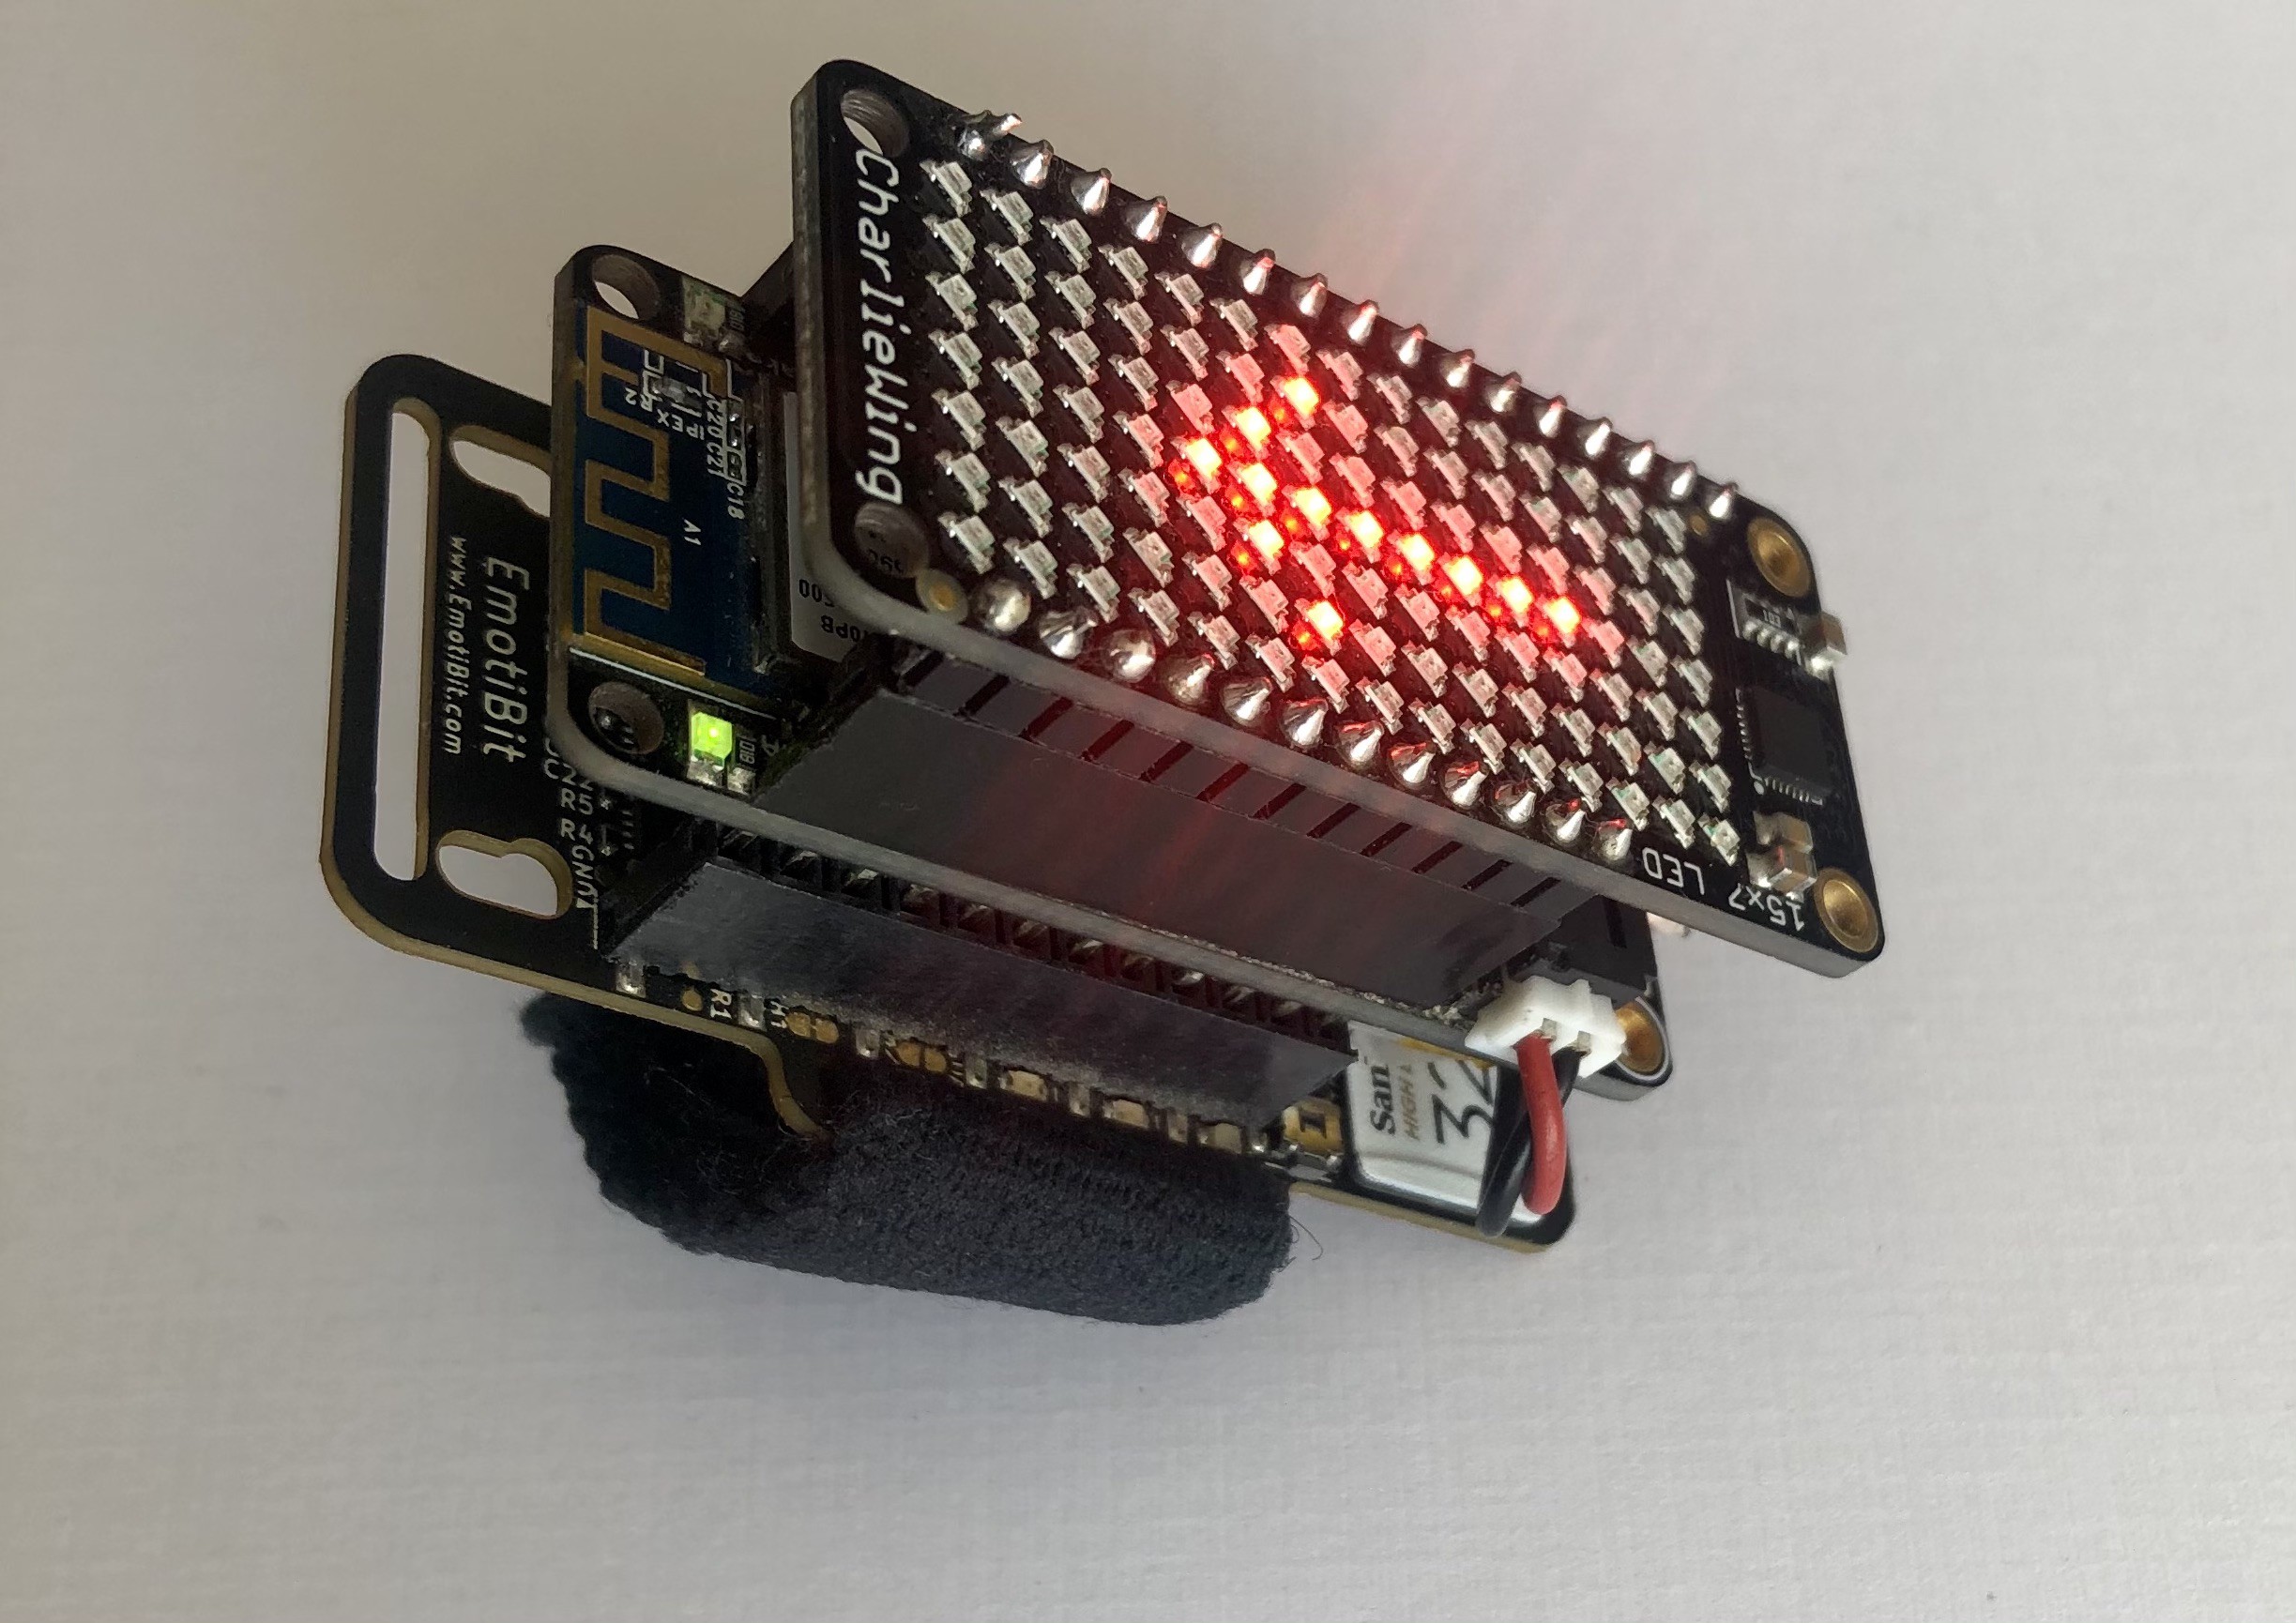
Use accelerometer data from EmotiBit and change the matrix display! Shown below is an example, where the accelerometer x-axis data is used to display arrows on the CharliePlex FeatherWing to indicate which direction you need to tilt the EmotiBit to make it level.
Here’s a code snippet to control the display with accelerometer data:
void loop() { emotibit.update(); size_t dataAvailable = emotibit.readData(EmotiBit::DataType::ACCELEROMETER_X, &data[0], MAX_DATA_SIZE); for (size_t i=0; i<dataAvailable; i++) { if (filter_lp.filter(data[i]) > 0.2) { // display left arrow emojibit.clear(); emojibit.drawEmoji(EMOJI::ARROW_LEFT, 0); } // handle other cases } }![]()
![]()
Discussions
Become a Hackaday.io Member
Create an account to leave a comment. Already have an account? Log In.