 W. Jason Altice
-
1Print out parts
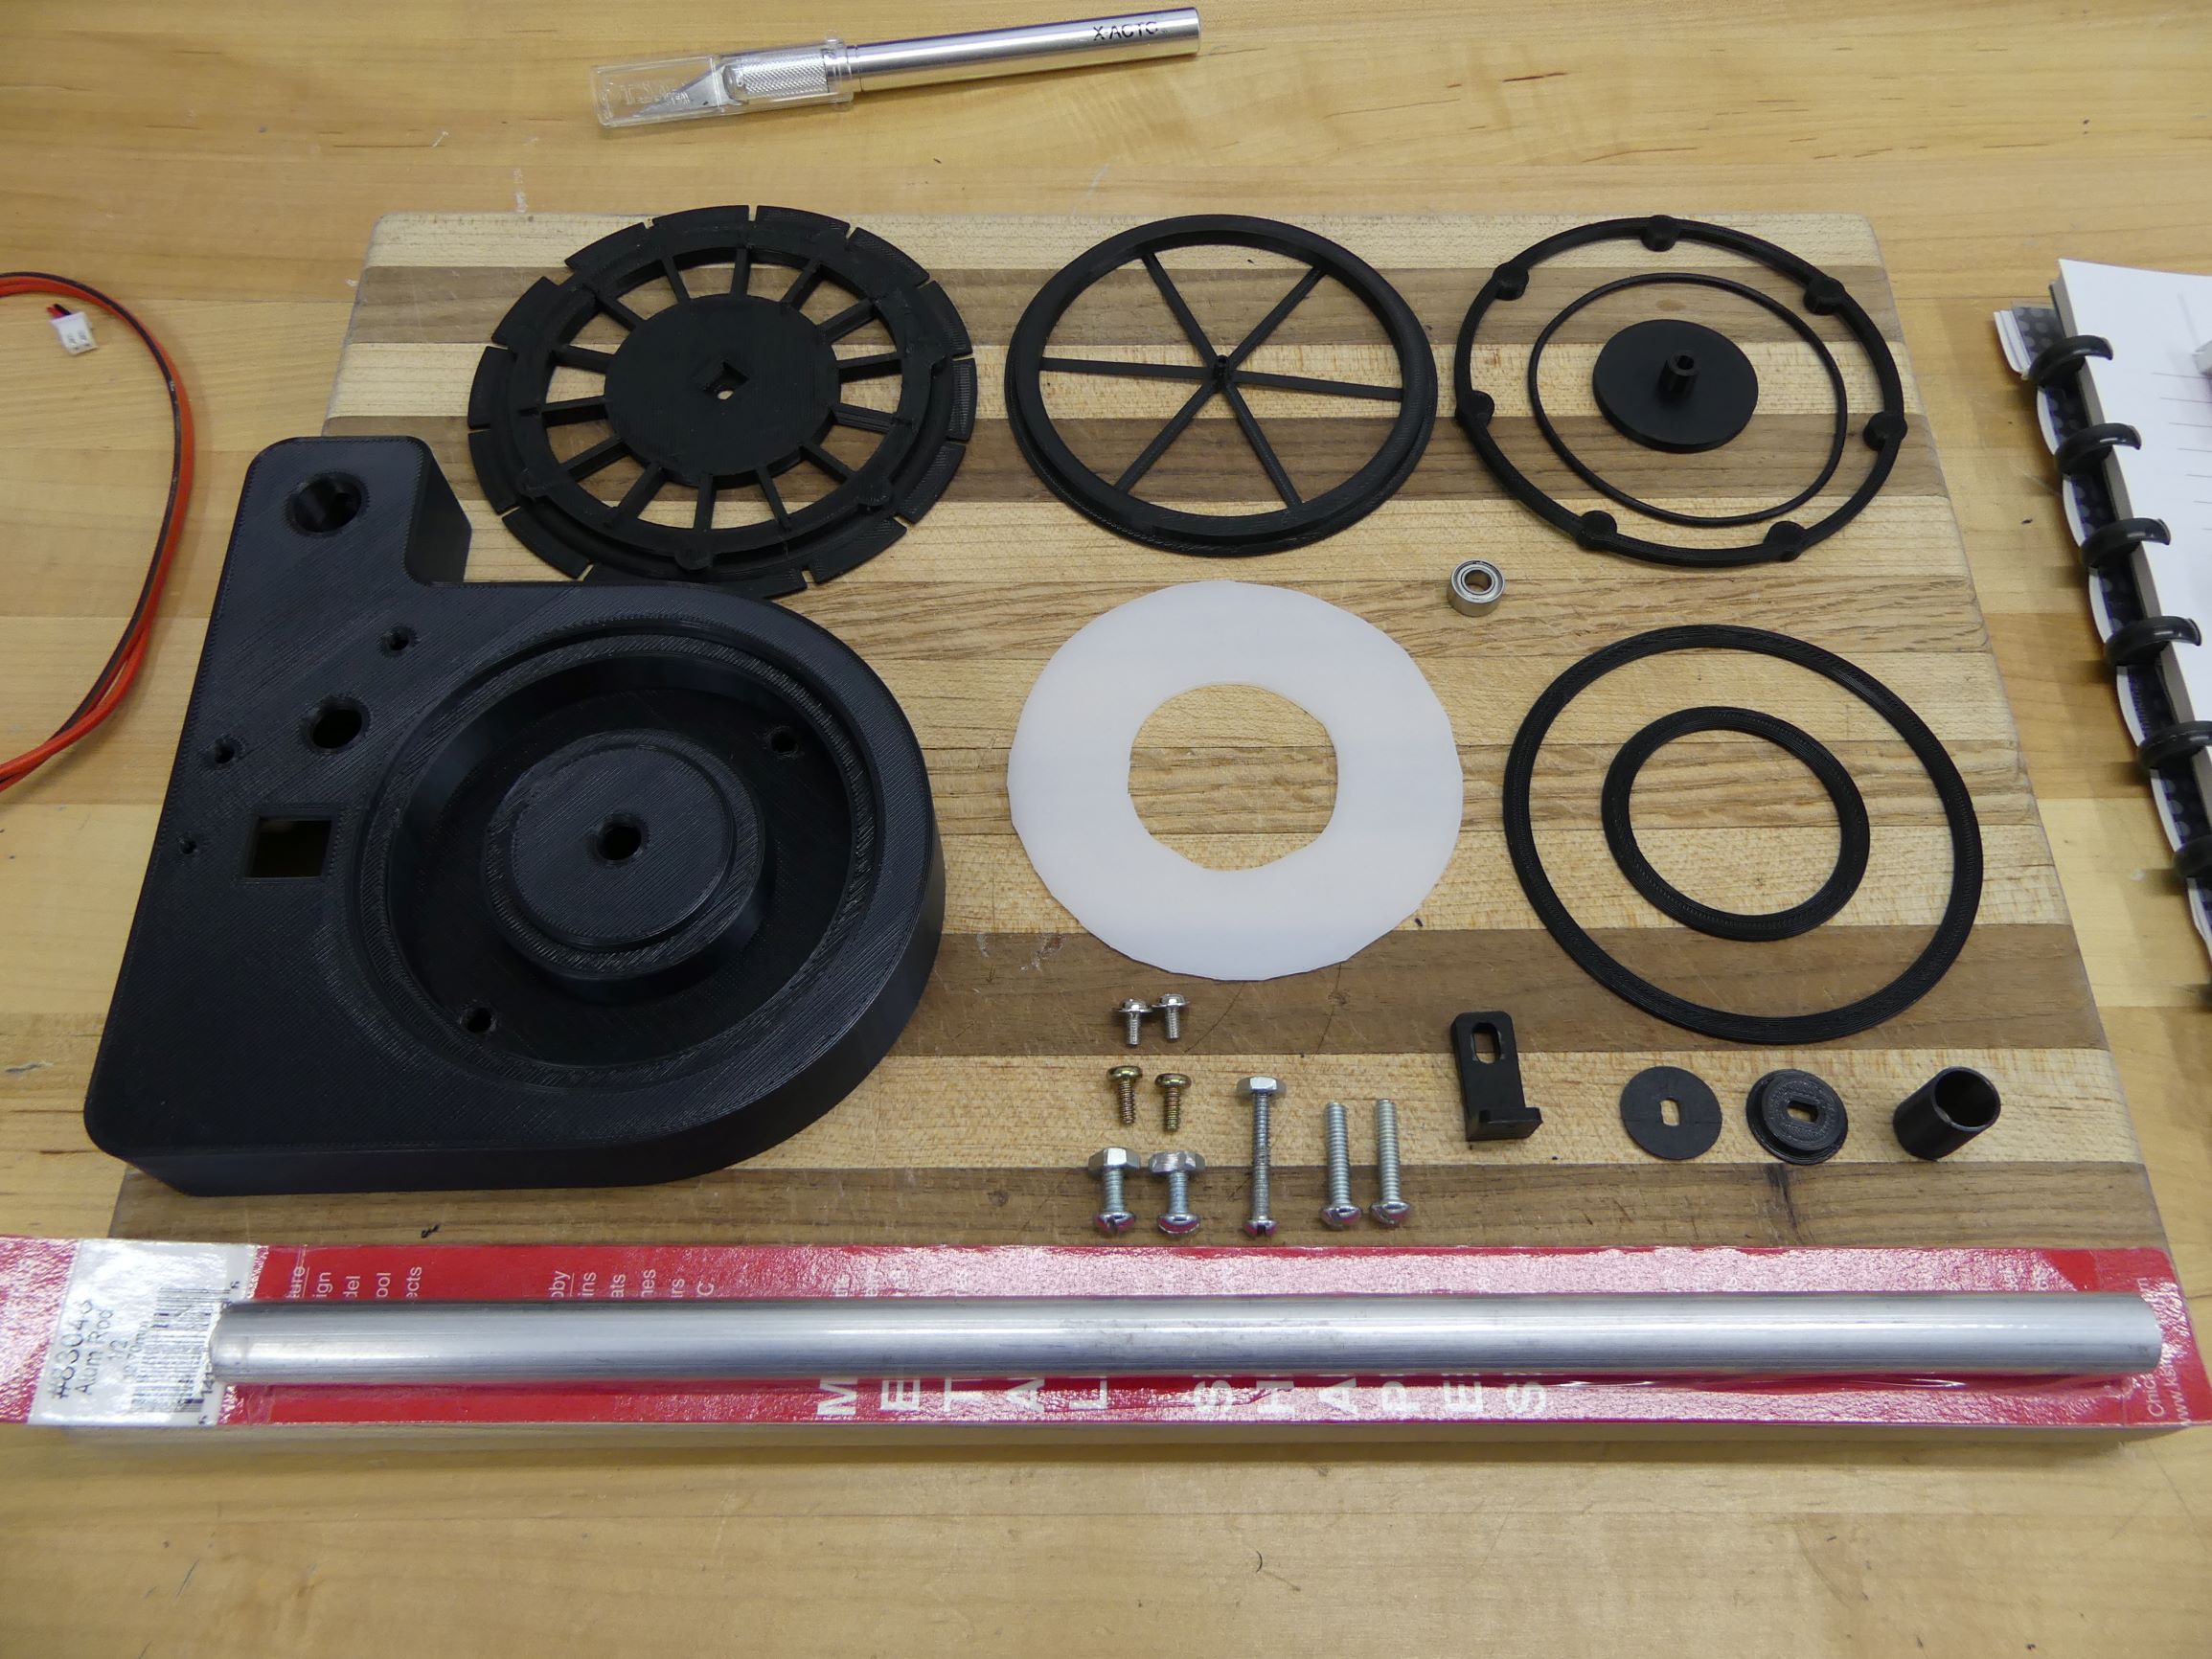
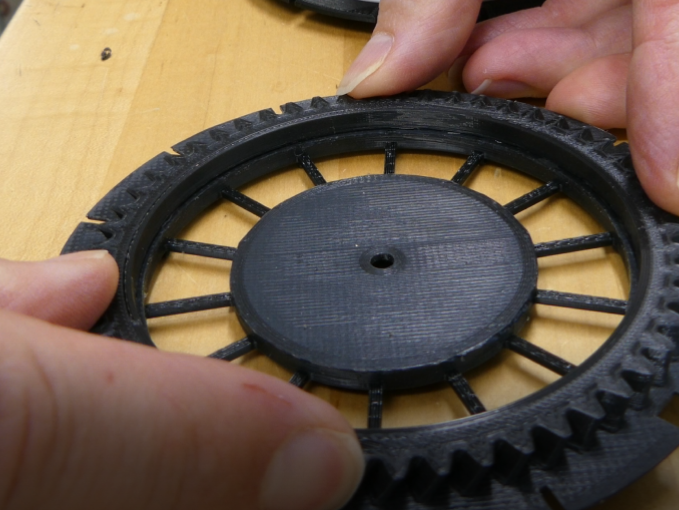
There are several parts that need to be printed. Small screws are also required. All of the parts to print are in the Github link in this project. Picture below has the belt drive system, I later switched it to the helical gear system. The STL files on Github are the helical gears that you should use.
![]()
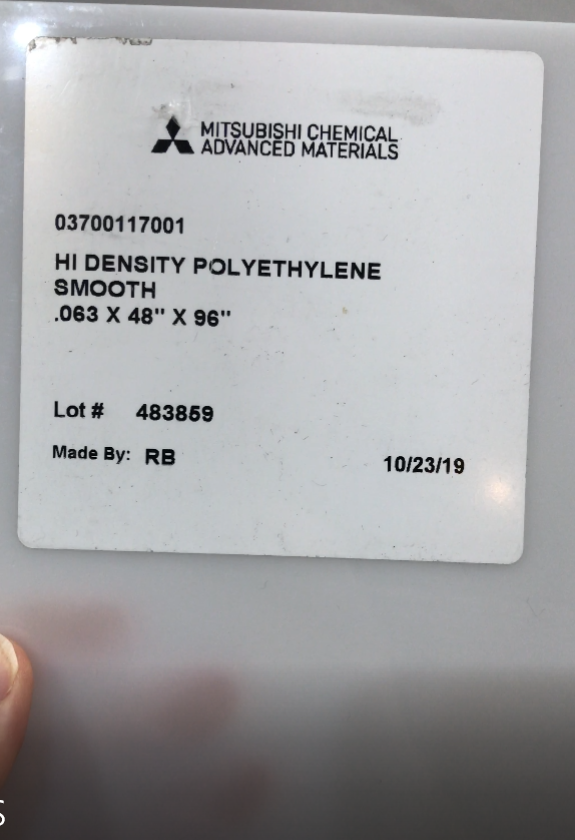
Will also need a 12"x.5" aluminum rod, a small bearing, and a sheet of polyethylene for the light diffusion.
![]()
-
2Acquire hardware
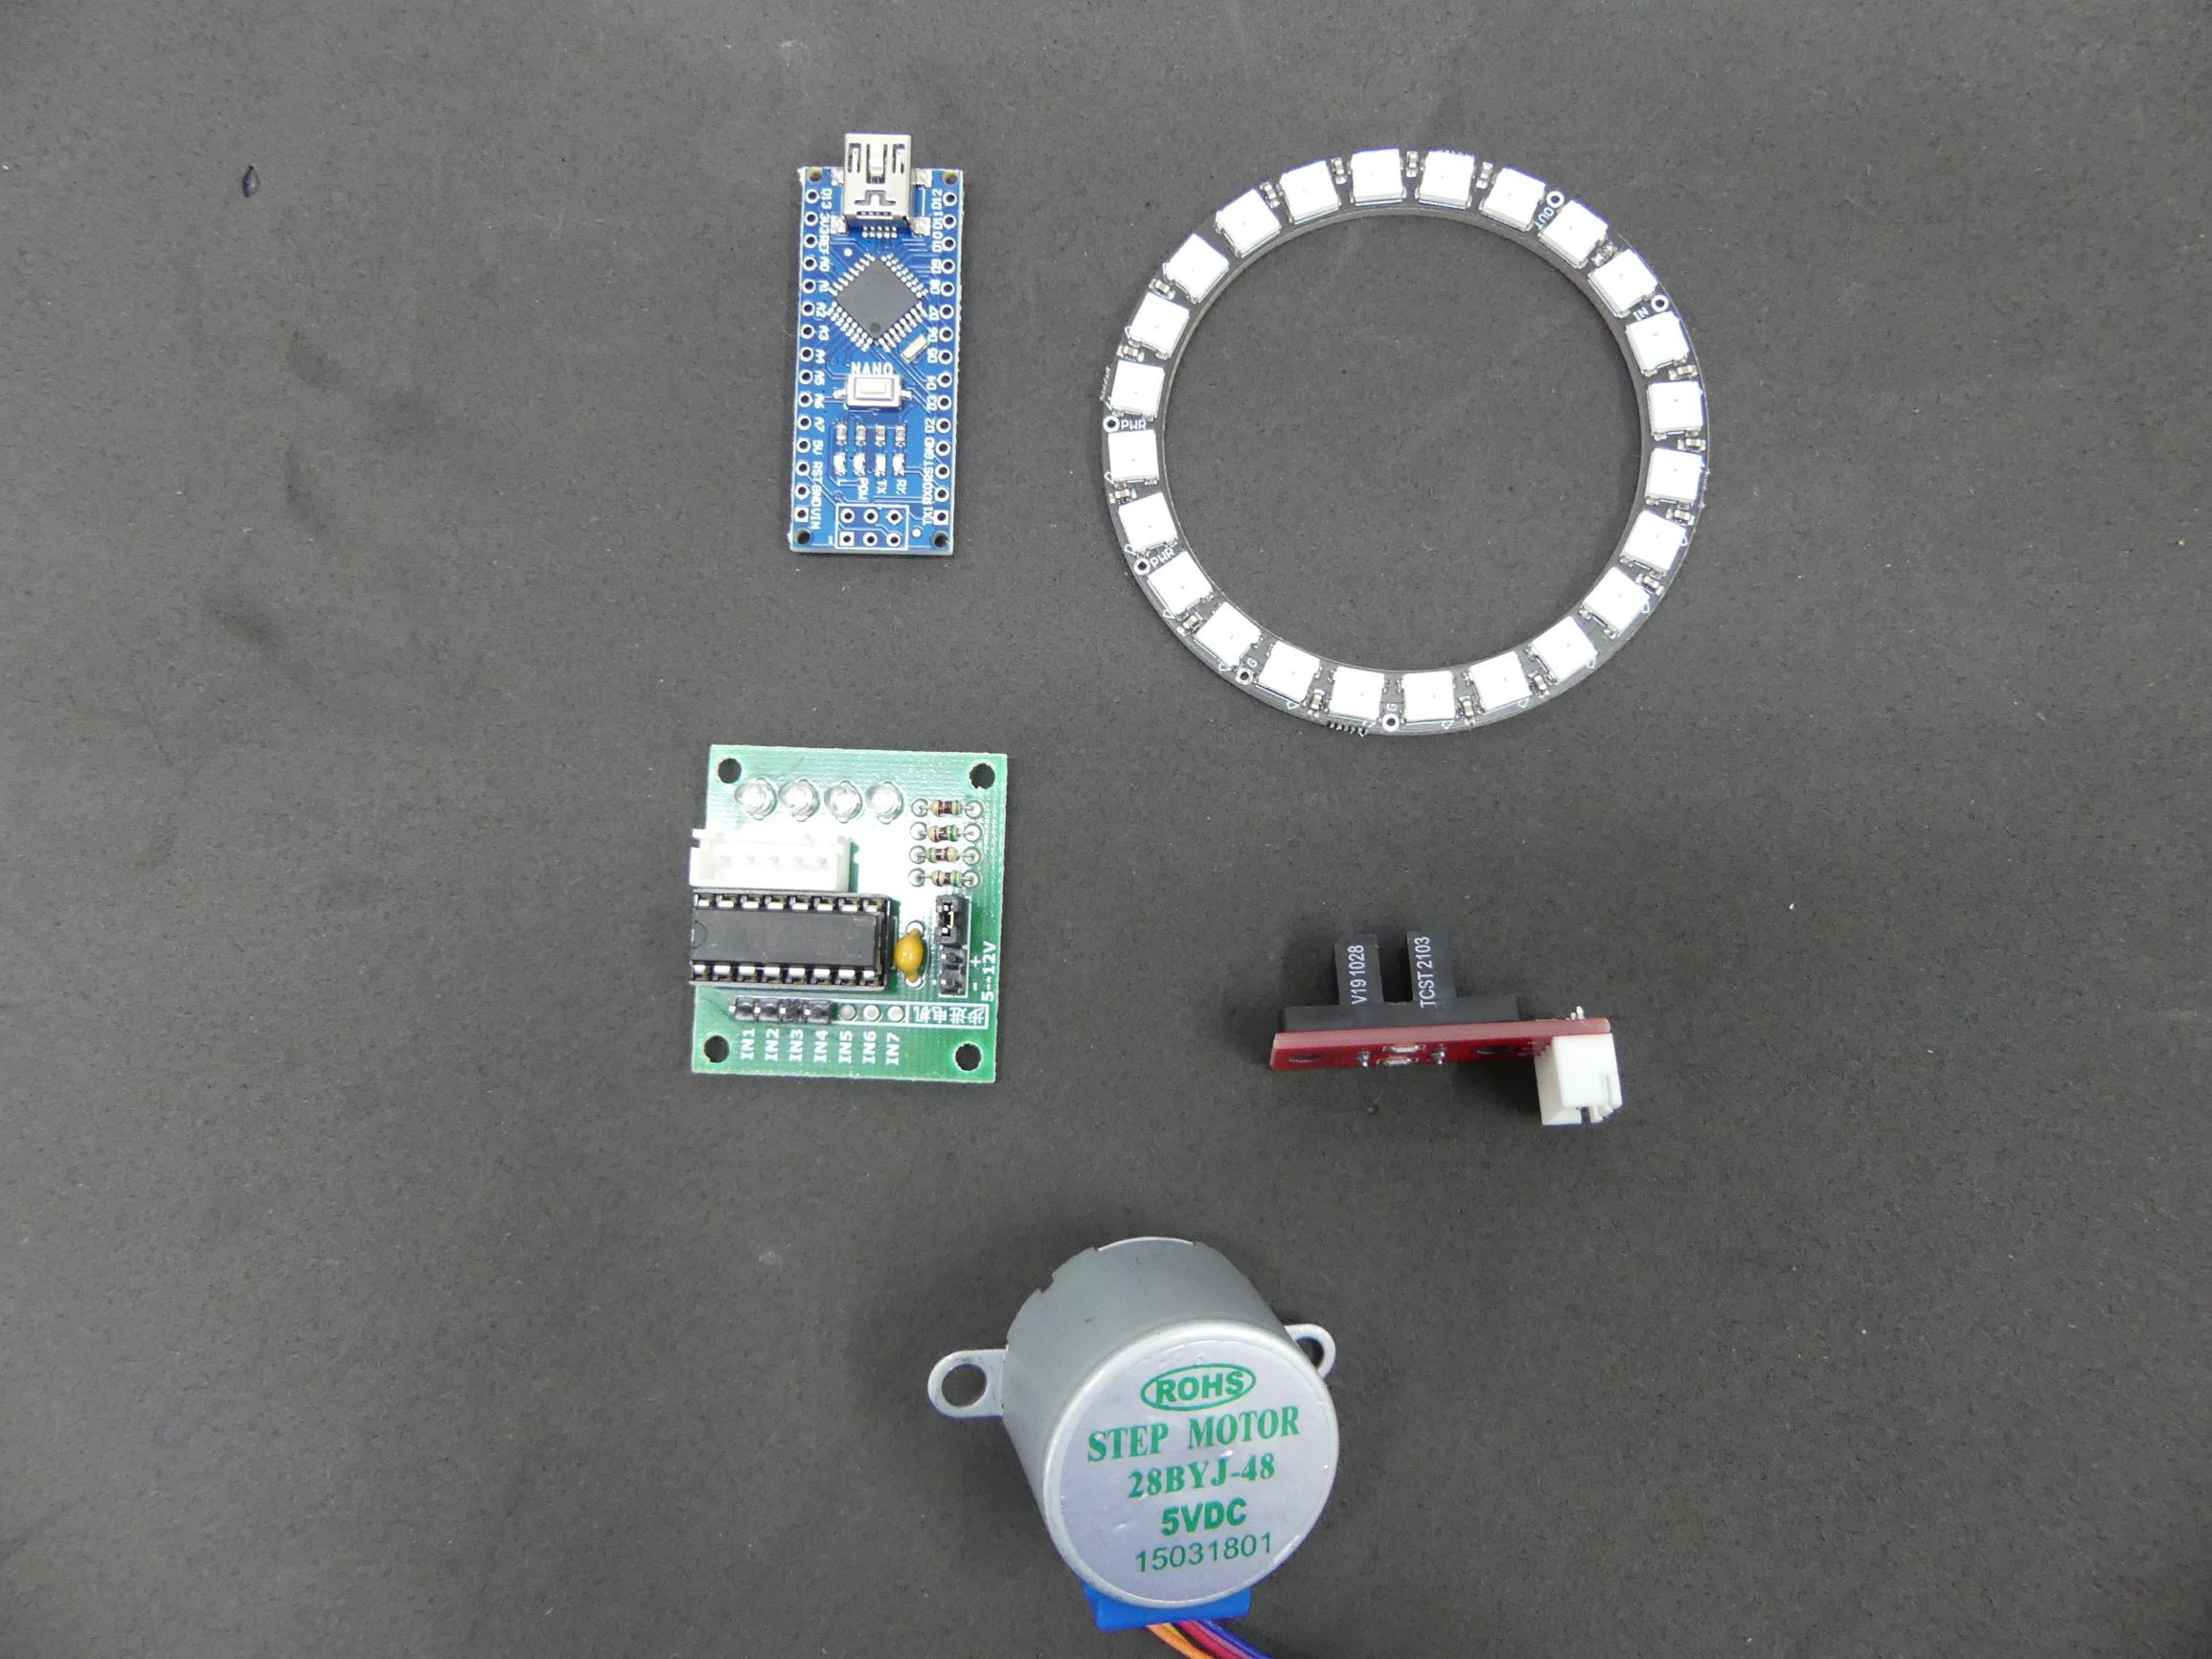
We will need the following hardware:
1. Arduino Nano
2. Jewel LED or ring LED, I find the Jewel works better.
3. The 28BYJ-48 stepper motor with controller
4. Position sensor
![]()
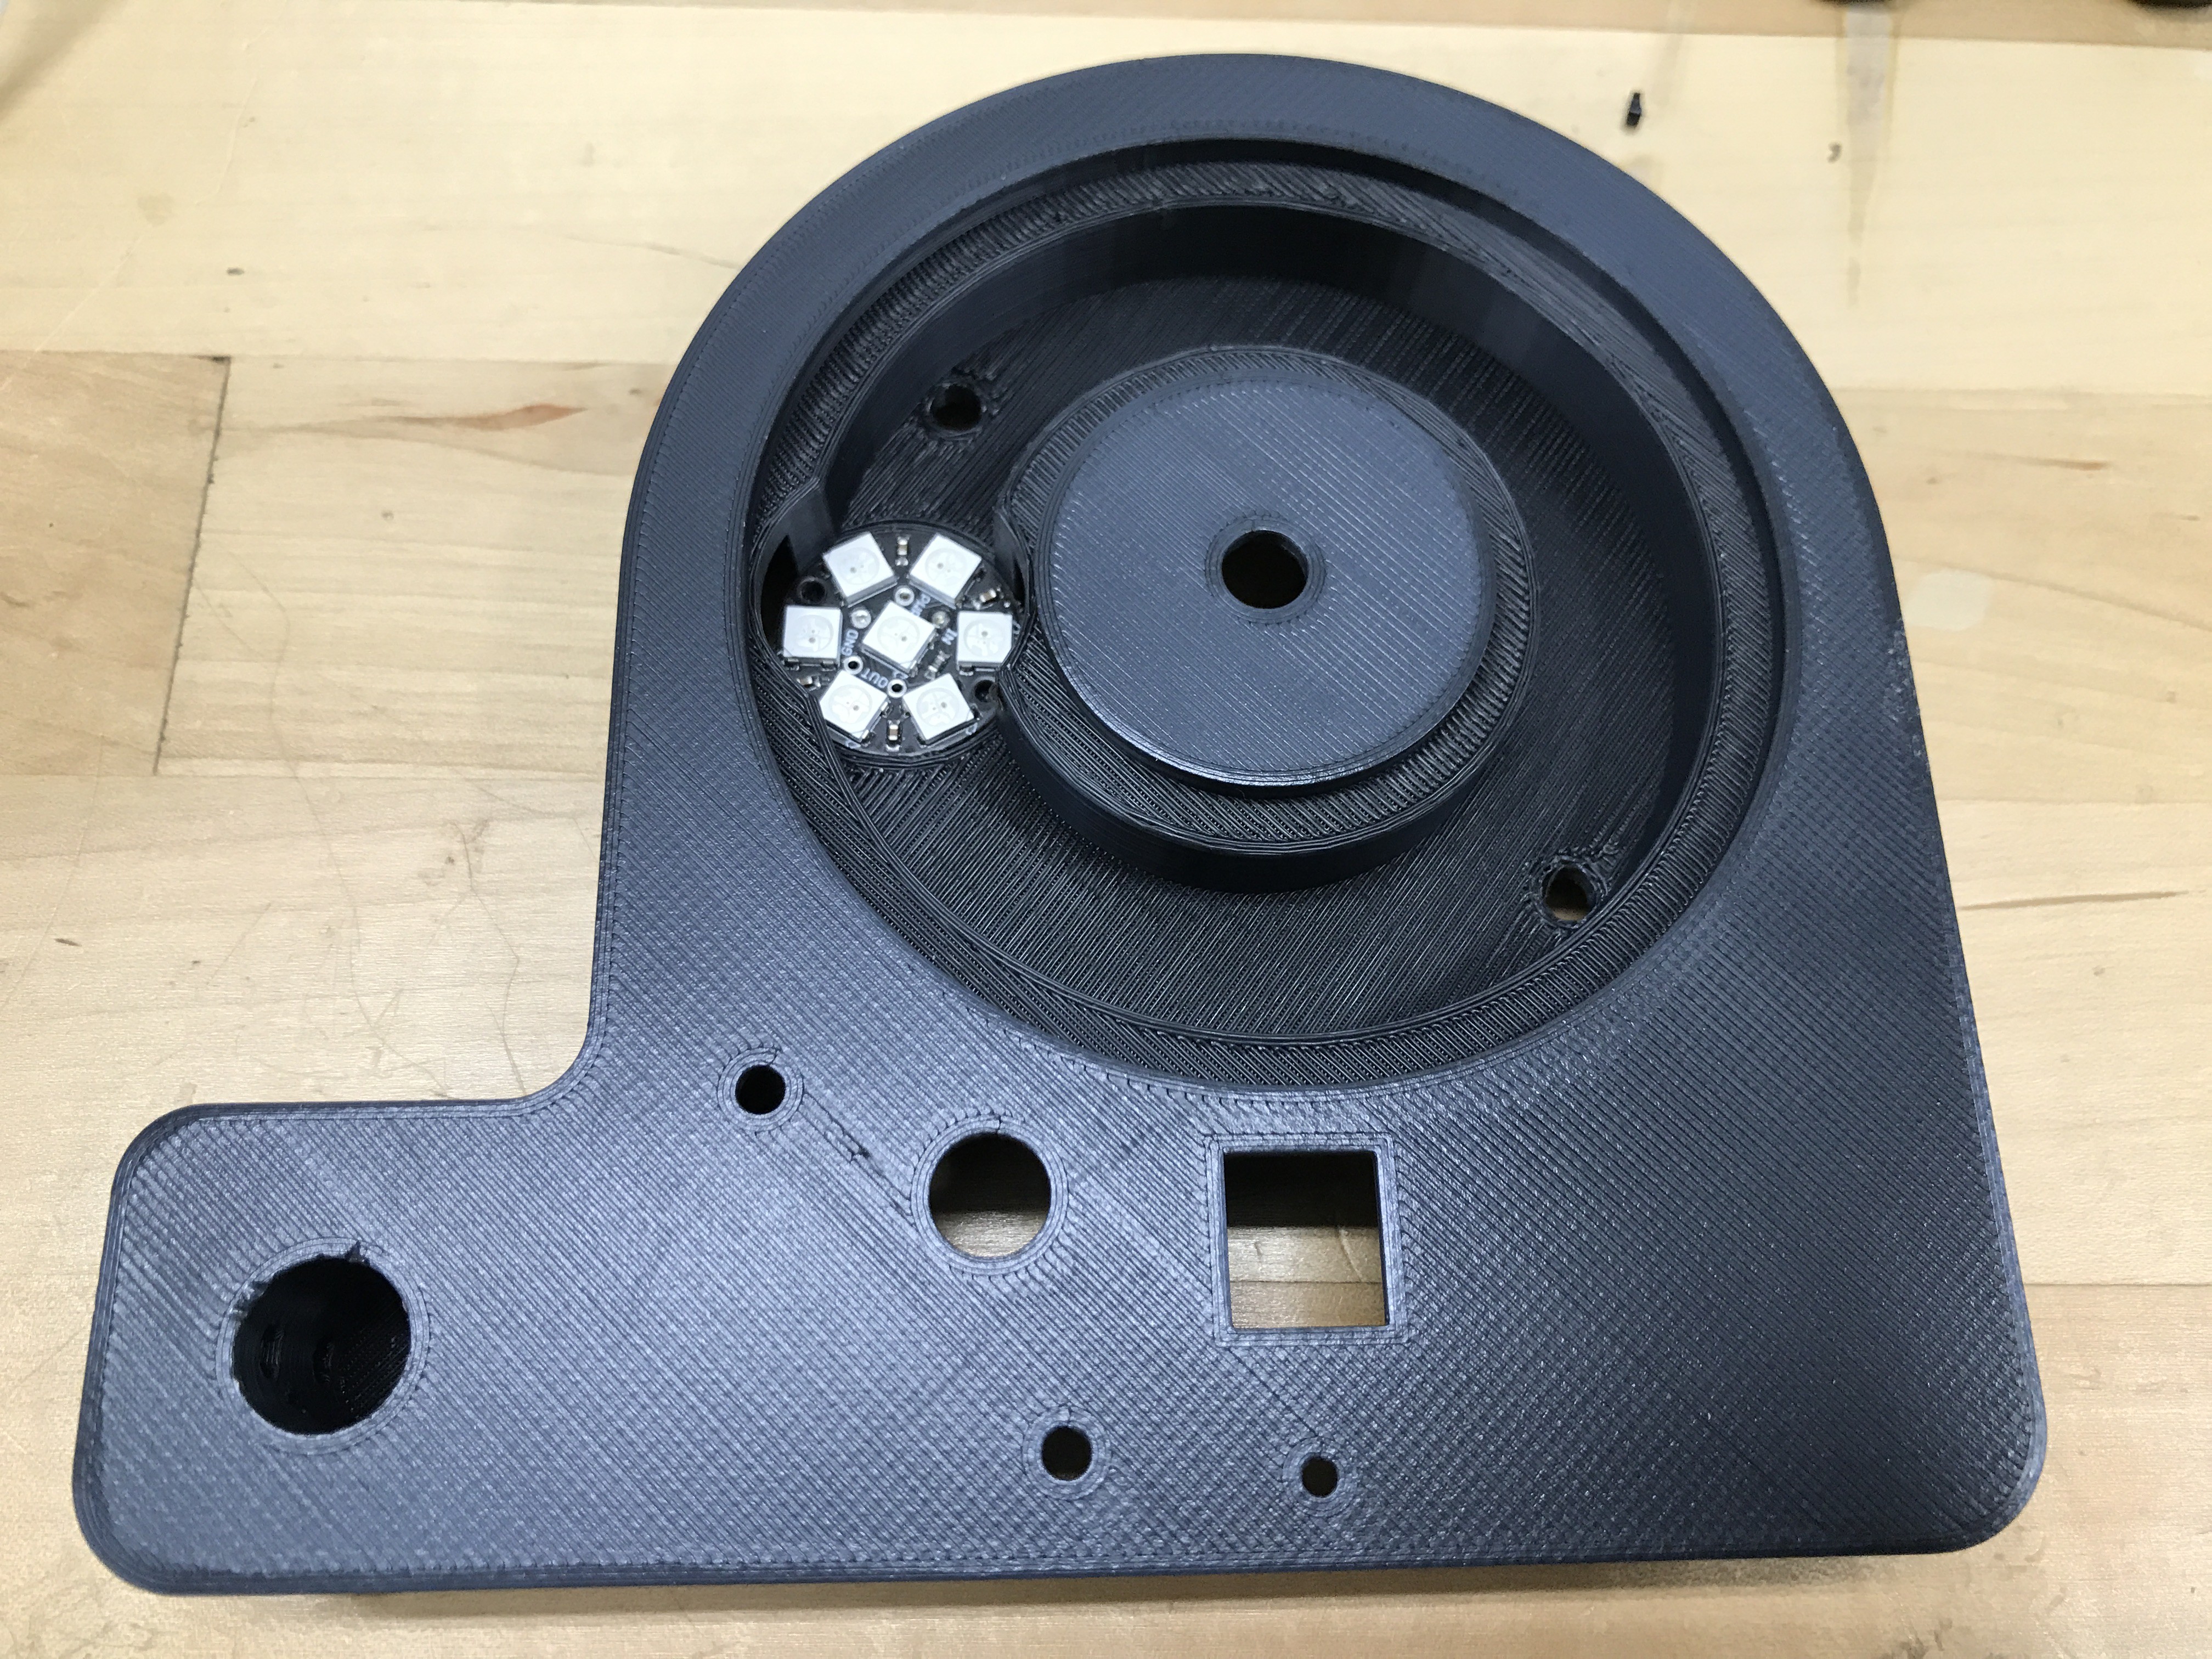
Jewel LED installed instead of ring LED. Either one will work with this print but I think the Jewel provides a more even background light.
![]()
-
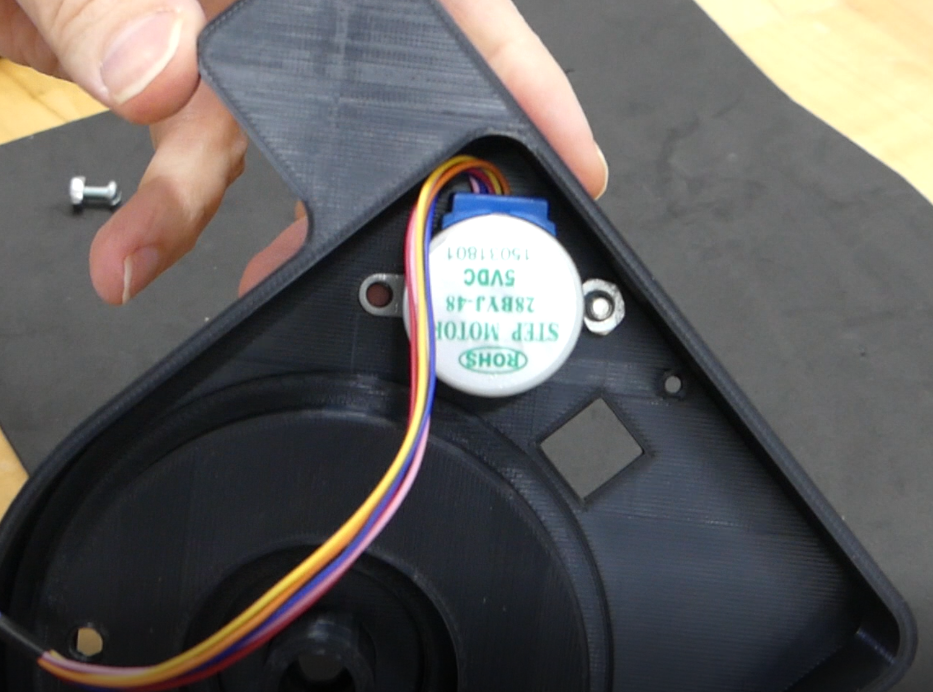
3Install Stepper Motor
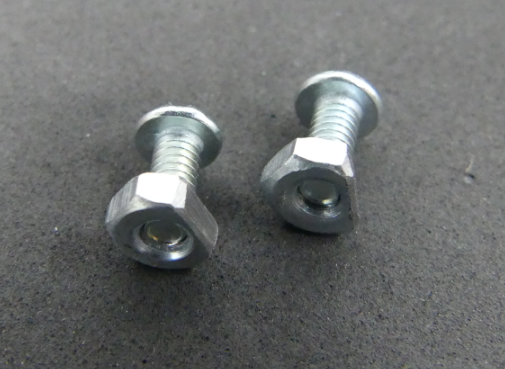
Install the stepper motor and attach it with two screws.
The nuts on the screw will need to be filed down to fit against the stepper motor.
-
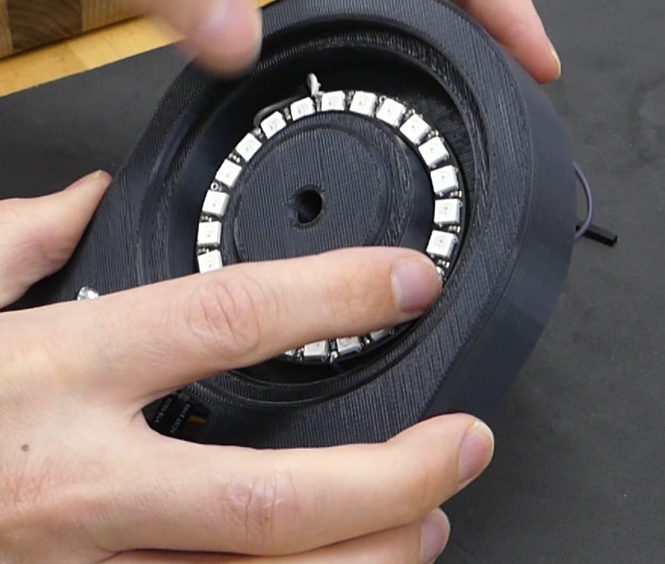
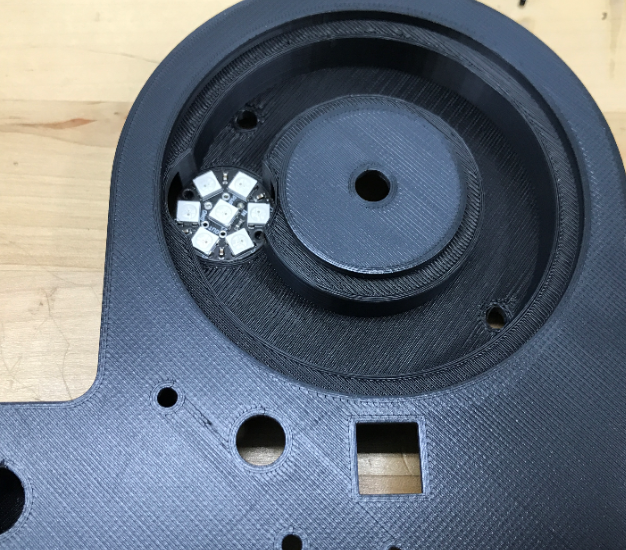
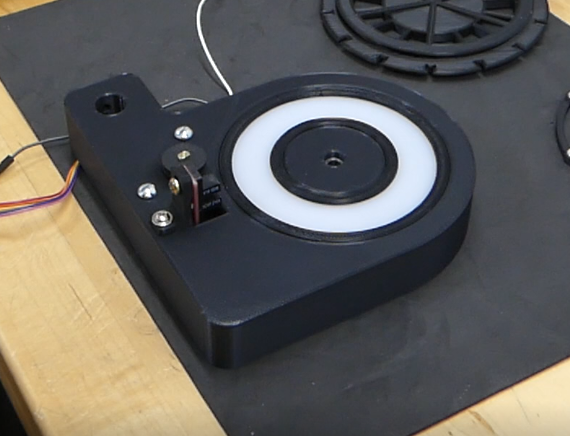
4Install the backlight LED
There should be 3 wires for the backlight LED. Pass these through the platform and secure the LED to the platform. I used a bit of hot glue for this.
Or use the Jewel LED.
-
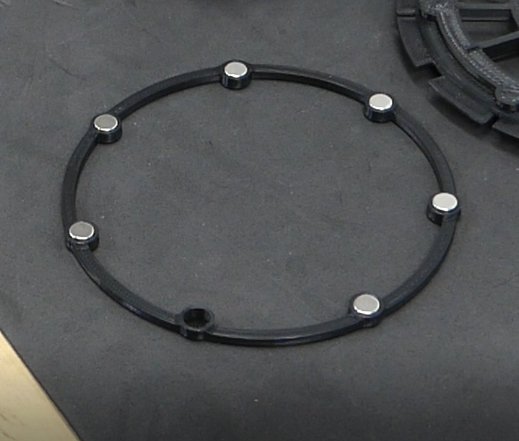
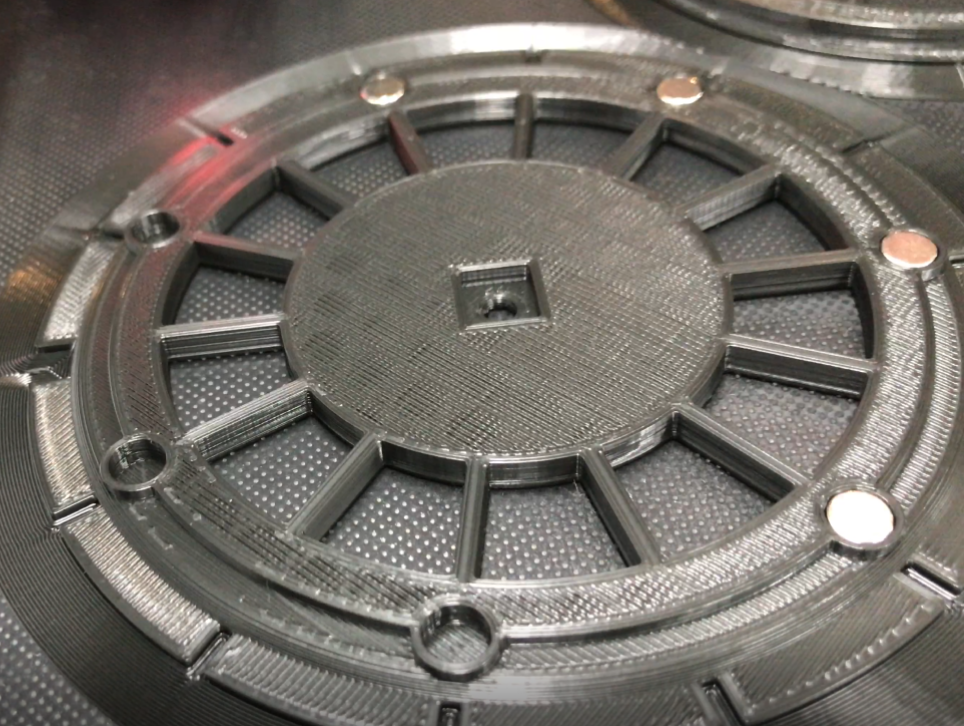
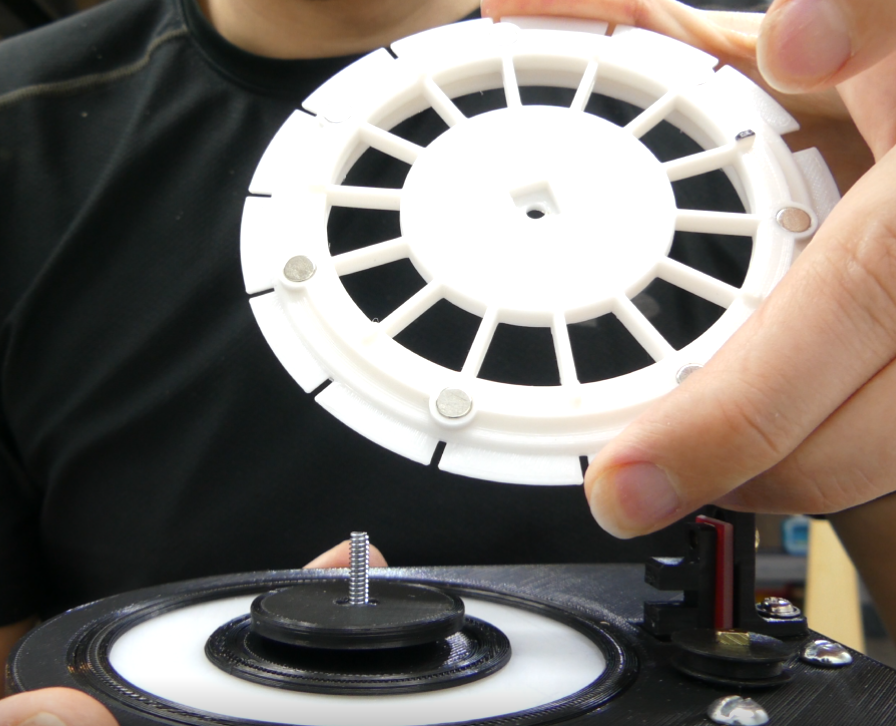
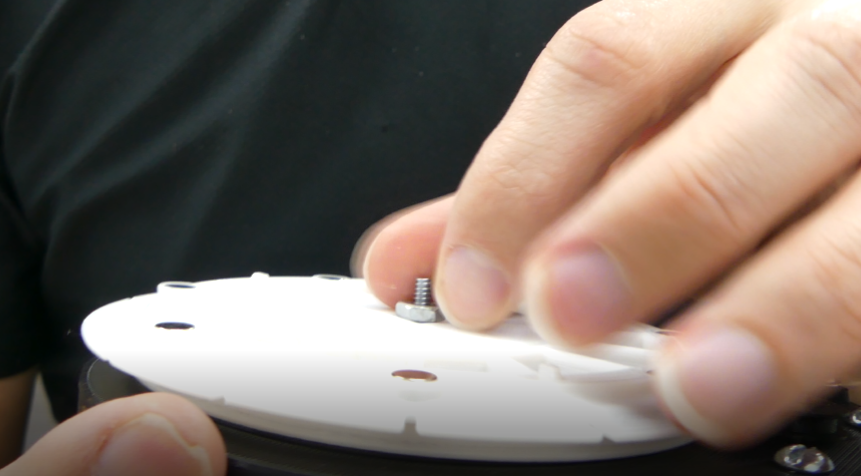
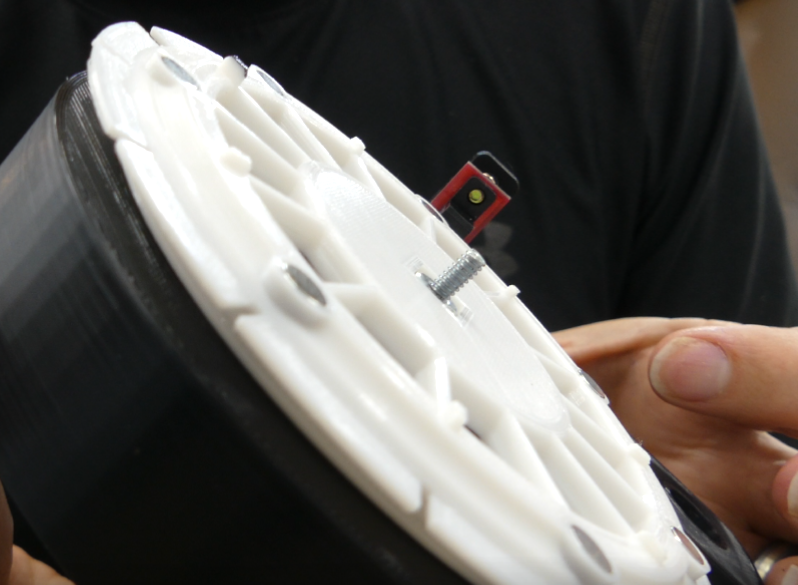
5Add the Magnets to the reel ring and mount
This reel ring will help hold the reel flat. I used a dab of super glue to hold them in place. Be sure they are all positioned in the same orientation so that they will be attracted to the reel mount. This isn't as easy as it sounds. Best way is to let two magnets attach together. Then mark the out side of them both with a permanent marker. When placing them into the ring and reel mount, be sure that the black dots are showing for the ring and not showing for the reel mount.
The reel mount with magnets half installed.
-
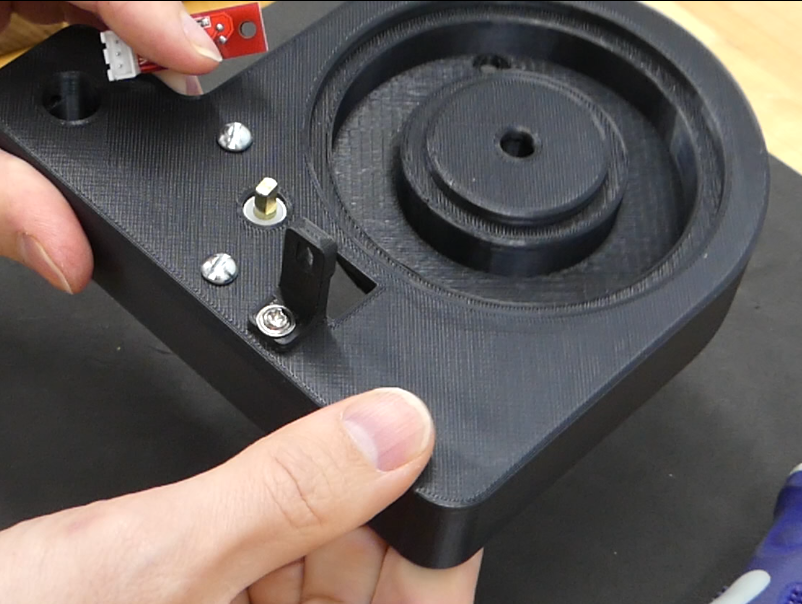
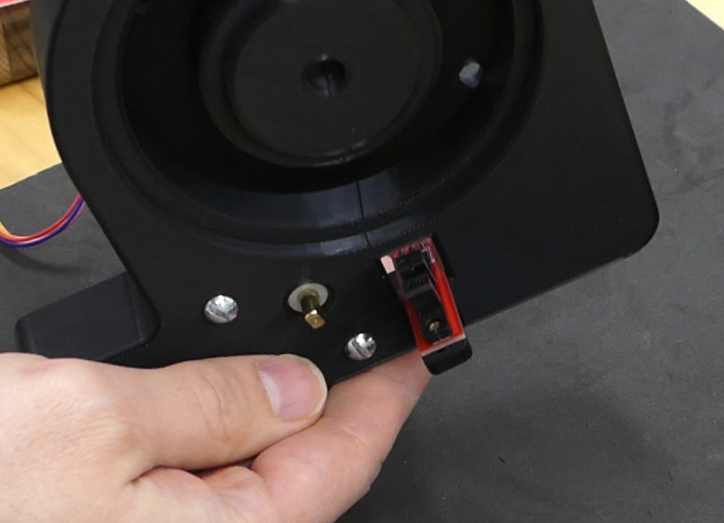
6Install the position sensor
I used some old computer screws I had in a box. So not sure what size these are. But anything you find that works. This is the position sensor mount.
Next install the position sensor to the mount. Another mystery screw I found that works.
-
7Helical gear install
Mount the helical gear to the reel mount. Be sure to get it as centered as possible.
-
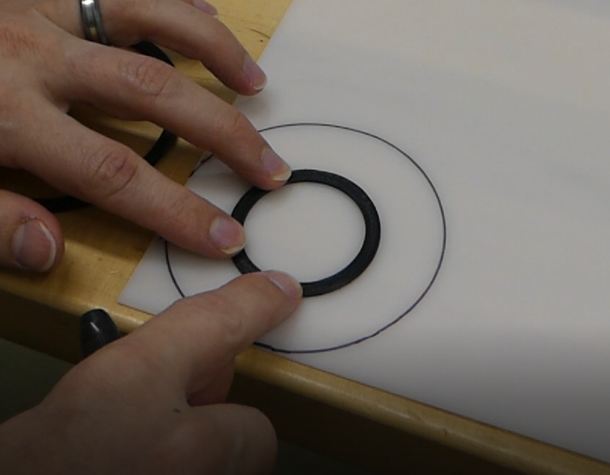
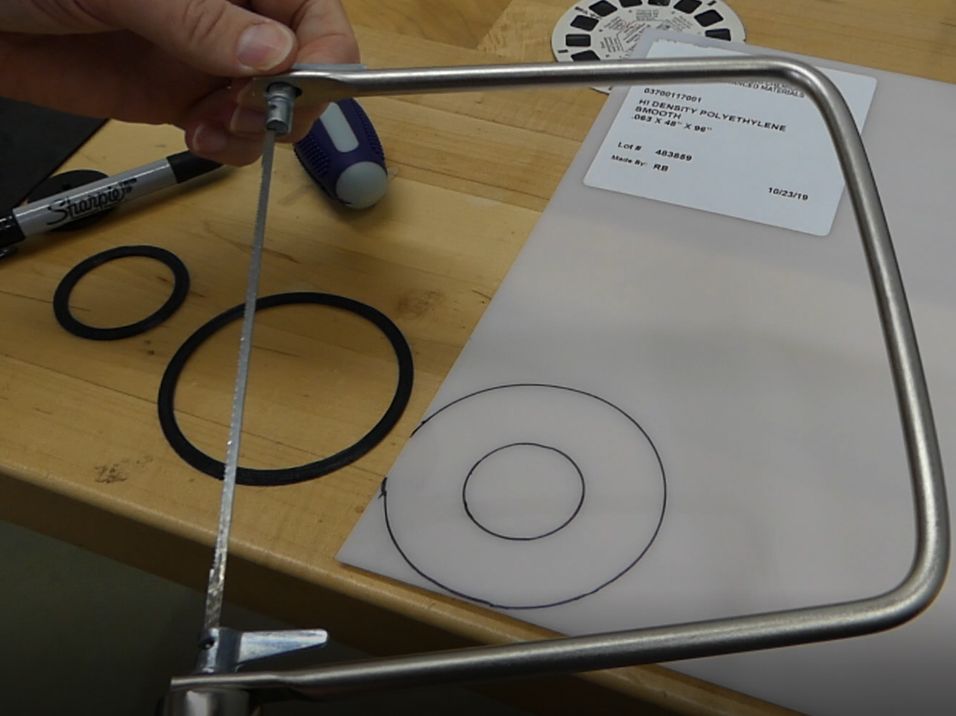
8Cut out the diffuser
Using the diffuser trim rings, trace and cut out a diffuser lens. Trace the outside of the larger ring, and the inside of the smaller ring to make the cutout as shown. I used a coping saw and the cut doesn't have to be perfect because these trim pieces will cover small mistakes.
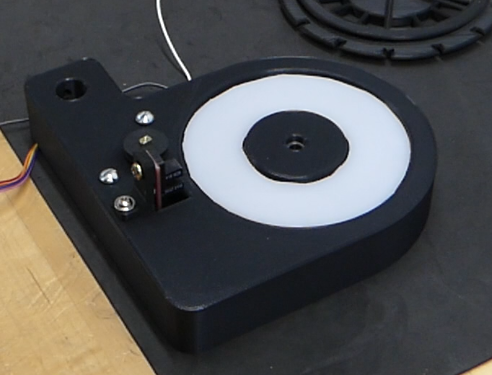
Cutout shown without trim pieces.
Shown with trim pieces. I glued these on with model glue. But use whatever.
-
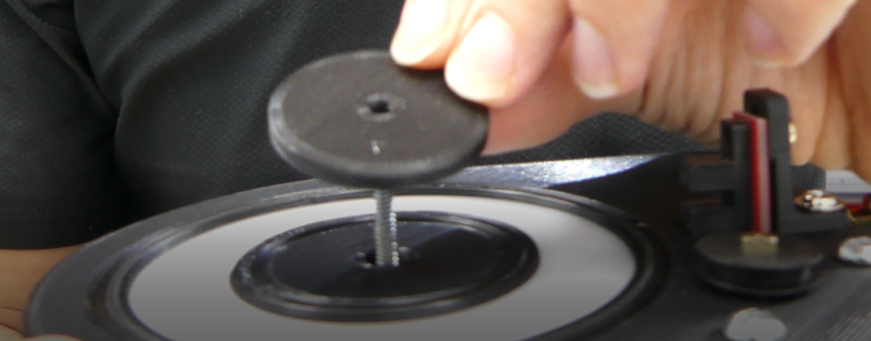
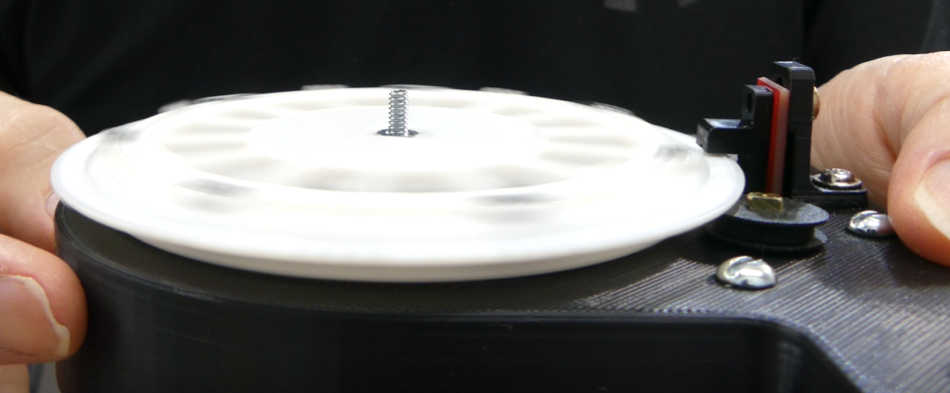
9Install center axel
Press the bearing into the center of the platform and then a longer screw. About 2" in length. I cut the screw afterwards to clean it up.
While holding the screw in from the backside, place the reel mount support over the axel.
Then place the reel mount on top of the support.
Finally add the screw onto the reel mount to secure them all together.
Screw in the axel until the nut is flush with the reel mount.
The reel mount should now spin freely.
-
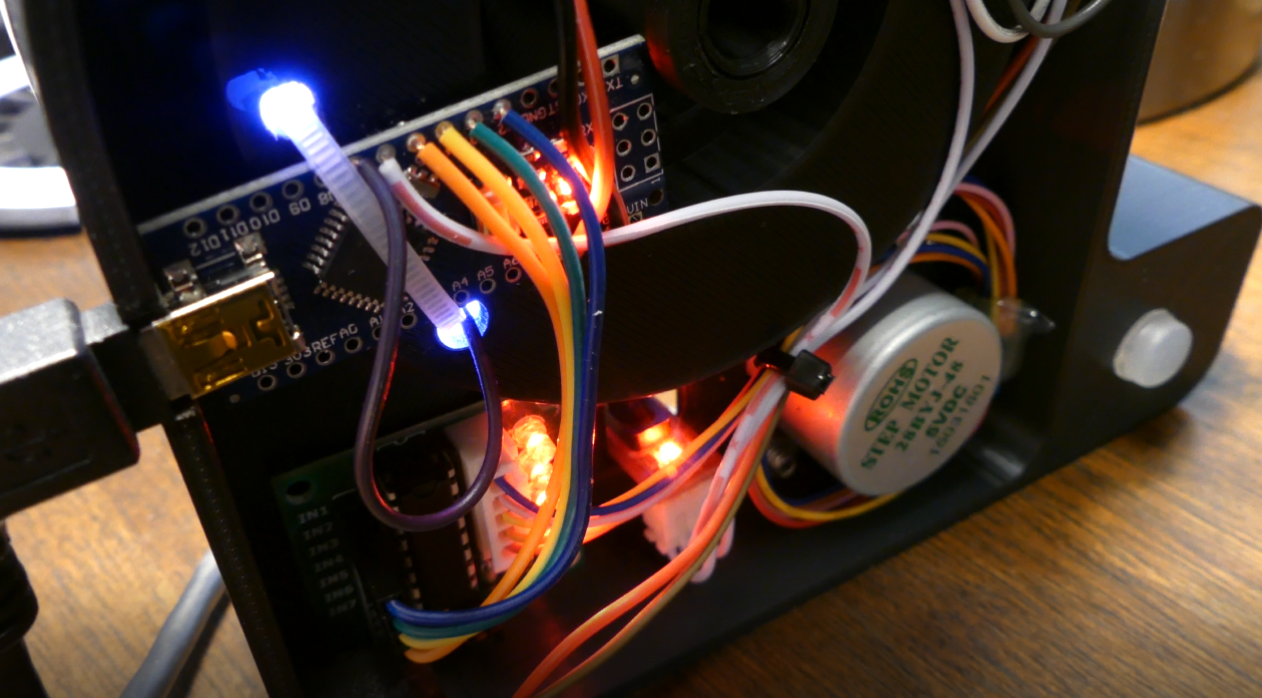
10Install the Arduino and stepper motor controller
Connect all of the wires and install the Arduino as pictured. There is a little cutout in the platform for the USB port to stick out. Also mount the stepper motor controller in the bottom corner of the platform. Dress up the wires to your preference.
View-Master Reel Scanner
Automated process to scan in a View-Master Reel


Discussions
Become a Hackaday.io Member
Create an account to leave a comment. Already have an account? Log In.