 Brandon
-
1Bill of Materials
Name Price Count Link Raspberry PI 4 $75.00 1 canakit.com Teensy++ 2.0 $24.00 1 pjrc.com 5" Display $54.00 1 amazon.com RetroPSU $25 1 Heldergametech.com Safe Shutdown Board $10 1 humblebazooka.com LiPo Battery $20.09 1 amazon.com HDMI Connector $6.00 1 amazon.com Micro HDMI Connector $6.00 1 amazon.com Ribbon Cable $6.00 1 amazon.com Micro SD Card $19.49 1 amazon.com Heatsink $5.97 1 amazon.com Blower Fans $9.98 2 amazon.com Jumper Wires $5.99 1 amazon.com Perf Board $6.50 1 amazon.com Tac Switches $7.49 16 amazon.com Joysticks $11.99 2 amazon.com Speakers $7.89 2 ebay.com TOTAL PRICE $293.84 -
2Bill of Materials Info
If the links aren't working, please let me know and I can help you find the correct part.
Parts needed that I did not purchase because I already had them on hand:
- 3D Printed Case: https://www.thingiverse.com/thing:2797125
- Xbox style buttons: https://www.thingiverse.com/thing:4867503
- Small switch (for power on/off)
- USB C Cable
- Micro USB Cable
- Double-sided Mounting Tape
- Hot Glue Gun / Super Glue
- Soldering Iron
- Solder
- Joysticks
- Speakers
DISCLAIMER: I used joysticks from a USB Xbox controller and I used speakers from an old laptop, so the ones I linked are not the ones I used. However, they should work fine. Also note that I did not purchase the cheapest option for each item, I was going for quality as well as shipping speed, so I ordered mainly from Amazon.
- 3D Printed Case: https://www.thingiverse.com/thing:2797125
-
3Setting up the Raspberry Pi
Setting up the Pi is pretty straightforward until you have to start getting the different games and emulators to work. I won't go much into that, but I will explain the process of installing the OS and the modifications I made. Of course, thses are just my preferences when it comes to modifications. You can install whatever OS and modify it to your liking
Installing RetroPie
To install the operating system, you will need to download a few things:
You will also need a Raspberry Pi and an SD card. I would recommend a Raspberry Pi 4 with at least 4GB of RAM and an SD card with at least 64GB of memory (Links above).
Once you get everything downloaded, plug your SD card into your computer and format it using SD Card Formatter. You can just use the quick format option. When that's finished, unzip your RetroPie OS and open Raspberry Pi Imager. Navigate to your OS and select the SD card you want to write it to. Next, press Ctrl+Shift+X to open advanced options in the imager. Here you can add your wifi, enable SSH, select your region, and change keyboard layout settings. Once you get those settings all set, save them and then click Write to write the image to your SD Card. You're technically done, but there are a few more things you should edit before booting up your Pi.
Before you take your SD card out of your computer, open it up and open the config.txt file. Here, you should uncomment a few lines. My config.txt file will be included in the attachment sections of this page, but here are the modifications I made:
Add the following lines:
# these lines adjust the screen resolution
hdmi_group=2
hdmi_mode=87
hdmi_cvt=800 480 60
Uncomment the line below so it looks like this:
# uncomment to force a HDMI mode rather than DVI. This can make audio work in
# DMT (computer monitor) modes
hdmi_drive=2
If you'd like to overclock, add the following lines, but make sure you have adequate cooling in your case first!
#uncomment to overclock the arm.
over_voltage=6
arm_freq=2000
gpu_freq=700
(The max settings for arm_freq is 2147, and the max for gpu_freq is 750).
I also had to add these two lines to get the screen to size properly, but you may not need to add these lines:
# uncomment if hdmi display is not detected and composite is being output
hdmi_force_hotplug=1

# remove black borders around the display
overscan_scale=1
That's all for now! I'll go over further modifications after we get the rest of the components set up.
-
4Printing the Case
*Instructions coming soon*
-
5Wiring the Electronics
*Instructions coming soon*
-
6Assembling the Components
*Full Instructions coming soon*
Audio
Luckily for me, the screen I bought for this build has an integrated amp as well as a 3.5mm audio jack and a speaker plug, which makes this incredibly simple to implement and perfect for a handheld build.
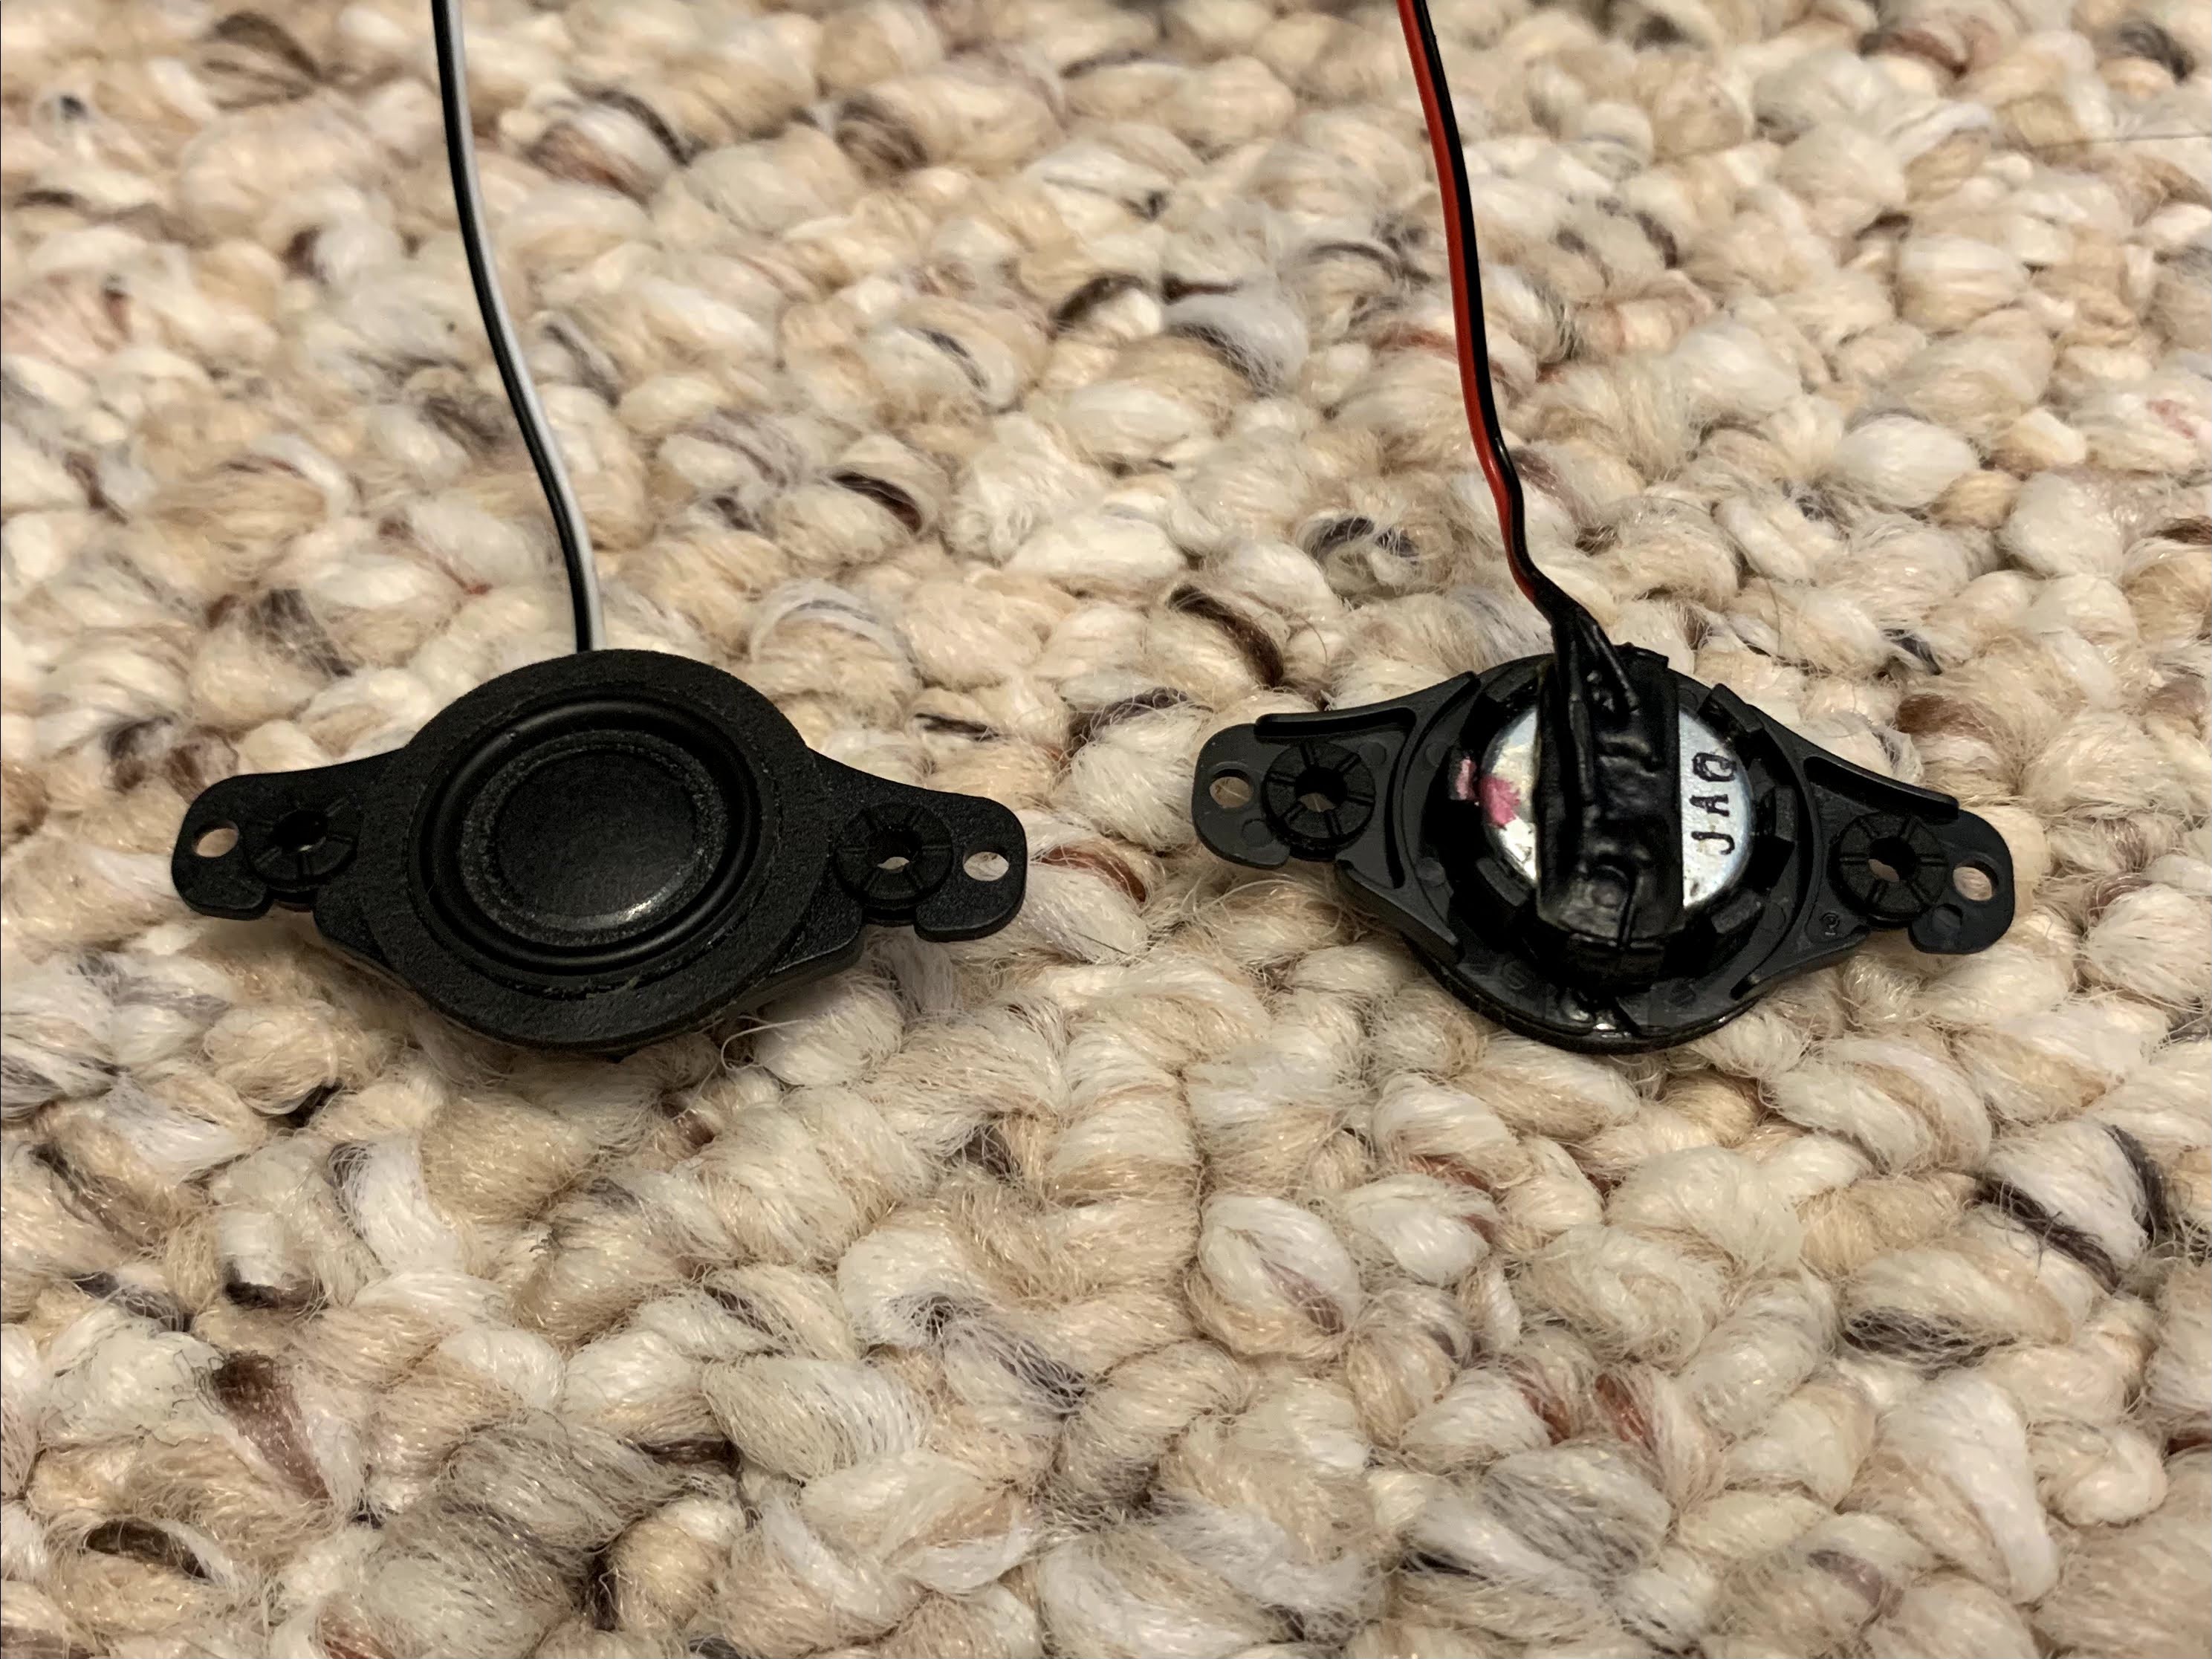
First, I salvaged some speakers from an old Toshiba laptop. I believe they are 13mm, but I am not sure how many Ohms or Watts they are. I linked some similar speakers in the parts list above. Below is a picture of the speakers:
![]()
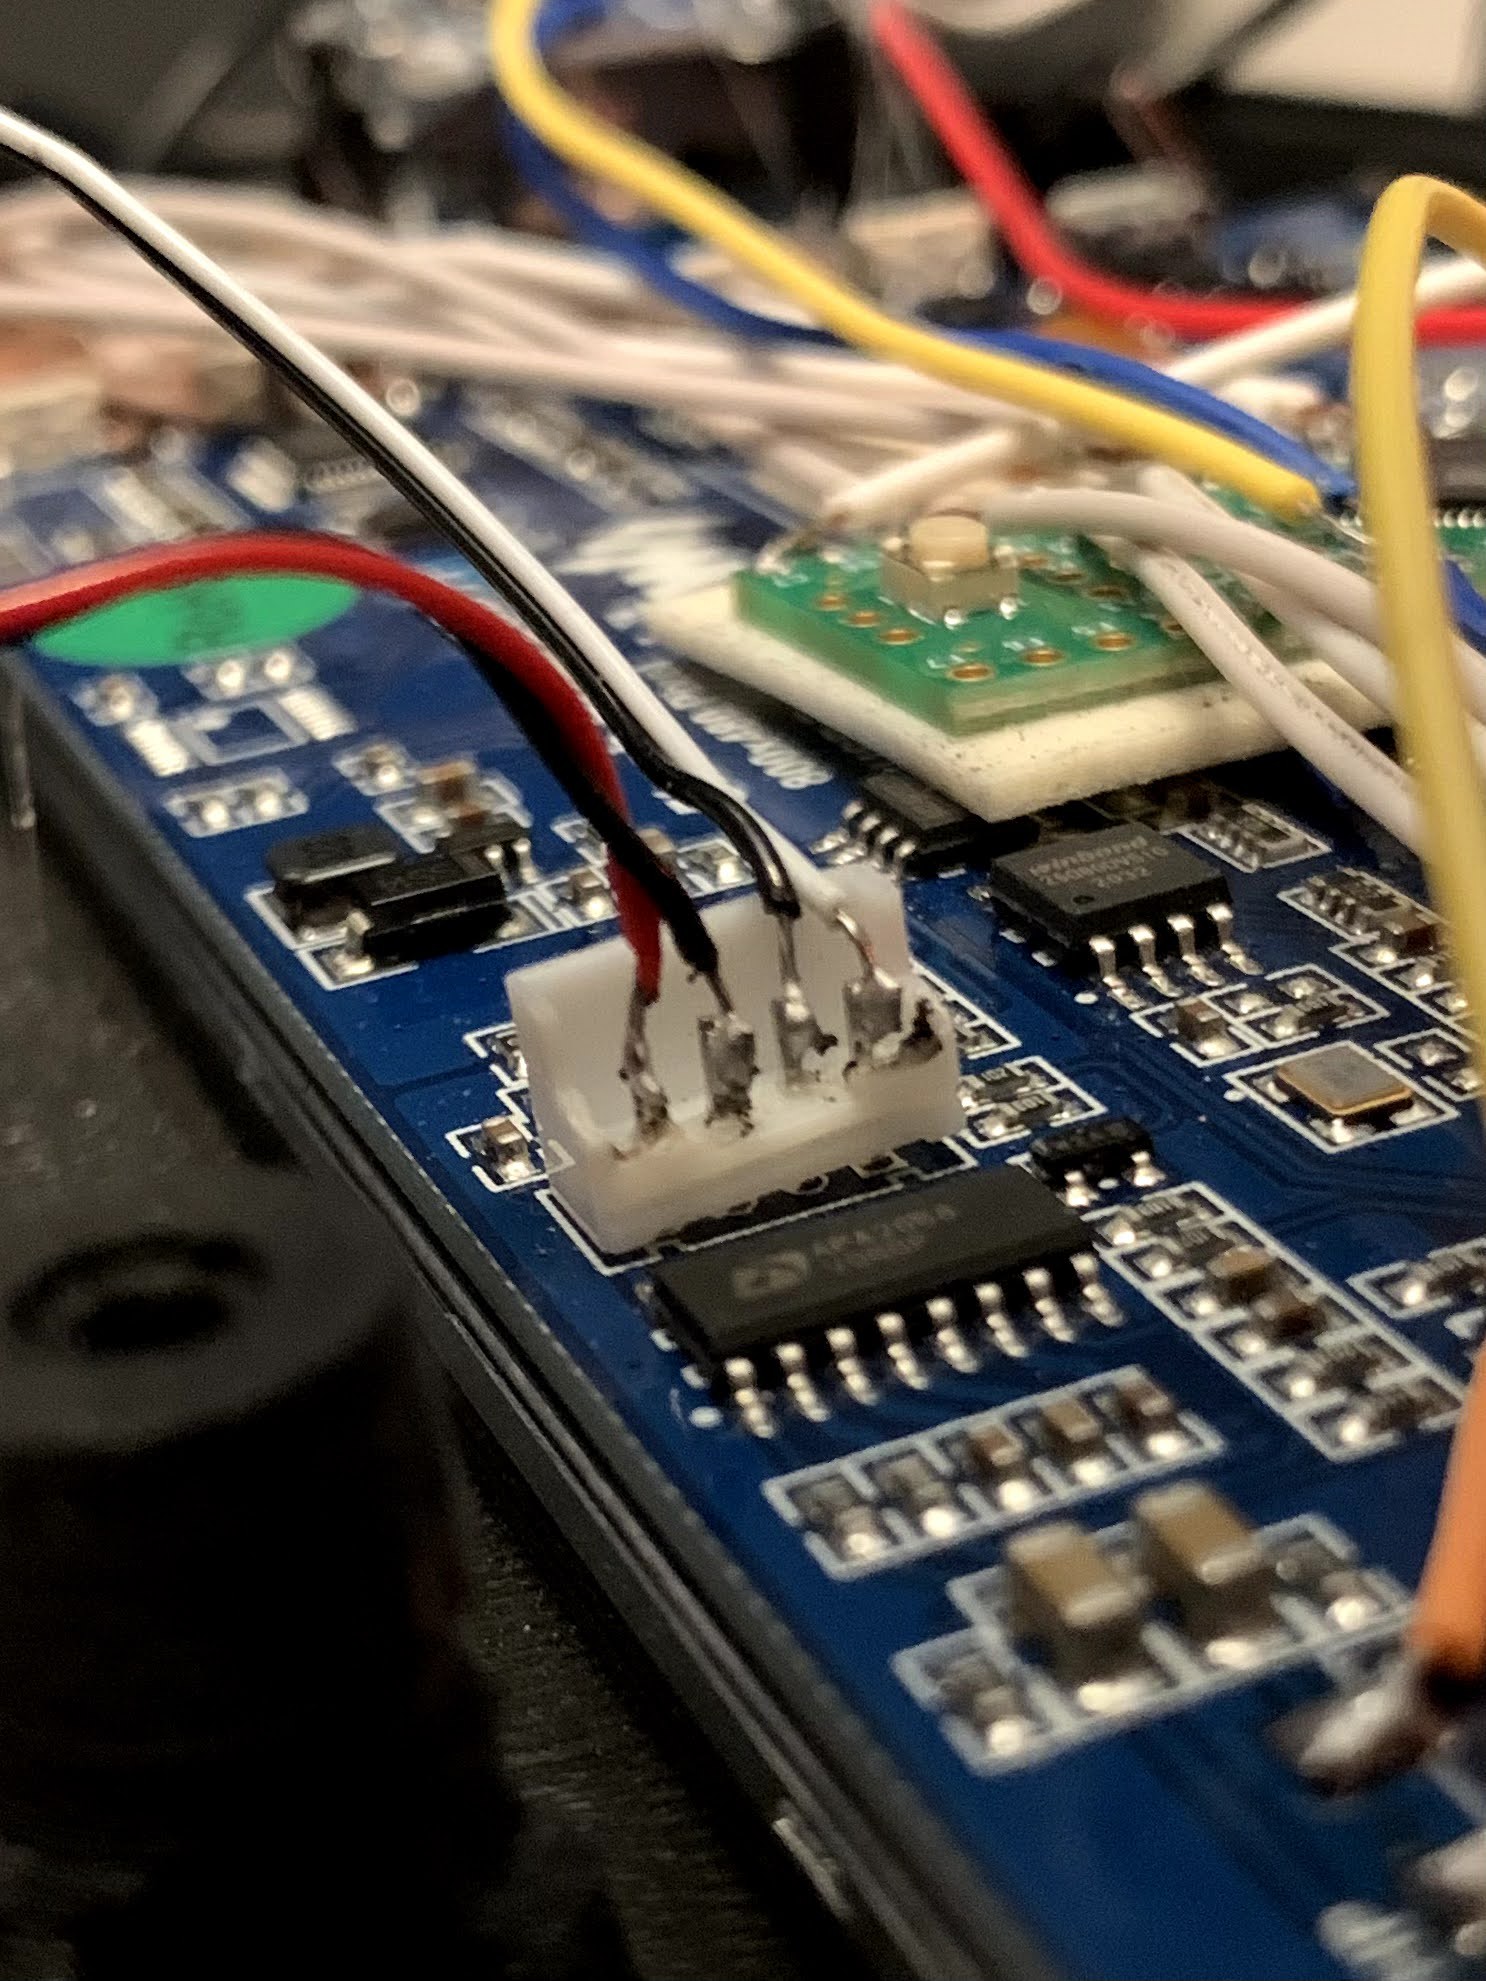
Next, I soldered them to the speaker port on the screen. You can get speakers that have an actual plug that will fit into the one on the screen, but I couldn't find any that were small enough, so I just soldered directly to the pins. The ground wires will connect to the inside two pins and the red wires will connect to the outer pins as shown below:
![]()
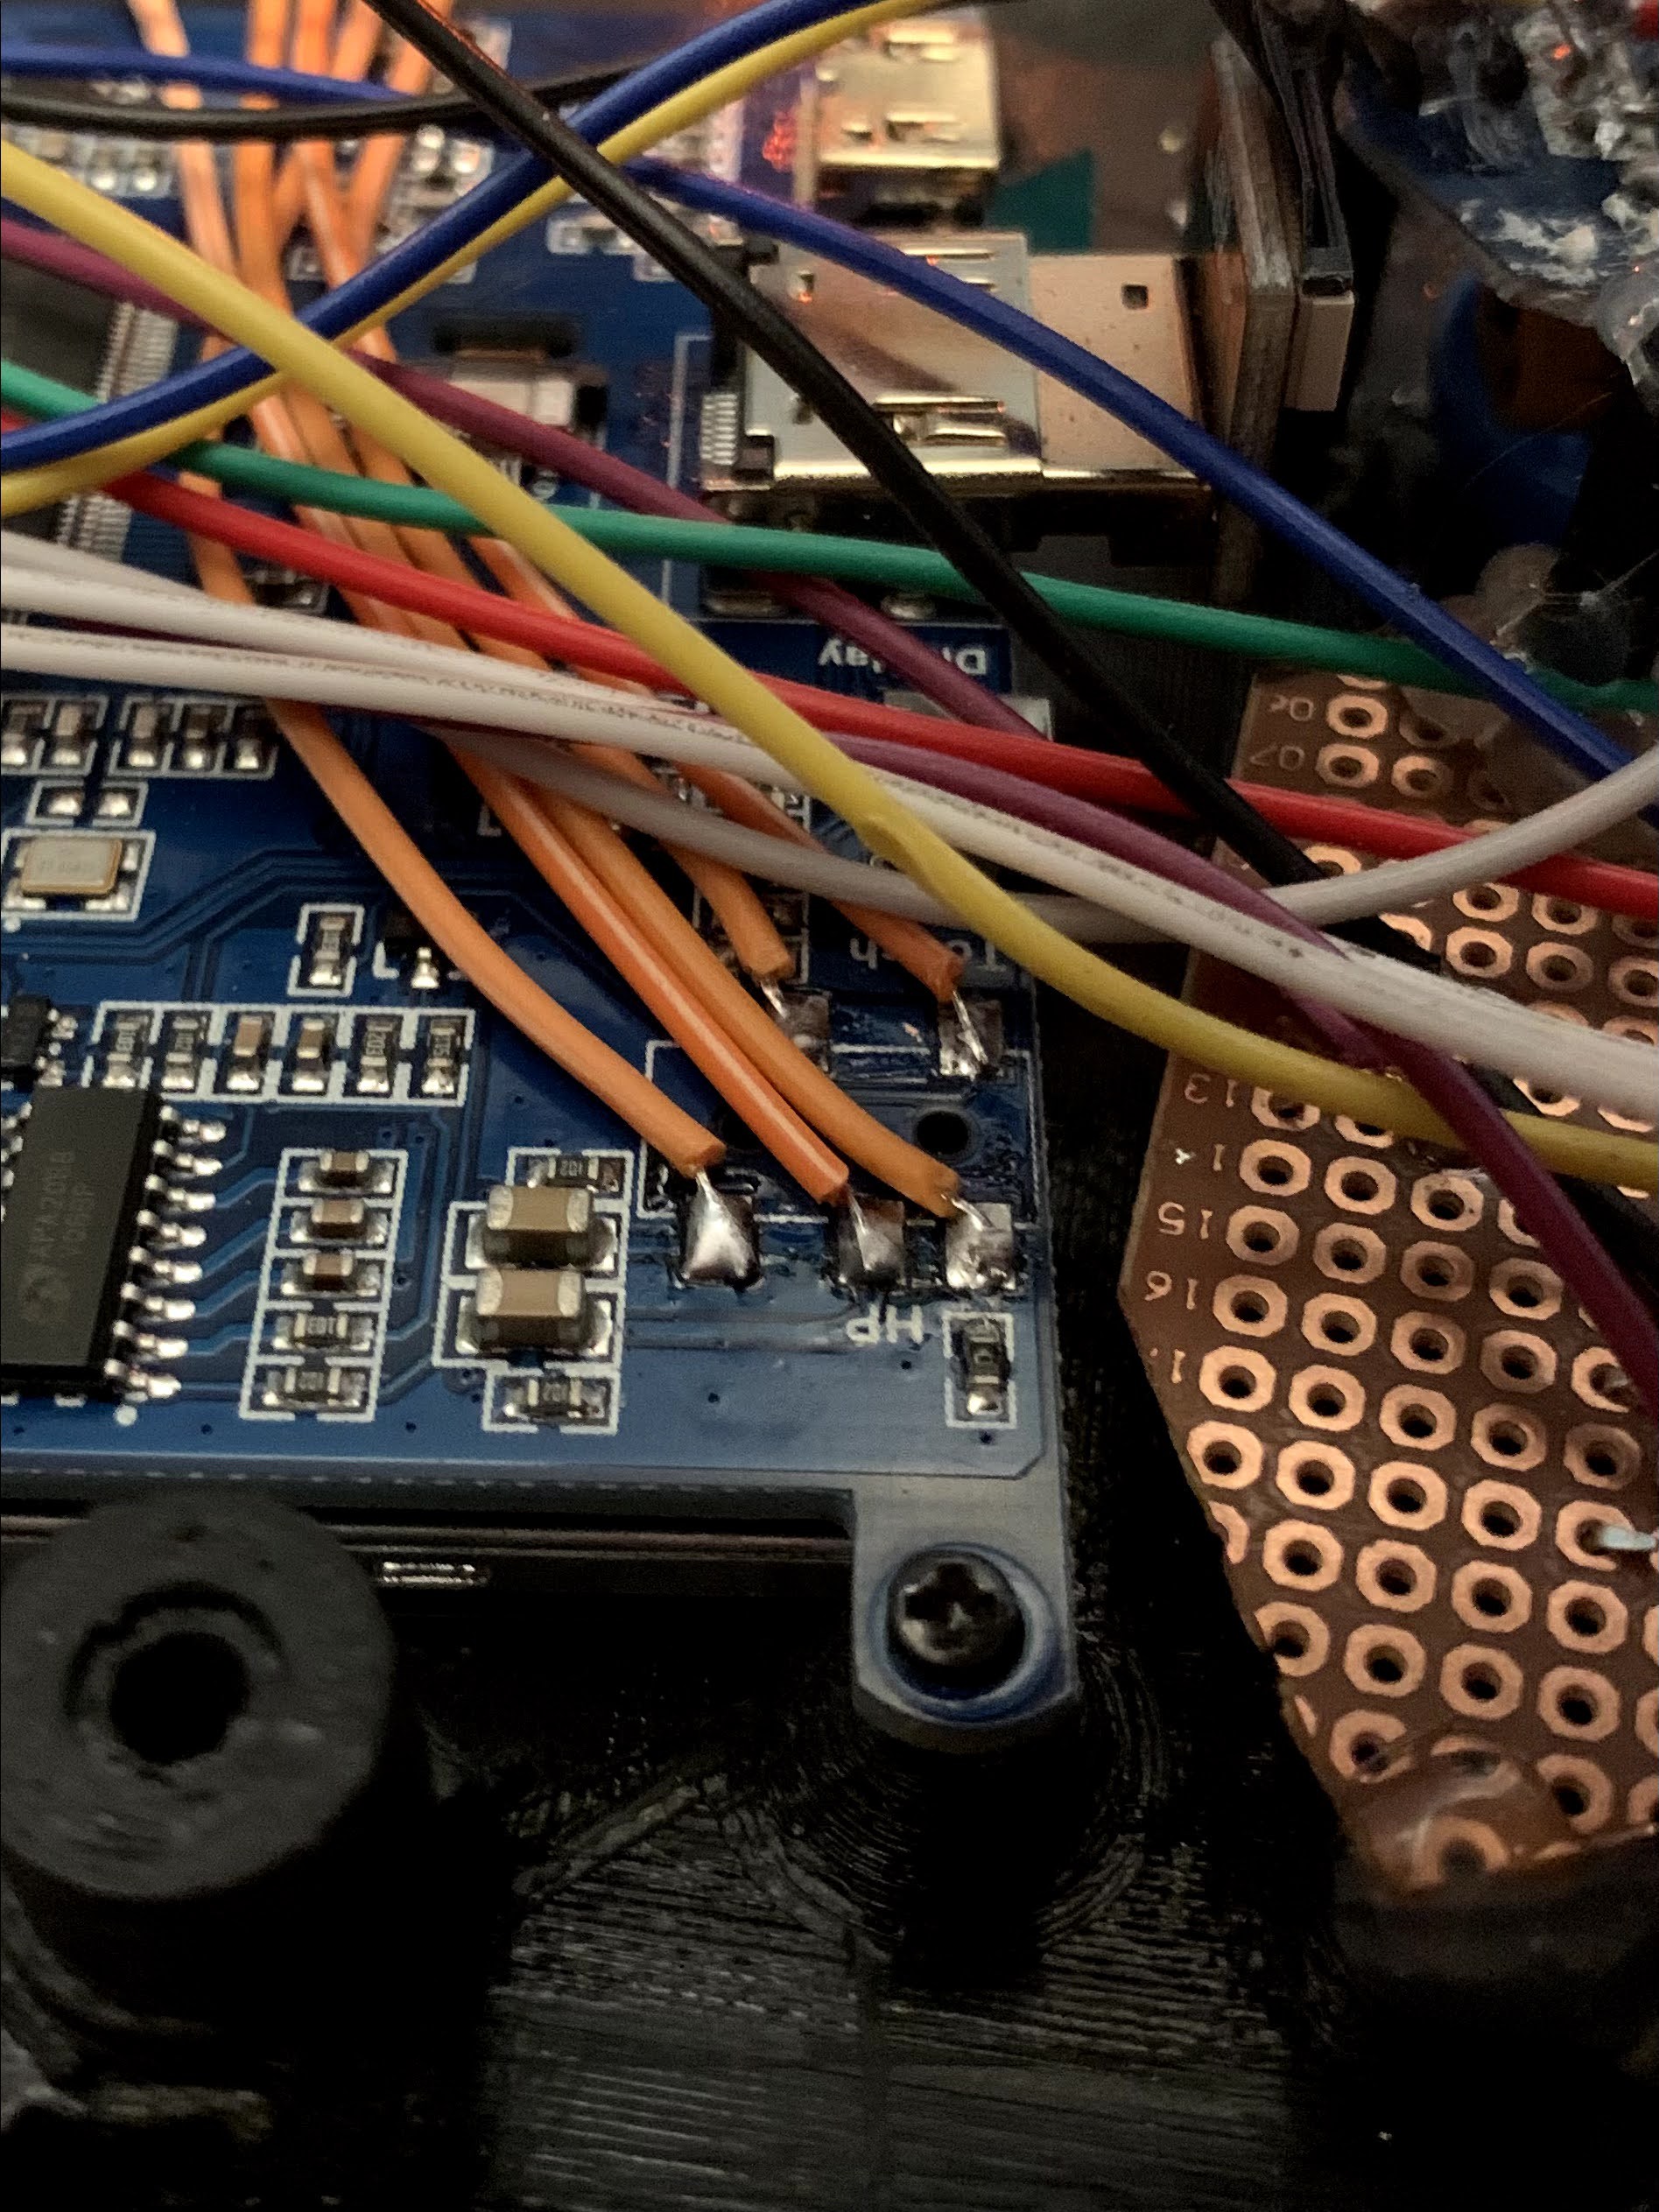
Finally, for the 3.5mm audio jack, I actually desoldered it from the screen and attached ires to each pin in order to extend it to the outer edge of the case. Unfortunately my jumper wires weren't quite long enough, so I had to add a second small wire to each end in order to get the audio jack to to reach to the proper location in the case.
![]()
Once I finished the hardware portion, I fired up the Pi to see if it worked. It should work without any hiccups if you're using the standard 32bit RetroPie OS, but since I was using a custom 64bit version, it required a few more steps. When I started up a game there was no sound, and for a few days I was stumped. Thanks to the help of Mitu from the RetroPie forums, I figured out that the reason I was getting now sound was because of this line in my config.txt file:
dtoverlay=vc4-kms-v3d
I switched it to the following:
dtoverlay=vc4-fkms-v3d
And just like that, everything worked flawlessly! I could plug in headphones and the speakers would automatically shut off, and when I unplugged them, the speakers would immediately turn back on. They are actually pretty loud too! (Benefits of taking them from a laptop).
-
7Programming the Teensy
I decided to use the Teensy++ 2.0 for this project because it has more than enough pins than what I need. If you are using fewer buttons, I would recommend using a different board. I had two goals for the controller:
- To get A full two joystick, 16-button system to work using this Teensy
- To use a button as a toggle switch to switch between Controller Mode and Keyboard / Mouse Mode
Setting Up the Teensy
To set up the Teensy, you will need to install two programs:
Once both are installed, plug in your Teensy and open Arduino. Go to the tools menu and make sure the board is set to the Teensy++ 2.0 (or whatever board you are using) and also make sure the port is set to the one linked to your Teensy. Next, navigate to File > Examples > Teensy > Tutorial1 > Blink. Open it and click the verify (check) button at the top left of the screen. Once it's verified, press the button on the Teensy to reboot it. Once it's rebooted, click the upload (arrow) button to send it to the teensy. You should now see it blinking. Congrats! You've just created your first program using your Teensy! Now onto the more complicated stuff.
Programming the Controller
It took me longer than I thought it would, but I finally got it to work. To get the buttons working as a controller I pretty much just used the Teensy USB Joystick example code and it worked right away (for the most part). I made a few modifications -- mostly just deleting some parts of the code I didn't need. One issue that took me what seemed like forever to fix was an issue with the button I had soldered to pin 6, which is the LED pin on the Teensy. For some reason it was causing some very strange bugs in the code, so I just moved the button to a different pin and it worked fine.
For the toggle switch I used Gadget Reboot's code and modified it slightly. You can find his code here. He also made a great video explaining it here.
My finished code can be found here. (Video with more in depth look at the finished code coming soon)
-
8Step 8
Handheld Raspberry PI Retro Game Console
In this project I will be making a Nintendo Switch style retro game console
Discussions
Become a Hackaday.io Member
Create an account to leave a comment. Already have an account? Log In.