One of the key details for semisolid metal 3D printing technology is controlling and patterning wettability to passively control the flow of the liquid metal, and mitigating solubility of the nozzle in the molten metal. With steel and aluminum alloys, the easiest way to do this is with black oxide coating and anodization respectively. Over the past few weeks I have run many experiments to implement these in my process. In my first experiment I learned that black oxide coating of steel doesn't really happen much in the absence of nitrates and nitrites.
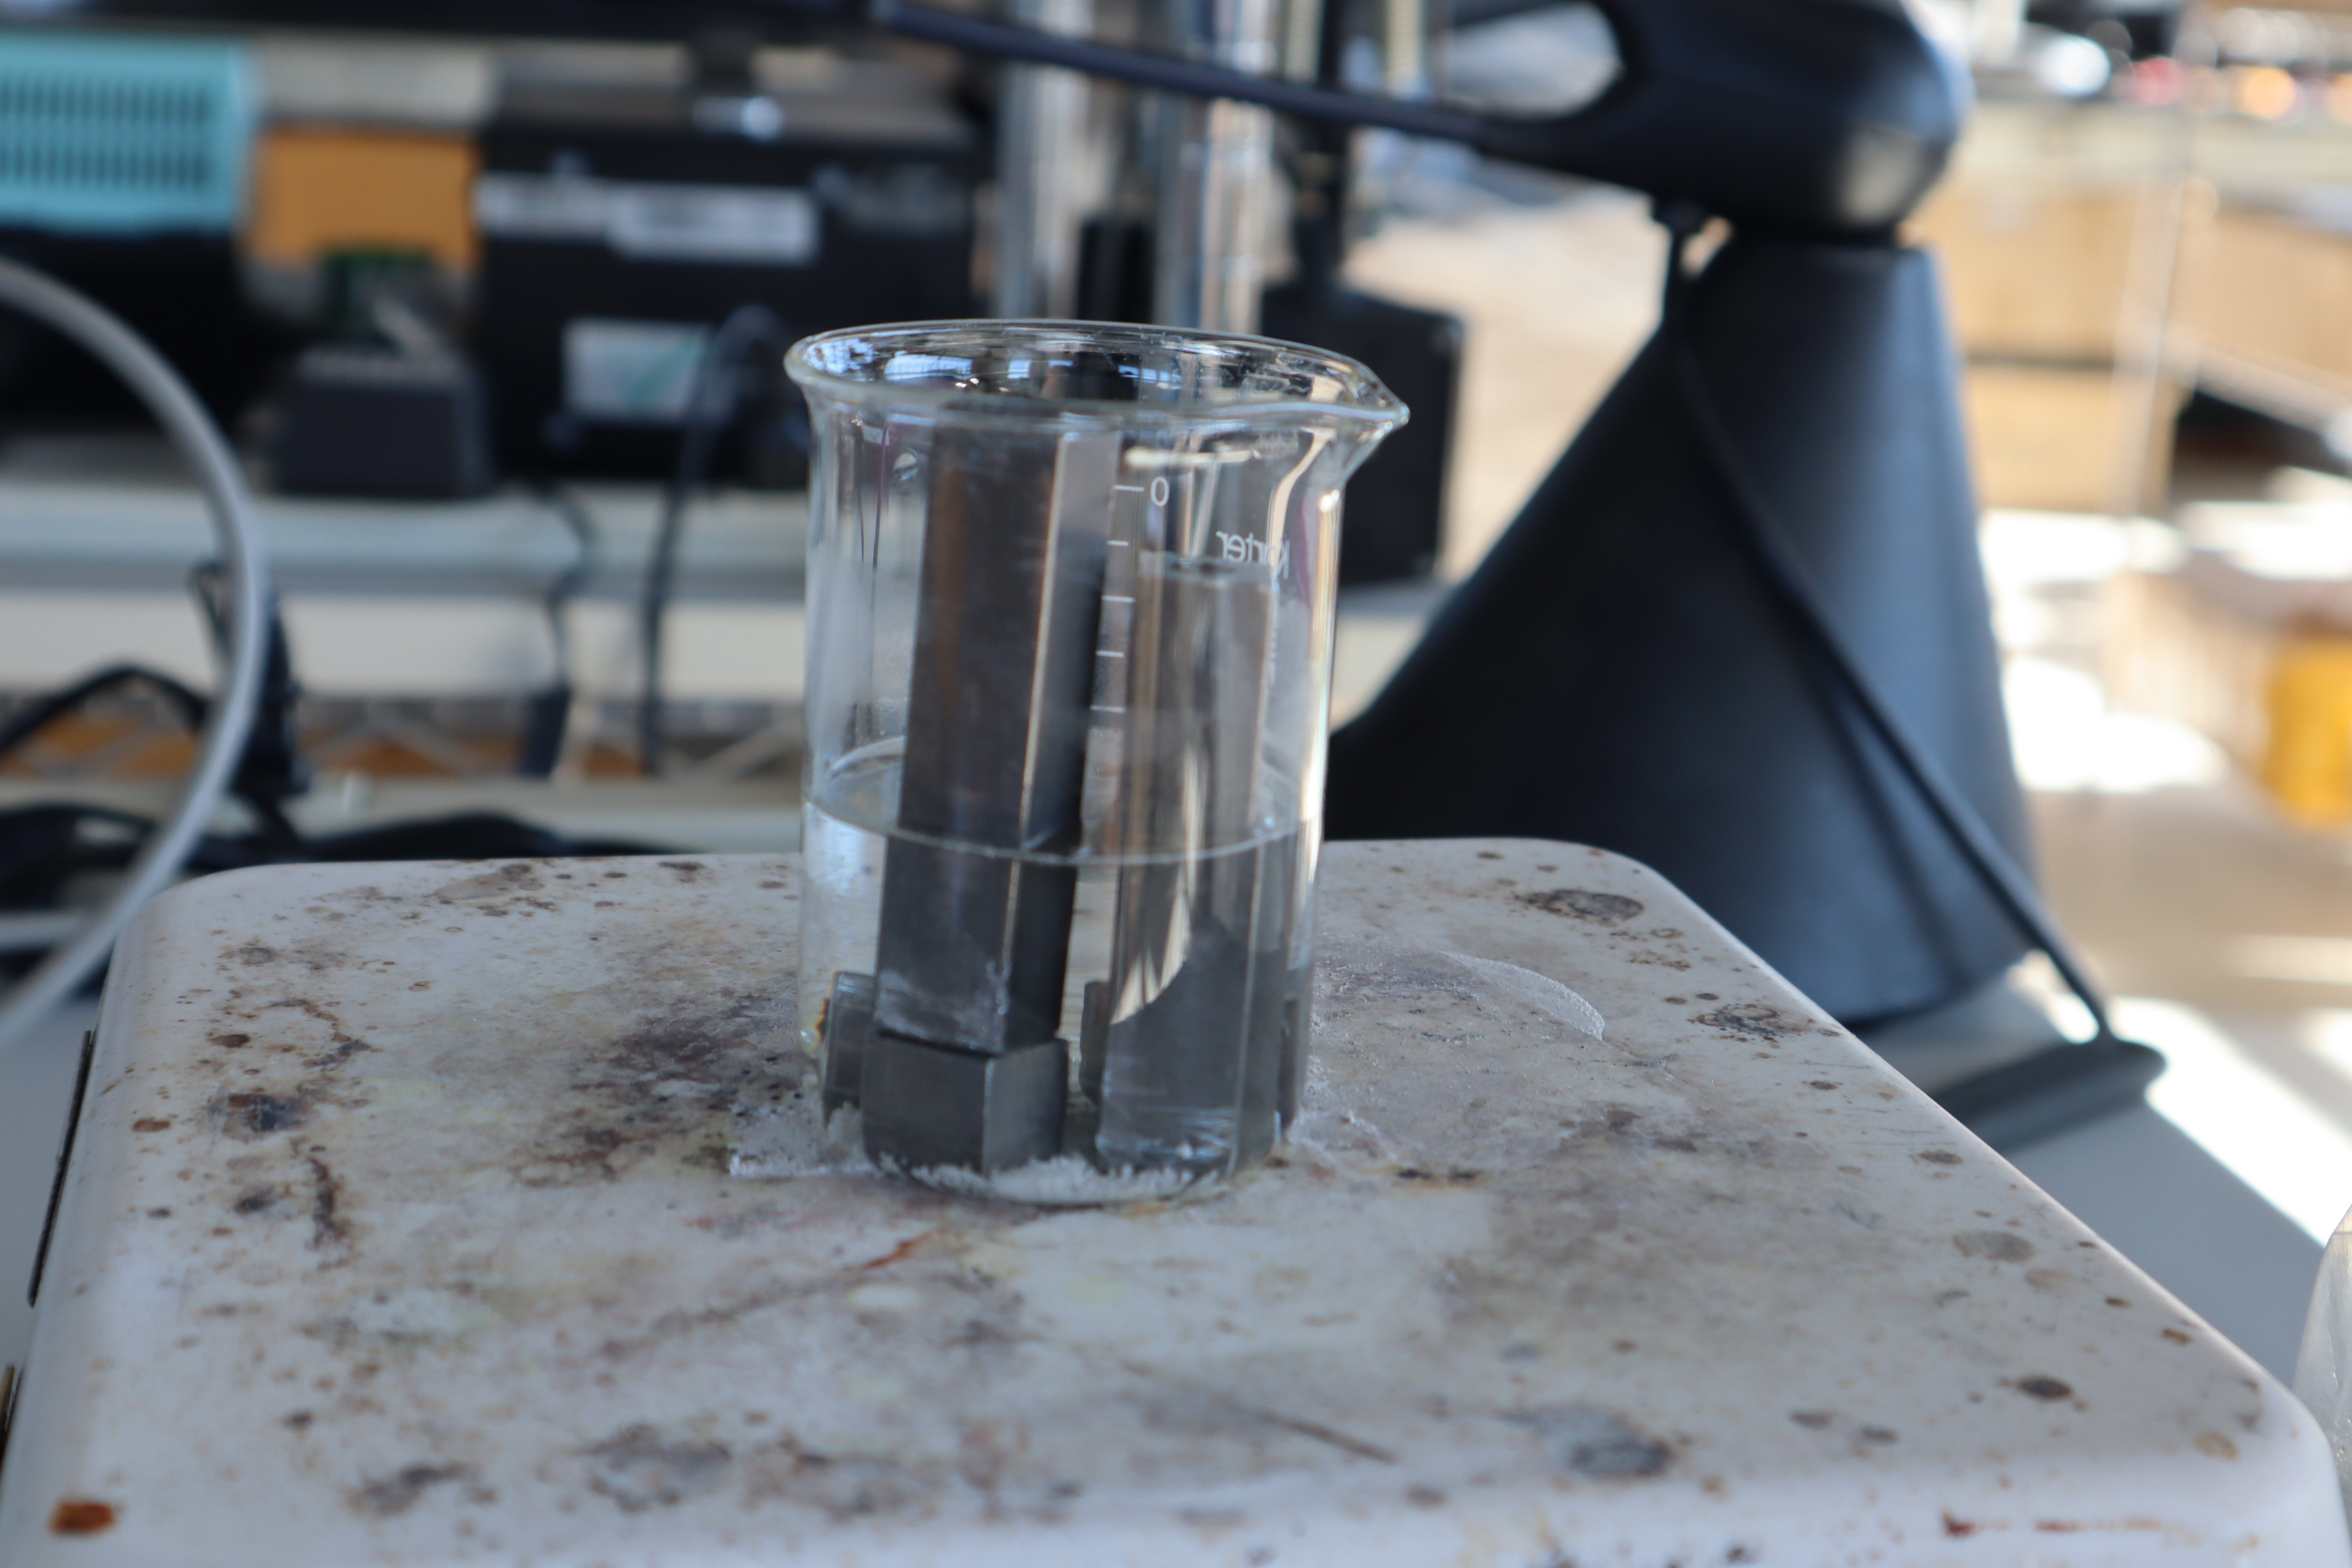
With my first test in sodium hydroxide using mild steel, I got the following result:
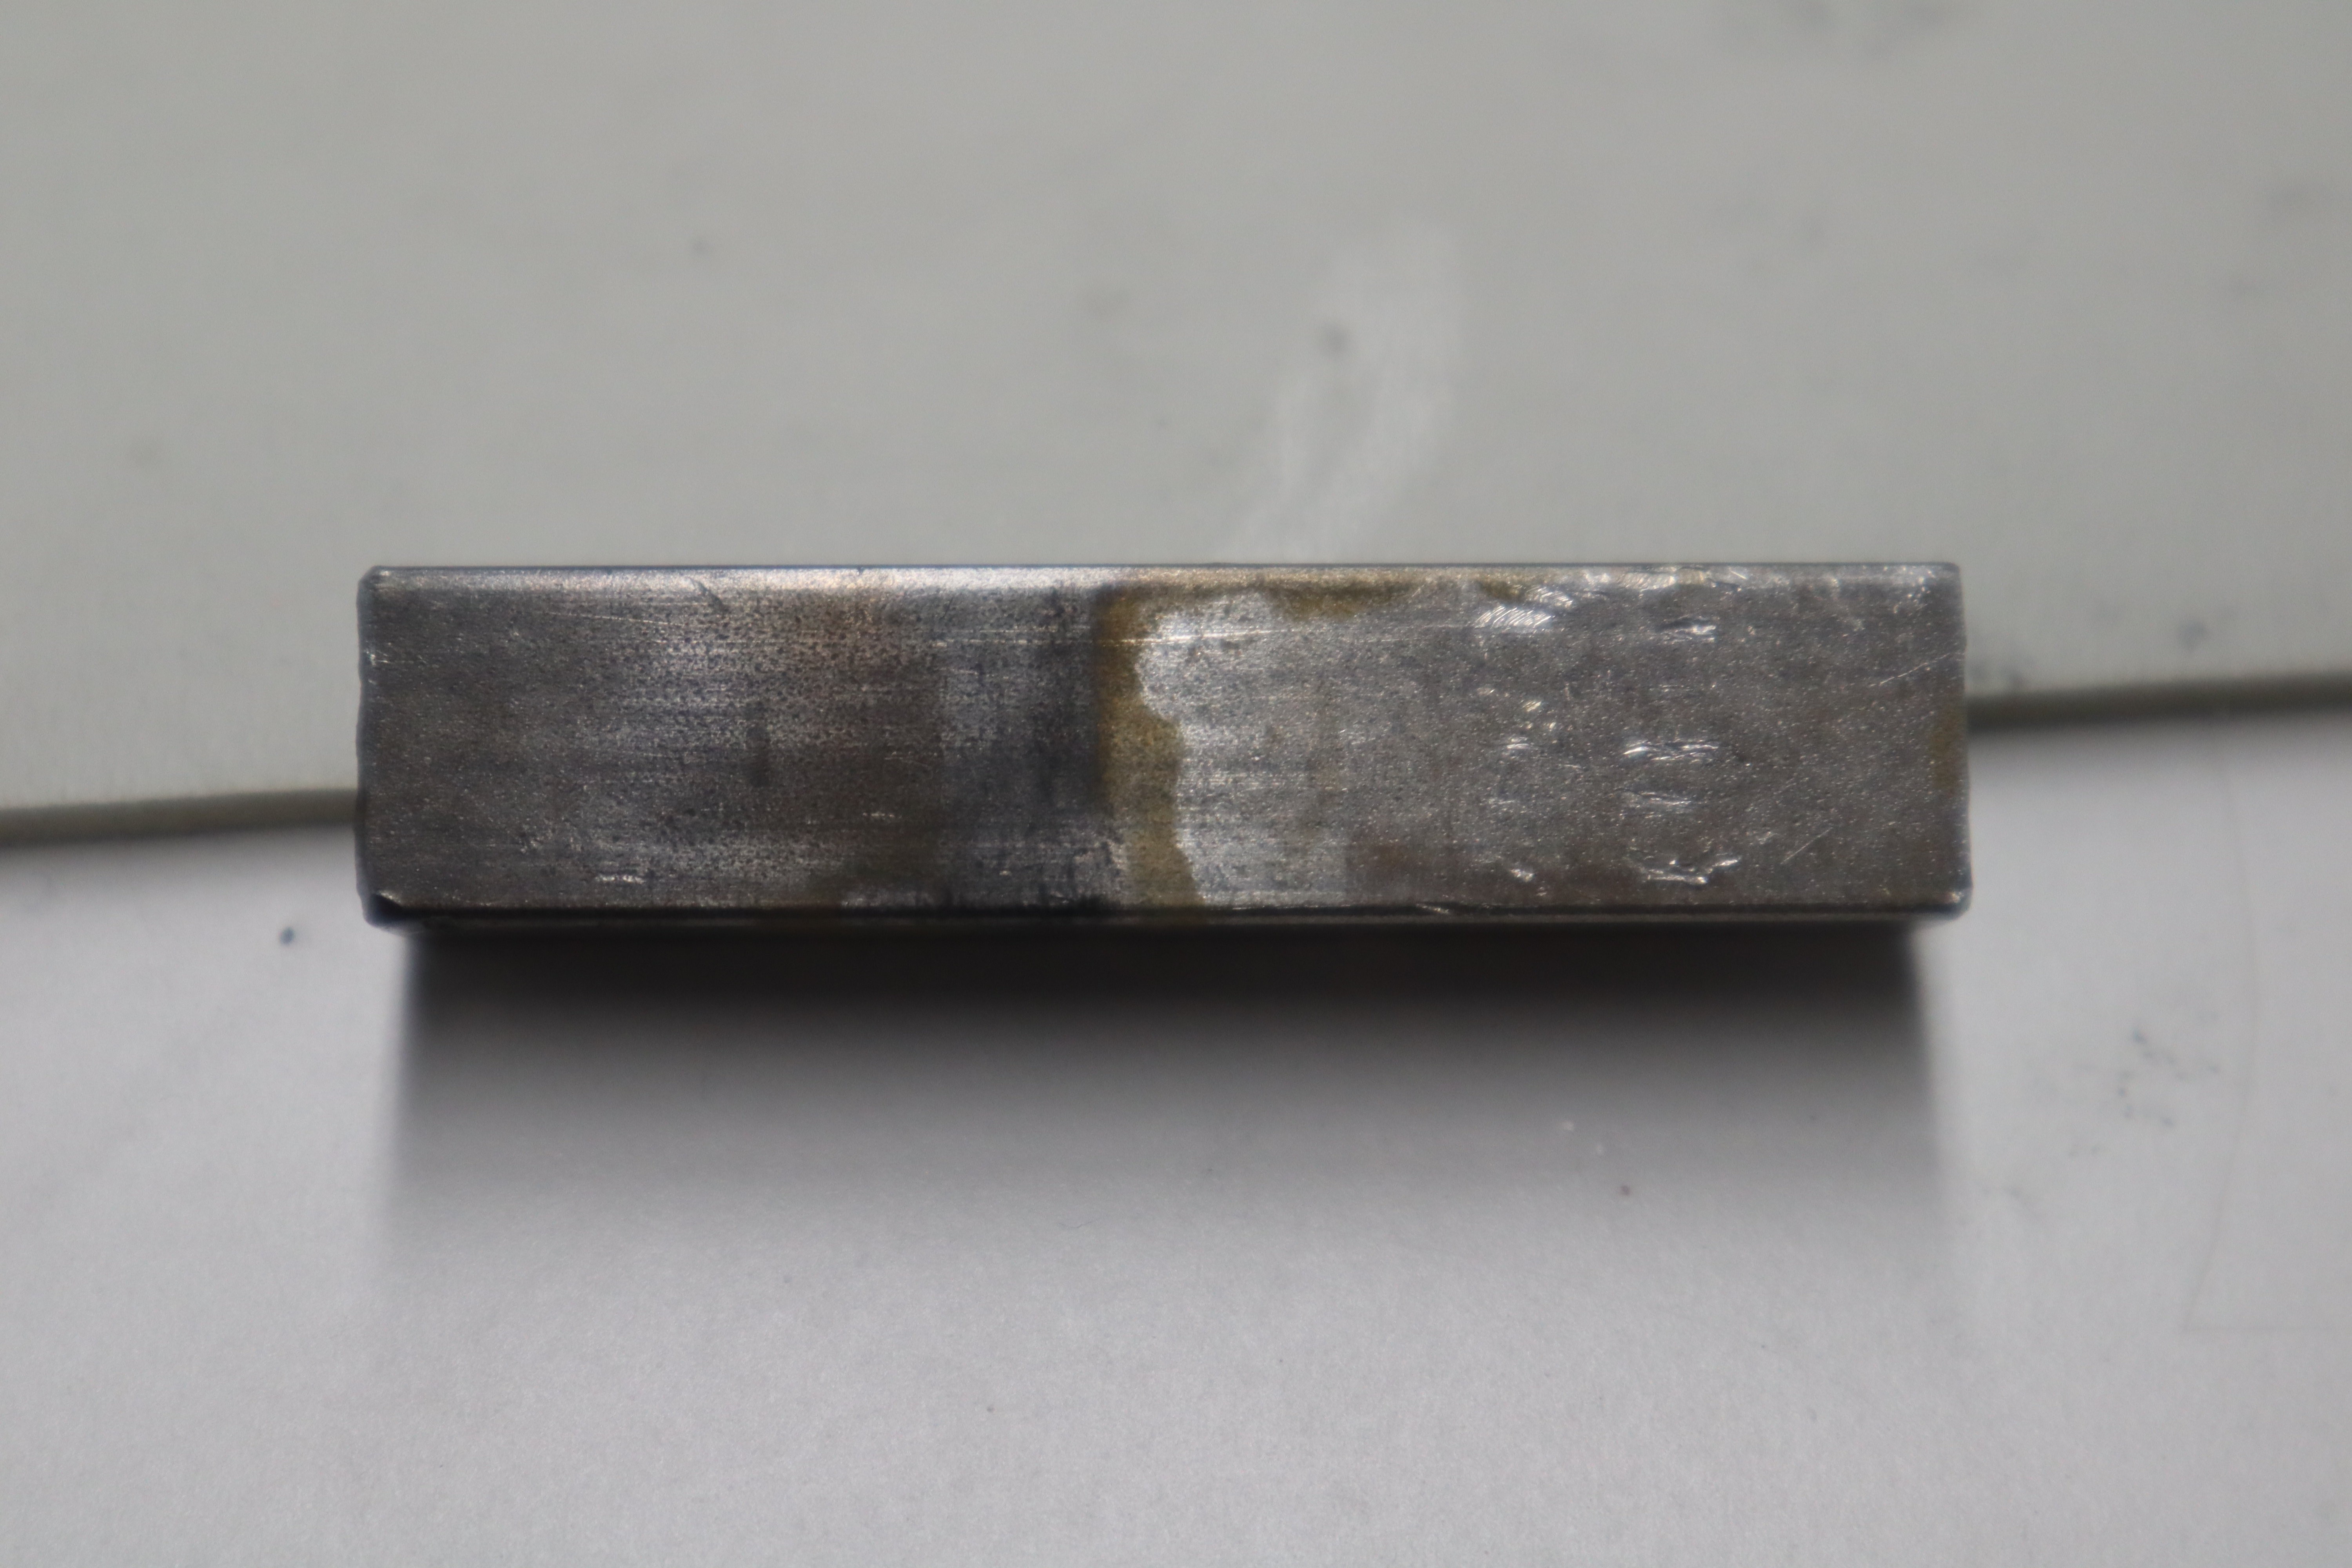
There is a thin dark layer of presumably magnetite nanoparticles in the dipped section after running for an hour at the recommended 140C, but it's barely distinguishable and definitely not thick enough to resist abrasion. Moreover, partially submerging the parts led to rust at the air-liquid interface, where the solution didn't limit oxygen diffusion and control the surface chemistry of the iron It may also be that the iron exposed to salt and air galvanically protected the region below the fluid from forming magnetite at a faster rate. I was hoping for a cleaner interface; perhaps there is an electroplating process that can do that. Worst case scenario I could black oxide coat the whole part, then machine away the coating where it isn't needed. Later on I thought of another solution described further below, which works well for my purposes.
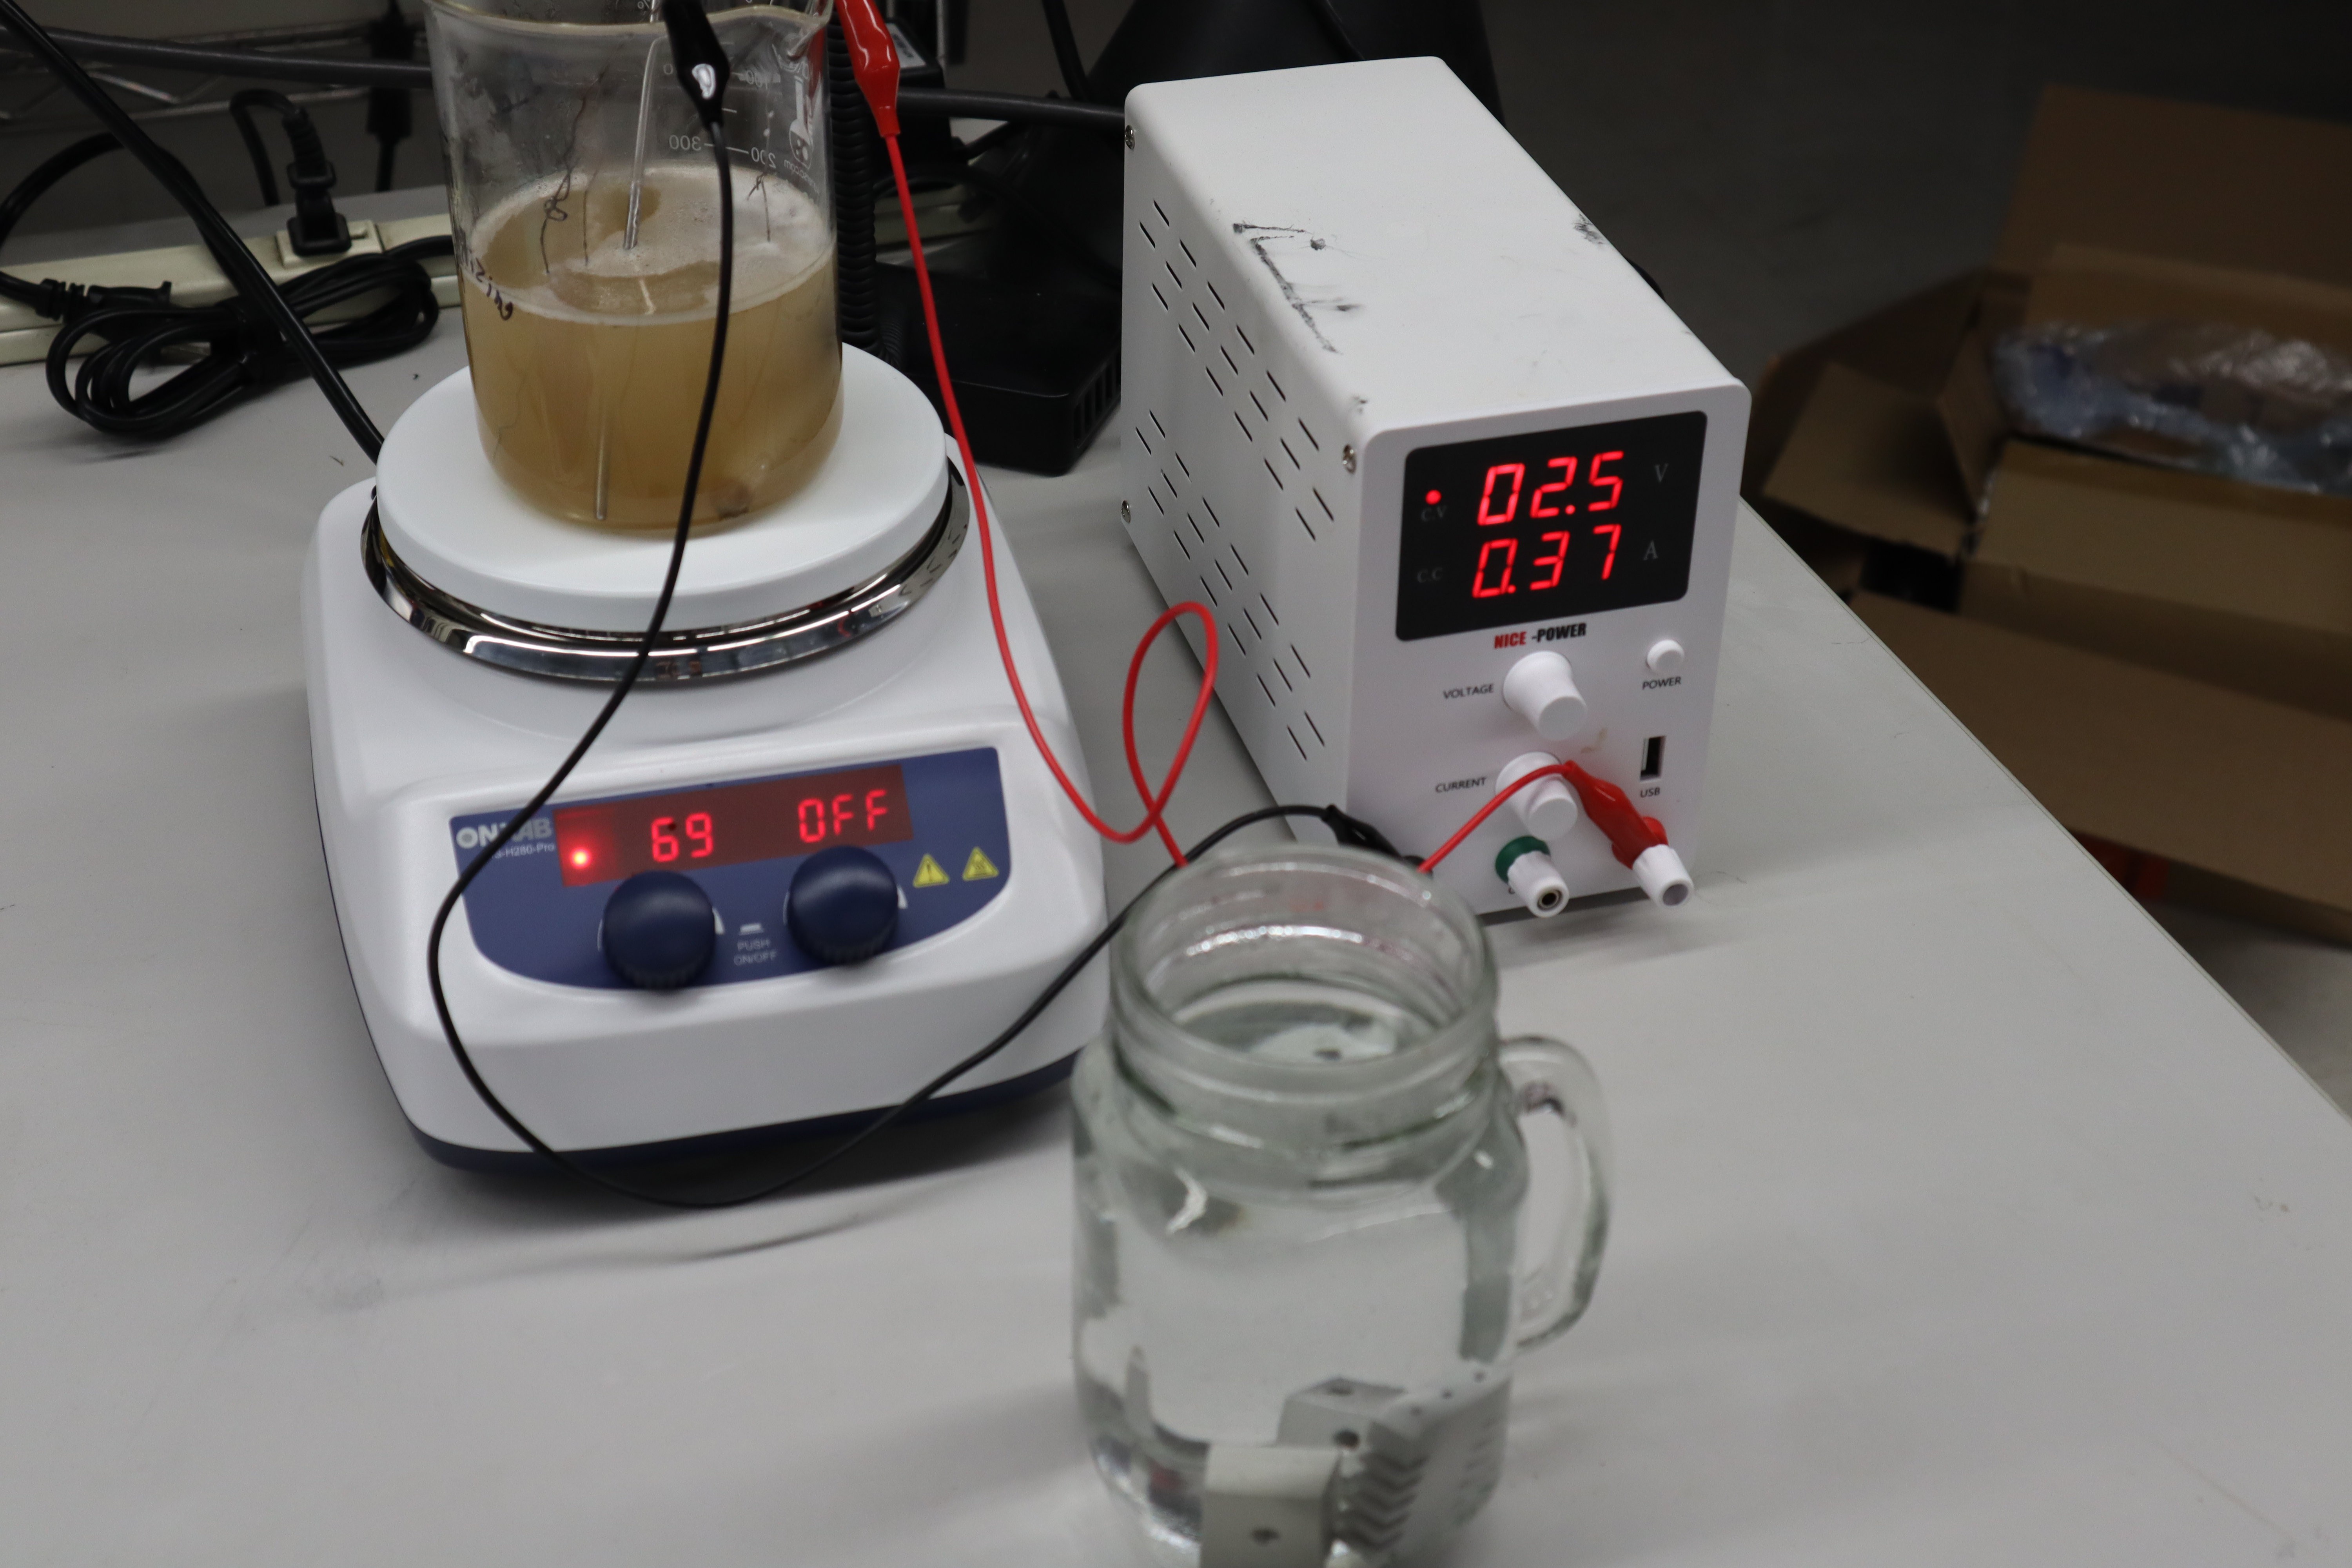
So then began a series of additional tests with anodization, and in the process I discovered that TSP-borax electrolytes are perfect for anodizing titanium, in case that becomes useful later on. The electrochemical attempt at black oxide coating steel shown above ended in relative failure: the oxide coating was nice and dark, but did not withstand much abrasion and wasn't electrically insulating or corrosion resistant. In the end I opted for standard hot tank bluing with a solution of 2 parts sodium hydroxide, one part sodium nitrate by weight, and just enough water to get it mostly dissolved at 140C. Running that process for about an hour ended up with a workable result, but in the future I may need to optimize further.
For anodizing, I just followed this guy's instructions for aluminum anodizing here and it worked like a charm. I think I used 12 grams of 70% sulphuric acid per 1000 grams of distilled water, so it was a little bit overly concentrated compared to what other people use. I didn't even wire brush or sand blast the parts ahead of time, they just had their typical machined surface finish, and the surface finish at the end reminded me of a Macbook Pro's surface finish, with the machining marks hardly noticeable.:
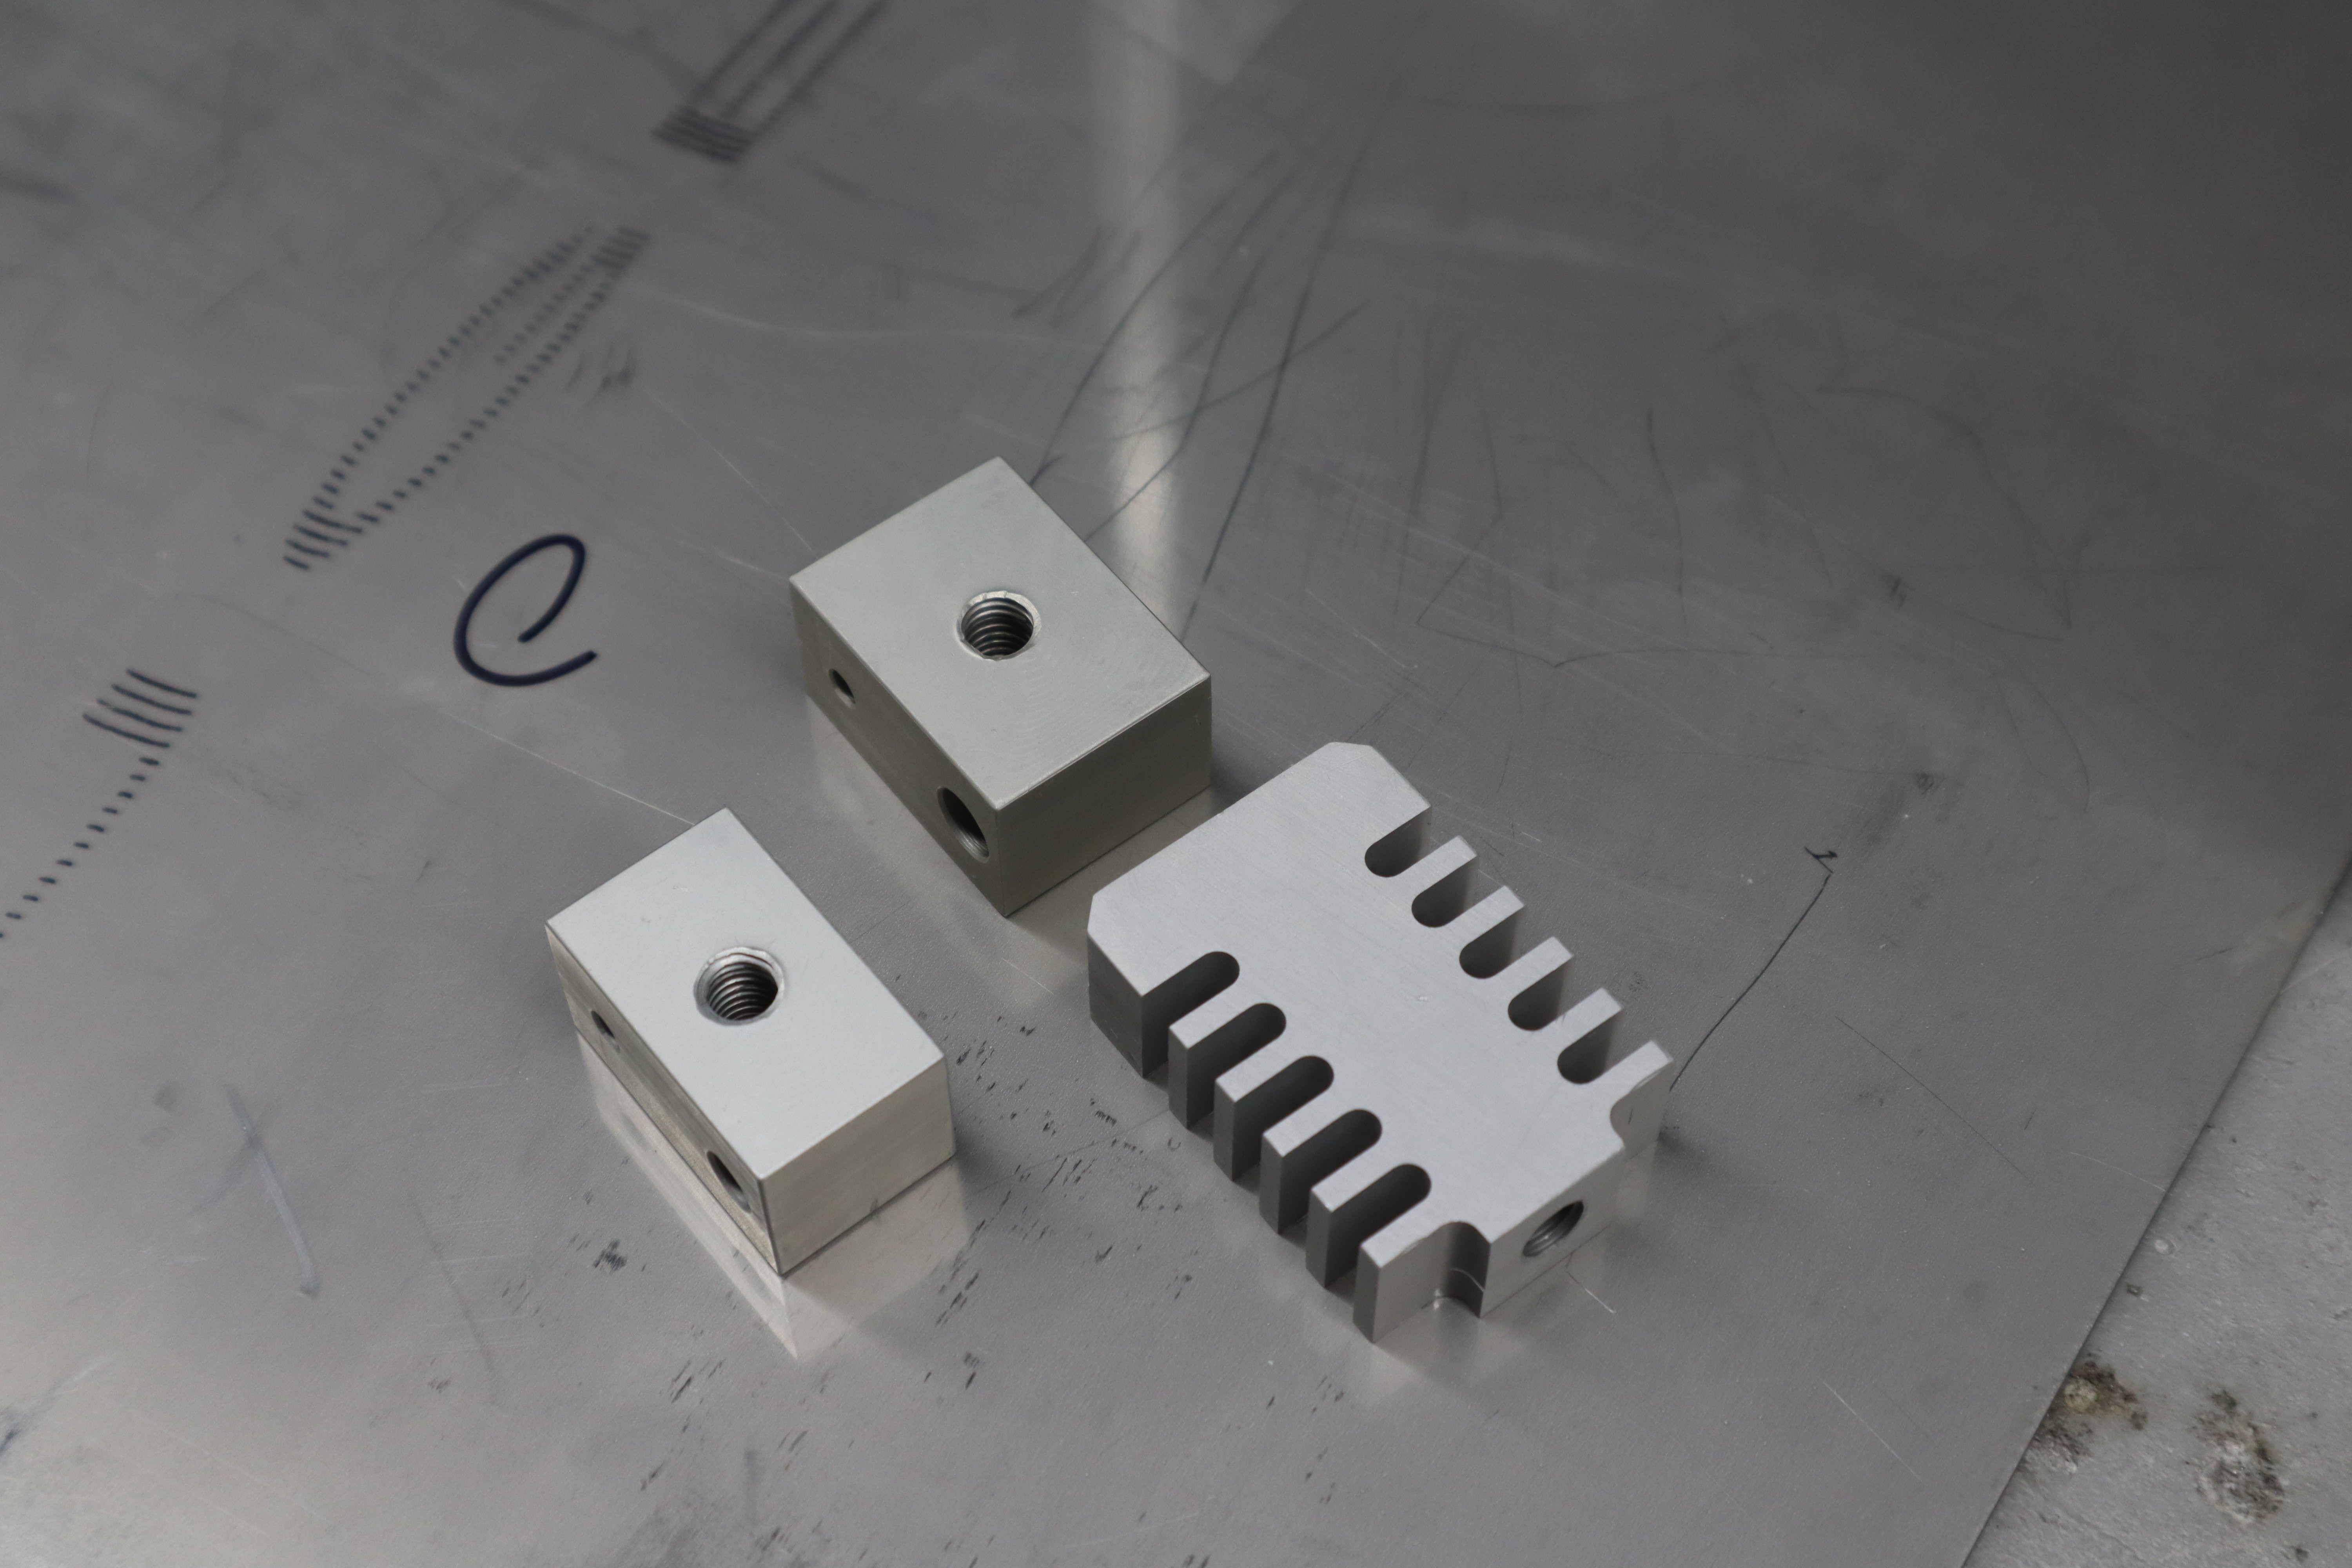
That said, I'd like to go even further in the future and try hard oxide coating, where you chill the sulfuric acid bath to near freezing then dump many amps through it at 100 volts or more. Hard oxide coatings on aluminum and titanium can be extremely abrasion and corrosion resistant.
I realized that my printing alloy melted around 240C, well above the temperatures required for black oxide coating steel. To selectively keep surfaces wettable, I filled or covered those regions with my printing alloy as a mask. Like these drilled vias in these components about to be black oxide coated.
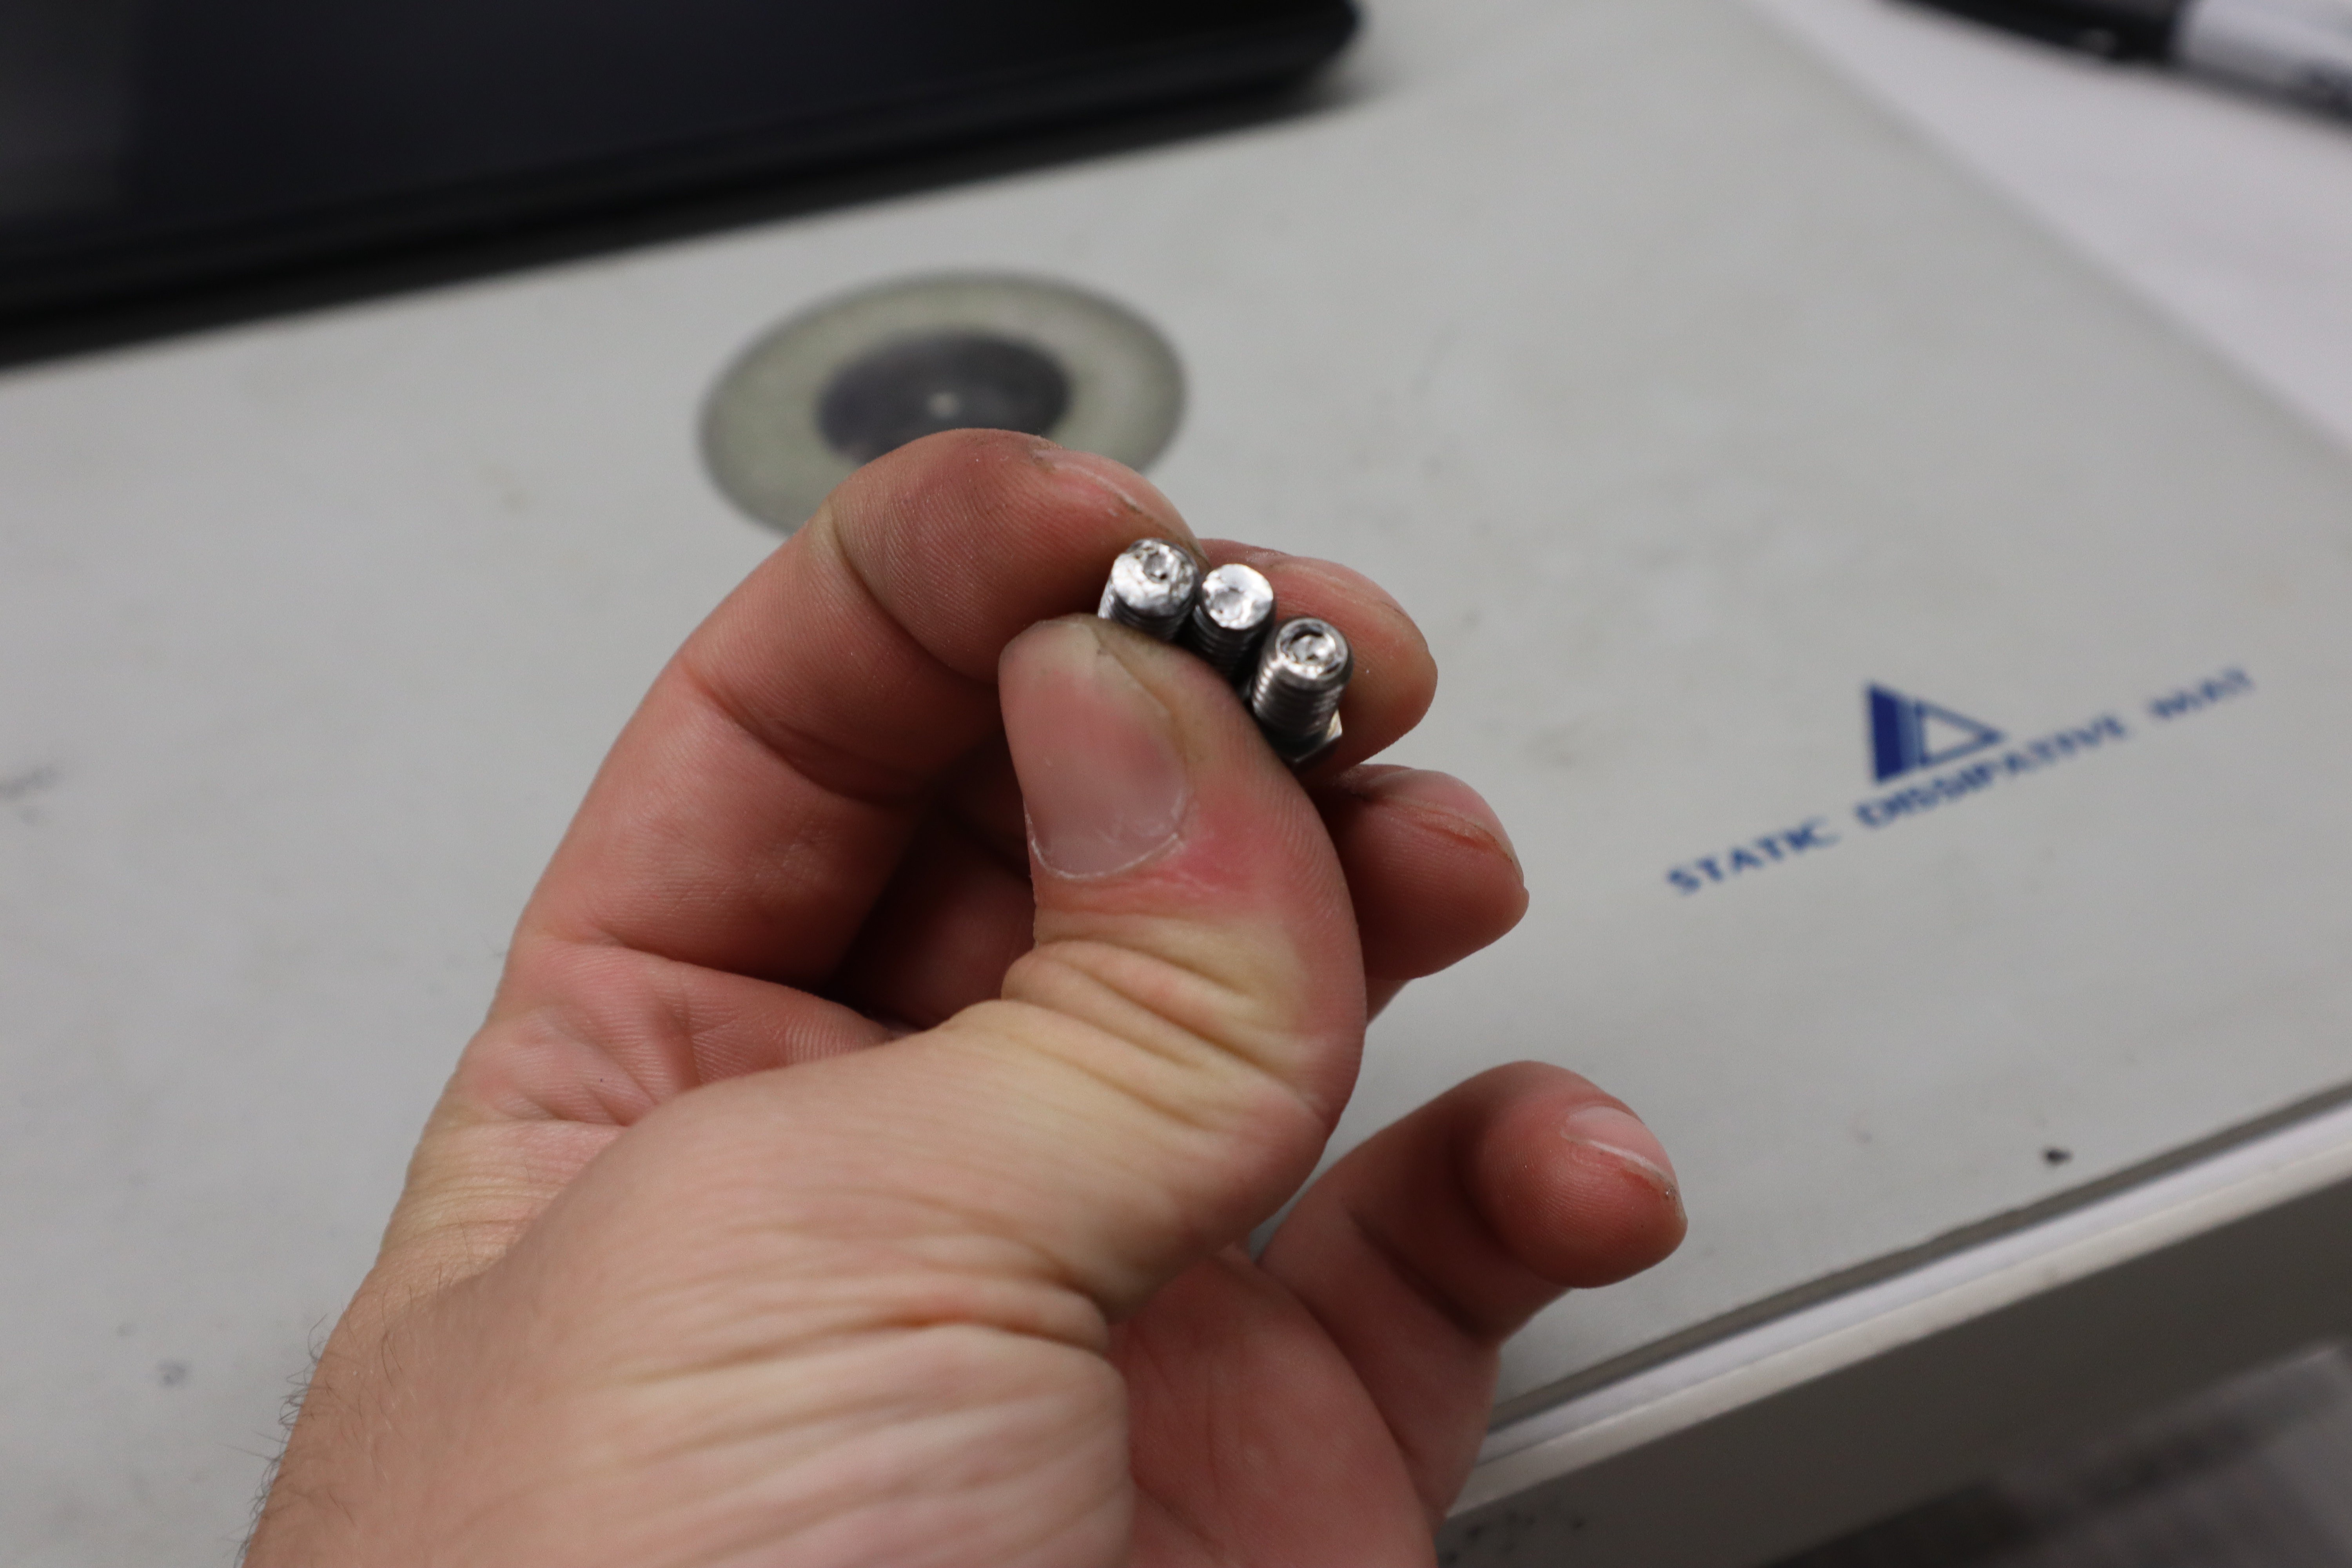 An M2 tool steel extruder with a rough attempt at patterned wetting properties at the tip. M2 tool steel offers excellent wettability but low solubility in molten zinc alloys, so it makes for an excellent nozzle for this kind of printing. All the threads required anodization or black oxide coating because, as I have learned, you do NOT want to encourage the molten metal to wick into the threads and squeeze out via capillary action. That happened to me once at a previous company: once the liquid metal wicks in and wets the threads, it's virtually impossible to stop and you generally have to throw away the whole component and make a new one, or abrade away all the related surfaces and hope you have a usable part at the end of that.
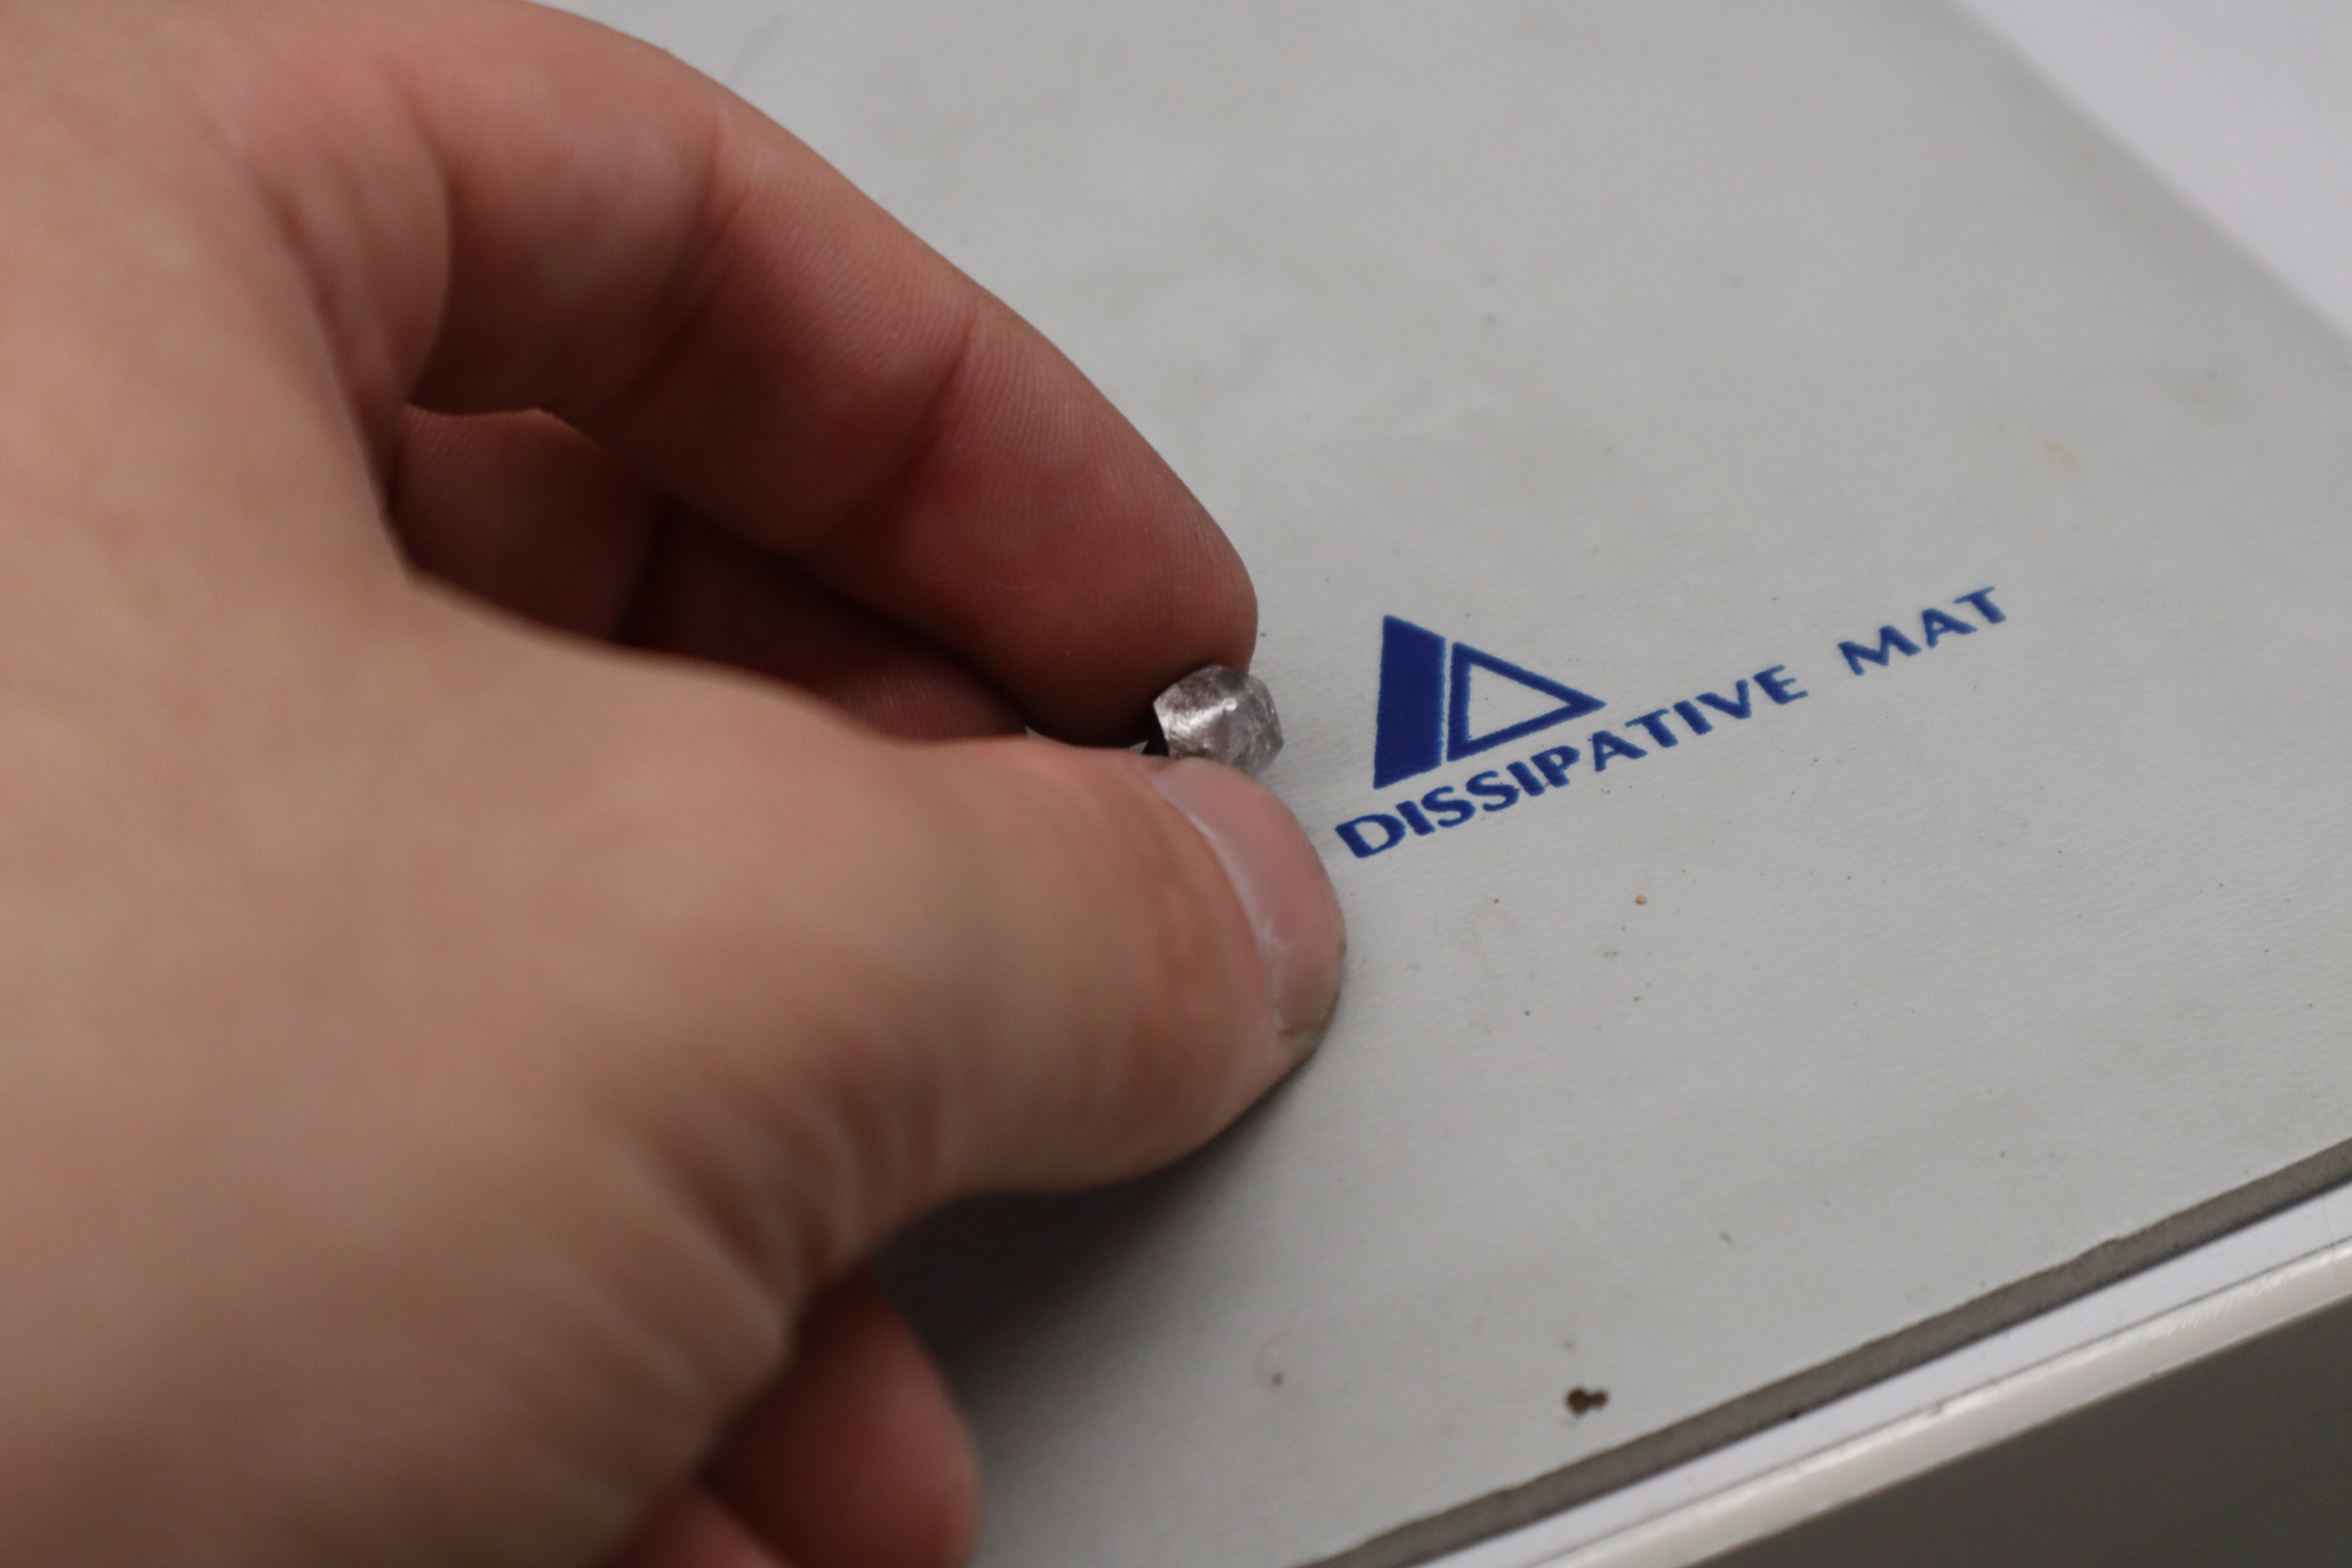
Here are the finished black oxide coated and anodized components, ready for use in the extruder. Thanks to NinjaRobot for machining these for me!
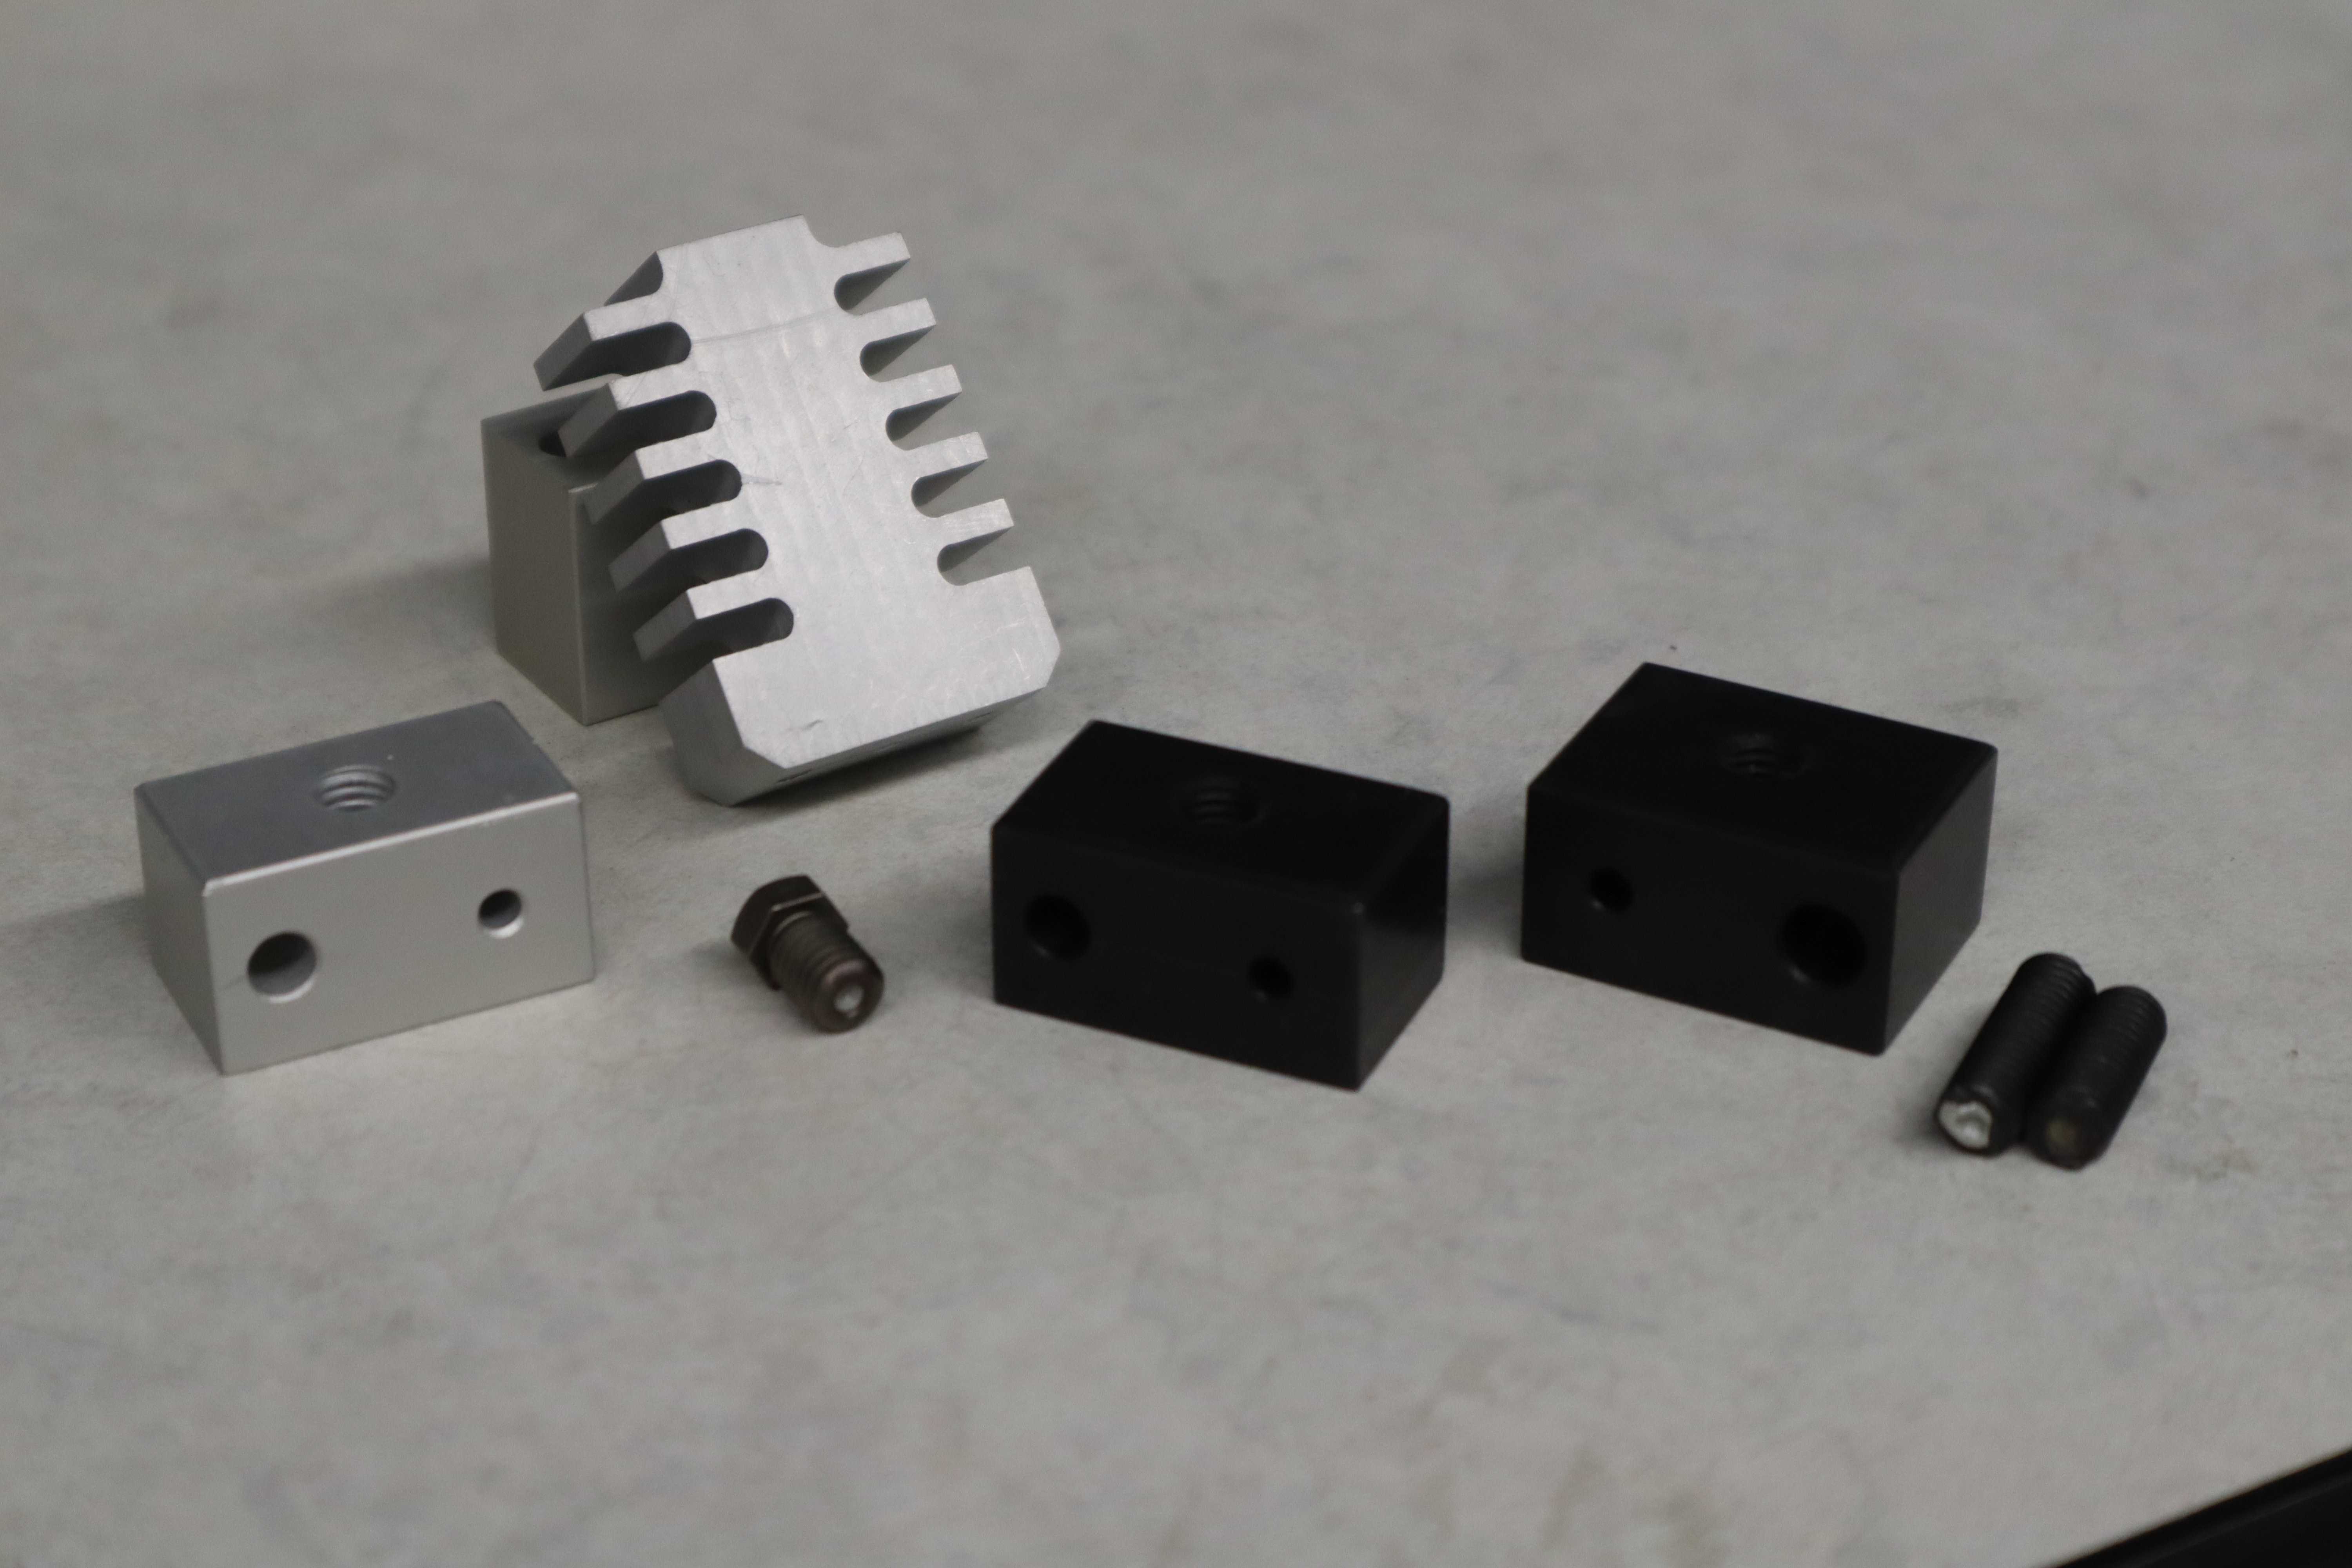
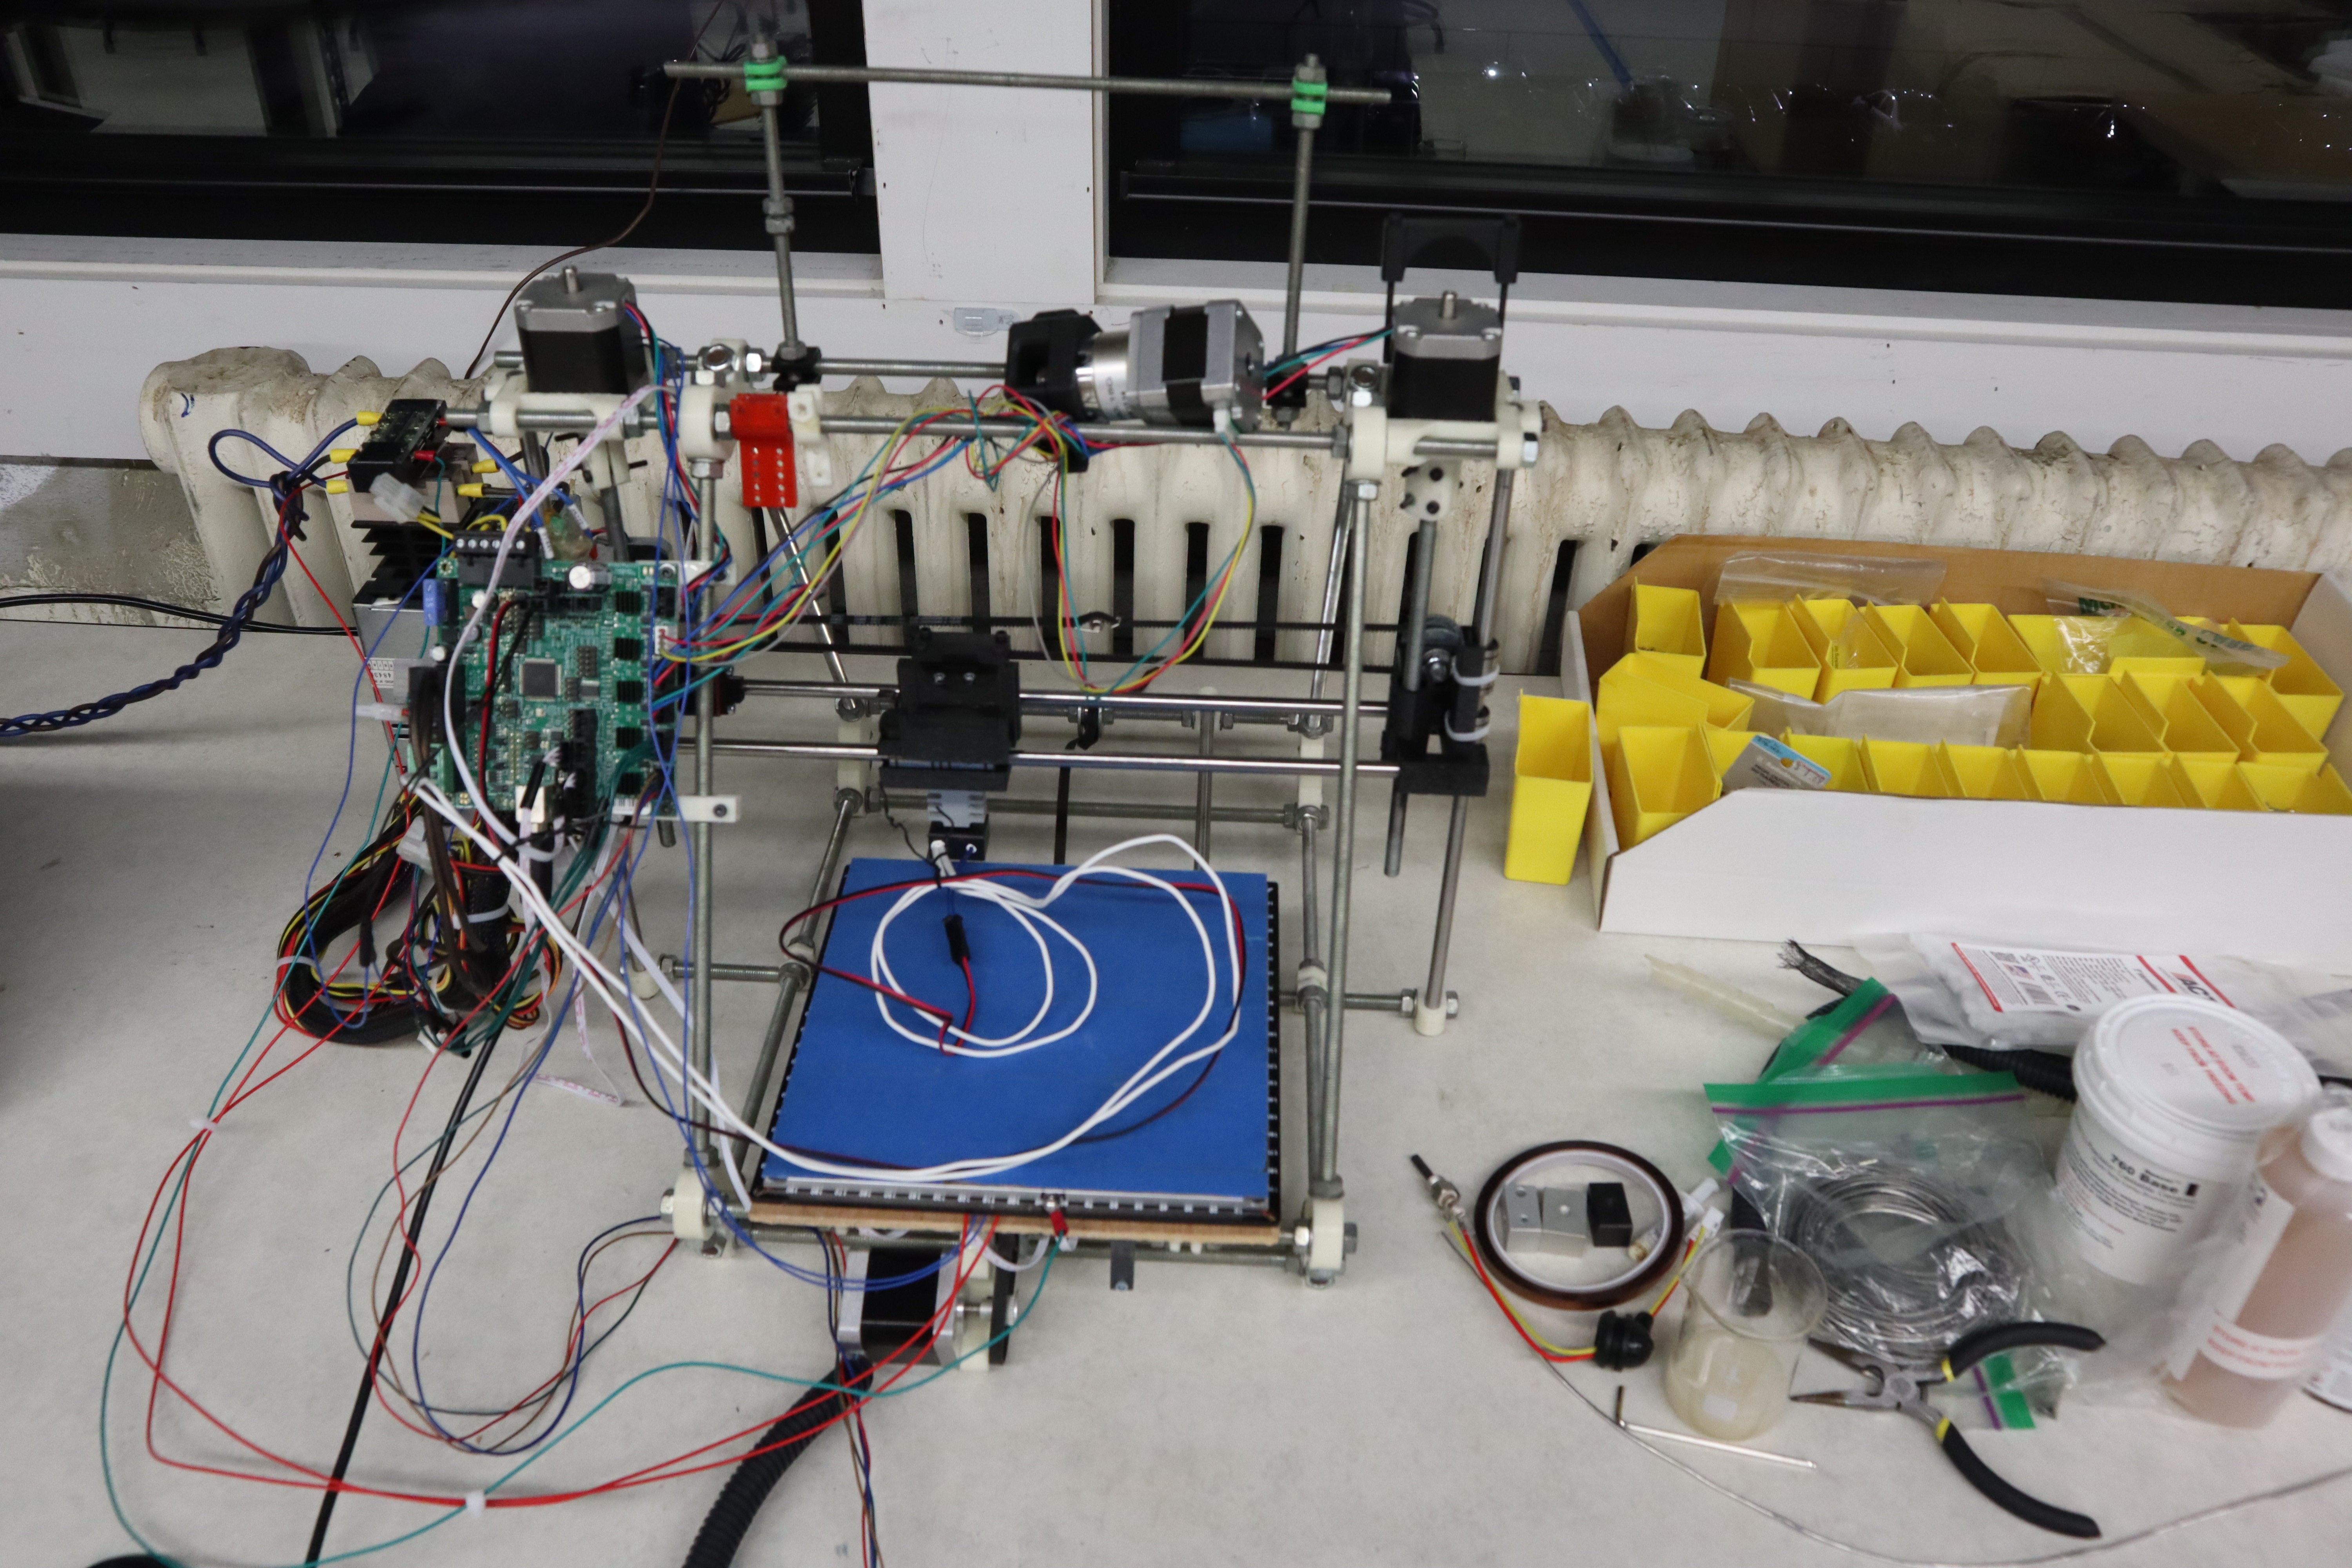
Finally, with those done, it was time to assemble my new extruder for molten metal, and get it on a working printer! Womp womp... I haven't touched my old Prusa in at least 5 years and it needed some TLC.
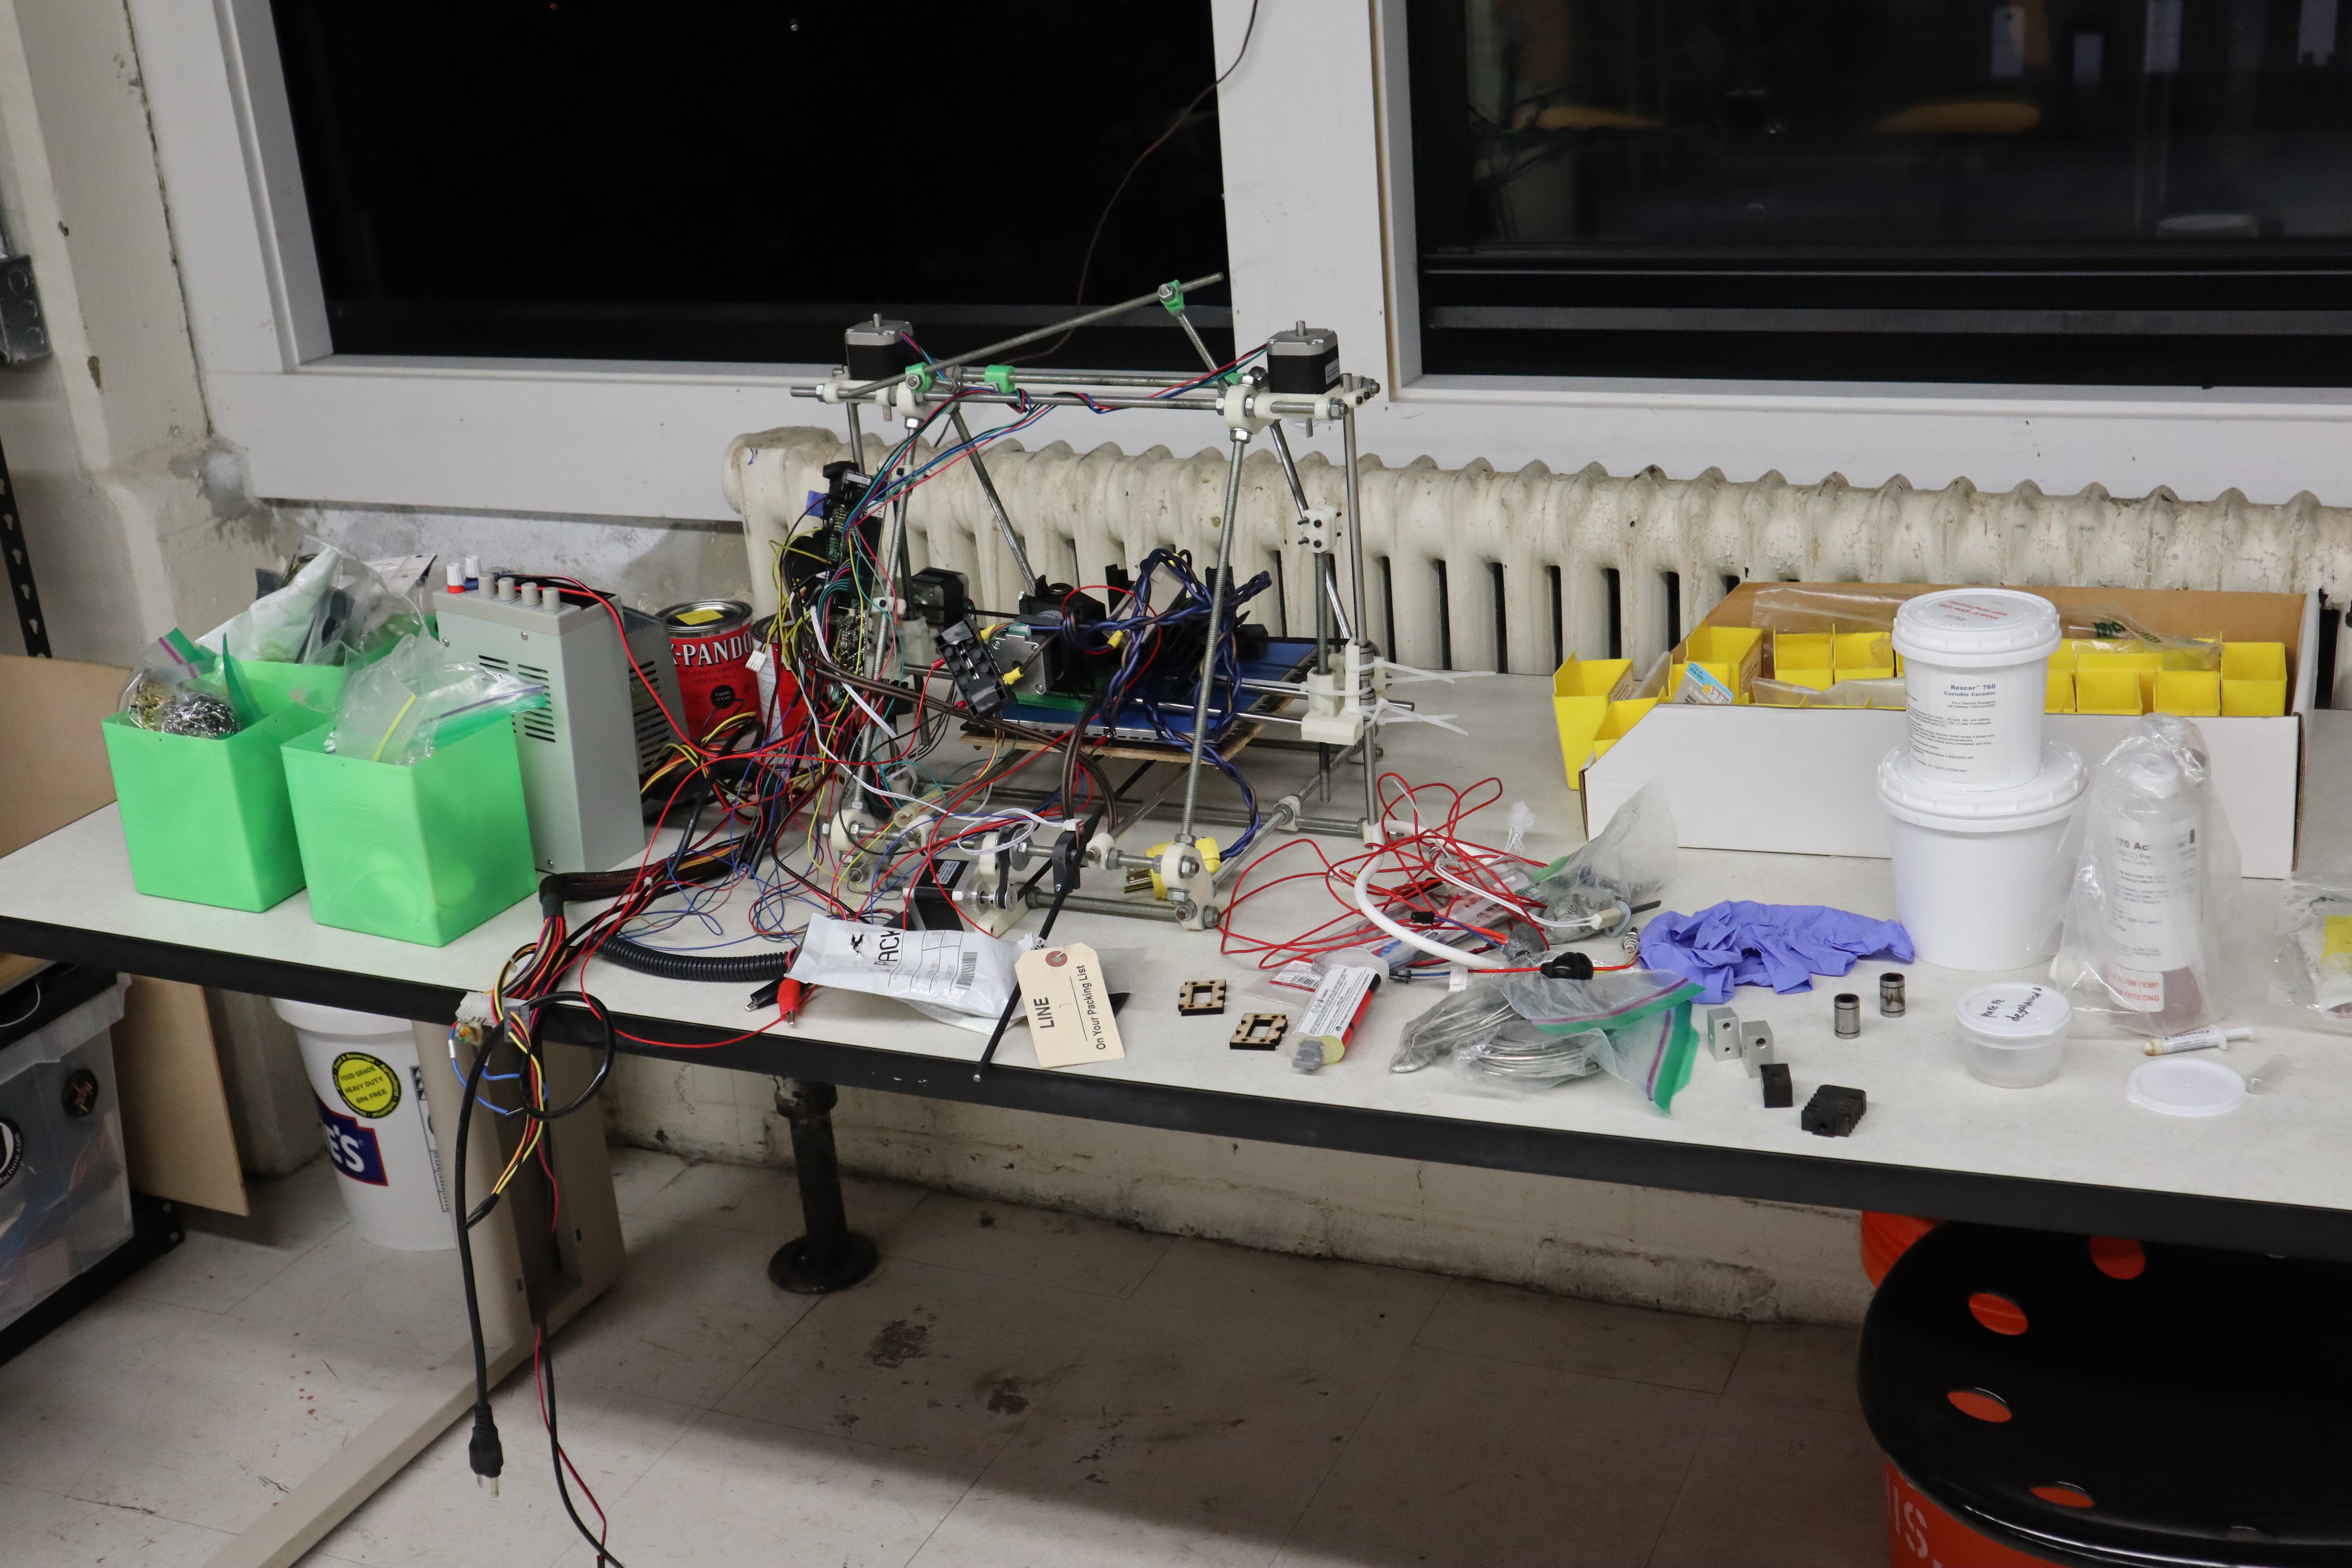
After much effort, barring a bit more wire management, my printer is just about ready to go! Metal printing experiments start today
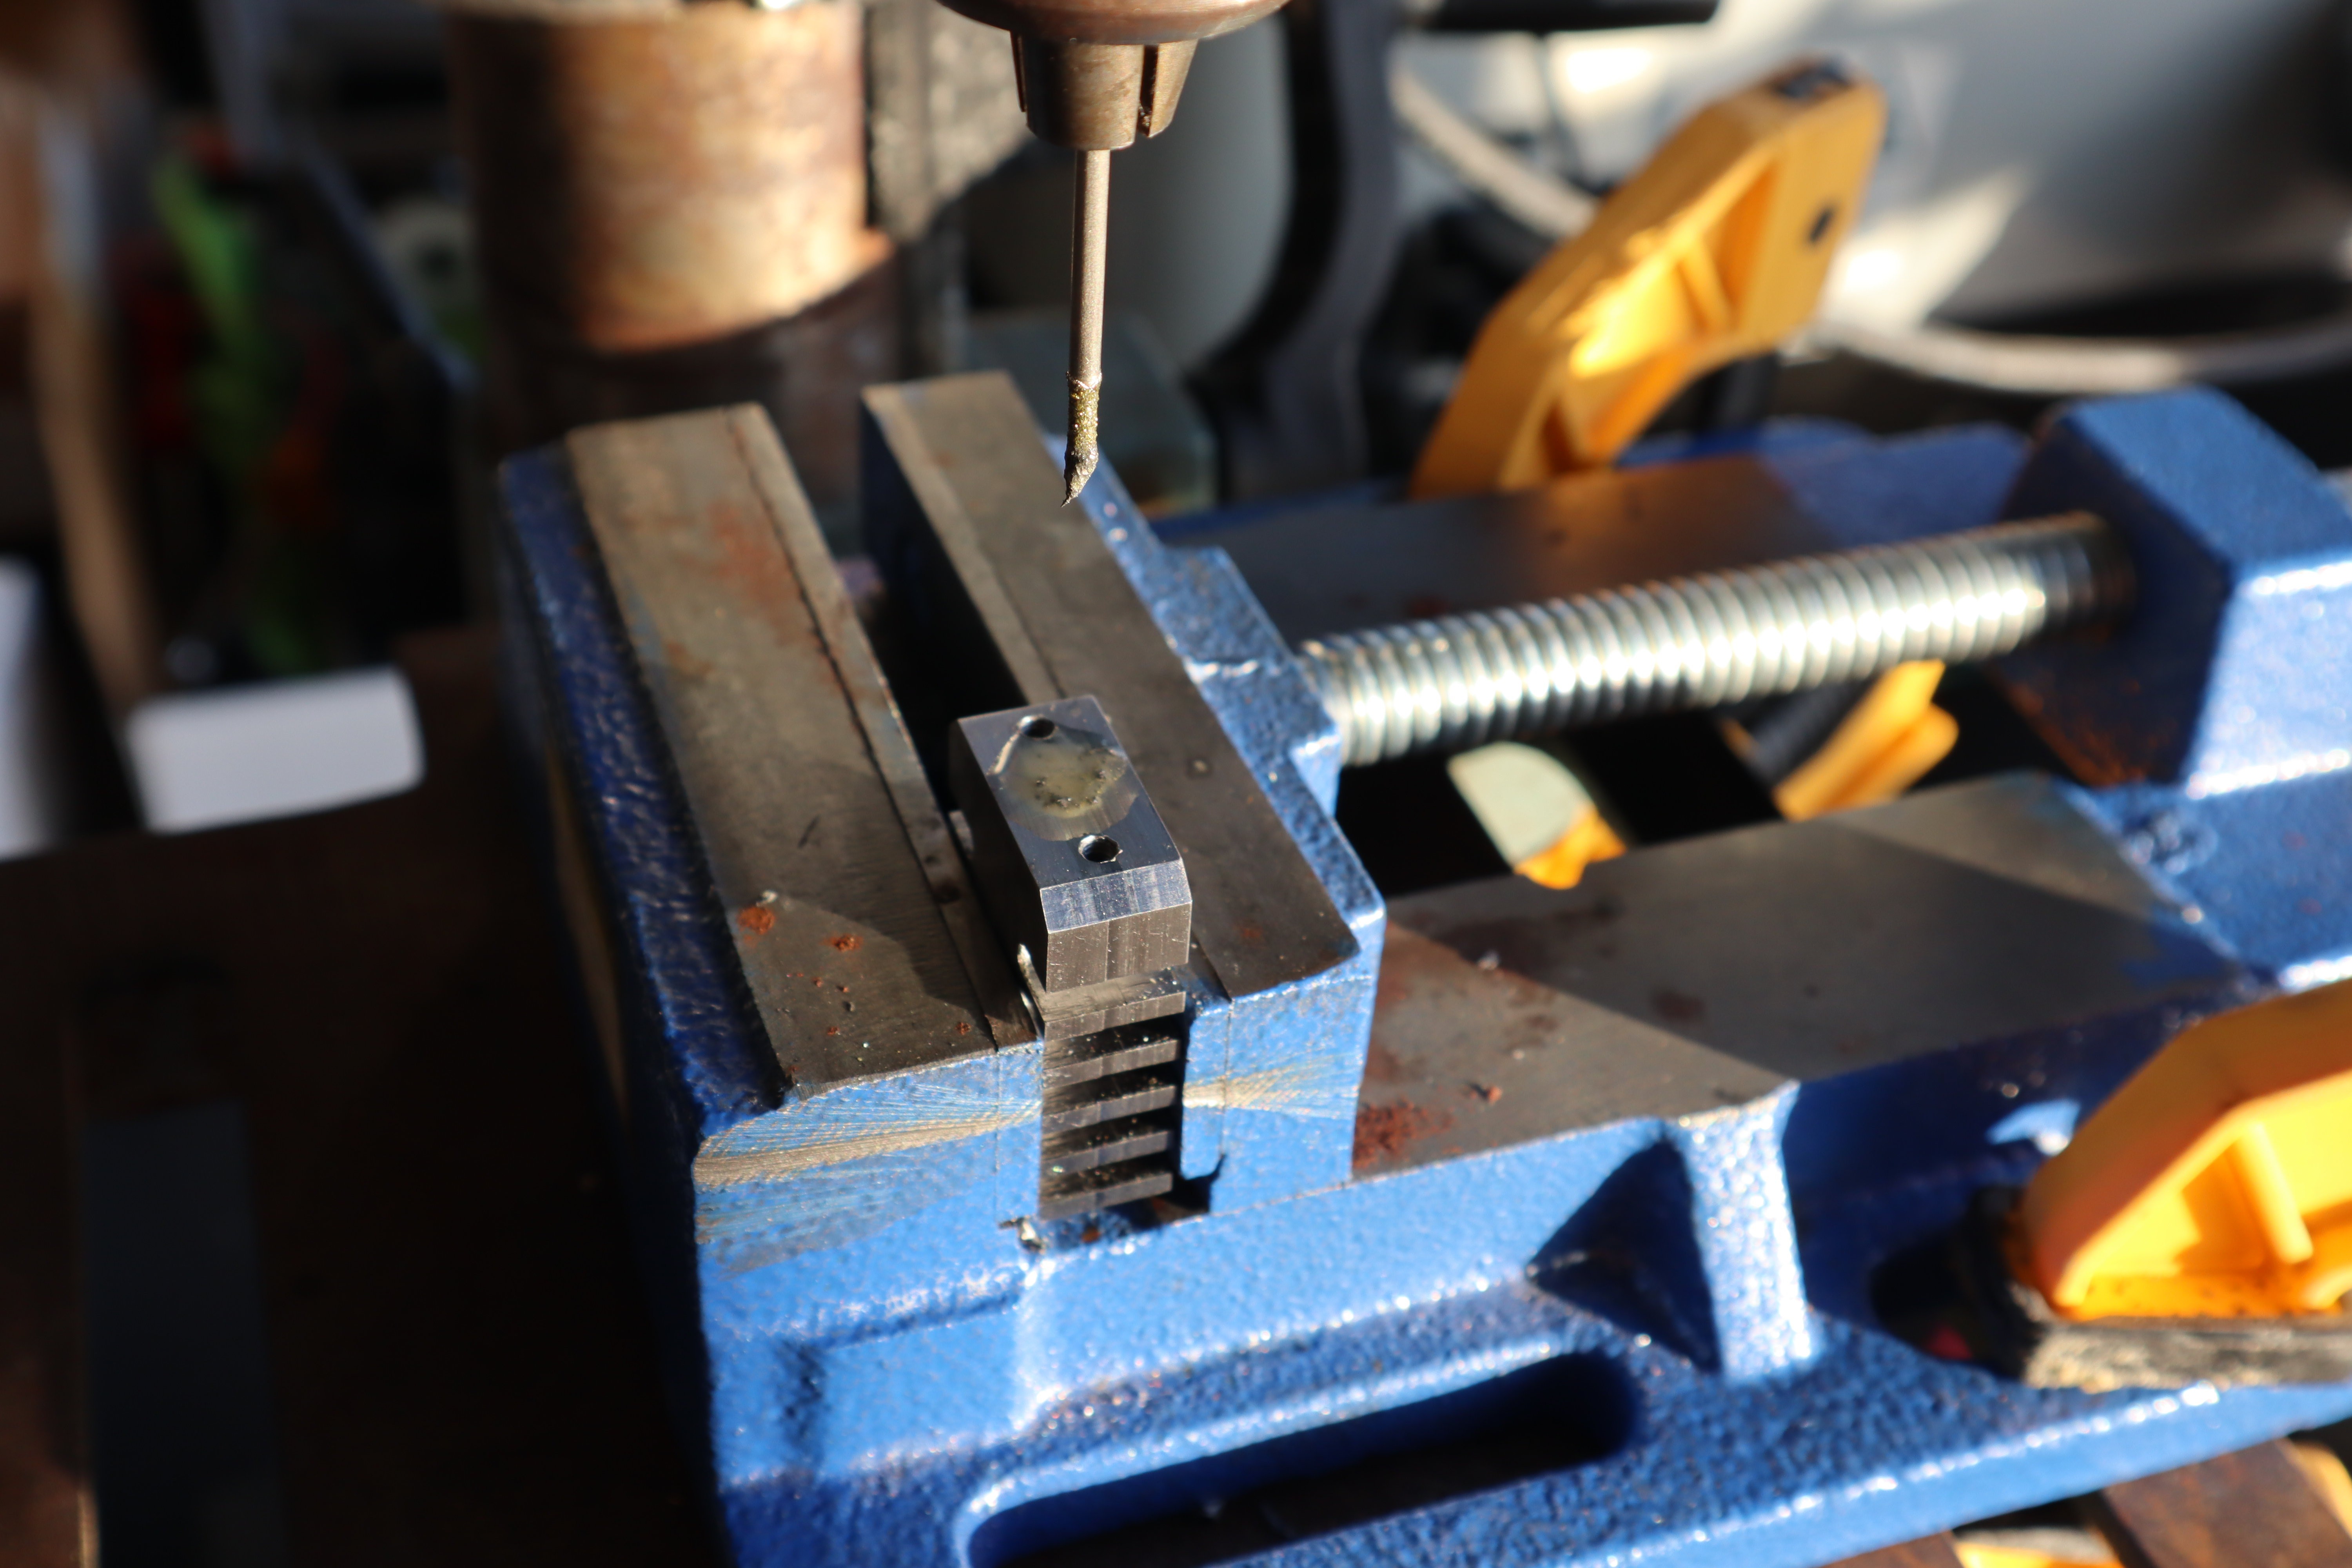
On a somewhat unrelated note I broke a drill bit in one of the components I had hoped to black oxide coat. Luckily, diamond tipped bits are poor man's electric discharge machining if applied very carefully: break one of these in there though and you're just done. Once you've embedded diamonds in there, there's not really a good way to recover.
 Michael Perrone
Discussions
Become a Hackaday.io Member
Create an account to leave a comment. Already have an account? Log In.
Looking forward to seeing some results of the experiments.
Are you sure? yes | no
Thanks! I'm hopeful I'll have it printing by Wednesday so I can upload a video of it.
Are you sure? yes | no