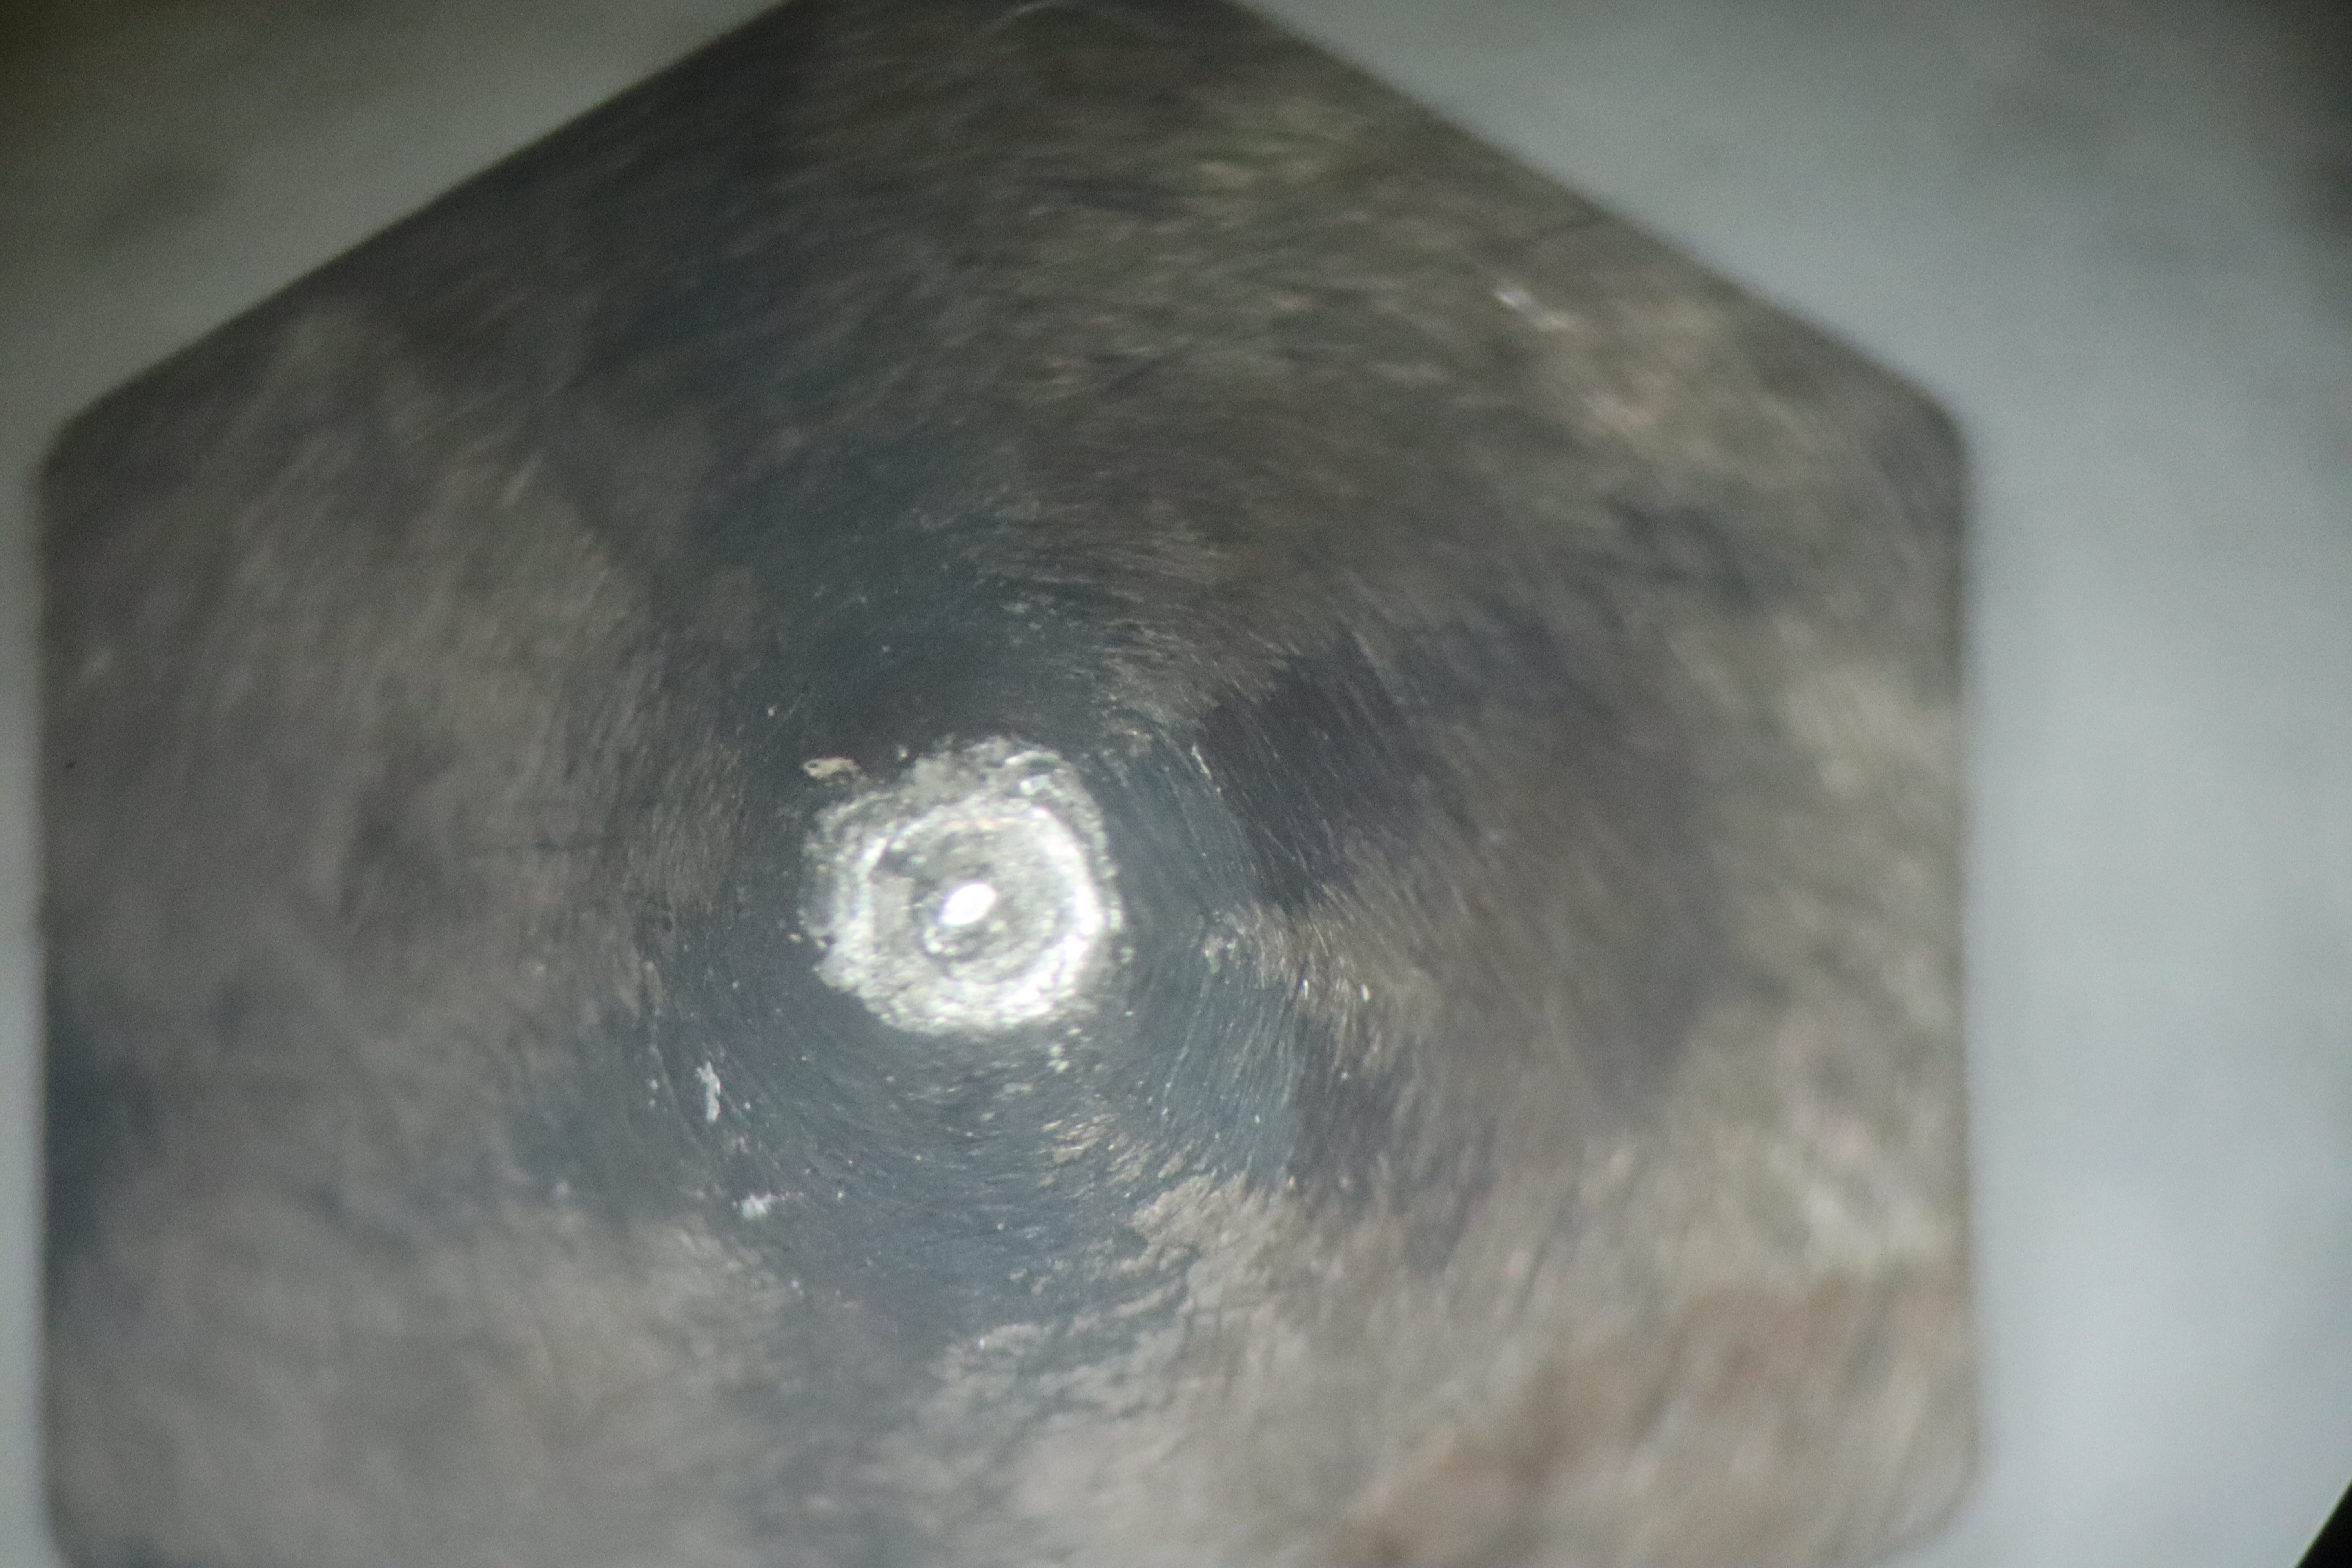
Last project log, I ended with another jamming issue. This time it turned out to be pretty standard jamming compared to the last jamming issue. Even just looking at the nozzle under a microscope, it's easy to see a bunch of nonmetallic stuff there.
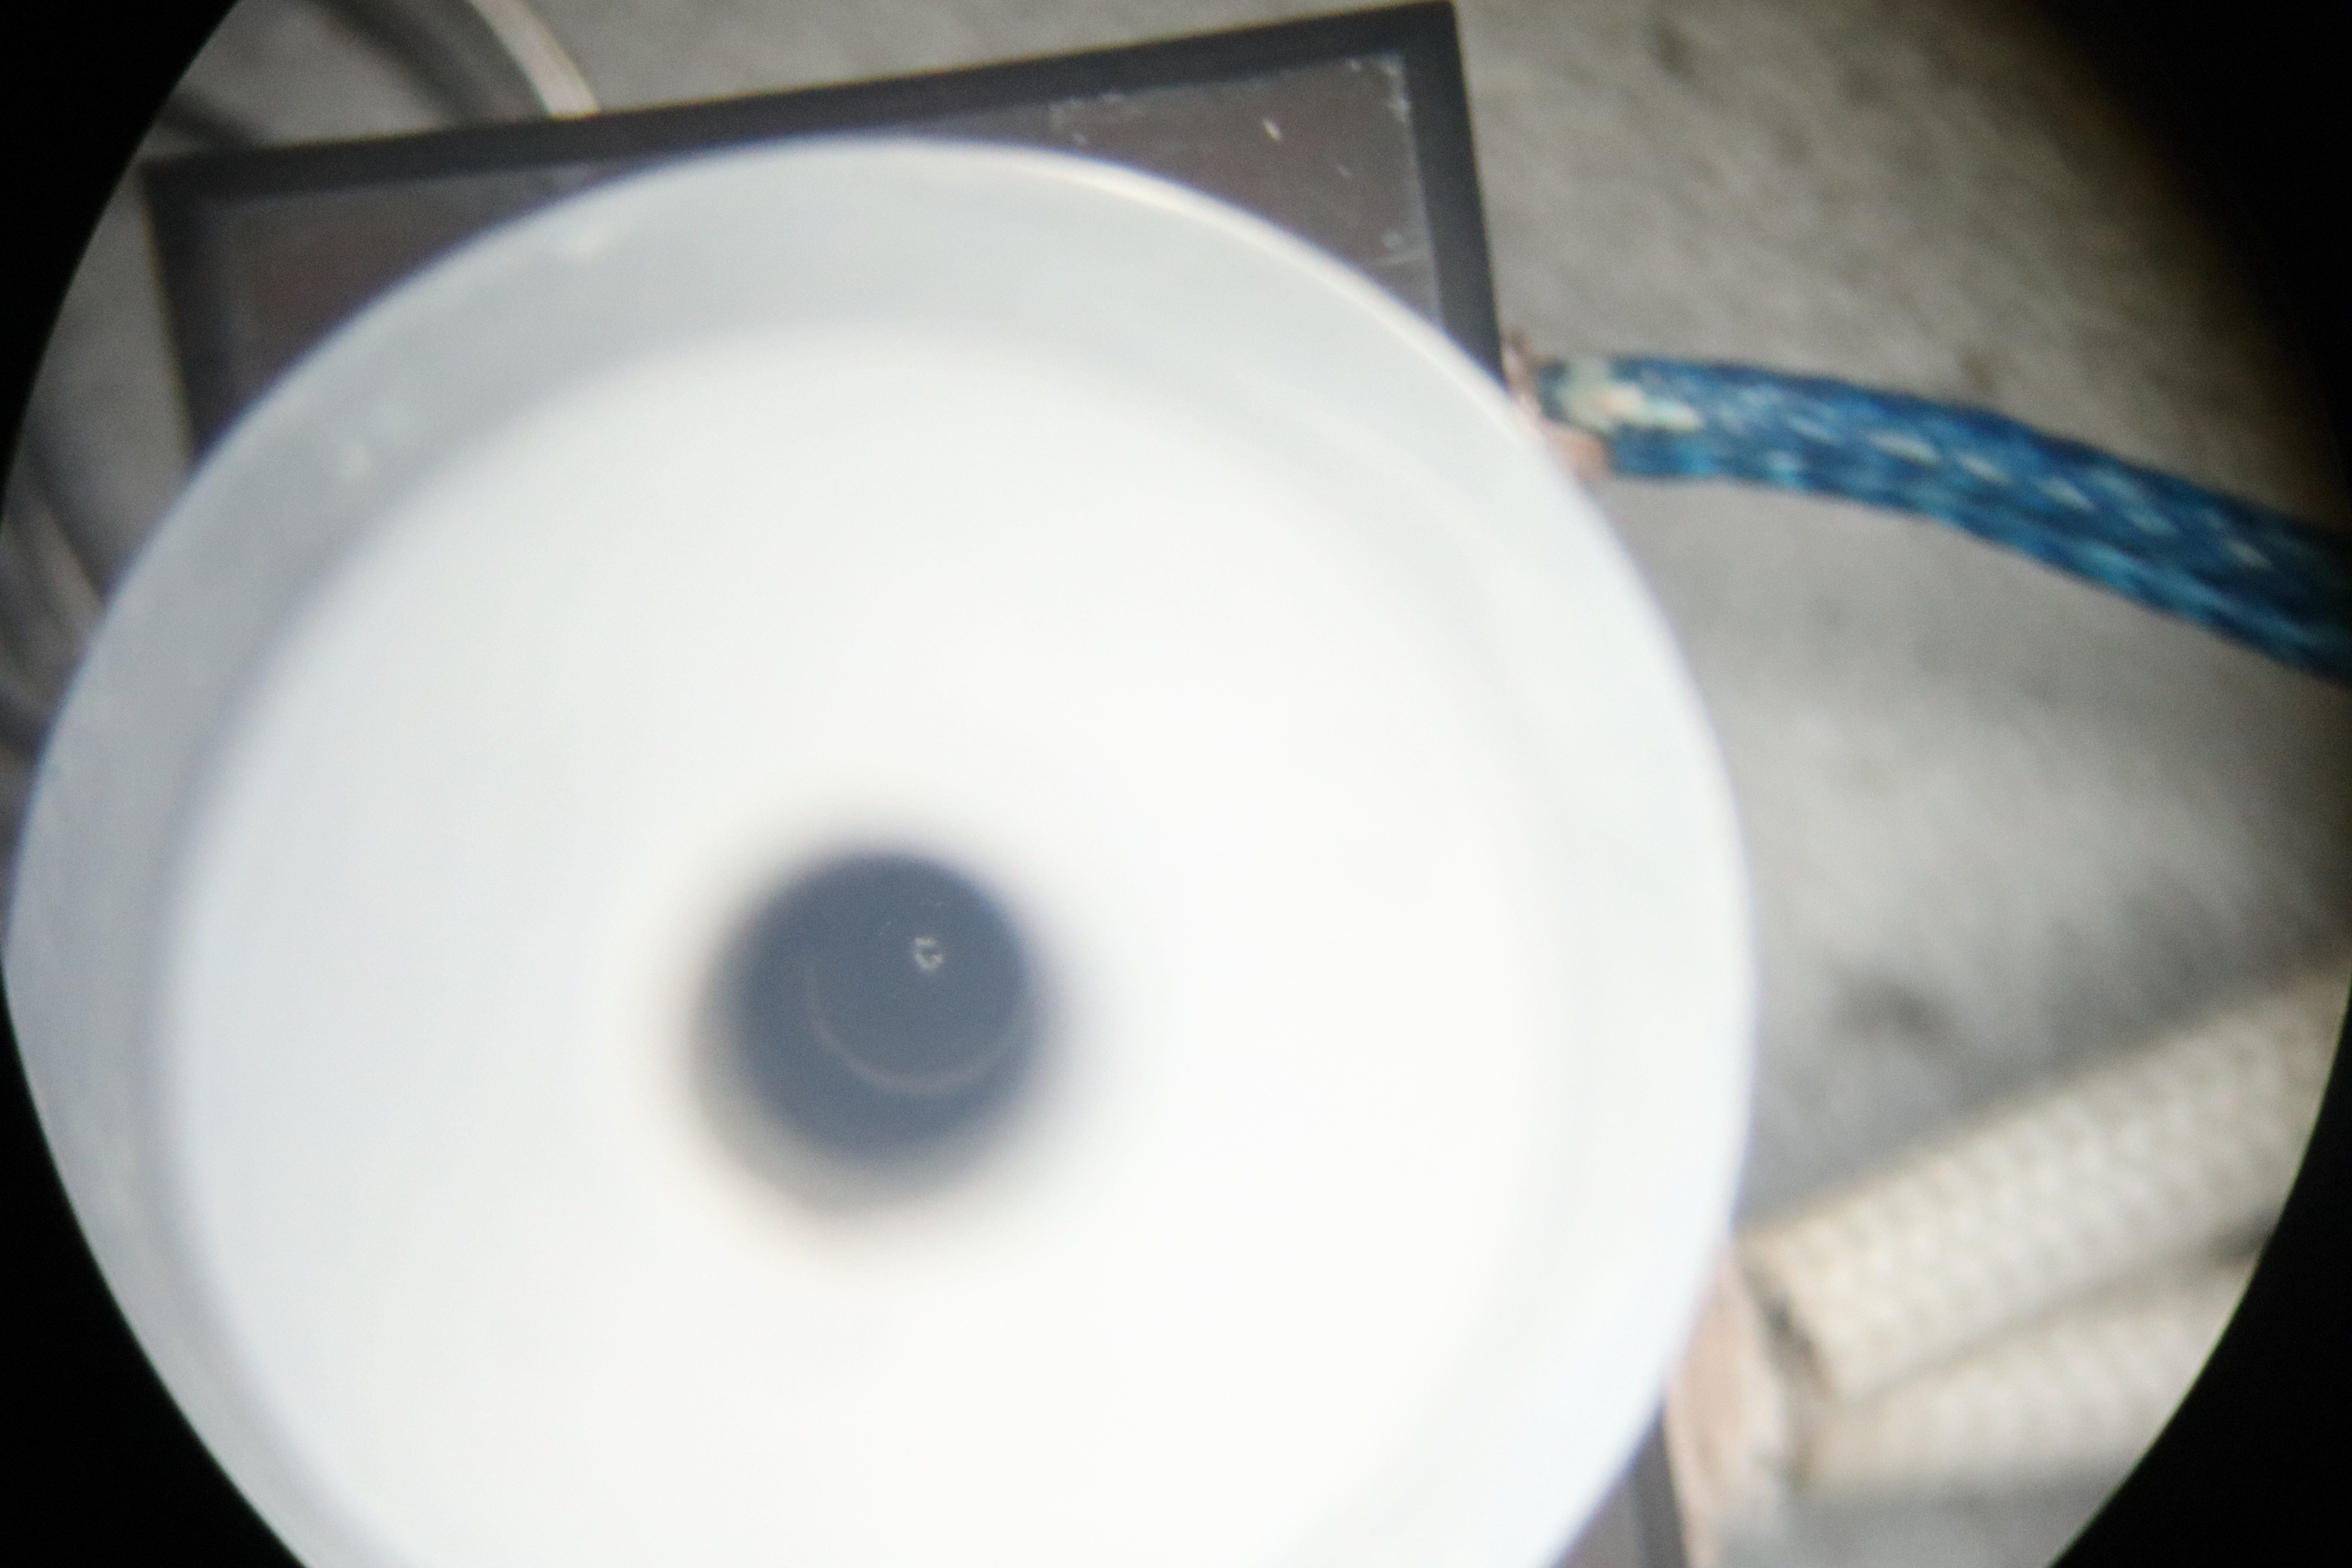
And just to be thorough, I tried removing the filament while the extruder was hot, and it removed and re-inserted nice and cleanly, with a clear and stable interface between the glass gasket-wettable section and the metal-wettable section, enforced by the steep temperature gradient and patterned wettability at the interface. It wasn't so easy to capture with my camera, but was perfectly visible to the naked eye. You can kind of make out the smooth surface of the liquid metal though.
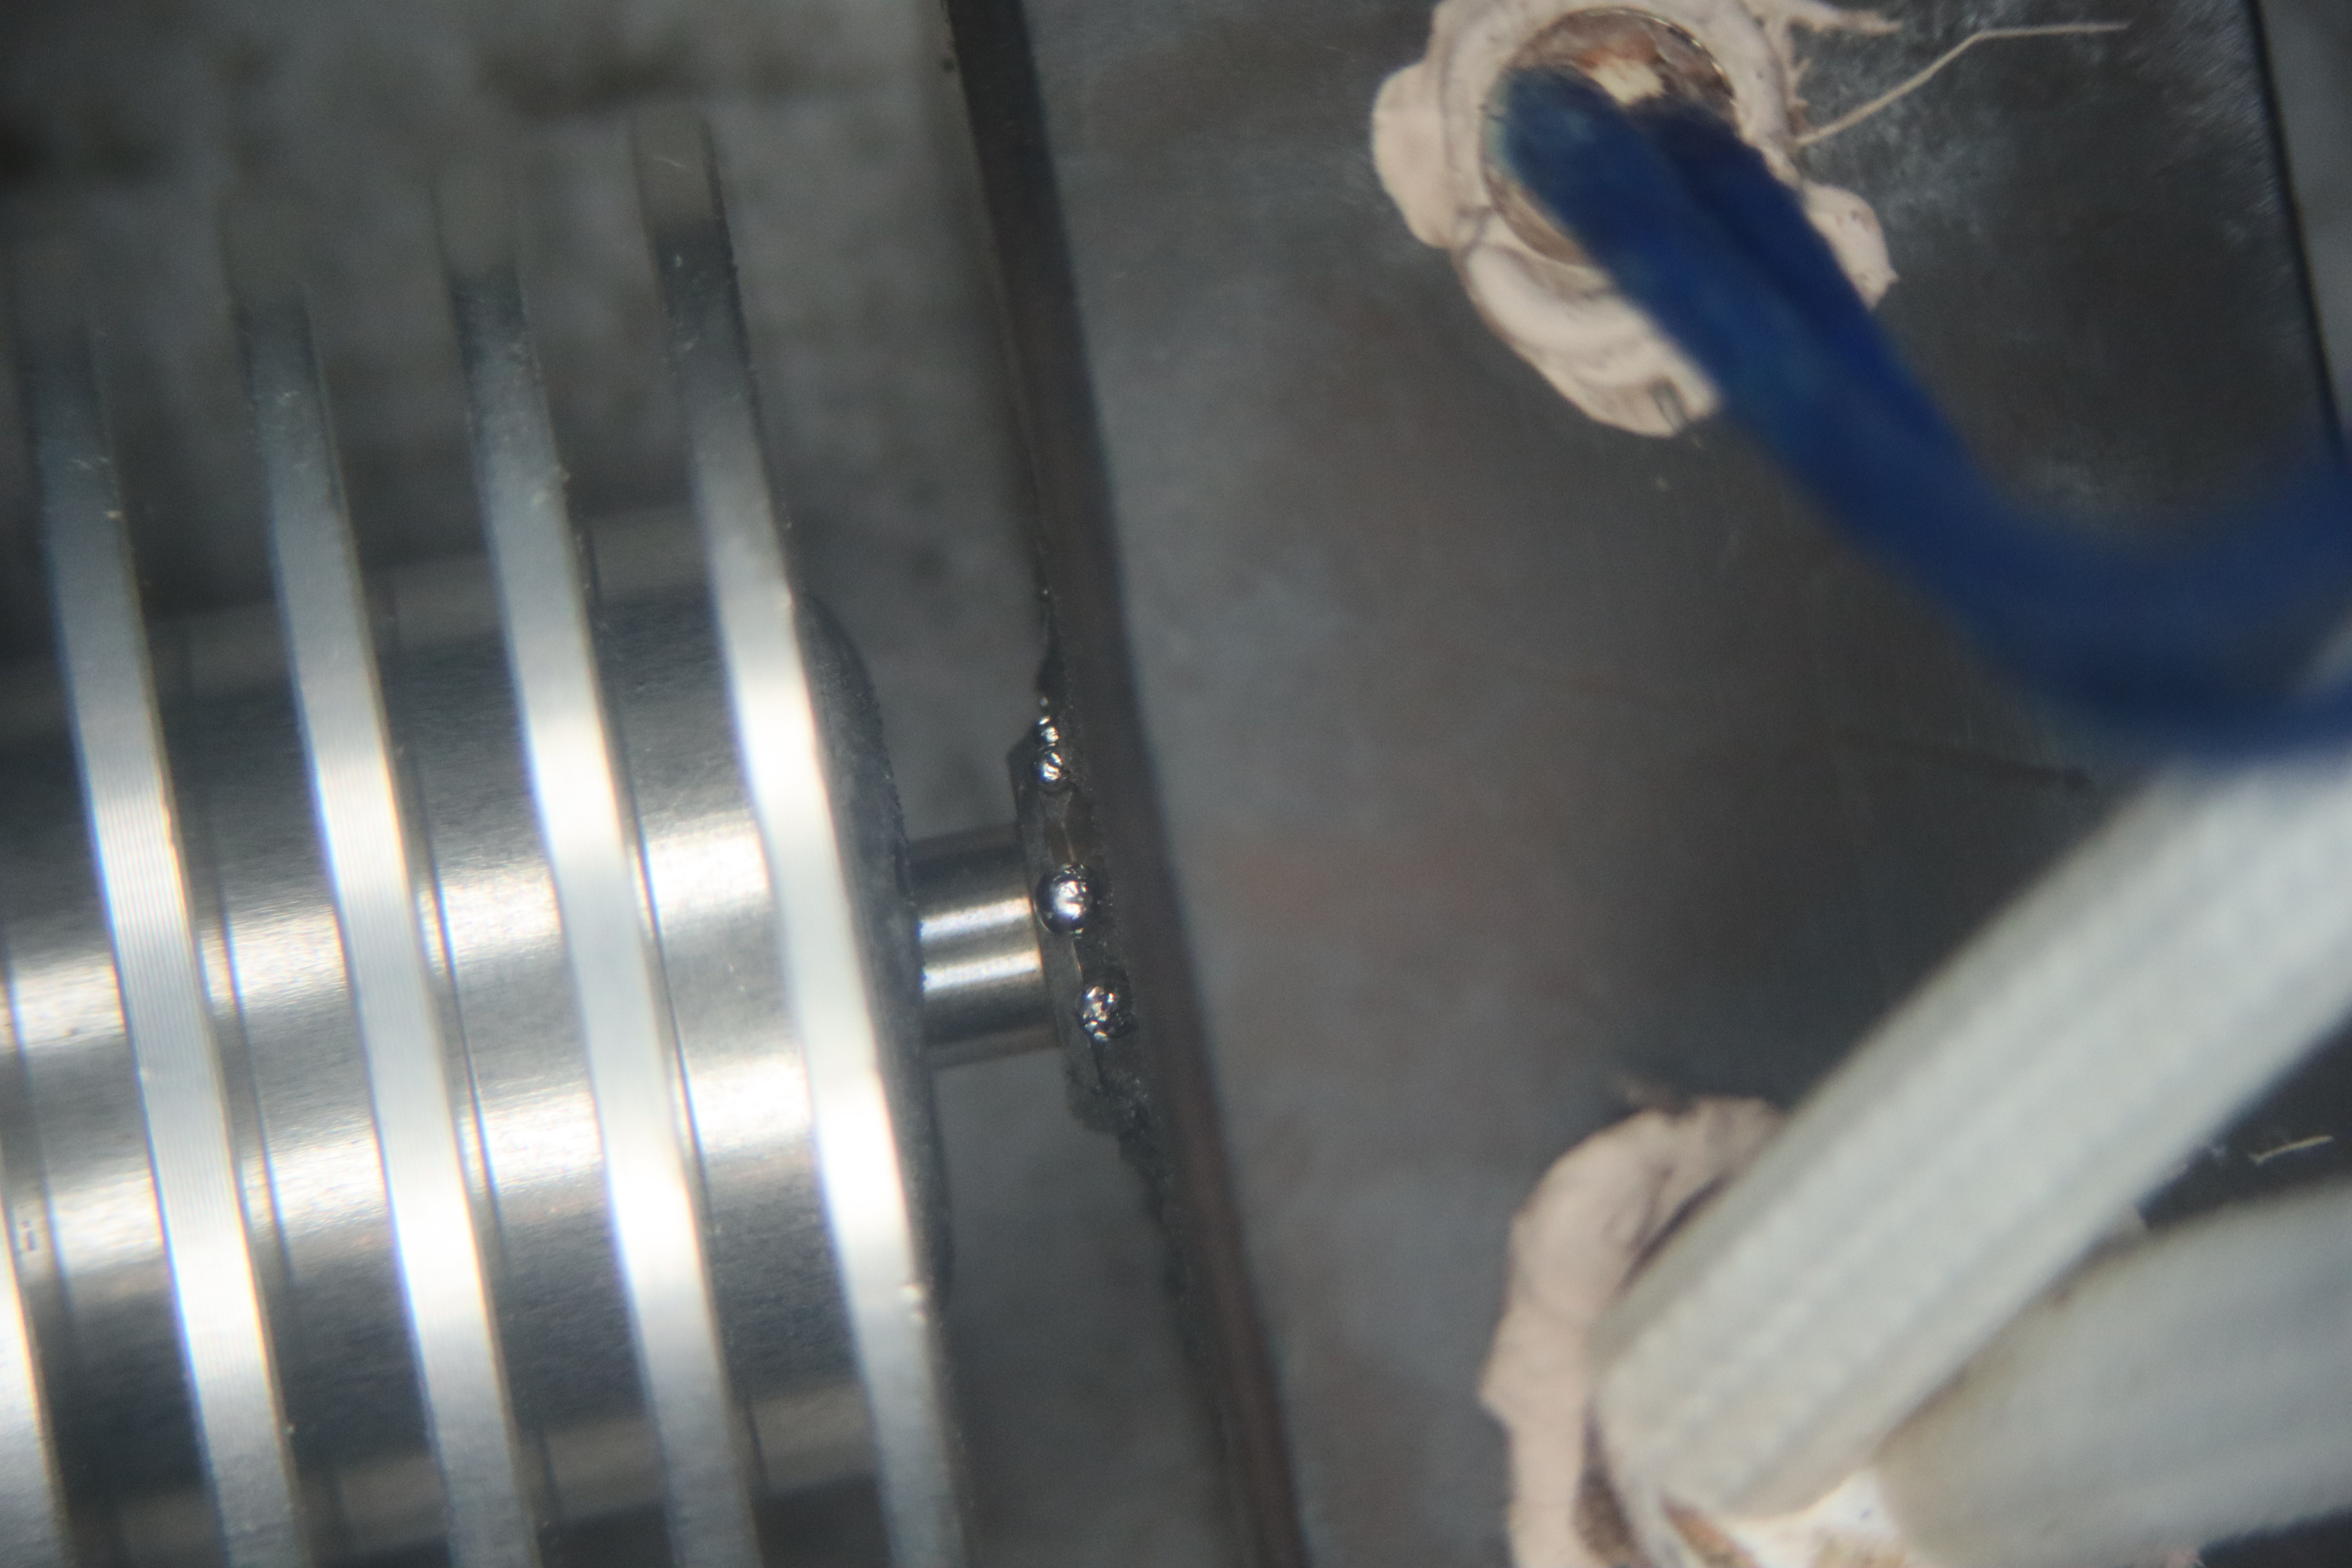
And I was in for a little surprise too: apparently this tin zinc alloy expands a little bit as it cools: it must have expanded enough to produce 5000 PSI of pressure in order to leak through the X-Pando like that and form droplets. Later on when printing again though, even with no servicing to some of those joins, the leaks did not continue at lower pressures. I imagine the capillary pressure developed at those tiny radii plus in conjunction with the surface tension of the metal in the cracks is immense enough to keep them sealed under normal operating conditions. What surprised me though is that metal came out here, but nothing at all came out of the nozzle. It must have been extremely clogged.
Speaking of the nozzle, it was time to figure out what went wrong with it. I slowly machined down into it, checking things out as I went
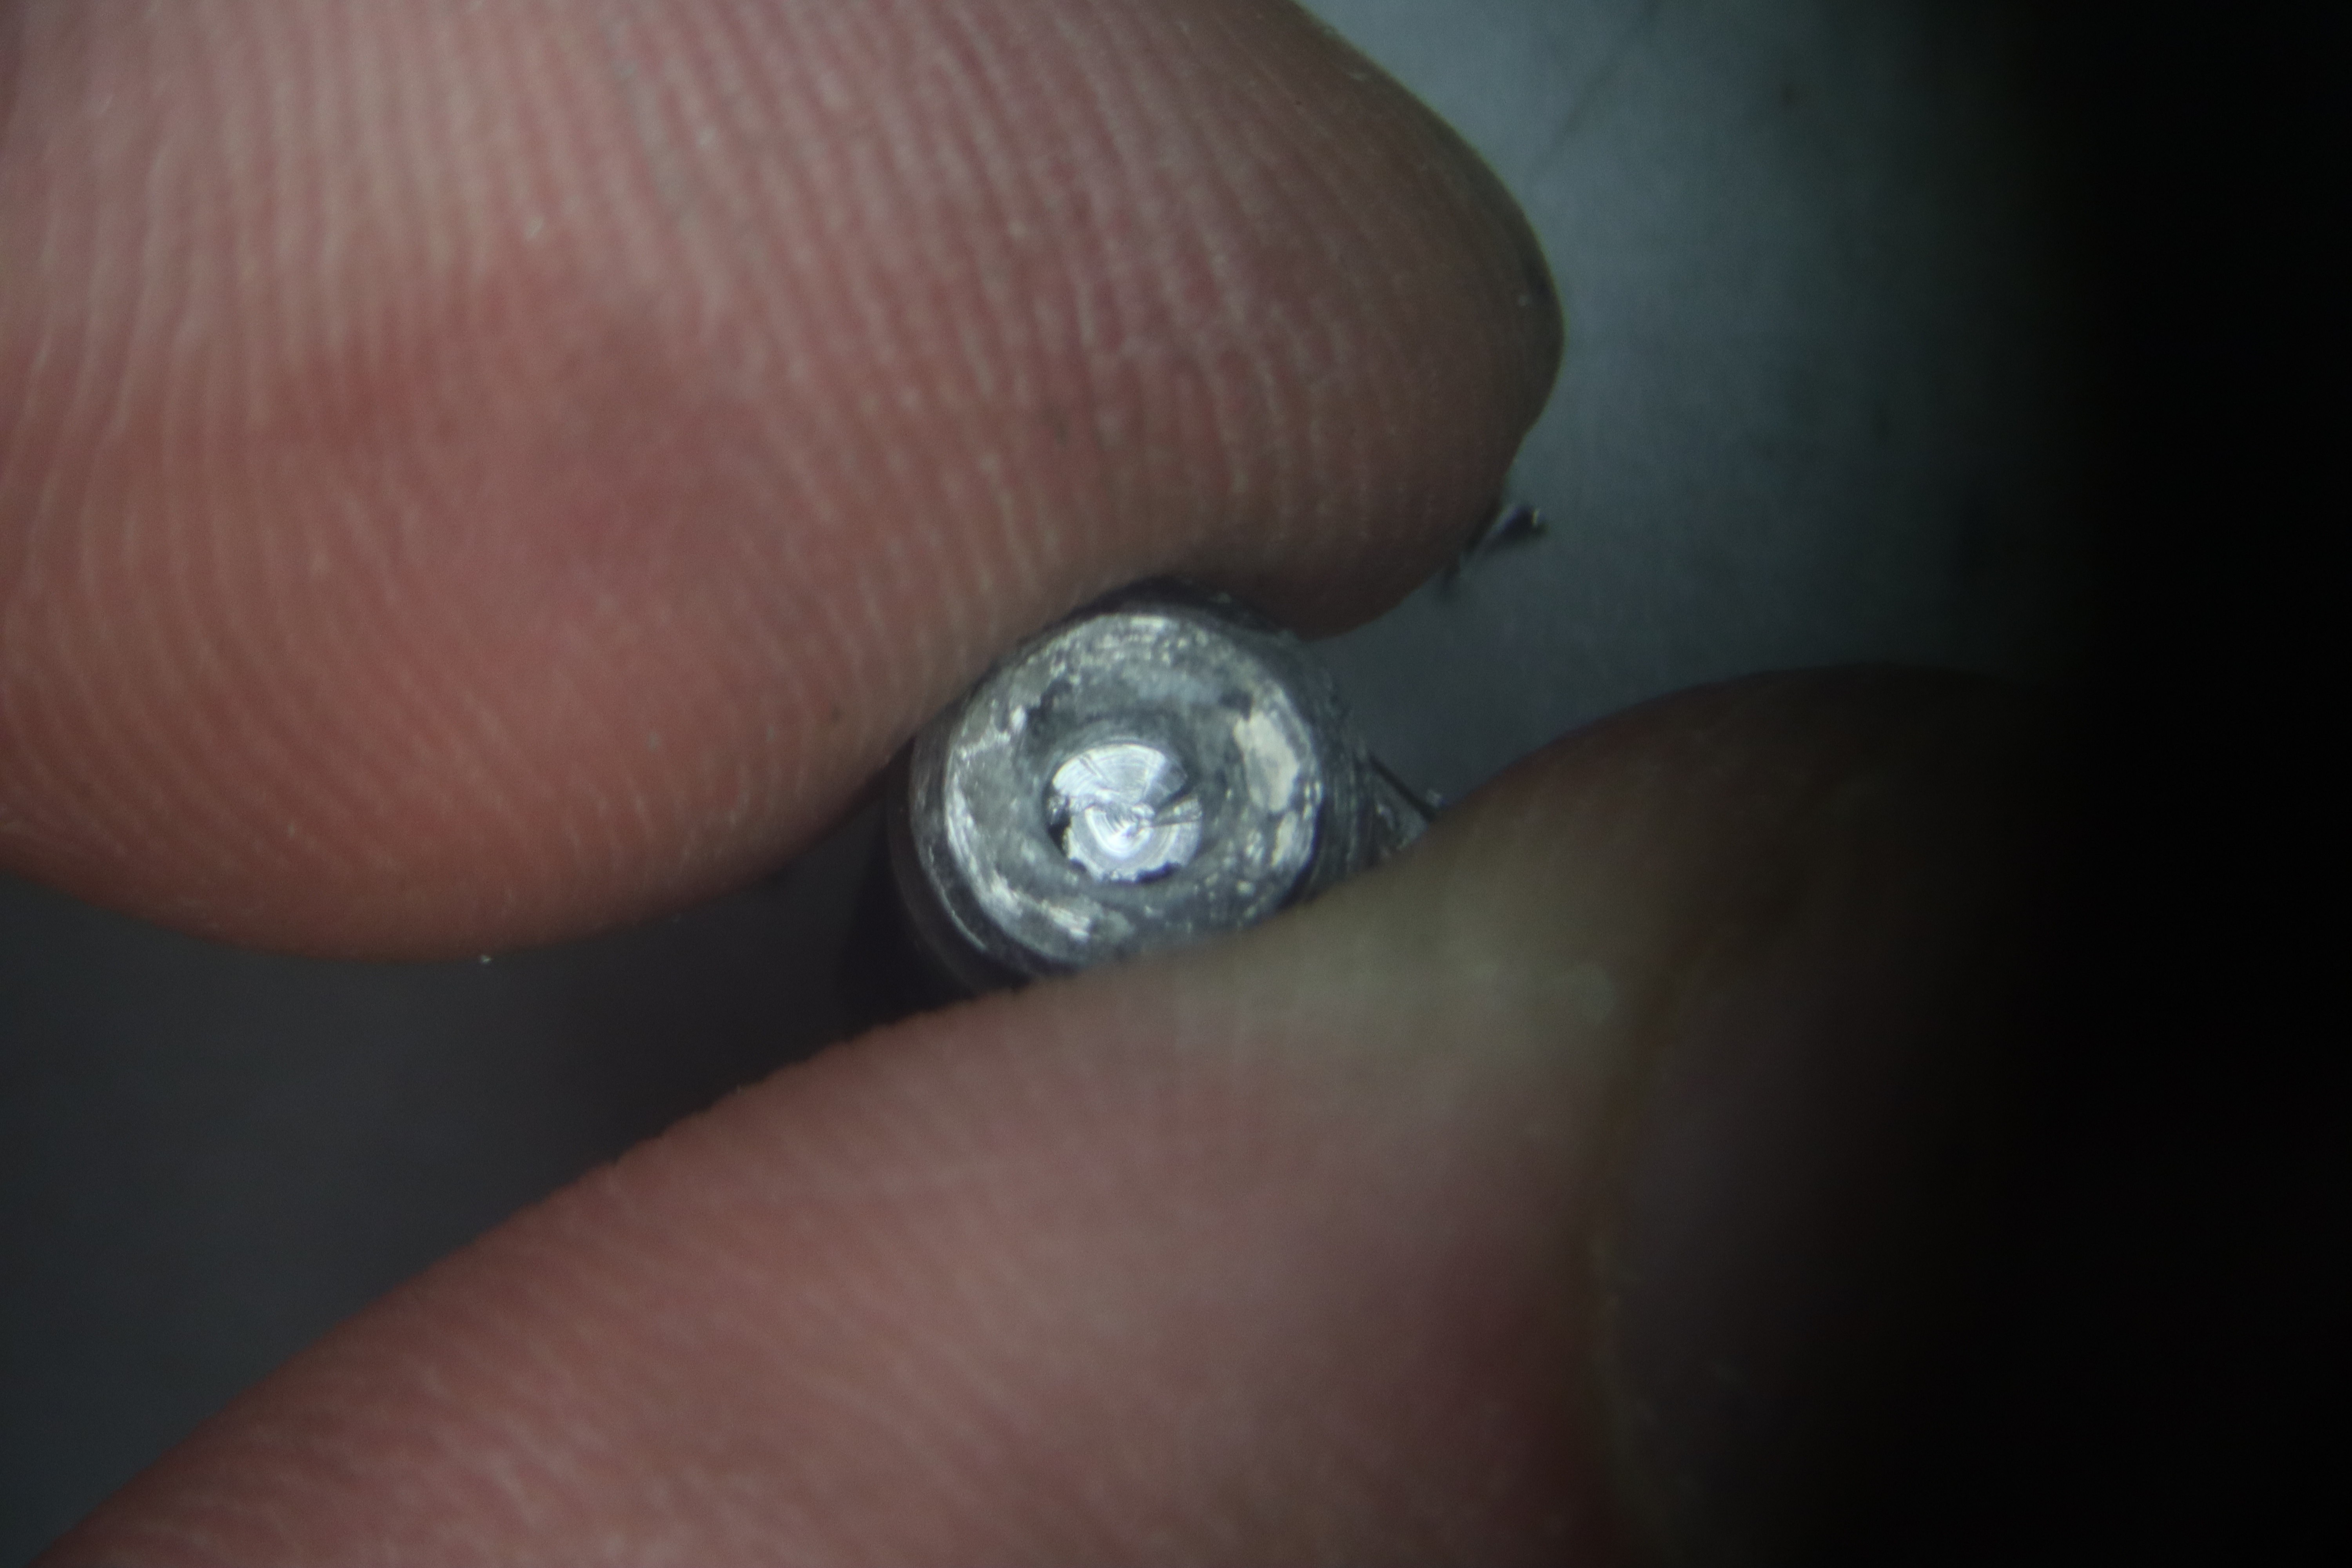
As I got deeper into the nozzle, it became obvious that there were little nonmetallic specks throughout it. I was pleasantly surprised to see so few air pockets, because one failure mode I was worried about was getting a large air pocket lodged in the nozzle, which would have made extrusion very difficult to control. Maybe it was just because the thing was at at least 5000 PSI though?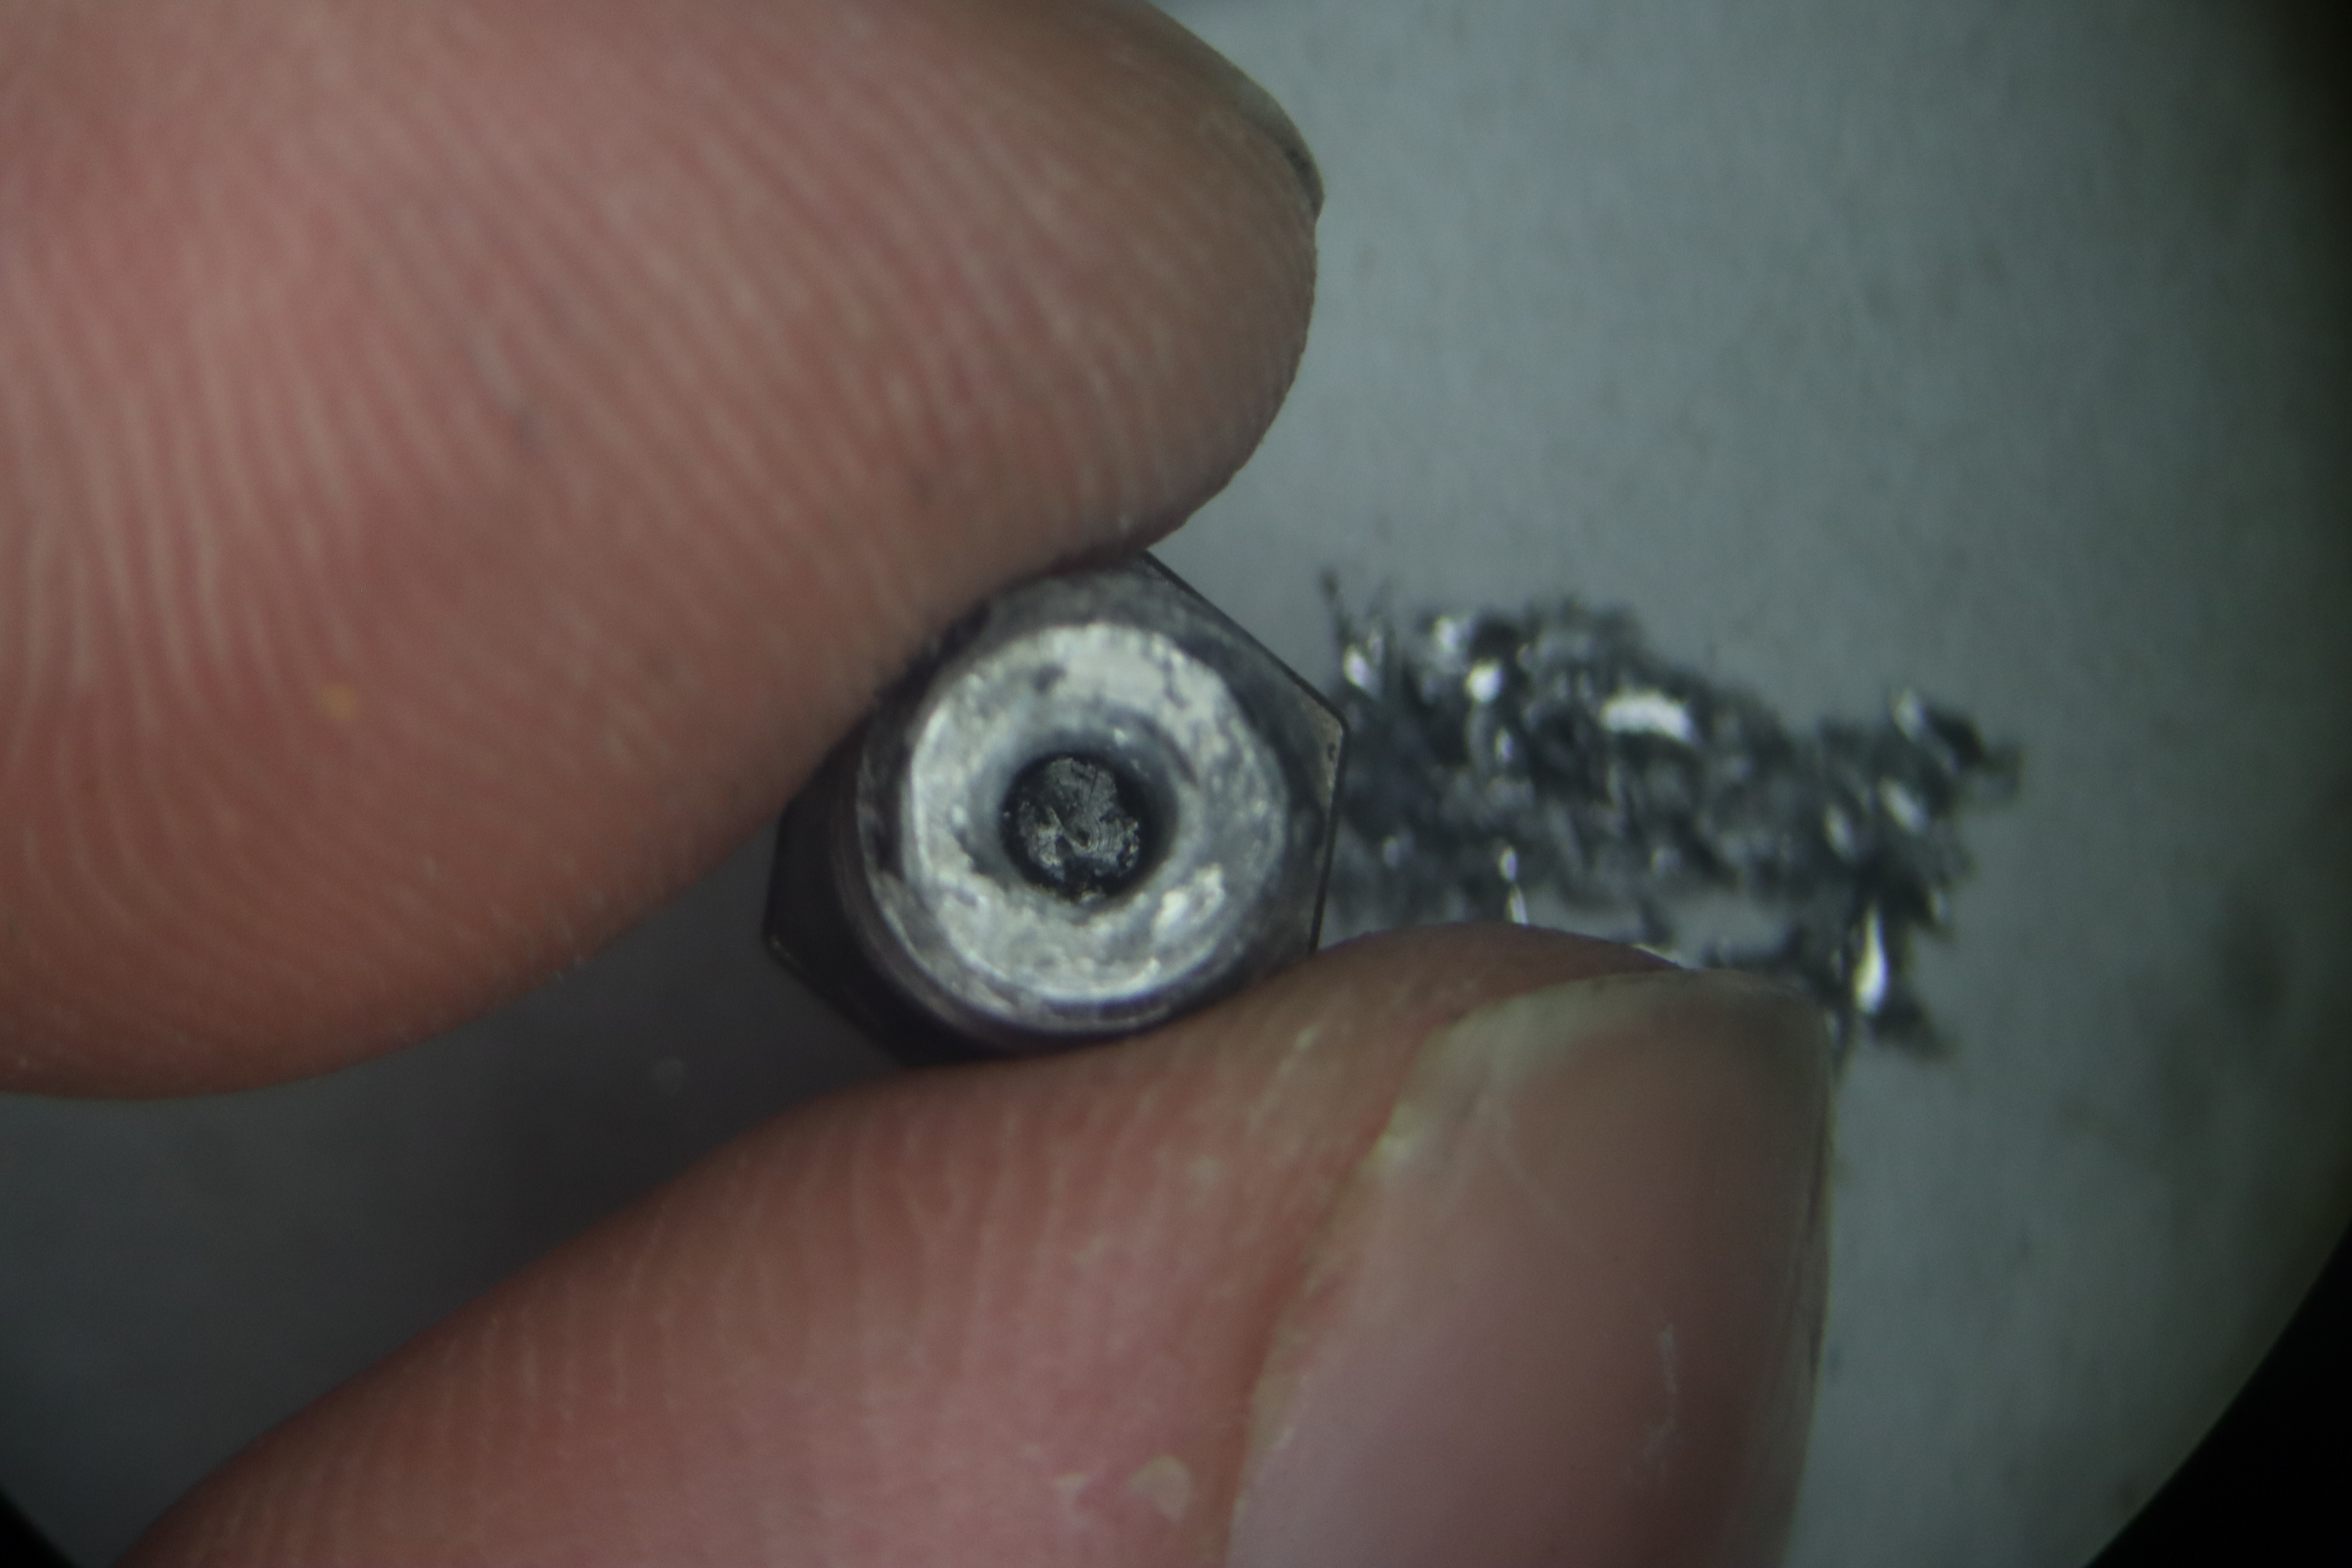
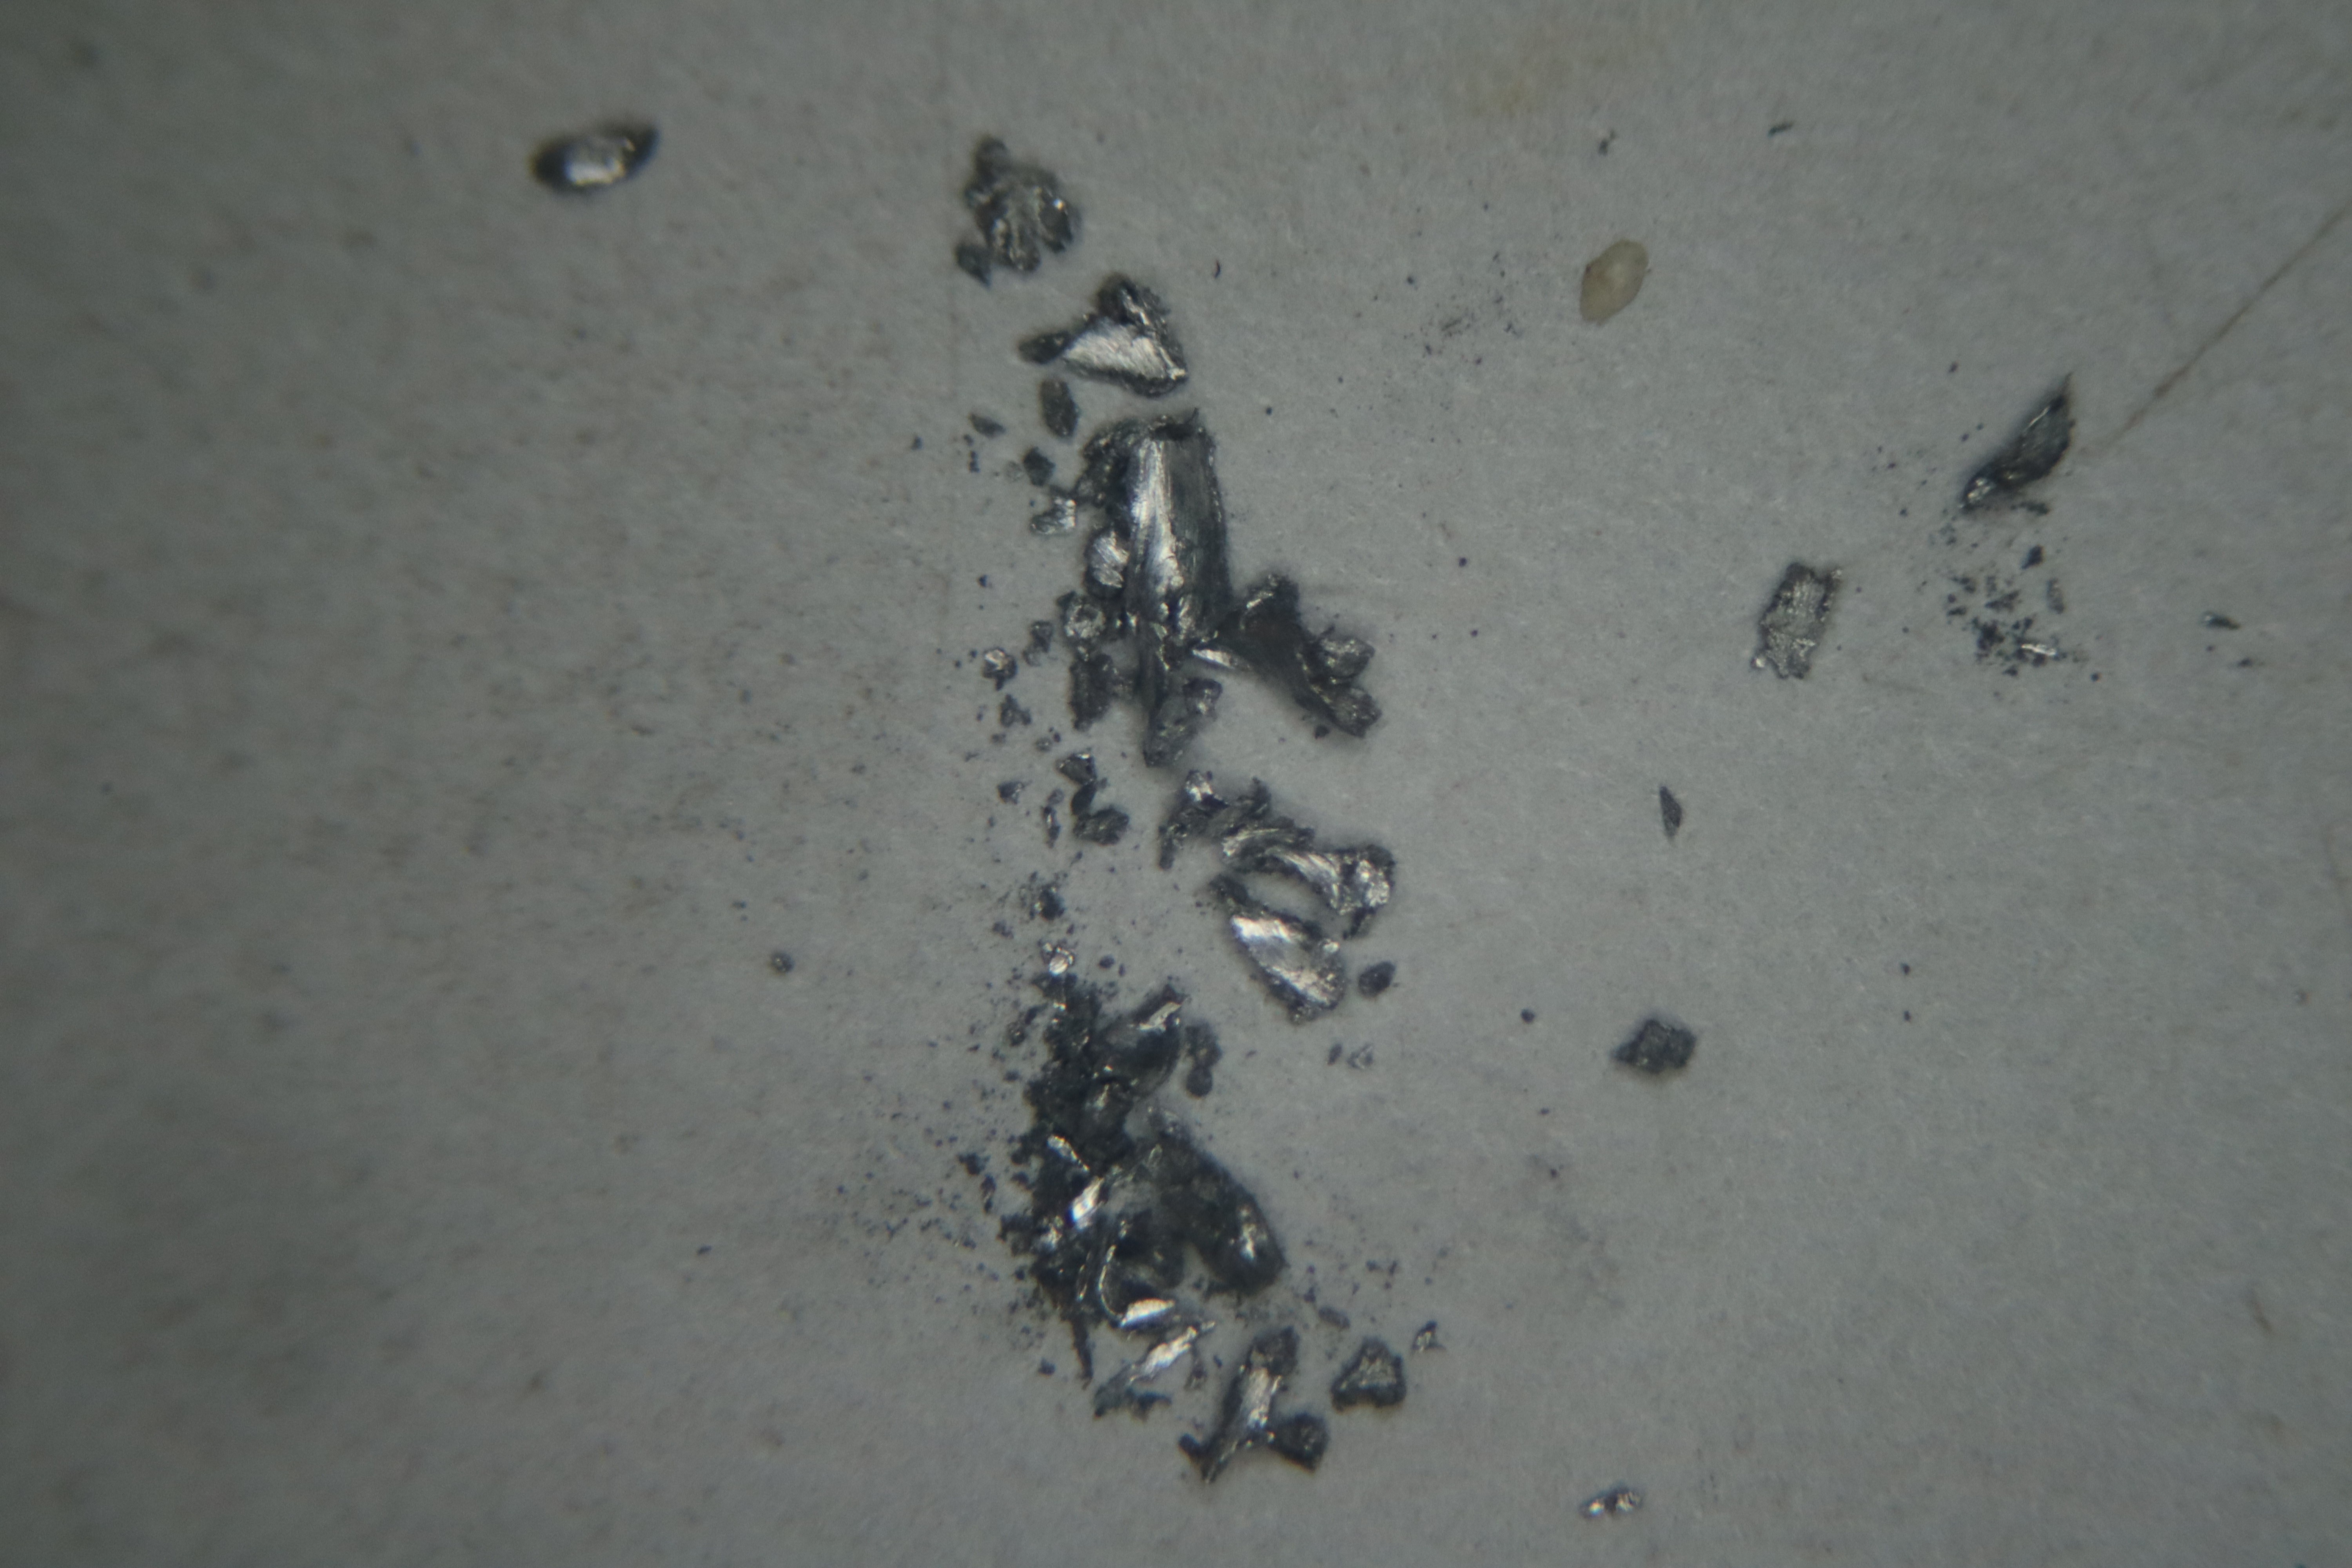
From looking at the chips directly, it's obvious that there are little grey or black nonmetallic specks in there. I hypothesized that these were bits of X-Pando that had leaked into the metal, because I had applied the X-Pando to the female pipe threads instead of the male pipe threads, which would have tended to push the X-Pando into the liquid metal instead of out to the nozzle.
This was easy enough to test: I just added some wet X-Pando to the female threads, threaded the nozzle on, then removed it, and Viola! The X-Pando was all on top of tinned surfaces that would have liquefied when the nozzle was heated next, releasing that material to clog the nozzle. I thought about other mechanisms that could have caused a clog, and three came to mind: particulates in the actual metal wire, a reaction between borax from the liquid glass gasket and the zinc chloride in the Sta-Clean flux I had used to make the inside of the nozzle so wettable, and standard semisolid granular jamming. Particulates in the metal wire would be unlikely, because I kept it well away from wettable metals and metal powders like copper, iron and nickel as I made the wire, and because surface chemistry would have caused any organic contaminants to keep to the surface of the metal, where they would have popped out or at least become visible during wire rolling. I have no reason to suspect that the clog was related to borax reacting with zinc chloride at the moment, but perhaps I will consider changing the glass gasket recipe in the future to use lewis acids instead of bases. But for now, it seems all the liquid gasket material floats nicely on top of the molten metal and doesn't get pulled down through it appreciably. Nevertheless, it's something to watch out for. If the X-Pando hadn't caused the clog, granular jamming probably still would have: I realized as I was going over these things that the alloy I made had 30% weight zinc, when I needed 30 atomic percent, which would have been 19.1% by weight. So I reformulated a new alloy and drew it into wire, but I made one mistake in that process, which I will discuss further below.

Before I did this test though I cleaned out the nozzle thoroughly to hopefully keep it from jamming again, Drilling got most of the alloy out, but left a thin layer on the walls and the bottom. I tried heating the nozzle up and banging it on the table to shake out the remaining metal, but it was wetted strongly to the surface so most of it remained. I couldn't even see what had clogged the nozzle. So then I got creative. Luckily for me, The M2 Molybdenum tool steel Micro Swiss makes their hotends out of is rather resistant to attack by gallium, so I melted some gallium into the top of the nozzle, heating the outside of the nozzle with a soldering iron (don't touch gallium to soldering irons, it kills tip wettability). This worked nicely and rapidly dissolved the remaining tin, while also making the surface of the steel less wettable, I then scooped out the pasty metal around room temperature with some brand new titanium nitride coated drill bits (TiN is a decent barrier against gallium diffusion). After that, I cleaned out the inside of the nozzle many times with paper towels, though I wish I had Q-tips or pipe cleaners instead. After one final scrubbing with a soapy folded up paper towel (soap helps remove gallium quite nicely from all manner of surfaces) and a thorough rinse, all the metal was removed from the nozzle and I could see the X-Pando blocking the nozzle. To remove this, I thankfully had some 100 micron fine-tipped engraving bits to very carefully scoop out the X-Pando until the nozzle was clear, while watching under the microscope. Then I scraped out any from the back end with a 1/16th inch drill bit, also titanium nitride coated, and stuck a plastic pipette with soapy water in the back end for good measure, squeezing out and drawing in water a couple times from a cup for good measure. Then, I coated some of the new zinc alloy wire with Sta-clean flux and inserted it into the nozzle while the nozzle was hot to re-apply the tin-zinc alloy and make the inner surface wettable again. I kept the nozzle hot and held it sideways, then pushed through a good amount of tin-zinc filament in an attempt to squeeze out any remaining zinc chloride the way a doctor squeezes out air bubbles from a syringe, in case it reactd with borax earlier. After all that, the nozzle was almost like brand-new, and I re-inserted it, applying the X-Pando properly to the male threads. And the printer finally worked?
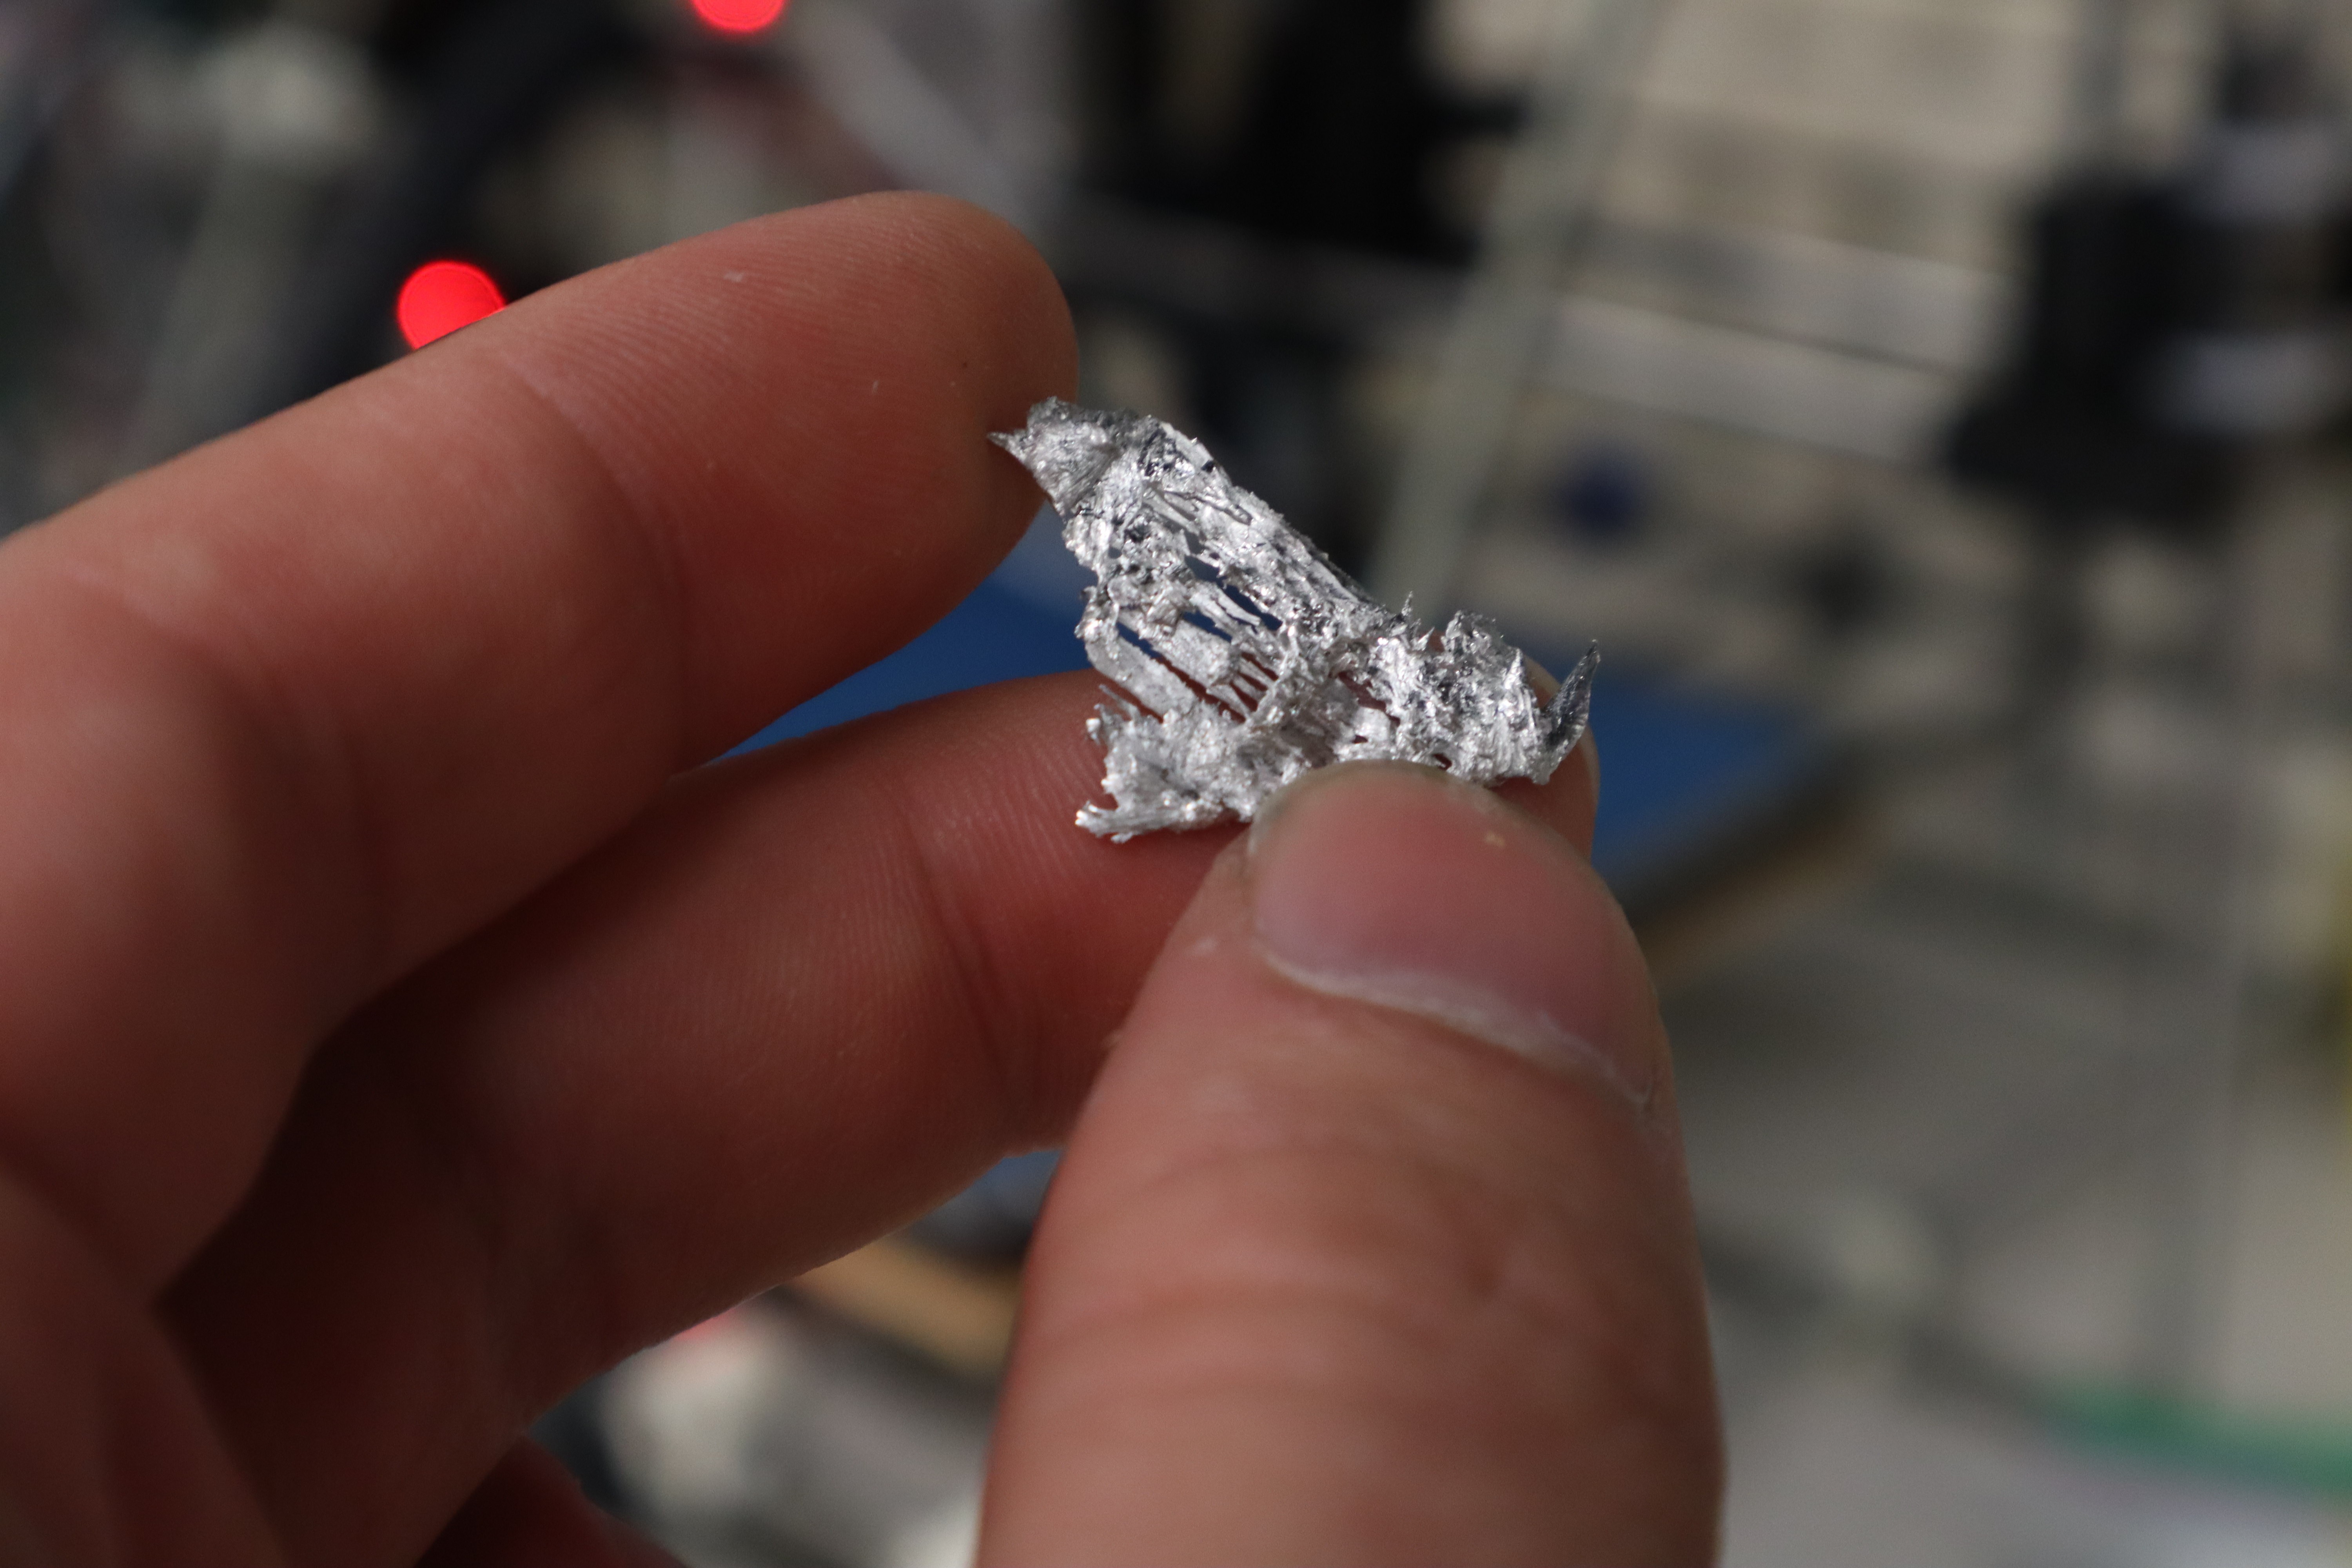
Sort of... It didn't clog this time, and I got actual extrusion and interlayer bonding and finally a solid chunk of metal, which proves that adjacent and subsequent layers will adhere to each other, but the alloy was oddly melty and didn't stick well to the bed this time. I quickly recognized what had gone wrong: when I reformulated the alloy earlier, I added some of the zinc as 1mm granules (to measure out a more precise amount) and some as a large chunk. The large chunk dissolved in easily, but as I've seen before, the small granules oxidized too much on the surface to be wettable by the tin, so they didn't dissolve in. Thankfully I recorded the amount of zinc granules added beforehand; it was about 5 grams out of 100 grams of material total. What that means is, the alloy I produced was roughly 85.3% tin and 14.7% zinc, instead of 81% tin and 19% zinc. You metallurgists out there might recognize that this composition is extremely close to the eutectic composition of tin and zinc, which has no semisolid range.
This is a good teachable moment actually: with such a narrow semisolid range, in theory I could have still printed it, but the likelihood that I would find the ideal printing temperatures on the first attempt without knowing the semisolid range would have been extremely slim. It would not have printed controllably at all if the composition were at the exact eutectic point. That's why the name of the project is Semisolid metal printing. alloys with a semisolid range will have solid granules in them as they are being deposited on the print bed, allowing for better mechanical adhesion to it. Moreover, as semisolid alloys solidify, they rapidly become shear thinning fluids with a yield stress, preventing them from just flowing all over the place like what happened above.
Also I have one dirty secret that didn't help extrusion regularity: my bondtech extruder was for a 3mm filament, so I carefully added epoxy to the gear teeth to fill in enough space that it could grip . I considered adding silicon carbide particles to the epoxy so that it would still have traction, but at the time I didn't want those particles falling out and jamming the nozzle, so I left the epoxy smooth. In this configuration, it just doesn't have enough traction to extrude and retract at times, compounding the narrow semisolid range of the alloy I used. To make matters worse, it seems like there may be some residual X-Pando I didn't clean off of the heatbreak previously, still slowly making its way into the nozzle. Before printing again I'll make sure to drill out the heatbreak and thoroughly clean the nozzle again, now that I know how.
Luckily, I thought ahead and ordered a 1.75mm bondtech extruder last week, and it should be arriving shortly. That plus one more thorough cleaning and one more alloy reformulation should get me hopefully all the way to my first complete print with this technology. I do anticipate a bit more tuning of Prusa Slicer settings and maybe even some custom G-code before it prints perfectly though.
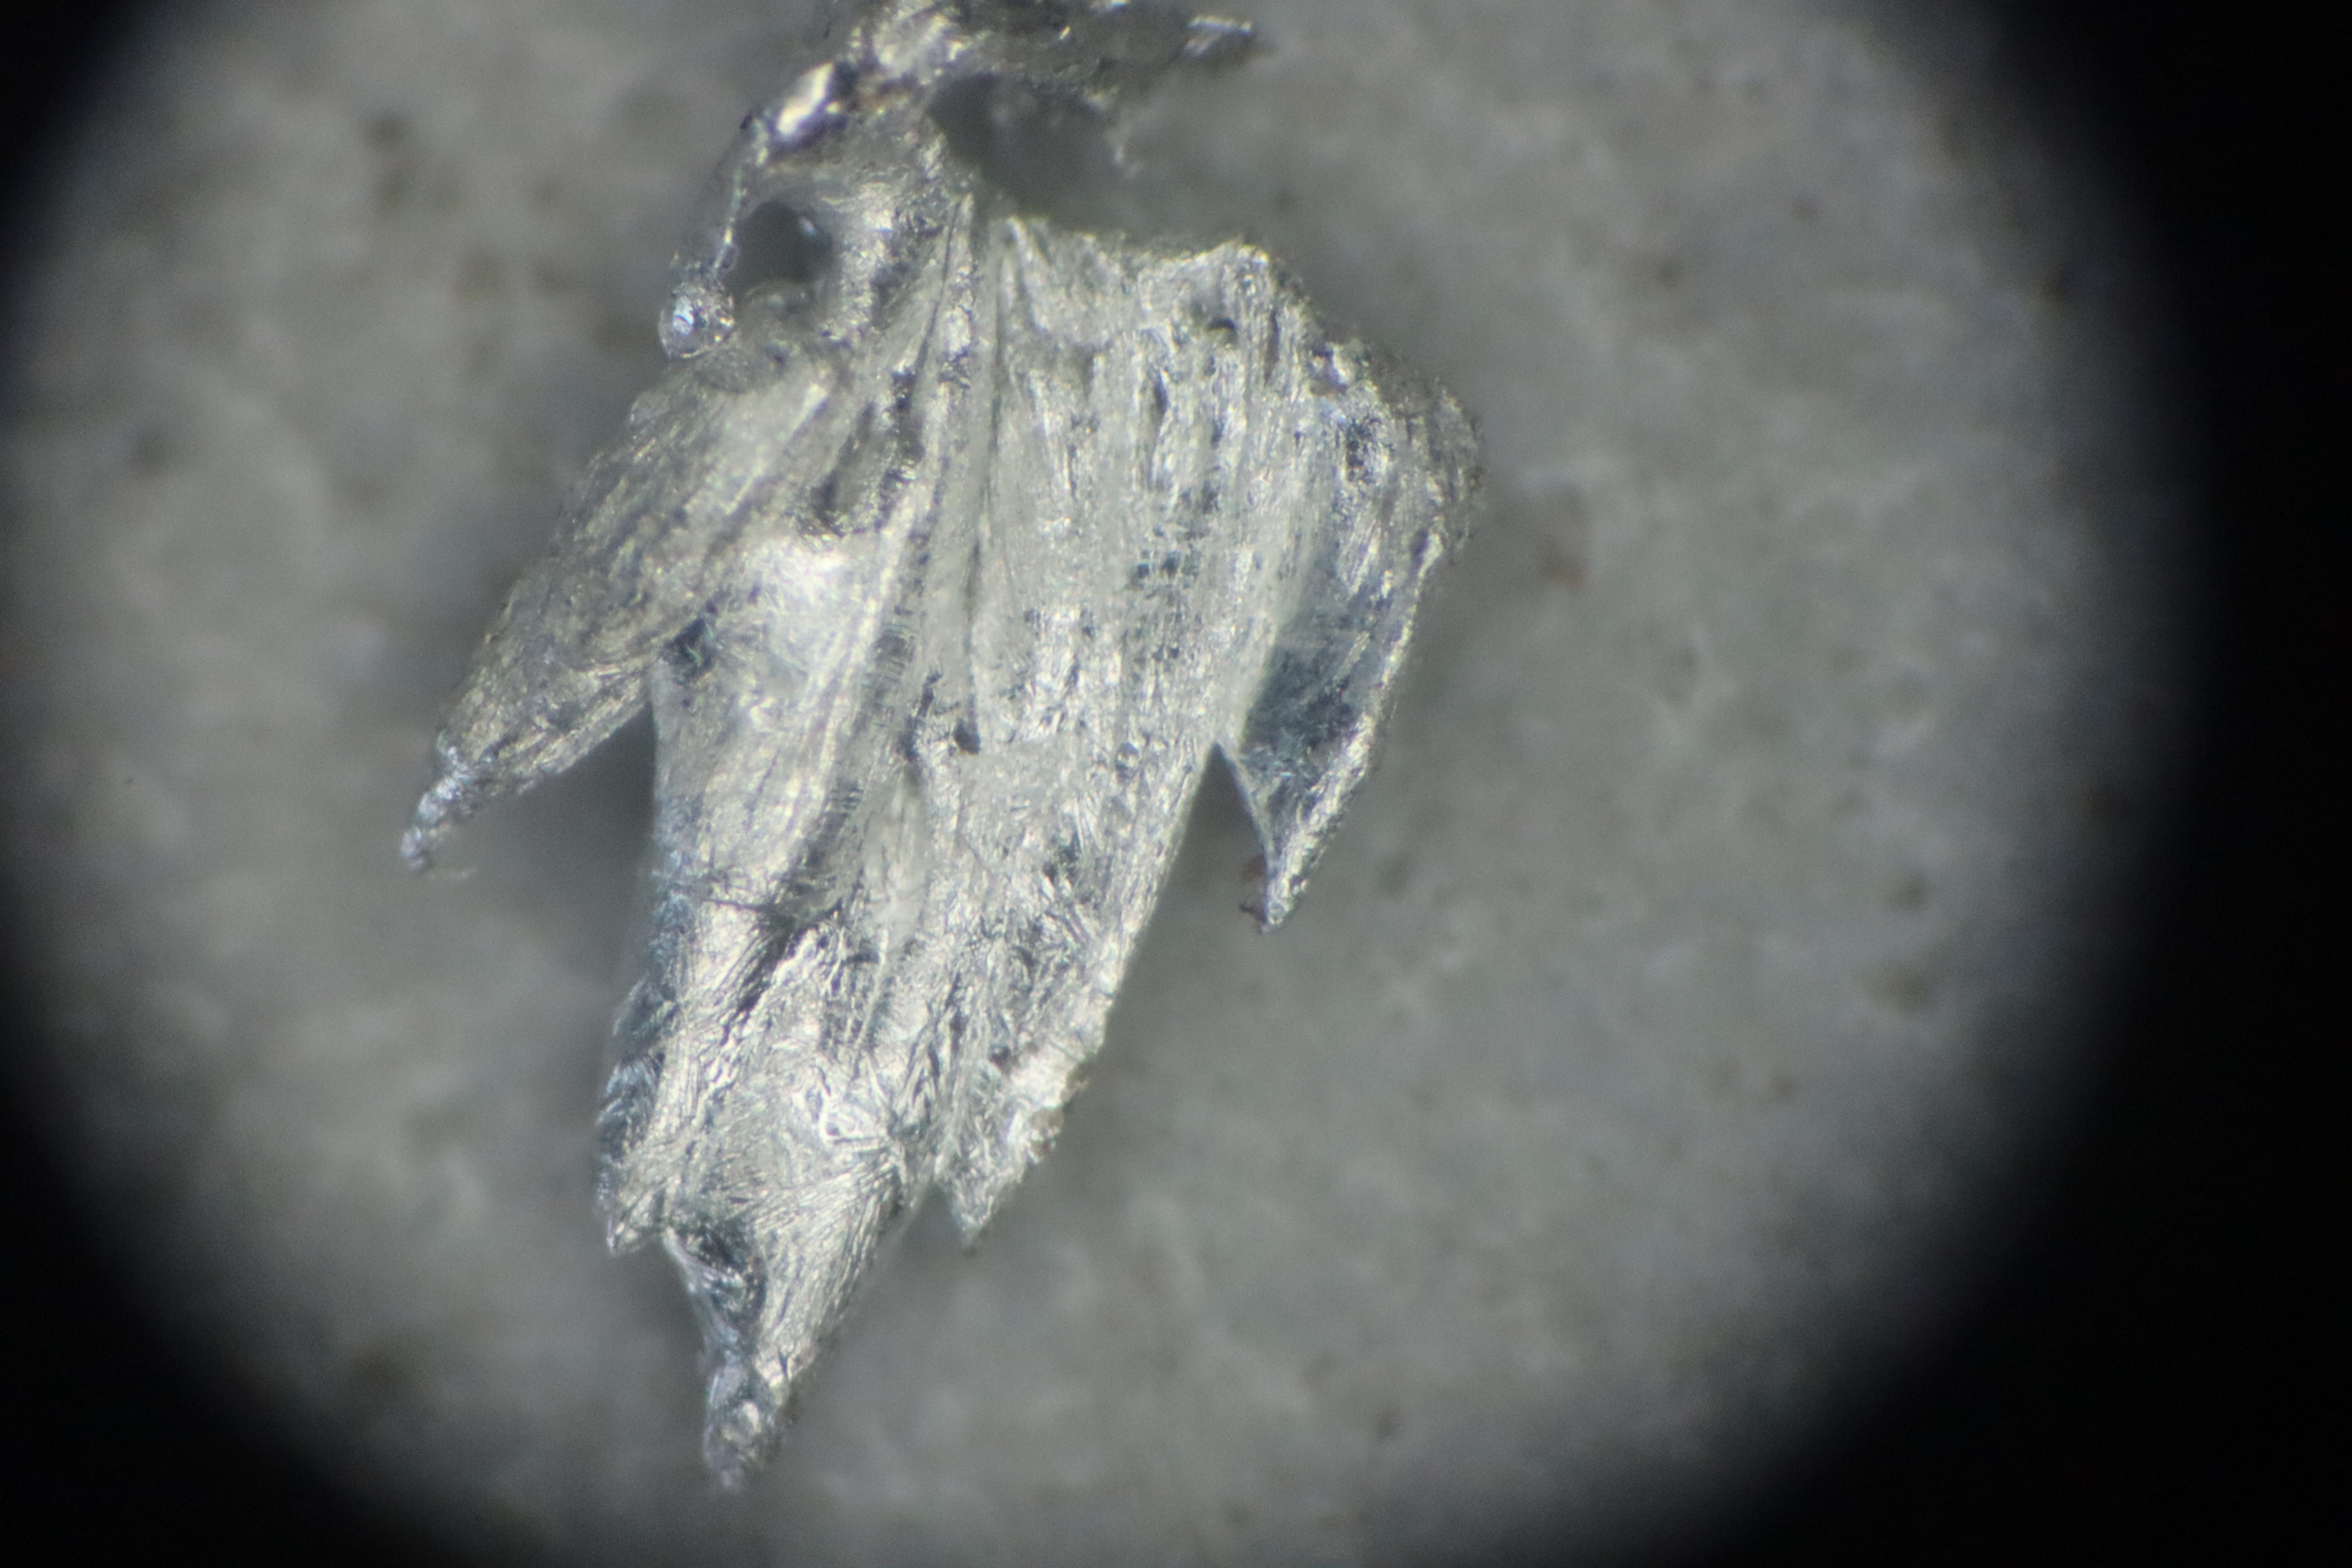
Here's a nice microscope close-up of interlayer bonding on the first 5 layers on a piece I broke off. These layers were bonded together with roughly the same strength as the bulk material when tested with pliers after taking this picture. The deformation was ductile and it did not tend to fail across any of the interlayer structures. This demonstrates that this style of printing can print multilayer structures in principle, and now that we've identified all the major clogging mechanisms as well, and found solutions for all of them, no fundamental physics stands in the way of getting this system working: only engineering and perserverence is required from this point out. I see the light at the end of the tunnel.
 Michael Perrone
Discussions
Become a Hackaday.io Member
Create an account to leave a comment. Already have an account? Log In.
A step in the right direction at least, but thanks!
Are you sure? yes | no
Amazing!
Are you sure? yes | no