-
Assembling the hardware
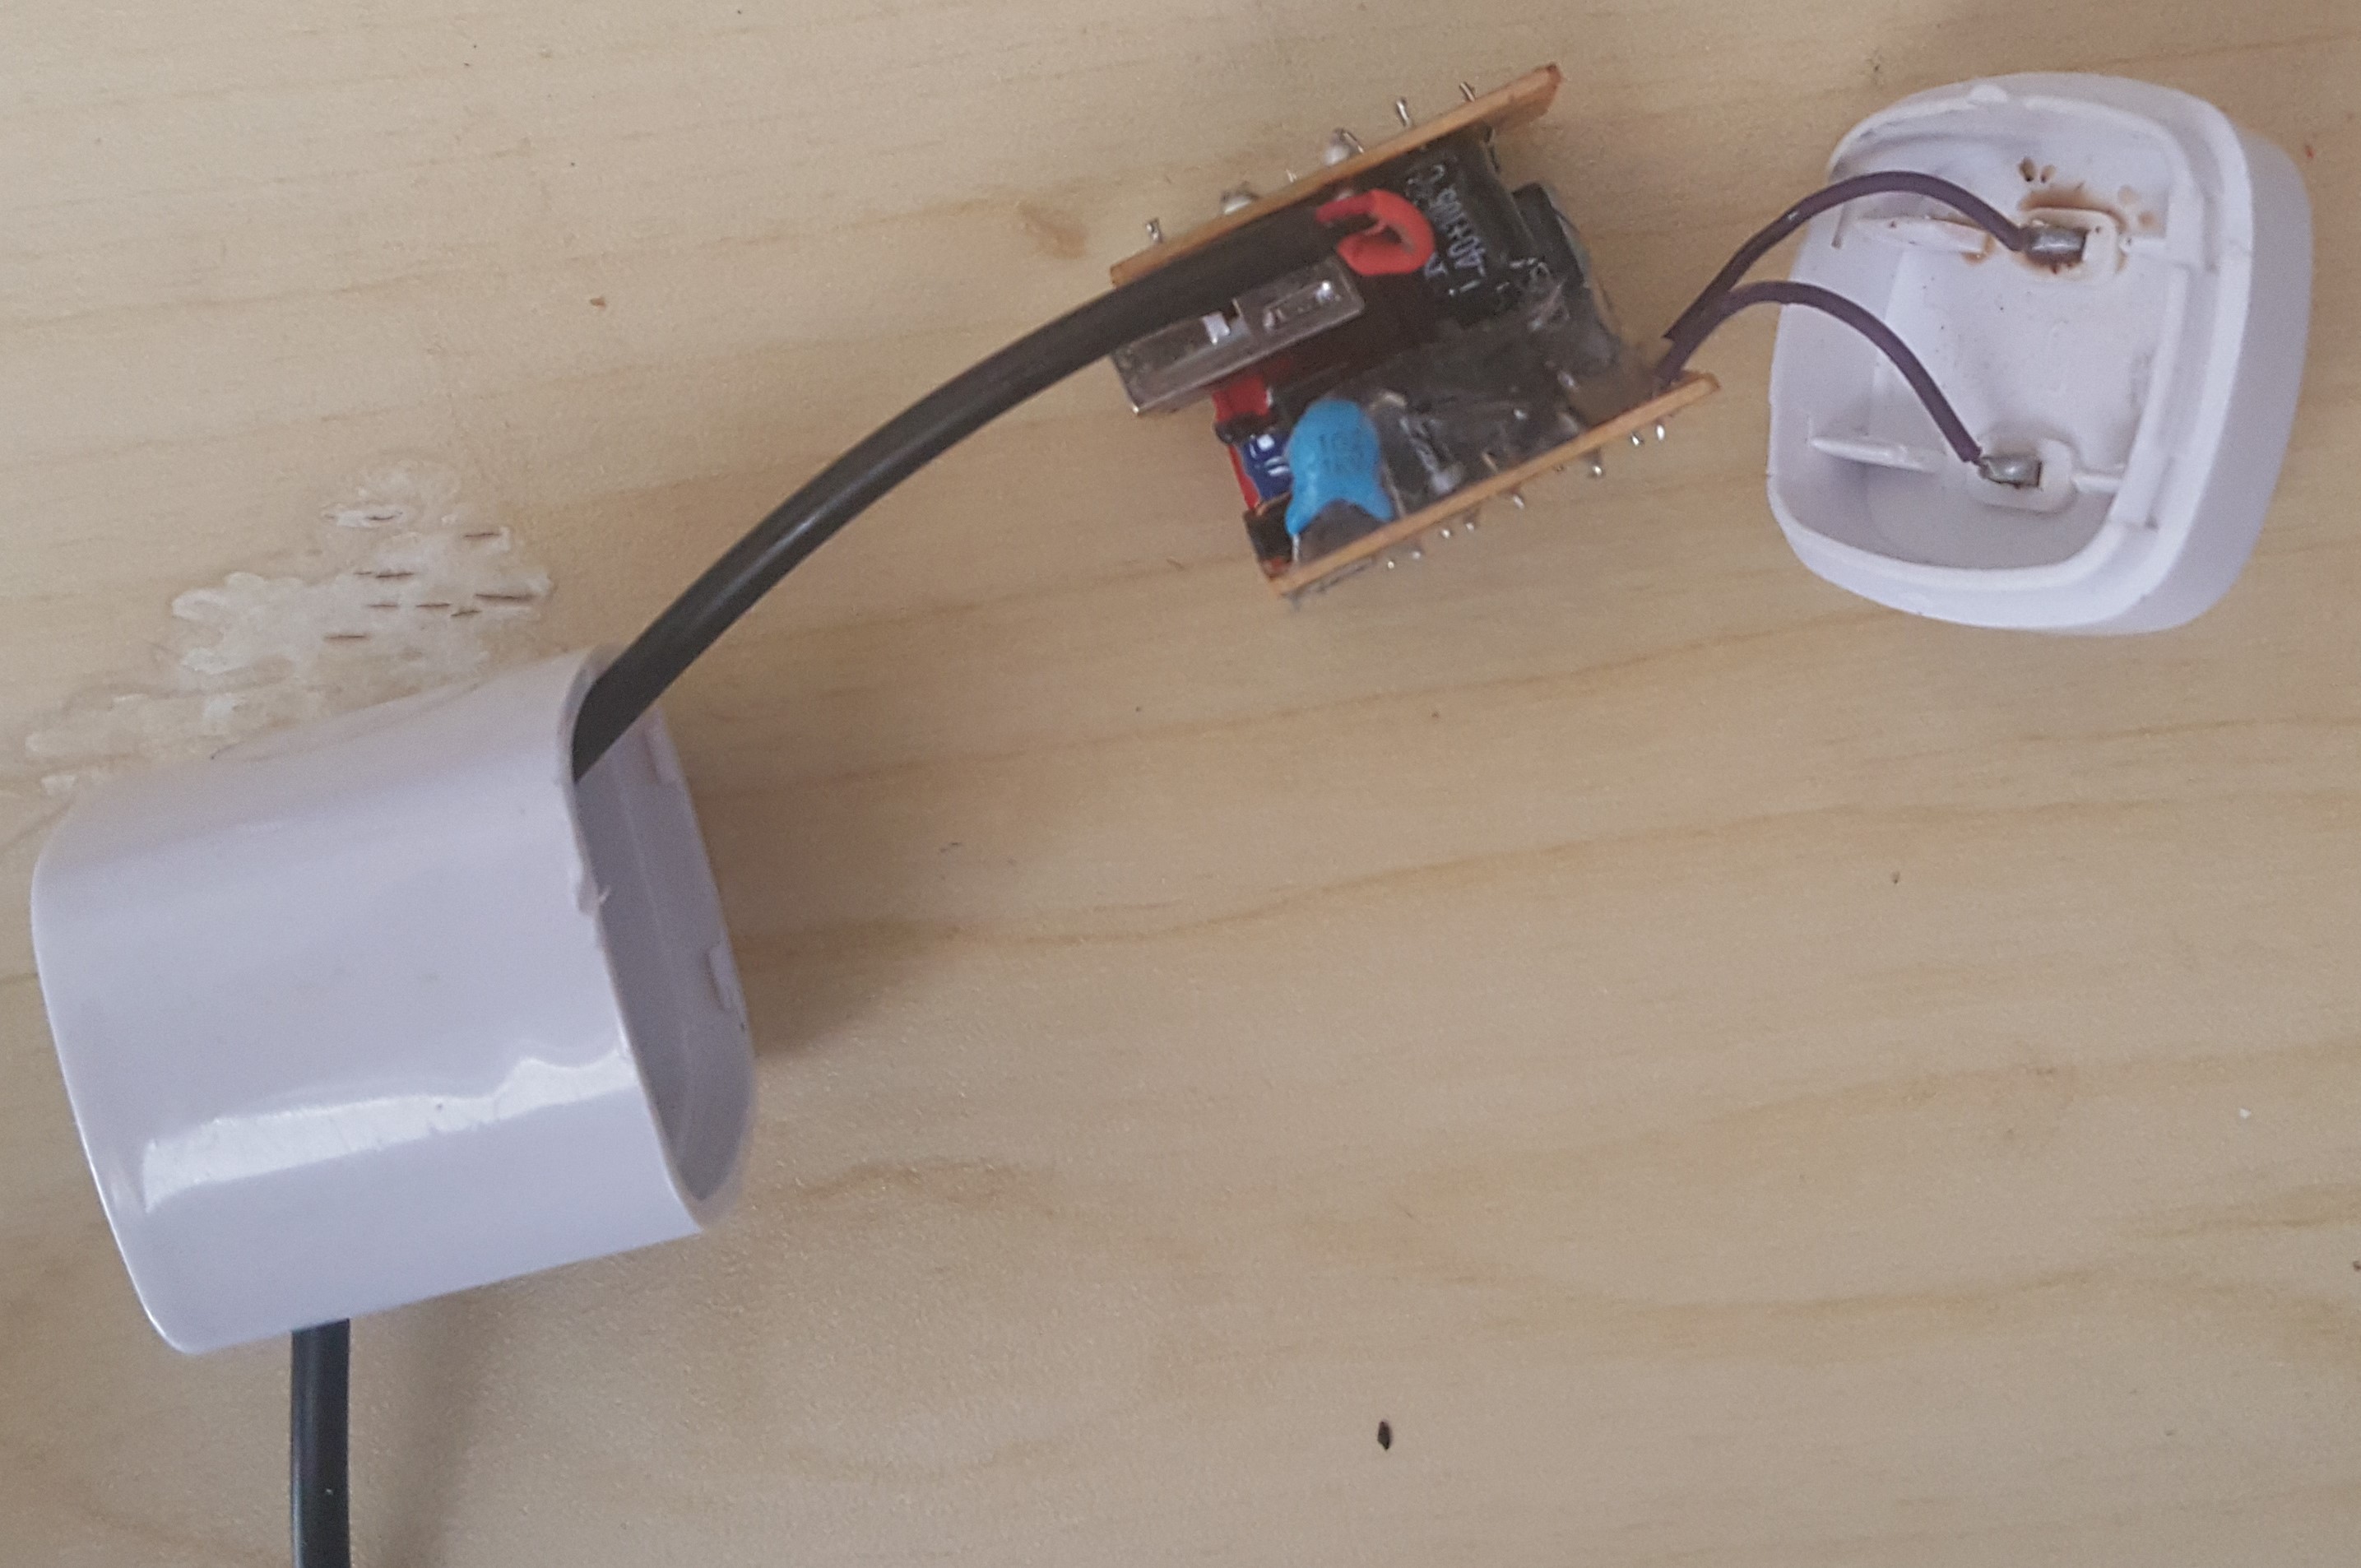
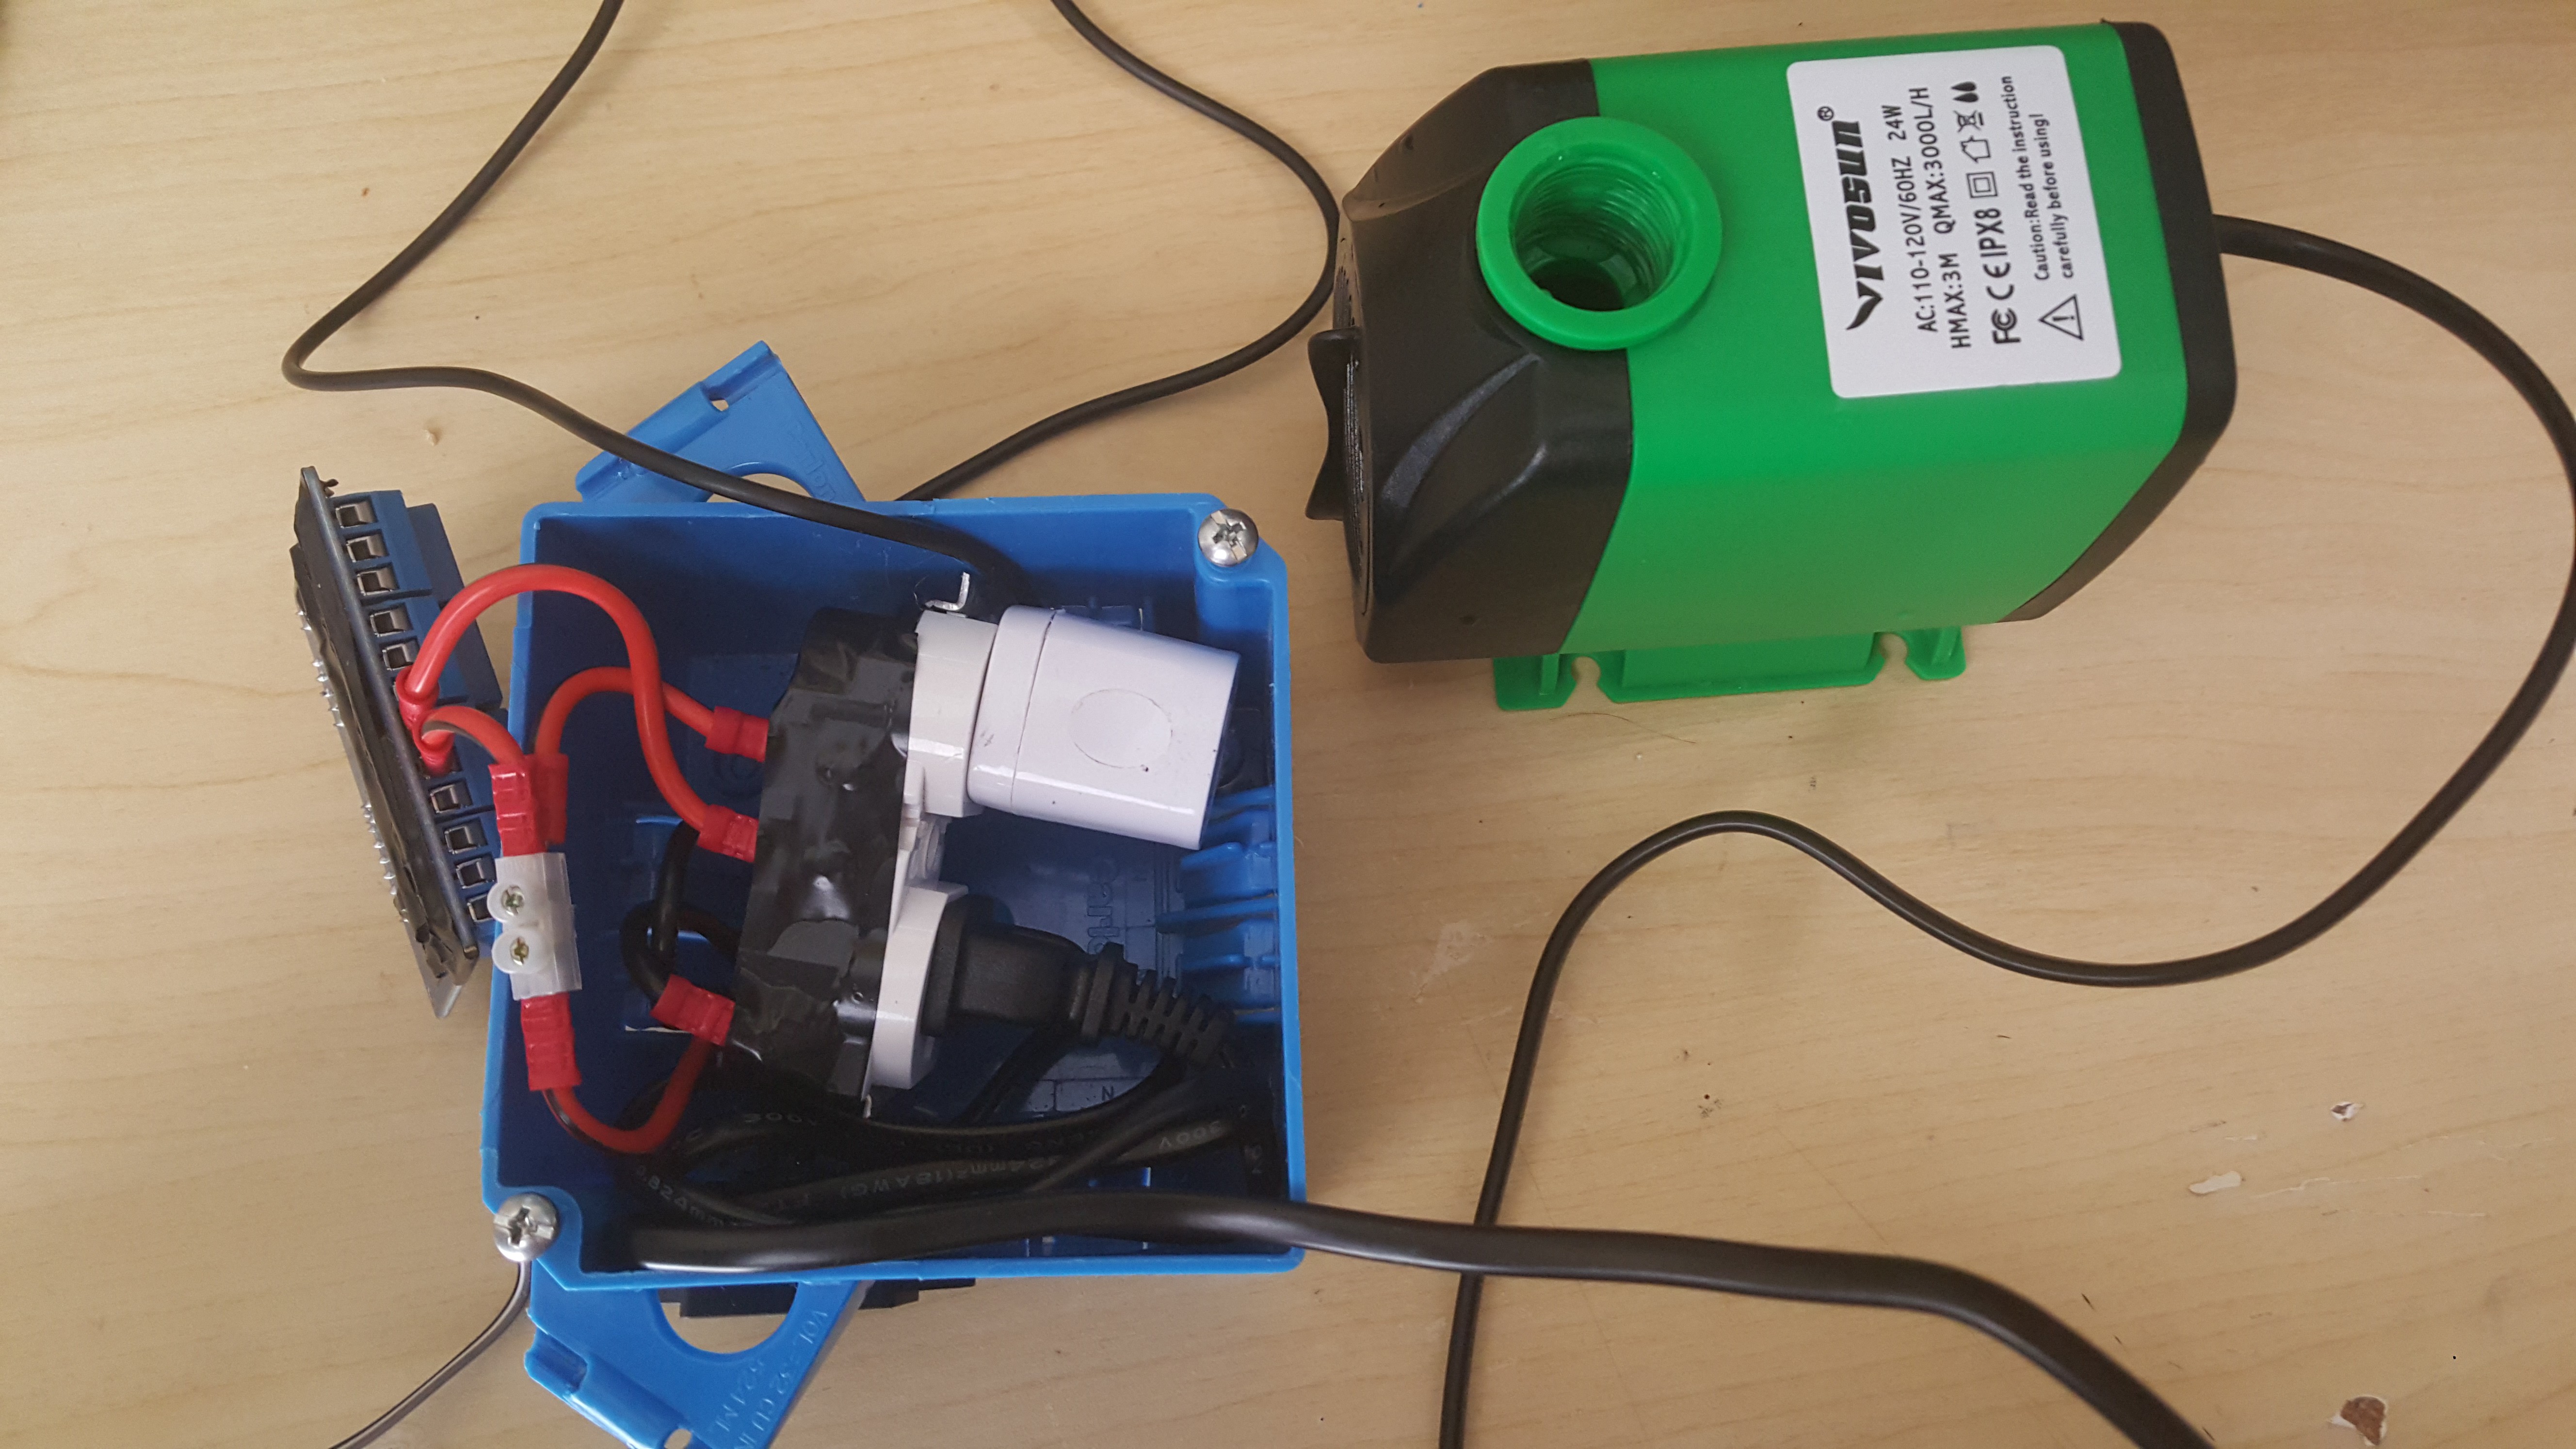
05/21/2021 at 06:44 • 0 commentsOnce I verified that my code works, I began assembling the project. The first step was to assemble the high-power component. Since the pump I'm using run on 110V AC, it's important that I isolate the high voltage terminal. I used an electrical enclosure to house all of the hazardous parts. This box contains both the pump relay and a 5V power supply (which is a USB phone charger that I modified to fit in the box). I had separated the 2 socket outlets so that 1 will have constant power while the other is controlled by the relay.
![]()
![]()
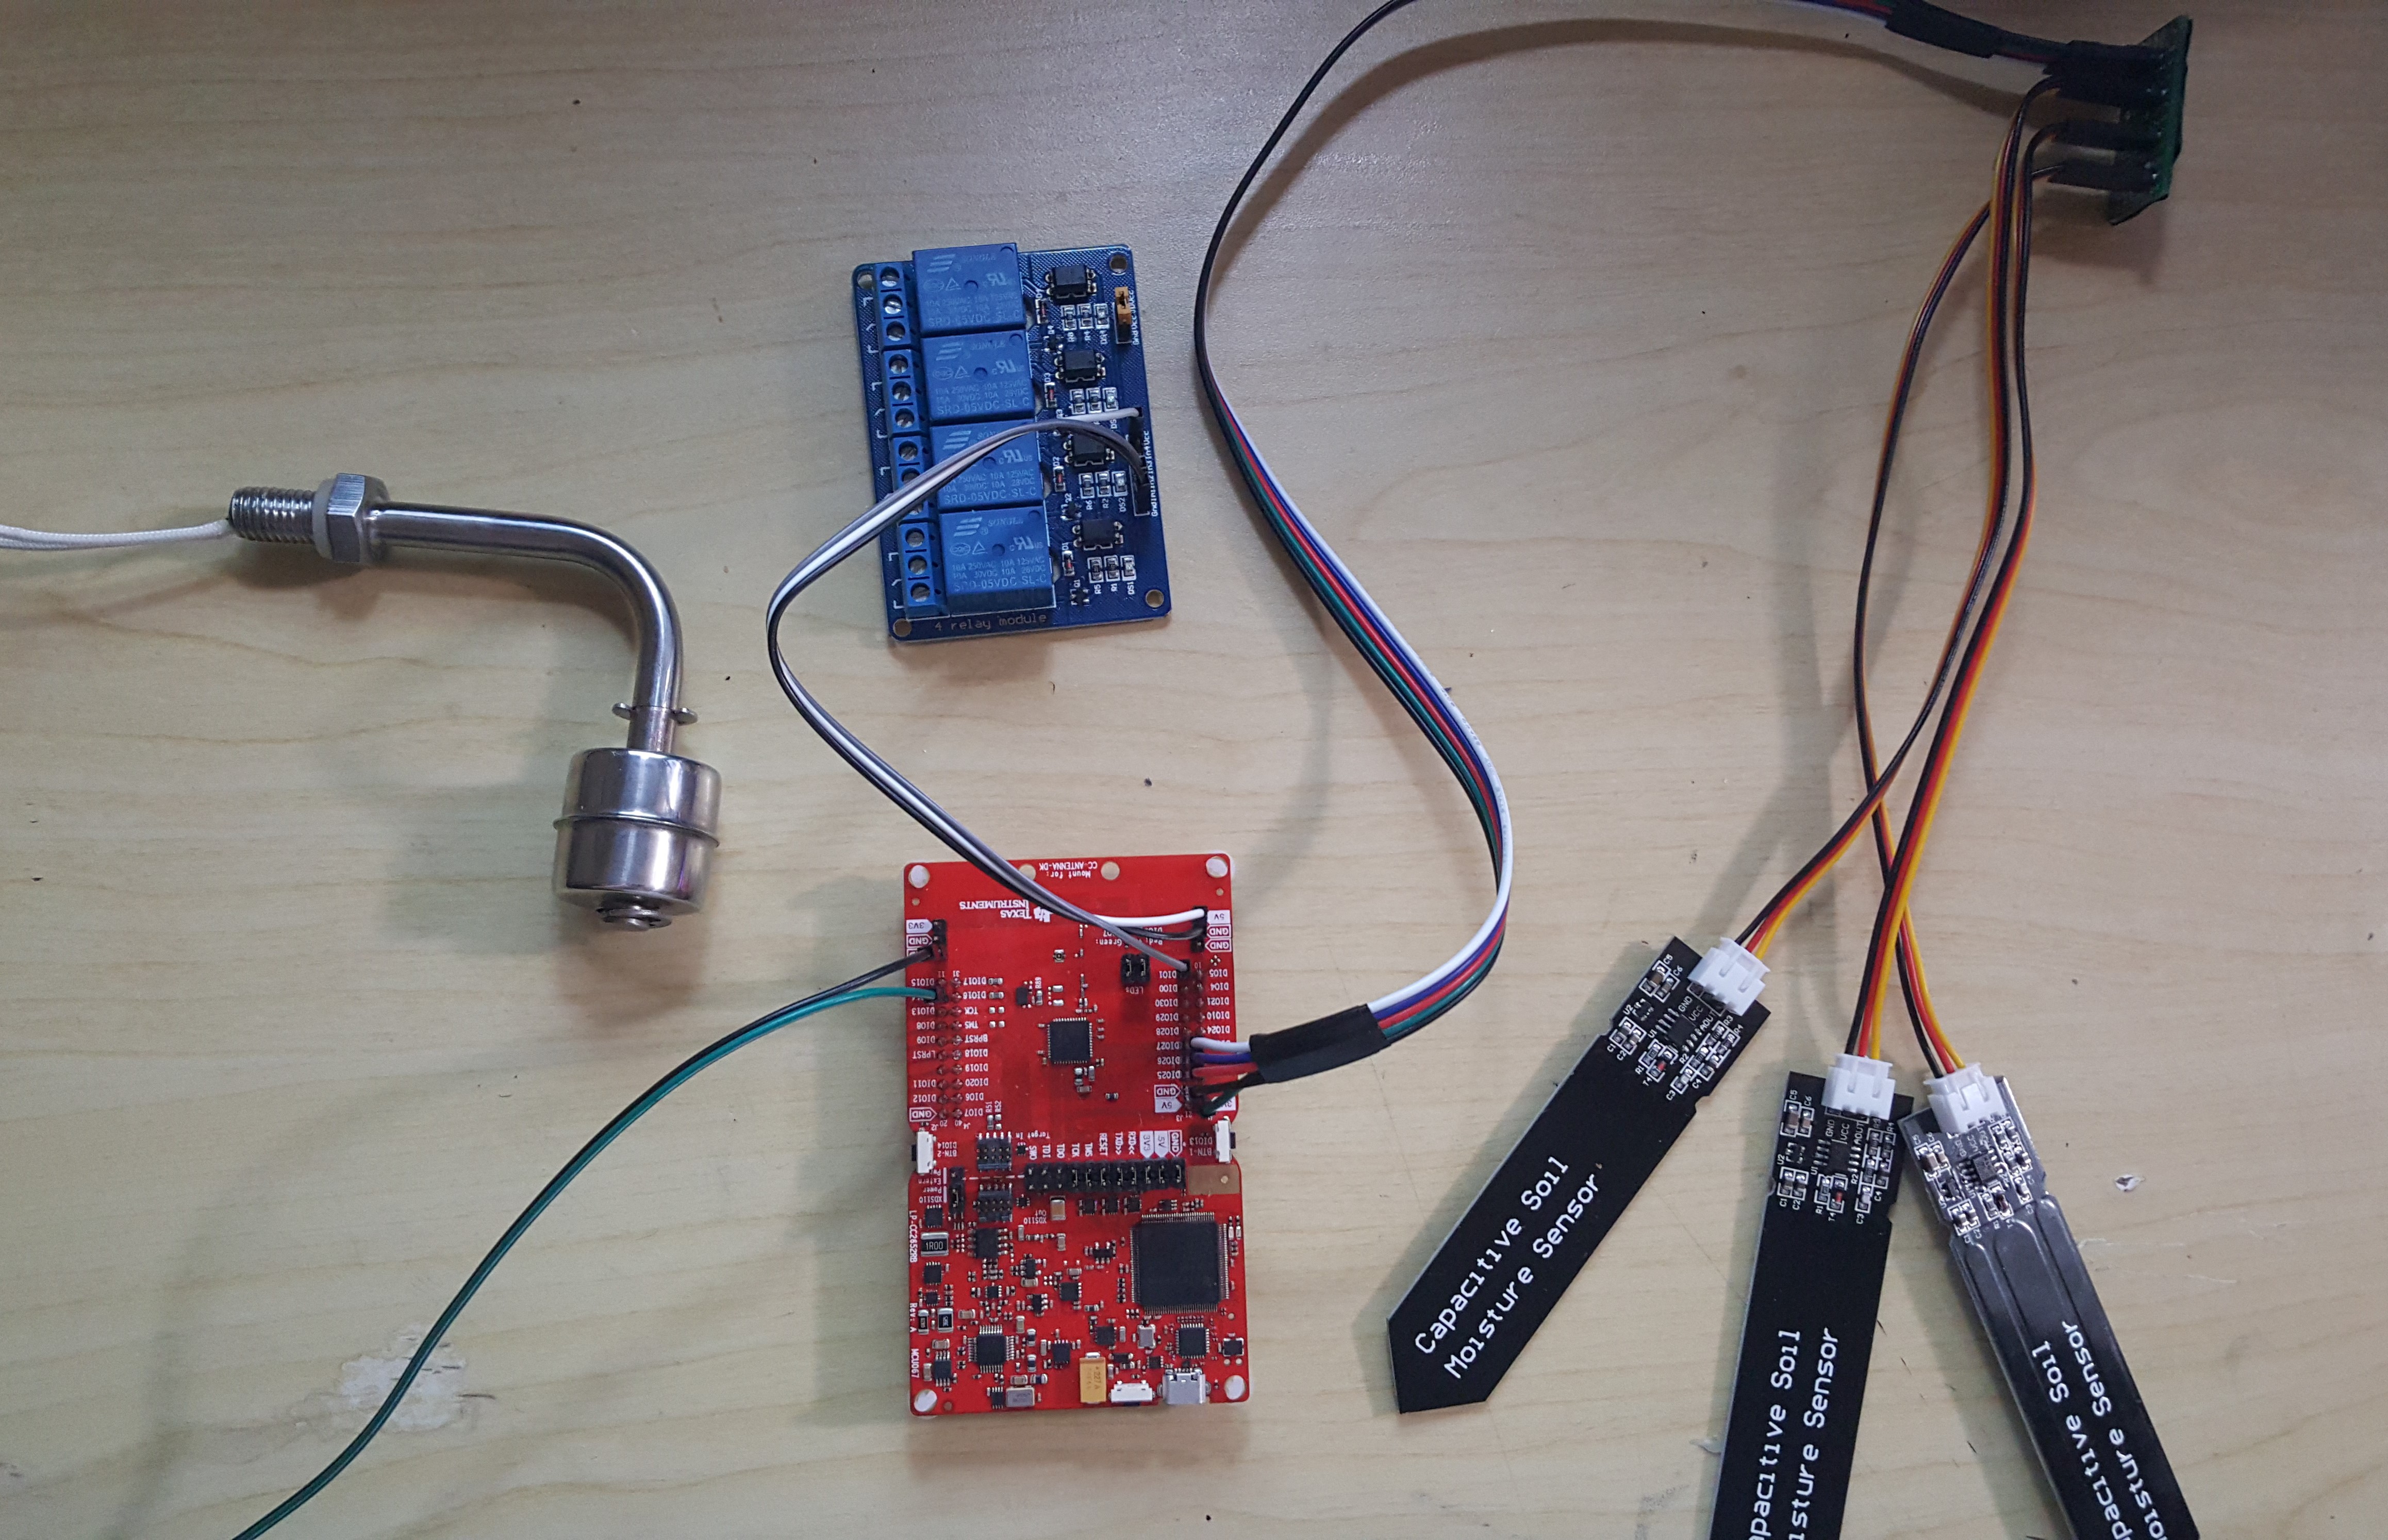
Once everything is snuggly fit in this enclosure, it can now be handled relatively safely. The next parts to connects are the soil moisture sensor arrays and the water level switch, which are quite straightforward.
![]()
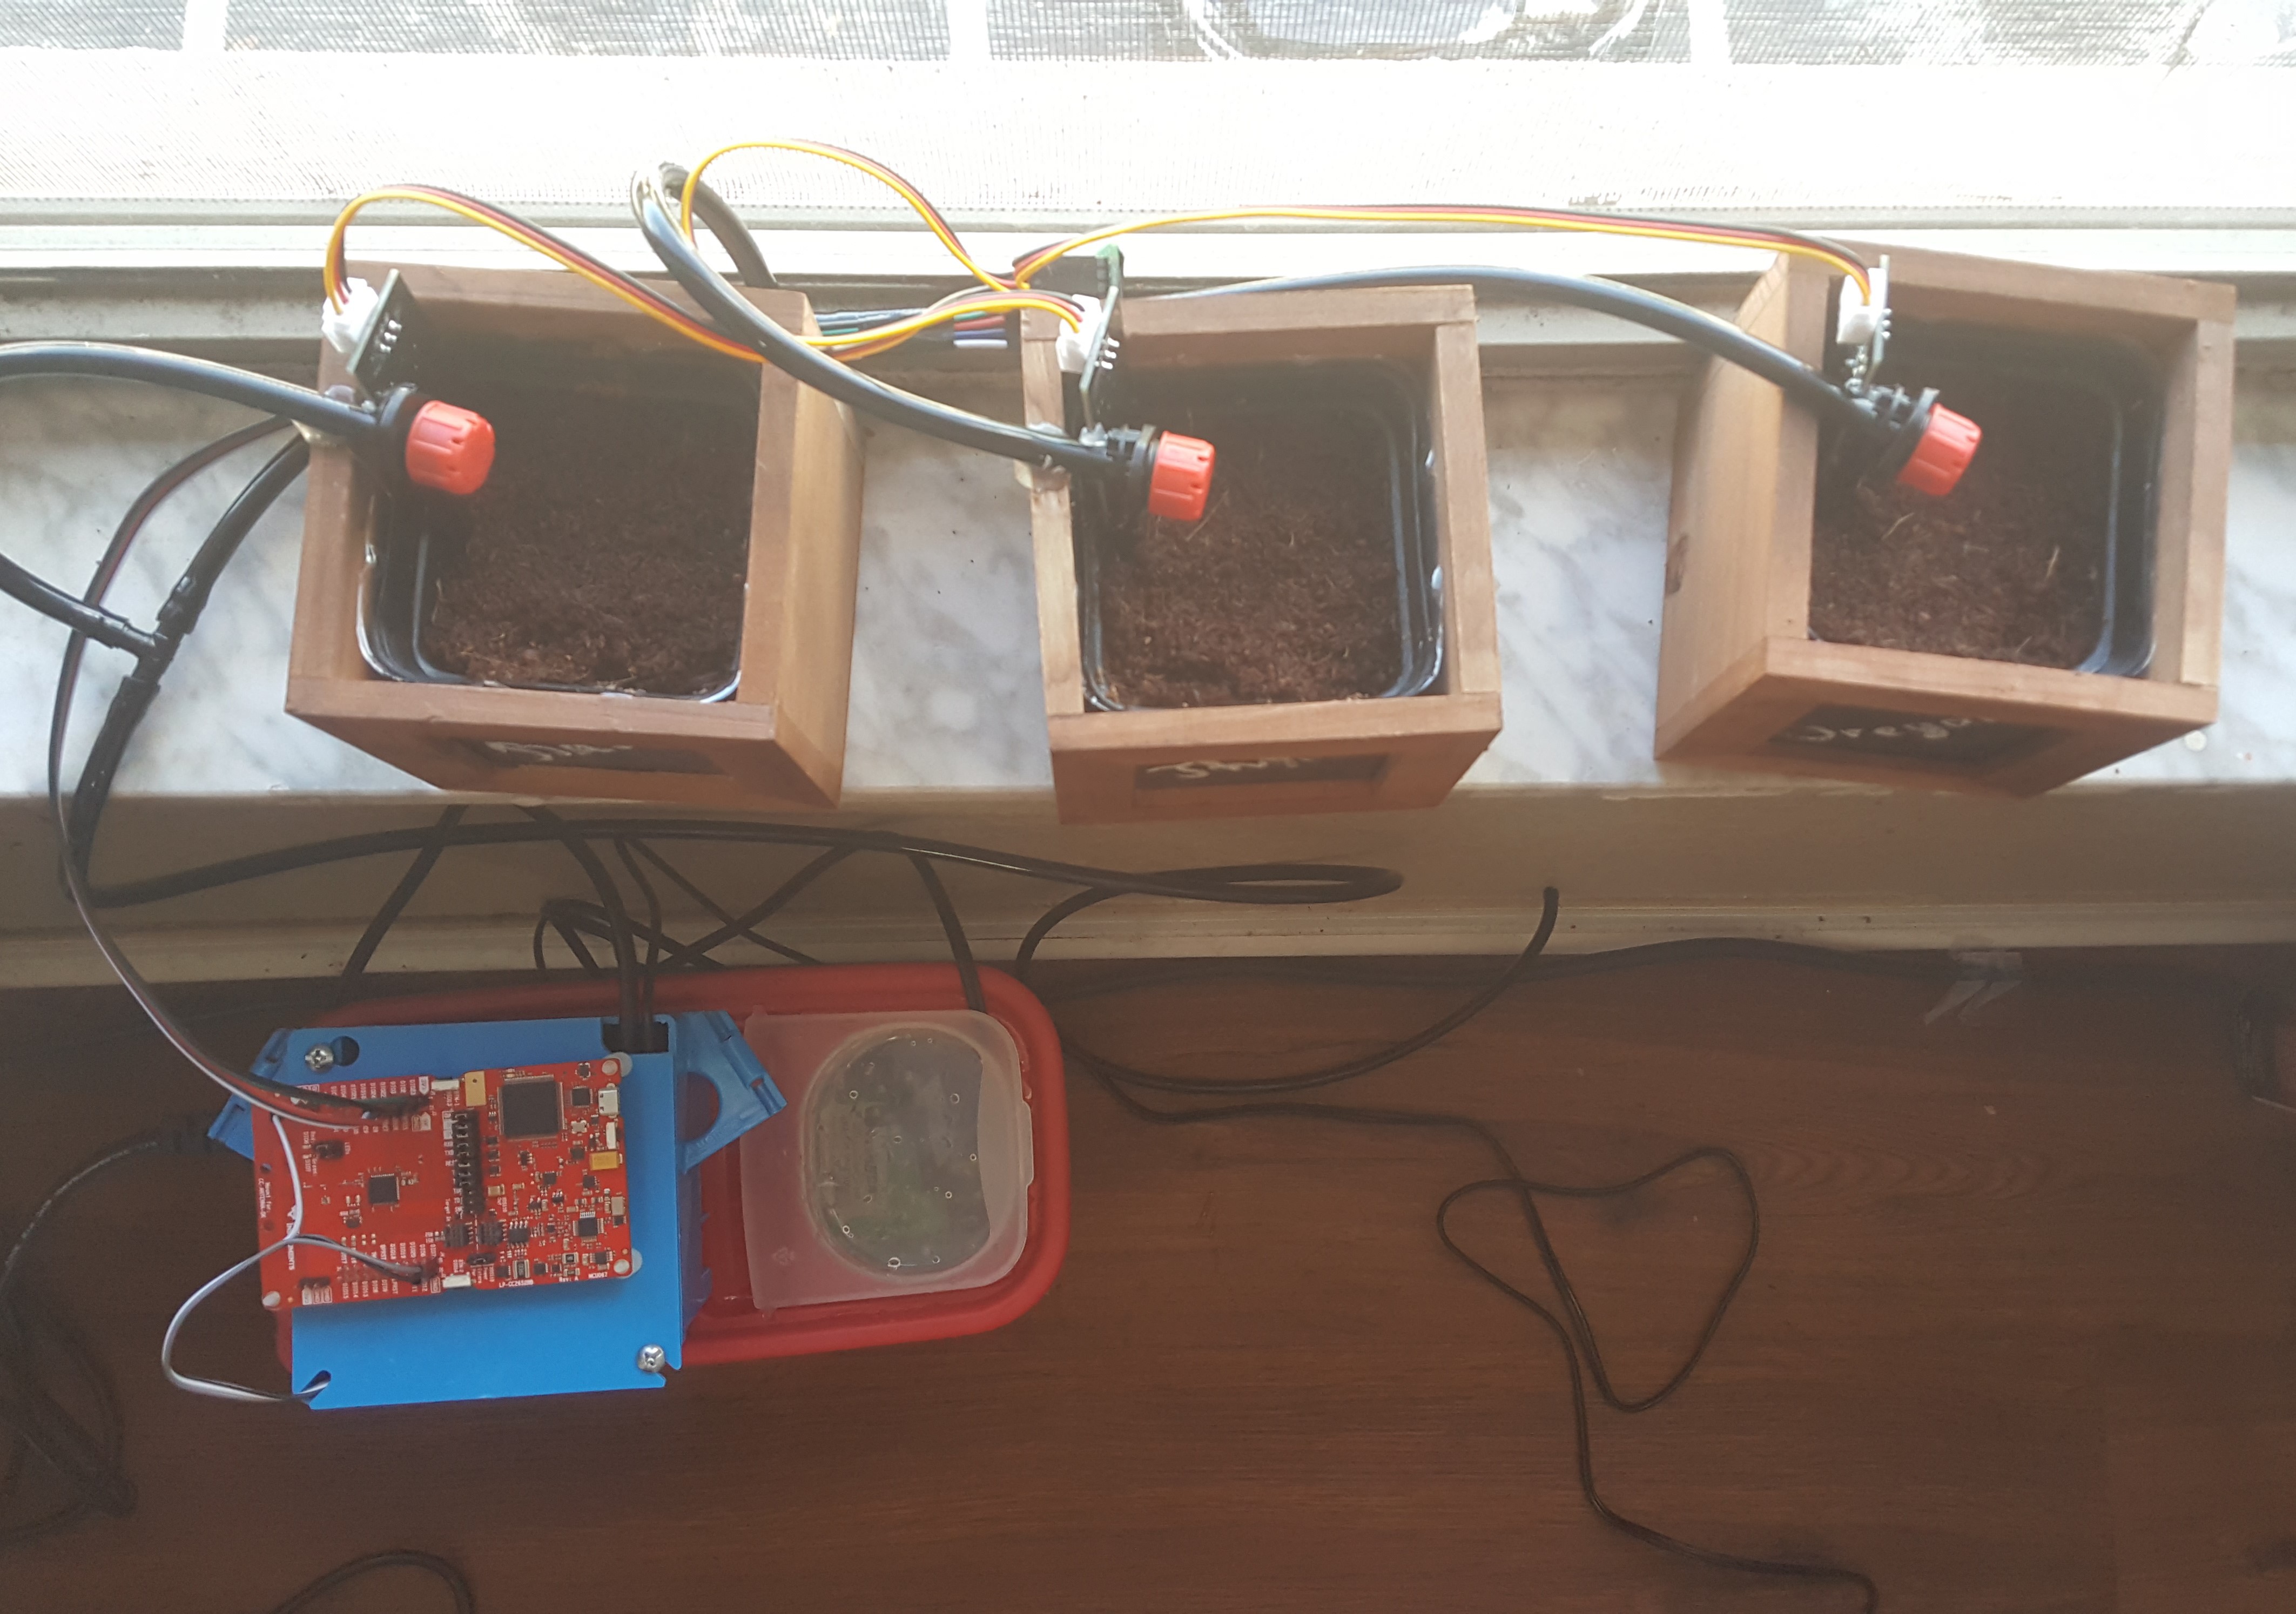
Everything can now be assembled. The capacitive moisture sensor can be inserted in the side of the pot, while the watering head can be hot glued in place.
![]()
Everything is set up and confirmed functional, time for me to start digging into applying the Zigbee stack onto the CC2652!
Real-time OS automatic watering system
An expandable TI-RTOS automatic watering system, soon to be a smart IoT device.
 Vinh Tran


