 Pedro Barbero
-
11st 3D printing!
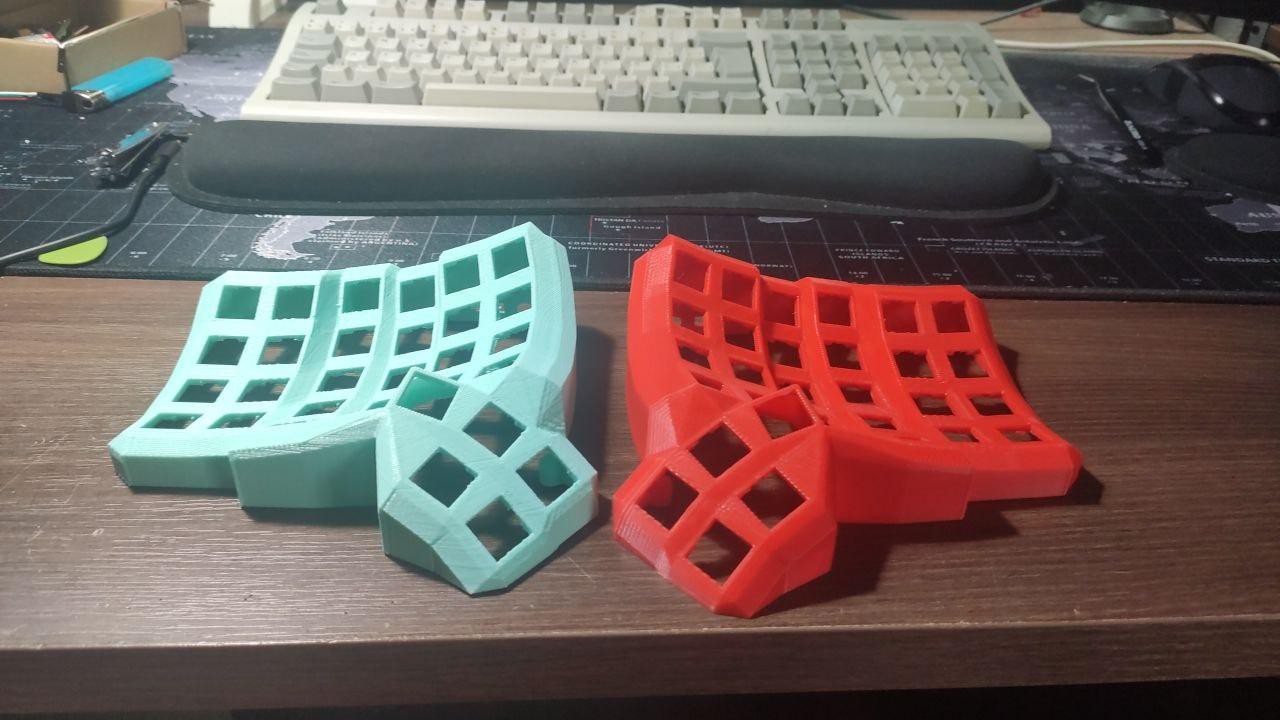
First time we will 3D print both dactyl-manuform keyboards
![]()
Models used in this build are the joseandres42 dactyl-manuform version:
https://github.com/joseandres42/dactyl-manuform-mini-keyboard
Original Dactyl-Manuform repo by bstiq:
https://github.com/bstiq/dactyl-manuform-mini-keyboard
At this repo you can find any information about to build, we'll be focused to the PCB build alternative.
-
2Ordering Electronics
You can find in the BOM file in this project every components an parts to complete the project:
Parts Qty Link SK6812 4020 100 Neopixel Aliexpress Link 100nF Capacitor 100 Capacitors Aliexpress Link Diode 1n4148(SOD-323) 100 Diodes Aliexpress Link Switches 65 Kailh Aliexpress Link DSA KeyCaps 68 DSA KeyCaps Aliexpress Link Arduino Pro Micro 2 Arduino pro micro Aliexpress Link USB C board 2 USB C board Aliexpress Link Micro USB 4pin Male 2 Micro USB cable Aliexpress Link Wiring Cable inf Wiring Cable -
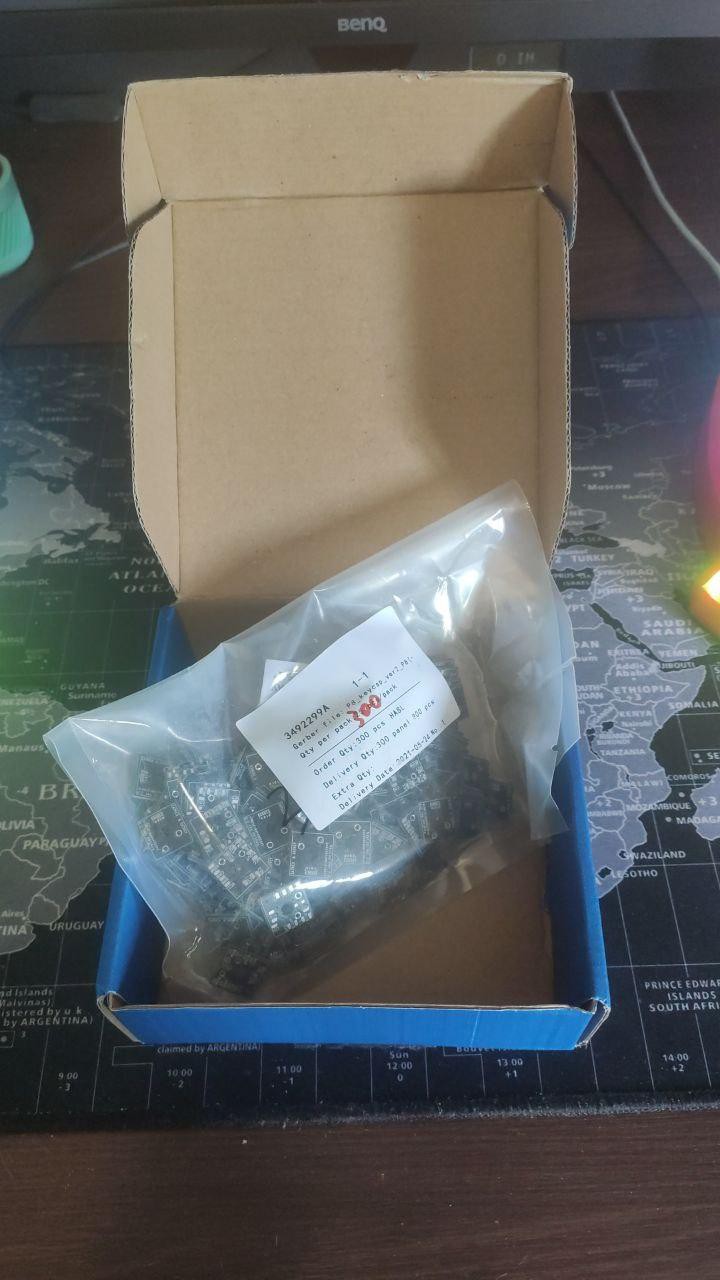
3Ordering PCBs
To order the PCBs i've use the JLCPCB service:
![]()
Gerber files are in description
-
4Strart building!
Mount Siwtches and keycaps in place:
![]()
And prepare soldering iron for the next step!
-
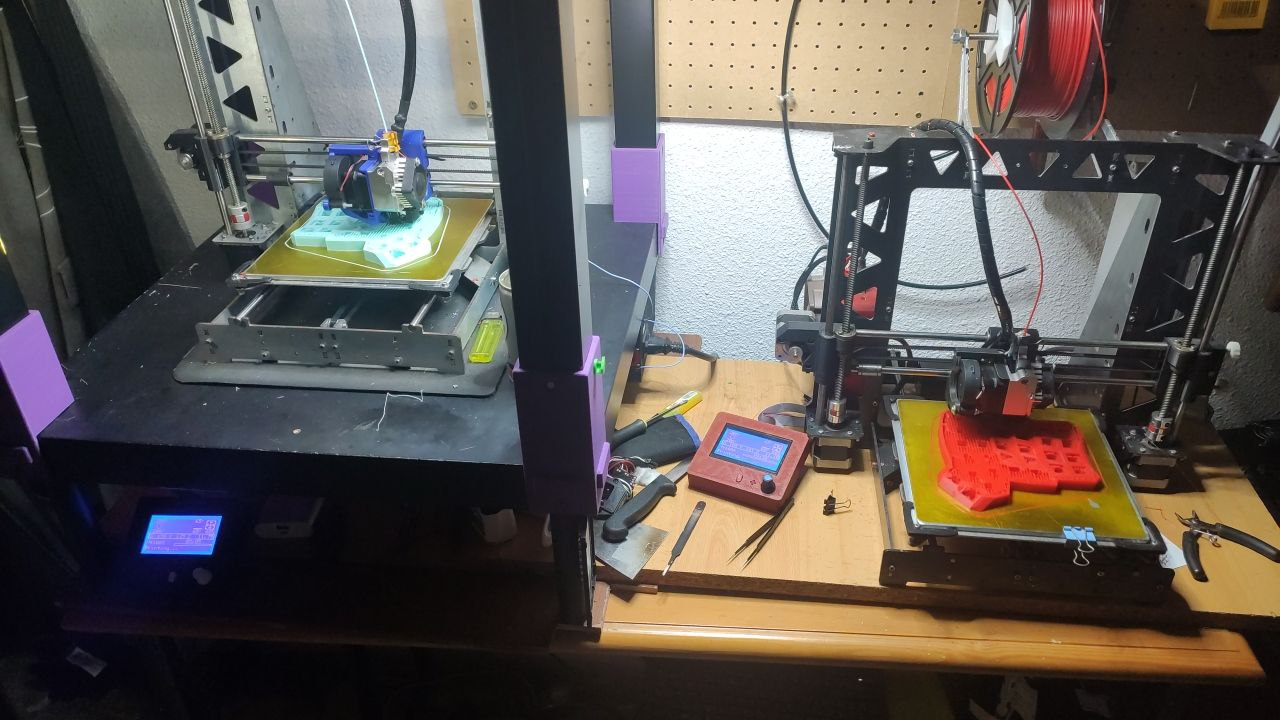
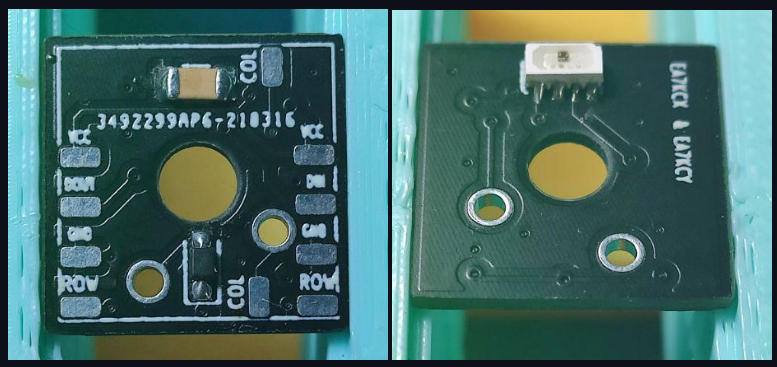
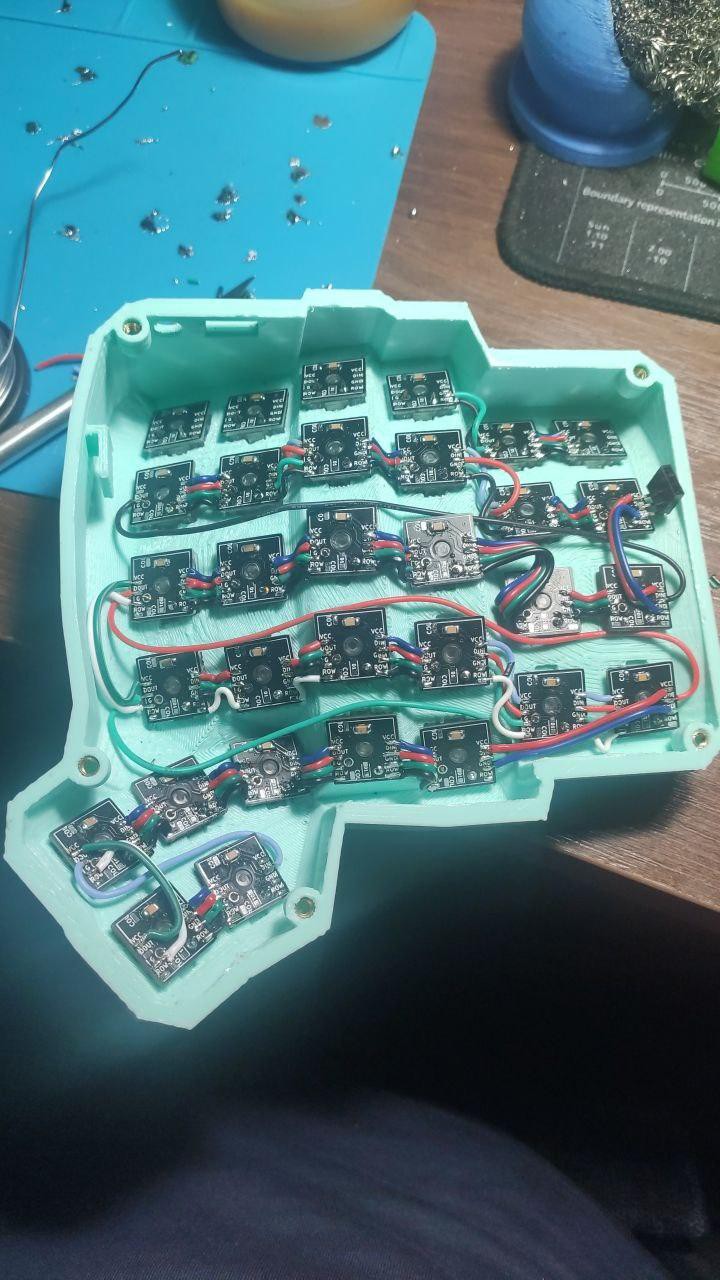
5Soldering
First step in soldering is to solder the 62 PCBs:
![]()
Once 62 PCBs are soldered, start soldering the keyboard, its important to ensure that every neopixel communication works perfectly:
![]()
I recommend solder and wire row by row and testing with an arduino with a neopixel example code, but this is the next step.
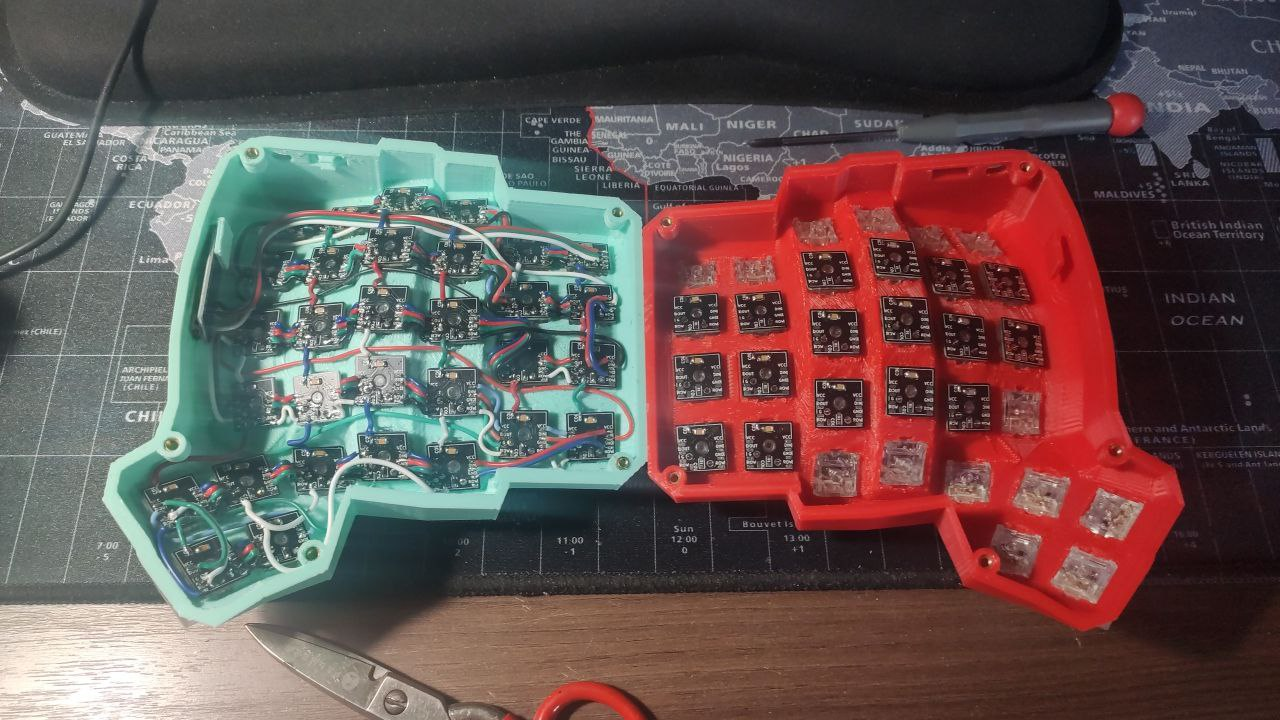
Once you finished the keyboard, you have to start with the other one:
-
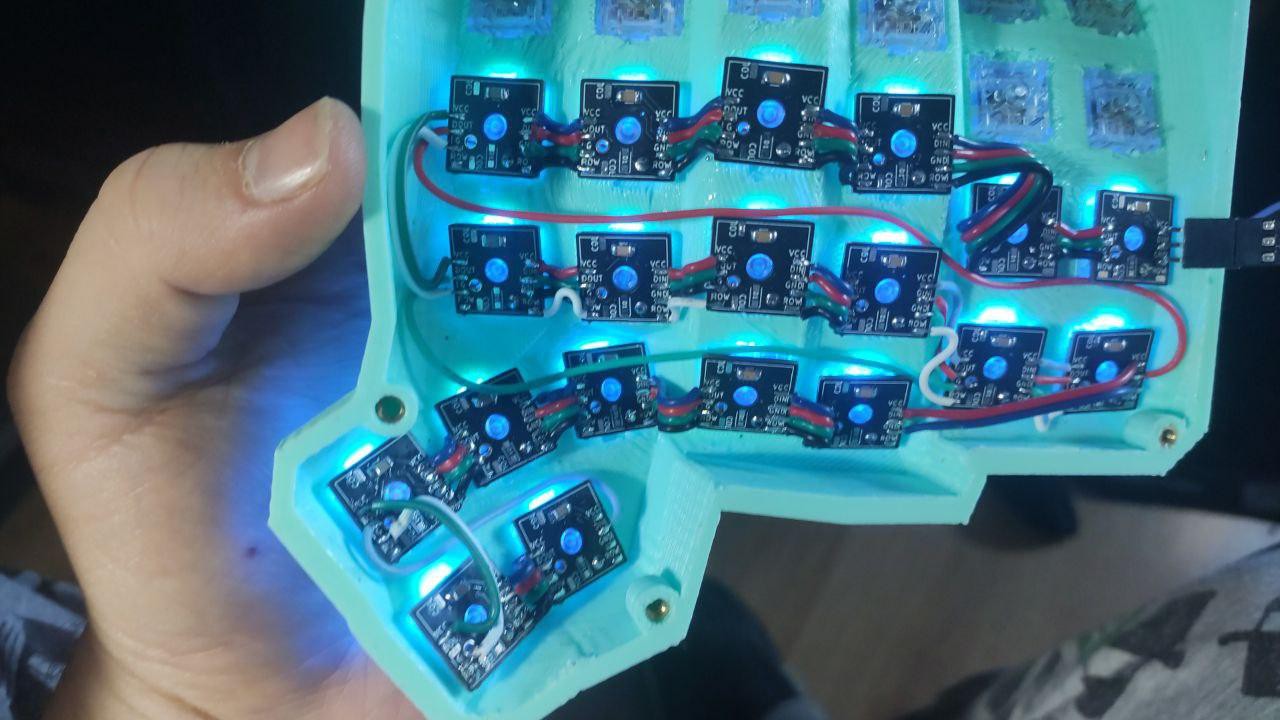
6Neopixel communication test
To test that every row works ( start testing row by row and ad the end, the entire keyboard) you can use a neopixel example code from the internet and a arduino:
![]()
![]()
I've use a rainbow animation from a code from internet:
https://www.tweaking4all.com/hardware/arduino/adruino-led-strip-effects/
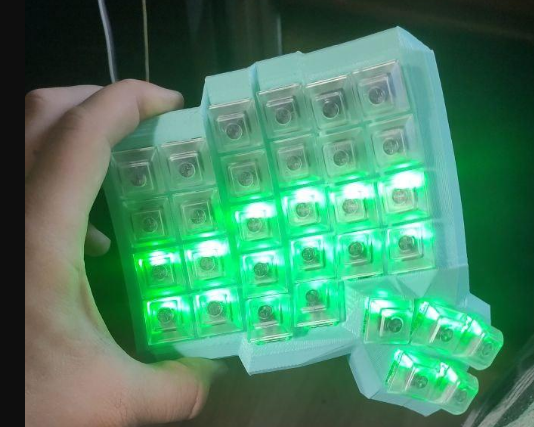
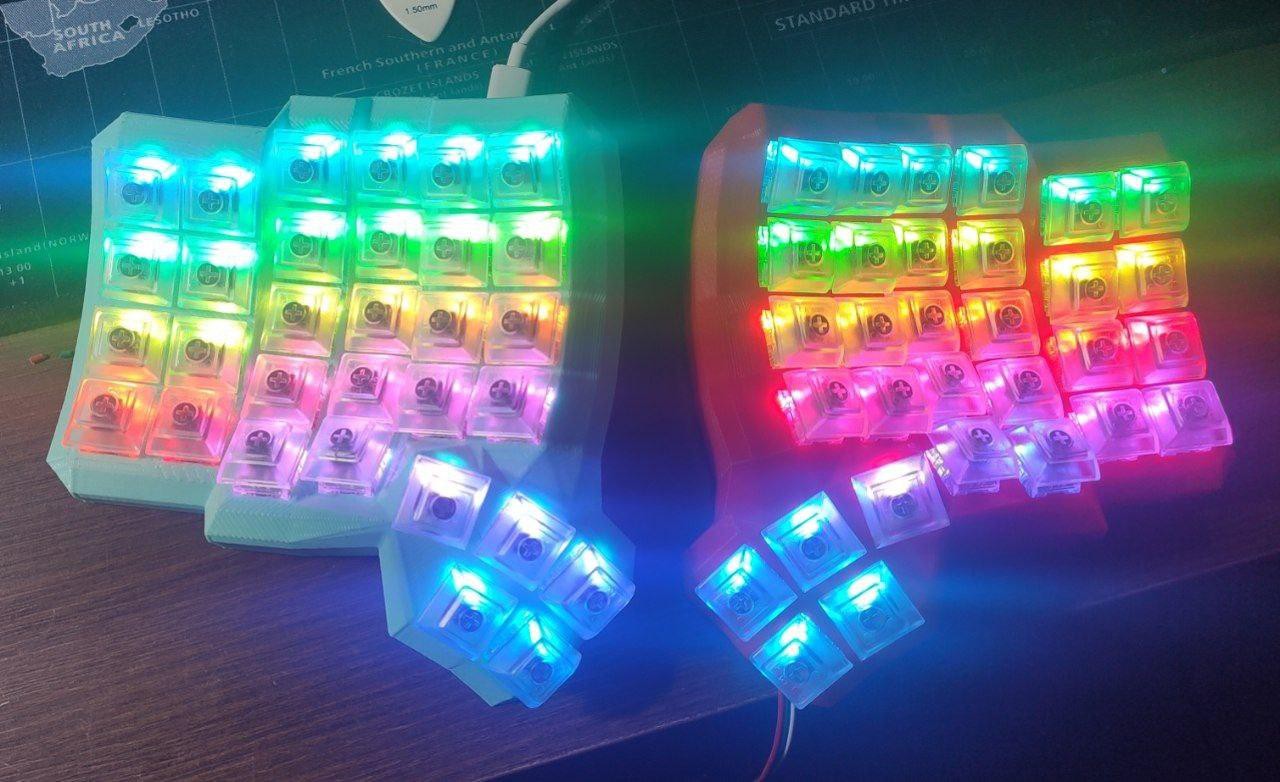
Final results:
![]()
-
7Wiring Rows and Cols
now we have to wire as i show in the images, wiring is Row to Col (remember it for QMK configuration)
![]()
![]()
The other keyboard is exactly the same but mirrored :)
To wire arduinos pro micro, you have to follow the original dactyl manuform post for the pinout.
-
8Coding QMK Firmware
To finish the project we have to upload a firmware to our keyboards, y use I2C communication and the layout isDvorak-es by joseandres42 (forked repo):
-
9Enjoy your new Dactyl Manuform keyboard with underglow keycaps lights!


Discussions
Become a Hackaday.io Member
Create an account to leave a comment. Already have an account? Log In.
Do you have anything with a bit more information on the wiring? Maybe what goes to what for which purpose? I'm brand new at this and while this looks interesting it's a bit intimidating :)
Are you sure? yes | no
This is great work! In theory how many keys could be used in one keyboard? Like the max?
Are you sure? yes | no
Hi Mapembert, thankyou for your comment and following my project.
theoretically each SK6812 4020 has a current consumption of 1mA (Page 5/15 of this PDF):
http://www.normandled.com/upload/201804/SK6812%204020%20SIDE%20LED%20Datasheet.pdf
USB can handle about 1A, so you can build a complete 104 ISO keys keyboard with these PCBs. Actually I'm driving 62 leds with a single USB with any problem.
I recommend set the max PWM in QMK software about 100 or lower (leds are too bright), pushing down the current consumption.
https://github.com/qmk/qmk_firmware/blob/master/docs/feature_rgblight.md
Here you have more information about neopixel configuration in QMK.
This information will be added to the building instruction
Are you sure? yes | no