 Narayandojo Stemclub
-
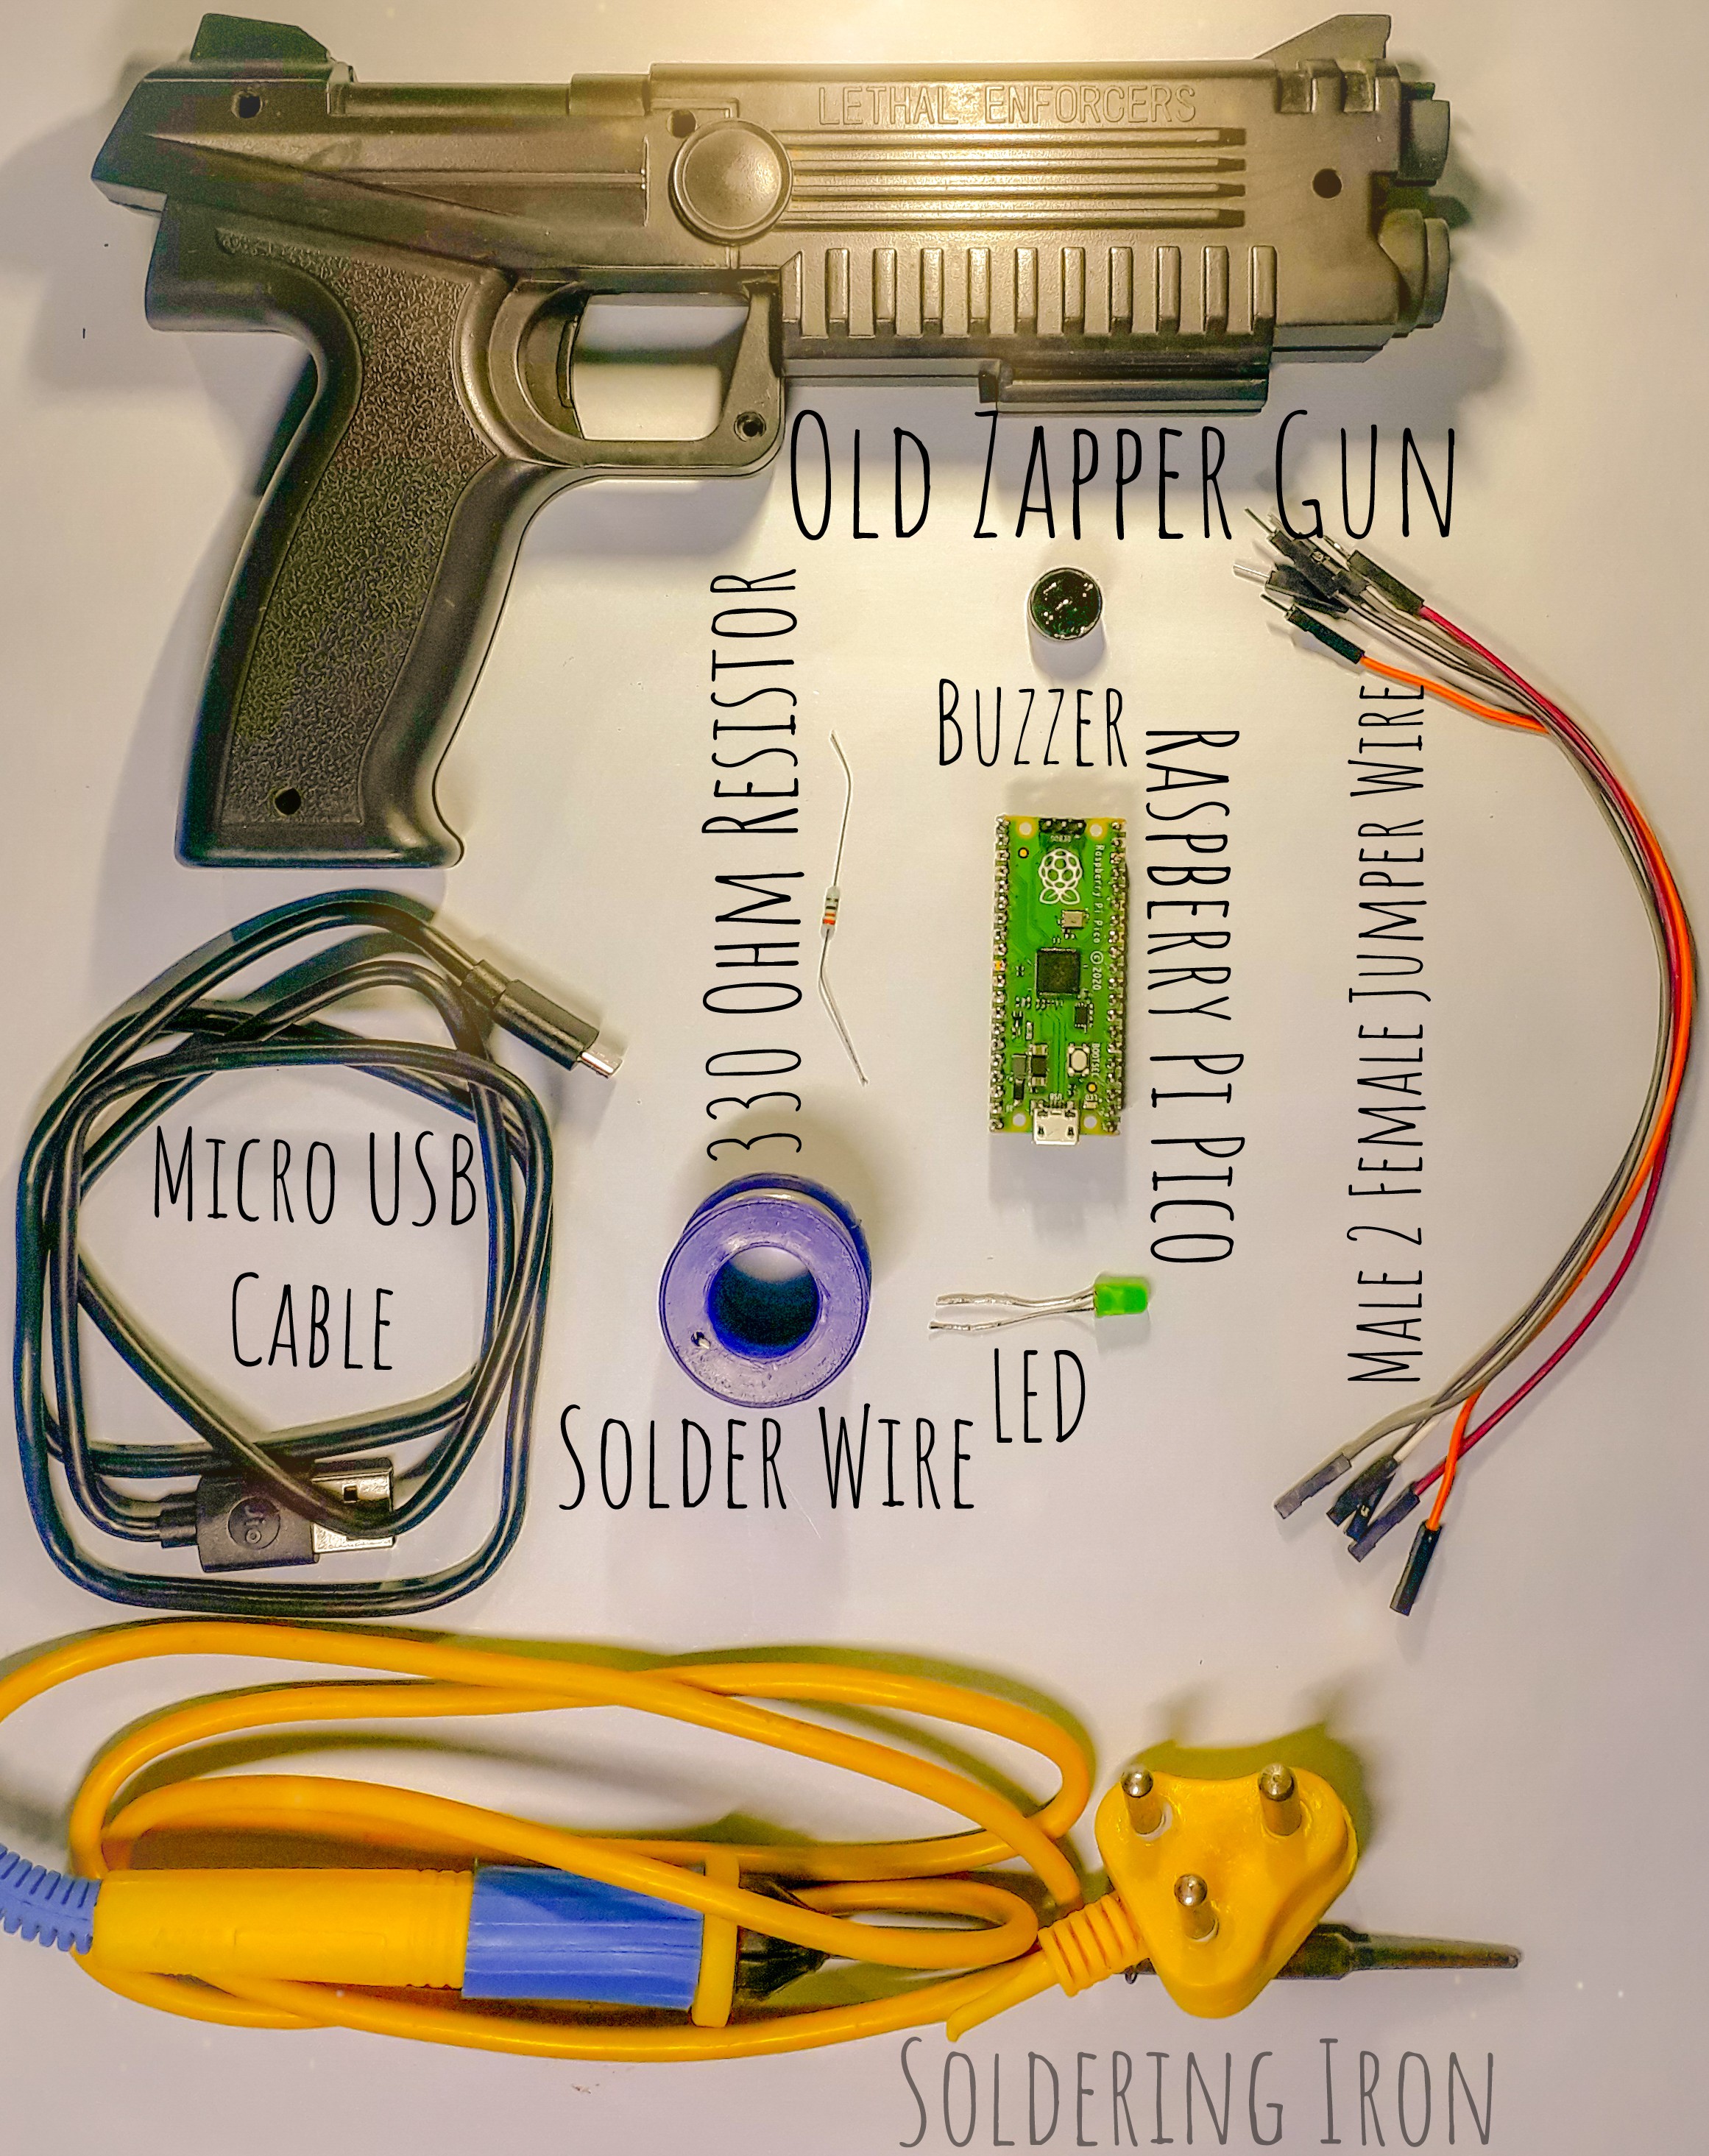
1Required Components and Software

- Old Zapper Gun
- Raspberry Pi Pico with Soldered header
- Micro USB Cable
- Male to Female jumper Wire x5
- 330 Ohm Resistor
- LED x1
- Buzzer x1
- Screw Driver
- Soldering Iron
- Solder Wire
- Thonny IDE
-
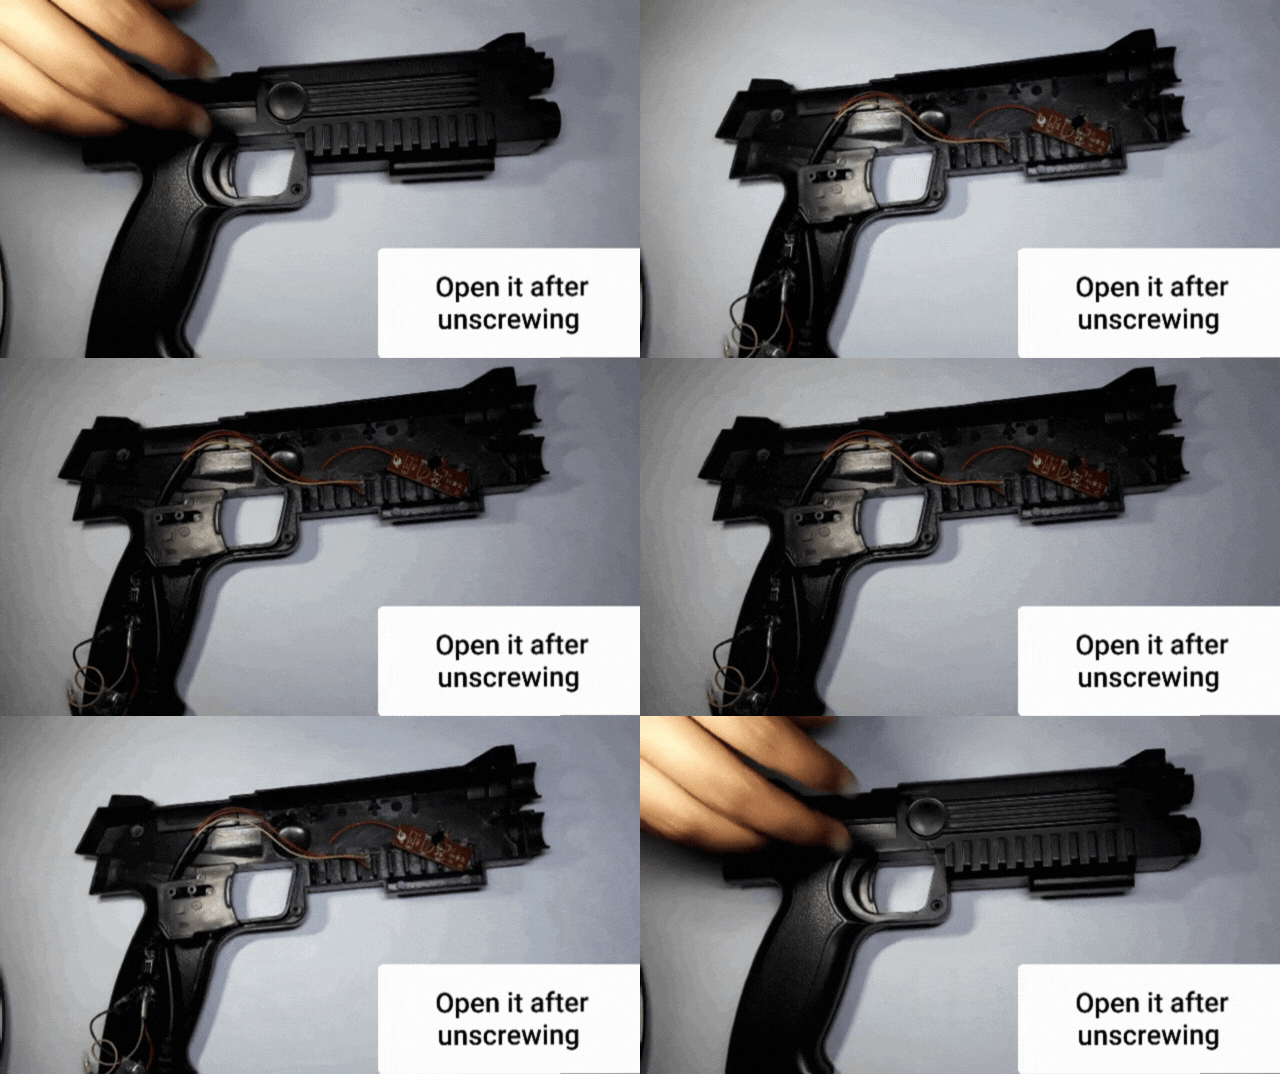
2Unscrew the Zapper Gun using screw driver

-
3After Unscrewing open this Zapper Gun

-
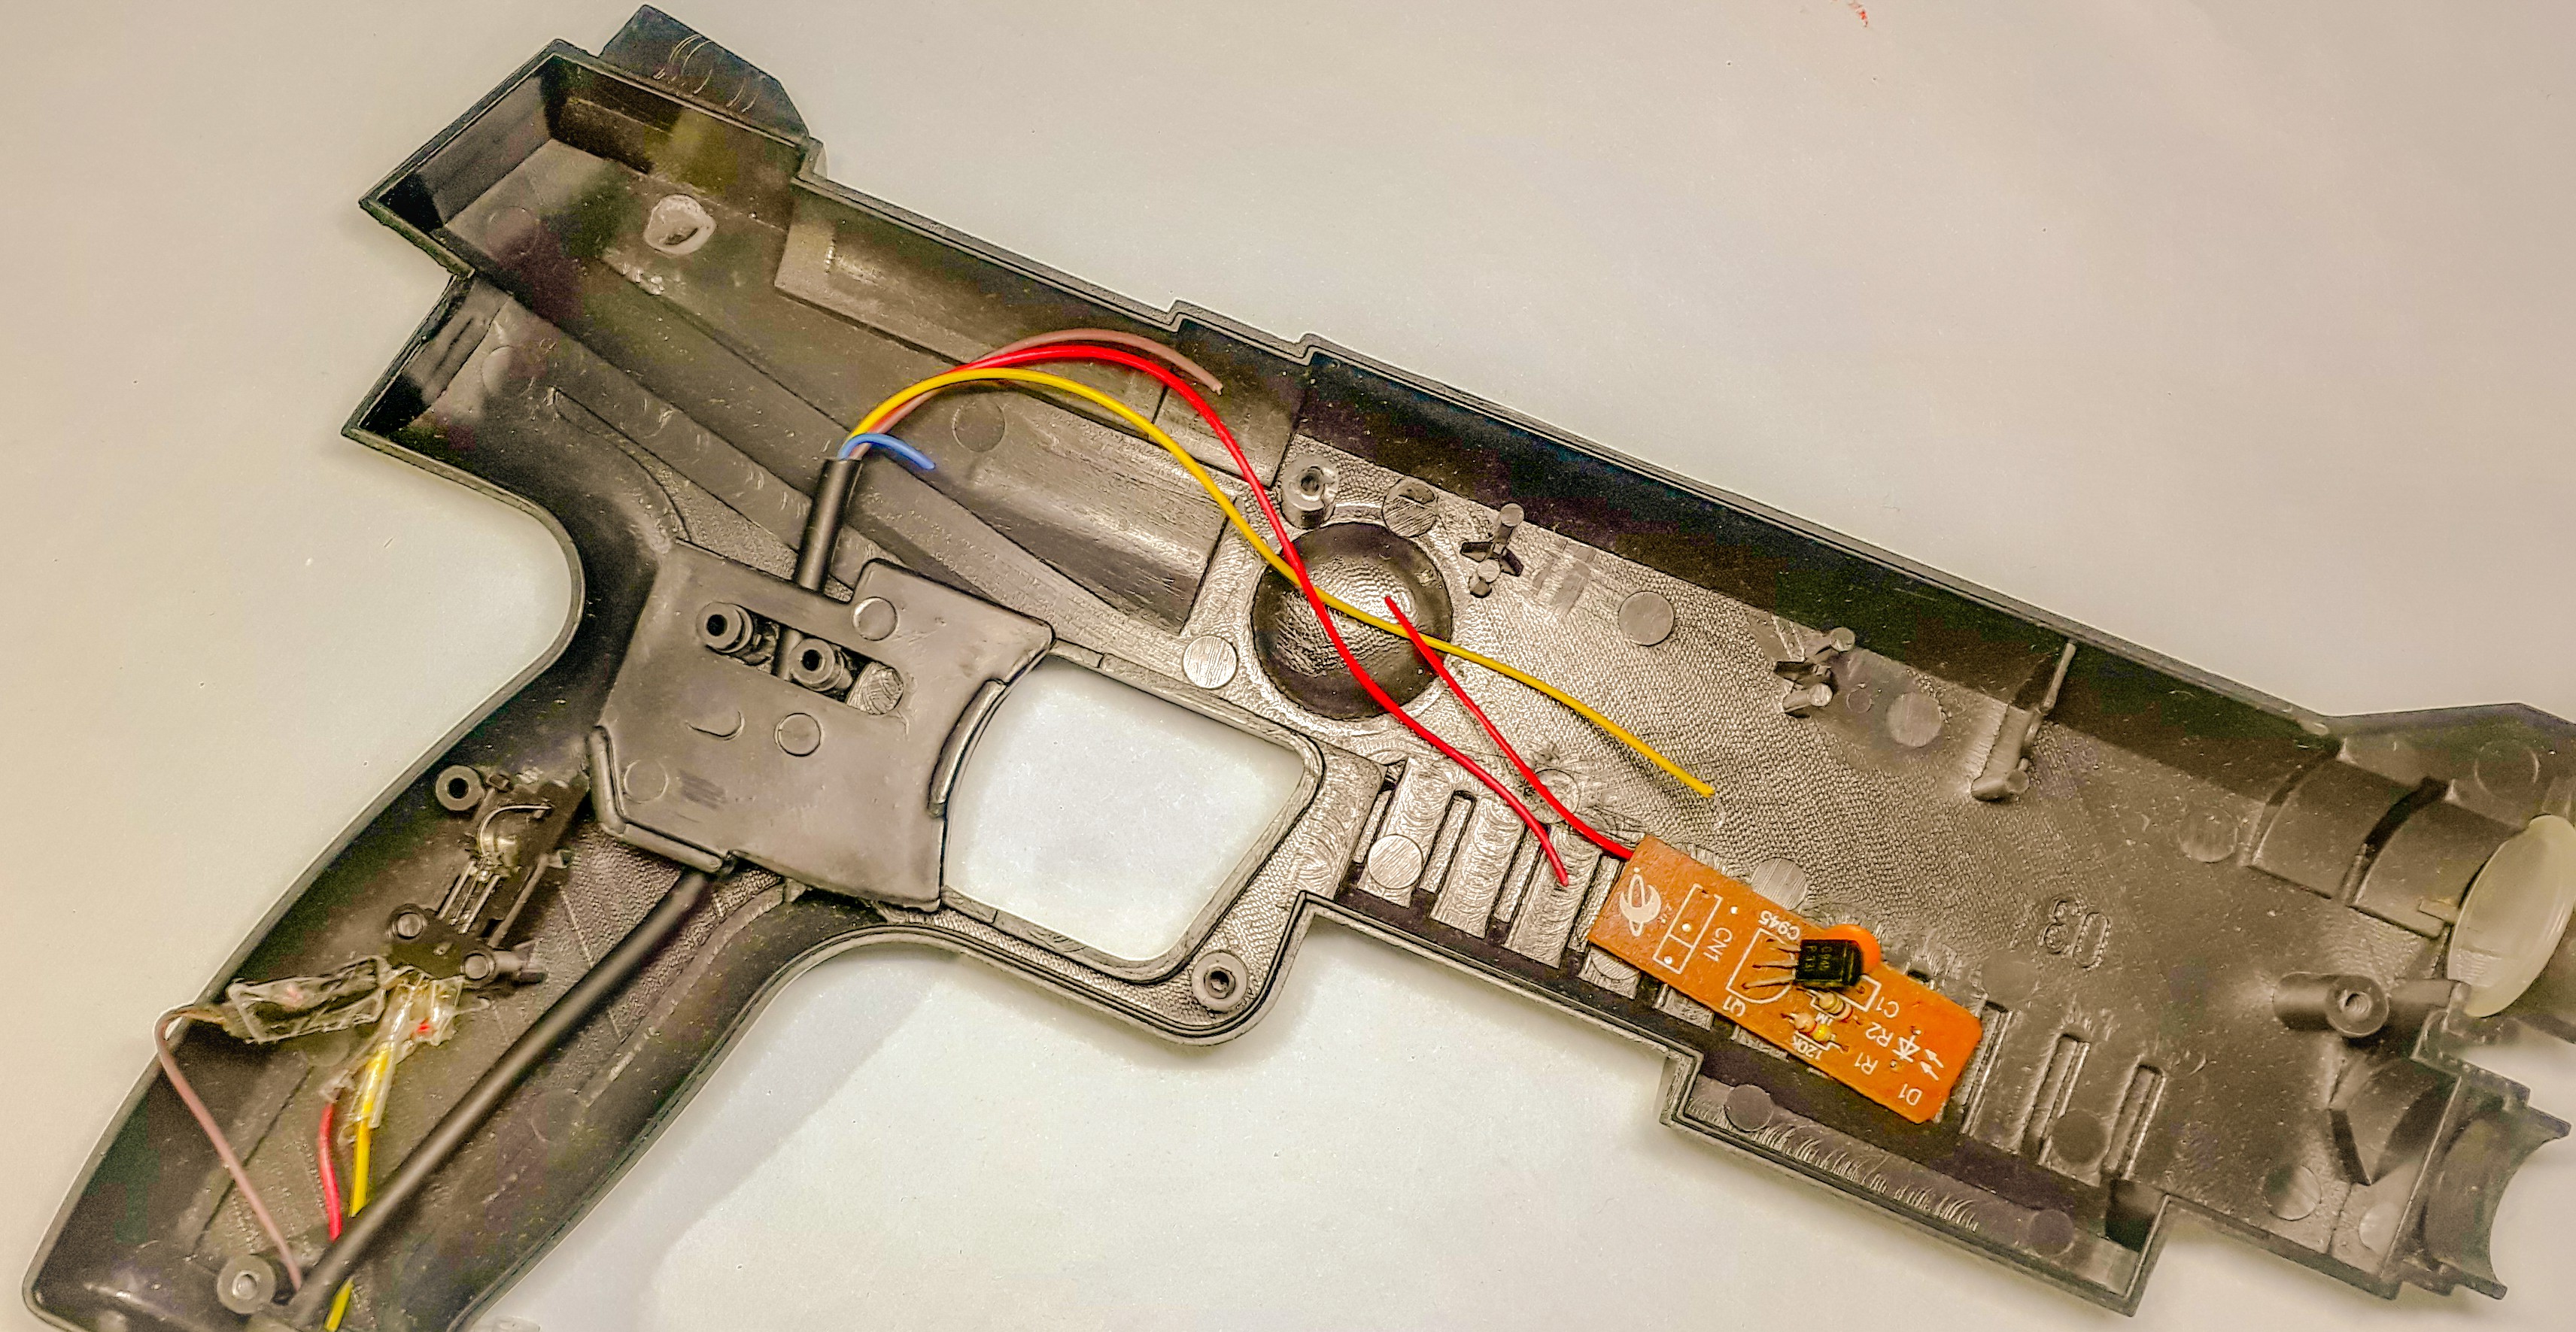
4After open the Zapper Gun Now it will look something like this

-
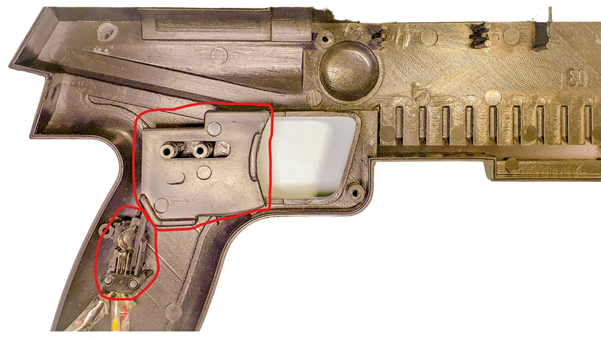
5Required things from the zapper gun
From this zapper Gun here we need only
- a trigger push button,
- trigger clip with the zapper gun case.
For more clarification, you can refer to the images.
-
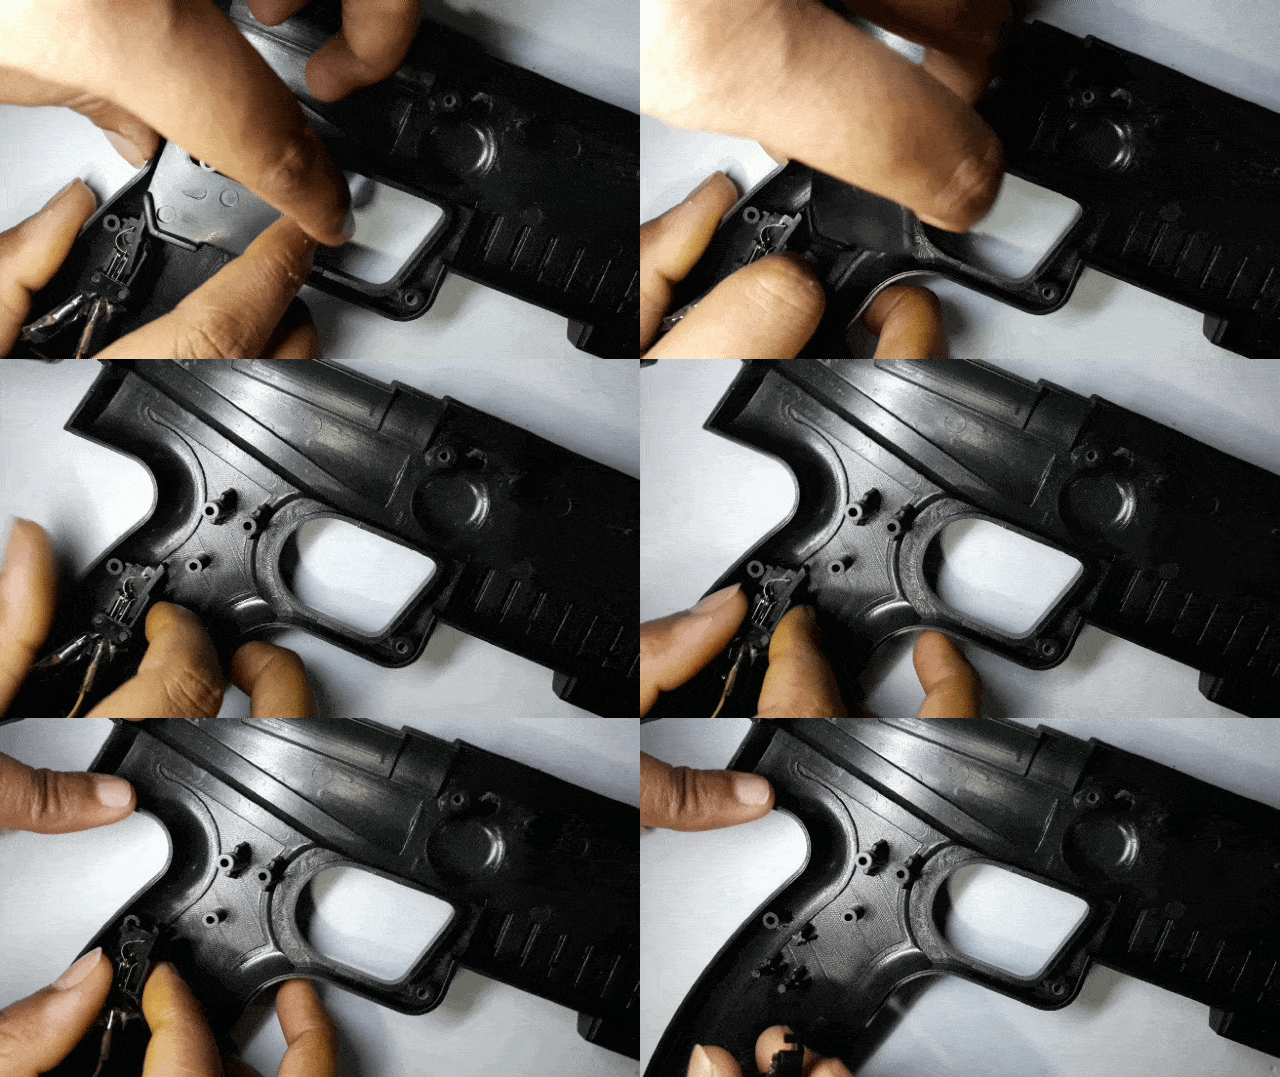
6Now take out the push button from the Gun.

-
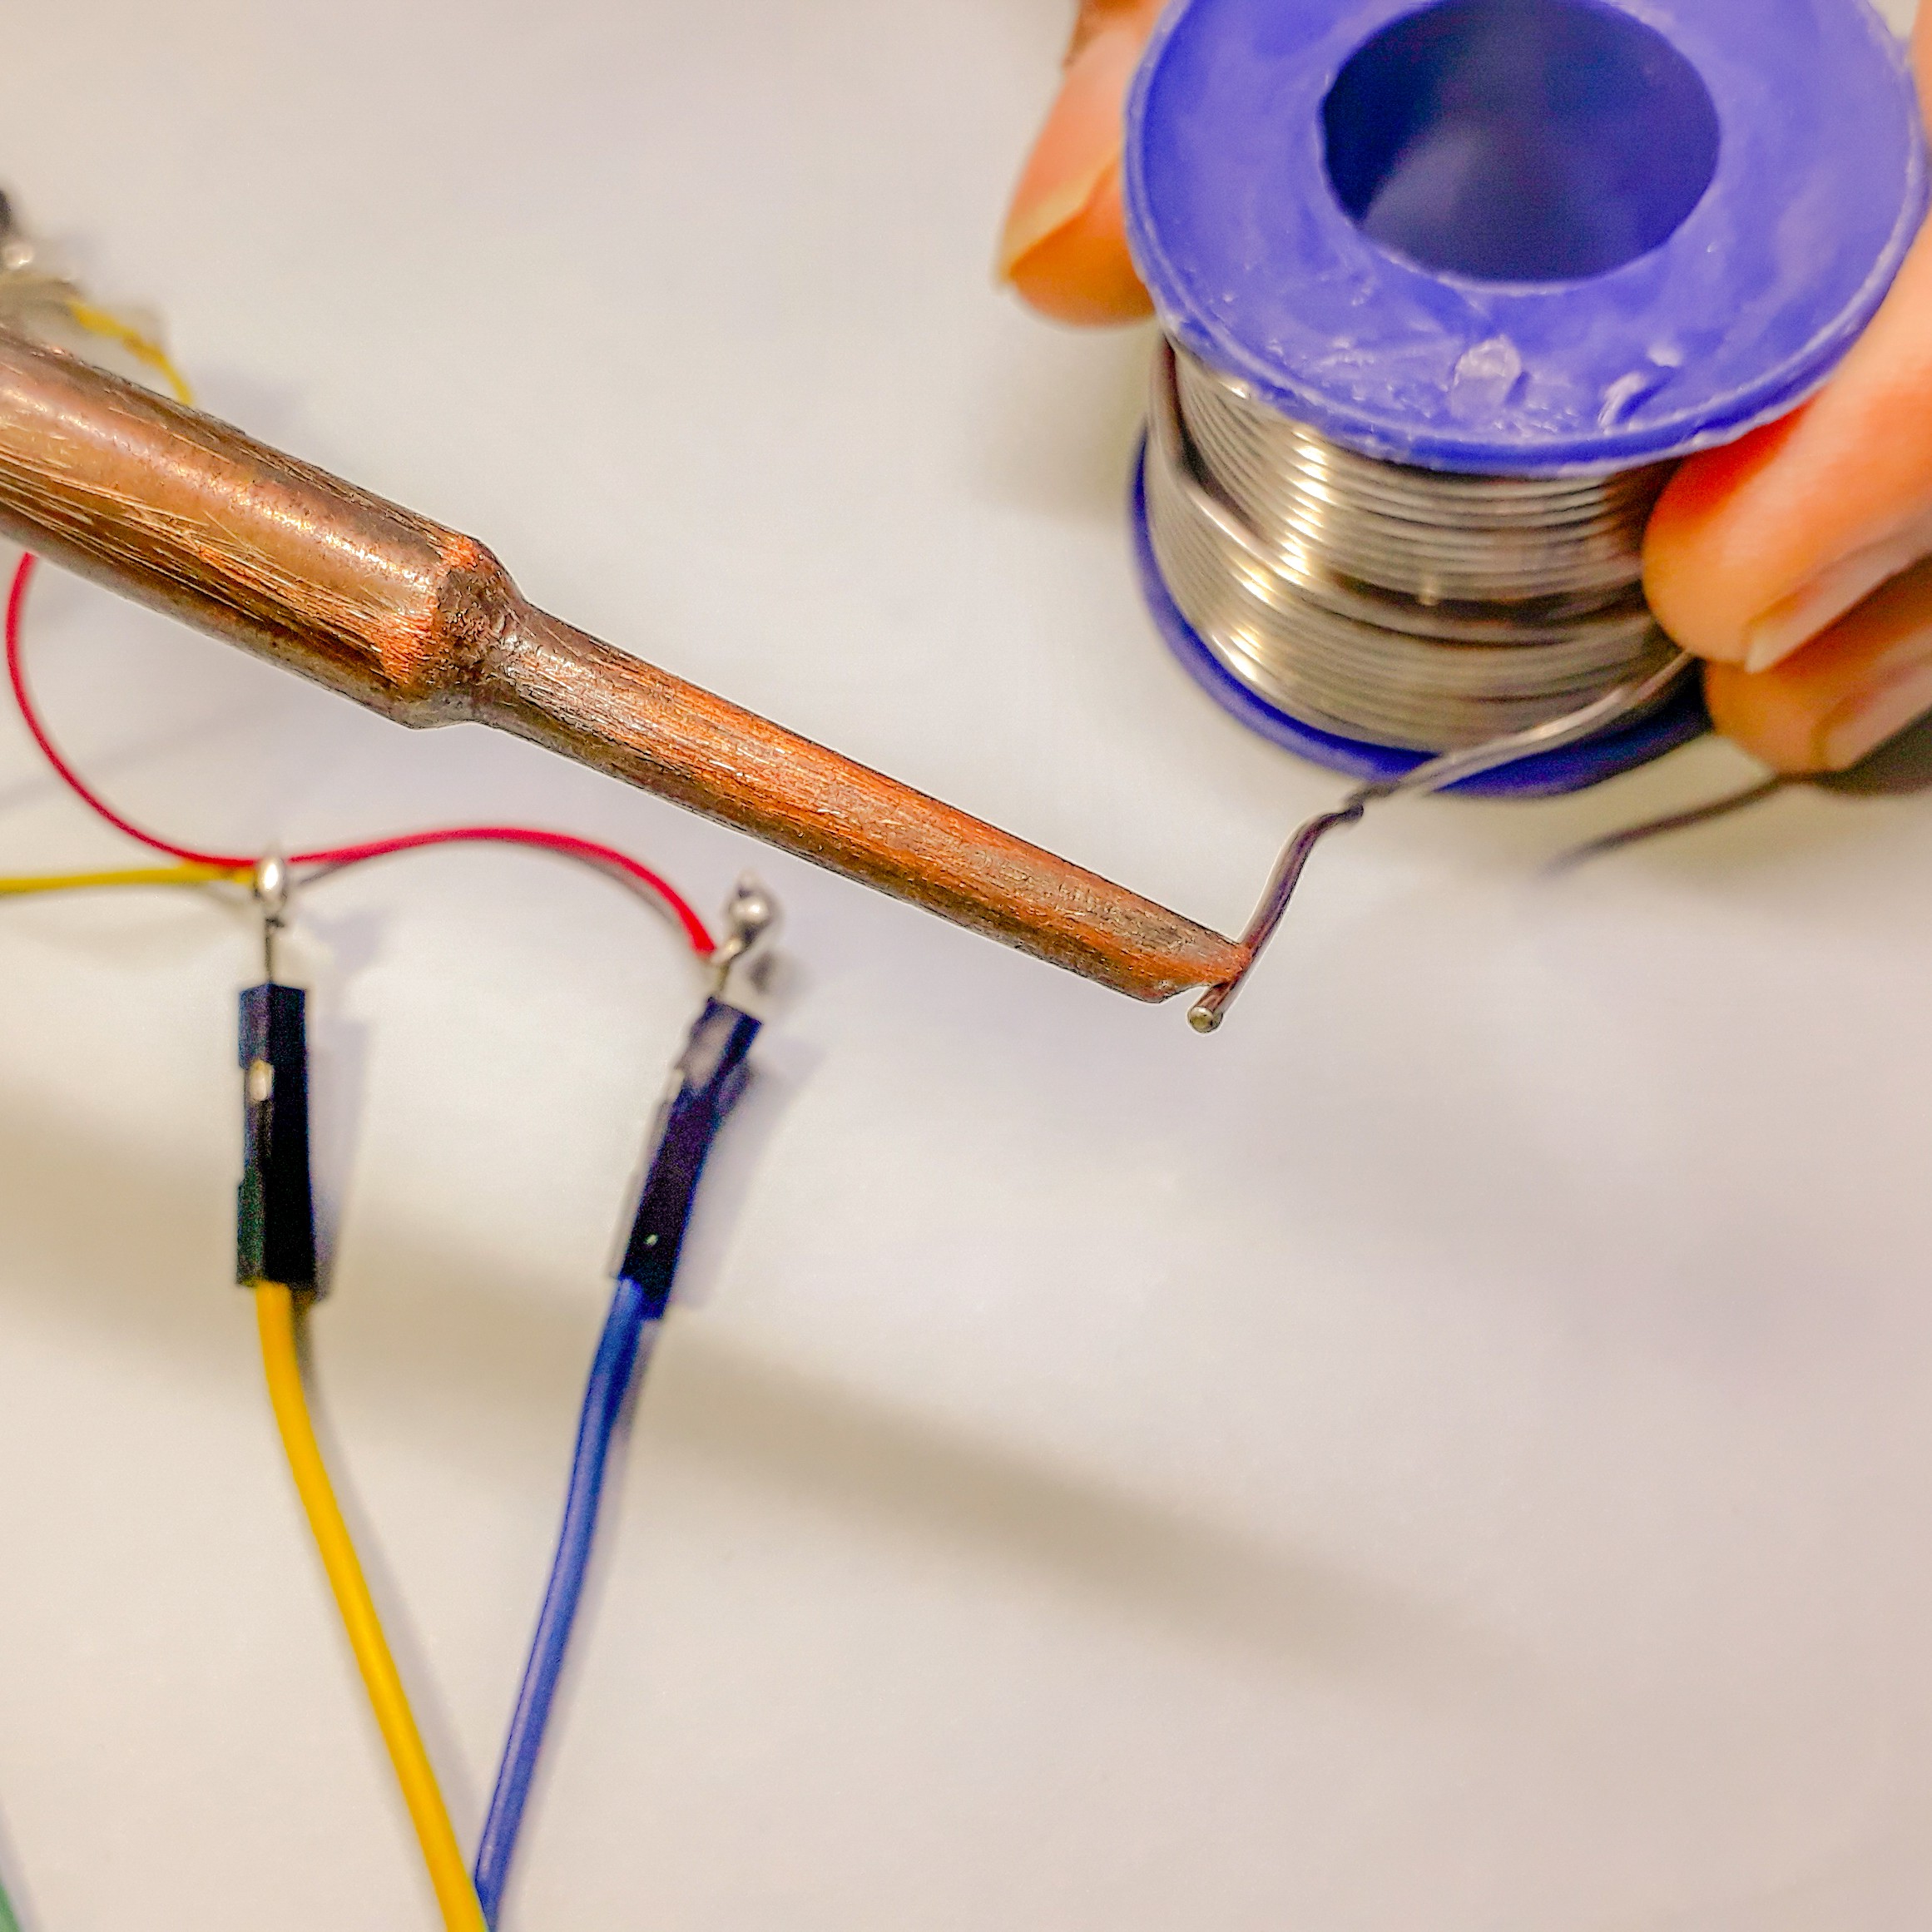
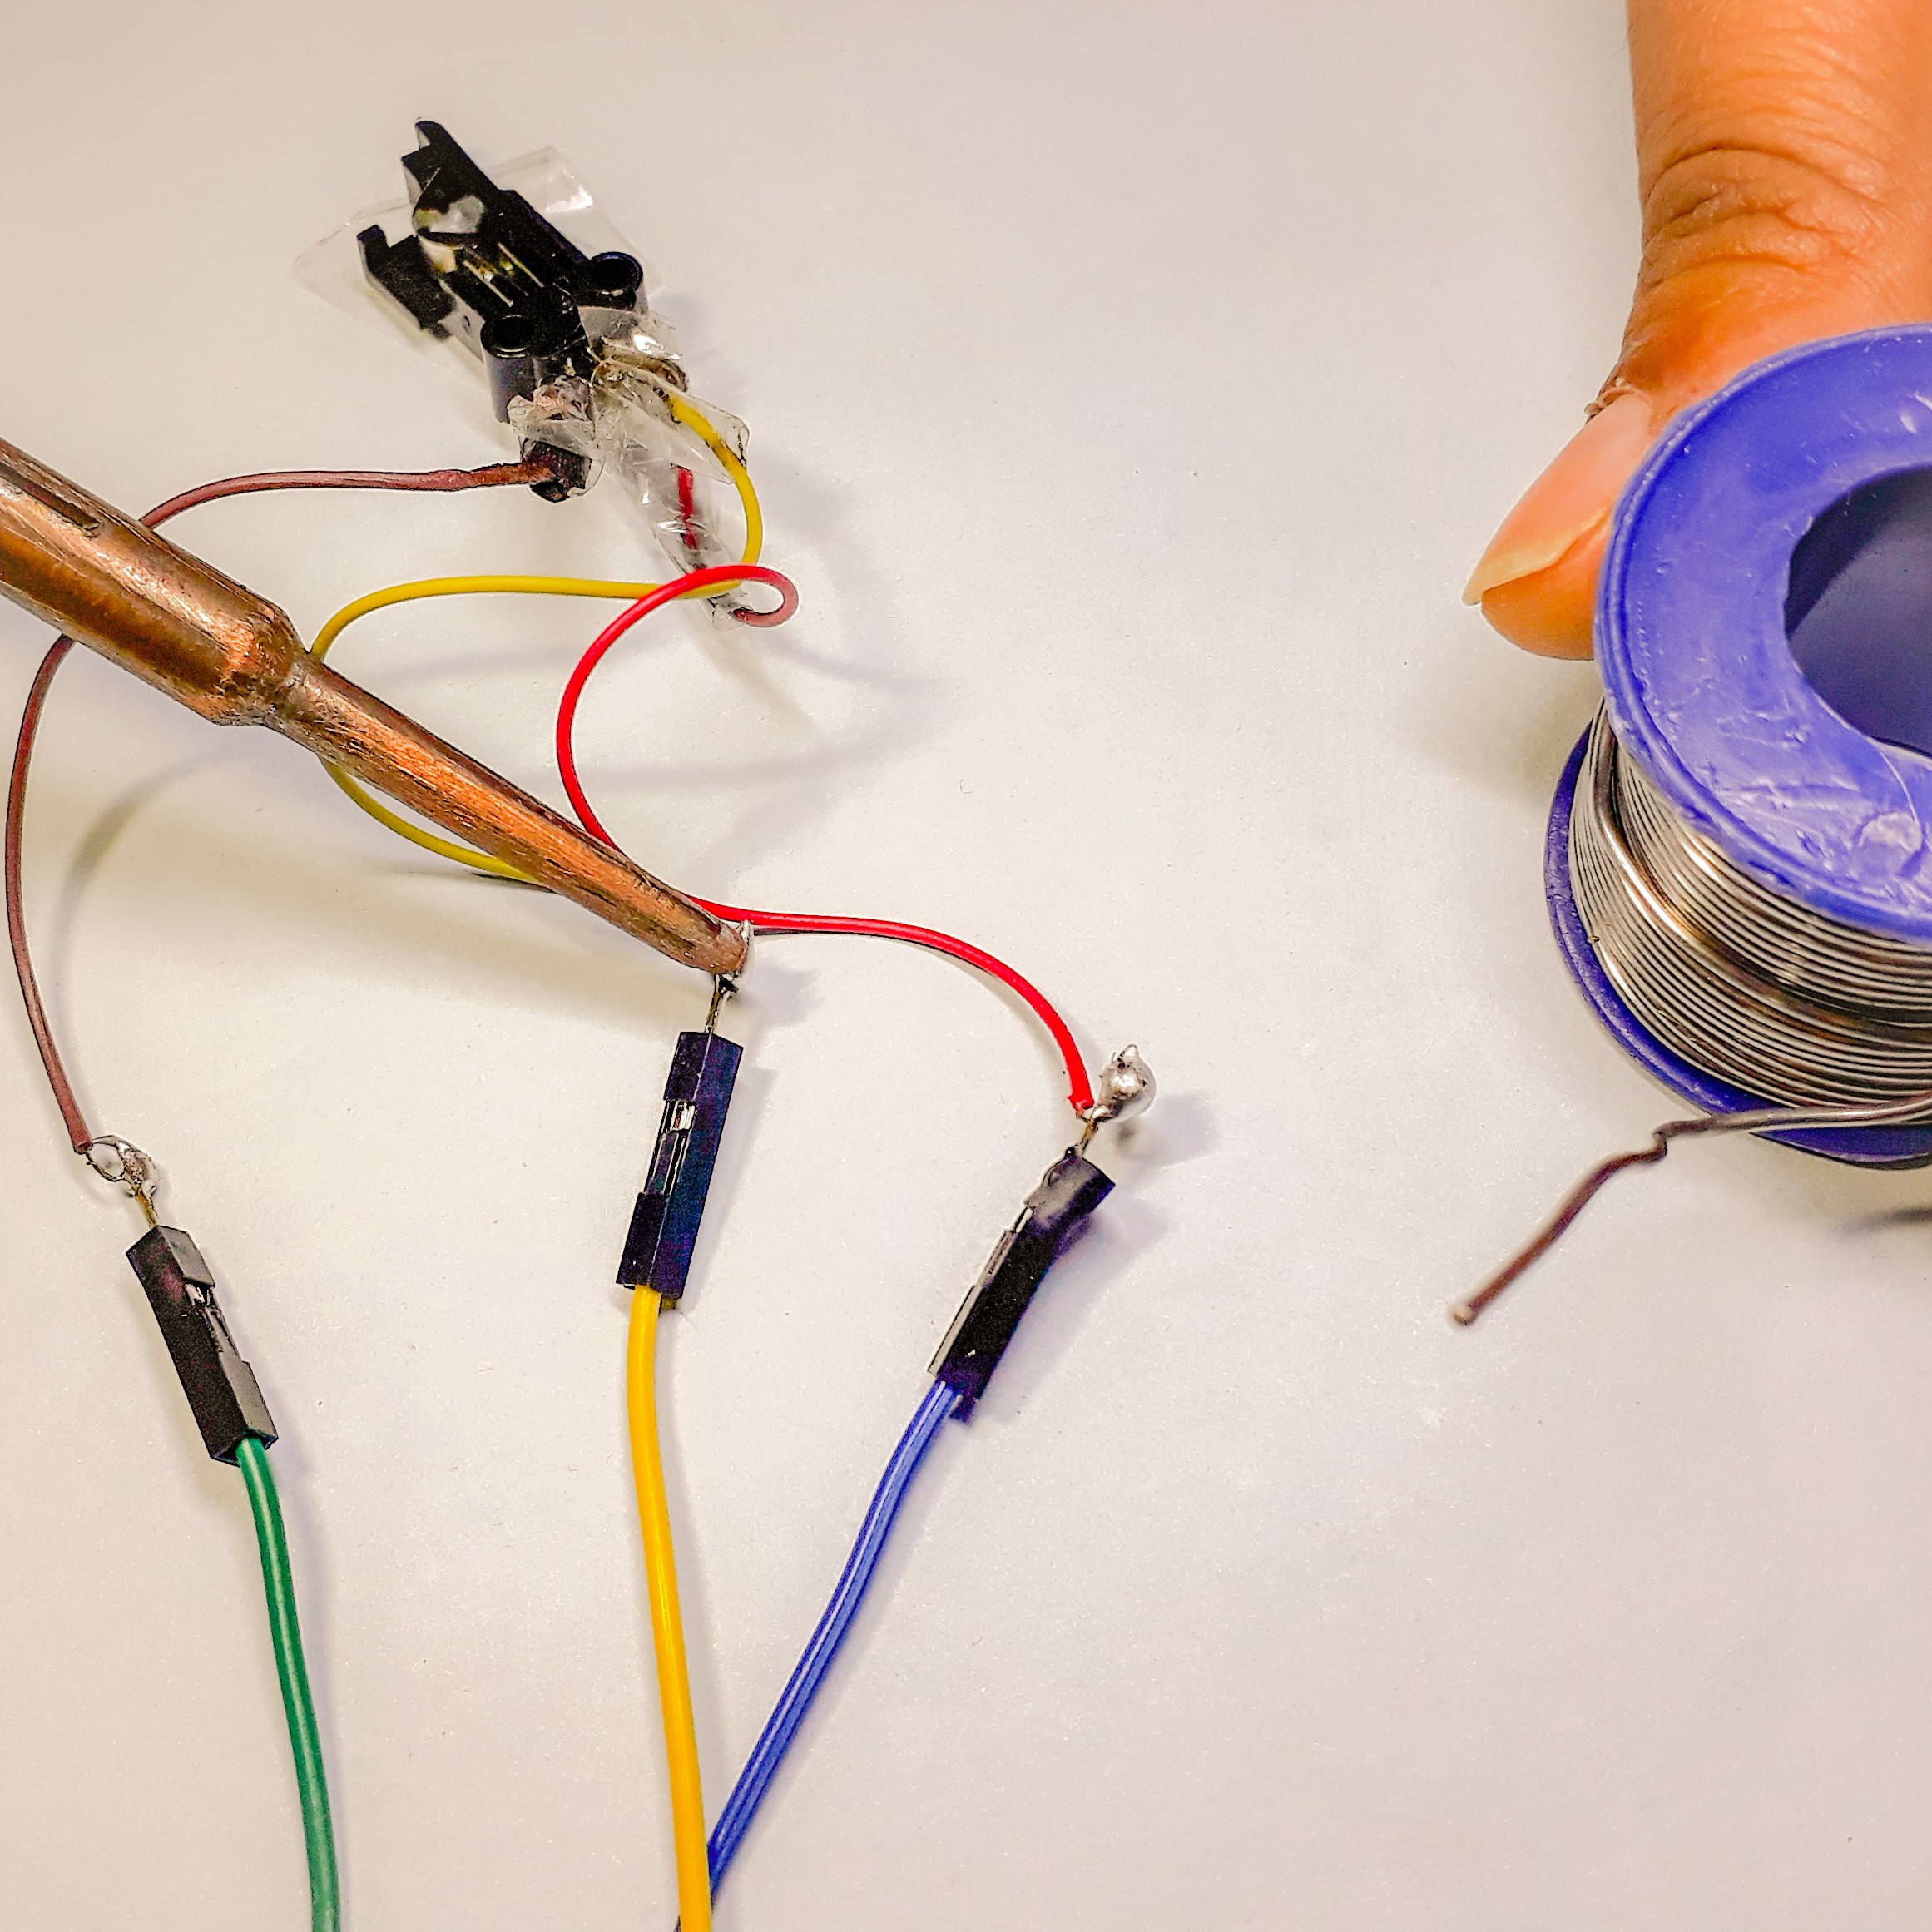
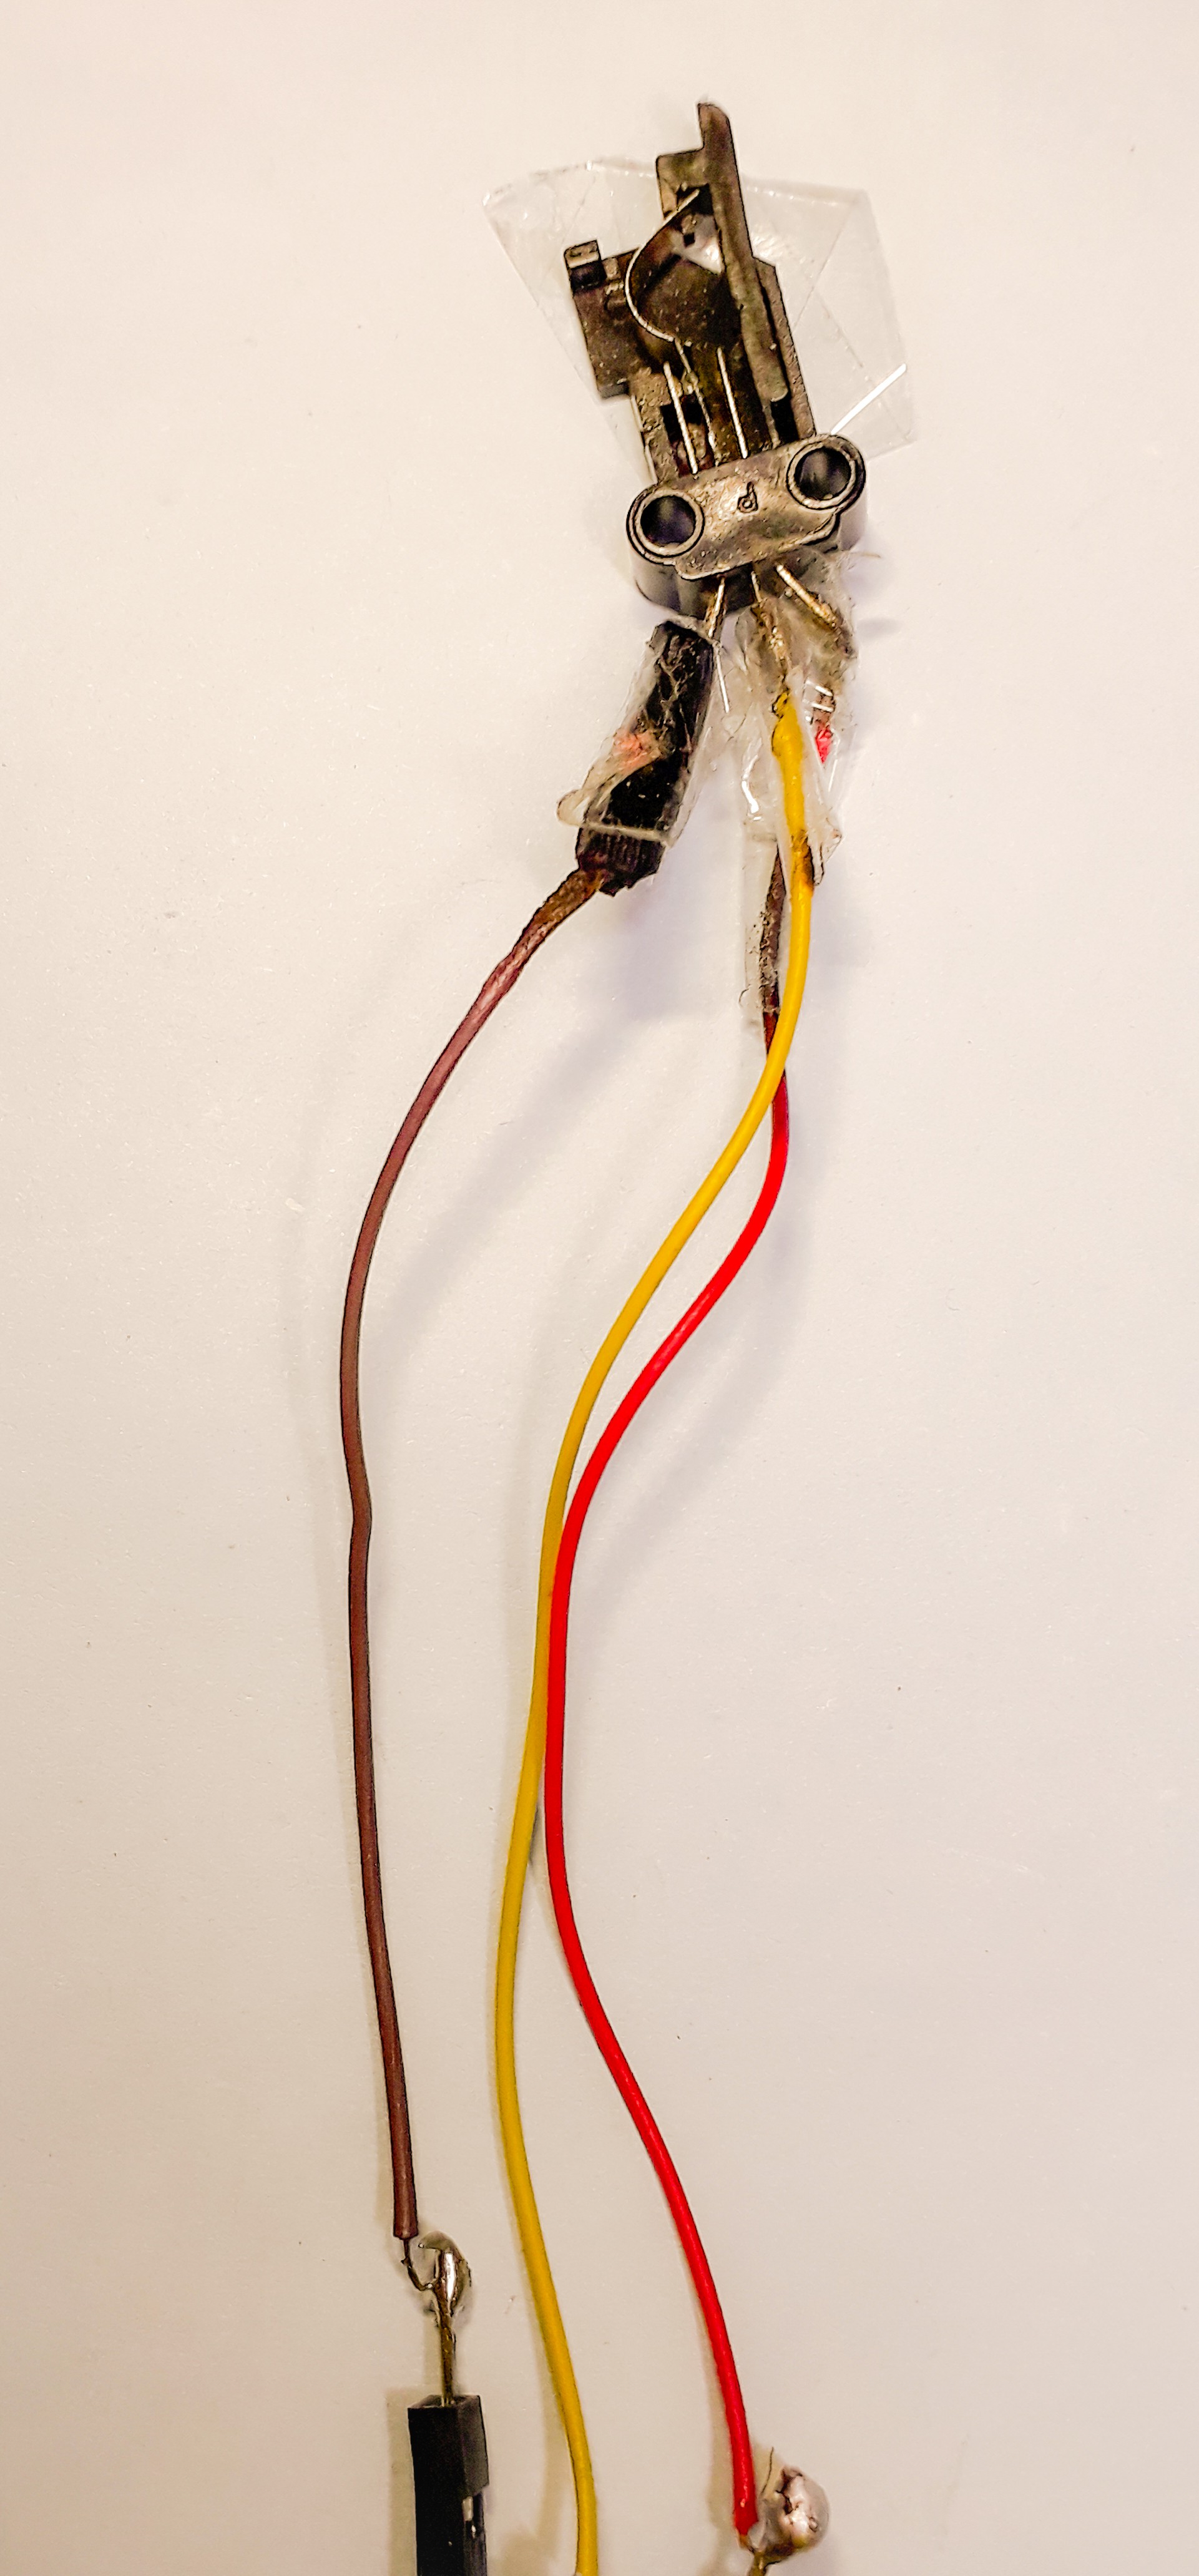
7Solder the three, male to female jumper wire to the three pins of the push button.


-
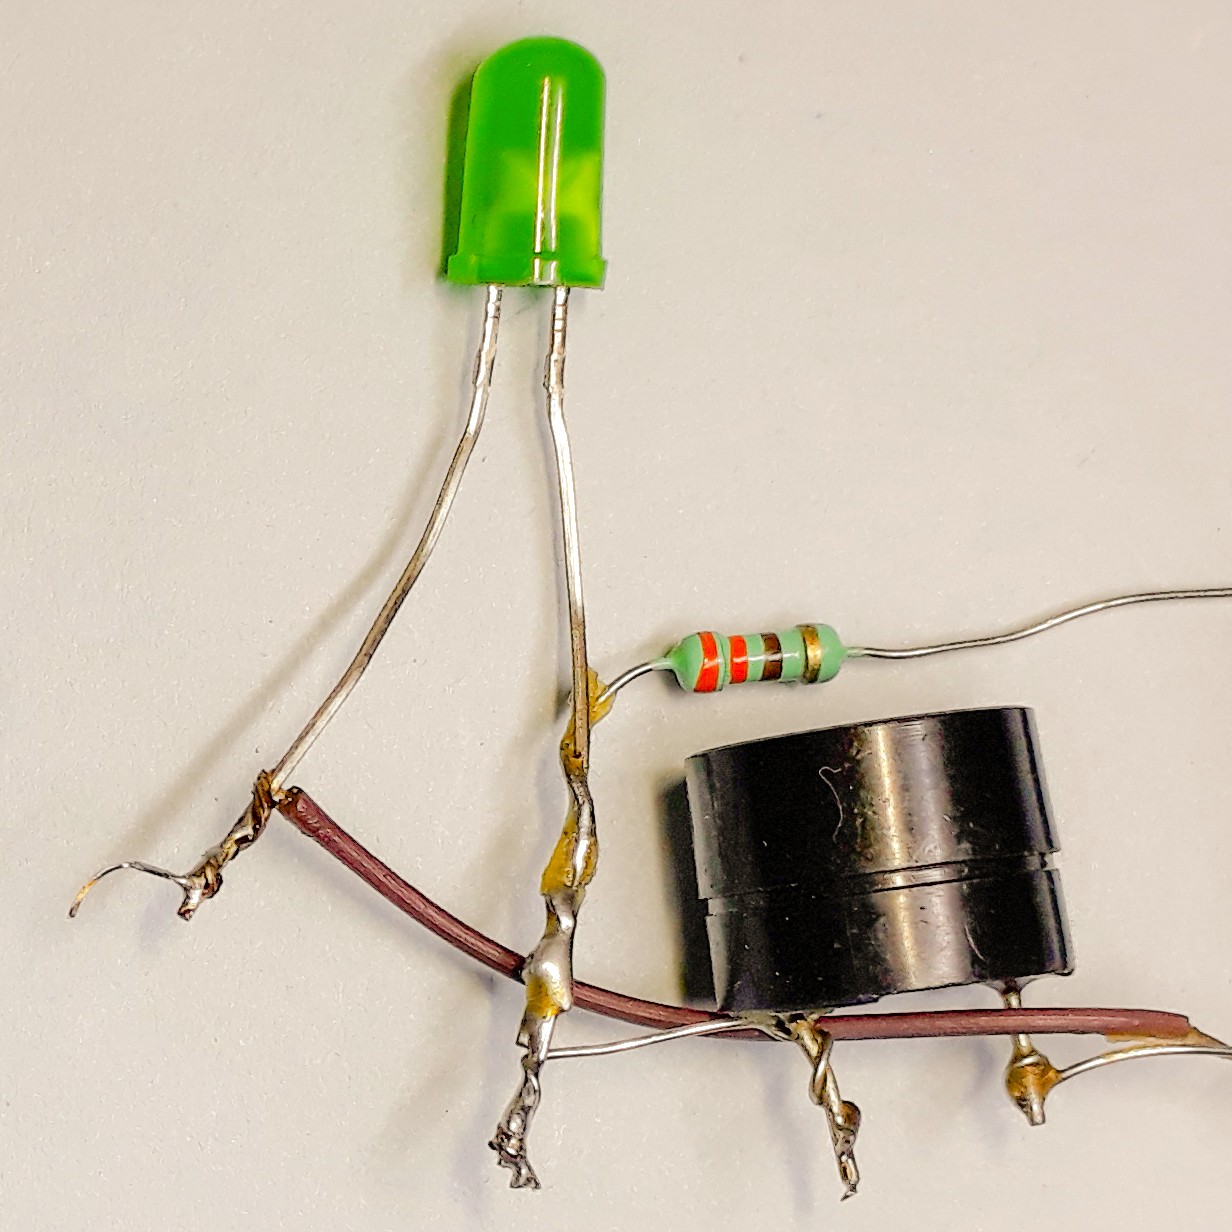
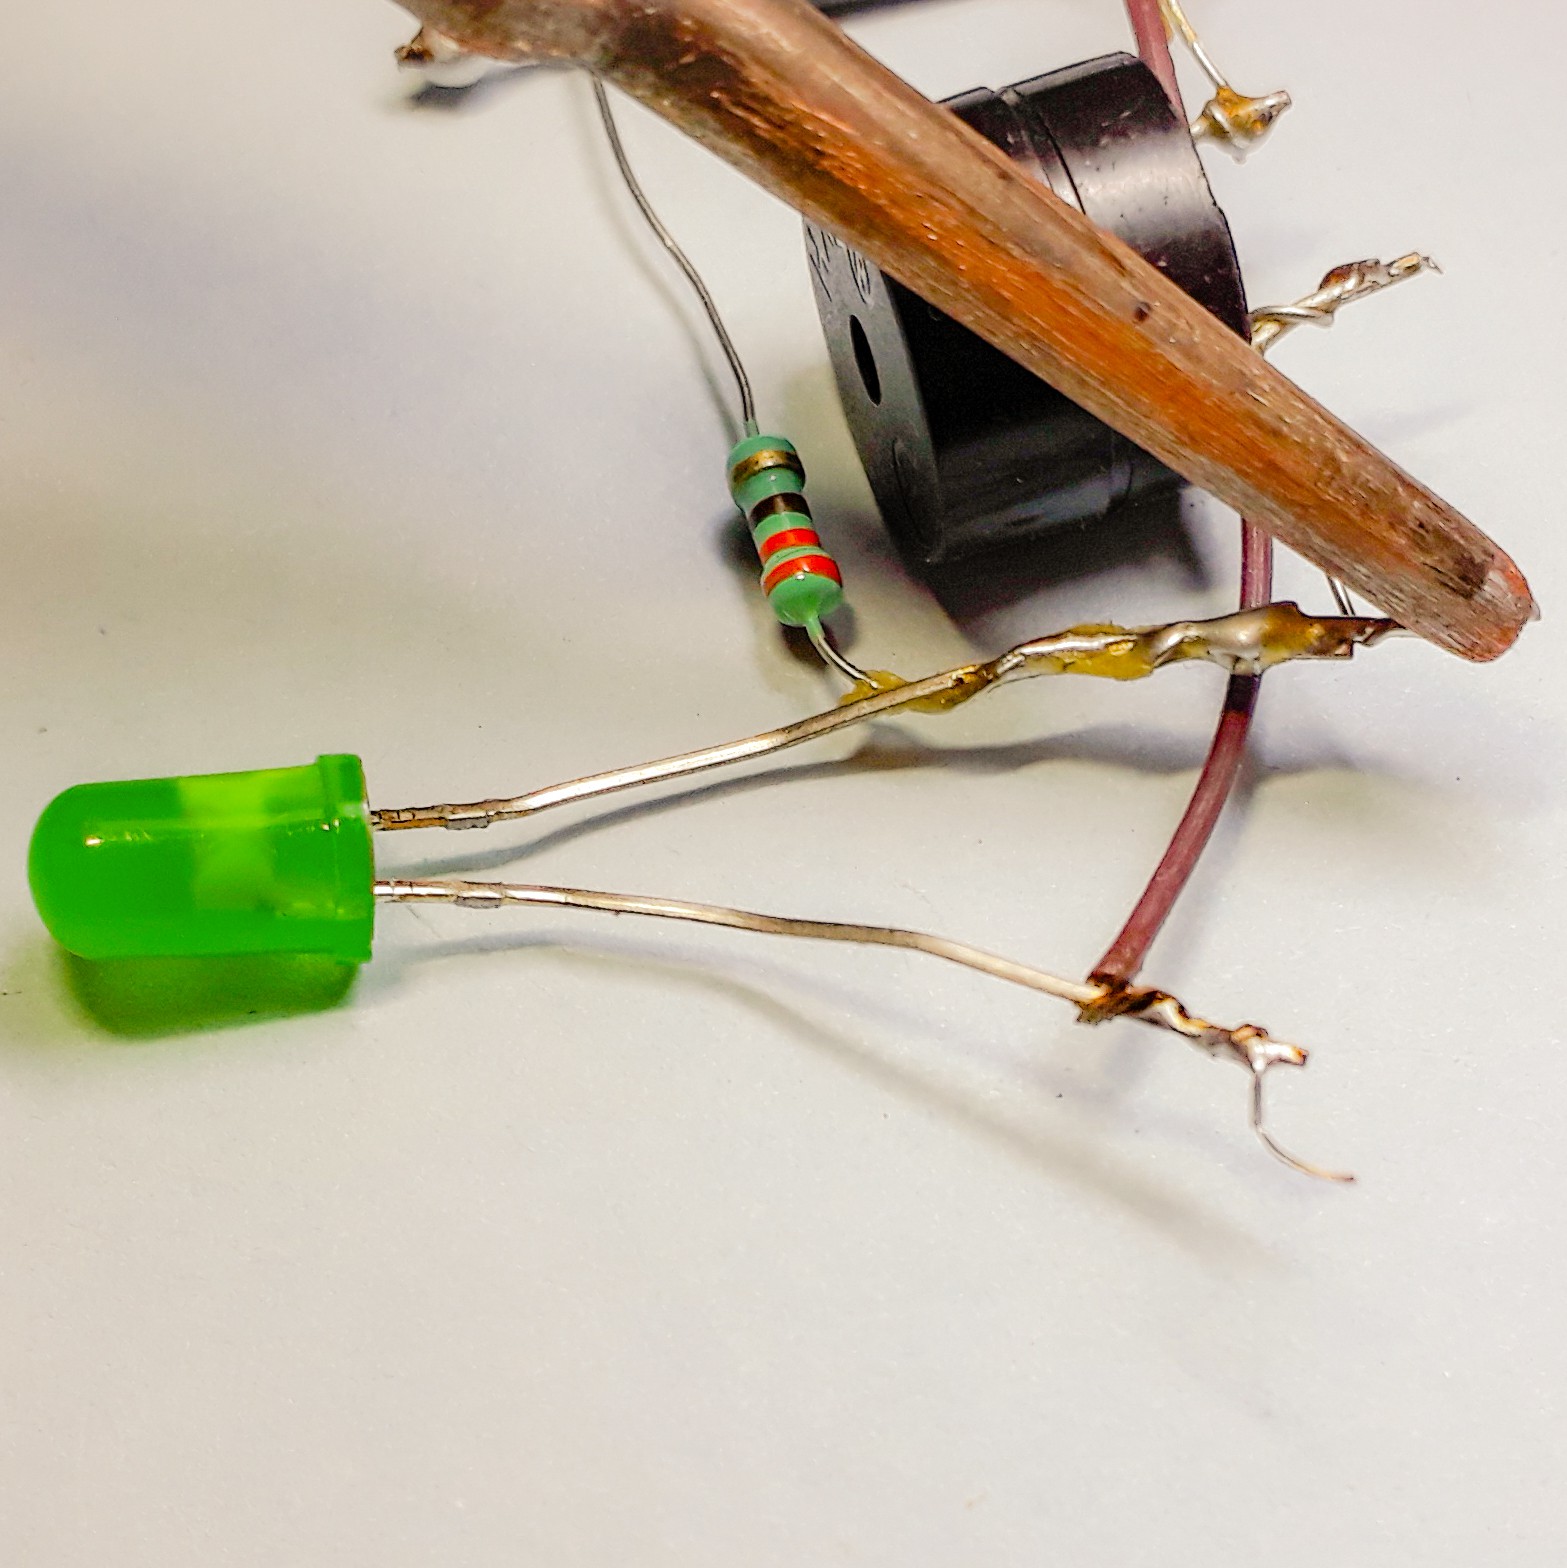
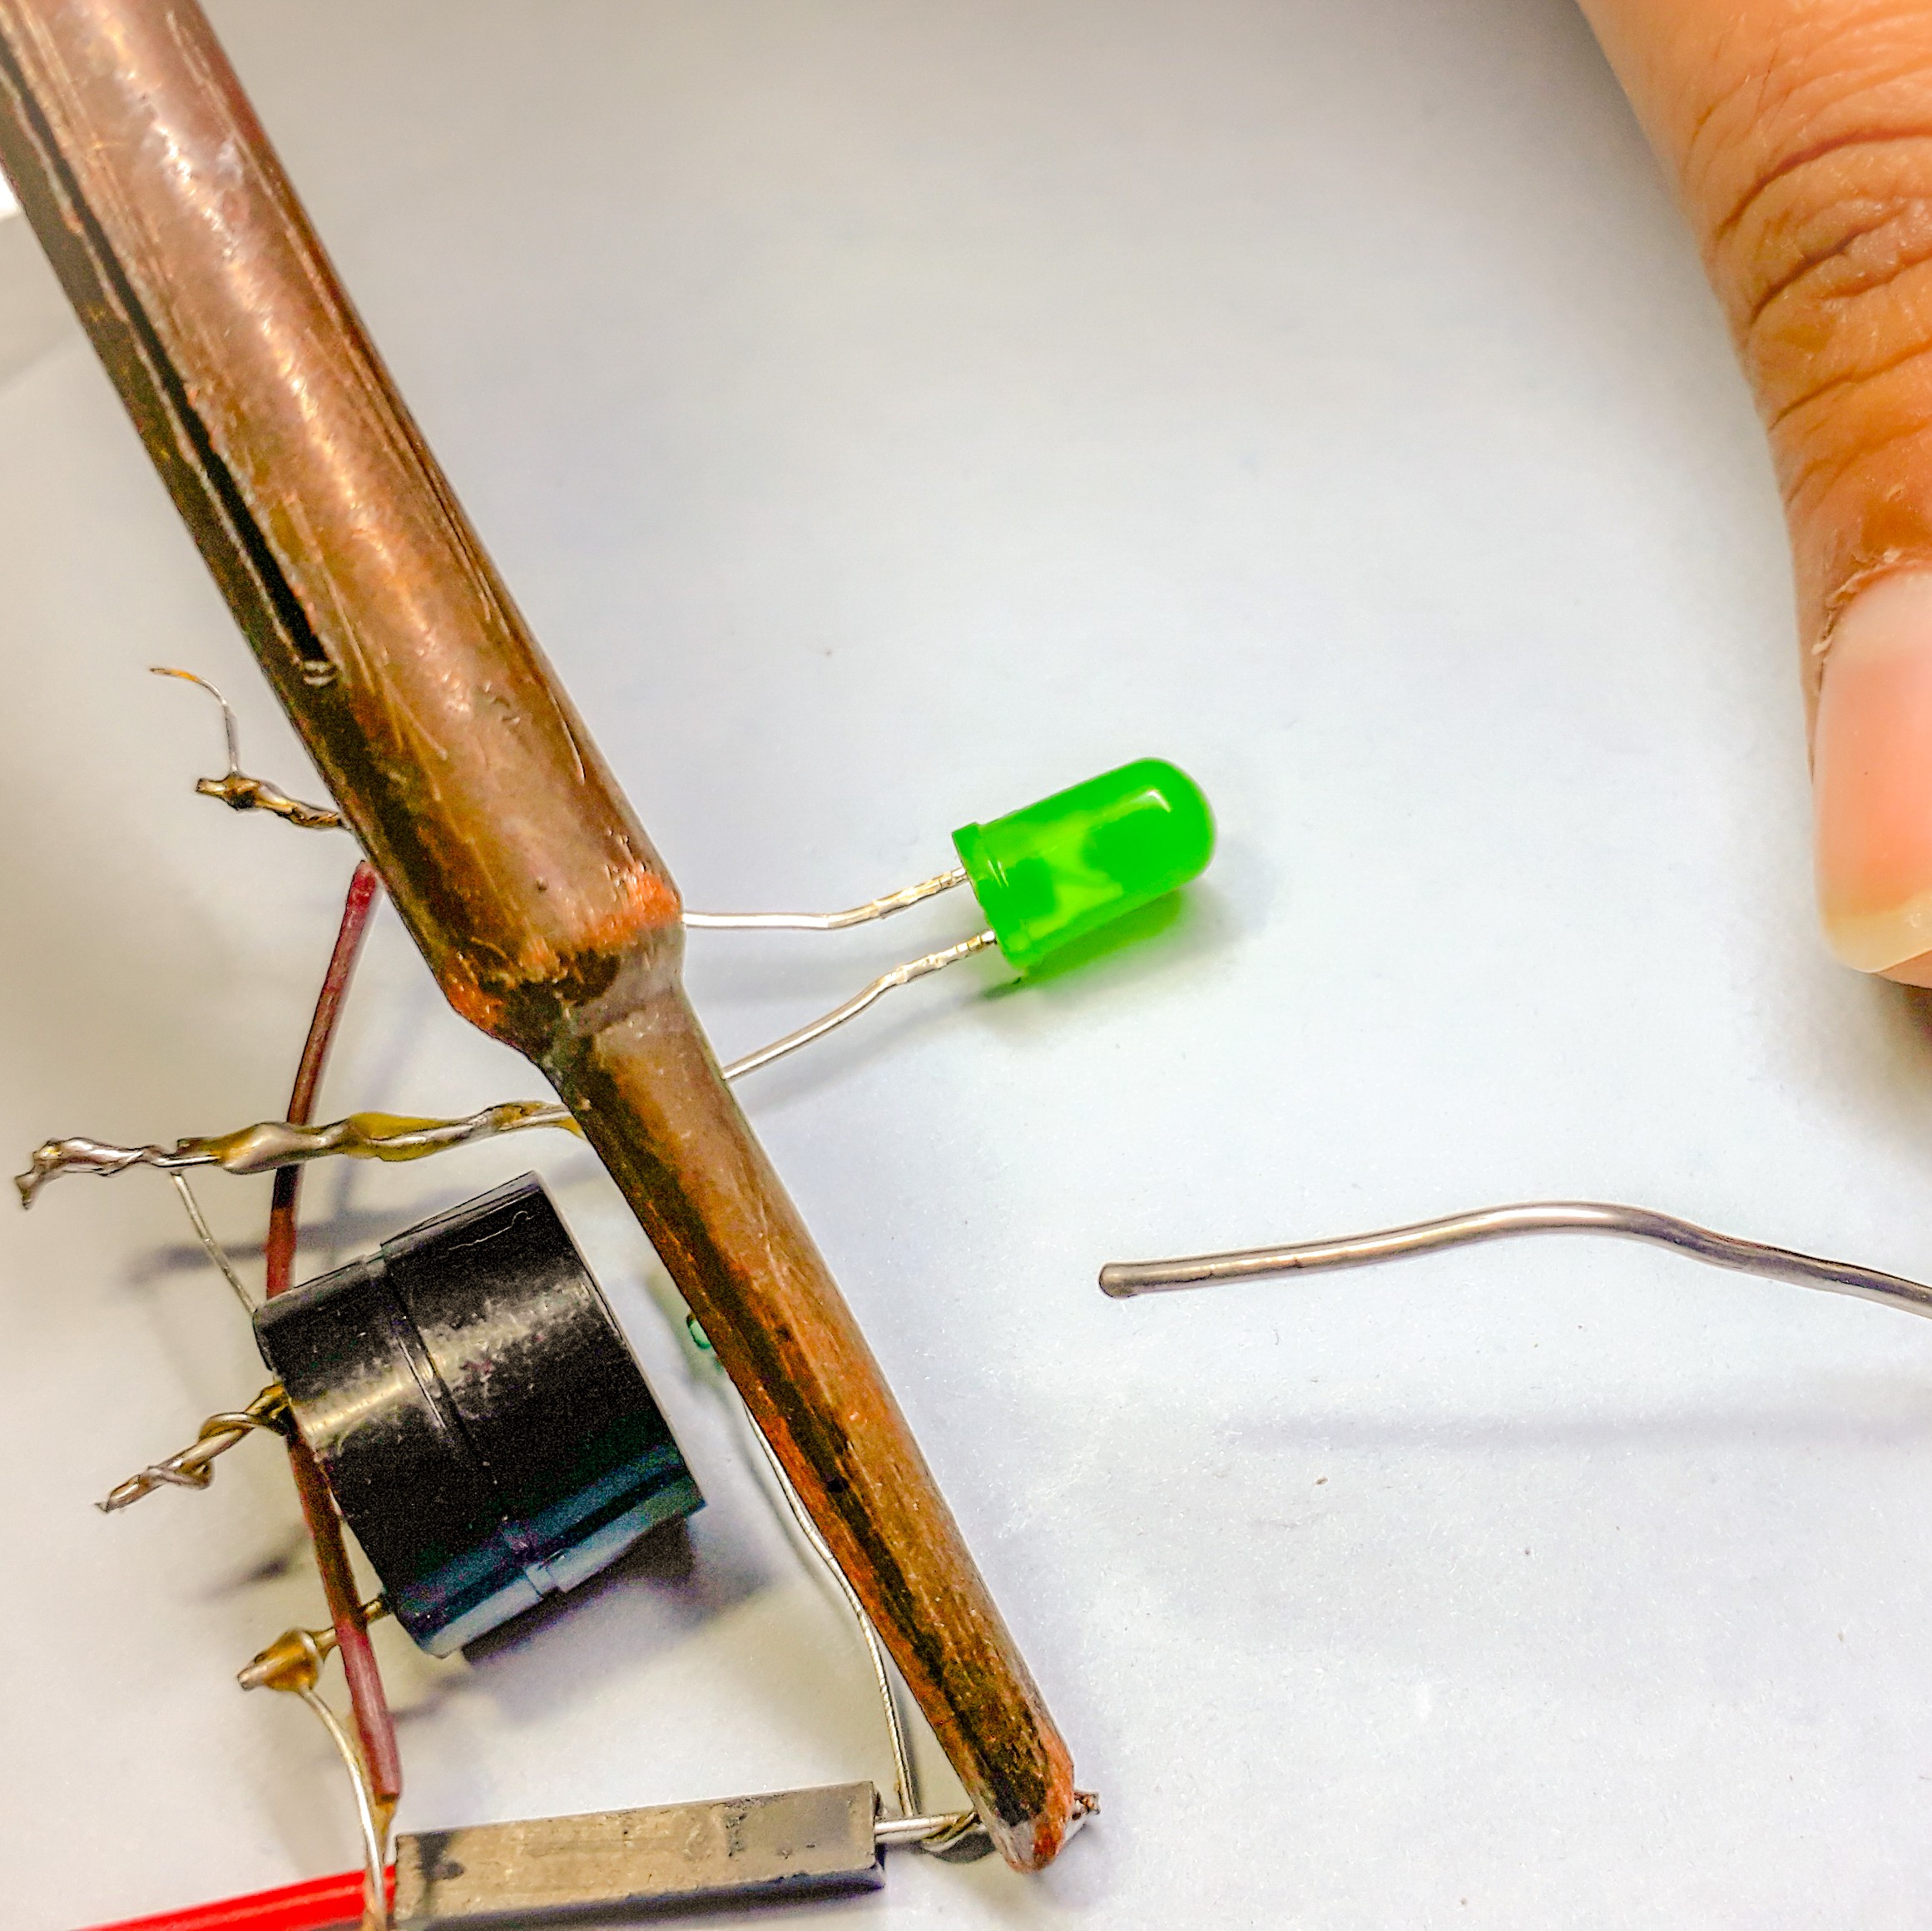
8Solder Buzzer & LED
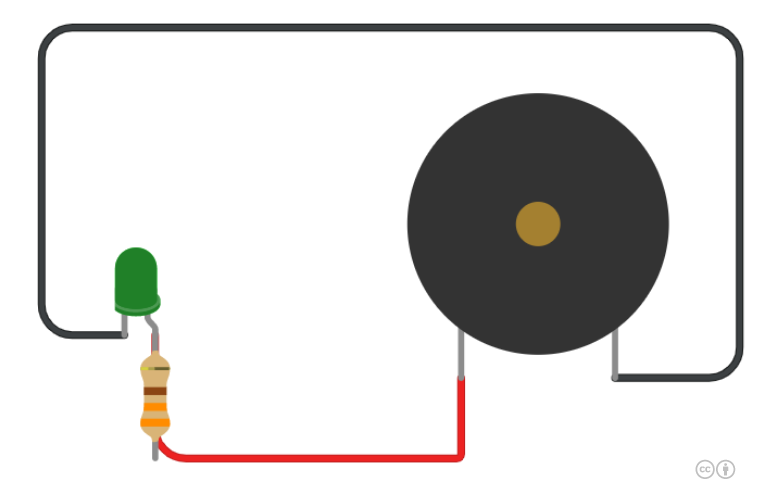
Now solder the buzzer, led, and resister with each other see the below image for the circuit diagram


-
9Solder Jumper Wires
Now solder the one male to female jumper wire to the common anode pin of the buzzer and led and another male to female jumper wire to the common cathode pin of the buzzer and led.

-
10Microcontroller
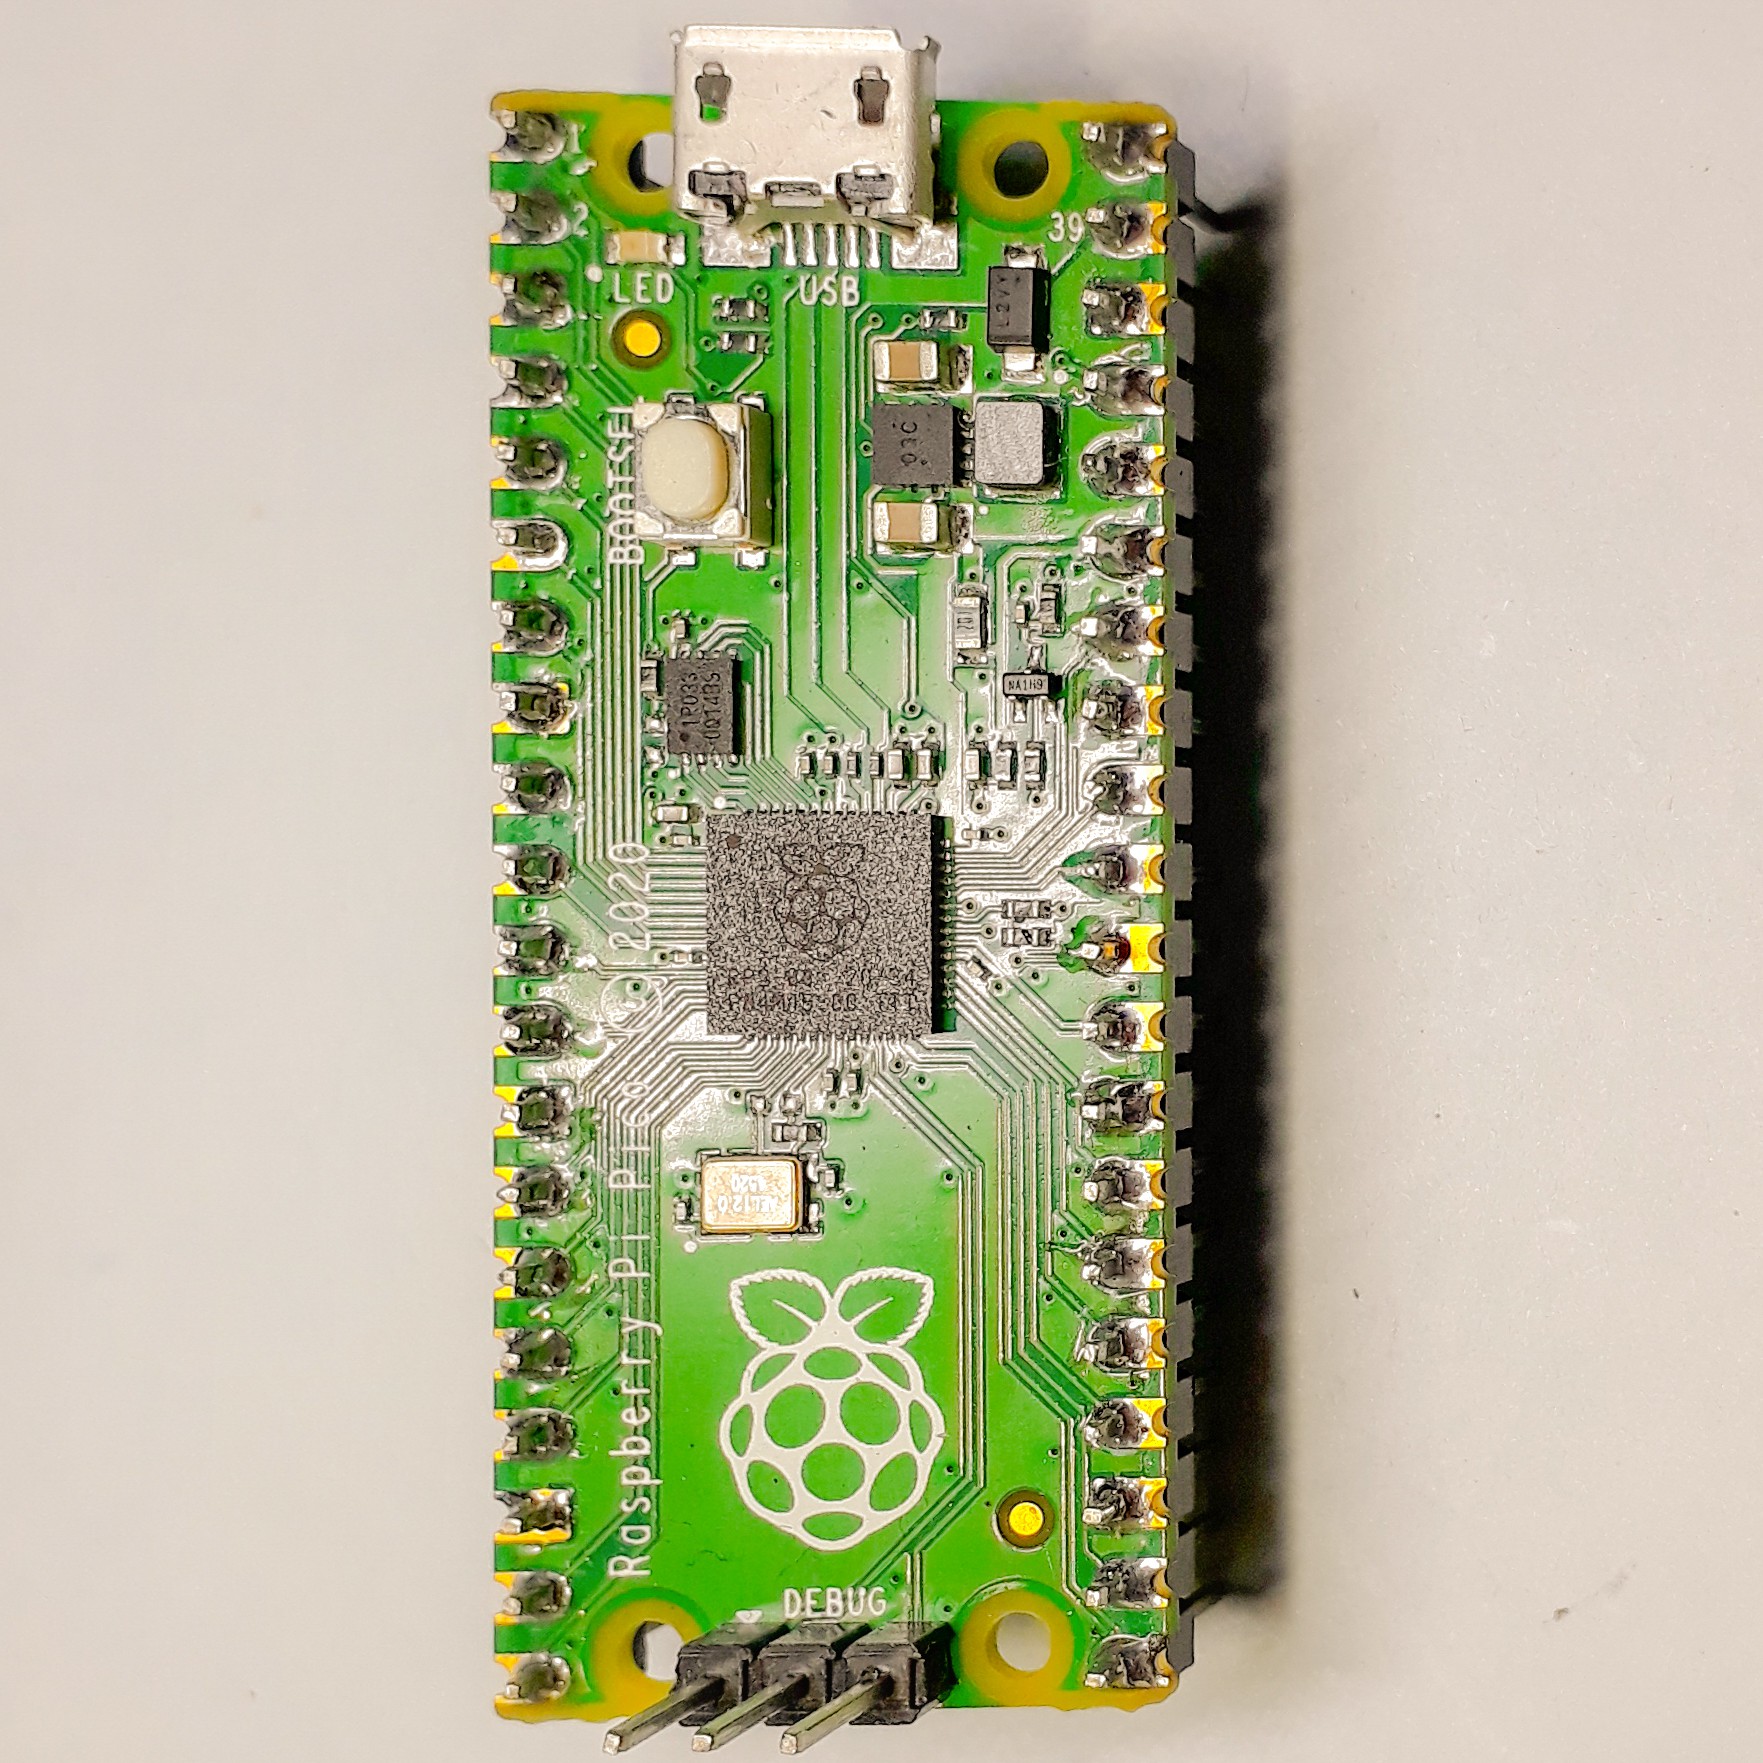
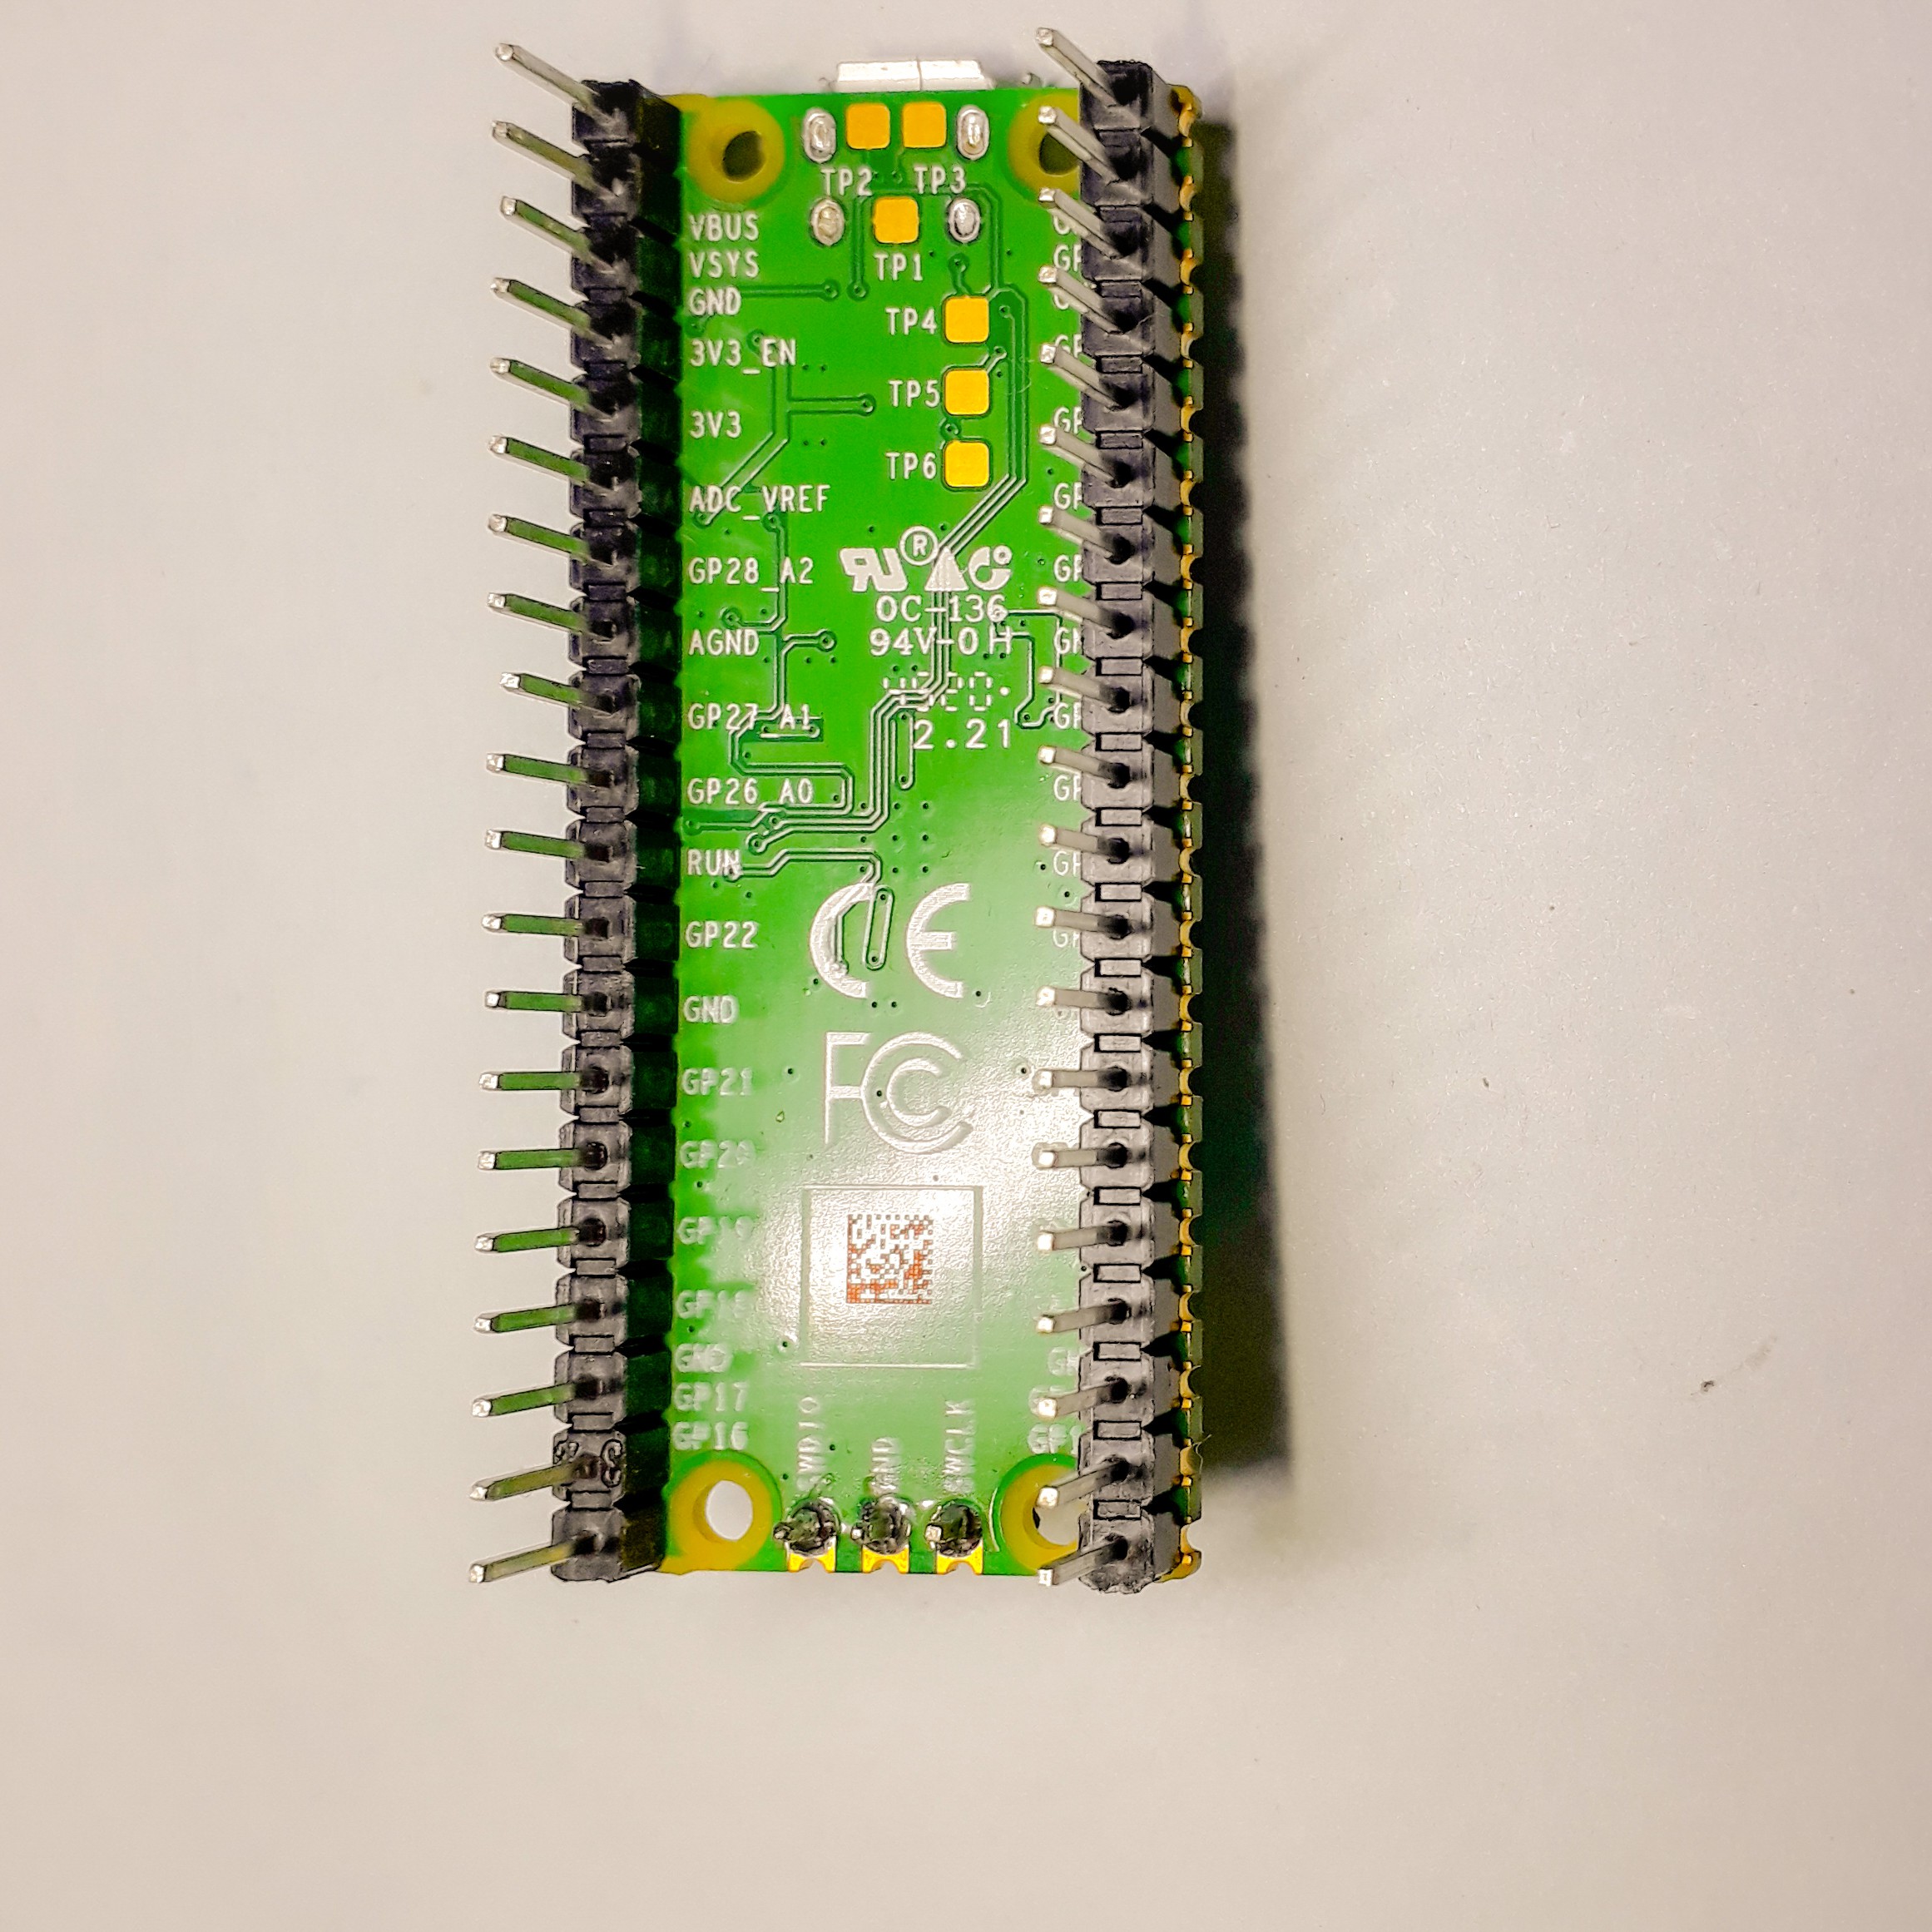
Now for Controlling the T-Rex Game OR performing any other action, here, we are using the Pi Pico Microcontroller with the Soldered headers


Turn Your Old Zapper Gun into meeting controller
Hi, makers, we are going to transform the old zapper gun, into a meeting controller or chrome dino game controller.

Discussions
Become a Hackaday.io Member
Create an account to leave a comment. Already have an account? Log In.