-
1Create matrix mould
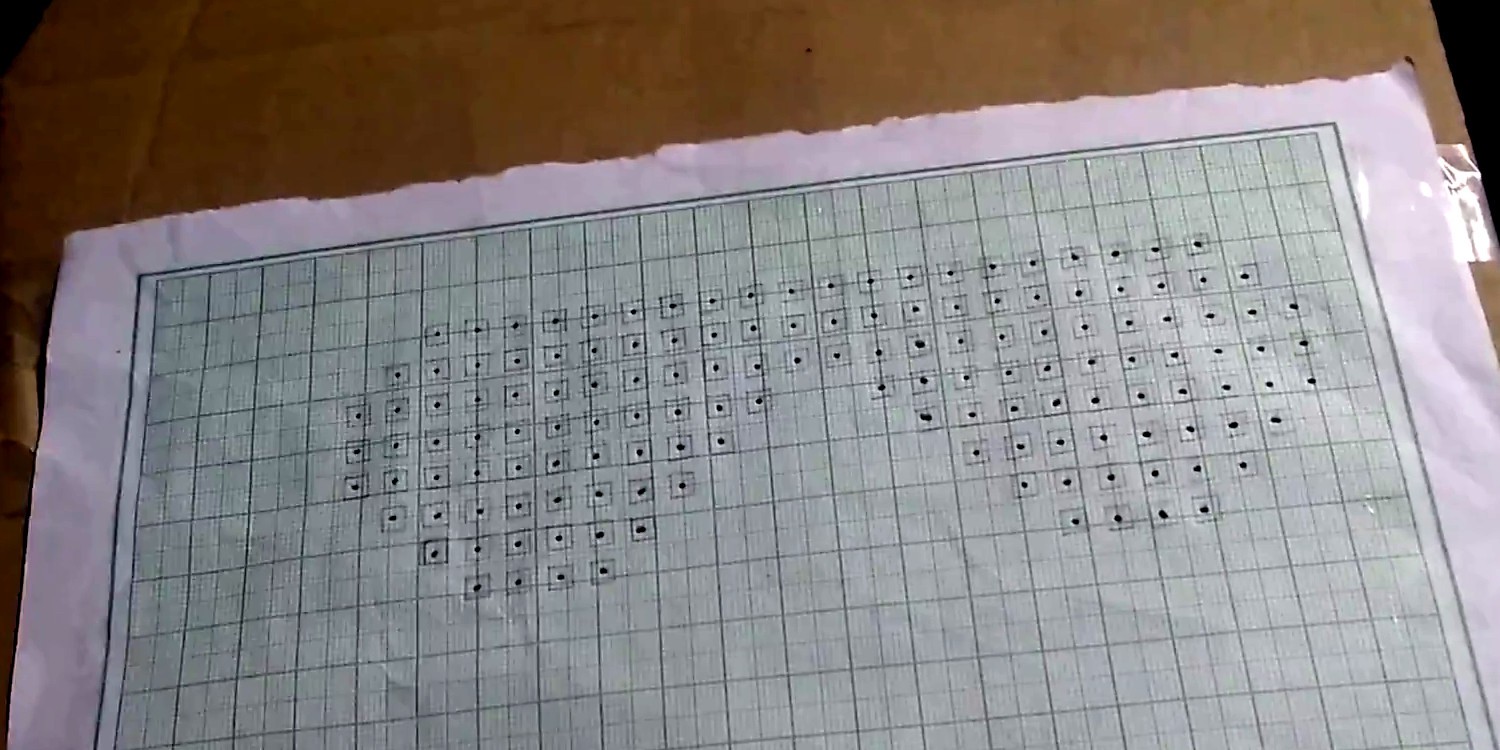
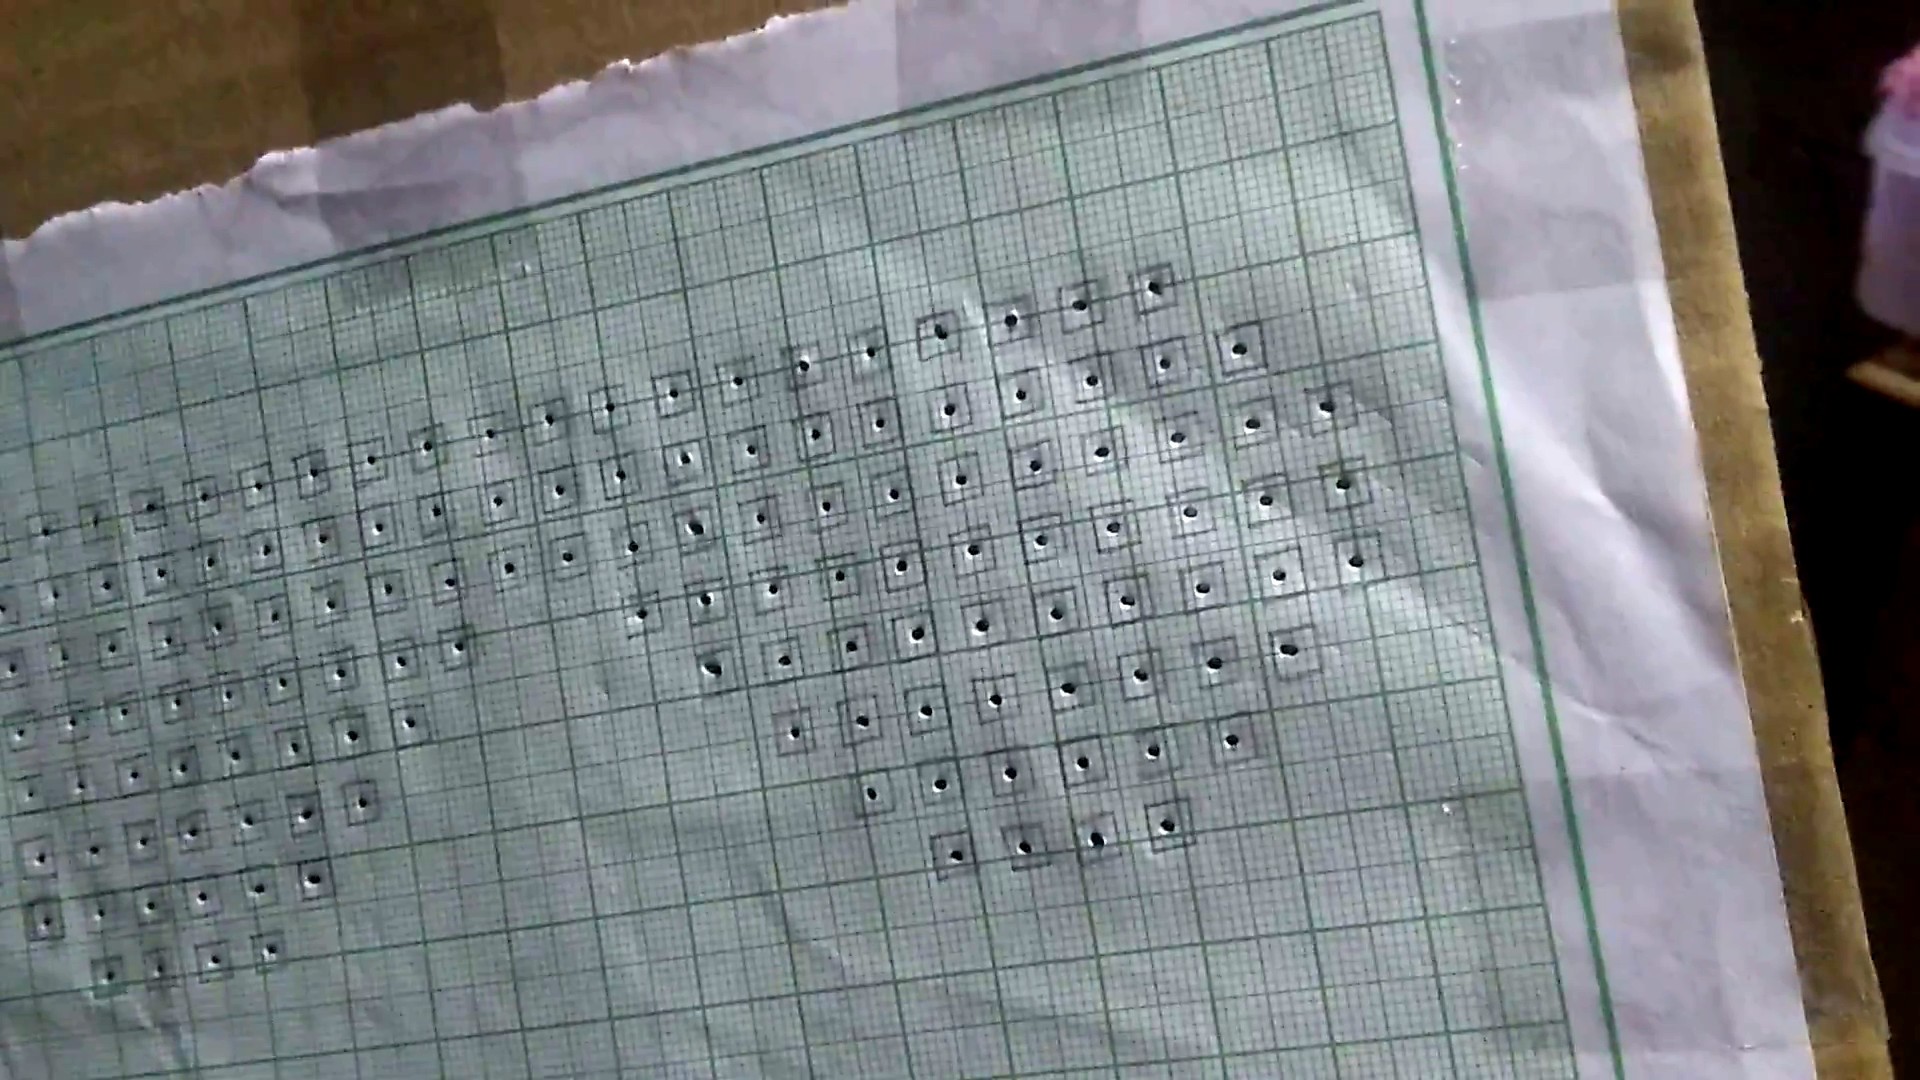
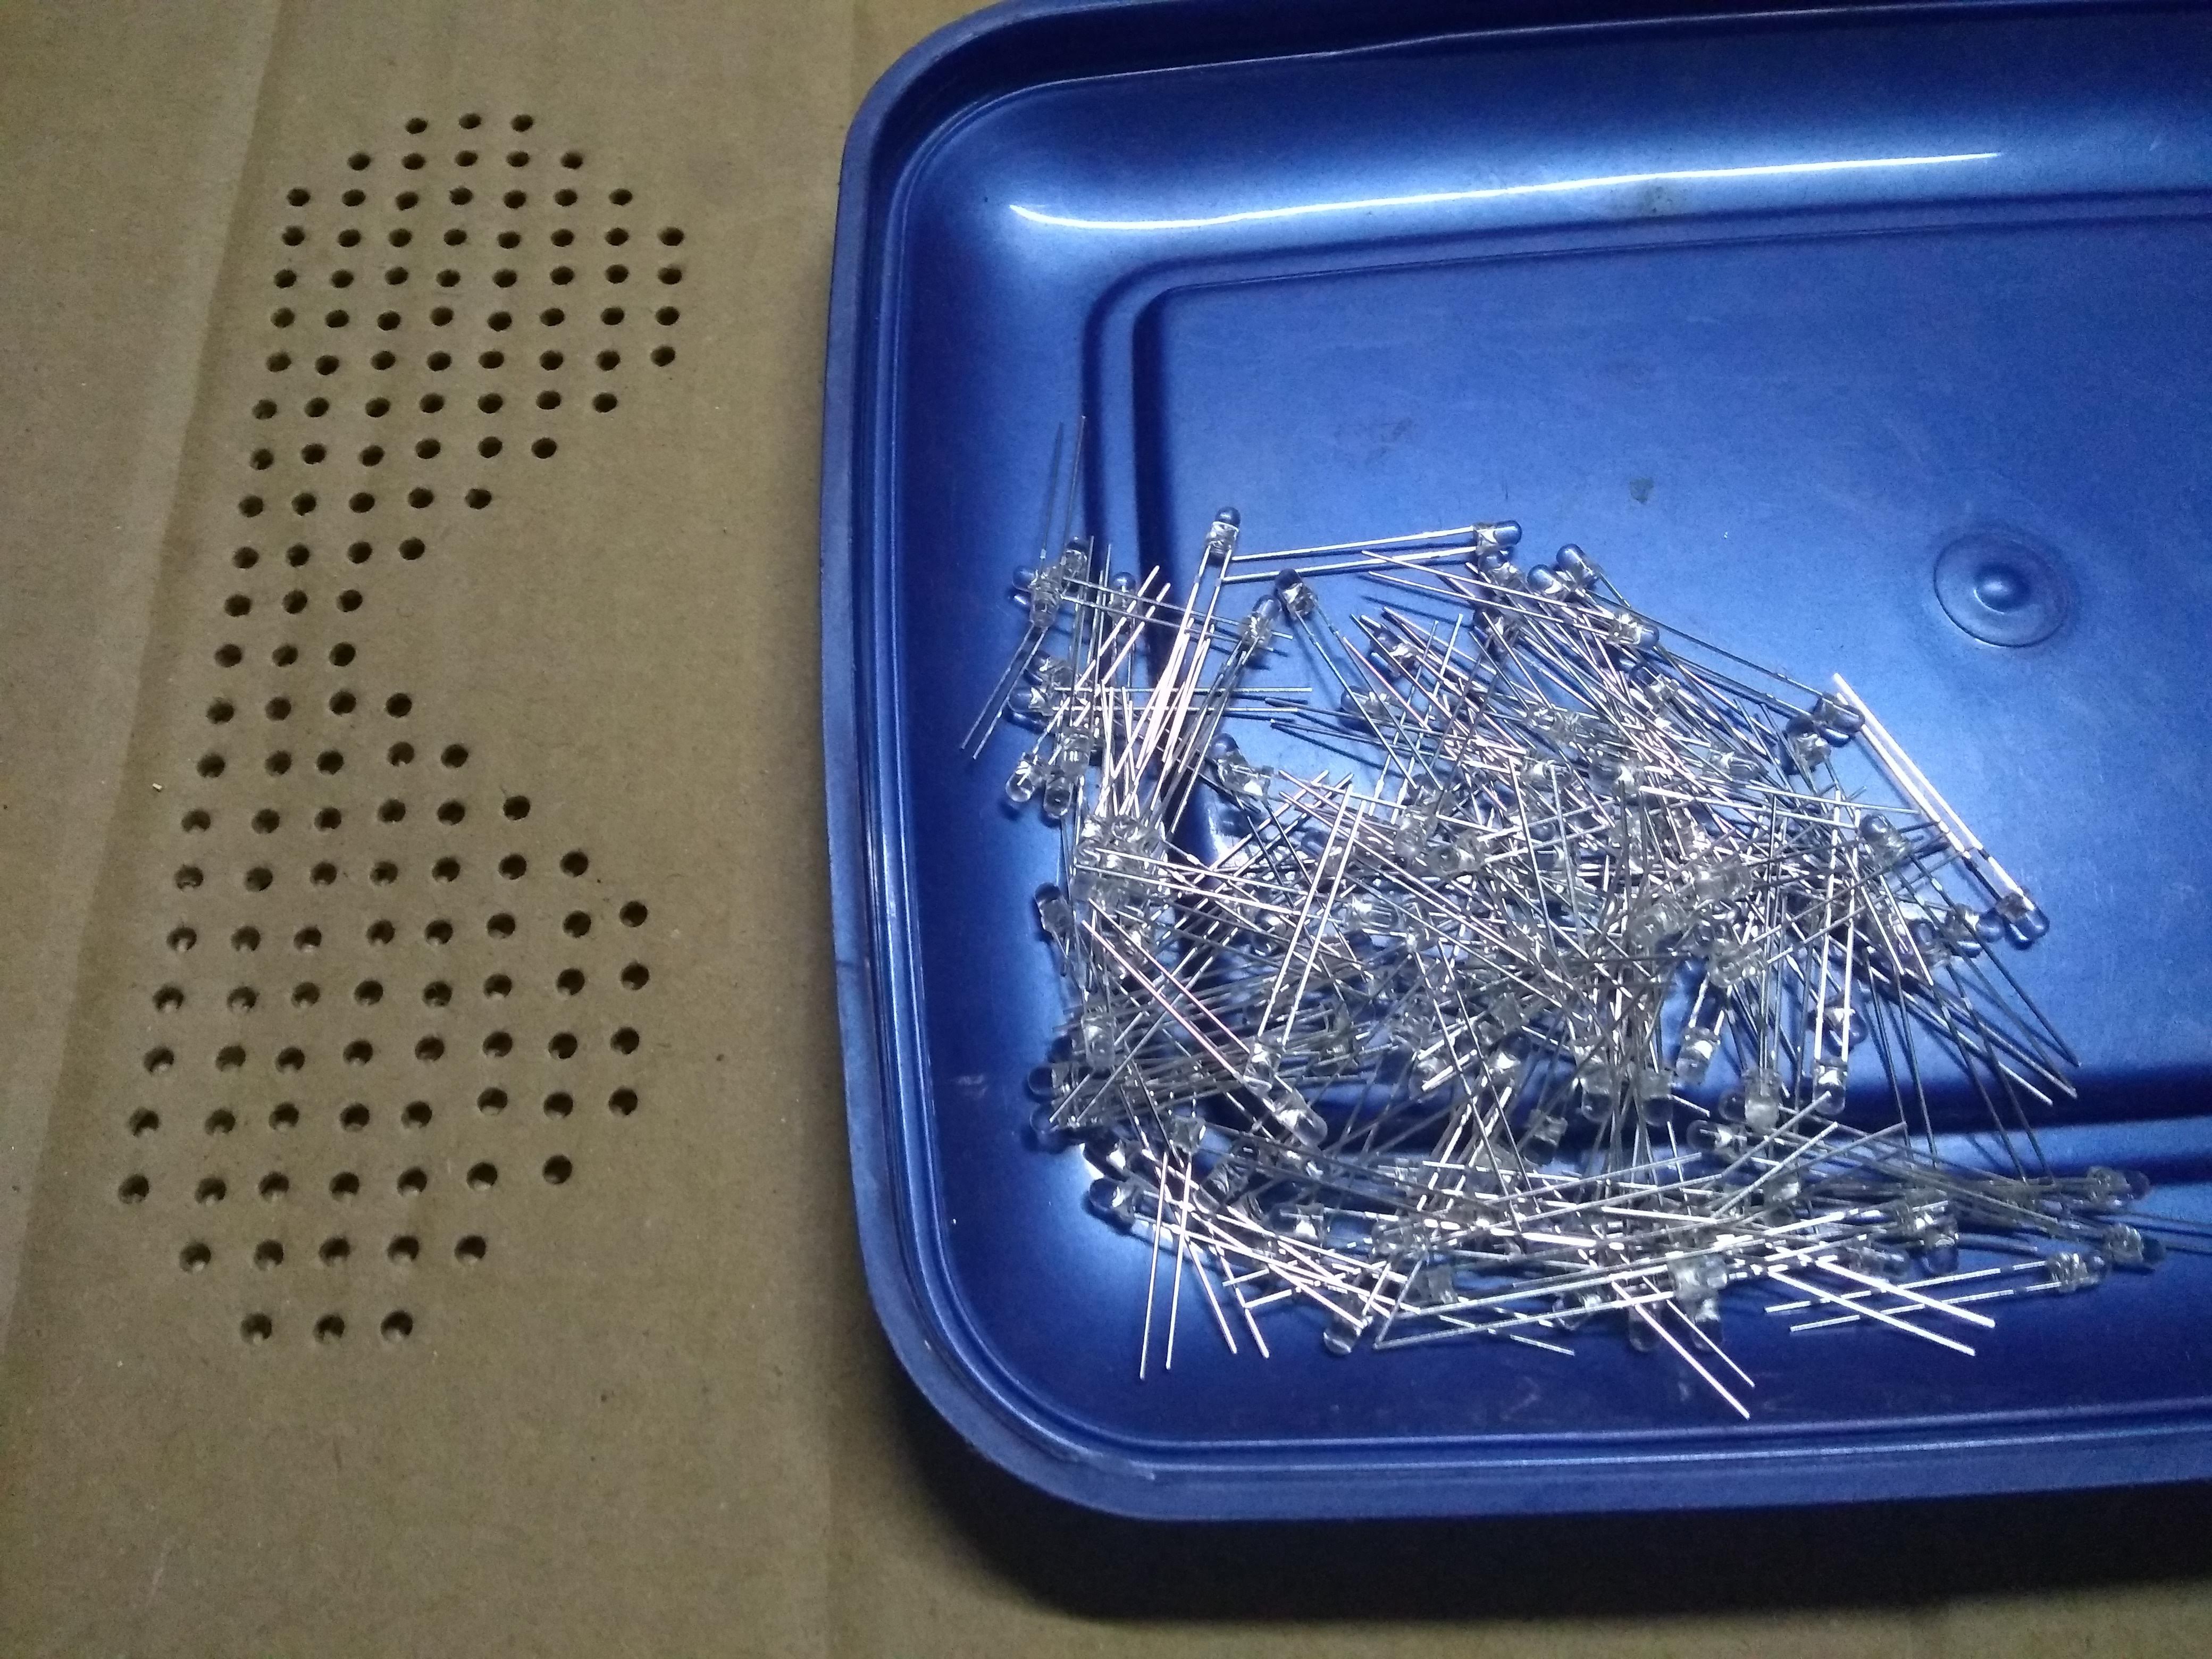
To create the LED matrix we need a mould to hold all the LEDs in-place while we solder all the LEDs. I have created this very simple method to do the task. You need a graph paper and cardboard to create the mould. To make it easier for you I have created a printable version of the graph paper, you can get it here.
![]()
![]()
![]()
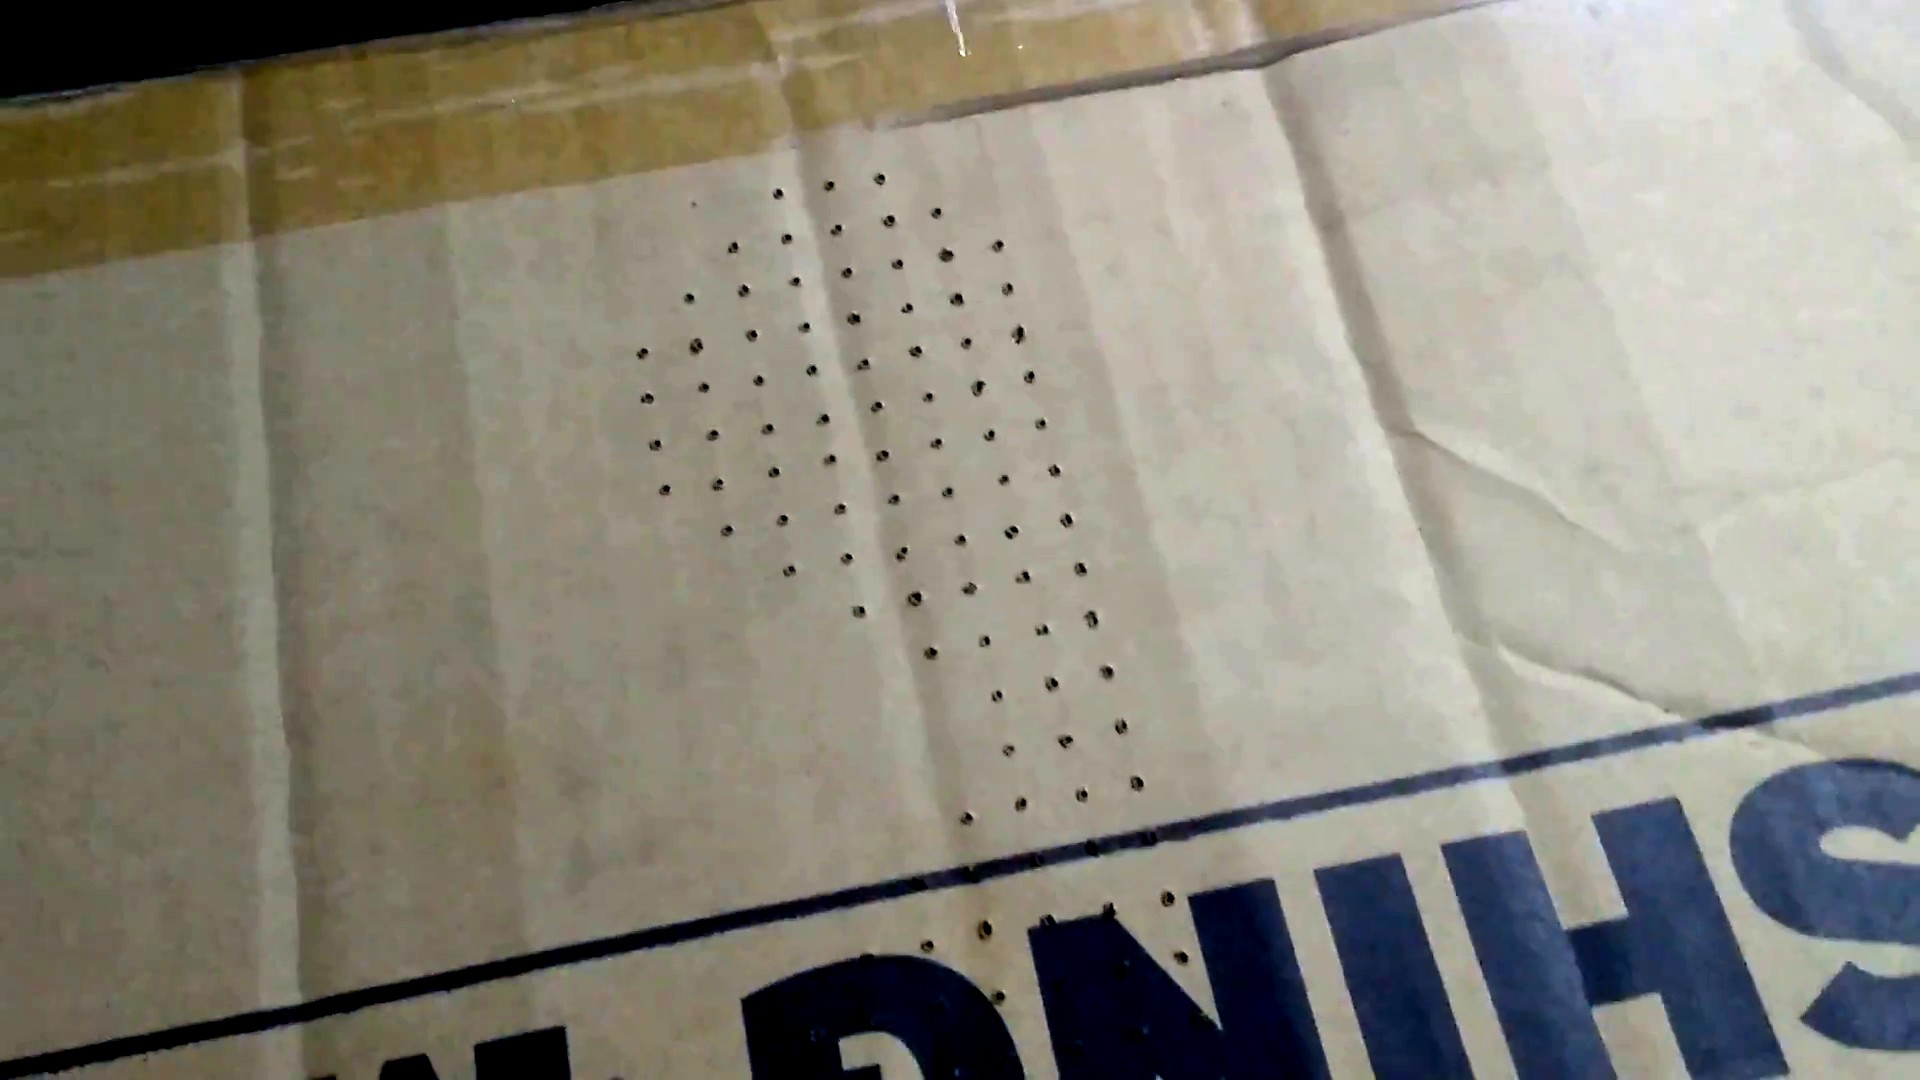
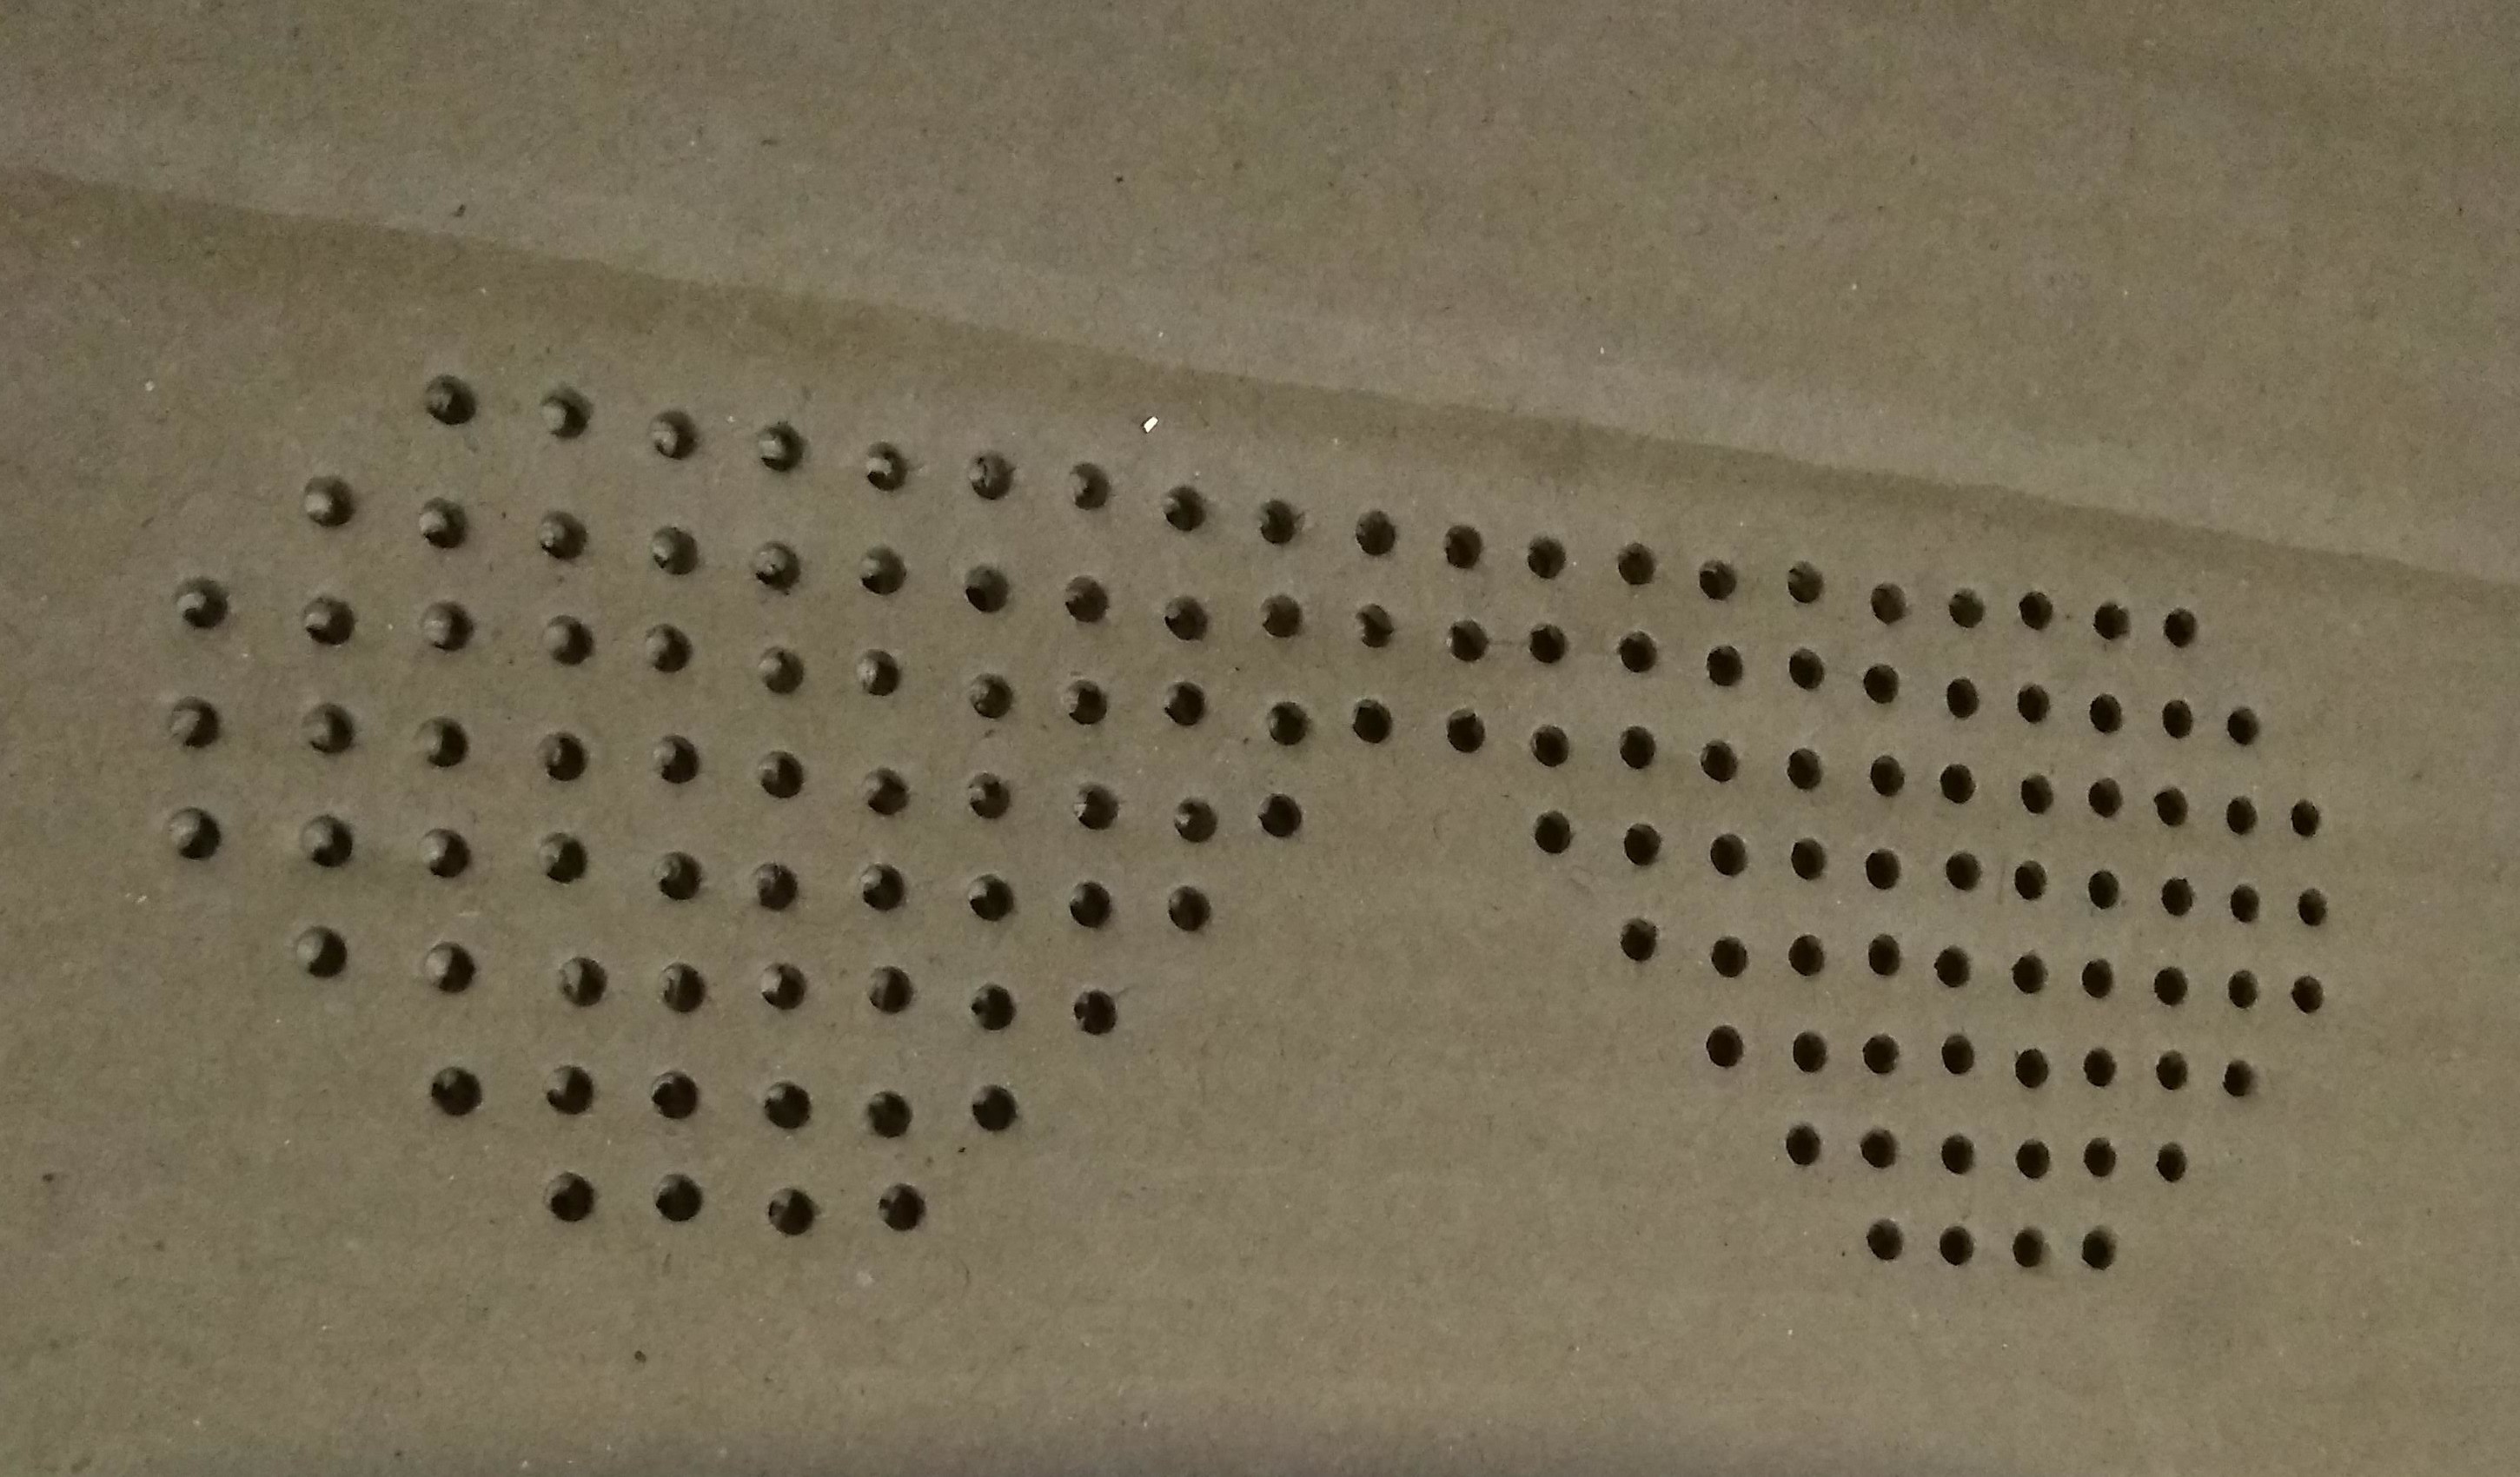
After you create small holes with the reference graph sheet remove it and widen the holes so that LEDs can (tightly) fit in the hole. See the final frame below.
![]()
-
2Create LED matrix
You'll need 144 LEDs to create the LED matrix, a reference is shown below.
![]()
Gather all the LEDs in tray and use the matrix mould to create your LED matrix.
![]()
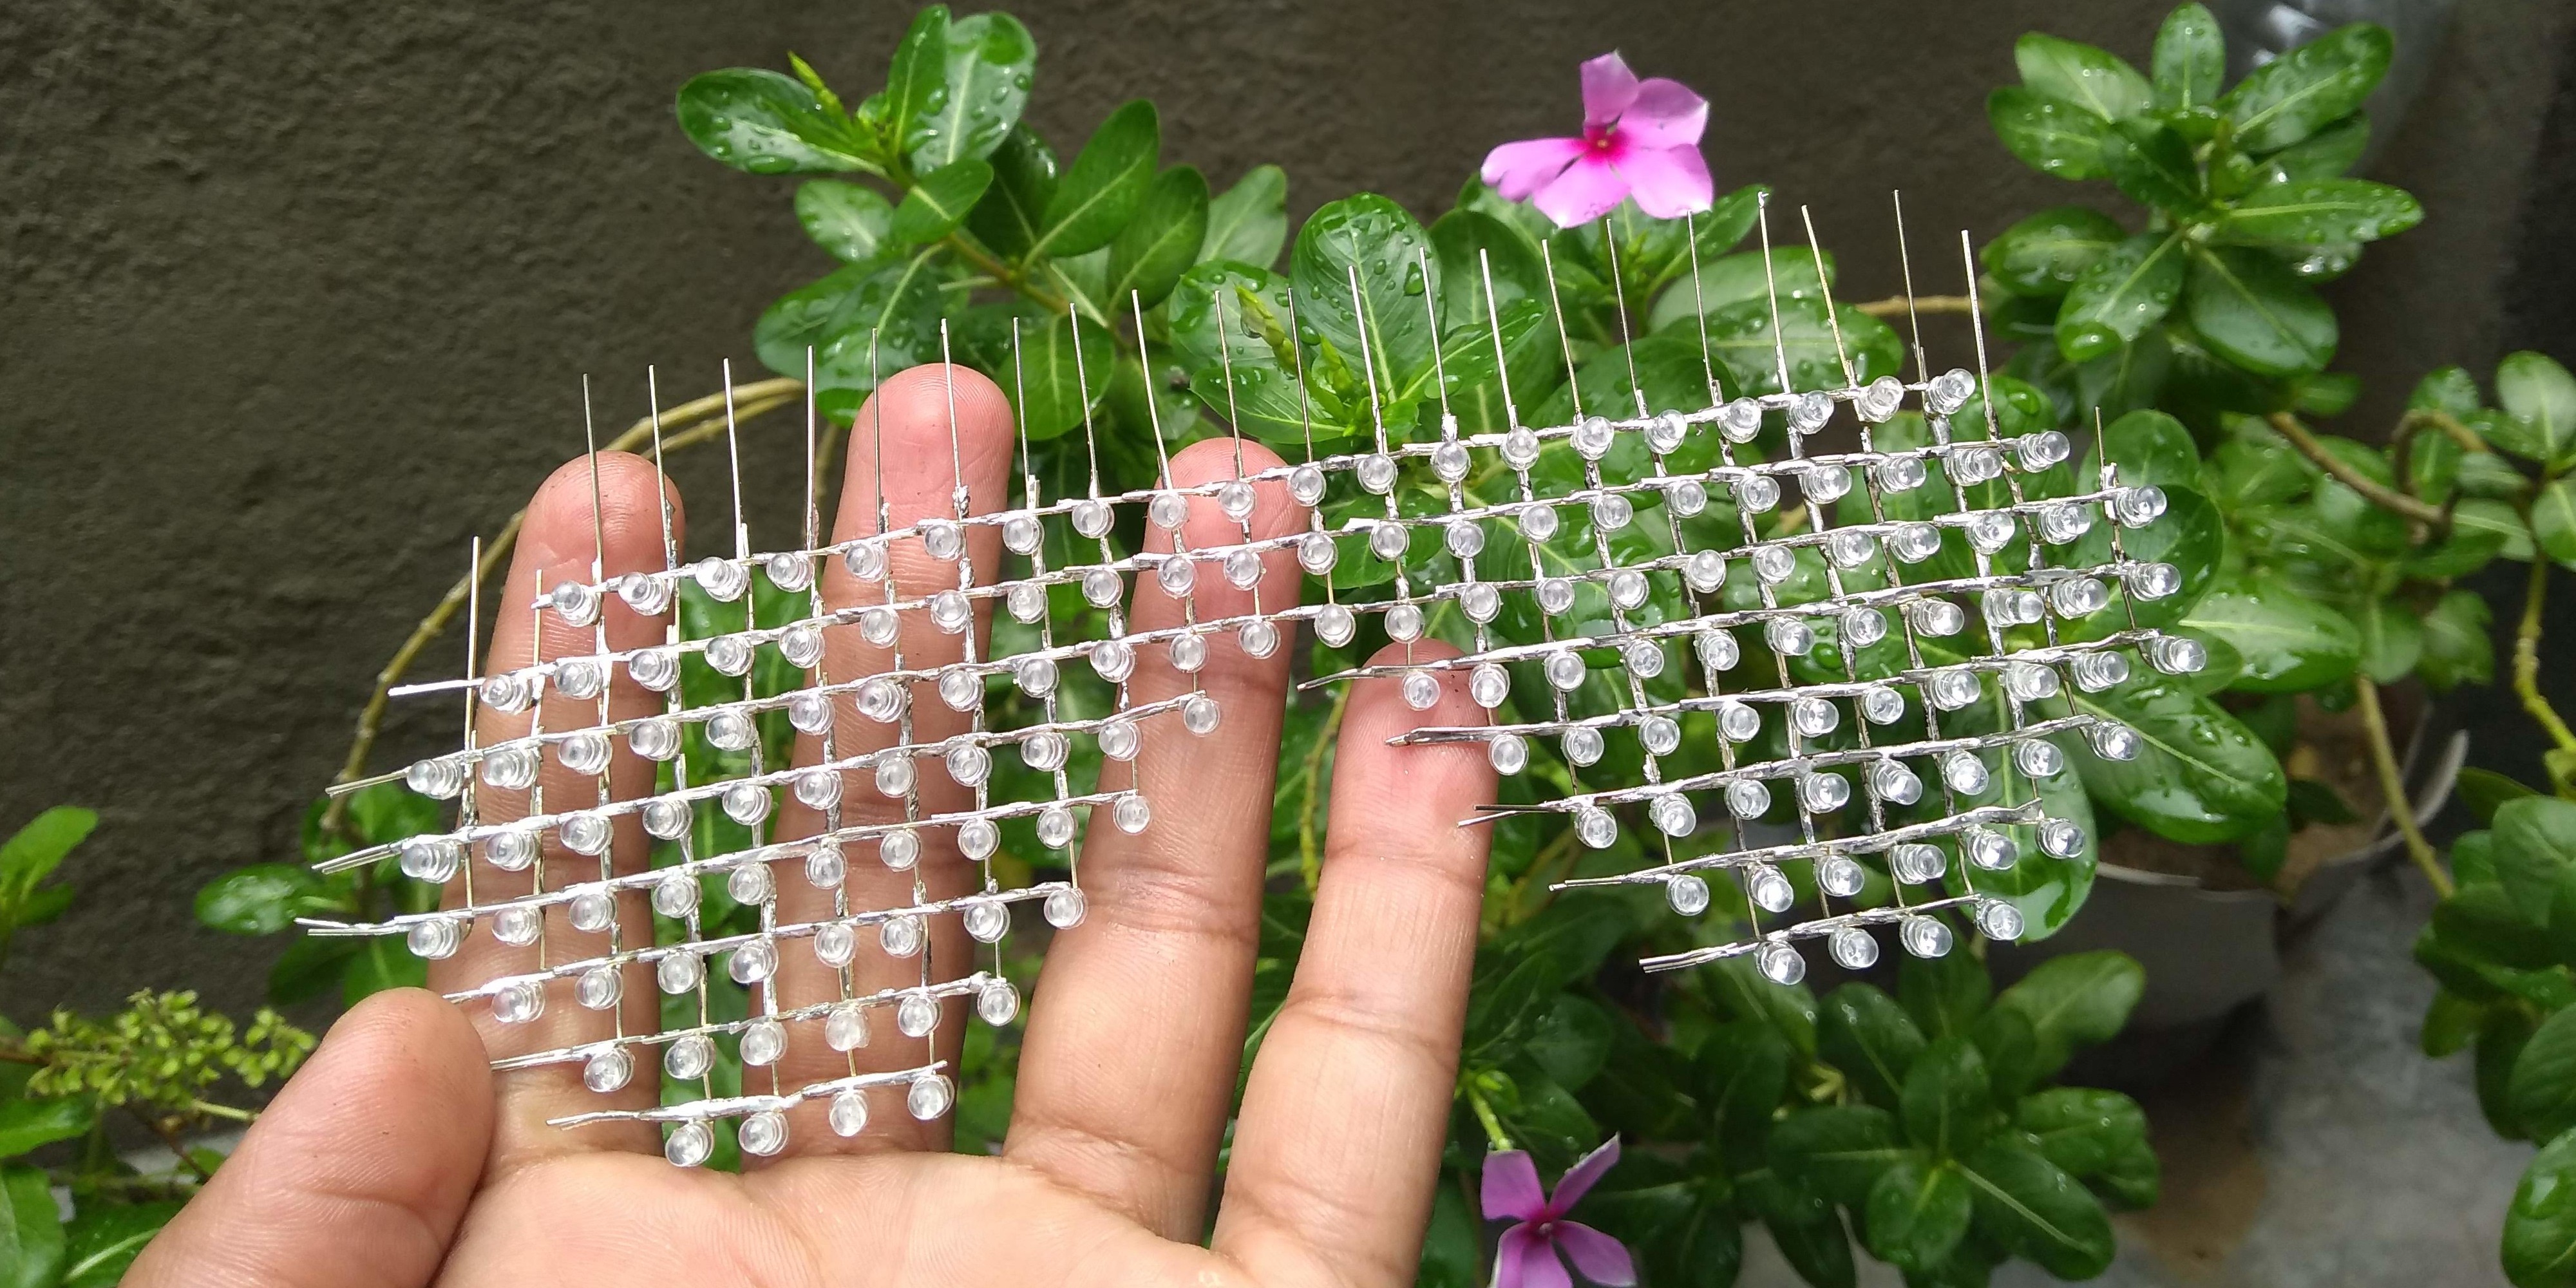
Solder one column at a time and then remo it from frame to create the next one. Make sure all the LEDs are working before doing any soldering.
![]()
![]()
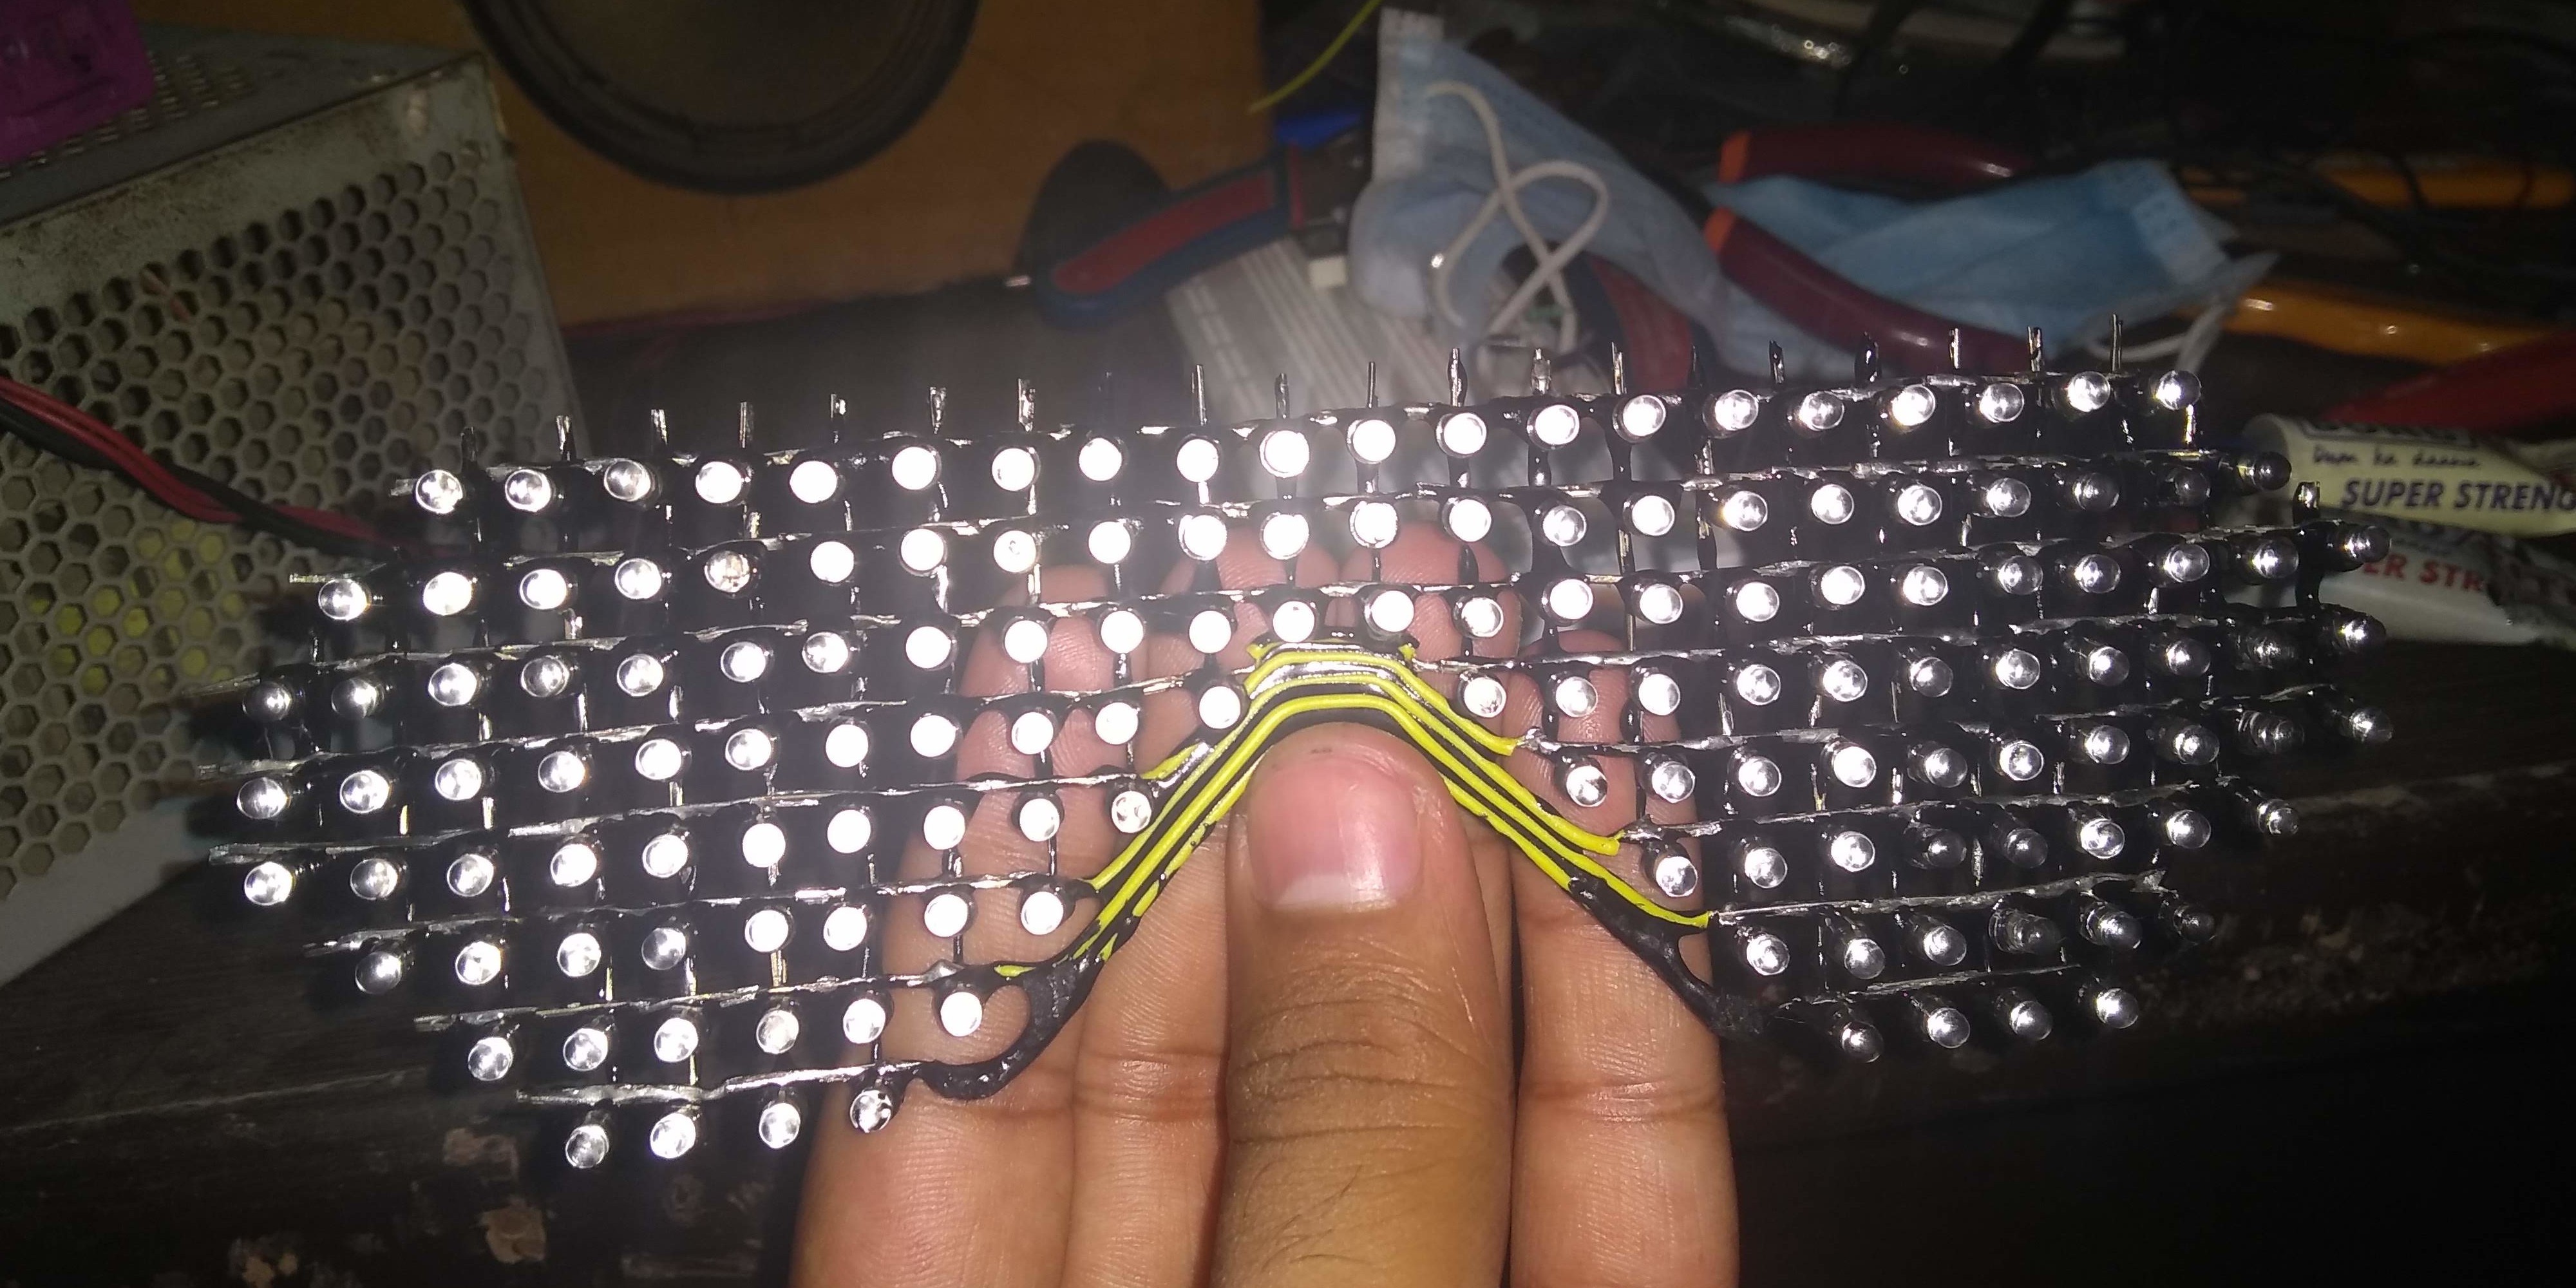
After soldering each column, bend the long leads to the height of cardboard (use the cardboard). Then solder the matrix together to create something like this,
![]()
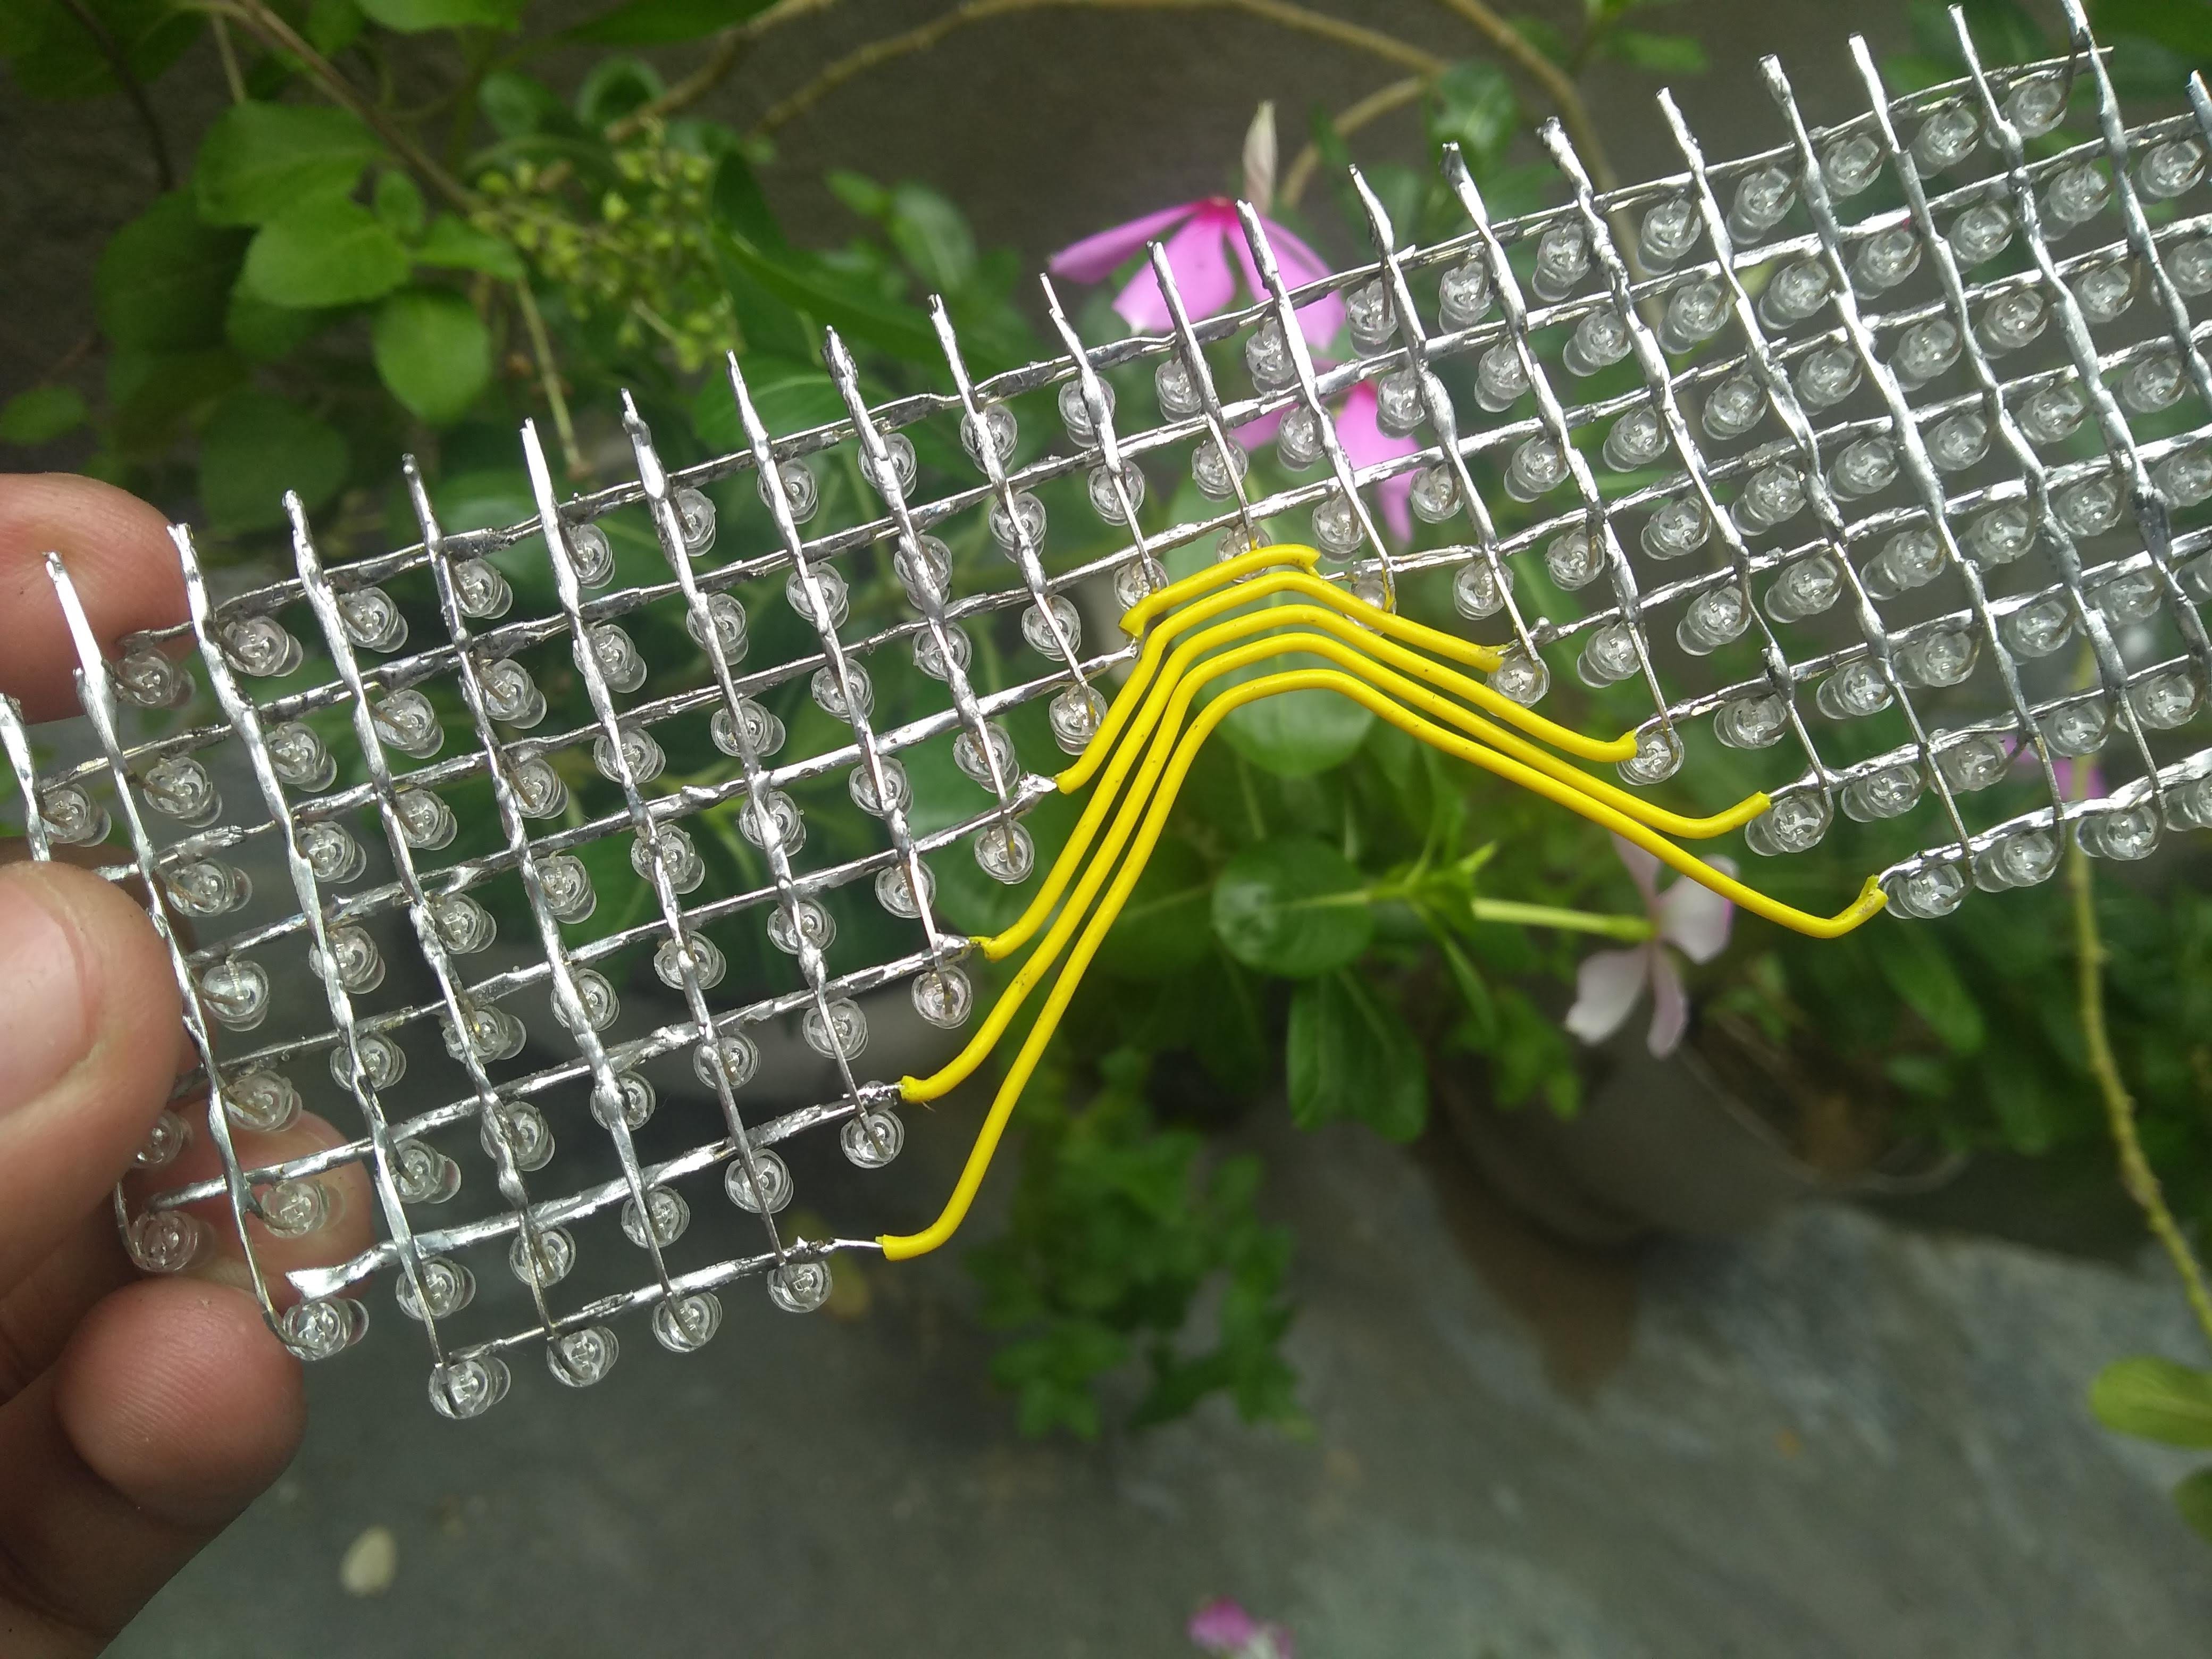
Now use single core wire to bridge the remaining connections of the LED matrix.
![]()
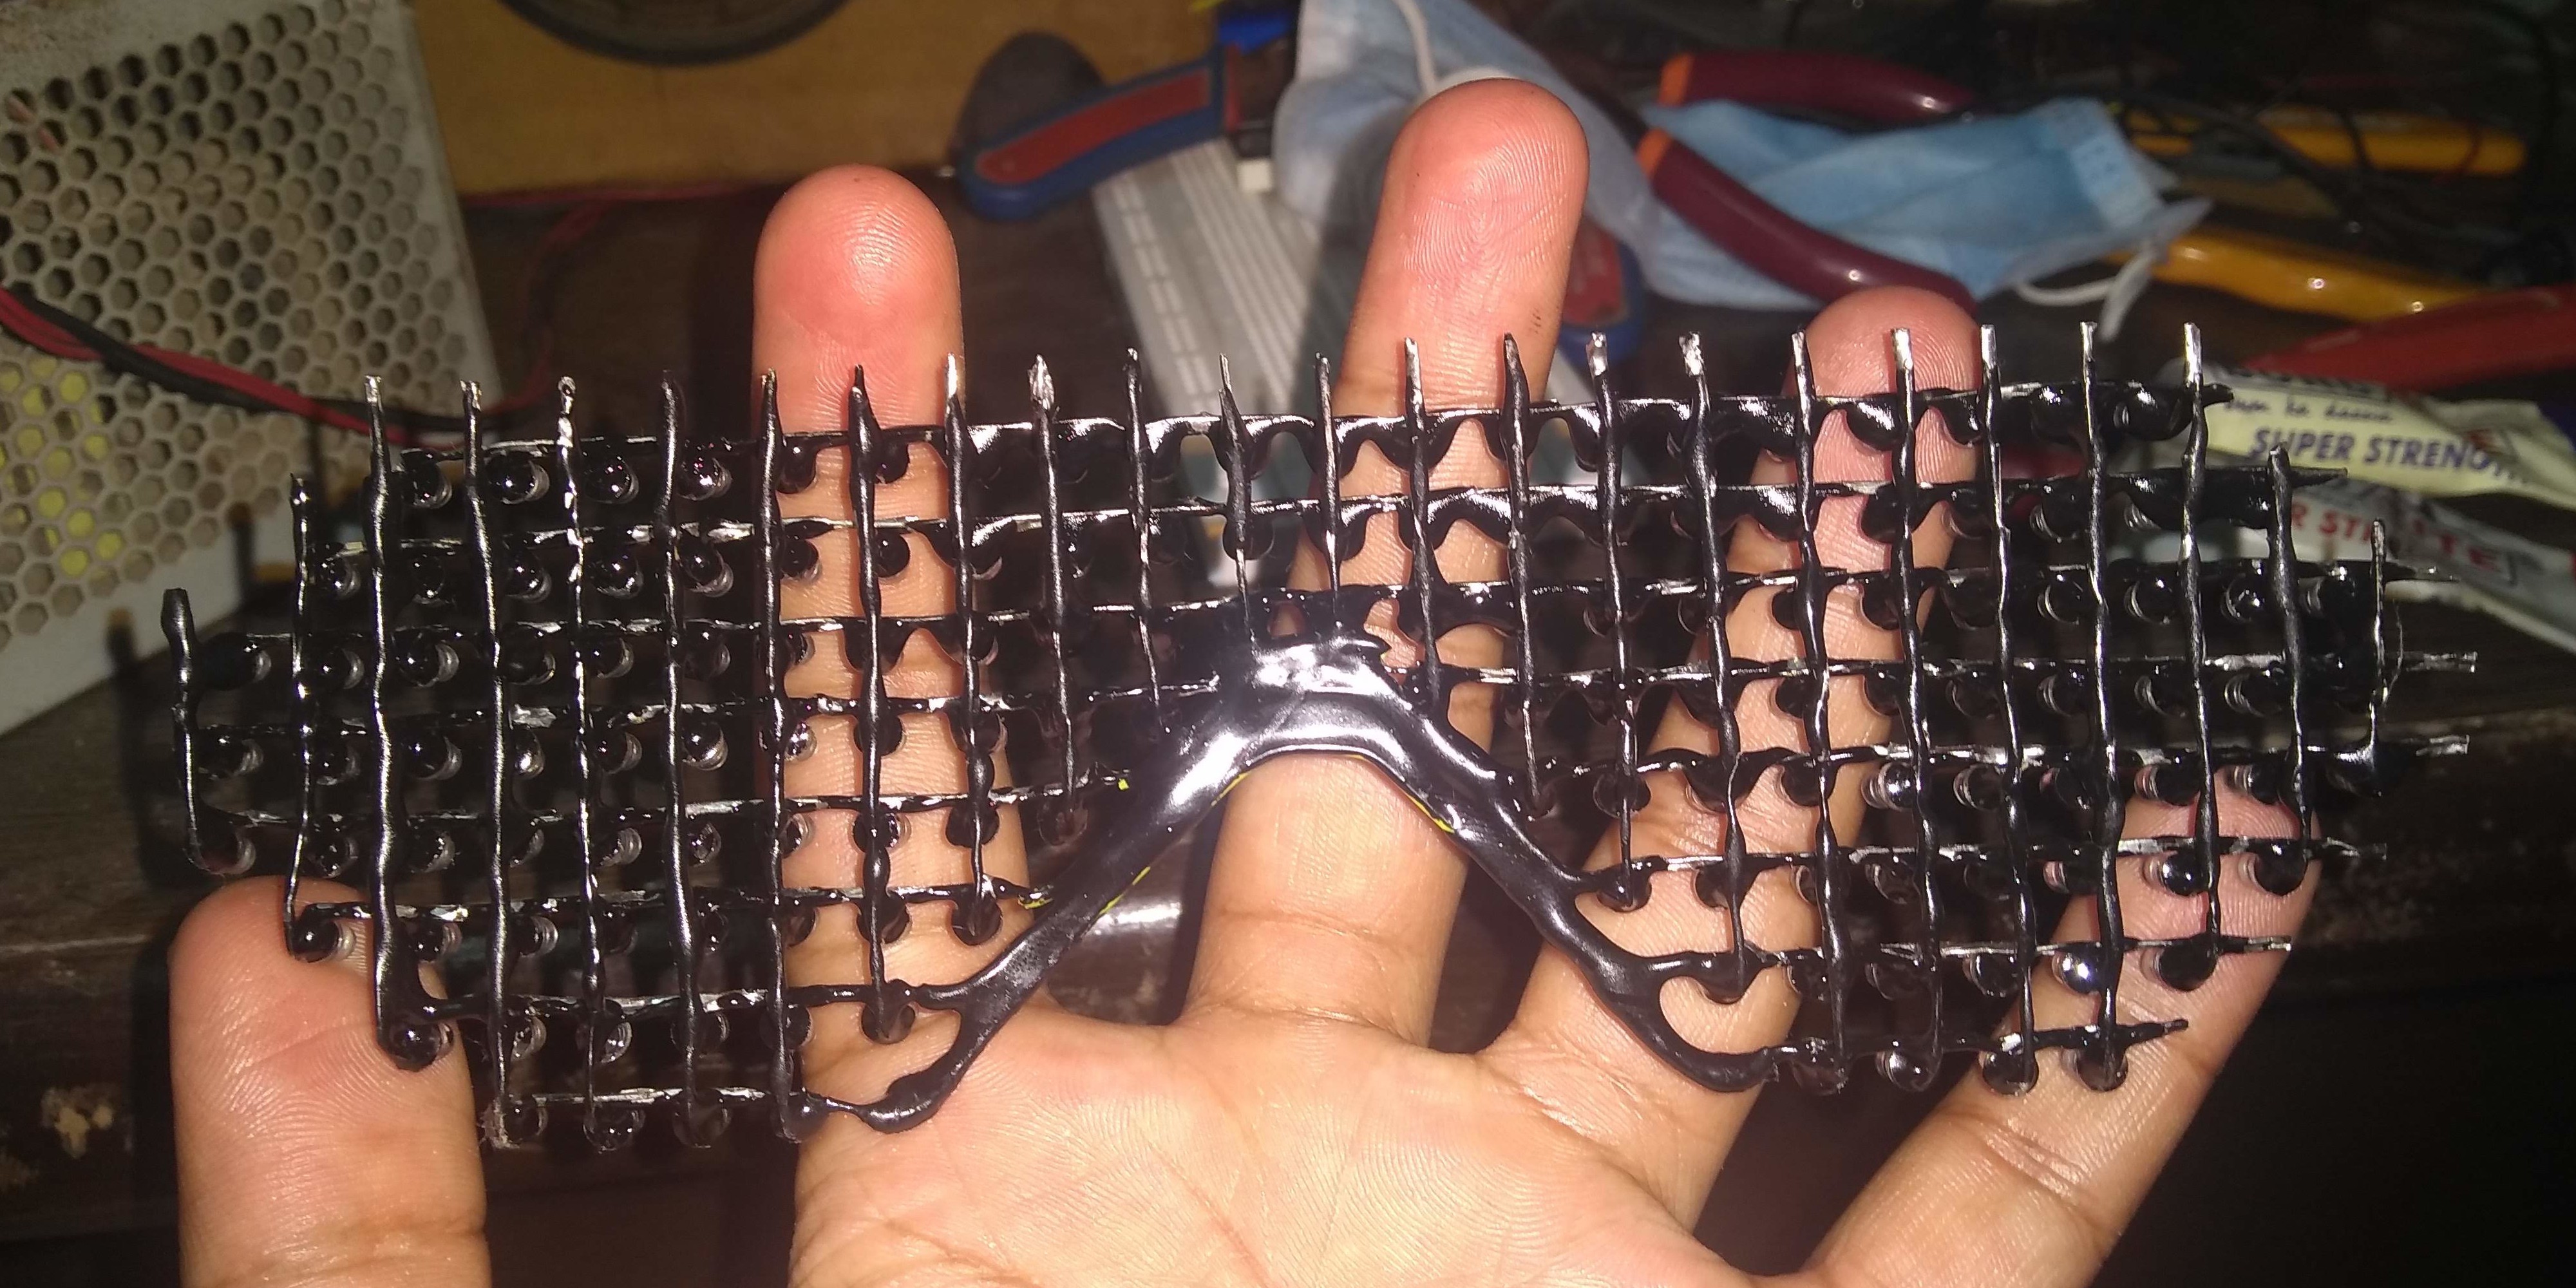
Now mix two compound adhesive (epoxy blue) with black fabric color to coat the back of LED matrix. this step is crucial otherwise light will bleed from the back of LEDs and you'll not be able to anything. You can use anything see if you want to cover the back.
![]()
![]()
With this, your LED Matrix is finally complete now.
-
3Test your LED matrix
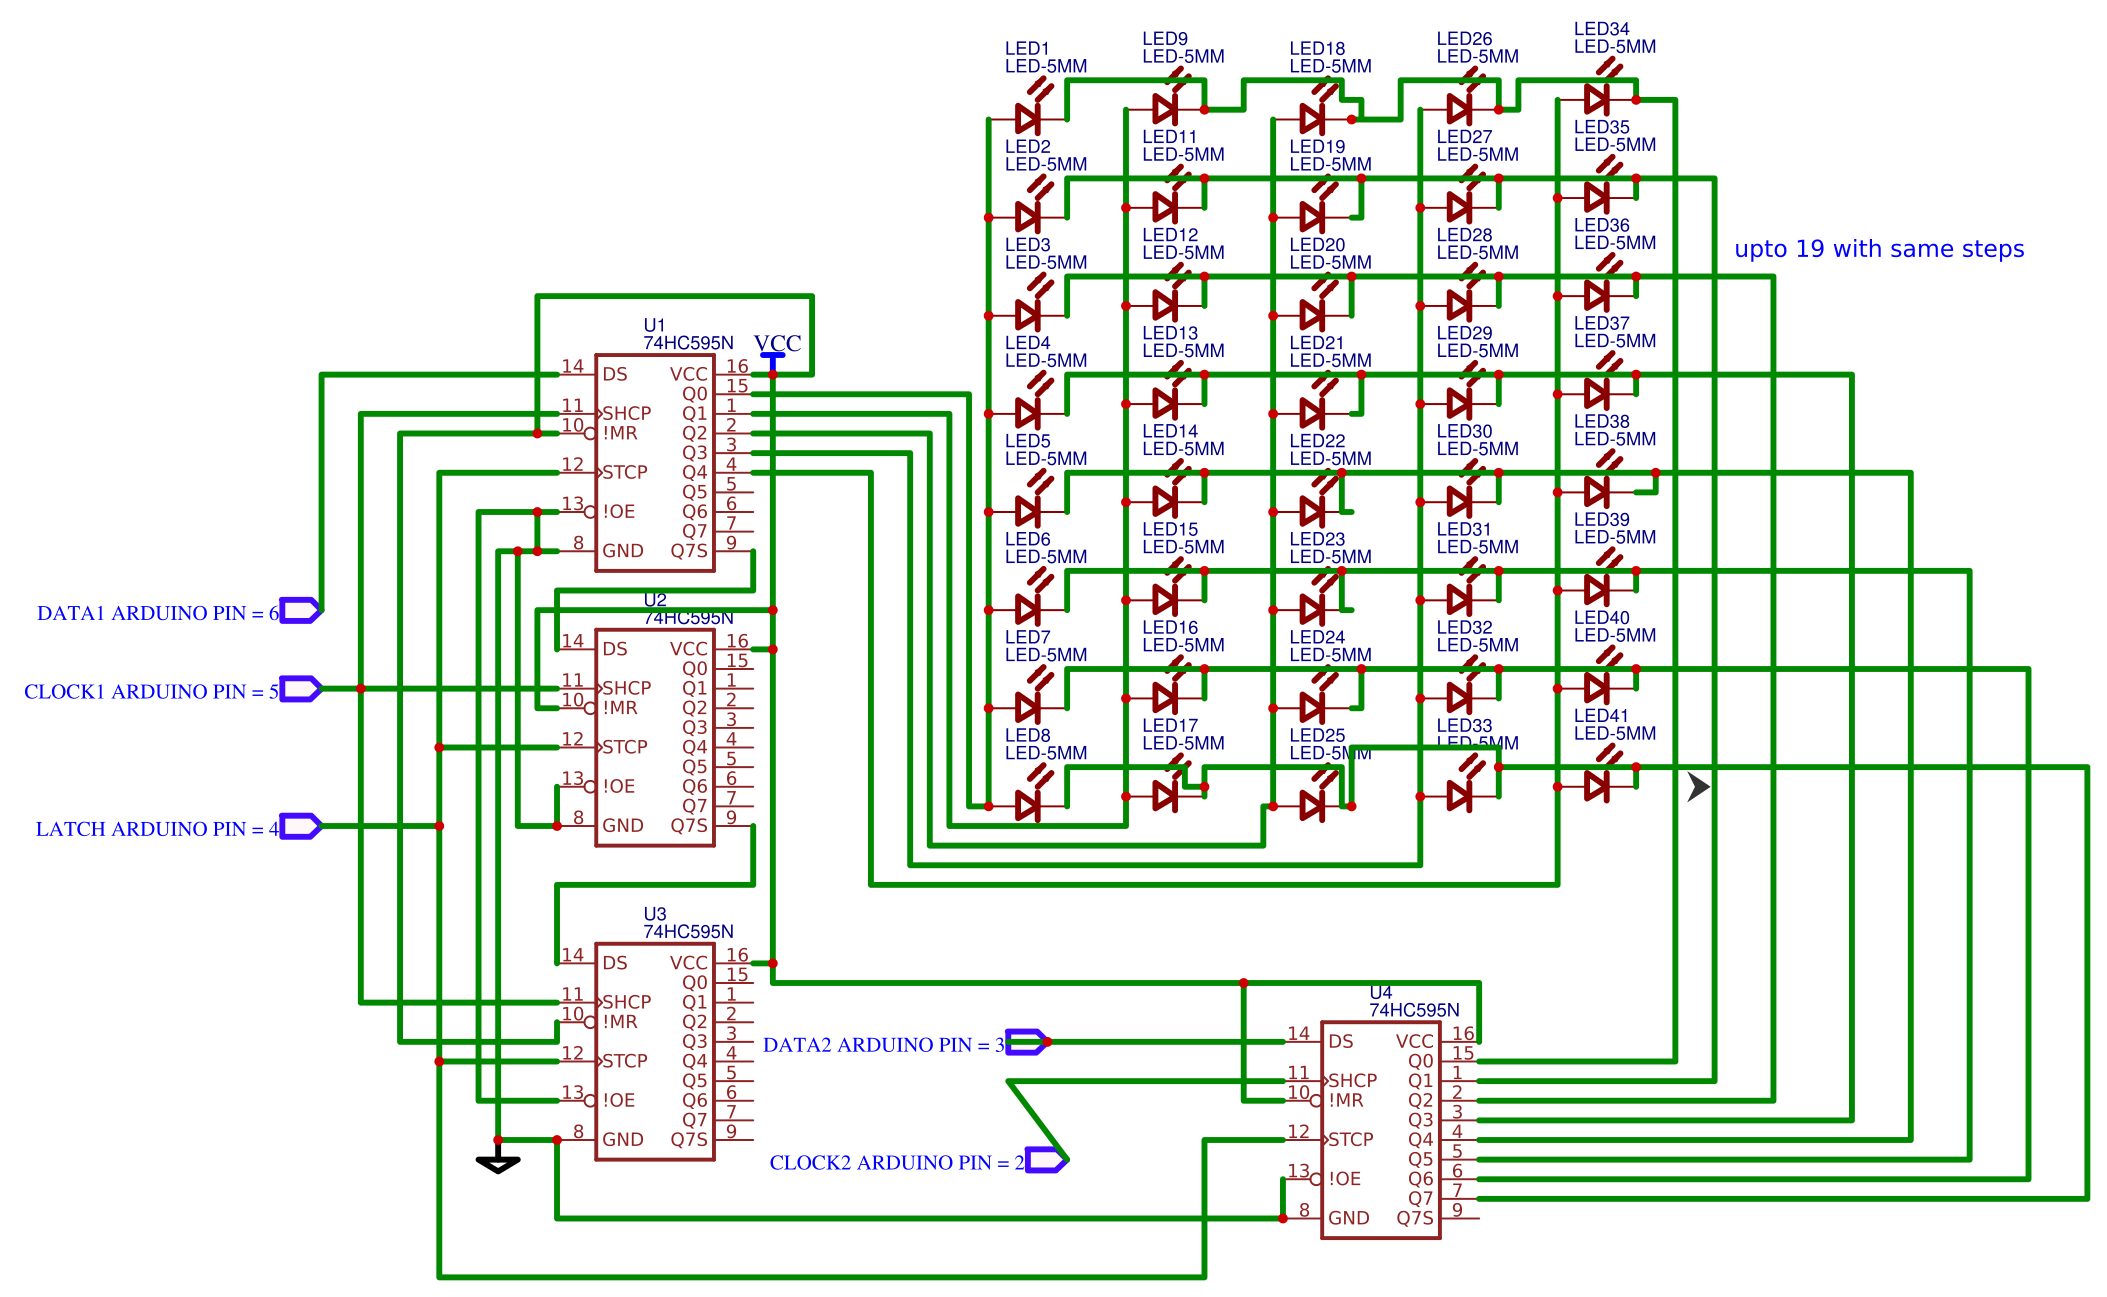
Before attaching the LED matrix to the spectacle frame test the circuit. I am attching the circuit i used from my fried Abhishek's 8x24 LED matrix video. The circuit is not perfect for LED glasses though and I would prefer to remake if for the next version.
![]()
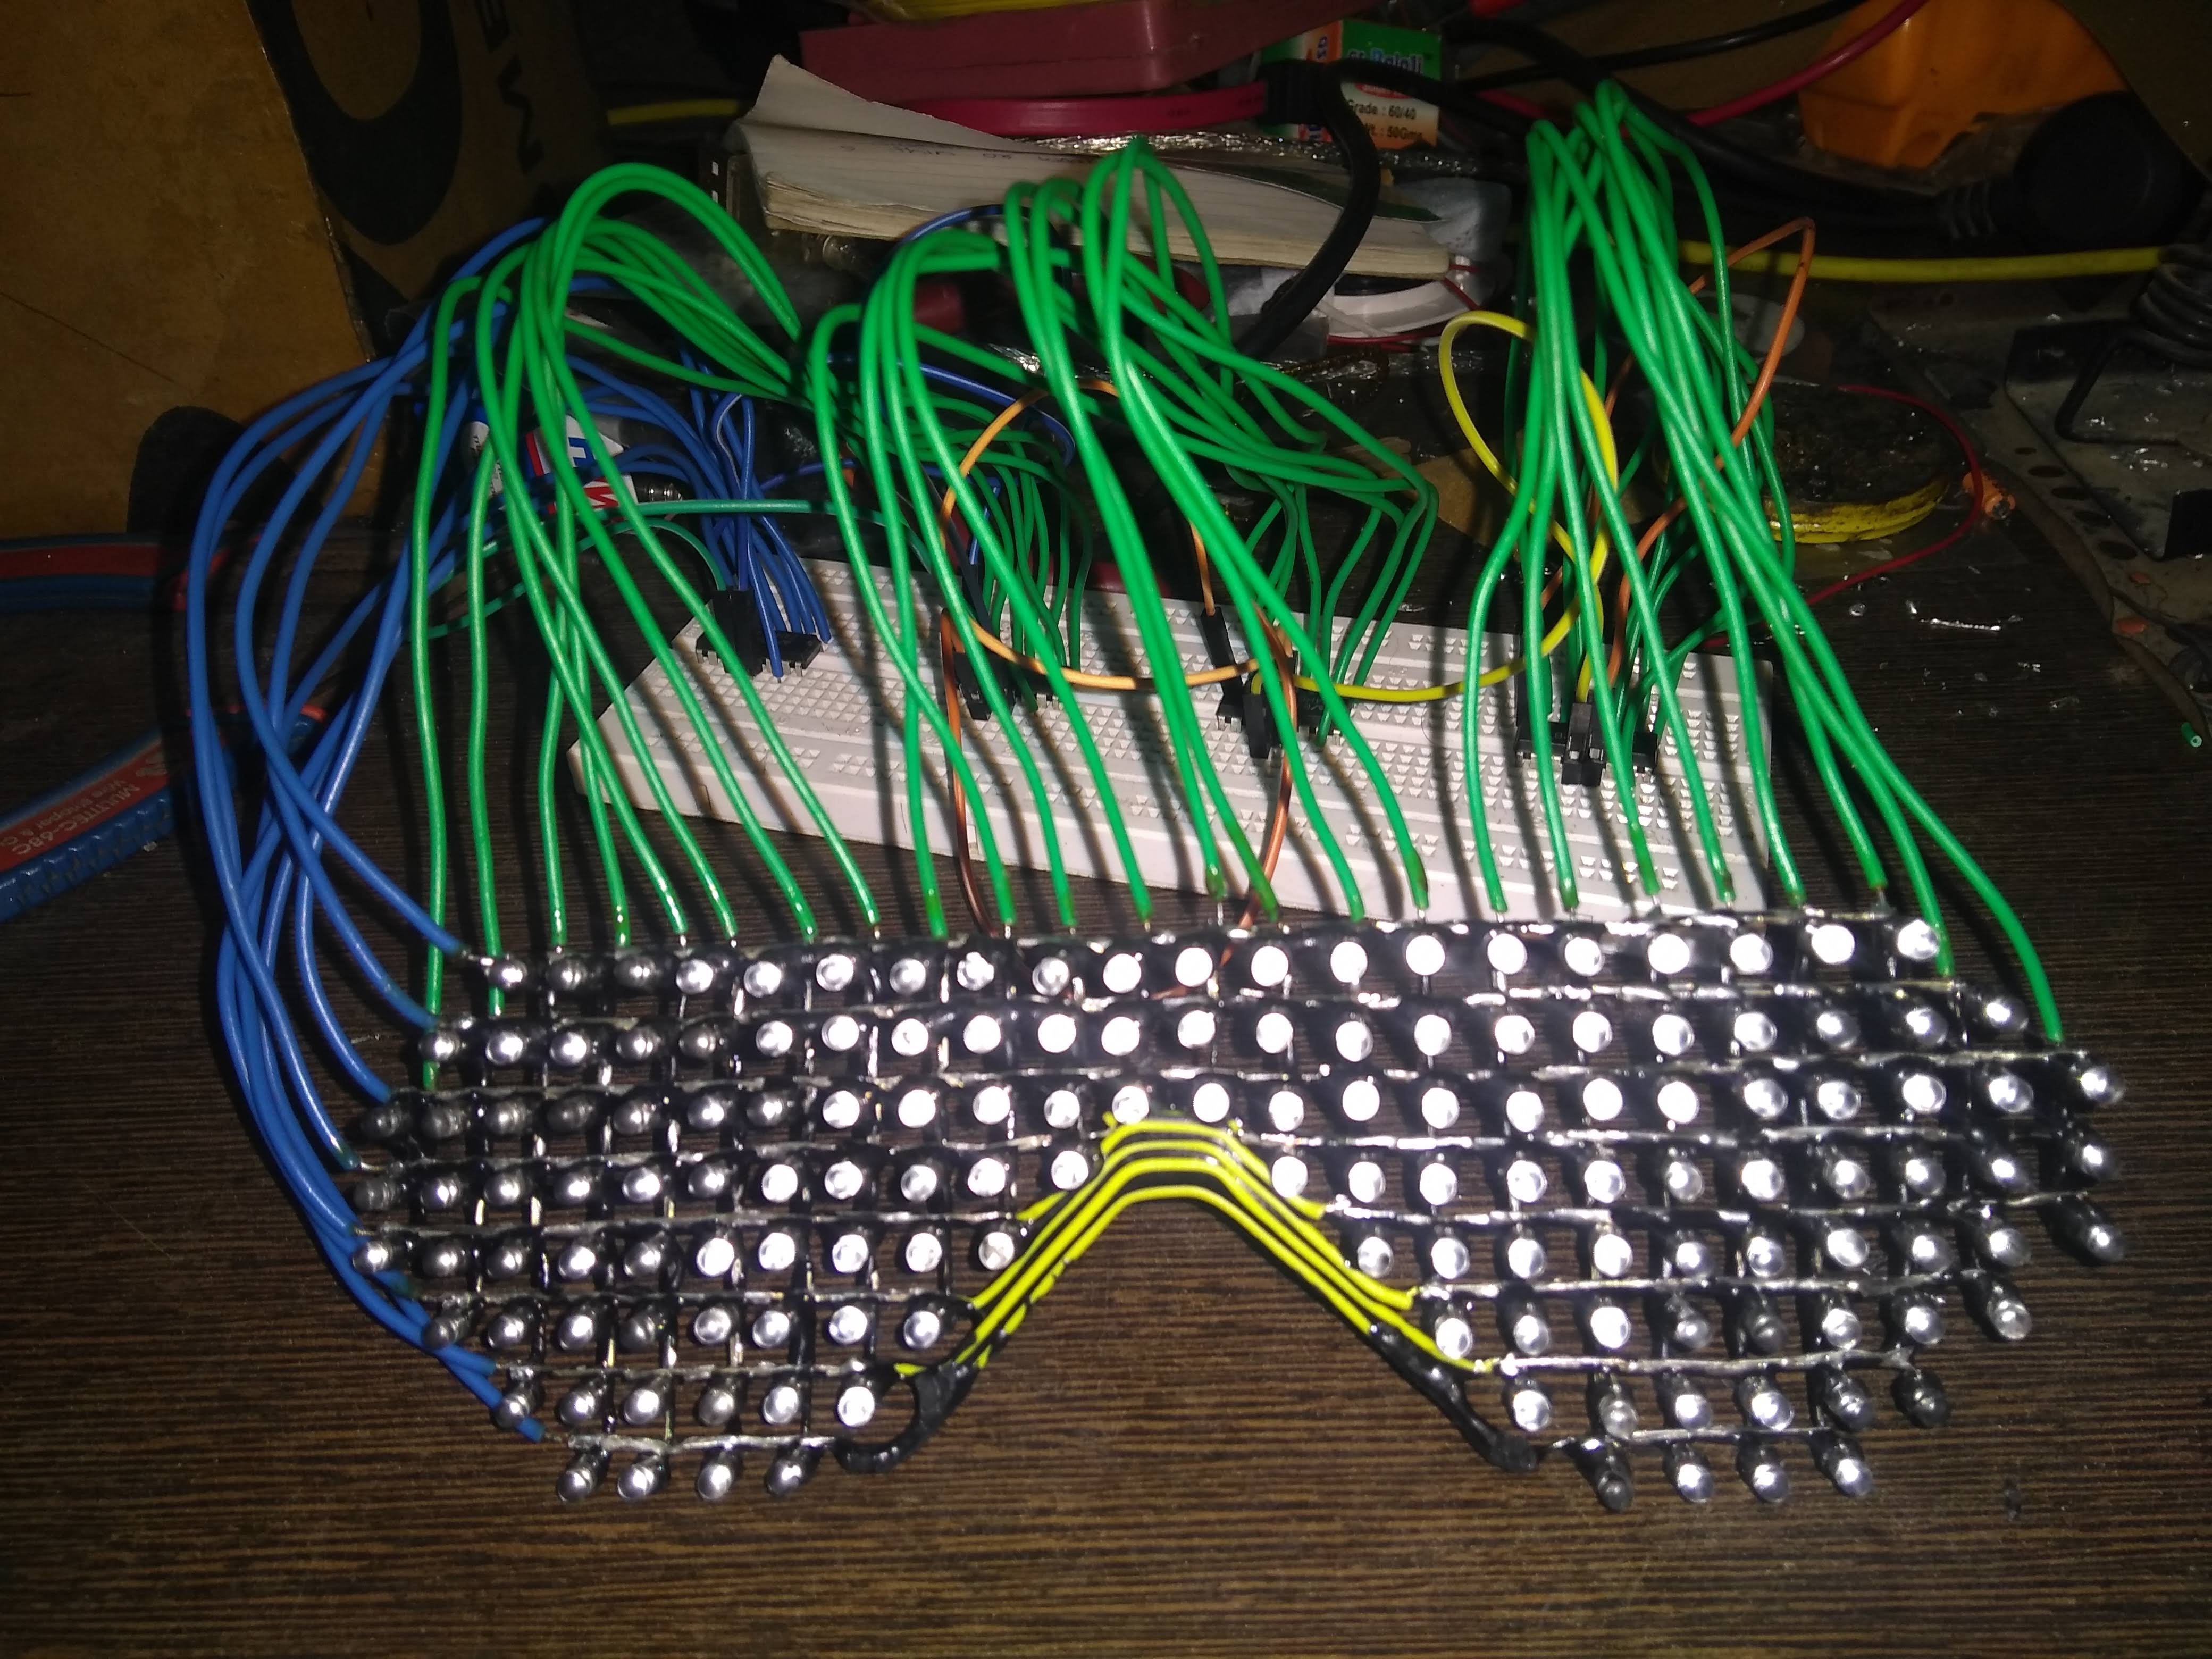
Now create this circuit on breadboard and test the LED matrix.
![]()
![]()
Congratulations if you made it in the first try, I wasn't able to do that :)
-
4Assemble glasses
Take any old spectacles and remove the lenses.
![]()
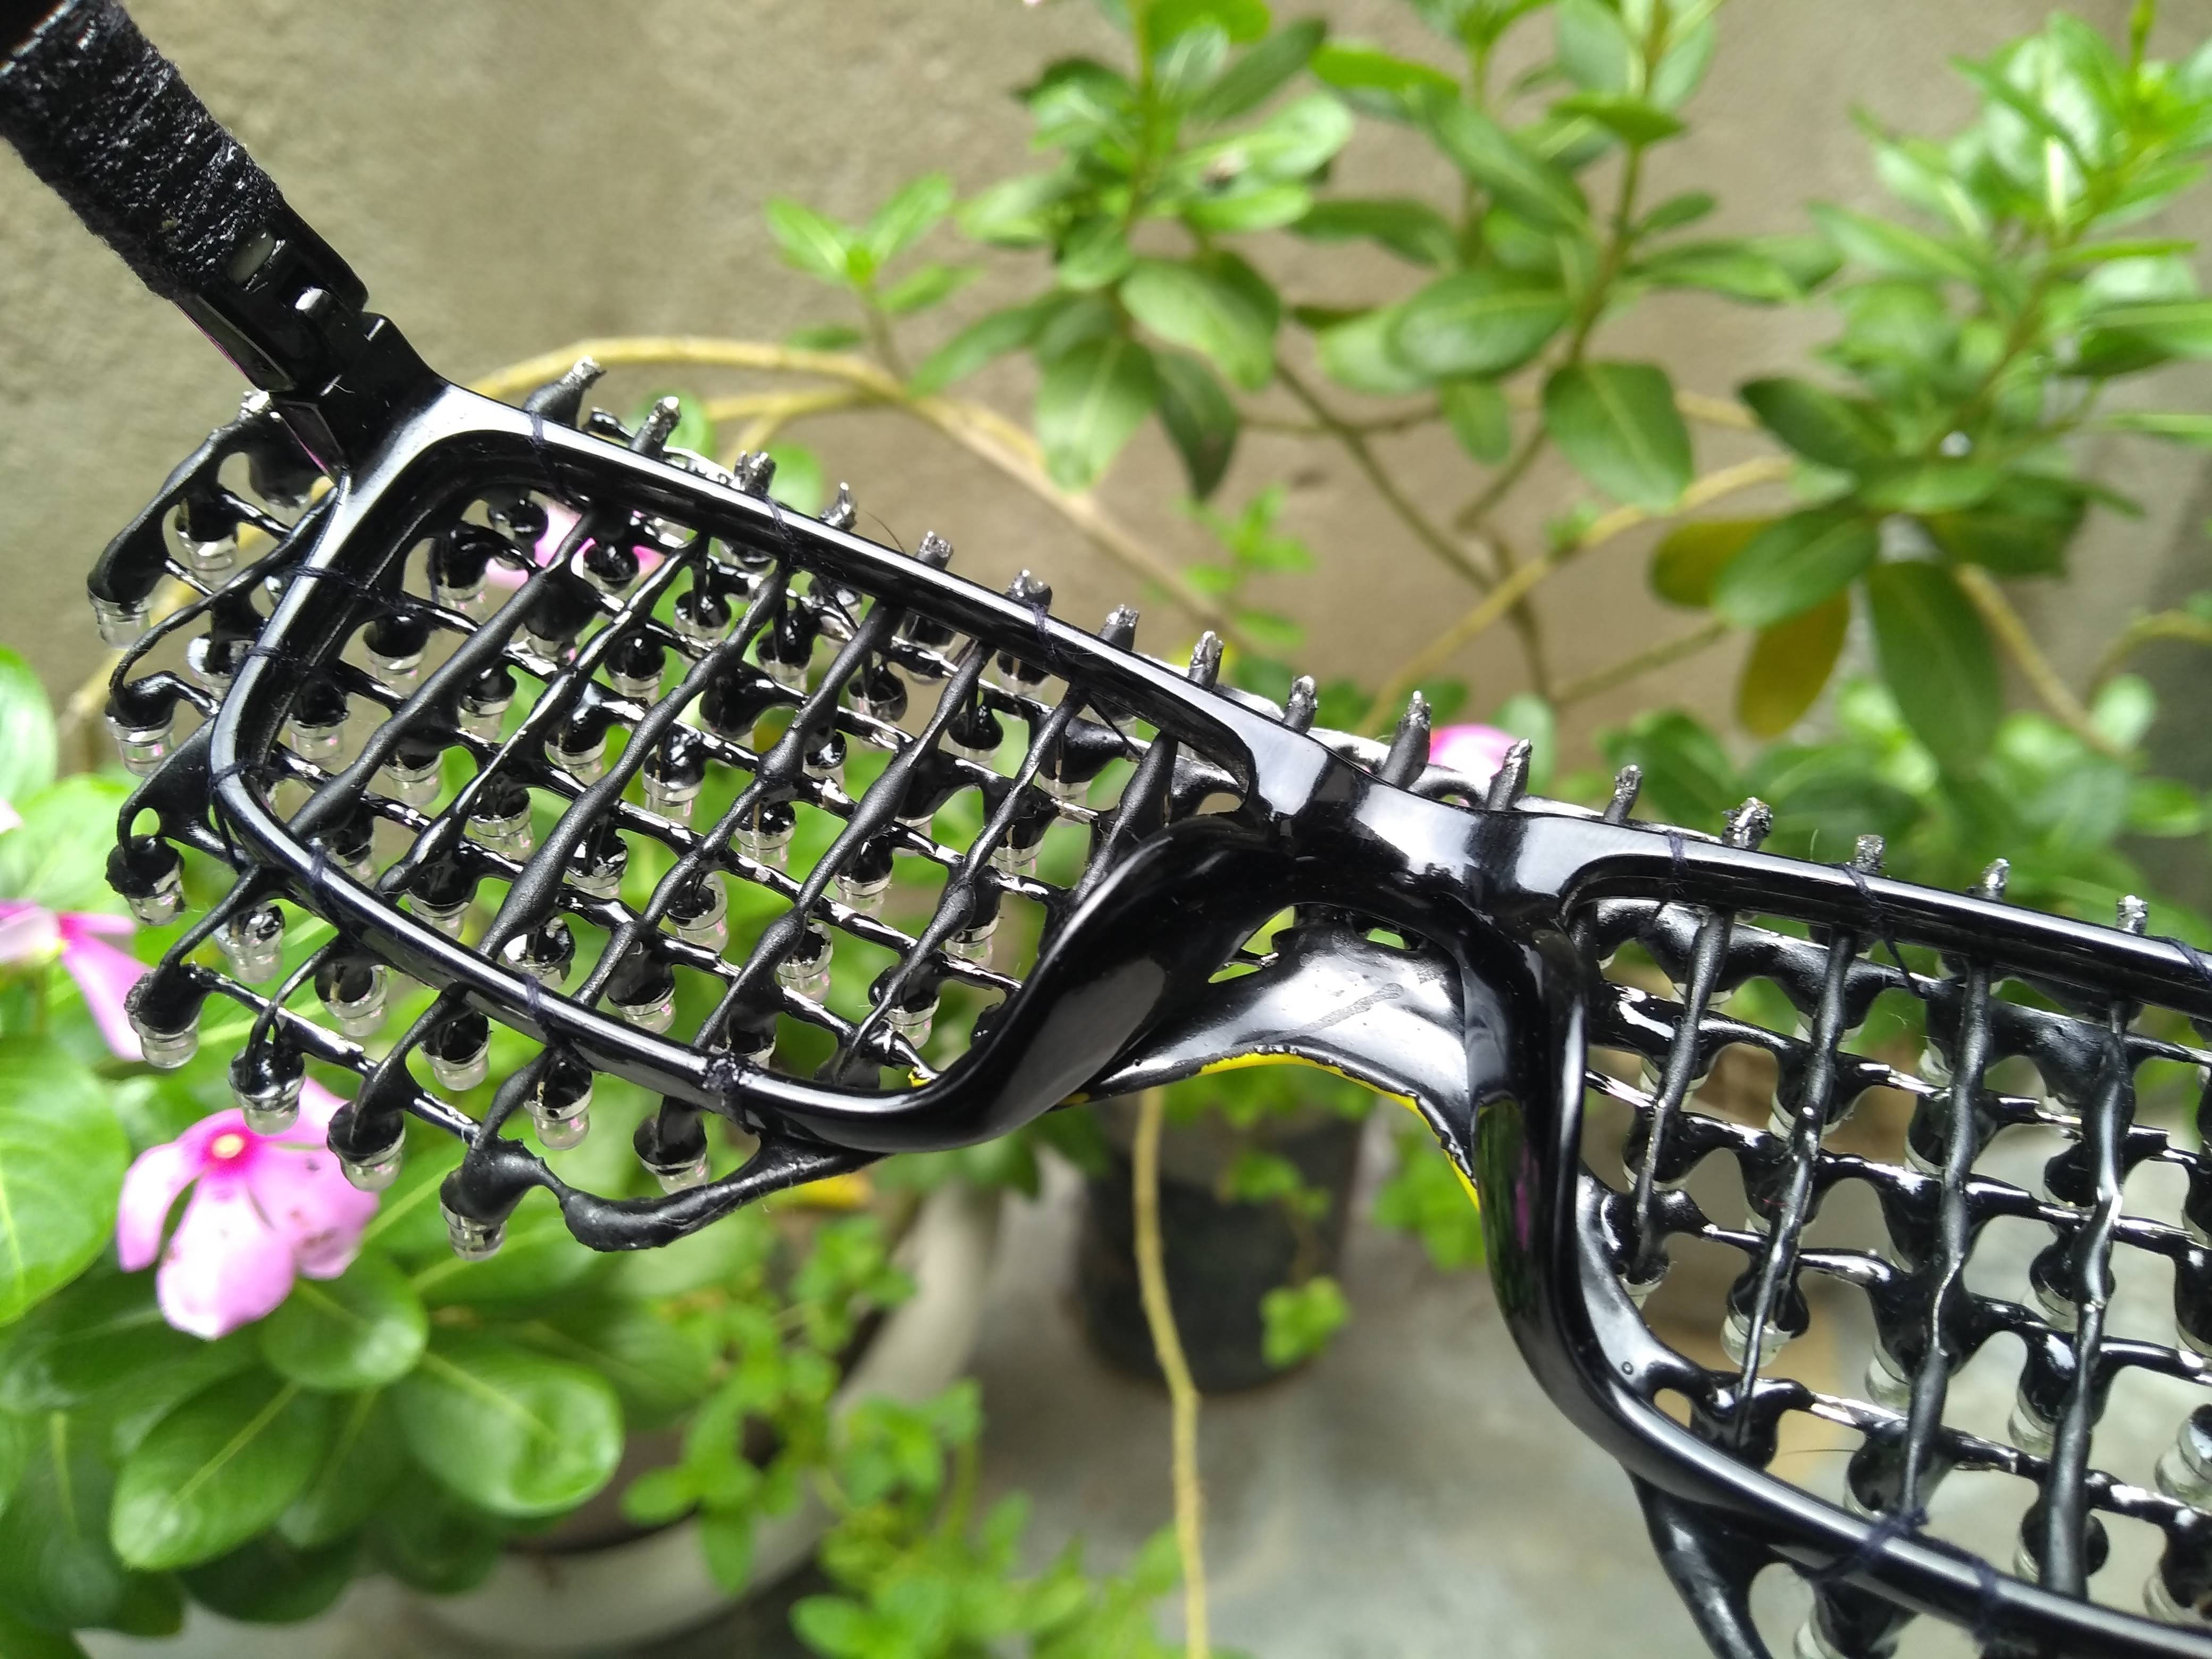
Use thread to hold the LED matrix to the spectacles frame.
![]()
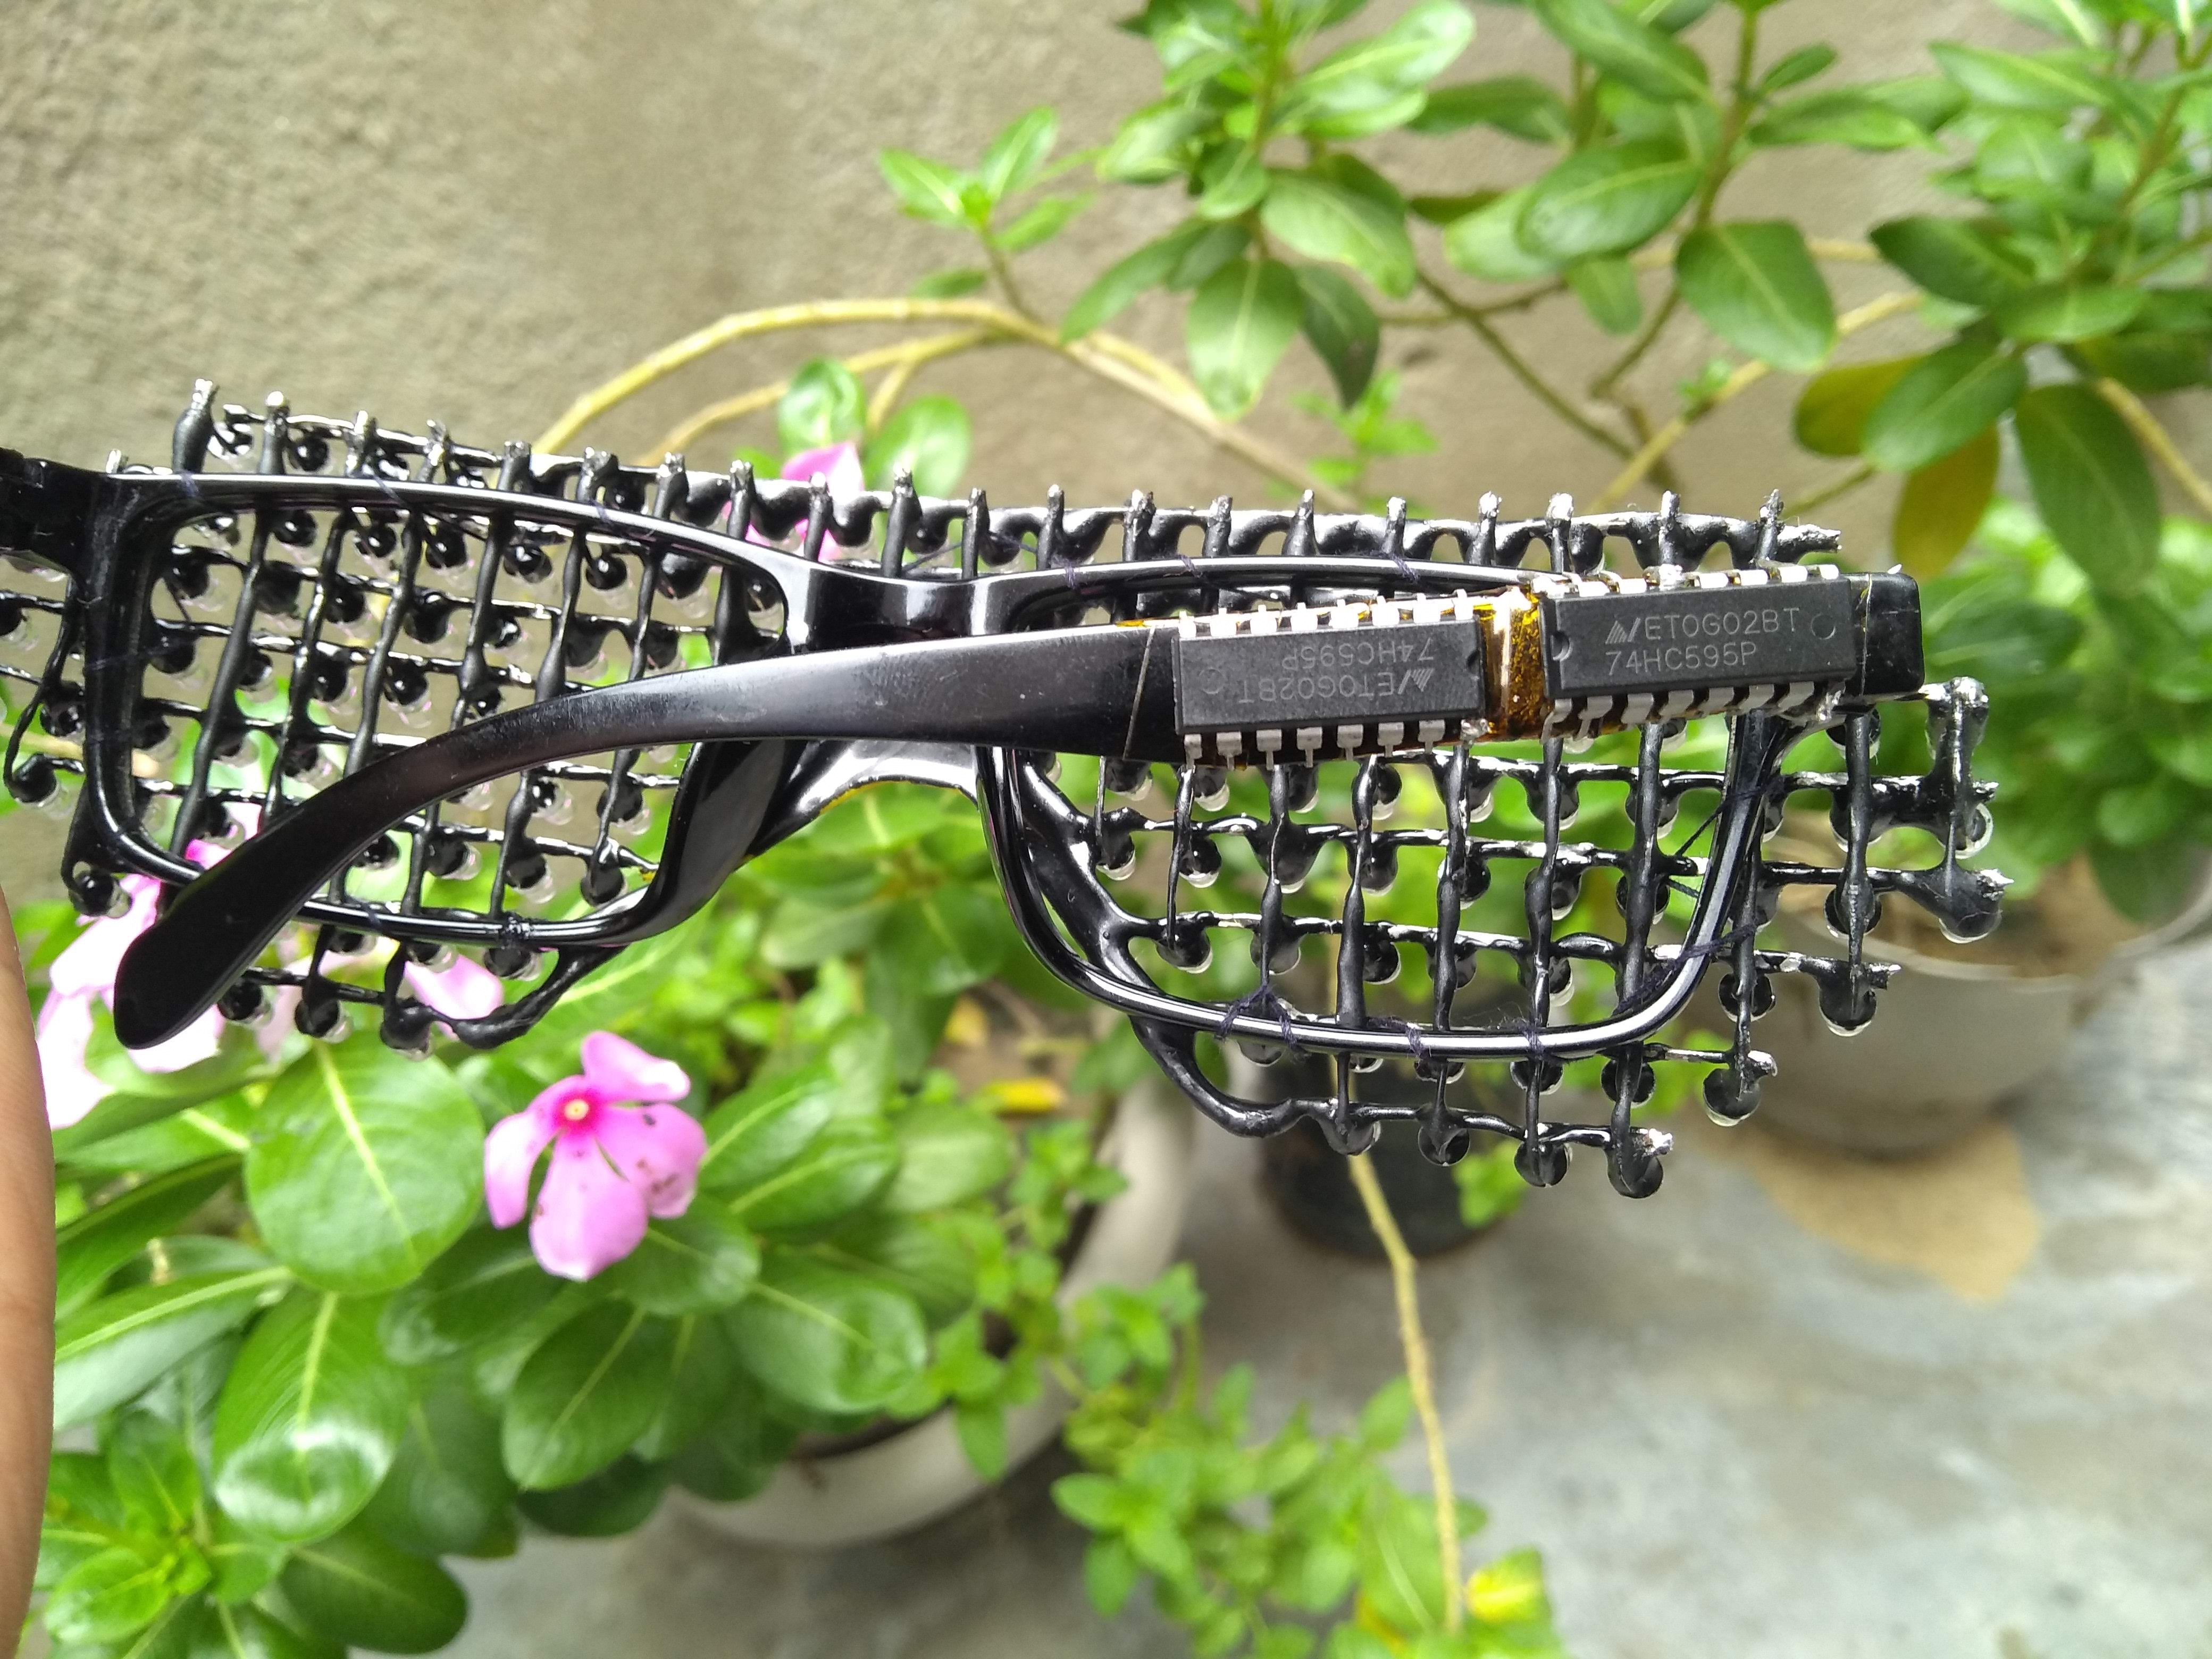
Apply kapton tape on the sides of the frame and attach shift register.
![]()
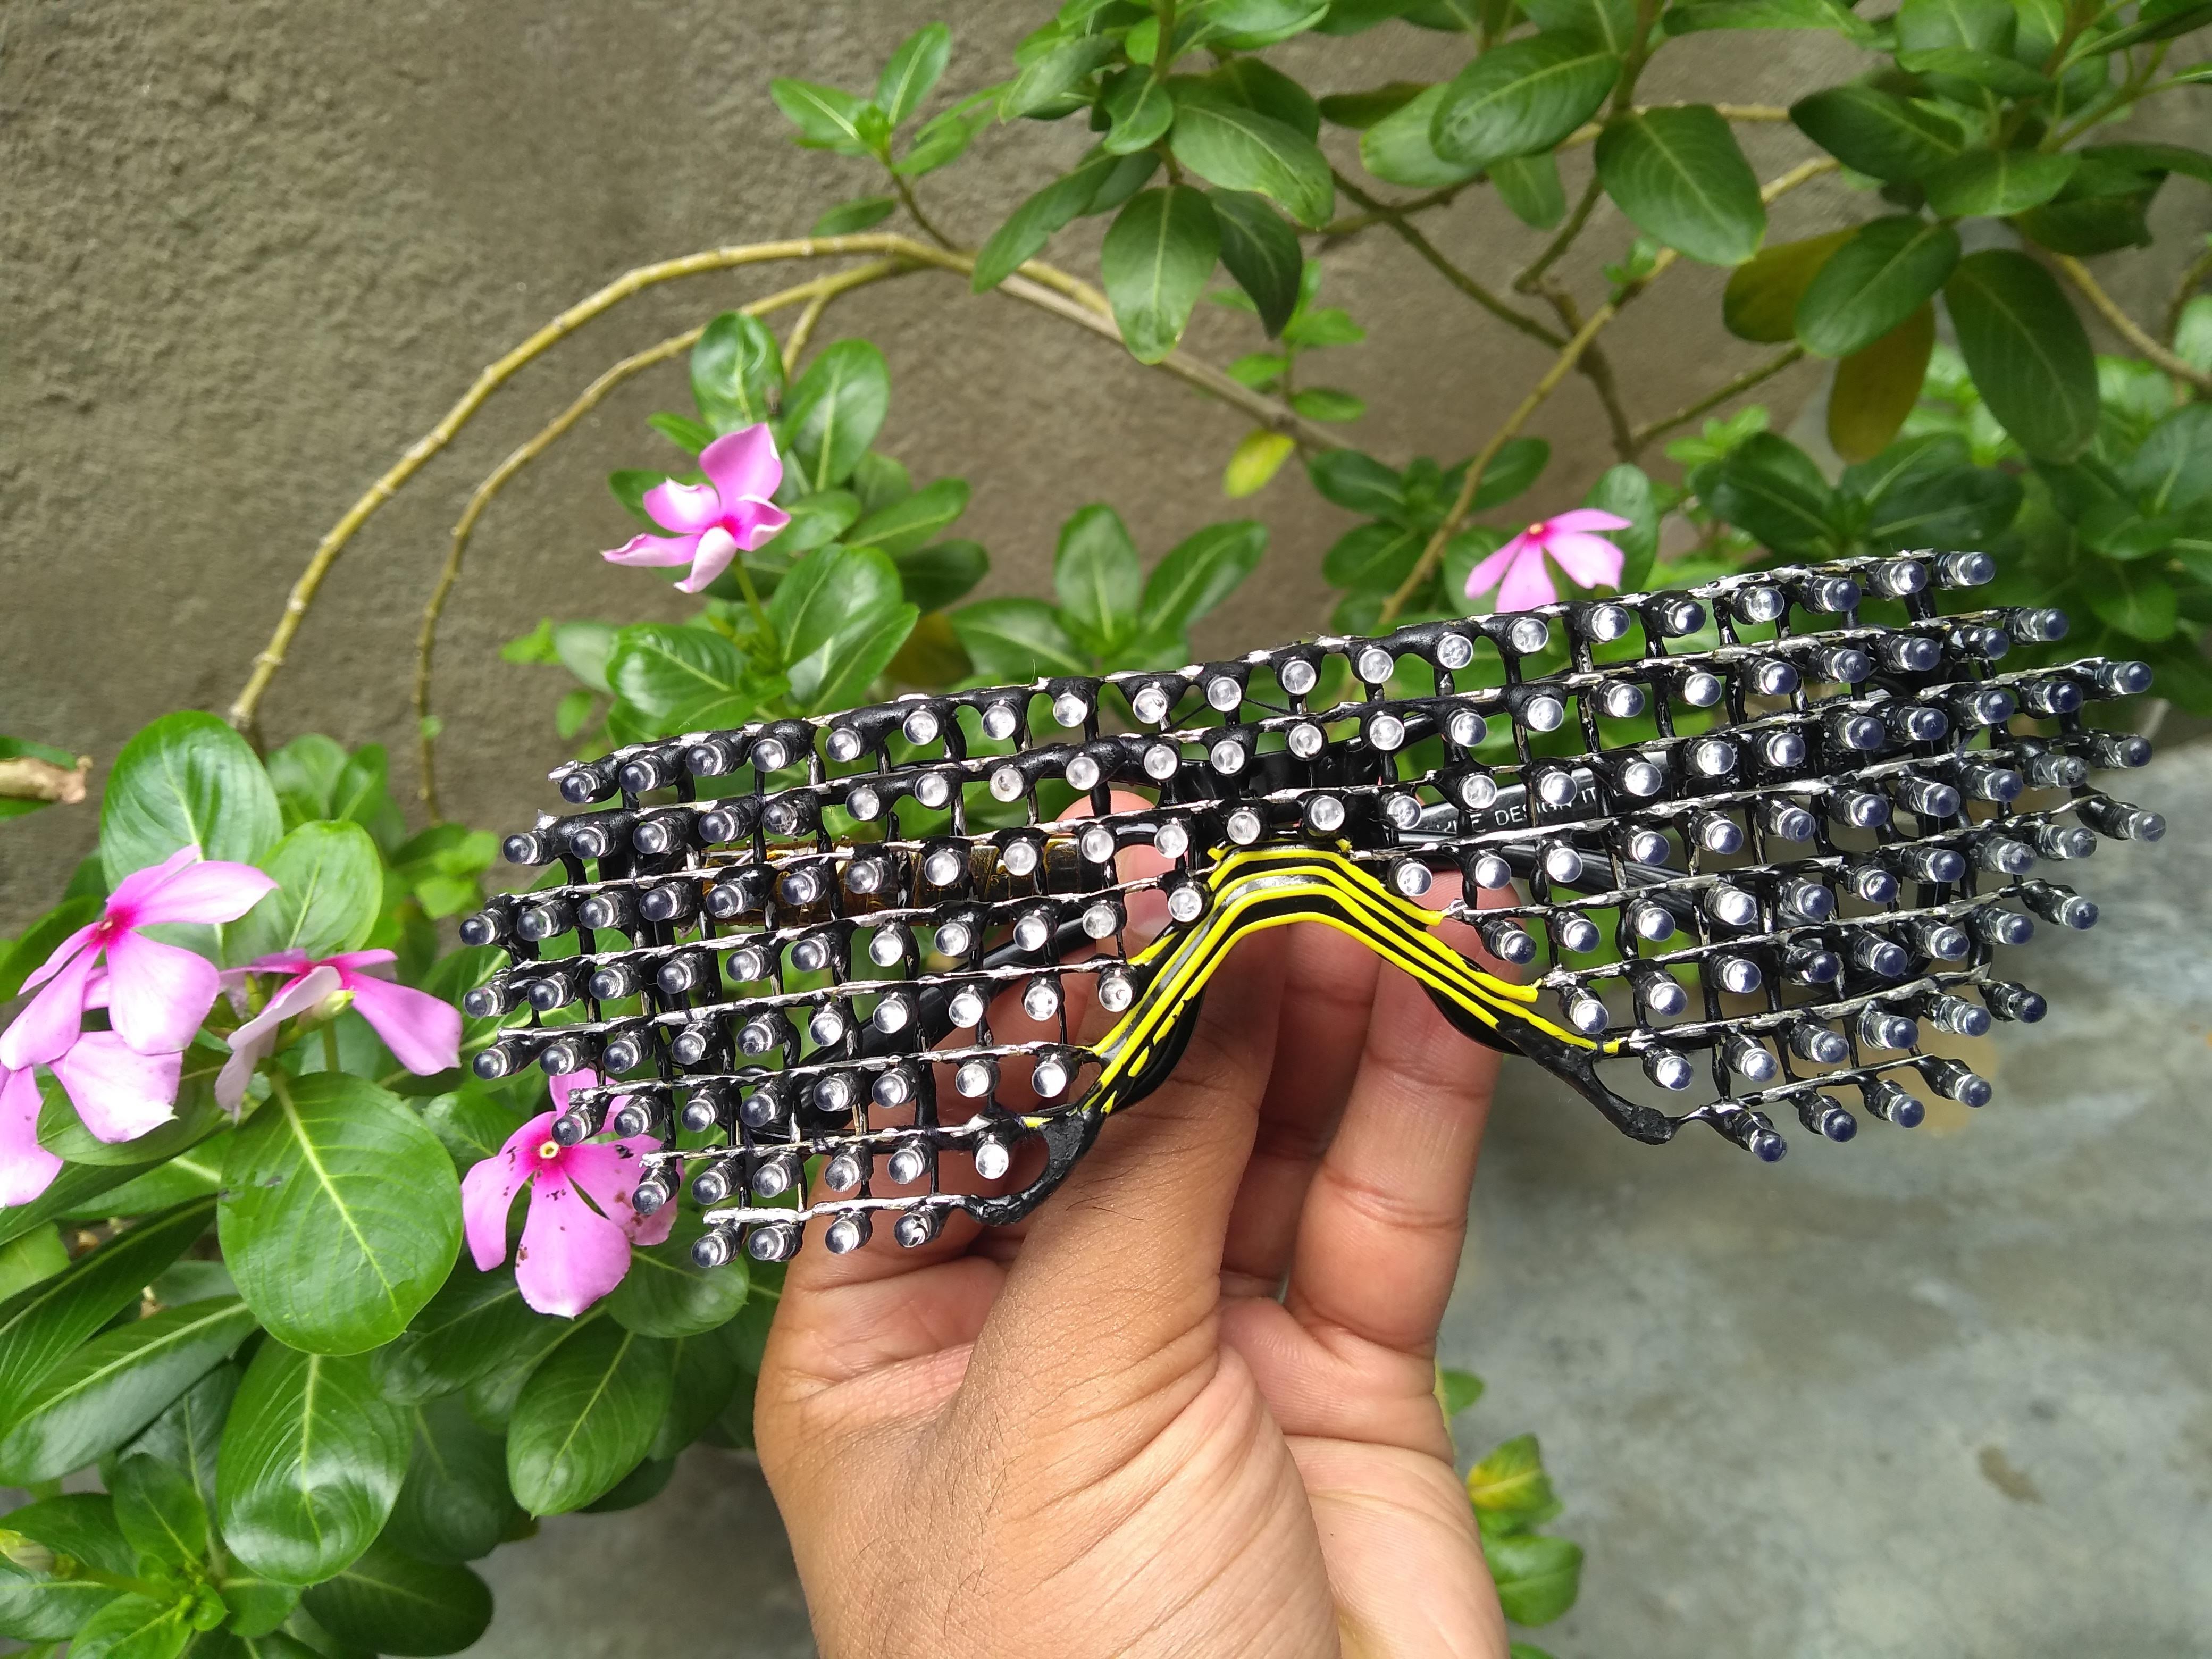
Your glasses are now ready for connections to be made between the LED matrix and shift registers. This how it looks now,
![]()
 Deepak Khatri





Discussions
Become a Hackaday.io Member
Create an account to leave a comment. Already have an account? Log In.