-
1Step 1
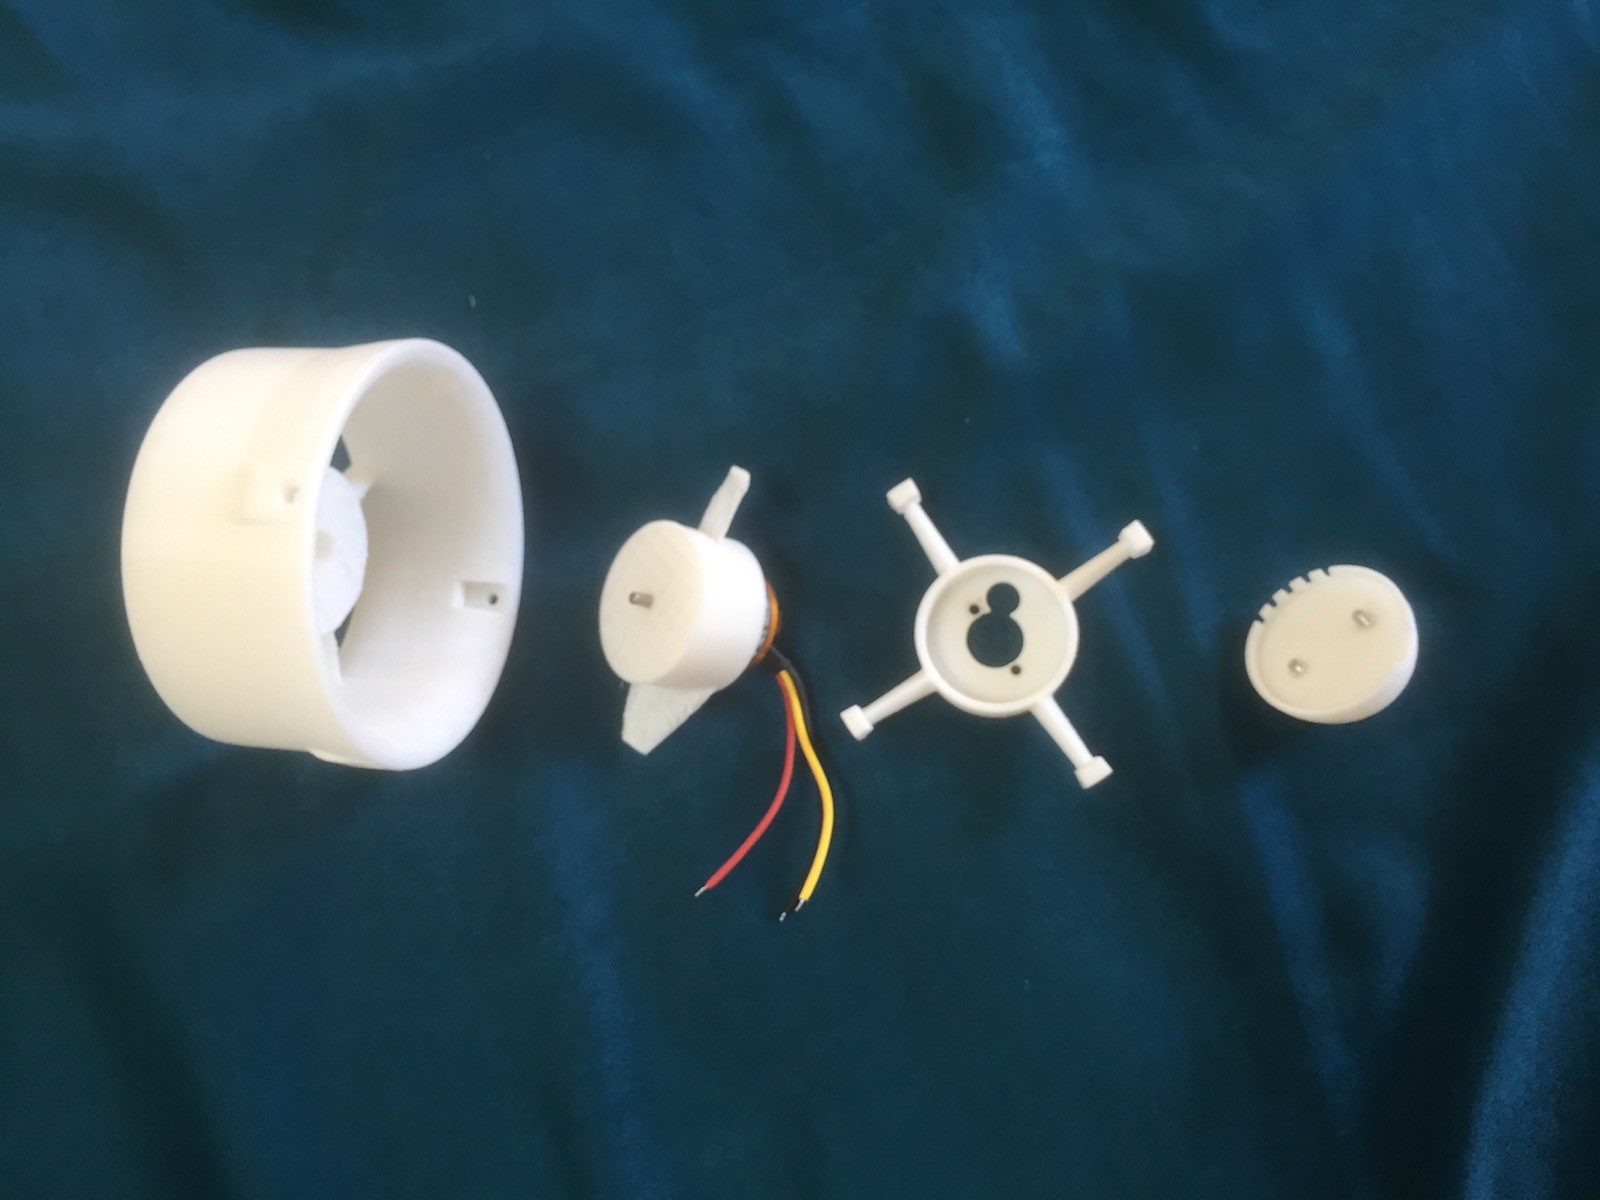
The 3d printed thruster is split into 4 pieces:
- Prop - the bit spun round by the motor
- Support - the support which holds the motor to the Main frame
- Back - the back which protects the cables and provides better hydrodynamics
- Main - the main thruster enclosure, Kort nozzle, and mounting plate.
![]()
Of these four pieces, only the 'Main' piece remains unchanged from Blue Robotics design. The other pieces have been adapted to accommodate the specific requirements of my chosen motor (seen in the picture above attached to the Prop). If you choose to use a different motor, you will probably have to tweak these pieces again.
Assembly is relatively simple. The prop is pushed onto the motor (it's a tight fit and, so far, has not needed any other attachment than friction) then the wires feed out through the 'Support' (the x-shaped piece). These three pieces are then assembled using M3 bolts, inserted into the holes on the 'Back' pieces and screwed through the 'Support' and finally into the motor body. The result looks like this:
![]()
This assembled pieces is then slotted into the 'Main' part and attached with four screws.
Cheap ROV Thruster
A 3D printed ROV Thruster based on the Blue Robotics T100 Thruster design and a cheap A2212/13T 1000KV brushless motor
 Tim Wilkinson

Discussions
Become a Hackaday.io Member
Create an account to leave a comment. Already have an account? Log In.