hurðaskellir
-
Configuring the Airplay server
06/14/2021 at 20:56 • 0 commentsThe Raspberry Pi can be accessed either by wifi or ethernet depending on your needs and setup .
It is recommended to use ethernet but i find wifi acceptable with the airplay server I used .
For Airplay to work with the projector, I used the RPiPlay project.
You can find it here :
https://github.com/FD-/RPiPlay
Use this command line to have all the optimisations during the compilation.
cmake --DCMAKE_CXX_FLAGS="-O3" --DCMAKE_C_FLAGS="-O3" ..
I then used this command line to rotate the display and have it ready for the iphone :
./rpiplay -n dlproj -vr rpi -r 90
which means the airplay server is named "dlproj" and its display is rotated by 90° .
Then you can just open your iphone (or iPad or even a mac) and use the display mirroring feature of it .
-
Printing an enclosure
06/14/2021 at 20:45 • 0 commentsI drew a 3D enclosure that I printed, that needs a lot of improvements, and I am a bit ashamed to share it at the moment, it needs some rework. sorry for that :-/
-
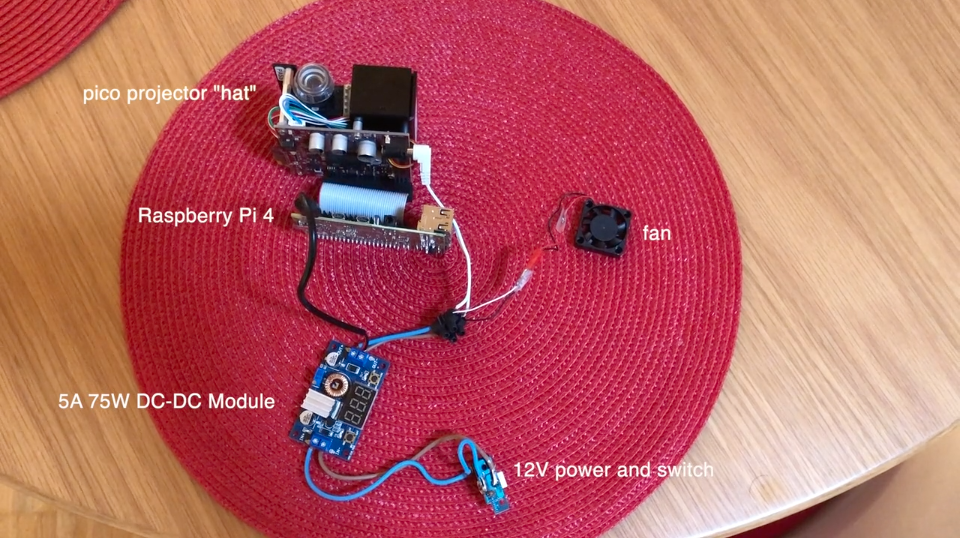
Putting all the elements together
06/14/2021 at 19:03 • 0 commentsAfter some soldering and putting things together I get this :
![]()
-
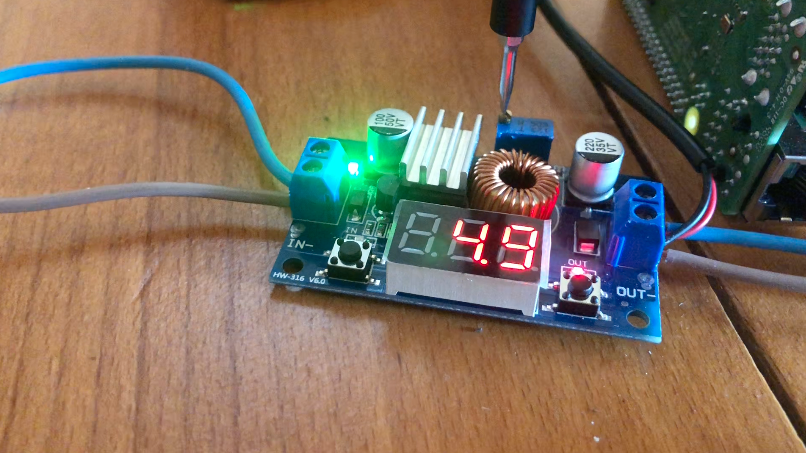
Using a single power supply
06/14/2021 at 19:00 • 0 commentsThe current assembly requires two power supplies : one for the raspberry Pi and one for the projector , both of 5V and 3A .
I have found in my spare things a 12V 3A power supply that will fit my needs. I just need a DC-DC converter to go from 12V 3A to 5V 6A .
I bought this one :
pi-shop.ch/5a-75w-dc-dc-module
![]()
-
assembling the Pico and the Raspberry Pi.
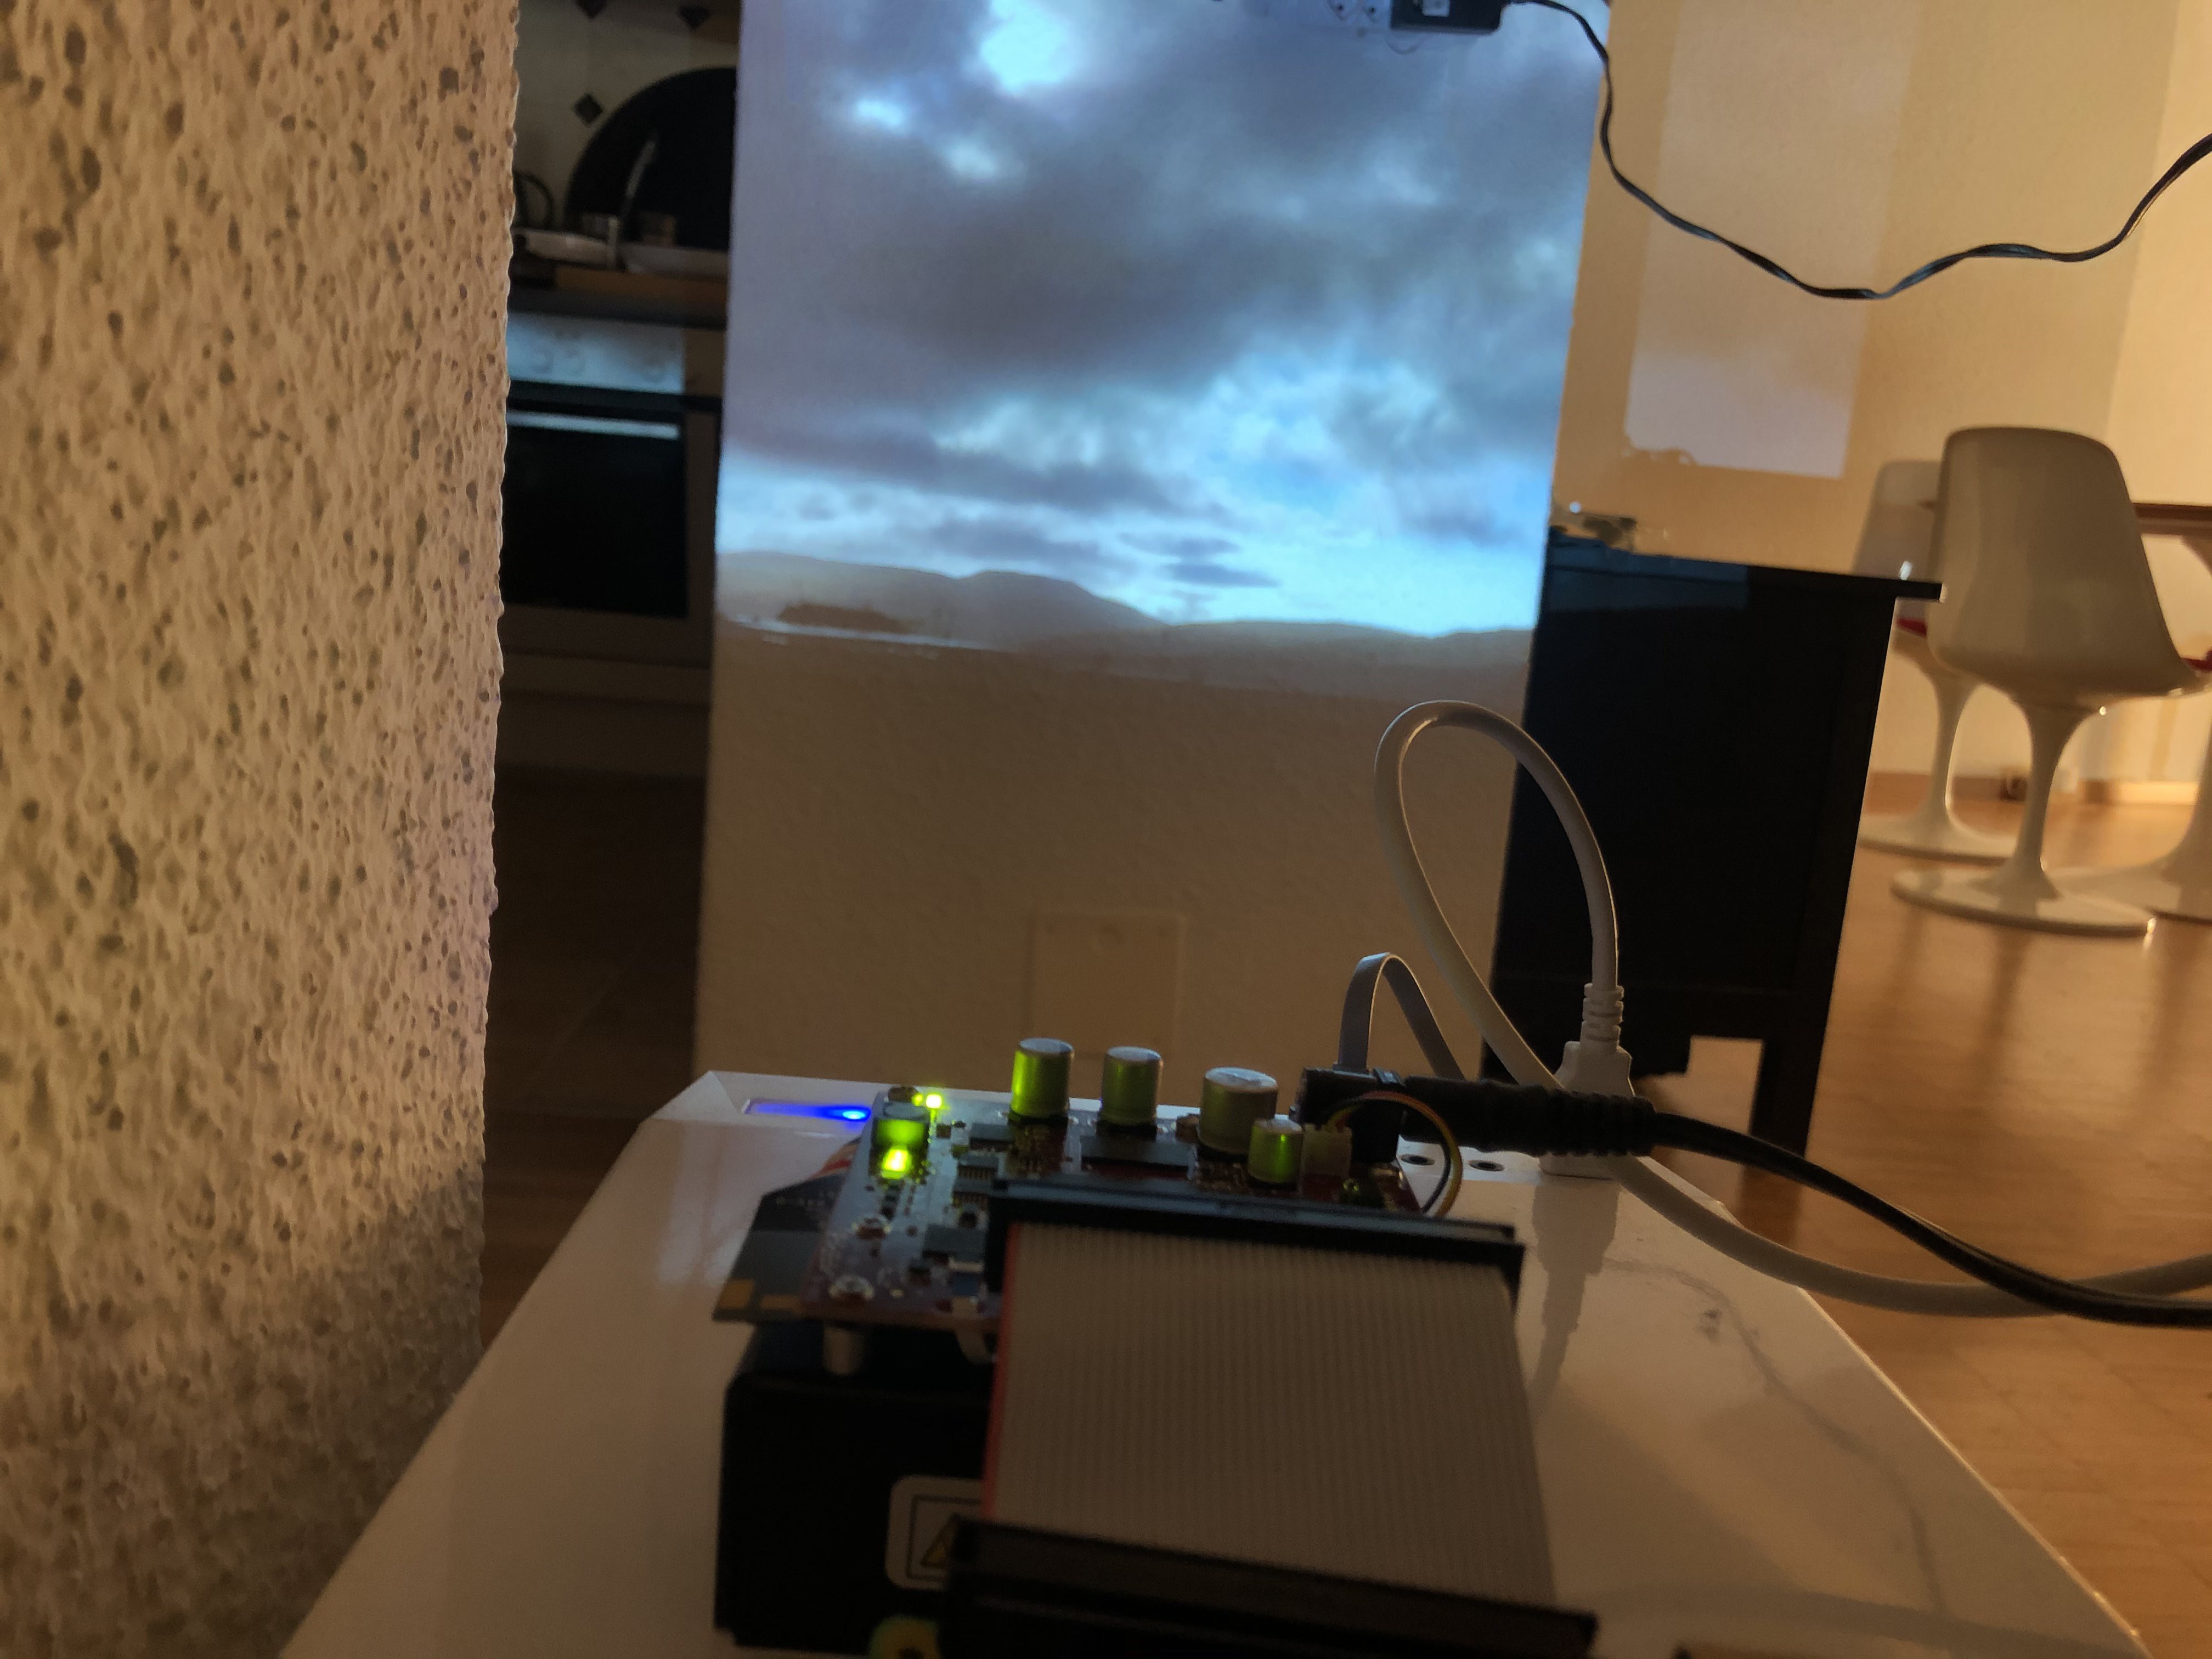
06/14/2021 at 13:10 • 0 commentsMaking the pico projector display Raspberry Pi's screen is just as easy as typing the required command provided by TI once the python package is unzipped :
just type : python3 ./init_parallel_mode.py
And it should display the Raspberry Pi's content on your wall.![]()
A projector to look at your phone from afar.
In the past year, home office made me stare at screens for too long and my eyesight didn't improve, so I built this dedicated picoprojector.