 Alain Mauer
-
1The enclosure construction
Here is the Updated Version
The enclosure is made of 3mm MDF boards that have been laser-cut. Of course, it should also work with a hobby saw.
![]()
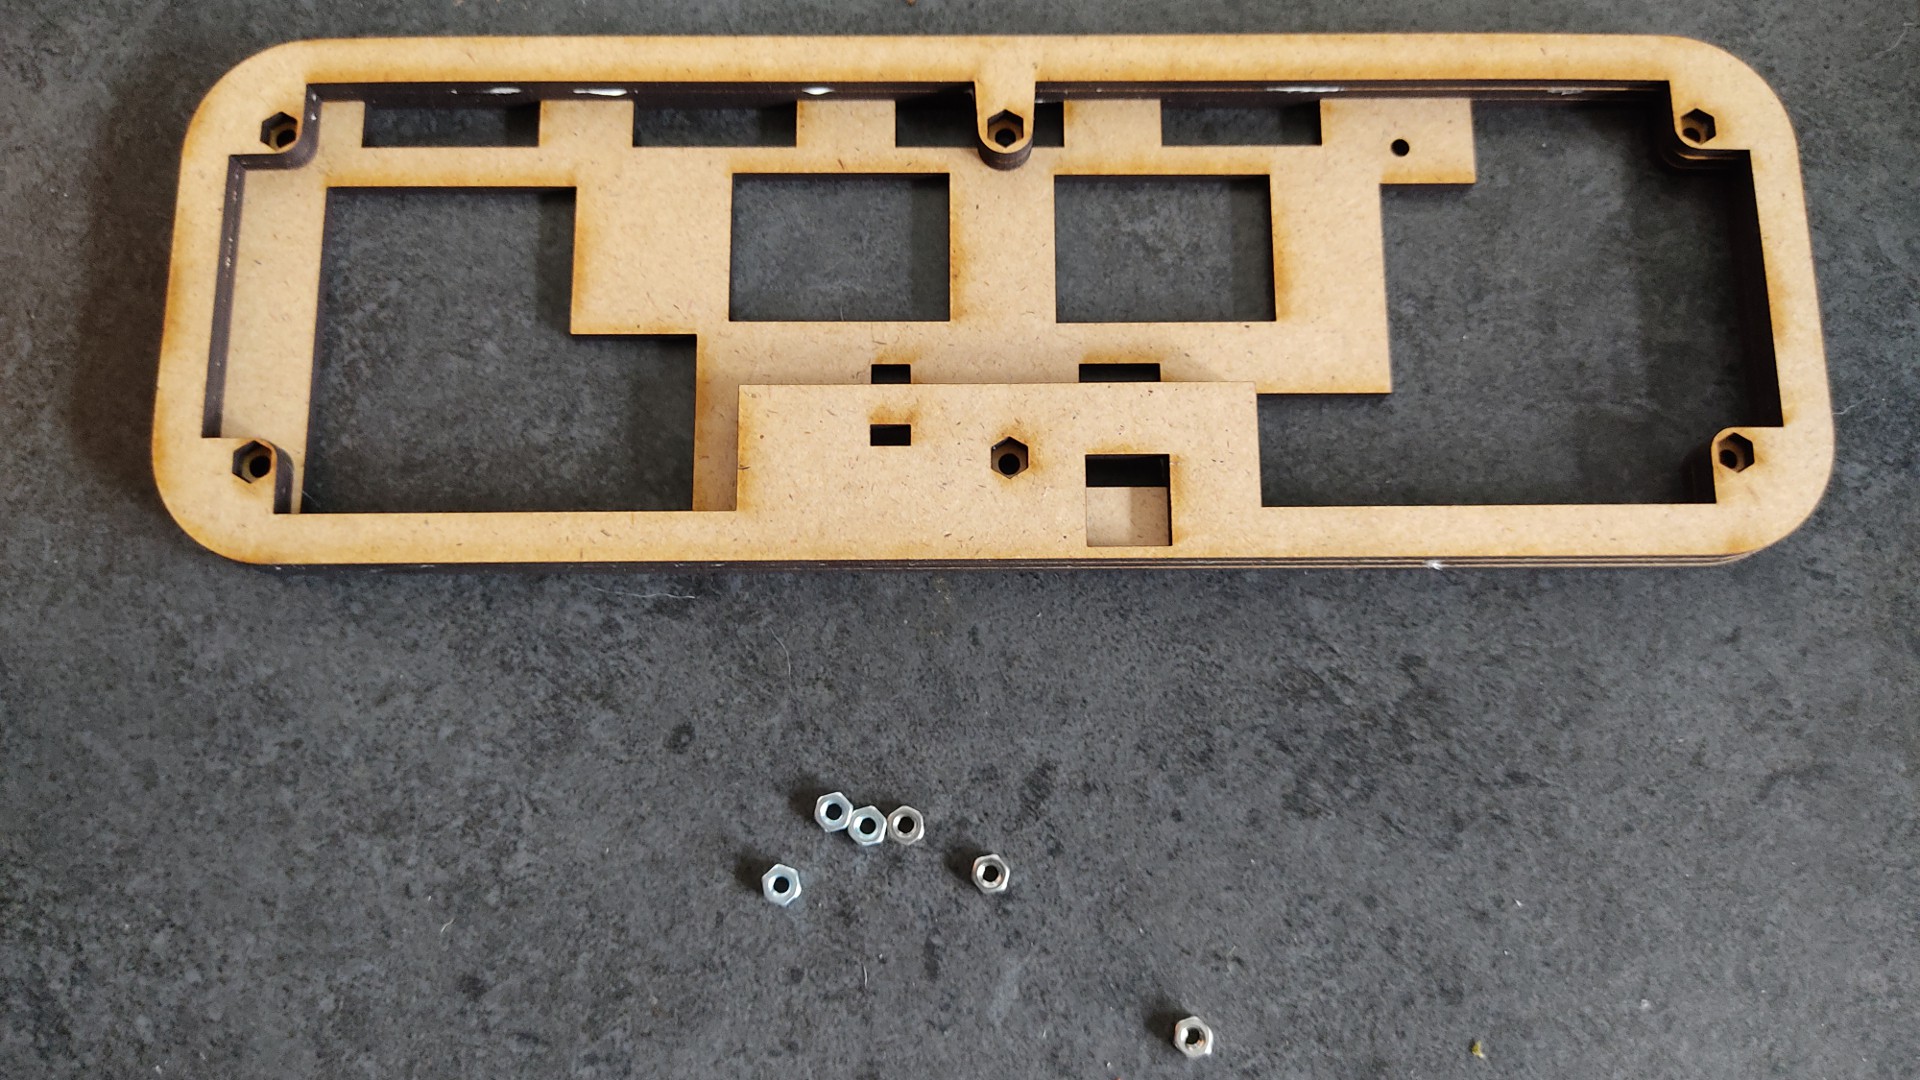
"1" is the lowest part. Part "2" and part "3" are glued on top of it. This then looks like this.
![]()
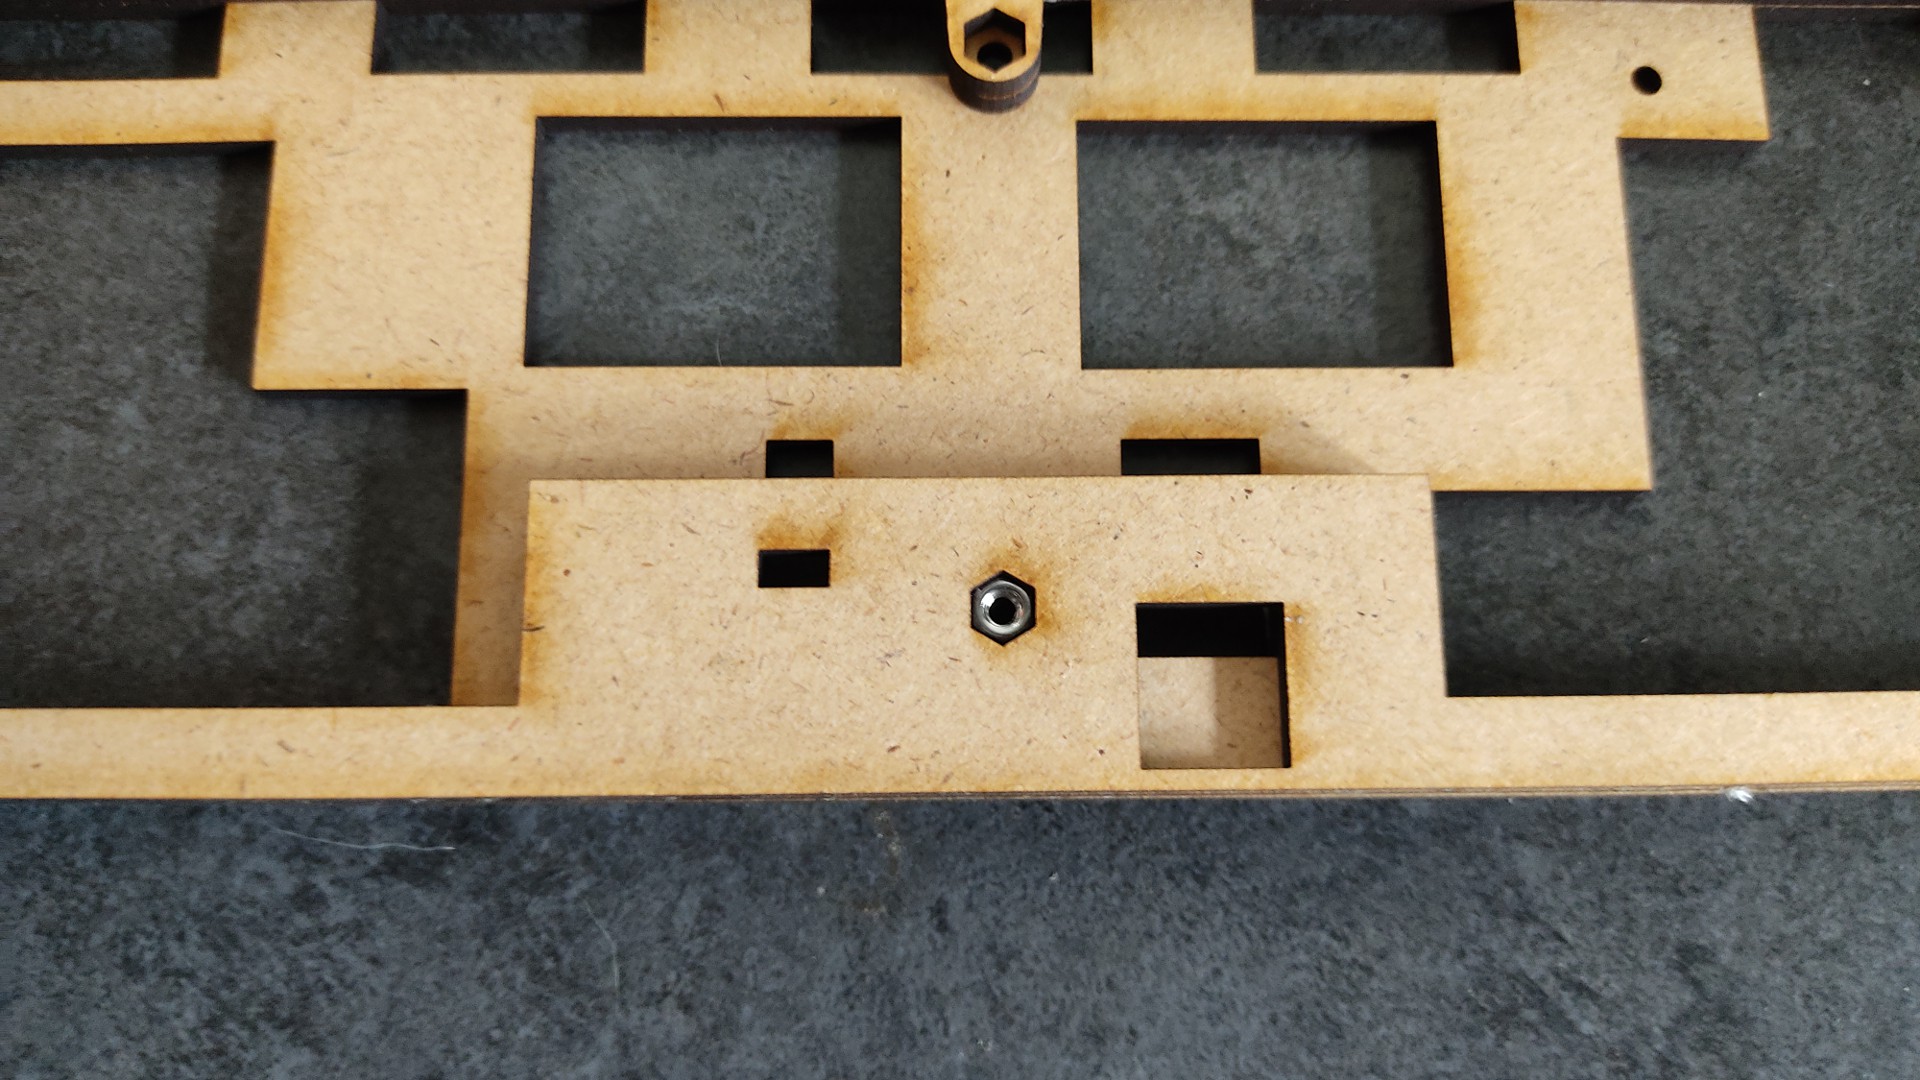
The six M3 nuts are then used in part 3.
![]()
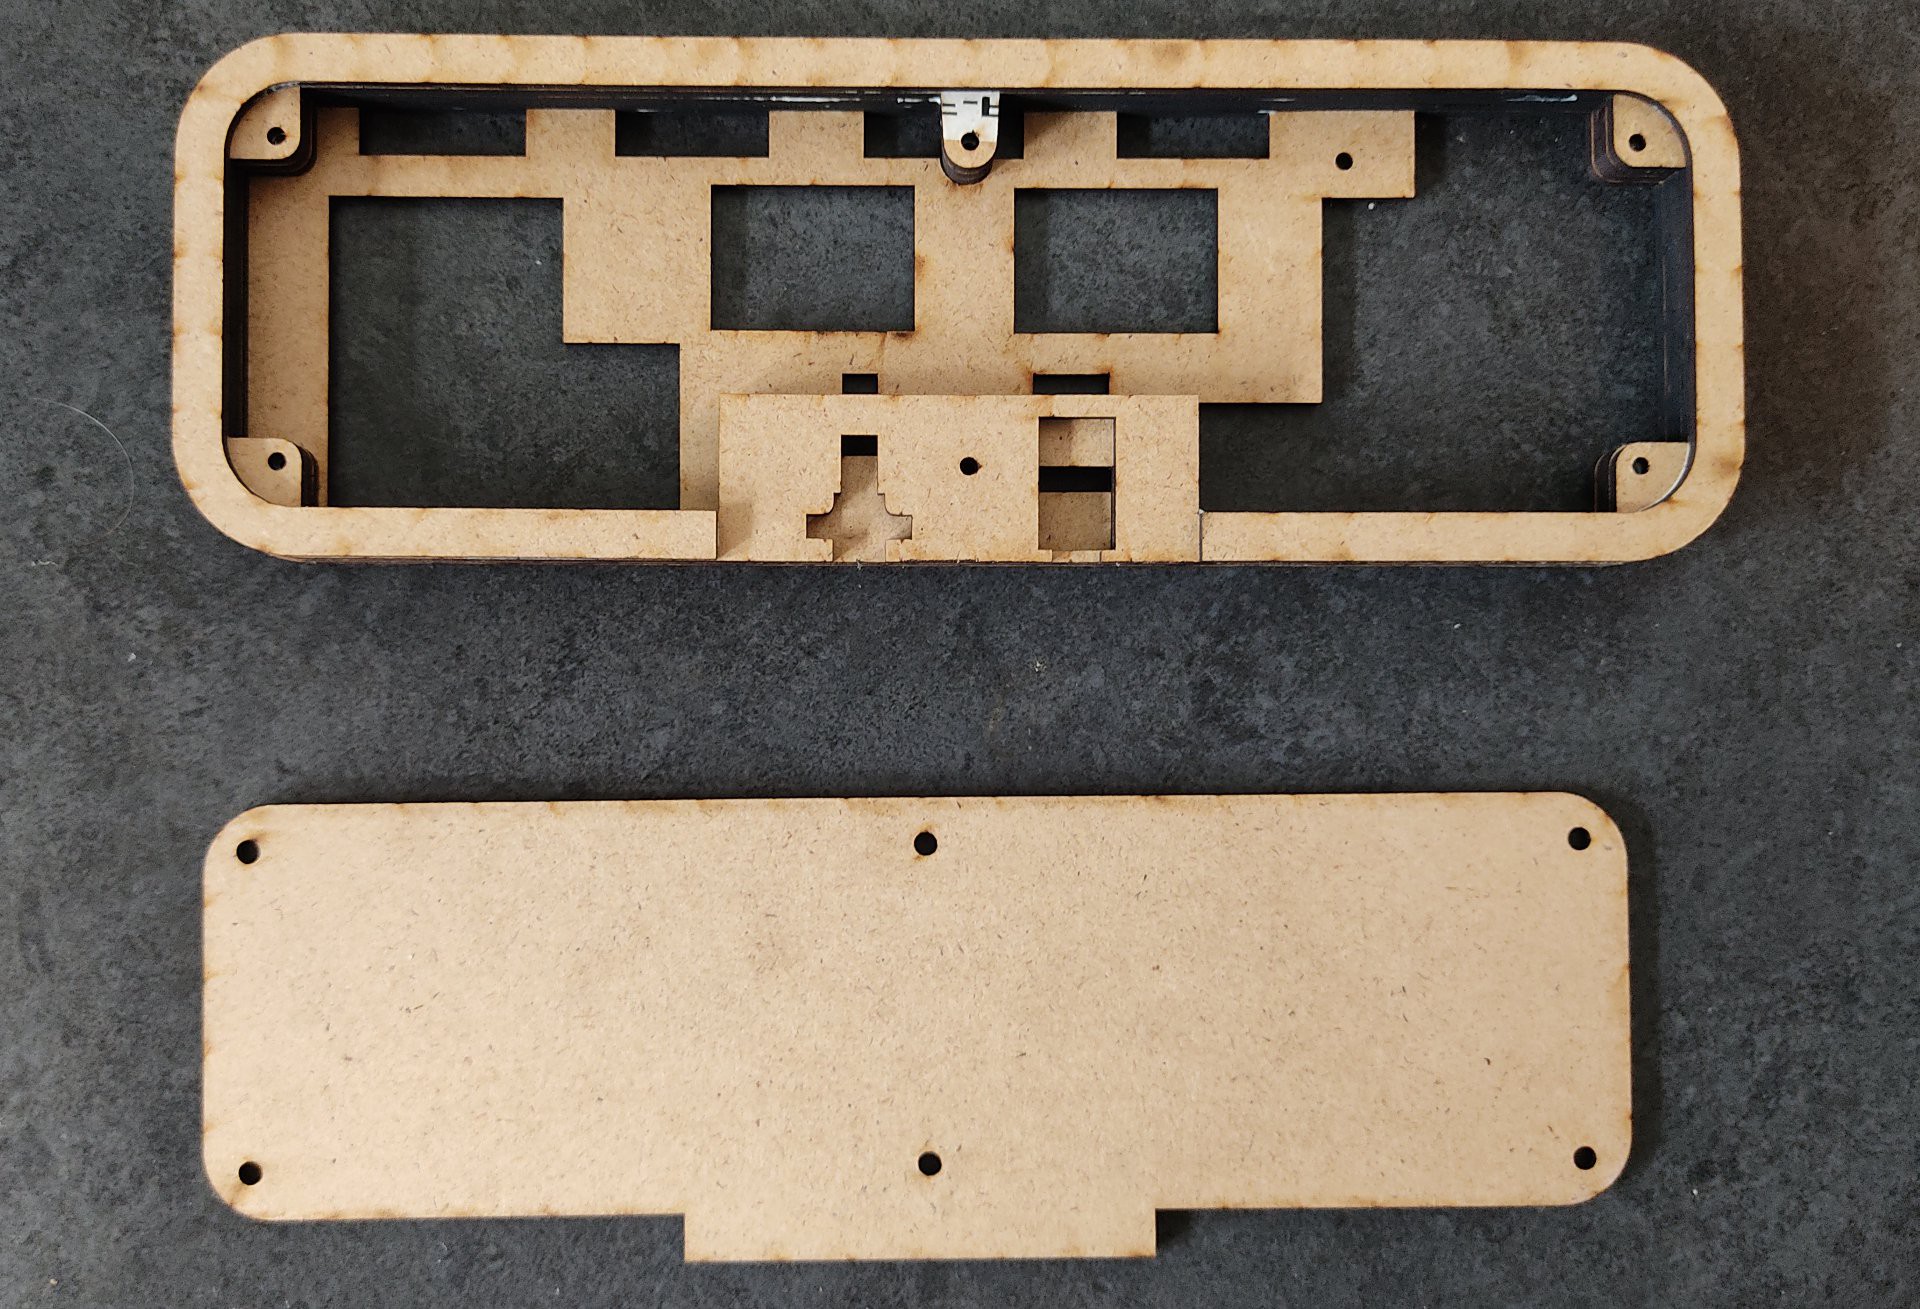
now glue part "4" and "5". This completes the bottom part
![]()
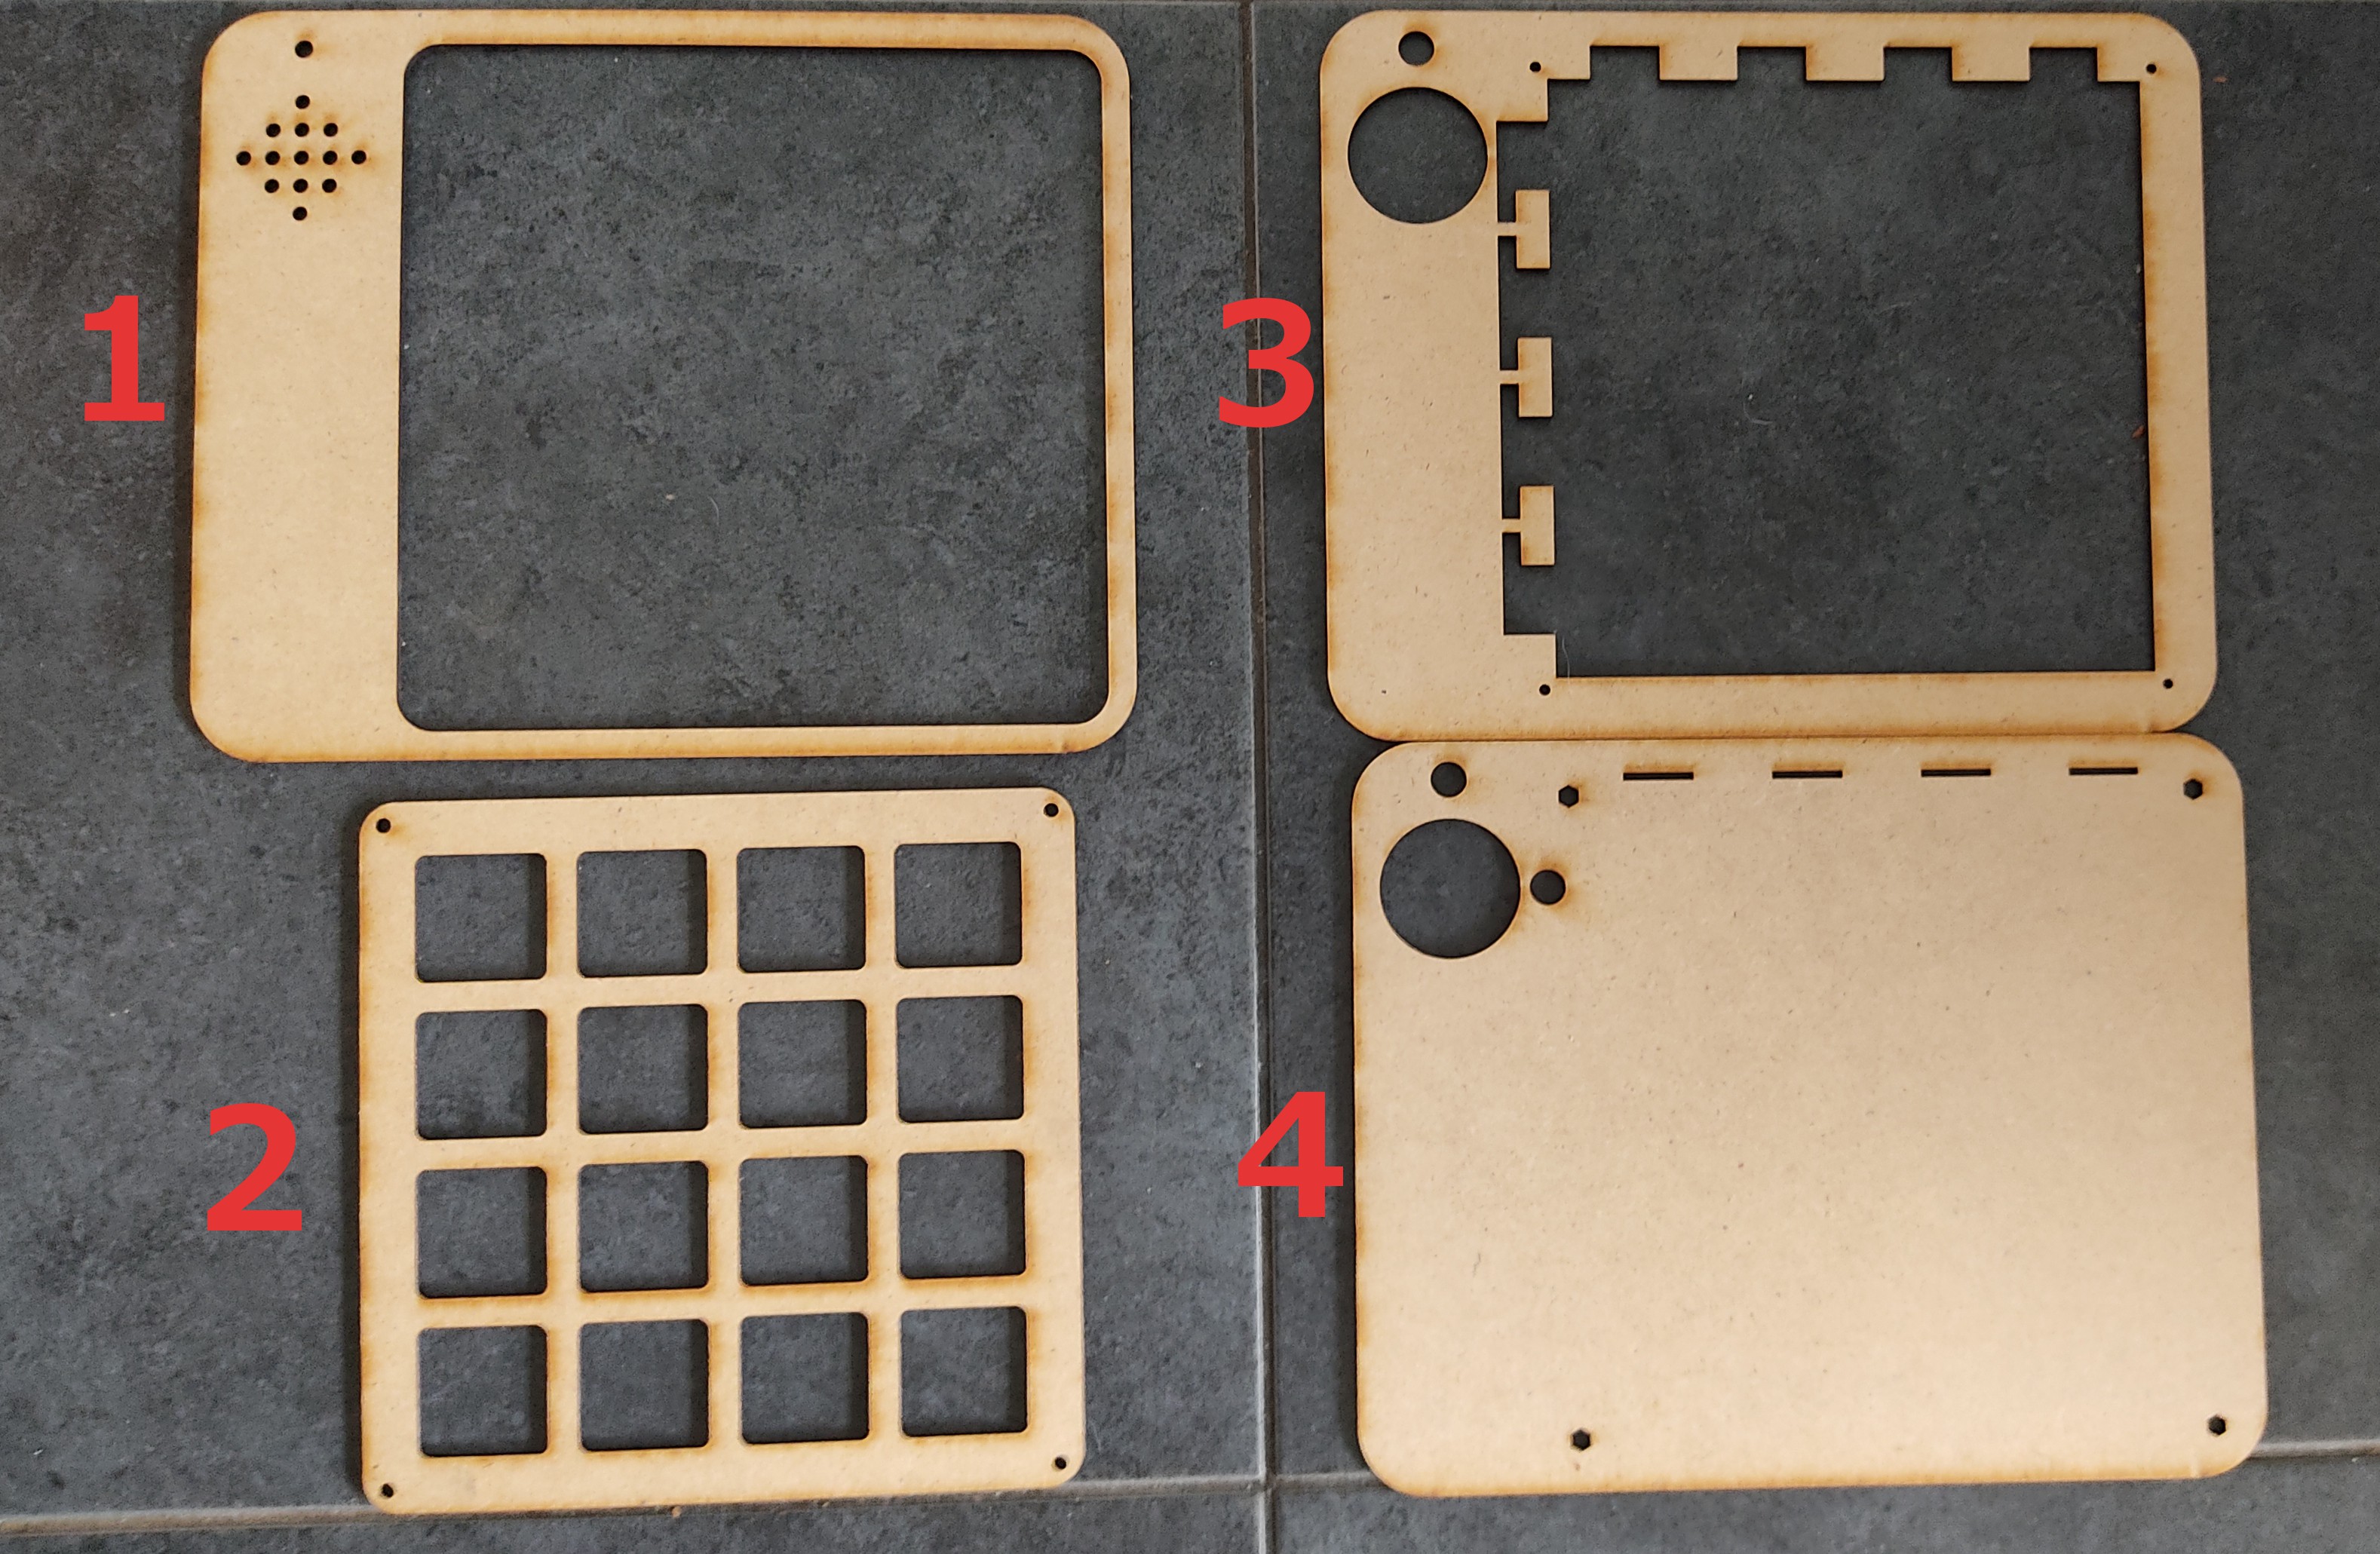
The front part
![]()
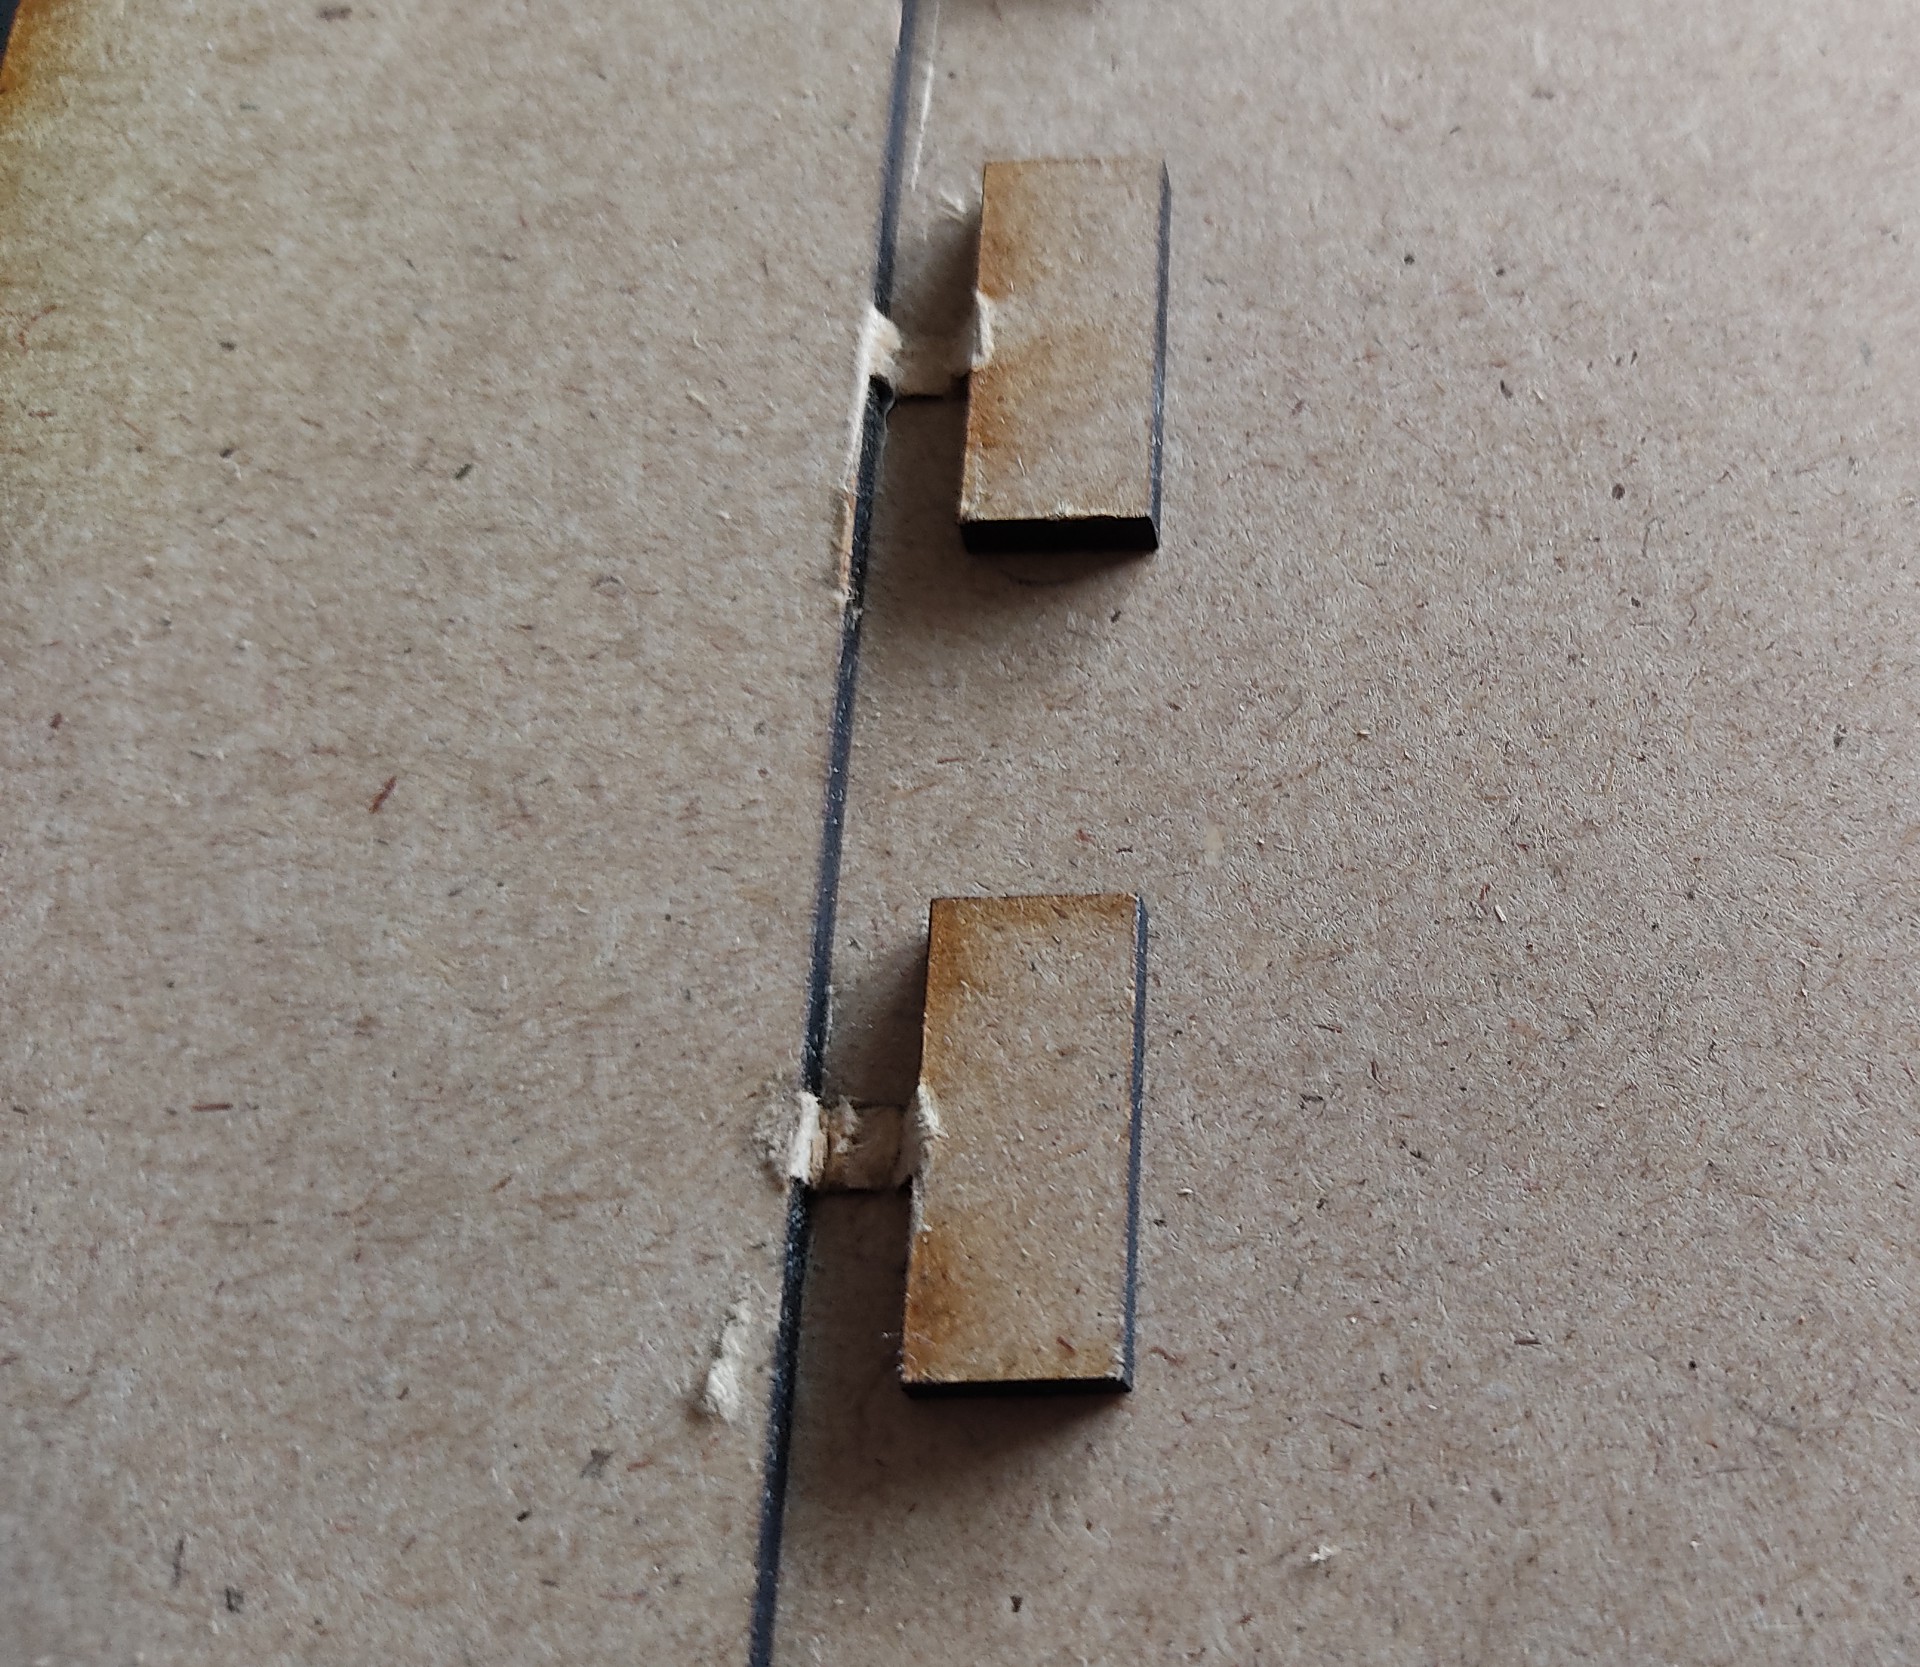
Part "3" is glued to part "4" first.
The circled things must be removed with the help of a cutter or side cutter.
![]()
![]()
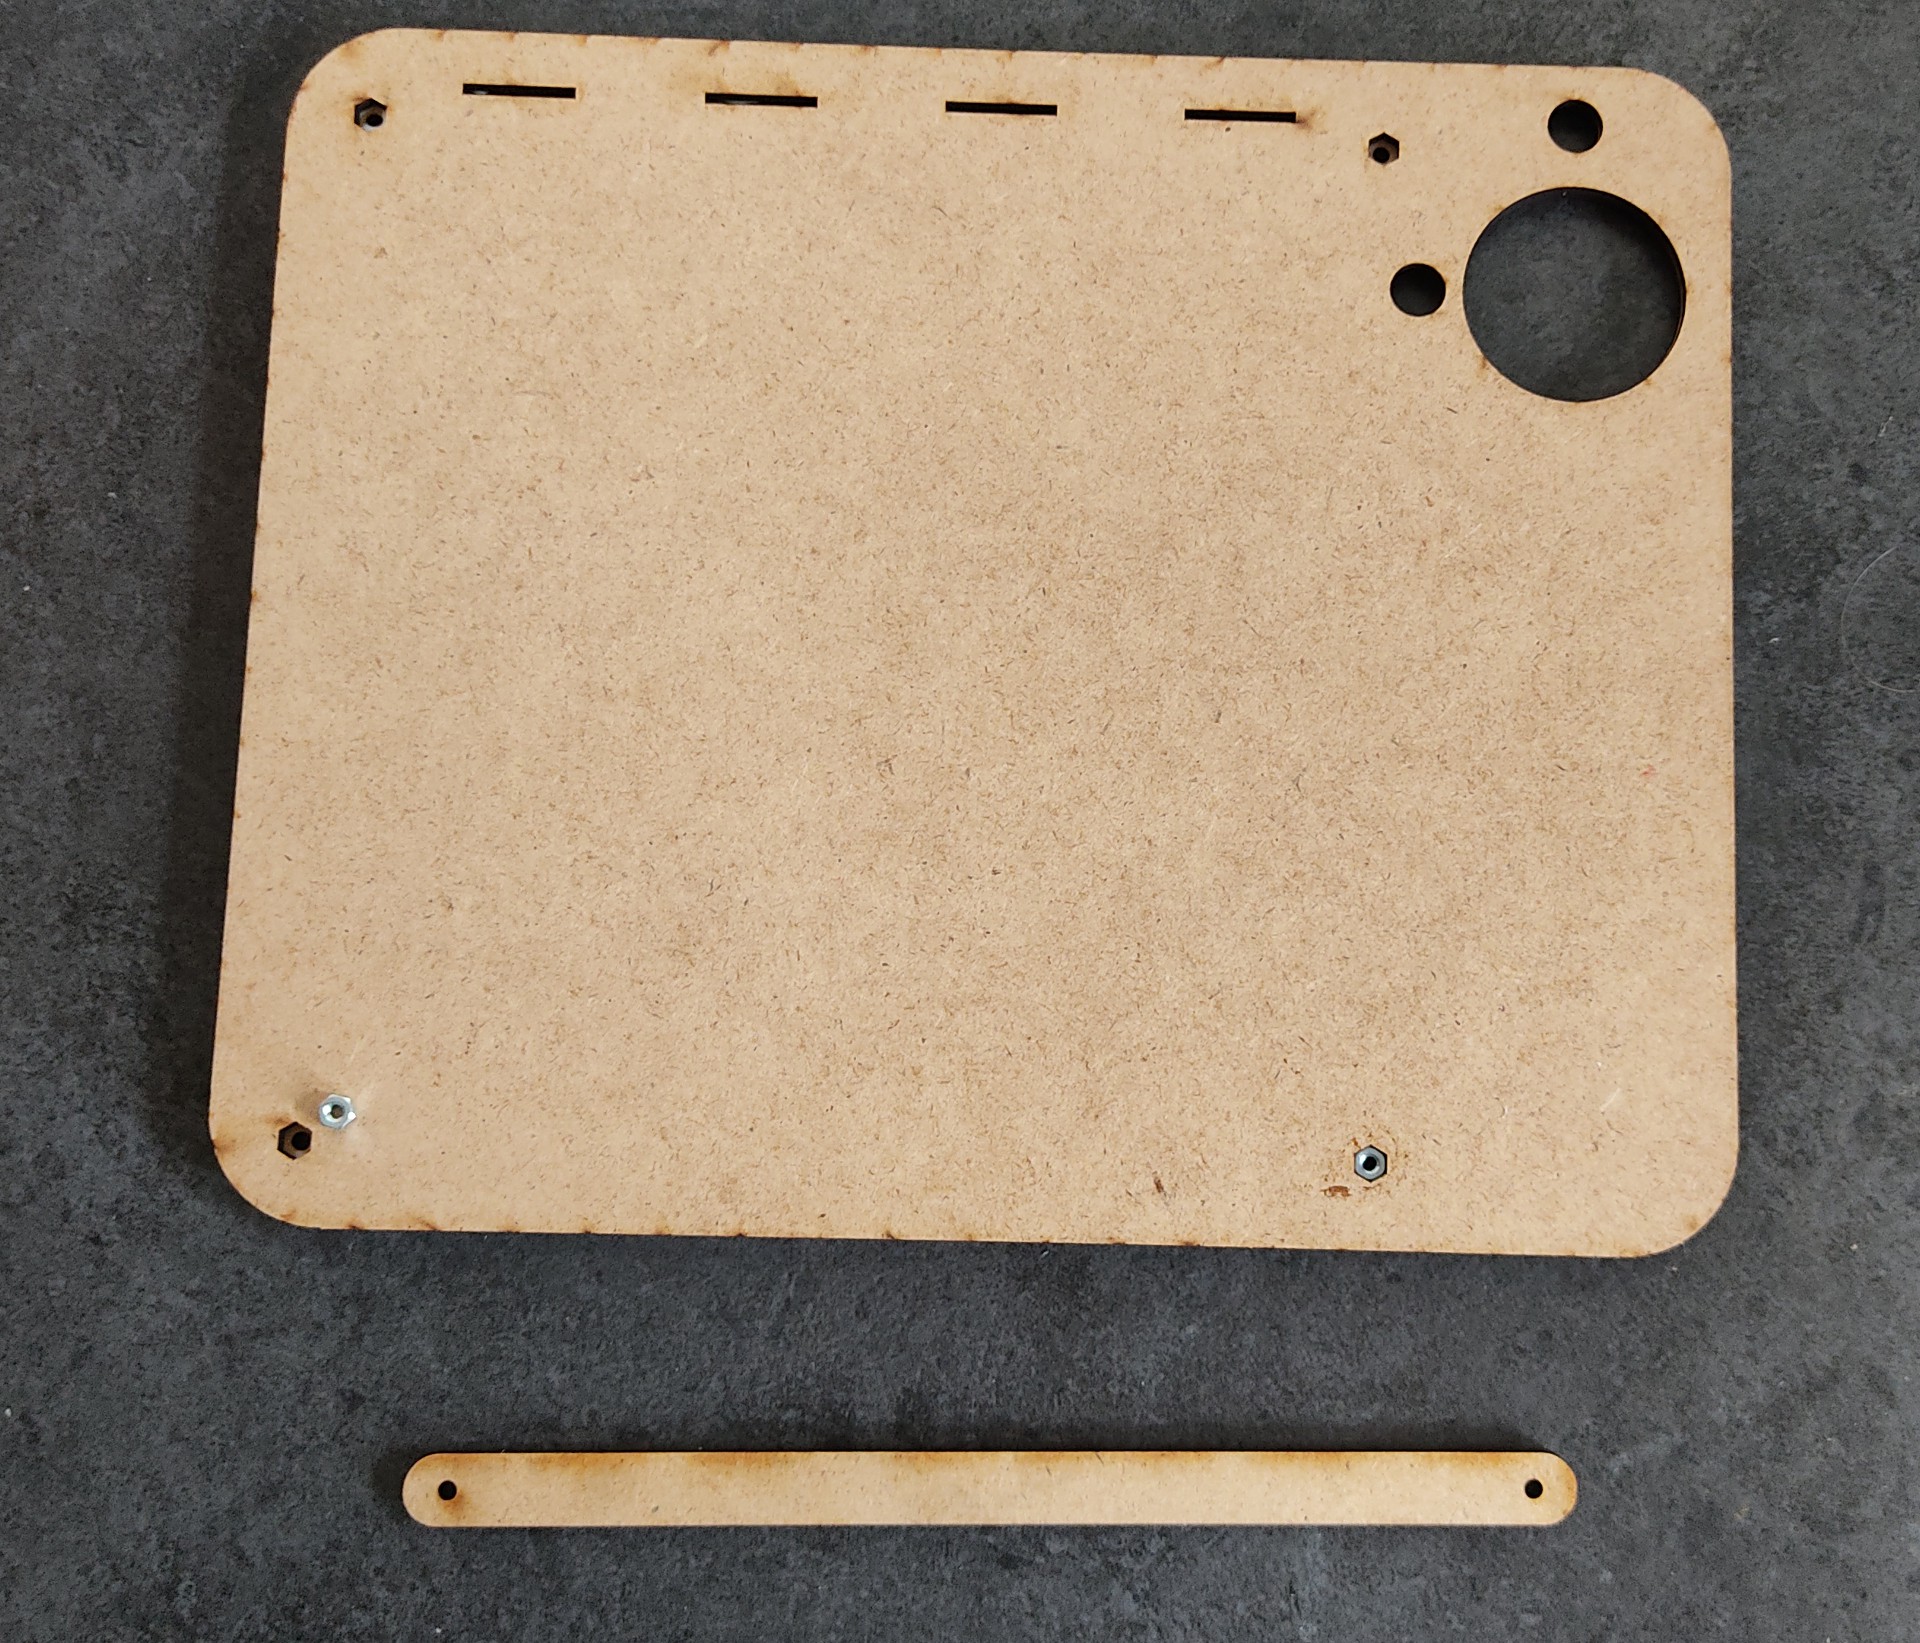
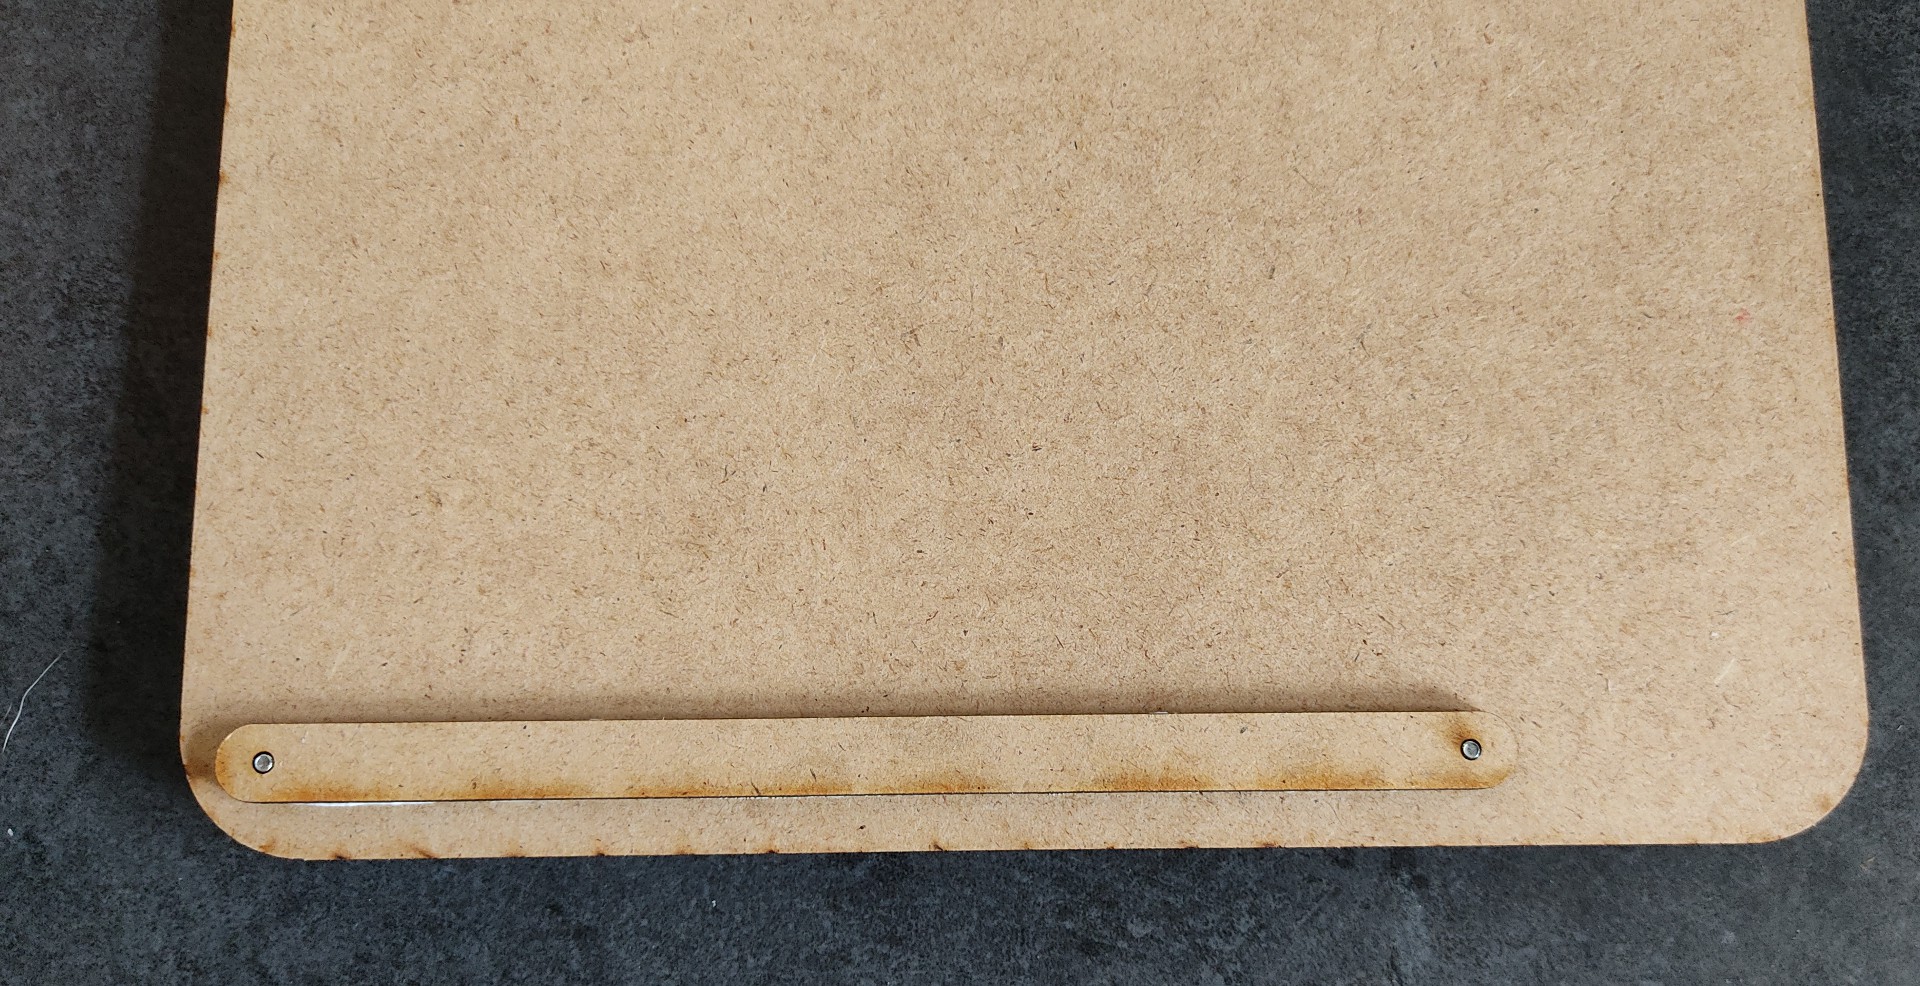
On the back of "1", insert two M3 nuts at the bottom and glue on the elongated wooden part so that they no longer fall out.
![]()
![]()
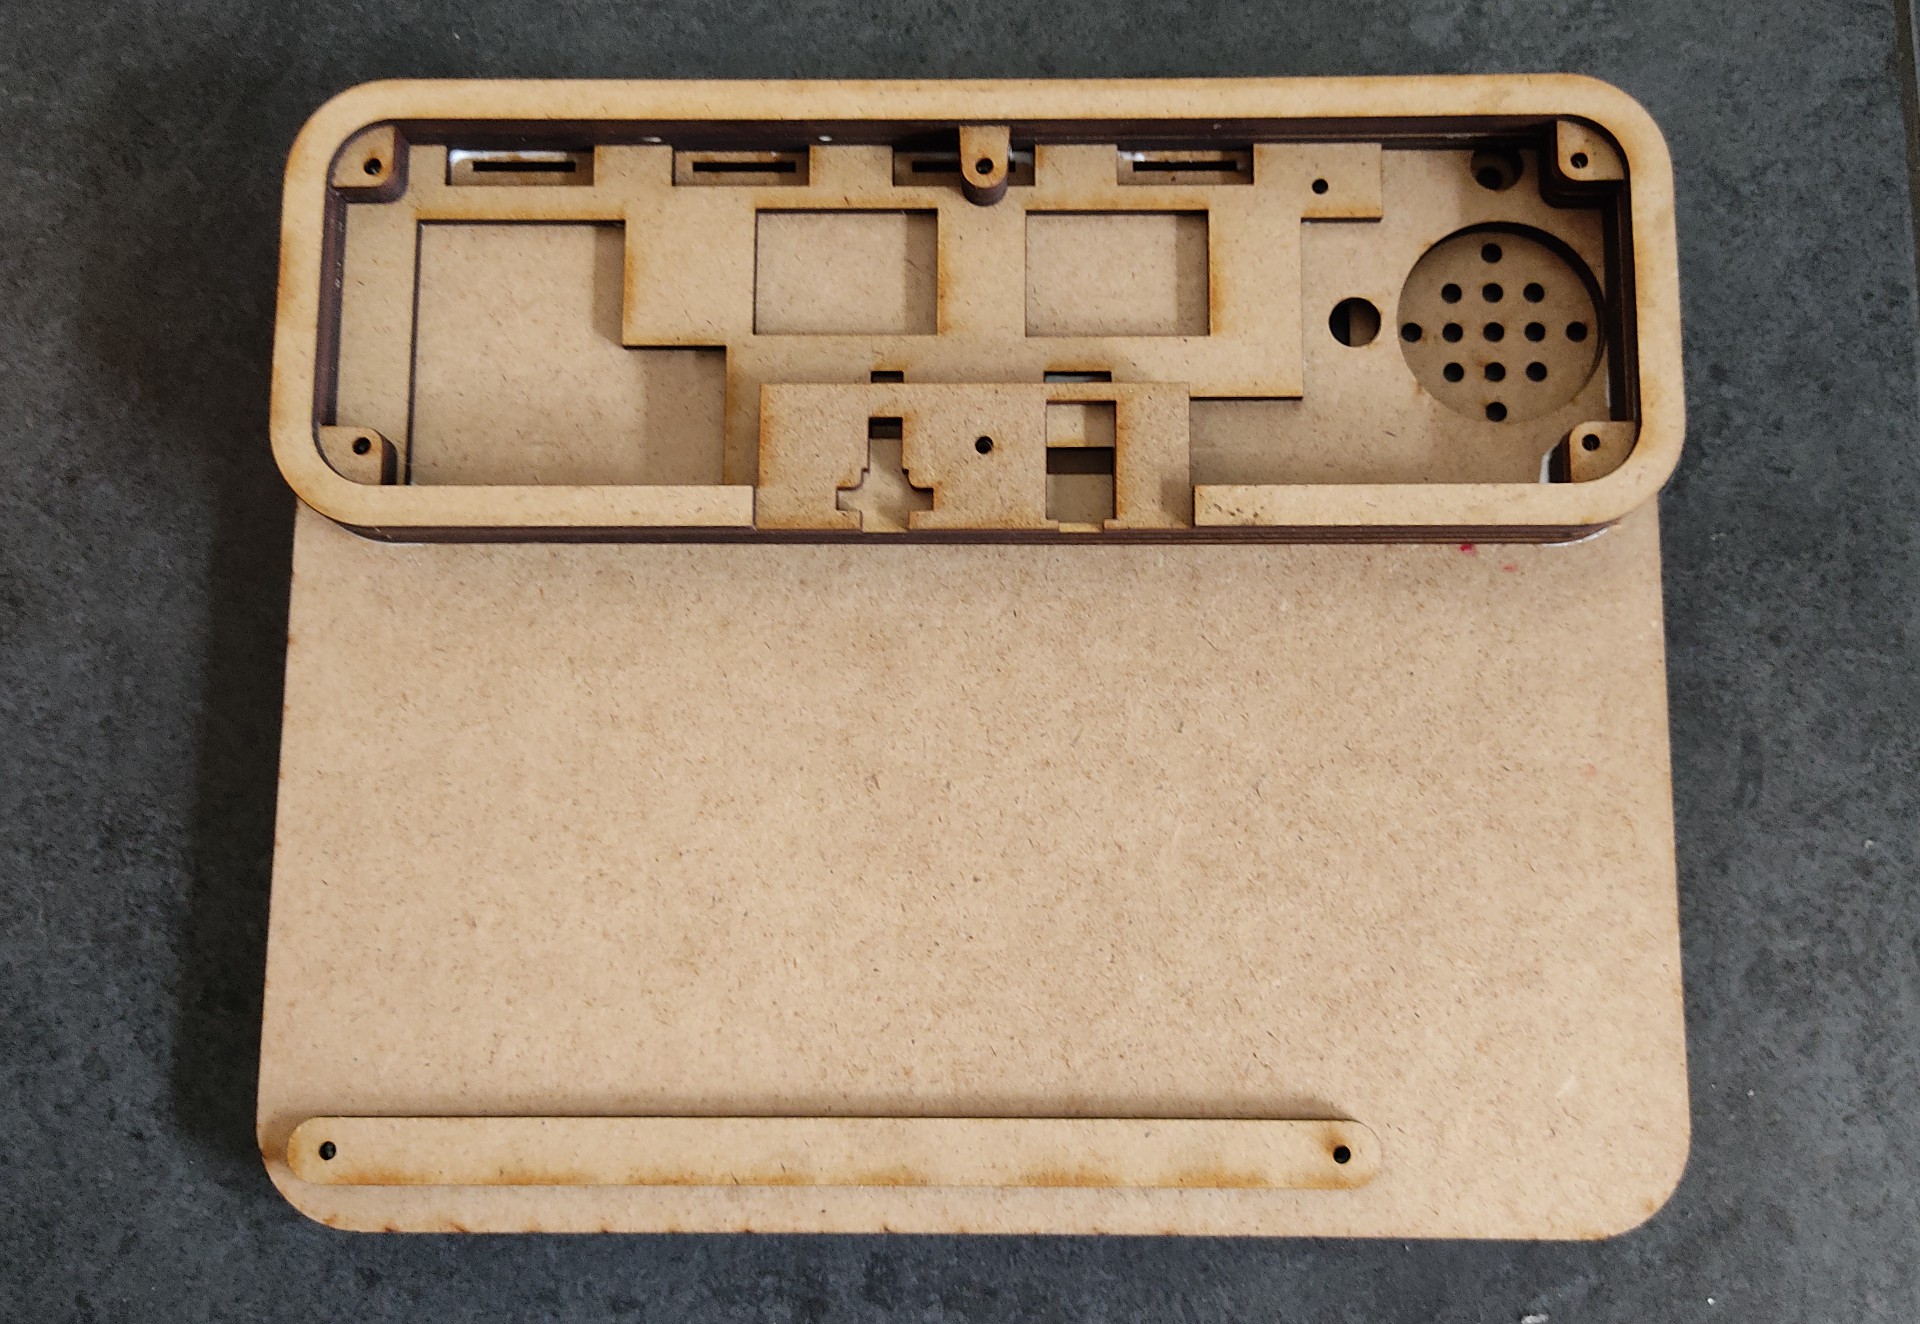
Now "1" can be glued on
![]()
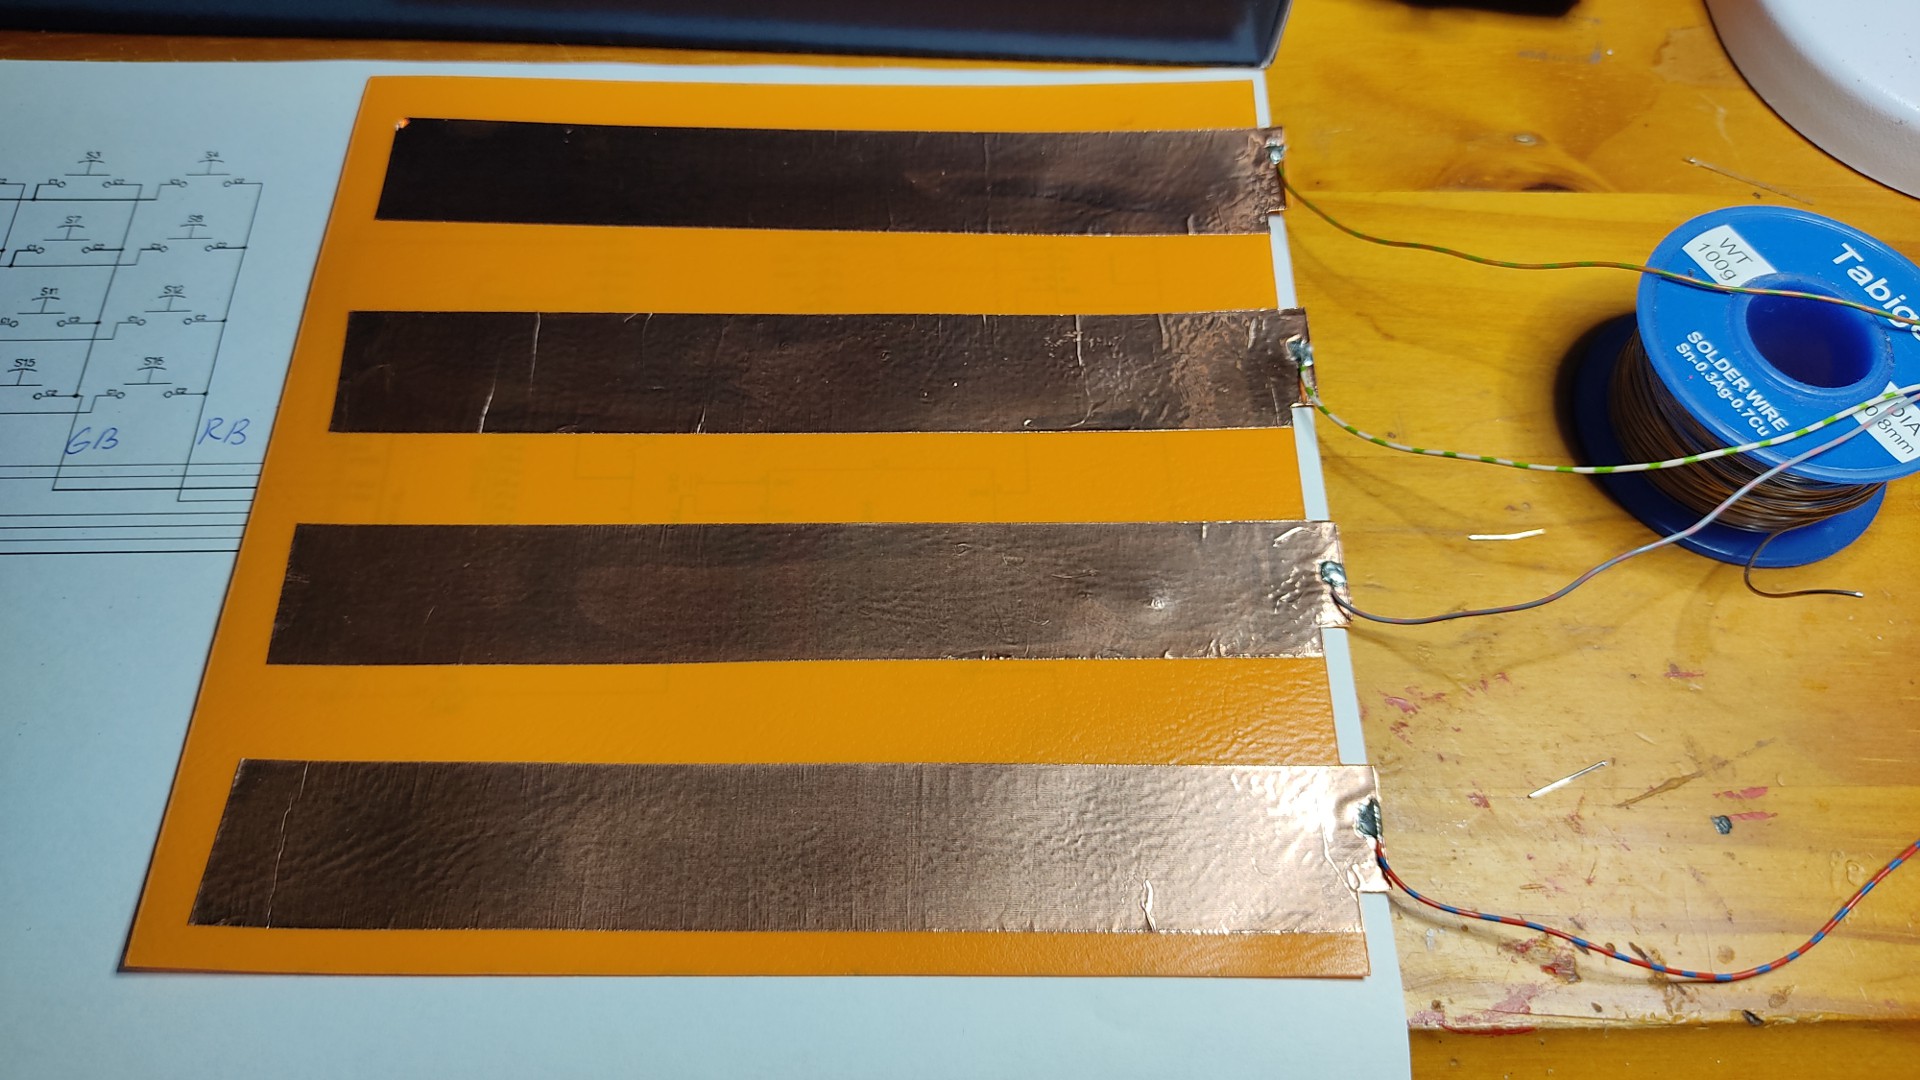
Copper tape from 10mm width works. mine is a little wider, but this is not a problem.
Four pieces cut to size and stick as shown in the photo.![]()
![]()
Glue the bottom part with the top part and the enclosure is completed.
Before gluing the bottom part, do not forget the last 2 nuts in part "4", because they will hold the front cover.
![]()
-
2Electronics And Wiring
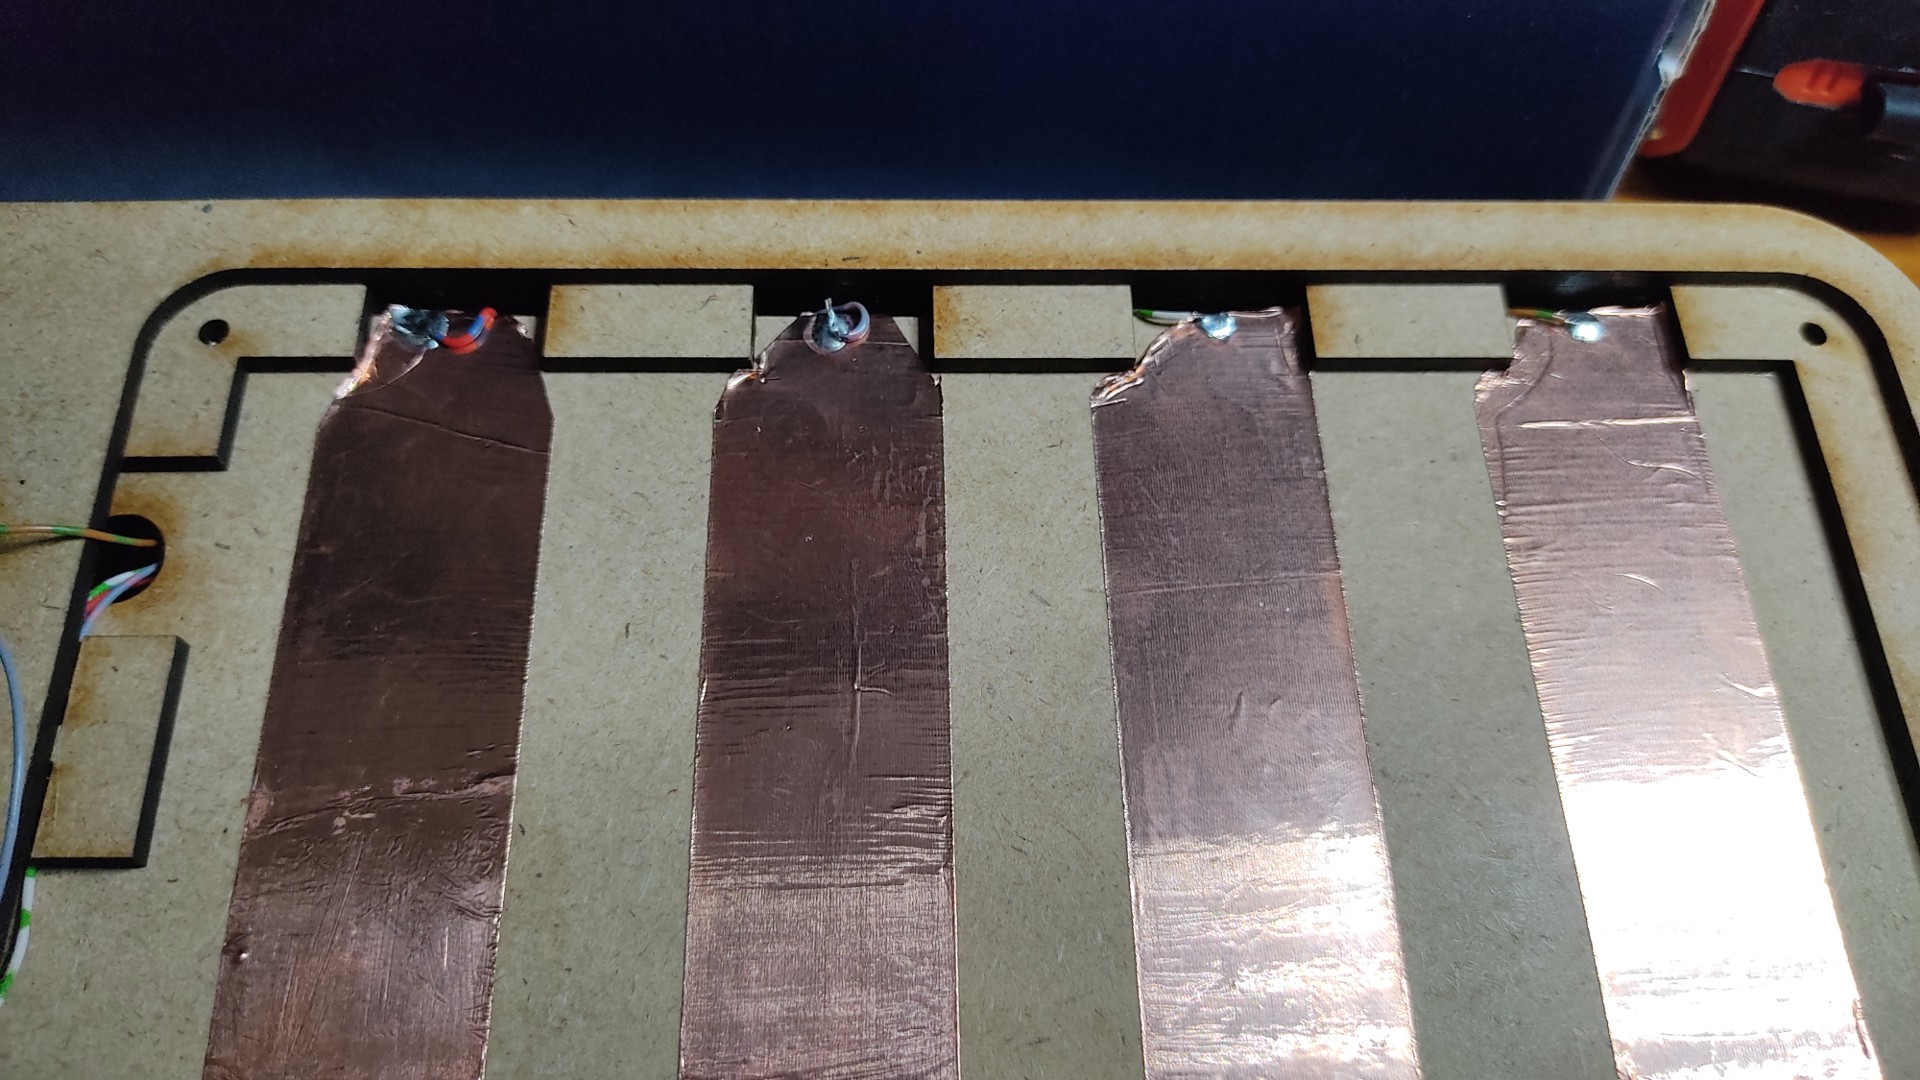
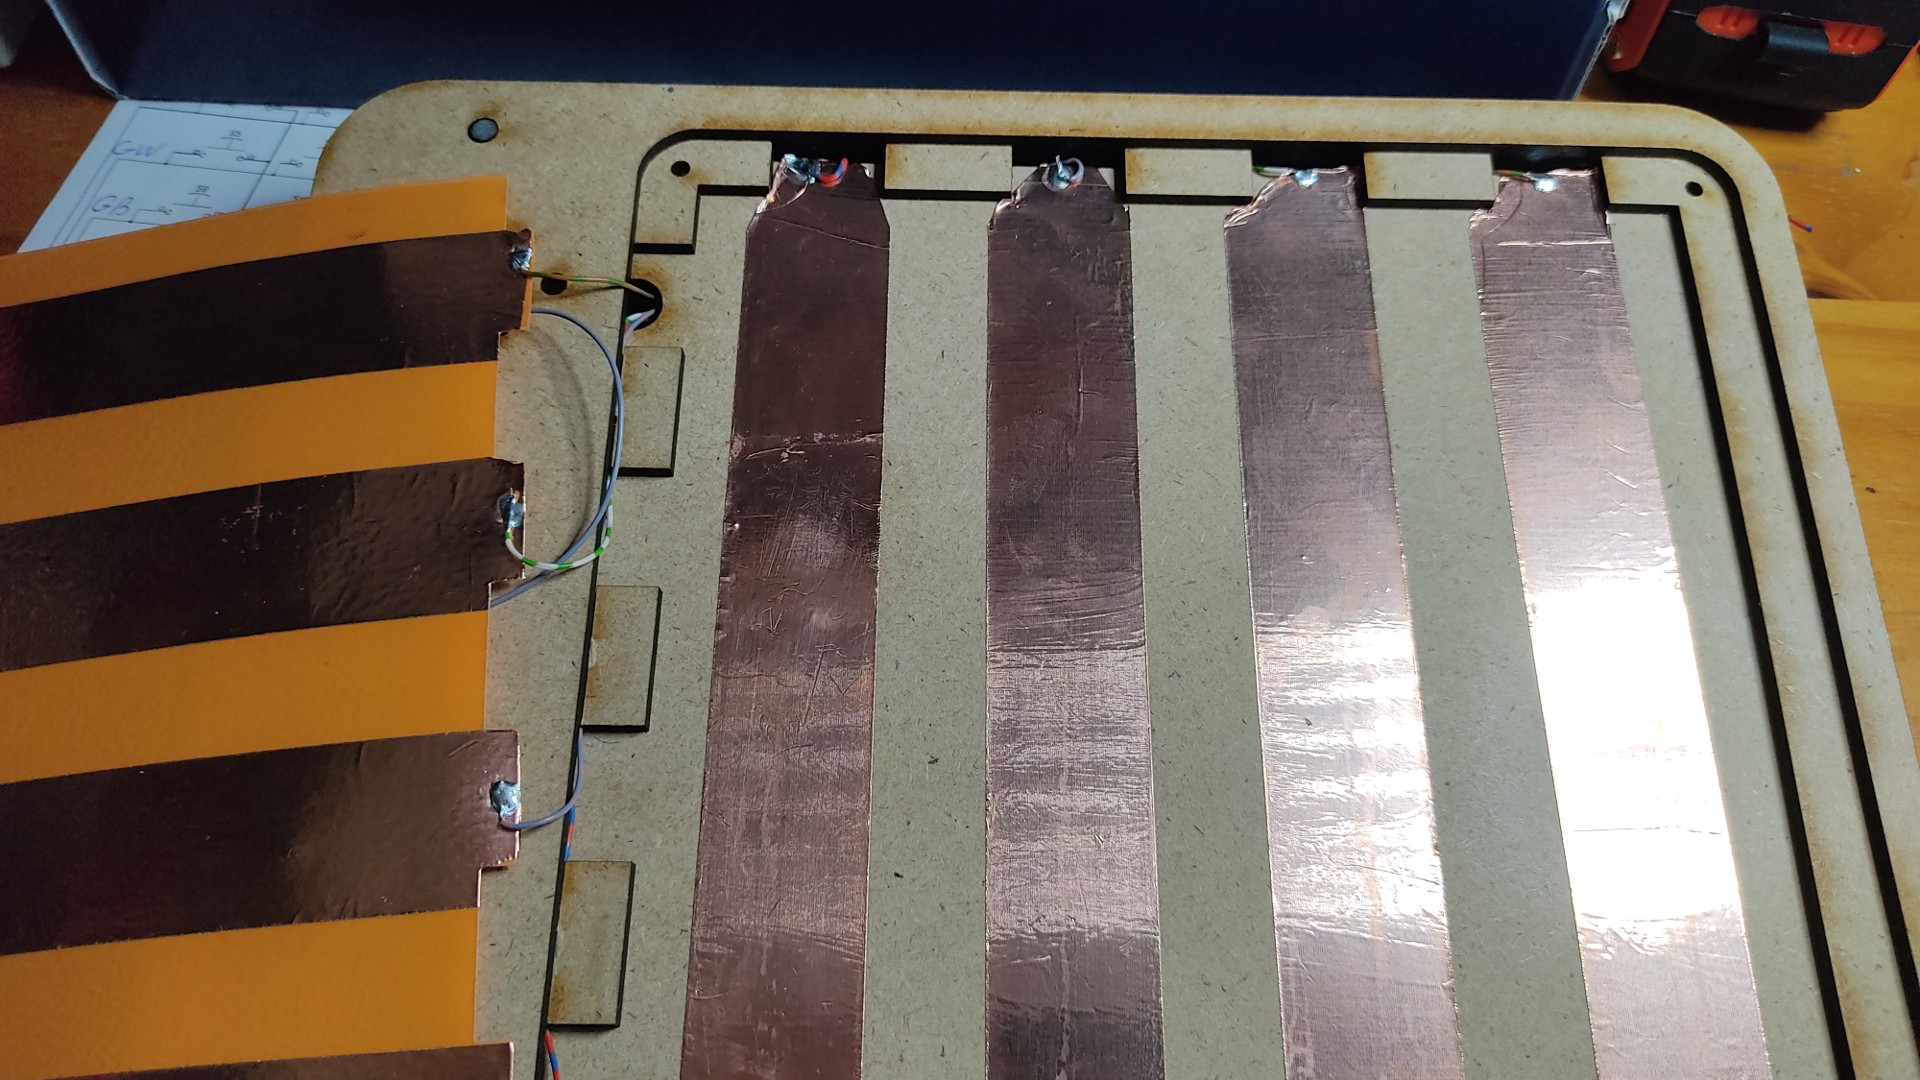
Preparing the keyboard. Individual wires are soldered to the ends of the glued-on copper strips and then fed through the openings to the back of the board.
![]()
![]()
![]()
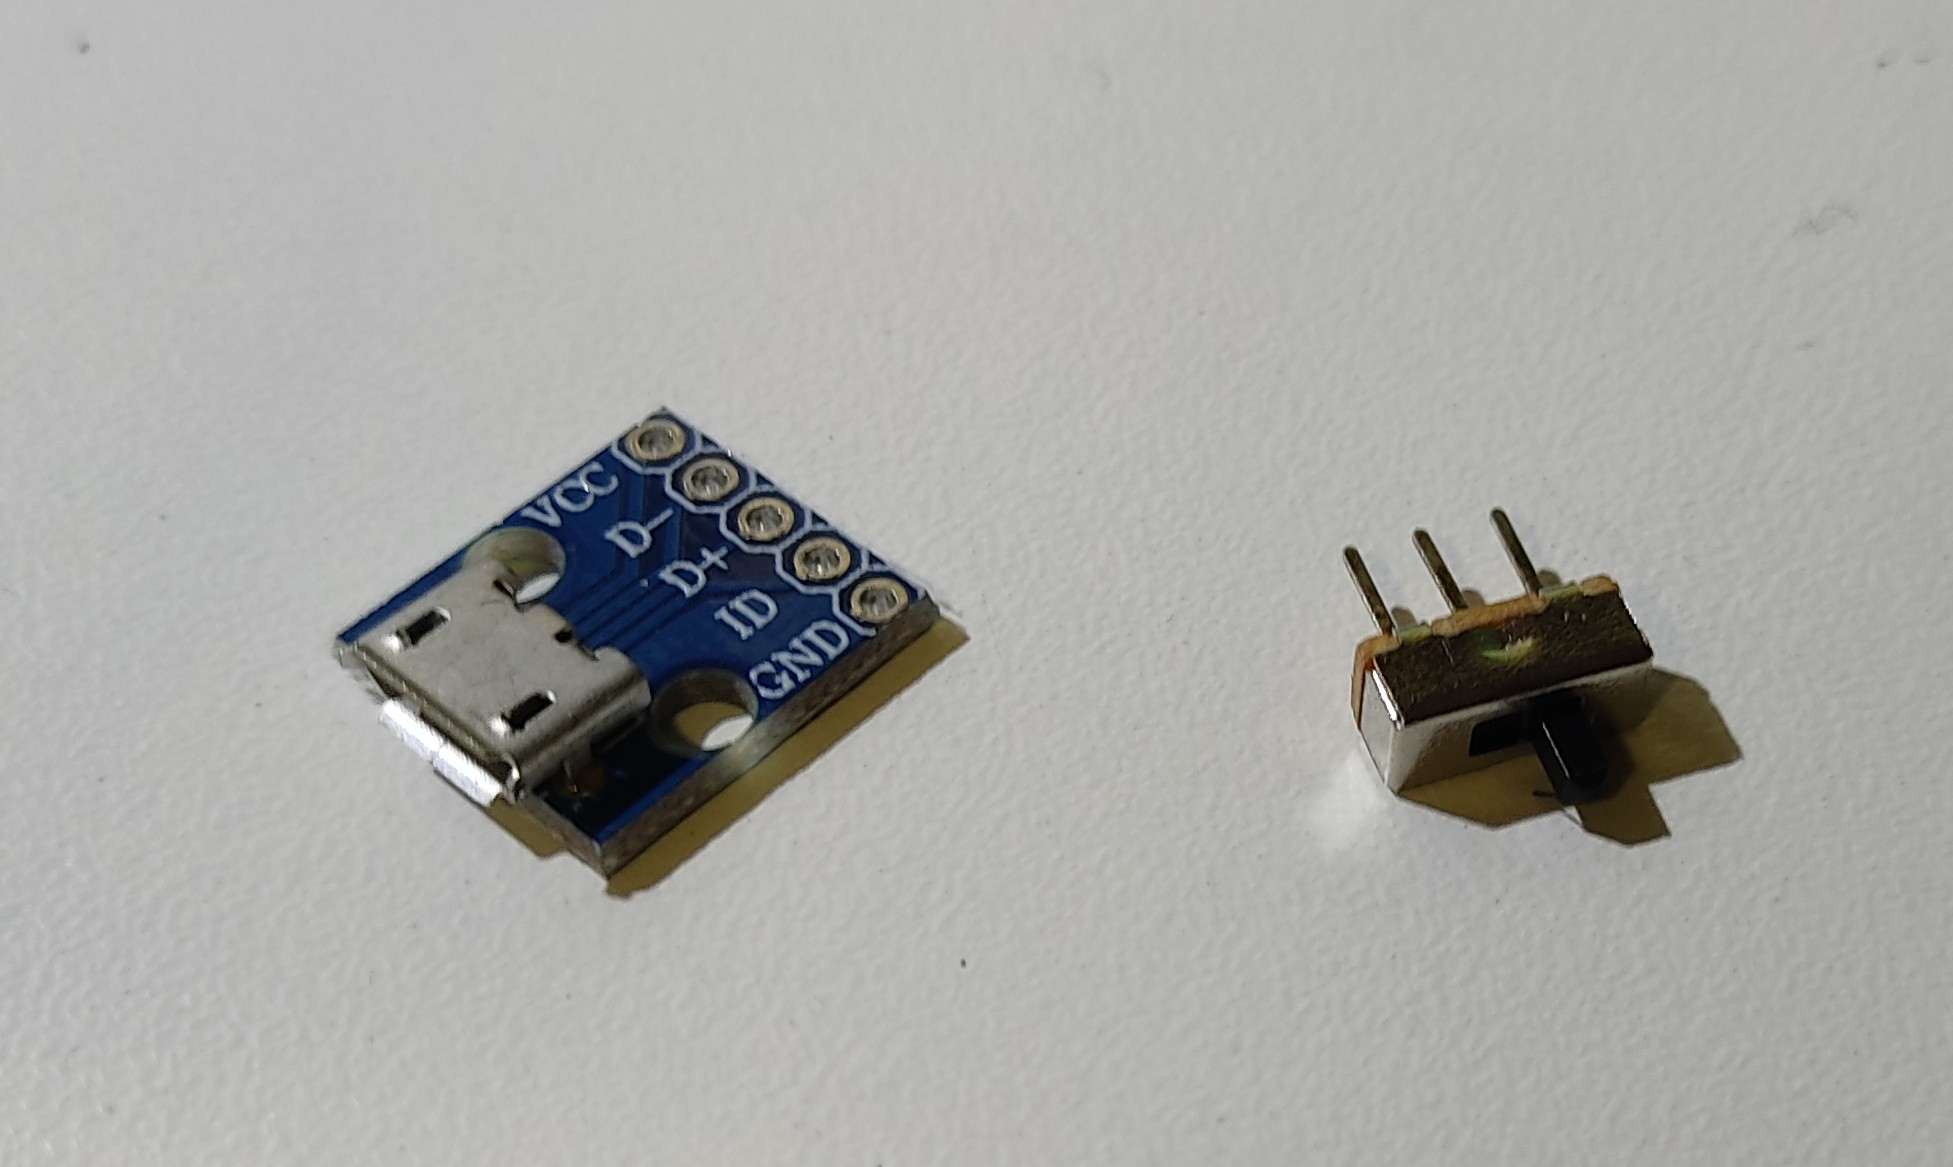
Now solder wires to the micro USB breakout board and the micro switch.
![]()
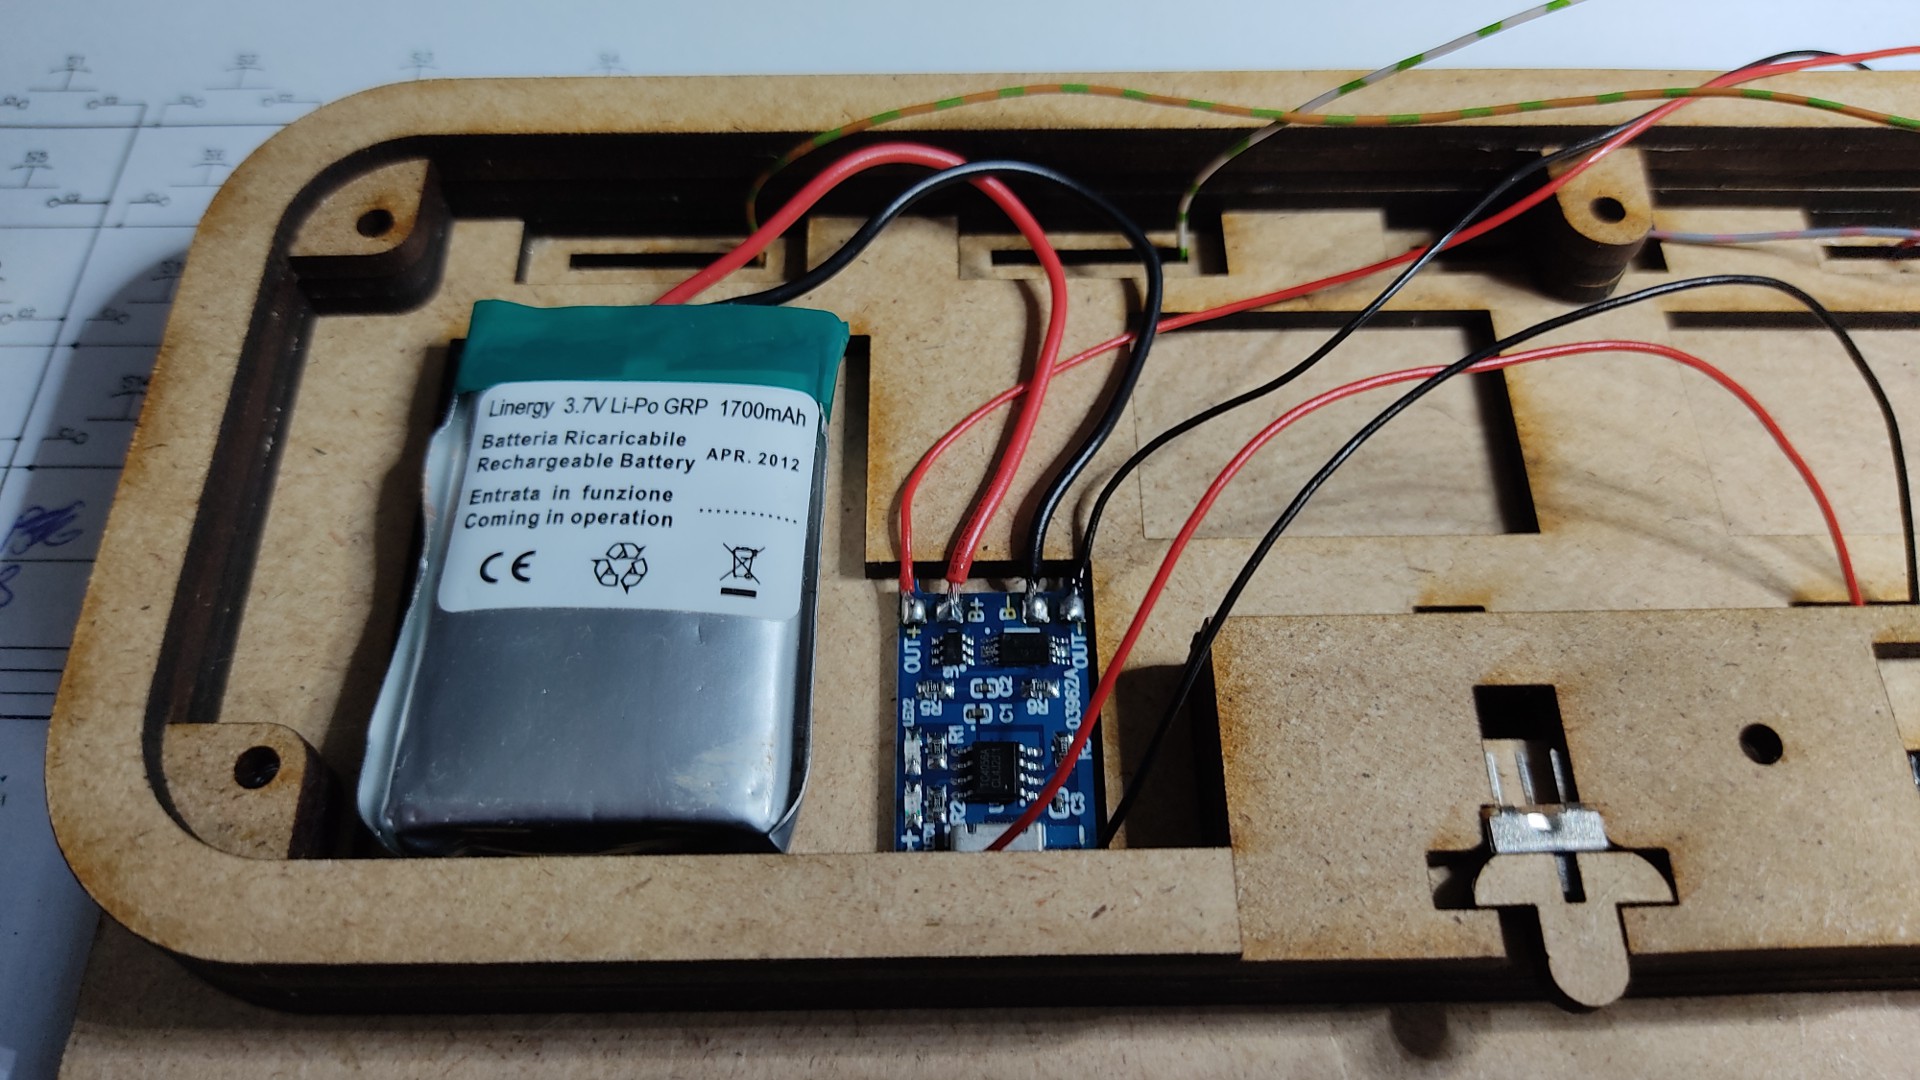
The battery and the charger board can now be glued in place with servo tape.
![]()
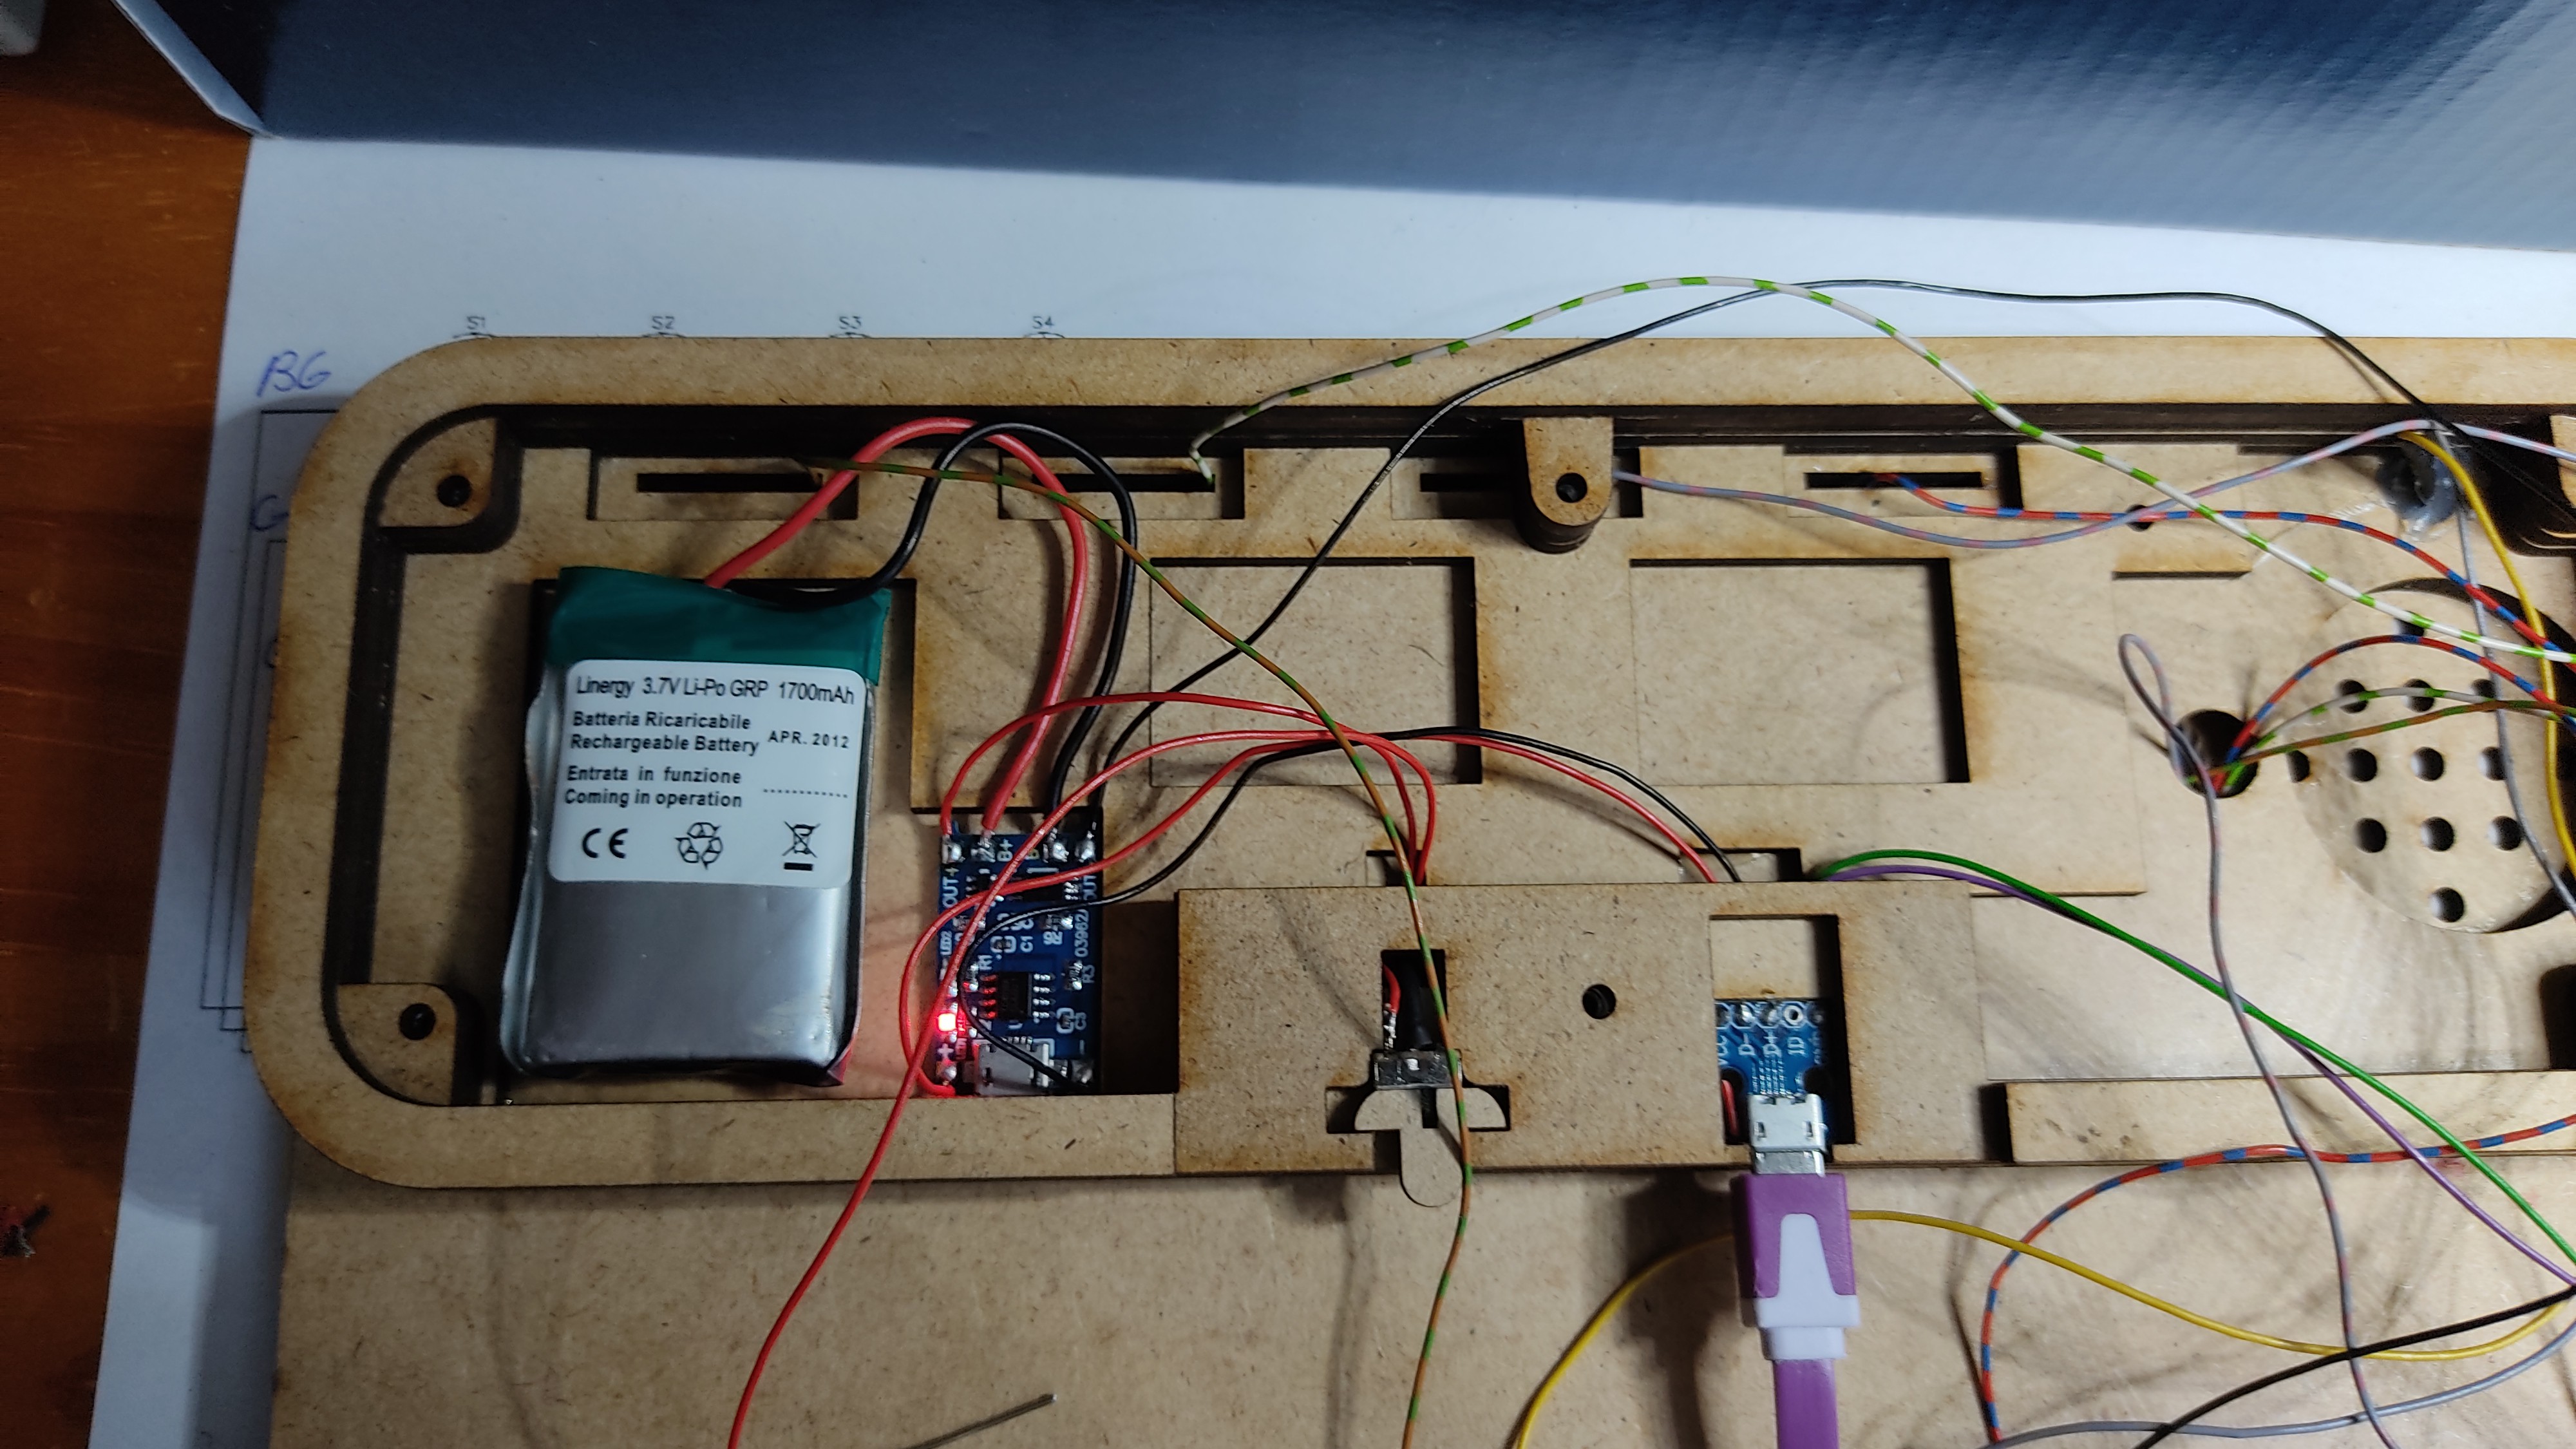
Then a quick test to see if the battery is charging.
![]()
Now the voltage divider, consisting of two resistors, is attached to the Arduino. This is for battery monitoring.
![]()
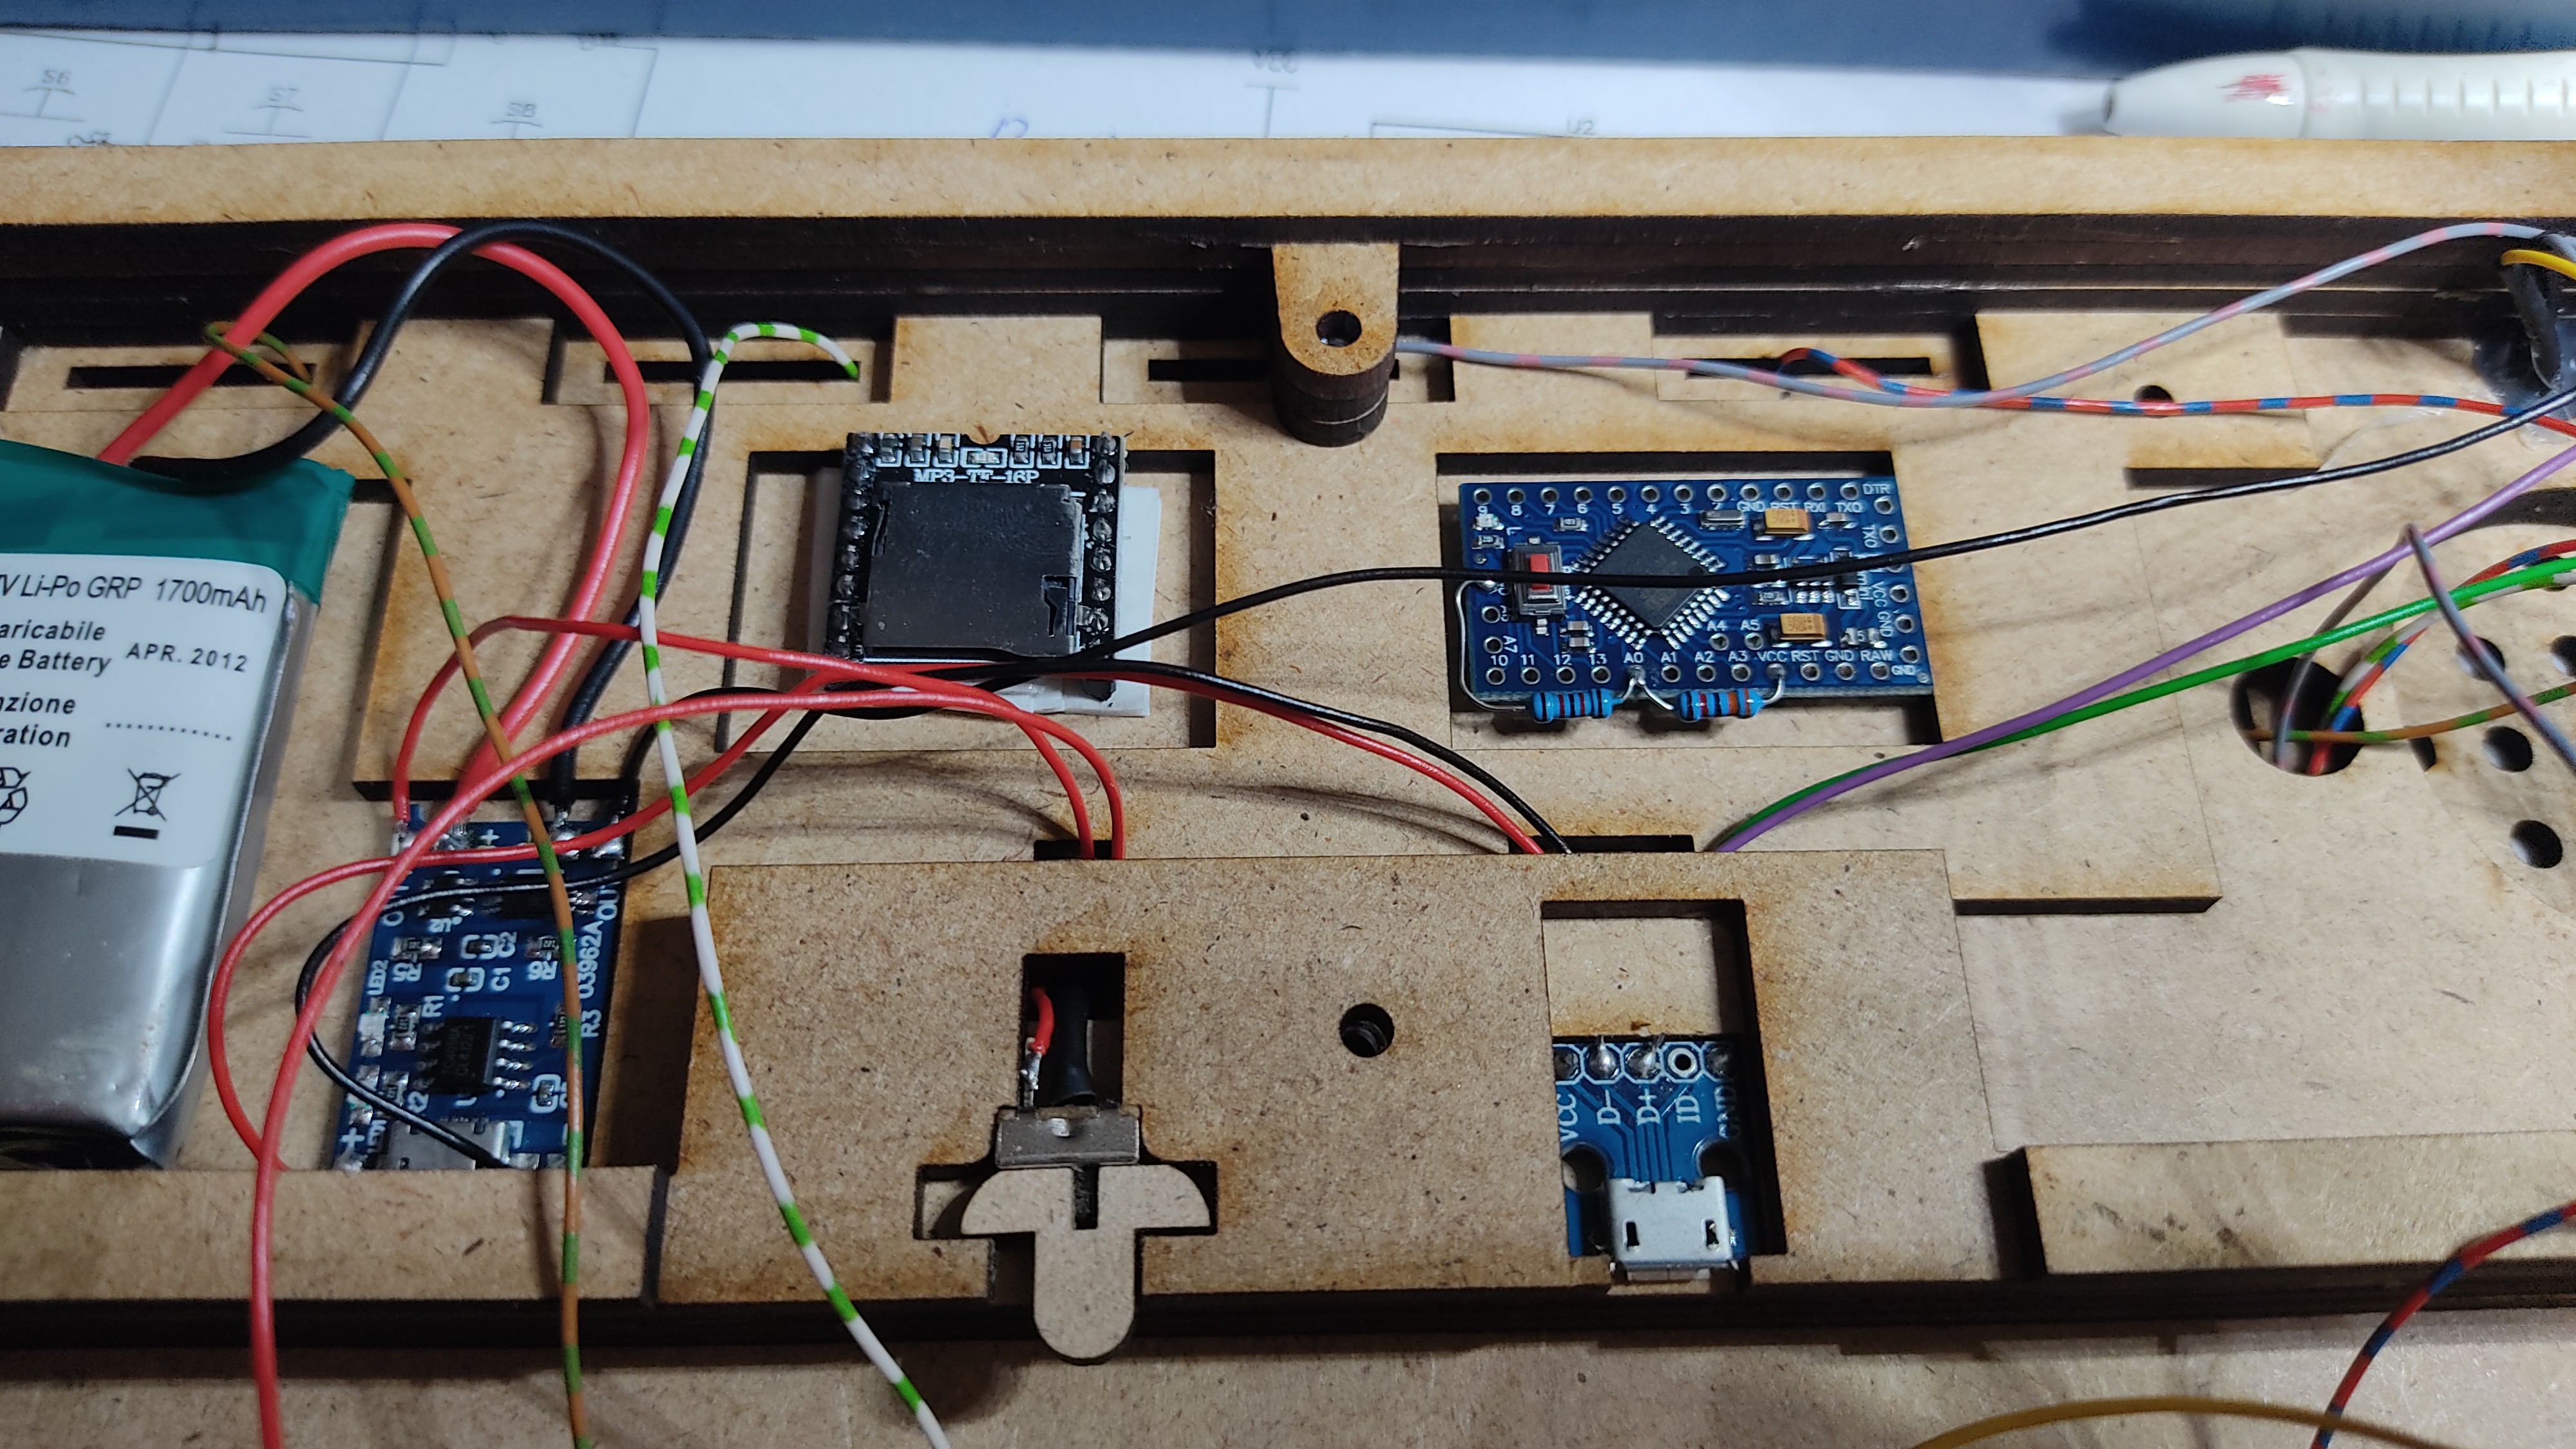
The PRO MINI and the DF MINI PLAYER are now attached with servo tape at the designated place.
Here you can also see the switch and the micro-USB board.
![]()
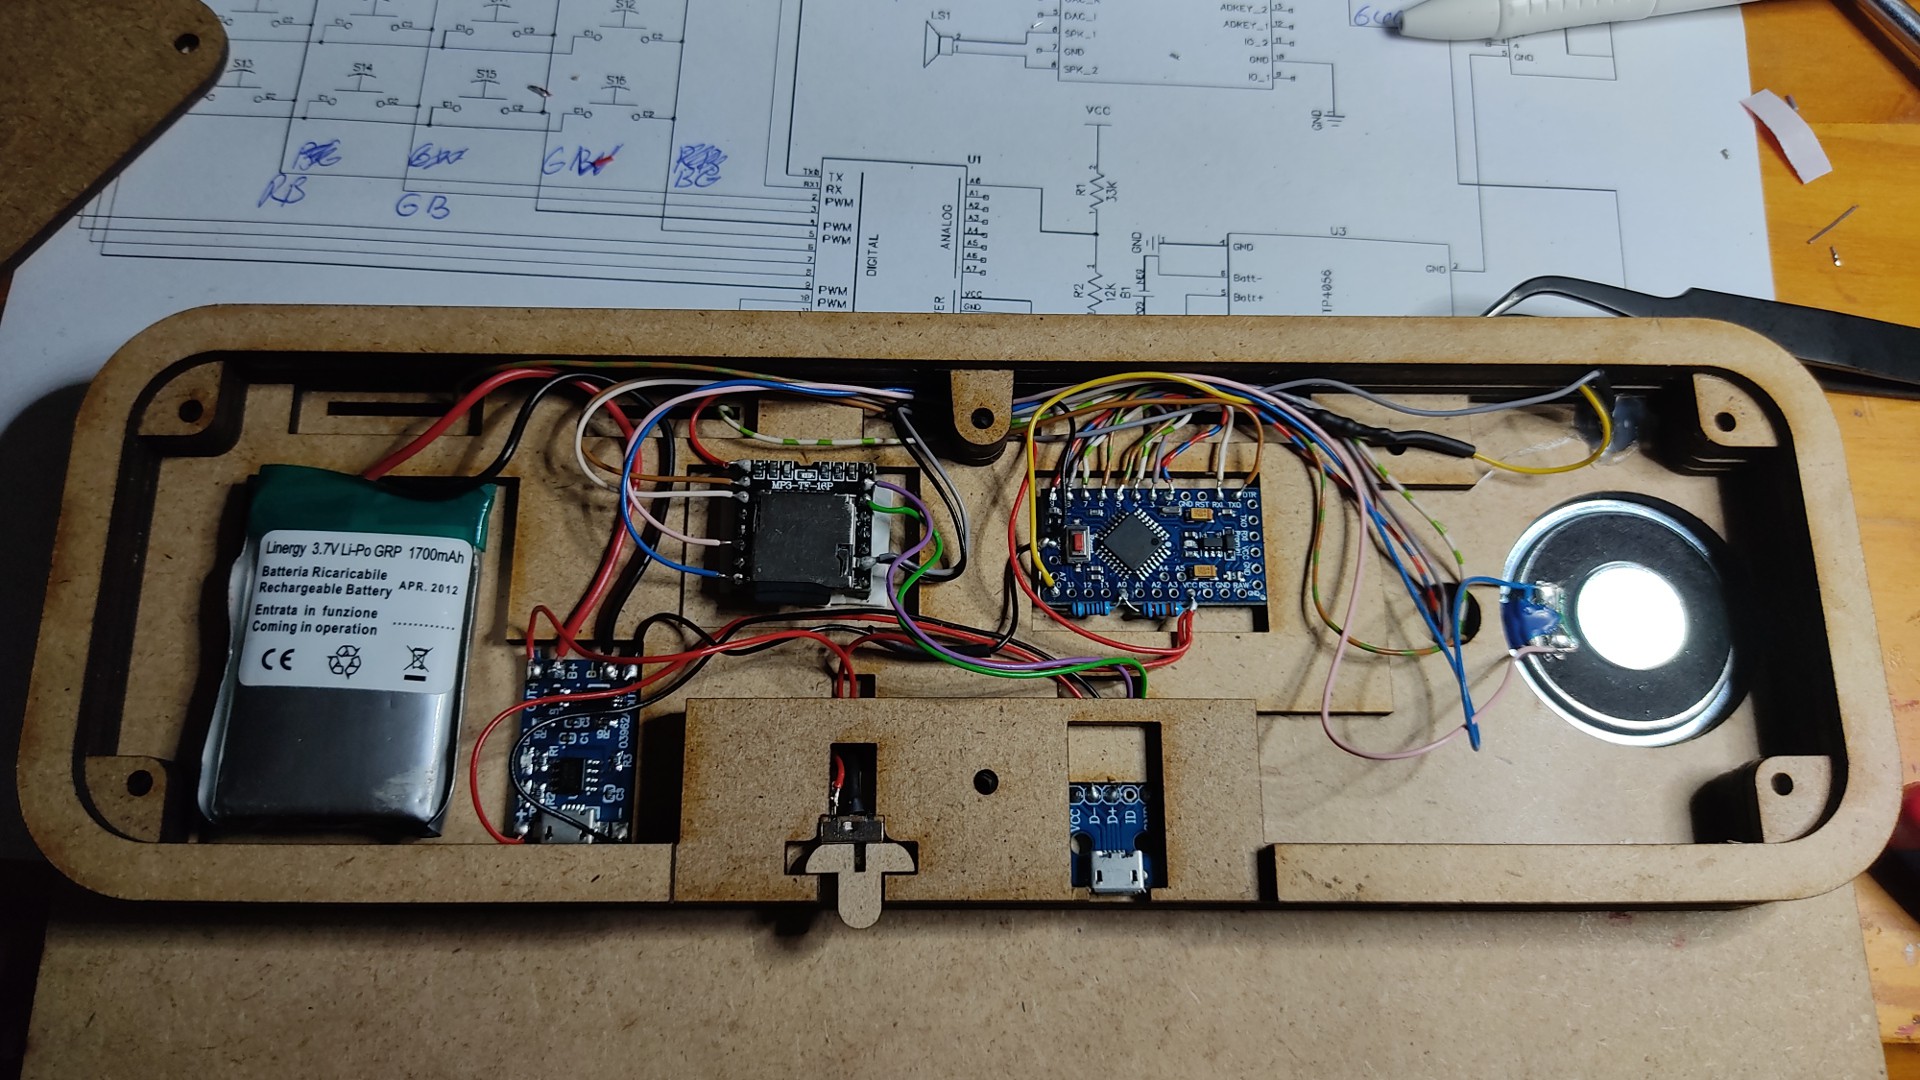
Glue in the LED and speakers, then wire everything according to plan. Now install the software and the board is up and running.
![]()
![]()
-
3The file structure of the SD card in the DF mini Player
Connect the Pecs board with an micro USB Cable to a PC
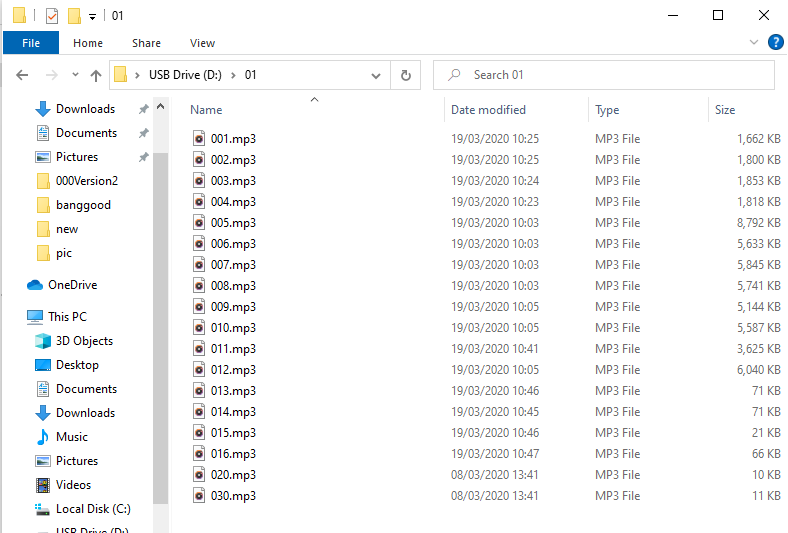
The file folder 01 is accessed in the root directory, but you can create several, and then switch between the templates by renaming them.
![]()
The MP3 files are then uploaded inside the file folder, where 001.mp3 stands for the first button and 016.mp3 for the last.
020.mp3 should contain a text that indicates low battery power (e.g. Battery Low).
030.mp3 and 031.mp3 shall contain texts indicating that the device has not been used for some time but is still switched on (e.g. Hello, have you forgotten me).![]()
PECS Communication Board
It's a Picture Exchange Communication System (PECS) for my non verbal Son


Discussions
Become a Hackaday.io Member
Create an account to leave a comment. Already have an account? Log In.