-
LLVM Assembler and Linker Functional
12/11/2021 at 18:59 • 0 commentsIt only took most of the summer and the fall...working a few hours here and there...but I finally have a working assembly path from Ember assembly files to a compiled elf file using LLVM-MC and LLD. Albeit with just a few instructions so far, like branches, load immediate, and a few ALU ops, basically enough to test the code and some encoding patterns. It's relatively straightforward to add more of the same instruction types to the TableGen scripts, so I can add more later as needed for simple test code. The most difficult part was handling the Fixups in the assembler and the equivalent Relocations in the linker. Such a pain! I will write up the details of that at some point in my Ember Blog.
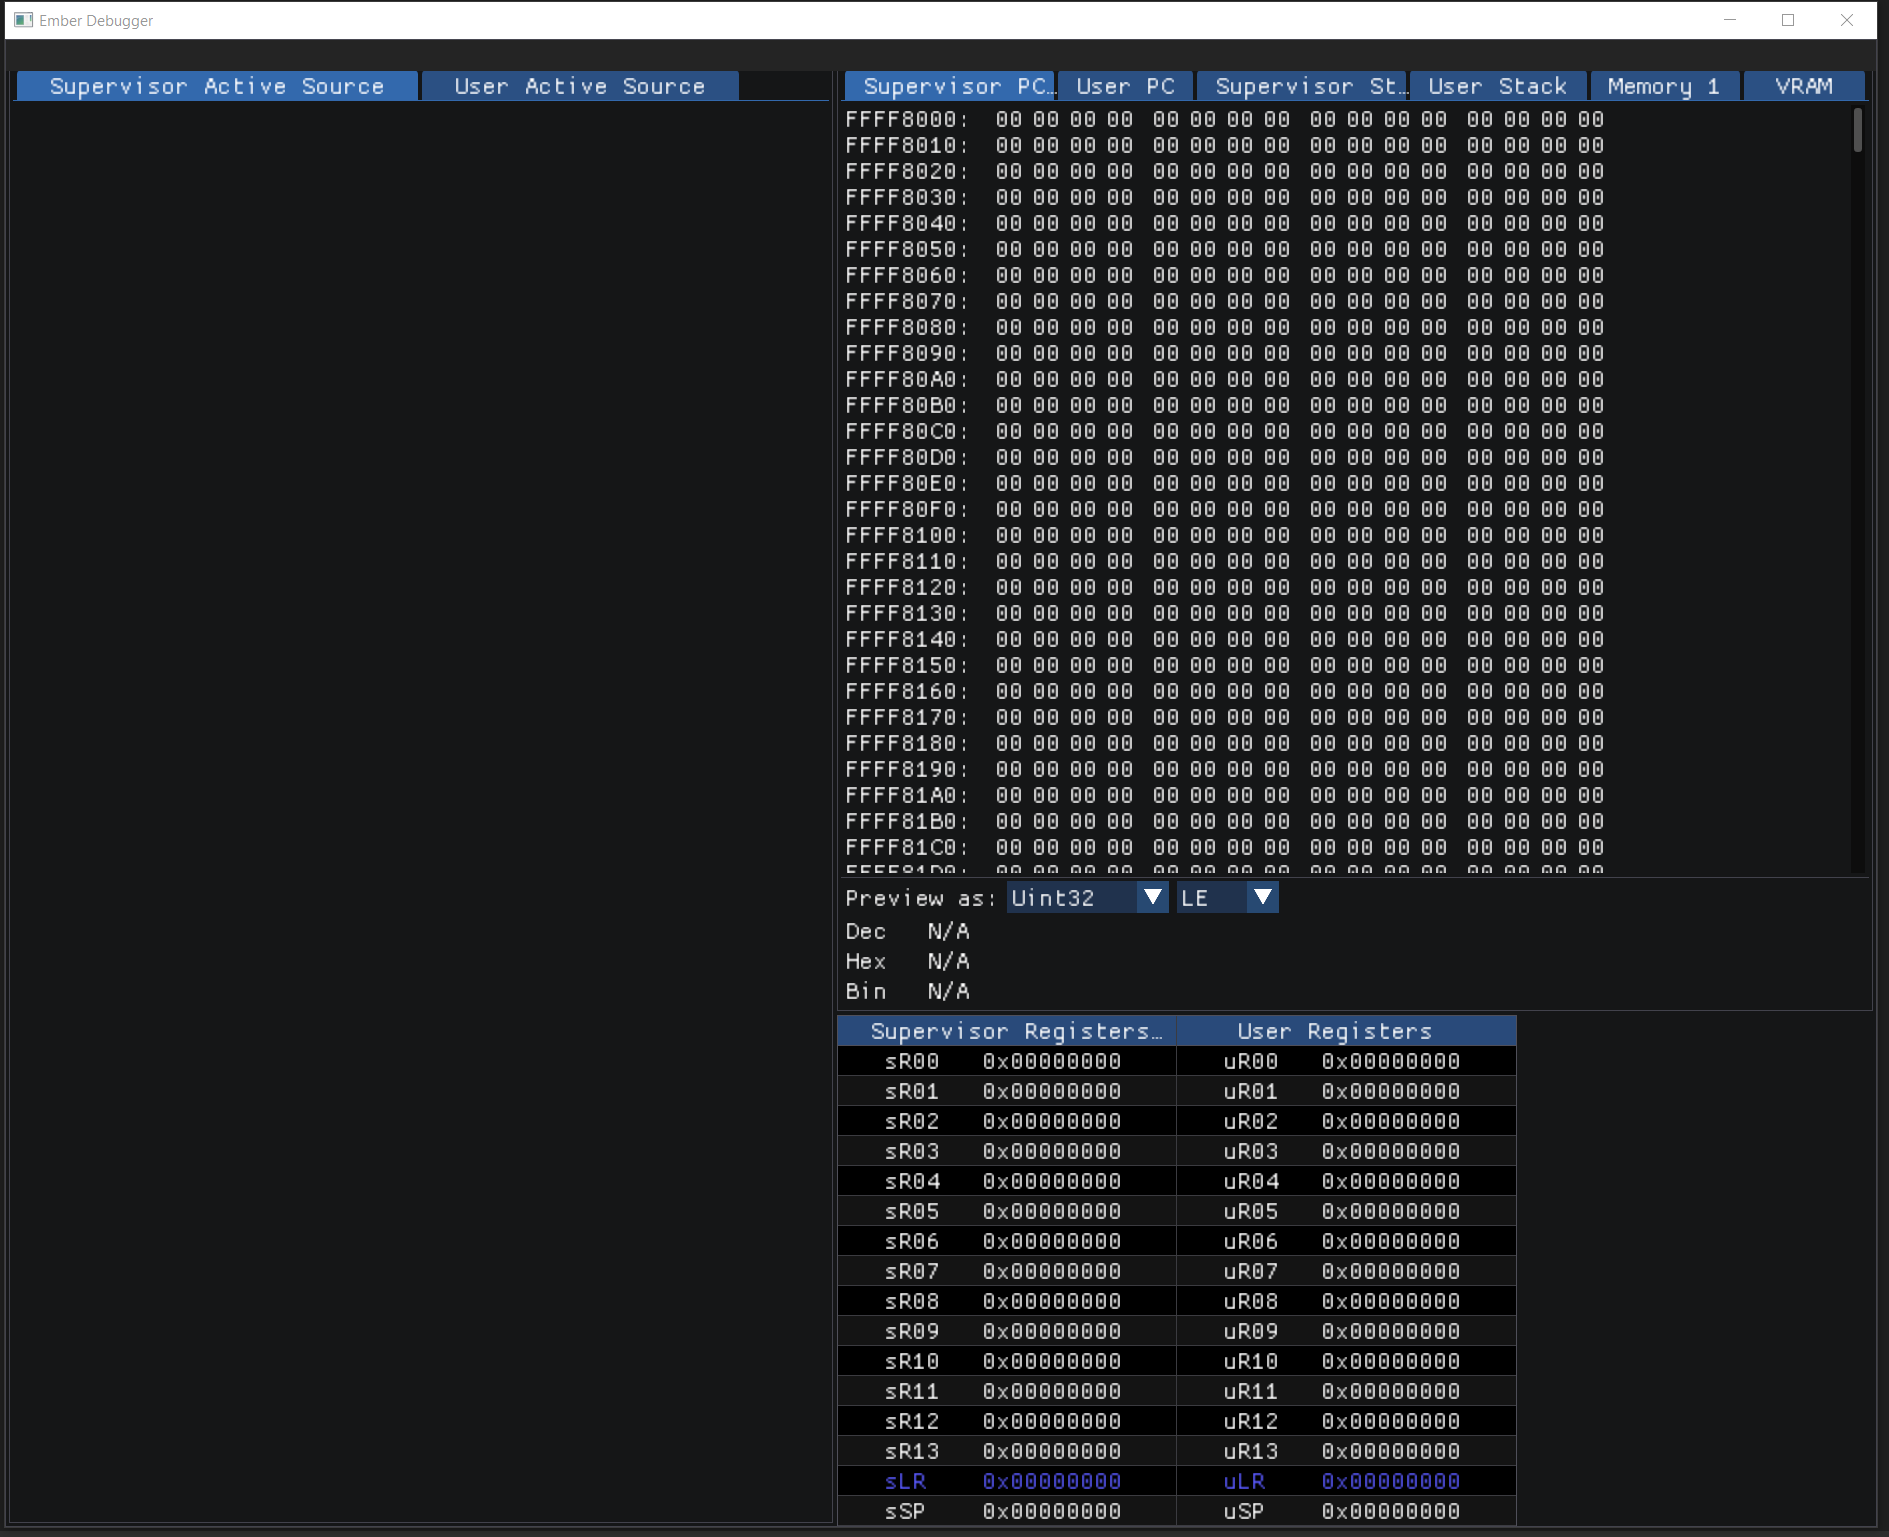
![Ember Emulator Debugger Ember Emulator Debugger]()
Ember Emulator Debugger The next step is to implement ELF loading in the Ember CPU Emulator, then and integrate DWARF with the Debugger. My original Ember Assembler was fairly limited, and a complete hack. It was something I just threw together last year to get things up and working quickly and to allow me to test emulation and encoding. The project was quickly outgrowing its capabilities, which is why I started looking for a "real" assembler to integrate with. I ended up going with LLVM, maybe not the best choice for my first try, but I eventually got it working. The primary reason for going with LLVM is that I want to ultimately support high-level languages, especially Rust, which runs on llvm, along with other languages like Swift and C.
Assembling Ember ASM
To assemble asm files into native encoded Ember binary, I use llvm-mc, which is part of the llvm compilation chain, the part that normally converts llvm bytecode (generated from a high-level language like C or RUST) into native machine code. What you effectively do is convert your native instruction pneumonics into llvm bytecode instruction by instruction, then turn them into encoded native OpCodes.
The following is an example disassembly output of the llvm-mc encoding of some asm code (Don't mind the actual instructions, since they clearly wouldn't run, they are just testing encoding). On the left are the instructions, on the right is the encoding, along with descriptions of the Fixups that are noted (the LDI instructions need addresses for the labels that will come from the Linker, and since the LDI instructions encode to two Opcodes [LDI+LDIH], the BRA instructions need updated target offsets after the file has been parsed).
.set ZERO, 0

.set MAX_UINT32, 4294967295
.set MAX_UINT16, 65535

.set MAX_INT16, 32767
.set MIN_INT16, 32768   ;  Line comment

.set ScanDelay, 4

        .globl  _start


_start:

        bra     _start                          ; encoding: [A,A,0b01AAAAAA,0x10]
                                        ;   fixup A - offset: 0, value: _start, kind: fixup_ember_branch
        brl.ne  testStuff                       ; encoding: [A,A,0b01AAAAAA,0x15]
                                        ;   fixup A - offset: 0, value: testStuff, kind: fixup_ember_branch

systemInit:
        ldih    r0,     $ffff                   ; encoding: [0xff,0xff,0x04,0x64]
        ldi     r0,     $1234                   ; encoding: [0x34,0x12,0x00,0x64]

        ldi     r1,     $ffffffff               ; encoding: [0xff,0xff,0x08,0x64]
        ldih    r1,     $ffffffff               ; encoding: [0xff,0xff,0x0c,0x64]
        ldi     r1,     $7fff                   ; encoding: [0xff,0x7f,0x08,0x64]

        ldi     r3,     $0                      ; encoding: [0x00,0x00,0x18,0x64]
        ldih    r3,     $4d2                    ; encoding: [0xd2,0x04,0x1c,0x64]

        ldi     r4,     systemInit              ; encoding: [A,A,0x20,0x64]
                                        ;   fixup A - offset: 0, value: systemInit, kind: fixup_ember_ldi_label_addr_lo
        ldih    r4,     systemInit              ; encoding: [A,A,0x24,0x64]
                                        ;   fixup A - offset: 0, value: systemInit, kind: fixup_ember_ldi_label_addr_hi
        ldi     r4,     _start                  ; encoding: [A,A,0x20,0x64]
                                        ;   fixup A - offset: 0, value: _start, kind: fixup_ember_ldi_label_addr_lo
        ldih    r4,     _start                  ; encoding: [A,A,0x24,0x64]
                                        ;   fixup A - offset: 0, value: _start, kind: fixup_ember_ldi_label_addr_hi

        ldis    r5,     $ffffffff               ; encoding: [0xff,0xff,0x29,0x64]
        ldis    r5,     $ffff                   ; encoding: [0xff,0xff,0x29,0x64]

        brl.eq  systemInit                      ; encoding: [A,A,0b11AAAAAA,0x14]
                                        ;   fixup A - offset: 0, value: systemInit, kind: fixup_ember_branch

testStuff:
        brl     r12                             ; encoding: [0x00,0x30,0x00,0x14]
        bra     testStuff                       ; encoding: [A,A,0b01AAAAAA,0x10]
                                        ;   fixup A - offset: 0, value: testStuff, kind: fixup_ember_branch

someData:
        .byte   0
        .byte   0
        .byte   255
        .byte   255
        .byte   18
        .byte   52
        .byte   86
        .byte   120
        .byte   0
        .byte   17
        .byte   34
        .byte   51
        .byte   120
        .byte   86
        .byte   52
        .byte   18
        .byte   0
        .byte   0
        .byte   0
        .byte   0
In the resulting elf object file, the .text segment contains the following, with Relocation tags for the LDI instructions. llvm-objdump doesn't know about Ember assembly, but doesn't need to in order to read the Reloc info.
Disassembly of section .text:

00000000 <_start>:
       0: 00 00 40 10   <unknown>
       4: 0f 00 40 15   <unknown>

00000008 <systemInit>:
       8: ff ff 04 64   <unknown>
       c: 34 12 00 64   <unknown>
      10: ff ff 08 64   <unknown>
      14: ff ff 0c 64   <unknown>
      18: ff 7f 08 64   <unknown>
      1c: 00 00 18 64   <unknown>
      20: d2 04 1c 64   <unknown>
      24: 00 00 20 64   <unknown>
                        00000024:  R_EMBER_LDI_LABEL_ADDR_LO    systemInit
      28: 00 00 24 64   <unknown>
                        00000028:  R_EMBER_LDI_LABEL_ADDR_HI    systemInit
      2c: 00 00 20 64   <unknown>
                        0000002c:  R_EMBER_LDI_LABEL_ADDR_LO    _start
      30: 00 00 24 64   <unknown>
                        00000030:  R_EMBER_LDI_LABEL_ADDR_HI    _start
      34: ff ff 29 64   <unknown>
      38: ff ff 29 64   <unknown>
      3c: f3 ff ff 14   <unknown>

00000040 <testStuff>:
      40: 00 30 00 14   <unknown>
      44: ff ff ff 10   <unknown>

00000048 <someData>:
      48: 00 00 ff ff   <unknown>
      4c: 12 34 56 78   <unknown>
      50: 00 11 22 33   <unknown>
      54: 78 56 34 12   <unknown>
      58: 00 00 00 00   <unknown>
The linker will read the Reloc info and insert the proper values based on the start address of the code entry point plus the label offset. Here the code should start executing at 0x1000, or address 4096, in the final .elf file. Notice the Relocs are resolved and it's just the binary code that would be loaded into the emulator. You can see the address is now set in the first two bytes of each instruction at addresses 0x1024 to 0x1030, where above they were 0s. That's 0x00001000 for the label "_start", and 0x00000008 for "systemInit", packed 2 bytes per instruction word.
Disassembly of section .text:

00001000 <_start>:
    1000: 00 00 40 10   <unknown>
    1004: 0f 00 40 15   <unknown>

00001008 <systemInit>:
    1008: ff ff 04 64   <unknown>
    100c: 34 12 00 64   <unknown>
    1010: ff ff 08 64   <unknown>
    1014: ff ff 0c 64   <unknown>
    1018: ff 7f 08 64   <unknown>
    101c: 00 00 18 64   <unknown>
    1020: d2 04 1c 64   <unknown>
    1024: 08 10 20 64   <unknown>
    1028: 00 00 24 64   <unknown>
    102c: 00 10 20 64   <unknown>
    1030: 00 00 24 64   <unknown>
    1034: ff ff 29 64   <unknown>
    1038: ff ff 29 64   <unknown>
    103c: f3 ff ff 14   <unknown>

00001040 <testStuff>:
    1040: 00 30 00 14   <unknown>
    1044: ff ff ff 10   <unknown>

00001048 <someData>:
    1048: 00 00 ff ff   <unknown>
    104c: 12 34 56 78   <unknown>
    1050: 00 11 22 33   <unknown>
    1054: 78 56 34 12   <unknown>
    1058: 00 00 00 00   <unknown>
Just a super quick, high-level update. You can follow along from the beginning on my Blog over on Medium.
-
Seeed Spartan Edge FPGA Up and Running
12/07/2021 at 04:25 • 0 commentsI know I'm jumping ahead a bit, but I was so excited to get this up and running on the first try!
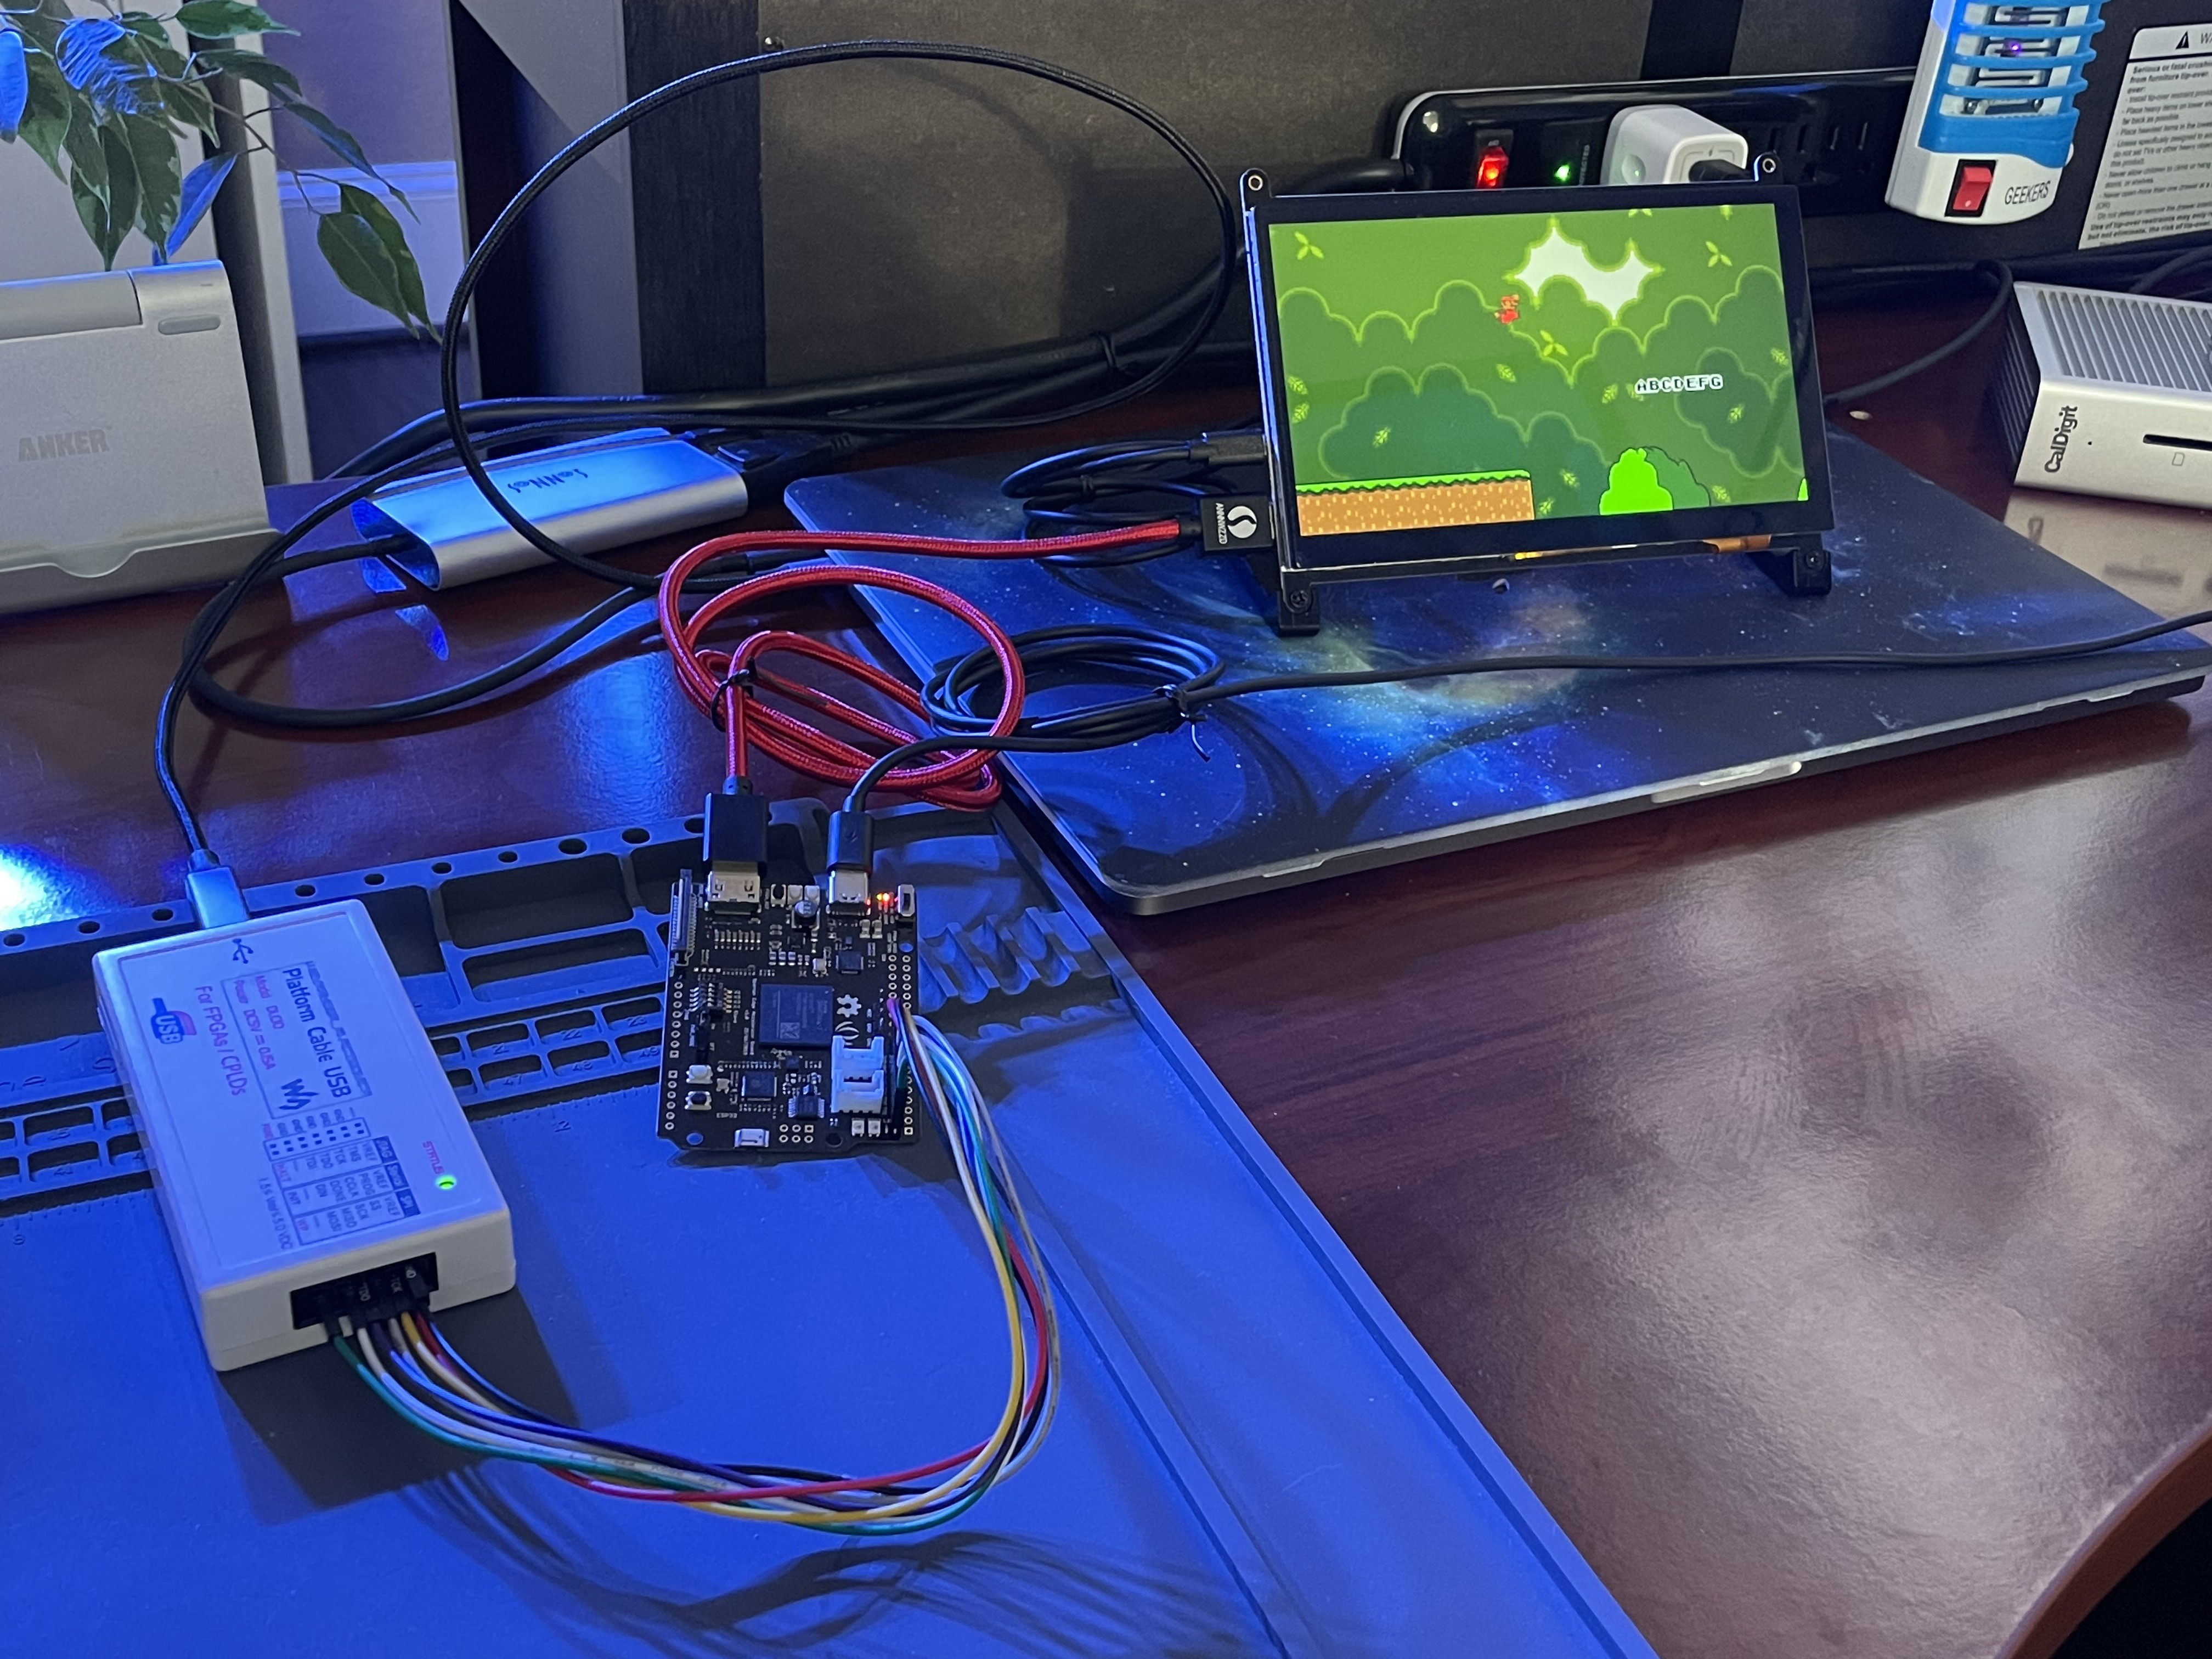
![FPGA FPGA]()
Seed Spartan Edge with JTAG Programmer and HDMI Display I first tried one of the Vivado blink programs to test the whole compile and download to device process which worked fine. Then I found this excellent demo project from fellow hacker SmartPerson over on GitHub. He also has a great series of videos on YouTube detailing exactly where he got the source and modified it for this board. He did great work, as it ran on the FPGA first try. It's not a game, just displays some images, text, and sprites and moves them, but it demonstrates the use of Block RAM, the HDMI port, and interfacing a pin to the ESP32 chip on the board.
Now I just need to get some time to hack on it, change some things up.
-
Getting Started
12/03/2021 at 03:02 • 0 commentsHi all, I am working to get some content up. My day job is keeping me busy, and in what time I have, I have been fighting with LLVM on the Ember assembler and linker, as well as fiddling with my new FPGA board. I am determined to learn Verilog, but mostly end up just fighting with JTAG and how to even set the thing up...what a pain!
Anyway, in the meantime, you can check out some posts I'm working on going back to the beginning of the Ember CPU design. It might be too high level for some, but I wanted to get to the basics. If I overly simplify things, you can always just skip ahead, but I have found again and again, that when someone assumes everyone is on the same level, some will get lost...I've been that lost person enough times to know...
So, my plan is to keep this site fairly low-level, with notes on my progress, links to code, design documents, etc. while going into much more detail on my Medium blog. You can find the first post here, and there will be more to come soon.
 Tom
Tom
