Ulrich
-
Choosing an Air Quality Sensor
07/16/2021 at 18:58 • 0 commentsOne of the main project focus was to monitor air quality in my little home office.
It should measure the air quality and remind me periodically to get some fresh Air into my little room. This should be done invisible for other people. Always keep in mind in all your Projects the WAF. If it is invisible the acceptance is higher.
The biggest challenge was to find a sensor that fits into this tight head room of my lamp that had only around 16mm of height.
On the market are different sensors available that can output CO² Value or an equivalent eCO². CO2 is one measurement value to determine if the air Quality is good in a room. Scientist proofed that concentration goes down if the CO2 concentration in room is above a certain value.
"The level of carbon dioxide in conference rooms has a significant effect on the comfort of the working conditions (Tham 2016)."
At the beginning of the project I was not sure about the type of sensor I should use, which is best an which would be available due to Chip shortage.
So i deciced to make this module in my desk lamp as interchangable as possible.
Fortuanetly most of these Senesors are availible as a breakout board. And most of them have the same pinning
These Sensors have been in my focus:
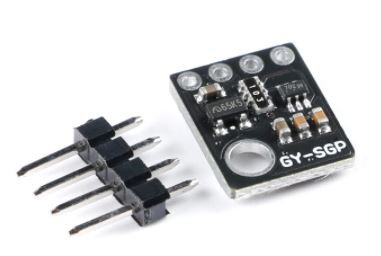
SGP30(Temp, eCO2)
![]()
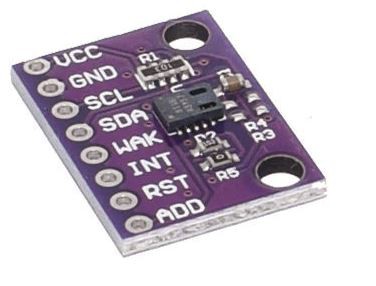
CCS811(eCO2, TVOC)
![]()
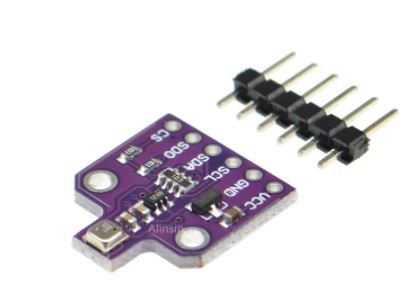
BME680(Temp, Humidity, Pressure, eCo2, TVOC,...)
![]()
All of these sensors can be controlled with I²C Protocol. This means you only need 4 lines (VCC, GNC, SCL, SDA) to connect to the sensors and read out data. And guess what: Pinning is identical for all 3 of them! What great News for a PCB Layout.
And Size is well below 20mm. :-) Perfectly fits inside my little lamp.
There are various Reports on the Internet which is best. I recommend this website for further studies
Here all of them are compared.
-
Choosing Components and Parts
07/15/2021 at 20:41 • 0 commentsNow it is time to choose suitable components that fits into this new Space in the Lamp head:
Mikrocontroller: ESP32
The Brain of the SMART Desklamp.
I choose an Espressif ESP32. The main reasons
- It comes with WIFI, Bluetooth, BLE
- It is easy to integrate without need for a lot of components
- The ESP32 WROOM is compared to other Mikrocontroller easy to solder
- It is programmable in ARDUINO IDE :-)
- You may Update/Flash the thing Over the Air via Arduino OTA
- It is relatively cheap ~ 3$
- It is available as well in the chip shortage situation in Q1/Q2 of 2021 (unlike STM32)
- It has a 240 MHz Dual Core with more than enough processing power for lots of crazy stuff :-)
Light Source: SK6812 WW+RGB
- In typical office situation you want a good light source. Good means. You may change the color and the intensity of the light.
- I guess next to Cats and Dogs video the Internet is full with RGB LED/MATRIX videos. You may stumble earlier or later across a WS2812B LED. Most of the project that I have found use this type of LEDS in their project.
Each WS2812B LED consist actually of 3 different LEDs that can be controlled individually. The advantage of this LEDs are an easy possibility to change Light color and intensity/brightness with an Micro Controller.
But the Downside of this WS2812B is: You need a lot of power for the light you need the most time of the day/night: "White Light".
For this type of Light all three LEDs inside an RGB LED needs to be full power. This is quite inefficient.
- During Development Phase I ran across an similar type of LEDS. SK6812. The have the same RGB LED as a WS2812B but come with an additional built in White LED. So in case of White Light is needed you may need only a third of the power compared to the WS2812B.
- The Best comes at the end:
- The footprint of the SK6812 is the same as WS2812b.
- With a minor change in source code you may even use FastLED Lib to control this LED
One more Connectivity Source: LORA Long range Communication
- I am a big fan of LoRa Long range communications. This nice little Wireless standard is in my opinion ideal for smart home/or smart office applications. LoRa stand for Long Range. This powerful standard can transmit data not only a few meters. We are talking about kilometers/miles. So you can control your desk lamp with a cheap transmitter from far away. If you want to know more about this standard Please have a look here: Wiki
- This RadioFrequency standard is allowed free to use on various frequencies in the world. Please choose the one that is availible in your country and double check before transmission if you are allowed to transmit.
- For easy integration there is a module called RFM95 available. This prebuilt module comes with all the Balun, RF stuff that you may need for your Long Range transmission. All you need to do is add a proper tuned antenna
- In my region there is even a public free network avalible. This network is called TheThingsNetwork. This network is free to use in the community version and you may forward your transmitted data to a http server. Right now there is a new kid in town. You might have heard of Helium. This Silicon Valley based company offers a paid service for LORA. You may use the same module to communicate on Helium LORA.
So WHY LORA in a DESKTOP LAMP?
Easy ANSWERS:
- The S in IOT stands for Security. Not everything that can be connected to the internet needs to be connected to the internet at all time with an open port.
- I thought about the time after COVID-19: Some Company do net allow you dial in IOT Devices to the Companies WiFi due to security RISKs. Once these IOT devices have been released to the wild nobody cares about updates or security issues. So why not have a very small bandwidth free wireless standard that can transmit data
-
Time for some more space for the electronics
07/15/2021 at 19:54 • 0 commentsThe total Height of the Lamp Head is only 16mm high.
The usable Diameter is 98mm.
Insdide of the Lamp head is lot of aluminium that reduces the usable high to 8 mm. This would be too less for installing electronics. So I decided to Cut with my Dremel some pieces where I need more Headroom for a Microcontroller.
![]()
I always keep in mind that i still want to use the original Screws and Lampshade covers. I did not want to build a new one due to the fact that plexi glass PMMA is difficult to handle during manufacturing process.
-
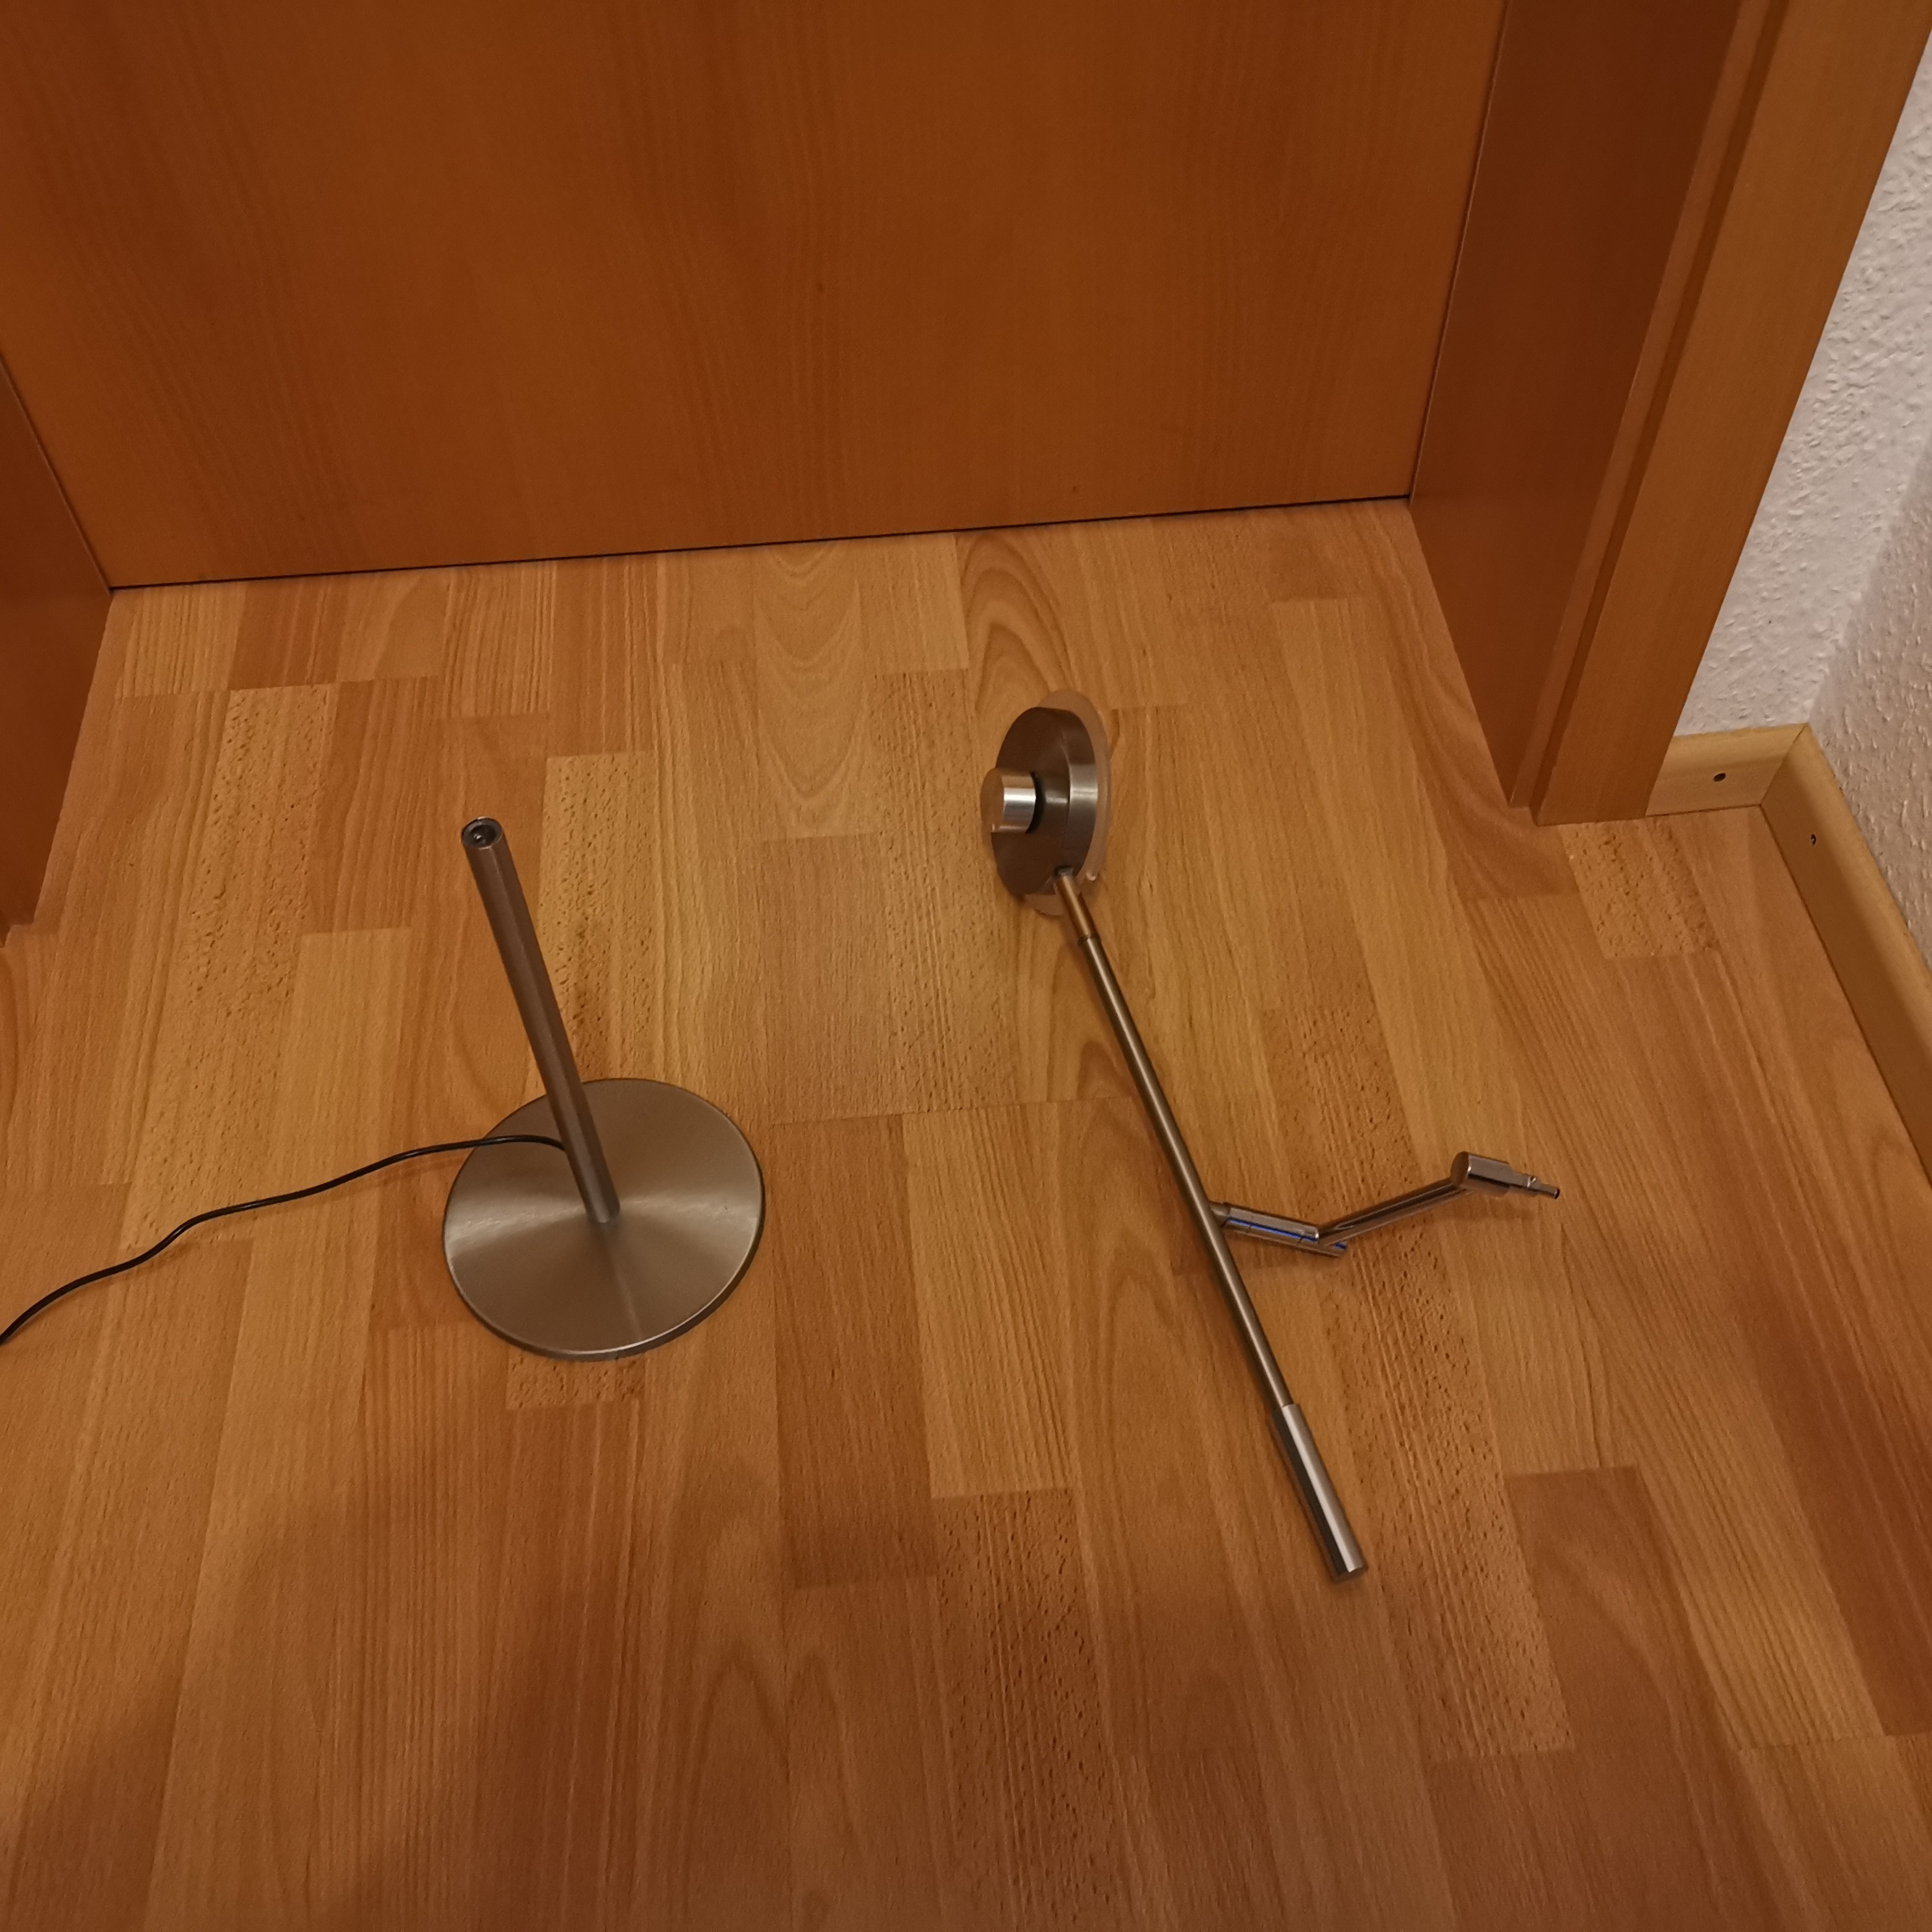
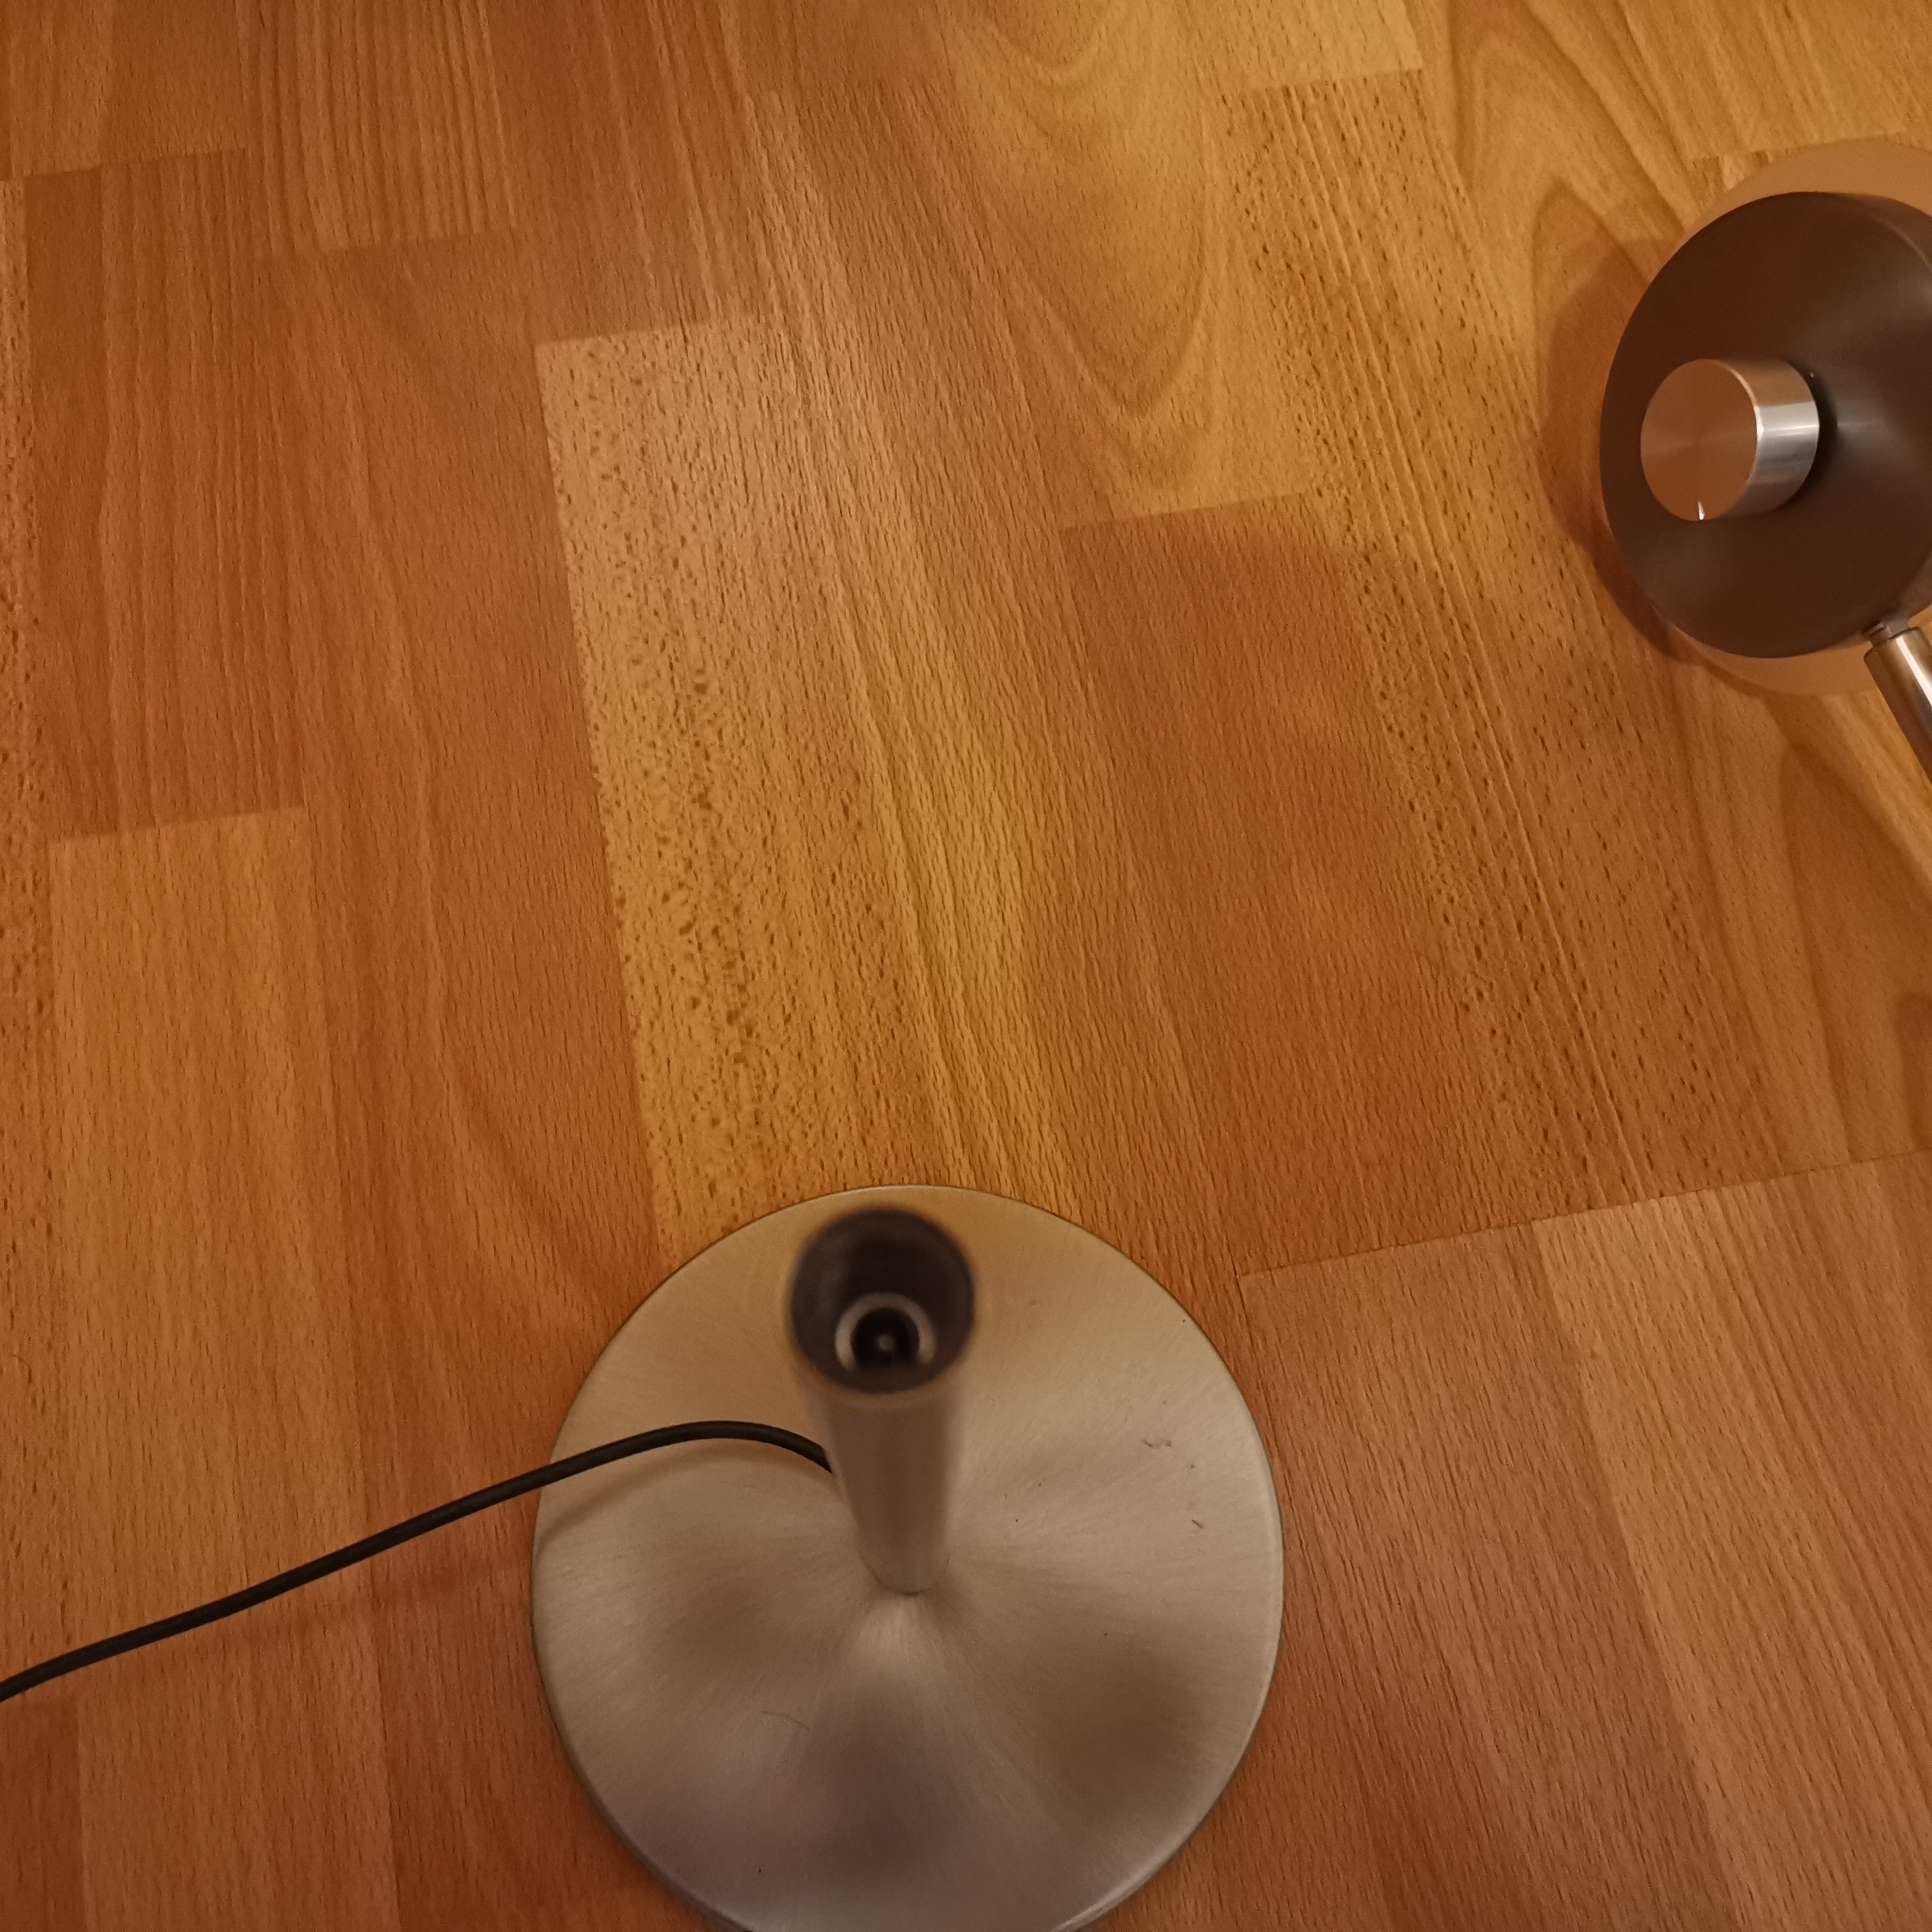
Disassembly of the Lamp Head
07/15/2021 at 19:44 • 0 commentsas I wrote in the log before: I deciced to rebuilt the Head of the lamp.
The original Head of the lamp looks like this.
It is quite easy to dissasemble with the two screws.
![]()
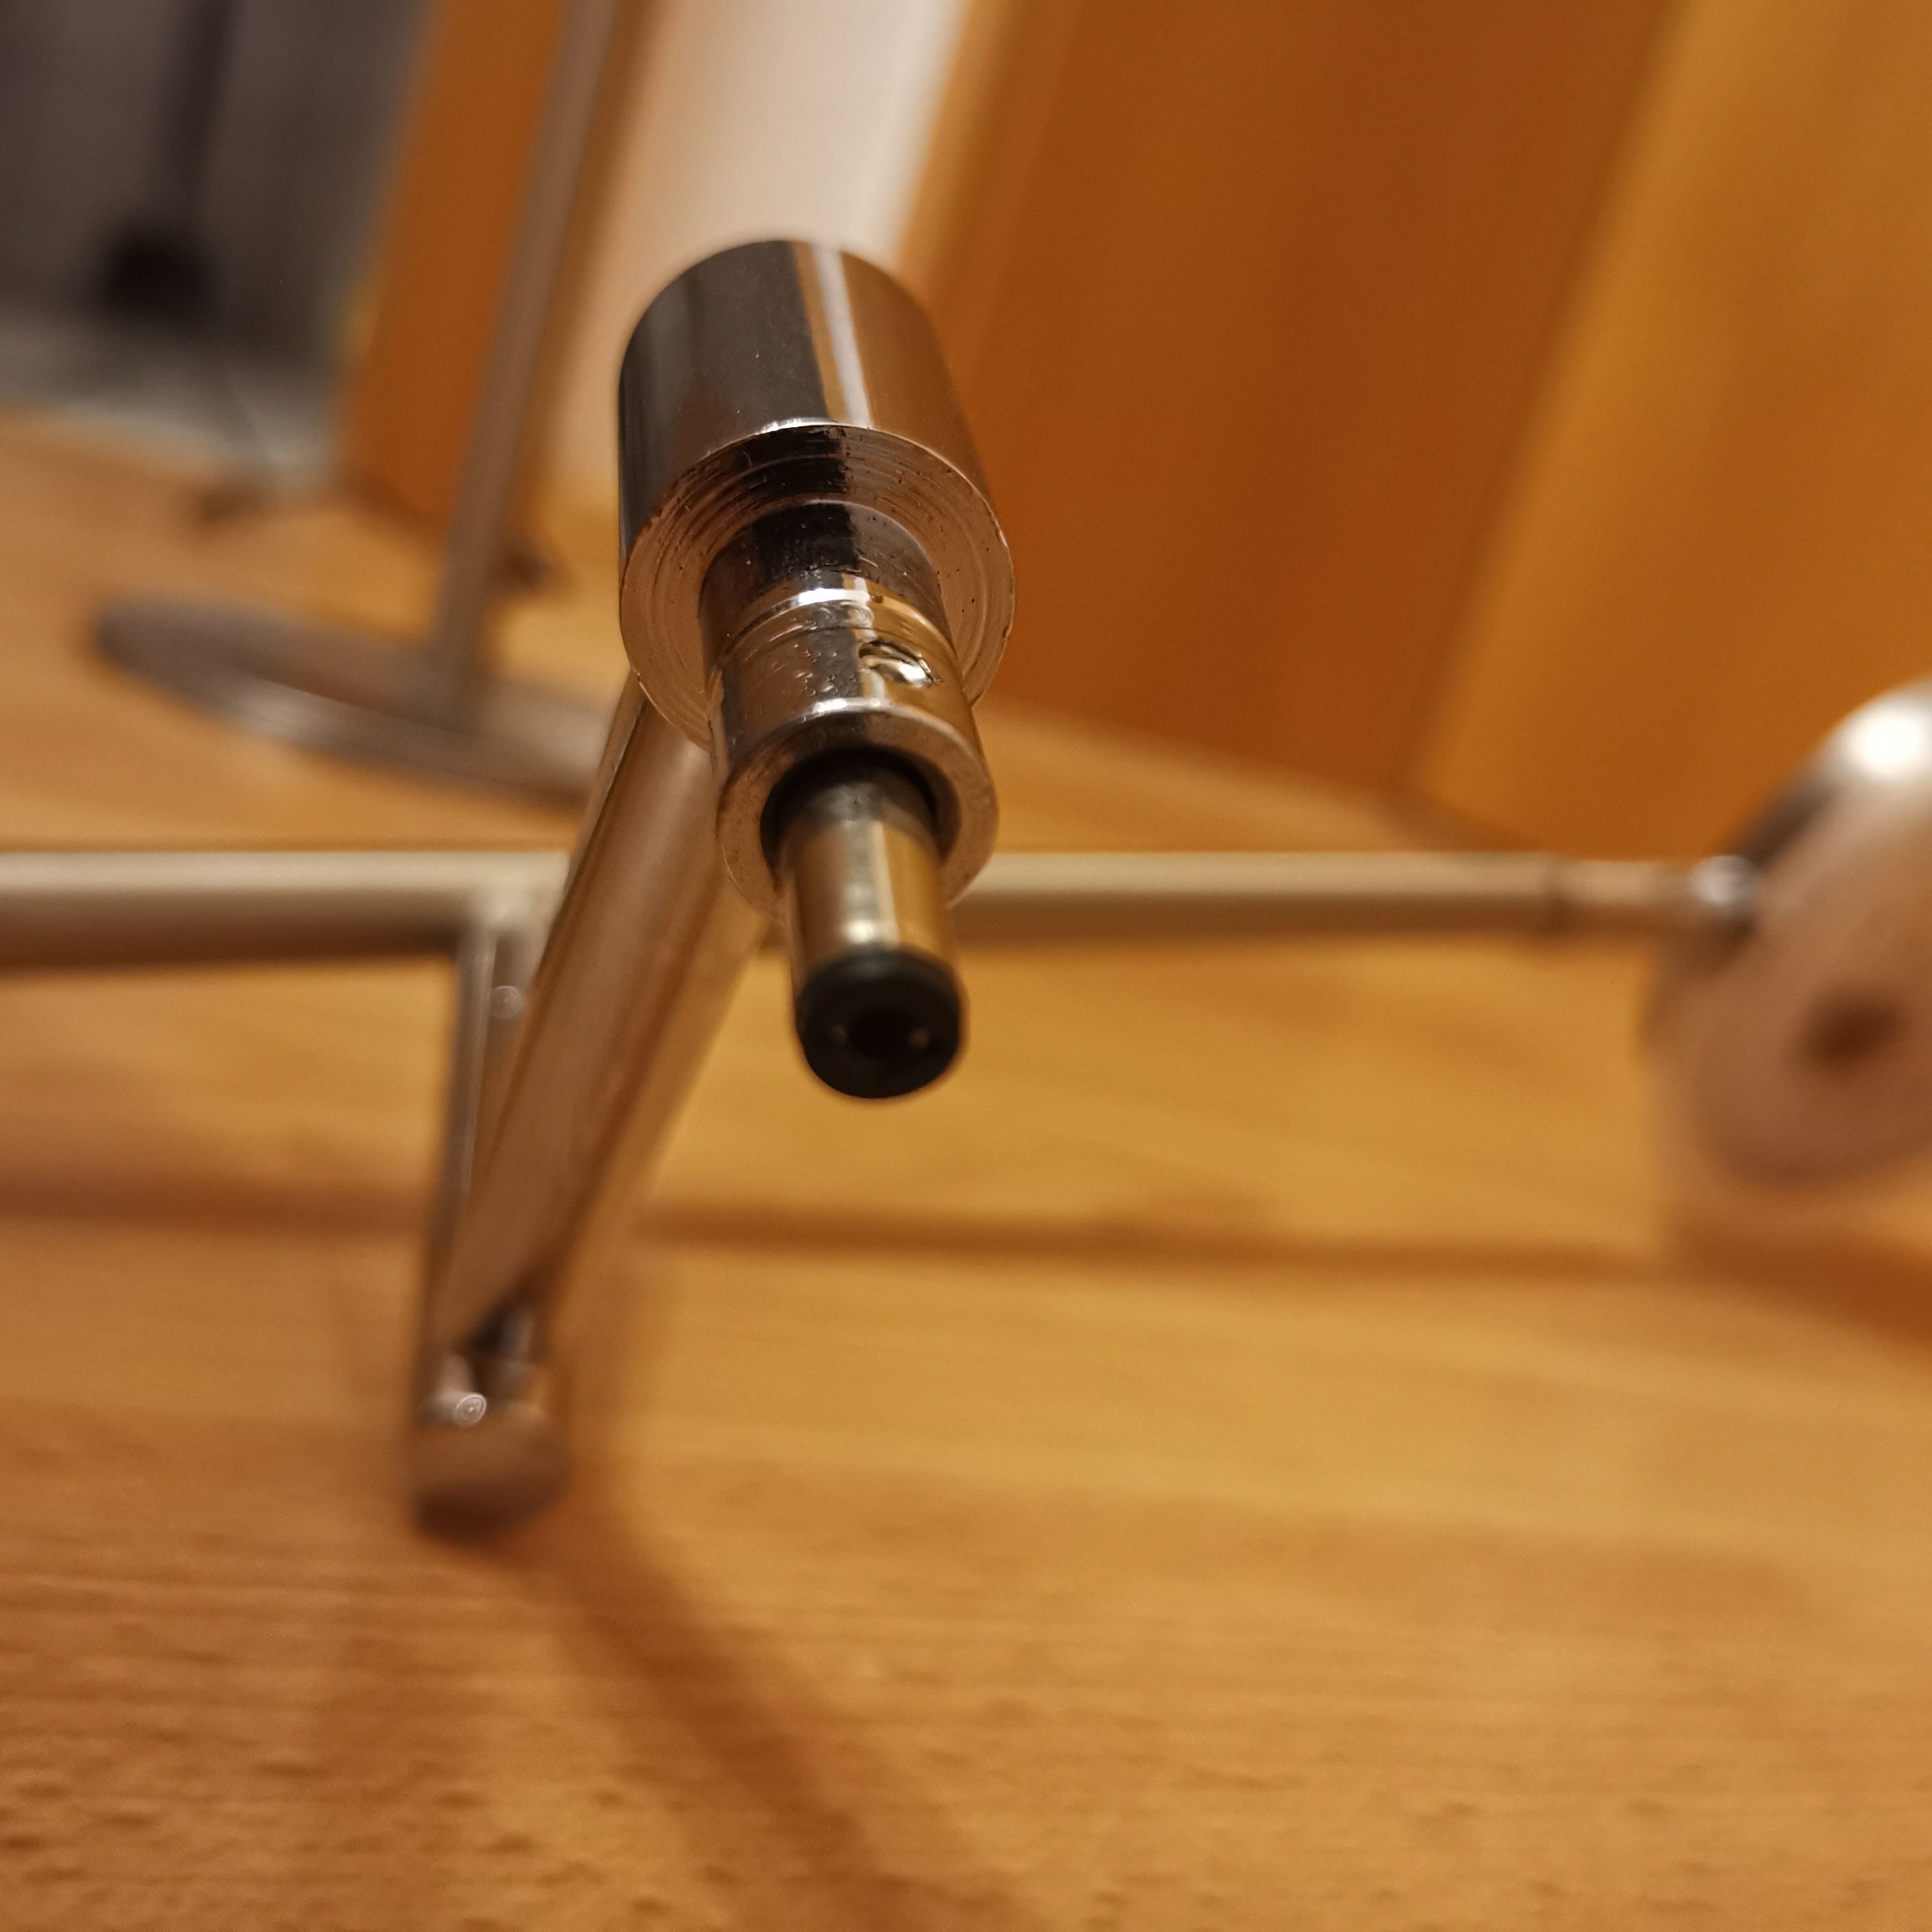
Once removed you can Disassemble the original PCB with a screwdriver and a soldering iron:
![]()
-
Original Lamp Dissasembly
07/15/2021 at 19:27 • 0 commentsDesign of the Desk Lamp:
The choosen Desk Lamp comes in two seperate parts.
You might notice: There are o parts and no power supply in the Base of the Desk Lamp. This makes it easier to hack it. All parts are in the External power supply or inside the Lamp Head. This makes it easy and more save to built in some custom parts into this lamp.
![]()
One Base made of Aluminium:
![]()
One Upper Part:
![]()
You might notice the big advantage of this OLD Desk Lamp as a Part Source. This Connector is a typical 5mm connector ideal for direct connection to a Voltage Supply during development.
The power supply that comes original is a constant current with 24 V Power supply. The manufacturer says in the spec that there is some kind of PWM for dimming included. After some measurements I could not find out how this works. I needed to replace it by a different one to met the 5V of my choosen RGB LEDs.
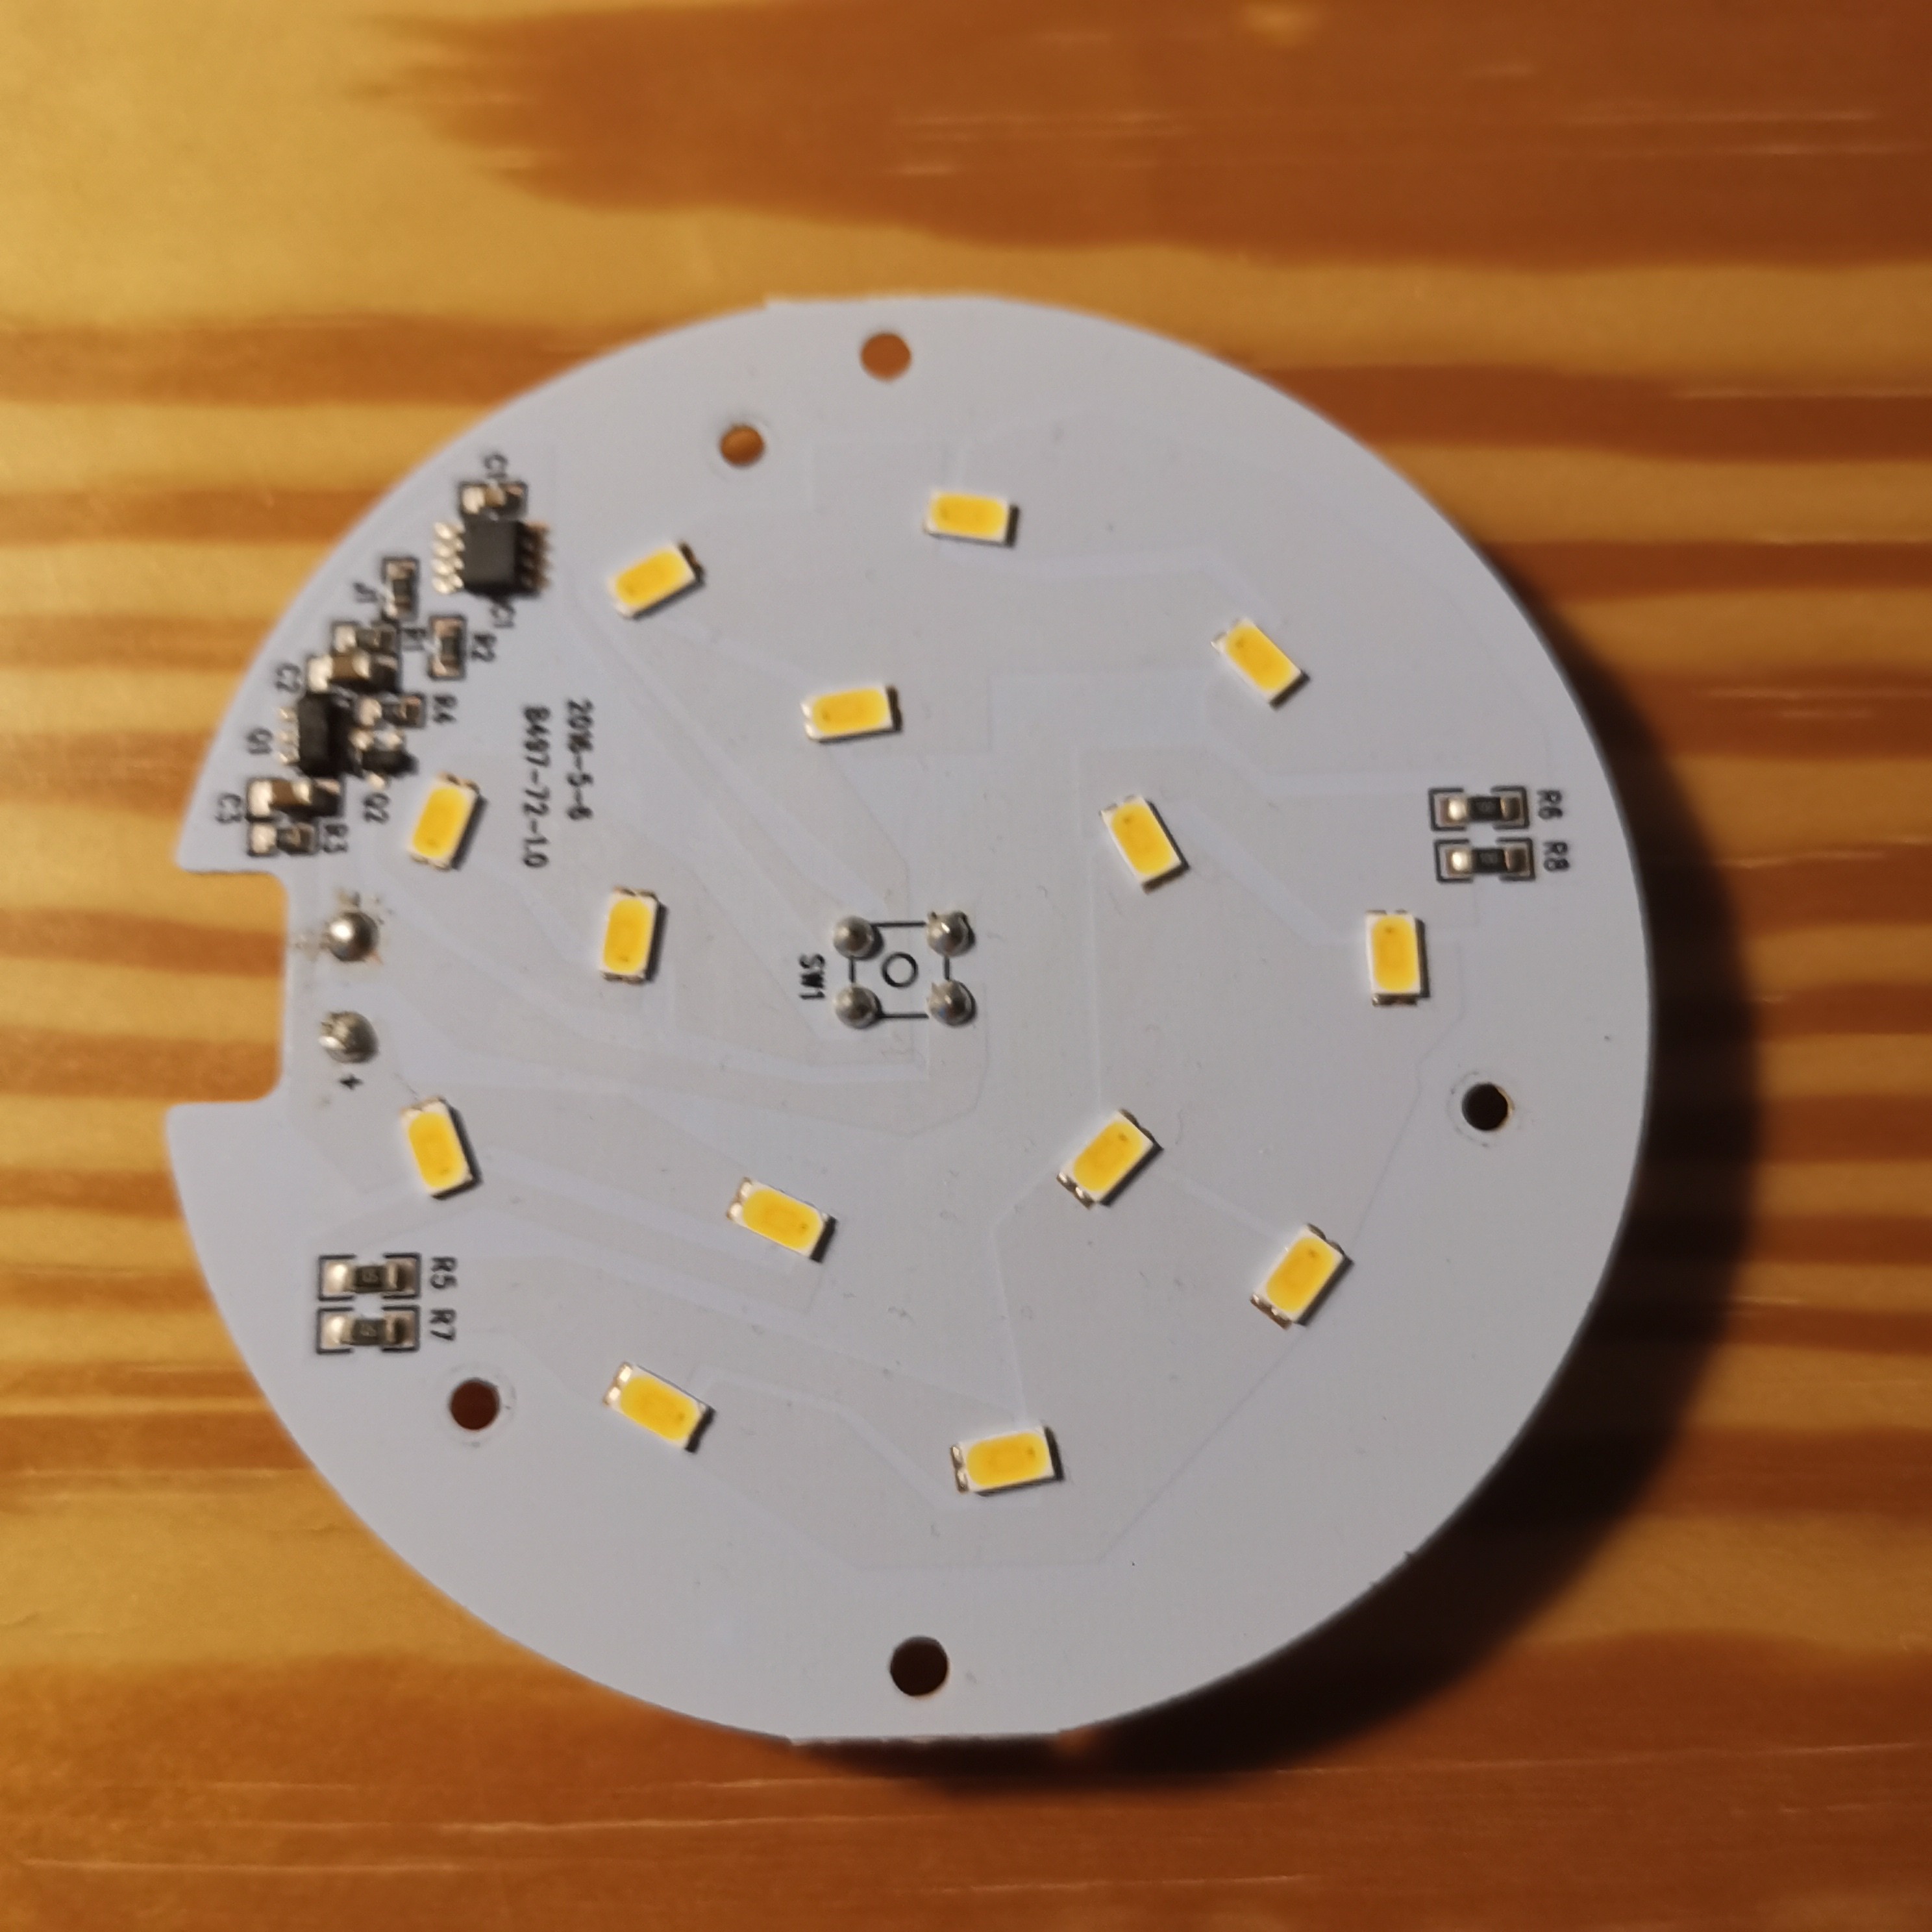
I disassembled the Lamp head as well. Unfortunately the originally used LED of this lamp are only WARM White. On this old original PCB Design it is not easy to build in some RGB LEDS ore An AirQuality sensor. That's why I choosed to replace this Original PCB by a custom made.
OLD PCB that was original mounted in the Lamp Head
![]()
LoRaLamp AIRQuality
A Desklamp for your "Work from Home" Desk with Air Quality Sensor, LoRa, WiFi, MQTT that reminds you to open your windows for Fresh Air