For this week, most of my time was spent installing all of the various drivers/programs needed to run Arduino and ezDisplay on Windows.
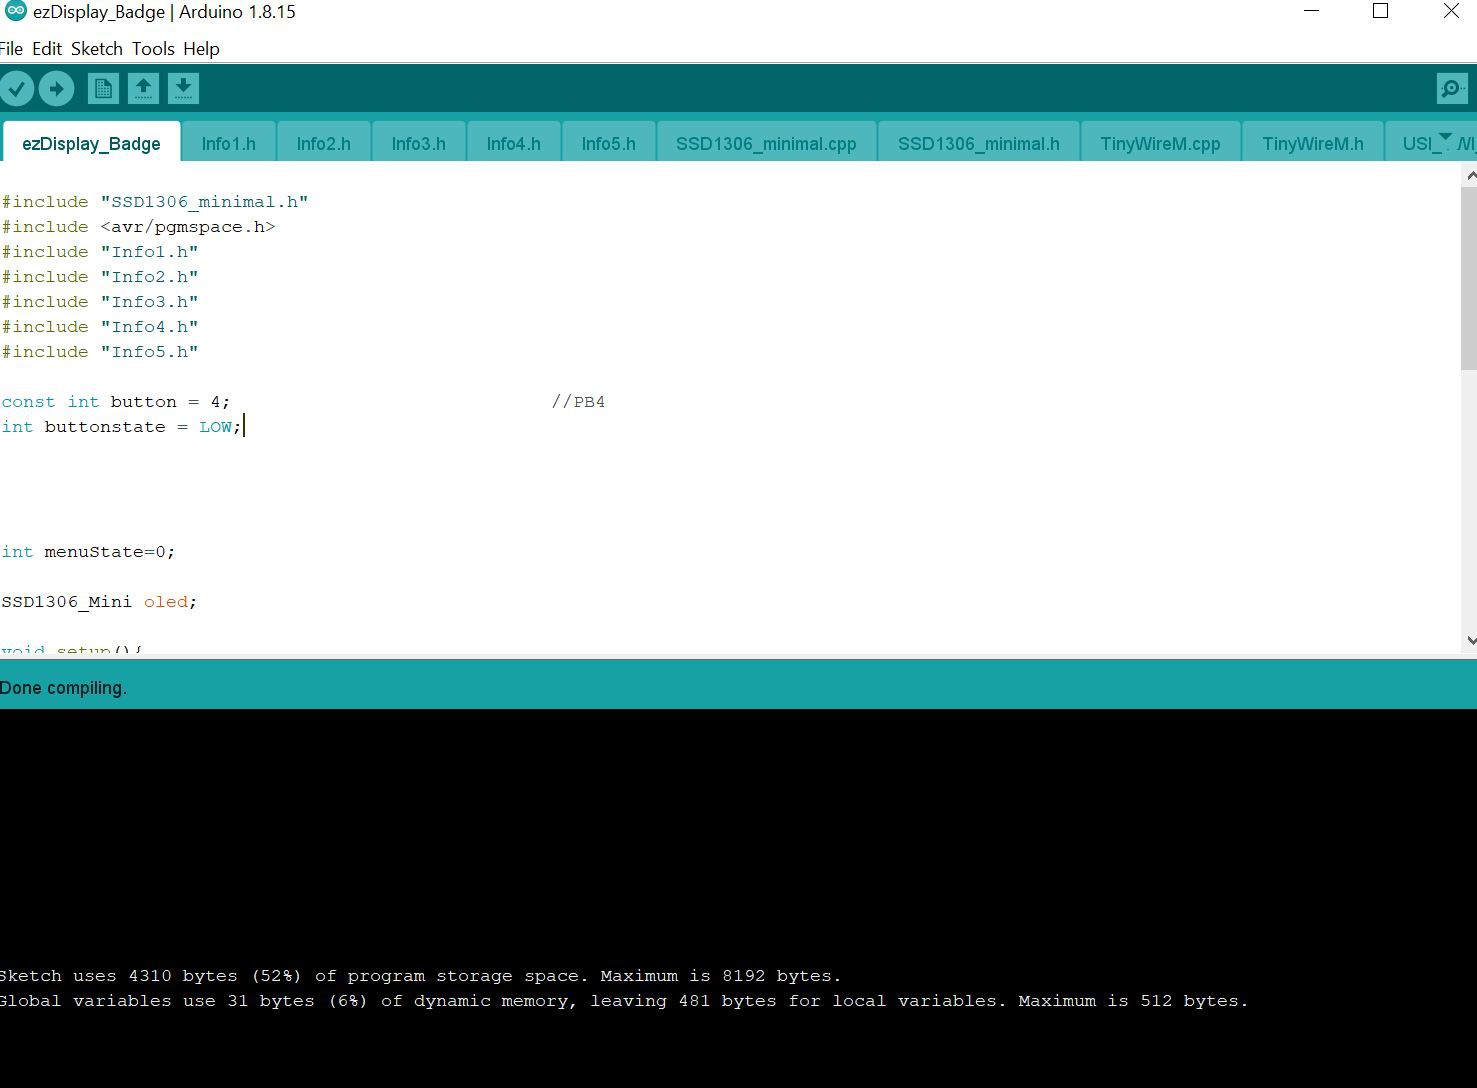
Eventually, I got the files to compile and was able to upload the examples today (after a long and arduous battle with a defective programmer).
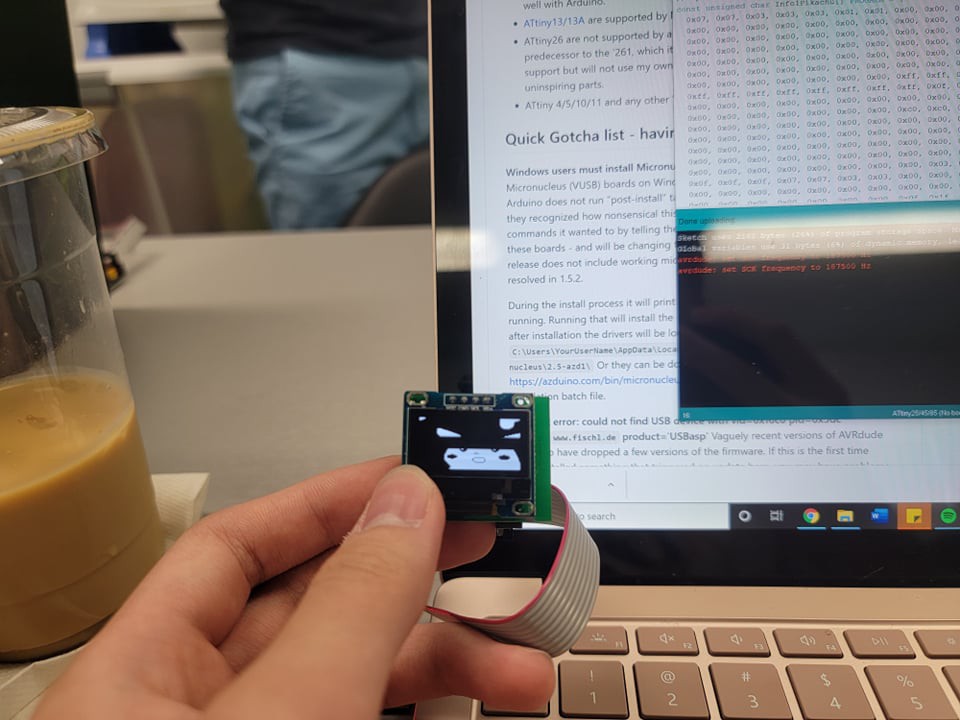
I was able to create my own image using the image2cpp site to display (mind the black line, as the screen is refreshing :') ).
I also looked into the functions and capabilities of the ezDisplay board, which weren't too many. Here is what I wrote down so far (it is still a very basic overview).
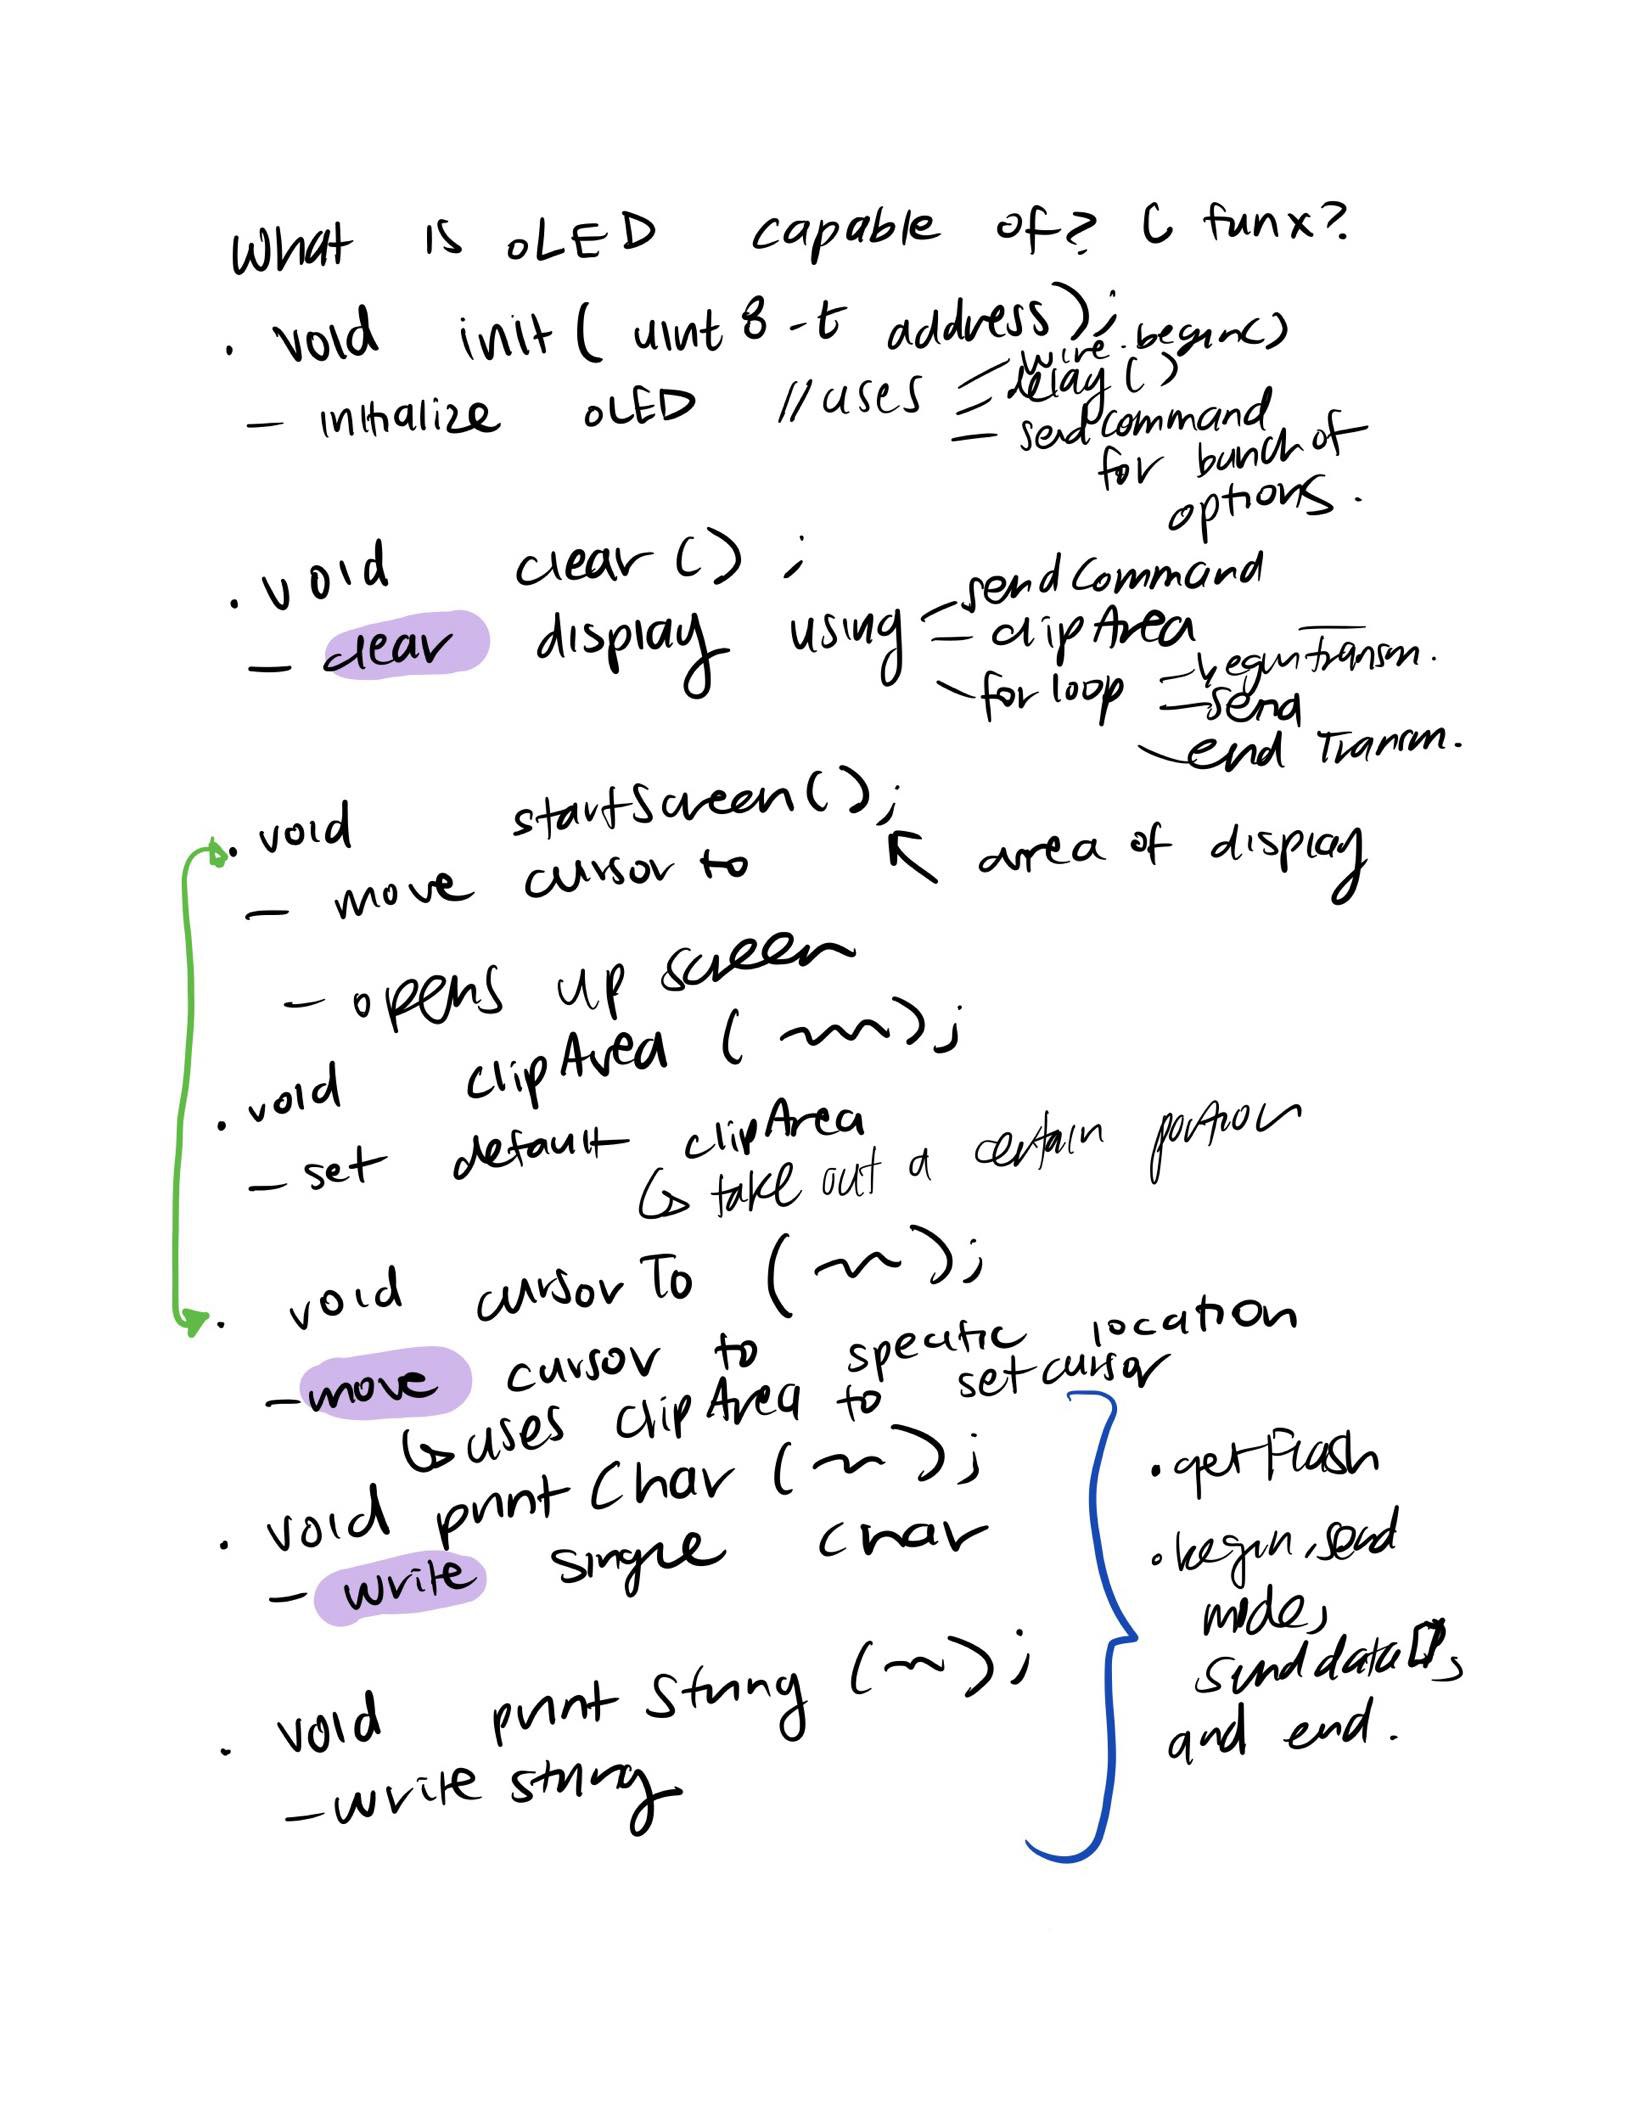
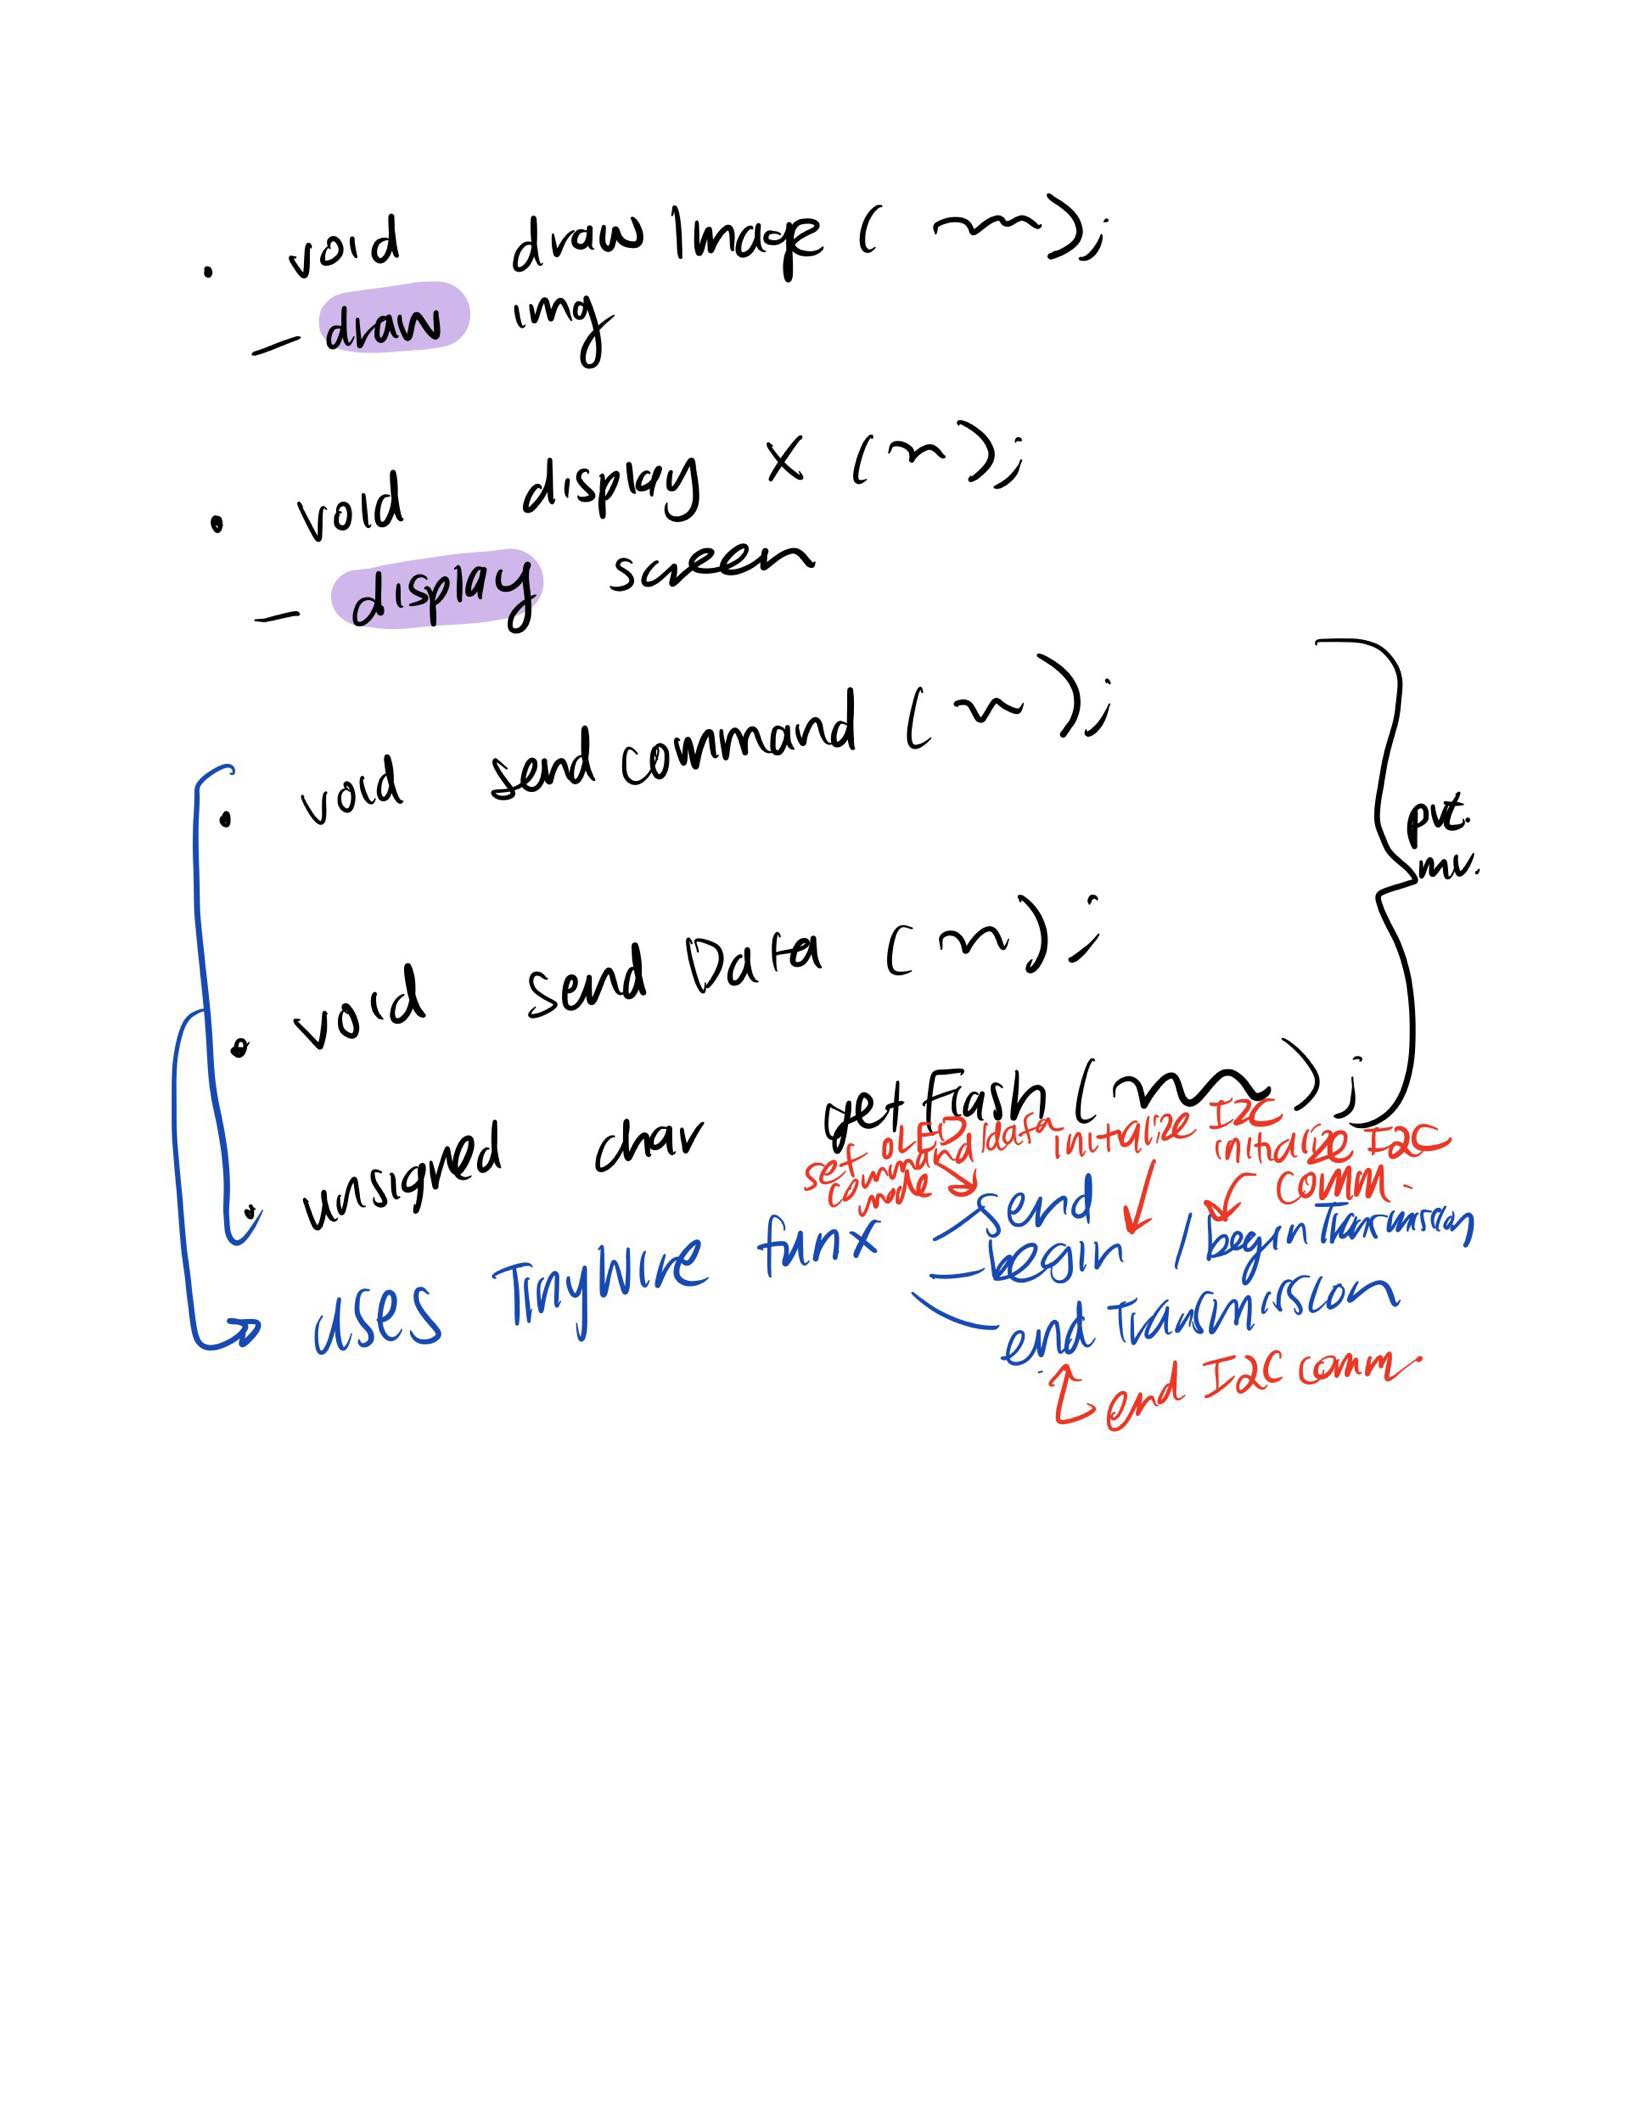
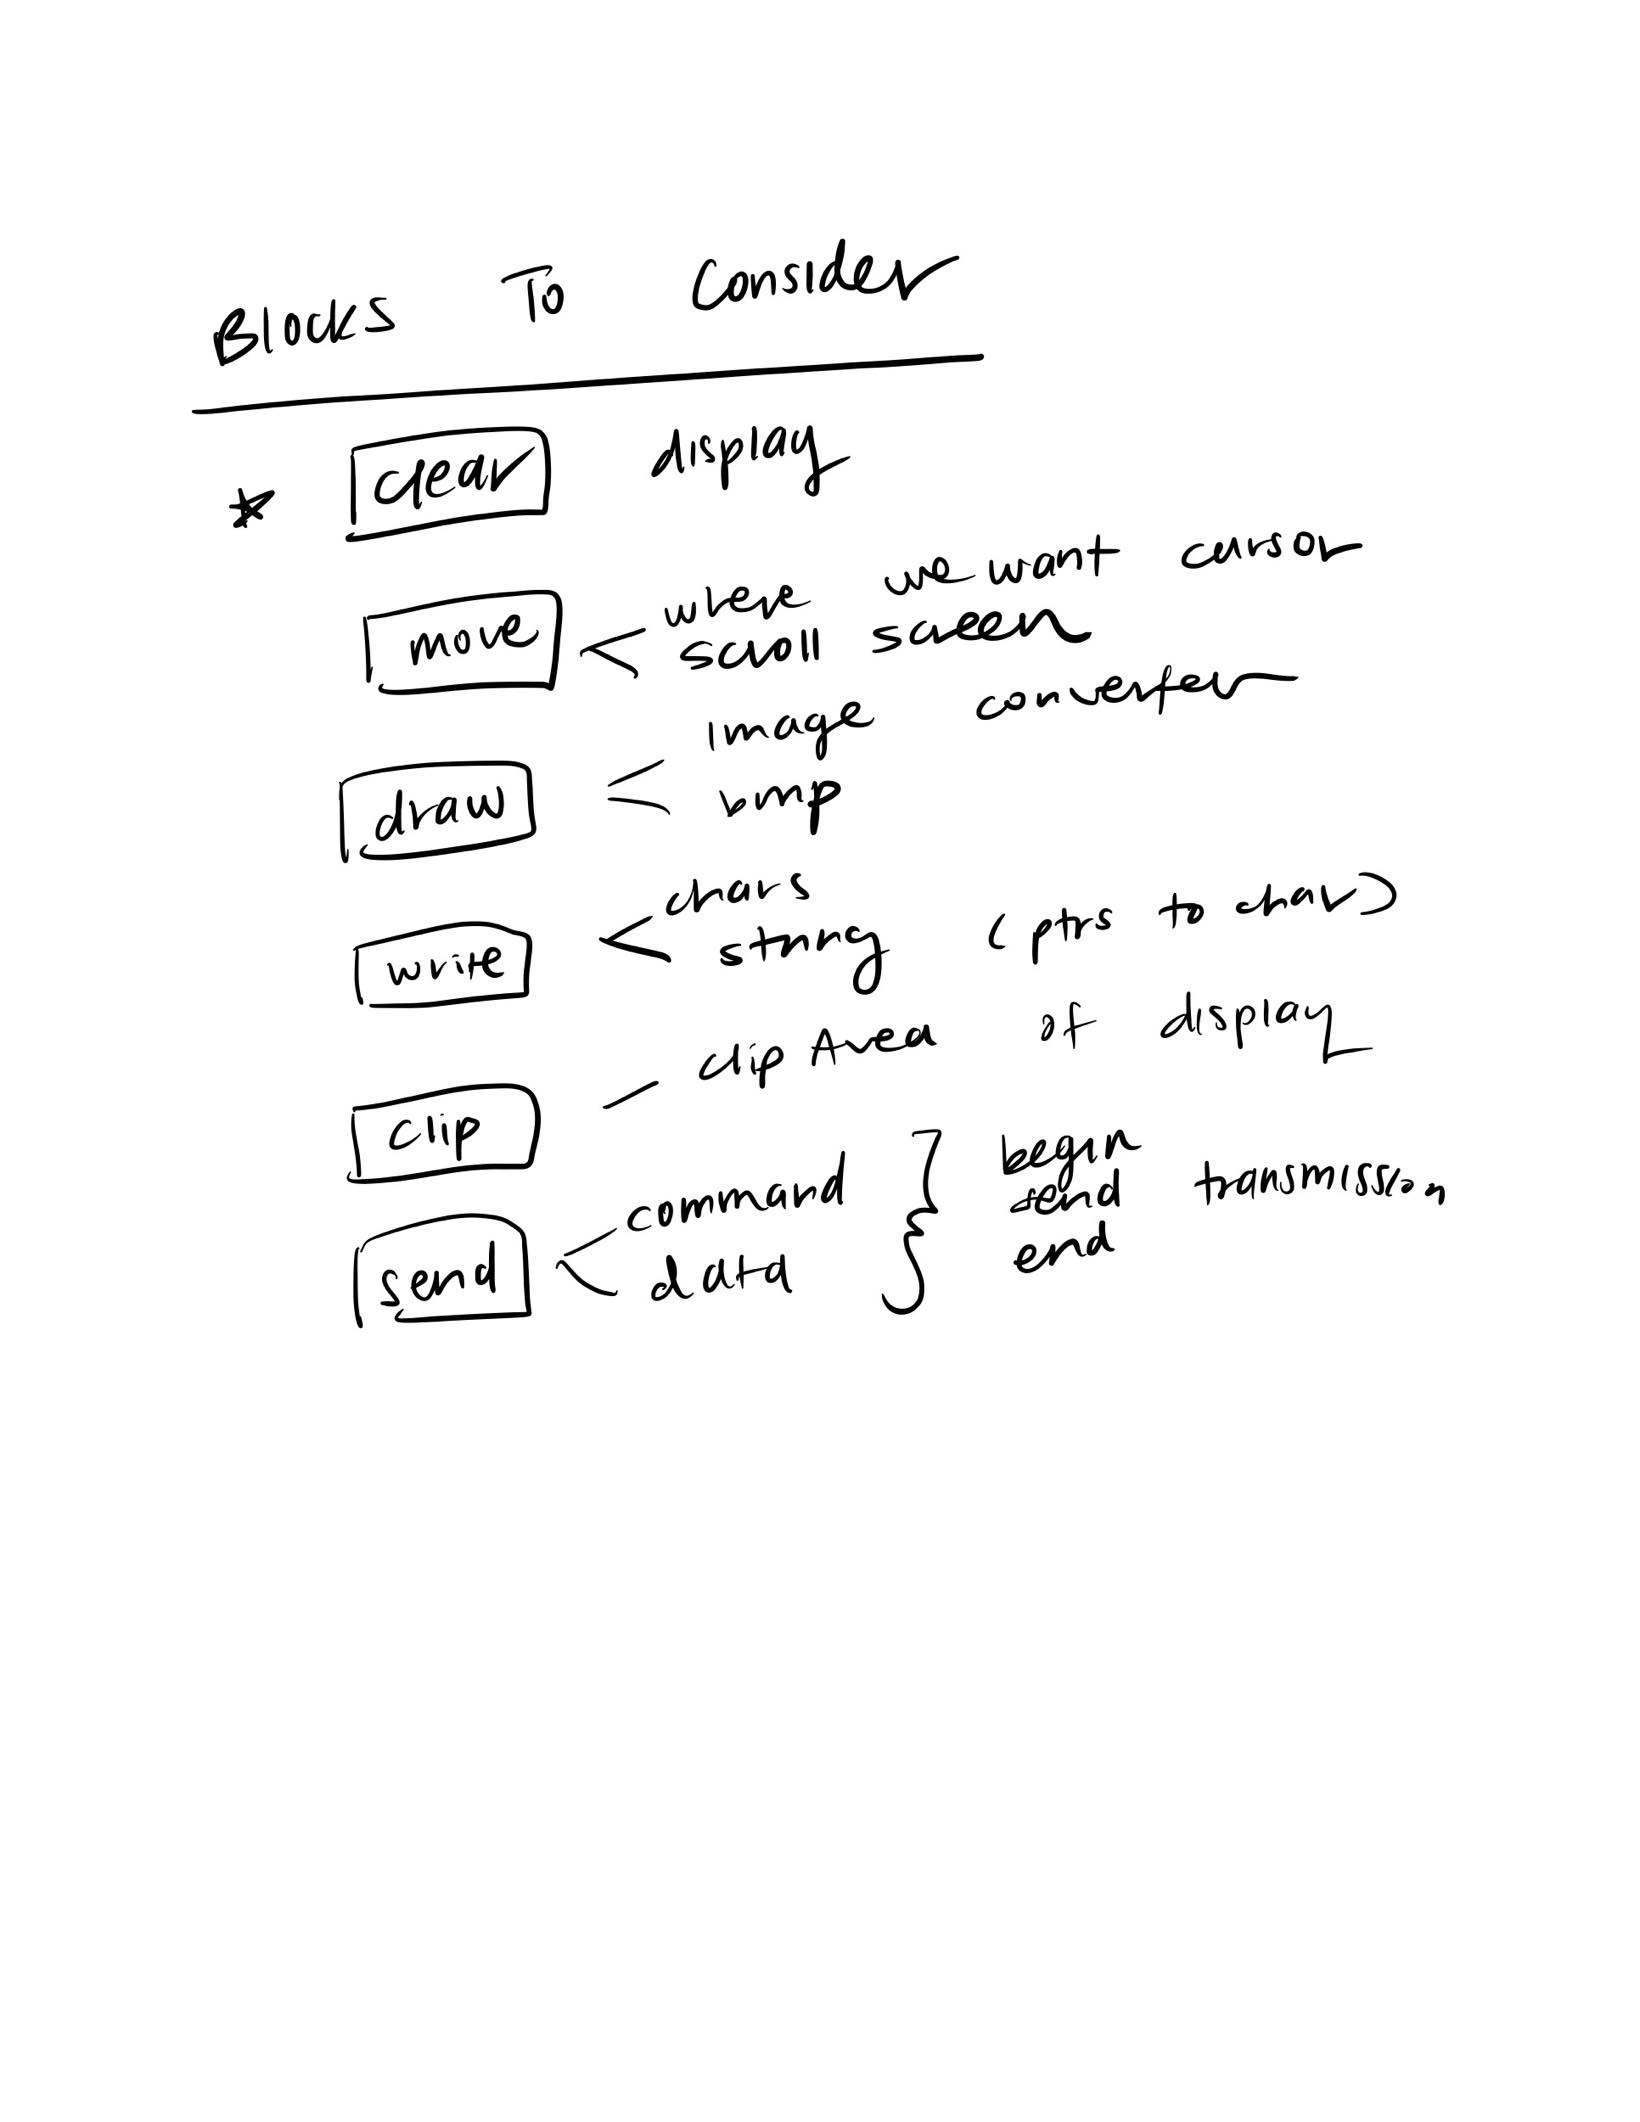
Excited to create the blocks!
 Sion Hwang
Discussions
Become a Hackaday.io Member
Create an account to leave a comment. Already have an account? Log In.
It might be a good idea to add some hard-coded assets so that someone can see what blocks can do without going to the length to find an image, convert it, etc.... We can certainly add maybe 3 or 4 like a Barnabas logo or something to demonstrate.
Are you sure? yes | no
Let's do it!
Are you sure? yes | no
Additionally, I think it would be really cool if we could use conditionals/logic statements so that a student can input a string like "circle" and for instance "if circle == circle, draw 'circle'," which would be an image already converted as a default Circle.h file.
And also we could convert int to char in c-code for math operations to be done on ezdisplay board.
Are you sure? yes | no
Sounds good to me!
Are you sure? yes | no
also, in addition to the ezDisplay functions, there would be the blockly basic functions like delay() and loop() and logic blocks that the user can use.
Are you sure? yes | no