 Michael Rangen
-
1Get Design Files
They're available on the project page.
![]()
-
2Order Boards
Send the files to your favourite PCB assembler.
-
3Recieve Anti-Static Burrito
![]()
-
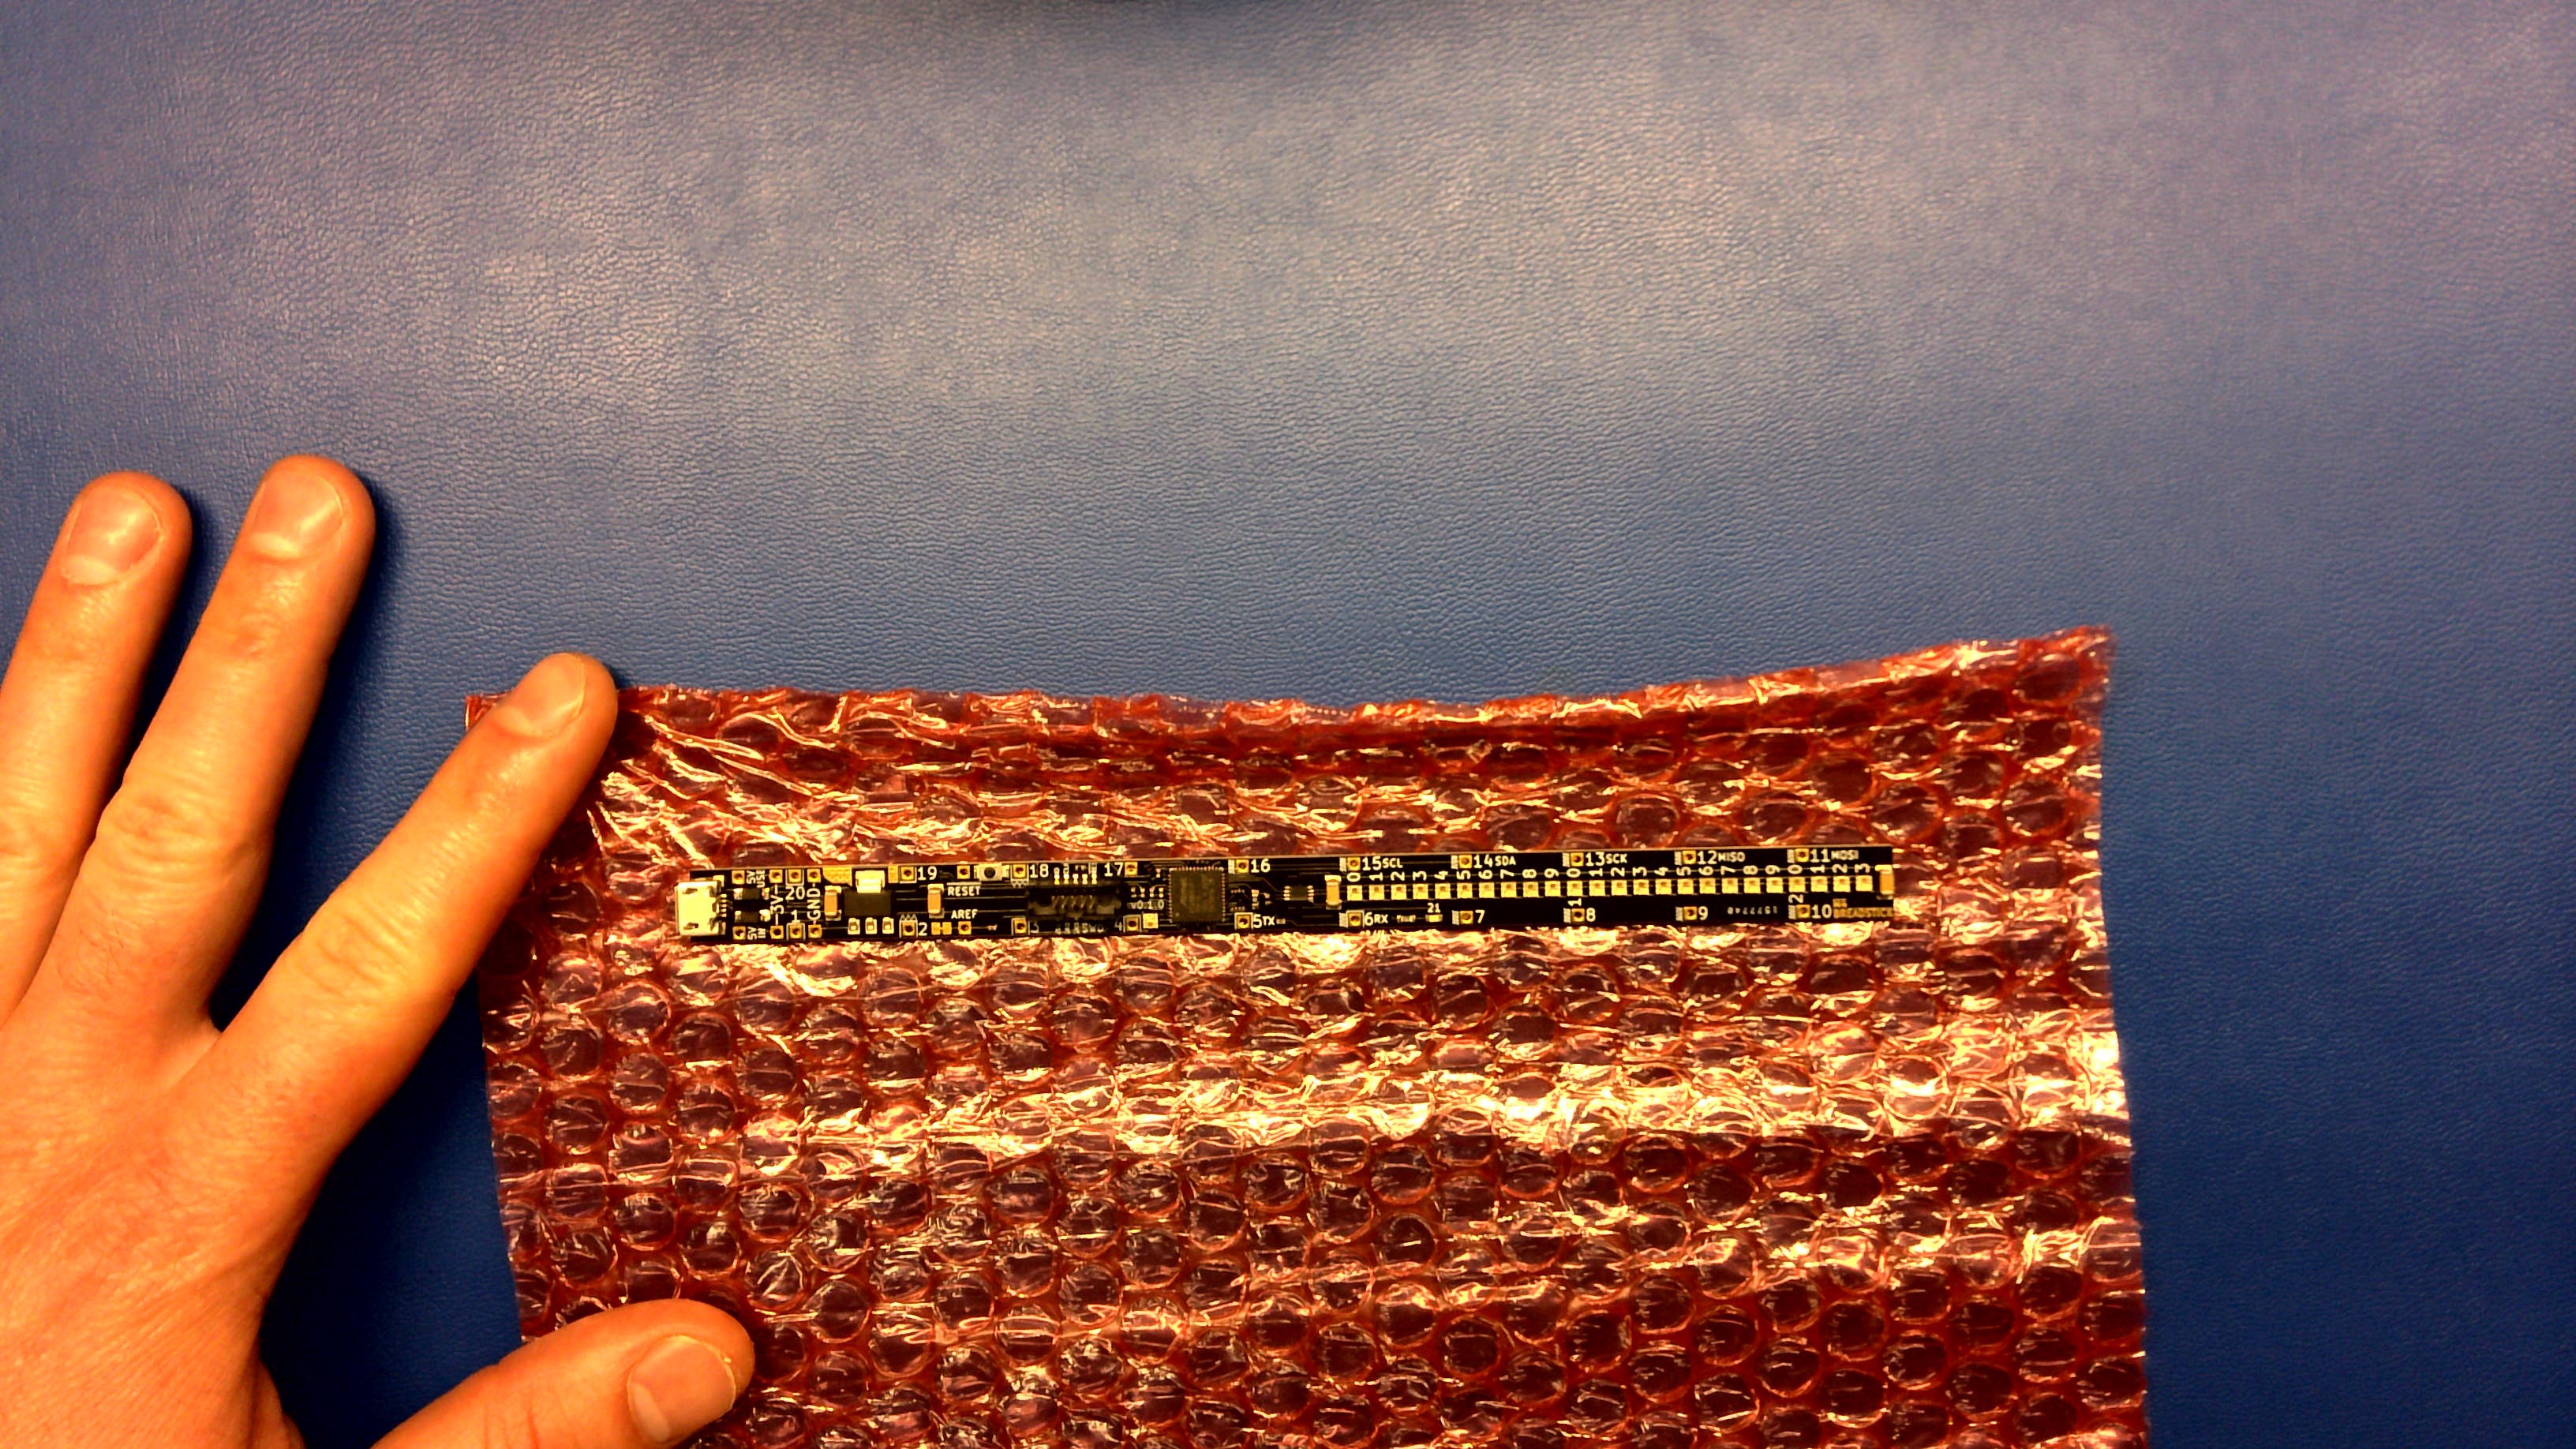
4Unwrap Anti-Static Burrito
![]()
-
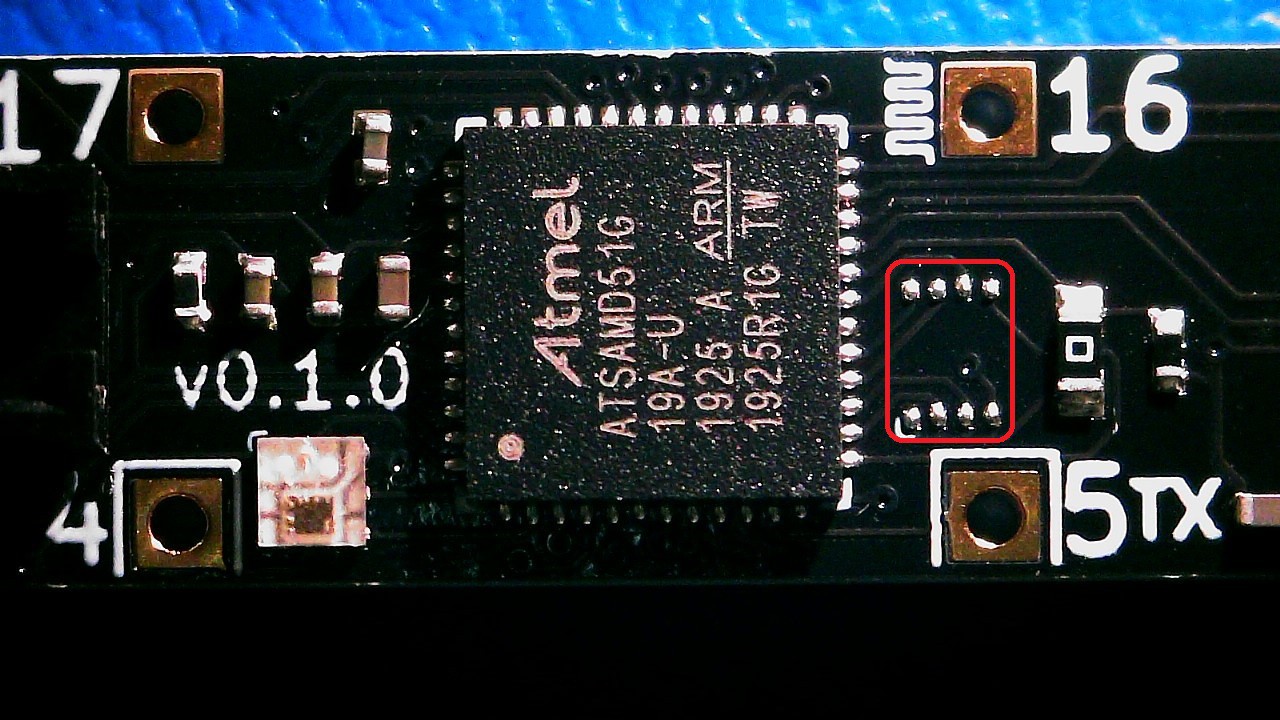
5Become Painfully Aware Of The Global Chip Shortage
For my initial prototypes I had to steal these memory ICs off of actual Adafruit ItsyBitsy M4 boards, at $20 a pop.
![]()
-
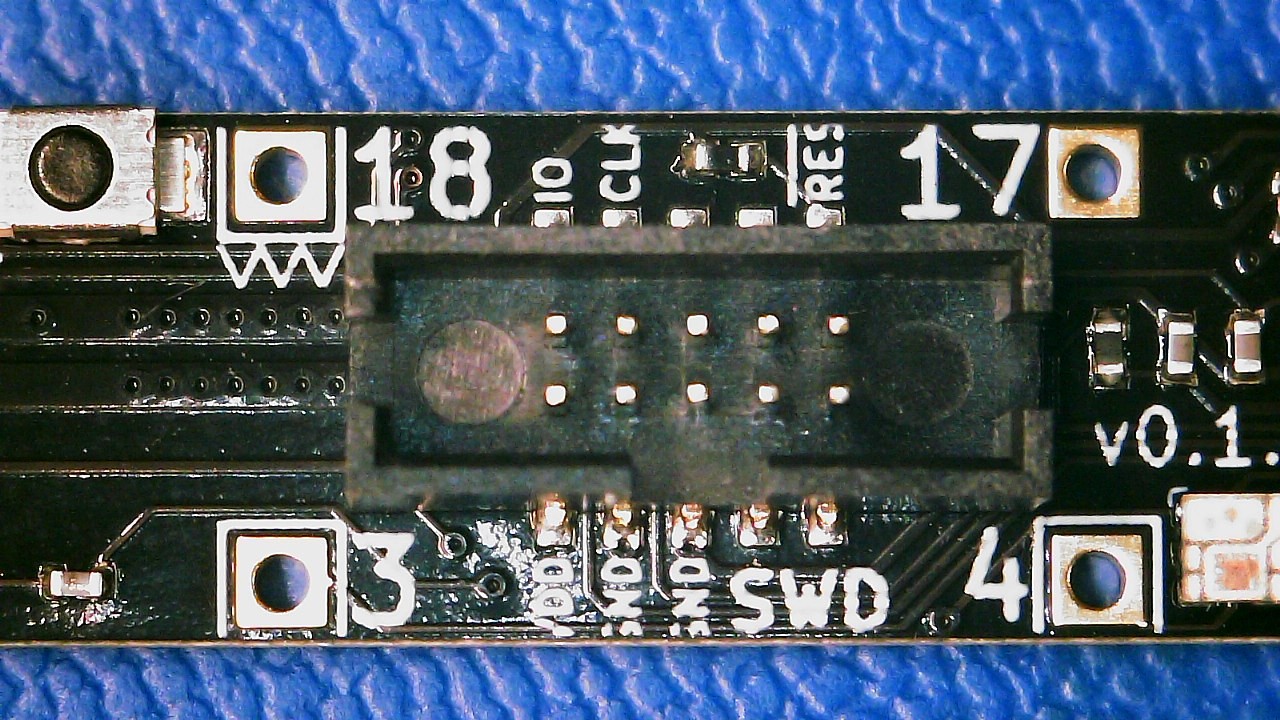
6The Ol' Switcheroo - *Whoops*
Apparently I put the SWD connector on backwards for my first batch of prototypes ¯\_(ツ)_/¯ we'll be flipping this around.
![]()
-
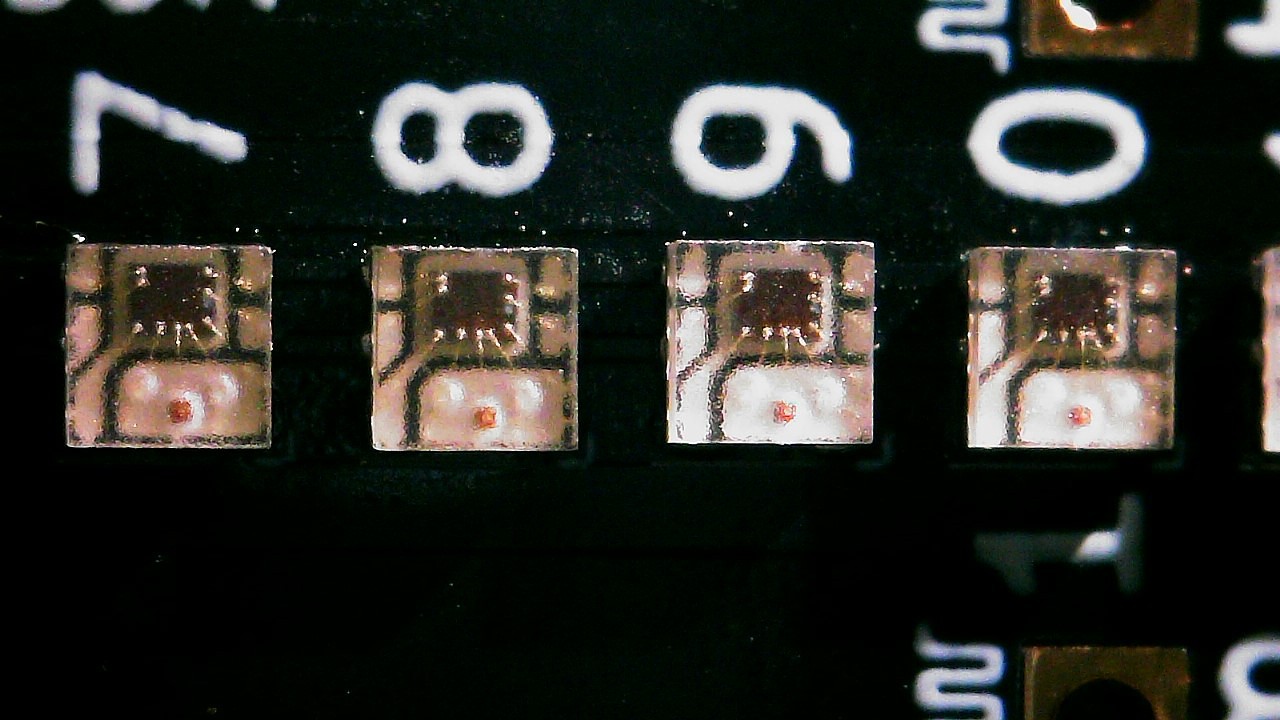
7Take A Moment To Enjoy What Went Right
Look at these lovely little gems.
![]()
-
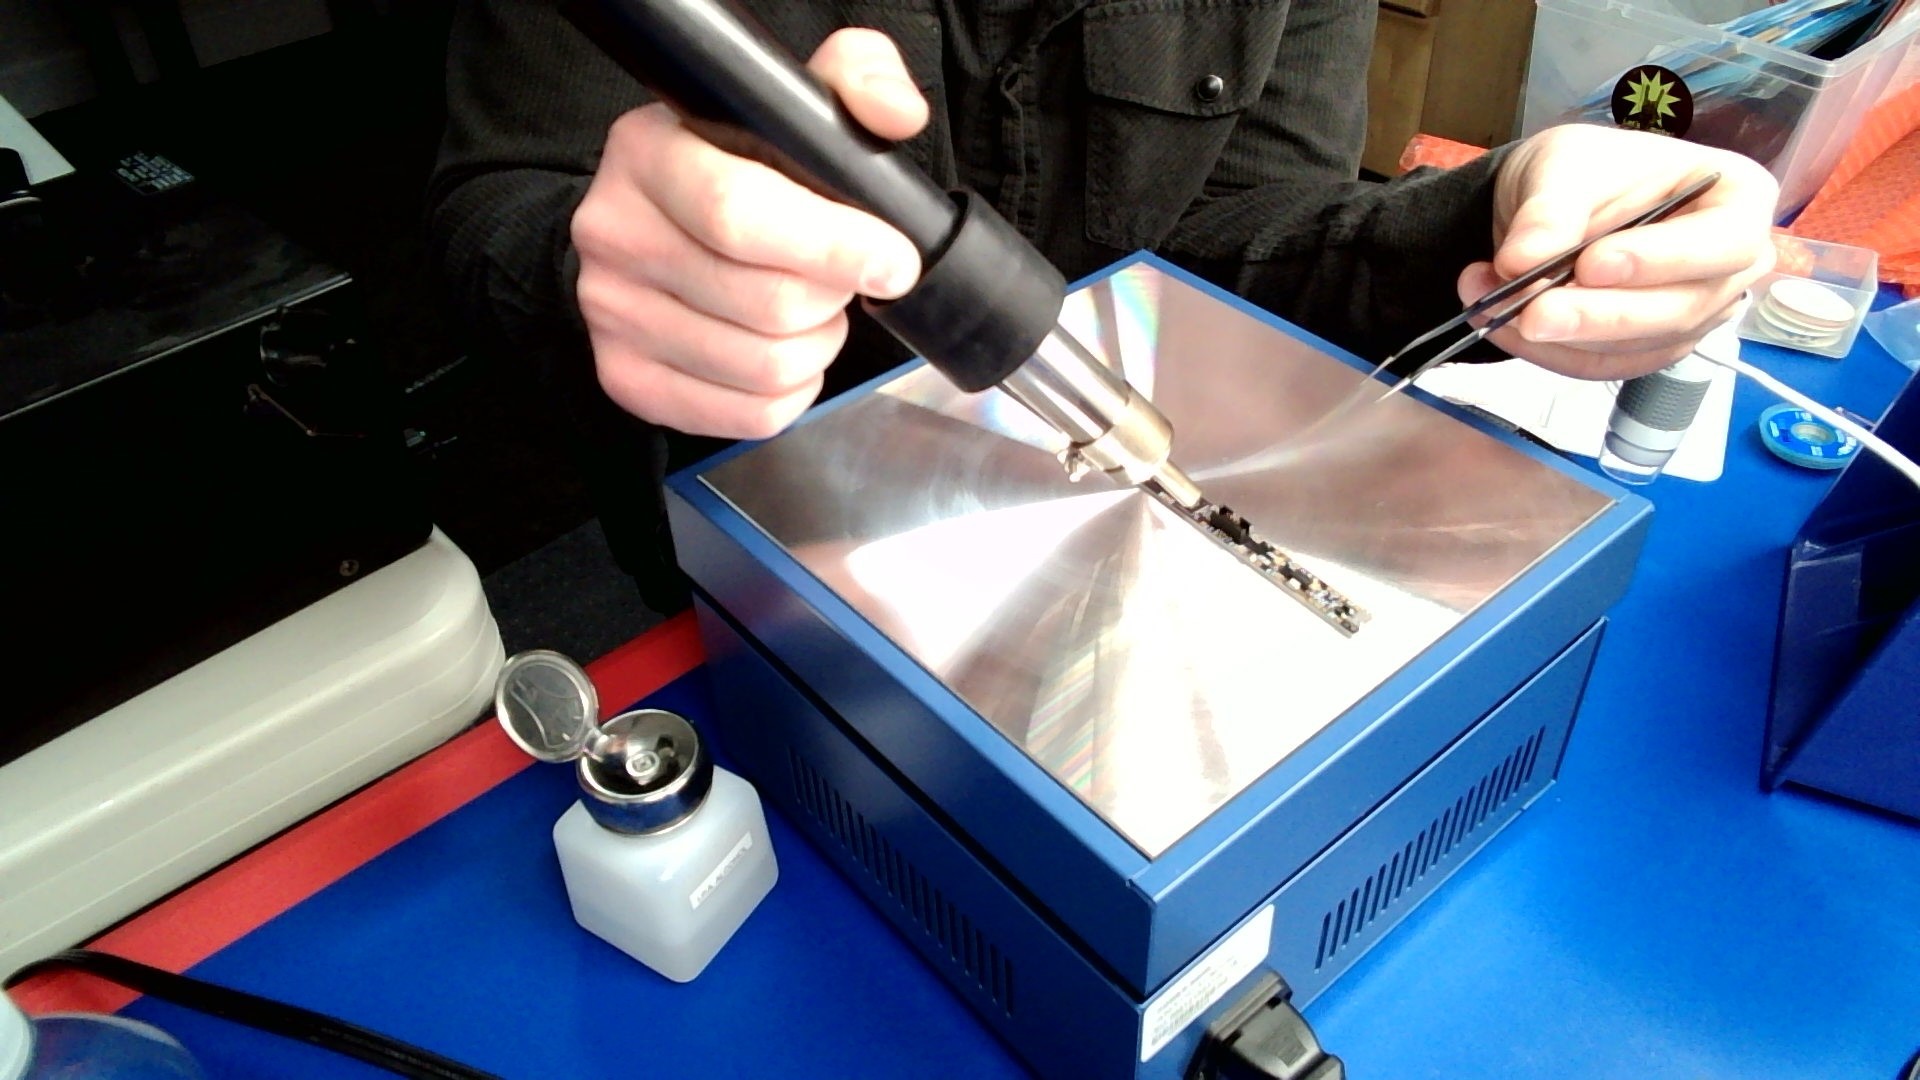
8Do Hacker Things
![]()
-
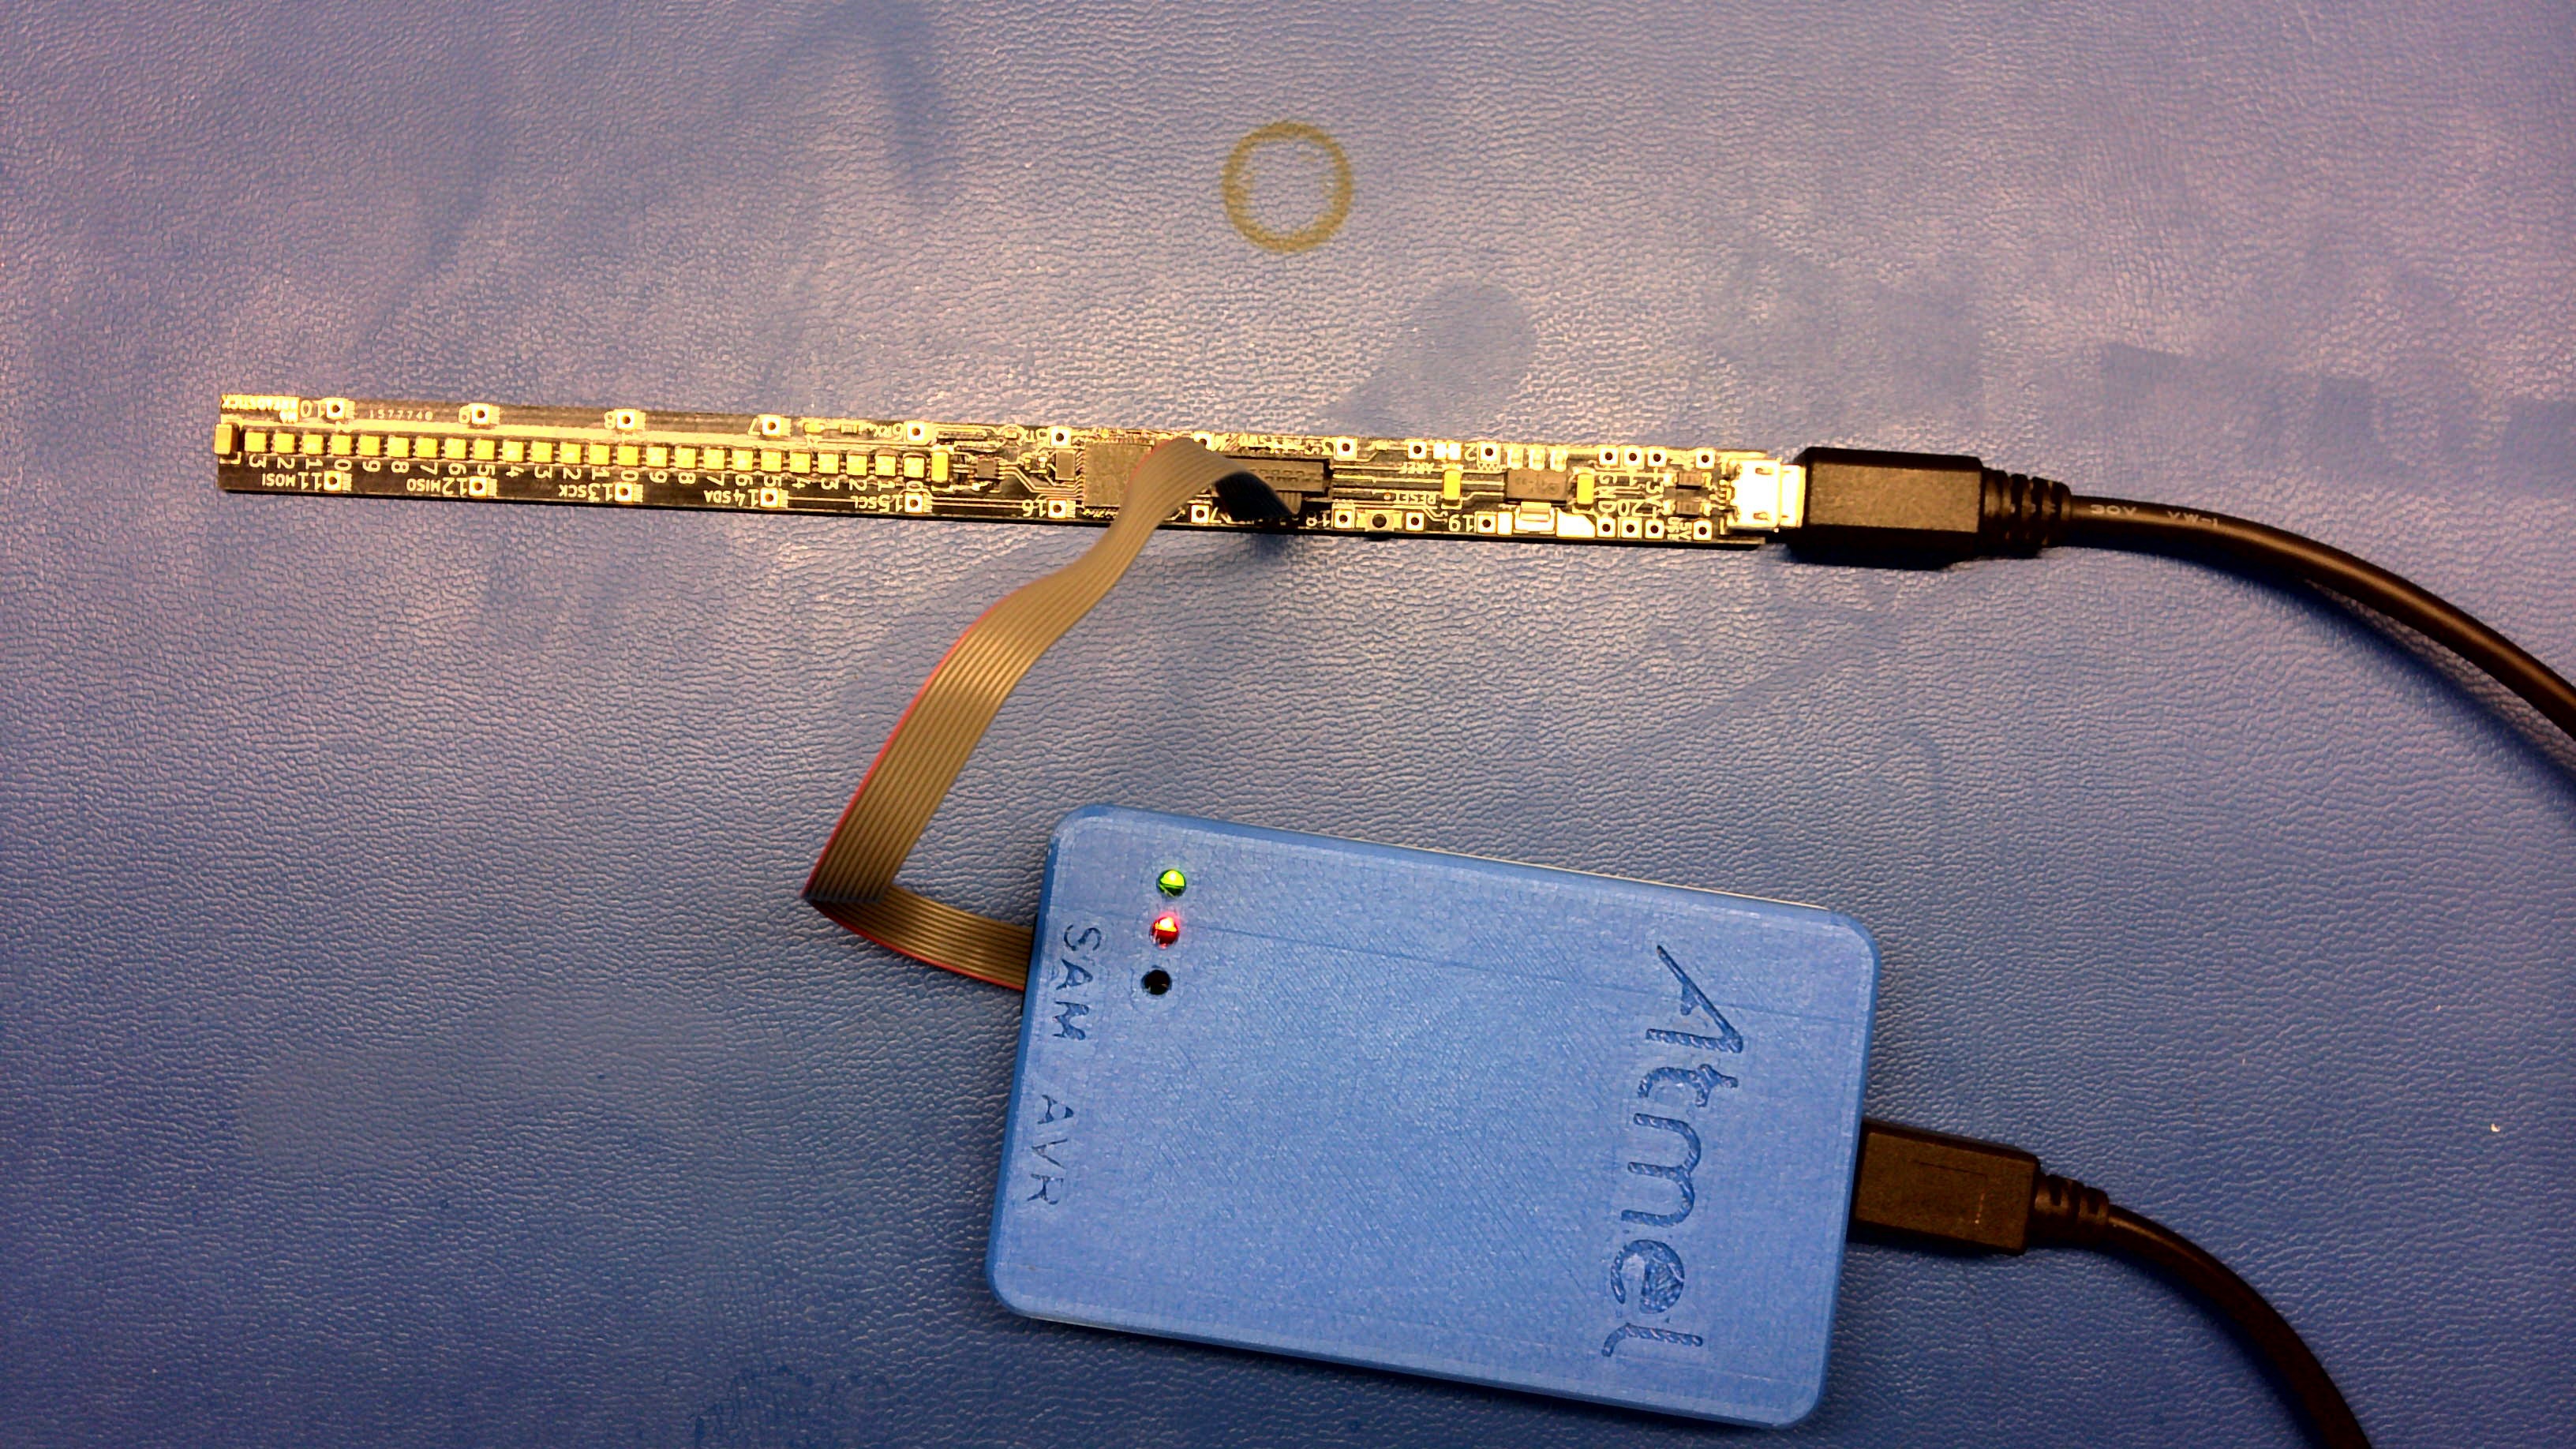
9Verify Hackery Went According To Plan
![]()
-
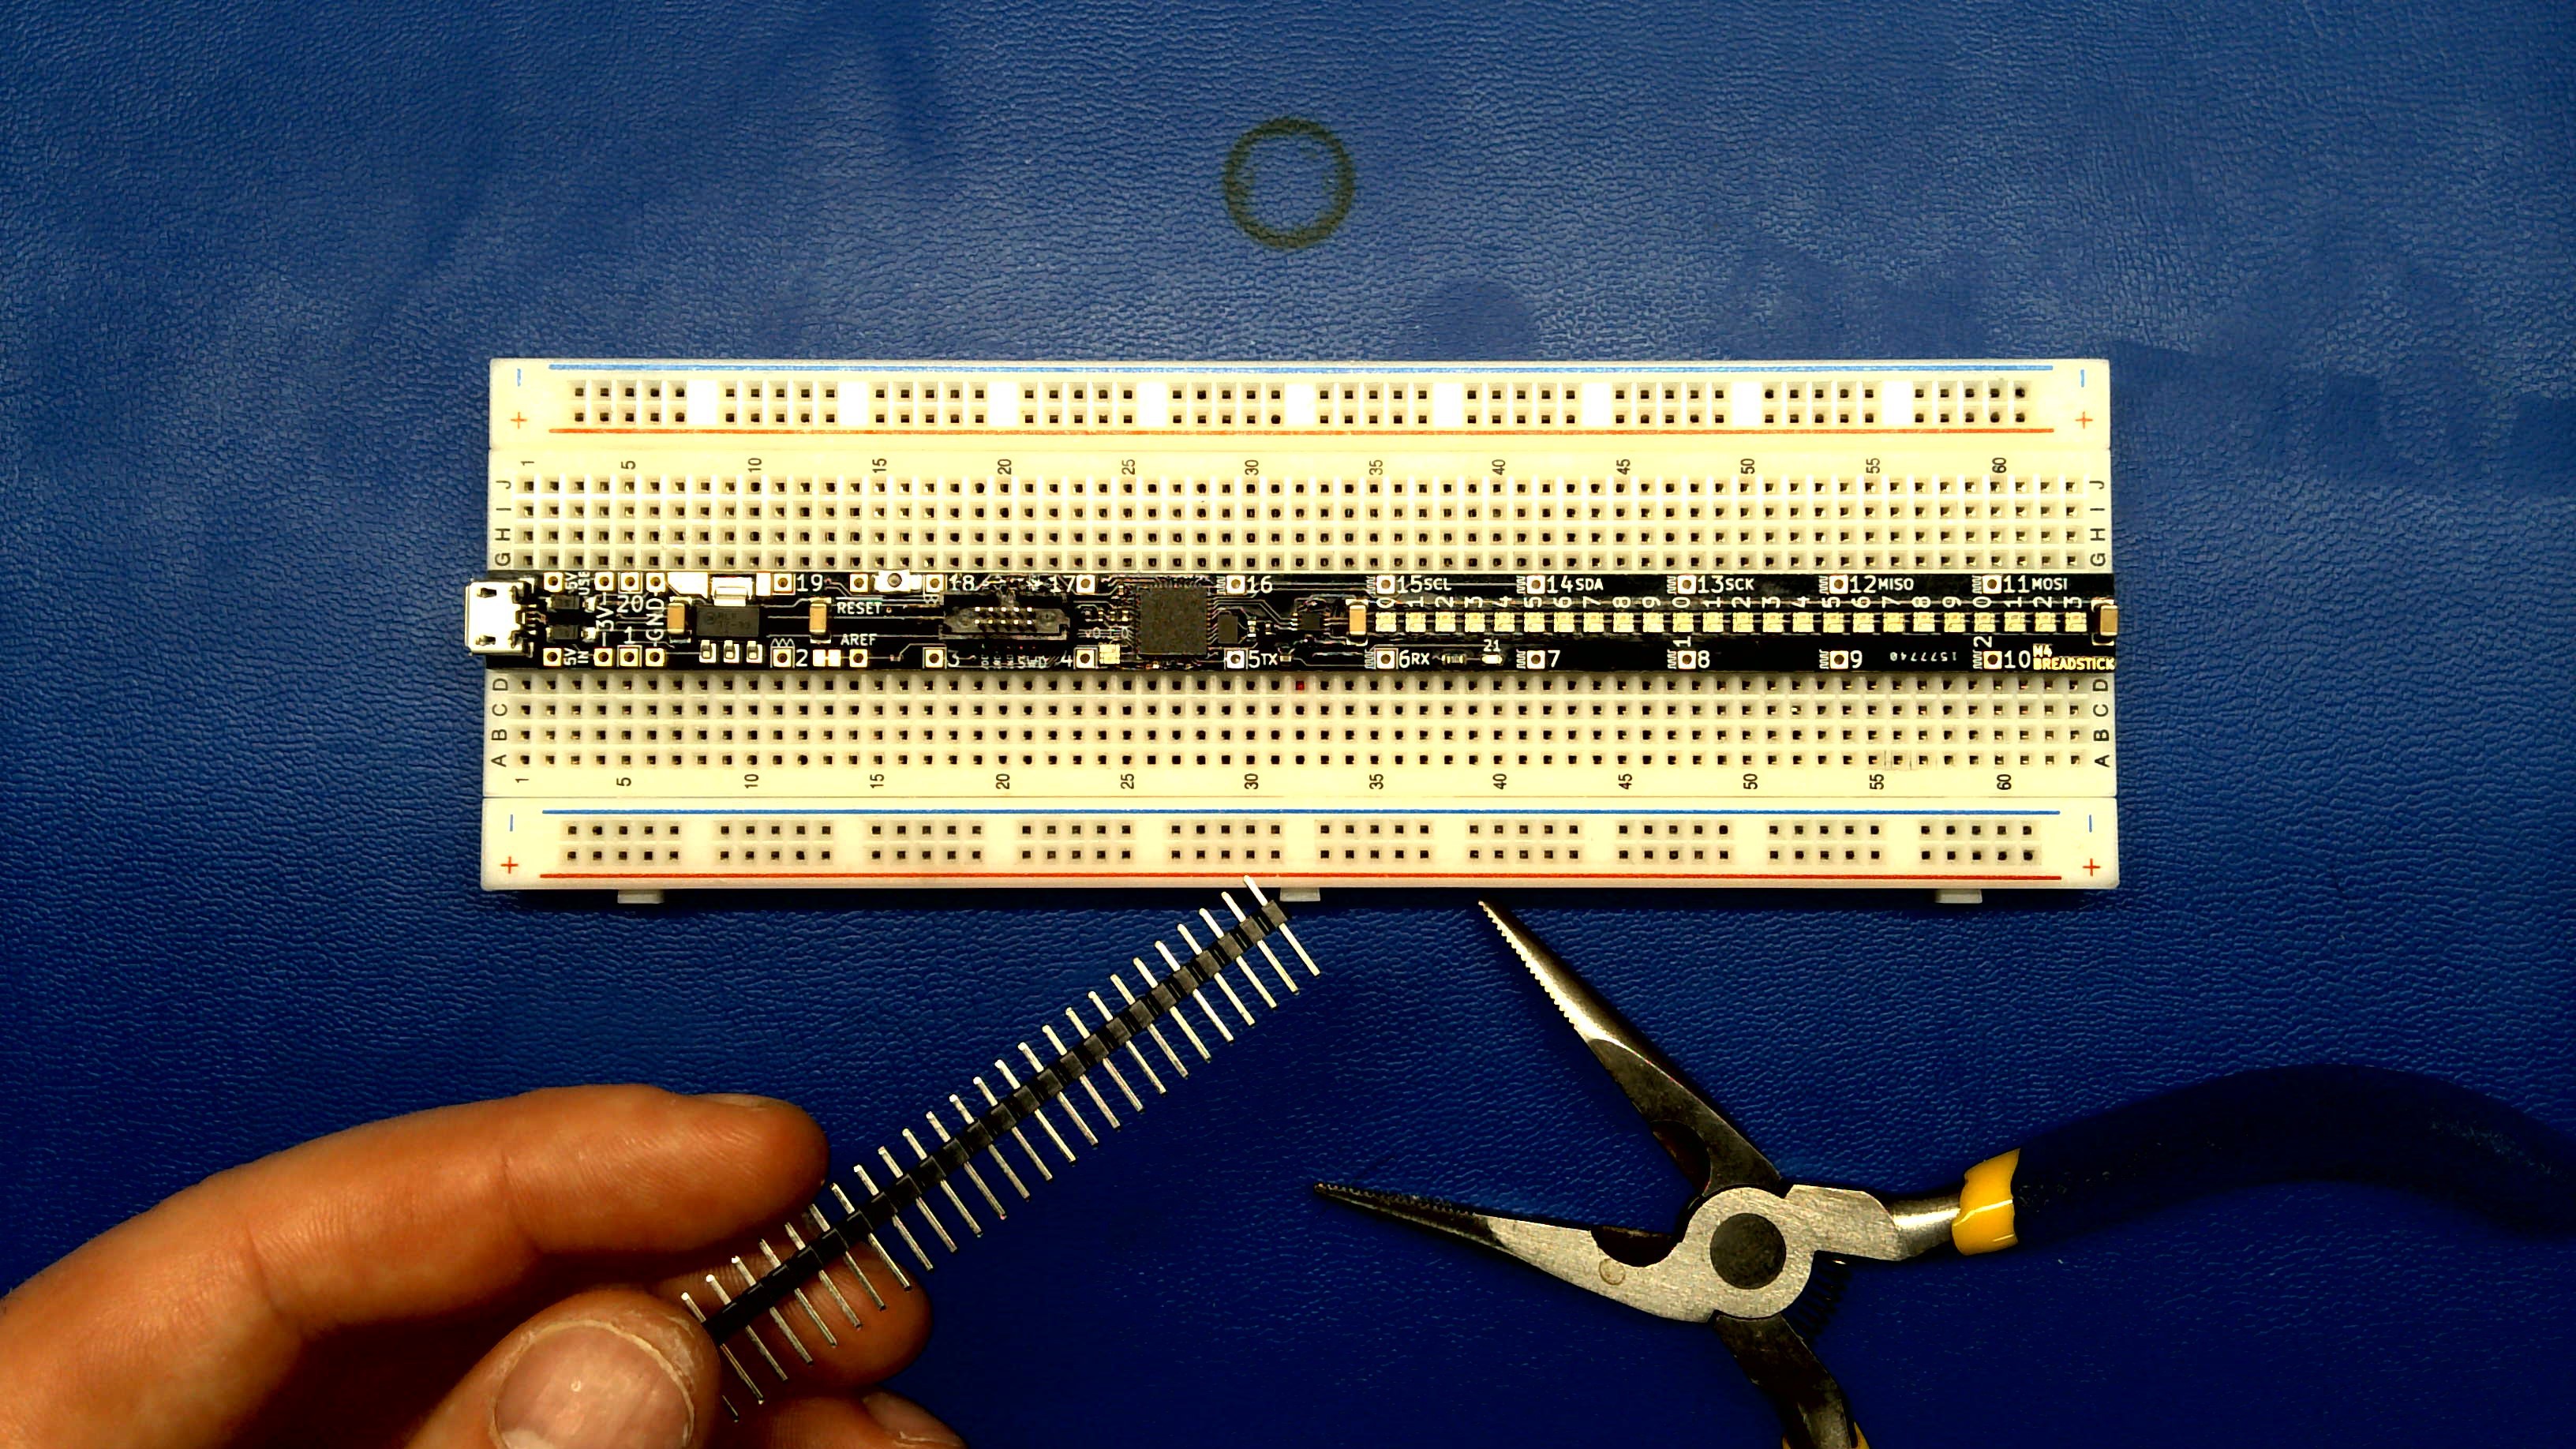
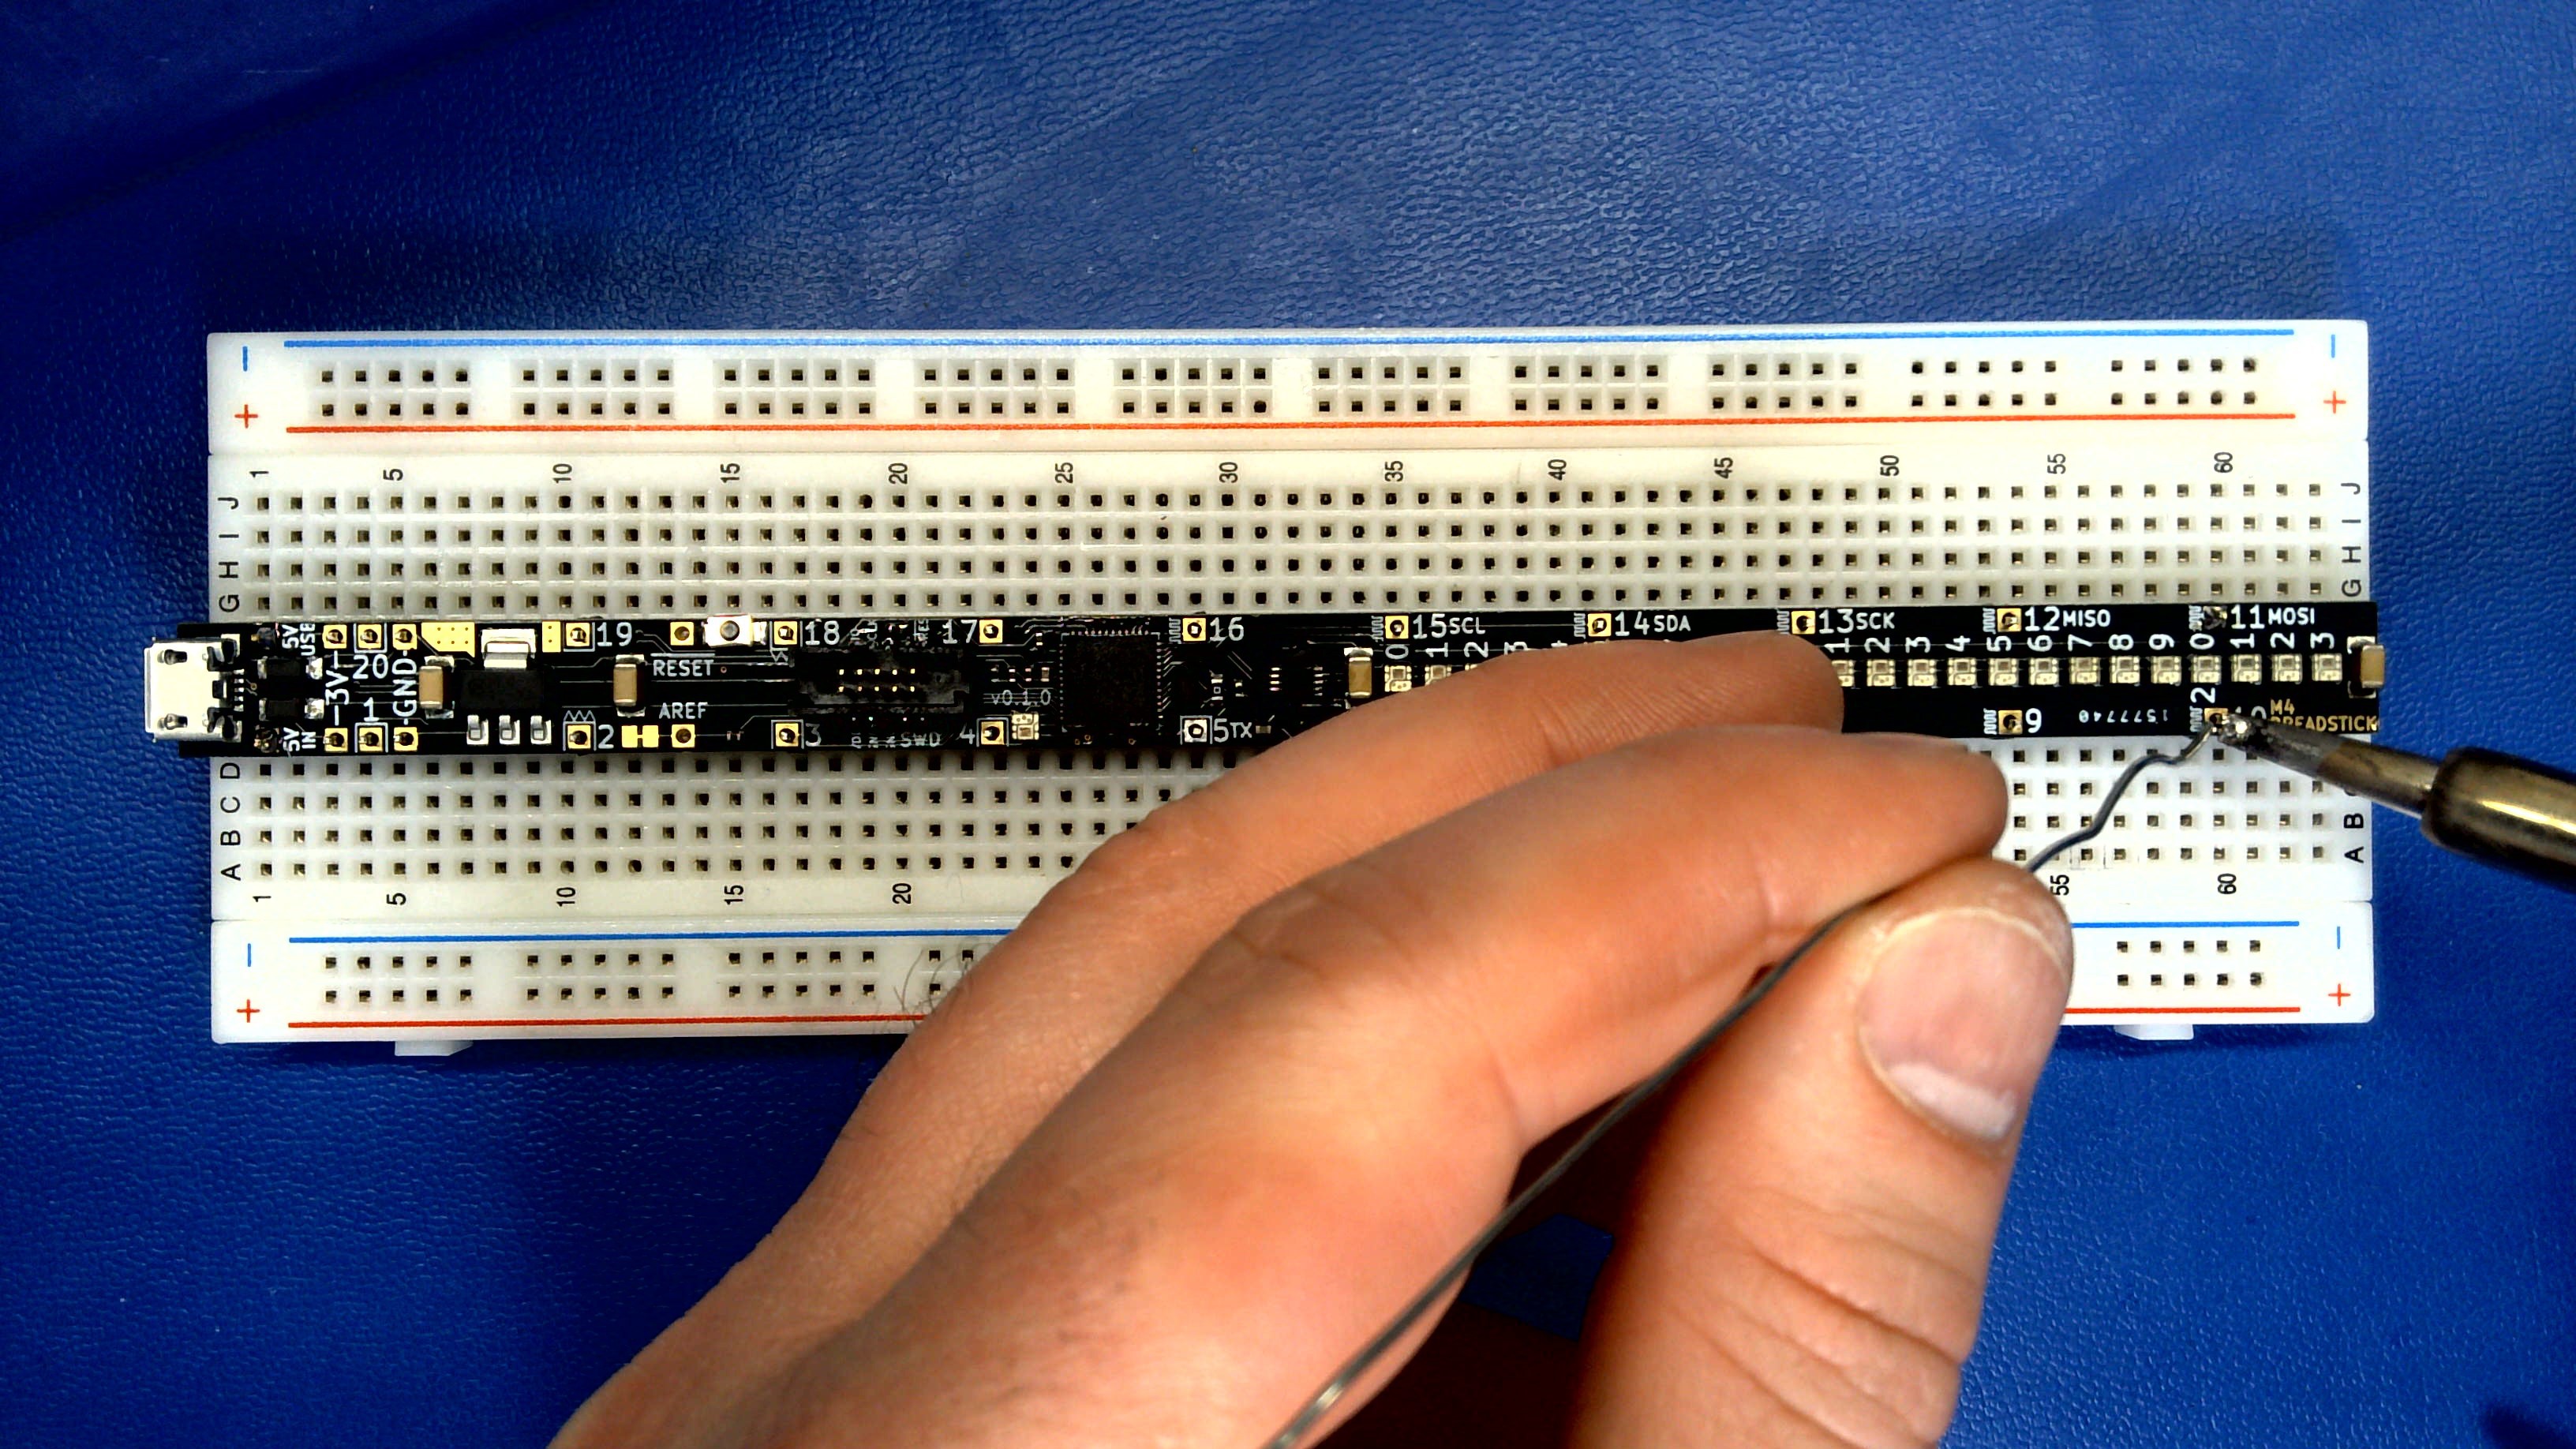
10Breadboard, Meet Breadstick!
Now that the connector's flipped and the memory's soldered on, time to mount it to the breadboard.
![]()
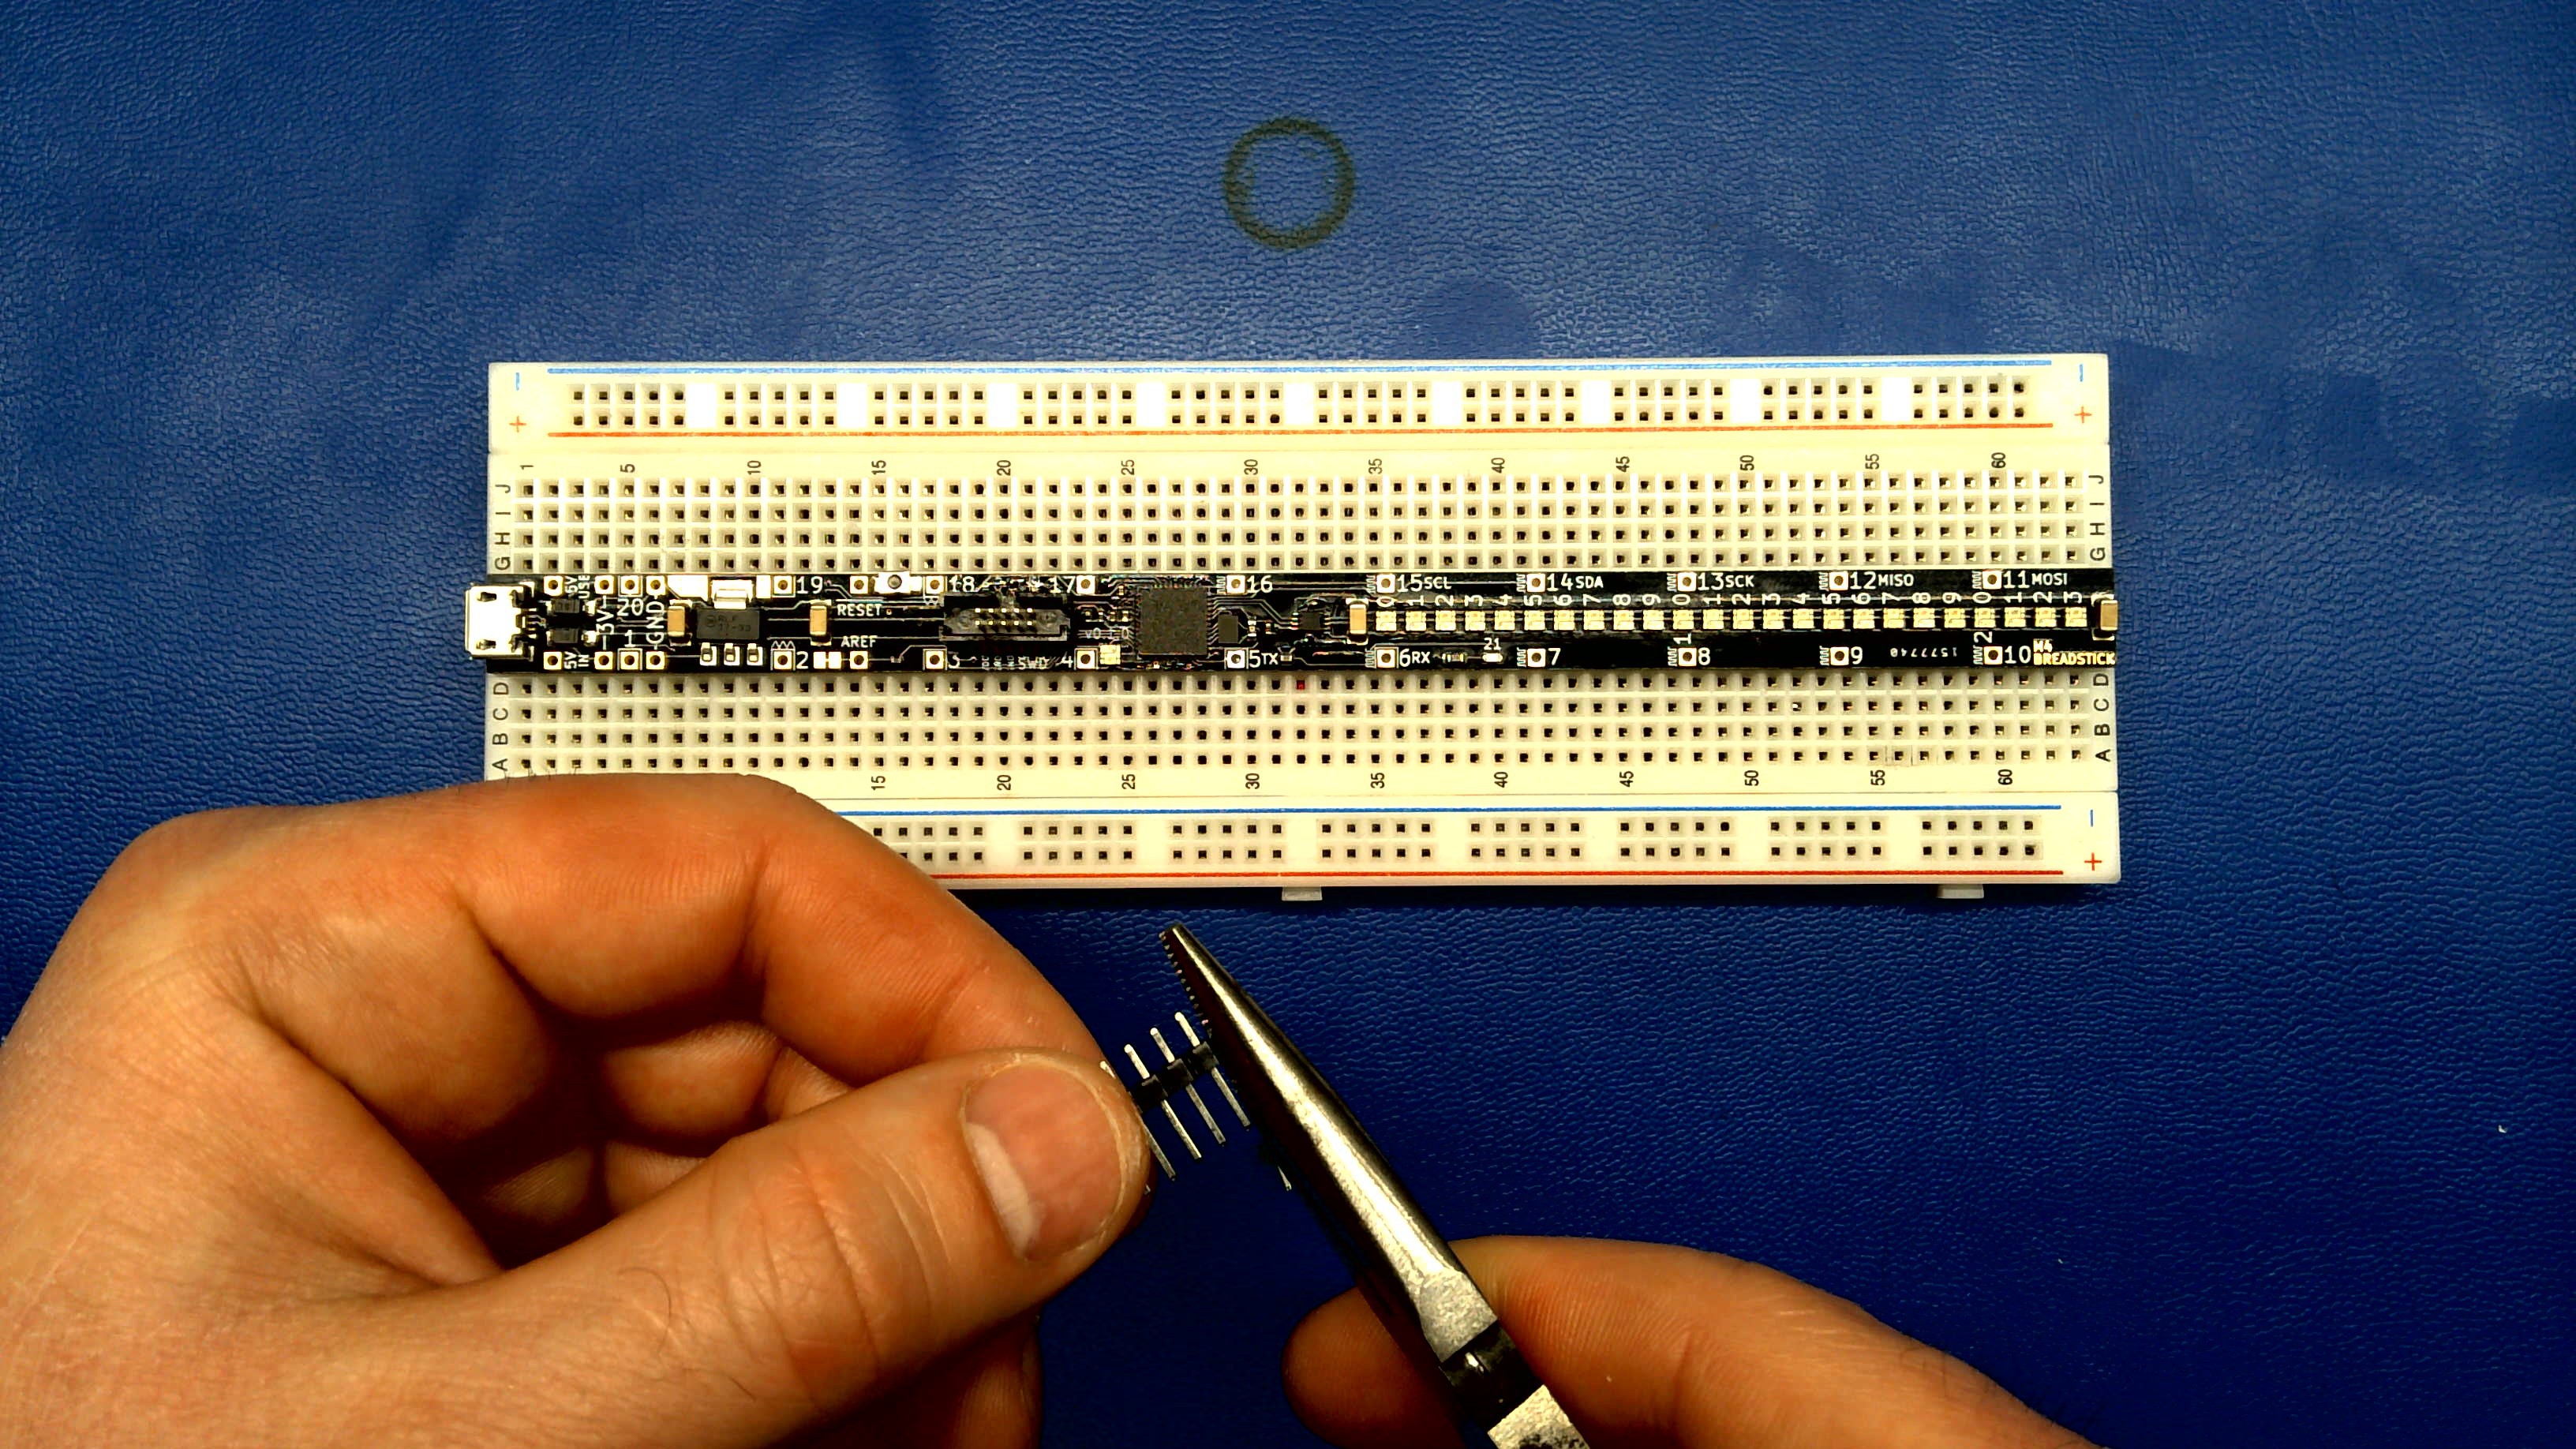
I like to snap my header pins off using pliers, because doing this next task with flush-cutters would result in 20 mini-metal-missiles ricocheting around my lab, and that would be counterproductive.
![]()
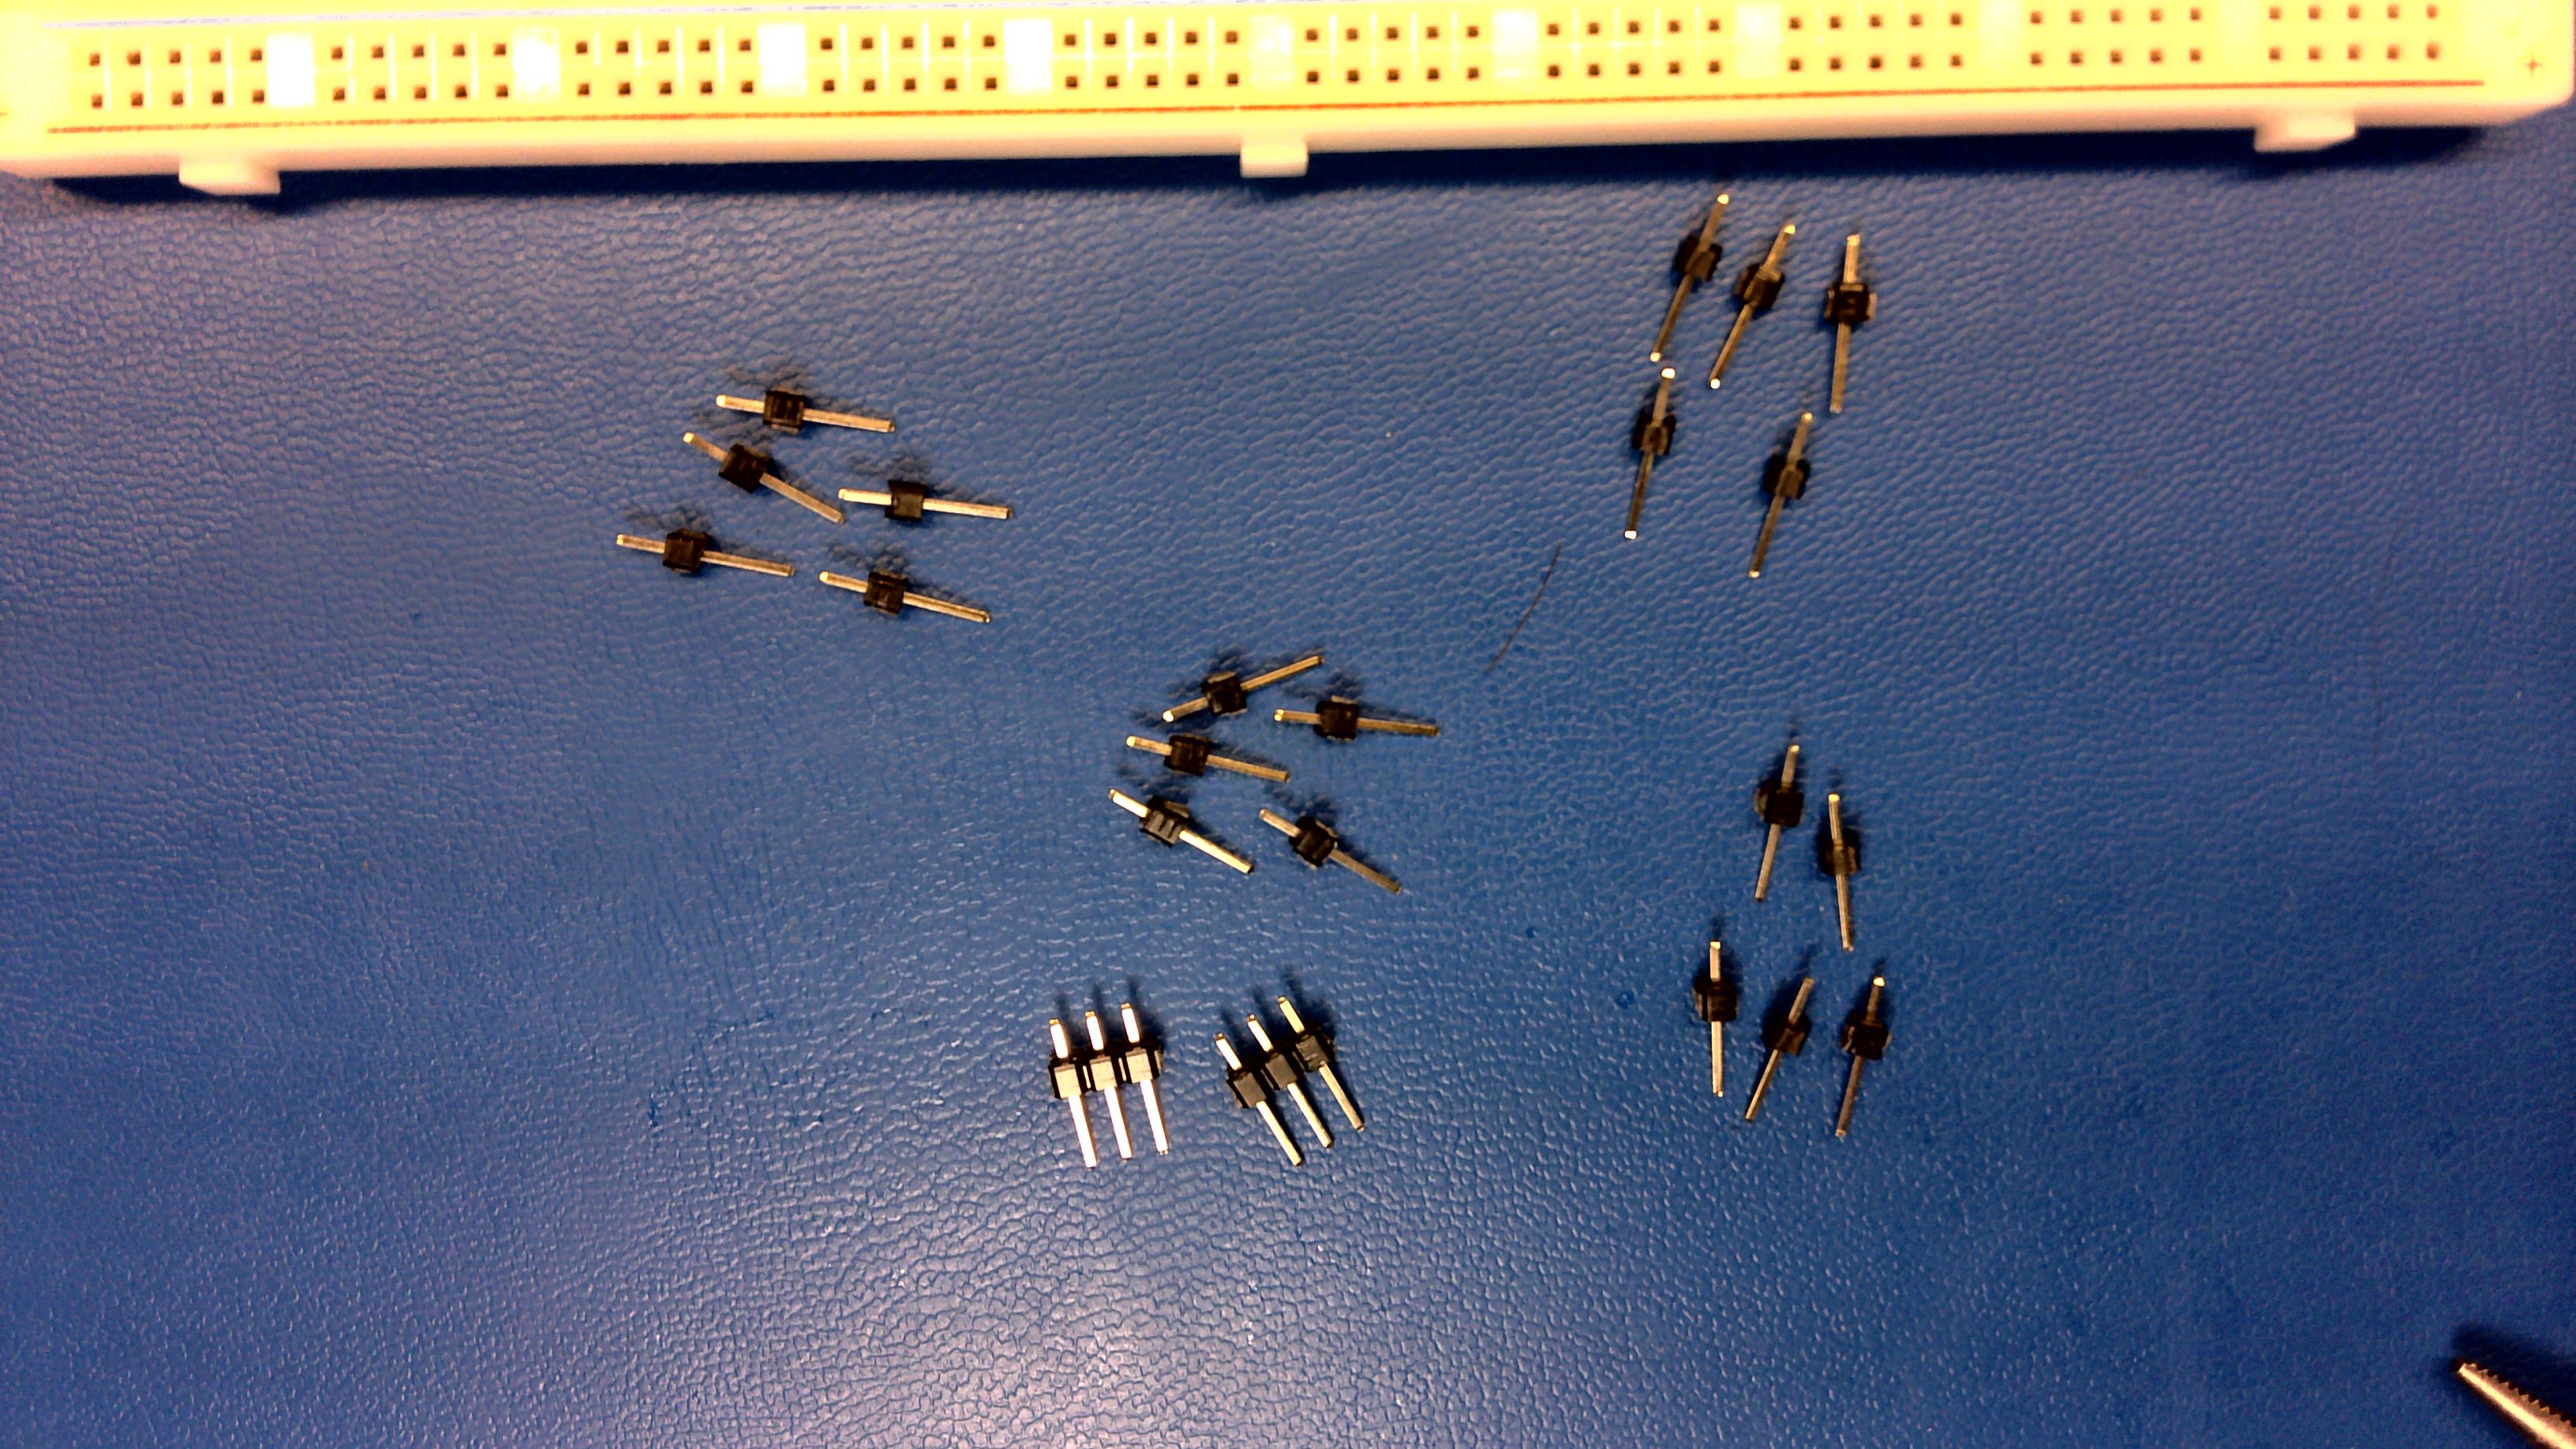
We're going to need:
20 x 1 Pin
2 x 3 Pin
![]()
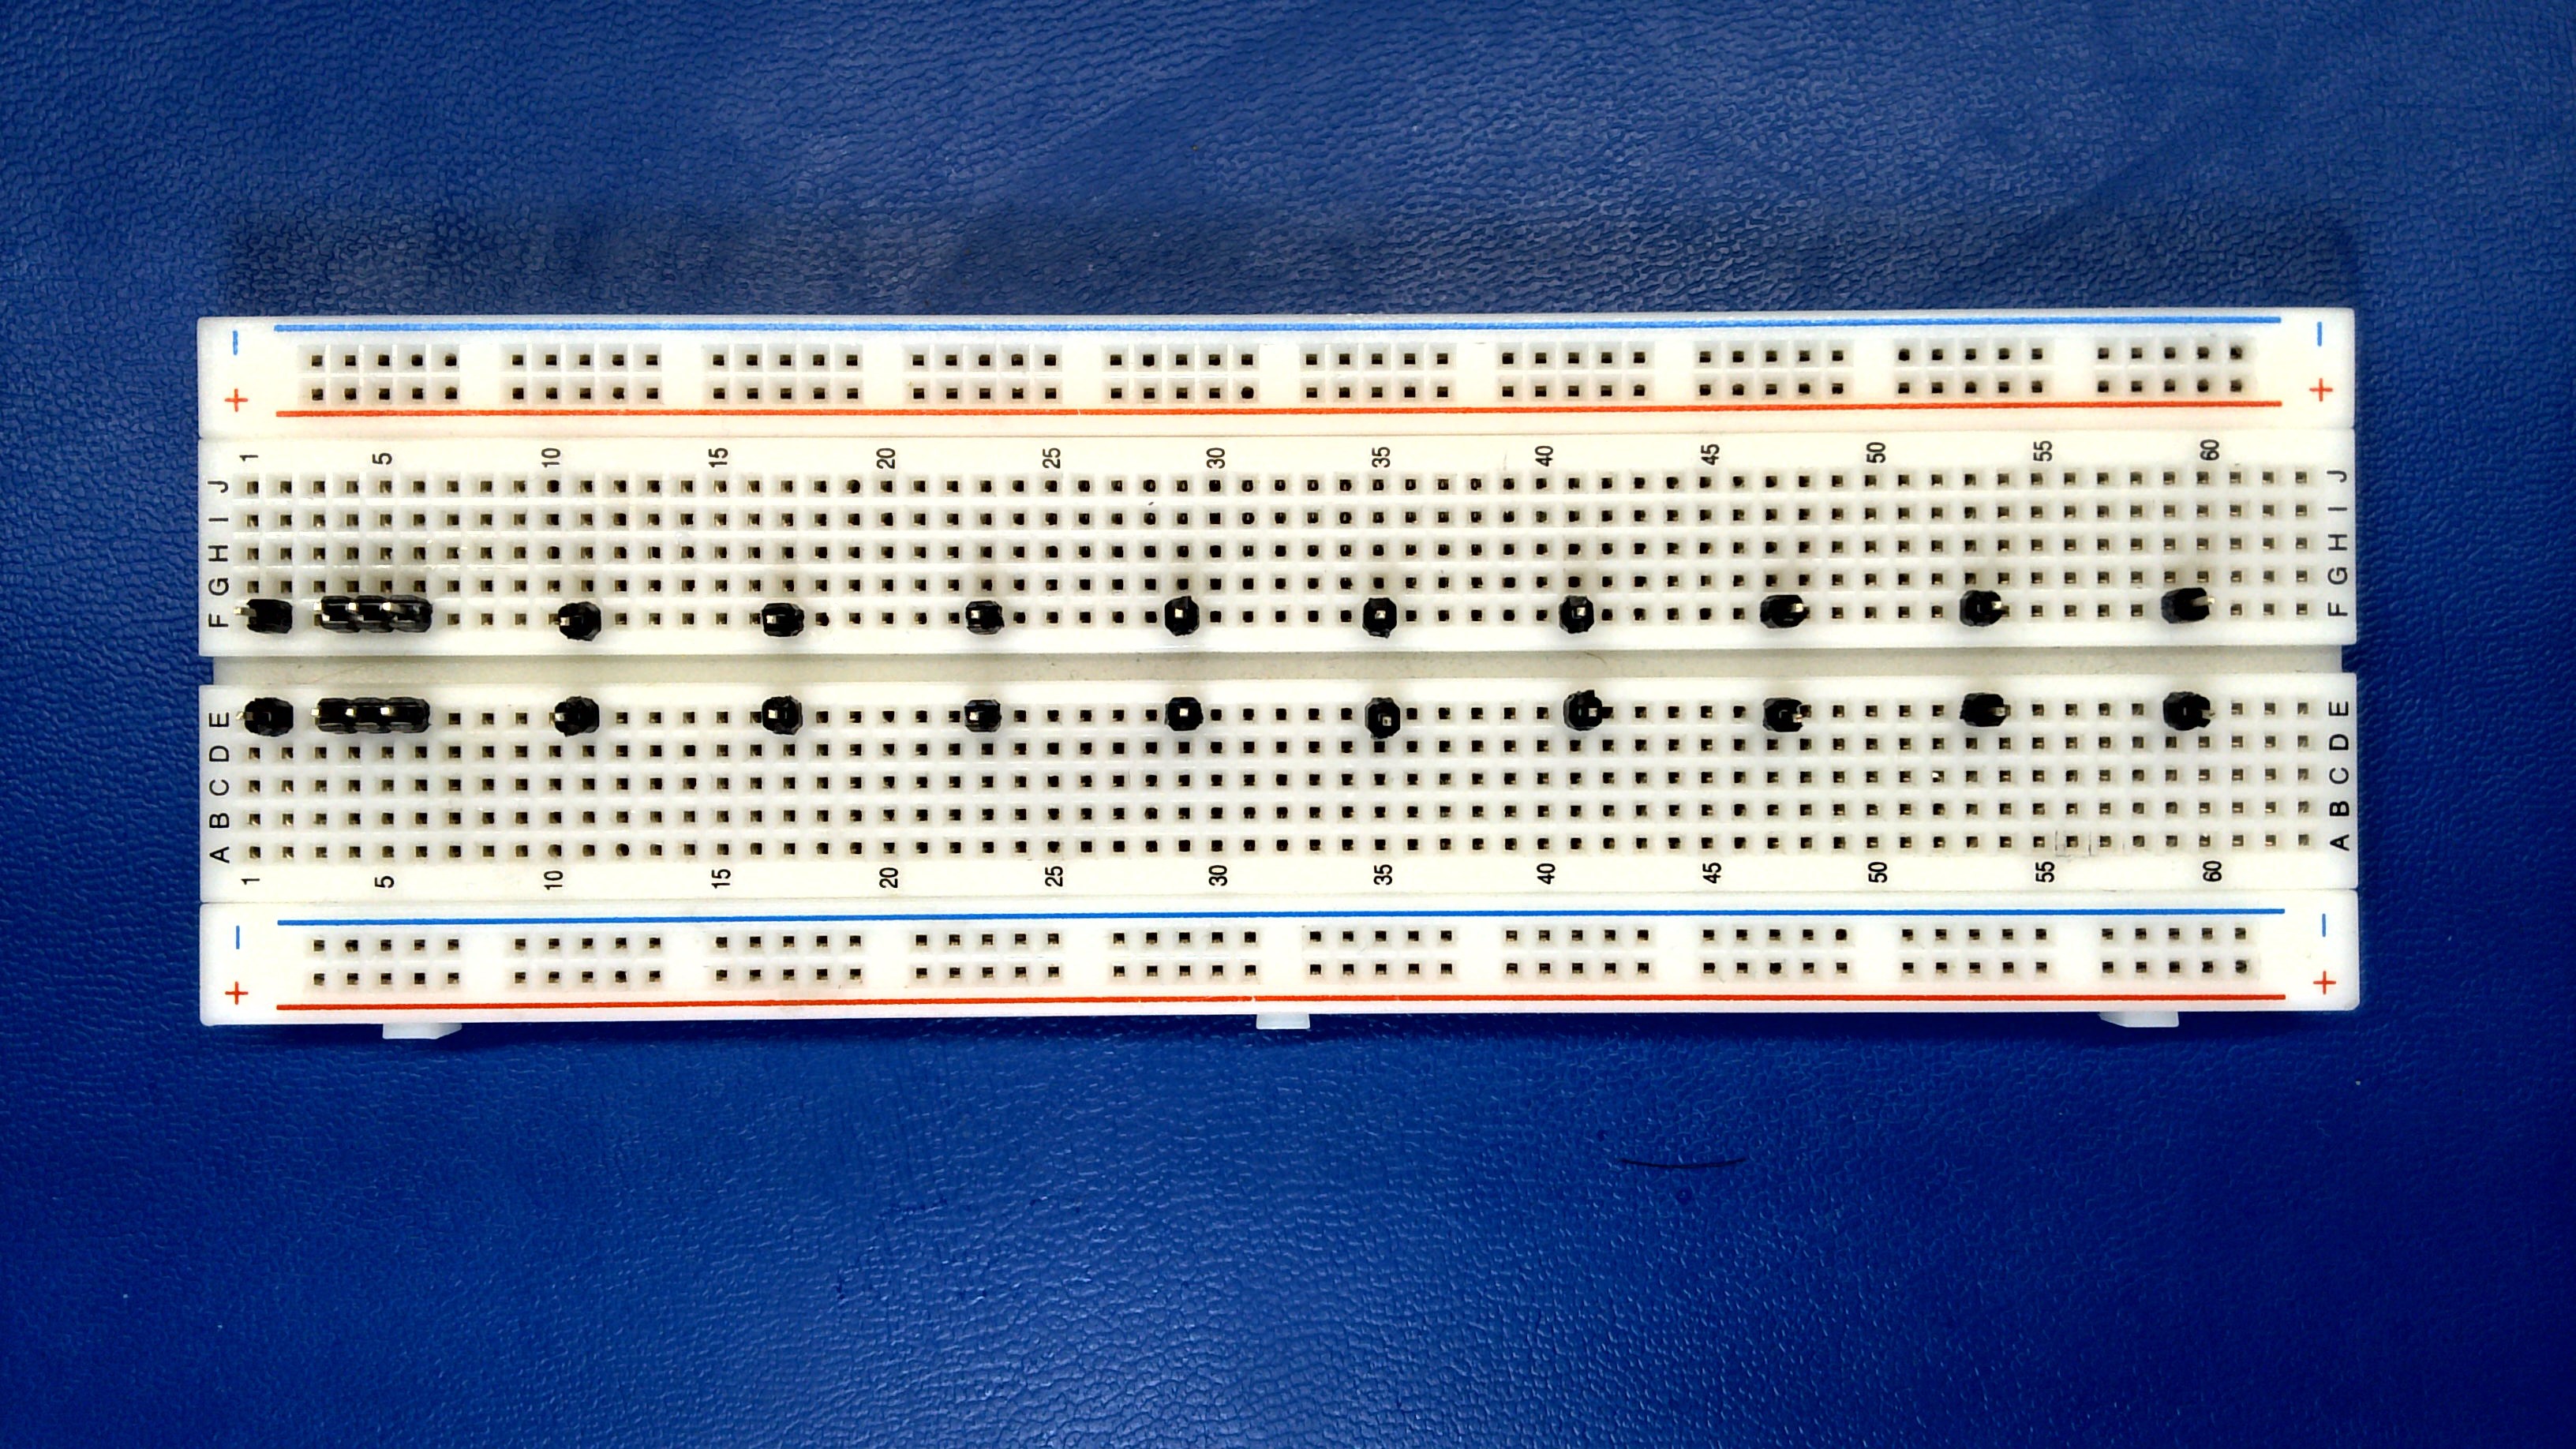
Insert them into the breadboard as such:
![]()
![]()
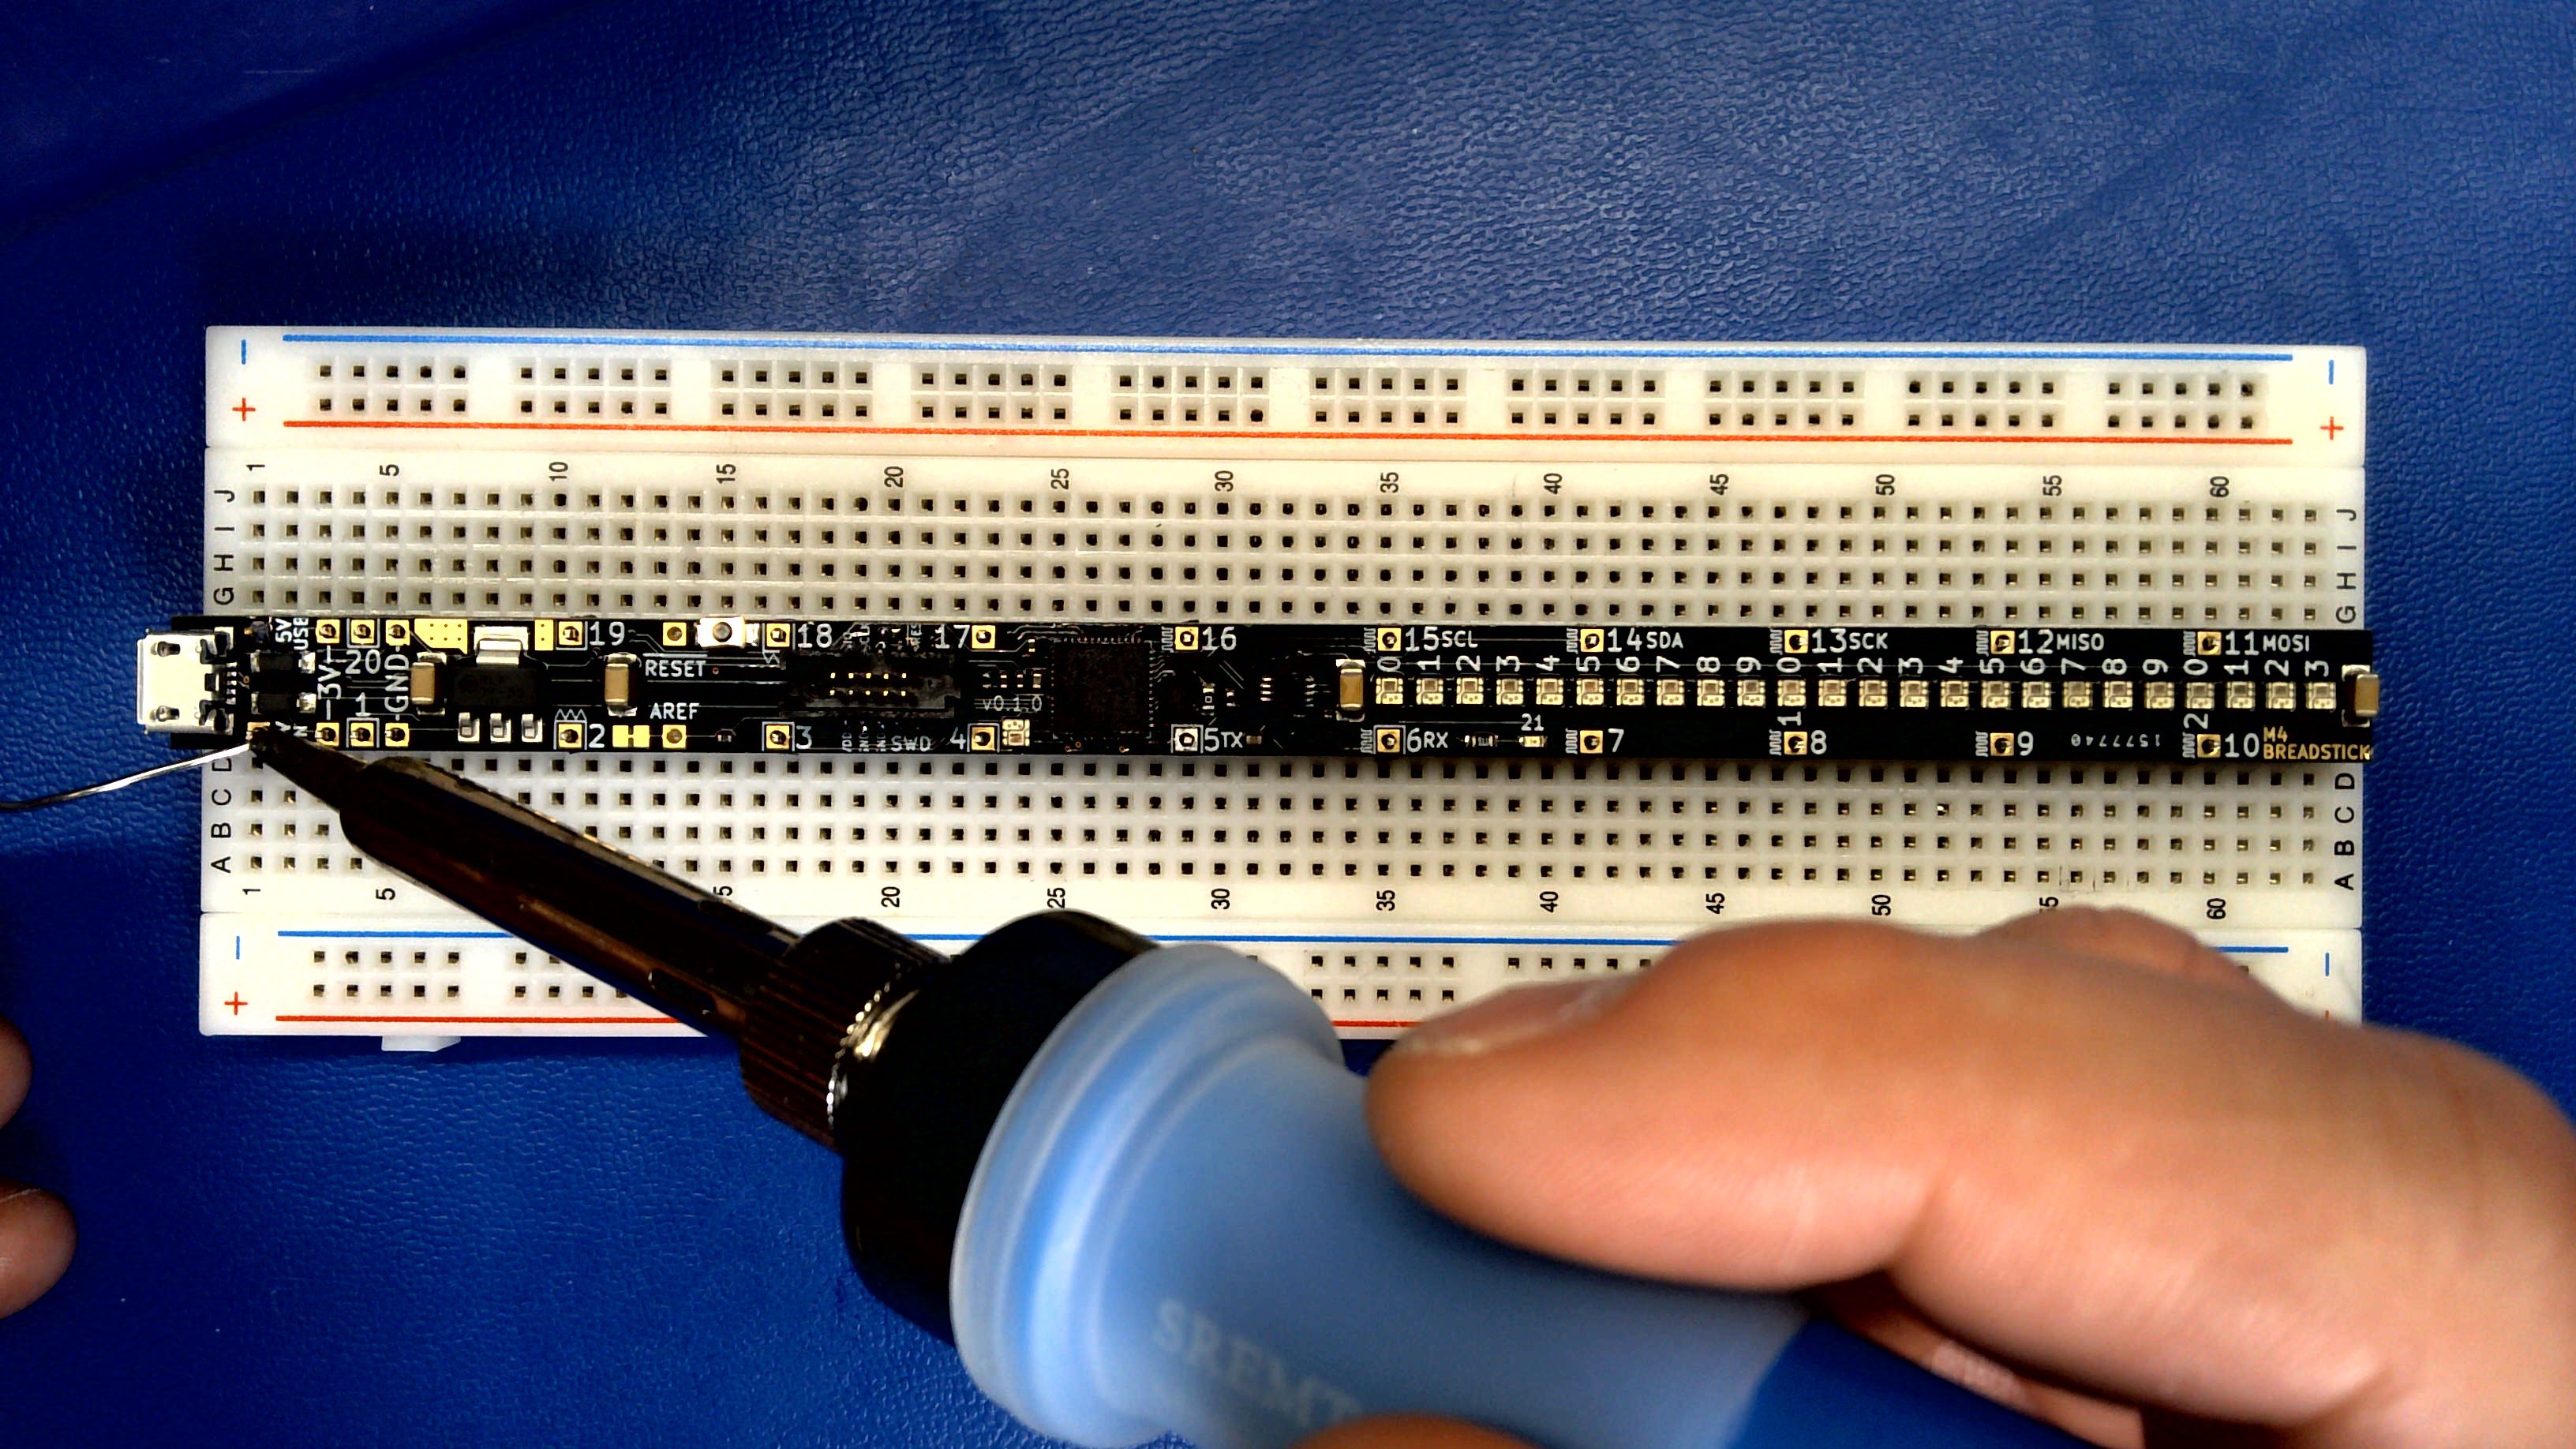
Now lay your Breadstick on top.
![]()
Notice we skipped the Reset and Aref pins? Only solder them if they're important to you. Otherwise they'll just take up valuable prototyping space.
I like to solder at either end before working inwards.
![]()
![]()
M4-Breadstick (Retired) → Raspberry Breadstick
A long and thin development board, with spaced out I/O pins to minimize the length and number of jumper wires required.


Discussions
Become a Hackaday.io Member
Create an account to leave a comment. Already have an account? Log In.