-
1Step 1 Arduino programming The code
(you can find the code in the file)
If you made mistakes with the wiring or the motors placements, don’t worry you can still change the code. For example, if you’re button 1 is controlling the first motor but you want it the control the fourth motor for placements purpose, you can go in the if loop of the concerned button, here button 1 (if statut1==...), and change the number of the servo motor.
-
2Step 2 Soldering the circuit
1. prepare all the material :
- An arduino sheild
- Soldering materials
- 4 servo motors
- 4 buttons
- 120cm wires * 12
- 60cm wires * 8
2. Braid the wires
This step is for better wiring management and for avoiding short circuits.
Braid the 60cm wires as 2 wires each group. And 4 groups in total. It will be easier for later soldering if you use different colors within each group. We use black wires for representing GND, red for 5V entry, And green ones representing signals.
Braid the 120cm wires as 3 wires each group. And 4 groups in total. Same with above, It will be easier for later soldering if you use different colors within each group.
3. Soldering wires to buttons and motors
3.1 Soldering the 2 wires braid to the button. 4 braids for 4 buttons.
Please always connect the teeth on the same side to the wires ( as the red lines)
3.2 Soldering the 3 wires braid to the motor. 4 braids for 4 motors. Cut the plastic end of the motors and solder the 3 wires with the braid. It would be easier for later soldering if you seperate the color of wire for GND, 5V and signal.
4. Soldering all the components to the Arduino Shield.
This is just one possible example of connection if you are not so familiar with proto shields. There are also a lot of ways of connection.
5. Put the Arduino shield onto the arduino board.
-
3Step 3 Modeling the support unit of the motors and 3D print
These units are supposed to be connected to the flute.
Stick some sponge rubber inside can make the motor supporters attached more stable to the flute.
-
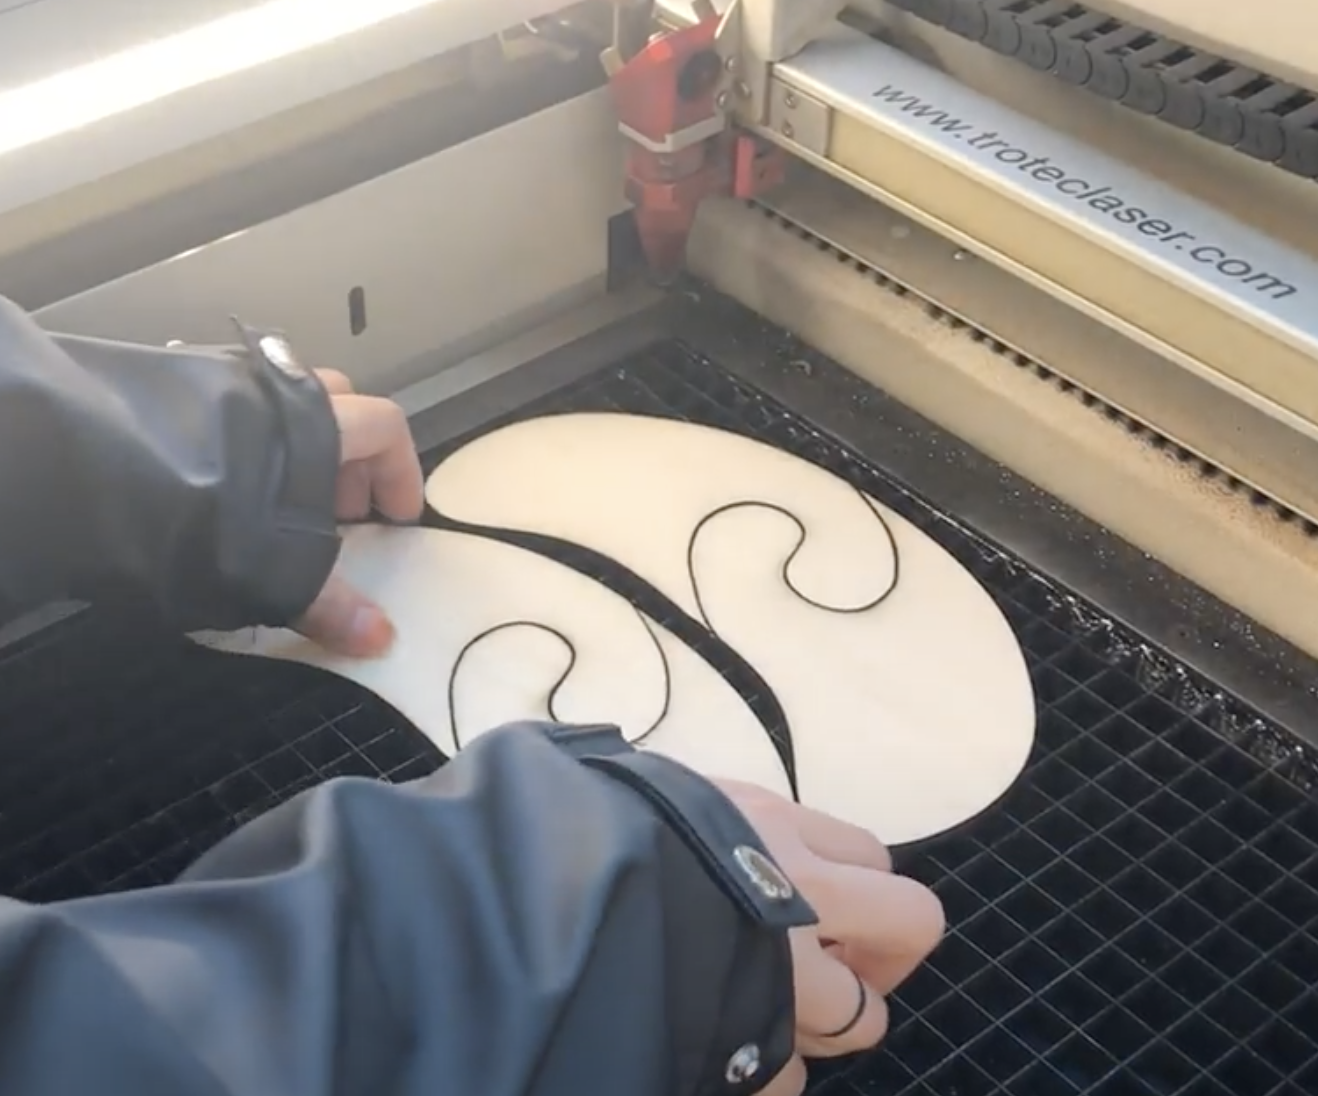
4Step 4 Laser cutting the paddles
Draw the paddles, And use laser cutting machine to cut them out. If you don’t have a laser cutter just draw the model on a piece of wood with the size that you want and use a jigsaw.
-
5Step 5 Assemble all the components
1. Use double tape to attach the buttons and sponges under each paddle and use screw to attach motors to the support.
2. Use screws to attach support components to the motors.
3. Tight phone holder to the flute with stripe lock.
-
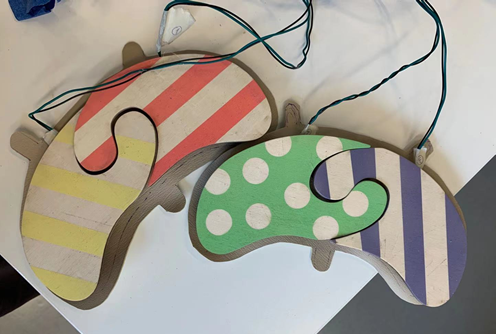
6Final Step Color the paddle
Paint cool colors as you want!
Finally, connect the Arduino to the battery or power bank and enjoy music!
Music Accessibility
a possible solution for children or music lovers with limb differences and agenesis to play flute
 3. Soldering wires to buttons and motors
 This is just one possible example of connection if you are not so familiar with proto shields. There are also a lot of ways of connection.
Discussions
Become a Hackaday.io Member
Create an account to leave a comment. Already have an account? Log In.