 Robert Gawron
I have tried to use docker heavily to make automatic setup of tests etc., but there was still one and most important thing that I couldn't do - at the end of the day it's an embedded project and the chip needs to be flashed, debugged, etc. Configuring this from Docker to be easily clickable from VS Code seemed hard. Also there is a need to access physical devices (USB based programmers for STM/ESP chips) from the docker image which seemed hard too.
Finally I made it possible and this post is about this.
Pros
- Installation of all tools is automated, no need to manually install on a host PC a compiler, tools to debug, flash, etc.
- No conflicts between versions of toolchain between different projects, all is inside a Docker container. No error-prone environment variables etc.
Cons
- At the startup of VS Code one needs to click to switch to docker container in Visual Studio Code, it's annoying.
- When using USB devices (here it's ST Link programmer for example) they need to be mapped to Docker image each time they are plugged in. I've just bought a cheap USB hub to have many USB sockets to avoid the need to disconnect the device.
tl;dr - is it worth it? I would say 50:50.
Now let's get to details, we will need:
- Docker desktop
- Visual Studio Code
This manual is for Windows. While docker in theory hides host OS specific subjects... well not always. When dealing with hardware or for example line endings, we will have host OS specific issues.
We need to have Docker desktop running, then we install in VS Code the "Dev Container" extension.

Now we need in the root directory of the project to add this configuration: .devcontainer/devcontainer.json
{
    "name": "STM32 Logger Development",
        "dockerComposeFile": "../docker-compose.yml",
    "service": "dev",
    "workspaceFolder": "/workspace",
        "customizations": {
        "vscode": {
            "extensions": [
                "ms-vscode.cpptools",
                "ms-vscode.cmake-tools",
                "twxs.cmake",
                "ms-vscode.cpptools-extension-pack",
                "ms-python.python",
                "rust-lang.rust-analyzer",
                "vadimcn.vscode-lldb"
            ]
        }
    },
        "postCreateCommand": "echo 'Dev container ready! Open HardwareDataLogger.code-workspace'",
        "shutdownAction": "stopCompose",
        "containerEnv": {
        "DISPLAY": ":0",
        "WAYLAND_DISPLAY": "wayland-0",
        "XDG_RUNTIME_DIR": "/mnt/wslg/runtime-dir",
        "PULSE_SERVER": "/mnt/wslg/PulseServer",
        "QT_X11_NO_MITSHM": "1",
        "QT_QPA_PLATFORM": "xcb"
    }
}
This will tell the "Docker Container" extension which docker image we want to build (note the location of the .yaml file, service and workspace - those are the important things, the rest is not very important).
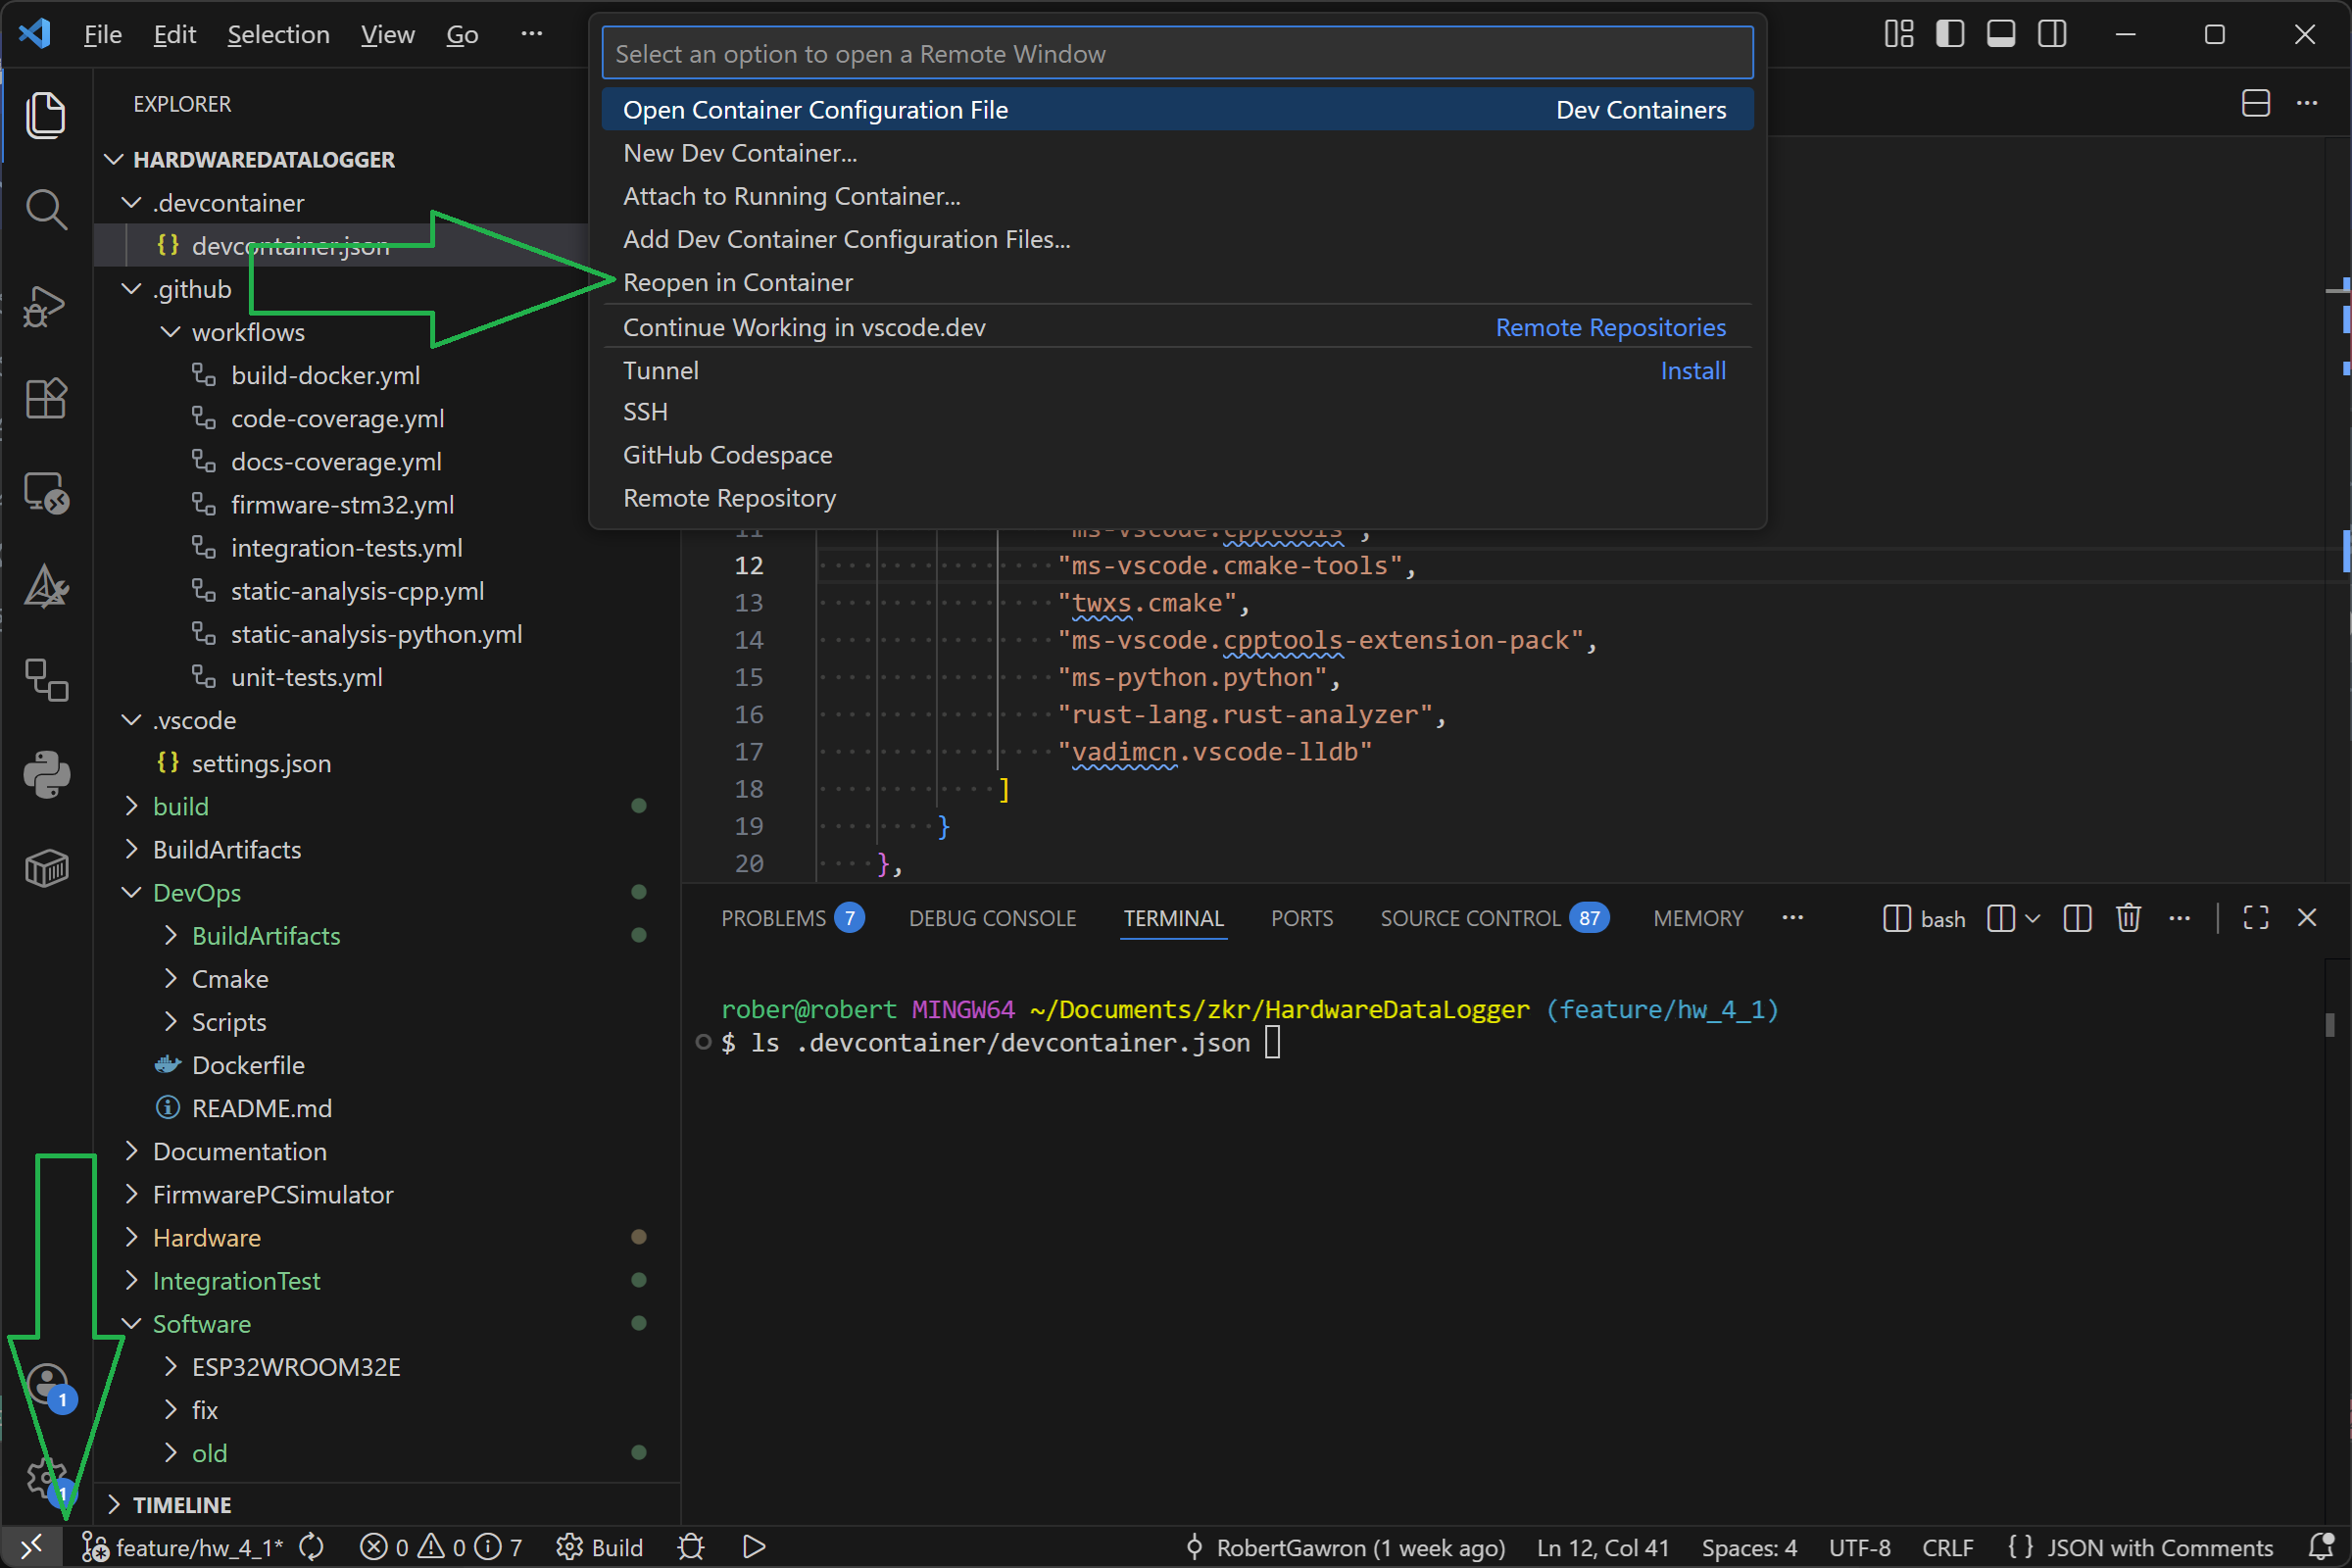
Now we can restart VS Code and click on the icon "><" in bottom right and from the palette on the upper center select "Reopen in Container". The VS Code will restart.
We are now running VS Code inside the container, meaning when we build, flash, debug, etc. we are using toolchain from the docker, not from host PC. The configuration of toolchain to debug, flash, etc. is as usual in VS Code (at least I think - I still learn it so I will not post about it for now, I'm still trying to make it user friendly).
There is one caveat: each time we connect our USB device we need to mount it to the Docker. To do this, open PowerShell as administrator, then:
PS C:\WINDOWS\system32> usbipd list
Connected:
BUSID  VID:PID    DEVICE                                                        STATE
2-3    0020:0b21  USB Audio, USB Input Device                                   Not shared
2-5    27c6:639c  Goodix MOC Fingerprint                                        Not shared
2-6    0c45:6739  Integrated Webcam                                             Not shared
2-10   8087:0033  Intel(R) Wireless Bluetooth(R)                                Not shared
4-1    0483:3748  STM32 STLink                                                  Shared
4-4    046d:c52b  Logitech USB Input Device, USB Input Device                   Not shared
Our debugger is 4-1 in this example, we will bind it:
PS C:\WINDOWS\system32> usbipd bind --busid 4-1
usbipd: info: Device with busid '4-1' was already shared.
PS C:\WINDOWS\system32> usbipd attach --wsl --busid 4-1
usbipd: info: Using WSL distribution 'docker-desktop' to attach; the device will be available in all WSL 2 distributions.
usbipd: info: Loading vhci_hcd module.
usbipd: info: Detected networking mode 'nat'.
usbipd: info: Using IP address 172.24.192.1 to reach the host.
usbipd: info: Firewall check not possible with this distribution (no bash, or wrong version of bash).
Now in Visual Studio Code (launched as above) let's check if it's visible:
root@b9c51a95e012:/workspace/Software/STM32F103RBTx# lsusb
Bus 001 Device 001: ID 1d6b:0002 Linux 6.6.87.2-microsoft-standard-WSL2 vhci_hcd USB/IP Virtual Host Controller
Bus 001 Device 006: ID 0483:3748 STMicroelectronics STM32 STLink
Bus 002 Device 001: ID 1d6b:0003 Linux 6.6.87.2-microsoft-standard-WSL2 vhci_hcd USB/IP Virtual Host Controller
That's it we can now use toolchain from Docker to work with the firmware, no need to install it on host PC and it can be integrated with VS Code GUI.
Discussions
Become a Hackaday.io Member
Create an account to leave a comment. Already have an account? Log In.
I also made a tutorial on how to do it for a CH340-based flasher and the ESP32:
https://github.com/RobertGawron/HardwareDataLogger/blob/feature/hw_4_1/Software/ESP32WROOM32E/README.md
Are you sure? yes | no