-
My Sol-20 Reproduction Featured in The MagPi Magazine
03/03/2022 at 19:08 • 0 commentsHere is a link: https://magpi.raspberrypi.com/articles/sol-20-terminal-computer to the online version of the article.
-
DELeting the RUB OUT Key
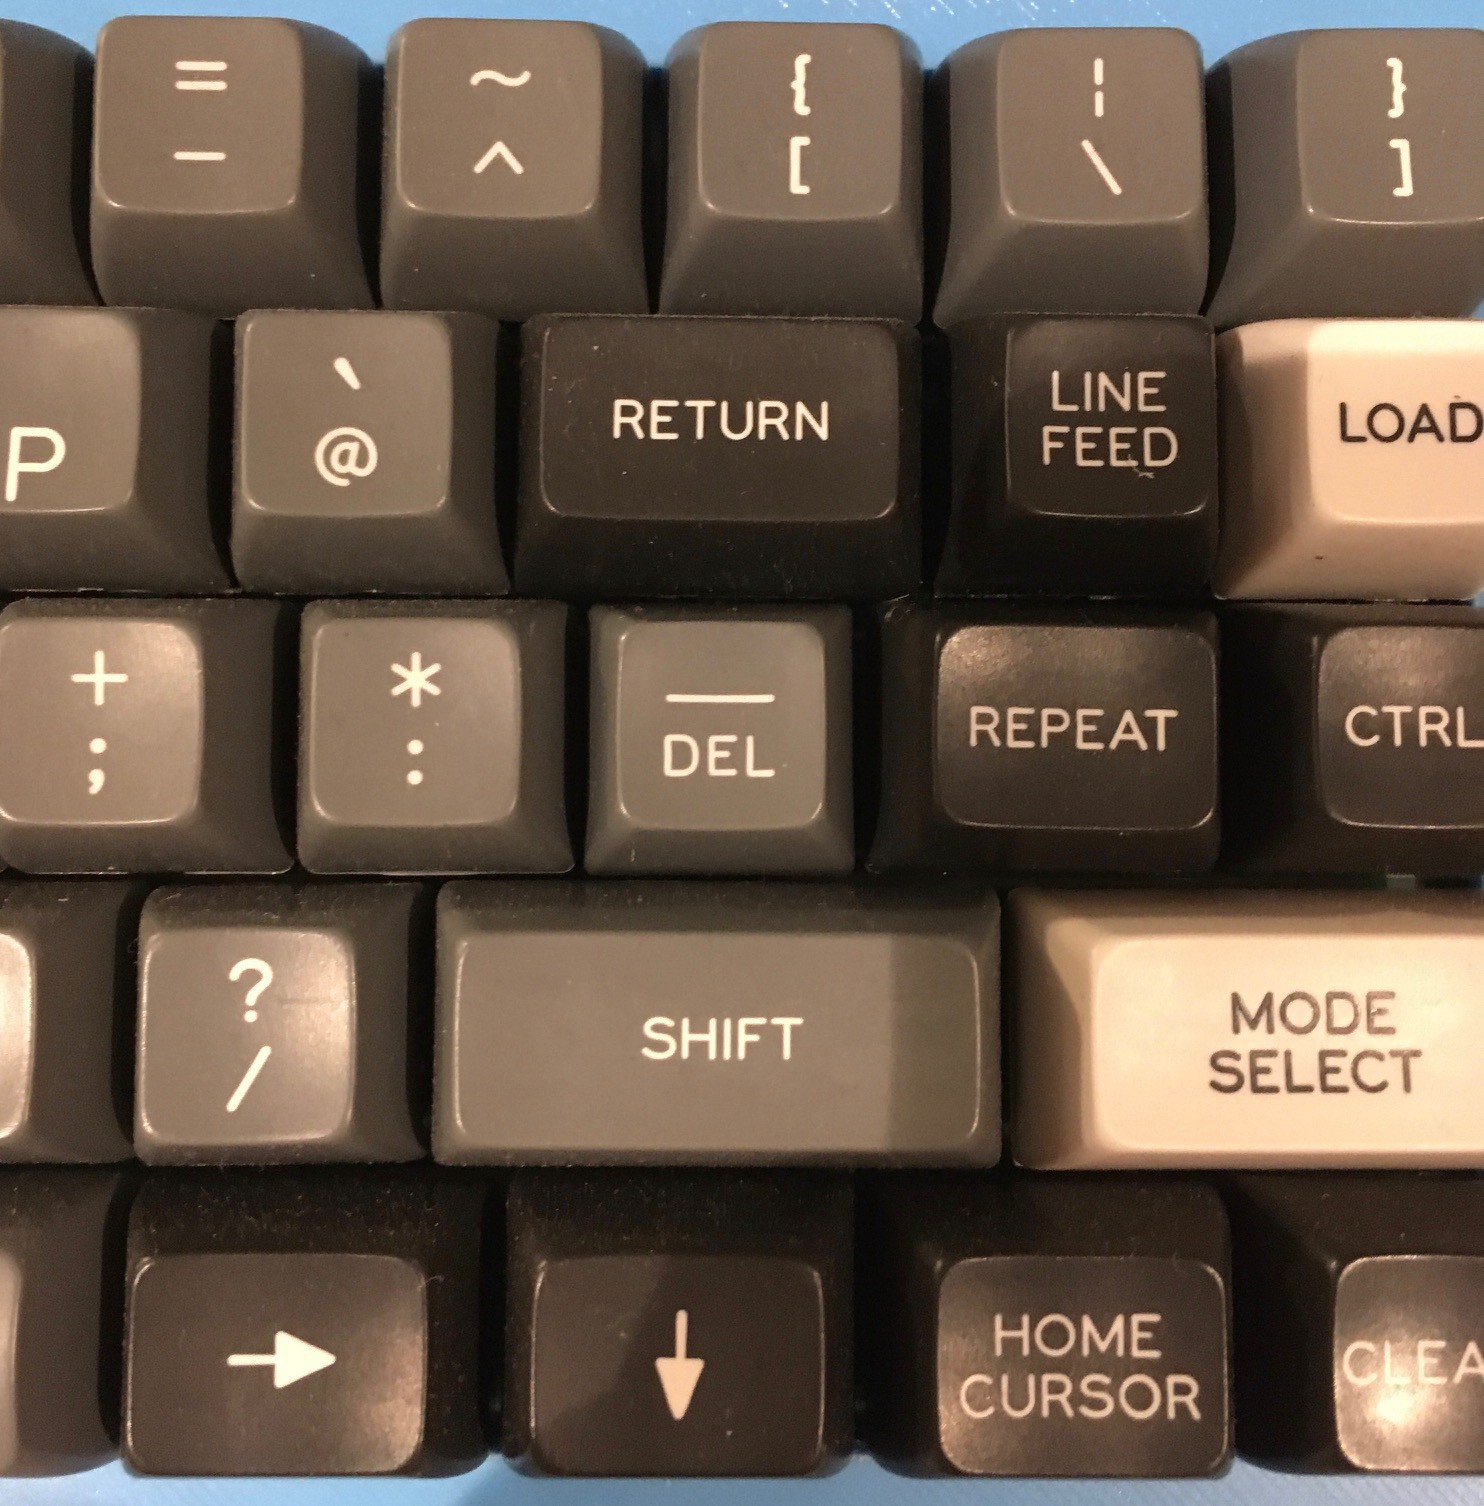
02/20/2022 at 16:30 • 0 commentsI've mentioned Dave from osiweb.org many times in this project. His complete replacement keyboard for the Sol-20 is a big part of this build. Dave noticed that the SOL-20 specific DEL key had not been included in the keycaps that he sent me. Ever the perfectionist he mailed me the replacement keycap which I received this week. Thanks Dave.
![]()
-
Running BASIC
02/20/2022 at 16:16 • 0 commentsWhile I had tested my Sol-20 emulator on many programs (mostly games) I had not gotten around to running BASIC on the machine. Recently I found the MS_BASIC seemed to work fine, but the two Processor Technology offerings BASIC-5 and Extended BASIC had issues. With the help of some 8080 test programs I was able to track down a couple of 8080 instructions that I had not implemented quite right. The changes were subtle but obviously significant.
Once I had the BASIC interpreters running correctly I was keen to try out some of the many cool BASIC programs that can be found on Jim Battles great Sol-20 site. Most of these programs are quite long. Typing them in was not a viable option, so I added a new feature that allows you to "load" a text file as though it were being typed into the keyboard.
Pressing ALT-L on a regular keyboard, or pressing the LOCAL key on Dave's SOL-20 keyboard will pop up a file finder dialog. Once an appropriate text file is selected the characters in the file will be "typed" in via the keyboard interface. When the whole file has been entered manual control will be returned to the keyboard.
The latest fixes and some BASIC programs to try out have been added to GitHub.
-
Tetris on the Sol-20
02/13/2022 at 22:14 • 1 commentNino Porcino has written (in 2021!) a Tetris game in C, using the z88 C compiler. In fact, he has ported it to multiple 8-bit computer platforms. The source code is available on his github repo. This is so cool running new software on a 45 year old machine. Tetris runs fine on my Sol-20 emulator. Lots of fun.
-
Final Thoughts
11/28/2021 at 22:06 • 0 commentsWell it's been about 45 years since that poor college student version of me saw his first Sol-20 at that small computer store on Queen Street in Toronto. It was something that I never forgot. For me the wait is over. I now have a working Sol-20 and have been having a ball running all of the cool programs that were written for it those many years ago.
I have to thank Dave from osiweb.org who designed the complete replacement keyboard for the Sol-20 using modern Cherry key switches. He was a great help throughout the project. Without this great piece of kit to build on I may not have even attempted this project.
This was the first project I can remember where I didn't have to scour the far corners of the internet for information about the Sol-20. Jim Battle has done an amazing job of gathering a huge treasure trove of Sol-20 materials into one site, Sol20.org. A one stop shop for the would be Sol-20 replicator, or anyone with an interest in this wonderful retro computer.
Rick Downs (redjr16), who actually owns a Sol-20 (I'm totally jealous), was kind enough to take the time to answer my many questions, take pictures, and more. Thanks Rick!
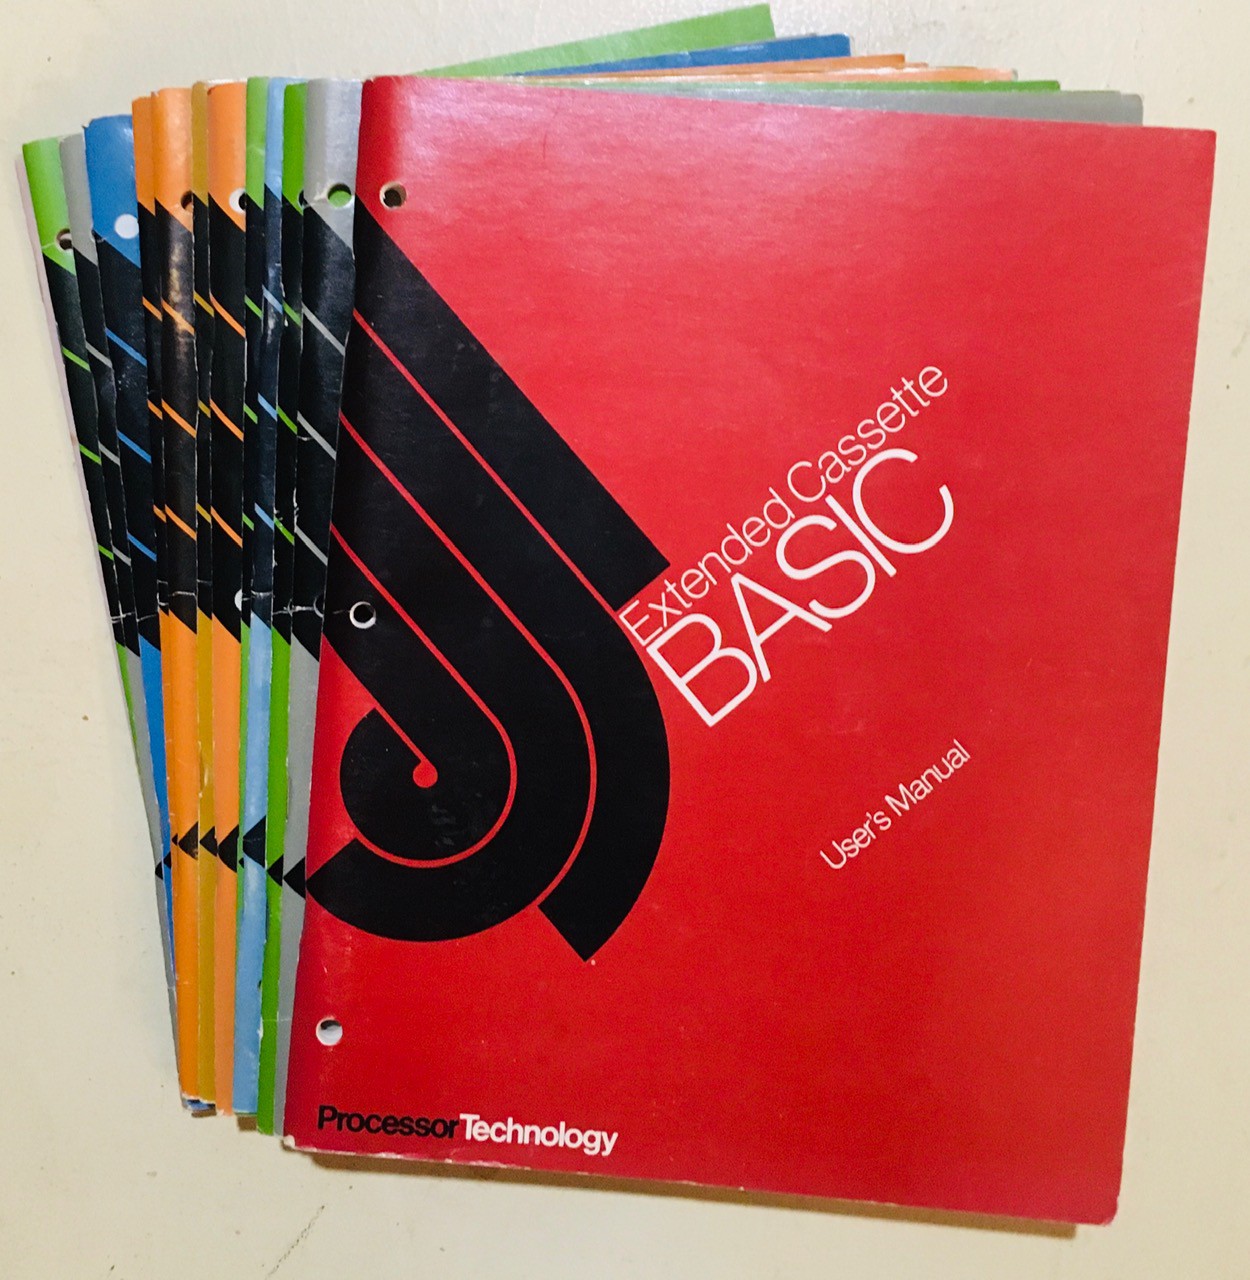
When he saw my project Nyles sent me a huge pile of original manuals that he had been keeping.
![]()
Once the hardware and emulator were done, these have been invaluable resources for helping me figure out how to run the software that's out there. Thank you Nyles.
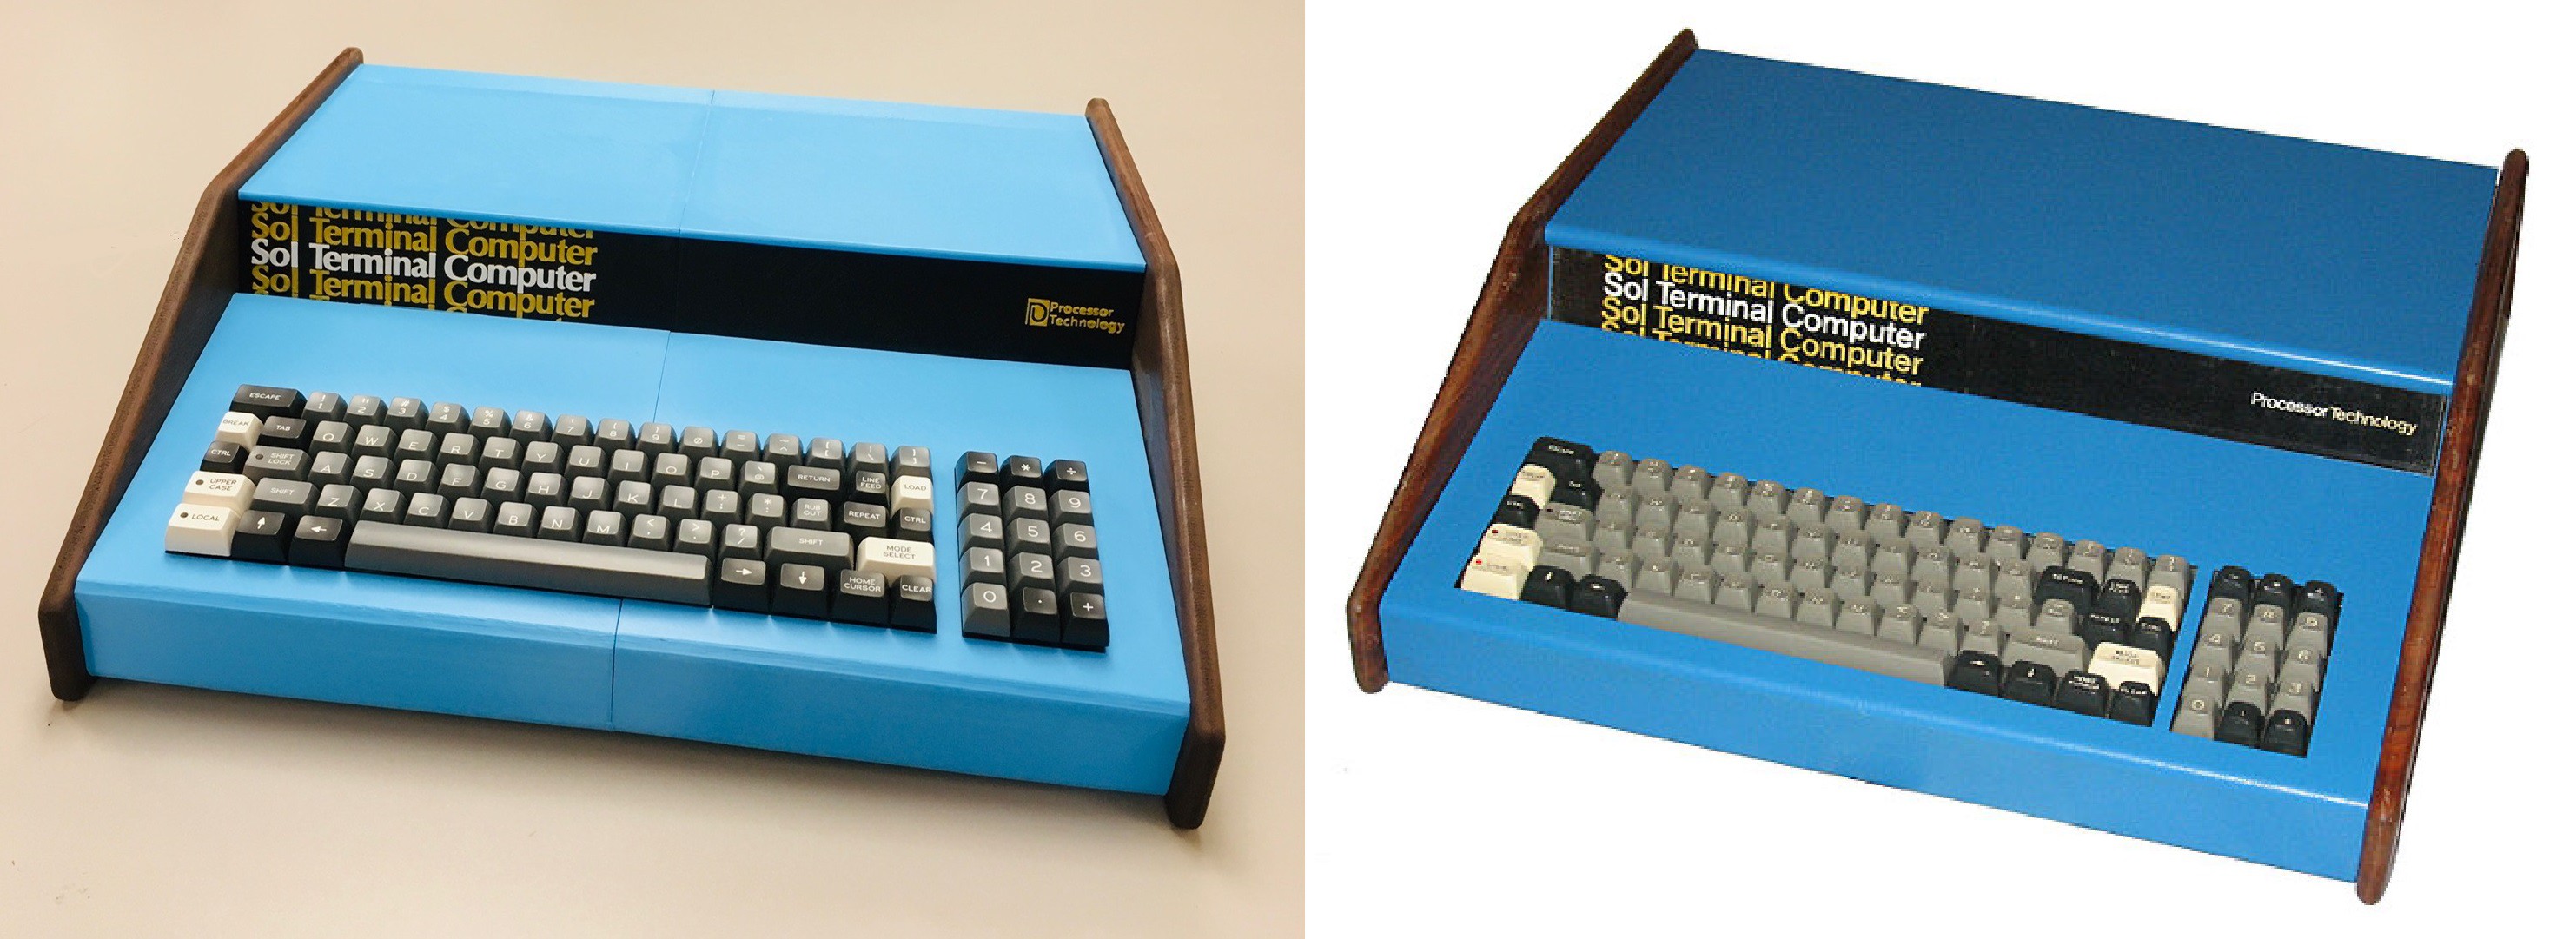
It's been a lot fun learning about this wonderful machine. I'll leave you with a side-by-side of my Sol-20 reproduction and the original.
![]()
-
Wrapping Up
11/28/2021 at 21:30 • 0 commentsOne of the finishing touches I wanted on this project is to make the Raspberry Pi boot directly into the Sol-20 emulator on startup.
I created an autostart folder on my Pi and switched to that folder.
mkdir /home/pi/.config/autostart
cd /home/pi/.config/autostart
Into the autostart folder just created I added the following two files.
runSol-20
cd /home/pi/Sol-20
/usr/bin/python3 main.py
Sol-20.desktop
[Desktop Entry]
Type=Application Name=Sol-20
Exec=/home/pi/.config/autostart/runSol-20
In addition the runSol-20 file must be made executable with the following command:
sudo chmod 777 runSol-20
Now if you reboot the system, you should briefly see the desktop appear, and shortly after Sol-20 emulator will load.
-
Wiring Up a Serial Port
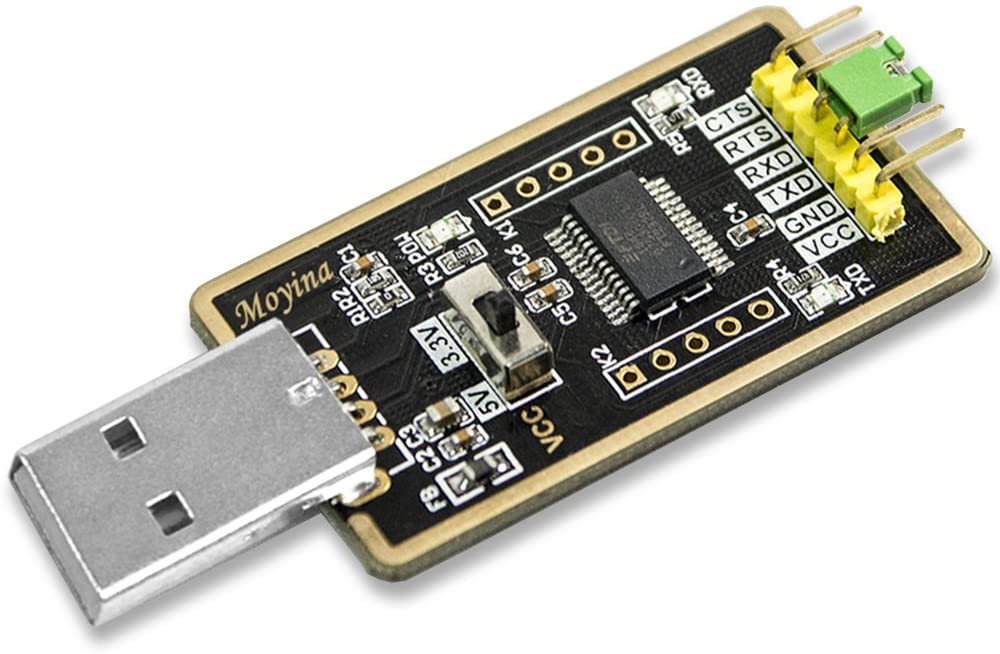
11/28/2021 at 21:17 • 0 commentsI felt that it was important that my Sol-20 reproduction work with a real HW Serial port. It is the Sol Terminal Computer after all. I thought that adding an RS-232 Serial hat like I did for my VT100 reproduction would complicate things since I was already using a Voltage-Level Shifter Module hat for the keyboard. So I purchased a USB to Serial Converter from Amazon.
![]()
I found that the version of Raspberry PI OS that I was using recognized this device without having lo load any drivers. I did have to figure out what the device name was. I did this by listing all of the USB devices.
pi@raspberrypi:~ $ ls /dev/*USB*
/dev/ttyUSB0
pi@raspberrypi:~ $
Then it was a pretty simple process to integrate /dev/ttyUSB0 into my emulator using the Python serial library.
pip install pyserial
I won't go into too many details here, but on a Sol-20 the serial port works just like keyboard. When the Sol-20 monitor program is waiting for a character from the serial port, it will make repeated IN requests to port 0xF8 to fetch the Serial Status Port. If there is a character in the port's input buffer I return the 8-bit status result with the Serial Data Ready (SDR) bit (0x40) "set" otherwise that bit will be "cleared". When it "sees" that there is a character ready, the monitor program will make a subsequent IN request on port 0xF9 to fetch the character which I then returned from the serial port's buffer. Similarly if the monitor wants to send a character to the serial port, it checks port 0xF8 with an IN to see if the Serial Transmit Buffer is Empty (STBE) bit (0x80) is "set" and if so an OUT to port 0xF9 is issued with the character to send which I write to the serial ports output buffer.
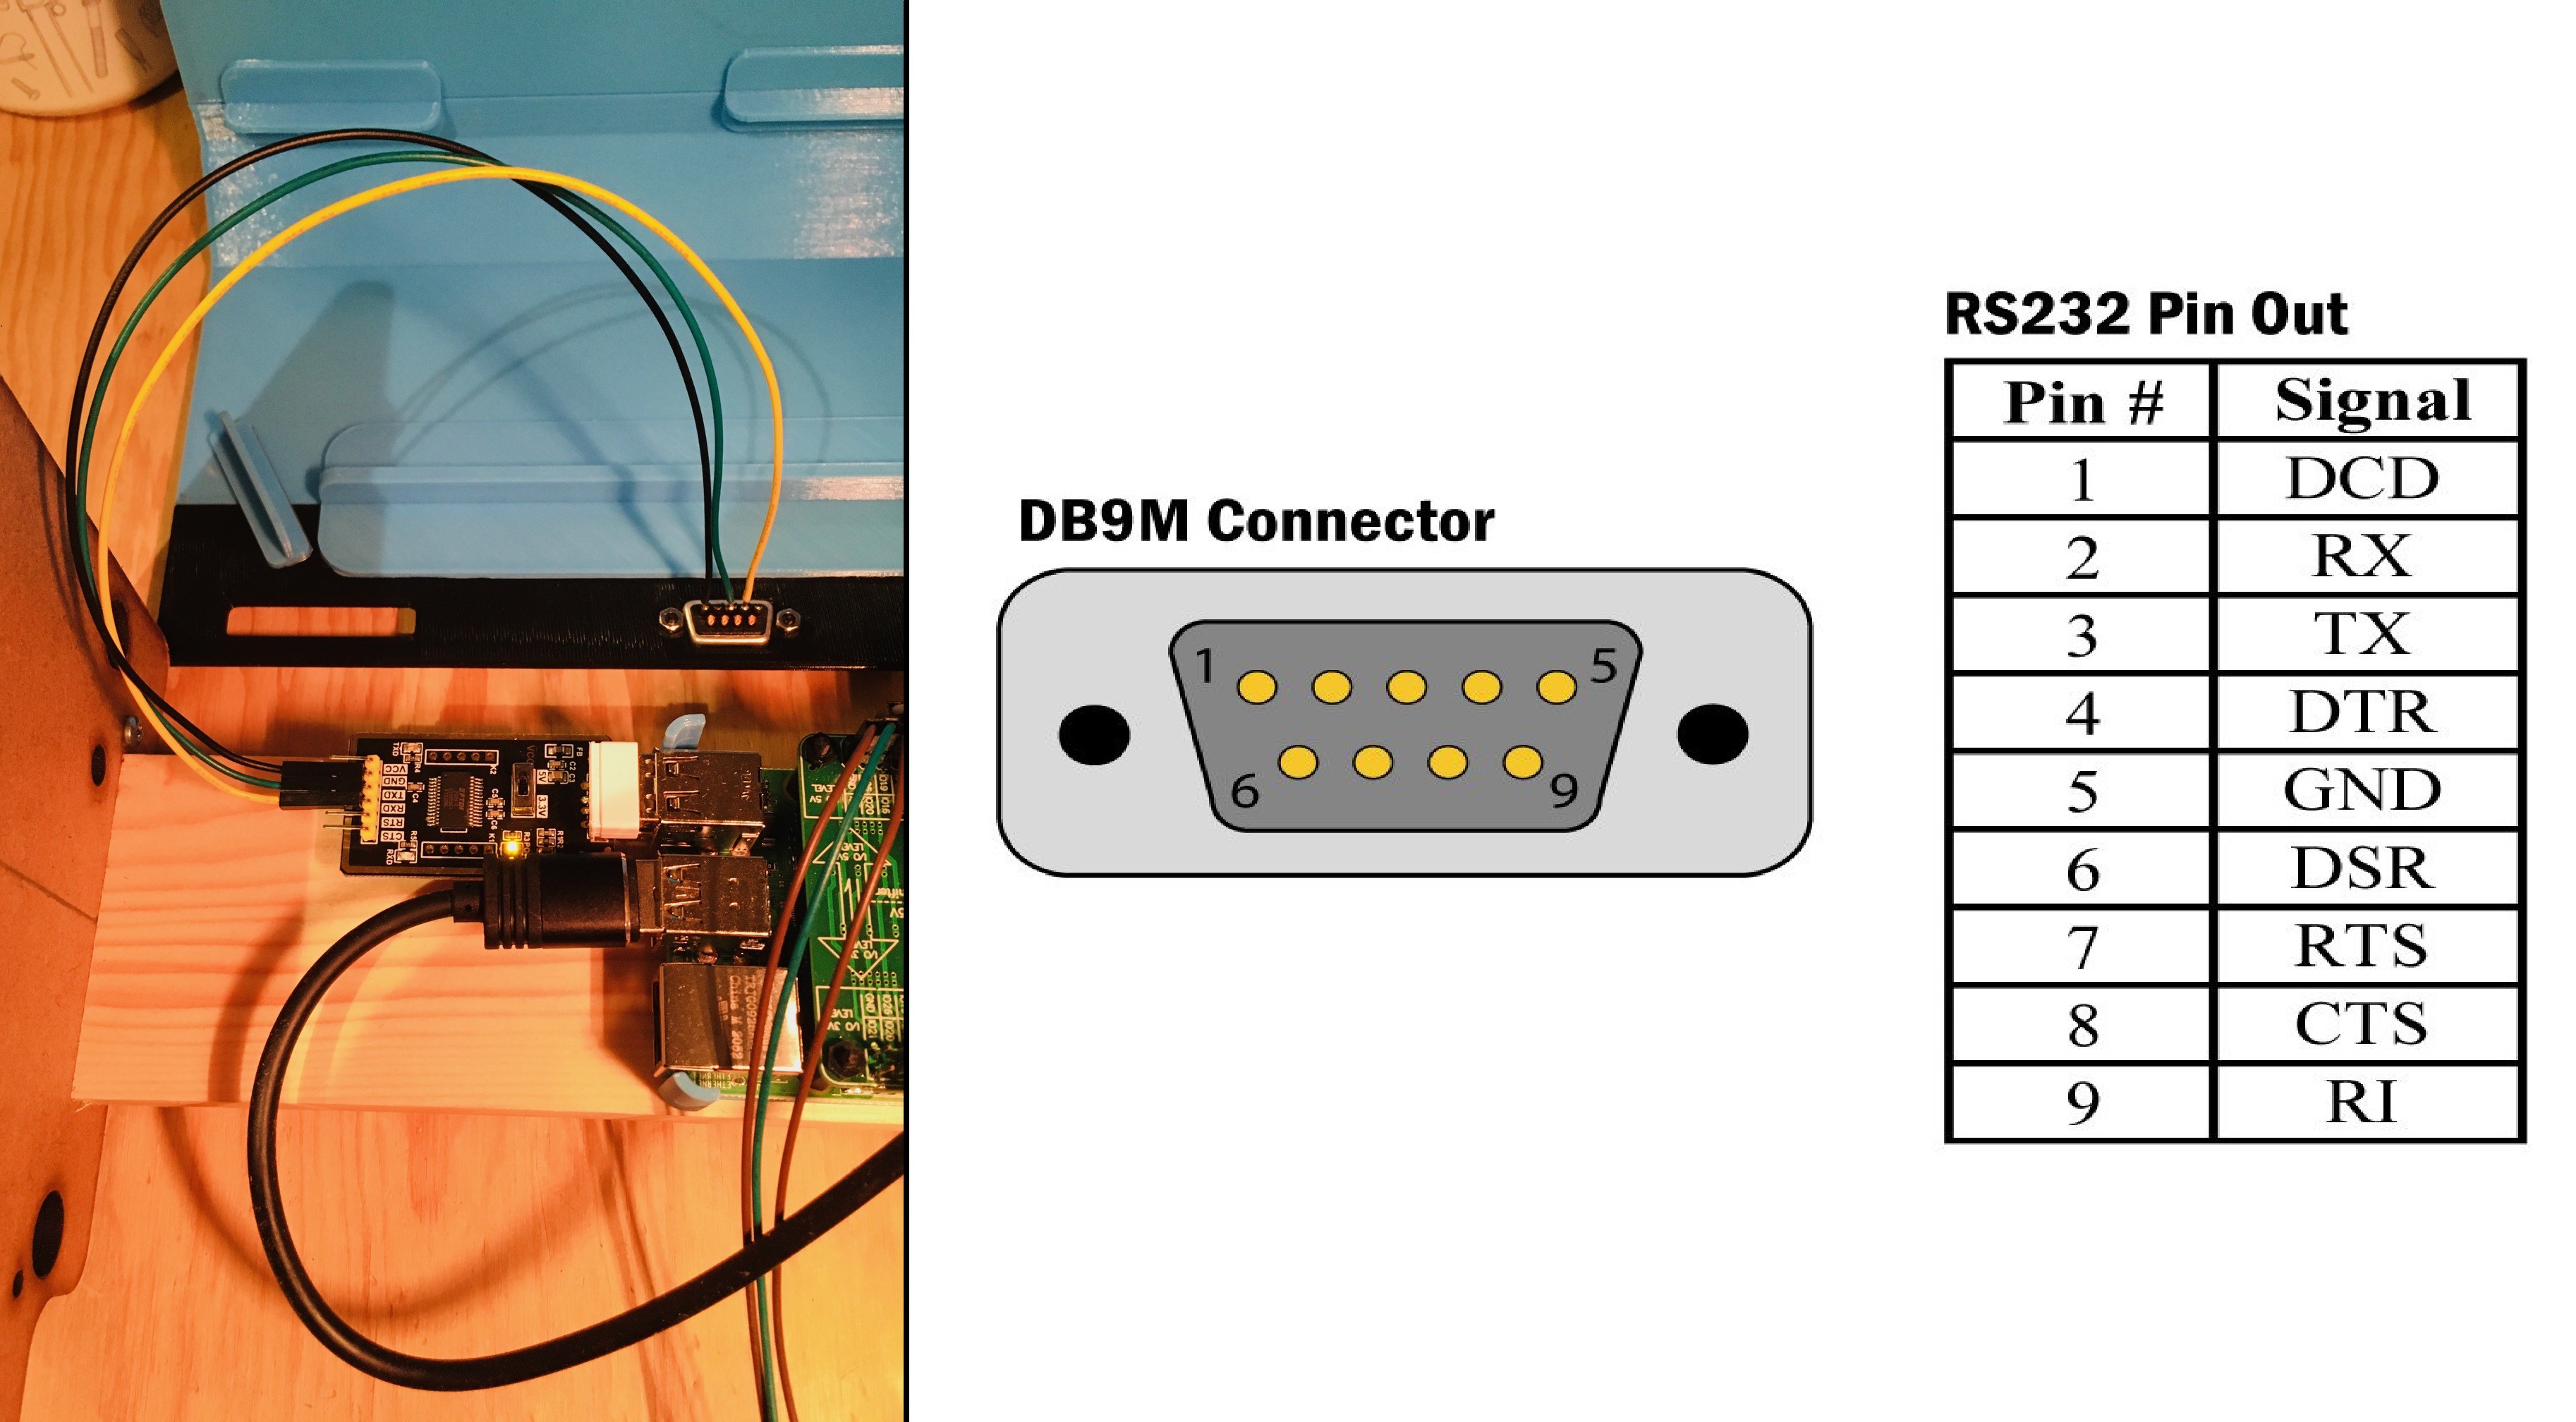
I wired the TX, RX, and GND from the USB Serial Converter to the DB9 connector.
![]()
-
Soft Switches
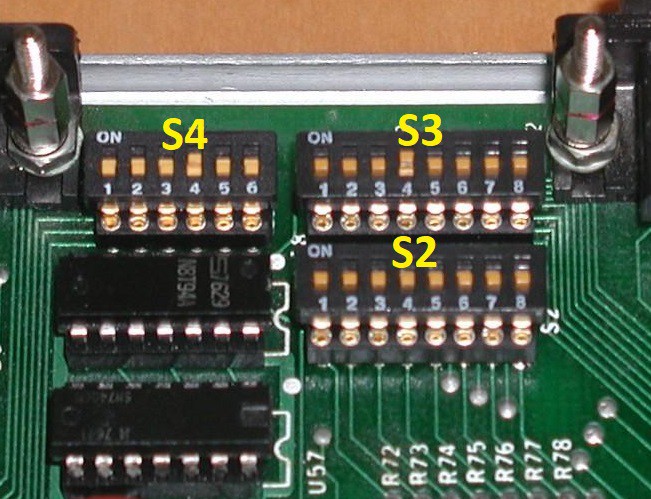
11/25/2021 at 19:15 • 0 commentsThe Sol-20 had 4 banks of DIP switches on the motherboard to control various aspects of the machine's operation. Here's a photo of three of them.
![]()
I didn't see an advantage to using physical switches for my emulated hardware so I created a configuration file instead.
# SOL-20 SWITCH FUNCTION DEFINITIONS
#
# This configuration file replaces the four physical setup switch banks on the Sol-20.
#
# Display Control
#
S1-1 = 0   # 0-Run  1-Restart to Zero.  (N/A for emulator.)
S1-2 = 0   # Not used.
S1-3 = 0   # 0-Show control characters. 1-Blank control characters (ASCII values < 32).
S1-4 = 0   # 0-Colored characters on black background. 1-Black characters on colored background.
S1-5 = 0   # 0-Solid or NO cursor. 1-Blinking cursor. (NOTE: Requires apscheduler - "pip install APScheduler")
S1-6 = 1   # 0-Blinking or NO cursor. 1-Solid cursor.
S1-7 = 0   # 0-White screen. 1-Green screen. 2-Amber screen. (Emulator extension.)
S1-8 = 0   # 0-6574 character ROM. 1-6575 character ROM.     (Emulator extension.)
#
# NOTE: No cursor if S1-5 and S1-6 are off at the same time.
#

#
# Sense Switch
#
S2-1 = 1   # Sense switches in LSB to MSB order. Read by the system with an IN 0xFF instruction.
S2-2 = 1   # Not used by many applications.
S2-3 = 1
S2-4 = 1
S2-5 = 1
S2-6 = 1
S2-7 = 1
S2-8 = 1
#

#
# Serial I/O Baud Rate Switch
#
S3-1 = 0   # 1-75 Baud.
S3-2 = 0   # 1-110 Baud.
S3-3 = 0   # 1-150 Baud.
S3-4 = 0   # 1-300 Baud.
S3-5 = 0   # 1-600 Baud.
S3-6 = 0   # 1-1200 Baud.
S3-7 = 0   # 1-2400 Baud. 2-4800 Baud. (Emulator extension.)
S3-8 = 0   # 1-9600 Baud.
#
# Do not turn on more than one switch at a time.
#

#
# Serial I/O Control Switch.
#
S4-1 = 0   # 0-Parity even if S4-5 set to 1. 1-Parity odd.
S4-2 = 0   # Data word length.  | 0        | 1         | 0         | 1
S4-3 = 0   #                    | 0-8 Bits.| 0-7 Bits. | 1-6 Bits. | 1-5 Bits.
S4-4 = 1   # 0-2 stop bits(1.5 if 5 bit words). 1-1 stop bit.
S4-5 = 0   # 0-No parity. 1-Parity.
S4-6 = 0   # 0-Full duplex. 1-Half duplex. (N/A in Emulator)
#
This file switches.cfg is loaded when the emulator starts up, so if you make any changes to the file you will have to restart the emulator to pick them up. I have posted this file and the updated code that implements these changes to github.
-
Interfaces
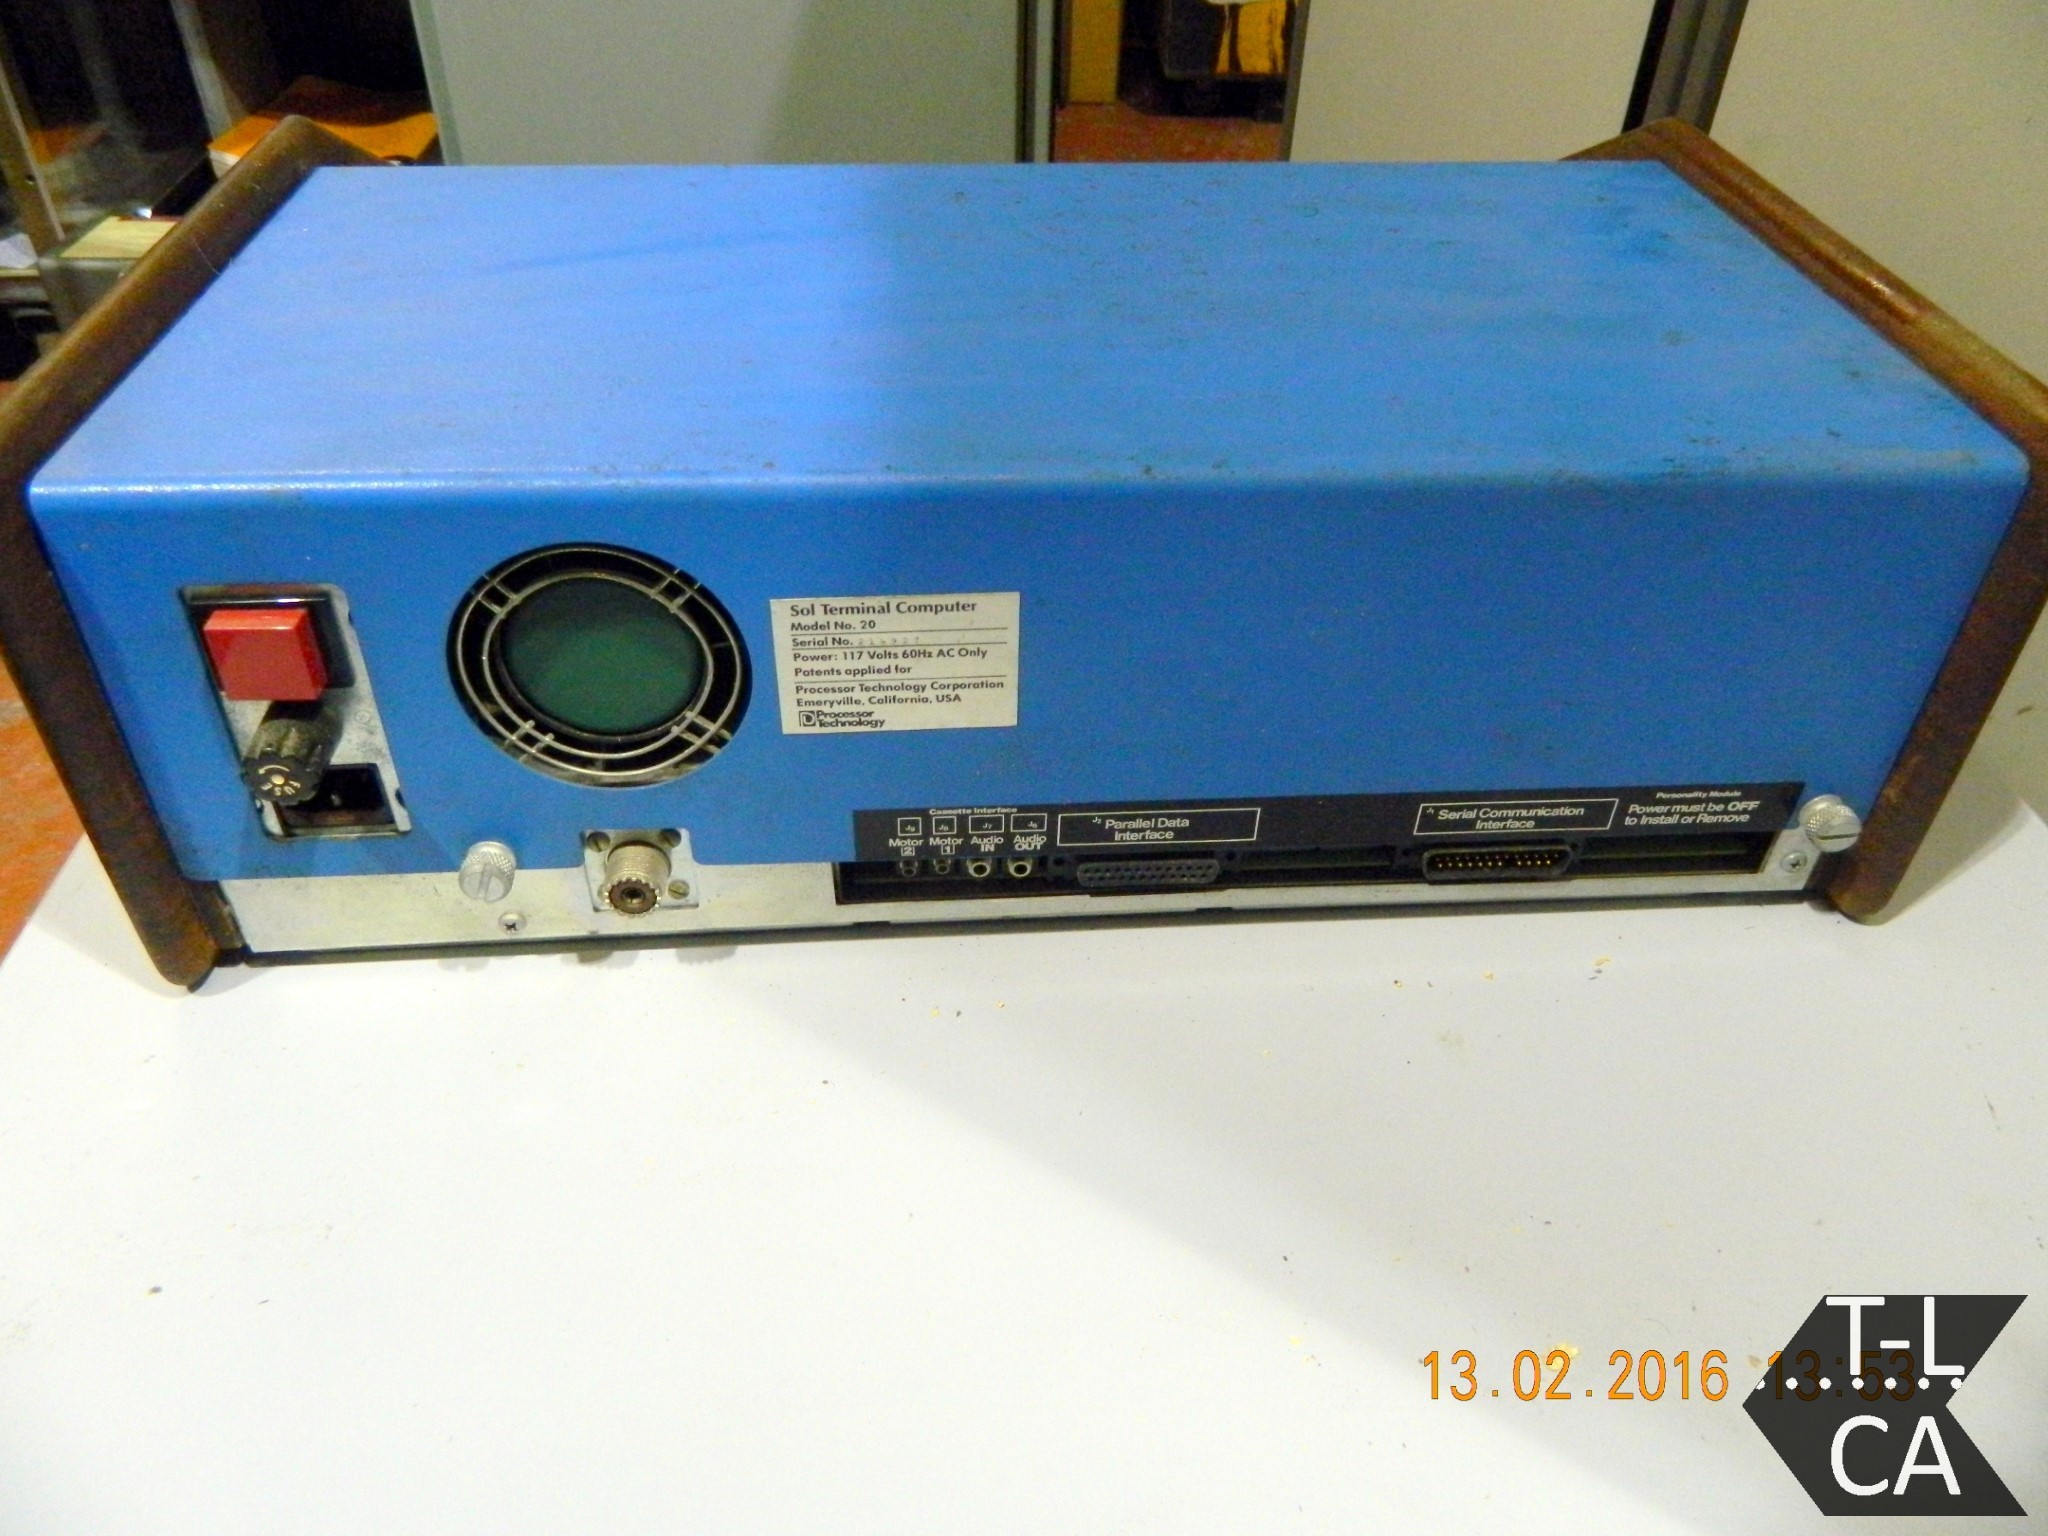
11/22/2021 at 02:04 • 0 commentsHere is a photo of the back of an original Sol-20.
![]()
You can see that the whole left side is taken up with power supply components: power button, fan, fuse, and power cord connection. Since my reproduction does not require any of these I chose to focus on and highlight the interface section in the lower right part of the rear panel.
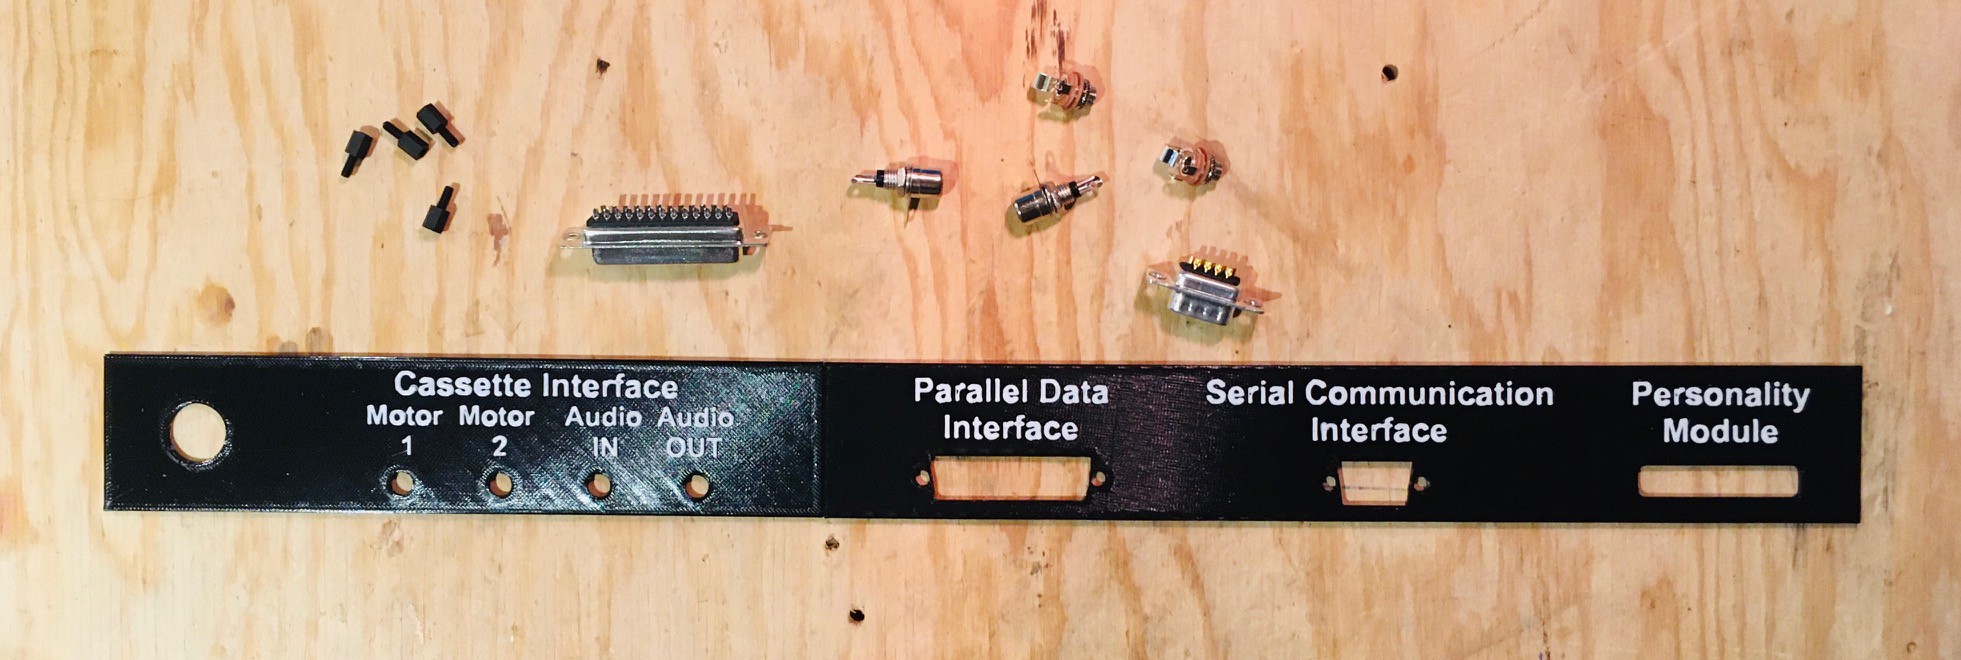
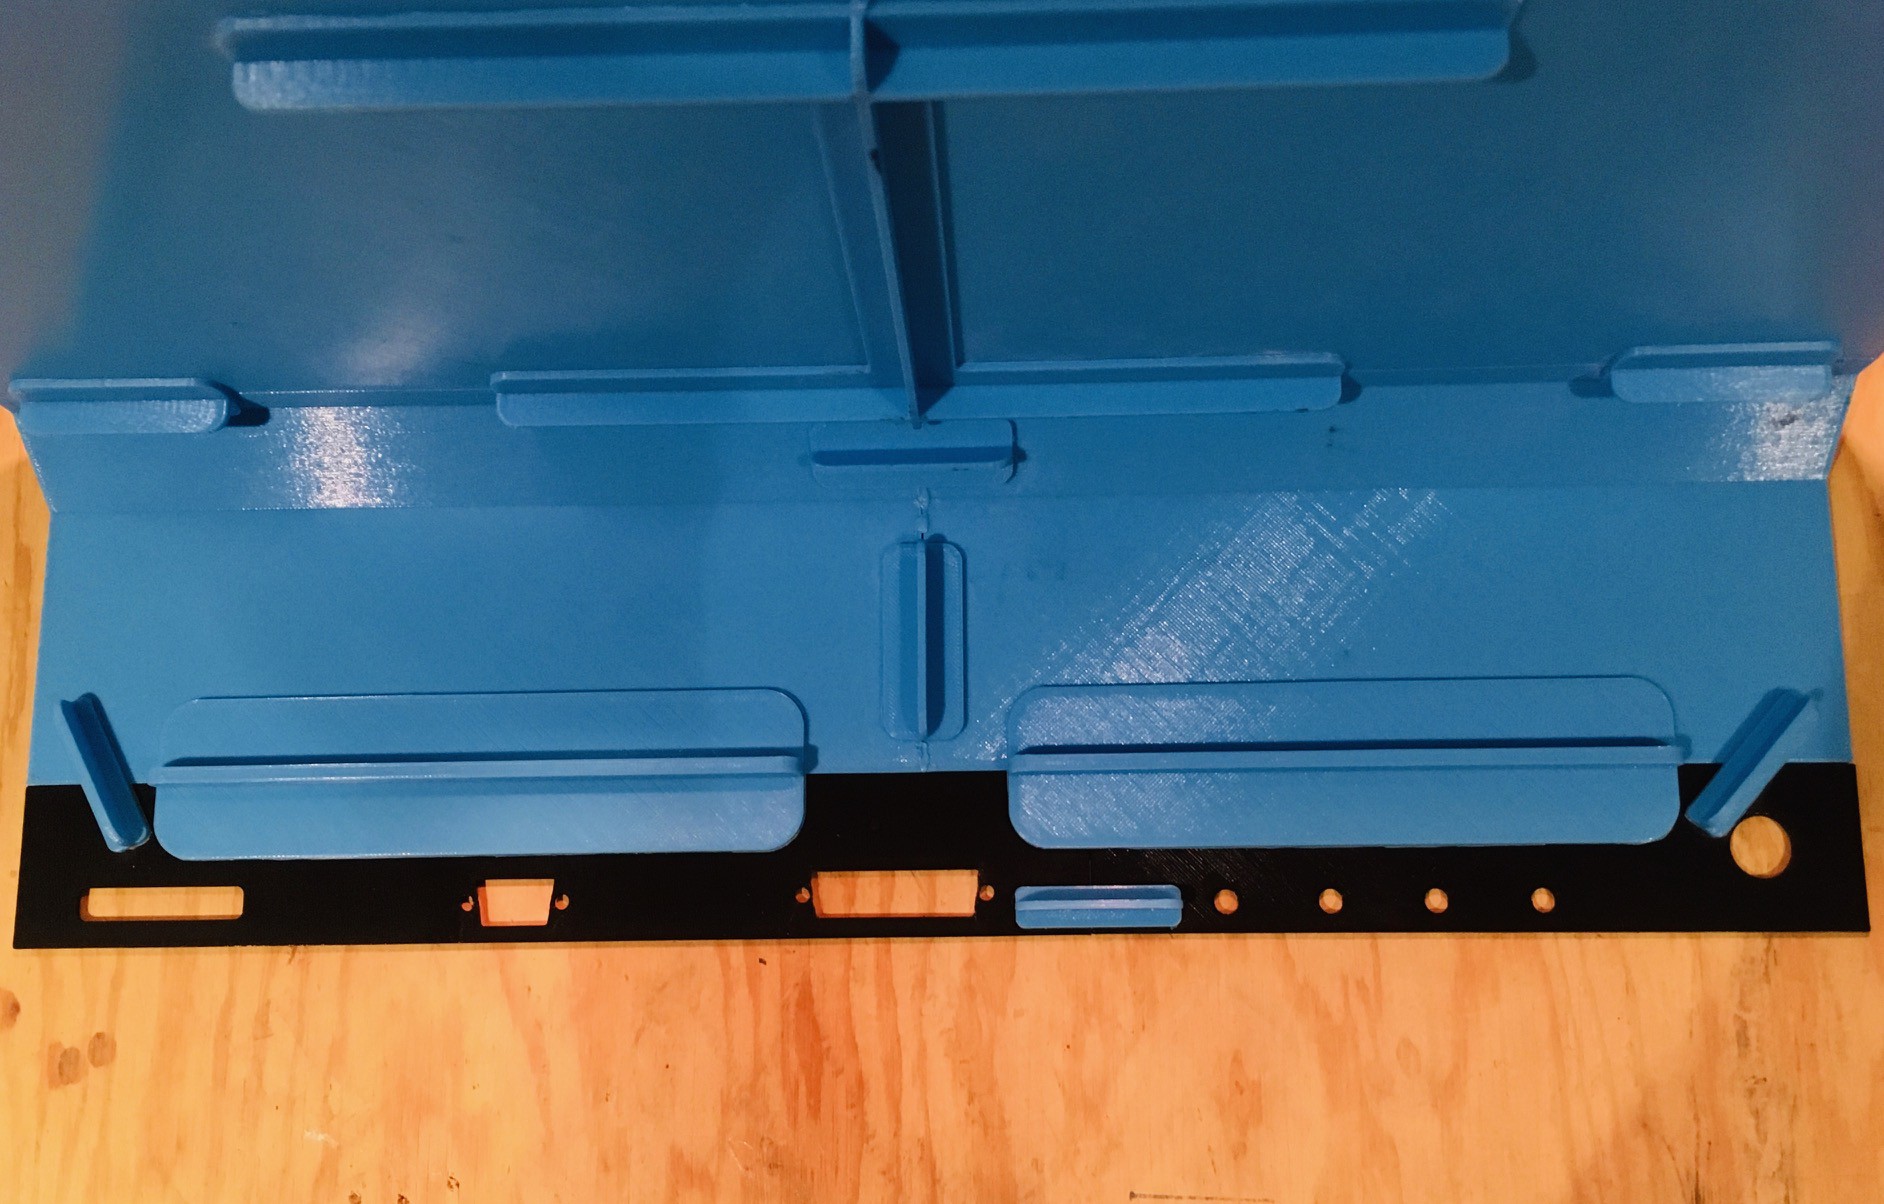
So I designed and printed my own "interface" panel and dug through my parts box for the components to populate it.
![]()
I then attached the interfaces panel to the rear panel with glue and braces.
![]()
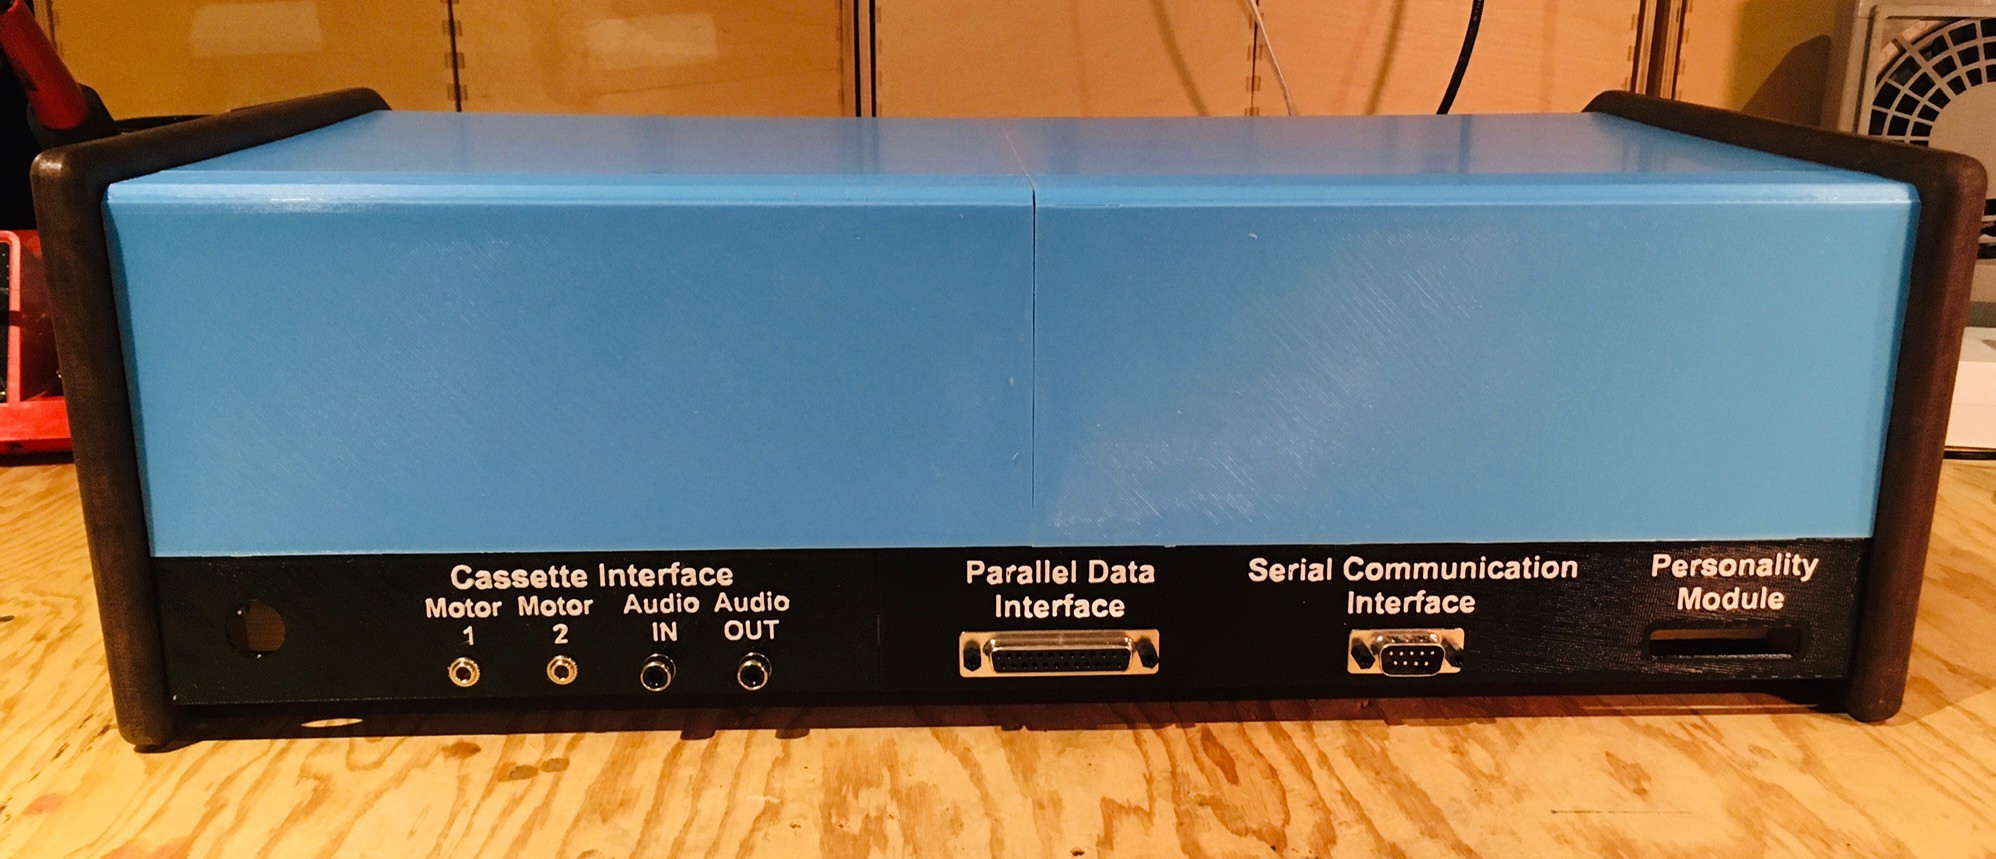
Then I added the connection hardware. Here is what the back of my reproduction look like.
![]()
Understand at this point these ports are mostly for show. I already have a "virtual" cassette so I'm unlikely to implement a physical one. I do plan to get the serial interface working, but since I have nothing with a parallel interface to connect to, I probably won't wire that one up. While I don't plan to support real Sol-20 personality modules, I do have an idea that I might simulate a personality module with perhaps RFID tags to have the Sol-20 reproduction load different software modules on system startup. Right now the personality module slot is just a simple hole.
-
A View Into the Soul of the Sol-20
11/21/2021 at 17:03 • 2 commentsFrom the beginning of my work on the Sol-20 reproduction I wondered what kind of display I would use with it. Of course a small CRT based TV or monitor would be ideal. To that end I put out feelers with my maker mates and even had someone at a local electronics recycling depot keeping an eye out for me. But after a couple of months and no success I realized I needed a Plan B.
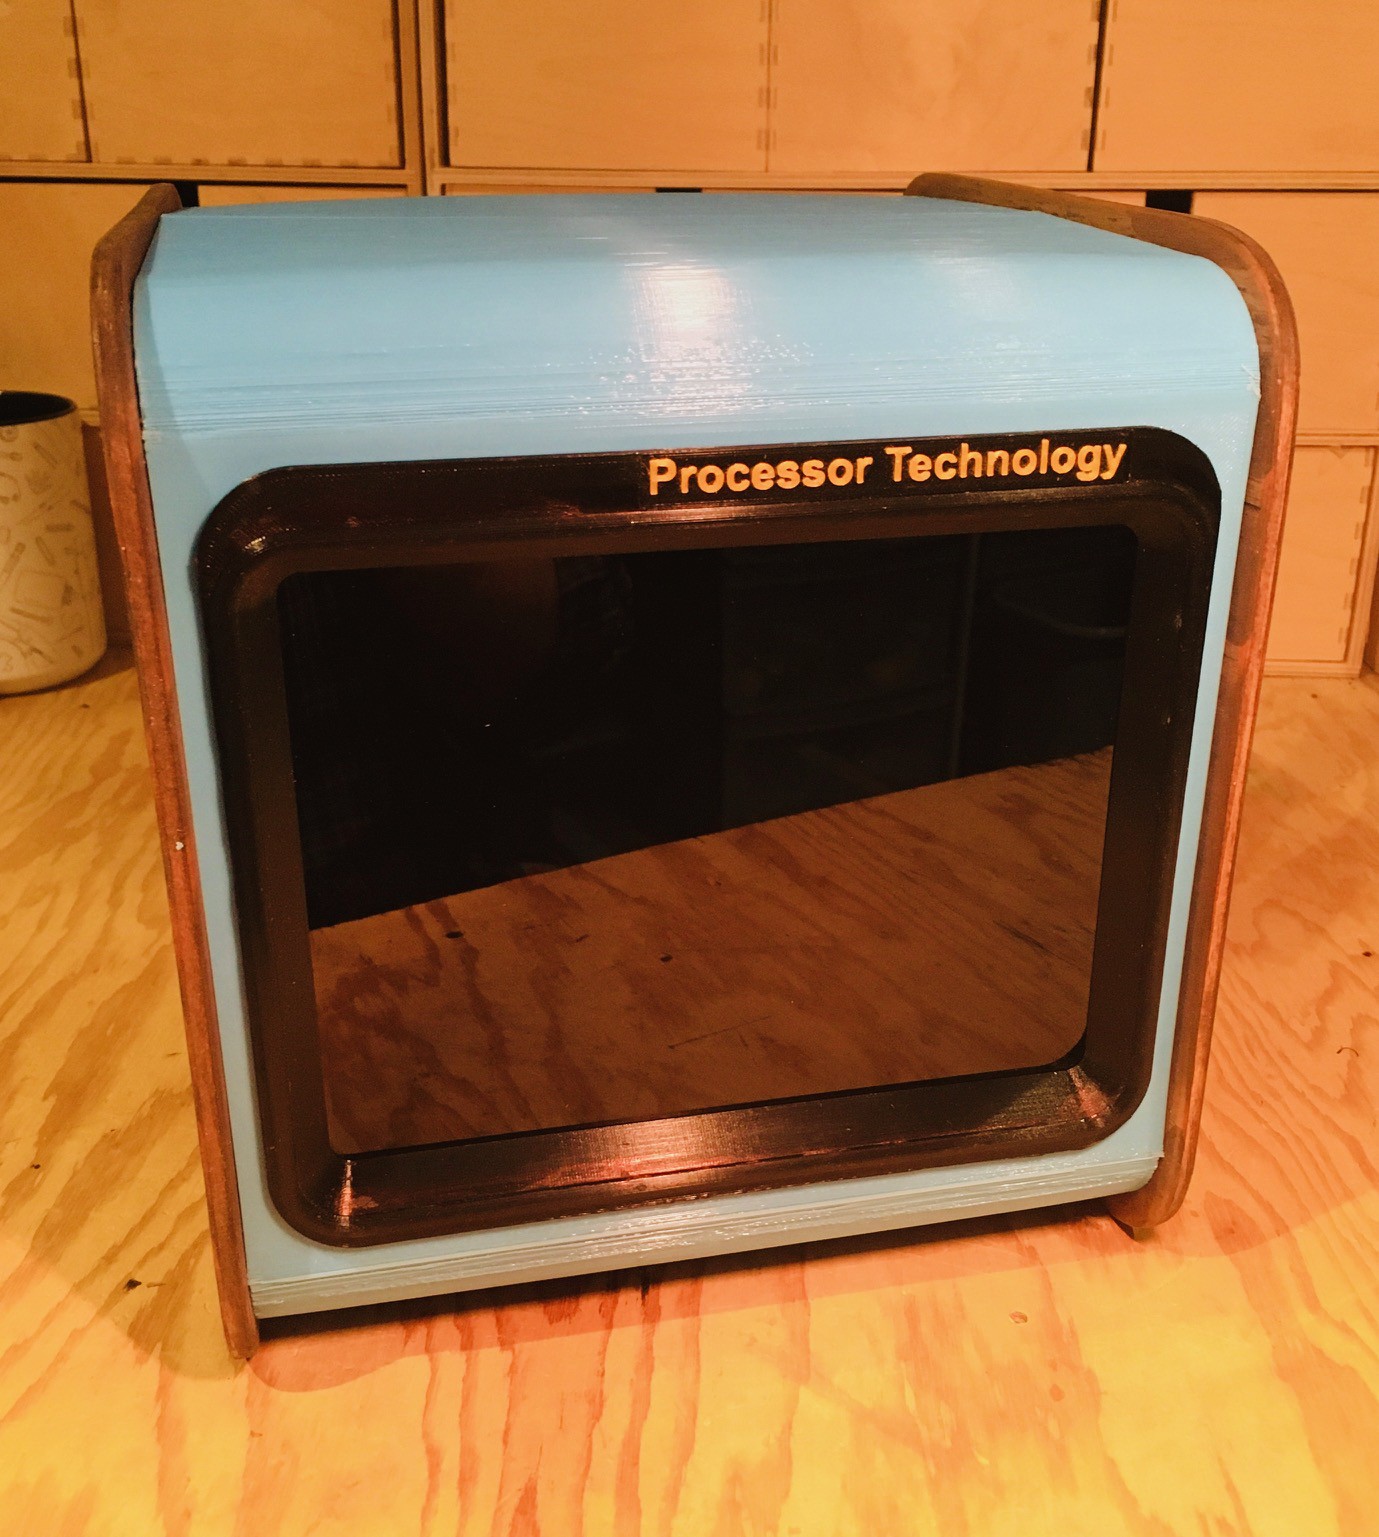
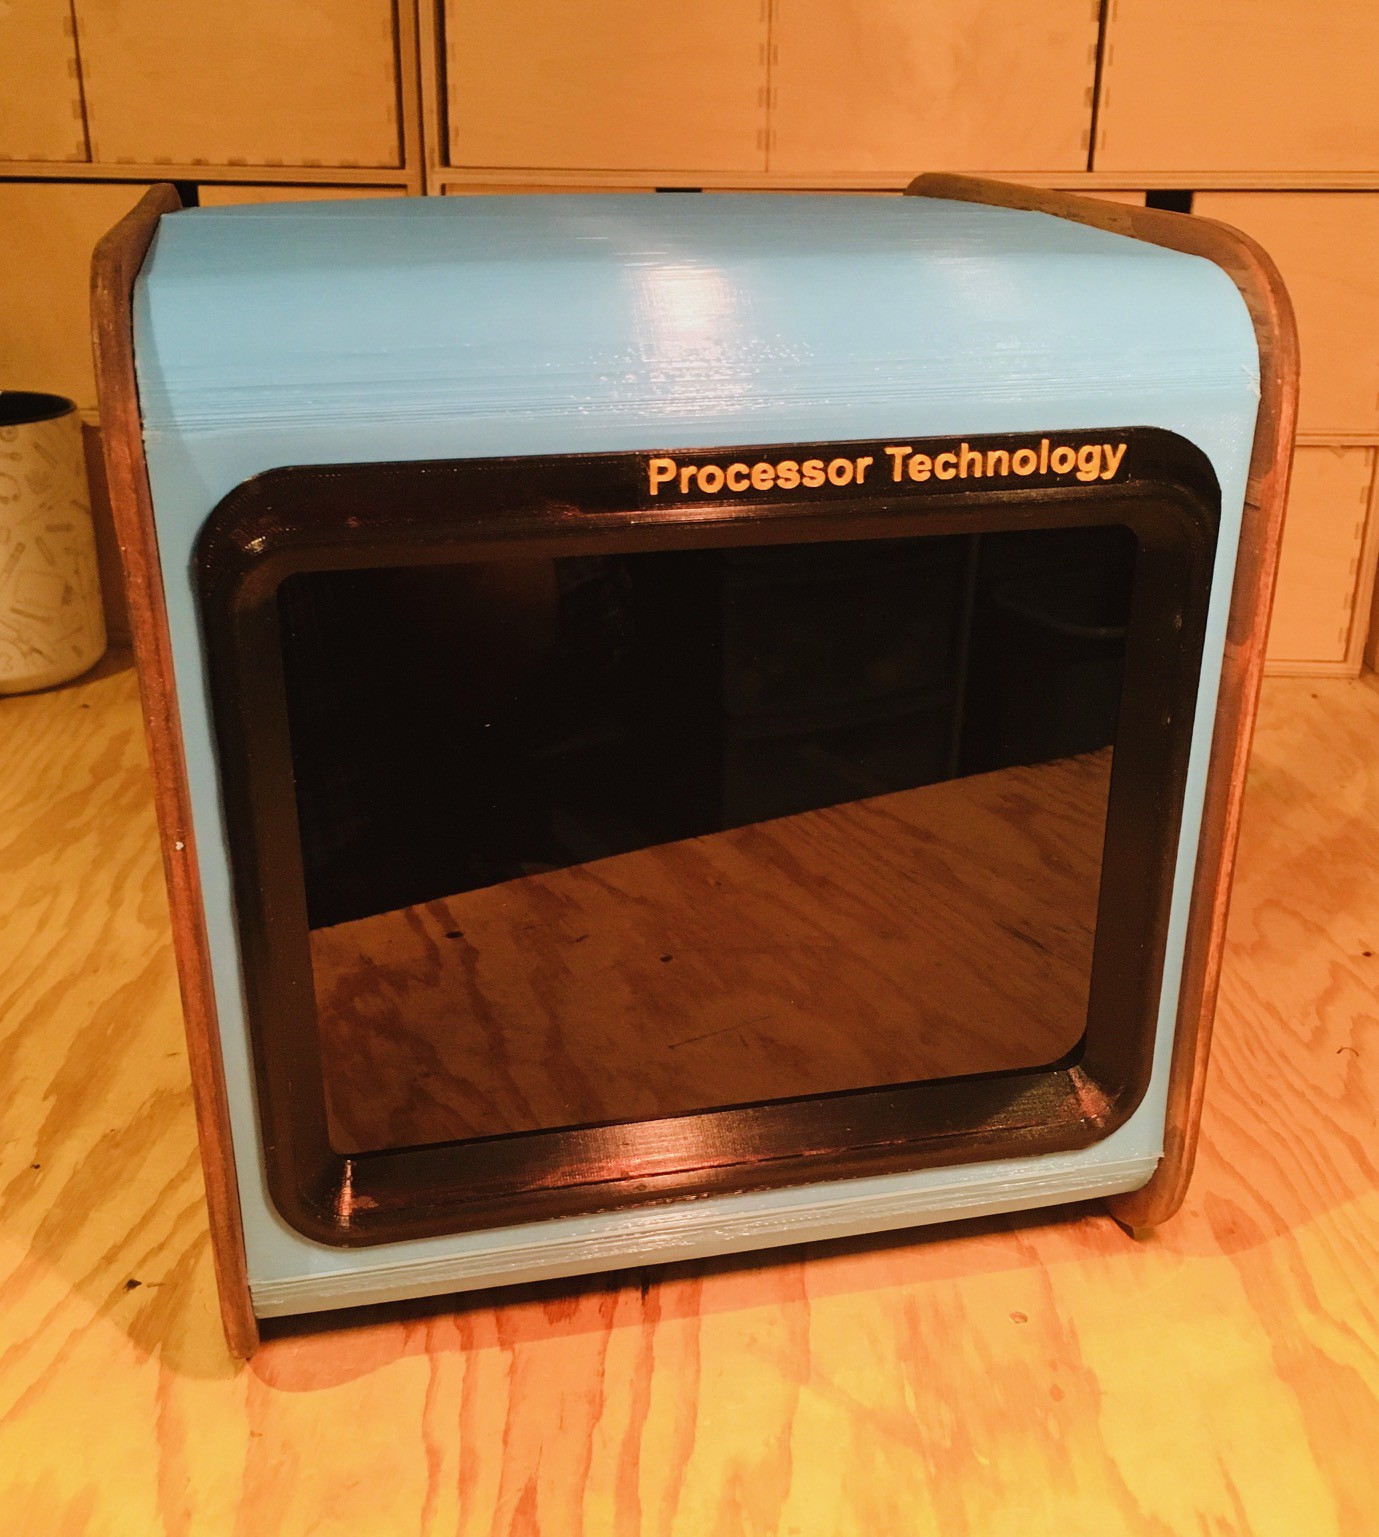
I started thinking "What if Processor Technology had sourced and branded a monitor for the original Sol-20?". What would that look like? Well it might have looked something like this.
![]()
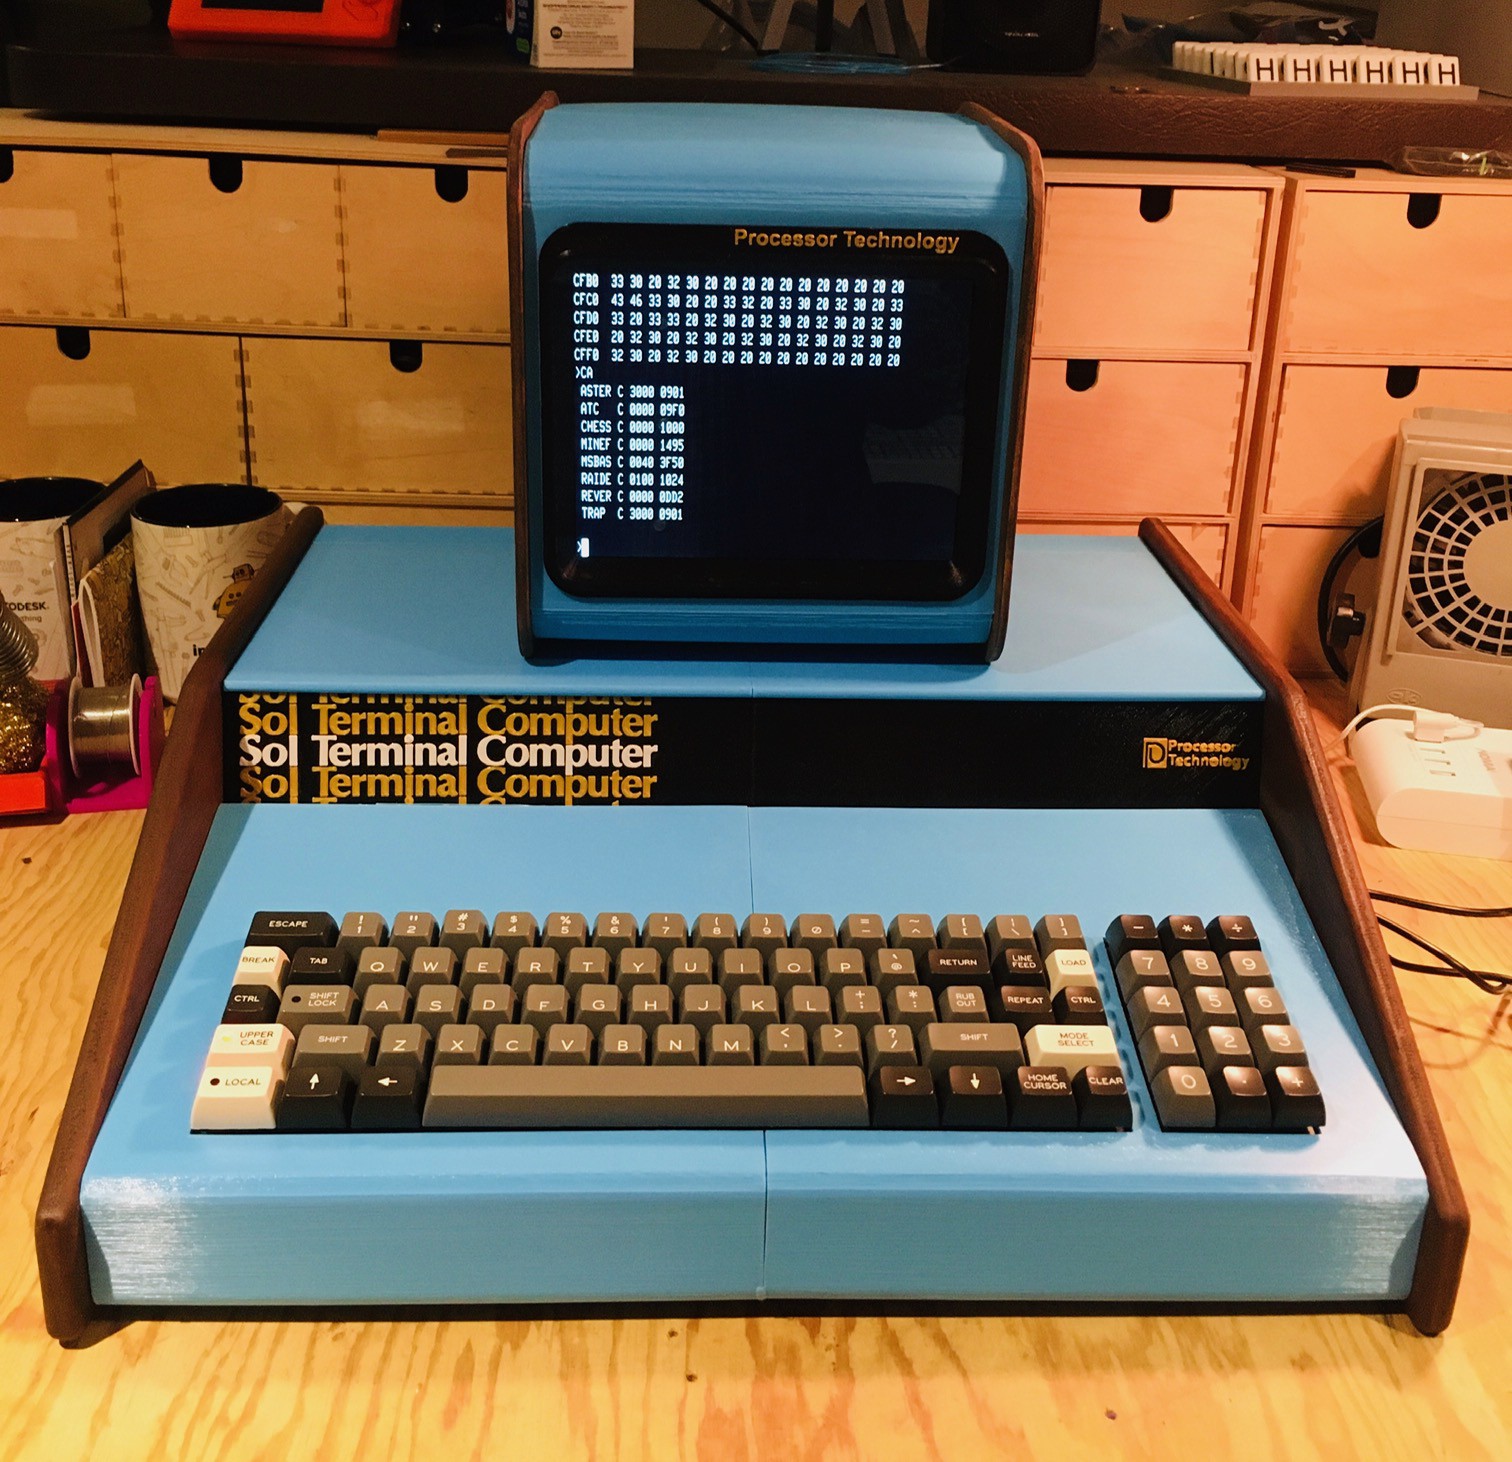
This design takes its cues from the Sol-20 with the wooden sides and color scheme. It has a retro CRT look while using a period correct 4:3 aspect ratio LCD panel. I my humble and somewhat biased opinion it looks great sitting on top of the Sol-20 reproduction.
![]()
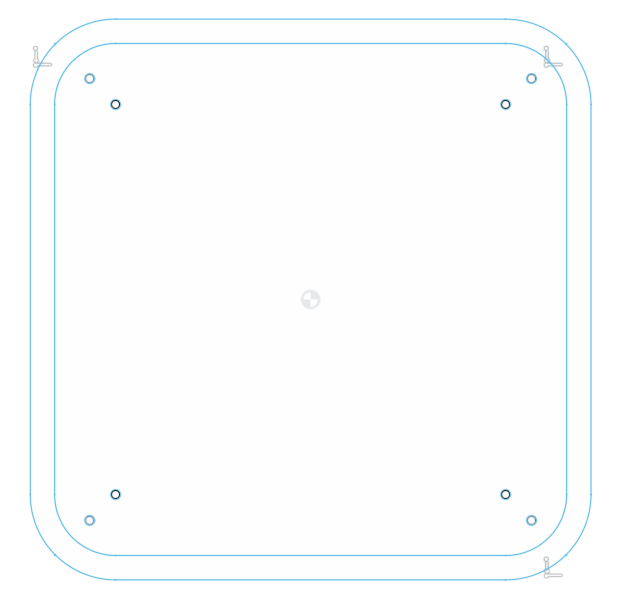
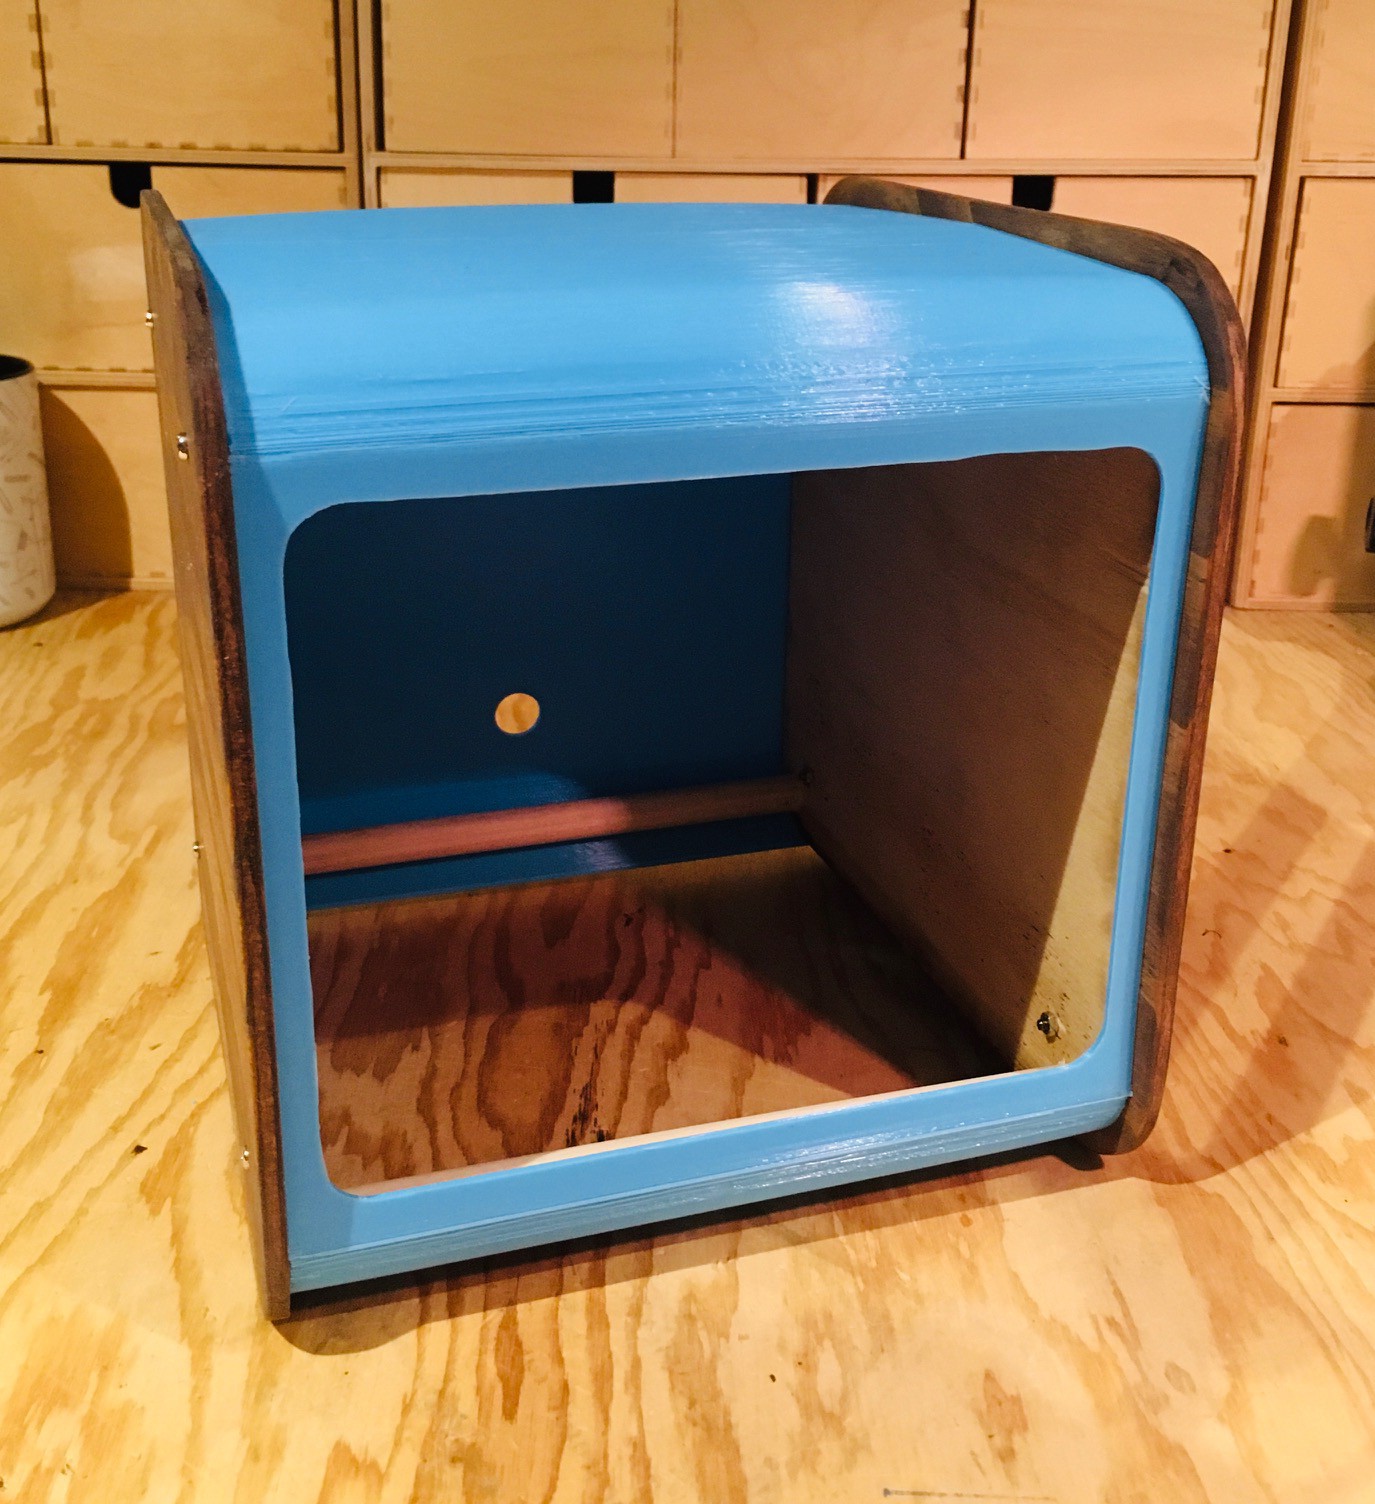
The build for this was pretty straight forward. I started by laying out the side panels in Fusion 360.
![]()
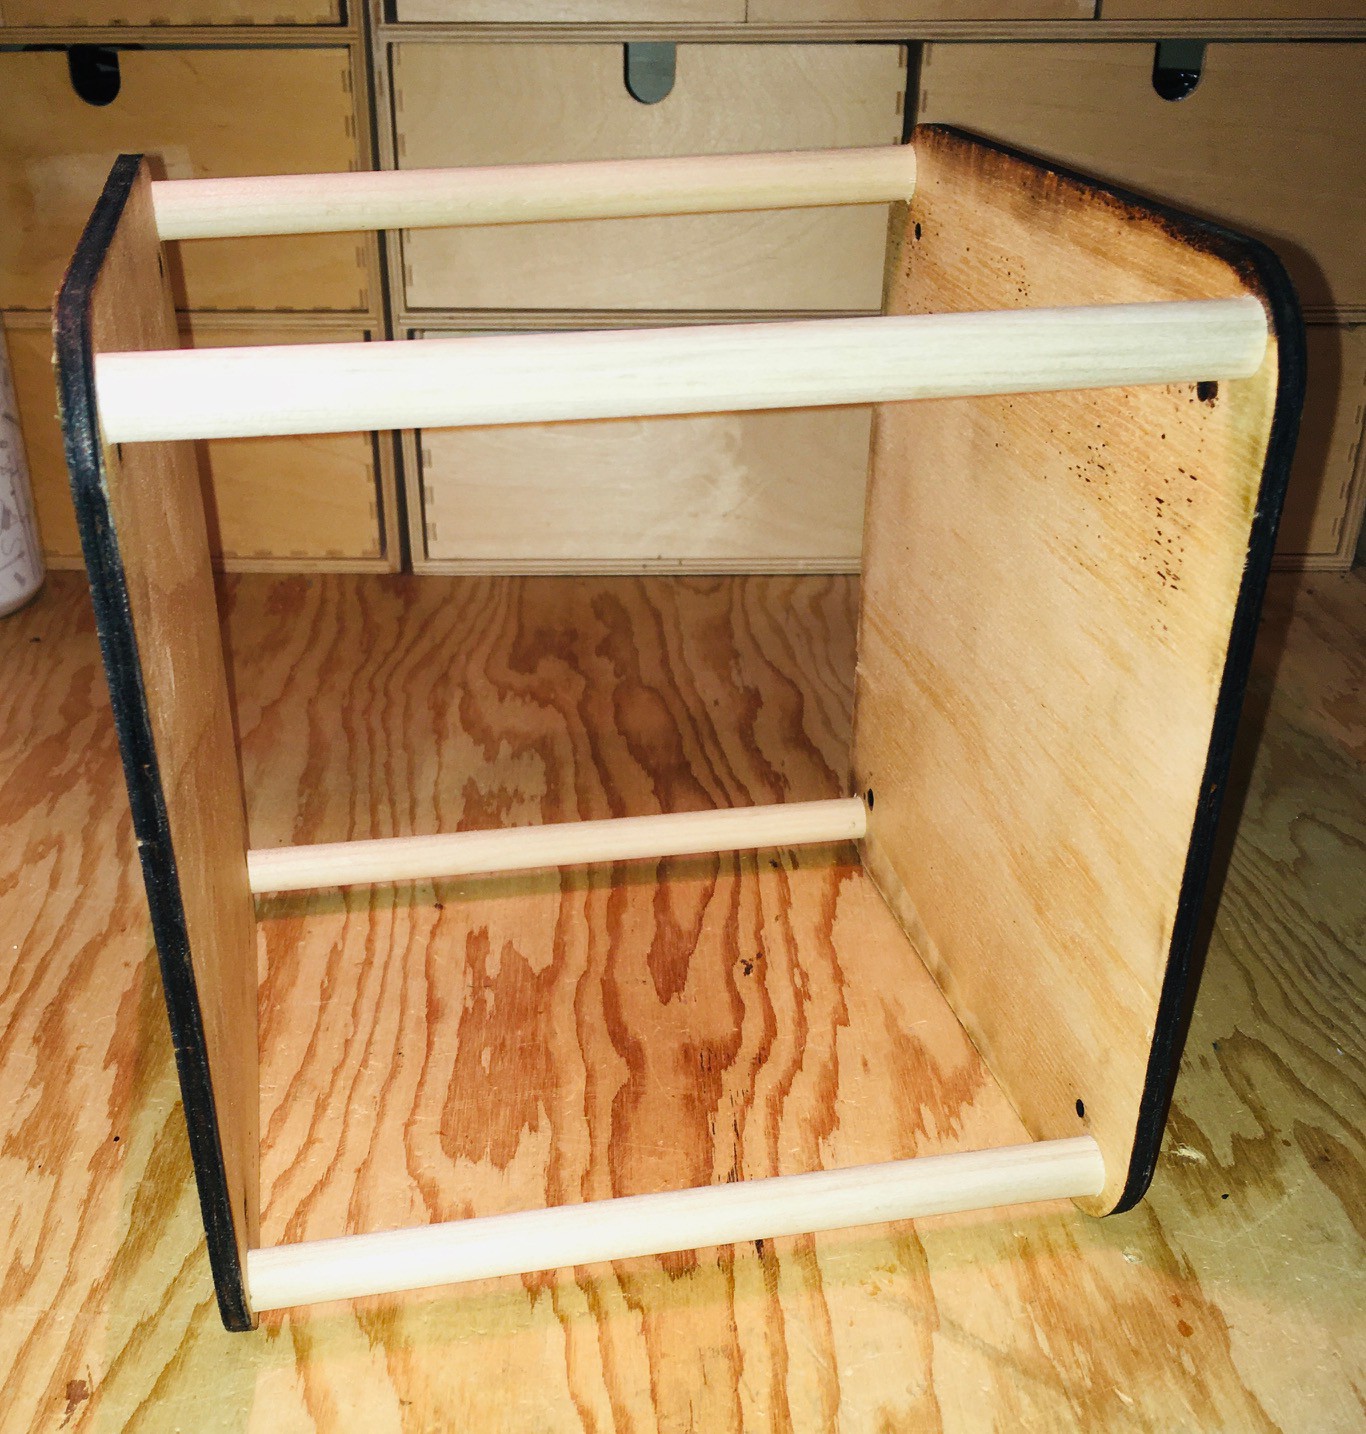
I used the DXF file to laser cut from 1/4 inch plywood two of the smaller side pieces with both sets of holes and two of the larger side pieces with only the one set of holes closest to the center. Using four 1/2 inch wooden dowels cut to 188 mm and with pre-drilled starter holes in the ends I assembled the inside frame (smaller panels) with No. 6 x 1 inch wood screws.
![]()
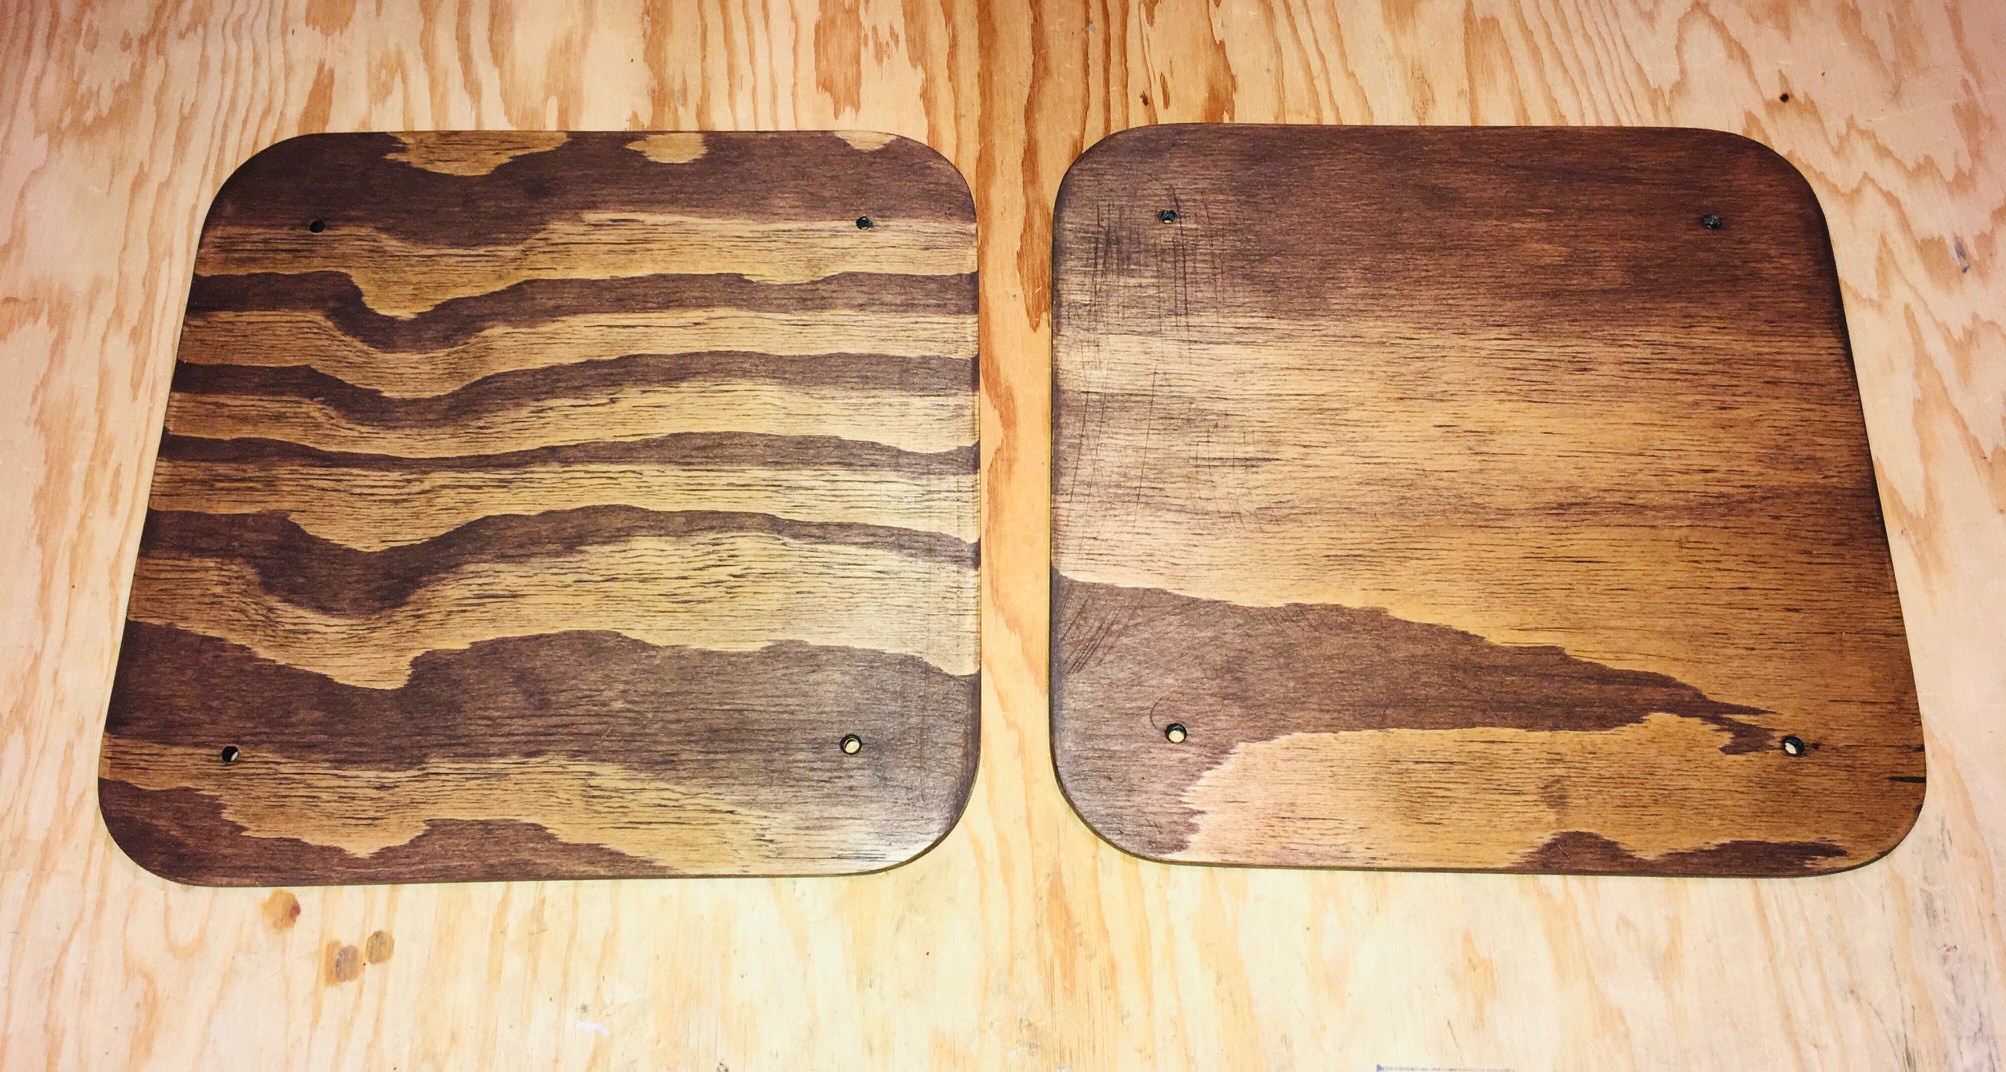
The larger panels I sanded down and stained with the same Minwax Walnut gel that I used on the Sol-20 sides.
![]()
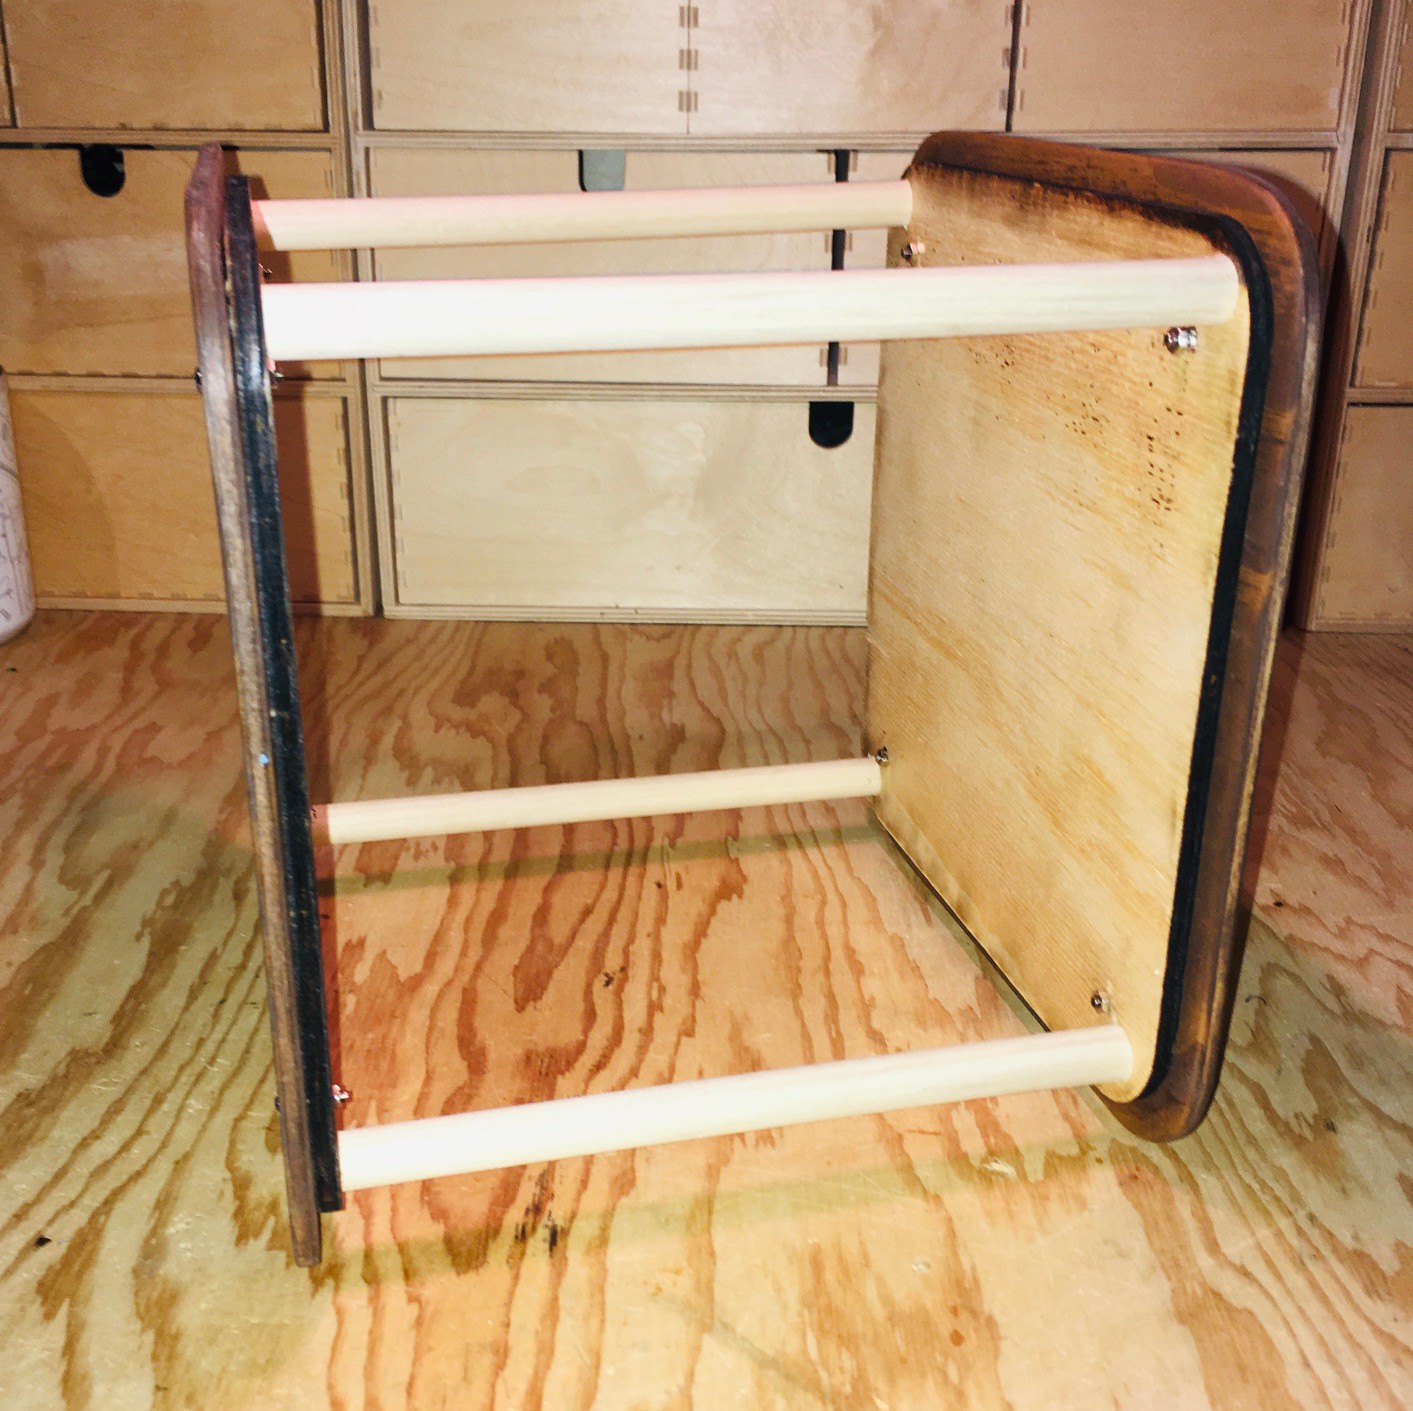
The funky grain patterns were a bit of a surprise but I'm kind of liking it. I could have used walnut here but balked a bit at the additional cost. Then I attached the outer panels to the inner frame with M3 x 14 mm bolts.
![]()
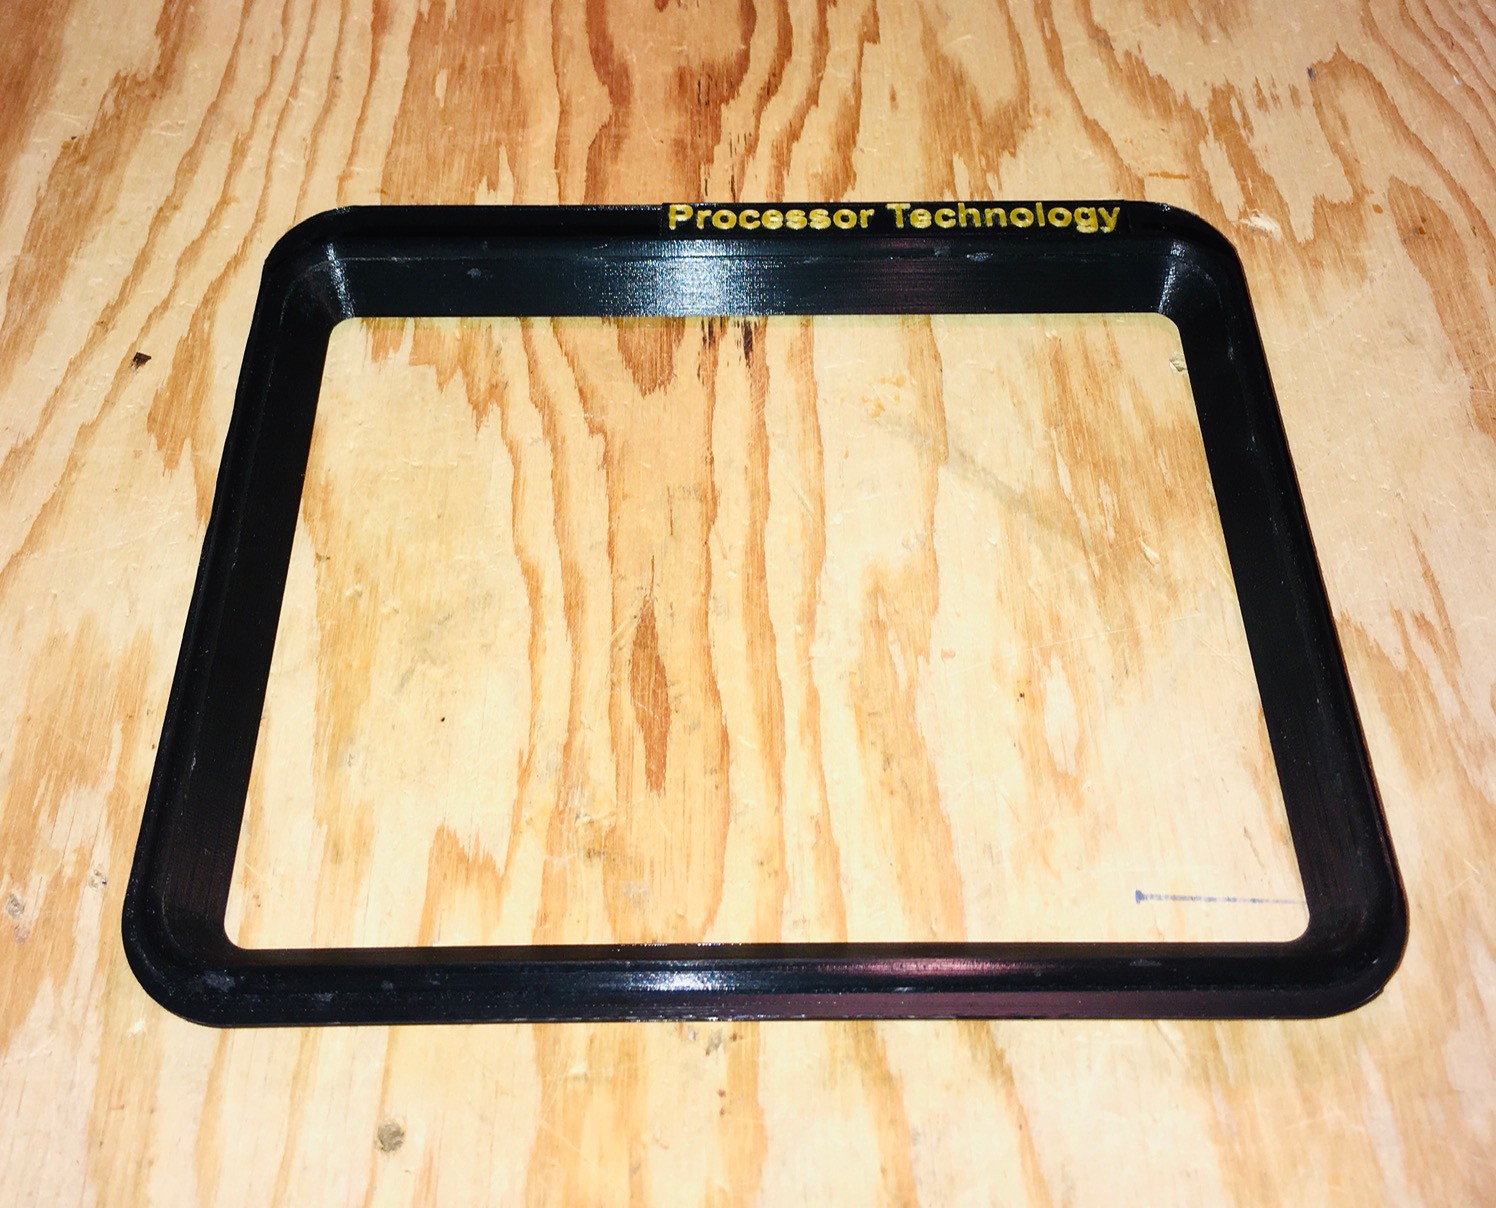
For the display I repurposed the screen frame that I used in my 2:3 Scale VT100 Reproduction.
![]()
I had to tweak the design a bit and I added the logo but overall it saved me a lot of time to repurpose the design. I used the same display as the VT100's a PIM372 (Digi-Key part number 1778-1225-ND), an 8 inch 1024x768 XGA display.
![]()
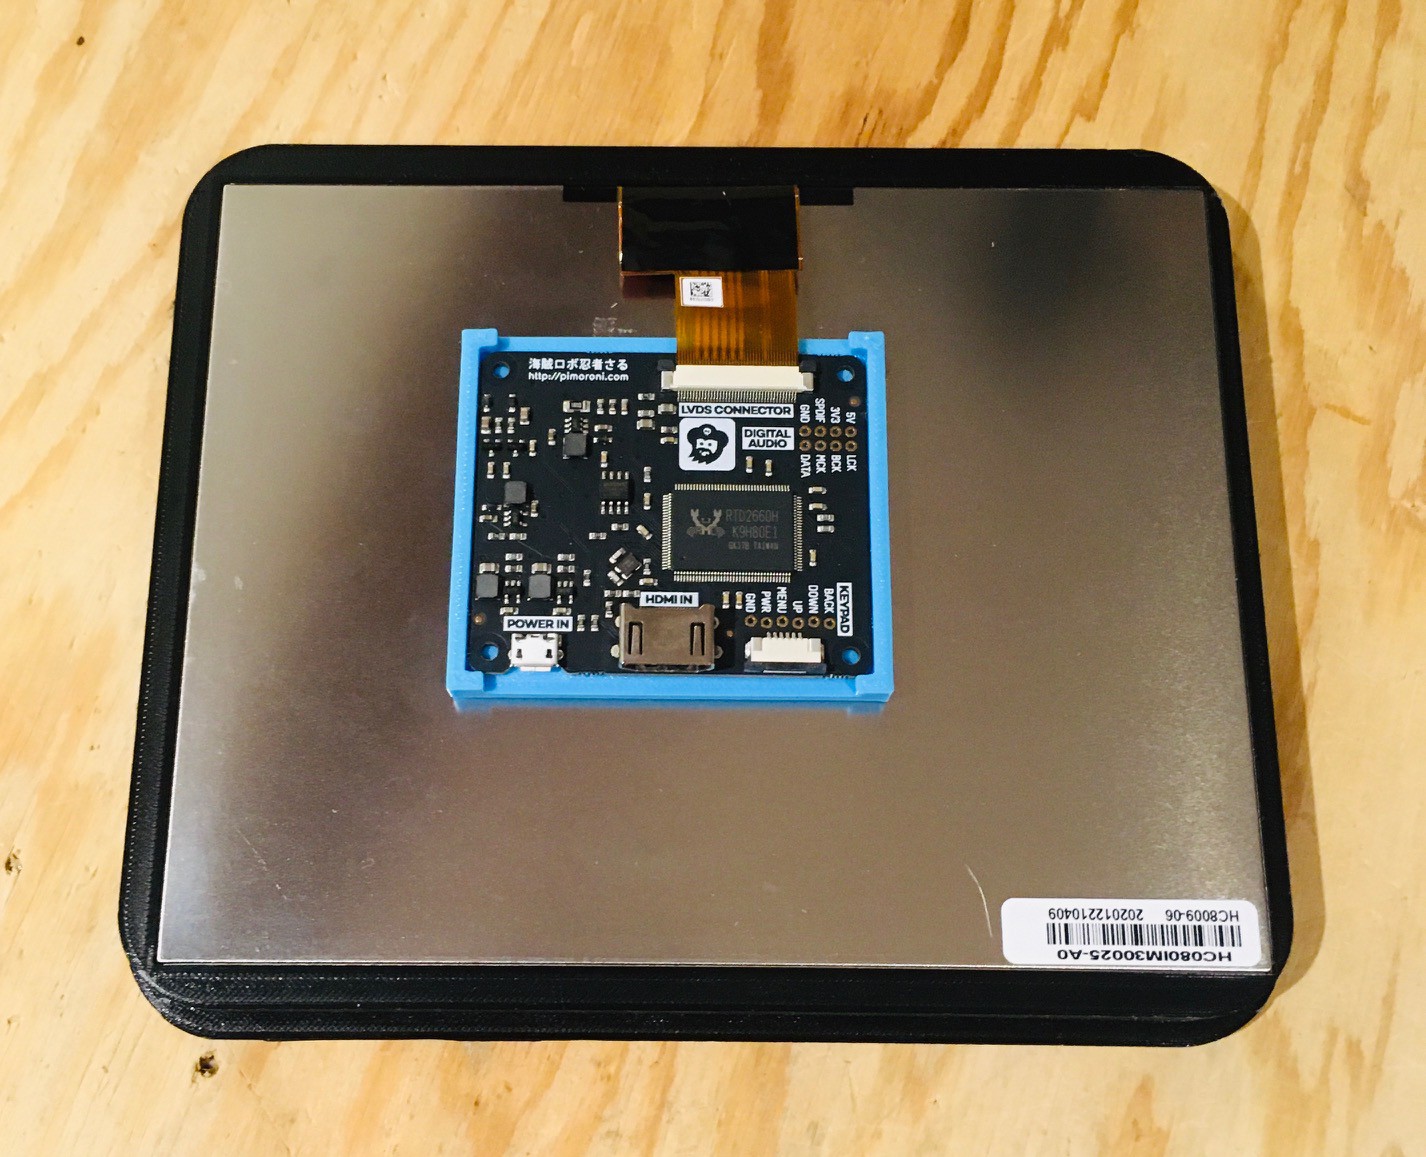
Th display panel just snaps into the frame. Be sure to get the orientation right with the display connector at the top of the screen frame. I printed a "caddy" for the driver board and after I connected the ribbon cable attached the board and caddy to the back of the display panel with two sided tape.
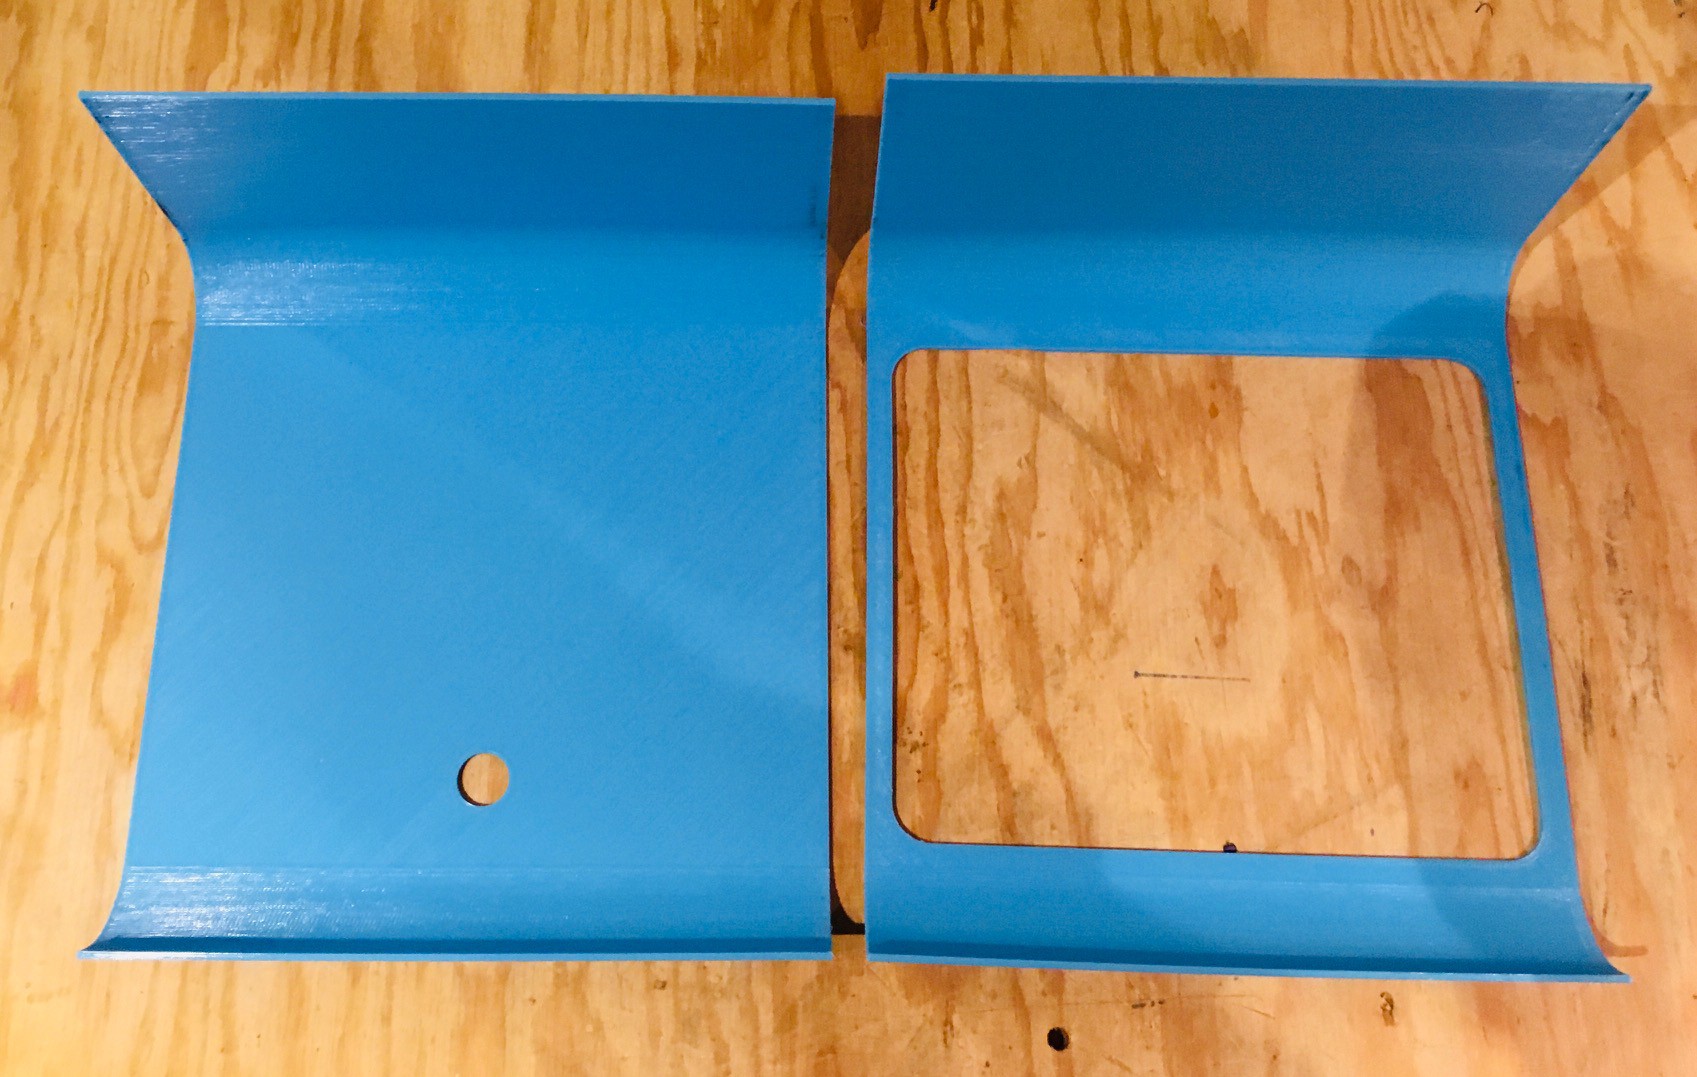
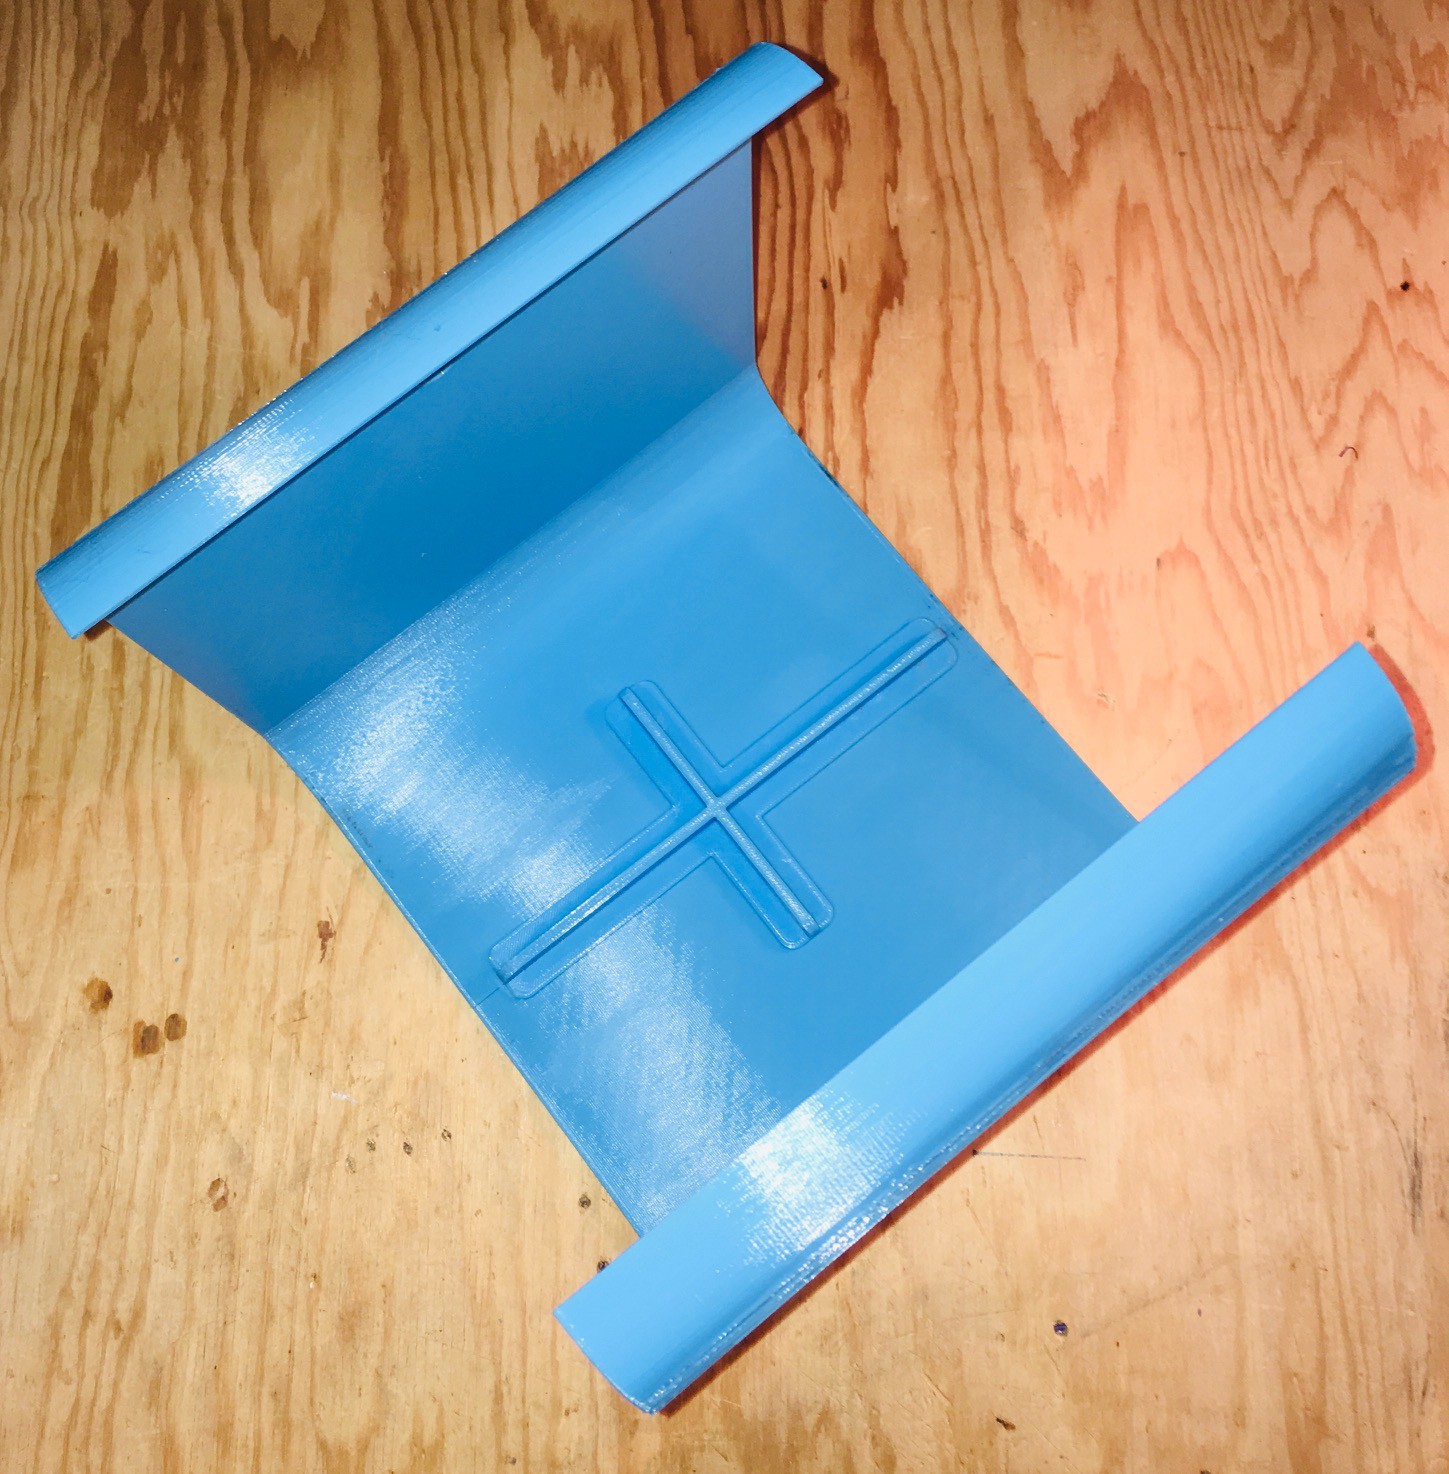
Next I designed and printed the "skin" used to wrap the monitor.
![]()
I attached the two pieces with glue and a brace for support.
![]()
Then I wrapped the monitor frame with the skin. If you loosen the bolts holding the larger side panels in place the skin should slide in easily. Then tighten the bolts again to hold the printed panels in place.
![]()
Finally insert the screen frame and display into the monitor.
![]()
I connected the display to the Raspberry Pi with an HDMI cable. I was also able to power the display panel via a micro USB cable from one of the Pi's USB ports.
It was fun to imagine an alternate timeline where Processor Technology sold a branded monitor with their Sol-20s.
Sol-20 Reproduction
I am making a full sized Sol-20 reproduction, the first fully assembled microcomputer with a built-in keyboard and television output.
 Michael Gardi