 glgorman
-
1Getting Started.
First and ideally you will want to obtain ANY product that has the Parallax P2 processor. Then you can use some of the available third party tools such as TAQOS Forth, or Flex C, or Spin to develop an application for your P2. It can be a simple application, such as a number base conversion program or a tic-tac toe game that is purely text based. Start with something that is simple and familiar, and then ask yourself - now what do I really want to do with this? Besides playing tic-tac-toe via a serial port interface, you might want to monitor the local weather reports, and then use Bluetooth instead to remotely control a lawn sprinkler controller, or you might want to monitor your mailbox to see if the mail has arrived. What you do with all of the I/O that is available is up to you; but a big hurdle remains - that is to say even if you build the best lawn sprinkler controller on the planet - and that is WHY ARE YOU still running your bespoke applications in the manufacturers sandbox? Got audio in and MIDI out running yet - great! Whether you do, on not - now you are ready to proceed to step two.
-
2Getting out of the Sandbox.
Now the fun begins. Sometimes also referred to as "removing the training wheels from your bicycle." If you follow the links to GitHub you will find a project entitled Propeller Debug terminal. If you have Visual 2005 or later, you should be able to import the source files that are contained therein, and use those files to build a project that is functionally similar to a product called PNut; which is an official Parallax product that has been around for many years. Unfortunately neither PNut, or the Parallax Terminal, provides any capabilities for arbitrary customization. The situation with Arduino, I have found to be even worse, such as with certain Java based tools that cause the serial port to hang, and thus requiring PC users to reboot (the PC!) every time there is a glitch when the serial port suffers the dreaded "port in use by another application error". This is a long-standing issue with THAT platform.
On the Propeller side, however; Chip Gracey at Parallax published the original Delphi source code for PNut in mid-summer 2020, so that I was able to create a mostly complete C++ version, which adds some rudimentary UNICODE/IME support, TCP/IP access, more reliable high speed serial interfacing, multiple documents and views. etc.
Now if you have a so called "bespoke application", let's just make something up - maybe you have a weather application that checks the weather reports, but you need Bluetooth interfacing for your lawn-sprinkler controller. Then what you are going to want is the files "prop_serial.cpp", "com_object.cpp", and so on, and maybe "telnet.cpp" from the Frame Lisp repository if you want a TCP interface on the PC side. In that case you would simply integrate the aforementioned files into YOUR custom application and now you can "rock and roll with the big cats!"
Oh did I mention rock and roll?
-
3It's time to Rock and Roll!
Did I mention rock and roll? Did I just repeat myself? Music is like that. If you have a Euro-Rack based system, and have looked at my previous project "Computer Motivator", you might have noticed by now that there is a suspicious dimensional similarity if you compare the size of a typical four-inch in-wall blue electrical box that you can buy at Home Depot for a few dollars, and the apparent size of a Euro-Rack module, even if it might need to be a "double-wide". This is the essence of a great hack. Spend NOTHING that you don't have to! Use whatever is already on hand. For now this will be our project case. It requires some minor modification using a drill to accommodate the USB cable, and if we were to mill and drill out a nice bezel, and add some jacks, and some knobs, etc., then we really would be ready to rock and roll!
-
4In Another Life
![]()
![]()
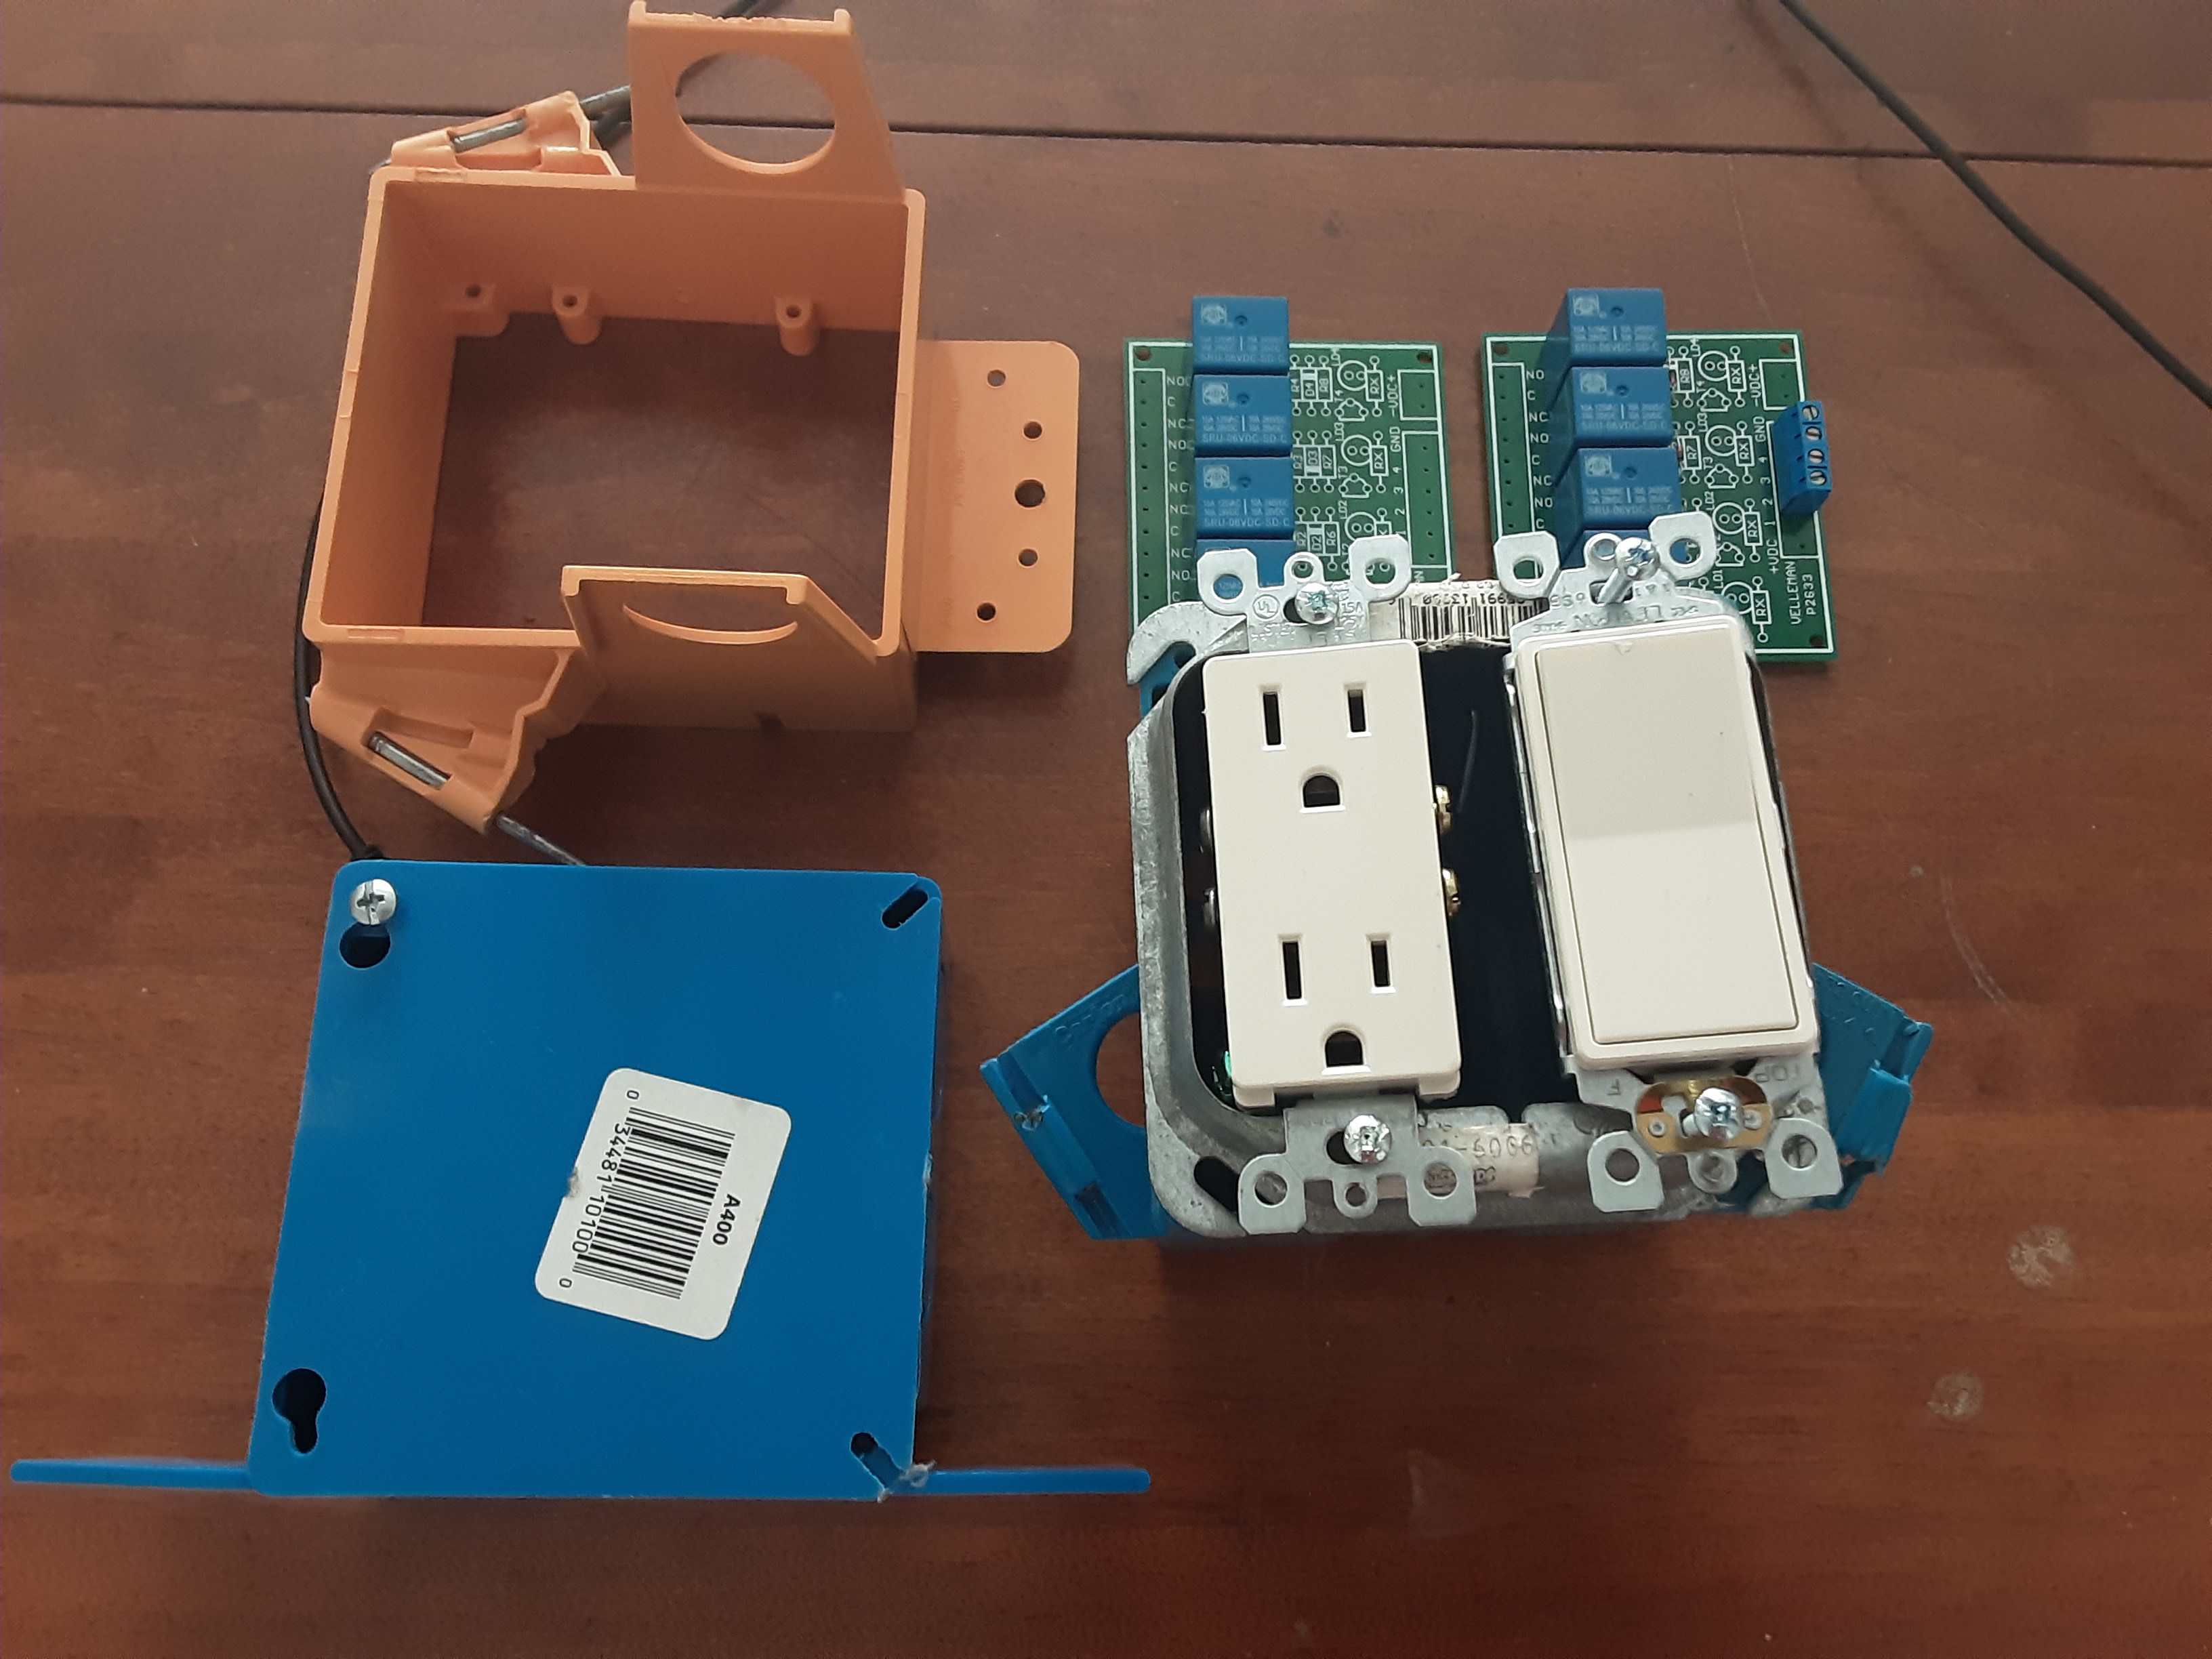
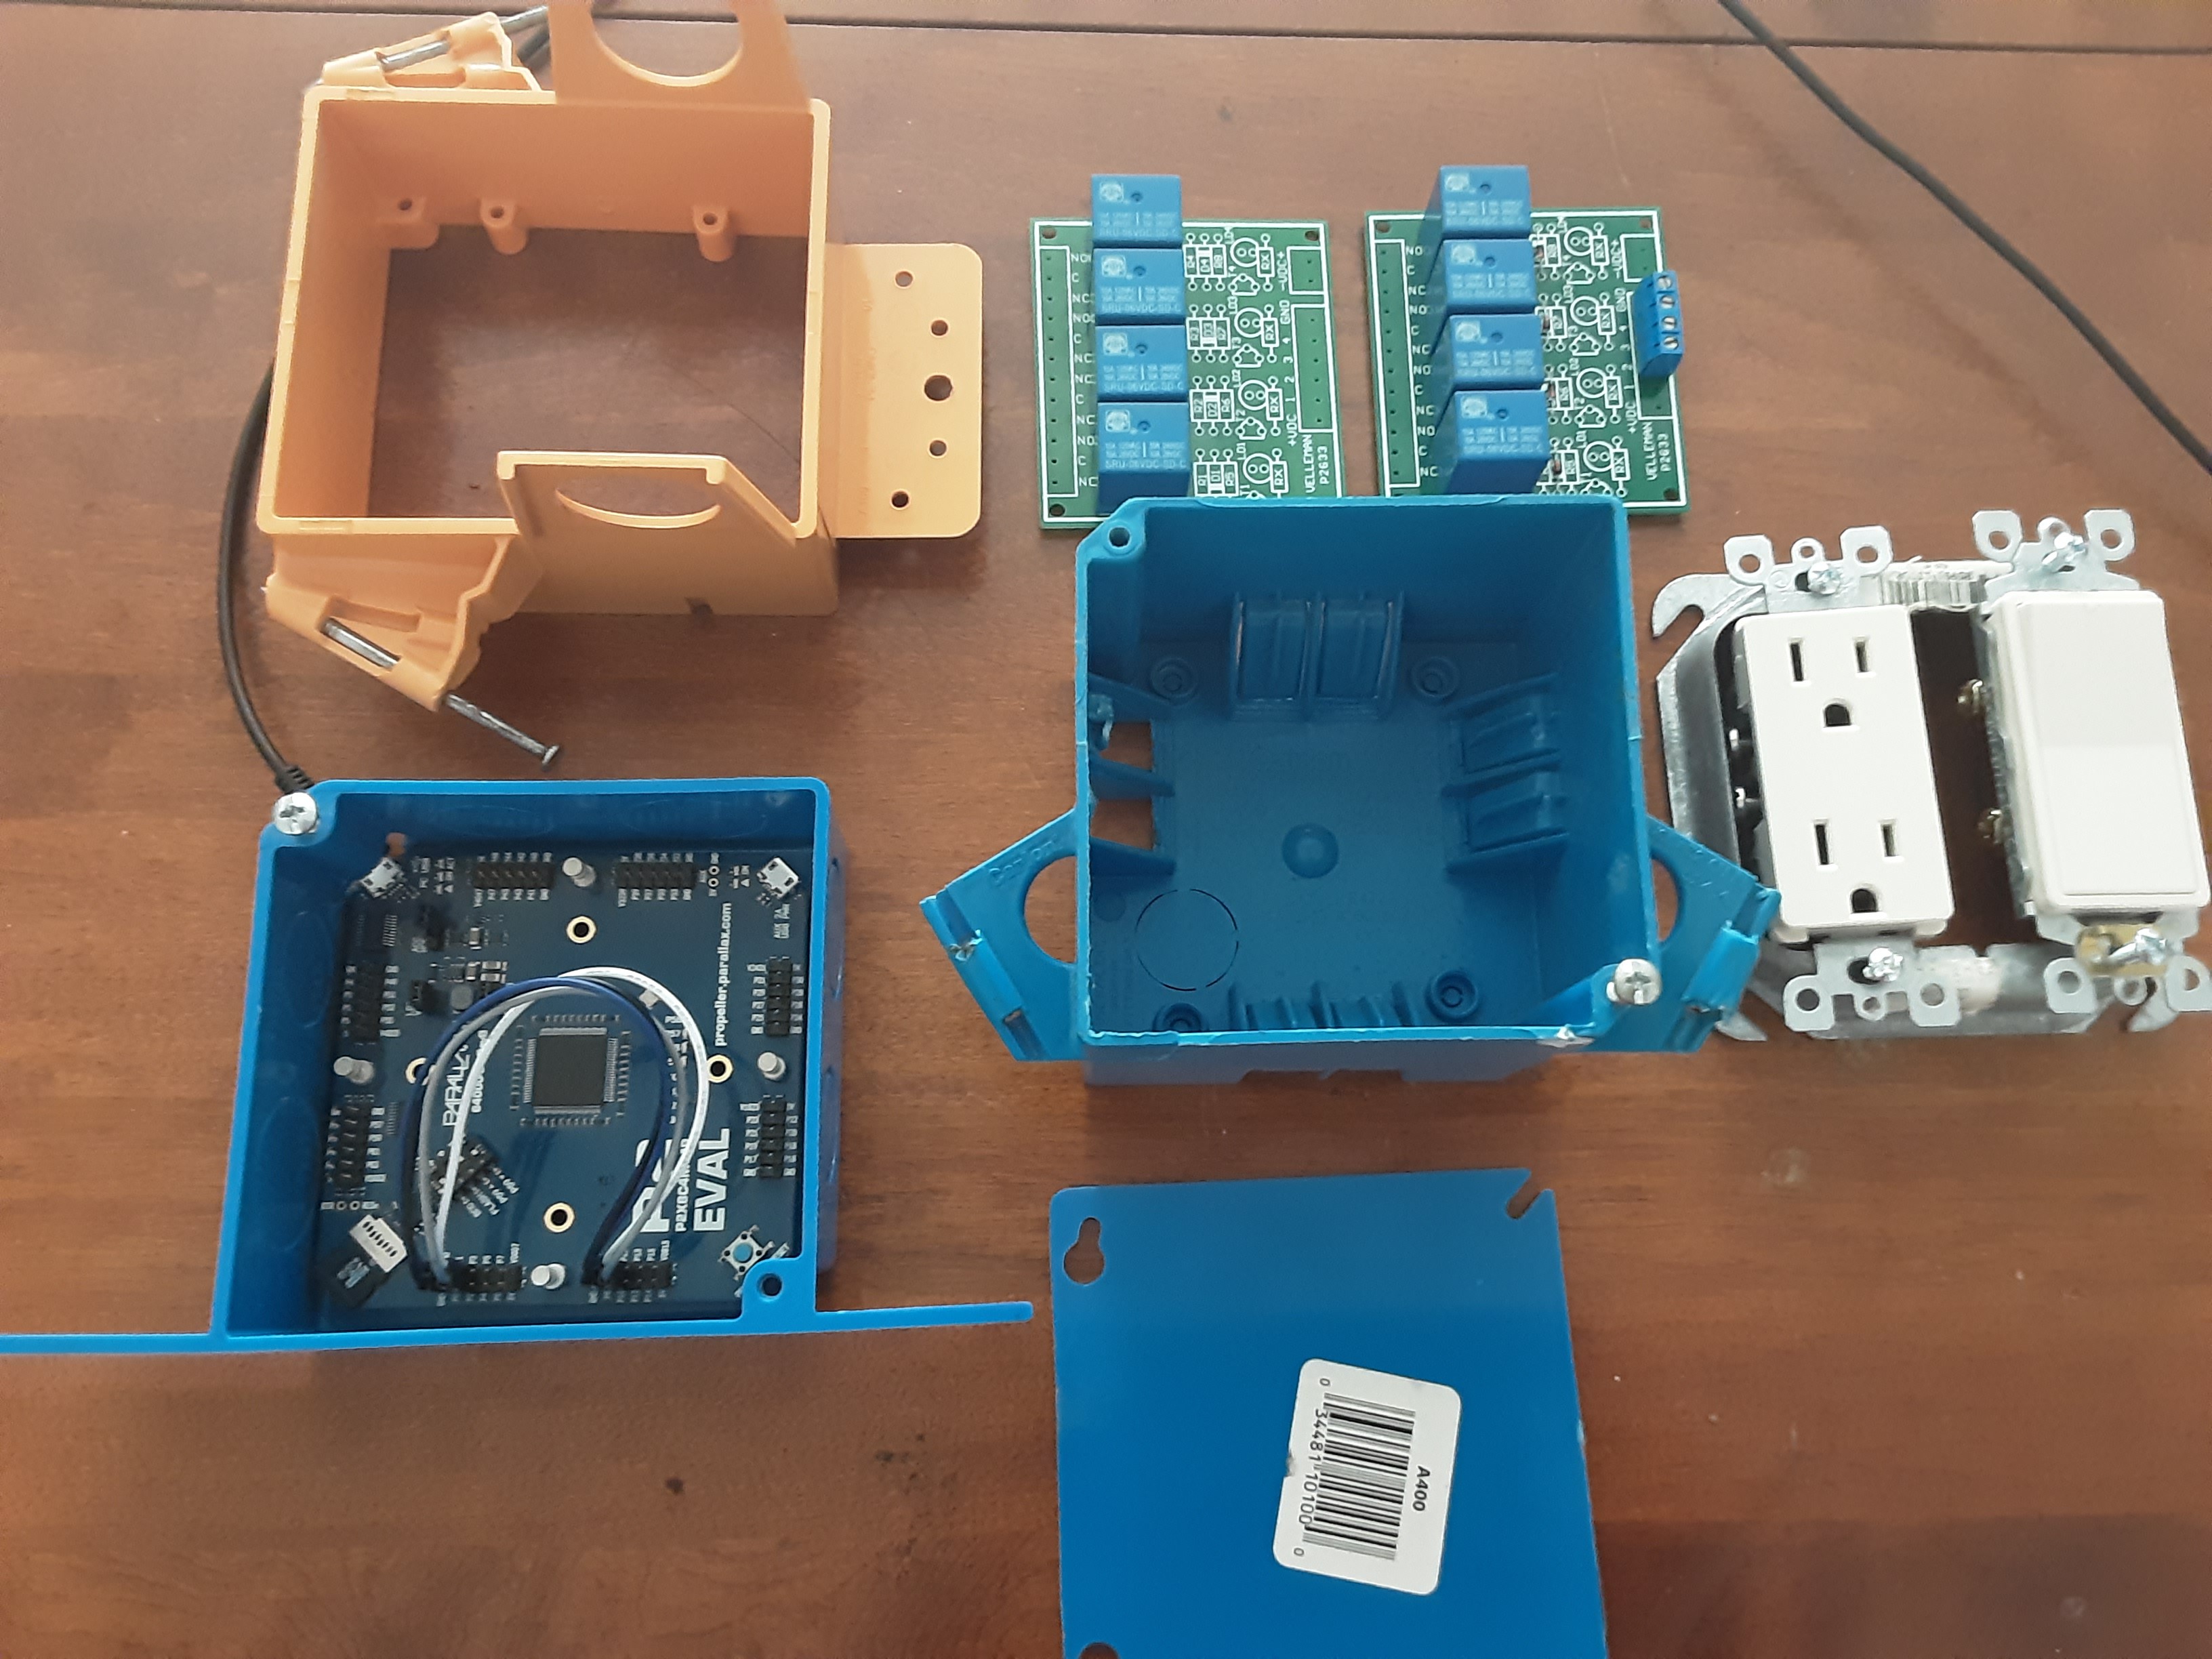
Or else hopefully in this life, if you are not familiar with working with 120 volts, you can always hire an electrician, and also find out if permits are required, just in case you decide to do something really wild like add 120 VAC relays to all of your electrical outlets, just to have something to control with all of those delightful IO pins, or you can probably get away with building a nice big portable project box that will house all kinds of fun stuff; let's say for EXTREME Holiday lighting displays. Just make sure that you know what you are doing, or get help from someone who does - that is to say - in THIS life! Oh what fun!!
On the4 other hand, just in case you haven't noticed by now that a standard "blue electrical" box from Home Depot fits the Propeller 2 Evaluation board QUITE nicely, hopefully, now you are getting an idea about some of the other possibilities, since just as I mentioned earlier, although a fancy 3-d printed case would be ideal for some things, when you take into account the cost of filament, etc., maybe, at least until some big name "manufacturer" that specializes in this kind of stuff decides to make a "remarkably similar" project based on their existing "work-flow", then it is well worth pointing out that the basic shallow blue box on the lower left can typically be had at Lowe's or Home Depot for just a few dollars. It is also worth mentioning that the box dimensions are about 4 inches by 4 inches, and even though the flanges are a "bit long" if you are building a Euro-Rack module - which requires (I think) a 4.75 Inch module "height", a little work with a band saw or a hacksaw will get you installed.
If you get that far - then the next level of customization is up to you. Add a resistive voltage divider + bias network to the inputs to bring the +/- 10 volt control levels that other Euro-Rack stuff generates down to the voltage levels that the propeller wants to see on its inputs. or maybe use an op-amp circuit (discussed earlier) to turn the 0 to 3.3 volt output voltages that the P2 generates to the +/- 10 volt levels that other Euro-Rack modules want to for their control voltage inputs.
Maybe throw in some rotary encoders that communicate over SPI and drill some holes AND maybe add more blue boxes! - and then you can create an application where when you twiddle with the knobs you get a GUI view of what is happening via the software; or you can write some code to "capture" THAT data - for later "REPLAY!!". The possibilities that this creates in terms of EDM, Dub-Step, Industrial, Electro-punk, classical reimagined, etc., are so endless, that the mind simply boggles at the possibilities!
Thus - as stated earlier, the purpose of this project is to provide a new, unique, and highly useful framework for the development of "bespoke" applications which interface (and therefore interact with) a variety of microcontrollers.
Rubidium 2.0
This is an all in one spectrum and logic analyzer, robotics control platform, and modular synthesizer with audio in and sheet music out!
Discussions
Become a Hackaday.io Member
Create an account to leave a comment. Already have an account? Log In.