 mihai.cuciuc
-
13D print components
3D print the crystal base from Thingiverse. After this is done, start printing the crystal itself and while it's doing that we will assemble the electronics in the base.
-
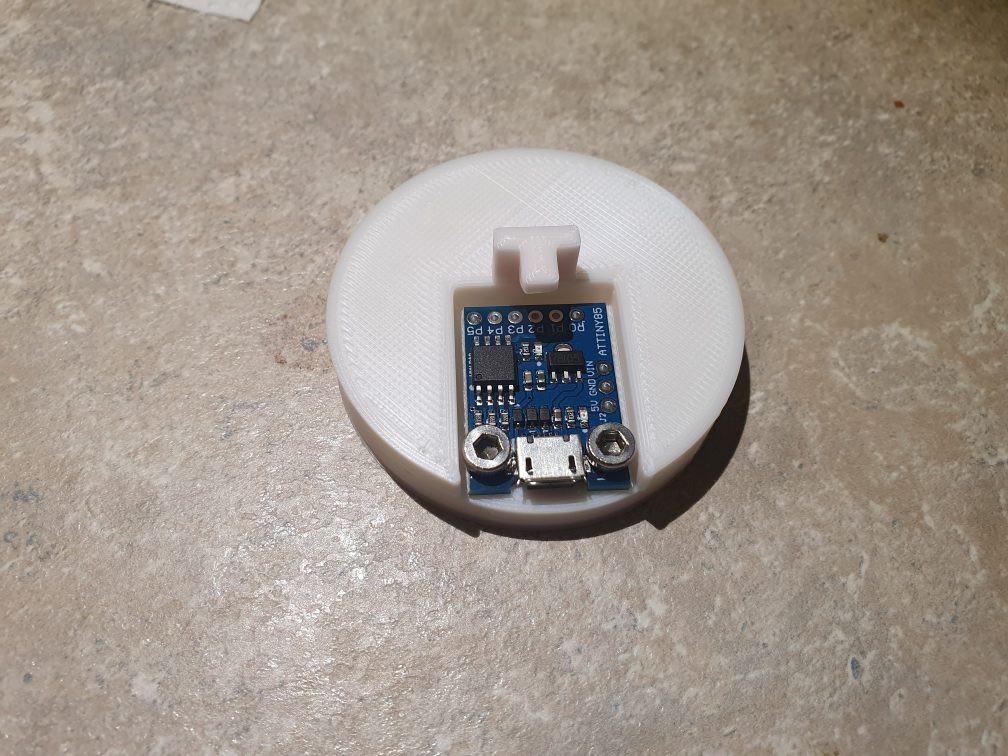
2Put in Digispark
Use two M3 screws to fix the Digispark to the 3D printed base. You might have to use a little force.

-
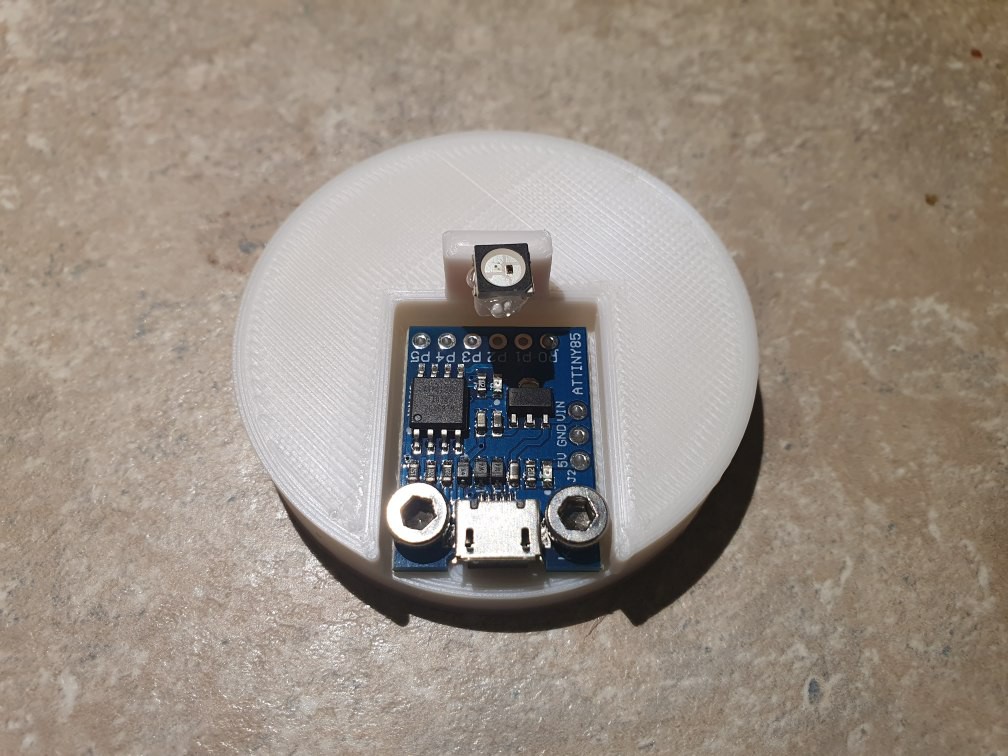
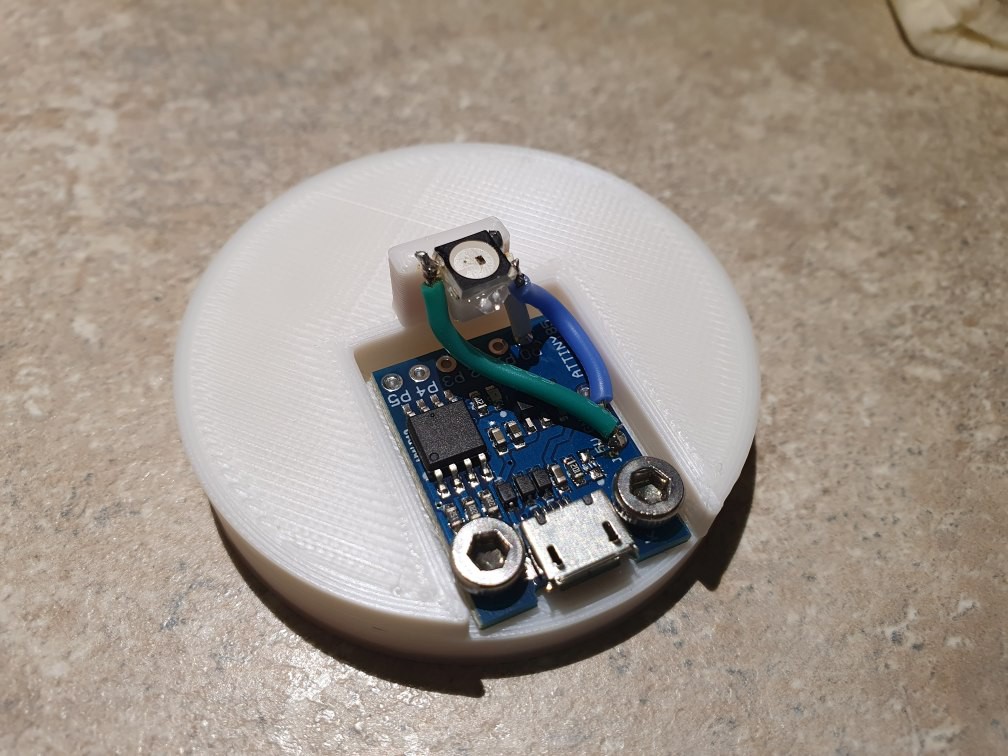
3Add RGB LED
Hot glue the LED to the base. Align the LED's marked corner to the bottom right, like in the image.
-
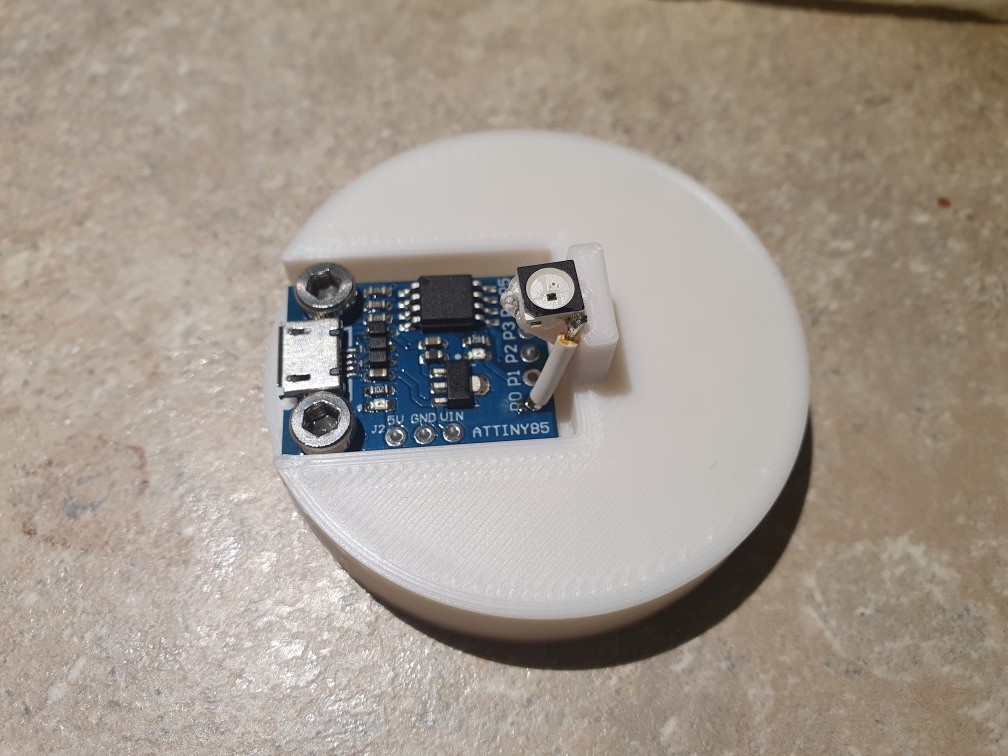
4Connect LED data wire
Solder a short wire from the LED's input pin to P0 on the Digispark. Try to keep all wires around the LED, as the crystal will come on top of this component and there will not be a lot of space for loose wires.
-
5Connect LED GND
Solder another wire from the LED's GND pin (marked with the triangle) to GND on the Digispark.
-
6Remove small red LED on Digispark
Remove small power LED on Digispark board (close to the 5V connection on the board) as it is too bright and will interfere with our light show.
-
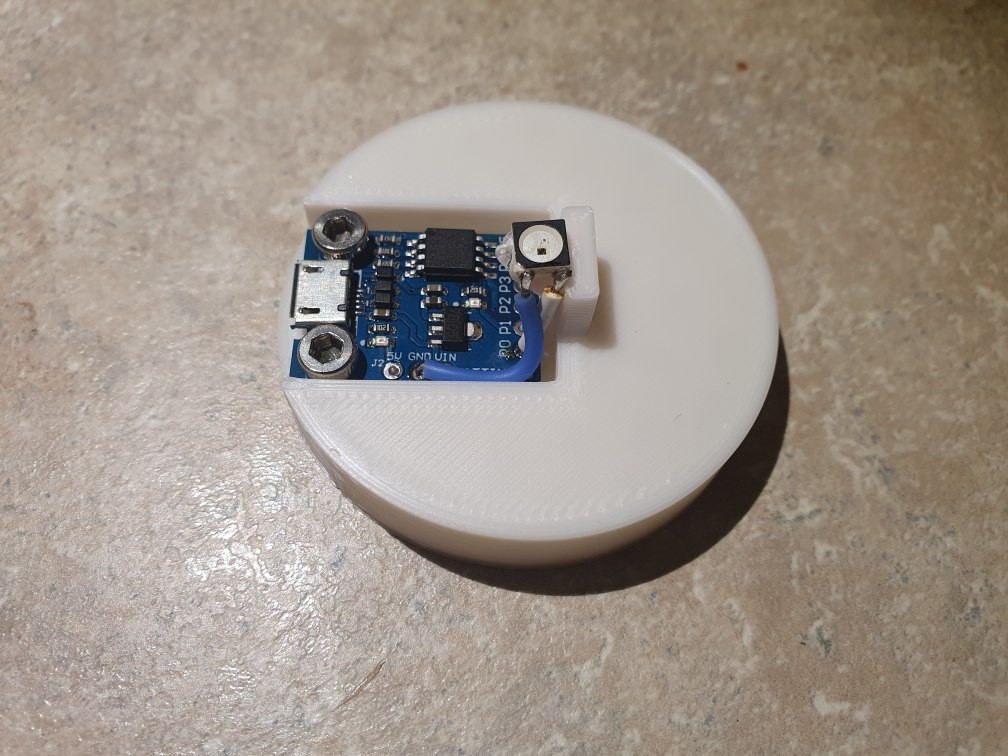
7Connect LED to 5V
Solder the power pin of the LED to 5V on the Digispark.
-
8Prepare to program board
Time to test the circuit! Follow the instructions on the Digistump website on how to install the appropriate software for connecting to the board https://digistump.com/wiki/digispark/tutorials/connecting
-
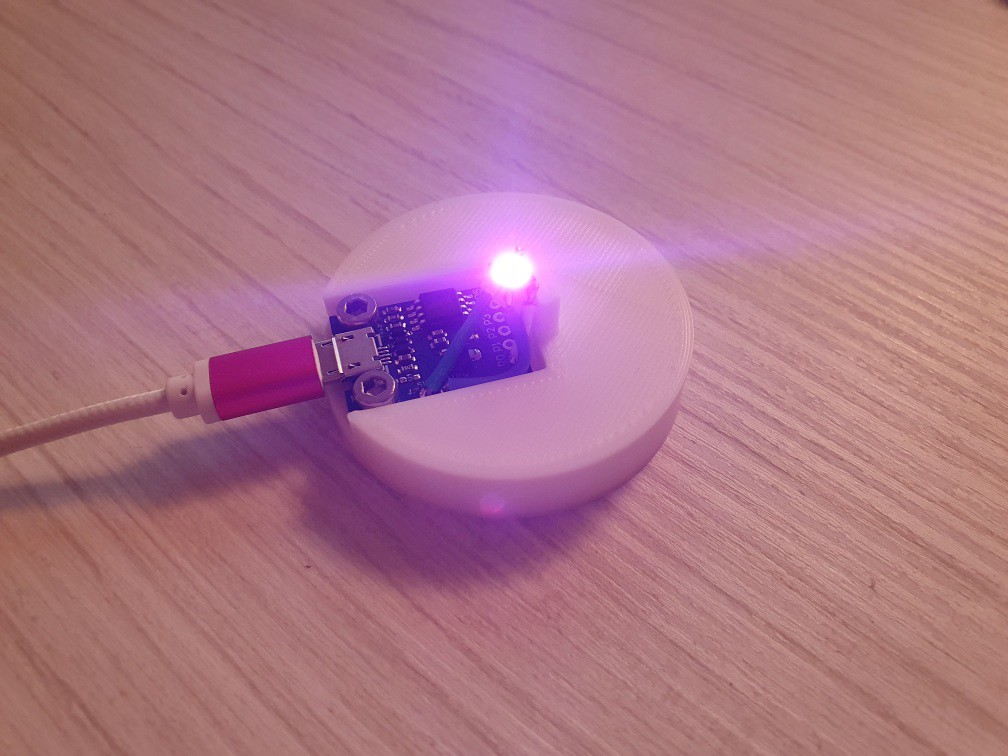
9Program firmware
Once you confirmed the connection, proceed to write to your board the Arduino sketch in this project. You should be greeted with a rather bright LED cycling through colors.
#include <Adafruit_NeoPixel.h> #ifdef __AVR__ #include <avr/power.h> // Required for 16 MHz Adafruit Trinket #endif #define PIXELPIN 0 Adafruit_NeoPixel strip = Adafruit_NeoPixel(1, PIXELPIN, NEO_GRB + NEO_KHZ800); void setup() { // put your setup code here, to run once: strip.begin(); strip.clear(); strip.show(); } void loop() { // put your main code here, to run repeatedly: static uint8_t i = 0; strip.setPixelColor(0, Wheel(i)); strip.show(); delay(20); i++; } uint32_t Wheel(byte WheelPos) { WheelPos = 255 - WheelPos; if(WheelPos < 85) { return strip.Color(255 - WheelPos * 3, 0, WheelPos * 3); } if(WheelPos < 170) { WheelPos -= 85; return strip.Color(0, WheelPos * 3, 255 - WheelPos * 3); } WheelPos -= 170; return strip.Color(WheelPos * 3, 255 - WheelPos * 3, 0); } -
10Test fit
Test if the crystal fits on top of your base. You may need to rearrange the wires to get everything to fit nicely.

Discussions
Become a Hackaday.io Member
Create an account to leave a comment. Already have an account? Log In.