-
Progress
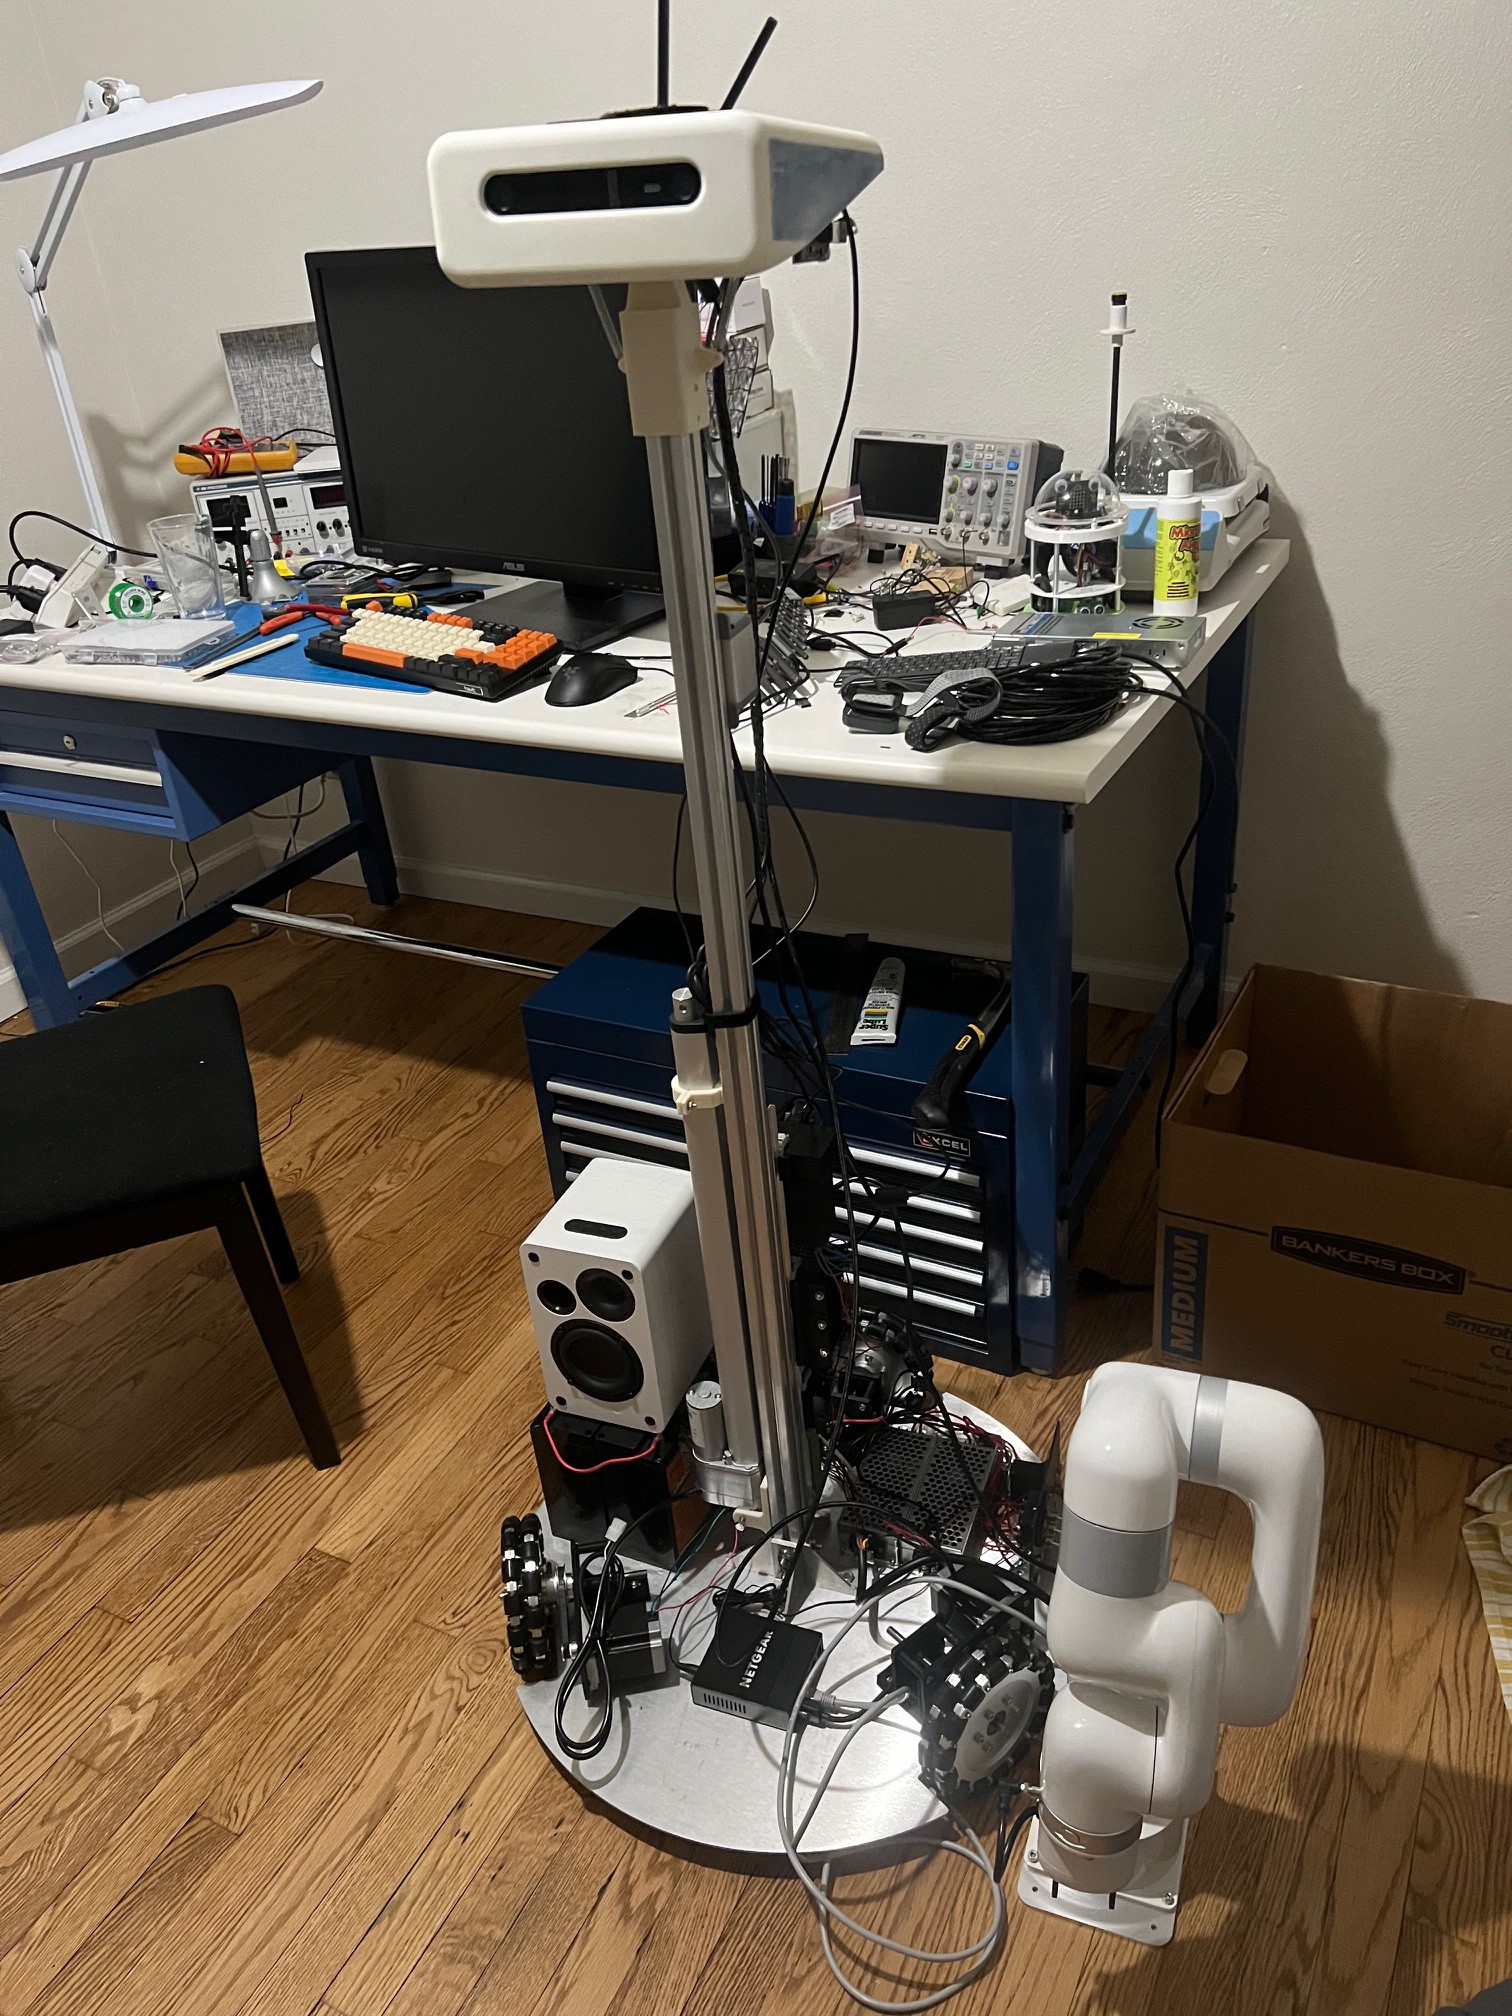
01/04/2024 at 04:05 • 0 commentsMade some good build progress
Hardware:
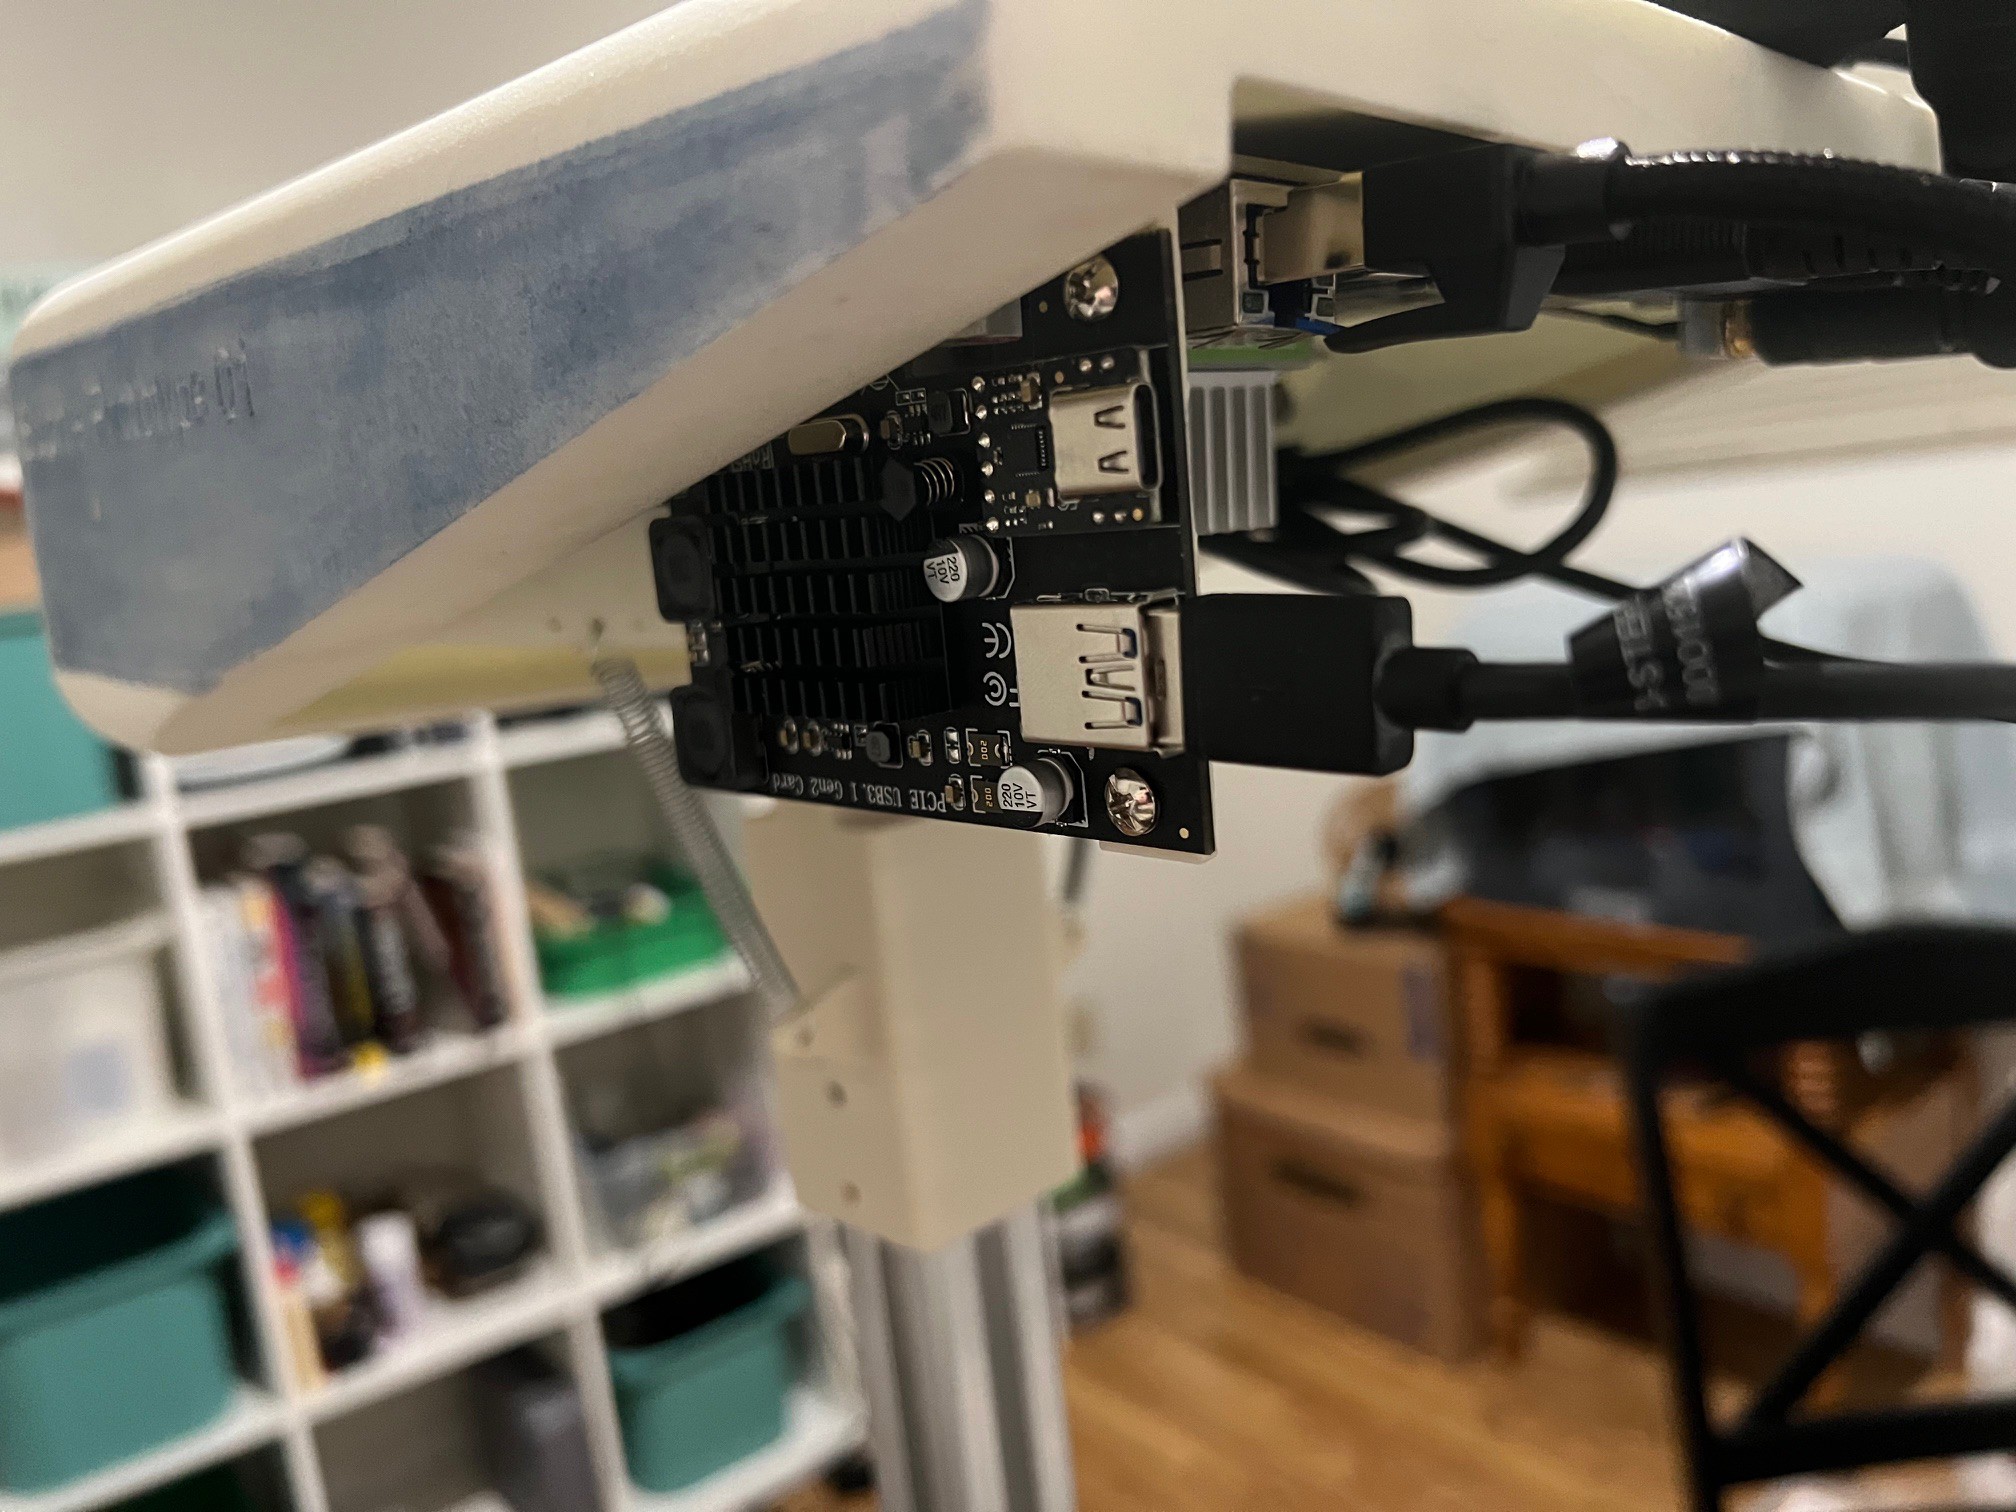
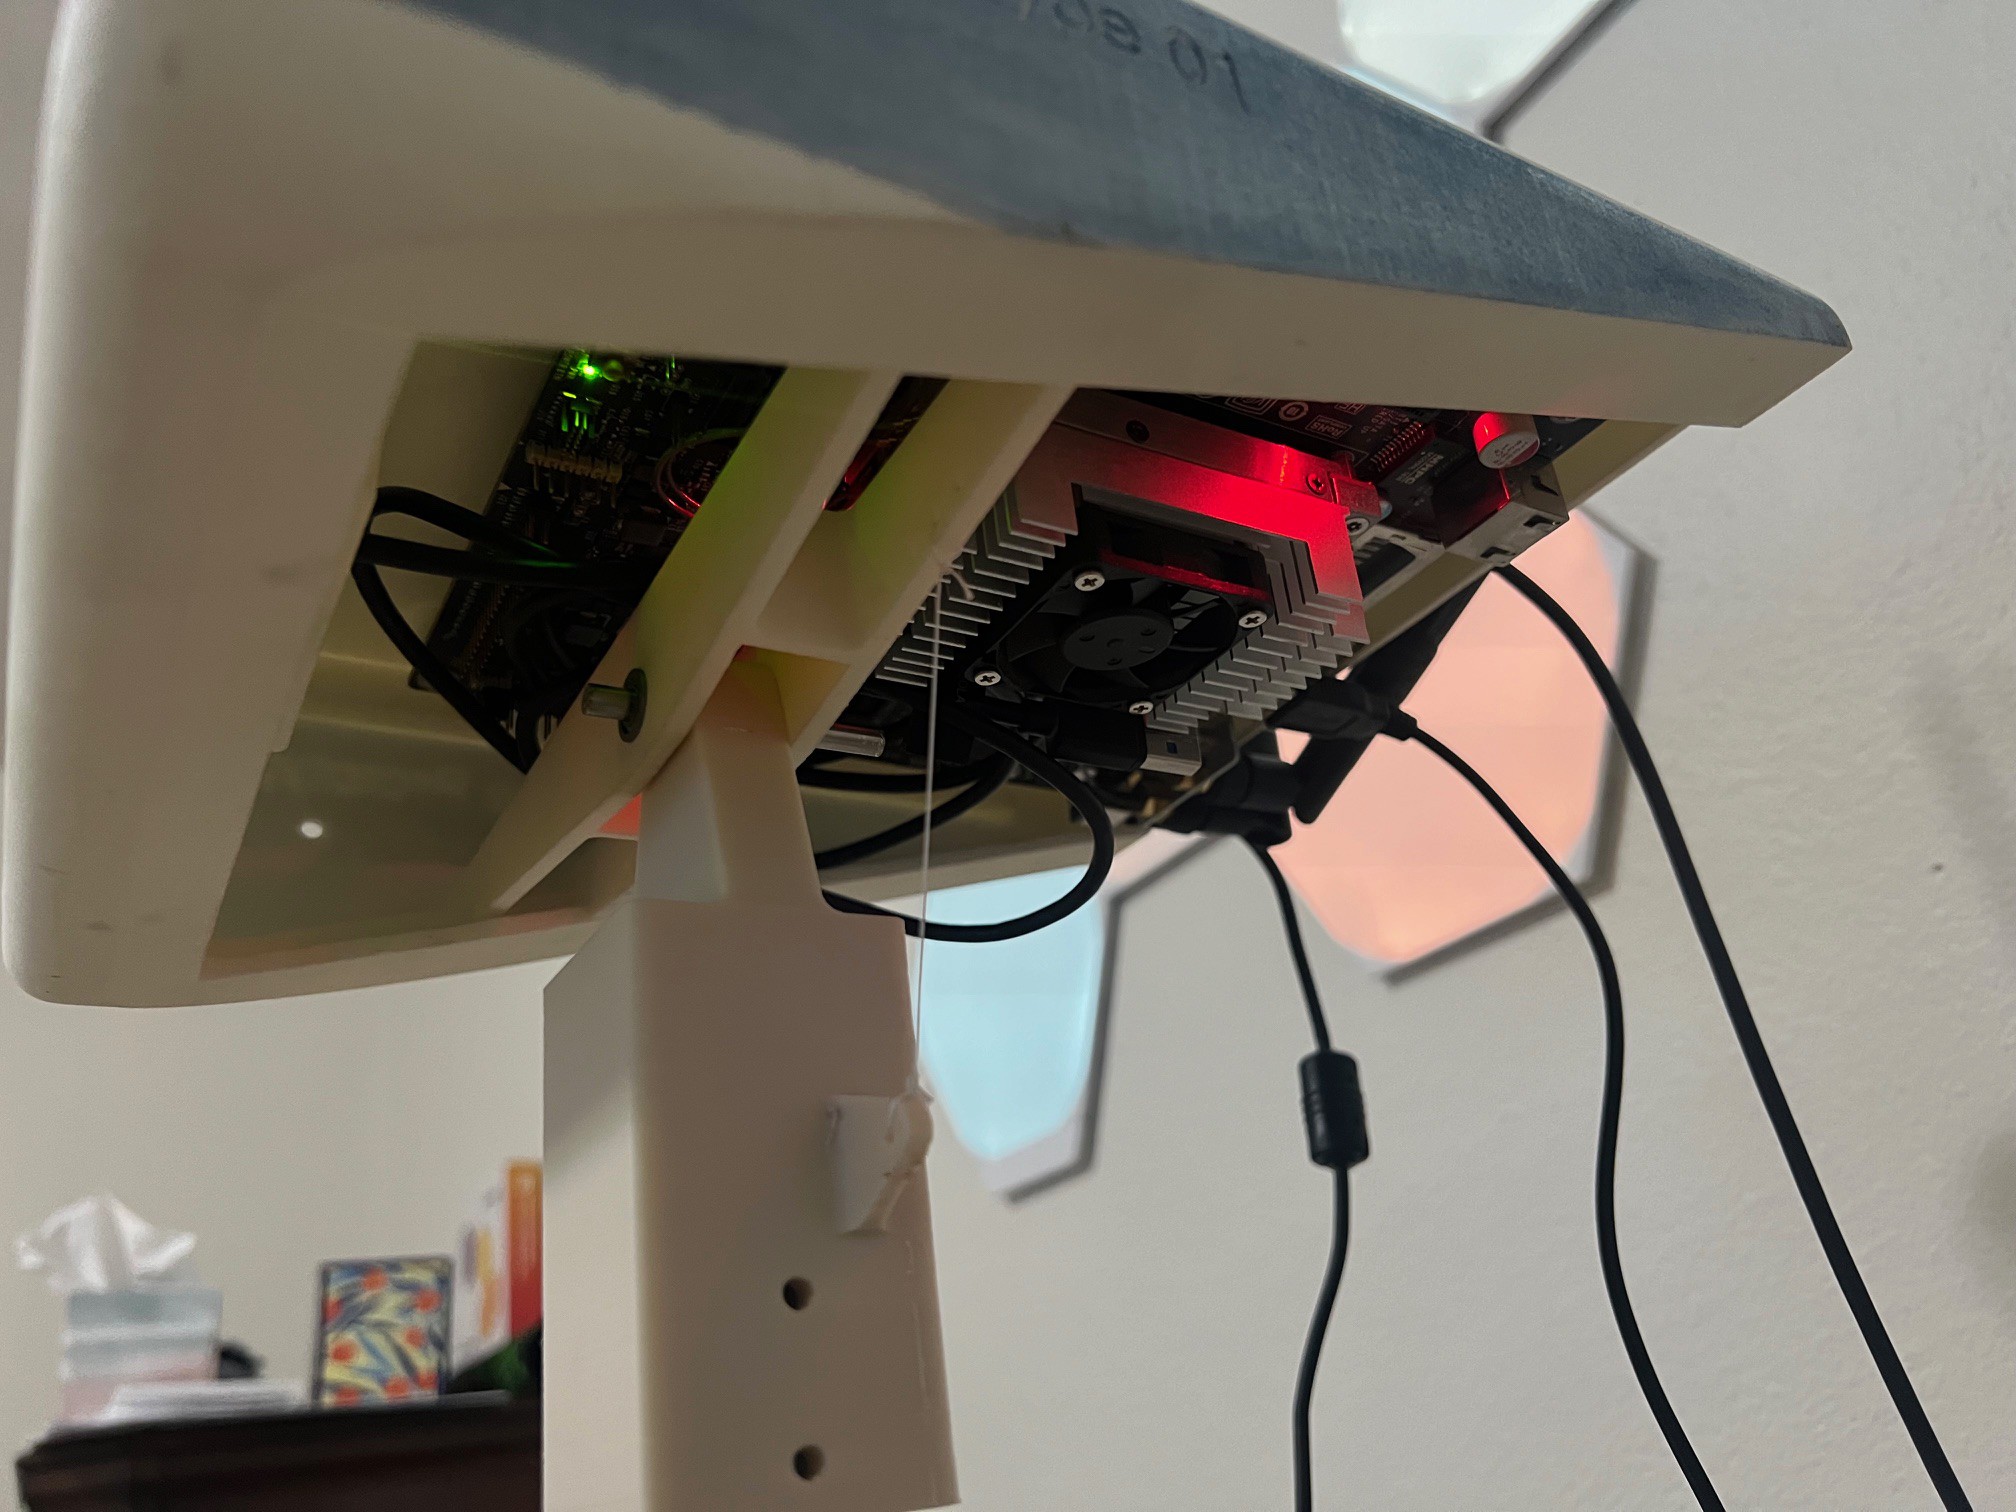
- Added the PCI 3.0 card to get the bandwidth needed for the ZED, also designed and 3D printed a bracket for holding that into place.
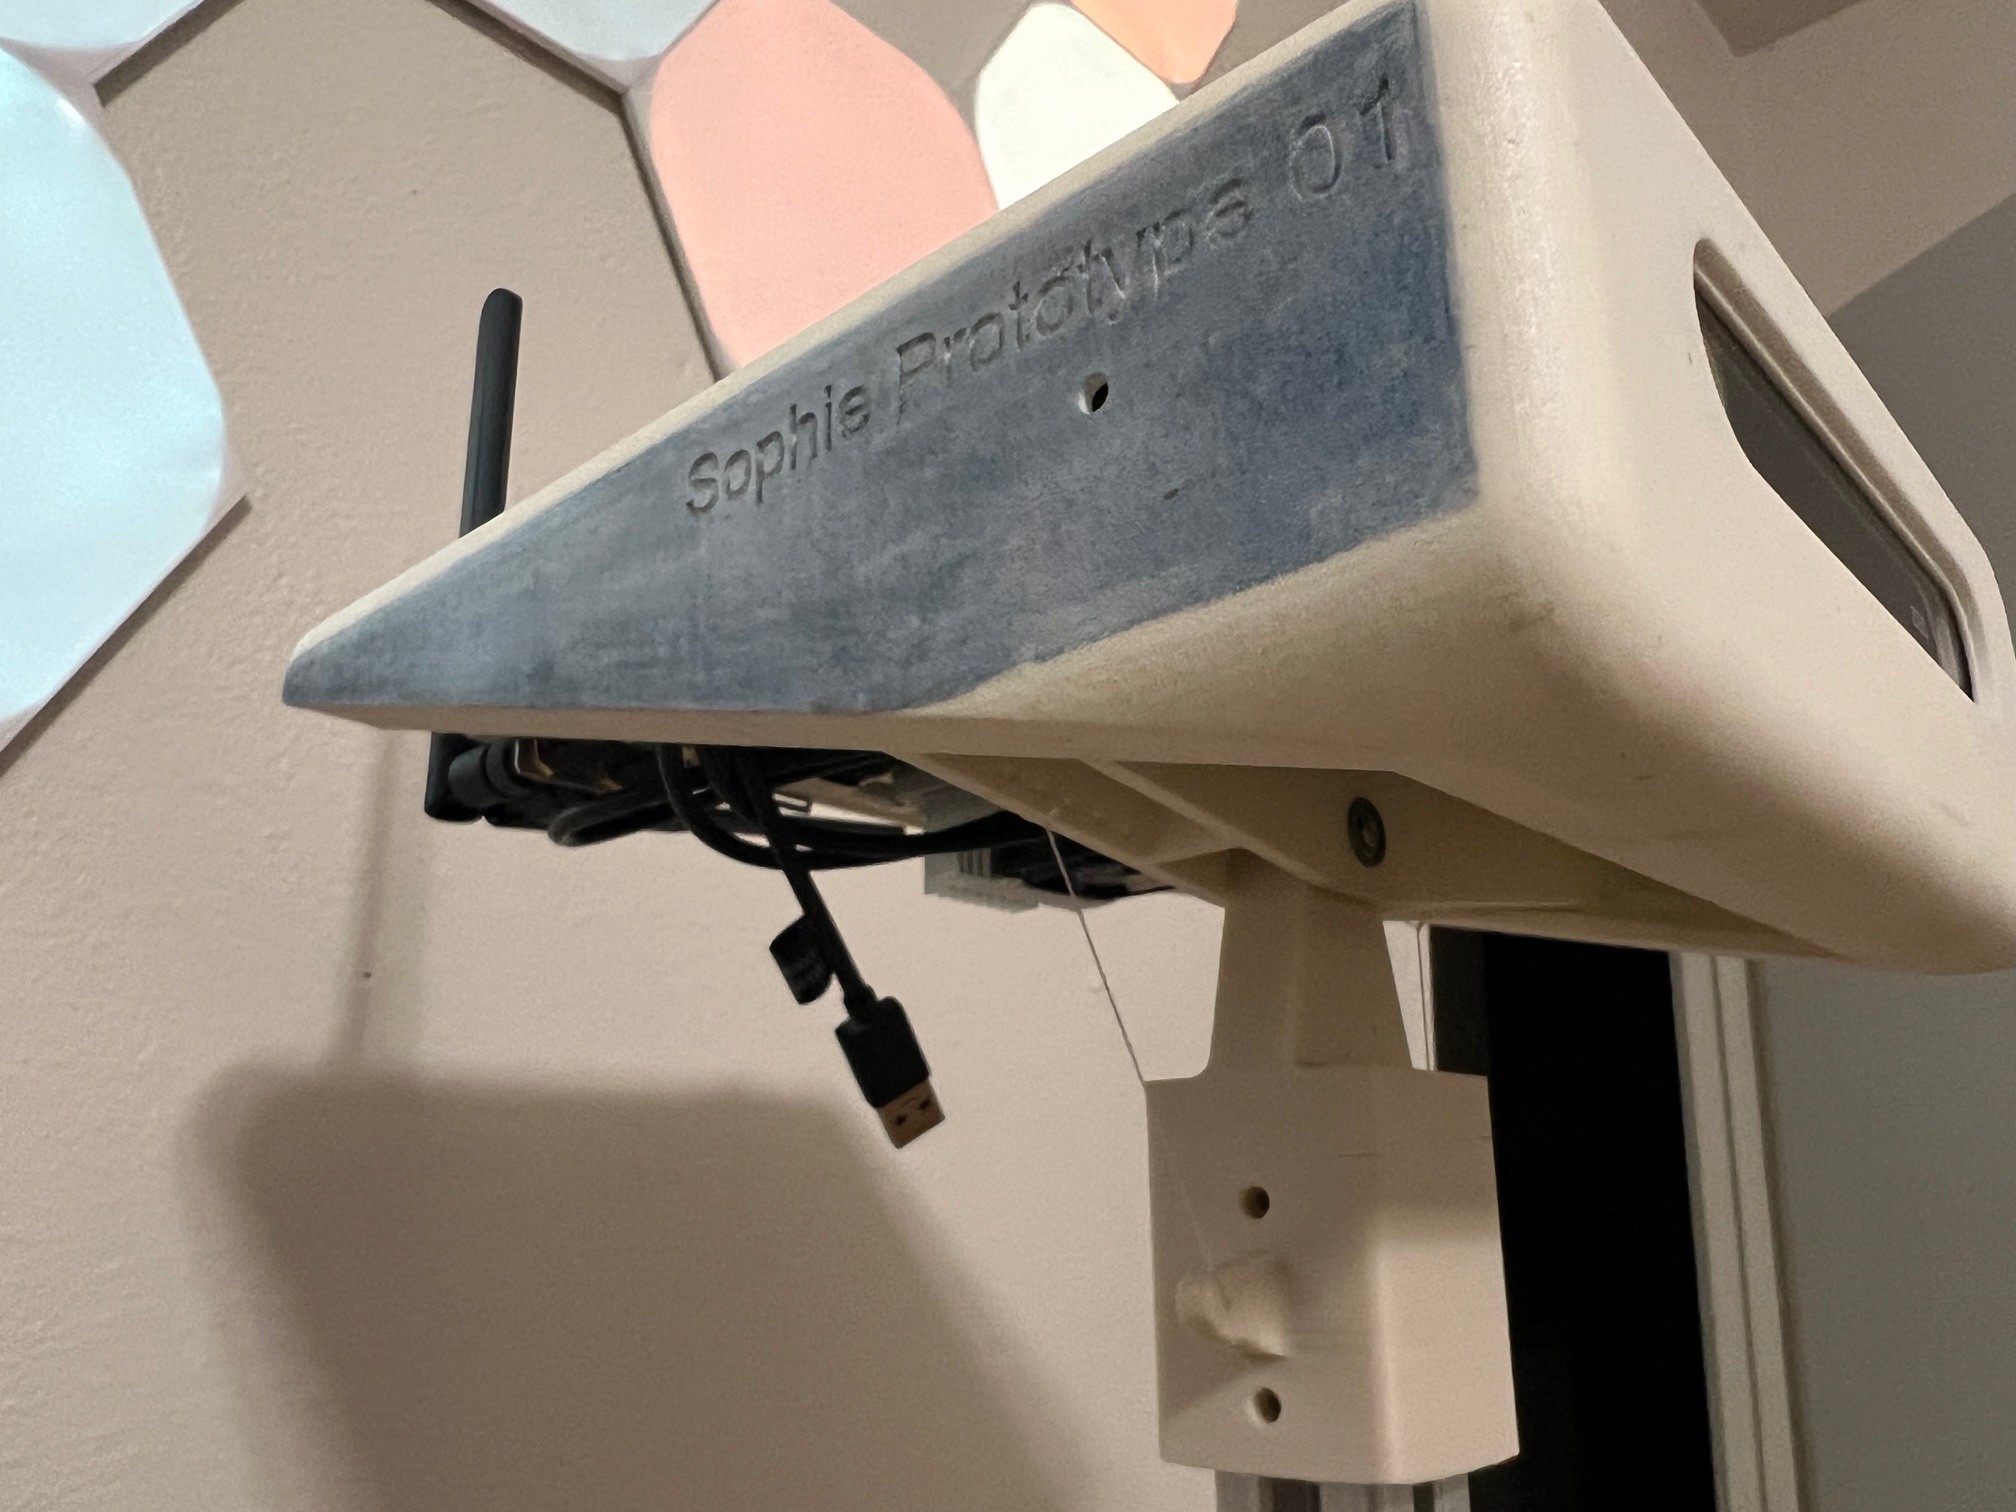
- Added springs to the neck, it now mechanically auto levels and is compliant in that axis.
- Installed braided Ethernet cable that is used to communicate with the arm and the LIDAR.
- Wire wrapped the three cables needed to run to the head. (power, Ethernet, and one USB)
- Mounted the 18inch stroke linear actuator
- Added a cheap Netgear 5 port switch to the base and powered it via the 12volt rail
- Designed and 3D printed a battery holder (not yet installed, waiting on m5 threaded rod)
- Initially connected arm to power and communication, I'm able to control it though the browser interface on the TX2
- Played with the arm way to much...
Software:- Figured out that I was resetting the conversation history each user input, it now remembers the context across multiple interactions
- Updated model to chat GPT 4, I think chat GPT 3.5 was funnier, oh well technology marches on I guess. :(
- Added gpt_inference.py to the repository a fun chat GPT 4 image script, it takes a image from the ZED, sends it to GPT 4 image and then the response is voiced with the TTS. It was too fun to wheel the robot around the house and hearing what it said. This is highly experimental code and uses a preview chat_gpt. (
gpt-4-vision-preview)Could be used to evaluate a room when first entering to know what home care task needs to be done. Takes a good 20 seconds though, It merits more experimentation.
![]()
![]()
-
Take a picture
01/02/2024 at 15:50 • 0 commentsI got the ZED working looks like it was a bandwidth issue with the onboard hub, I ordered a highspeed USB 3.0 PCI card and installed it on the only port available on the TX2 board. The ZED now runs though that and has no further issues. Need to find a way to more securely mount the PCI card, but that is for another day. The card details: FebSmart 1X USB-A & 1X USB-C 10Gbps Ports PCIE USB 3.1 GEN2 Expansion Card https://www.amazon.com/dp/B089Y7X3DV?ref=ppx_yo2ov_dt_b_product_details&th=1
A nice side effect to fixing the bandwidth problem is now there is one less cable that reaches down the neck and there is a USB C port near the back now. So in a power outage you can just keep your devices charged...
-
Final design completed!
01/02/2024 at 15:03 • 0 commentsThe final design for the robot is done! (so relieved) I added the final neck mechanism that will be used (it has the capability using a worm drive to pan up and down @ 3 rpm), the arm lift system and adjusted the base for a wider sweep of the LIDAR. (was measured at around ~250 degree view, so ~20 less then what the LIDAR is capable of) I was reading the specs of the LIDAR and it was like hey this gets hot during operation and you should mount it to like a 7x7" metal plate and I was like fat chance of that! I'm not building some heavy factory robot. I will do you one better, how about these two heat sinks I got laying around.
I have yet to purchase and will need to hold off for funds, but the link to the neck servo parts in here. https://www.servocity.com/worm-gear-set-28-1-ratio-6mm-d-bore-worm/ While I wait for the aluminum motor reduction plate to be machined, I will shift focus to mounting the linear actuator and bolting down the batteries.
There will be some mounting 3D printed parts made, but they will be small and not affect the appearance.
In operation
![]()
Birthday suit
![]()
-
Refinements to software
01/01/2024 at 19:35 • 0 commentsSome major refinements were made to the voice_asssit.py and chatgpt3.5.py
voice_assist - Got a nice run though where I cleaned up the code and fixed the weather function. It also now has a internet connection check and alerts the user.
- Weather Report and Attire Suggestions:
- The get_weather_report function fetches weather data using the OpenWeather API and suggests attire based on the weather conditions.
- Internet Connectivity Check:
- A separate thread continuously checks for internet connectivity and updates the robot's speech output accordingly. It also gracefully handles it a bit better now overall continuing to function in offline mode.
chatgpt3.5.py - This got a huge speed update. For longer Chat GPT responses I noticed the delay was longer. I came to the conclusion that the program must be waiting for the full message back before dictating it. So I added a thread that will start speaking before the whole message has arrived. This has reduced the "Can you explain the water cycle" example from 17 seconds to just 8 seconds.
- Weather Report and Attire Suggestions:
-
First drive
01/01/2024 at 12:39 • 0 commentsHappy new year!
Yesterday day I worked on the omni directional drive a bit and got the steppers controller dip switches set properly and wired. I programmed the pi PICO with initial "get it working code" that interlaces the stepper command, so the motors move all at once. This program will not be the final as it does not take in input from higher level computer or have any safety features built in like loss of communication with main computer. The code is over on GitHub, if it is of use to you.
The drive unit G2 belts are slipping, this was going to be the case as the critical motor mount plate that is currently prototyped as a 3D printed part was designed to be a metal one.
I spoke to a local machinist and he is buying stock and waiting for me to send a drawing pack over. So in the next few weeks I should have the replacement aluminum parts.
A micropython program for the lower level pi PICO to test the omni direction drive of the platform. This is rough get it working code. The plan is to write up code that takes more of a
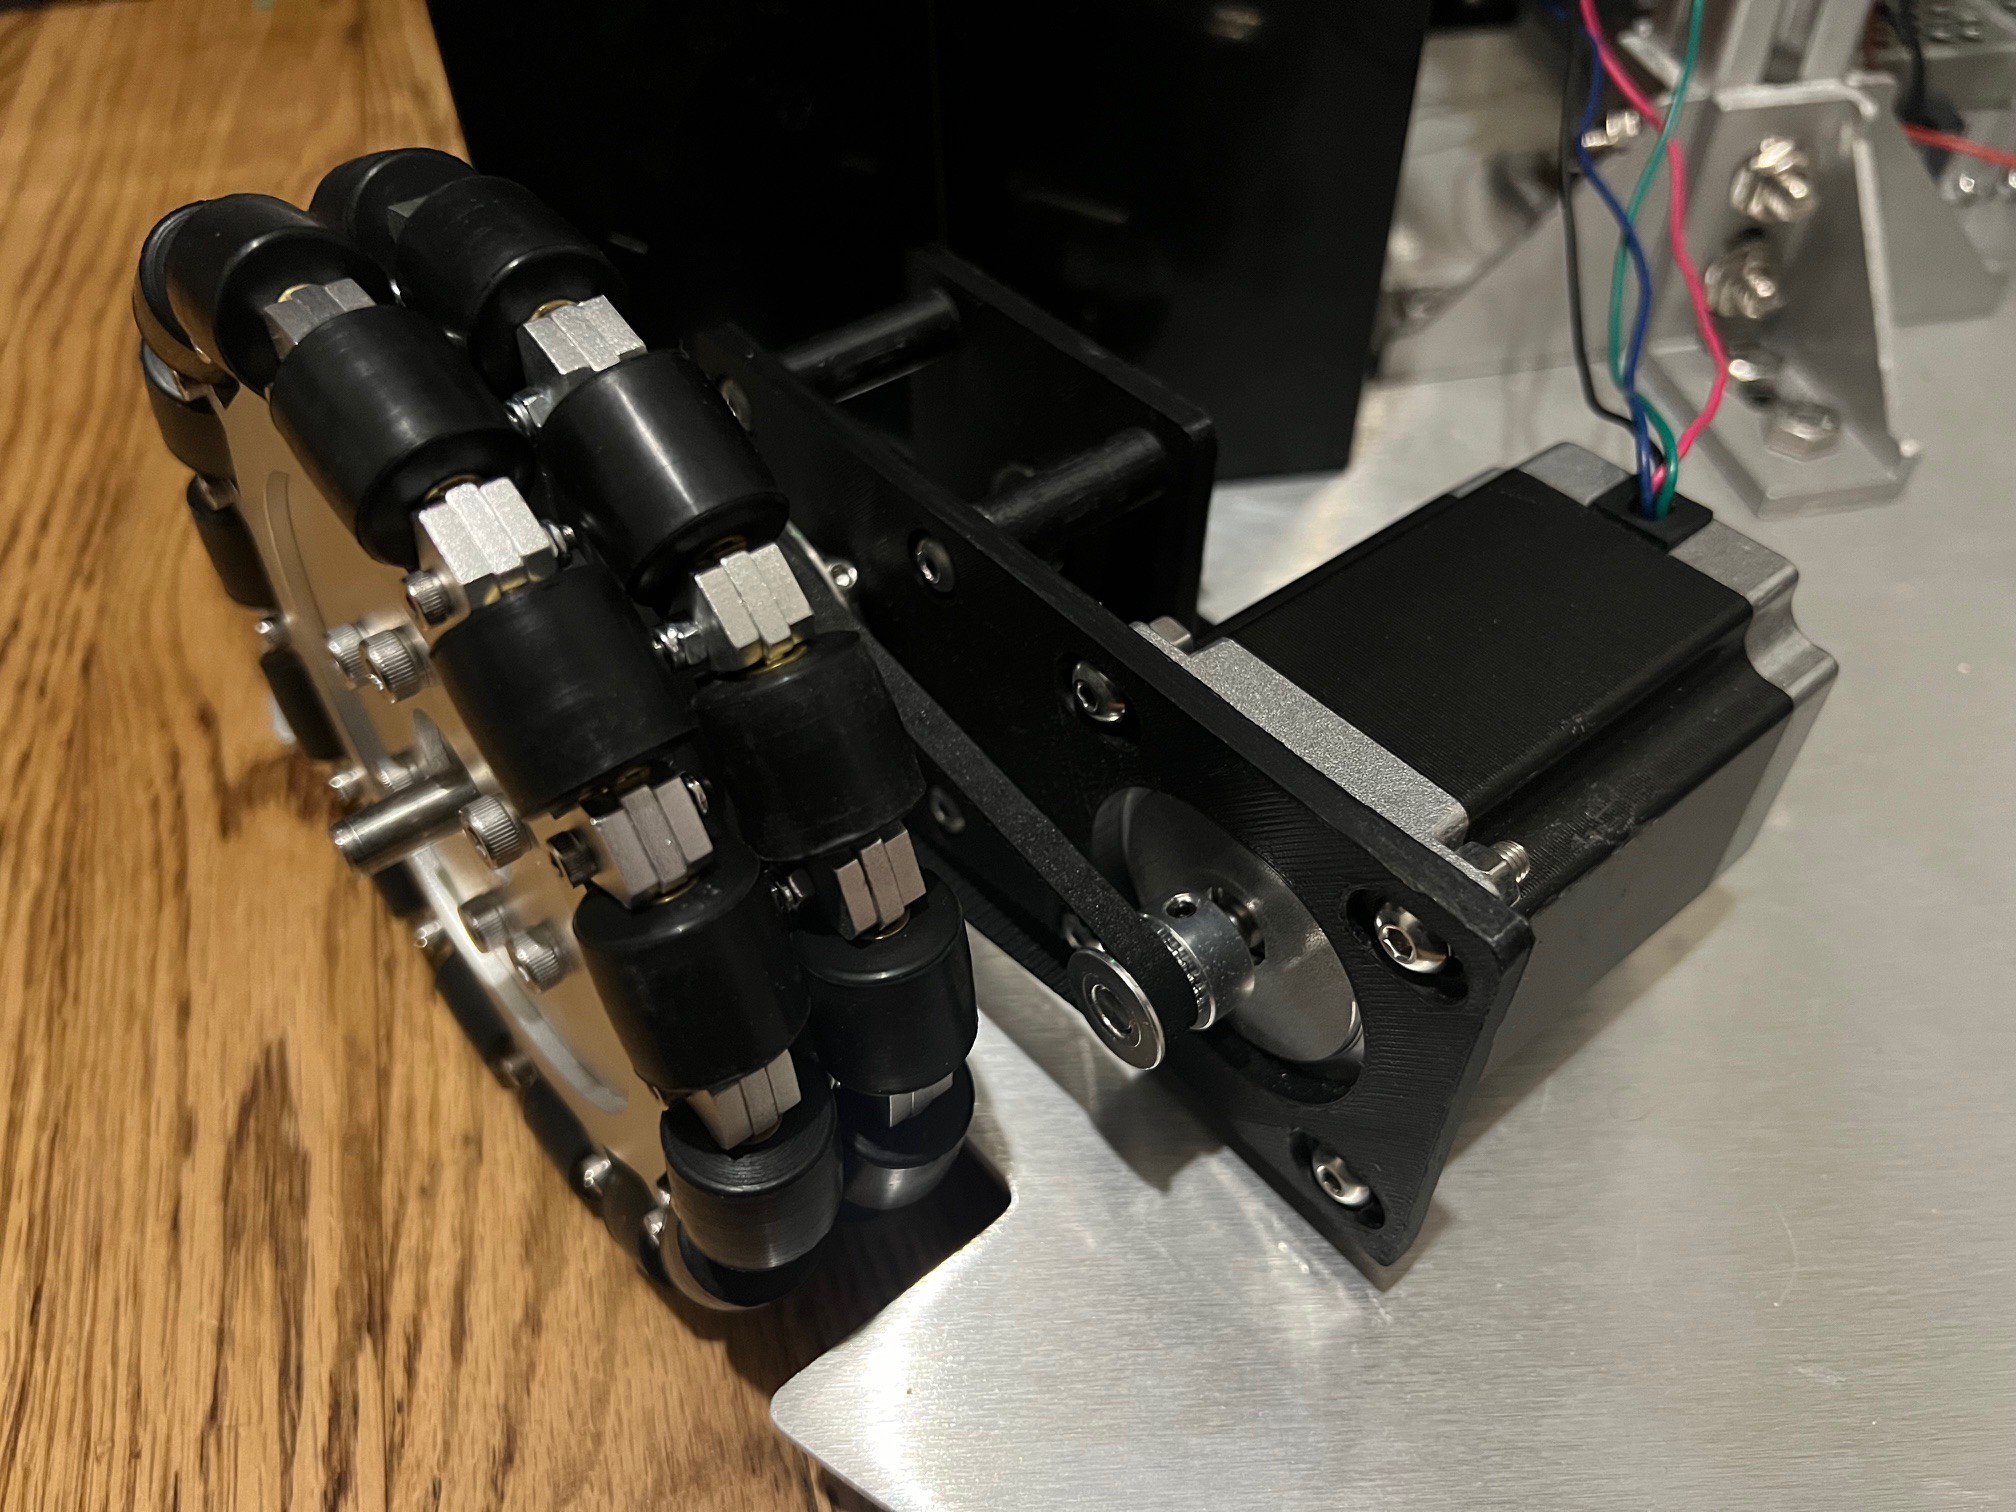
vector and magnitude commands from the higher controller (also make sure to have it stop and remove drive power if it does not receive a heartbeat from main computer as a safety feature)Below is a close up of a single drive unit. The weight of the robot is supported by two bearings per drive unit and the motor is free floating. The motor mount plate also features slots, so you can tighten the belts.
![]()
-
Test of hybrid voice assistant
12/31/2023 at 14:31 • 0 comments -
House keeping and voice_assist demo
12/31/2023 at 14:30 • 0 commentsI did a lot of house keeping on the software side. I have been putting it off...
List of changes -
- Changed to a female voice
- Made the Chat GPT module more concise and snarky in it's answers
- Fine tuned the timeouts while robot is speaking. It still likes to hear itself, but it is getting far better
- Added a feature where you can shutdown main computer by voice command
- Enabled boot on power up. To do this I carefully added a jumper to the J27 connector between pin 1 and 5, effectively sorting out the I/O in-between
- Reduced voice speed for clearer communication
- Added a function that tells you how old Sophie is from first power on down to the second, with a additional random 25% to add a remark to the end.
- Fixed offline hide and seek function
- Fixed offline date function to say the actual date as a word and not a number now
- Added a few more random offline phrase responses
- Updated Nvidia Jetpack to 4.6
- Added foam to the bottom of the mic, seems to have helped. Being on top of the head will help even more with feedback.
- Updated Github code base https://github.com/thedocdoc/Sophie/tree/main
Overall the operating system and voice recognition is snappier. This will be it for the voice assist additions for the moment, I will be swapping to movement and the ZED camera. Speaking of the ZED camera, it is not being recognized :(. It did work with ZED explorer on windows, so I will need to do some troubleshooting to fix it, or break down and buy the ZED 2 camera...
Bought a used HOKUYO UST-10LX Scanning Laser Range Finder off of eBay, hopefully it works, and is not a scam. I will likely re-design the base just a tad so that it has a larger scanning arc. I will be posting a video soon of the hybrid offline and online voice assistant feature.
-
Build day!
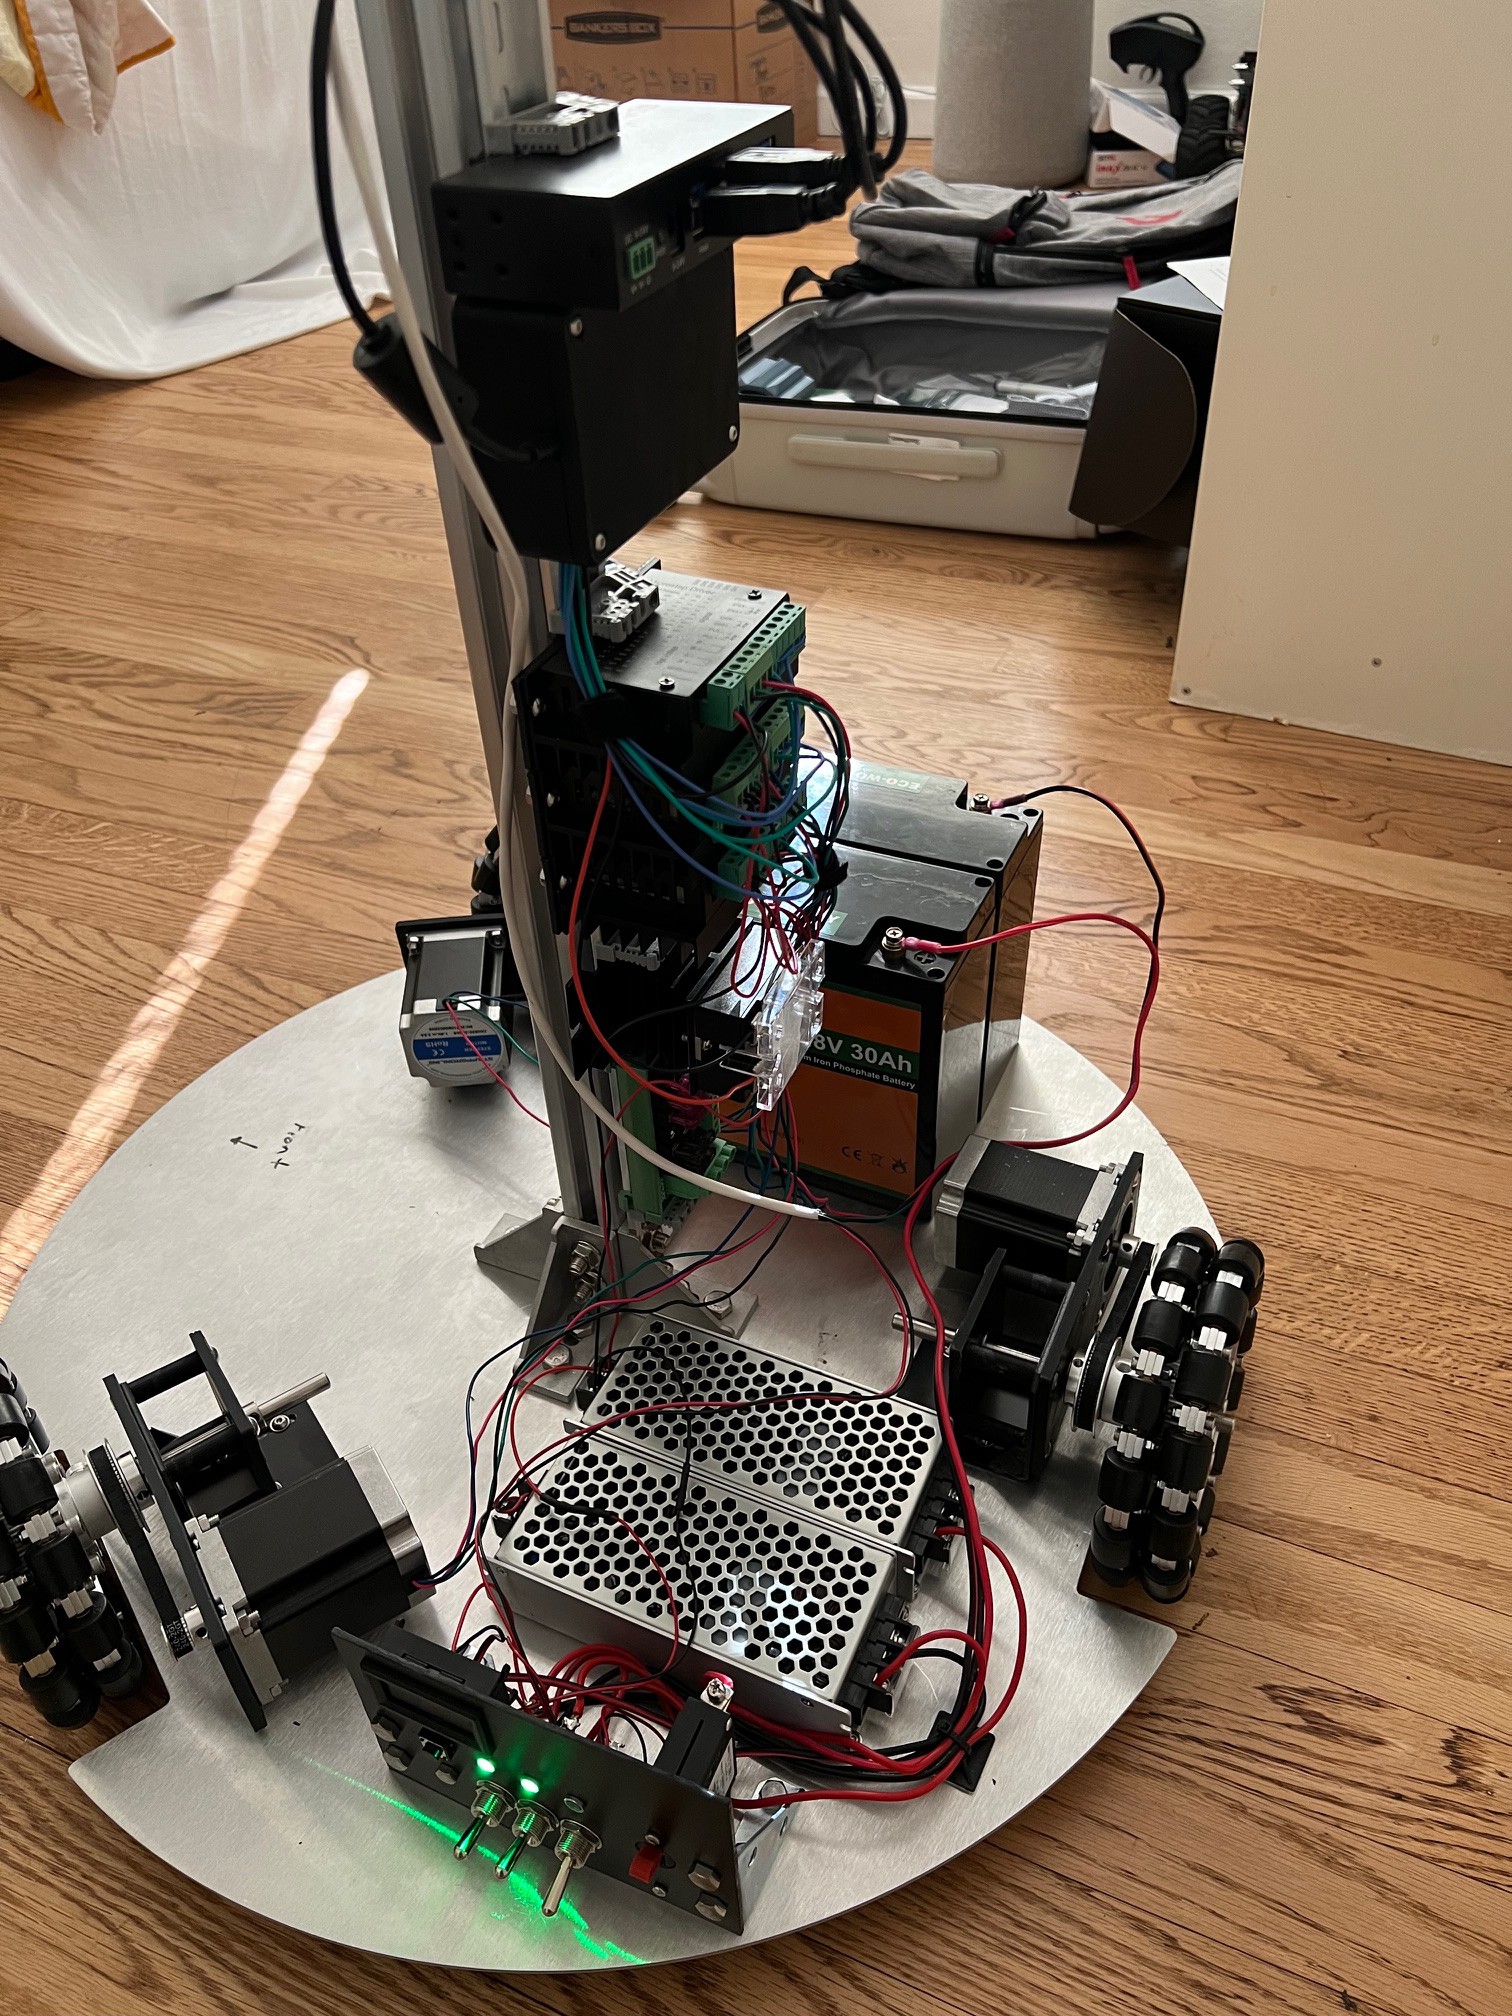
12/31/2023 at 02:06 • 0 commentsA lot of the build was done. All the subsystems minus the arm are installed.
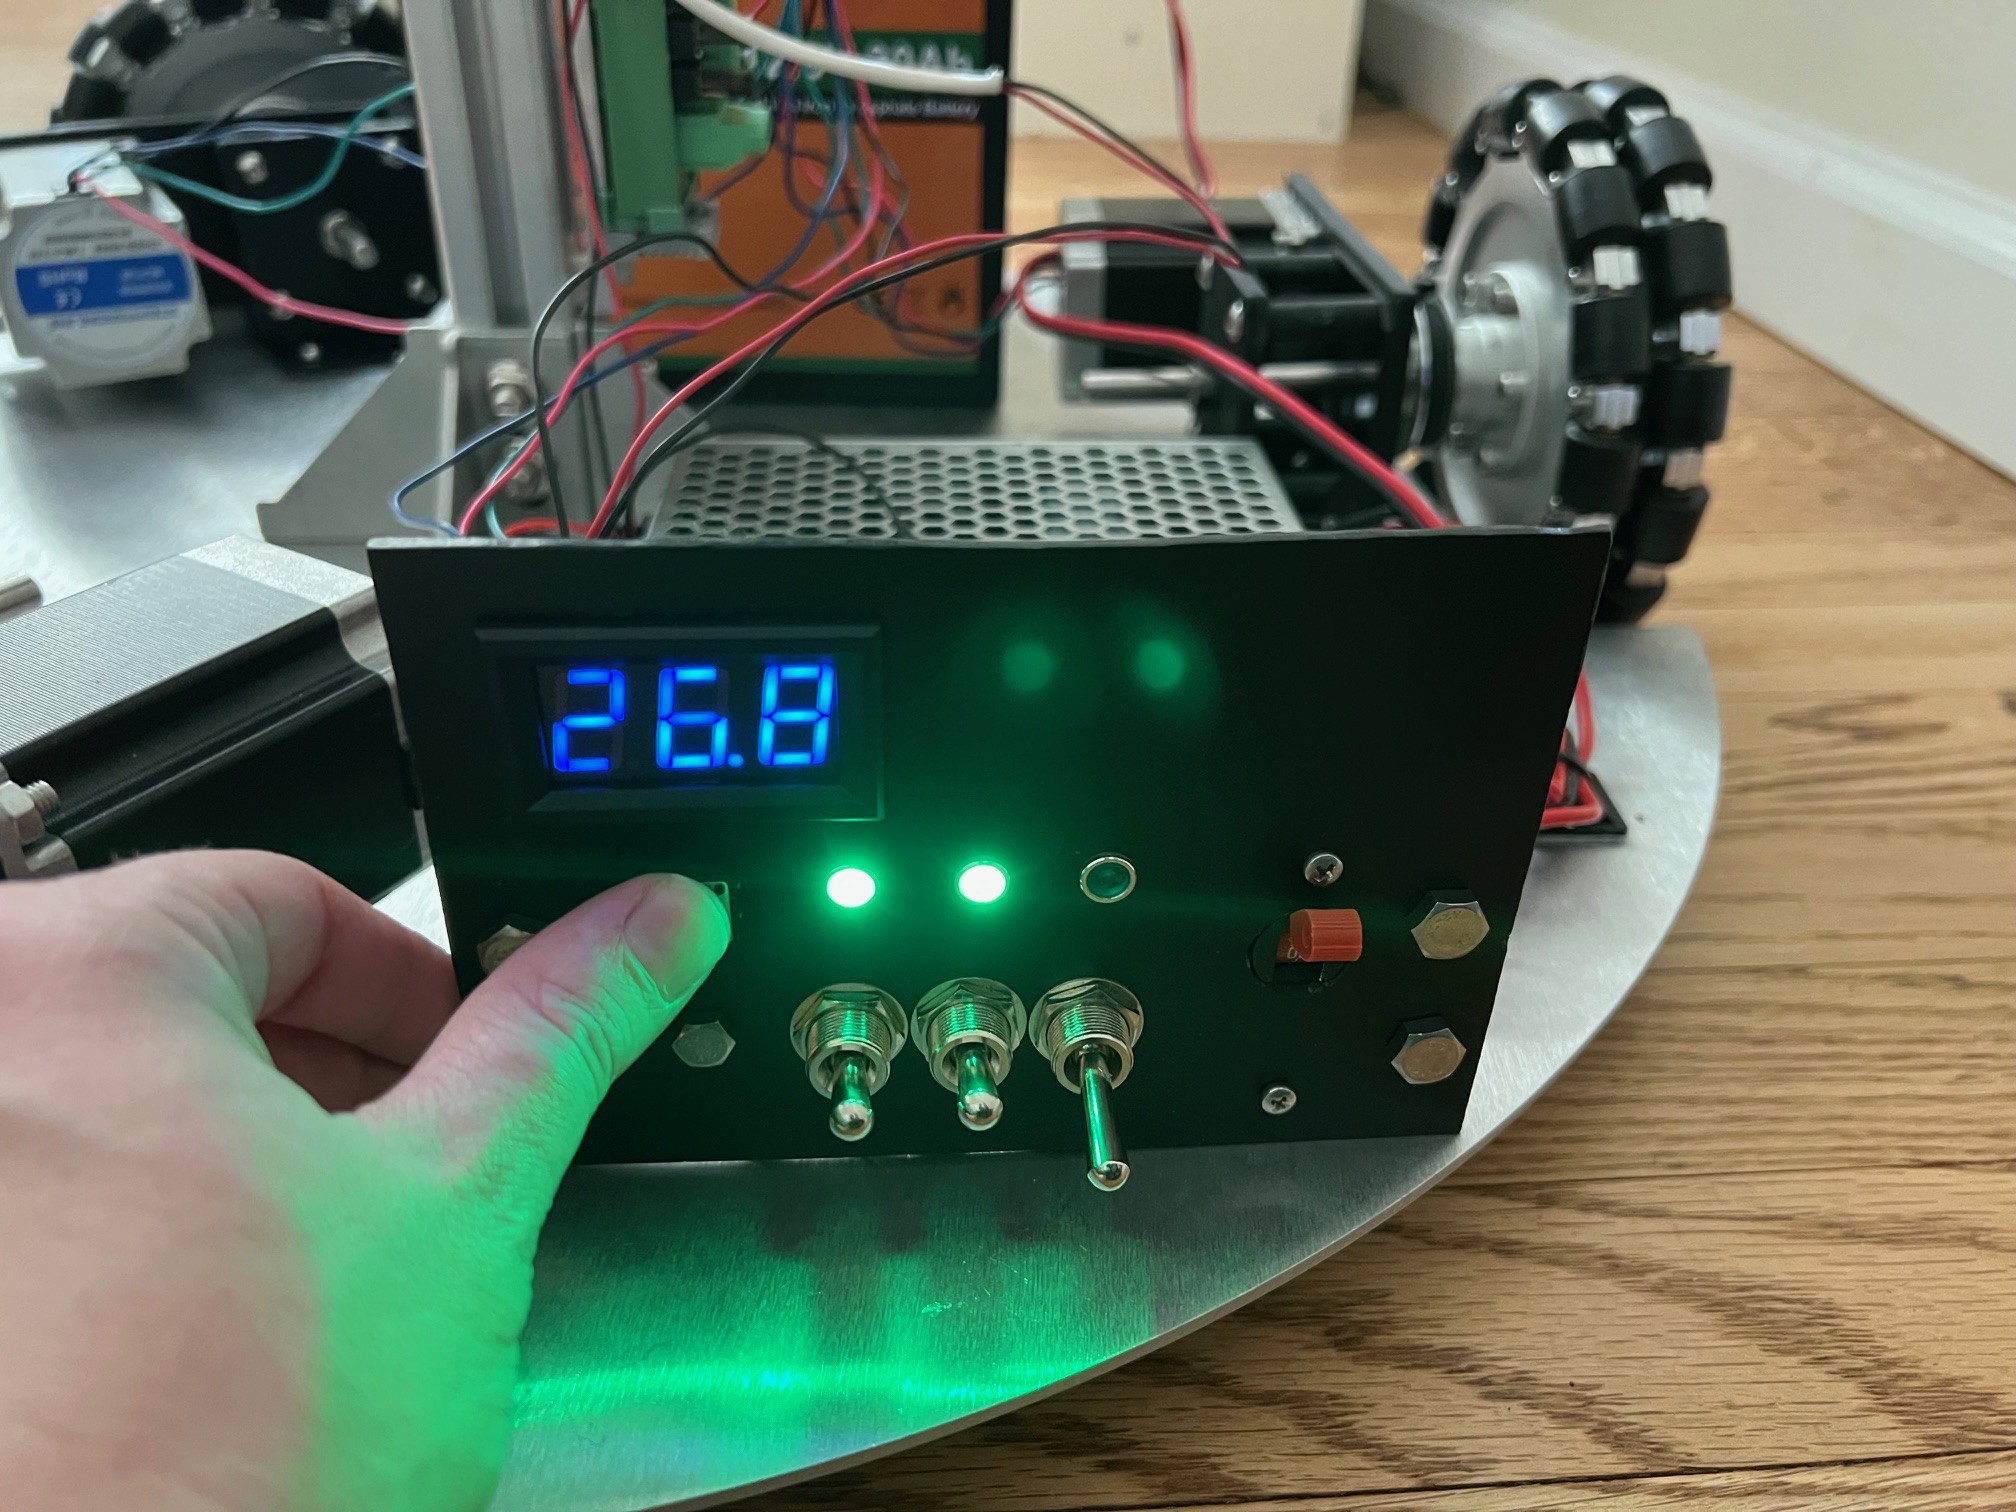
- Power distribution finished out, wired and mounted. (third switch un-used currently)
- Motor drivers wired to PICO
- Motors wired to drivers
- Main stalk bolted down
- 12 volt and 24 volt DC to DC convertors mounted and tested
- 12 volt rail online, Looks ripple free with O-Scope
- 24 volt rail online, Looks ripple free with O-Scope
- Jetson TX2 powered via 12volt rail
- USB hub powered though 12 volt rail
- 24 volt wired though switching solid state relay then to stepper drivers
- Neck remounted with updated 3D printed piece
- Stand alone Vosk AI based voice assistance test completed
- Chat GPT 3.5 integrated
- Temporary Speaker installed
- Microphone temporarily installed
- Jumper installed on TX2 so it will boot up when power is applied
![]()
![]()
![]()
![]()
-
Chat GPT intergration
12/30/2023 at 22:32 • 0 commentsYa, you knew it was coming there is no way around it Chat GPT is hear to stay. Instead of just the normal code I opted for a hybrid with my existing off-line version. This way you can ask it real time questions like time, weather, jokes. A lot of this can happen even with out the internet, and it has the benefit that the voice recognition is done onboard so it is a bit speeder. Now if it does not recognize the phrase it will pass it to another python program handling chat gpt/API.
So it can hear you talk respond to certain phrases and then pass it off to chat GPT when it gets hard. Then both talk to you via text-speech using festival as it sounds a bit more natural and easier to understand then the python version. So it is a very supercharged voice assistant. It also does not need wake up sounds, so it is a lot more natural to talk too. I will try to get a video loaded tomorrow.
Code can be found here, do note the robot has a bad habit of hearing itself, so I will need to mute the microphone in the next revision. Enjoy!
https://github.com/thedocdoc/Sophie
![]()
-
Now were getting somewhere
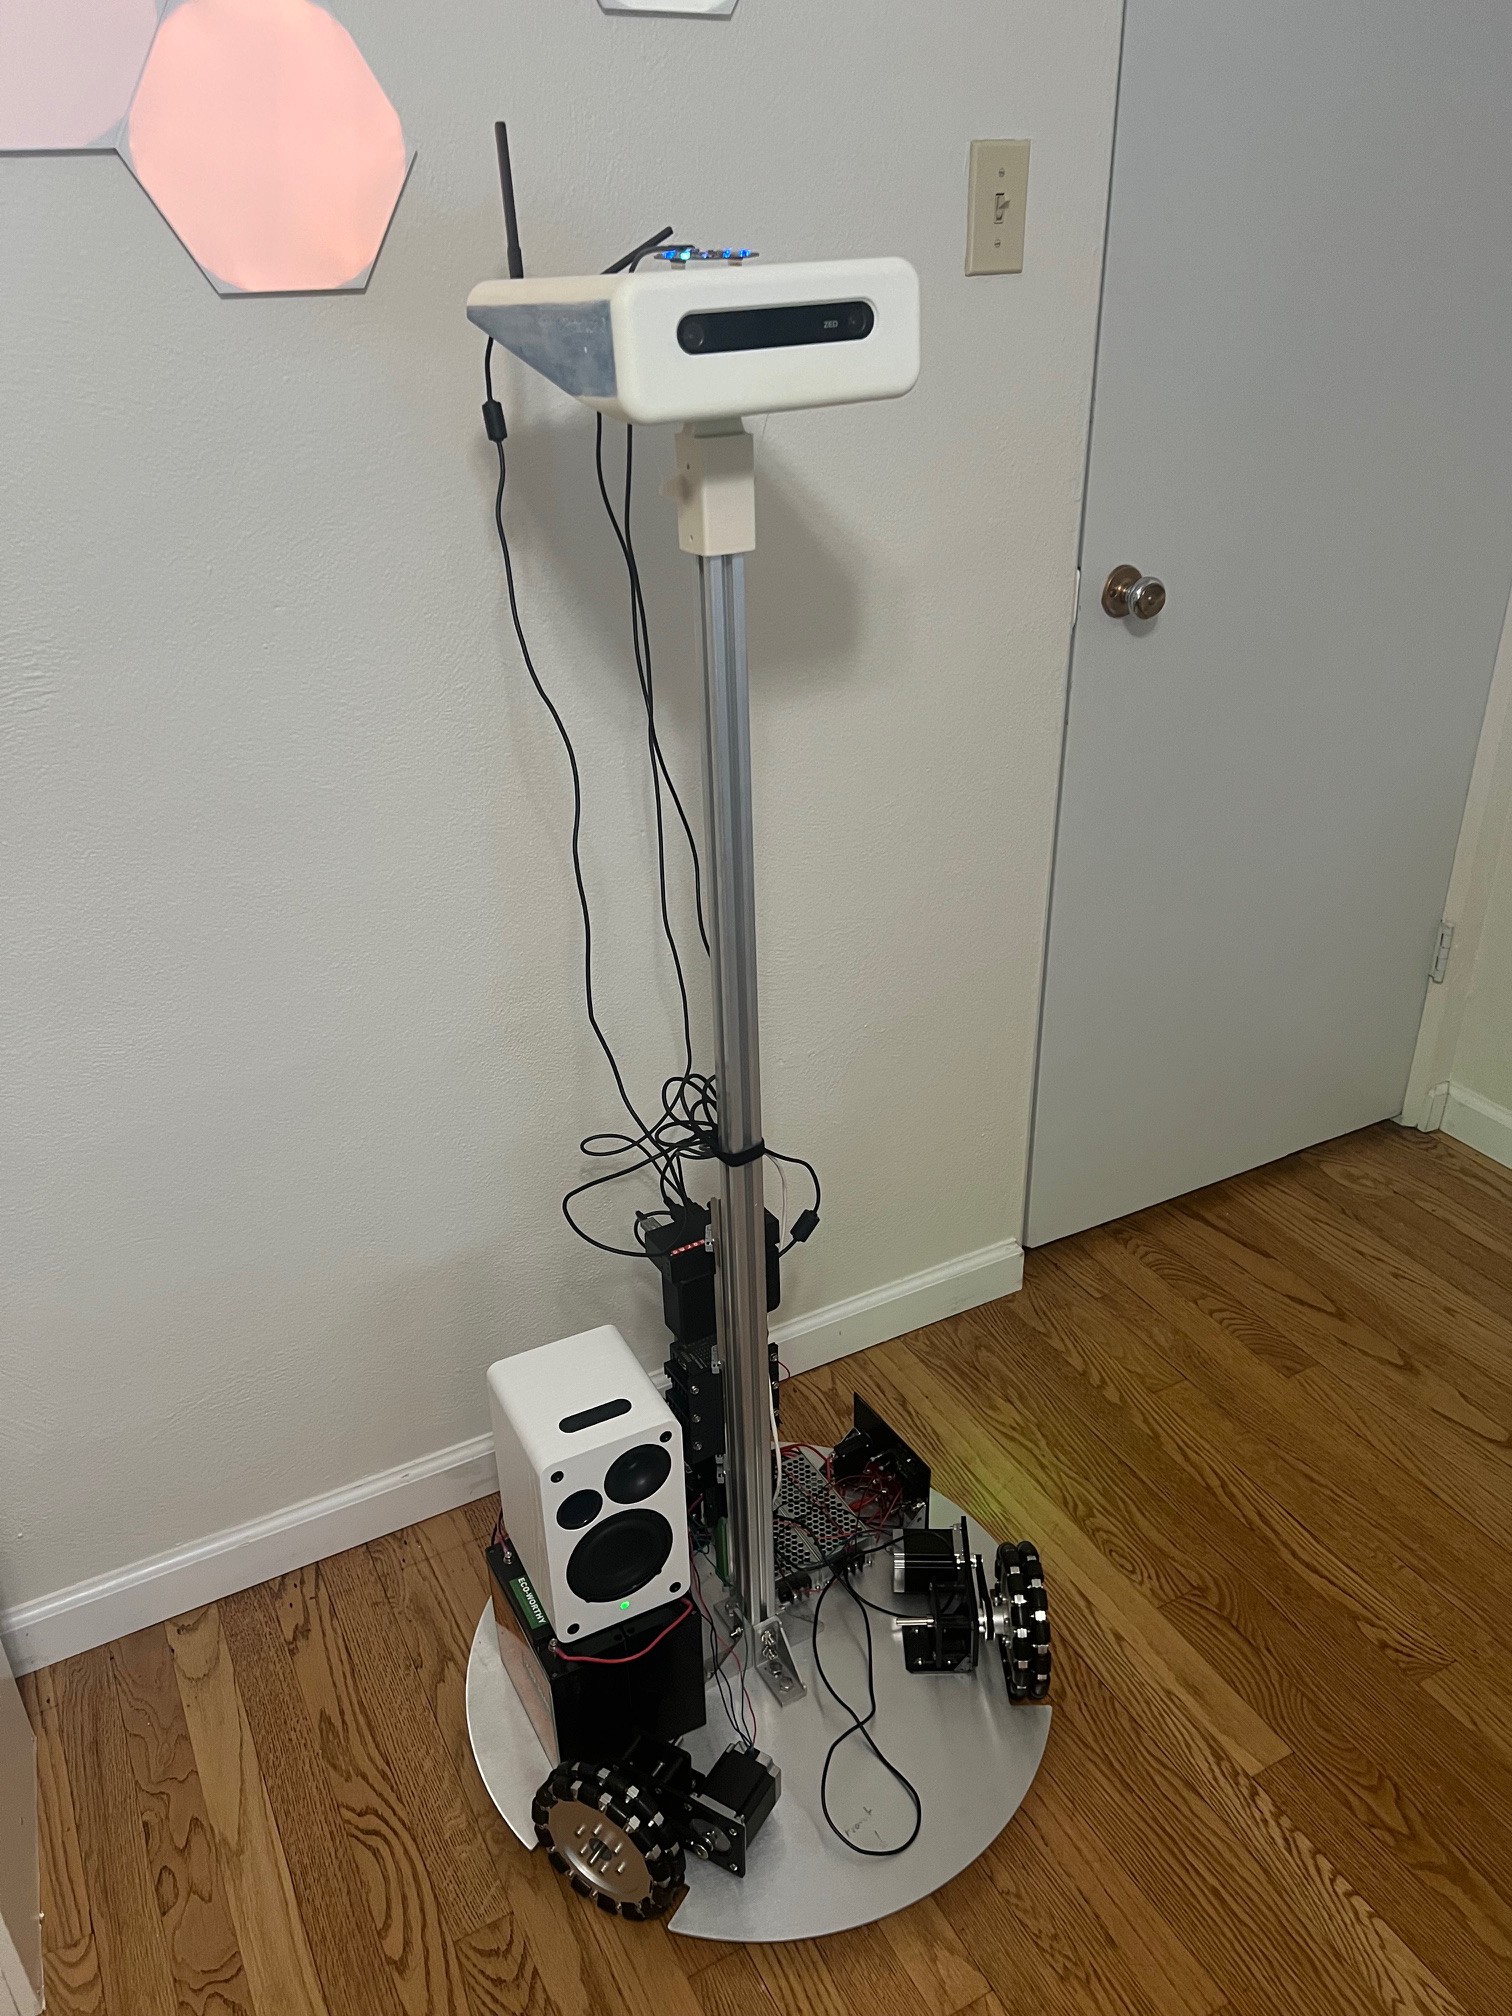
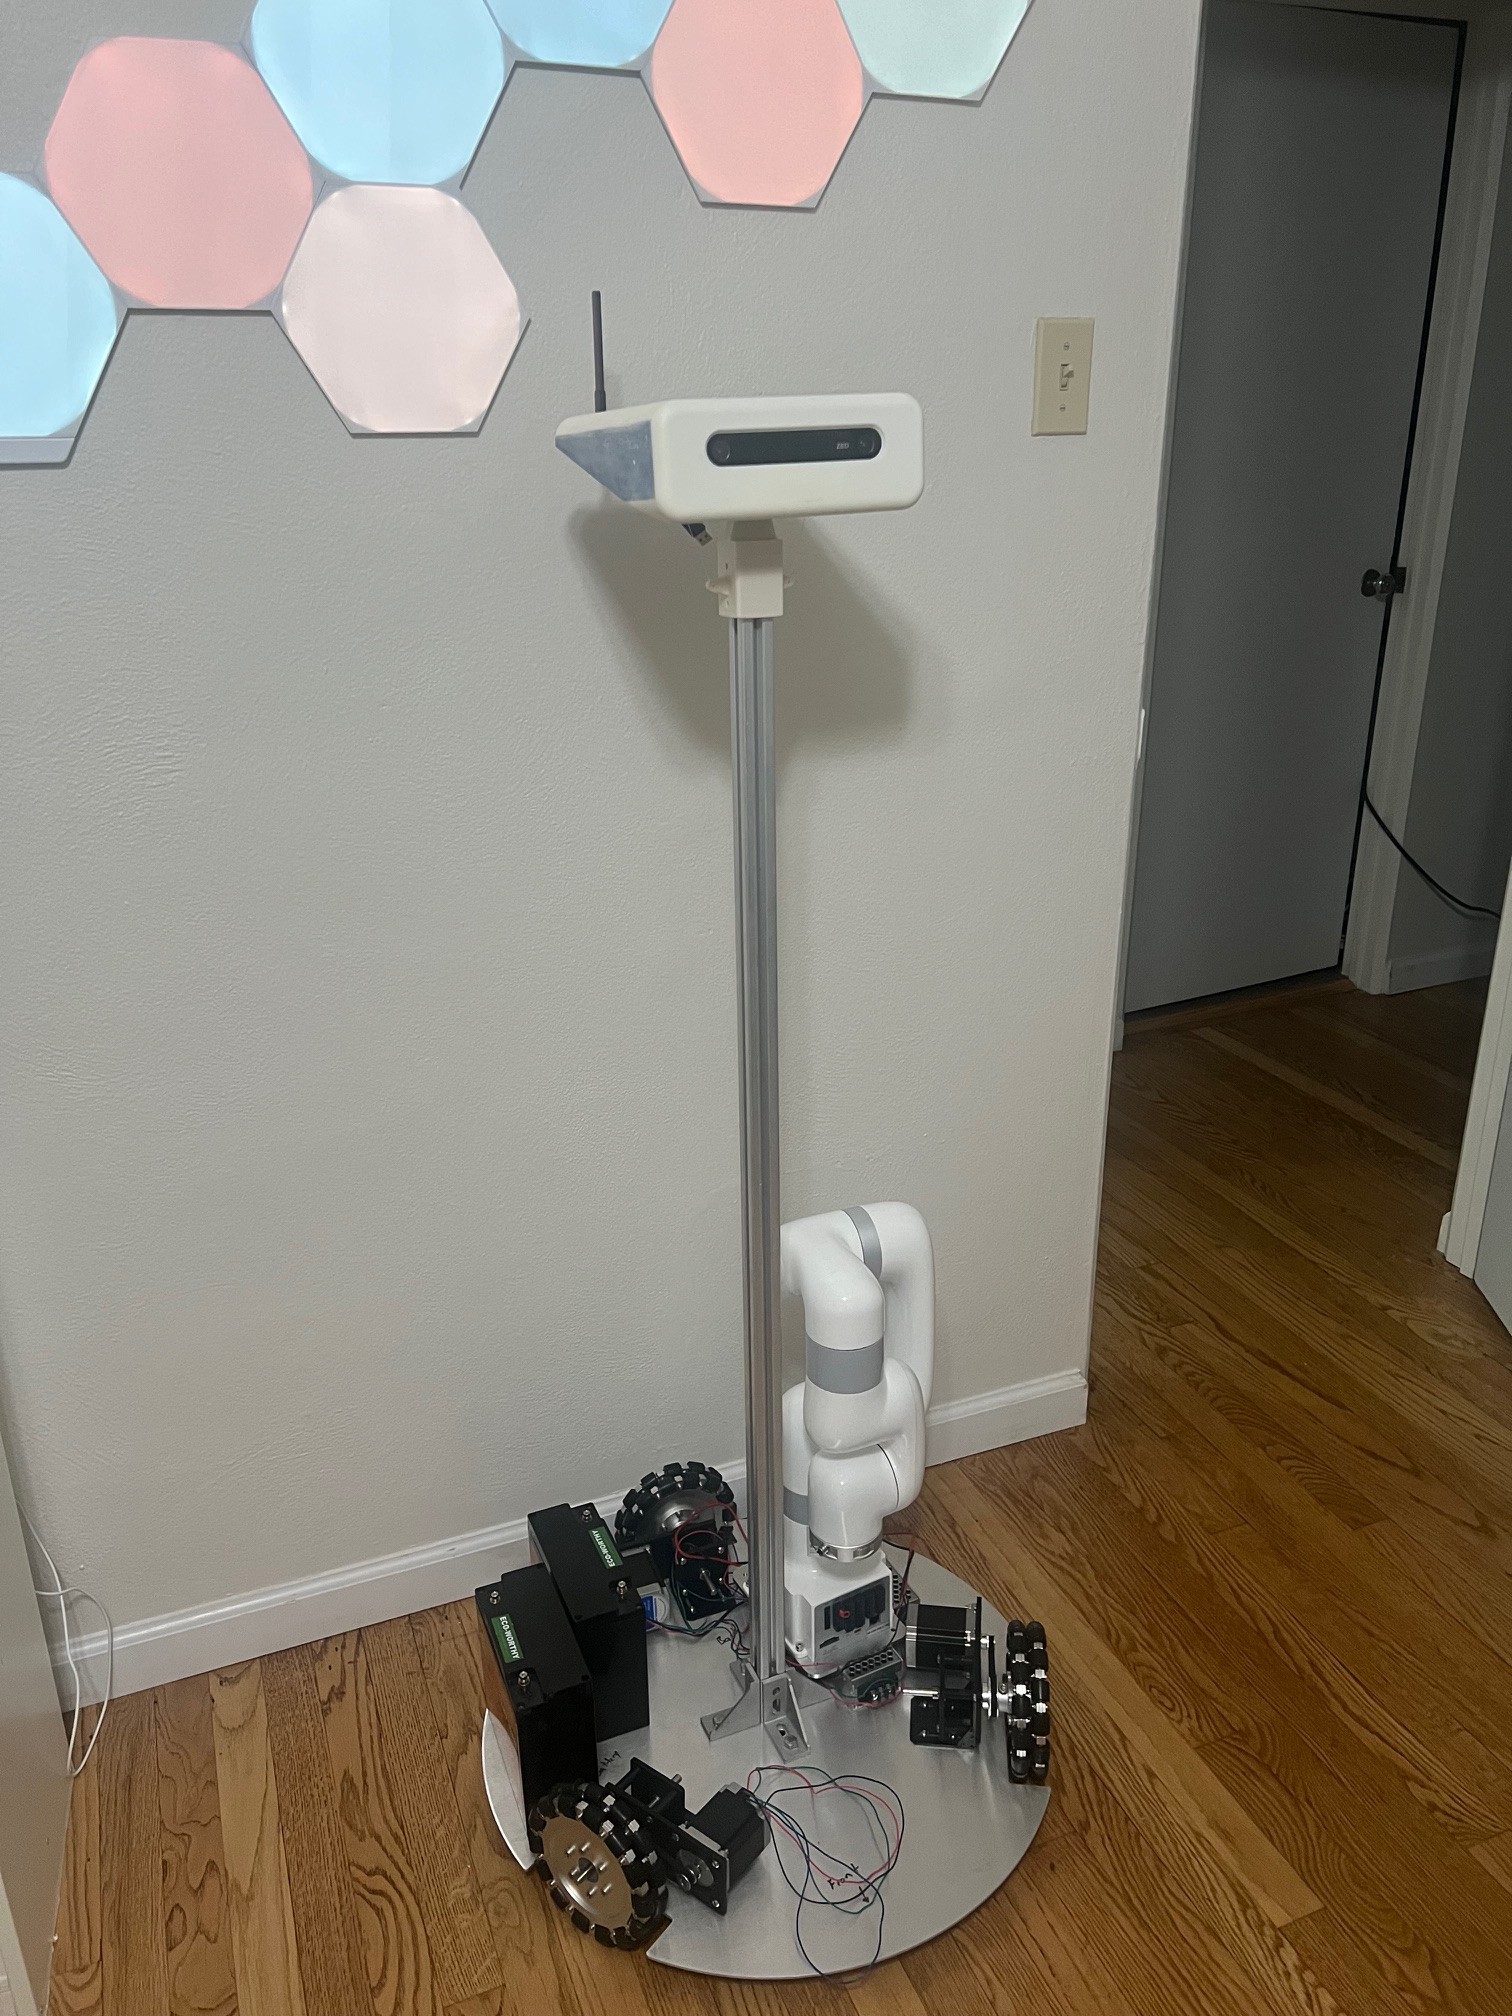
12/30/2023 at 04:03 • 0 commentsI cranked out a temporary neck mount and attached the head to the robot. It now is a full rolling chassis. From here I can add the electrical subsystem and get the motors wired up. Be a few more weeks till the robot is mobile but I'm making steady progress.
The neck will have to wait. I had some really nice steal cable springs I found on Electronic Goldmine, but for the life of me I can't find them now that I need them. Anyhow, the head should be a compliant mechanism (the tilting part) where it can at the very least turn left and right and also tilt. The tilting should allow it to express a confused look. (something I plan on it doing a lot if it does not recognize a command or hears a noise)
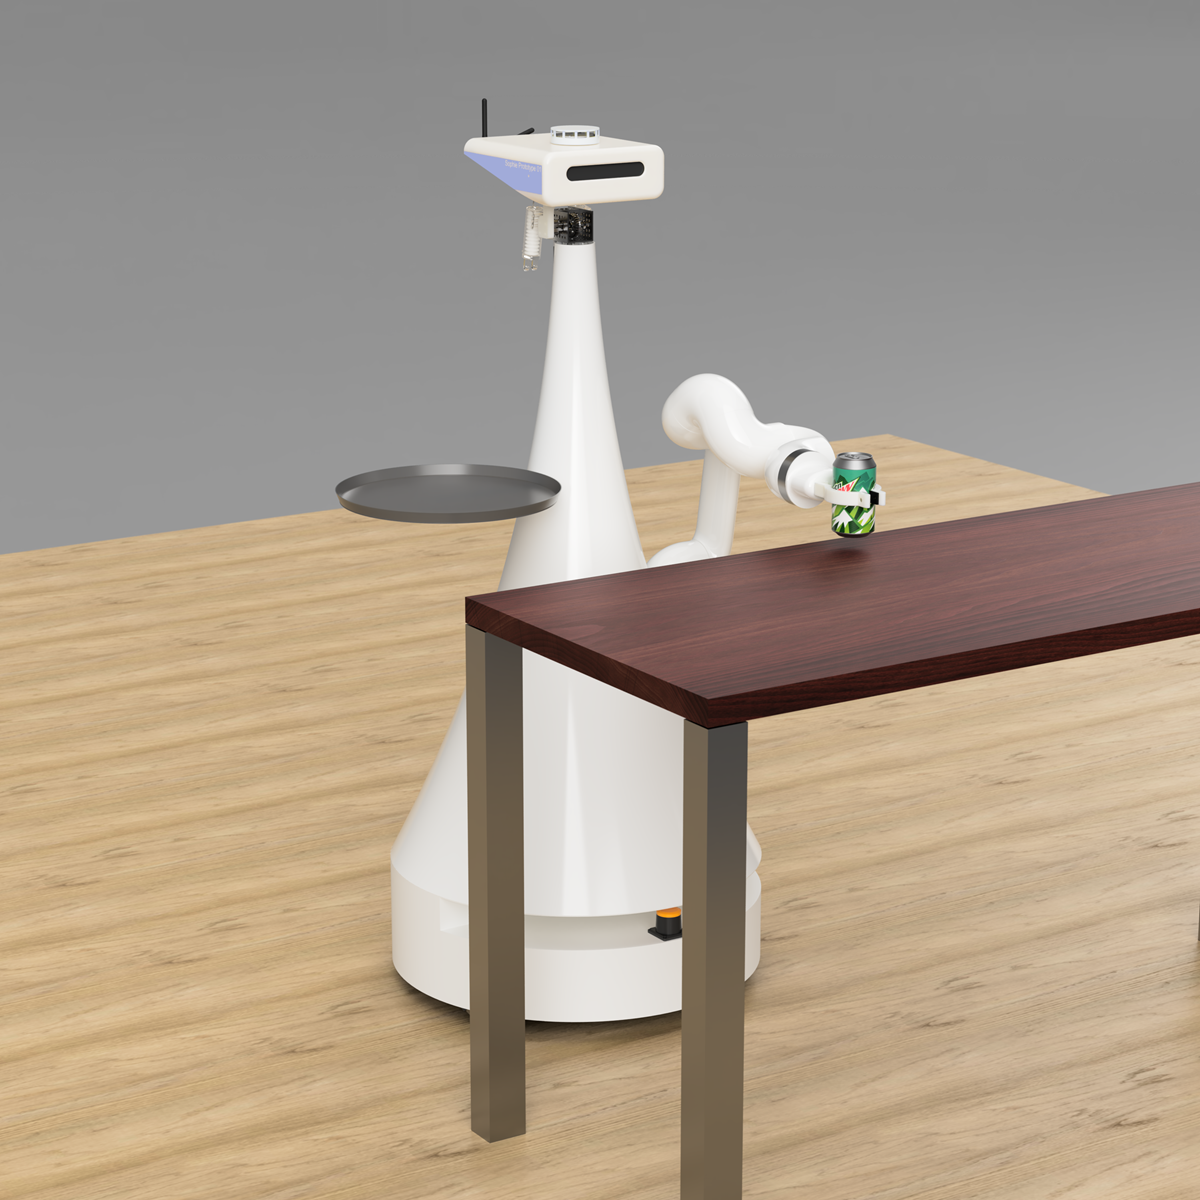
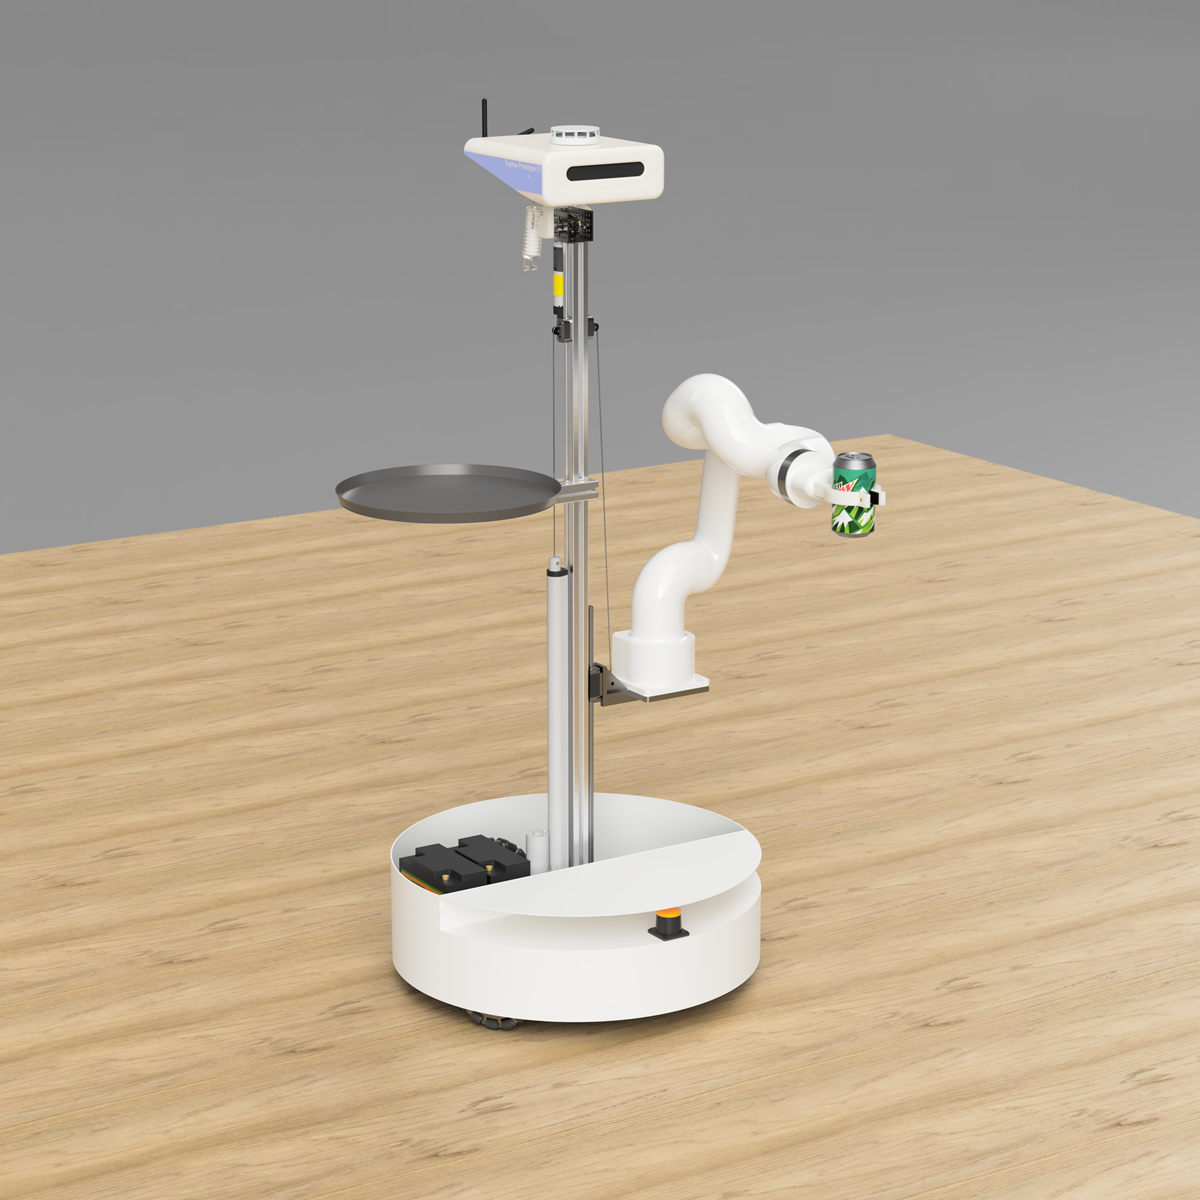
The uFactory lite 6, a 6 axis arm and batteries were placed for weight distribution. The batteries will be a good offset to the weight of the arm The arm comes in @ around 20 pounds in total, I'm ok with that as it has a built in controller and motor drives. It can also lift ~600grams of weight. Technical the robot will have a 7 axis arm as it will be on a linear rail and have a linear actuator raising and lowering it. This is so it can grasp things off the floor and also reach table height. The robot can't bend over like we can, so a engineering solution was devised.
![]()
![]()
Home Robot Named Sophie
A next generation home robot with a omni directional drive unit and 6 axis collaborative robot arm
 Apollo Timbers