-
1Assemble PCBs
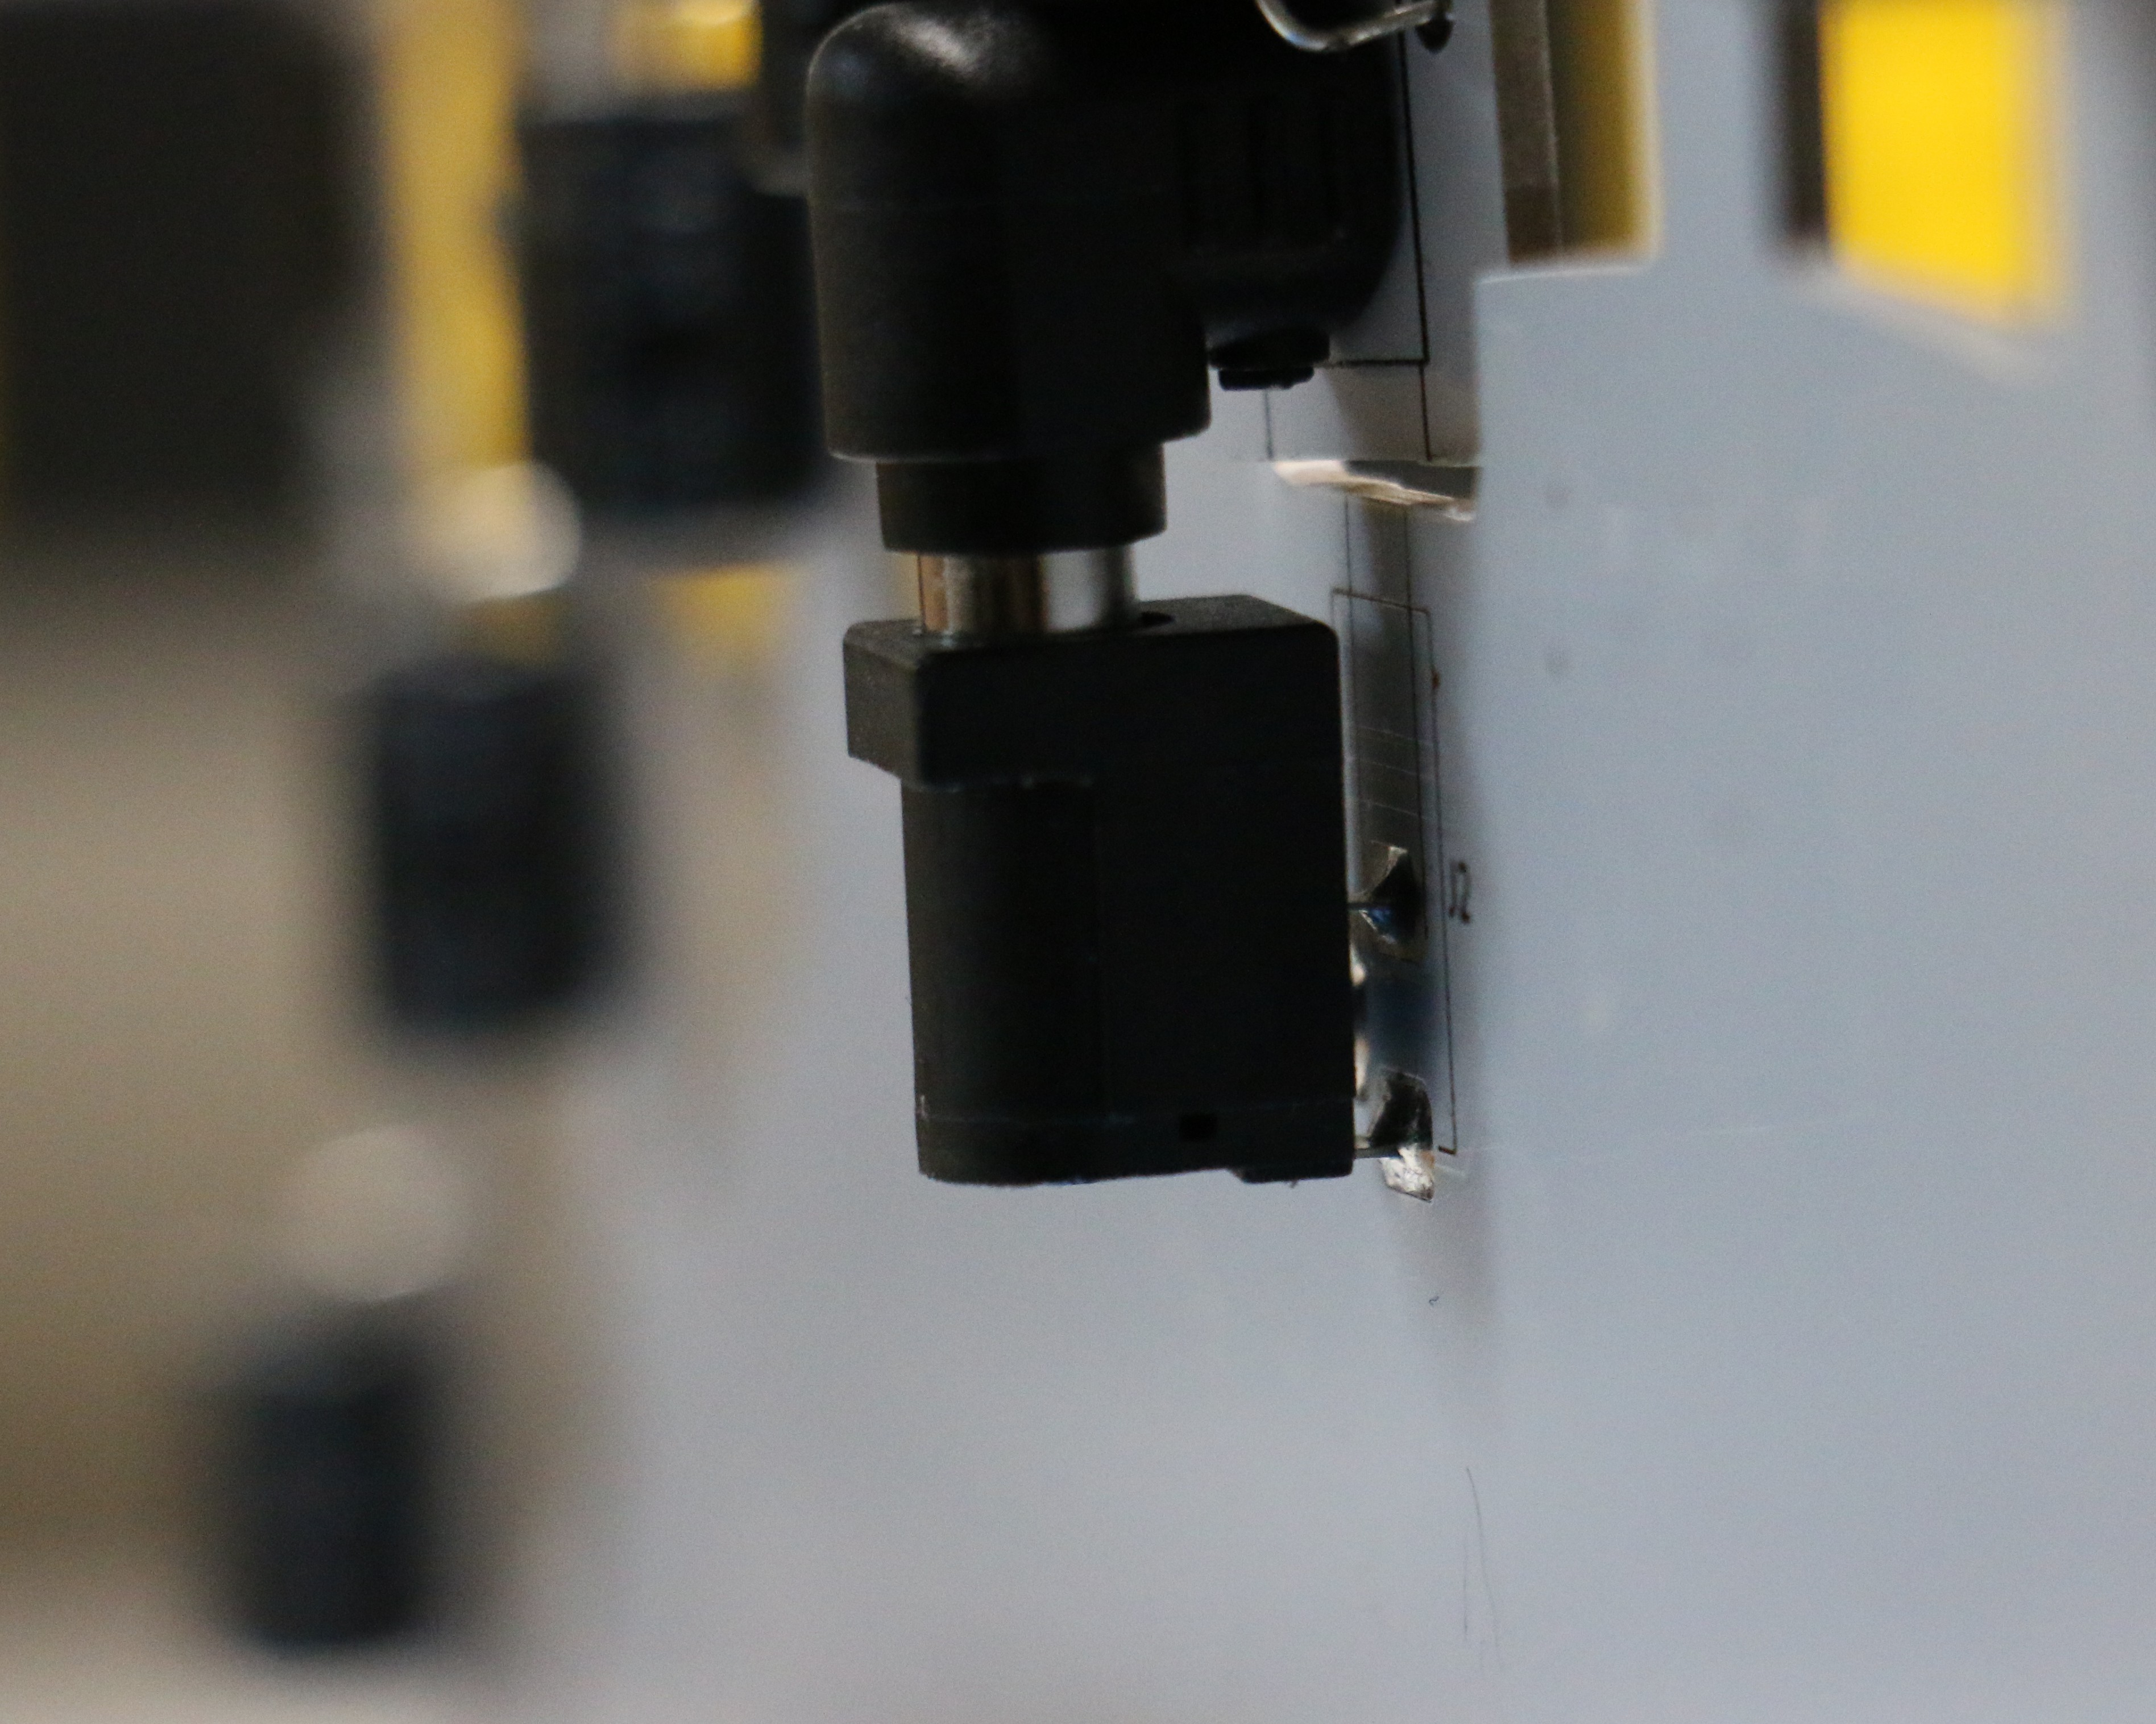
Solder the components to the PCB. The parts can all be soldered by hand, except for the USB connector, which must be reflowed with an oven, hot air, or hot plate. Sorry about that! Note that the barrel power jack should not be soldered flush to the board, but should be offset so that the shamash PCB will align with the main PCB.
-
23D Print the LED Diffusers
The LED diffusers can be FDM printed with no support. They can be pushed down onto the LEDs without any adhesive, although you can certainly use some if you really want to be sure they don't fall off.
-
3Cut the Acrylic Base
If you have a laser cutter, use that to cut the acrylic to the correct shape. If you don't have access to a laser cutter, you can cut it with a bandsaw or jigsaw and then sand and polish the edges. Don't drill the holes yet, unless you are really confident in your acrylic-bending skills.
-
4Bend the Acrylic Base
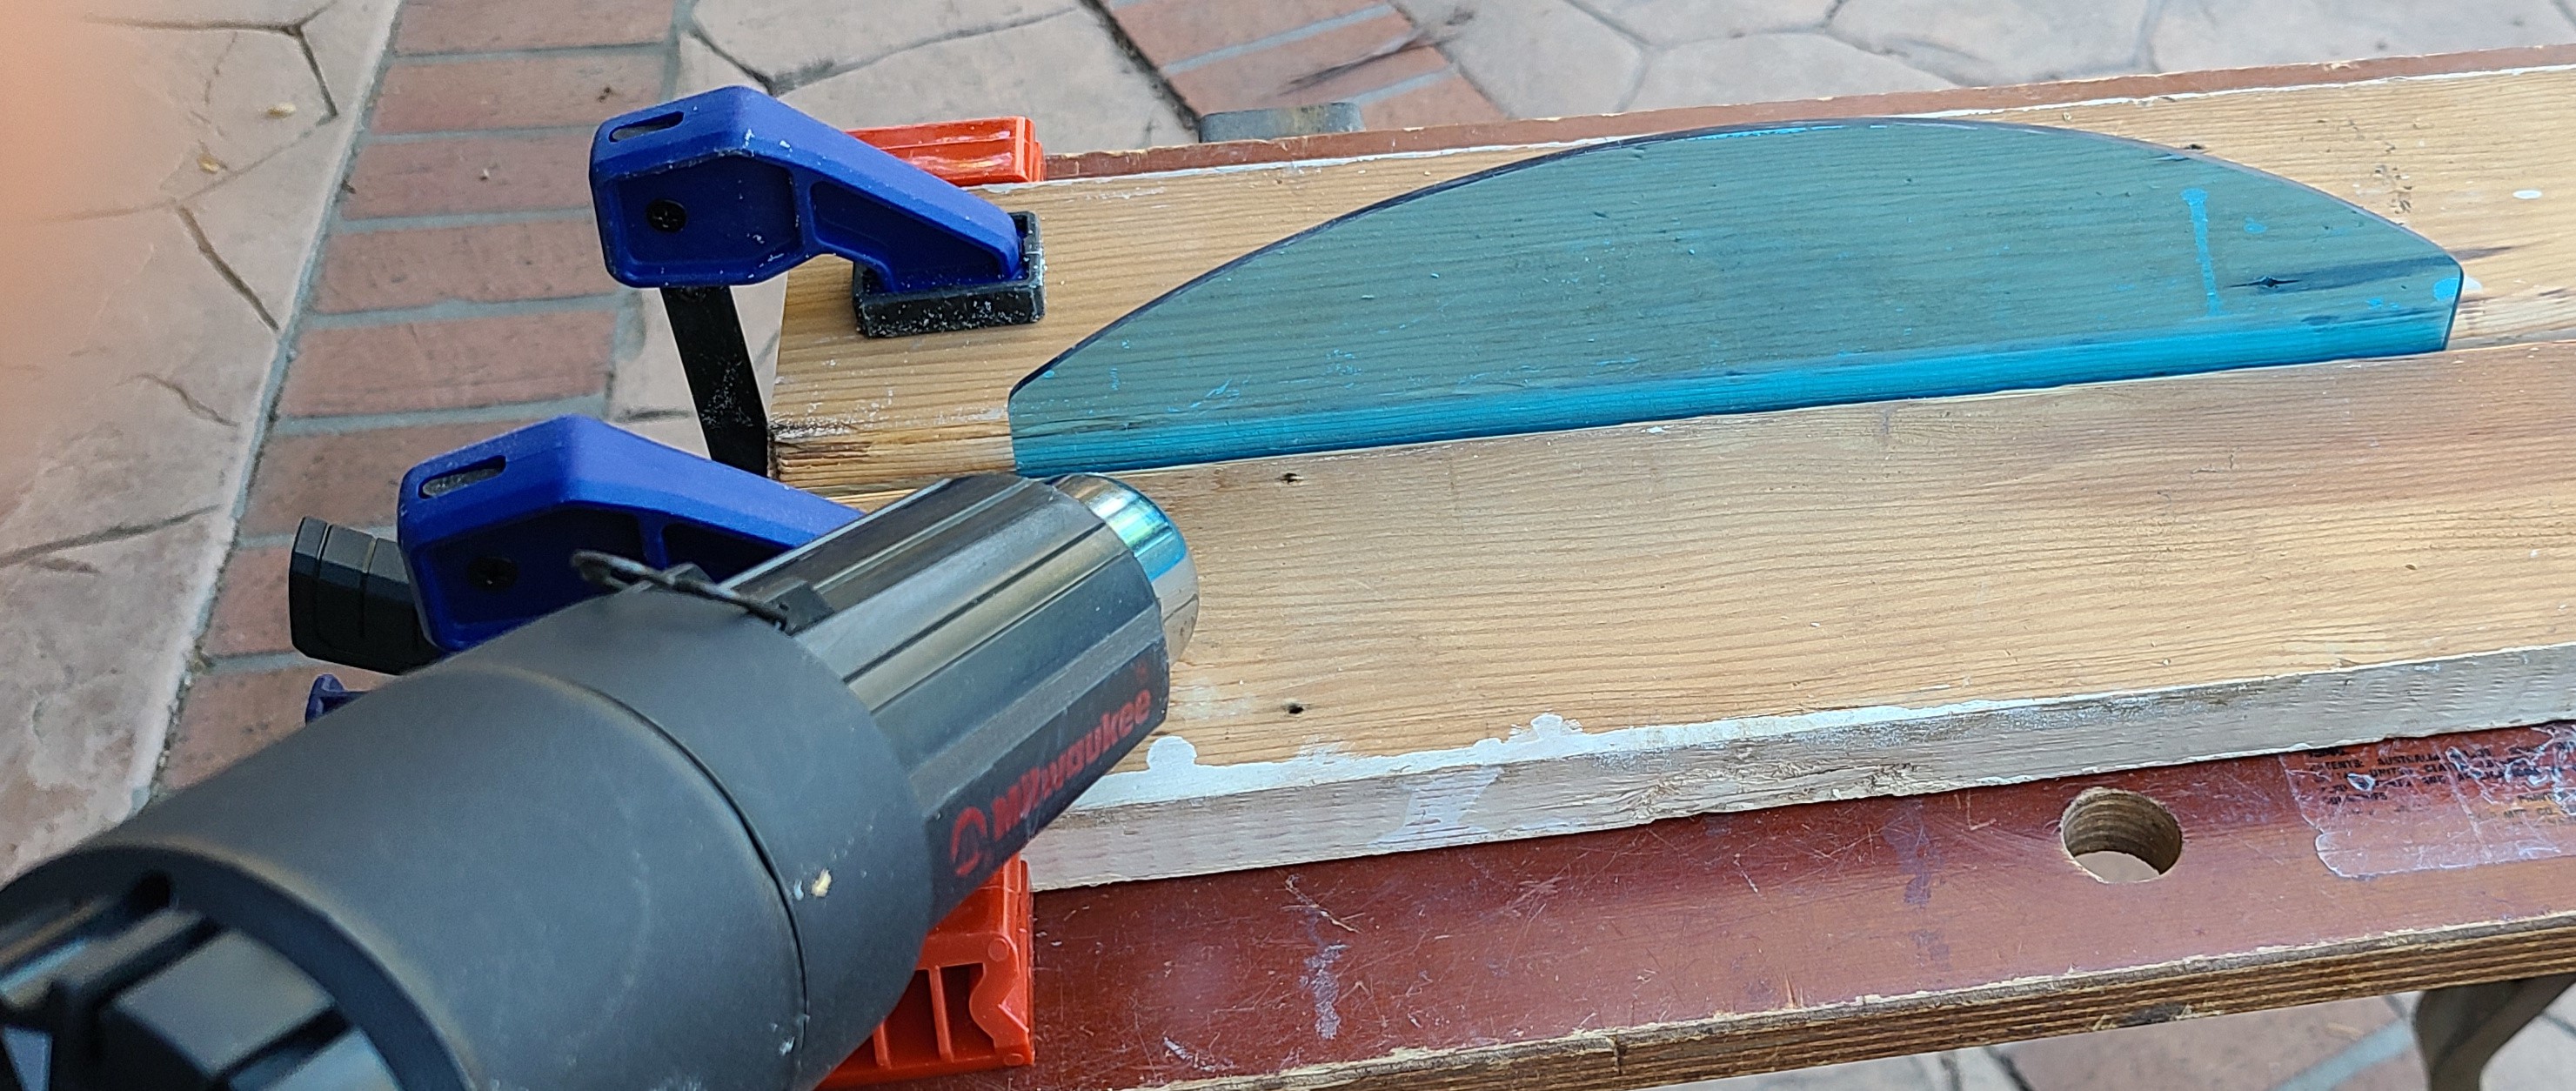
Clamp the flat acrylic pieces between two pieces of wood. Use a heat gun to slowly heat the area to be bent. When the plastic is soft and pliable, use another piece of wood to apply a 90-degree bend and keep it in that shape until it cools.
Warning 1: Don't let the heat gun stay in one place too long or the acrylic will bubble. Don't ask me how I know!
Warning 2: The wood pieces that are used for bending should be smooth or they will leave marks in the soft acrylic. Again, don't ask me how I know!
![]()
-
5Drill holes in the acrylic
Put the PCB behind the pieces of acrylic and mark the holes to be drilled. Drilling the holes after the bending allows any differences in the bends to be compensated.
-
6Attach the magnet
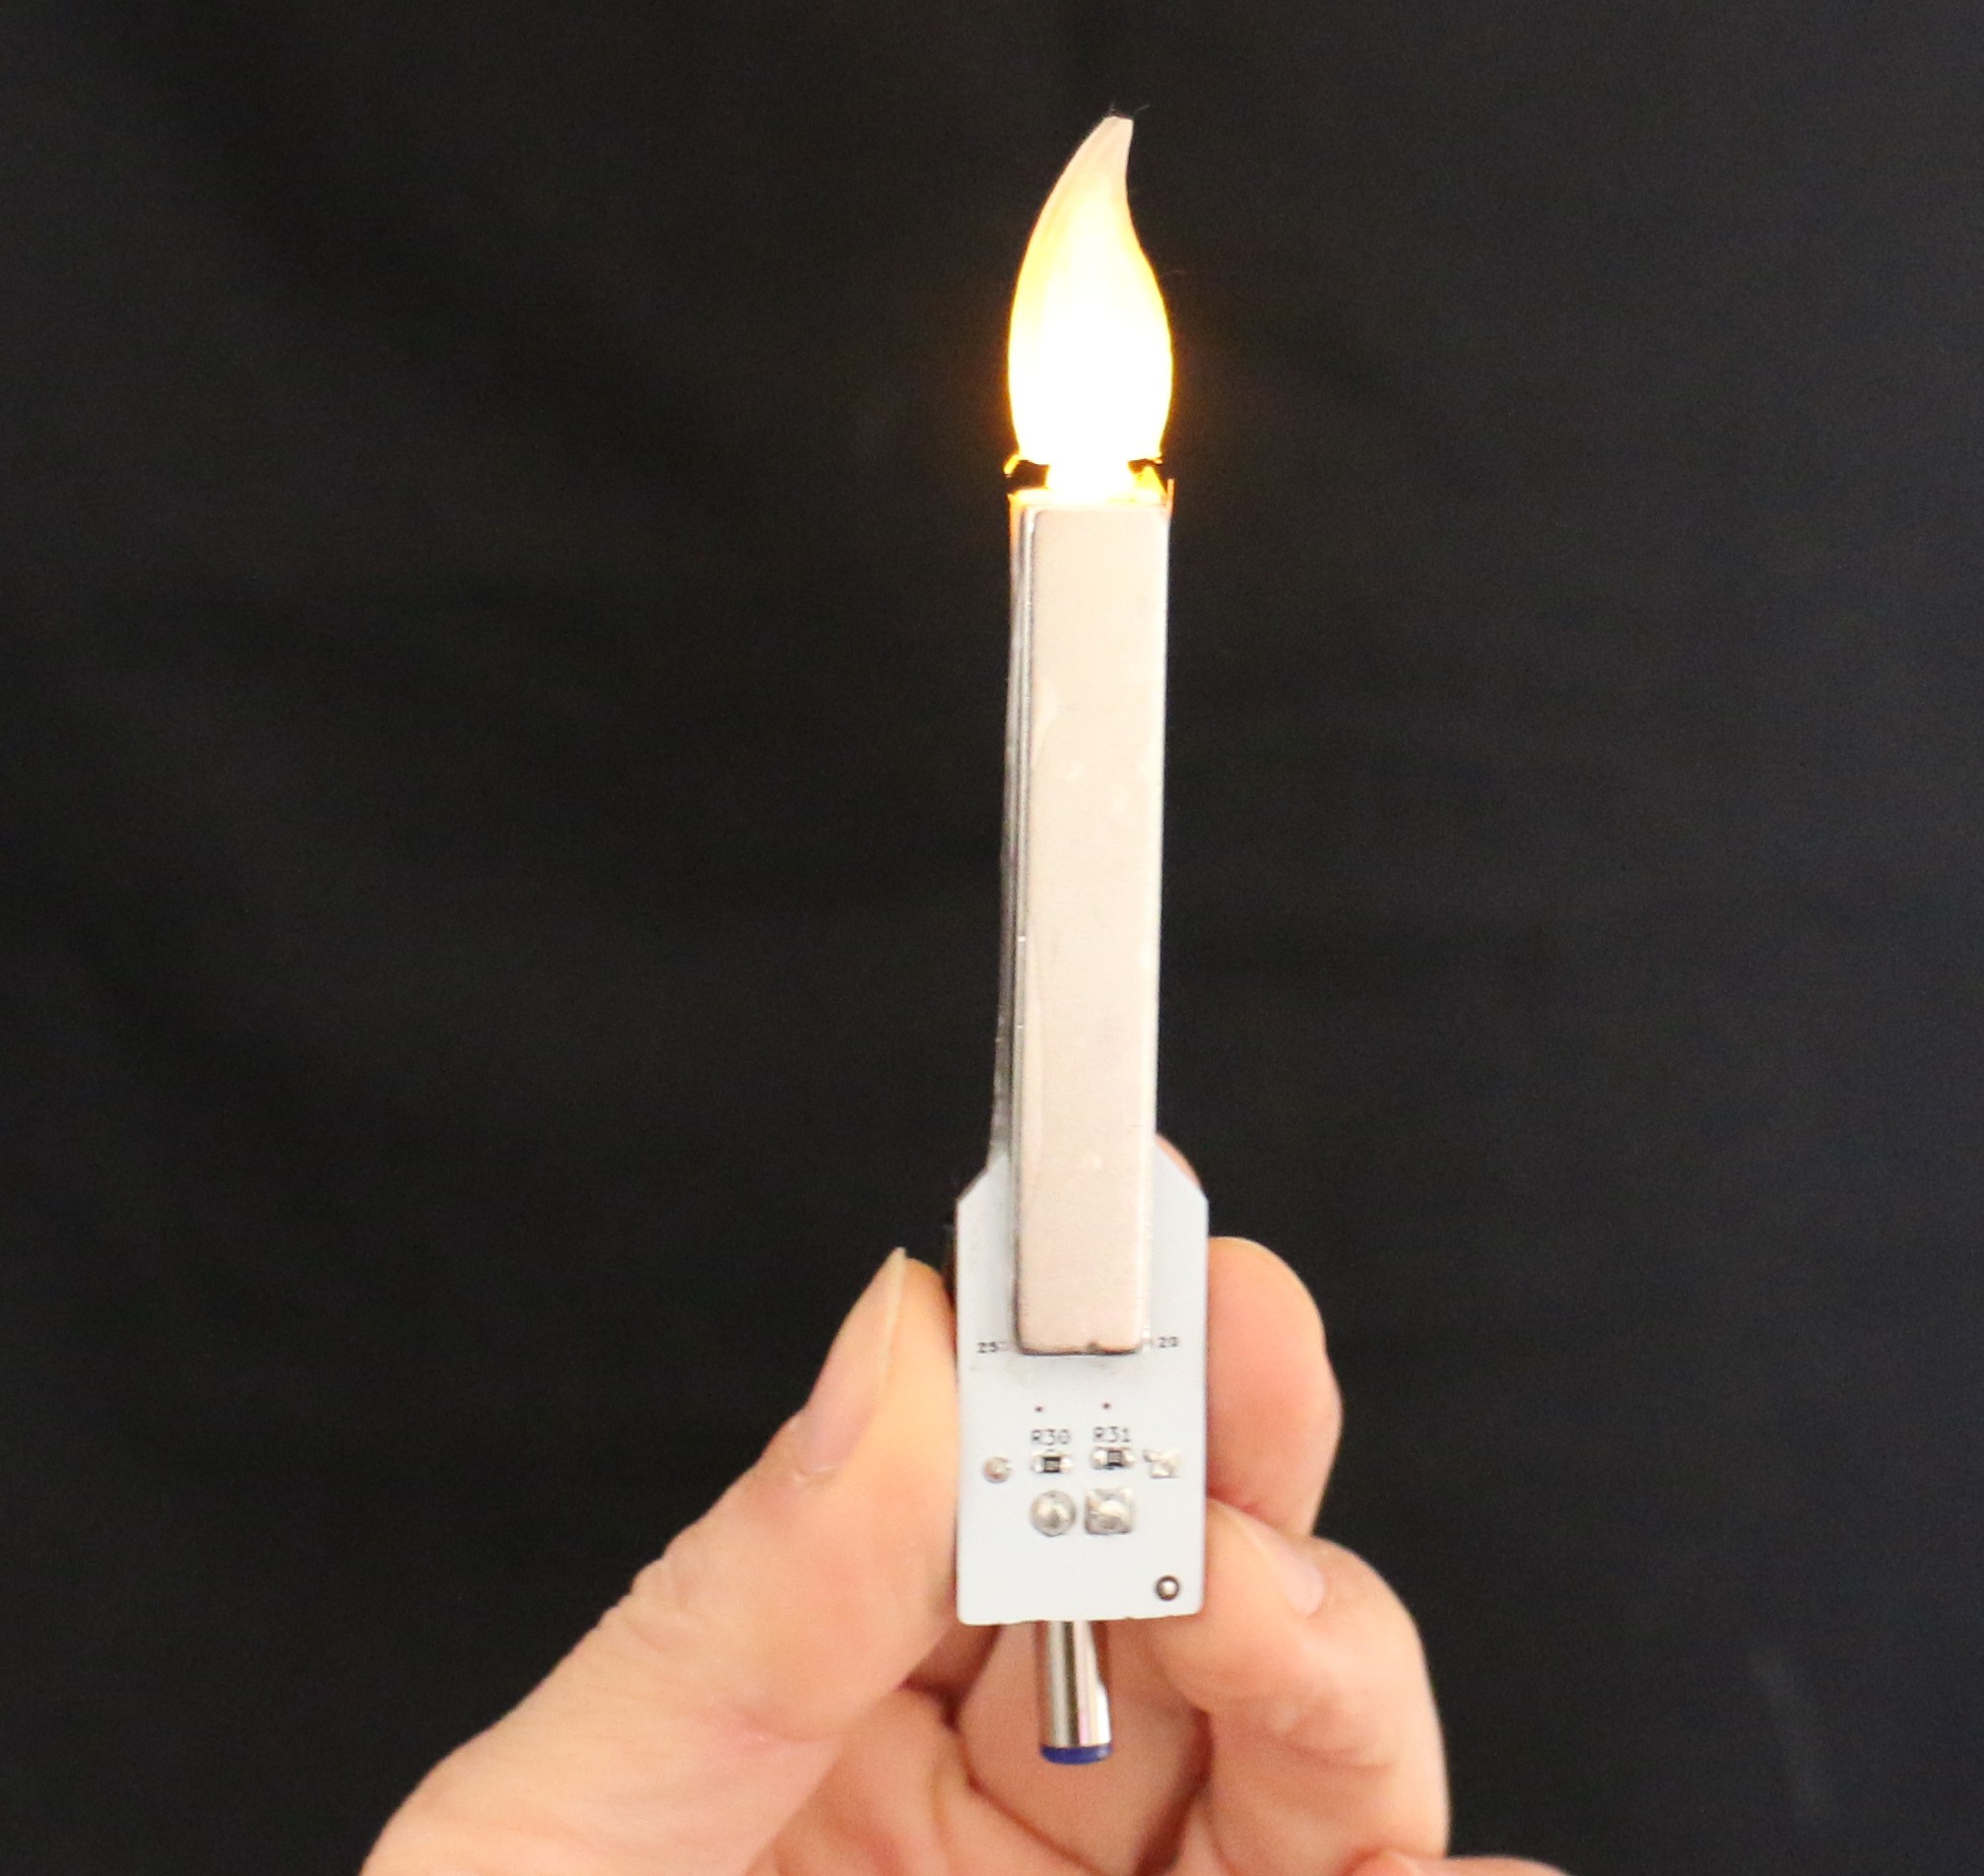
Use double-sided foam pads to attach the magnet to the PCB. Cover the magnet with tape so that it won't accidentally cause a short when lighting the other candles.
-
7Plug in the menorah
Plug the menorah into a USB charger using a micro-USB cable
 Glenn.Kubota (gee.k)


Discussions
Become a Hackaday.io Member
Create an account to leave a comment. Already have an account? Log In.