-
11Remove the X-axis end cap
Follow Kadah's guide to remove the X-axis end cap. https://www.thingiverse.com/thing:2738089
-
12Clean the glue/adhesive from the rods
Scrape any remaining glue from the rods where the end cap may have been glued in place. A utility knife was used in this project, following Kadah's guide, but other methods such as chemical softening of the glue may be viable.
-
13Remove the Bowden tube from the hotend and slide the carriage off of the rails.
The fan, heater and thermistor wires are still connected to the hotend at this point, but can be disconnected if required.
-
14Clean the re-lubricate the rods
Wipe down the rods to remove any dust/debris and apply a new coat of your selected lubricant. This is the best chance to ensure that the rods are thoroughly cleaned and lubricated.
-
15Slide the new carriage onto the rods.
-
16Loosely attach the end cap to the rods, and test the movement of the carriage
If the movement is satisfactory, proceed. If the movement binds near the tower and/or endcap, re-printing the part, or printing the alternate spaced bearing carriage may be required. Repeat steps 4 and 5 as required.
-
17Firmly re-attach the end cap to the rods
Both rods should seat against the inside of the cap.
-
18Locate the two 'edge' marks on the belt, and align the new carriage between the marks
-
19Position and attached one side of the belt
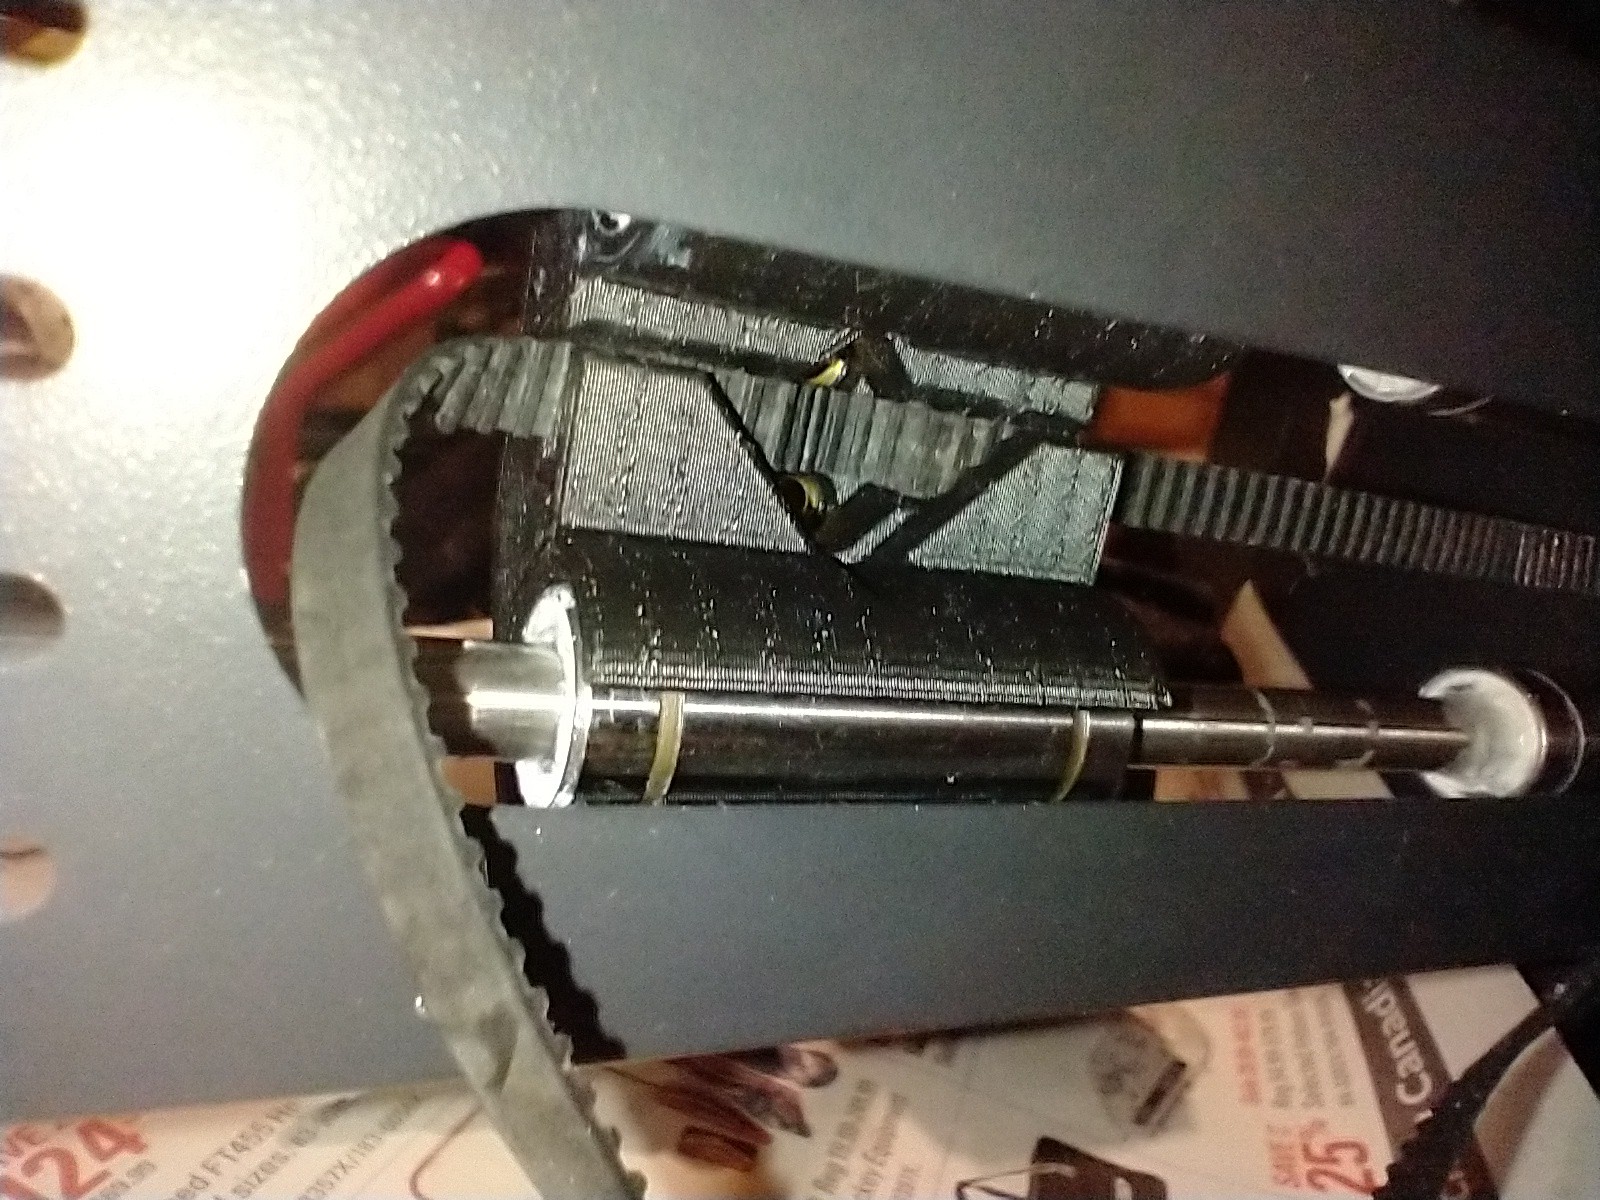
Hold one side in place by hand, and use a flat blade screwdriver, or other similar thin, stiff flat object to push the belt into the toothed slot at the rear of the carriage. The image below shows the completed belt attachment.
![]()
-
20Position the second mark, and attach the opposite side of the carriage to the belt
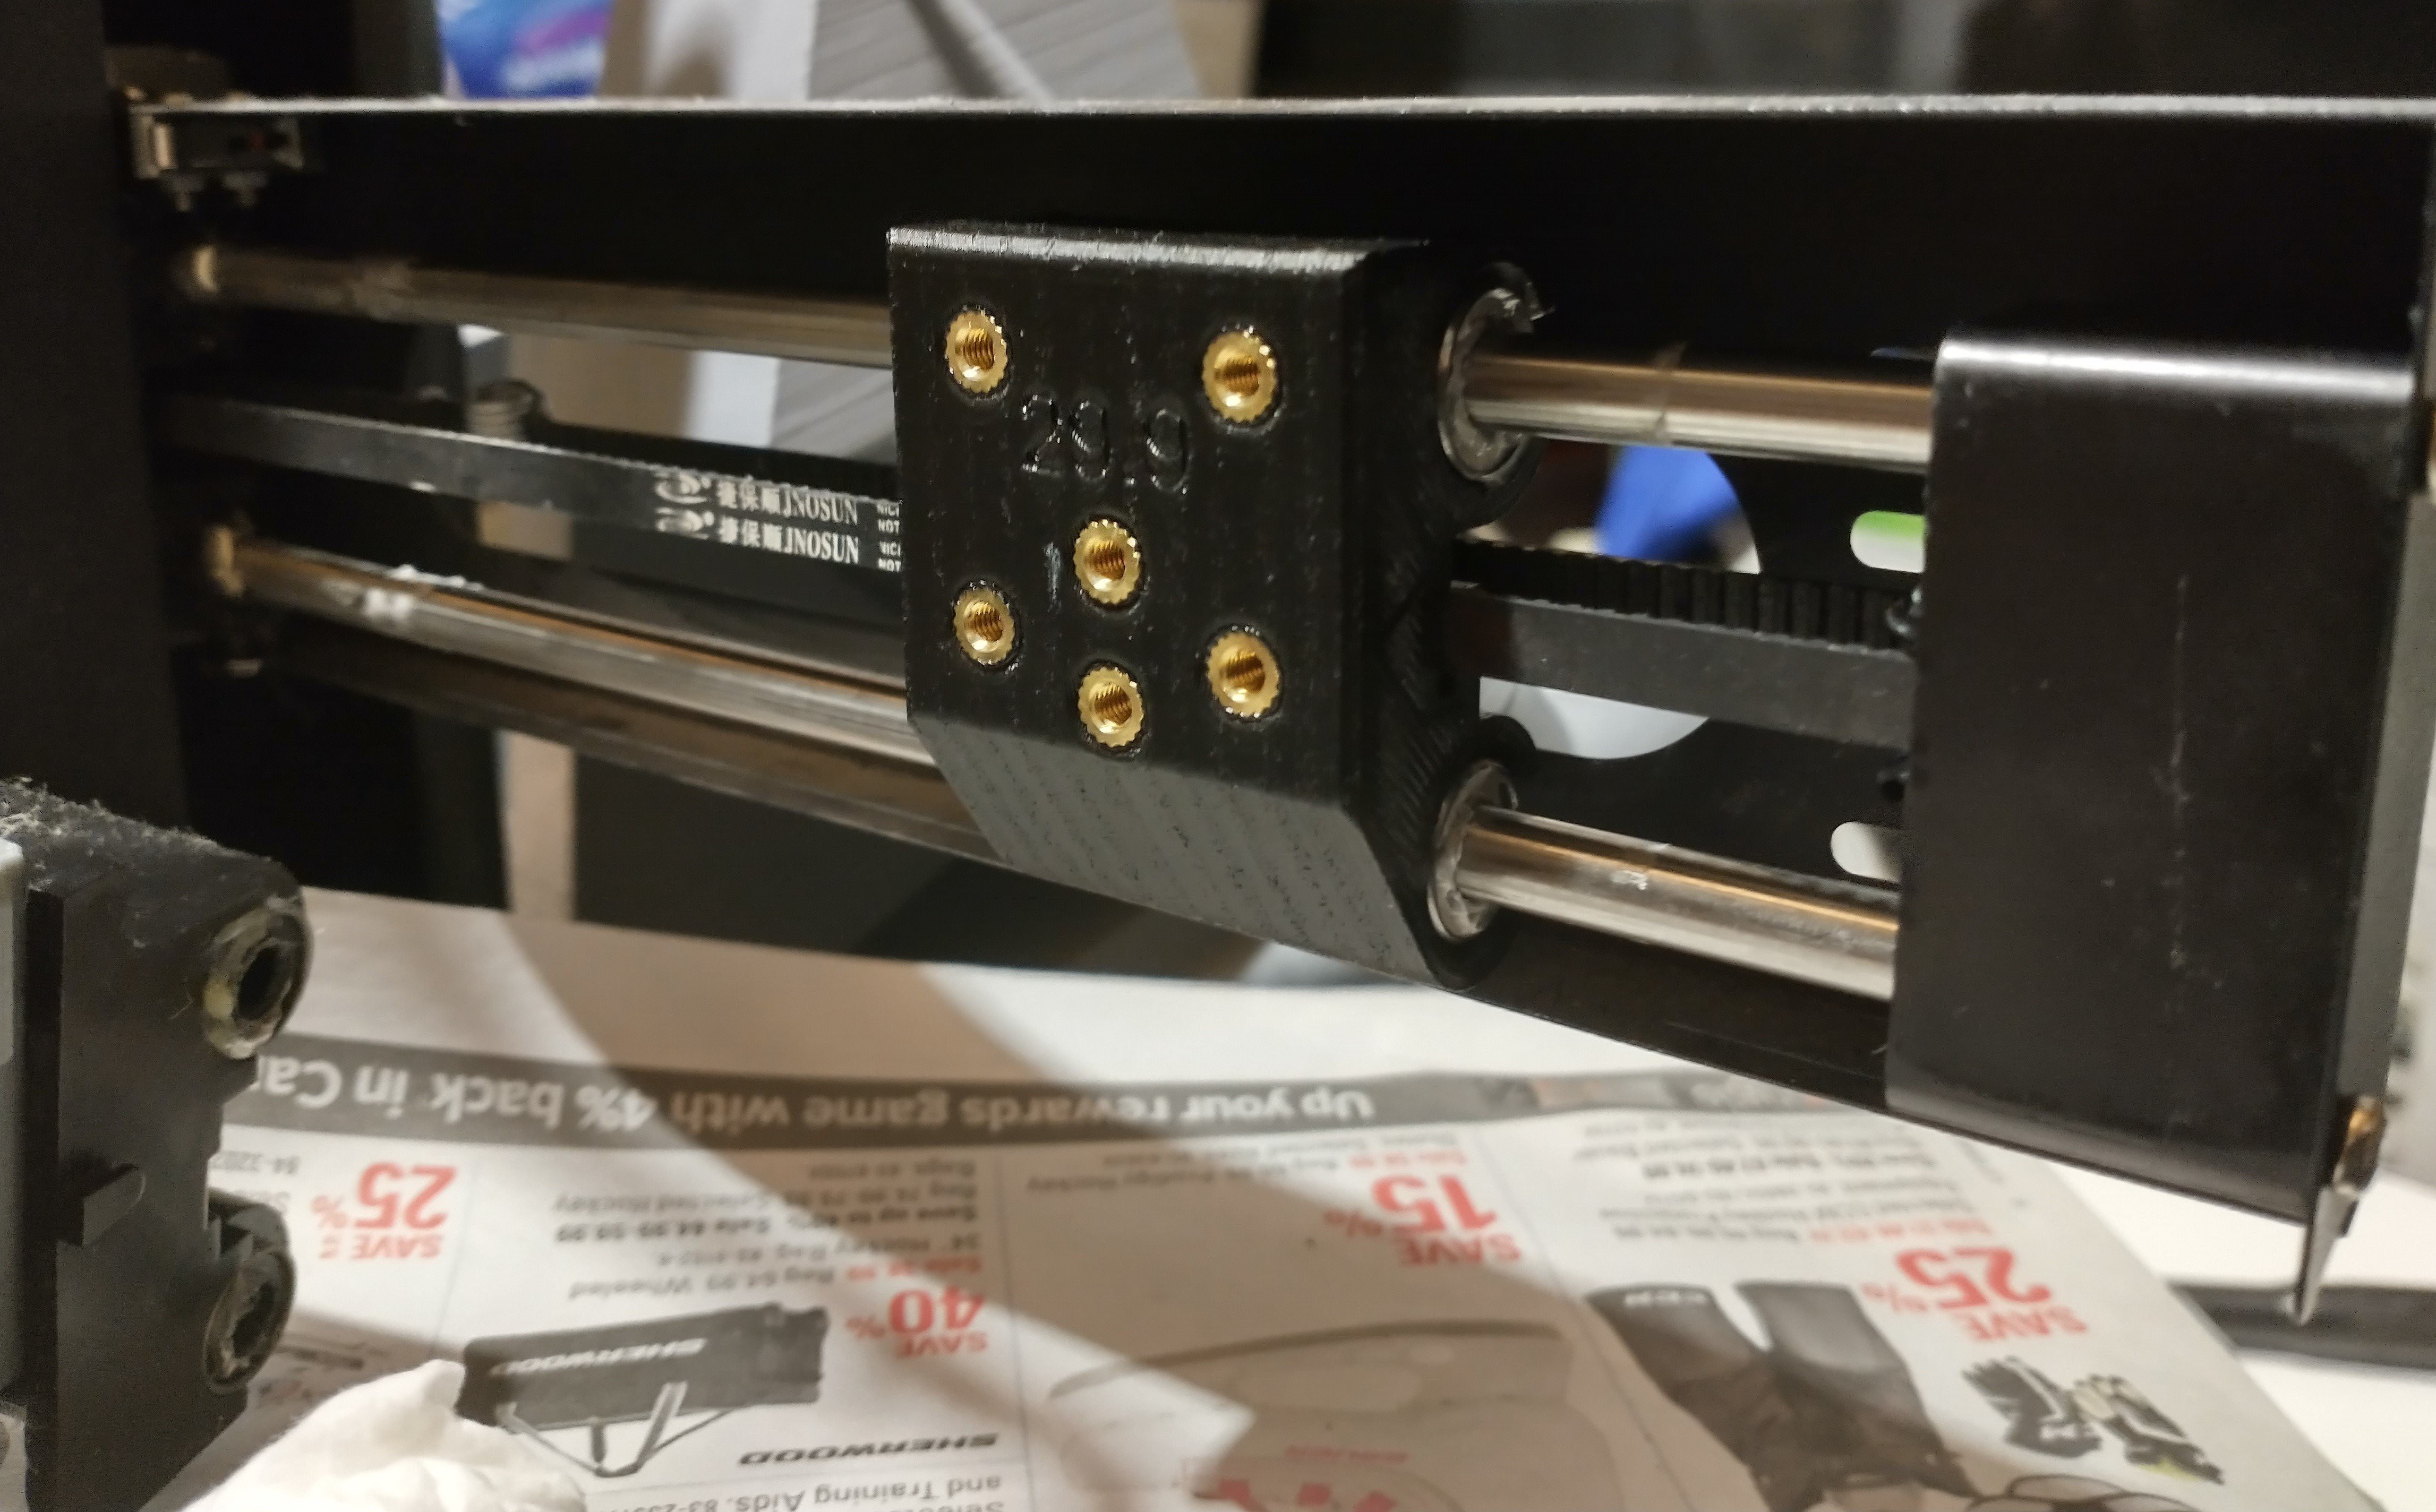
Bend the belt into the cutout at the rear of the carriage (see picture in the previous step), and align the second mark with the edge of the carriage. If a tighter belt tension is desired, move the belt one tooth in from the mark (i.e. the mark is now slightly hidden by the carriage). If a looser belt tension is desired, move the belt one tooth away from the mark (i.e. the distance from the edge of the carriage to the mark is now increased. Repeat the previous step to secure the belt to the carriage.
![]()
Monoprice Select Mini V2 Modular Toolhead
The stock toolhead/carriage is replaced with a modular system that allows quick and easy toolhead changes.


Discussions
Become a Hackaday.io Member
Create an account to leave a comment. Already have an account? Log In.