 leumasyerrp
-
1AC Power
I will go over briefly how I assembled my SMD Vacuum but will omit many details since you most likely will not be using the same vacuum pump and you may wish your layout to be slightly different.
First thing I did was to arrange all the components inside the enclosure so that I could see if everything would fit. I roughly knew that I wanted to keep the power supply and its AC wiring on the left of the case, with the controller in the middle and the pneumatics on the right side of the case. I also arranged the front and back panels to look like I wanted. Pencil works great since it can easily be cleaned off later.
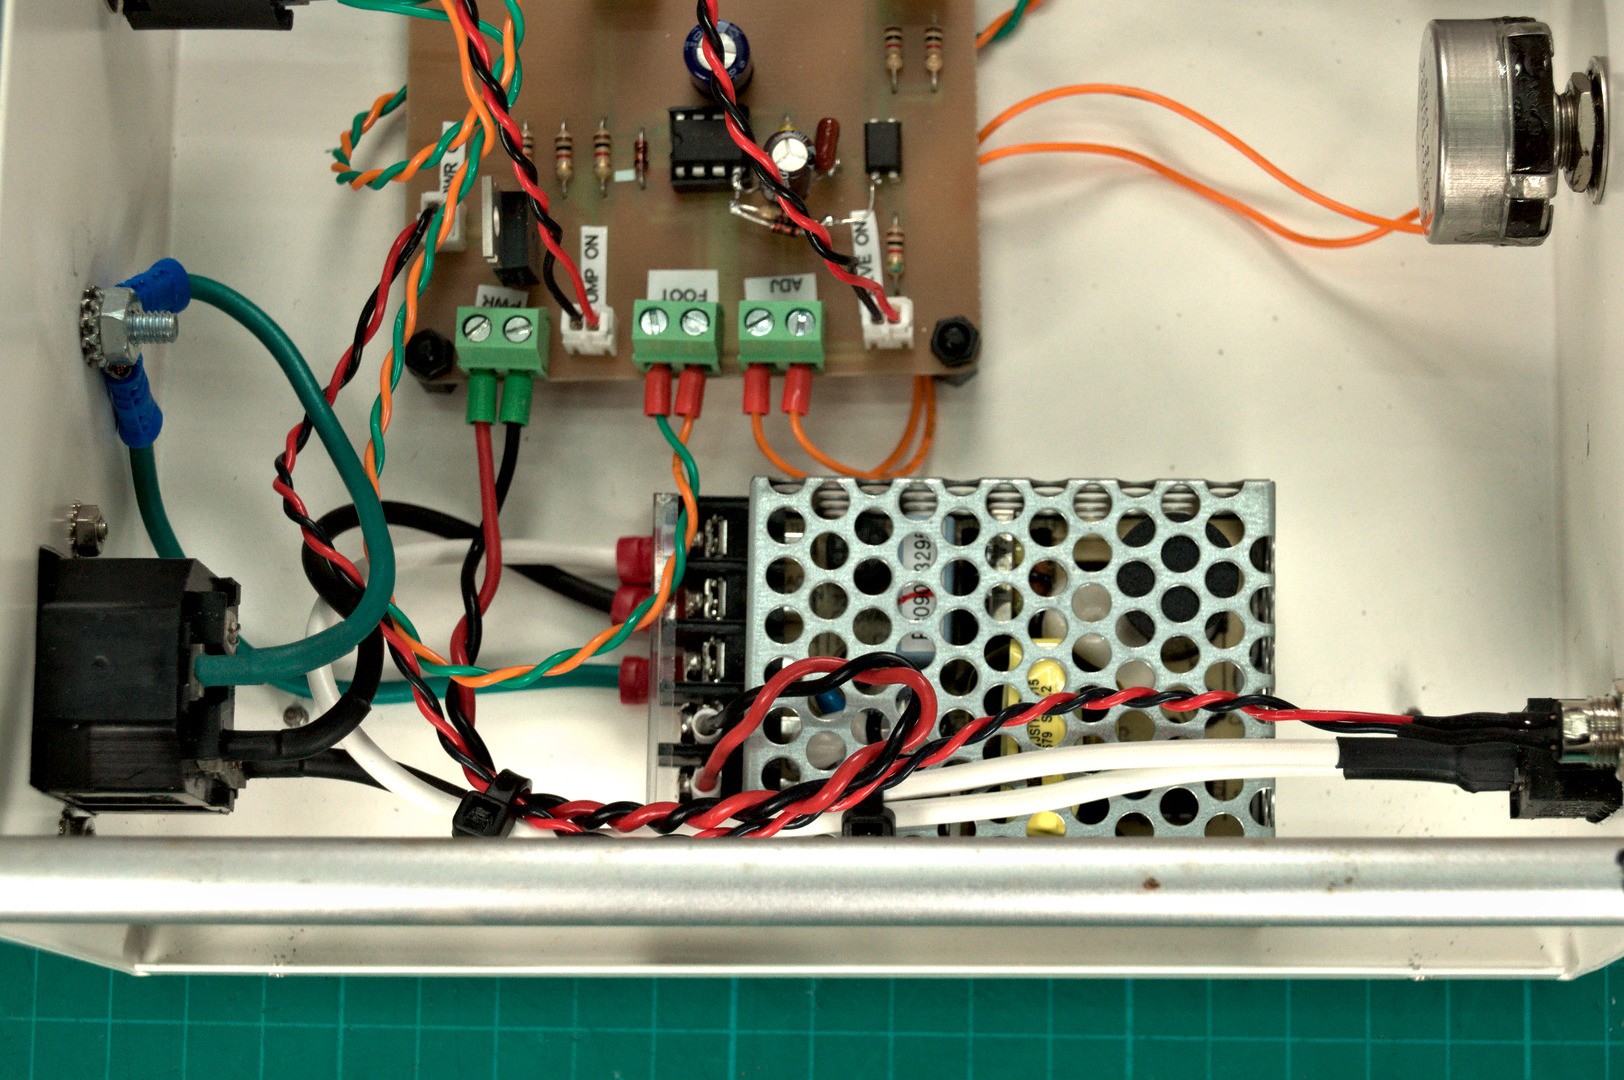
I started with mounting the AC power input socket, rocker switch, and 12V power supply. I wired the rocker switch to cut power to the input of the 12V power supply so that when the unit is turned off there will be zero current draw. Don’t forget to attach the earth ground from the AC socket to the case using a bolt and star washer. Sand off some of the paint under the washer on the case to make a good metal to metal connection. Also attach the earth ground of the 12V power supply to this same point. This way the case is grounded and is safer.
![]()
![]()
![]()
-
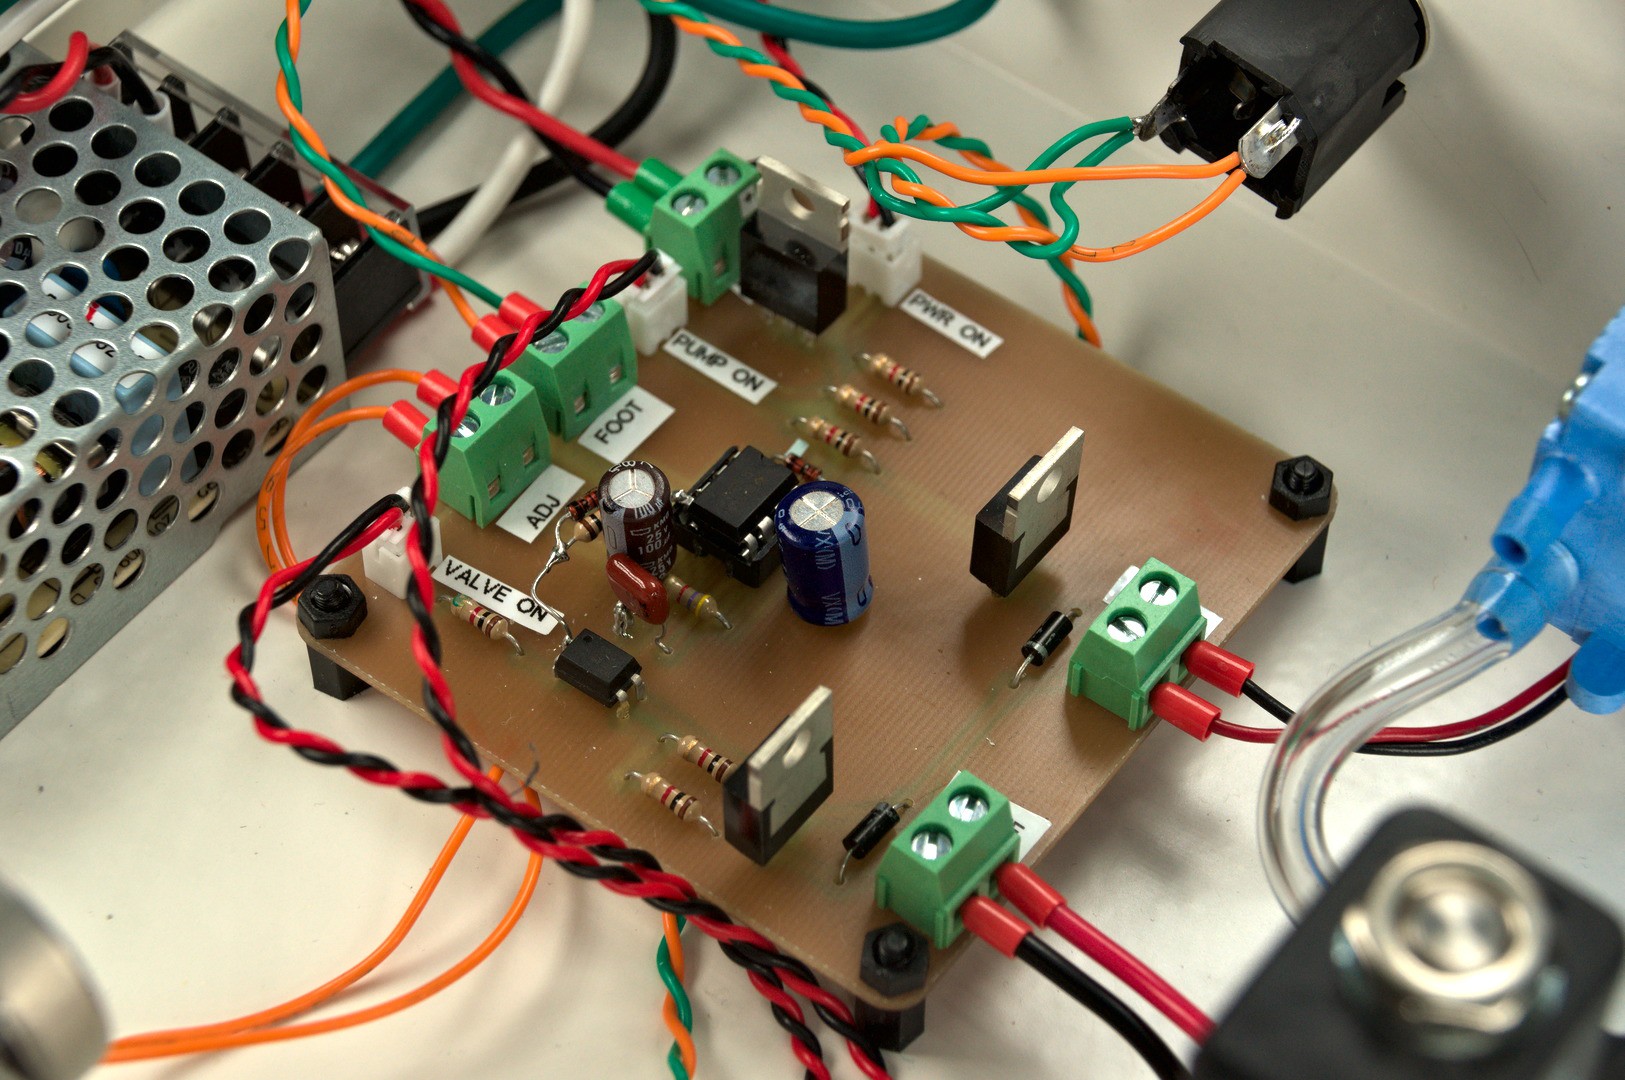
2Mount Controller PCB
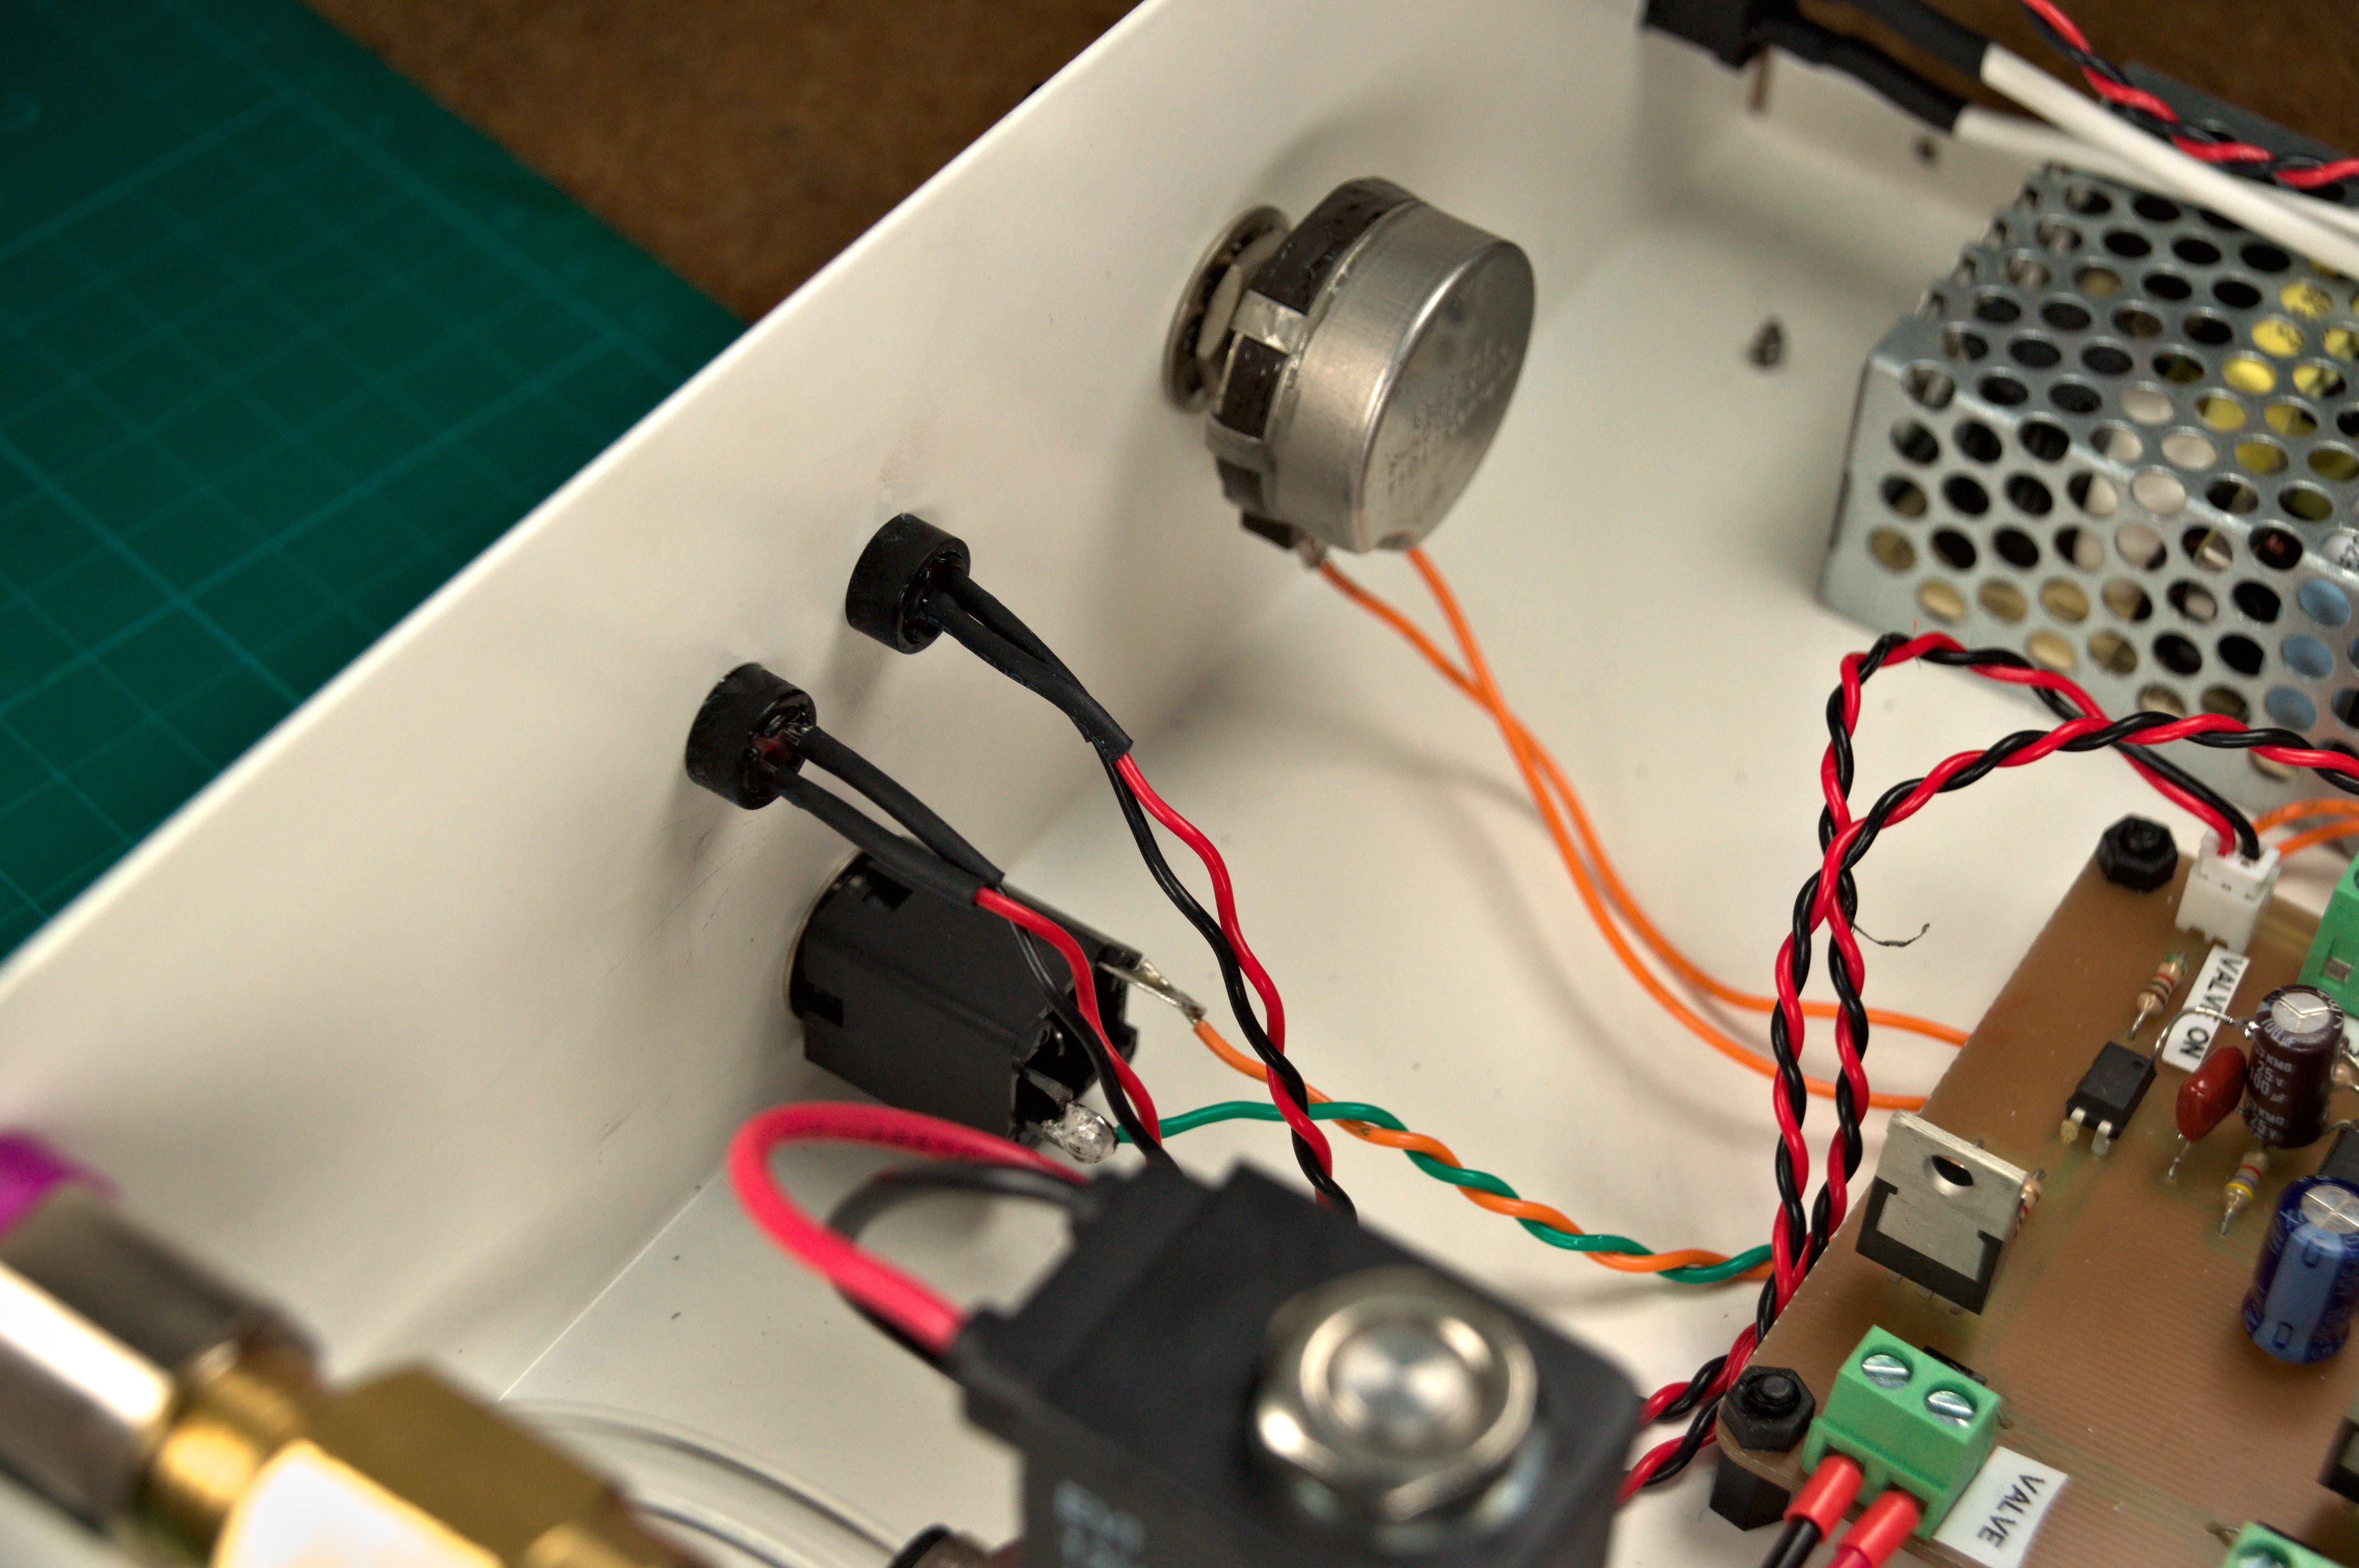
I then mounted the controller PCB using nylon standoffs near the center of the case and oriented it so that the power input terminal is close to the 12V power supply. At the same time I mounted the 100k potentiometer, LEDs, and 1/4″ jacks. I used two 1/4″ jacks in parallel because I wanted both the front and back panels to have a jack. This way I can plug the foot switch into whatever panel is most convenient for wire management.
![]()
![]()
-
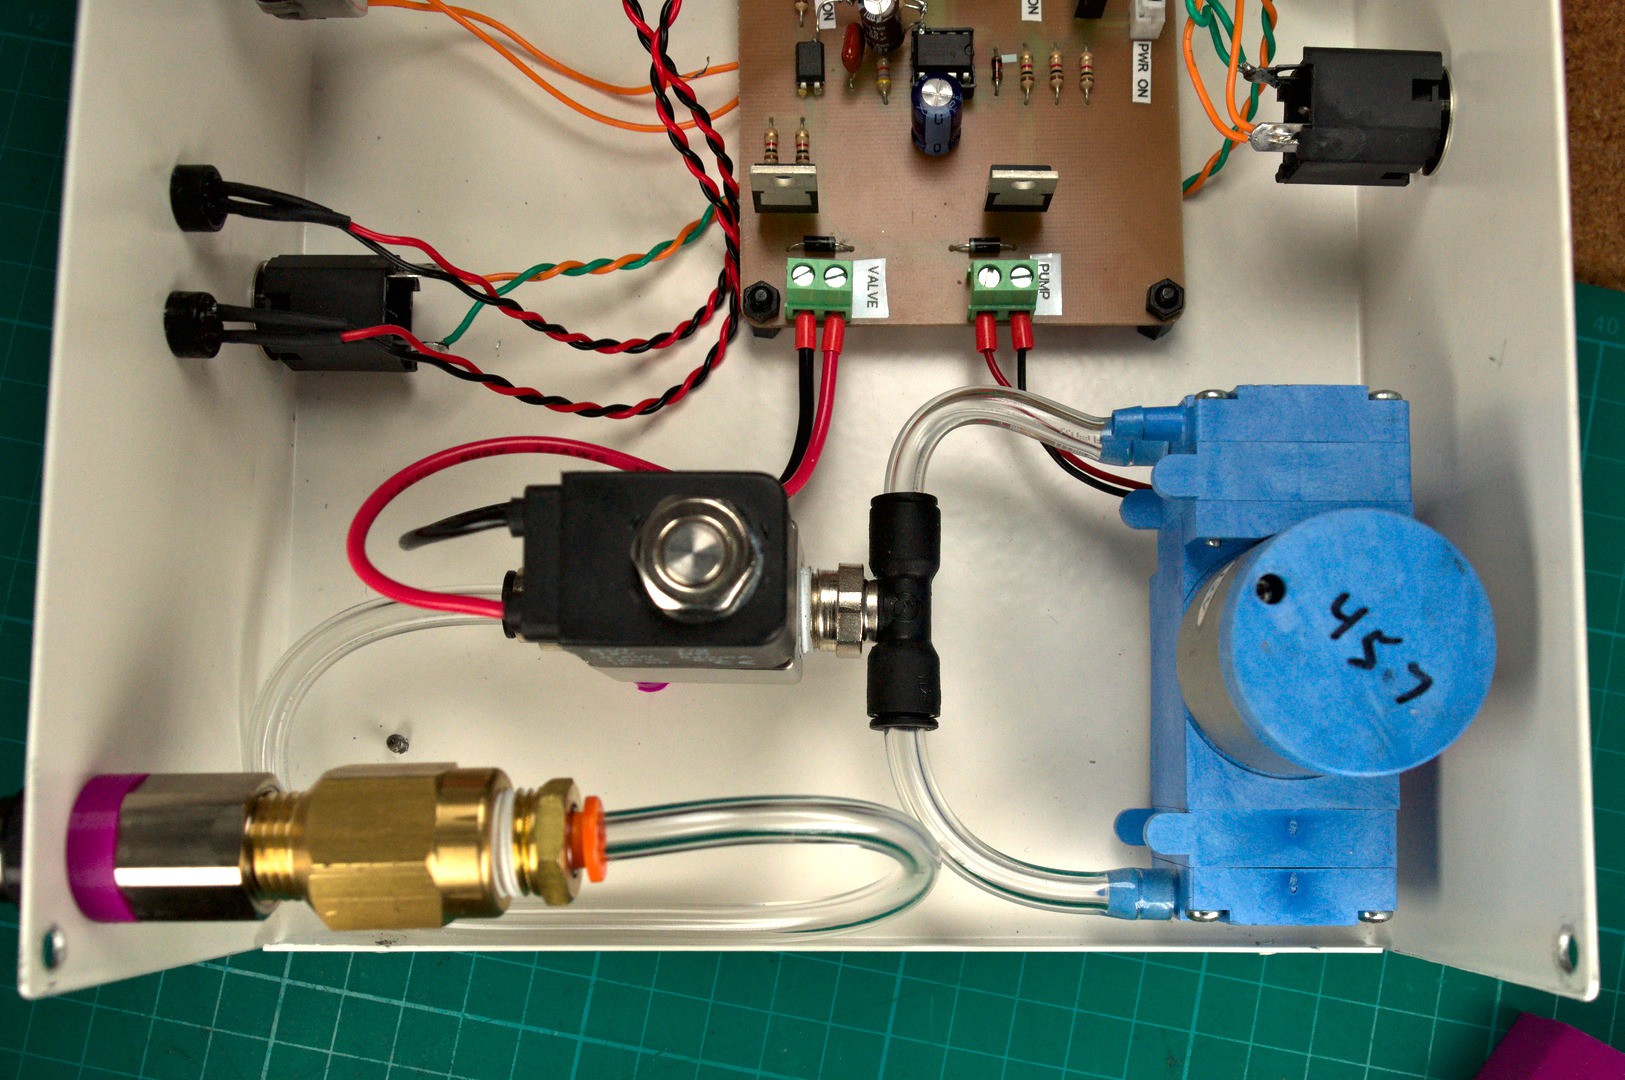
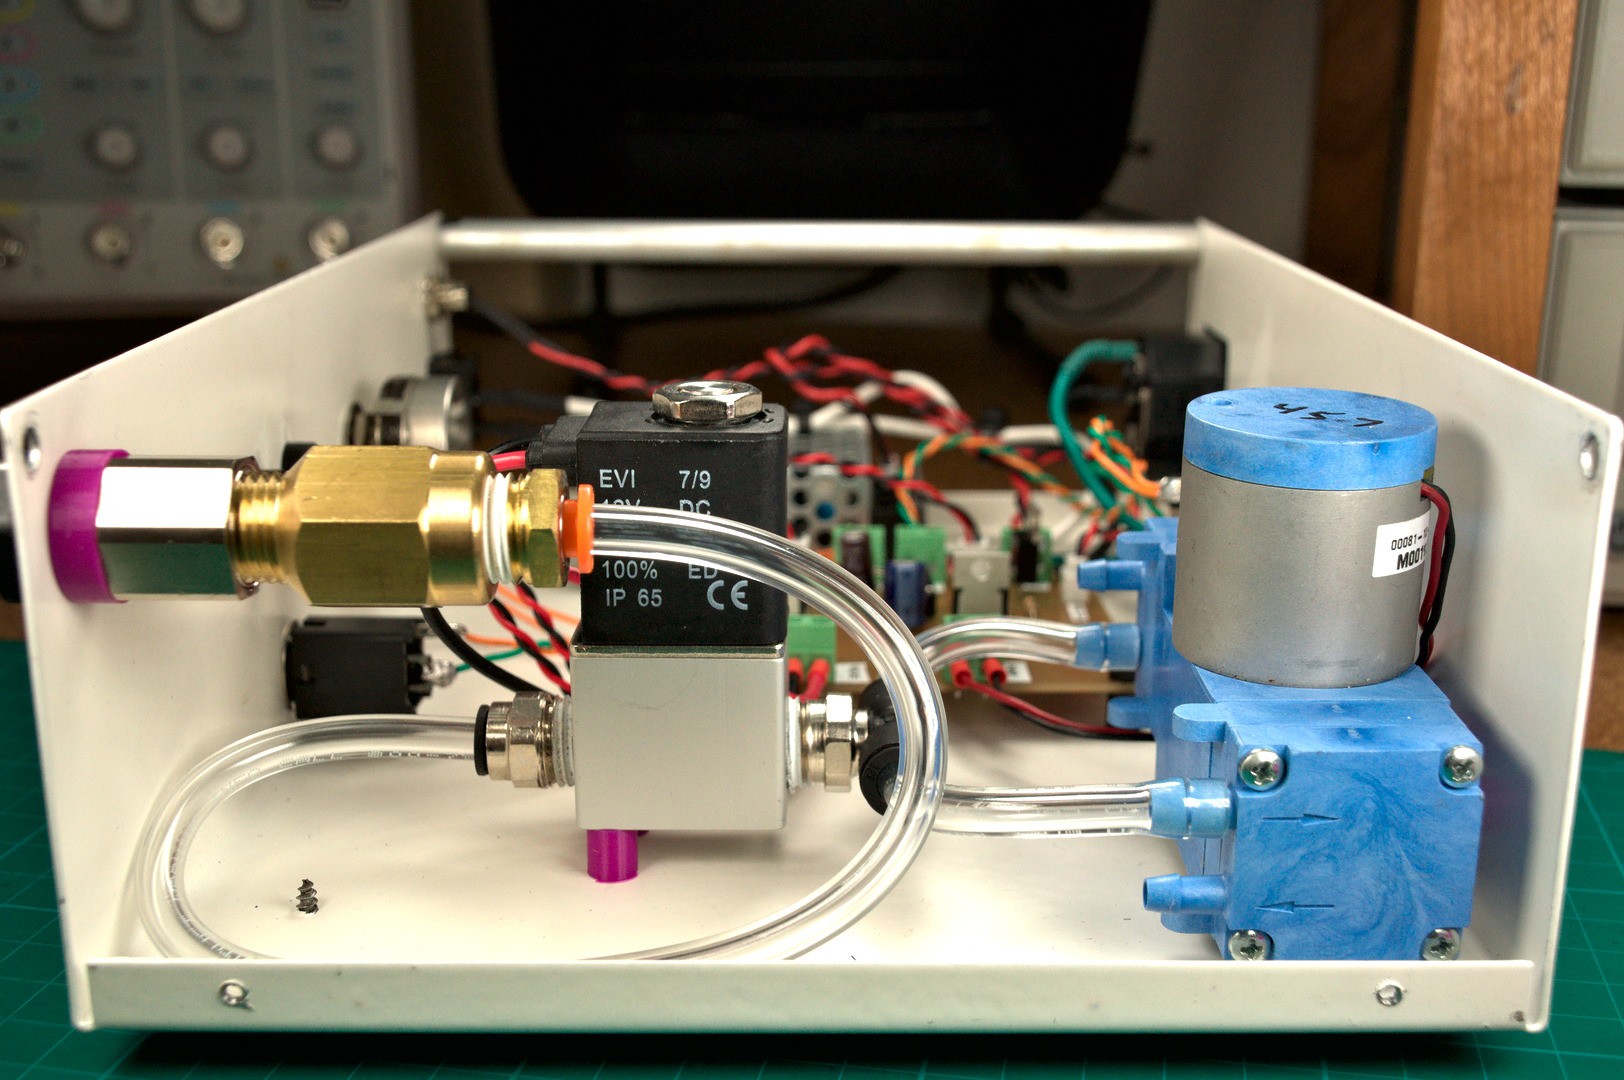
3Pnumatics
For the pnumatics I 3D printed some standoffs so that they would not be resting directly on the case. This was mostly done because of the length of fasteners I had and also to dampen the noise produced by the vacuum pump. I plumbed the punmatics as shown below with the shutoff valve between the pump and the filter followed by the panel mounted 1/4″ tube fitting. The filter is absolutely necessary as I have already sucked up quite a few 0603 parts and having the filter saves the shutoff valve and pump from damage.
![]()
![]()
Manual Pick and Place SMD Vacuum
Foot pedal operated SMD Vacuum for manual placement of components. This upgrade from tweezers simplifies SMD placement during PCB assembly.


Discussions
Become a Hackaday.io Member
Create an account to leave a comment. Already have an account? Log In.