MaBe42
-
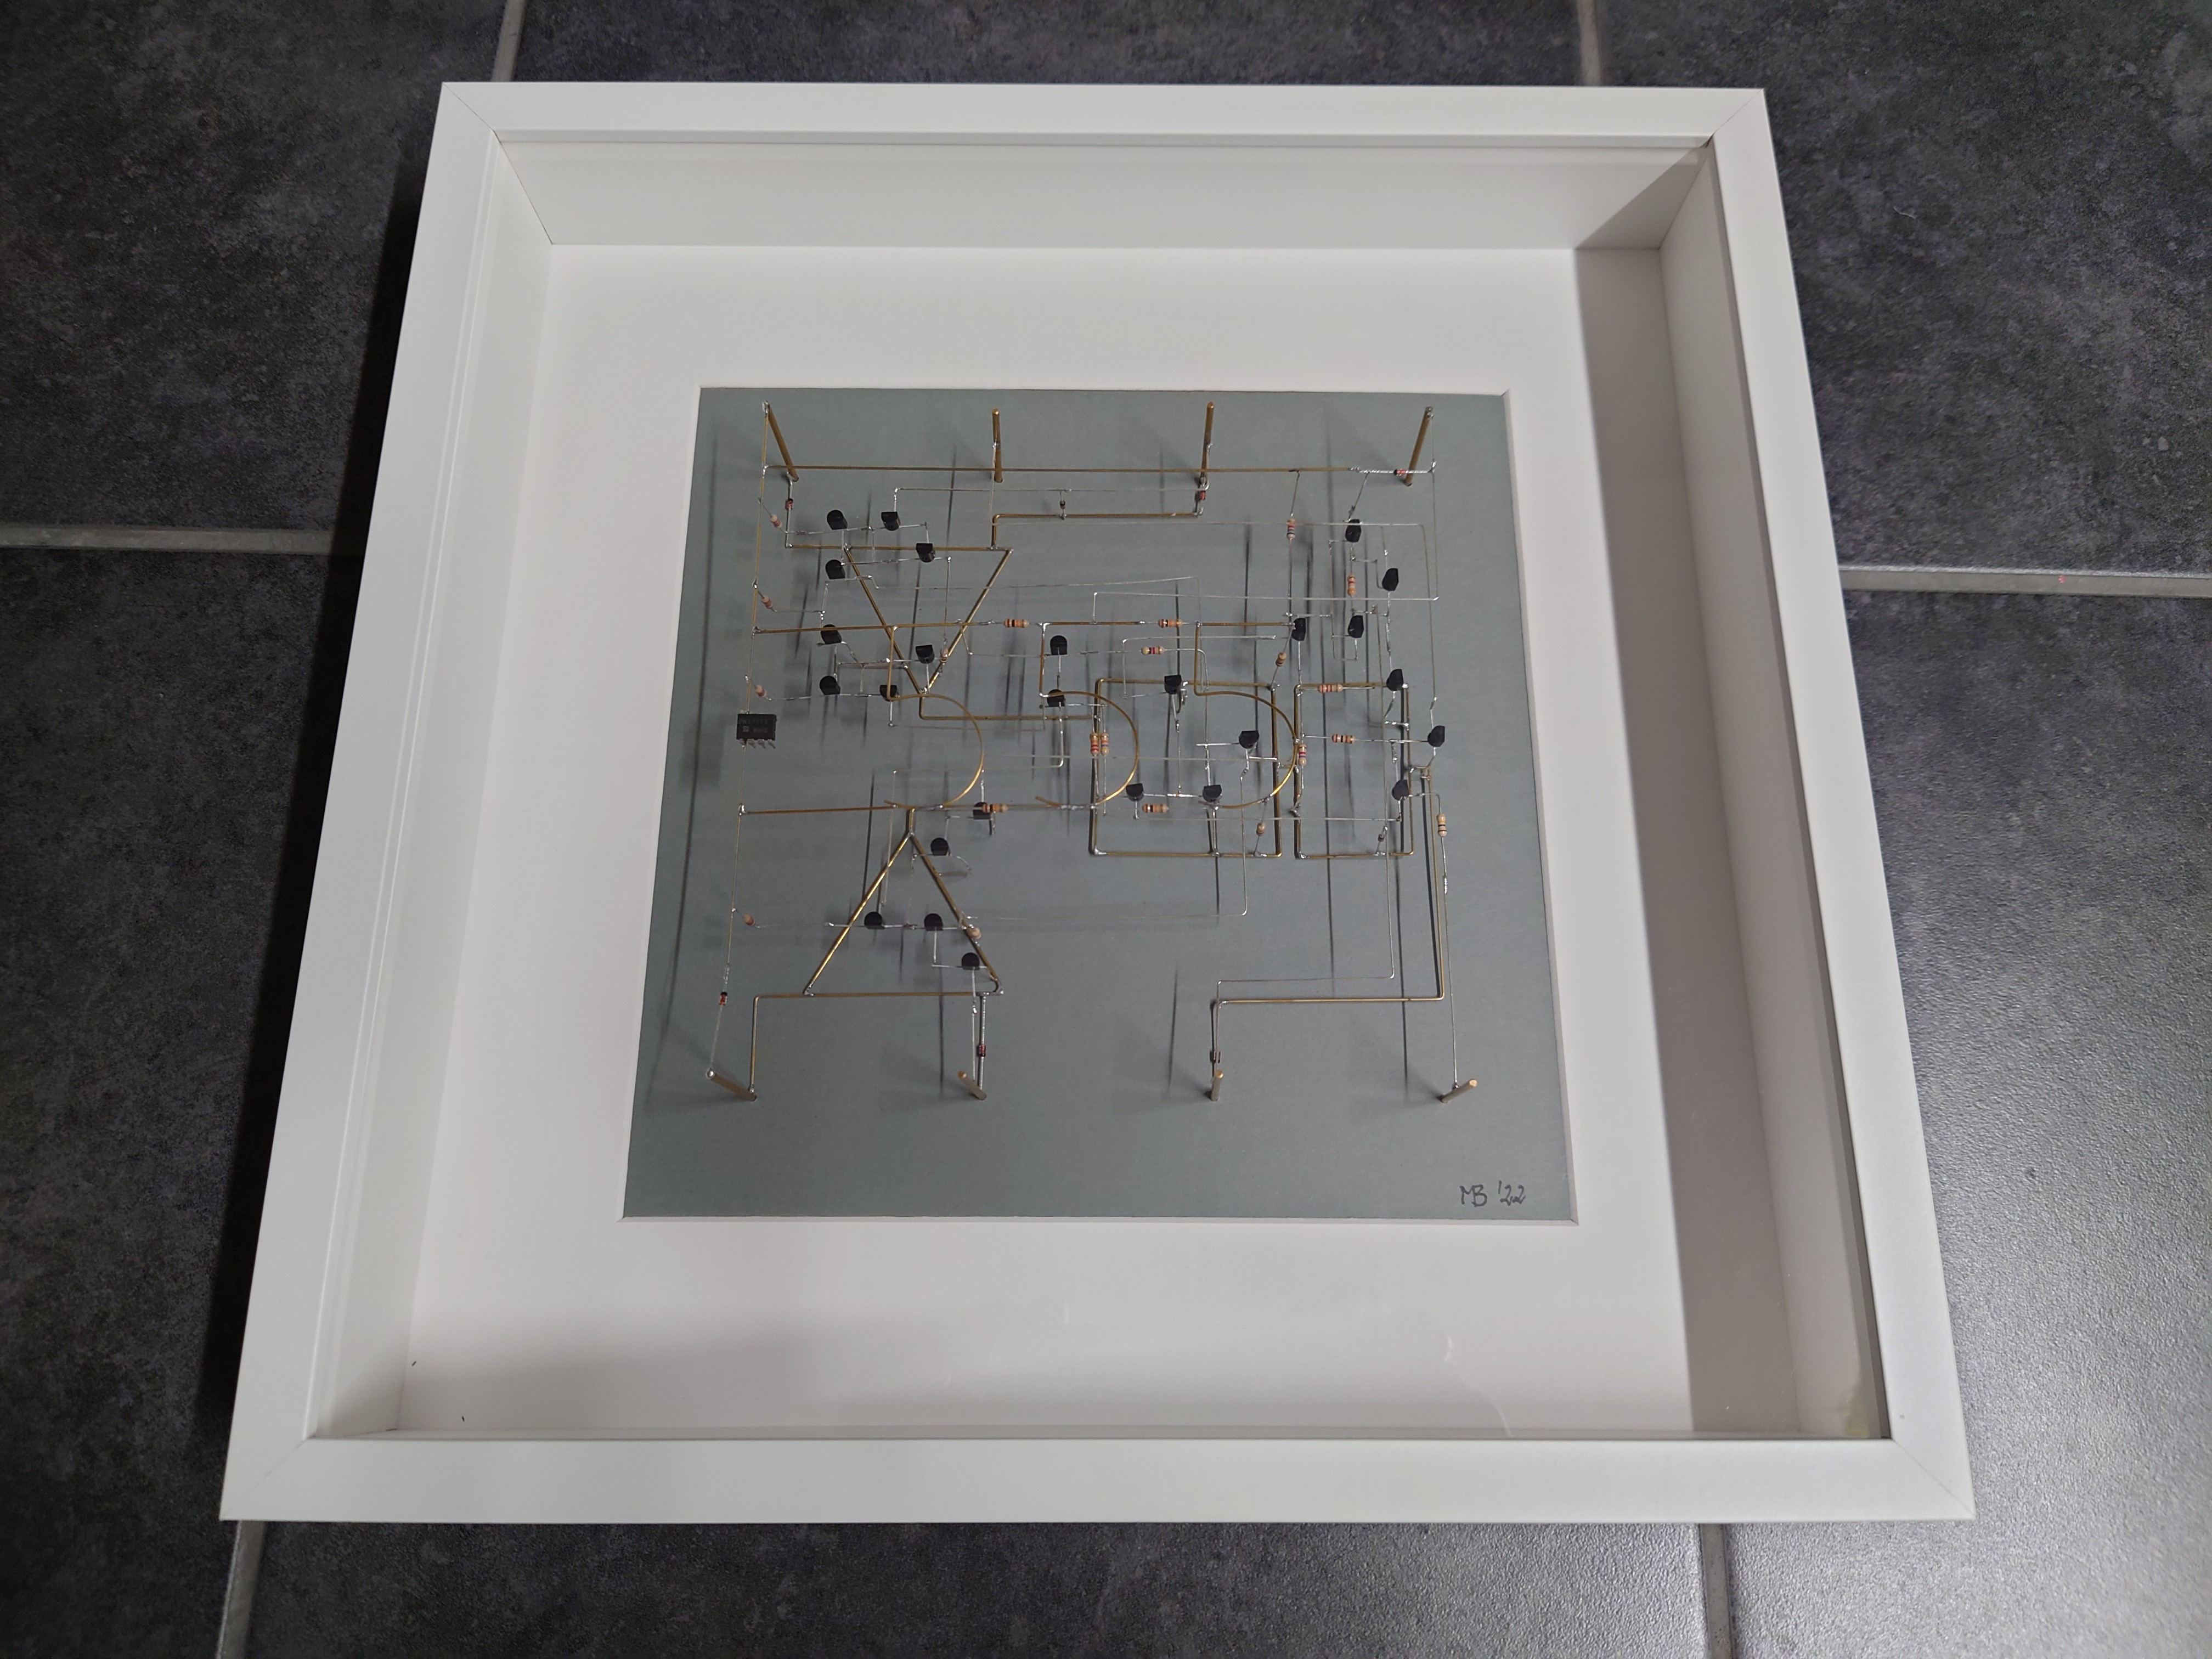
Finally a nice frame
08/02/2022 at 17:02 • 0 commentsI found a fitting frame at IKEA. With the original passe-partout and a grey background, the CS 555 is now ready for presentation. I drilled holes for the legs through the base and fixed them with hot glue. Now a can run it from outside using alligator clips.
![]()
![]()
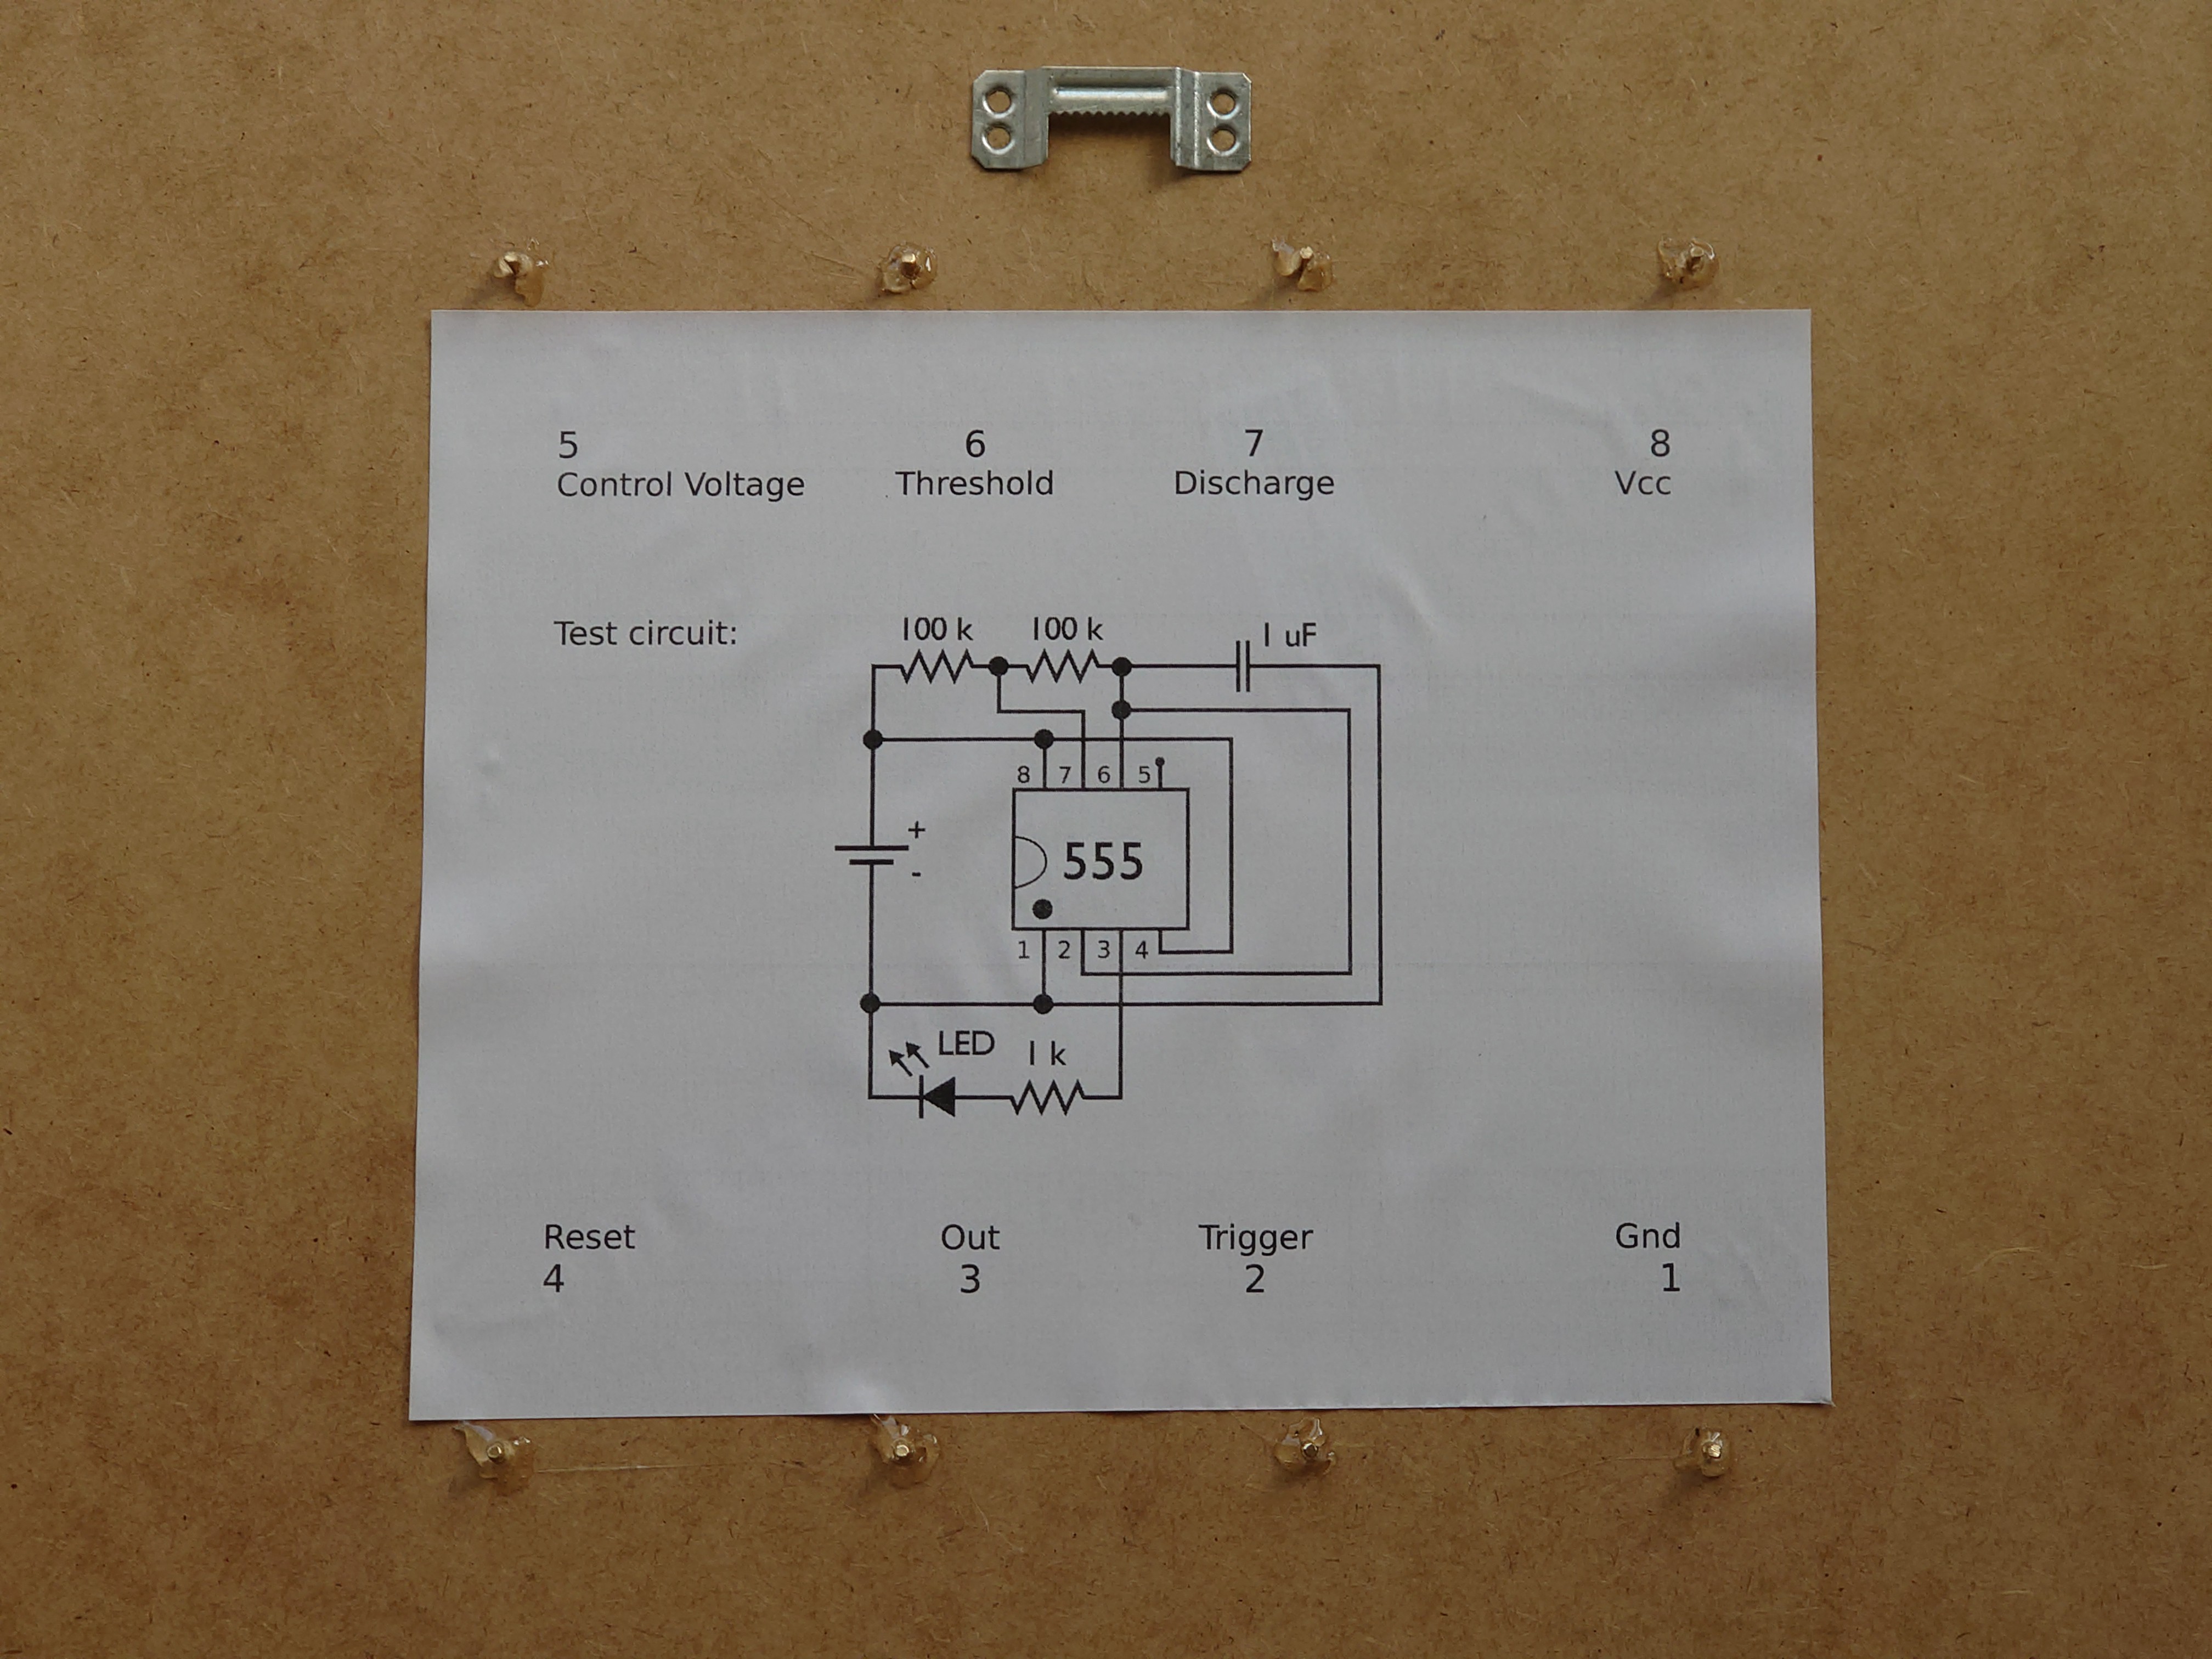
Also with a schematic for a test circuit on the back side.
Now I consider this project finished.
-
Nice mount
01/04/2022 at 18:45 • 0 commentsThis still needs to be done. I need some nice board to mount it upon. Maybe some medium dark wood to replace the scrap board that I used as jig.
-
Testing
01/04/2022 at 18:41 • 0 commentsI set up the necessary "external" components to run "blink.c". ;-)
Success!
https://cdn.hackaday.io/files/1834047846756736/blinking_CS555.mp4
-
The final jig
01/04/2022 at 18:41 • 0 commentsThen I drilled holes for the "pins" into the piece of wood, connected the circuit to the pins and added the top plane.
![]()
-
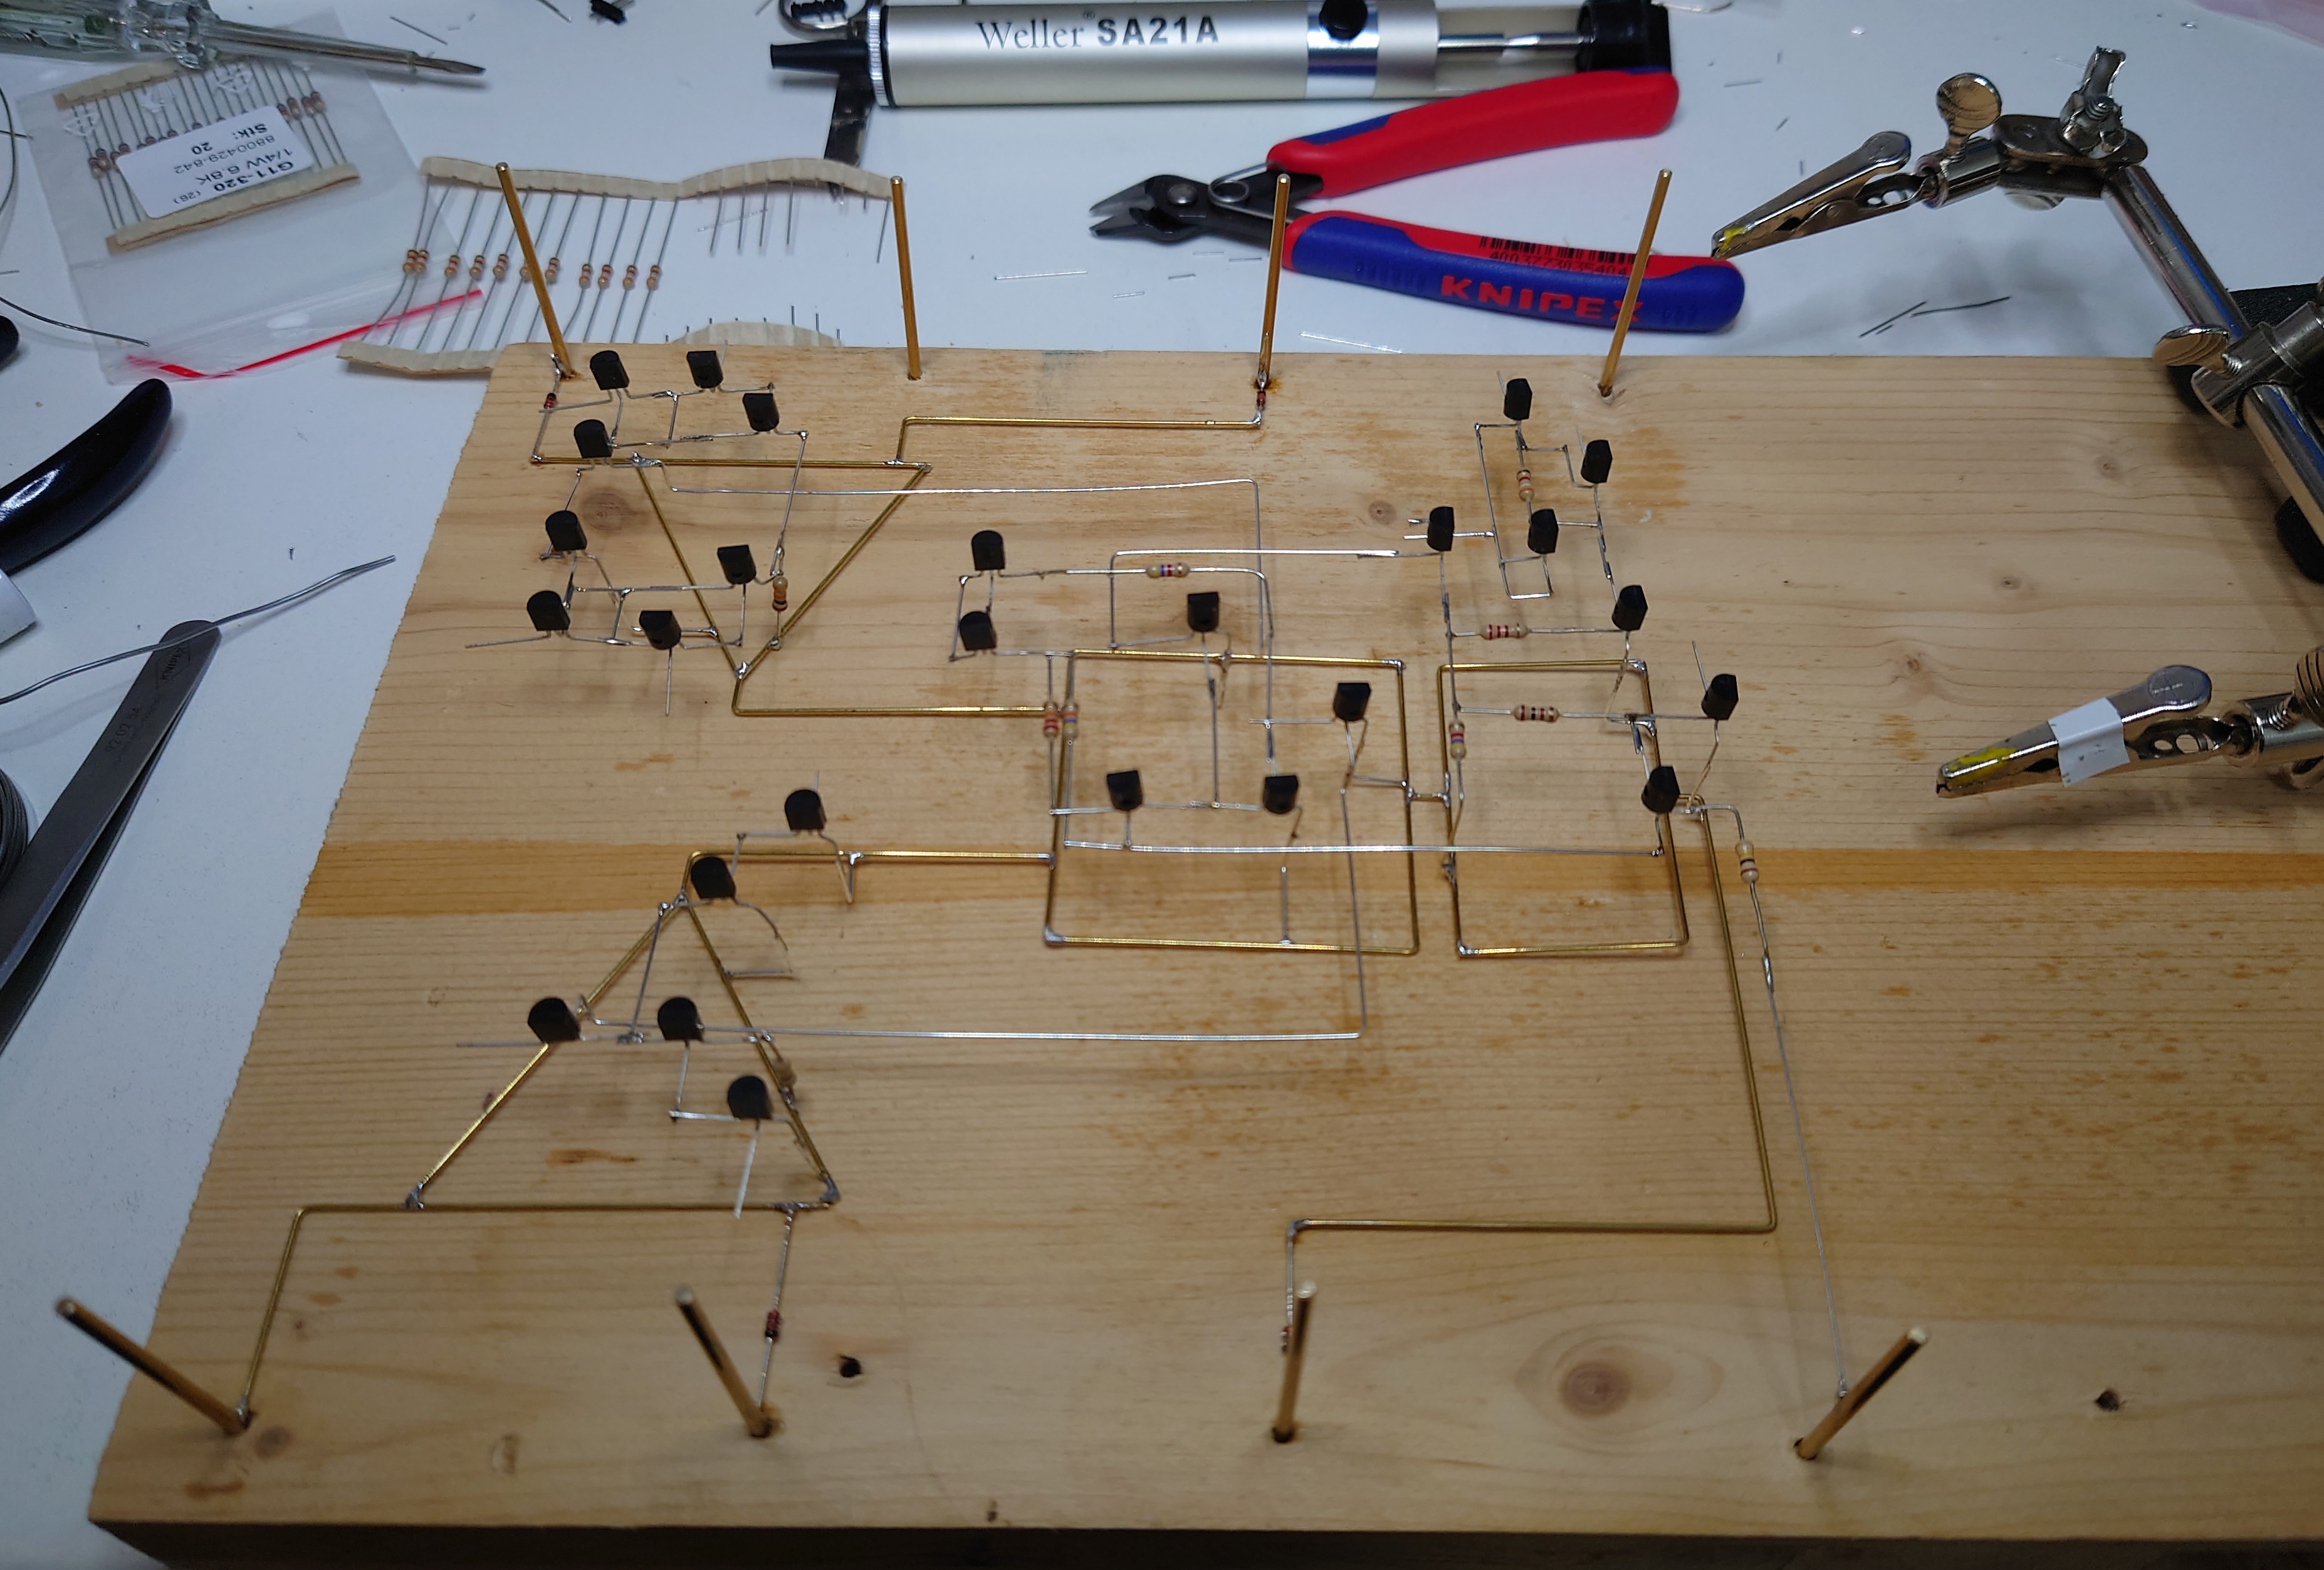
More soldering
01/04/2022 at 18:38 • 0 commentsI soldered the ground plane separately. To join it with the "circuit" I added some spacers to the jig. I nailed the jig to a piece of wood because it was slightly warped.
![]()
-
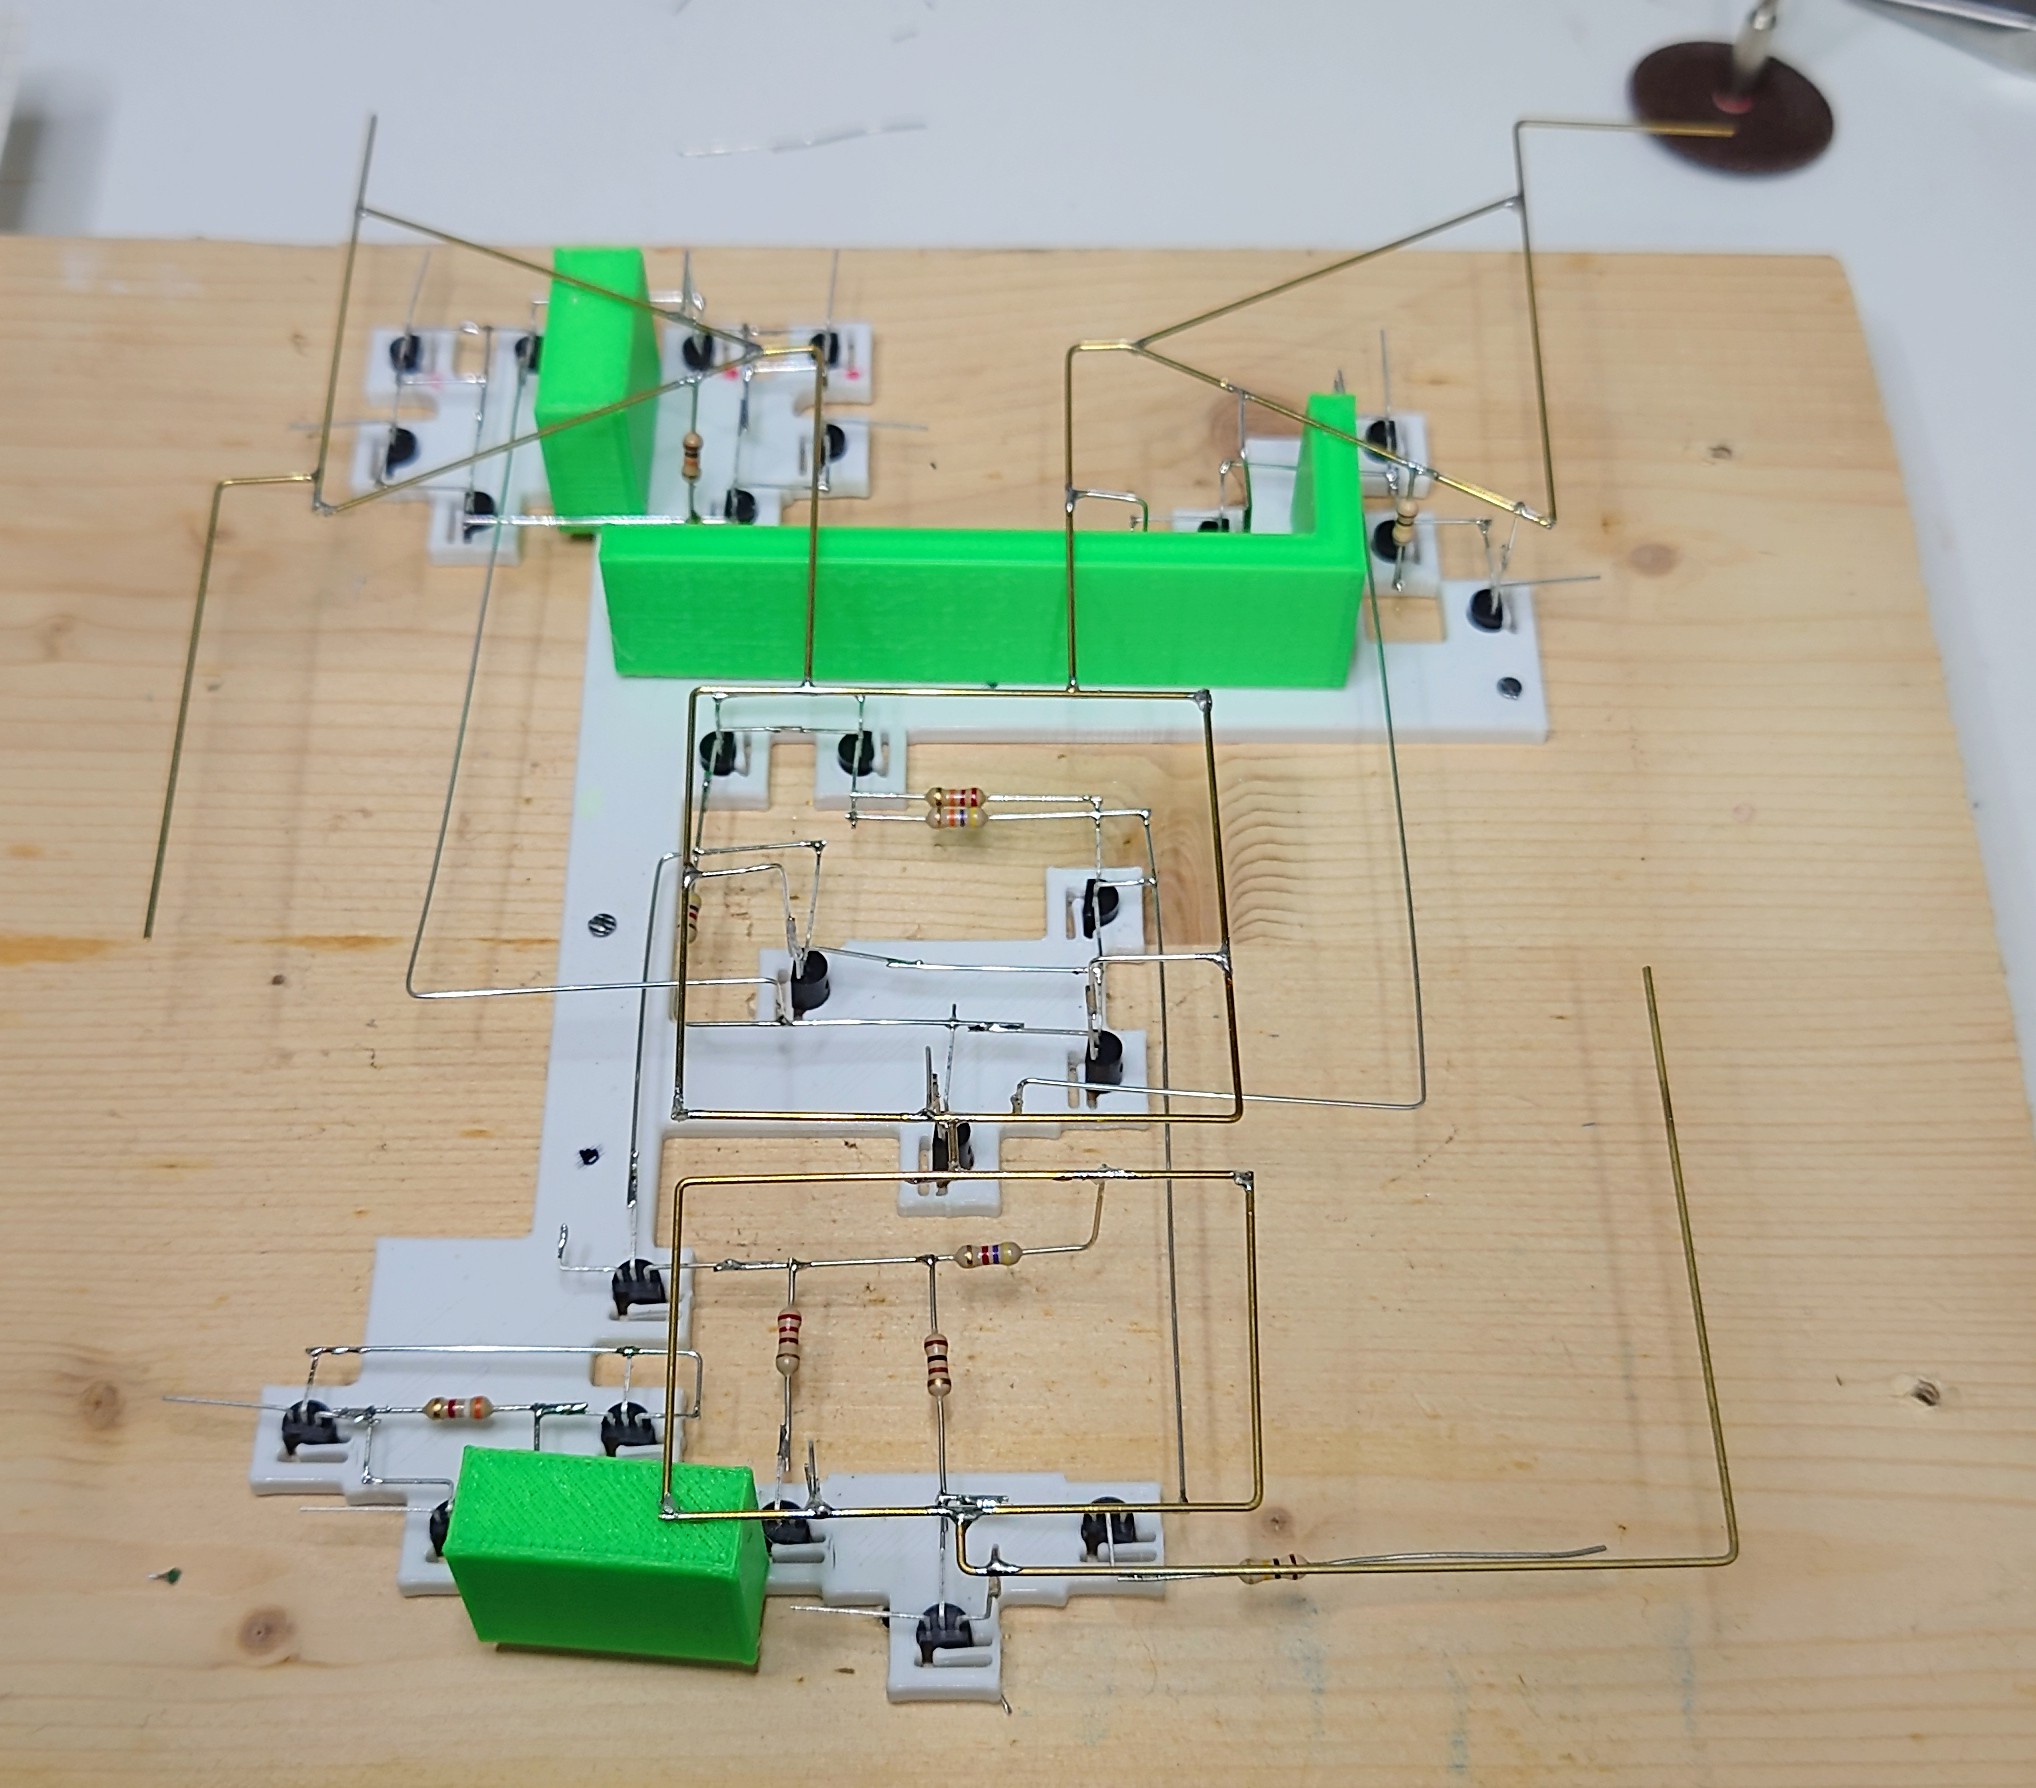
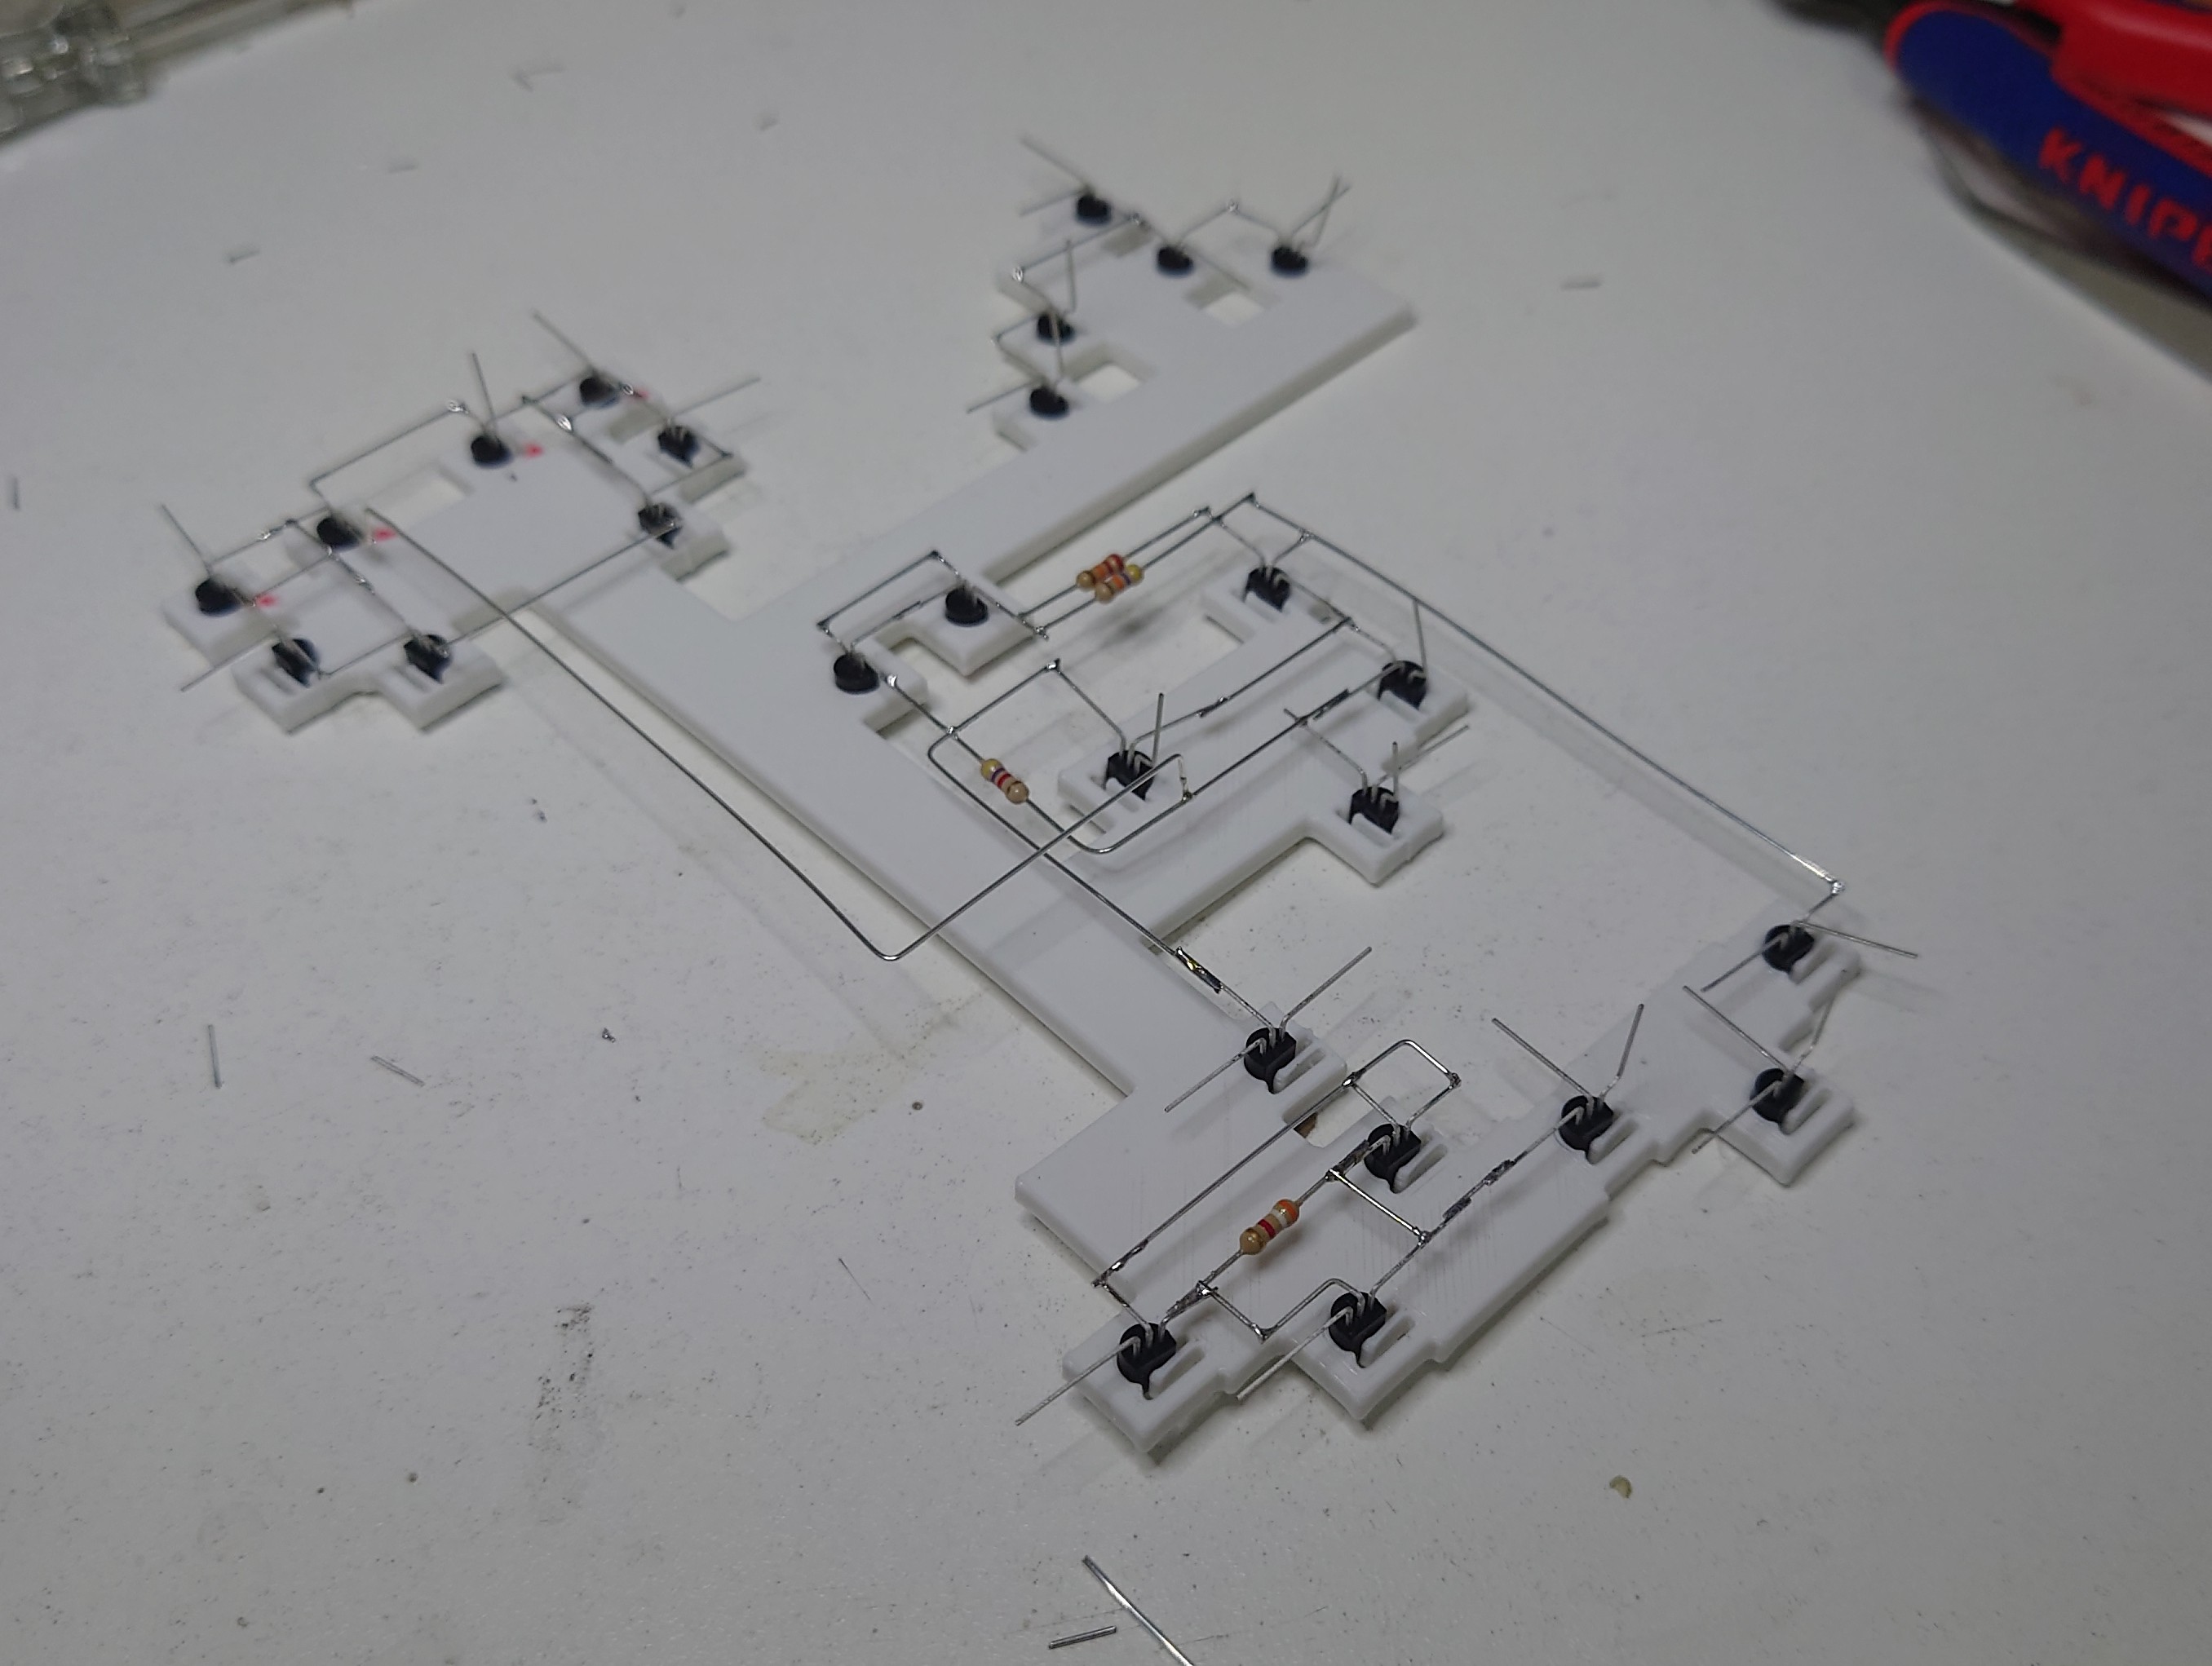
Using a jig is helpful
01/04/2022 at 18:35 • 0 commentsTo get all the transistors somehow nice and straight and to make life easier, I printed a jig for the transistors and started soldering:
![]()
-
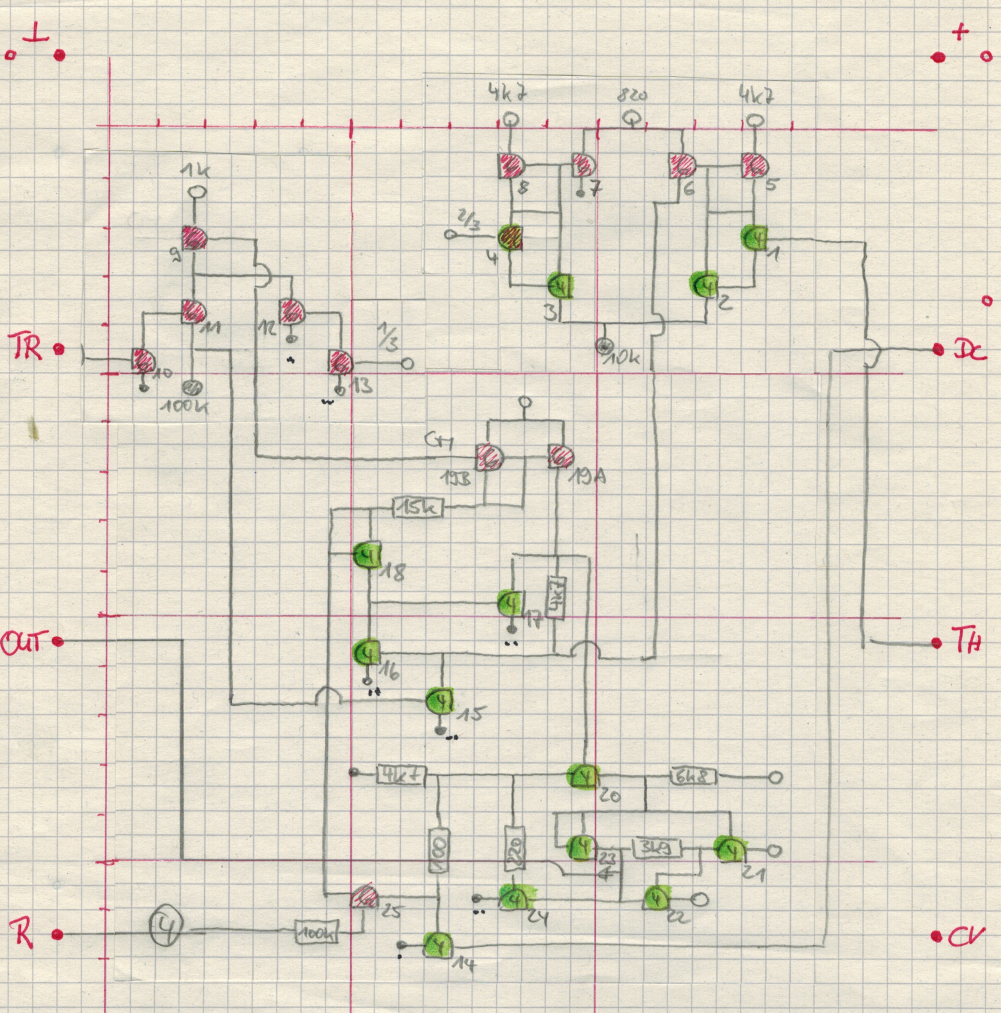
Everything starts with a plan
01/04/2022 at 18:33 • 0 commentsHaving the three layers in mind I started planning how to design the circuit that it roughly follows the block diagram:
![]()