 Swaleh Owais
-
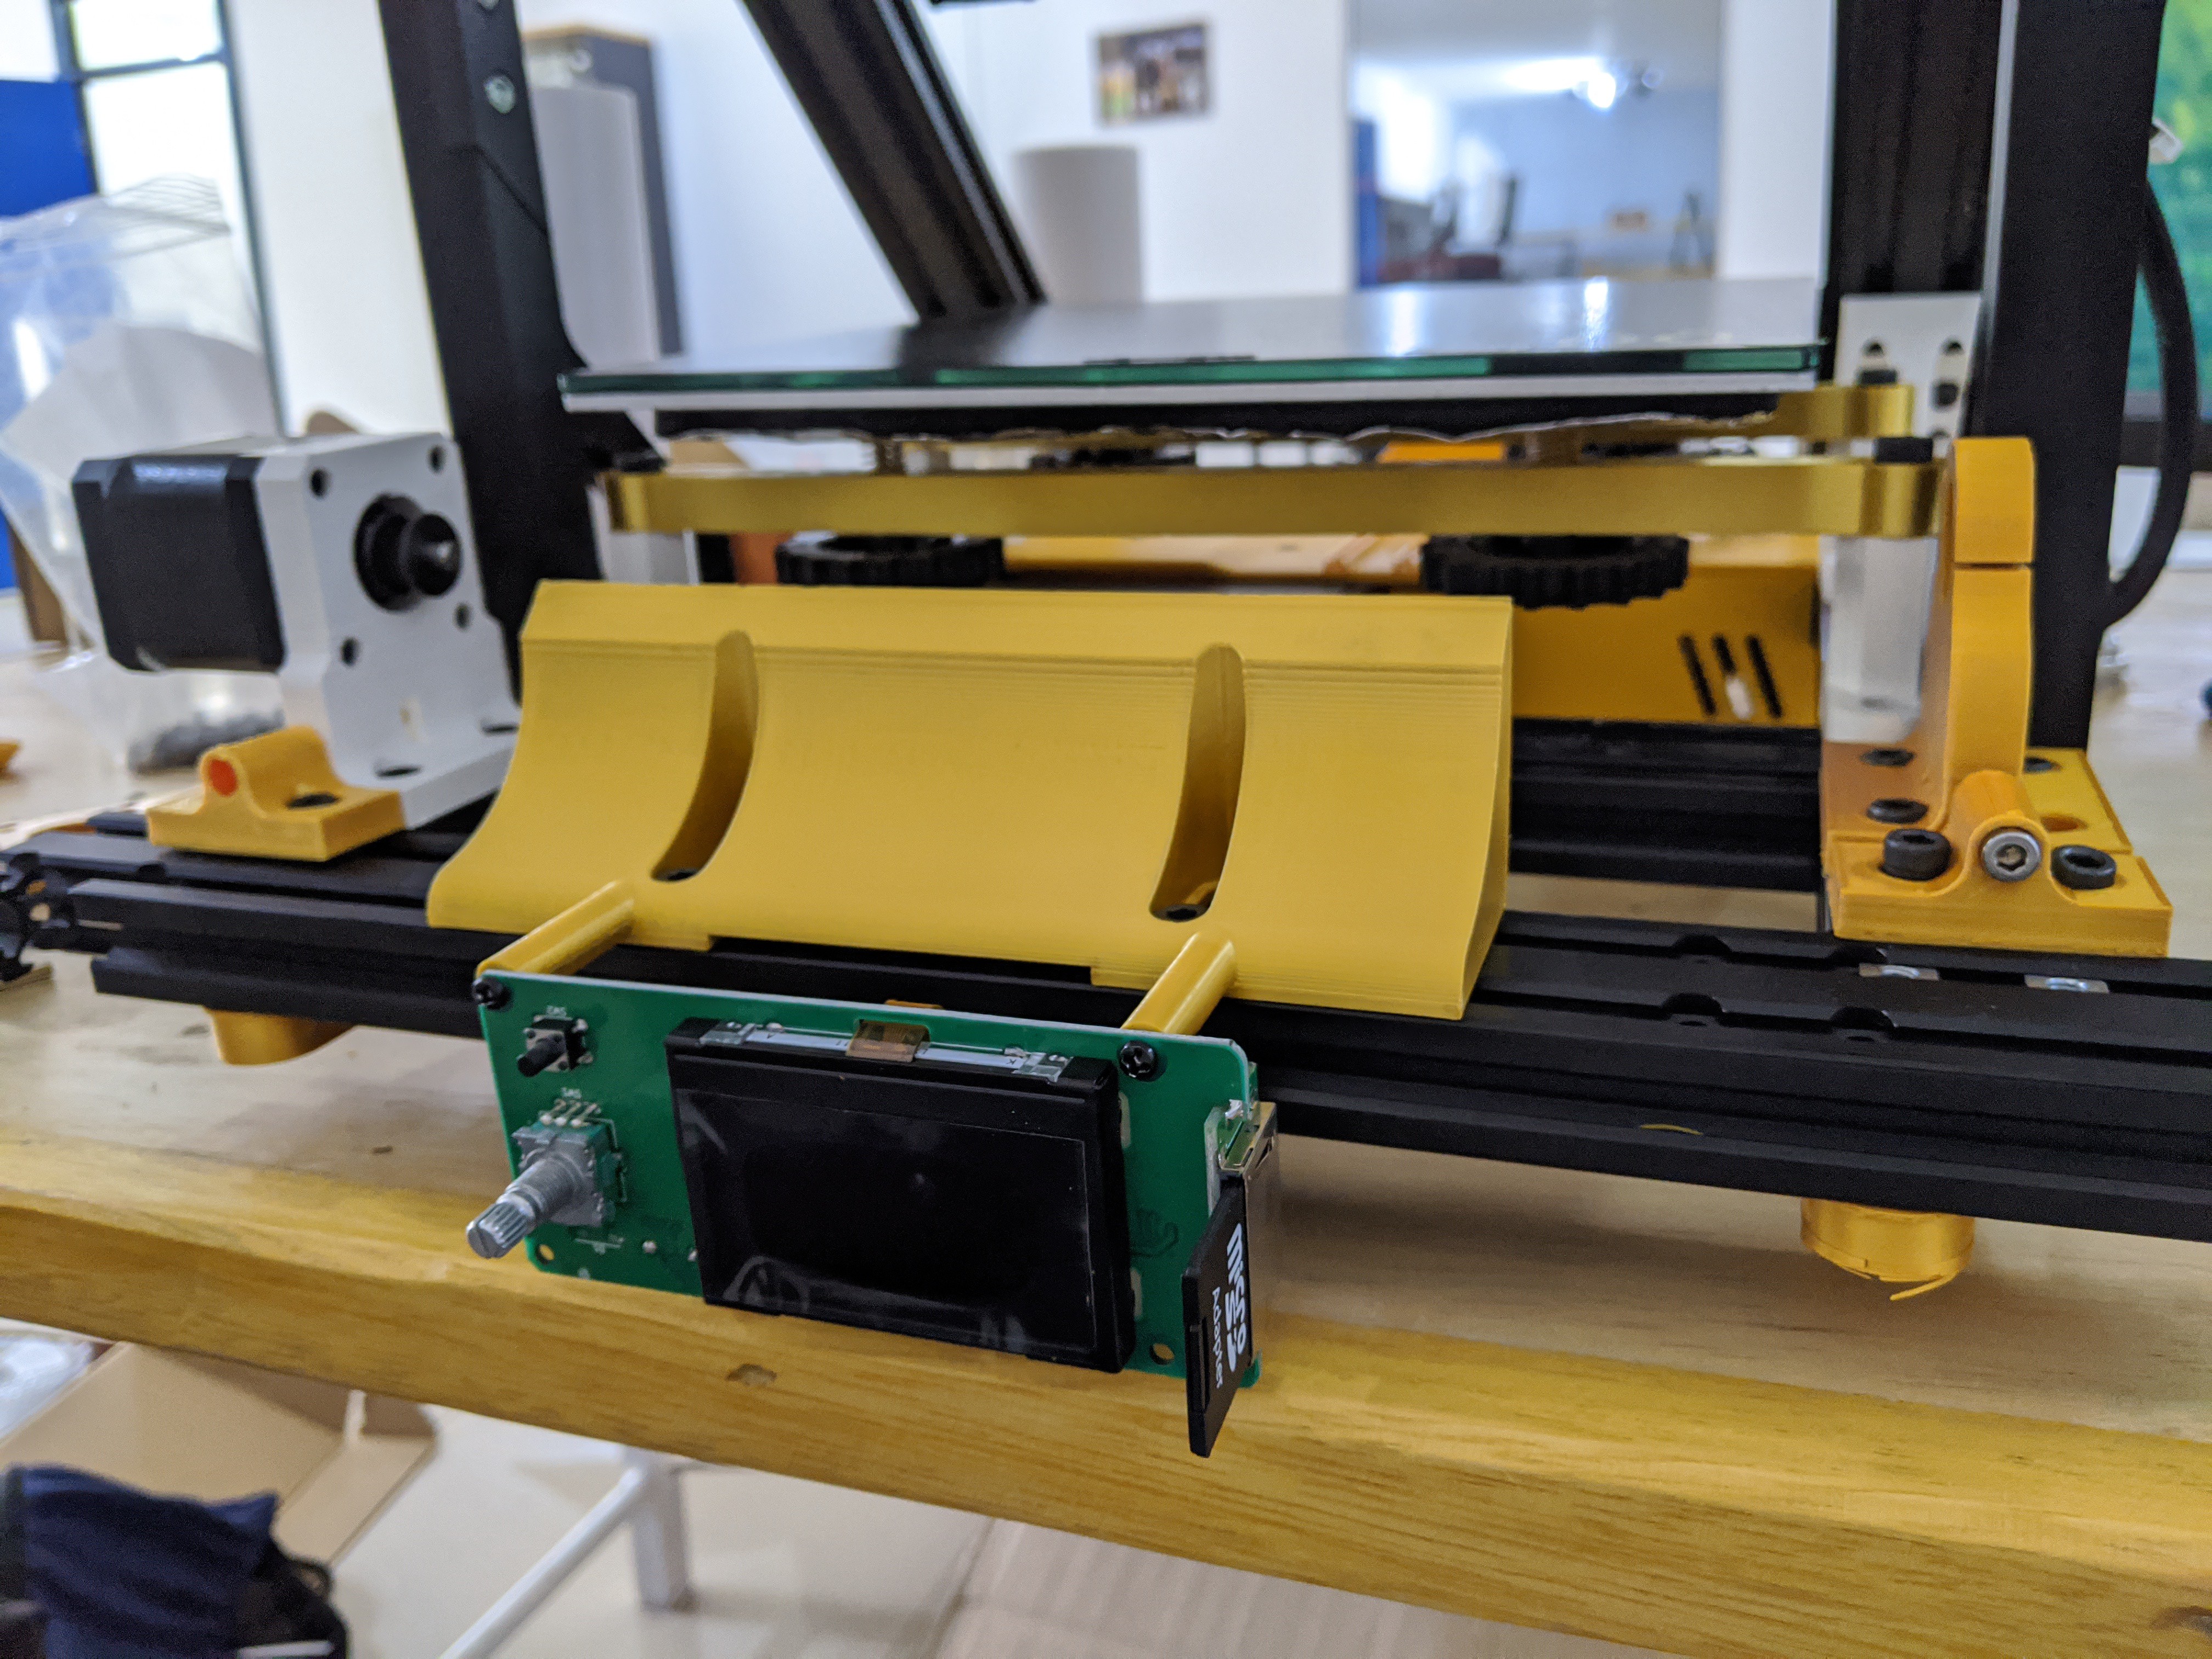
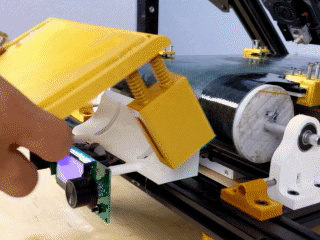
11Mount LCD
![]()
[Figure: LCD Mounted to Front of 3D Printer]
The "SHEAR" component contains the mounting holes for the LCD. Use the "SHEAR" component to attach the LCD to the front of the 3D printer.
-
12The Conveyor Belt!
What conveyor belt should I use for my 3D printer? This is a straight forwards question without a straight forwards answer.
There are several materials that you can use for your conveyor belt. In order for your conveyor belt to function correctly, it must have the following three properties.
- Flexible: The conveyor belt must be flexible. If it is too stiff, it will not lay on the heat bed and this will warp your prints.
- Heat Resistant: Your extruder will touch the conveyor belt at some point during a print job. The extruder will be running at temperatures of ~250 degrees celsius. If your conveyor belt cannot withstand this heat, it will deform and quickly become unusable.
- Filament Adherent: 3D printer filament must stick to your conveyor belt. If the filament does not adhere to the belt material, all you will be able to print is abstract art.
There are several materials that I have tested as conveyor belts. I have made a convenient table that summarizes the pros and cons of each material. By far, the best material is the Formula32 made by Powerbelt3D. This is a belt material that is fabricated specifically for the conveyor belt 3D prints. Unsurprisingly, it produces the highest quality prints. The conveyor belts are a bit pricy at $40 USD per unit, however you can use my promo code to get a 20% discount.
Get a formula32 belt here: https://powerbelt3d.com/product/formula32-custom-size-conveyor-belt/?coupon=swal10 (affiliate link)
Material Pros Cons Source Brass / Stainless Steel Shim Stock -Can withstand high temperatures -Not Flexible https://www.sbsimpson.com/shims-and-shim-stock Kapton Tape -Flexible -Cannot withstand high temperatures https://www.amazon.com/Mil-Kapton-Tape-Polyimide-yds/dp/B006ZFNB2I Formula32 Belt -Can withstand high temperatures
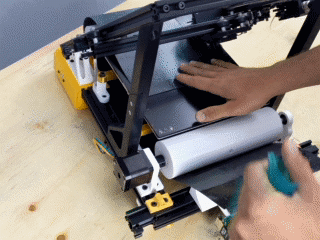
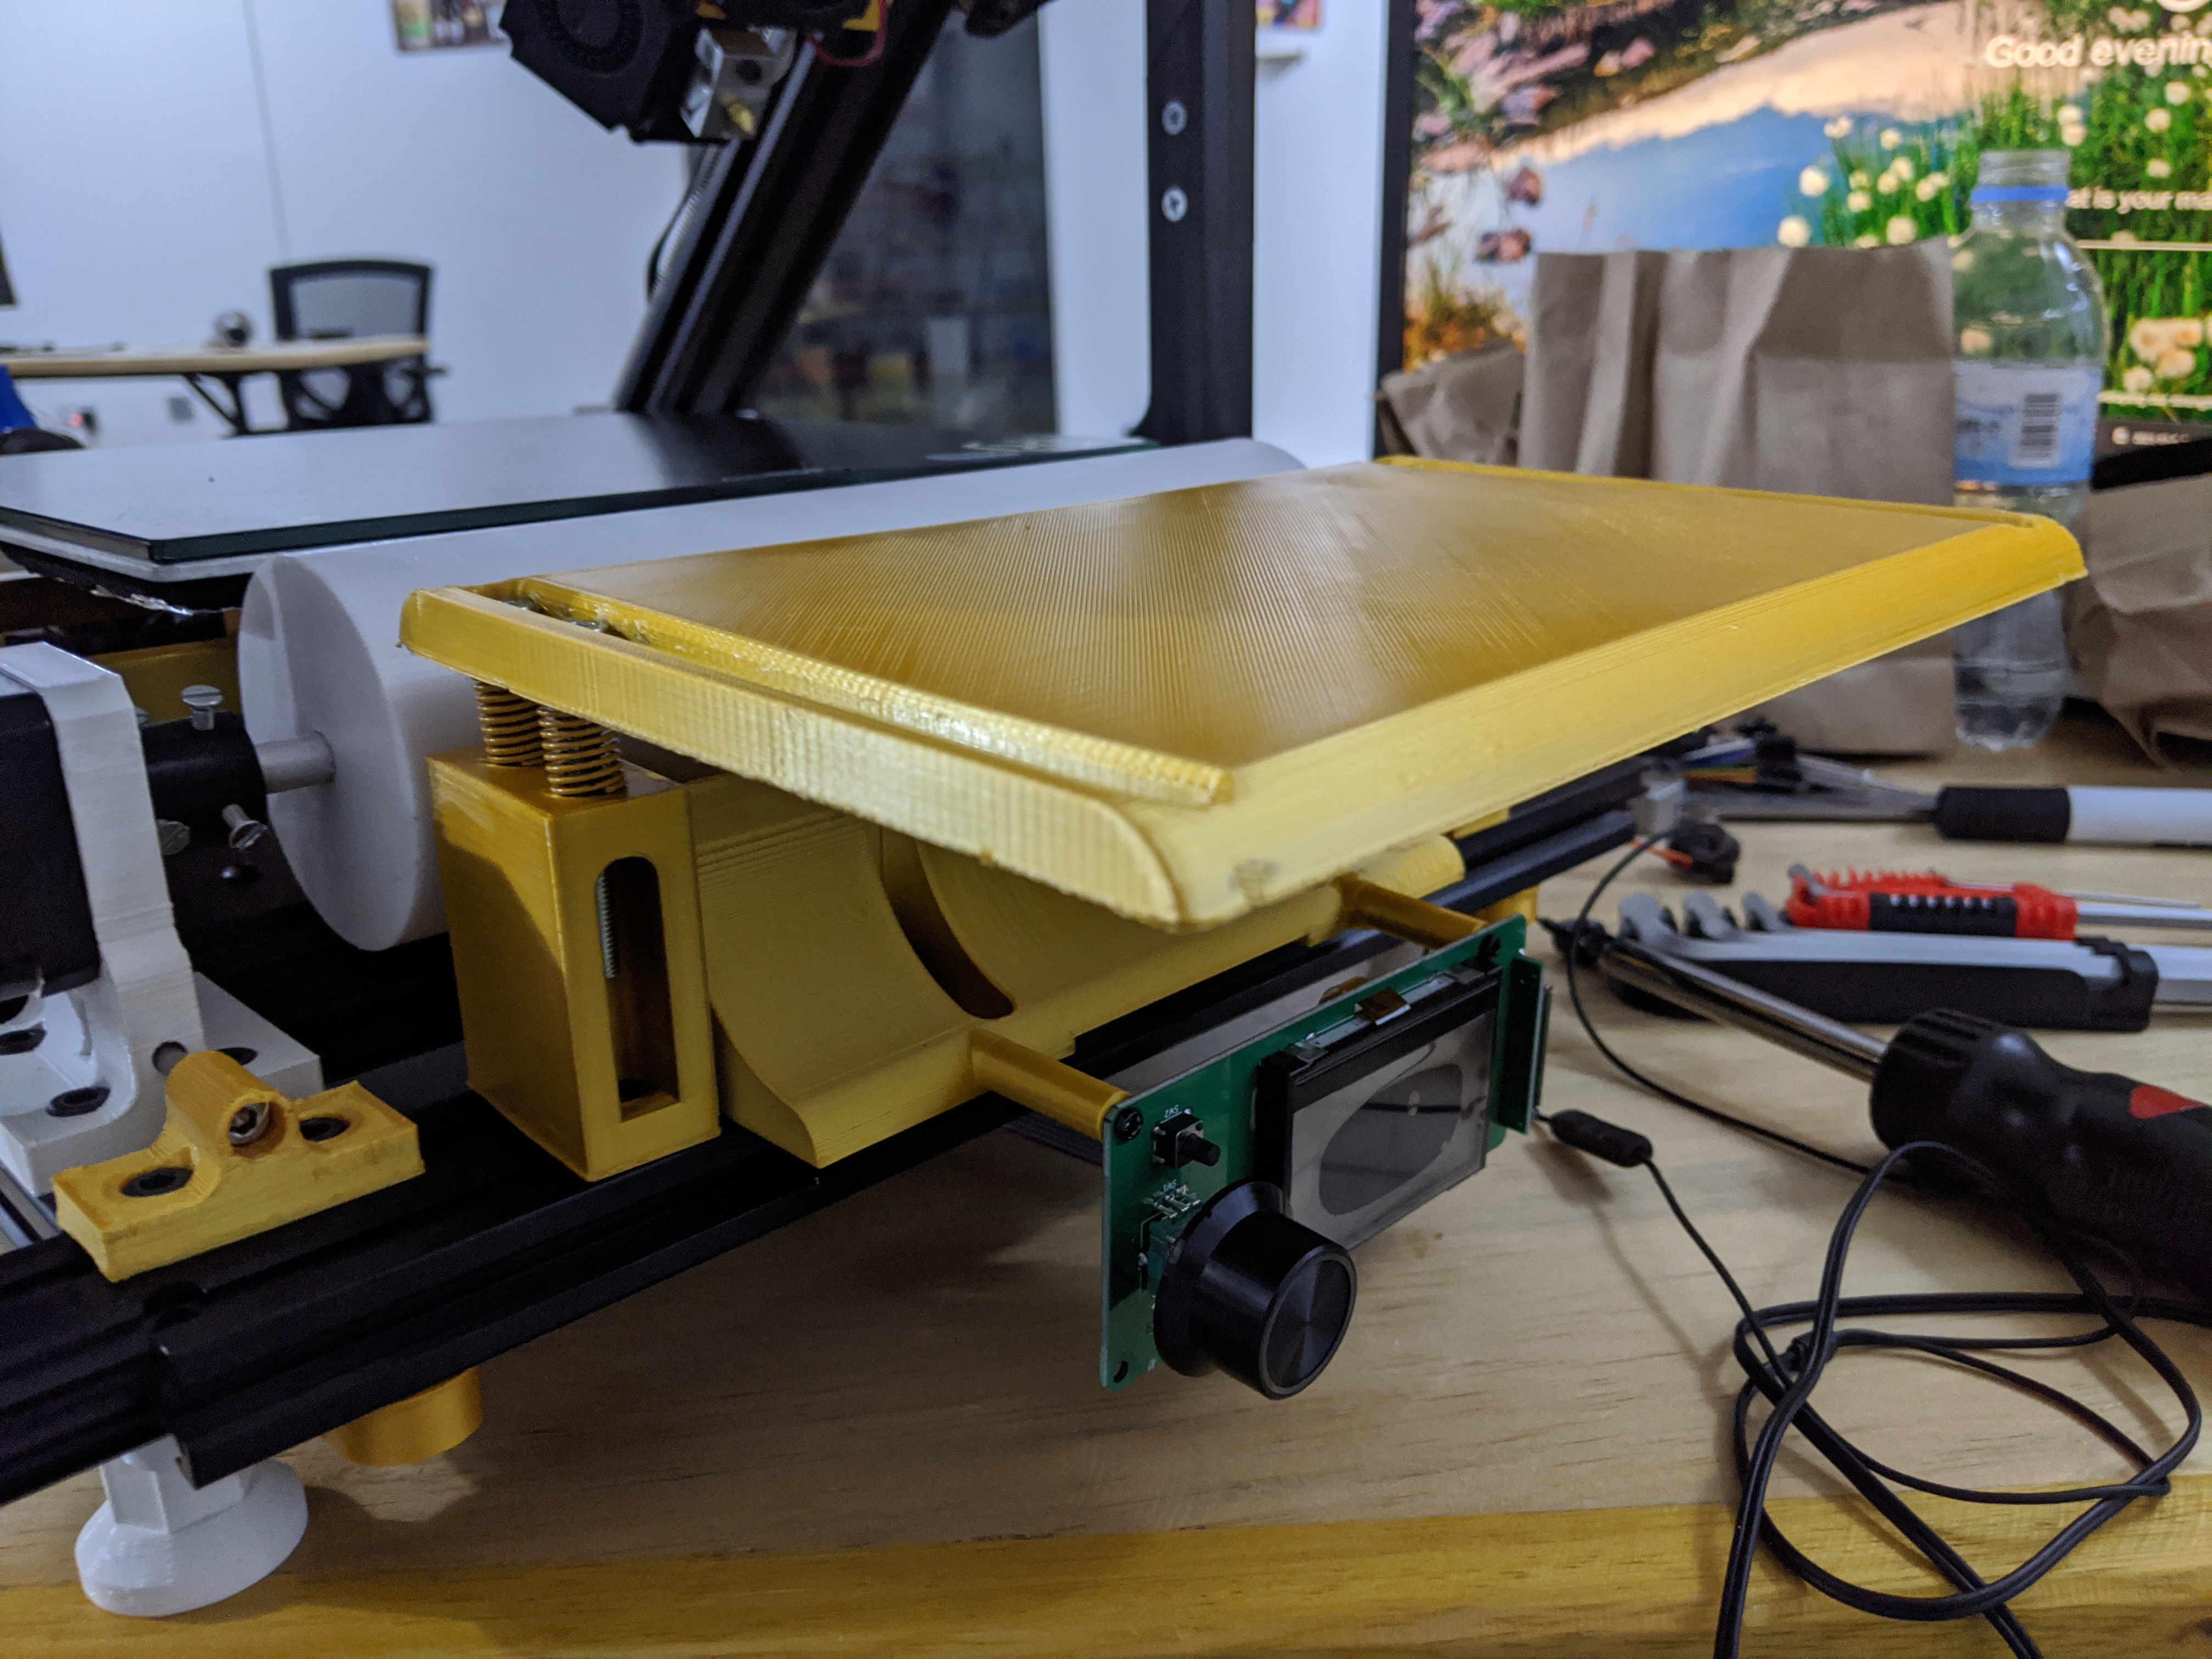
-Flexible-Expensive (But not with my promo code!) https://powerbelt3d.com/product/formula32-custom-size-conveyor-belt/?coupon=swal10 Once you have selected a conveyor belt, cut it to size appropriately. Use the belt tensioners to move the front drum as far inwards as possible. Then, tape the belt ends together over the drums.
![]()
[Figure: Mounting Conveyor Belt]
-
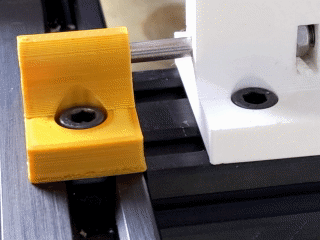
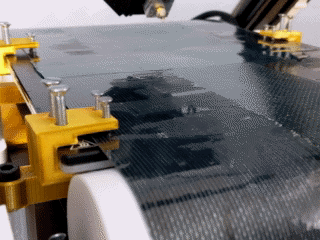
13Tension the Belt
![]()
[Figure: Pulling Front Drum Forwards]
![]()
[Figure: Using Belt Flattener to make Conveyor Belt Lie Flat}
Use the belt tensioner to move the front drum outwards until the conveyor belt is taut. Test drive the belt motor to ensure it can move the belt at the set tension.
Next, mount the four "BELT_FLATTENERS" on the heat bed. These components should keep the belt flat against the heat bed.
-
14Update Firmware
Download firmware from the GitHub repo below.
https://github.com/CallMeSwal/OpenBelt3DPrinterI have included both the compiled HEX file and the uncompiled marlin files. The firmware is stock marlin besides three minor changes in the configuration.h file.
Firmware Modifications
/*Ln 625: Comment out the USE_ZMIN_PLUG property as the conveyor belt has not endstop*/ /*#define USE_ZMIN_PLUG*/ /*Ln 743: Update the STEPS_PER_UNIT properties accordinly. Verify that easy axis is moving the correct distance afterwards.*/ #define DEFAULT_AXIS_STEPS_PER_UNIT { 80.121, 400, 16.9, 445 } /*Ln 1133: Put in a large value for the max conveyor belt position*/ #define Z_MAX_POS 99999 -
15Run Test Print!
I made a cool Print Infinitely sign and I think it is the perfect first print for your 3D printer. Try running it to ensure your 3D printer operators correctly. I have included both the STL file and gcode for your use.
Link to test prints: https://workbench.grabcad.com/workbench/projects/gcrHAT38NfZQu4oat4sHk3-AmwWRcN0bsbNID3e-RBKutN#/space/gcM1a6sAM3-5xPhVuC2xhwSpQXkVfuiPFueX-V44tka35n
-
16Optional - Tailstock Holder
![]()
[Figure: Mounting Tailstock Holder]
![]()
[Figure: Tailstock Holder Mounted]
As you print increasingly longer parts, eventually they will need to be propped us as they are printed. You can use the "EXTENSION_TOP" and "EXTENSION_BOTTOM" components to build a small tailstock holder at the front of your 3D printer. I also used successfully used a saw horse stand to support long print jobs, as shown in the demo videos.
Print HUGE parts with Conveyor Belt 3D Printing
Full tutorial on how to build a conveyor belt 3D printer. I provide completely free and opensource CAD and firmware to build this printer.
Discussions
Become a Hackaday.io Member
Create an account to leave a comment. Already have an account? Log In.