Close
0%
0%

Warehouse 13 Tesla Gun

A simple replica of the tesla gun from one of my favorite shows. My first project, hoping to get it light up in different brightness levels.

Public Chat
Similar projects worth following
I have always loved Warehouse 13, and I thought the standard issue tesla gun the agents are given would be a great starting project. I have been playing with programming a Raspberry Pi Pico and an ESP32, so I think I'm ready to get started on a full project.

The main parts will be 3D printed, mostly because I do not have the equipment or skills to mill these parts out of metal. And the vacuum tubes will be purchased as is.

The goal for the programming/electronics will be fairly simple - a lighting like blue light in the main forward tube that glows brighter the higher the dial is set.

What I want this to do:

  • Light the back vacuum tubes in flickering yellow
  • Light the two voltage dials
  • Have real reactive voltage dials
  • Light the front vacuum tube in flickering blue when 'fired'
  • Have a working knob that makes the firing light brighter or dimmer

It would be nice if I could also:

  • Have it play a sound effect
  • Have it light the low charge indicator when the battery is low
  • Have it integrate with my upcoming IR laser tag project

  • 1 × Raspberry Pi Pico This will be the microcontroller for the project, mostly because it's small and inexpensive.
  • 1 × 3D printed parts by Kai Hurt on Thingiverse https://www.thingiverse.com/thing:4575273
  • 1 × 4" Vacuum Tubes Should be around 1" in diameter
  • 2 × 2" Vacuum Tube Should be around 1" in diameter
  • 1 × PAM8302 Audio ICs / Audio Amplifiers

View all 13 components

  • It's Alive!

    Melissa Matos09/16/2022 at 15:15 0 comments

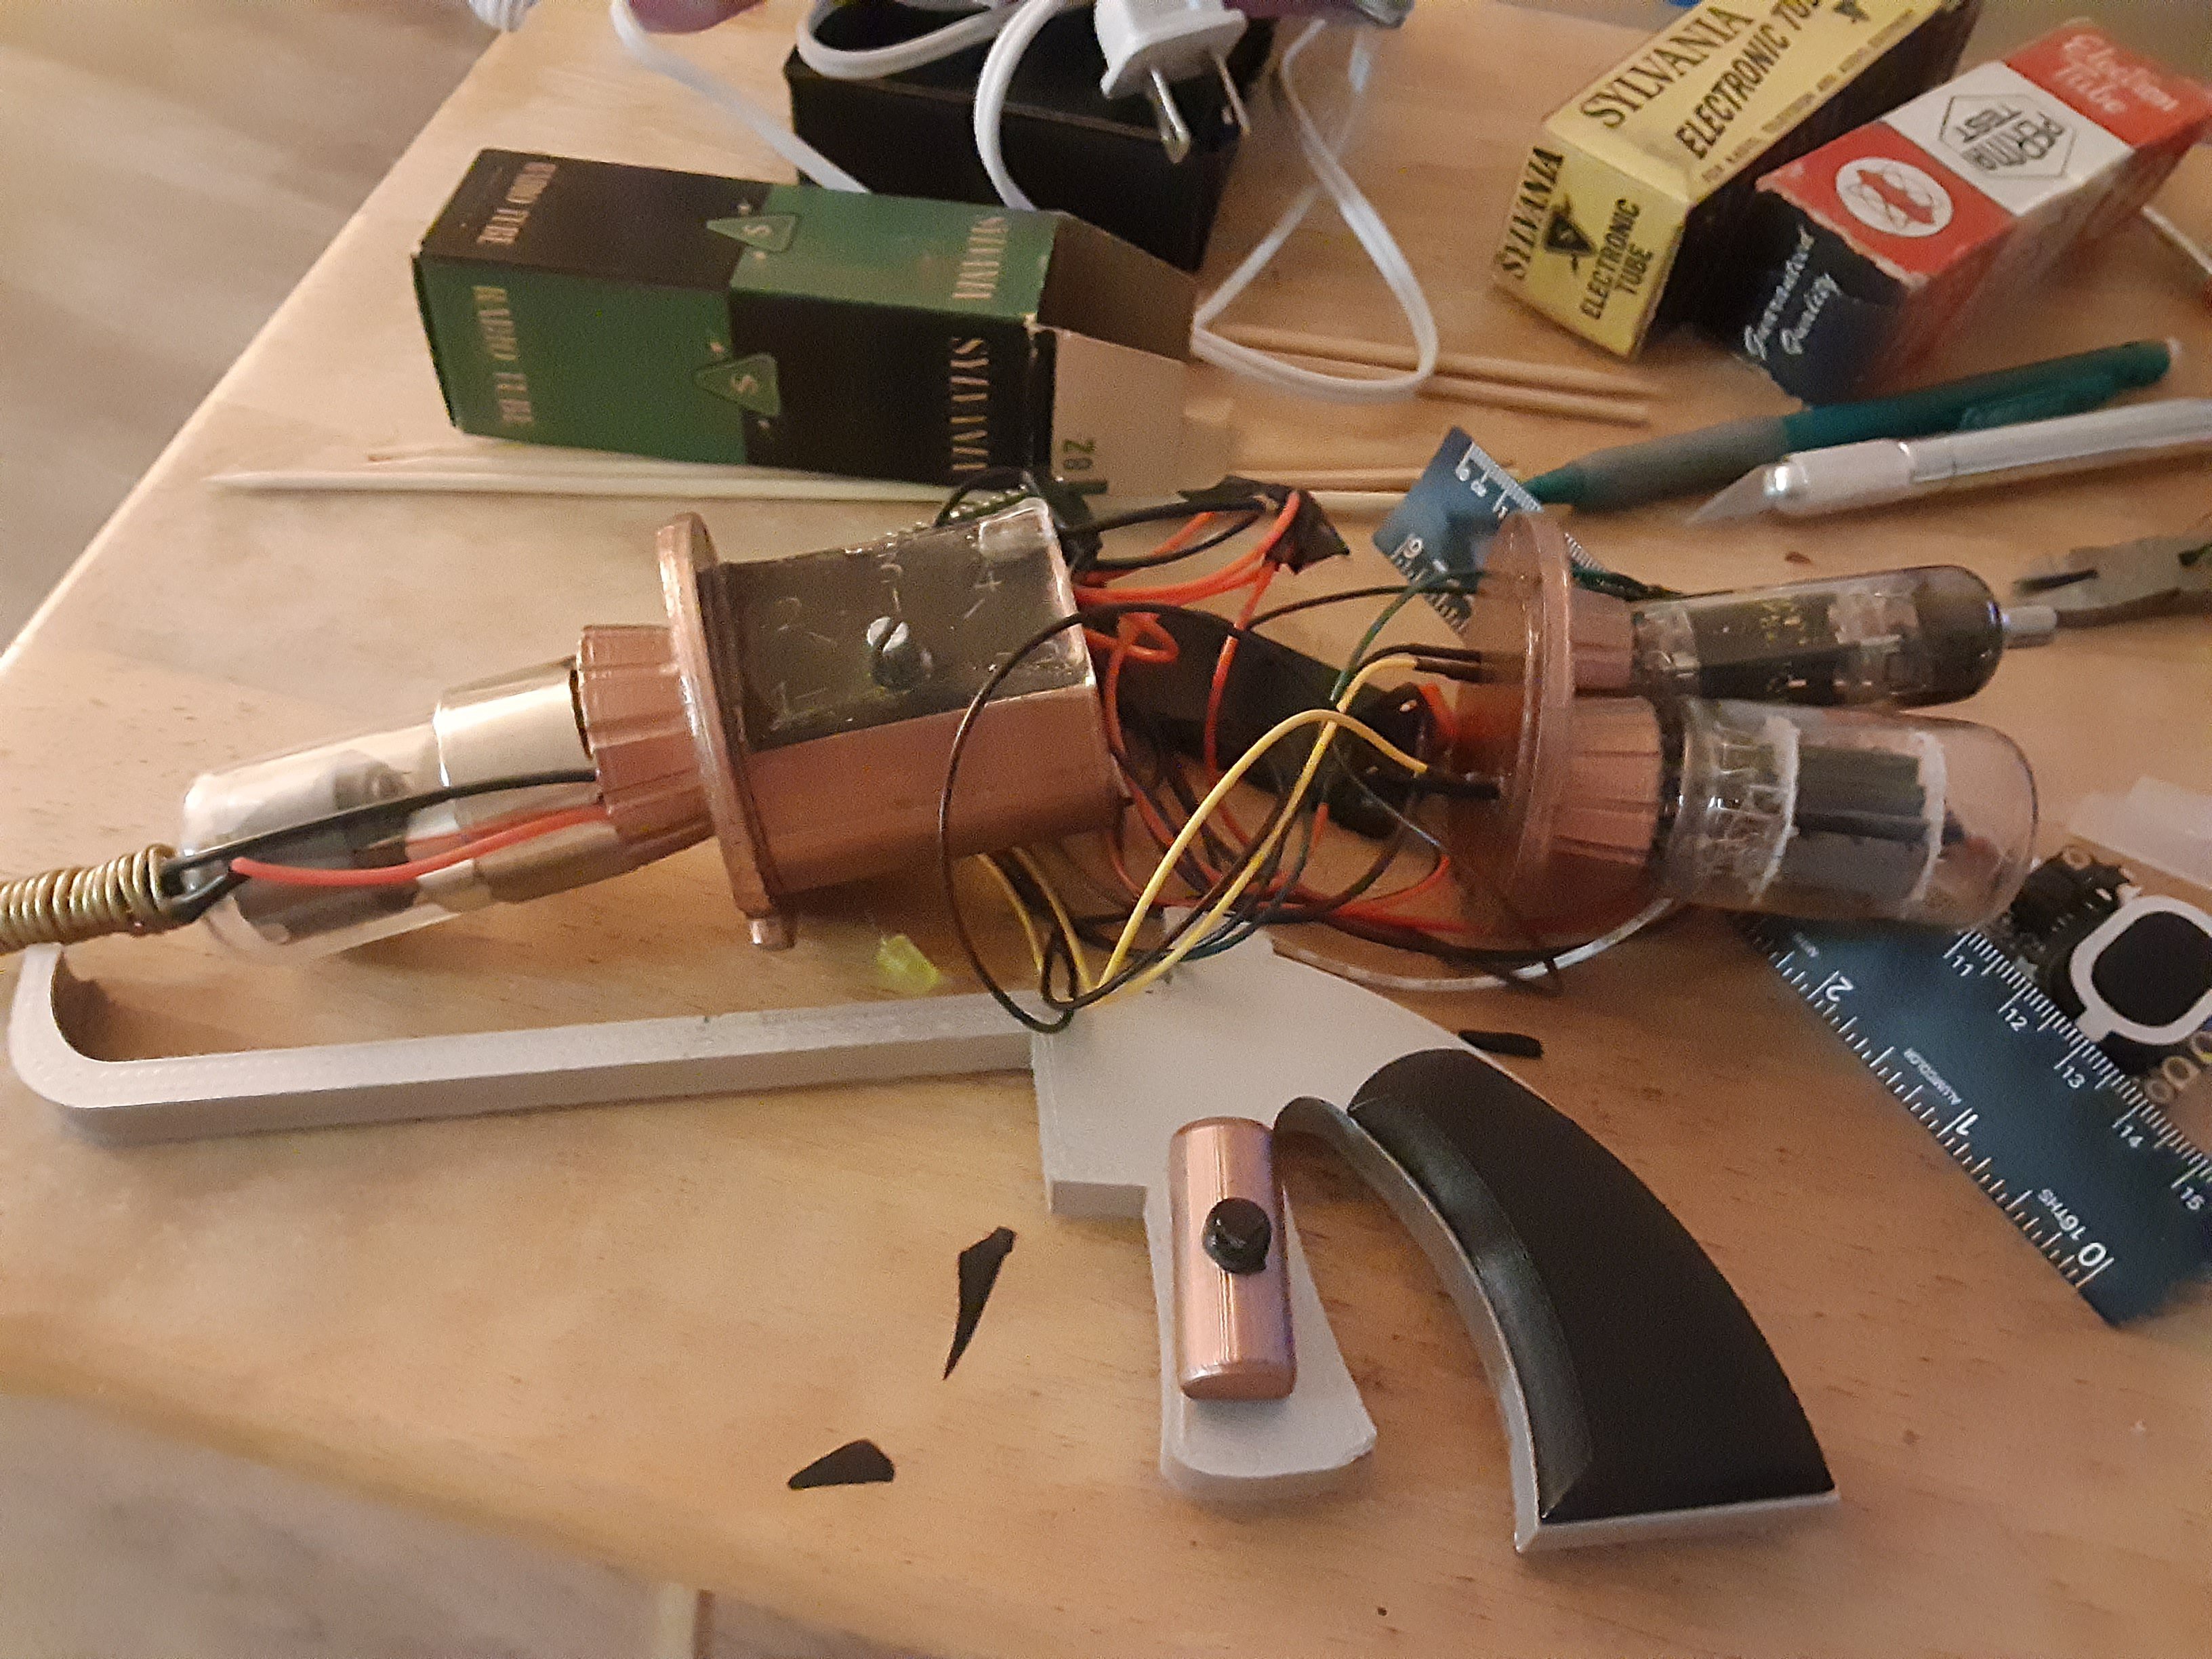
    It's finally finished! Sadly the sound ended up not working, which is fine since I couldn't fit a speaker in there anyway. But the lights all look great, and the IR LED works with my laser tag system, so I'm pretty happy with it. I will probably do some more clean up to hide the hot glue joints, but overall it was a great learning experience. I will be uploading the code and some basic instructions soon.

    Thanks to Matt Taylor at Taylor 3D Solutions for the 3D printed parts. 

     https://www.facebook.com/Taylor3dSolutions

  • Almost Done

    Melissa Matos09/13/2022 at 20:50 1 comment

    Getting close now. After testing getting everything into the 3d printed shell, I sadly had to give up on the sound. The speaker stopped working once I put it together and it wouldn't fit inside anyway. So no sound. But everything else is good. Going to glue it all together tonight and hopefully will have a fi ished victory video soon!

  • Still Working

    Melissa Matos09/07/2022 at 00:03 0 comments

    I am still working on this project. Having to recode everything for reasons I don't quite understand. But hey, I found some ways to improve on the coding. It was causing quite a delay to have so many time.sleep commands to get lights to flicker. So enter this article from the awesome folks over at Adafruit. A better way to interrupt and multitask in CircuitPython.

    https://learn.adafruit.com/multi-tasking-with-circuitpython

    I still have to attach the potentiometer, the speaker, and the IR LED to make this compatible with my soon to be realized laser tag game.

  • Soldering Fail

    Melissa Matos07/01/2022 at 12:58 0 comments

    So I was so excited to have all the programming working exactly how I liked, including a sound effect to play when the weapon is fired. I got all the materials together and started soldering - and fried my circuit board. Sigh.

    I'm going to give it another go before begging for a friend to do the soldering for me. I'm really hoping to get the hang of it so I can work on other projects. But it was a big set back. 

    My plan now is to get the battery pack soldered on first, make sure the thing still works, then add pieces in smaller groups and check at each stage that everything still turns on and works. Not sure the best way to go about that as things will need to be all grounded together, though I suppose I can ground things in groups. The Pi Pico has several ground pins.

  • Coding Crunch - switch to CircuitPython

    Melissa Matos04/17/2022 at 23:48 0 comments

    My goal was to have all the coding completed by today. Sadly the audio parts for the project have not arrived yet. (Neither have the vacuum tubes, but more on that later.) So this is MOST of the coding done.

    In addition to the solid green lights for the dials, and flickering yellow for the rear vacuum tubes, i have added a flashing blue neopixel to simulate lighting being fired from the gun in the forward long vacuum tube. The dial on the right side of the gun can adjust how bright the lightning flash gets. Here's a demonstration: (sorry for the background noise)

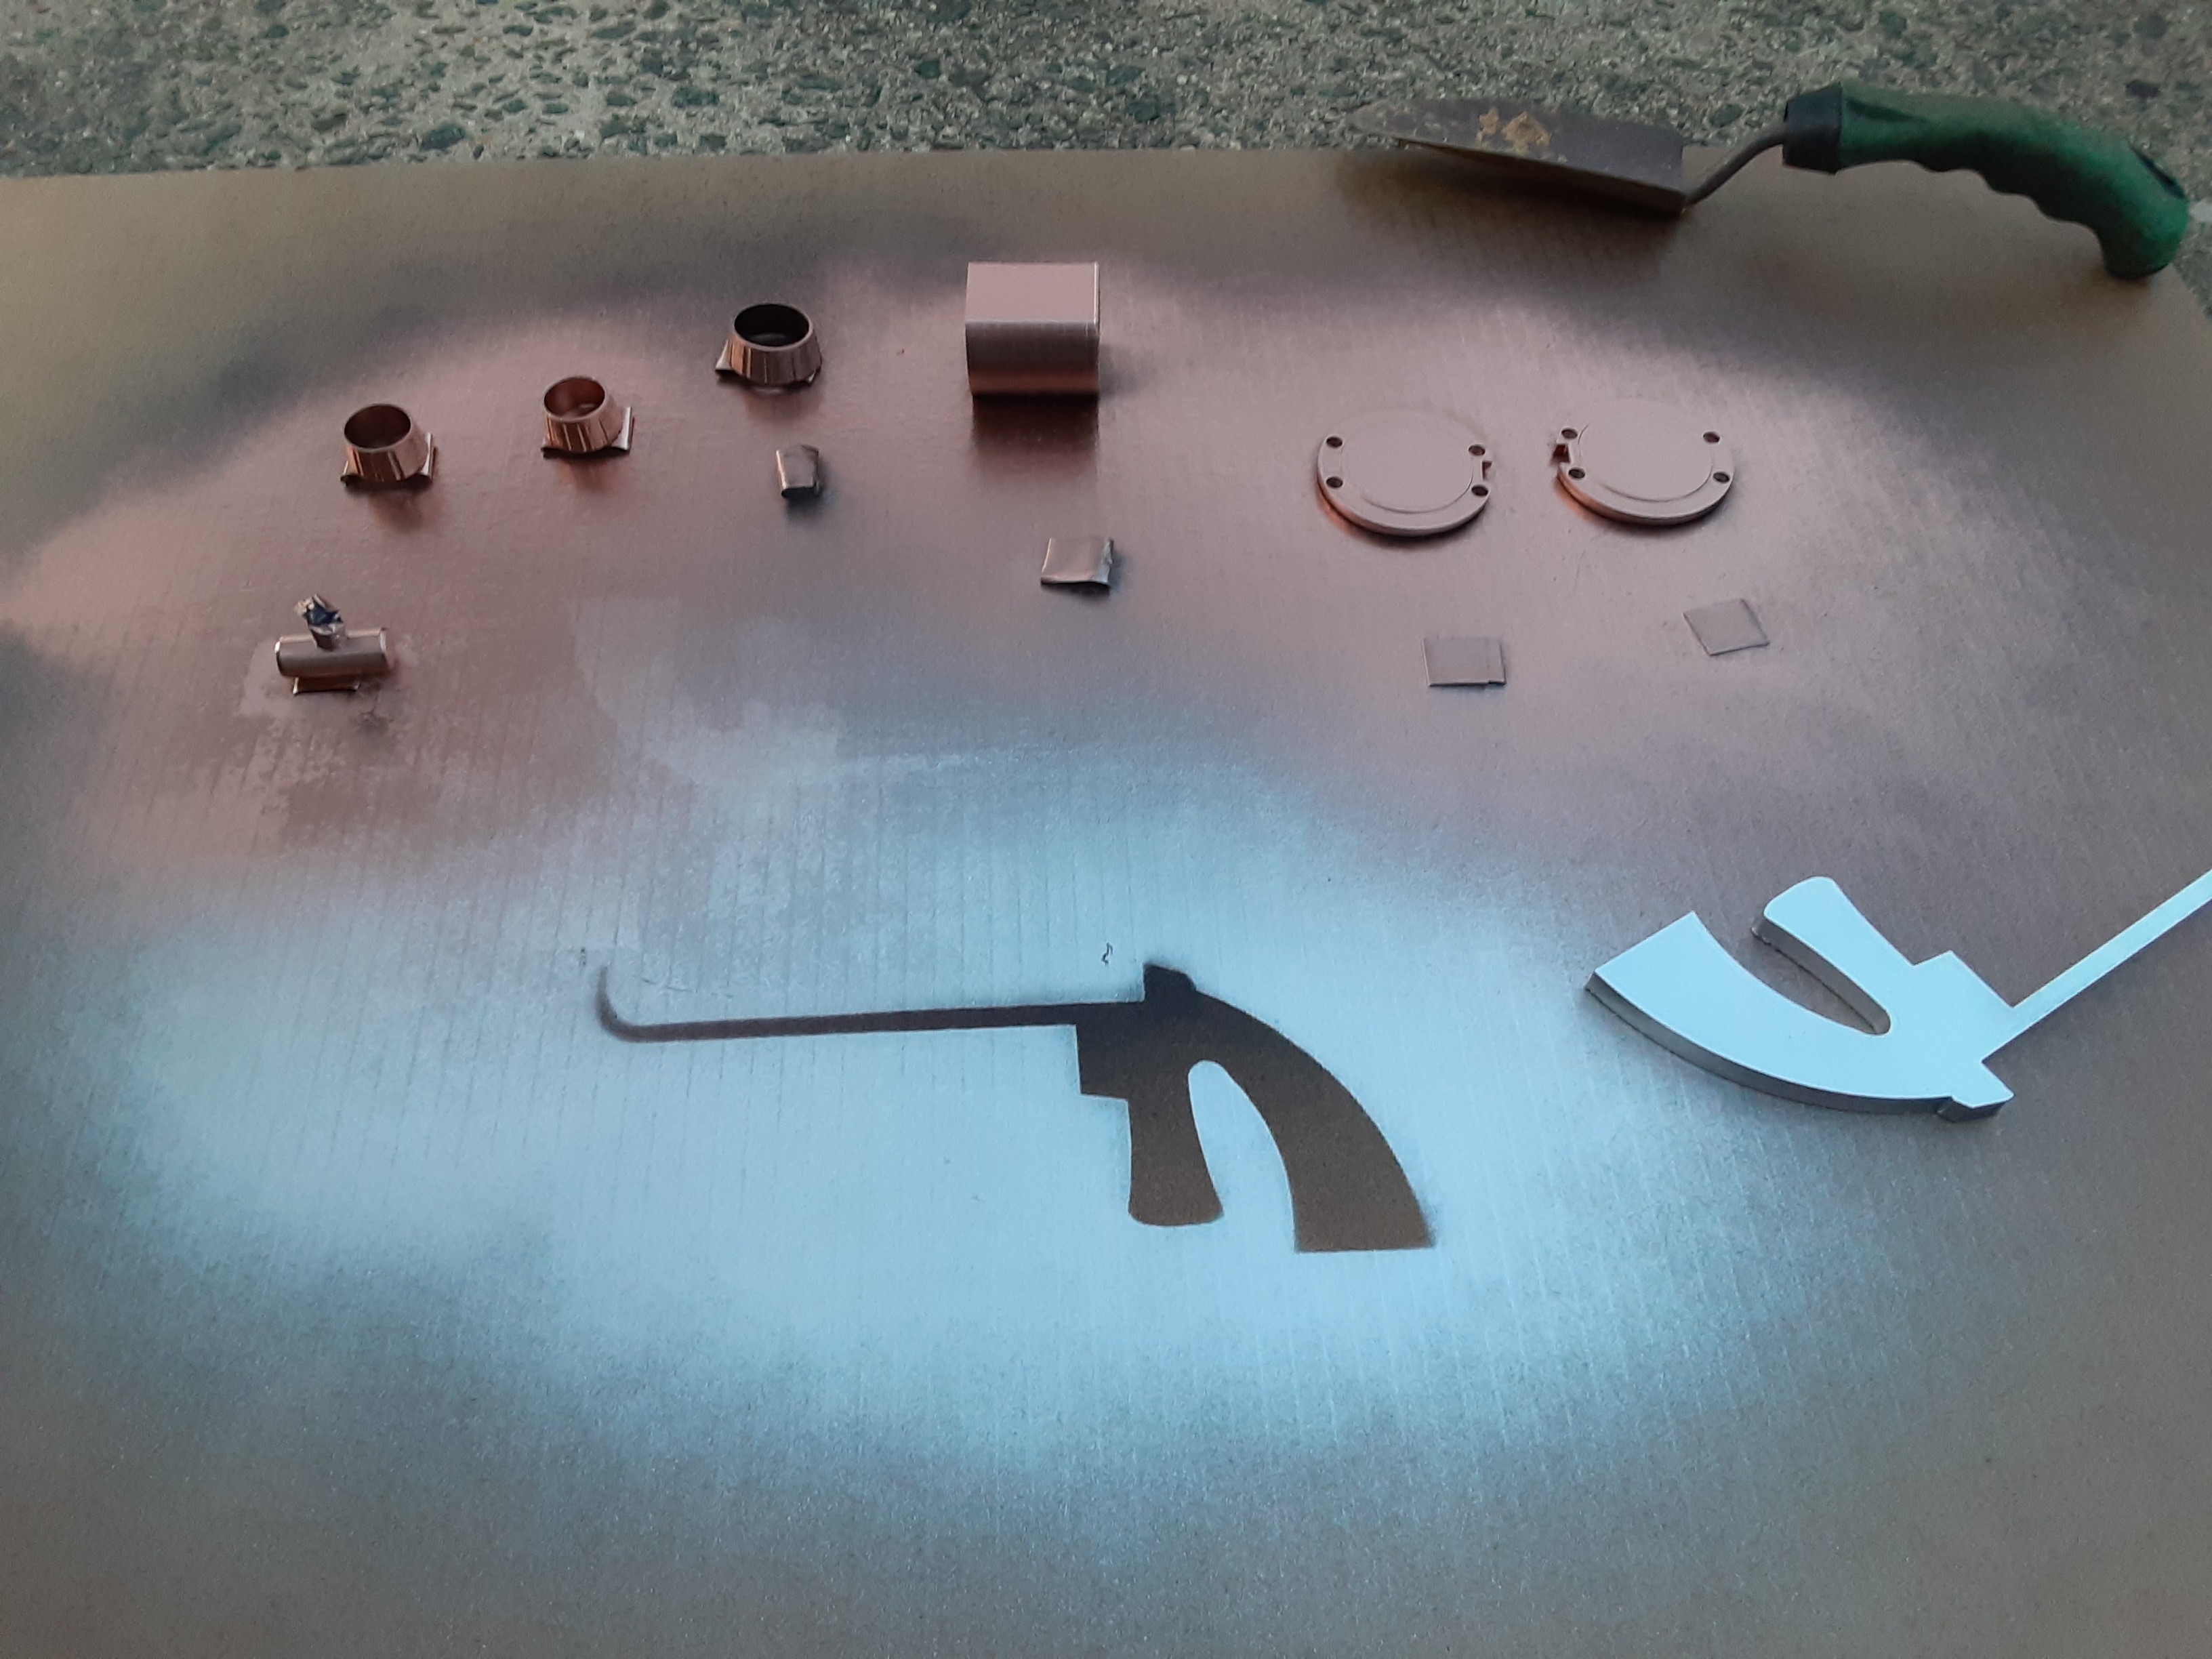
    The plastic printed parts have arrived, and I'm in the process of getting them painted. I love this rustoleum spray paint. The metallics show up nice and shiny.

    The audio components should arrive tomorrow, but to be honest, I'm not sure I will get them to fit into the barrel of the gun. It's a bit smaller than I expected.

  • Progress! Light it up!

    Melissa Matos04/12/2022 at 14:35 0 comments

    So I've been making progress on the lighting guts for the gun. I wanted green lights for the dials, yellow flickering lights for the rear vacuum tubes, and a blue flashing light when it fires, based on this YouTube video of the prop replica.

    Here is what I have so far. I need to get the blue neopixel ring to flash when fired. I probably will switch it out for a single pixel light, but this is what I have on hand for now. I would like the intesity of the blue light to change as well, based on the setting on the knob. So the next step will be getting a potentiometer hooked up to this mess.

    But here's how it's working so far.

  • Sourcing Parts

    Melissa Matos04/08/2022 at 01:35 0 comments

    I'm working on getting the parts together for this project. Part of me wishes that the kit was still available somewhere, but thankfully there are still a few resources out there.

    3D print files

    https://www.thingiverse.com/thing:4575273

    I contacted a local 3D printer, and they were able to find the above link to all the pieces, minus the vacuum tubes, needed for the Tesla Gun. I don't intend to use all of them, mostly for the silver handle part, and the brass barrel, and the things to connect the vacuum tubes and button.

    Electronics

    I'll be using a Raspberry Pi Pico, a Neopixel Mini Button PCB, and one of the buttons that came with my PIco starter kit as the trigger. I may also try to add in something that would set the dials going when it's fired but I'm not sure yet how to do that. I will also use a potentiometer from my starter kit to dial up and down the 'power' or how bright the light will be.

    Vacuum Tubes

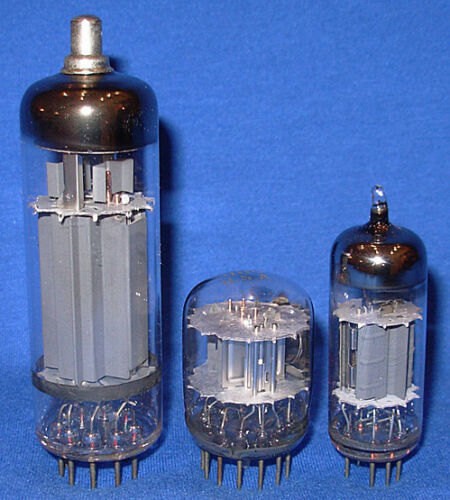
    I am hoping I'm able to find these or something very similar to use.

View all 7 project logs

Enjoy this project?

Share

Discussions

Similar Projects

Does this project spark your interest?

Become a member to follow this project and never miss any updates