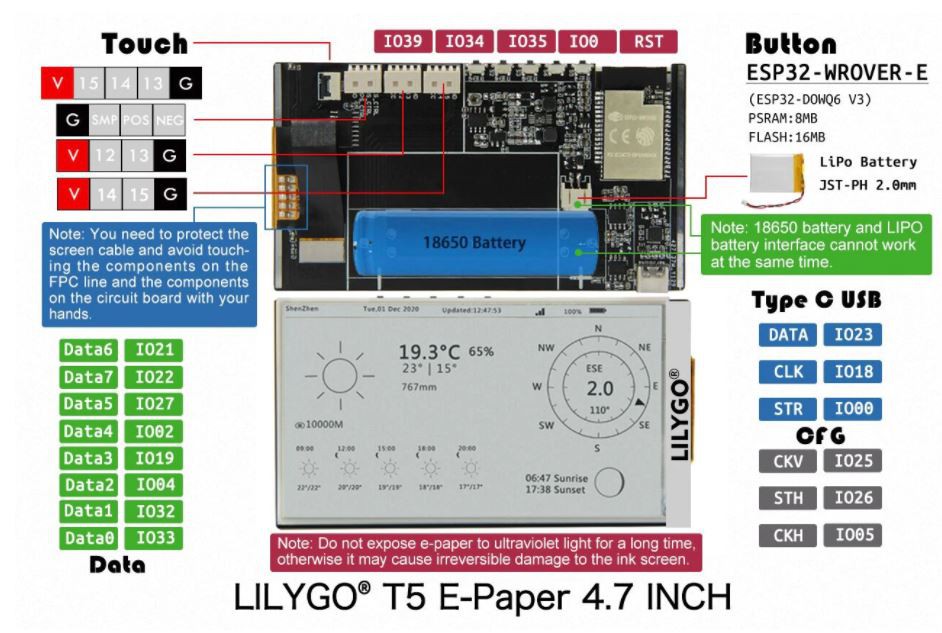
This time I will show you how to upload any image to E-paper display. Specifically it is about LilyGo T5 4.7-inch E-paper which has the following characteristics:
- ESP32 dual core MCU
- 4.7-inch integrated e-paper display - 540x960 pixels, 16 gray levels
- Allows usage of a touch screen
- 16MB flash
- 8MB PSRAM memory
- USB-C port
- built-in LiPo/Li-Ion battery charger
- integrated 18650 Li-Ion battery holder
- and 5 general purpose buttons
With this display you can make a beautiful retro look picture frame on which to change black and white images. This is made possible by the 16 gray levels that has this display. You must first download and install the display library. You can download it from the link: https://github.com/Xinyuan-LilyGO/LilyGo-EPD47
This library comes with 4 examples. They can be found along the path in the arduino ide program after installing the library. File->Examples->LilyGoEPD47. There are examples of grayscale, that is, it displays the image with stripes with different shades of gray. It is also an example of working with a touch screen. Next example shows the charge voltage and display characteristics. And also example that displays 3 images changing each other every 3 seconds. With the help of this example, we can display our custom images.
For that purpose, we need to edit the selected image in Paint. Then we need to set the image resolution close to the screen resolution (960 by 540) and save it in .png format.
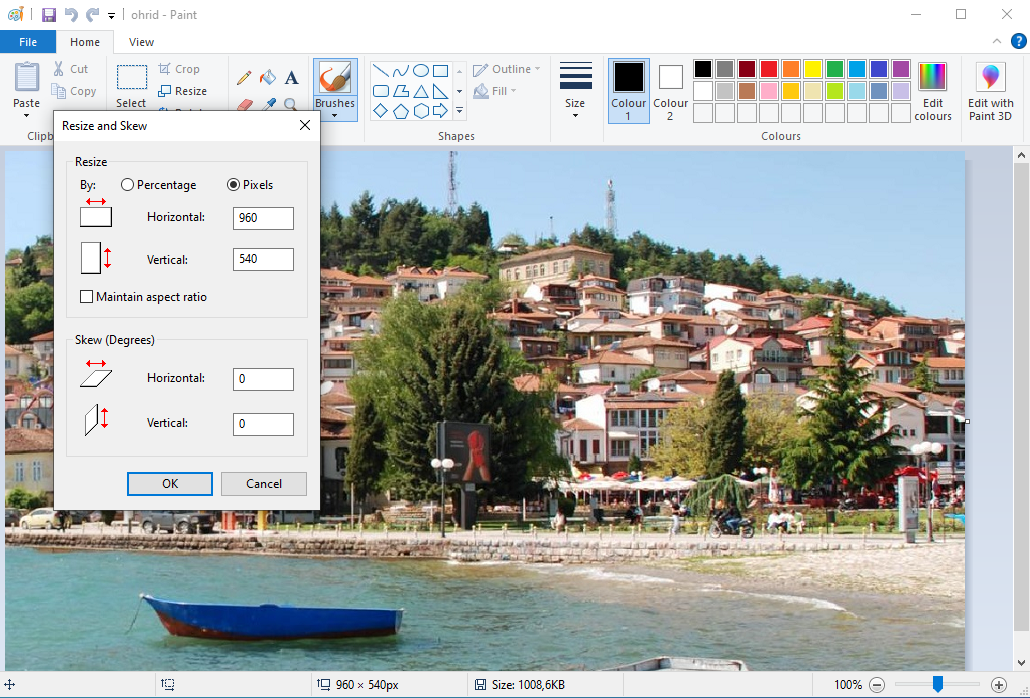
Next is the most interesting. In the archive with the library, there were not only examples, but also a Python script that allows you to convert a .png image into program code to show the image on the display.
First we need to istal Python from:python
https://www.python.org/downloads/
Now open PowerShell, and with a "cd" command in powershell we go to the scripts folder.
In my case it looks like this:
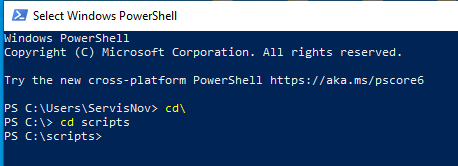
You also need to put a .png file in the scripts folder. Now we need to install the The Python Imaging Library (pillow) with the following command:
python -m pip install pillow
Next, we proceed to convert the file. For example, I have an image called ohrid.png and I will convert it to pic1.h file. To do this, enter the following command:
python imgconvert.py -i ohrid.png -n pic1 -o pic1.h

For a simpler presentation, I specifically processed three images that have names pic1 pic2 and pic3. Now in the libraries folder - in examples we find the "drawimages" folder and inside we copy and replace our processed images that have the same names. And that's all, now we need to open the "drawimages" example in Arduino IDE and upload it on the e-paper device. On Arduini IDE in the Tools - boards - we need to select "ESP32 Dev" Module.
If we look closely at the code we will notice that in a very simple way we can increase or decrease the number of images, as well as the display time of each image individually.
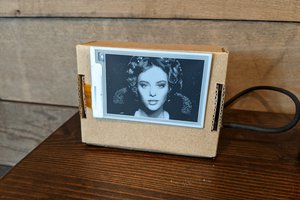
As the name suggests, you need to make some kind of frame that will fit the screen. I made this frame on a 3D printer with PLA material in white. Let me mention that the display is very sensitive and can be damaged very easily, so we need to insert it very carefully in the frame. For the needs of the video I let the images change every 5 seconds but this time can simply be changed to the function "delay" and "update" in the code.
 mircemk
 Mike Szczys
 Michał Nowotka
 David Goodman