-
Time adjusting blind
05/31/2022 at 16:31 • 0 comments![]()
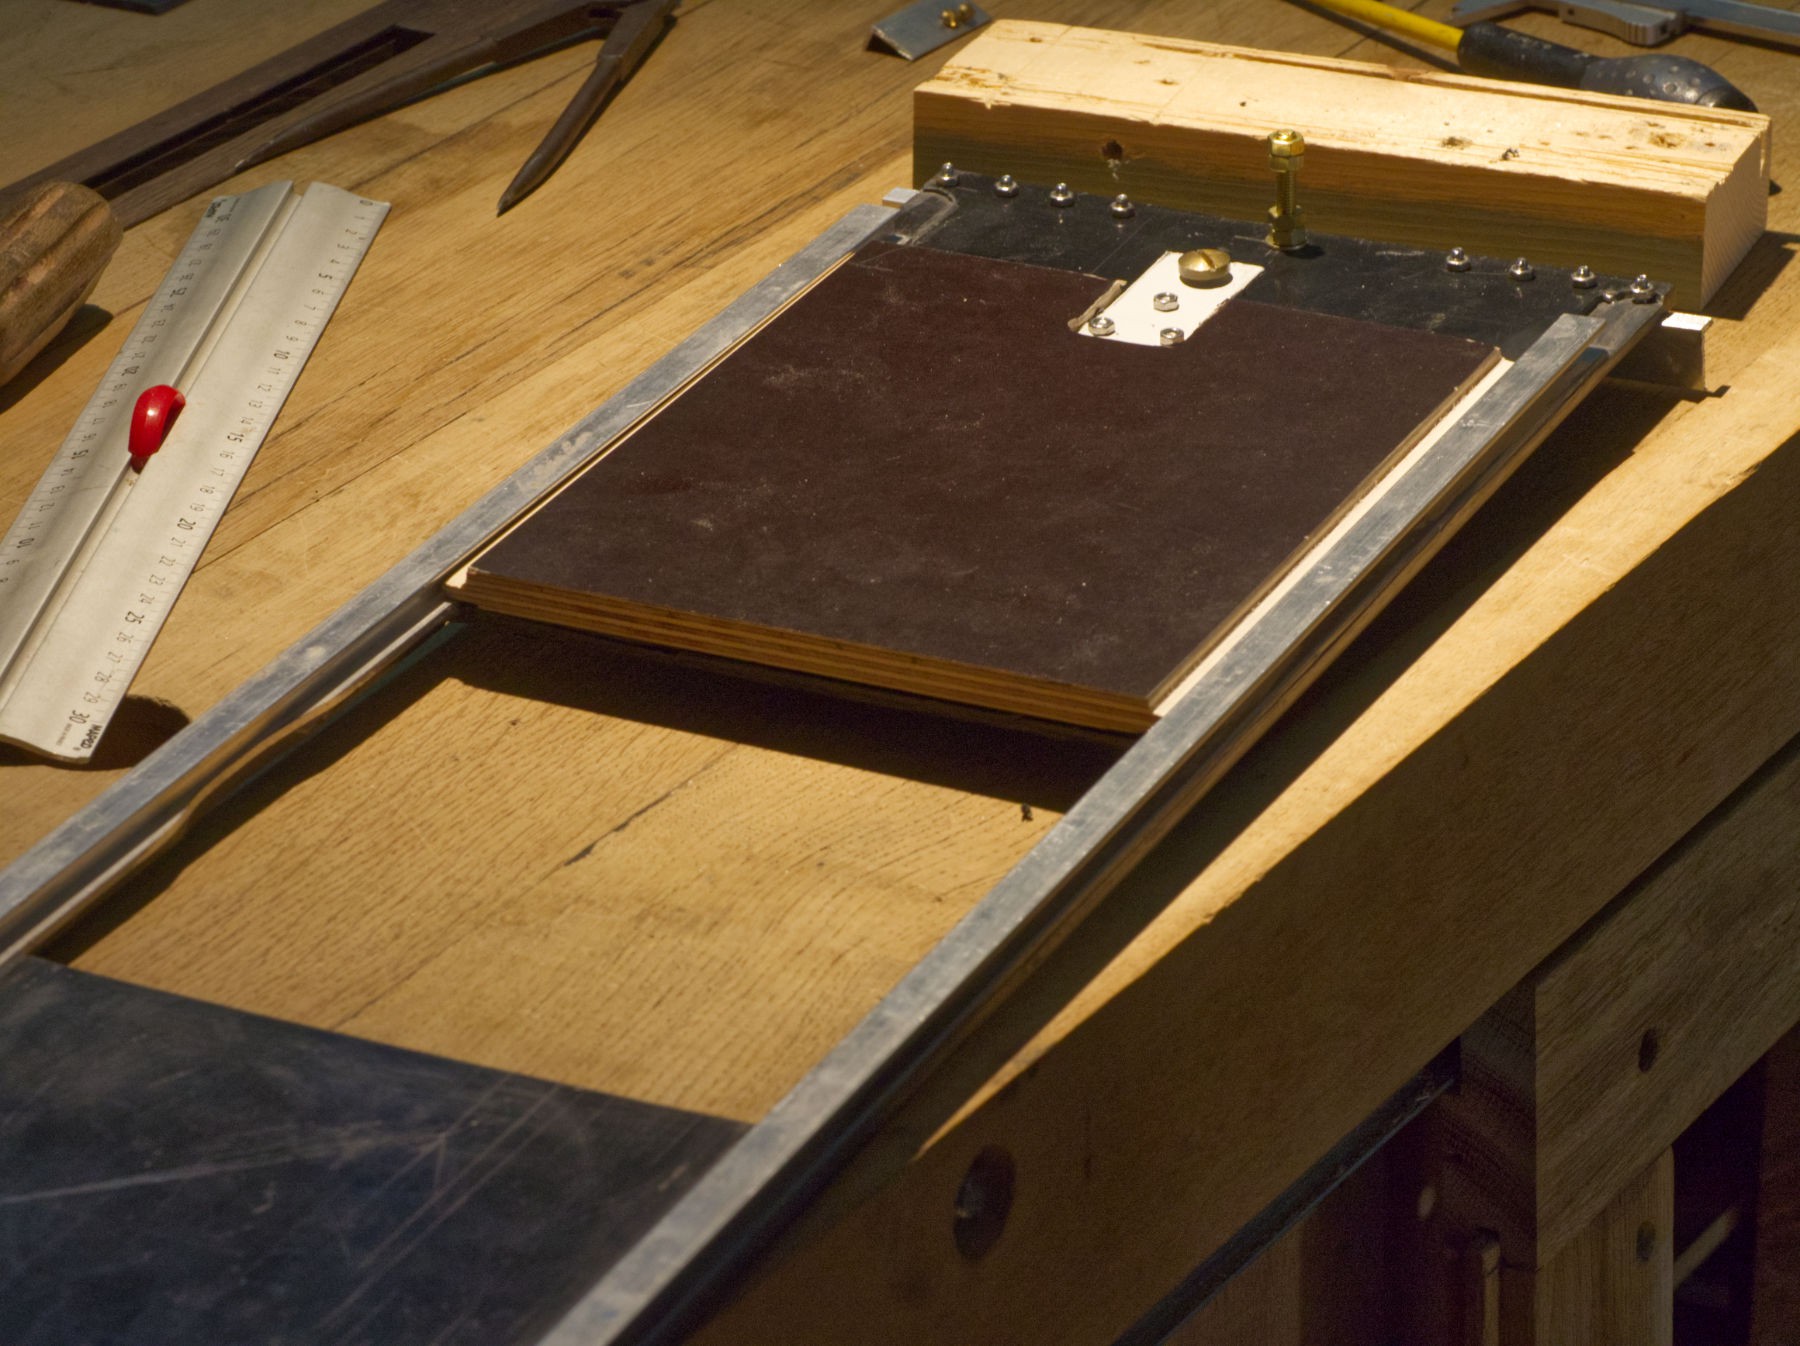
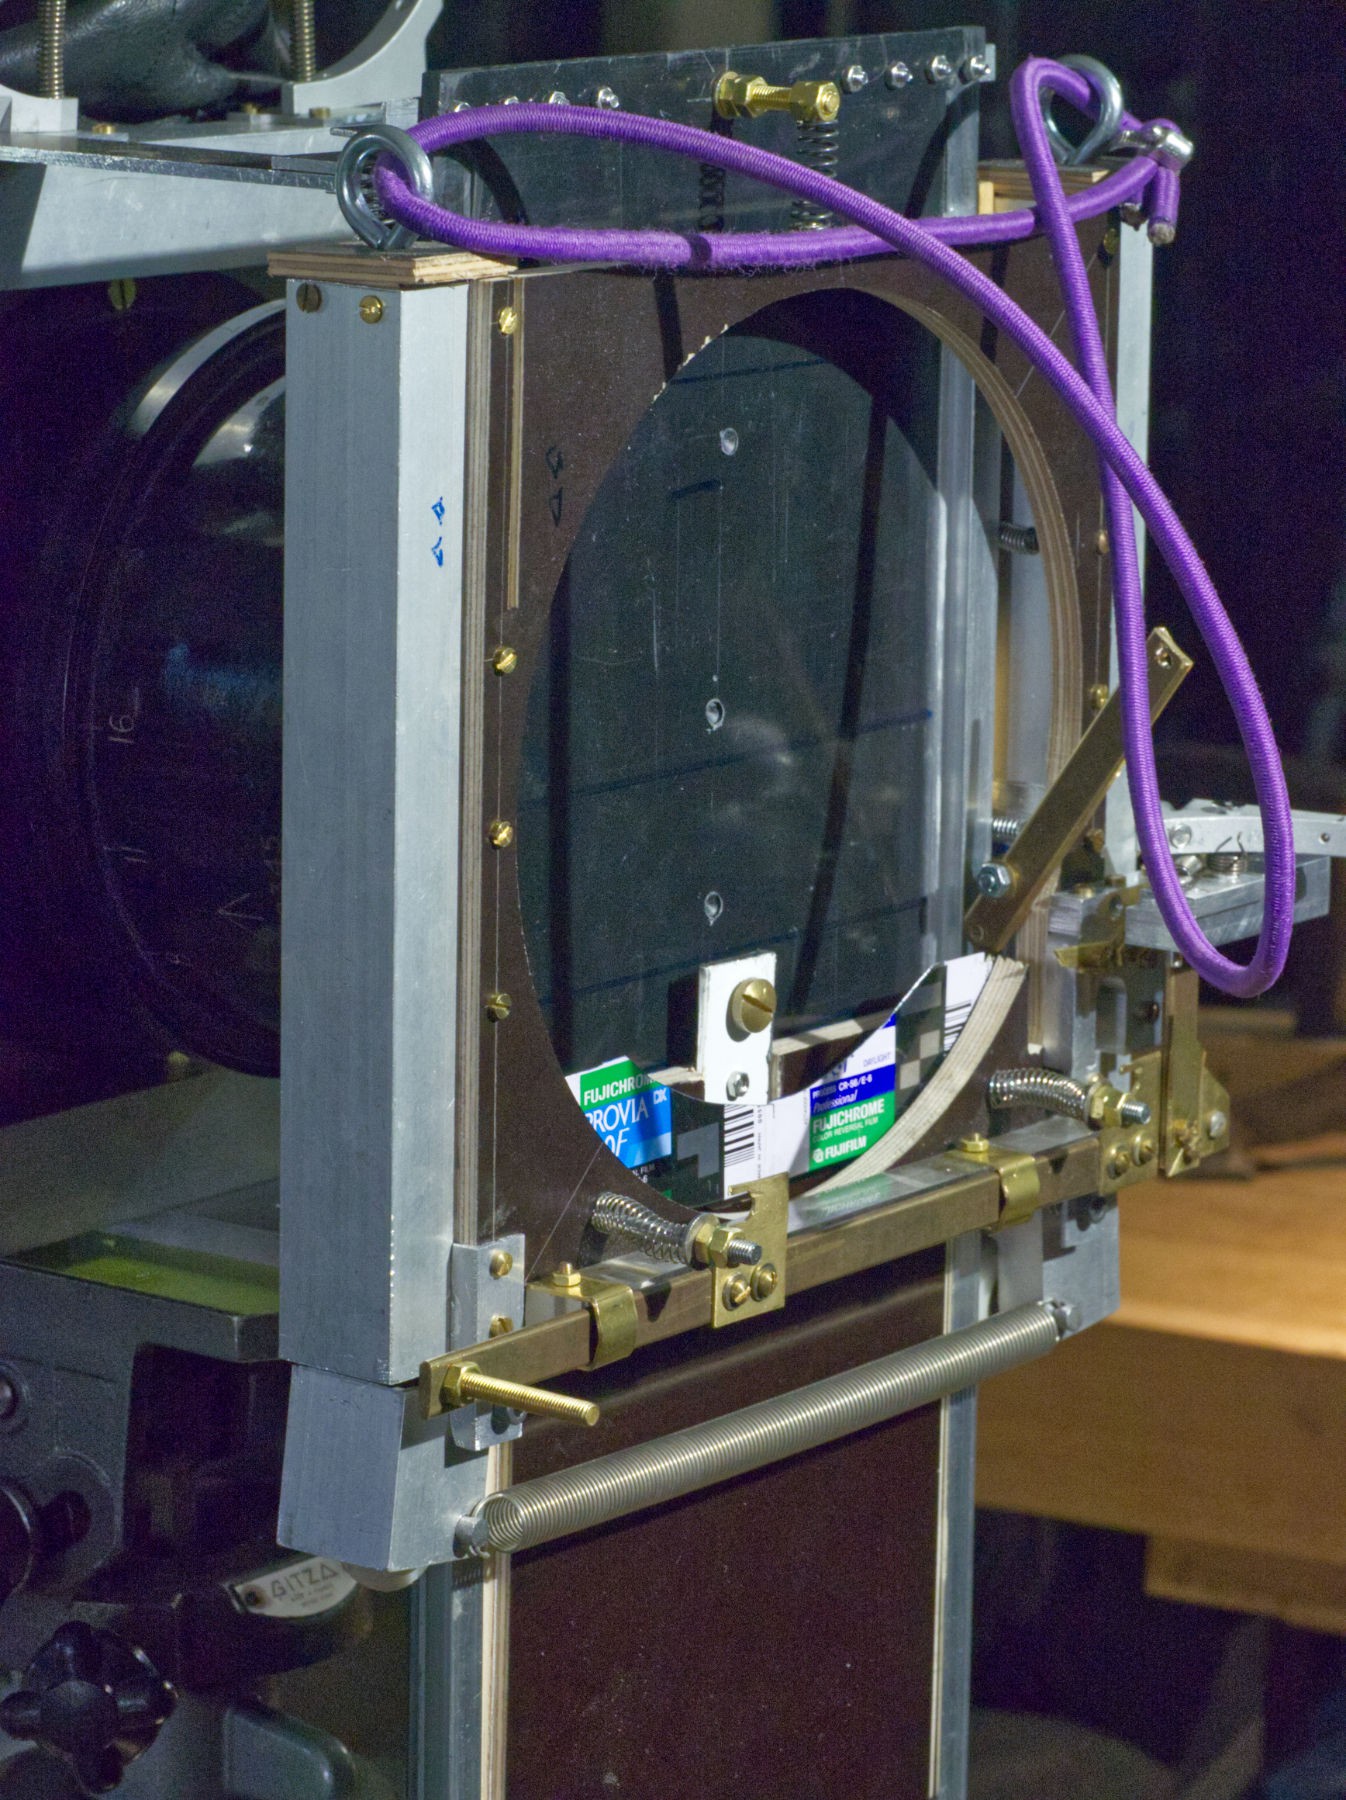
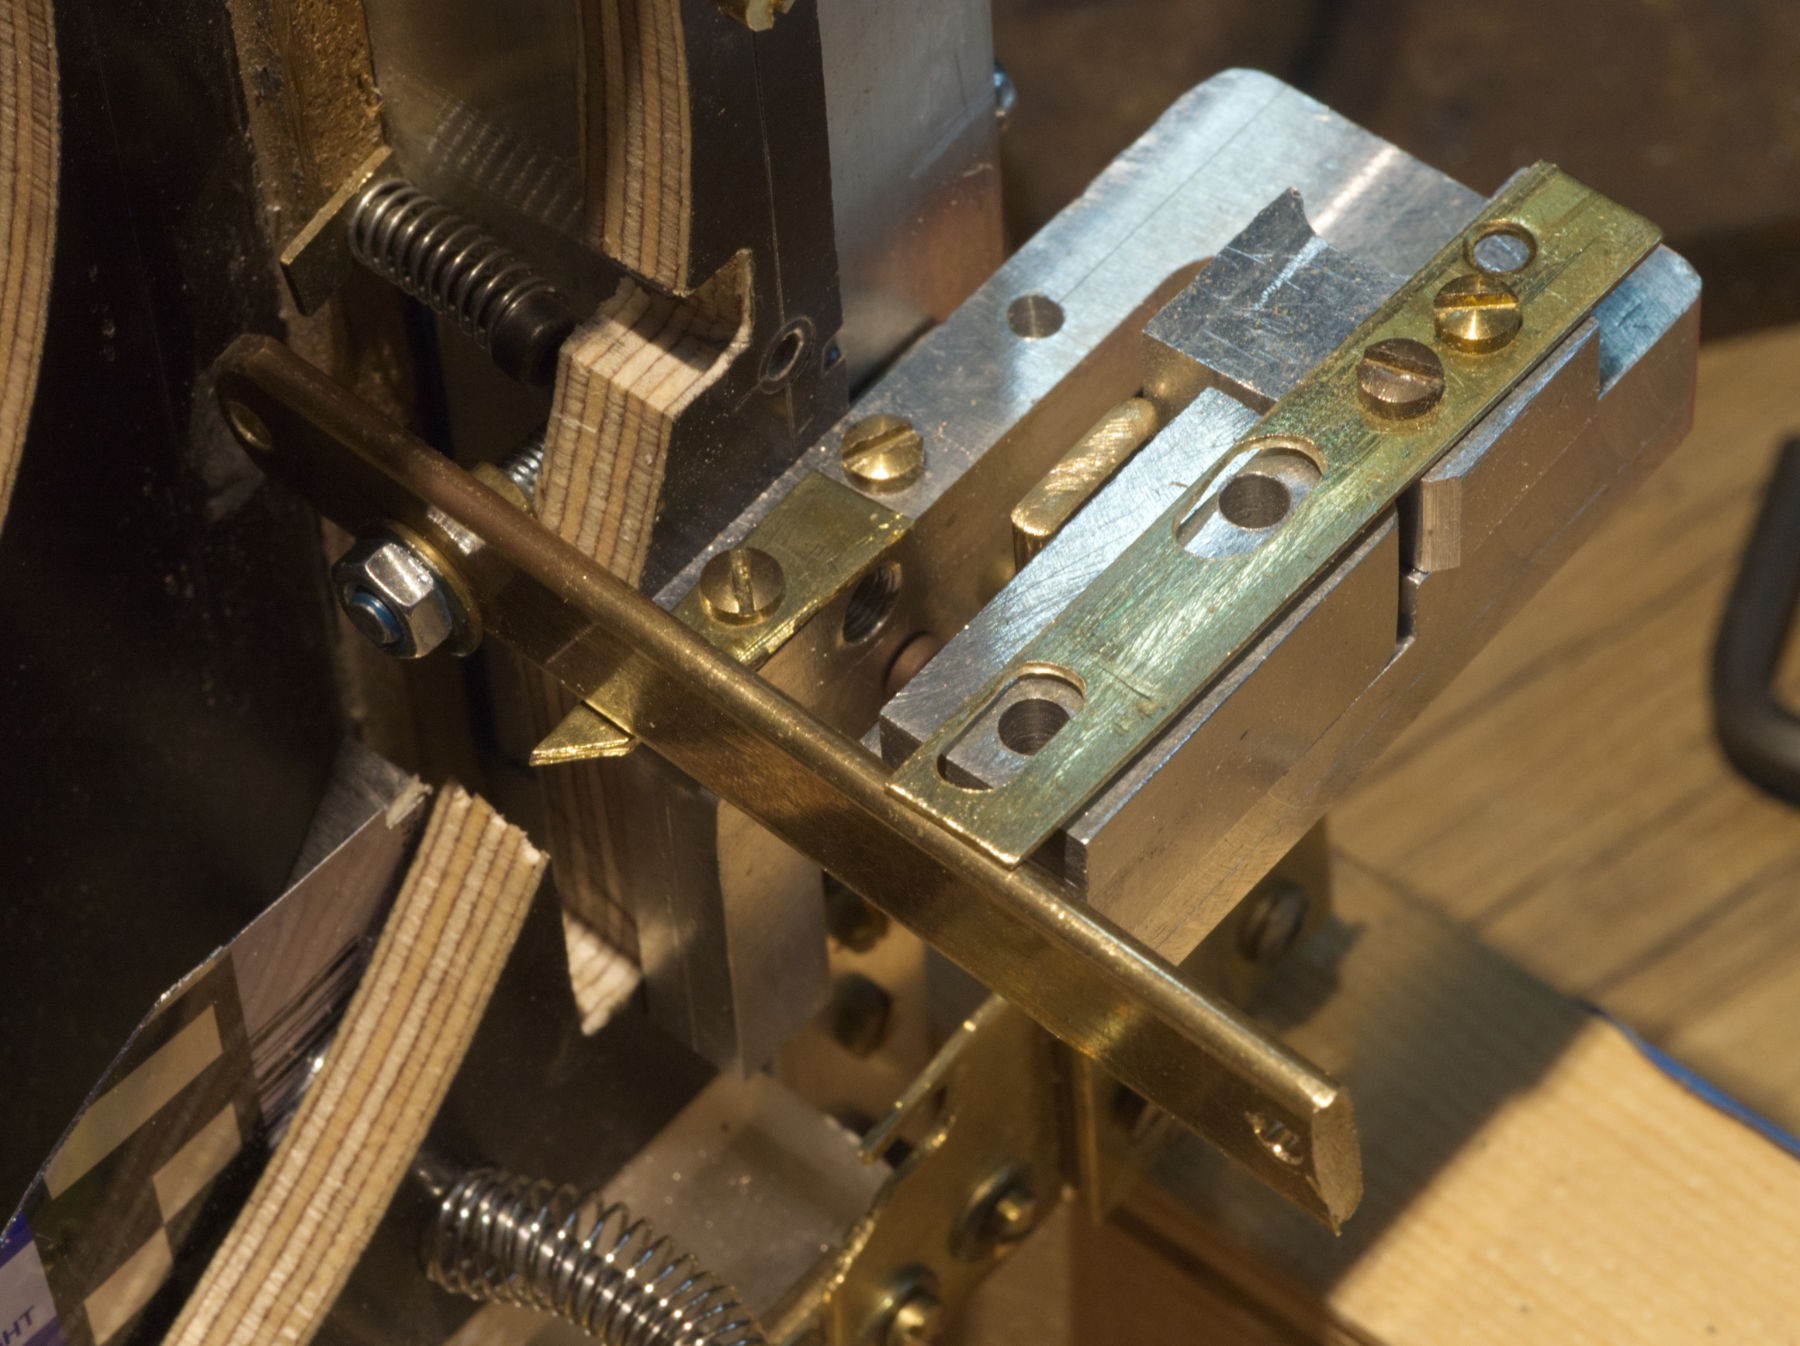
The blade has an square aperture of 160 mm, and the sliding blind can make half of it to have two times faster shutter speed, and again, and again. The smaller the slot, the faster the time.
![]()
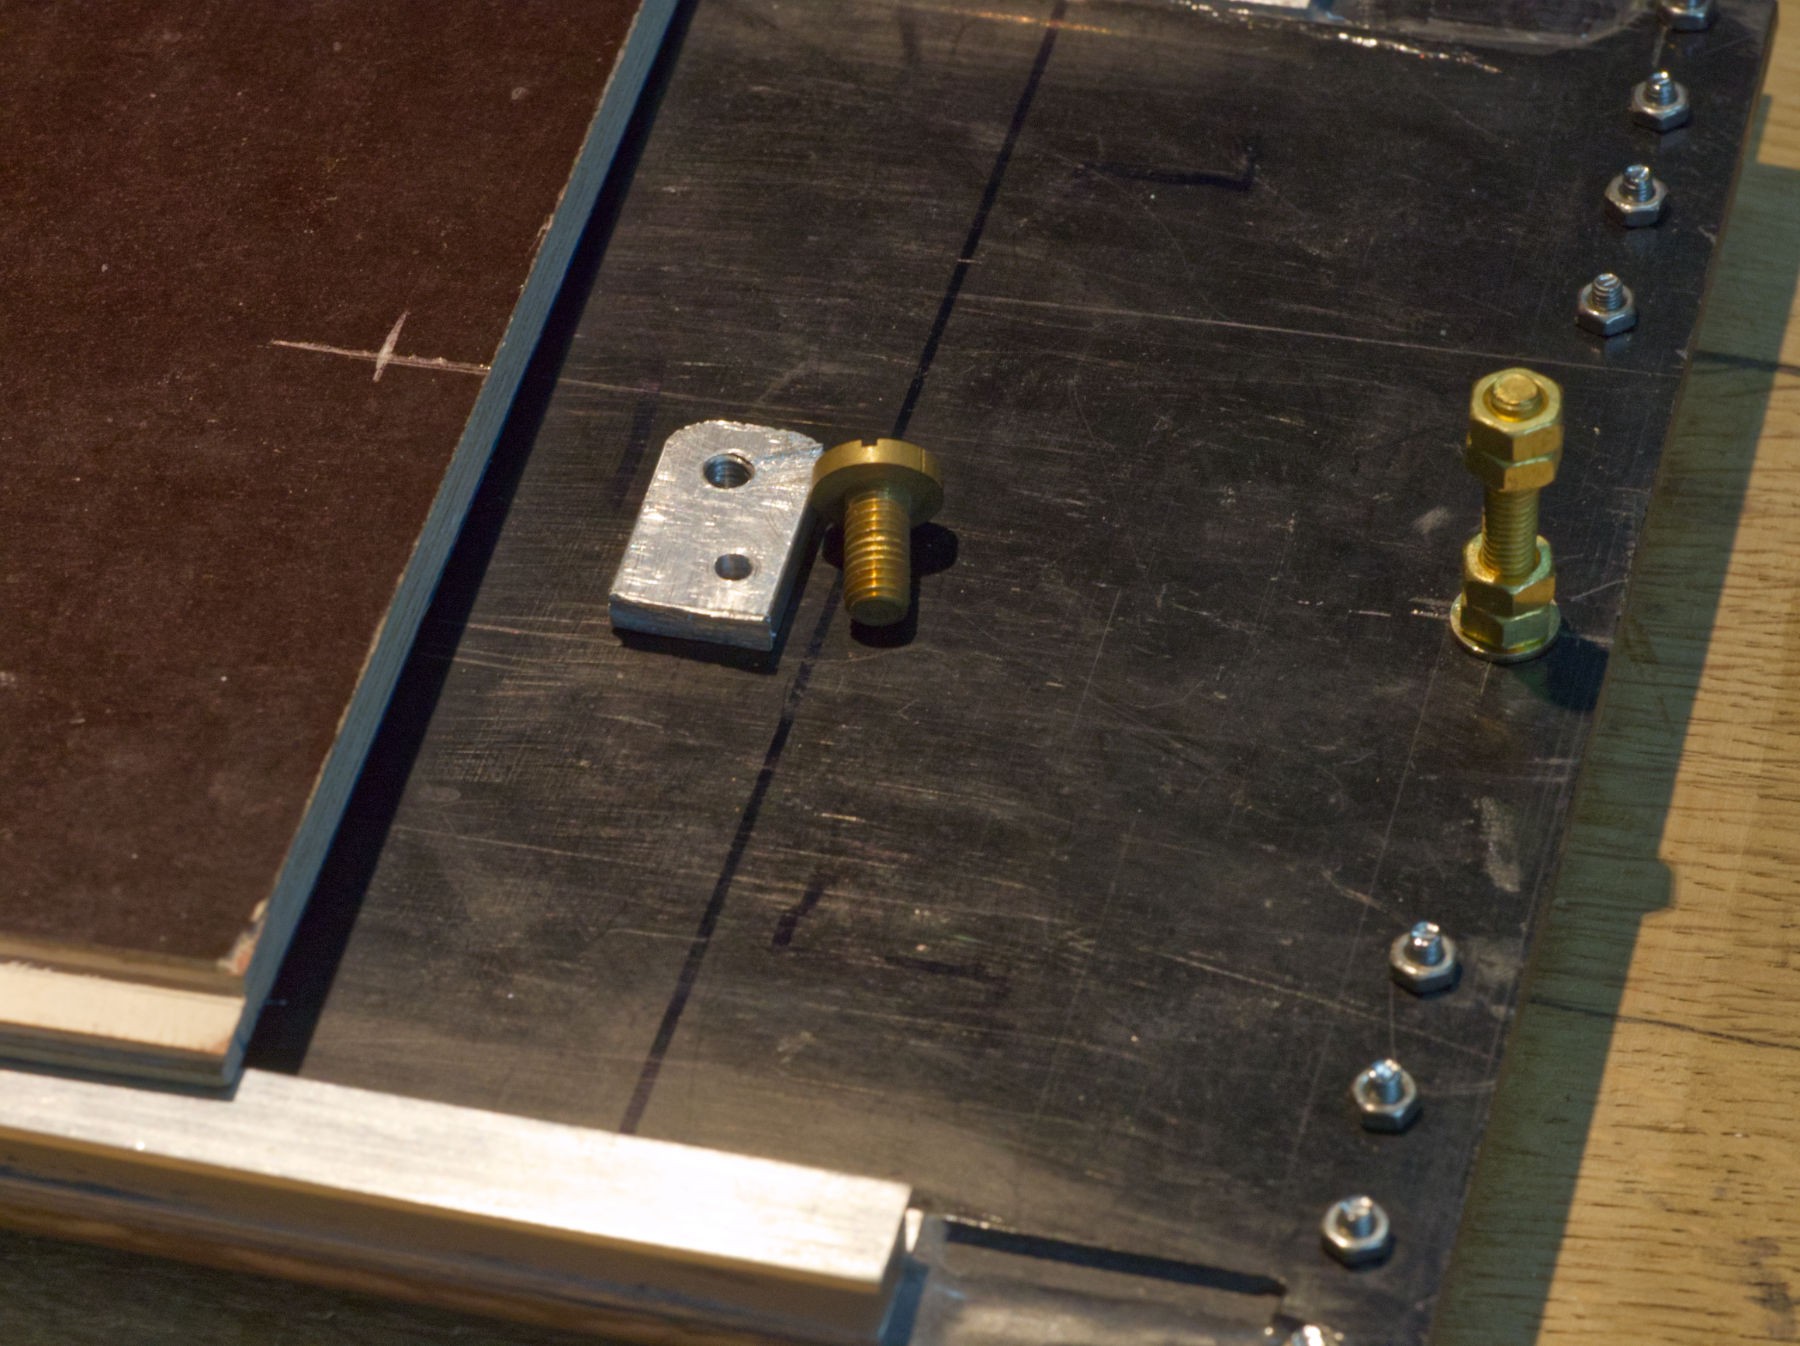
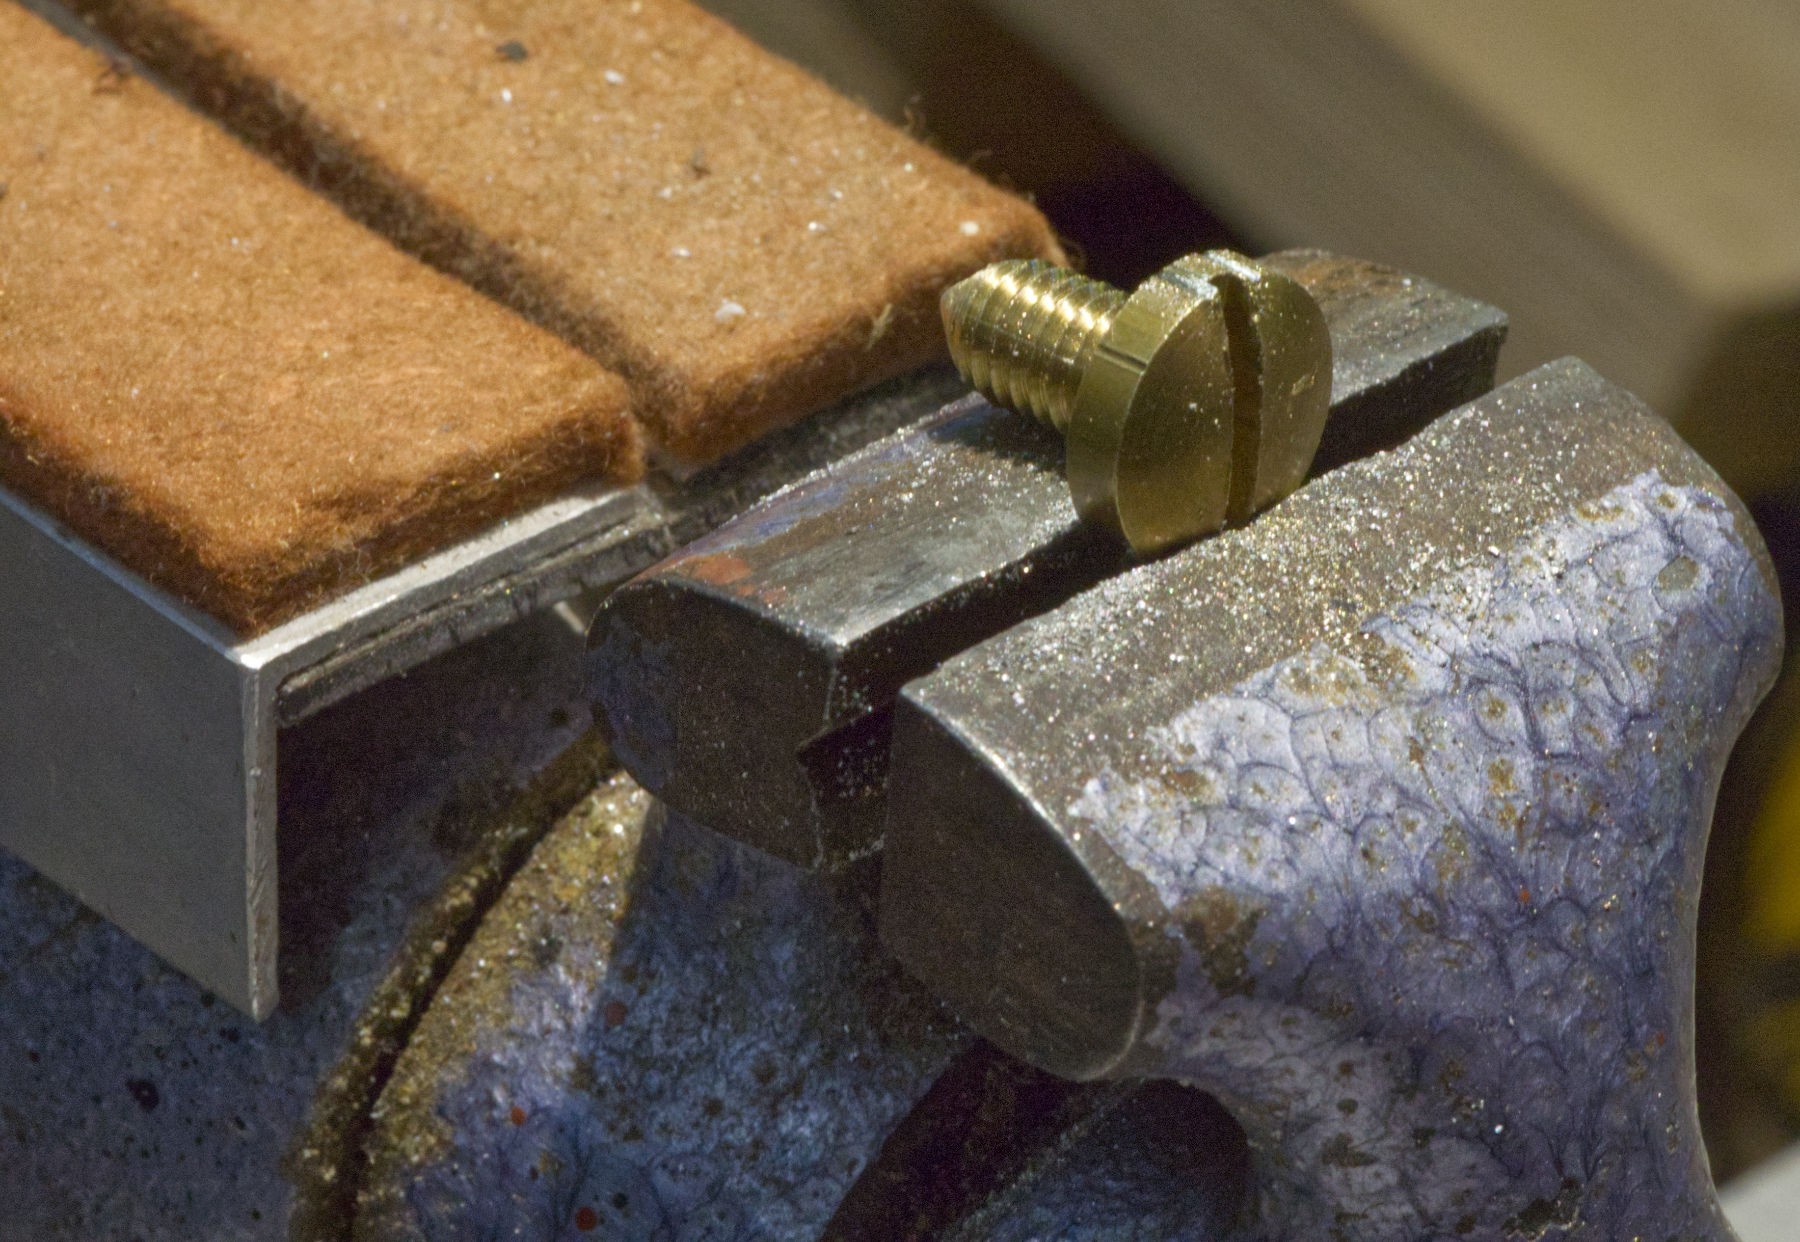
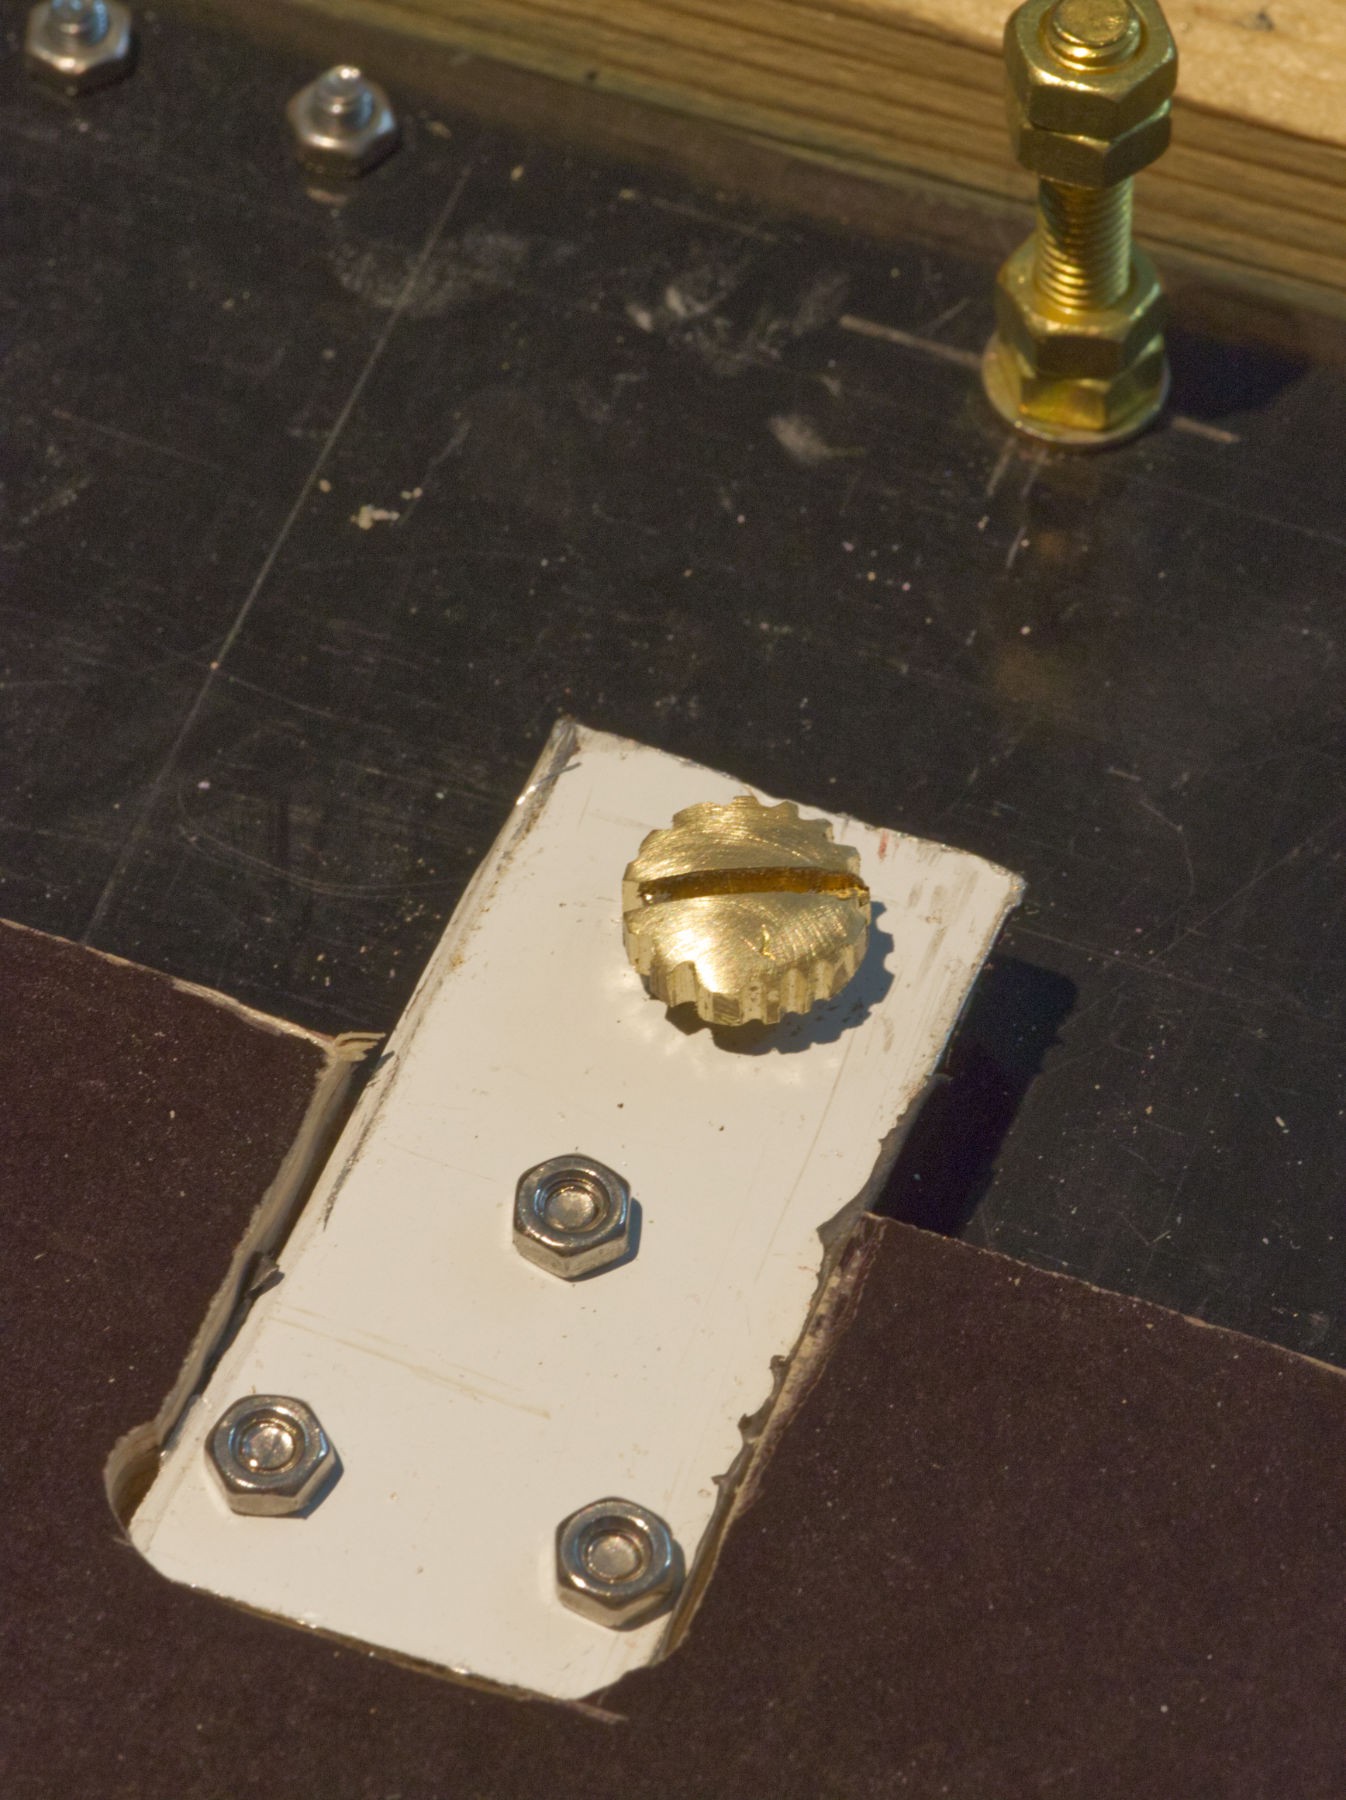
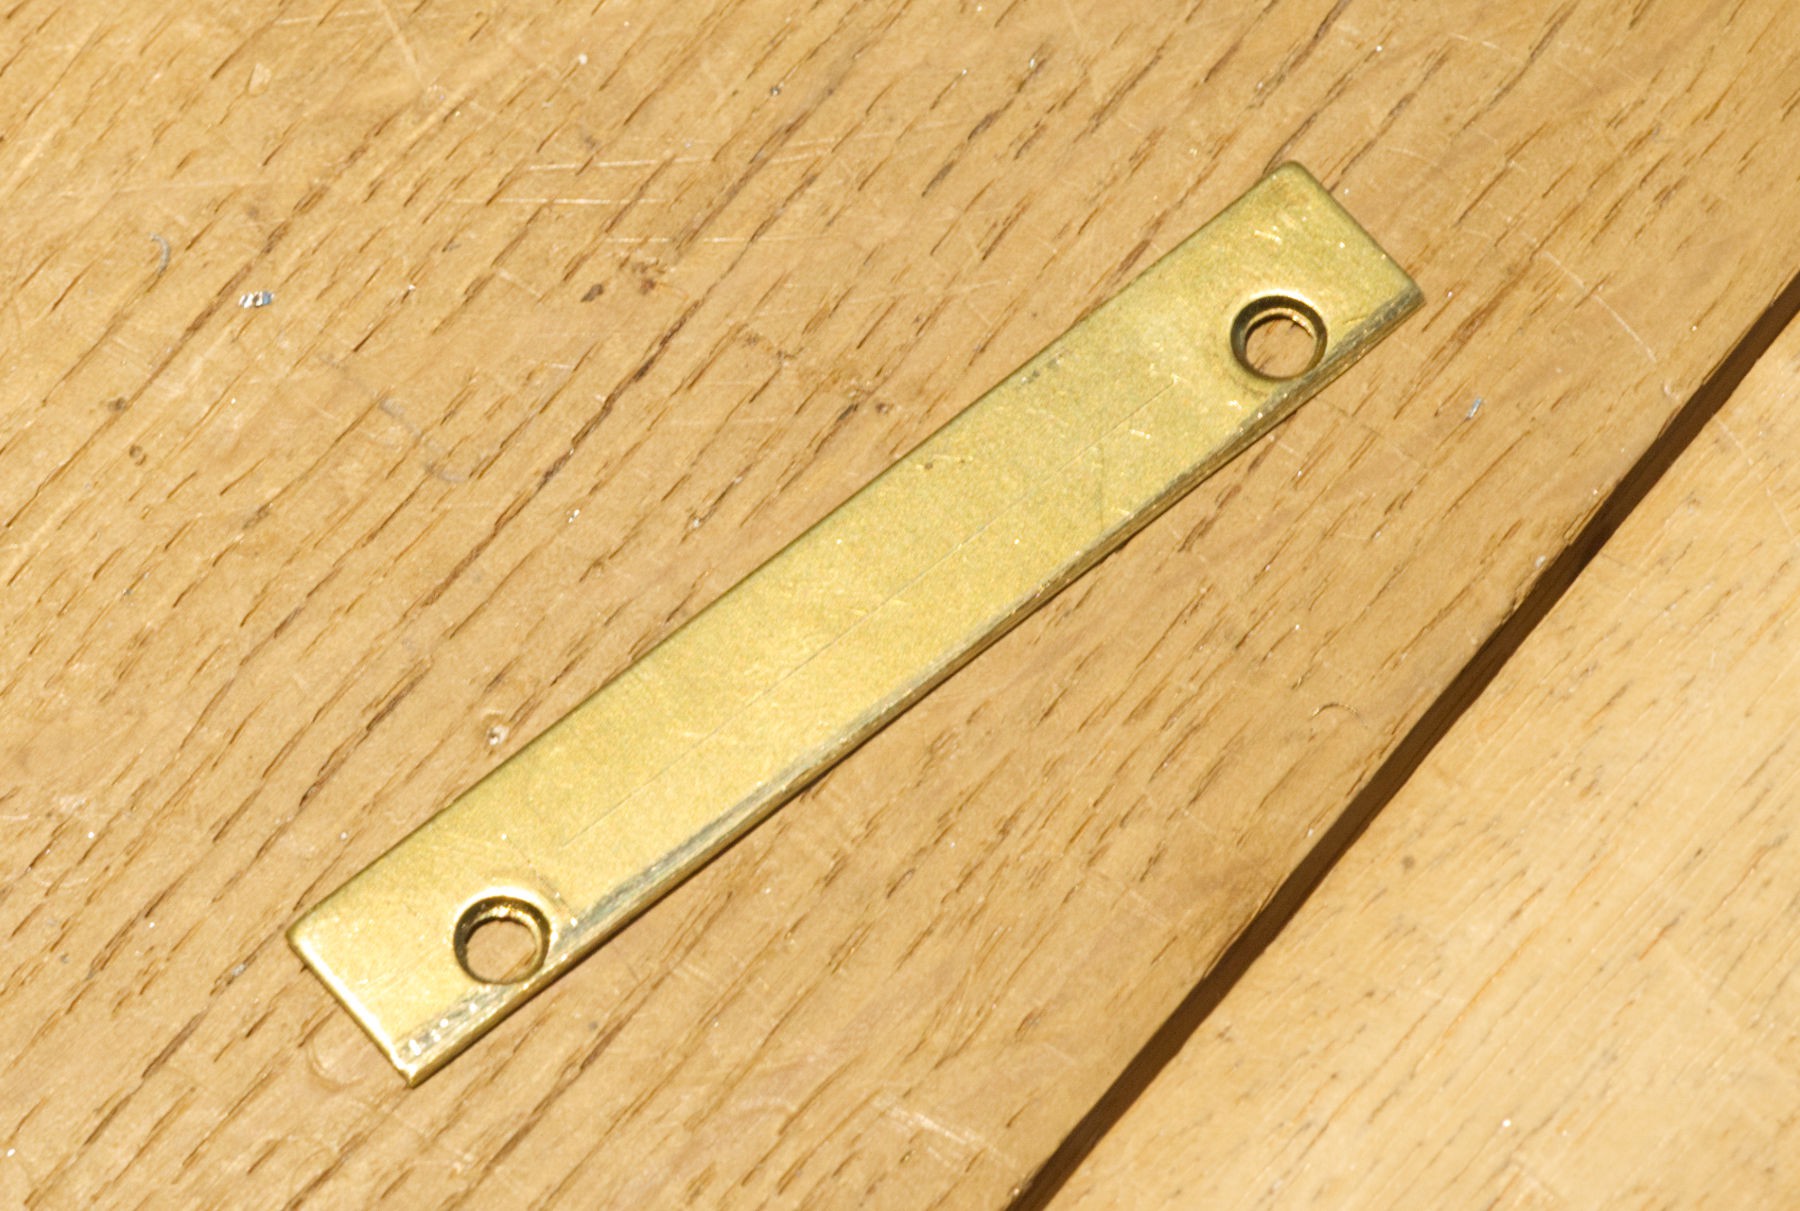
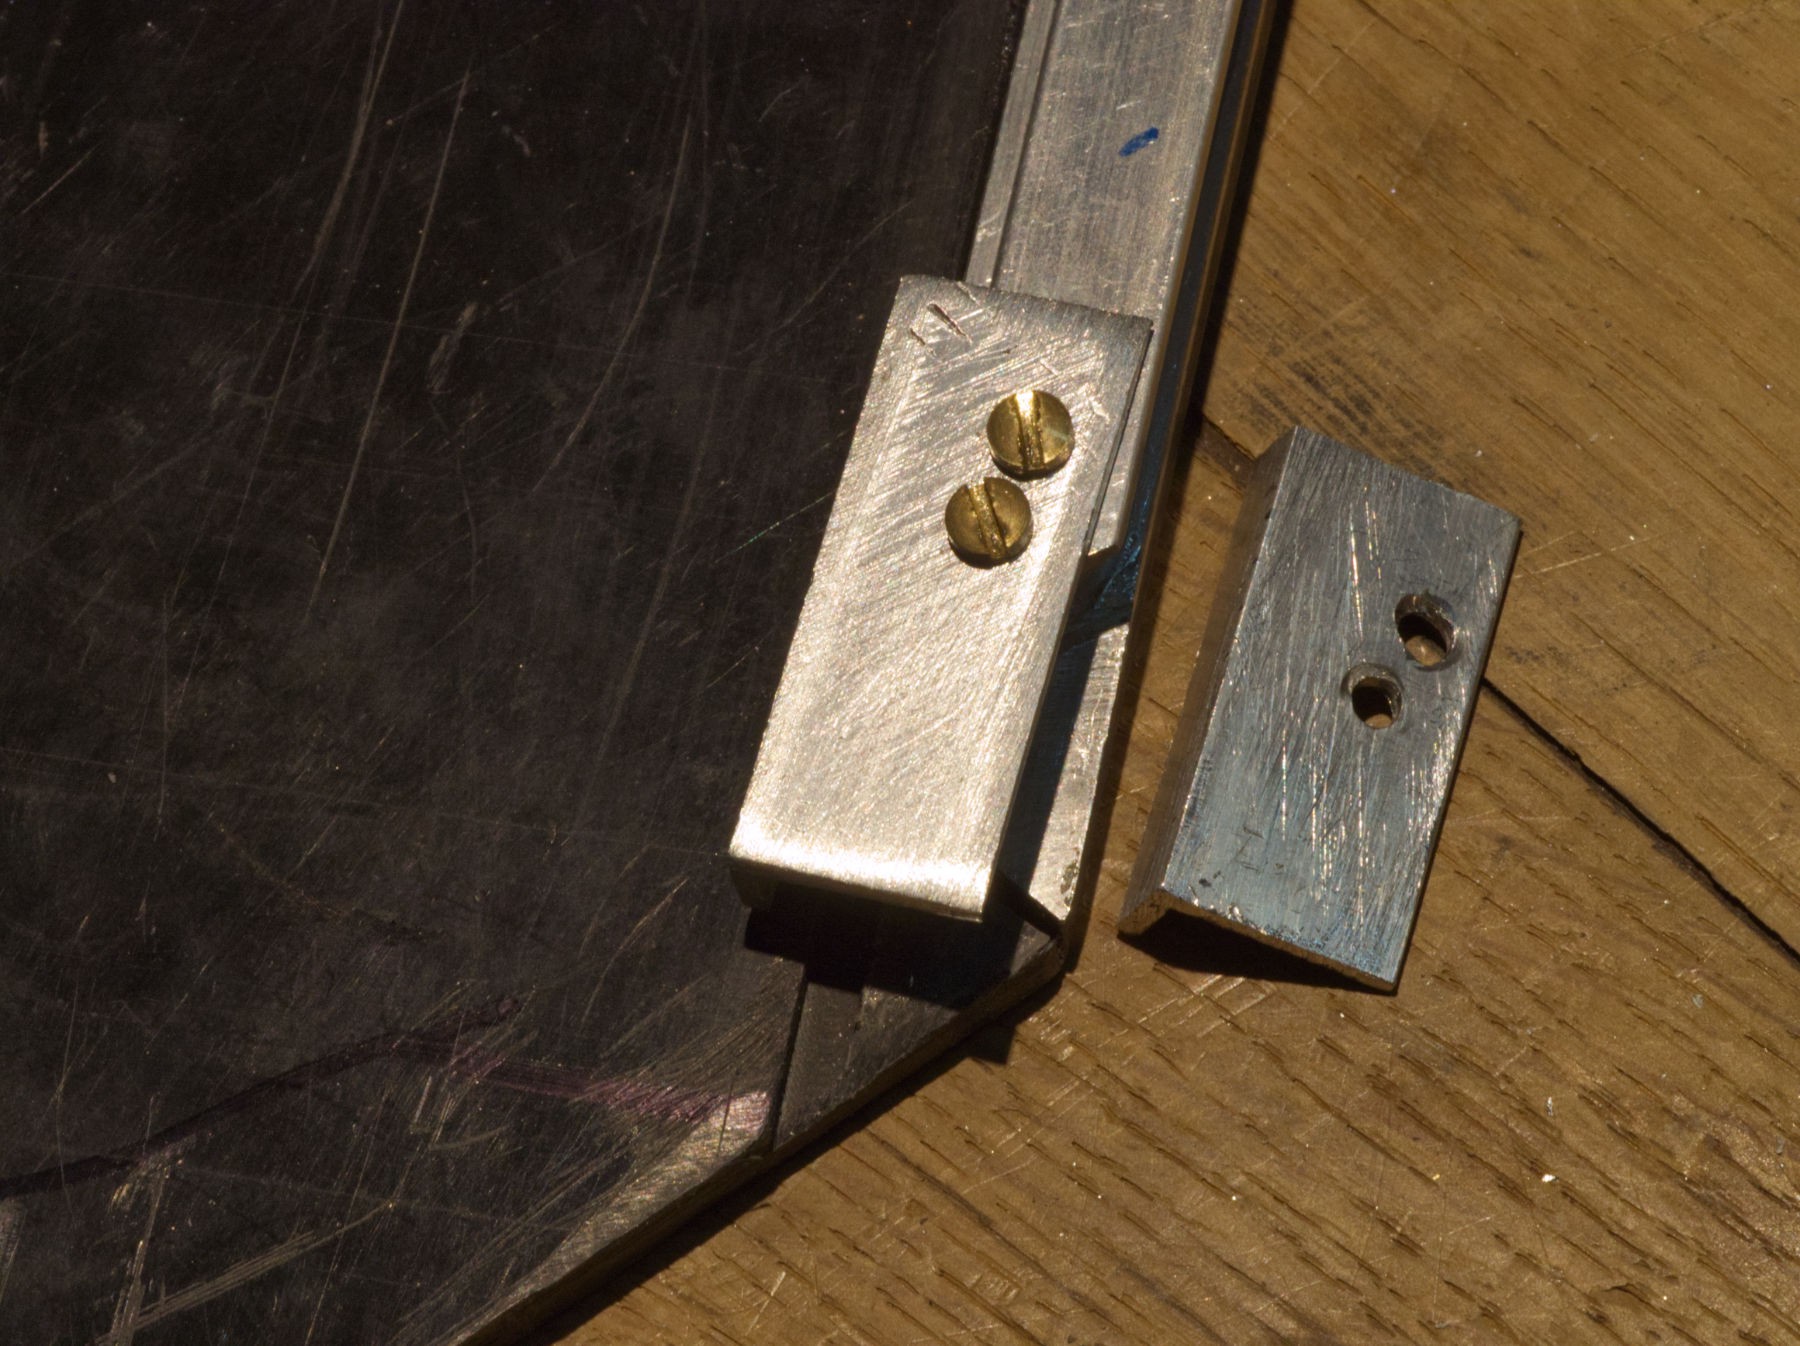
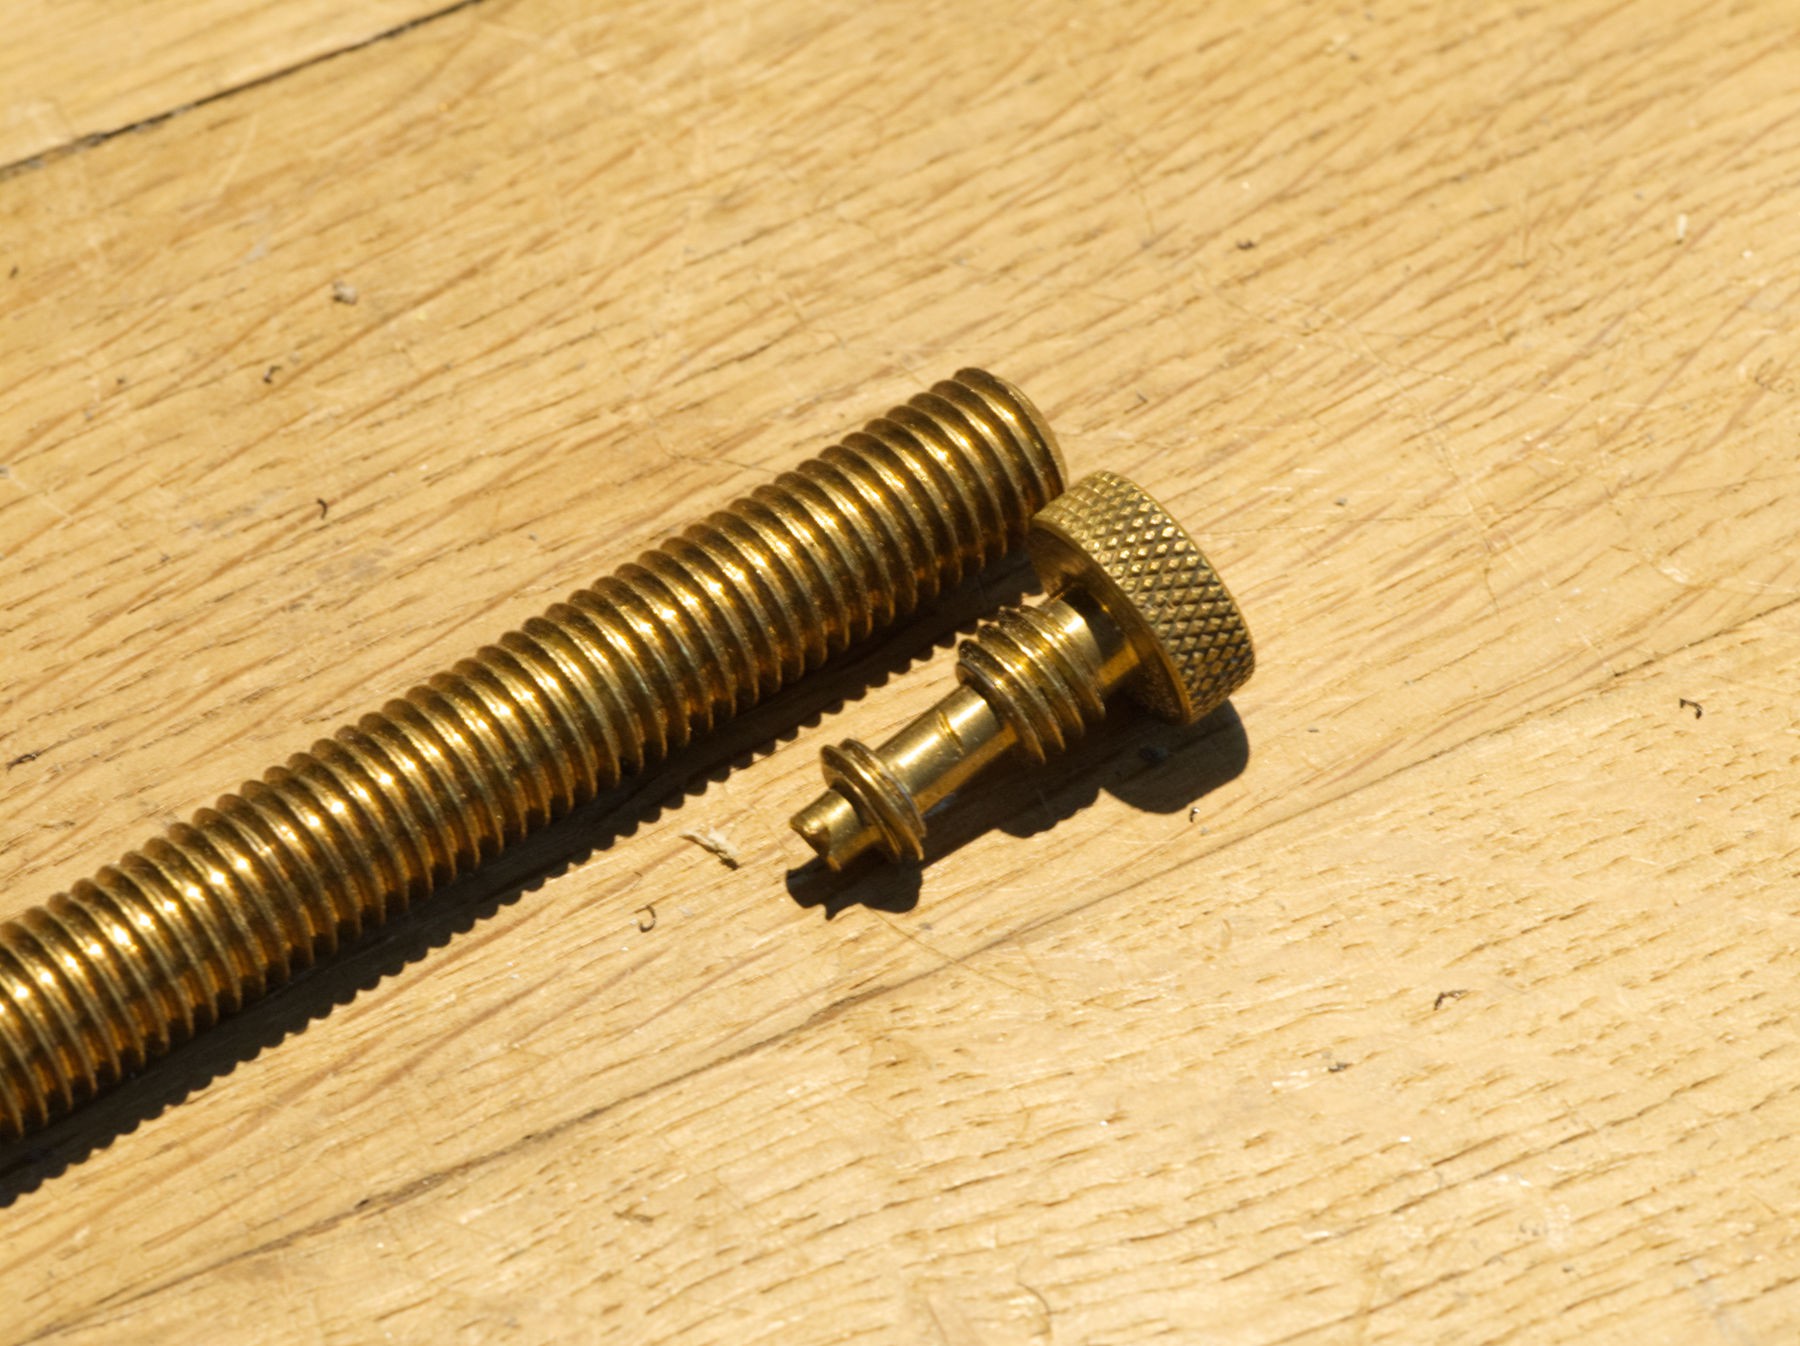
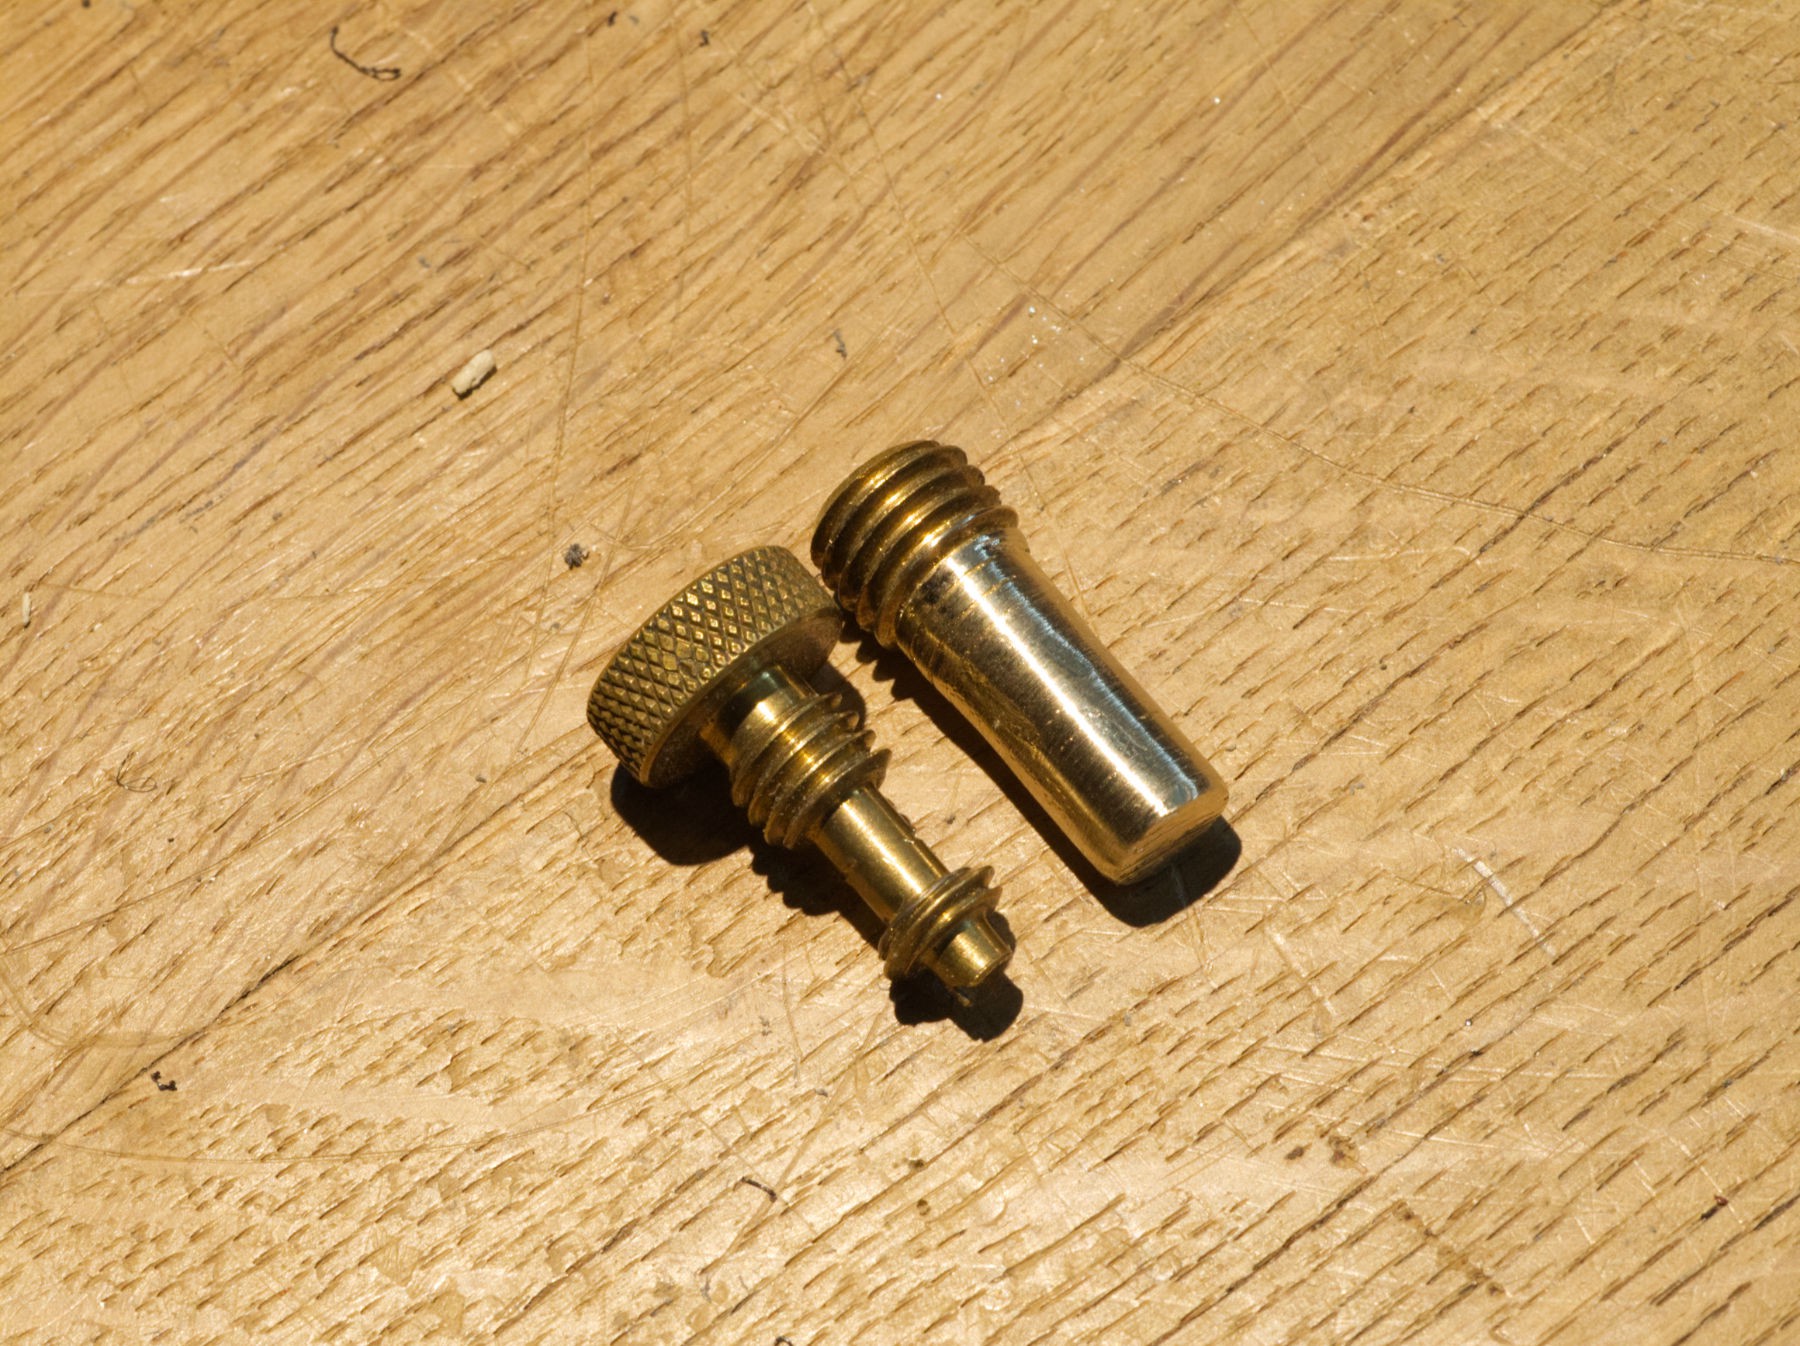
It must be fastened to the blade at the chosen place, that M 6 brass screw will do the job (the small aluminium part is finally not going to be used).
![]()
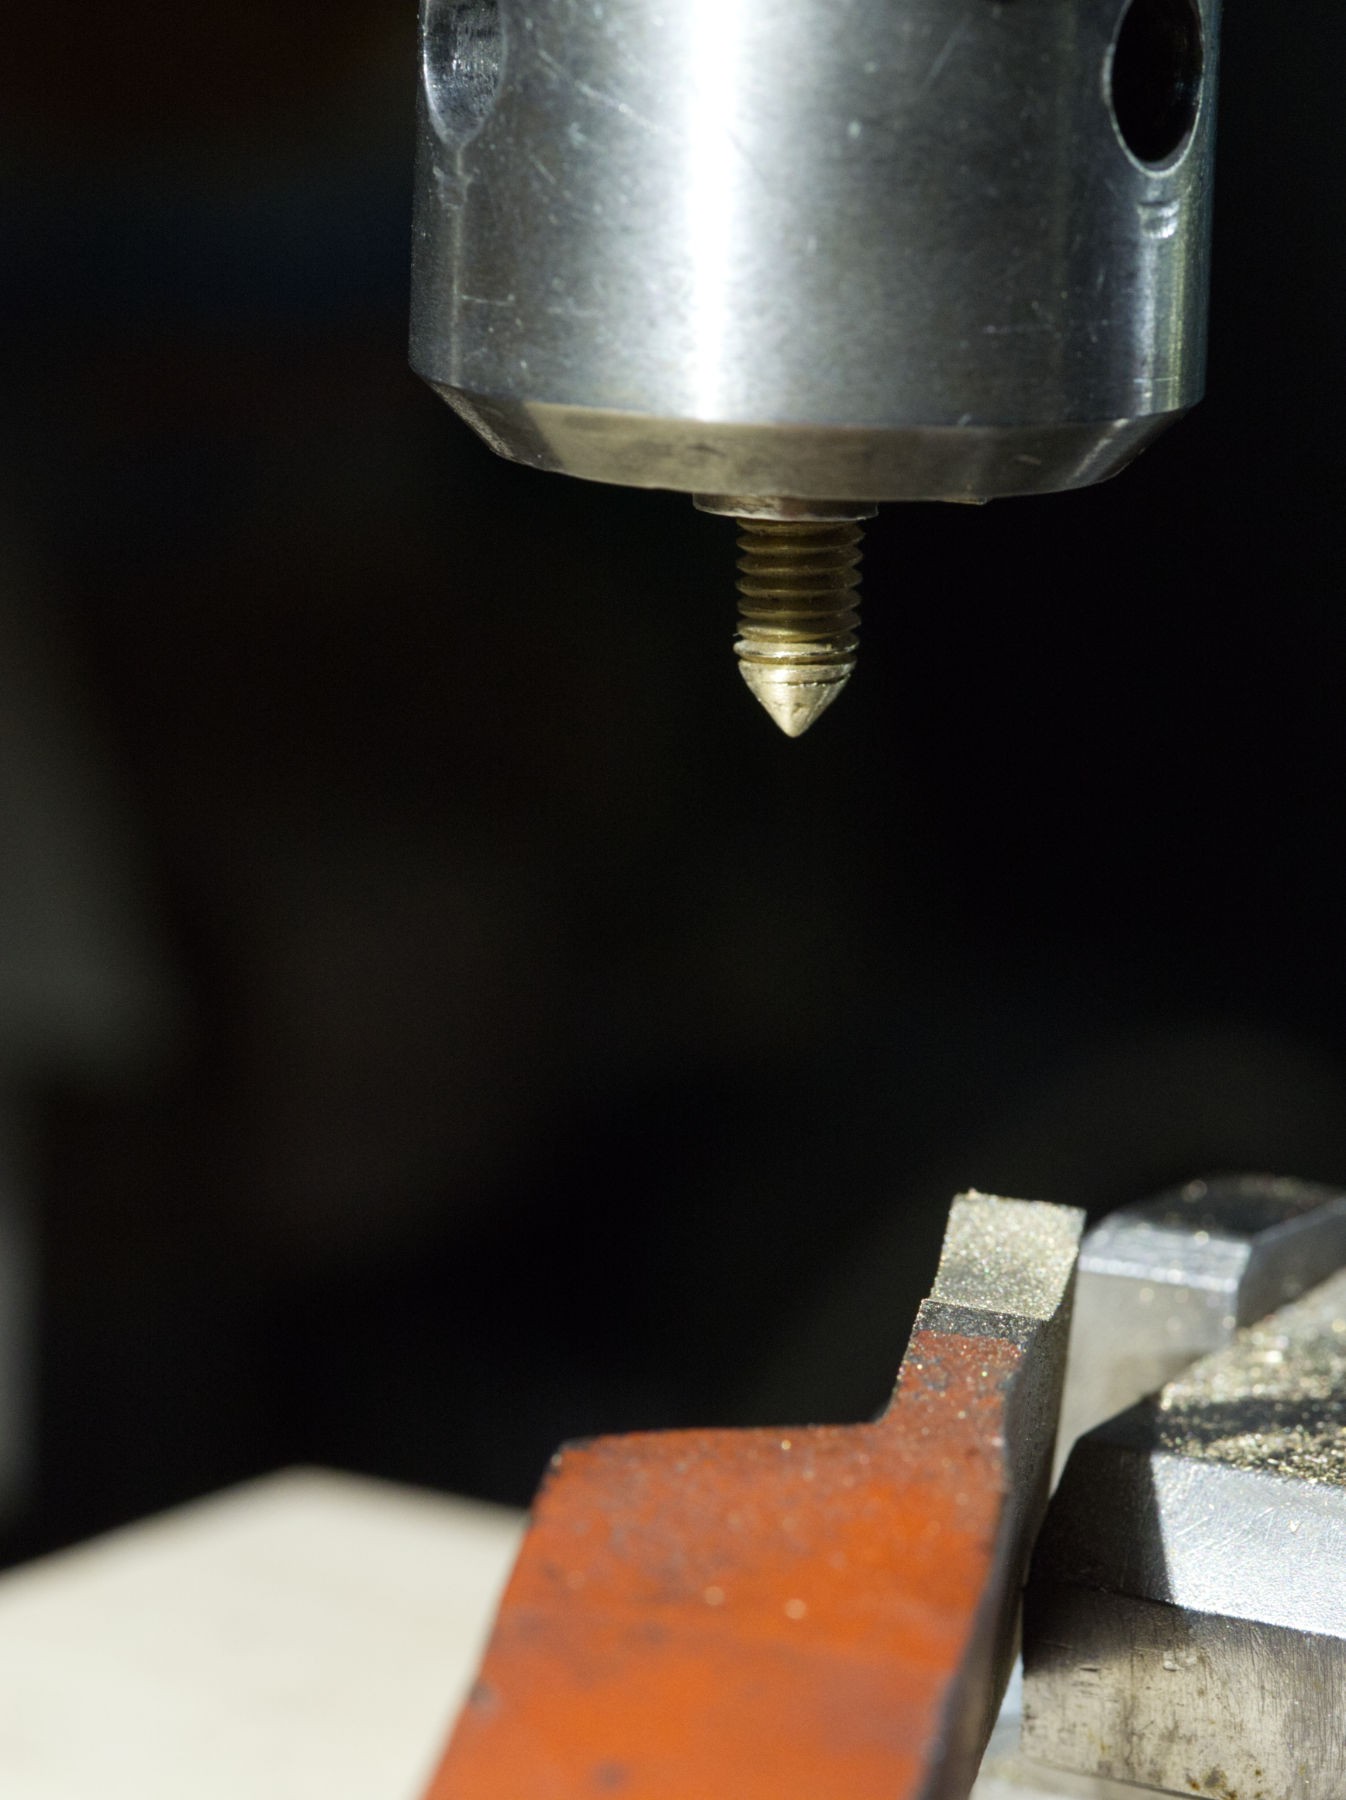
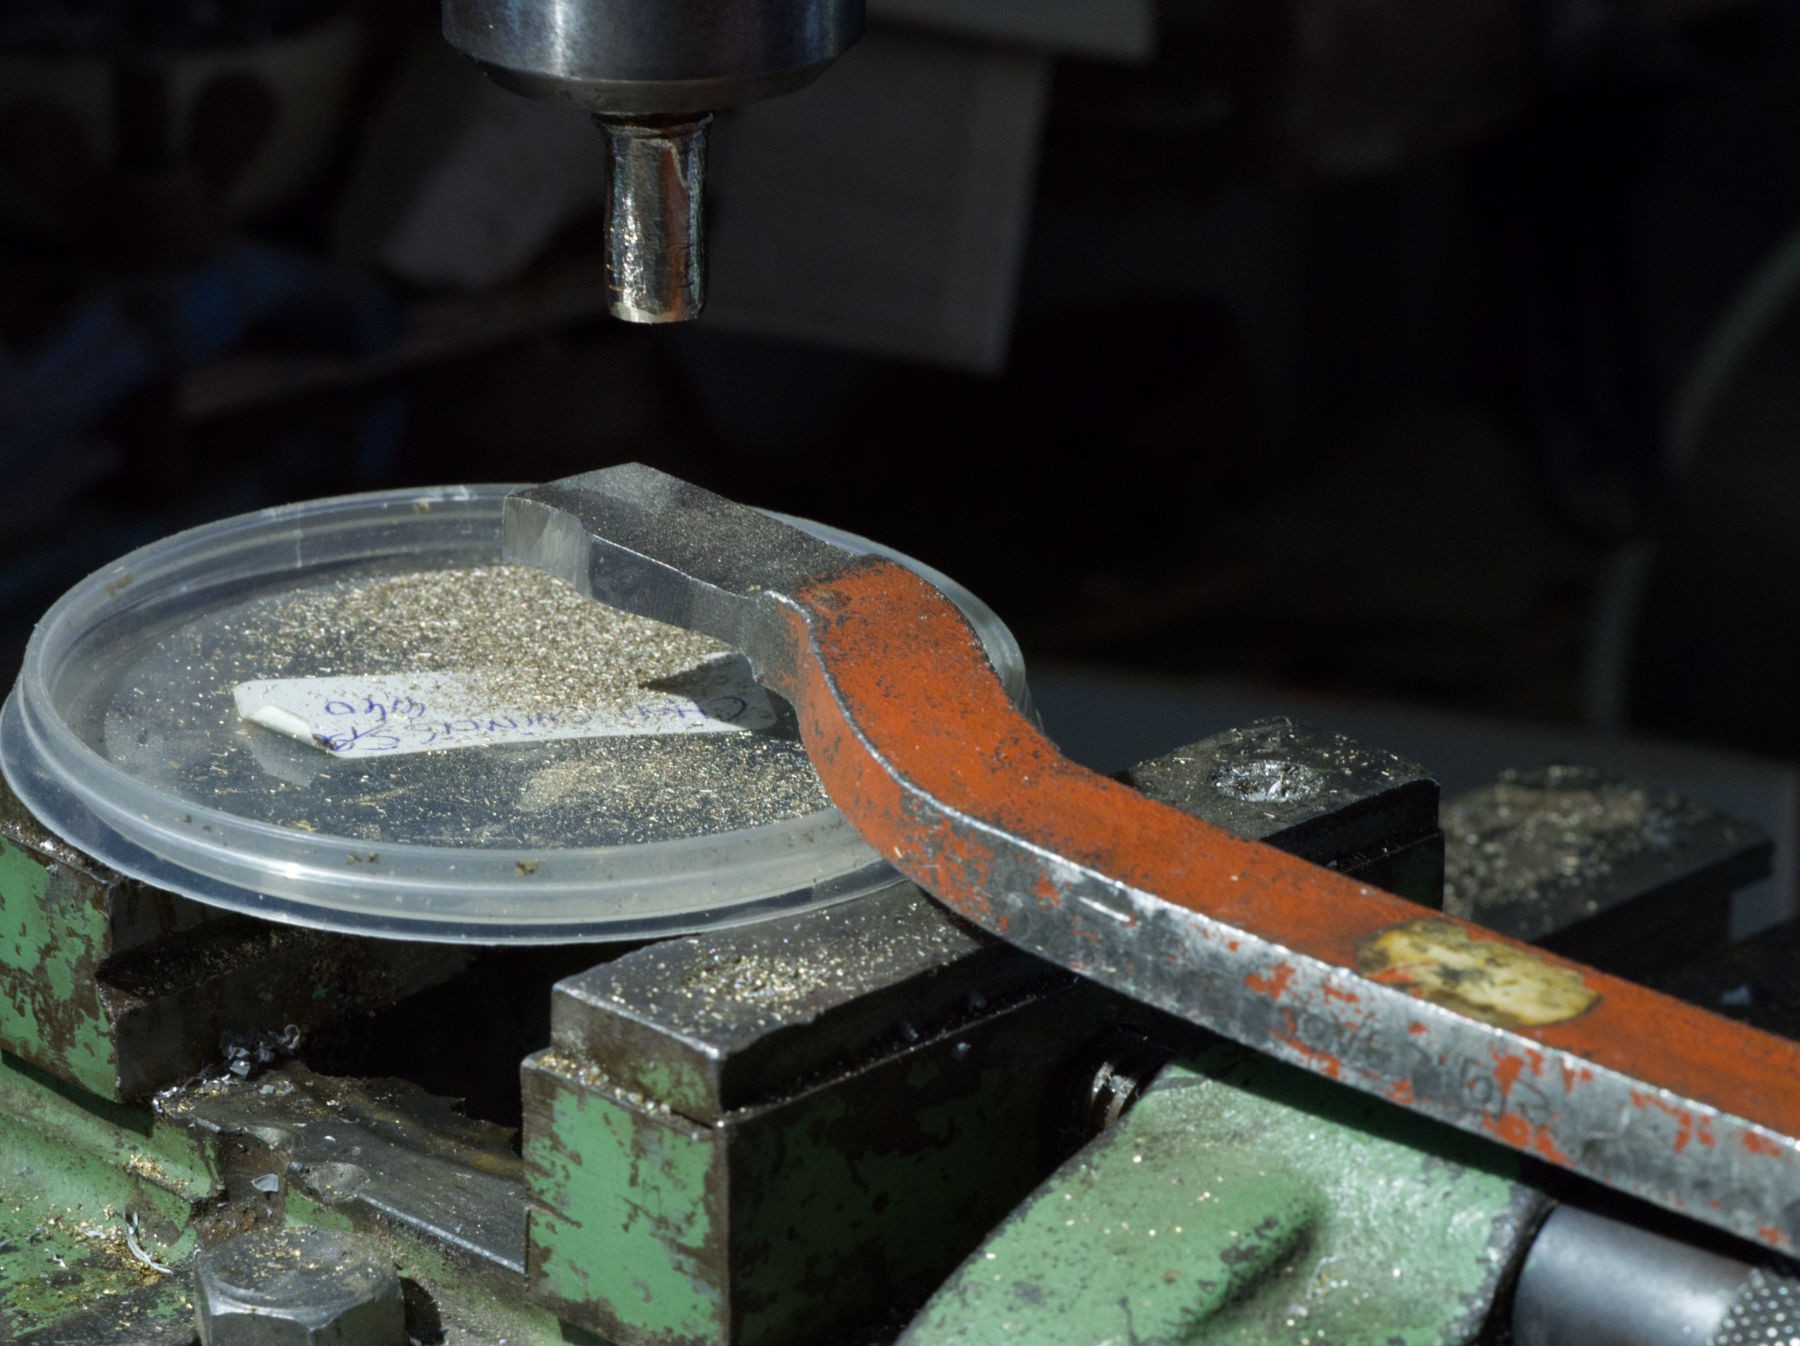
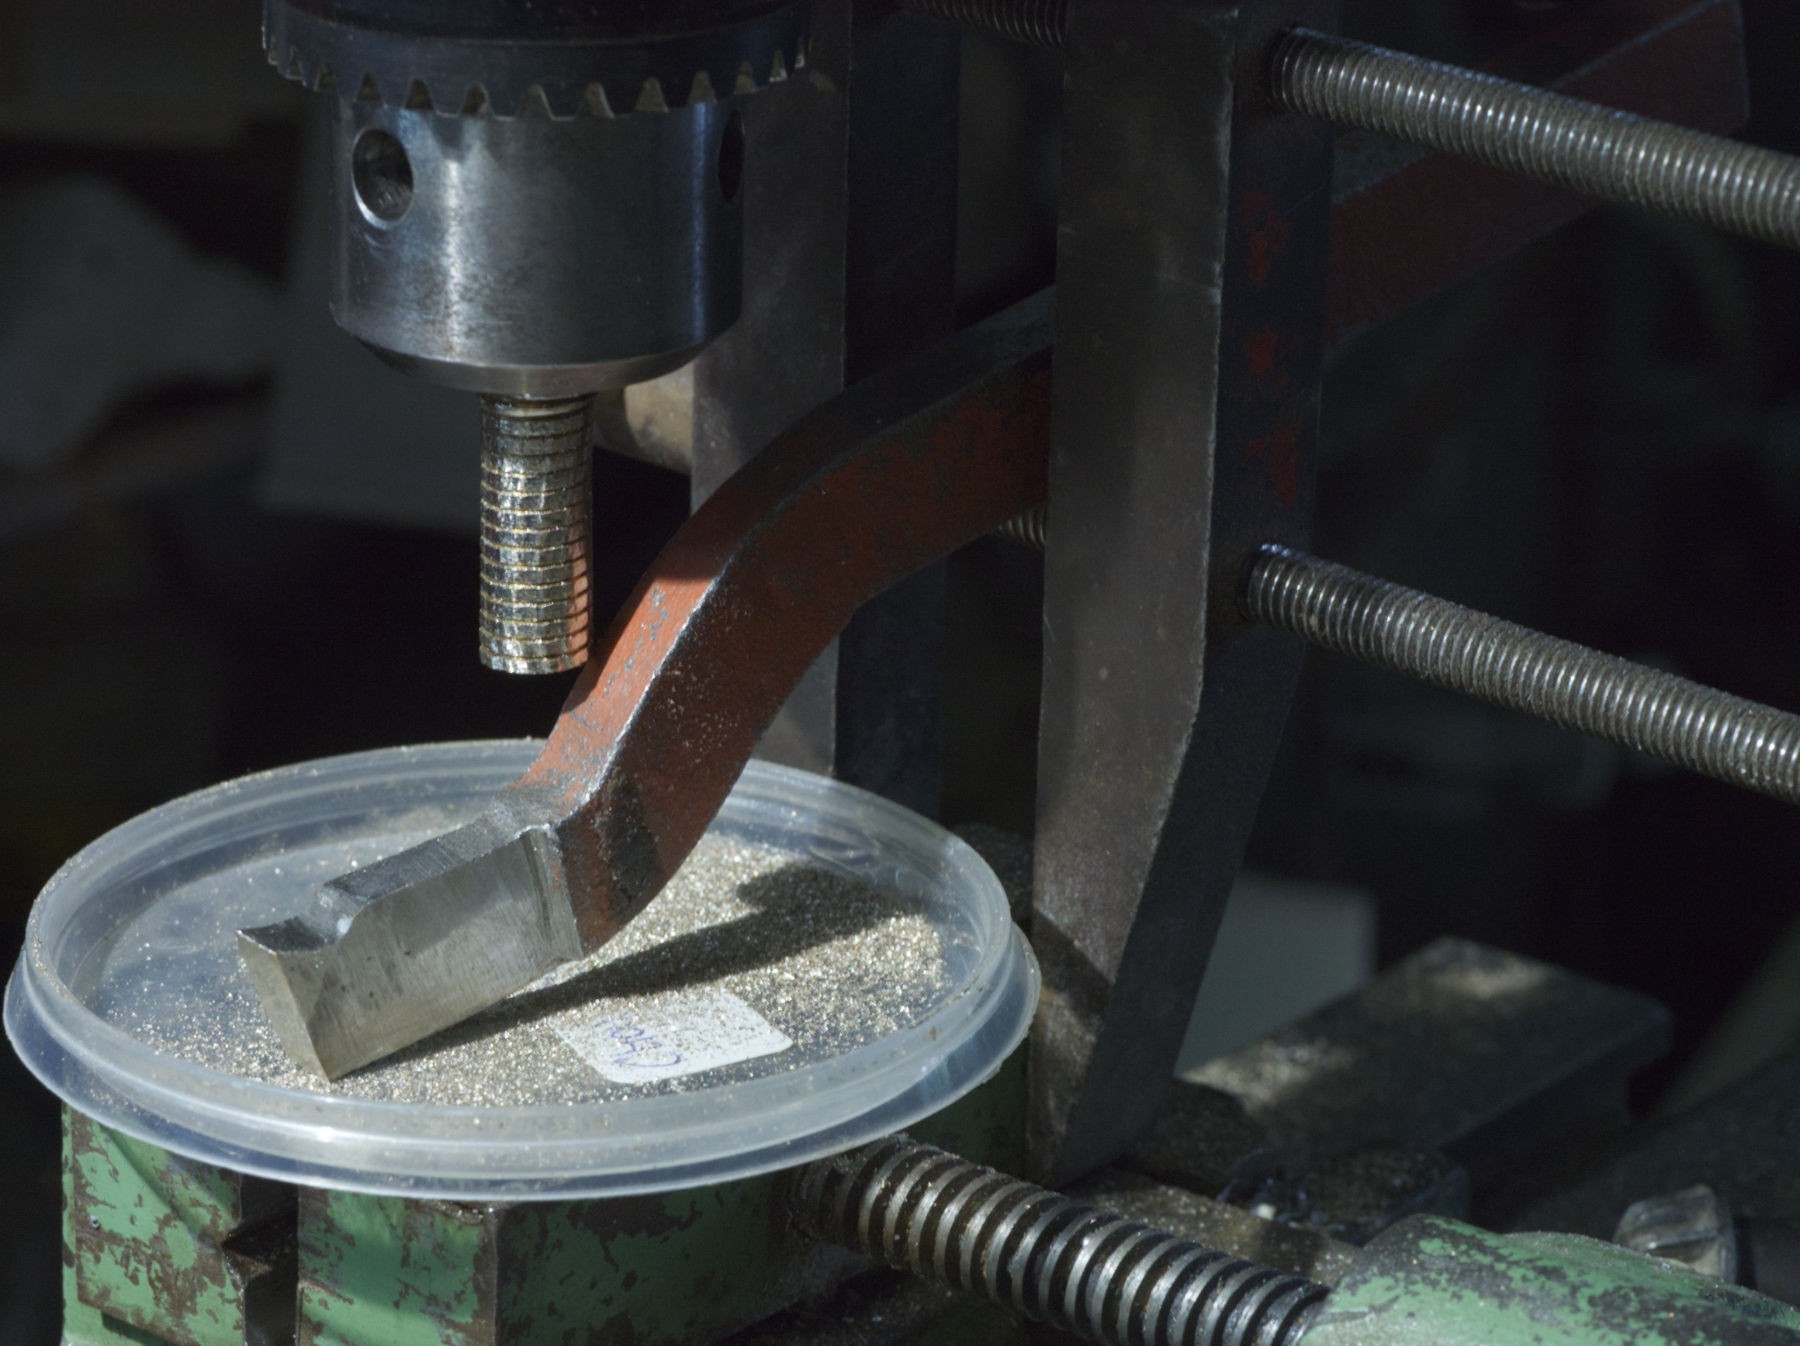
Sharpening the tip with a lathe tool using the drill press.
![]()
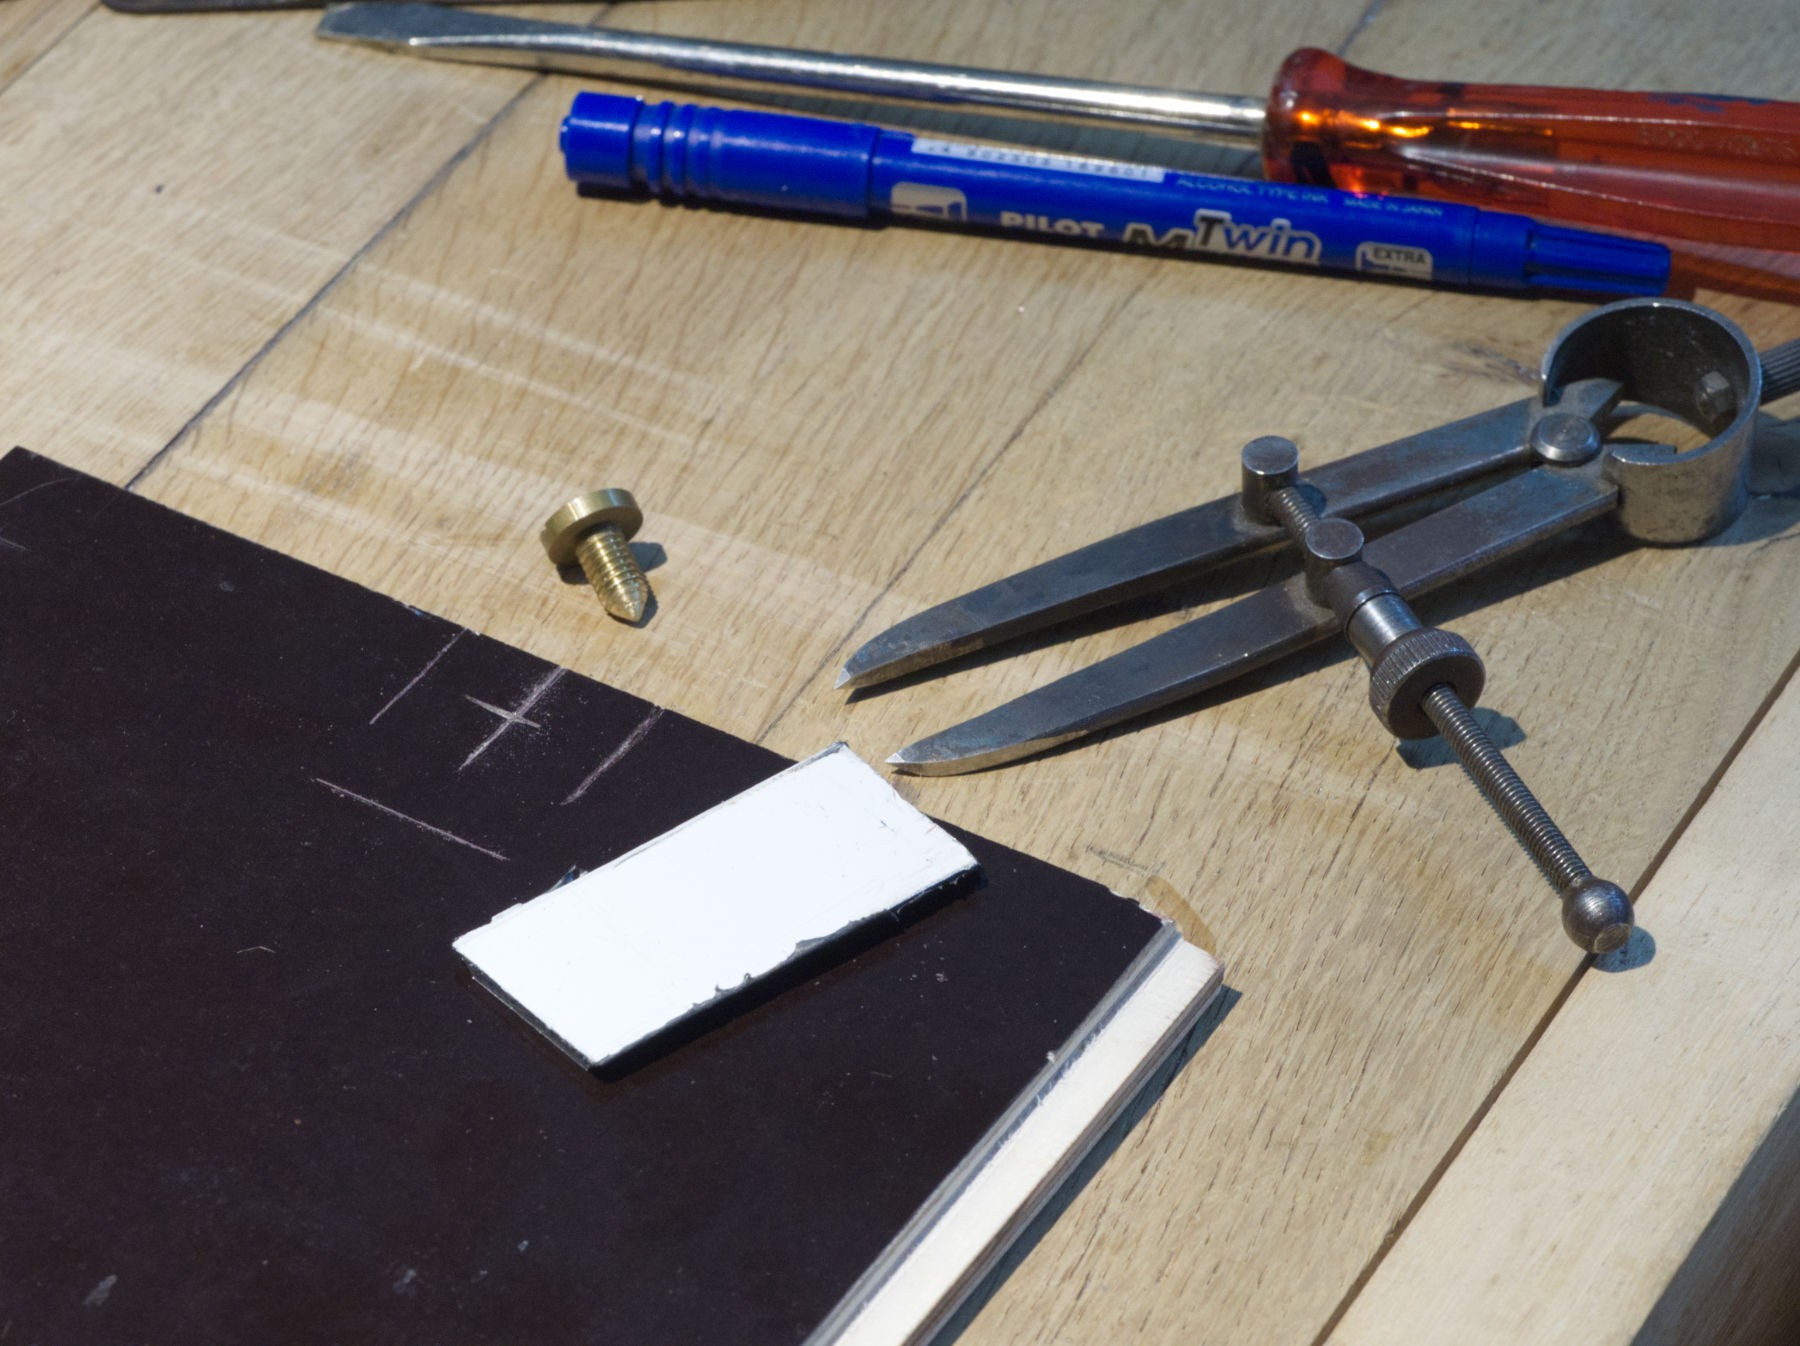
Some 3 mm thick Dibond is going to hold it.
![]()
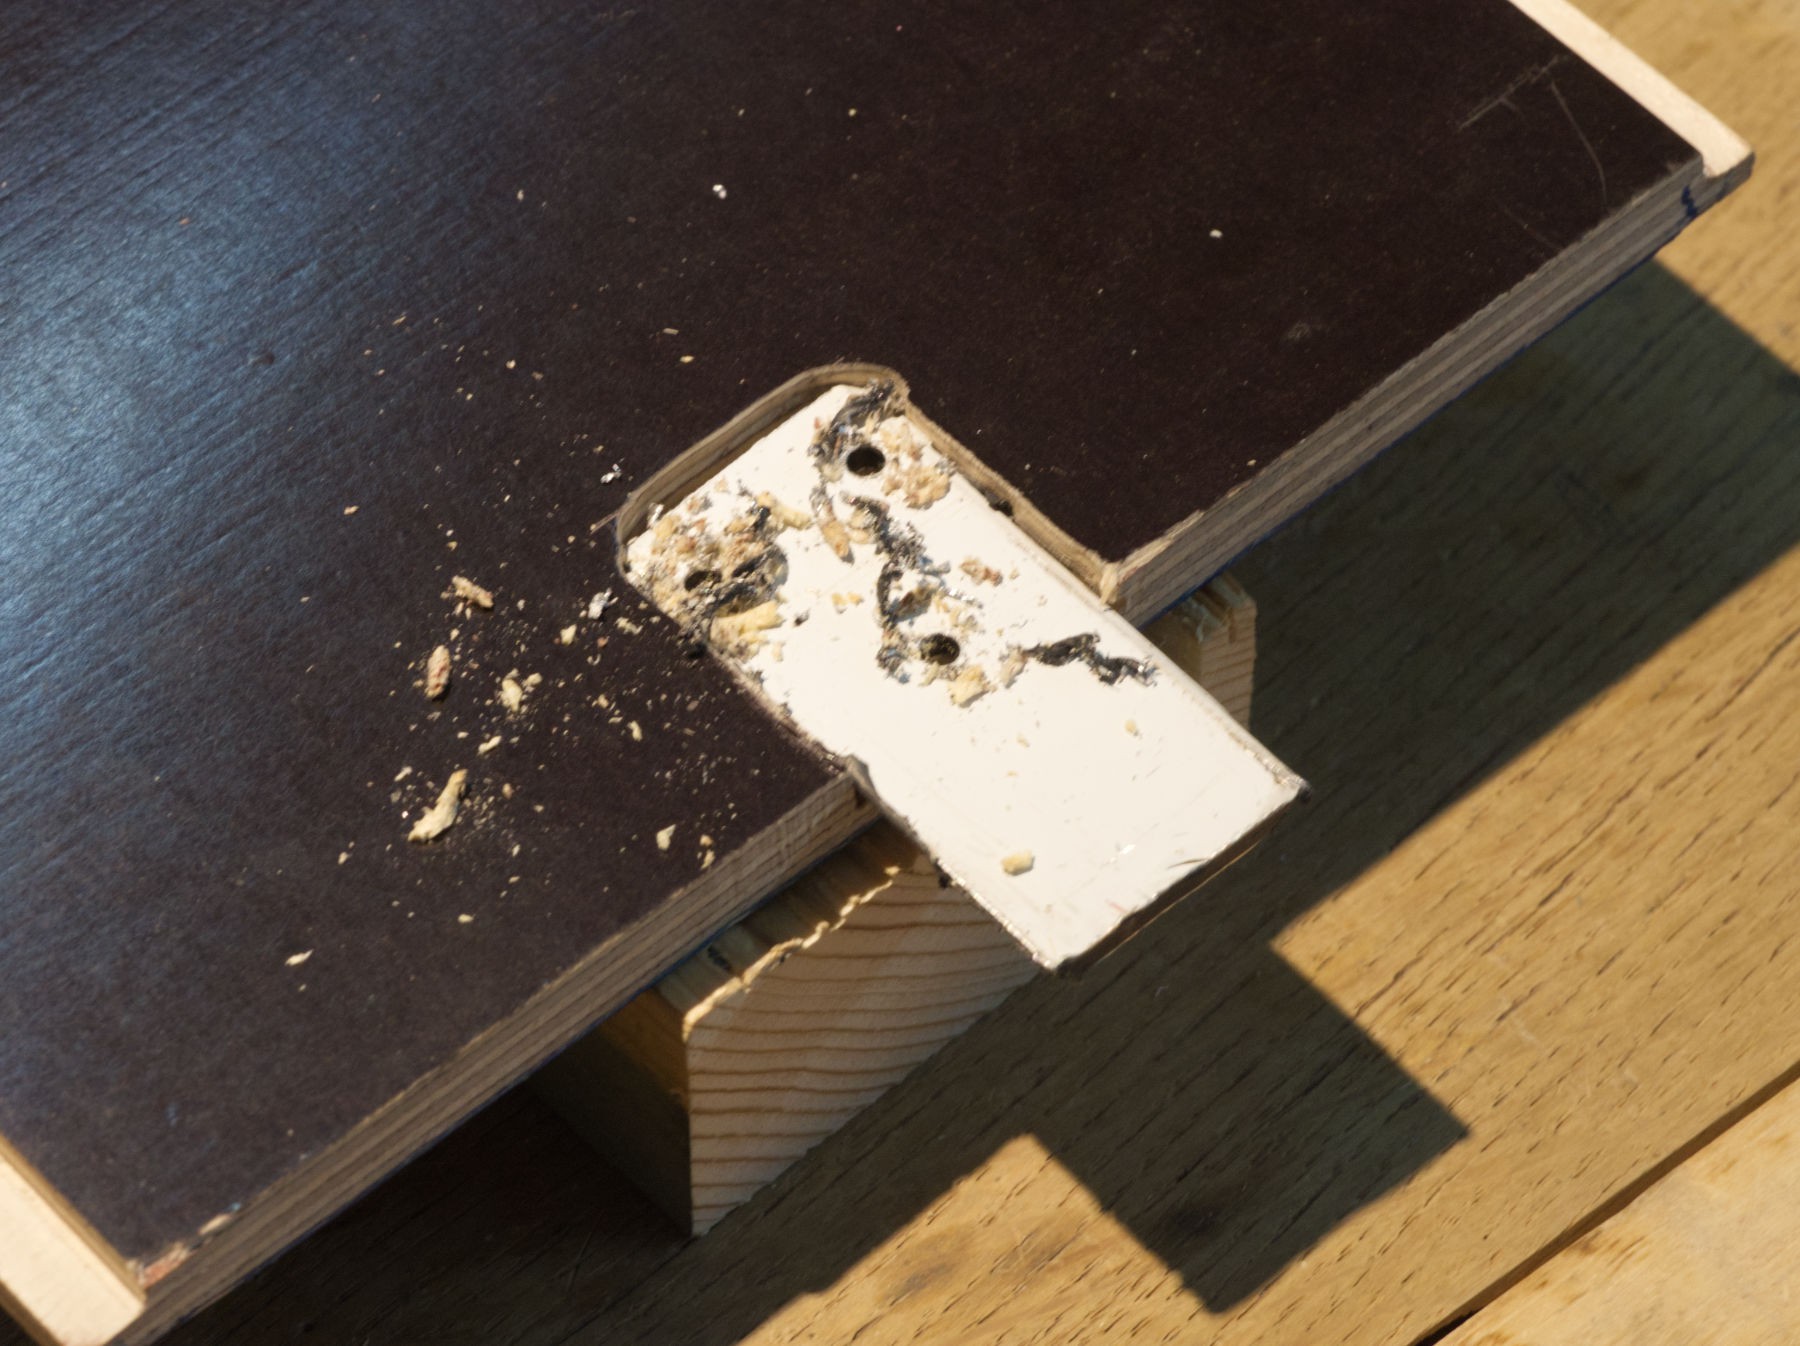
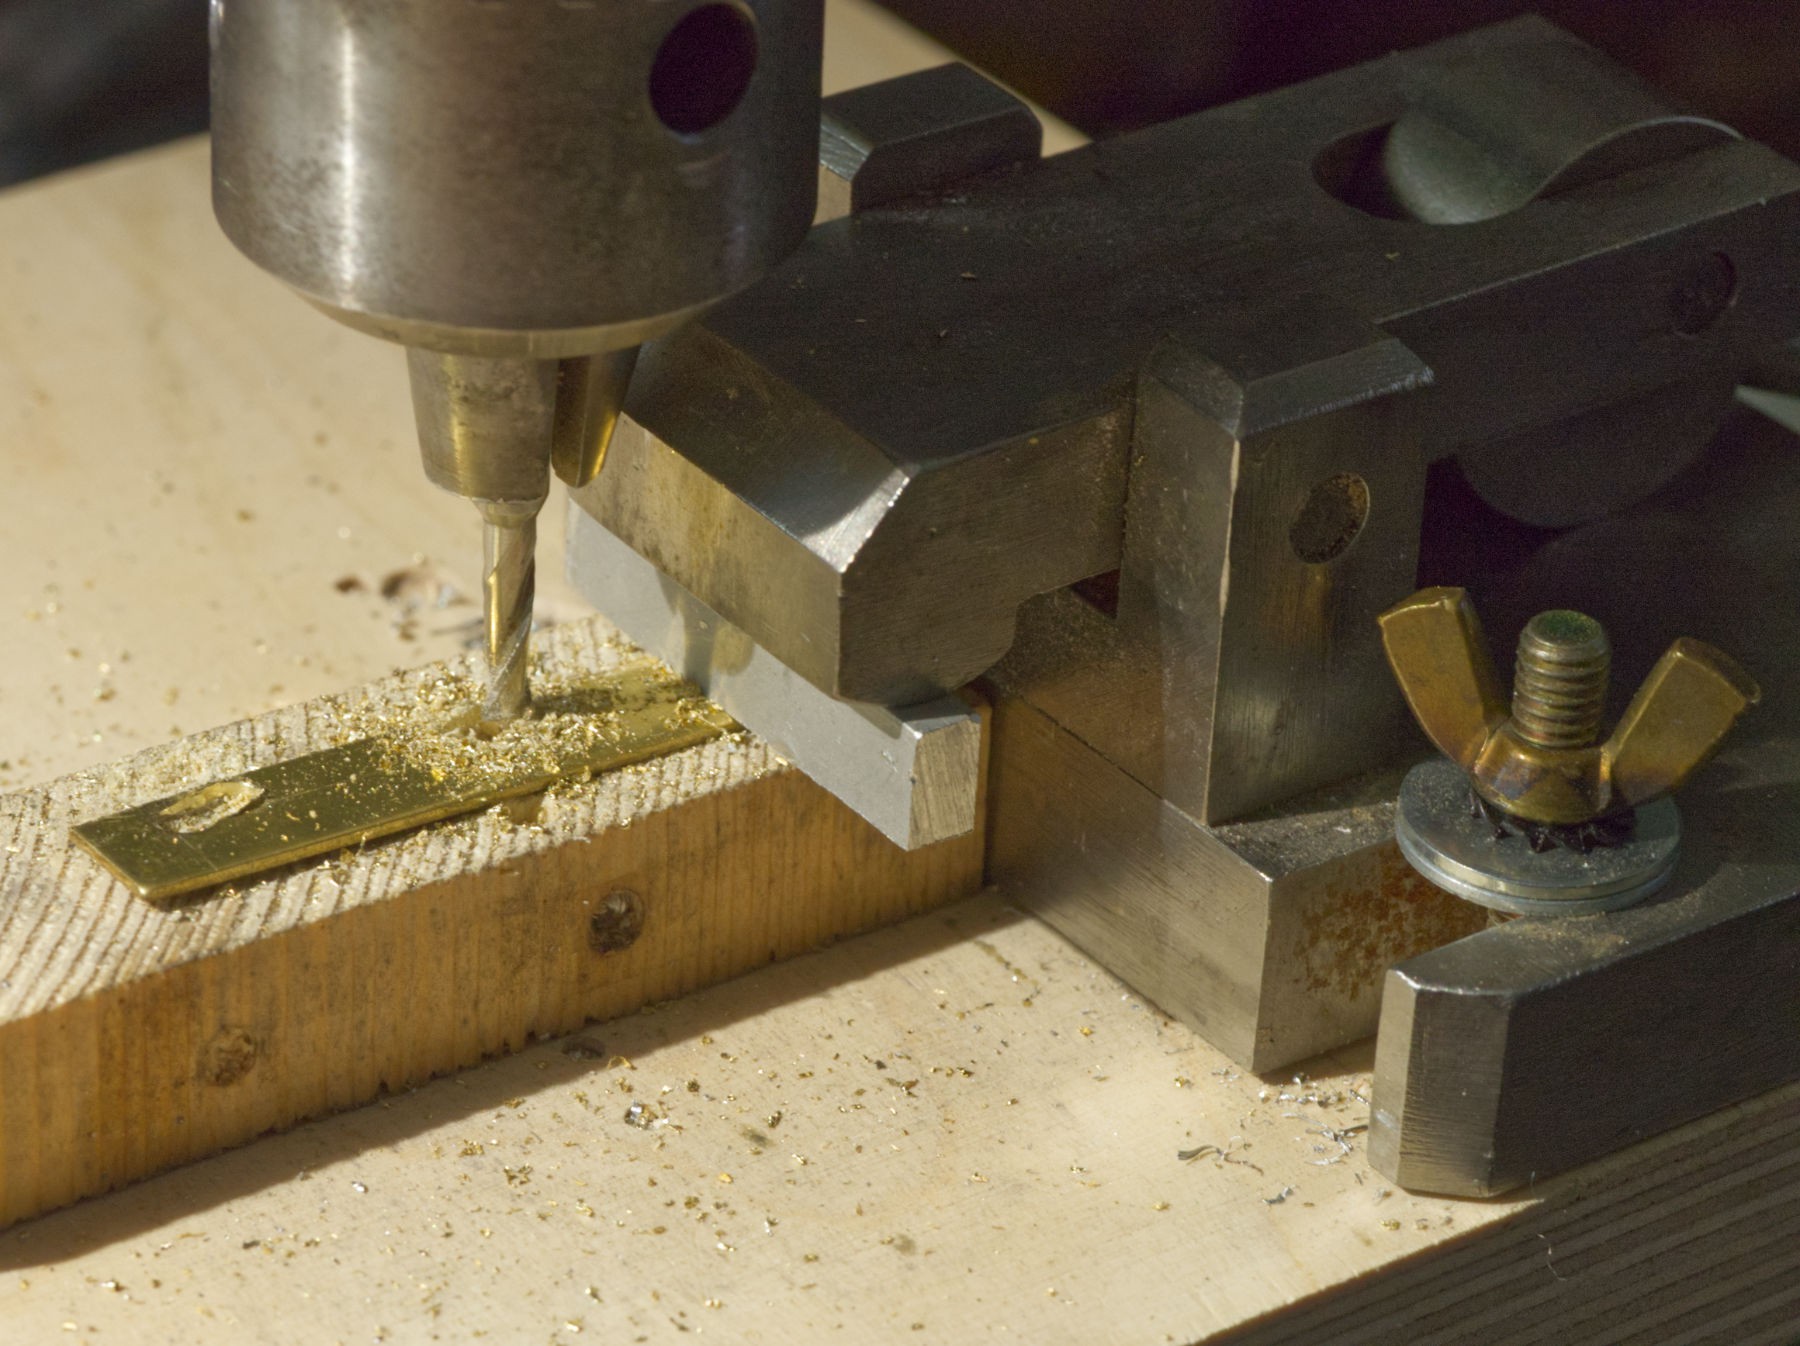
After milling the shape in the blind, drilled en place.
![]()
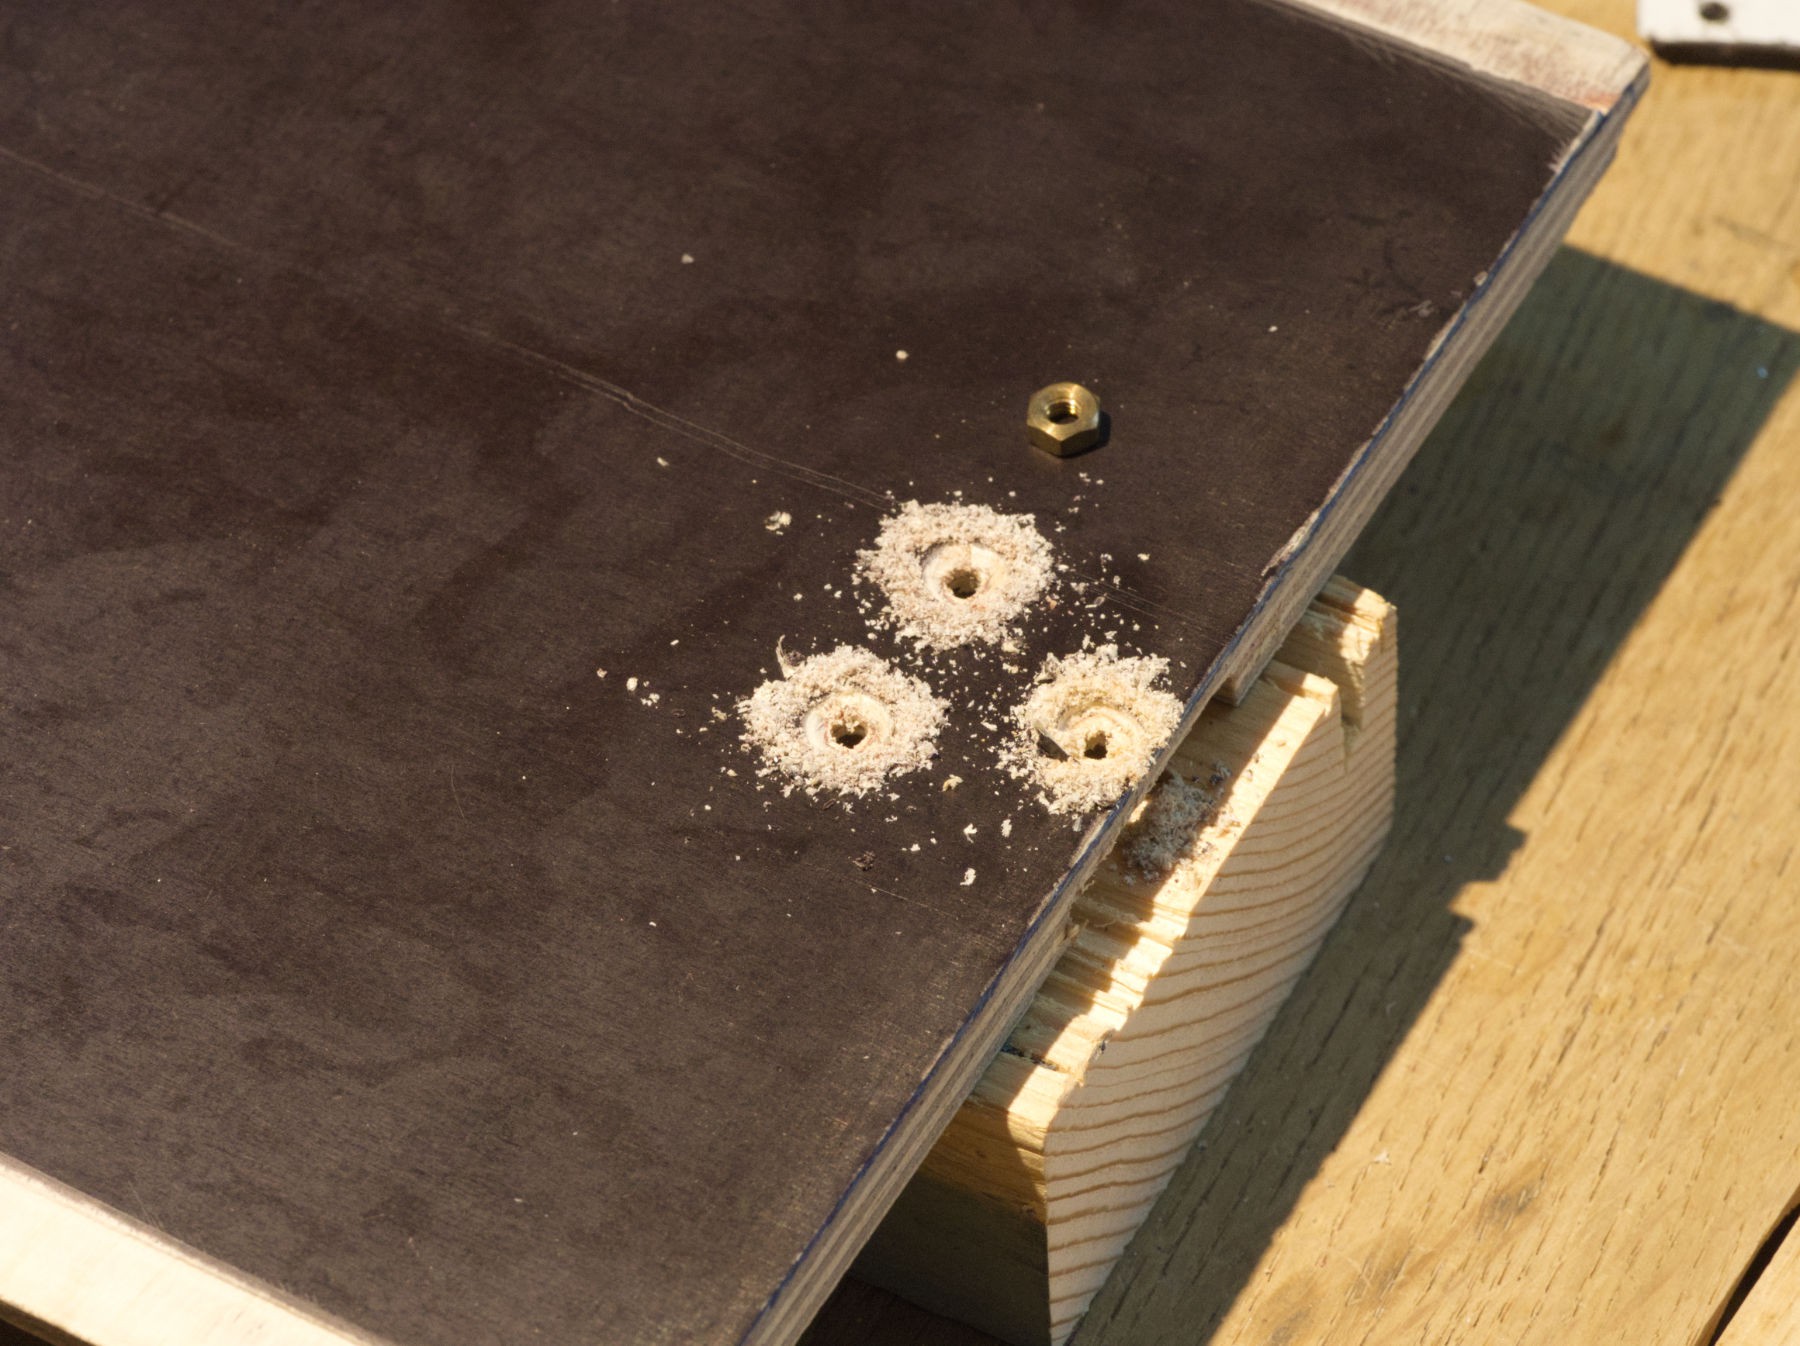
Largers (but not too deep !) holes on the back, so the nuts don't scratch the blade surface.
![]()
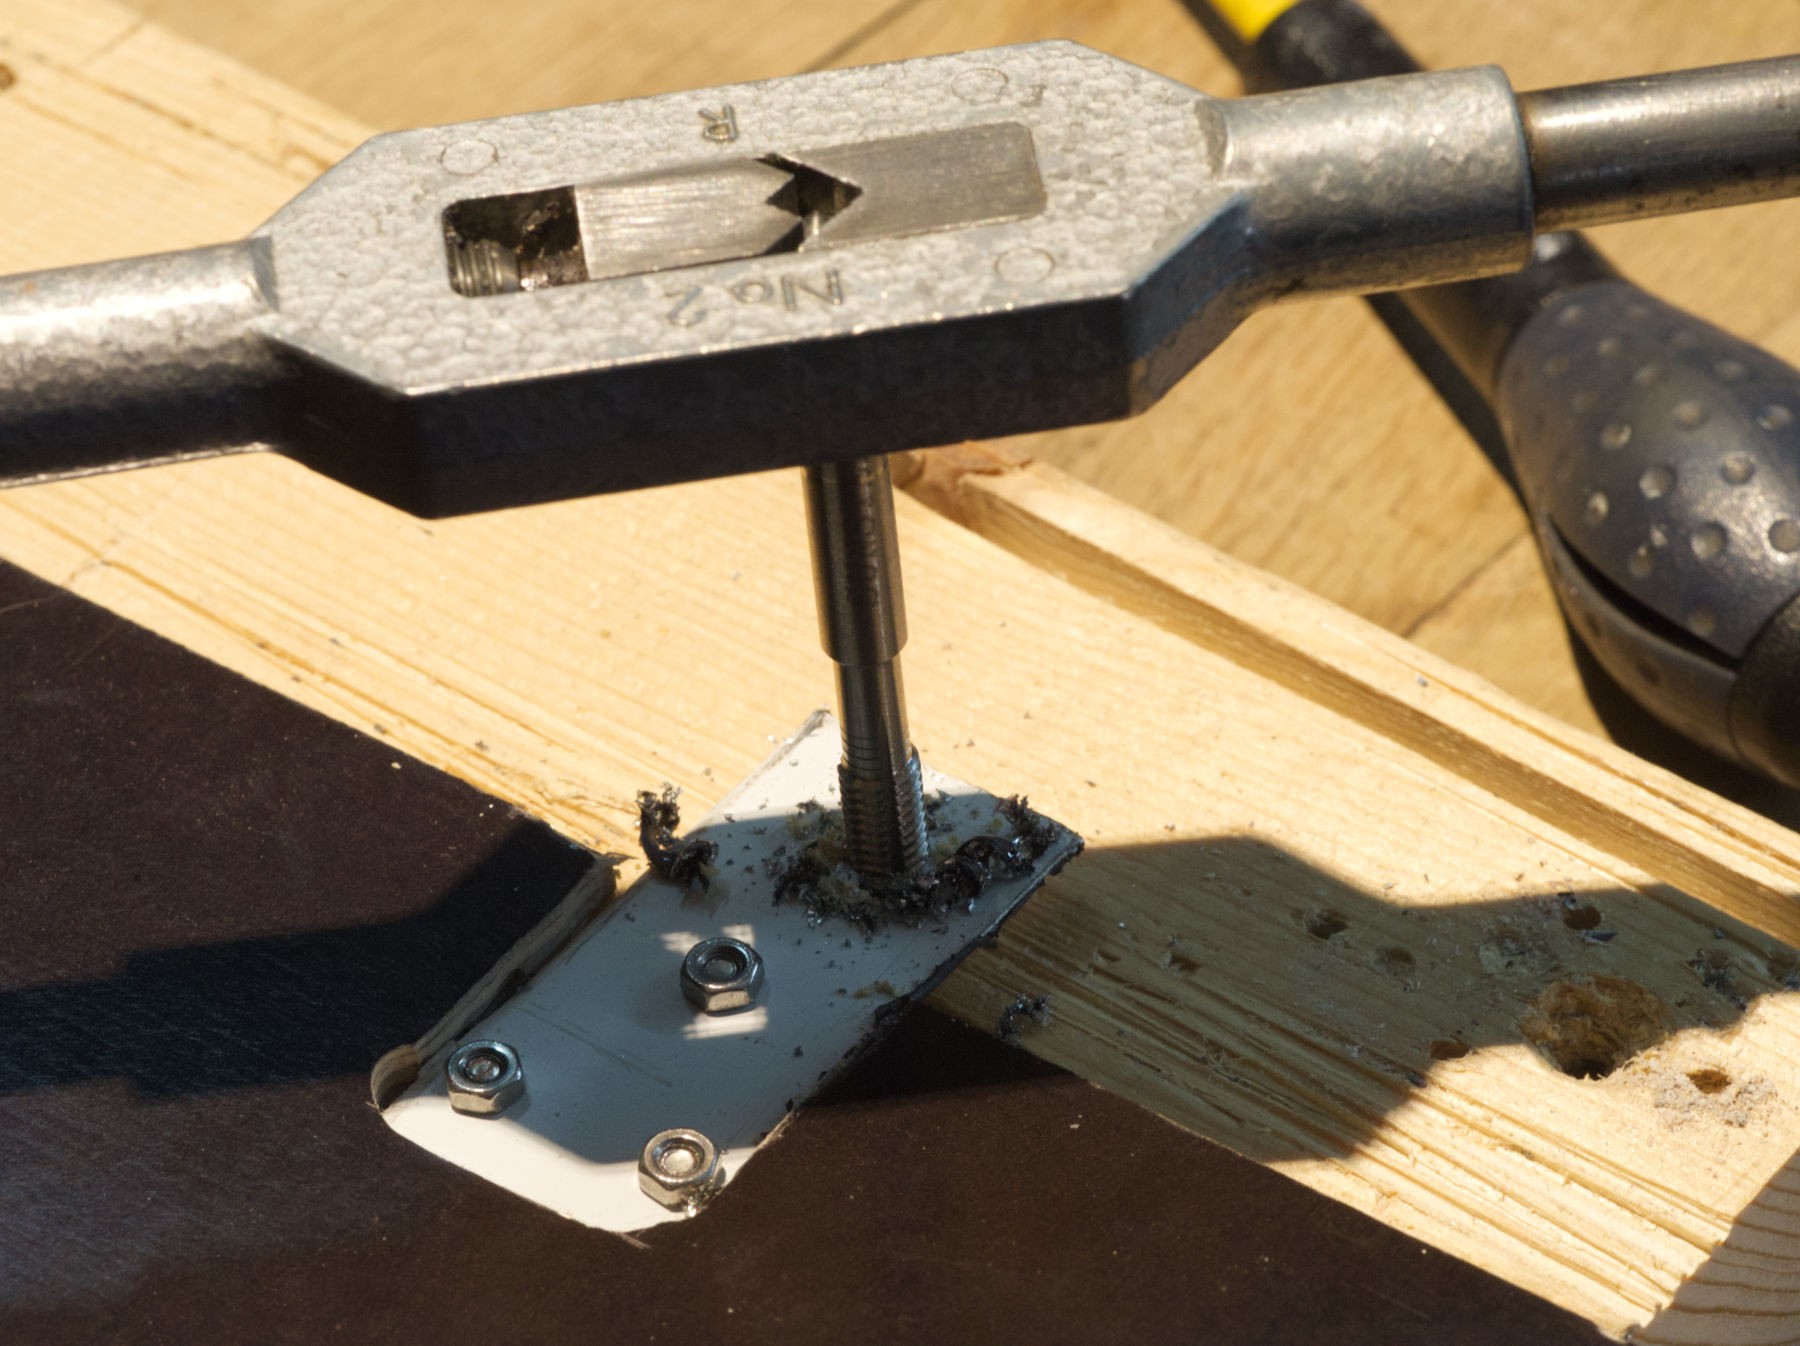
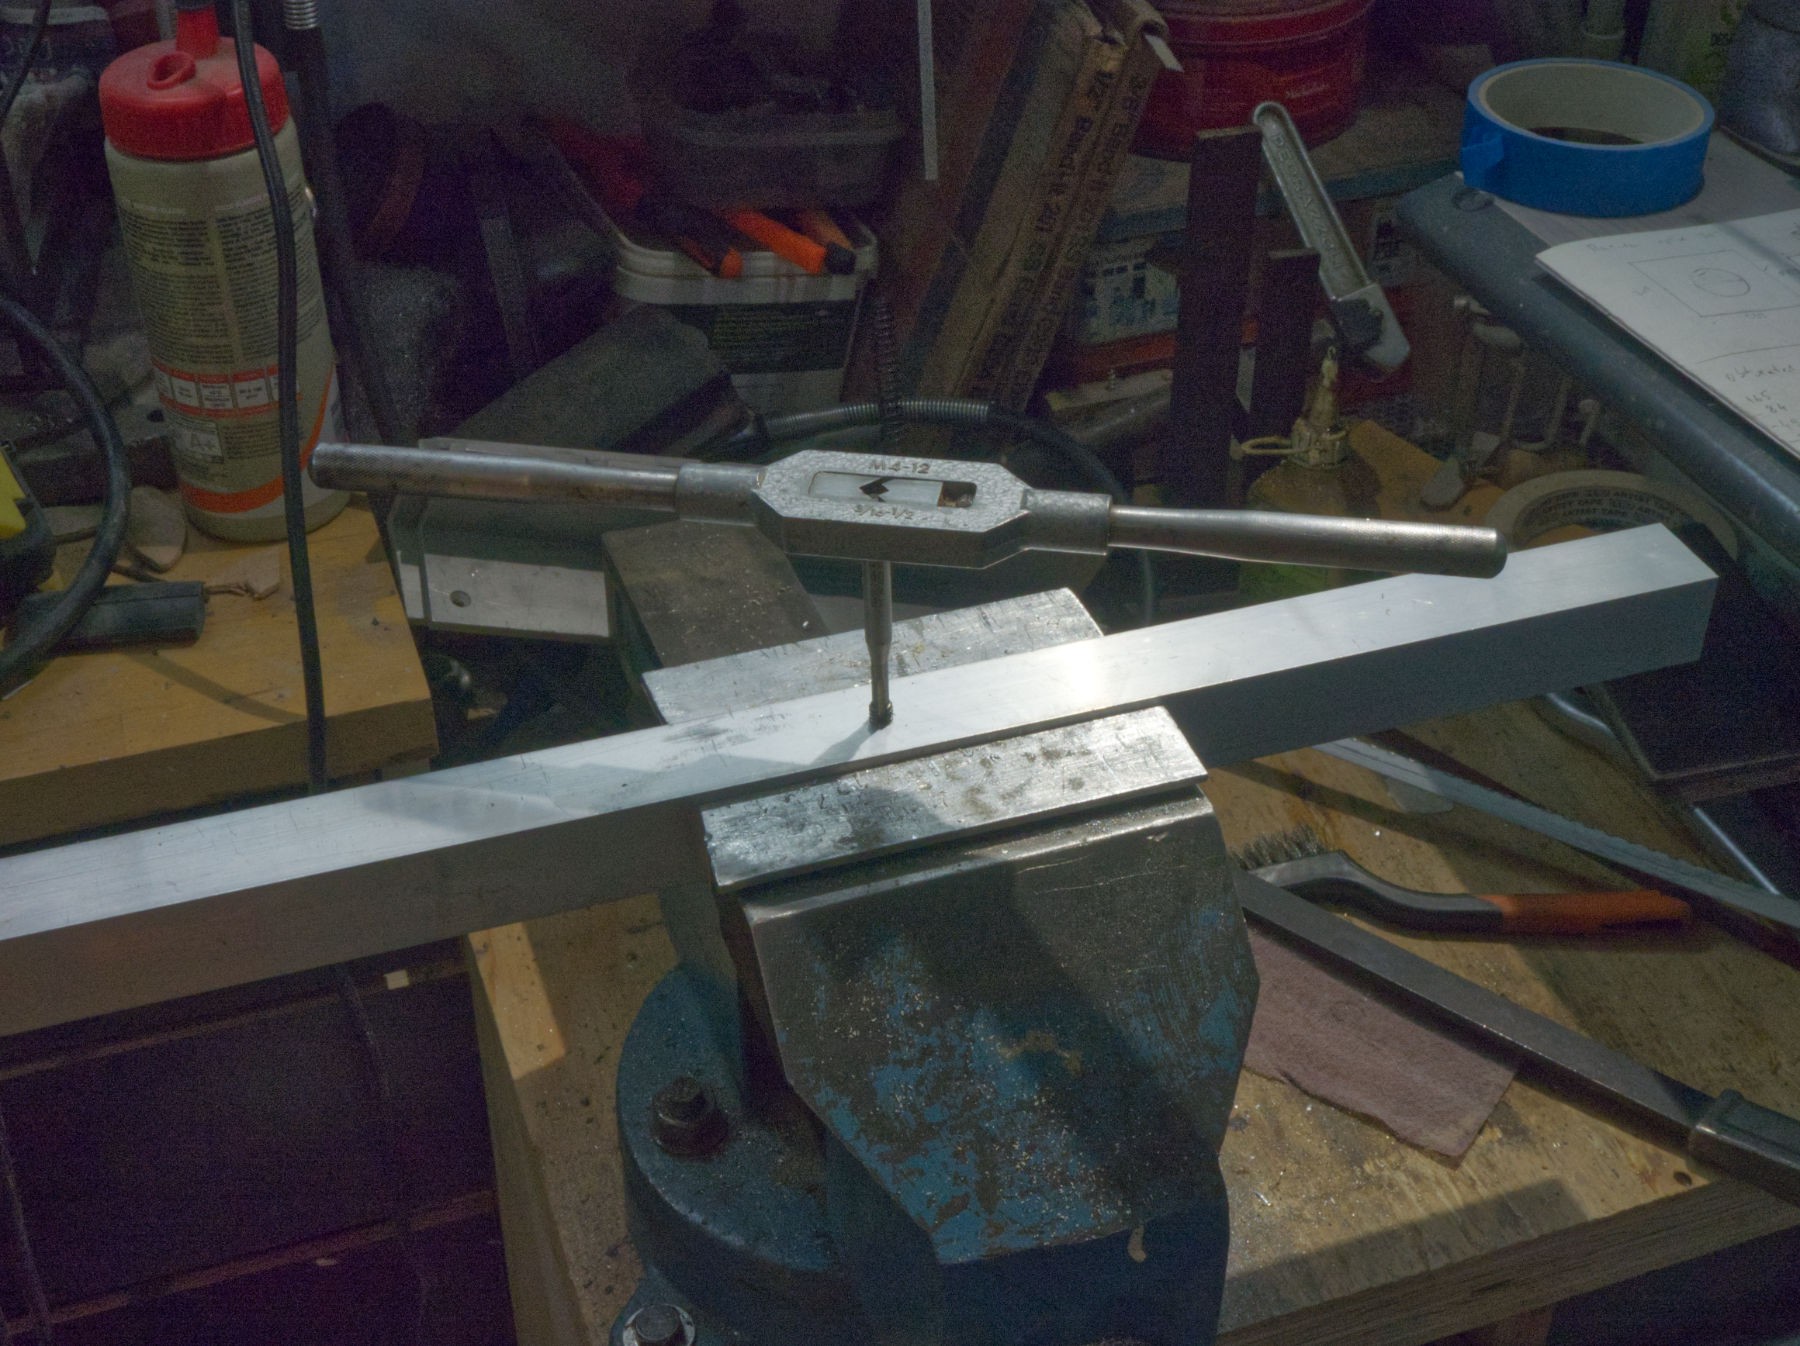
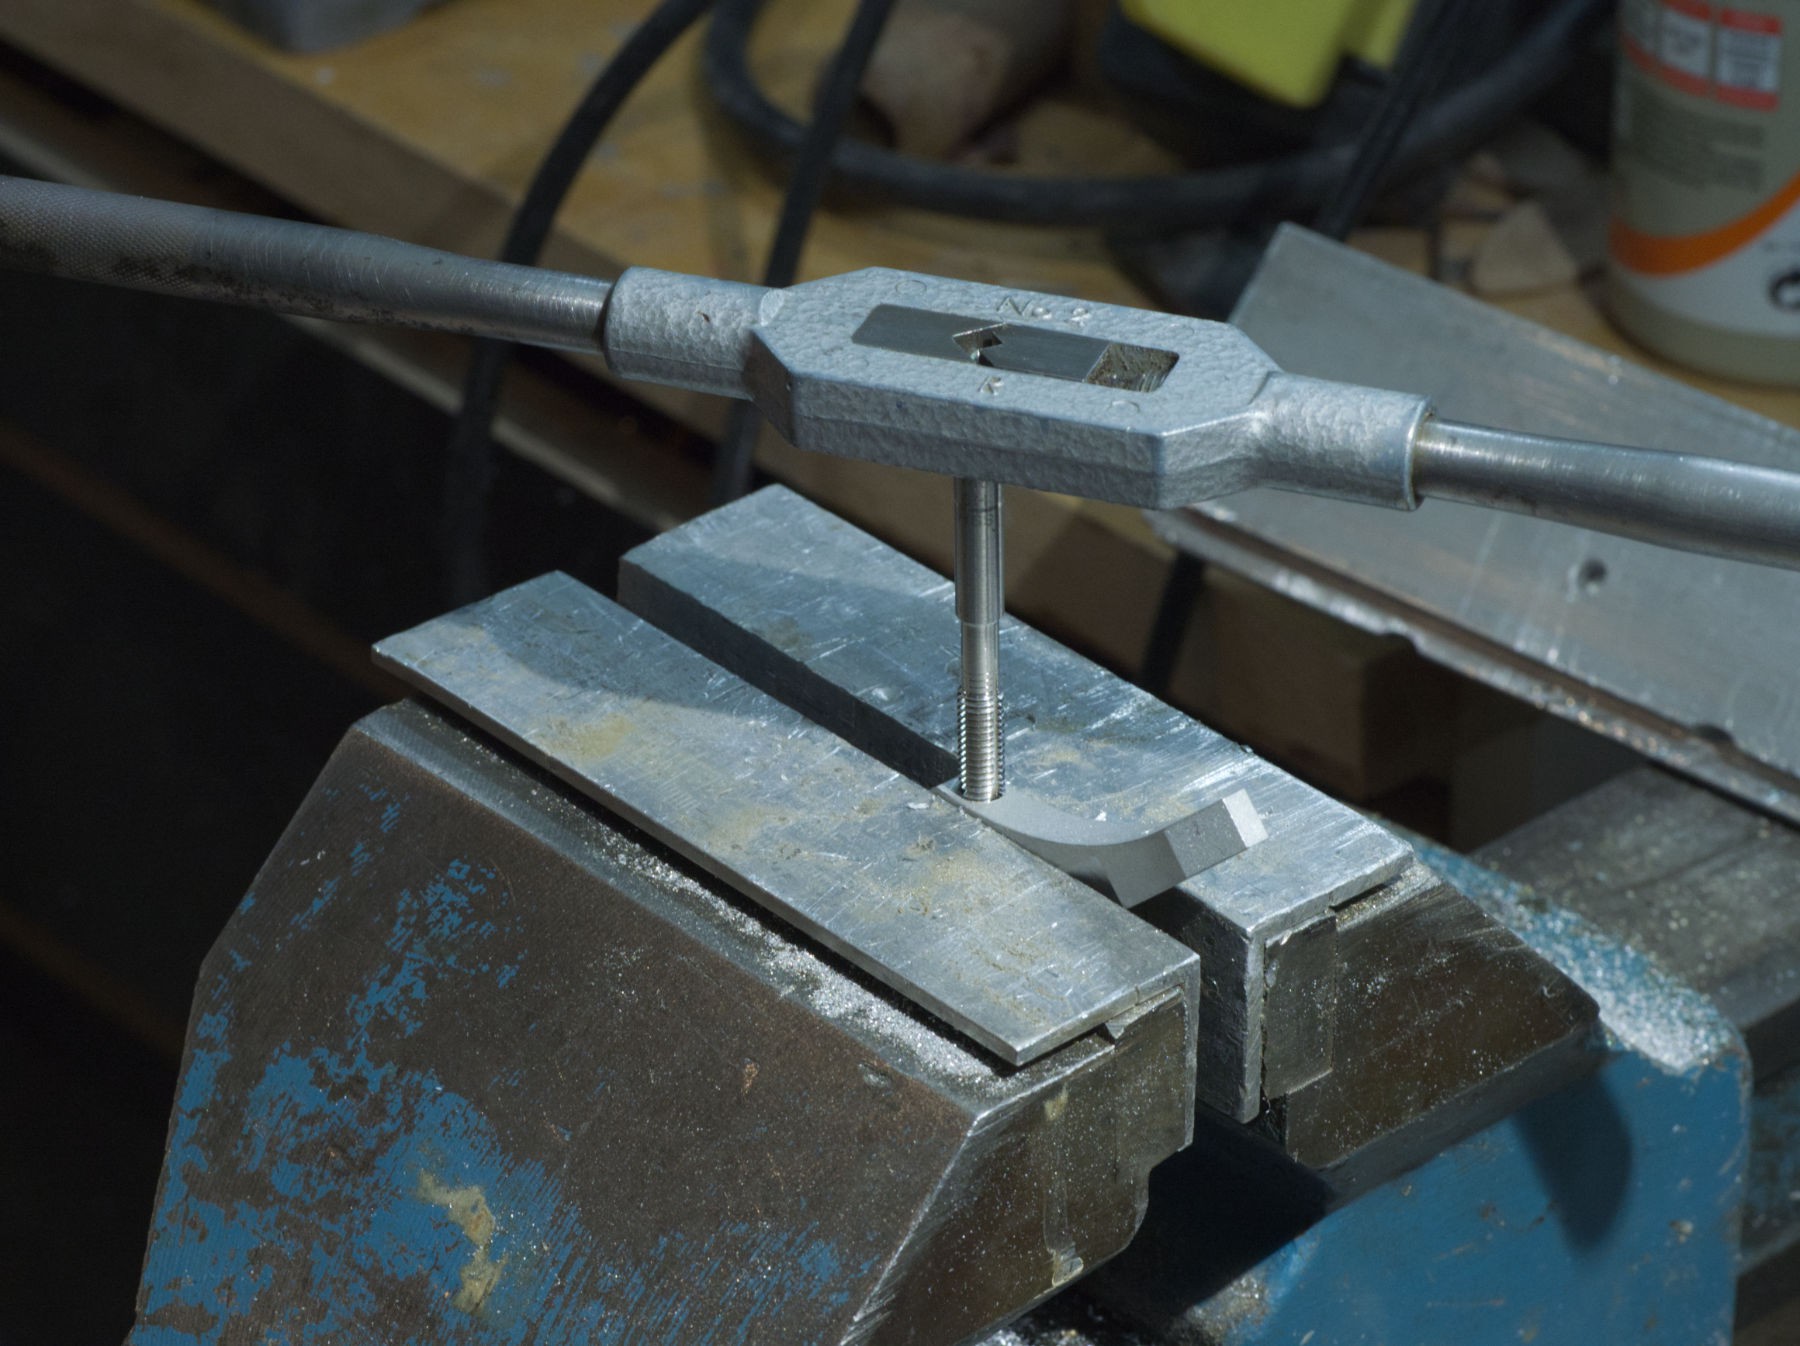
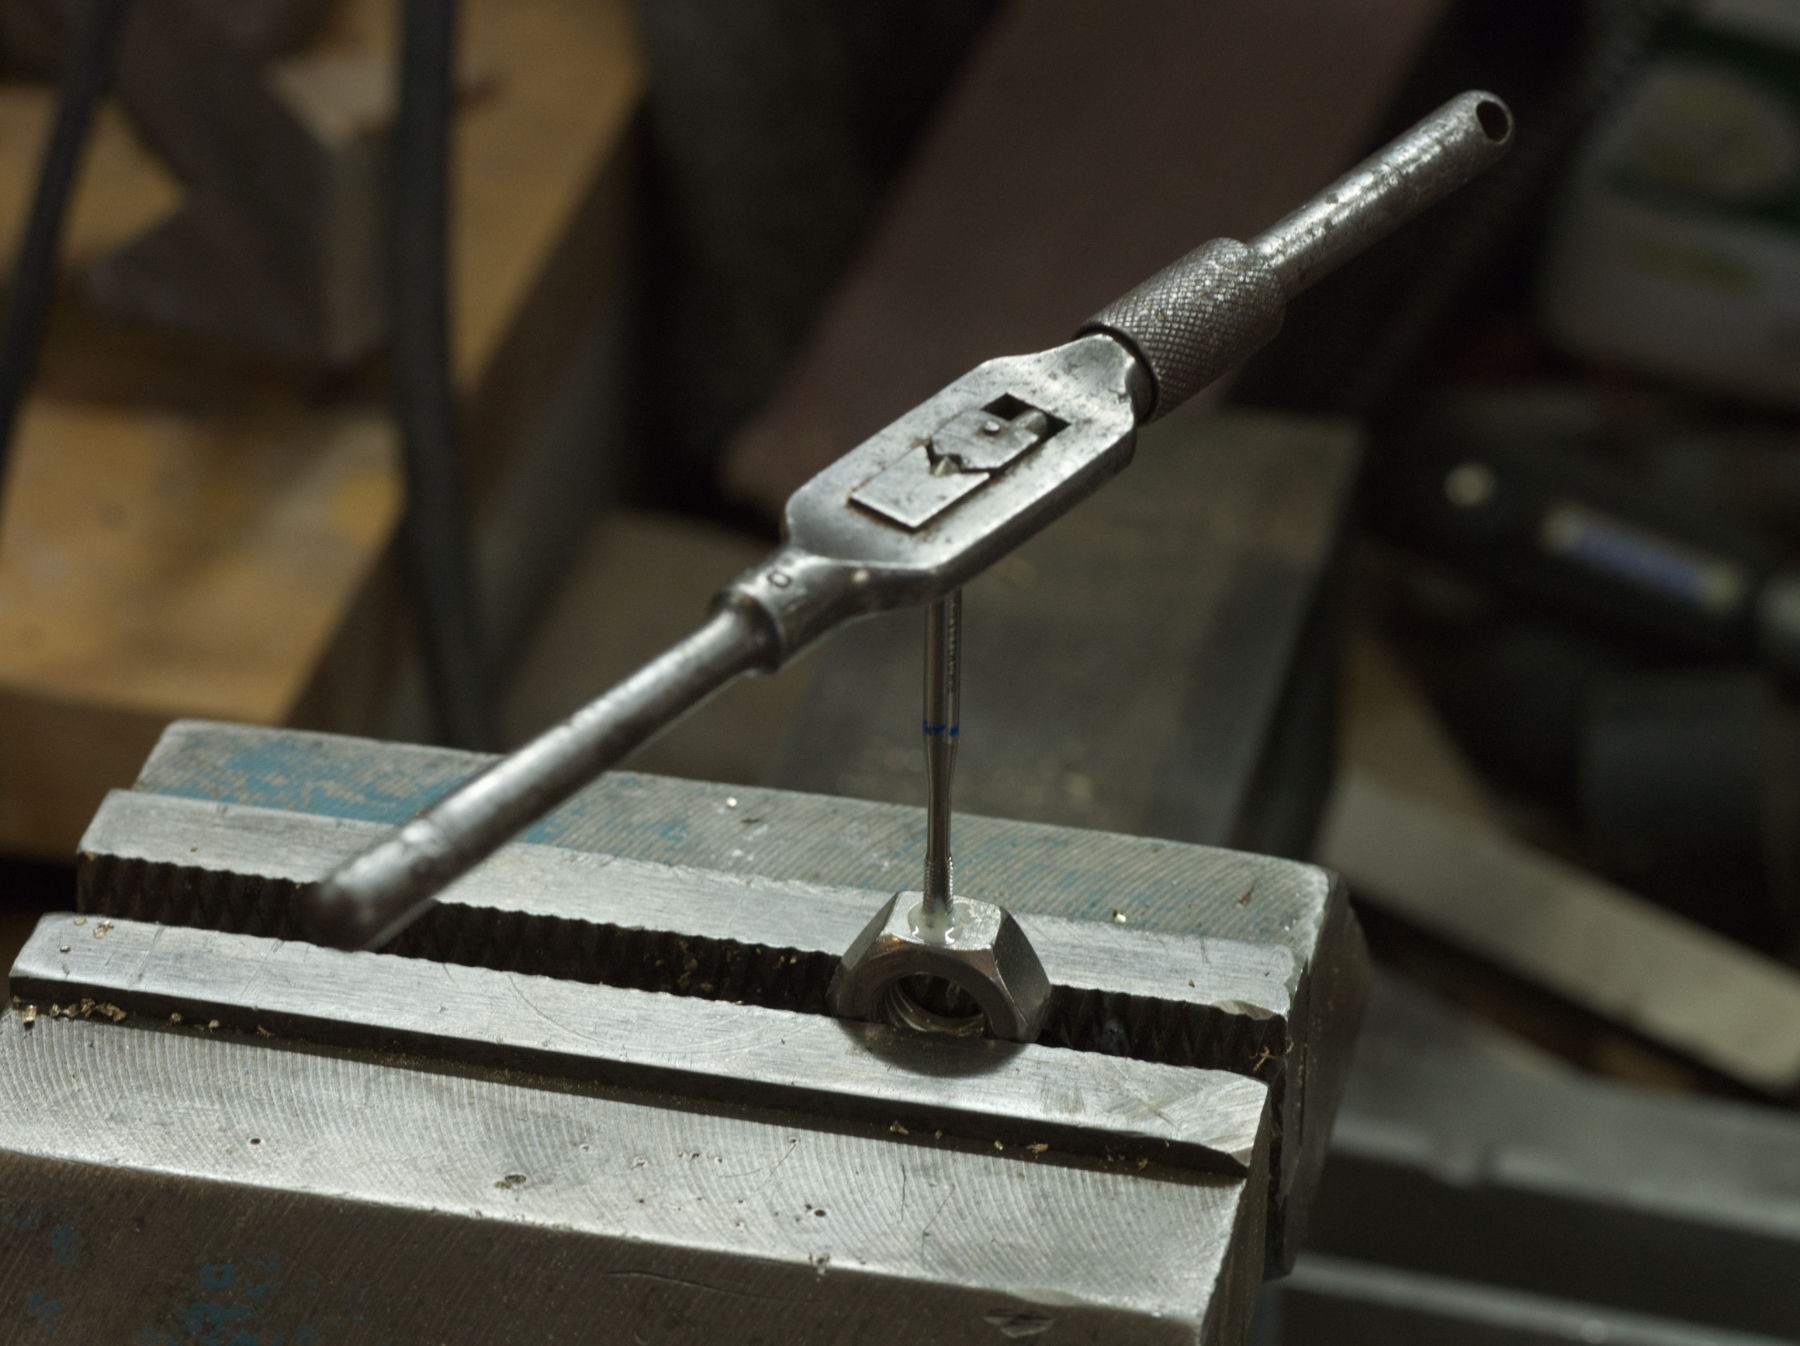
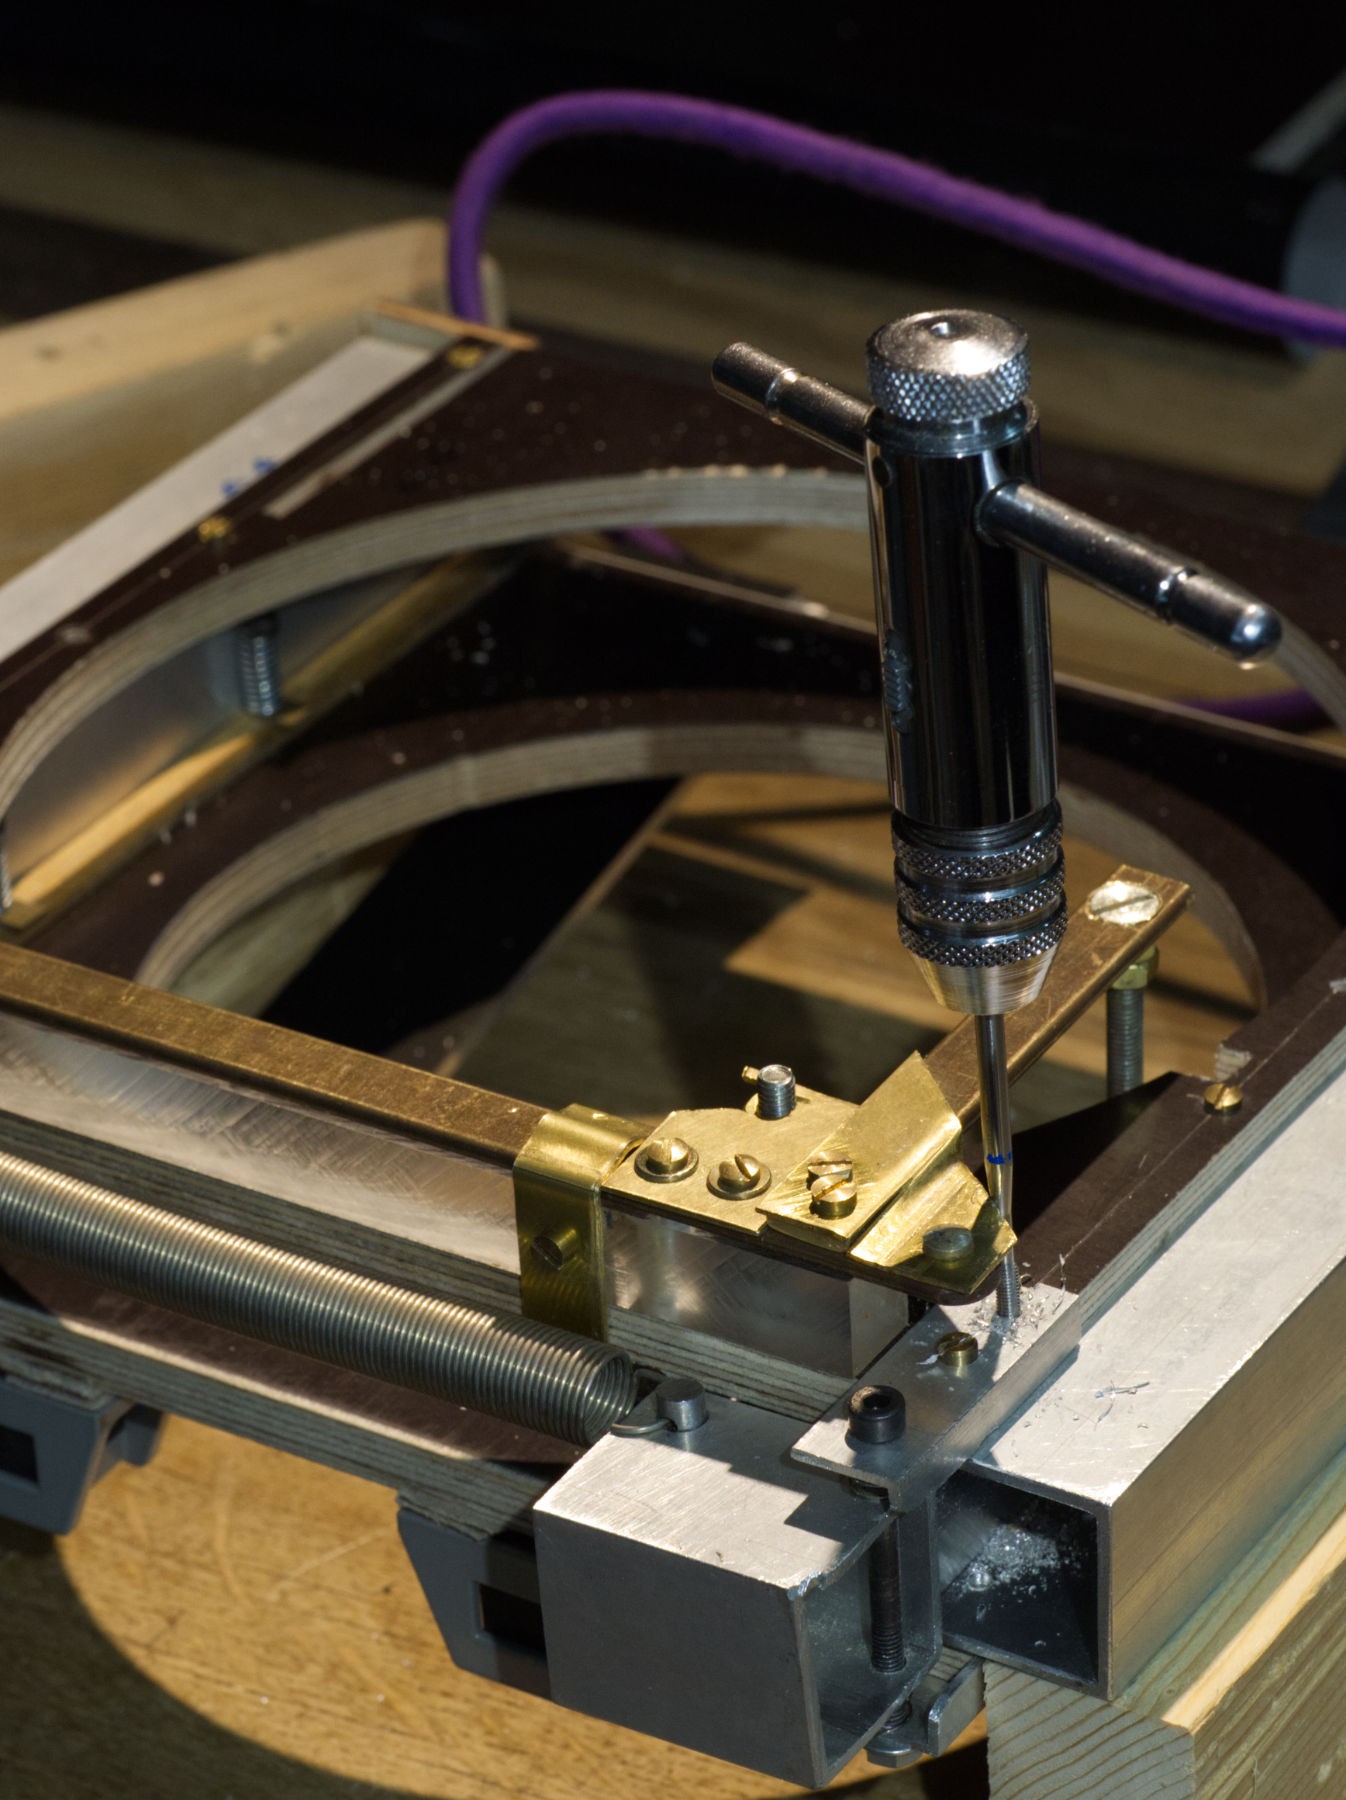
Drilling 5 mm, taping M 6 threads.
![]()
Carefully drilling holes (NOT TOO DEEP) in the blade.
![]()
Ok, let's try it.
![]()
Does not hit the flap.
![]()
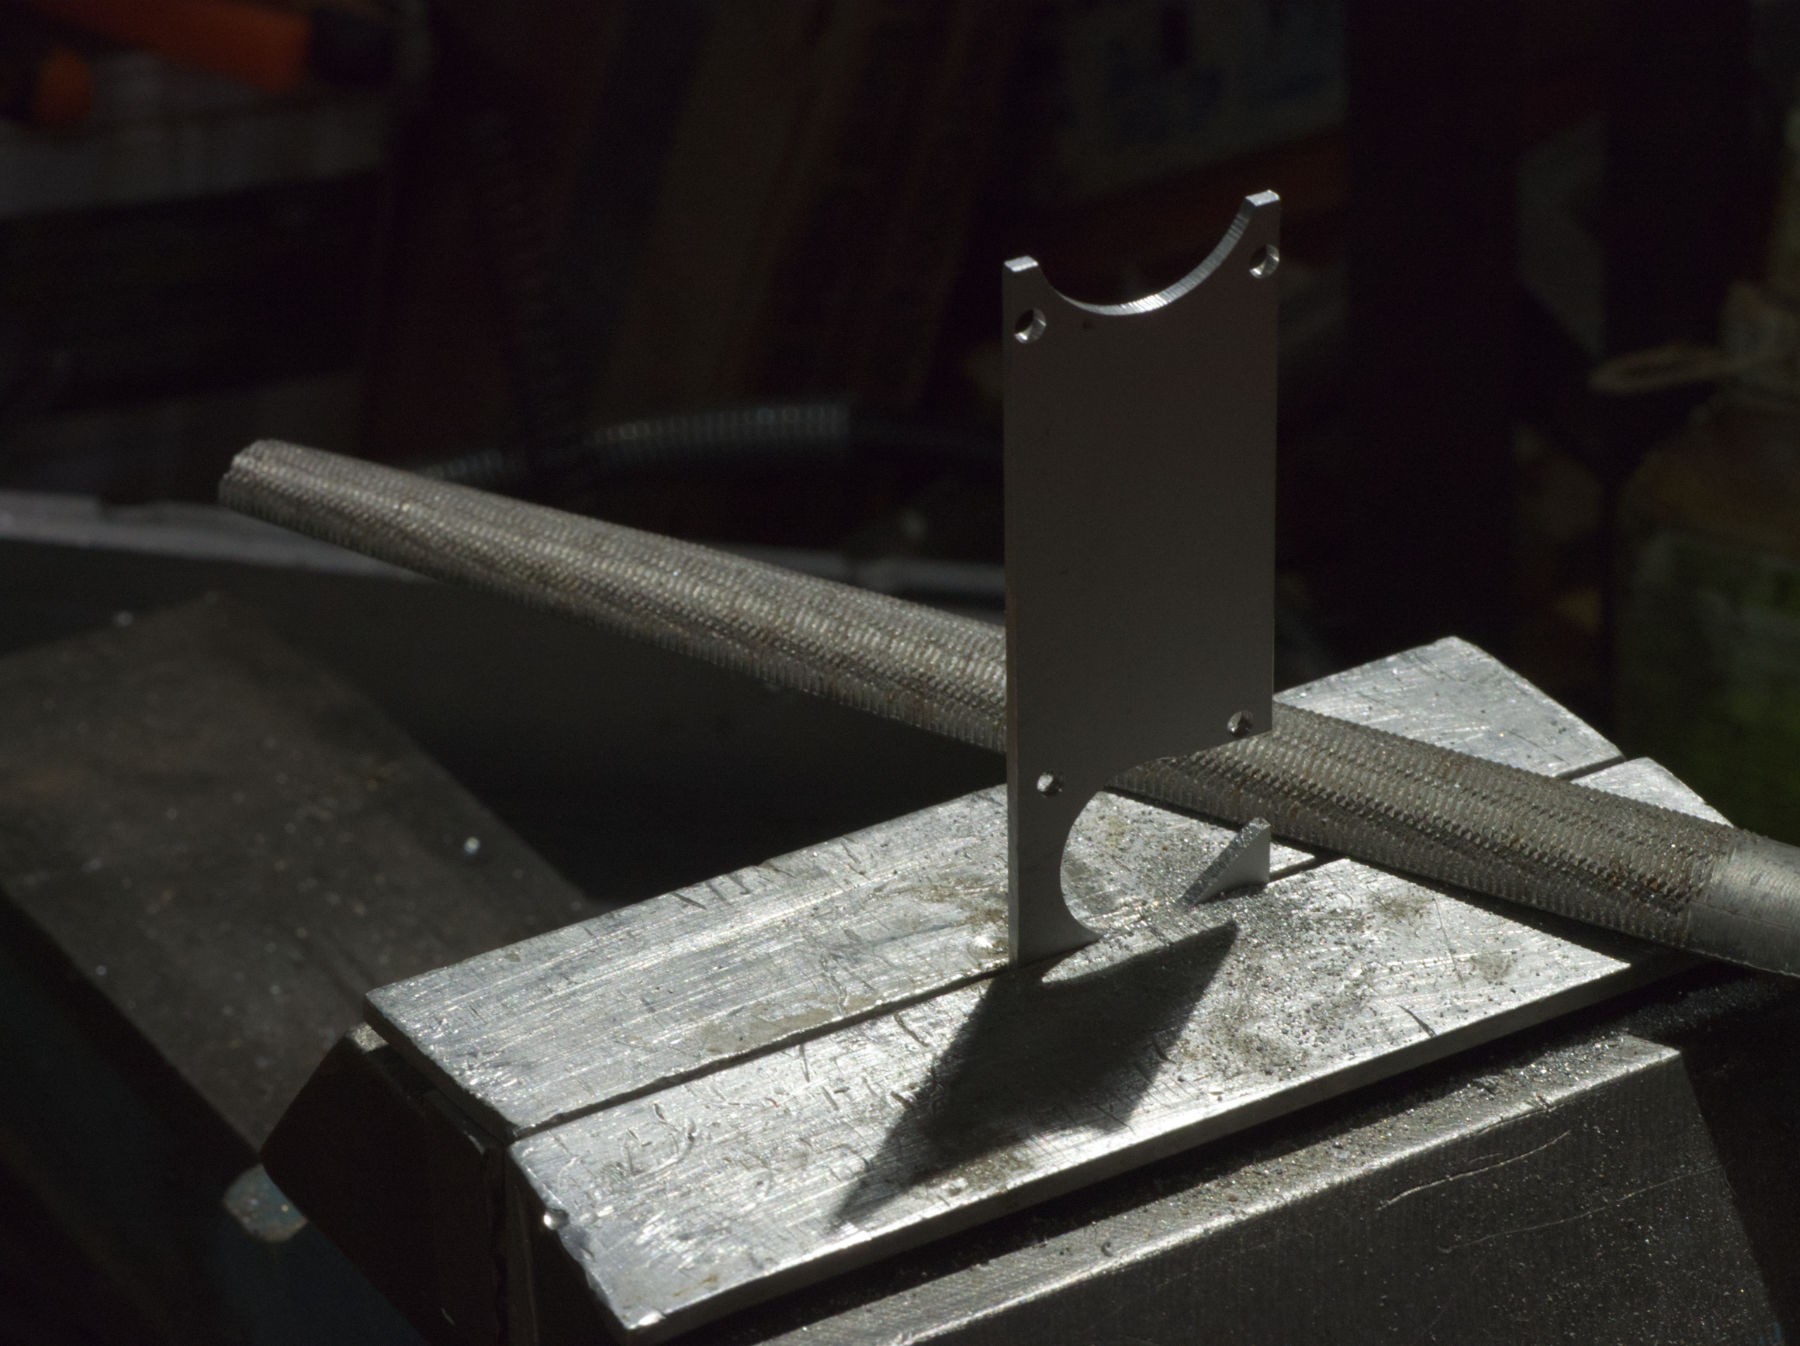
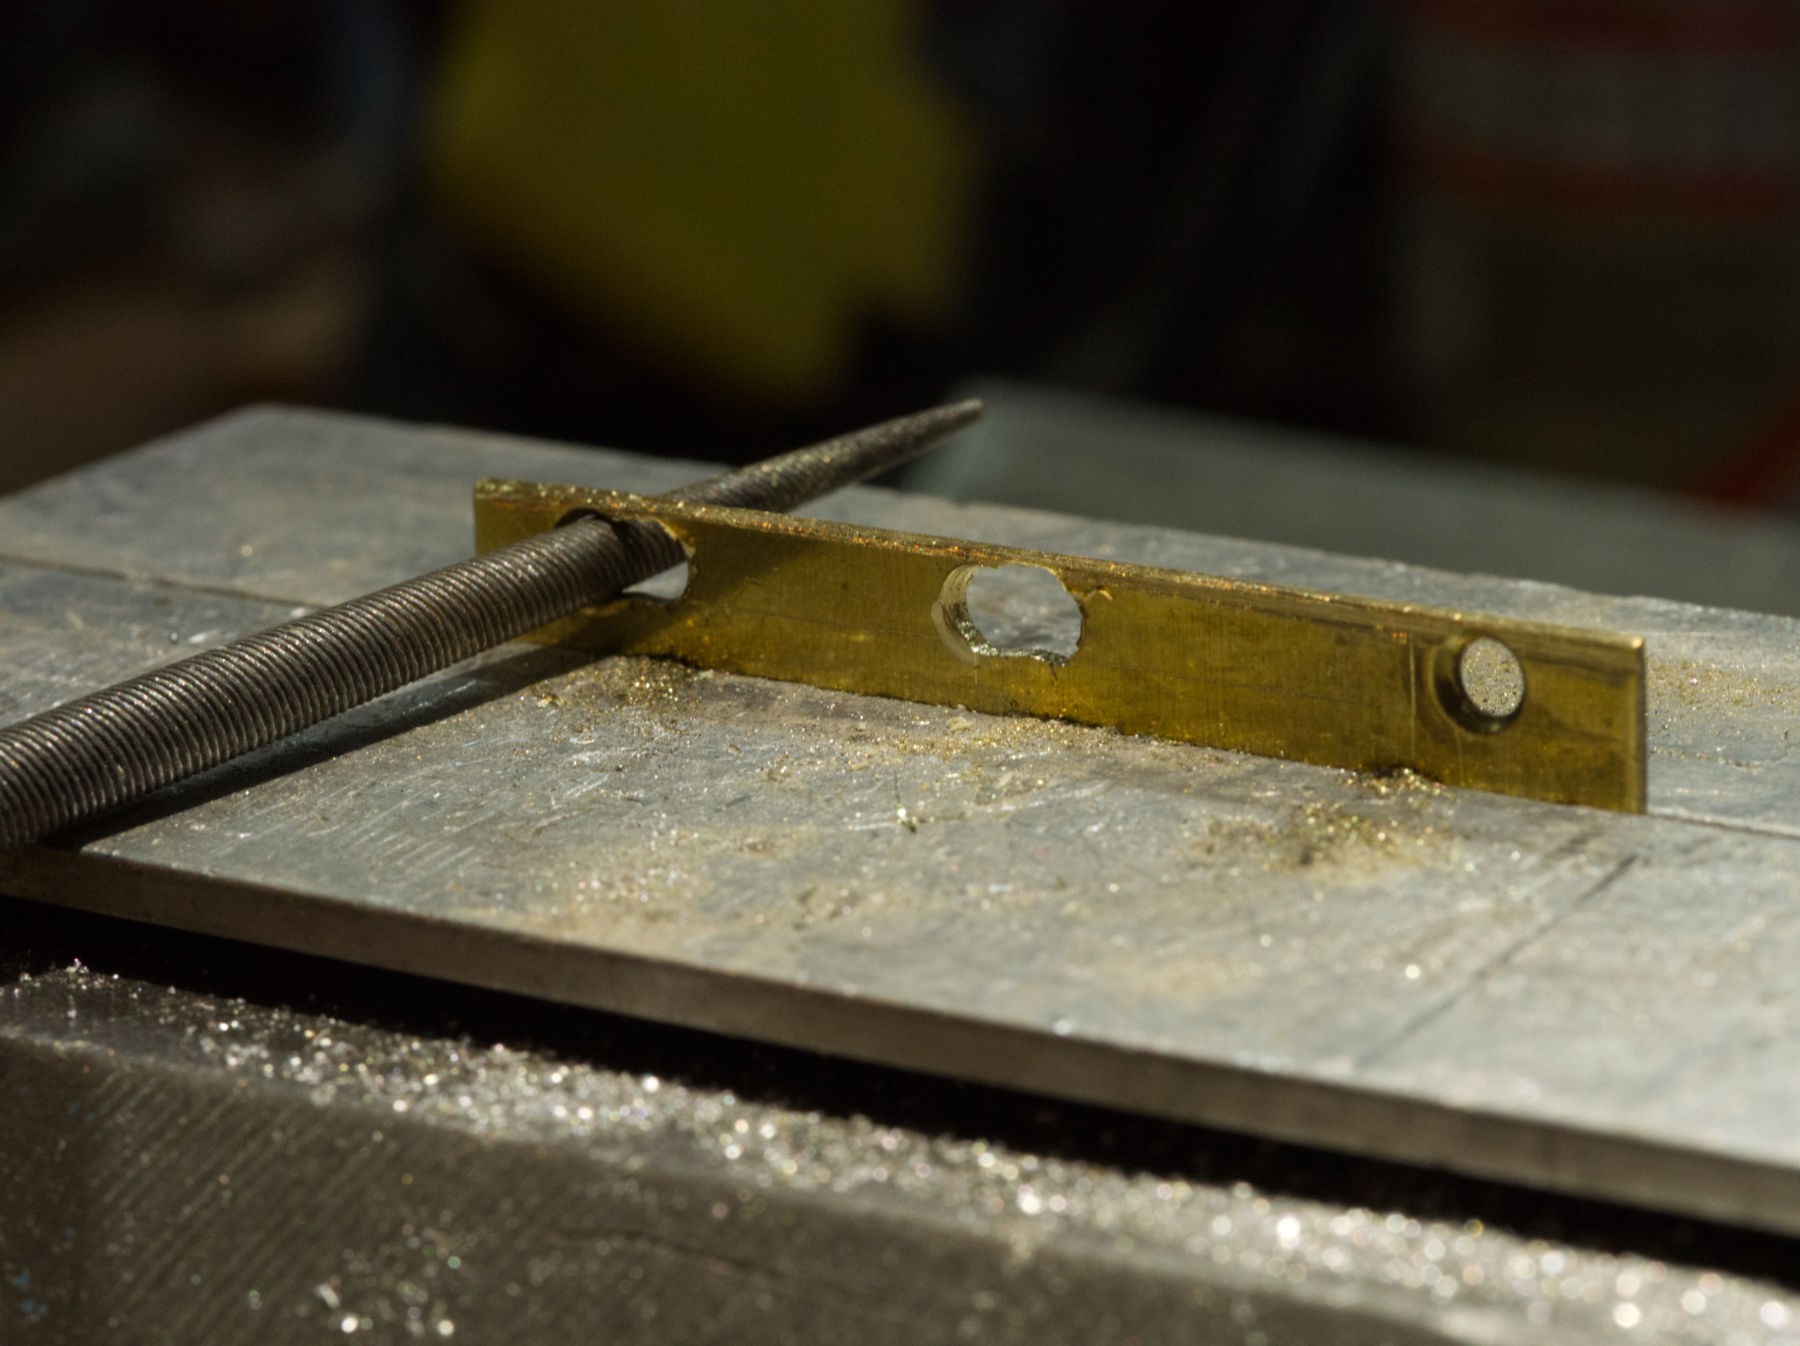
But the screw's head is too slippery to be turned easily with the finger tips, and I don't want th need any tool to take a picture, so it must be molletée (knurled), starting on the small vise, with a triangular file.
![]()
The small vise isn't strongly fixed on the bench, the bigger one is.
![]()
Nice, it's now easier to use.
![]()
A last 5mm hole and taping 3/4 " threads.
![]()
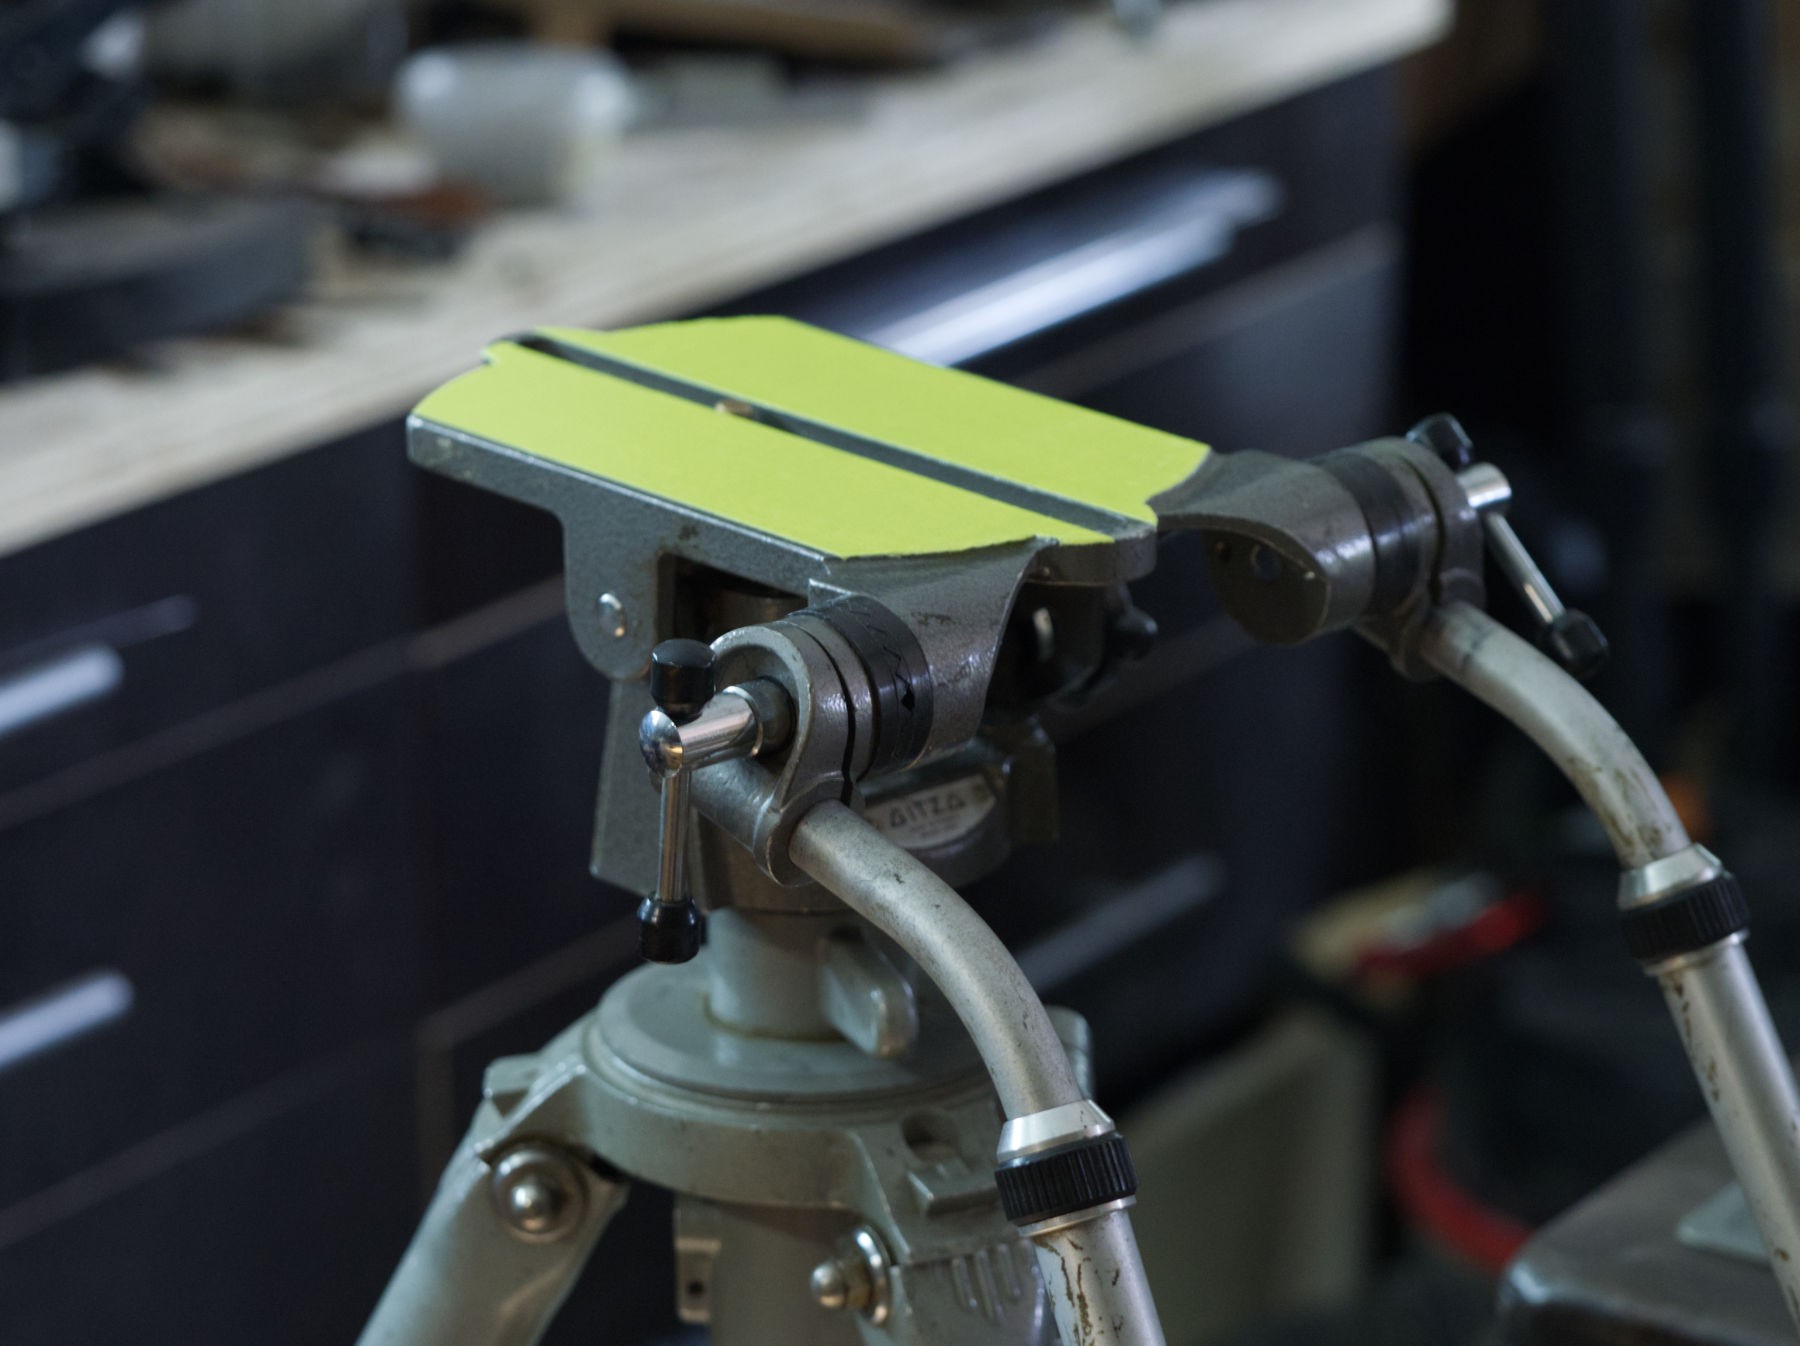
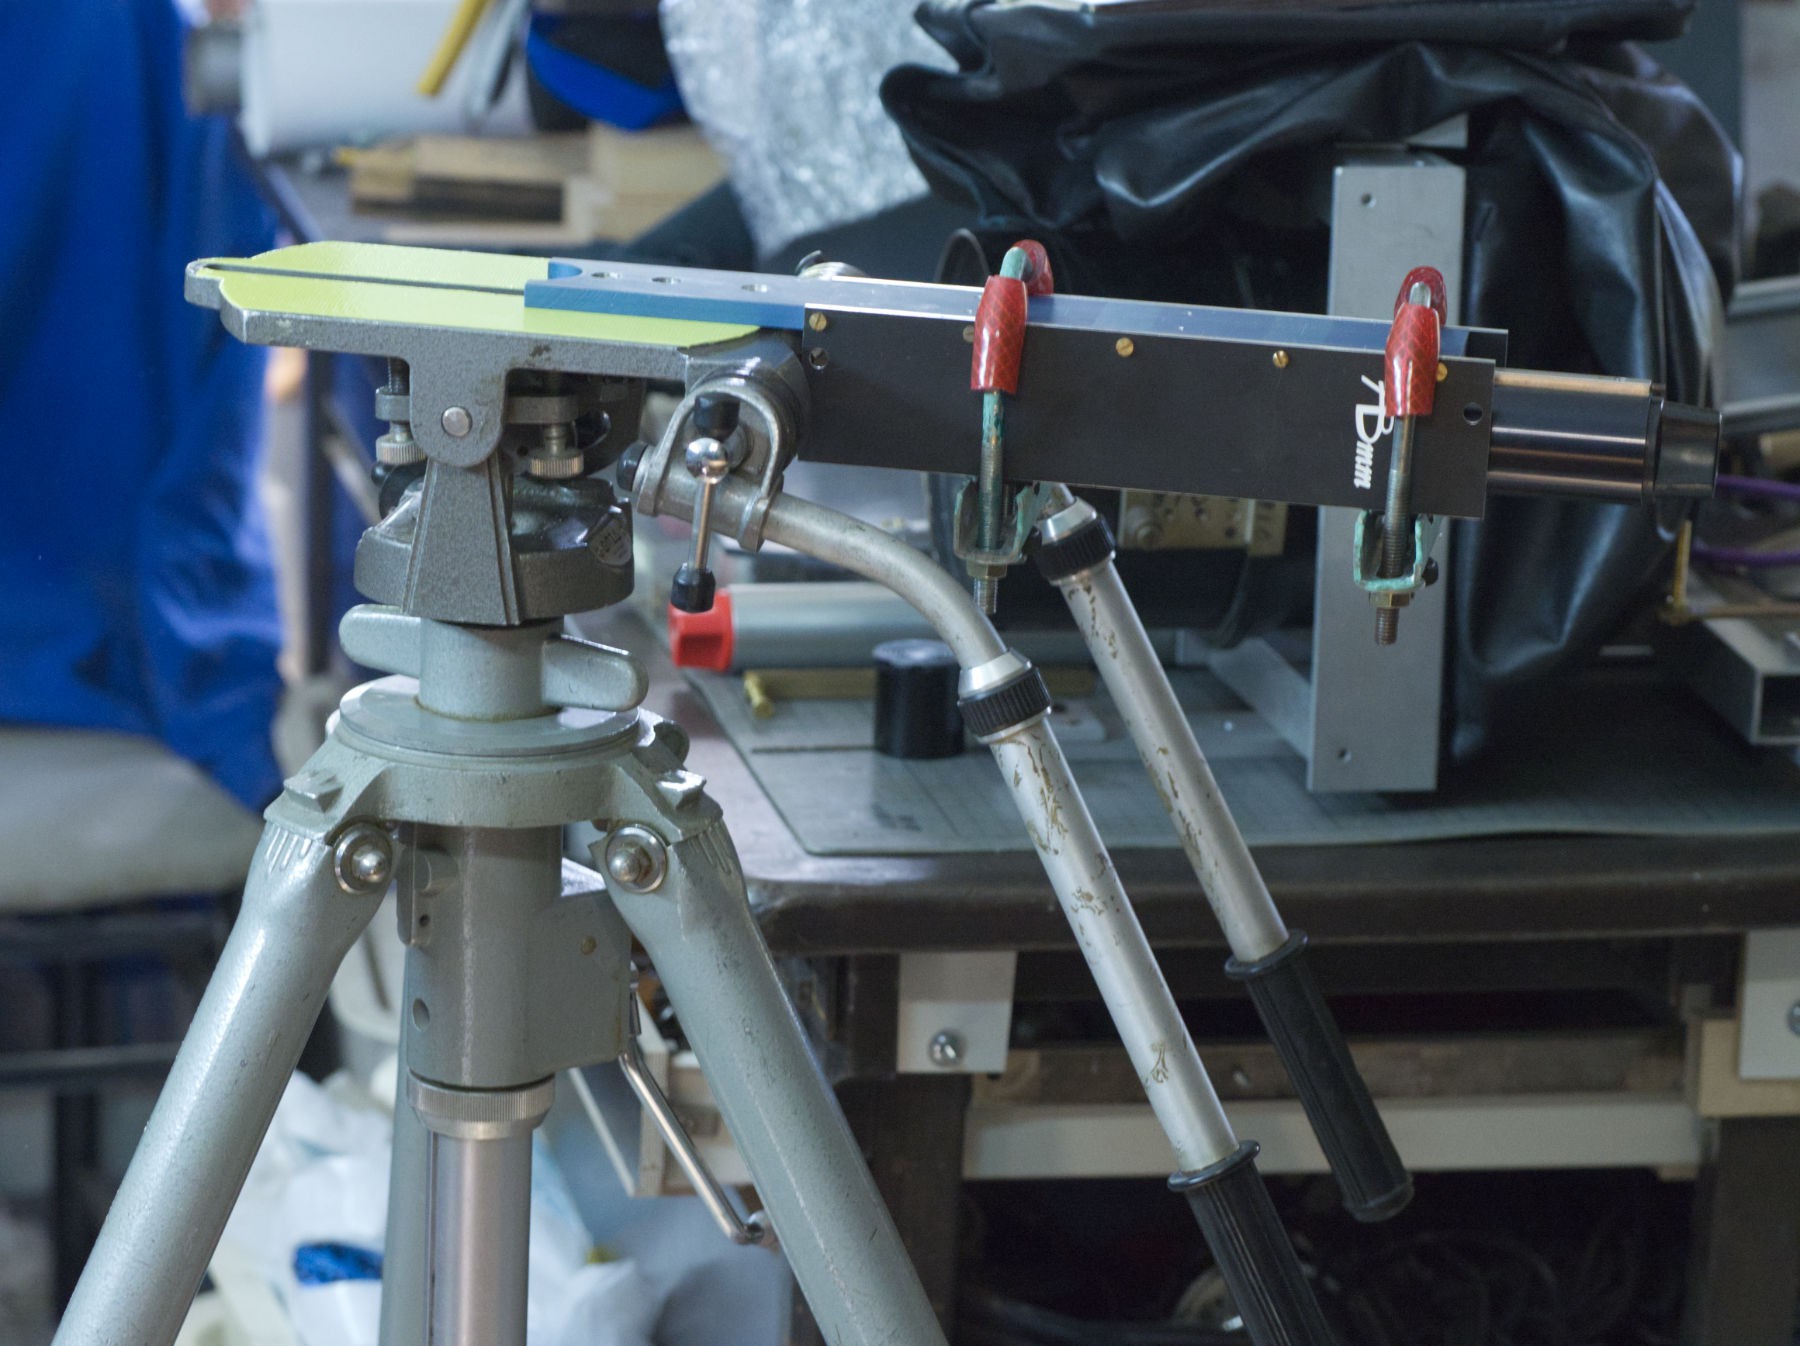
To adapt the tube on a tripod, it will help holding the weight of the camera.
-
Pendants for the ears
05/31/2022 at 15:58 • 0 comments![]()
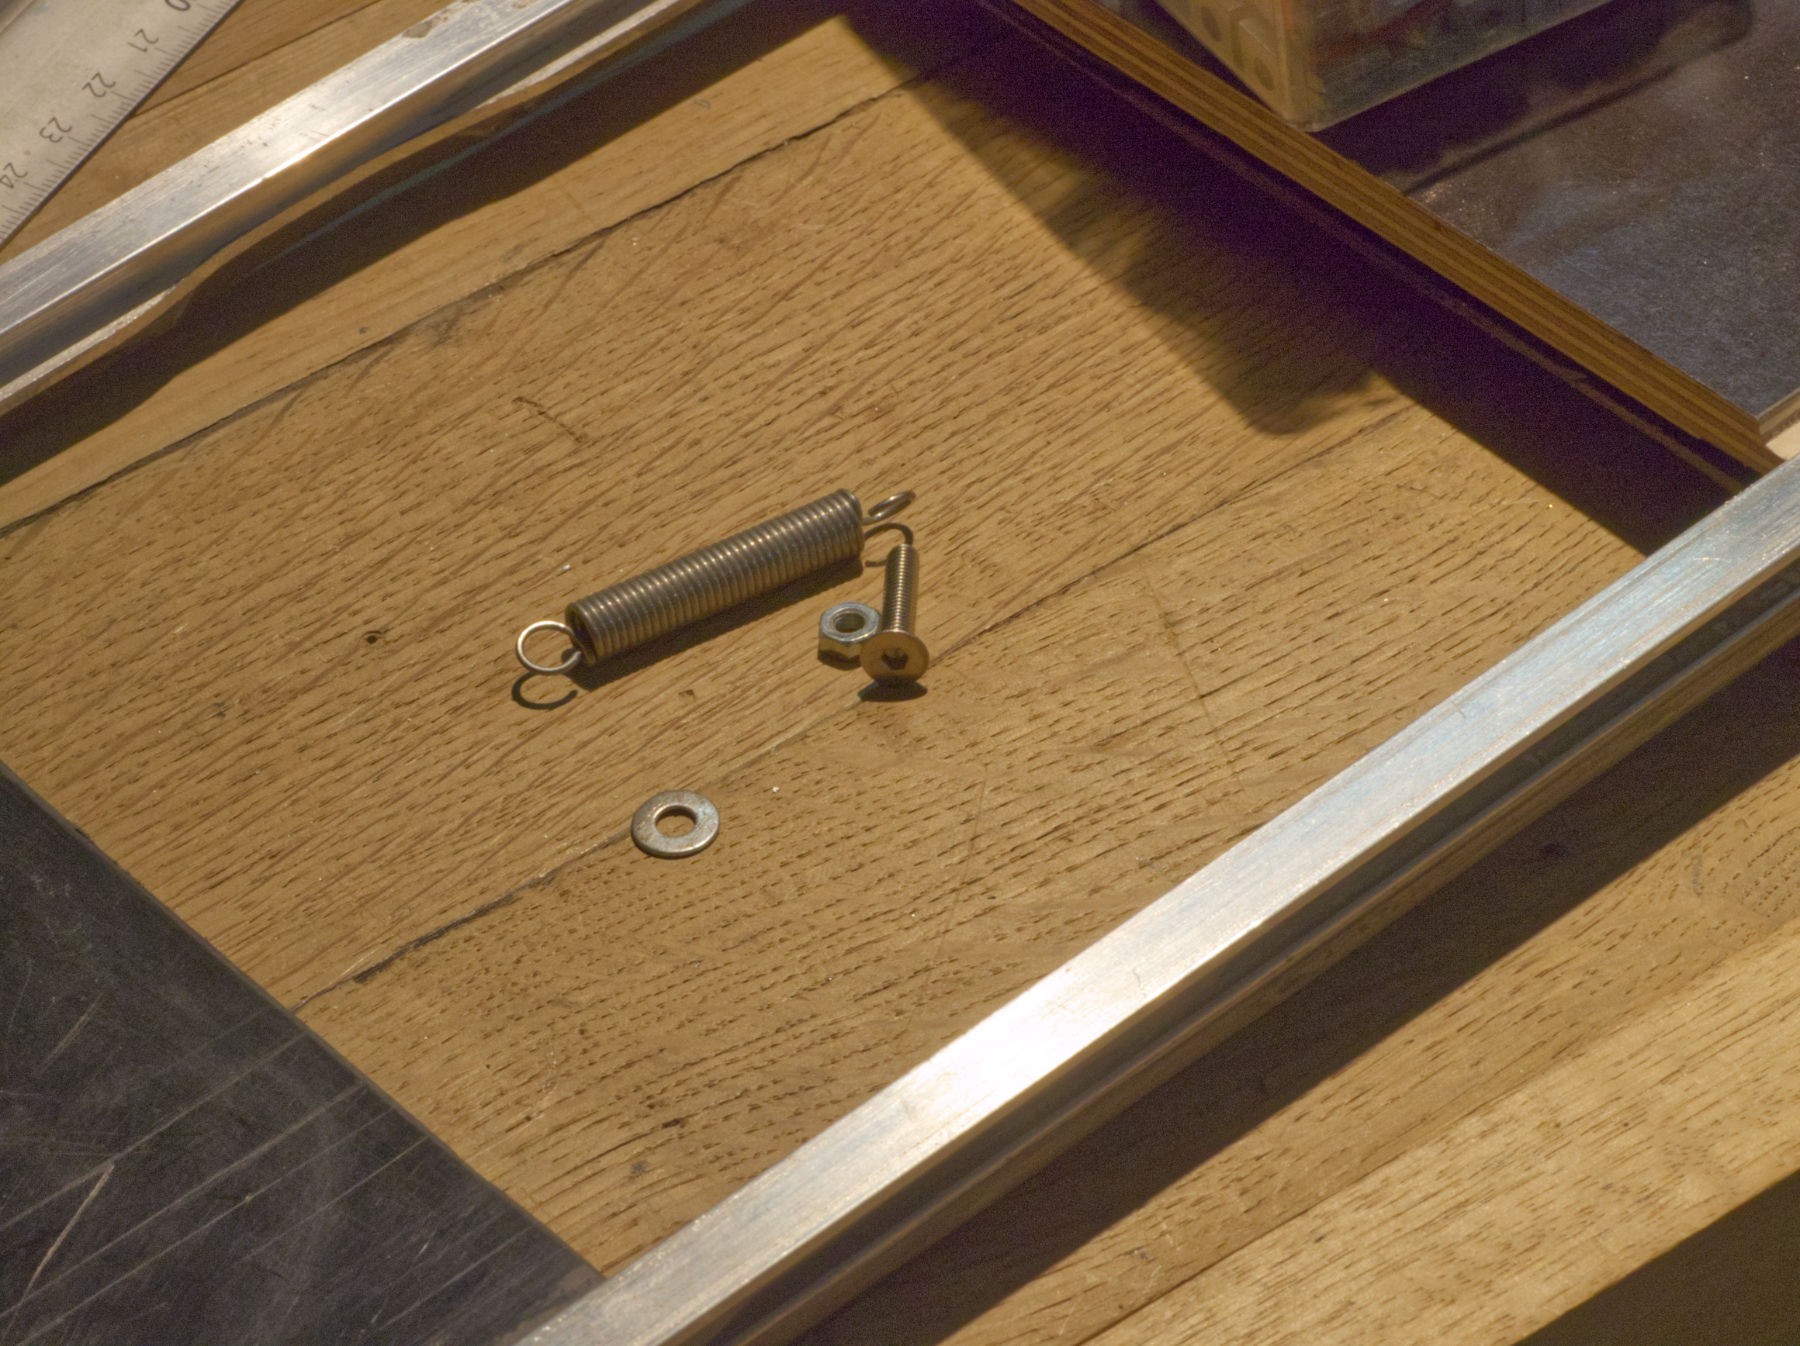
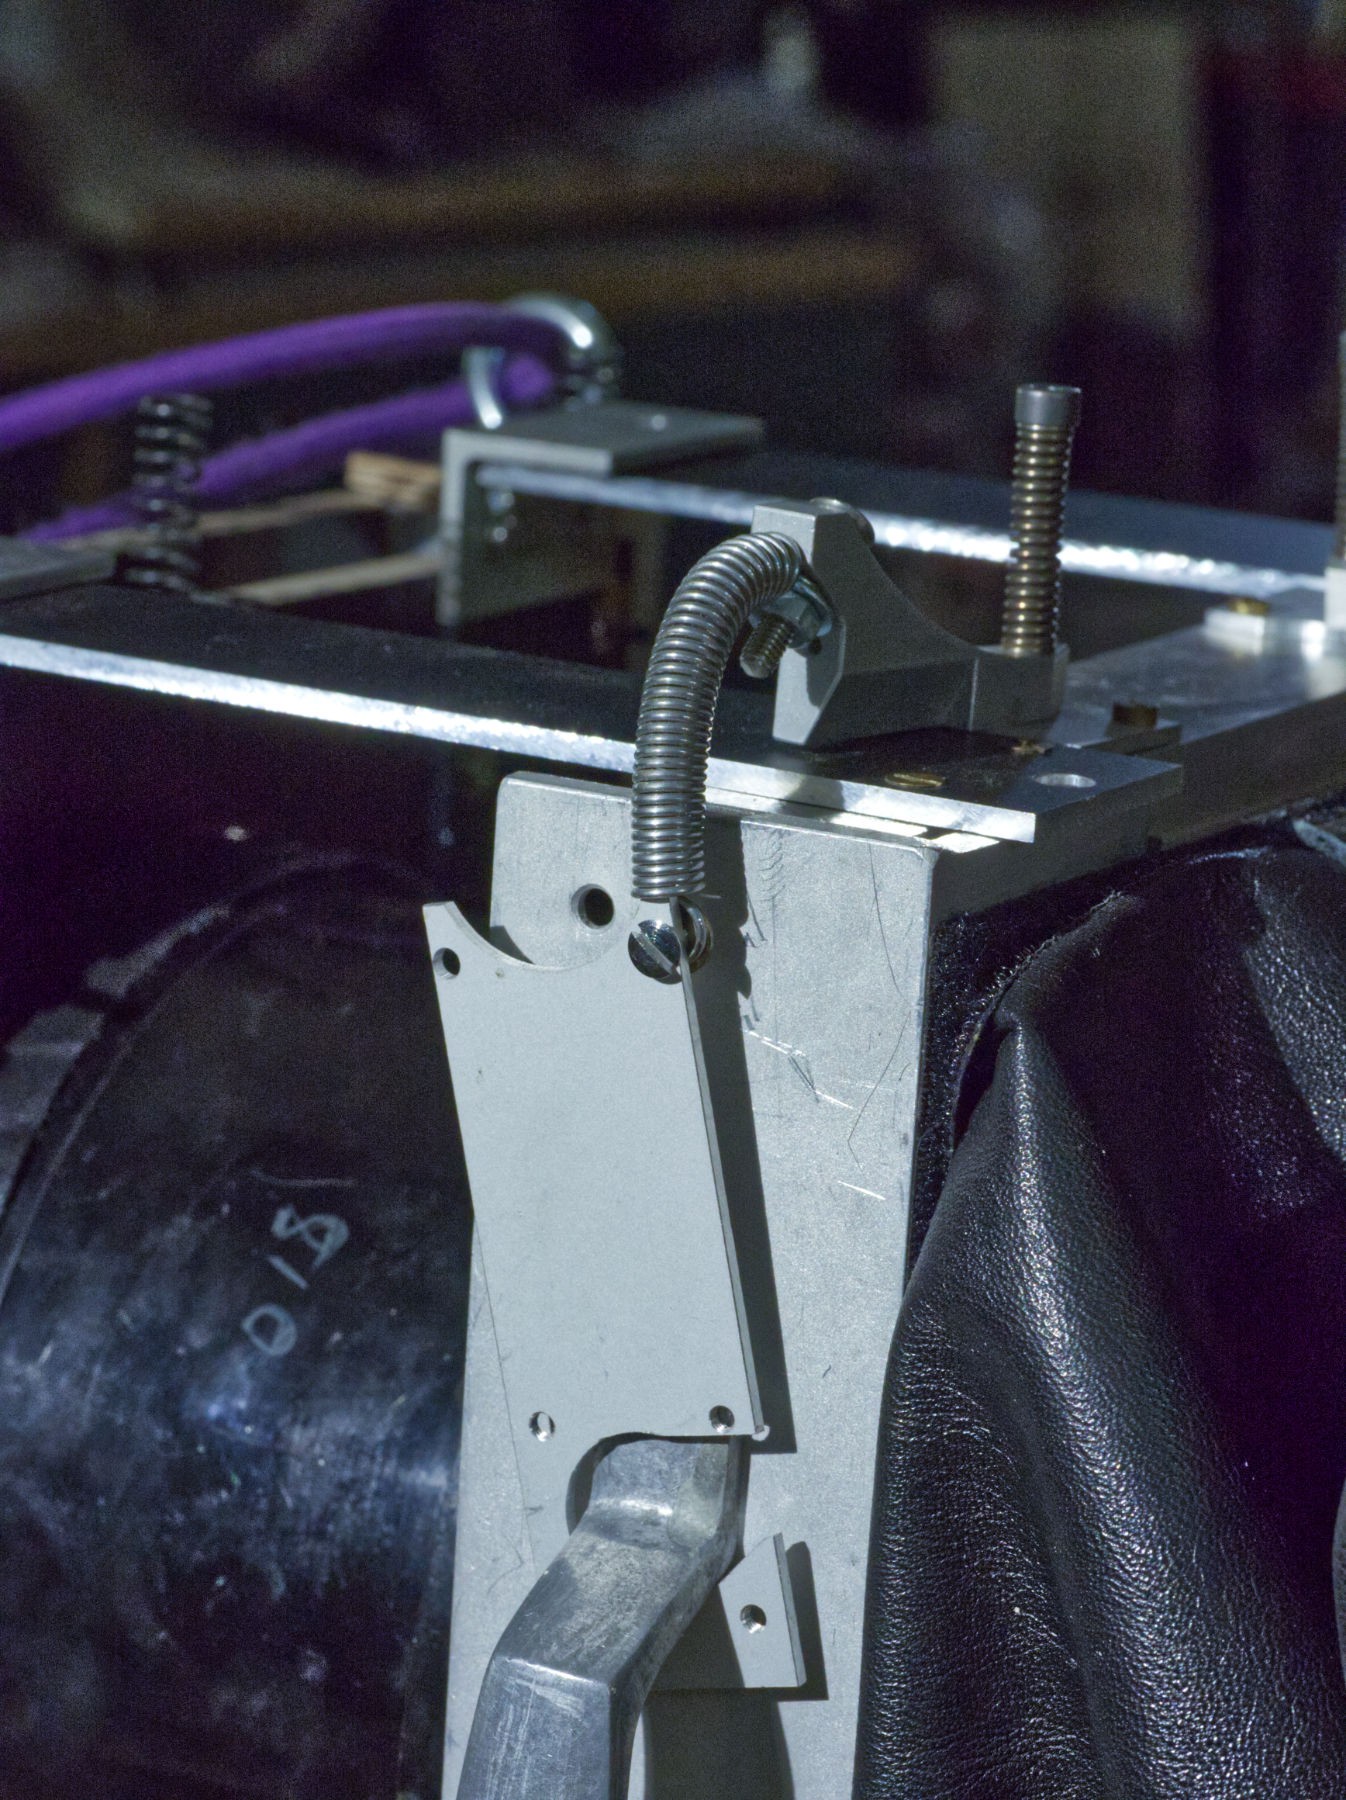
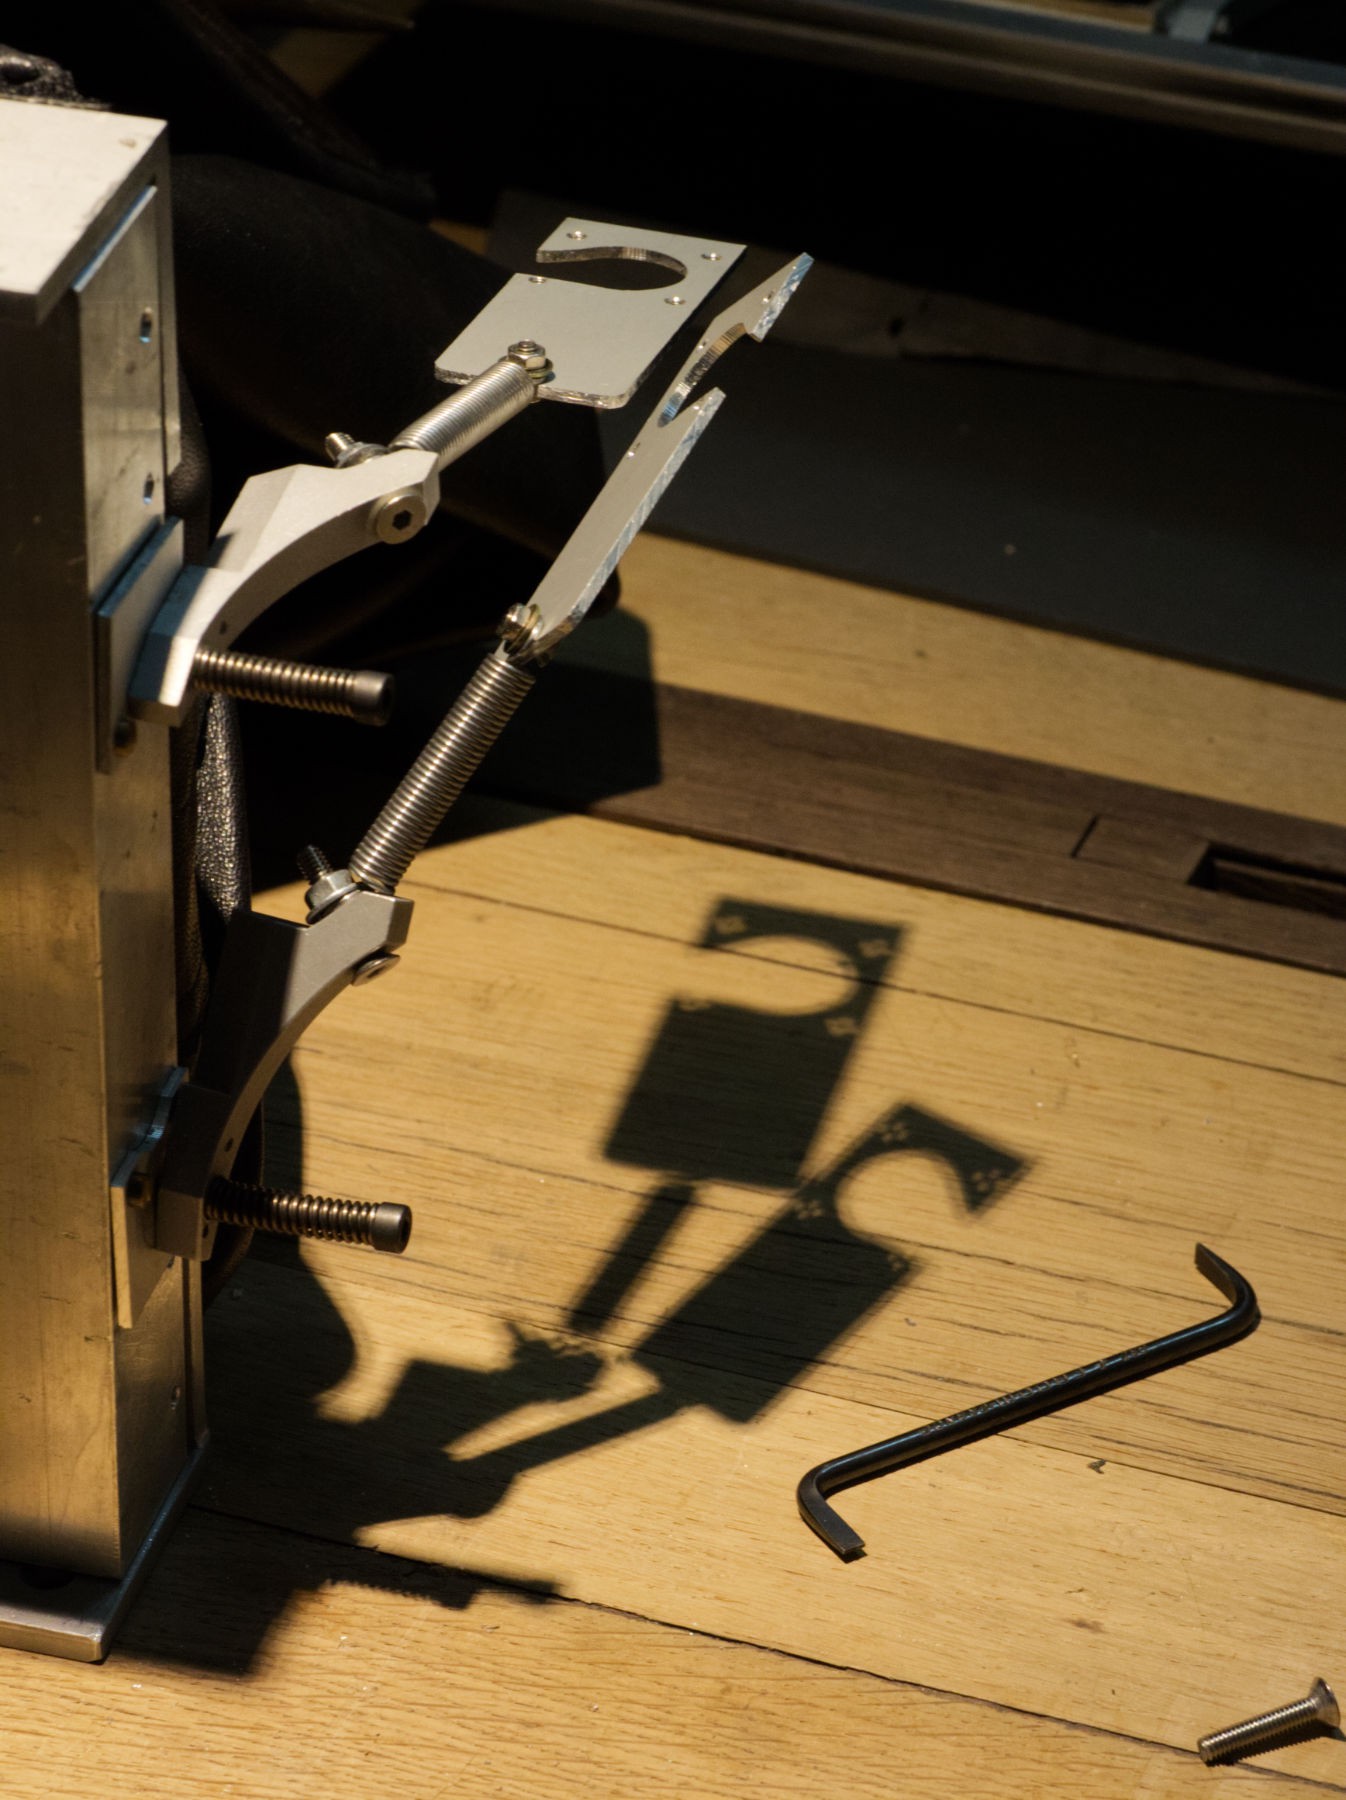
Another pair of springs, M 4 20 mm stainless steel screws, nuts, washers.
![]()
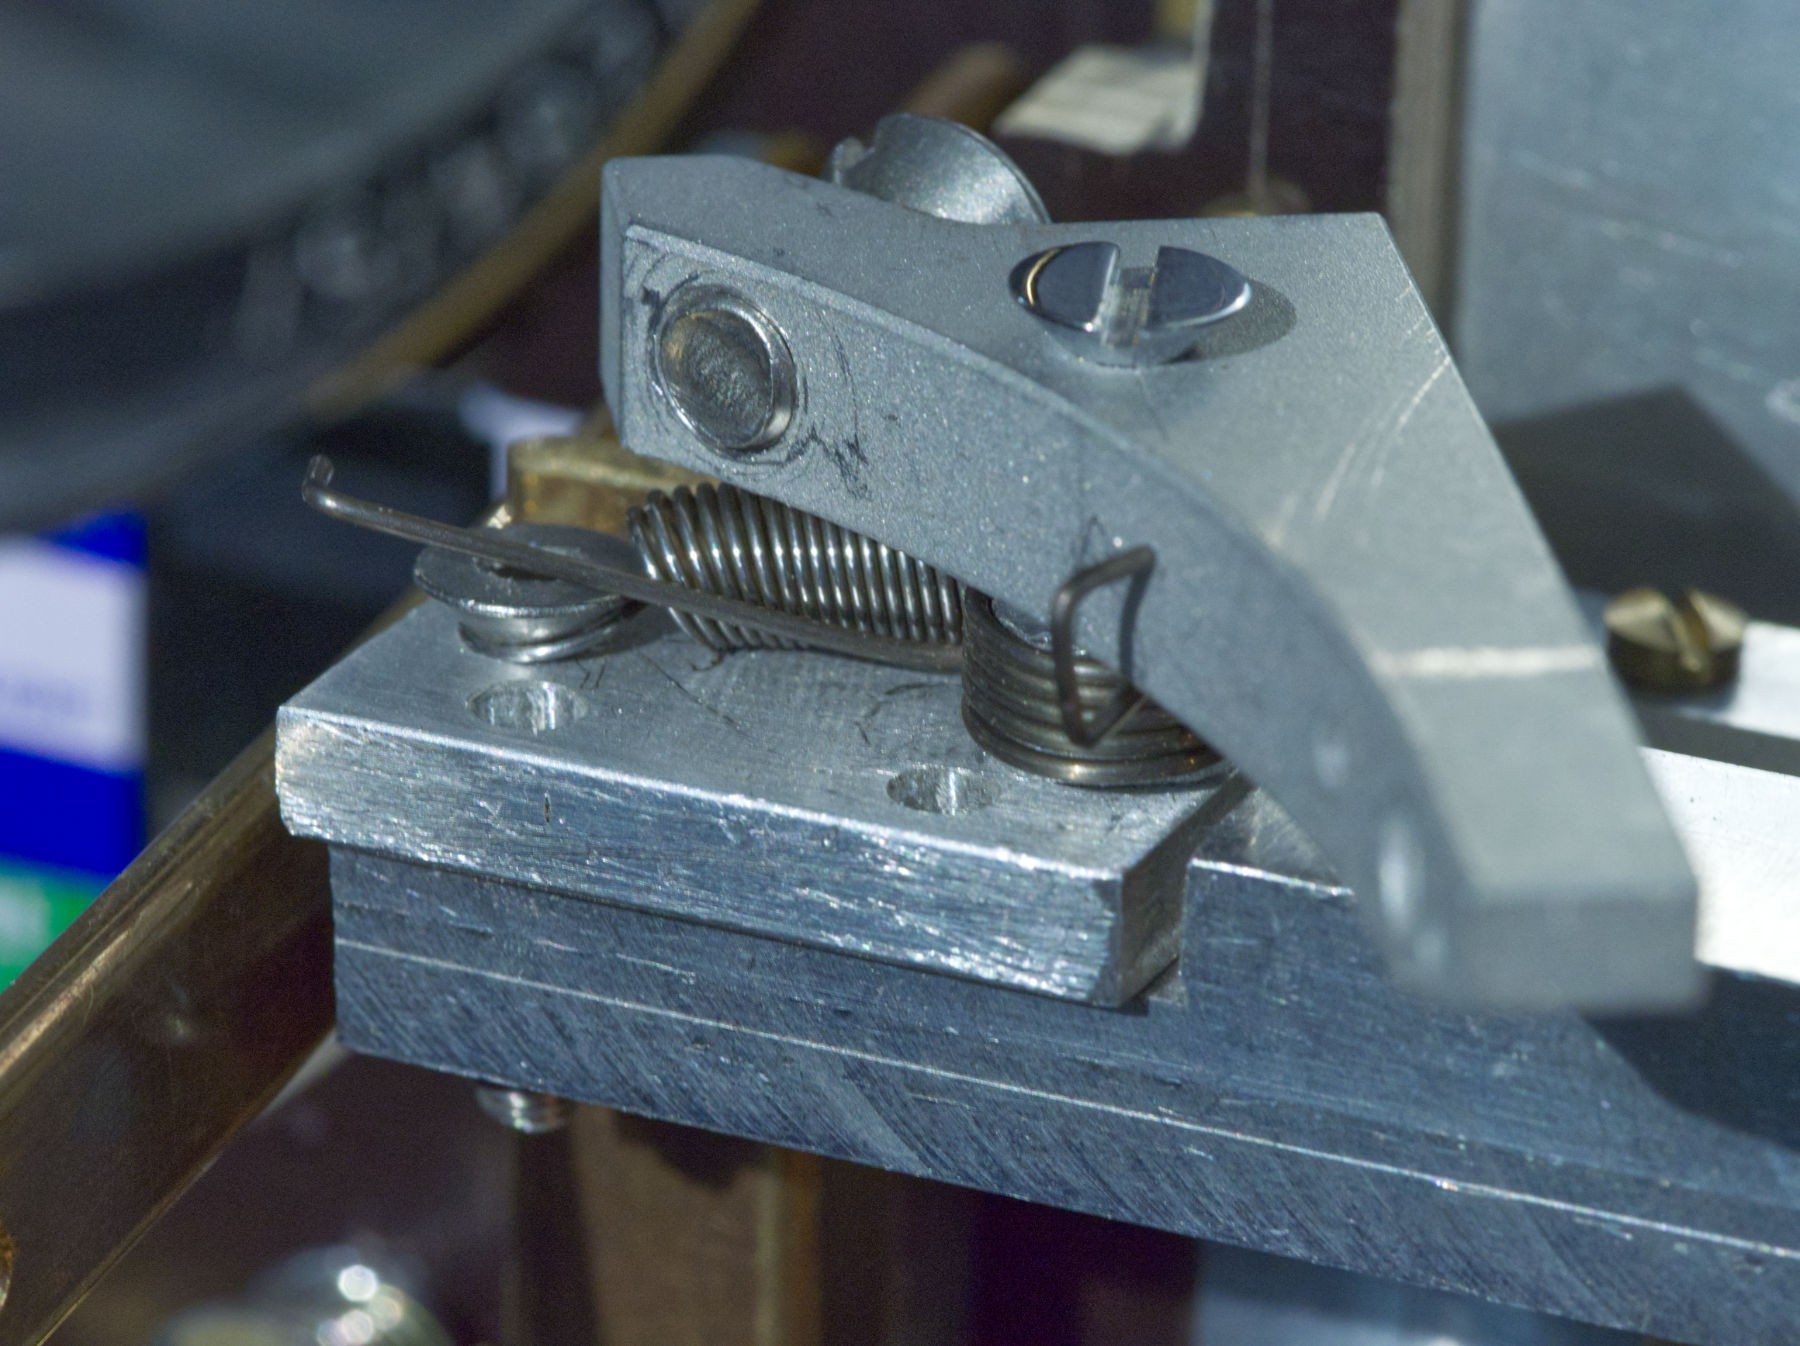
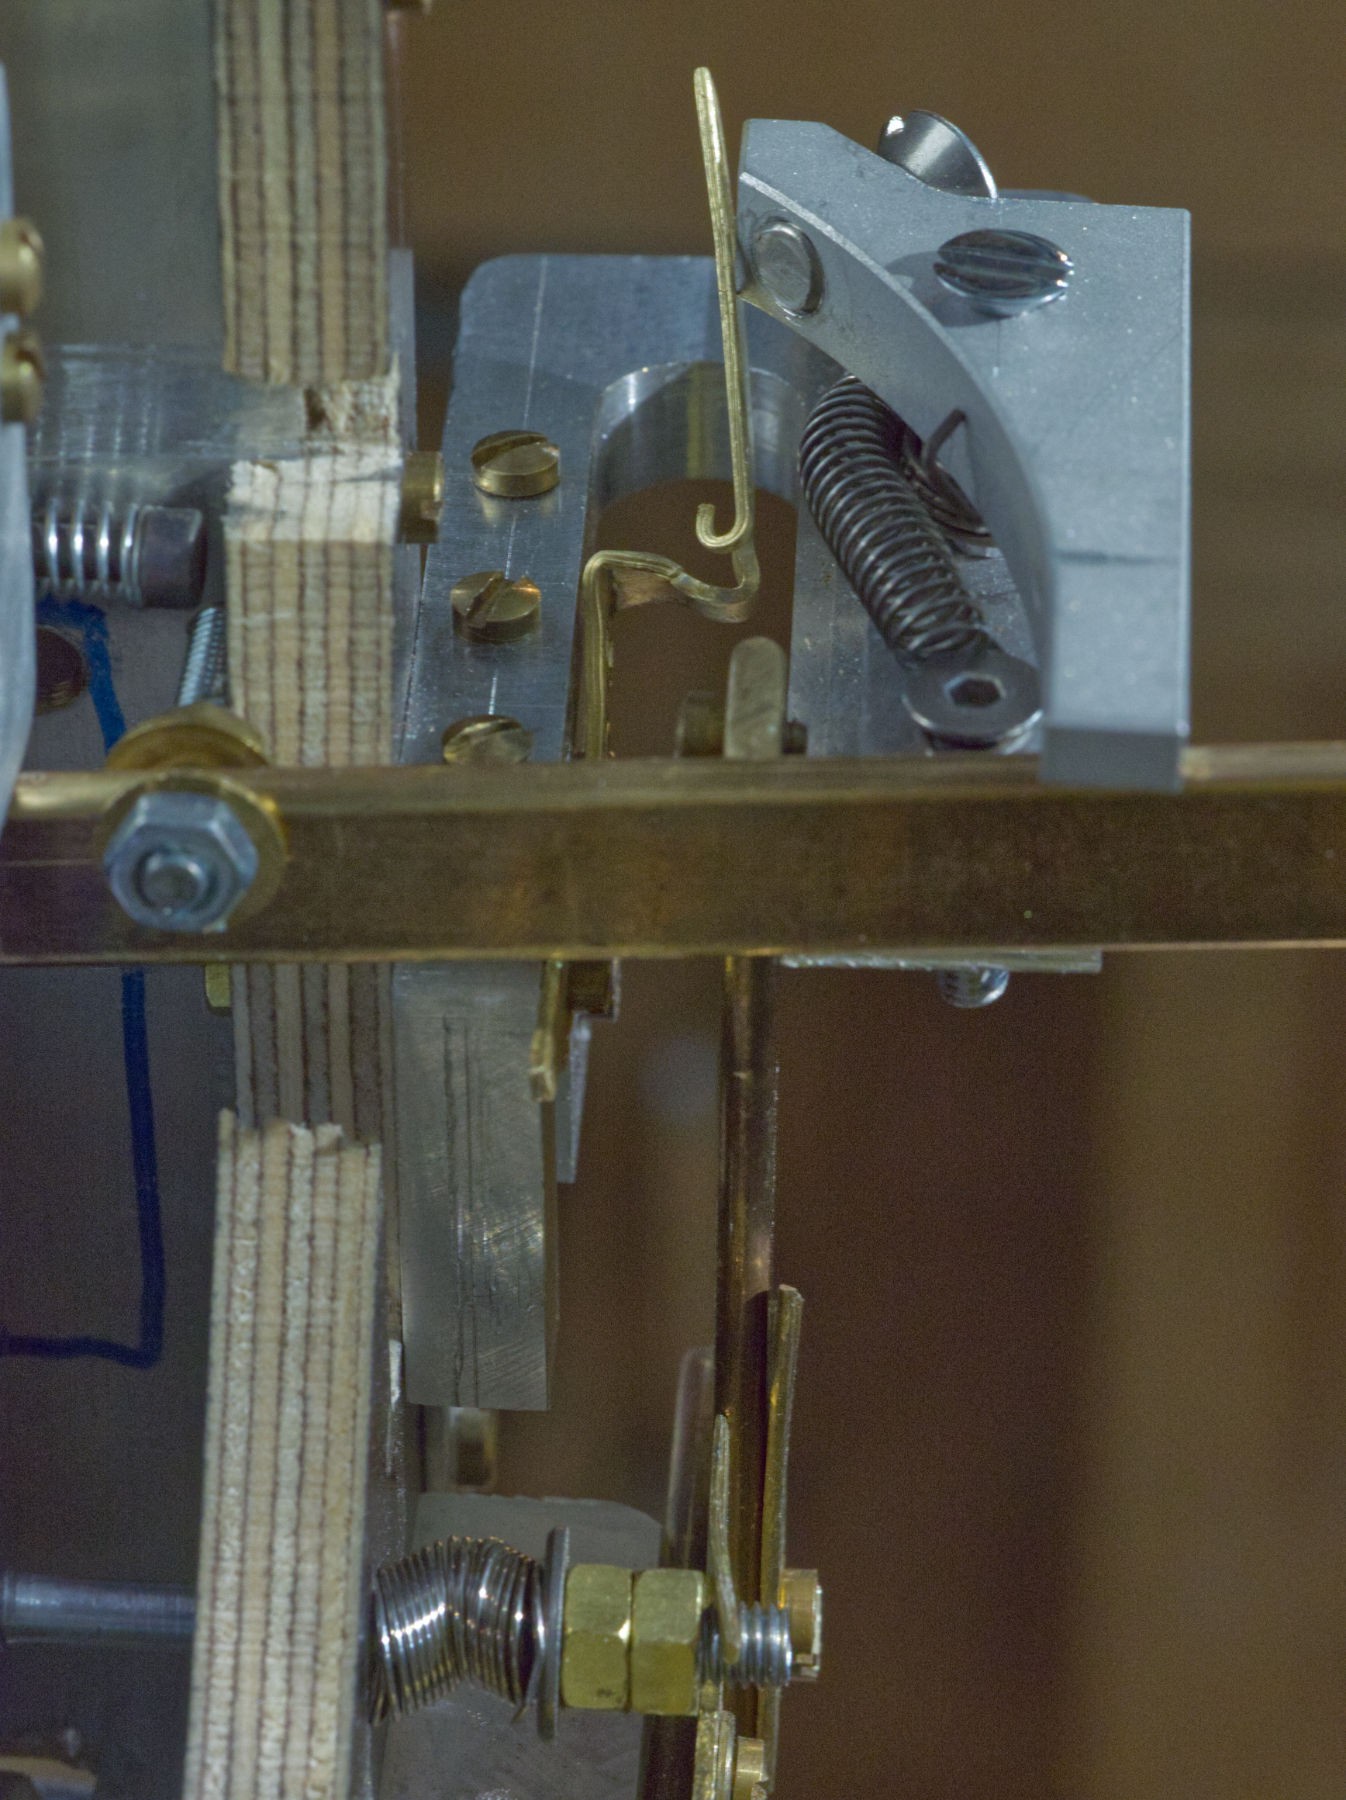
The ears do not have enough strength to perfectly hold the top linkage of the shutter.
I need a hook to hold them down firmly on the handles.
![]()
These nice aluminium parts are going to be perfect. I first thought of a bend screw but I've done it before and it's ugly.
![]()
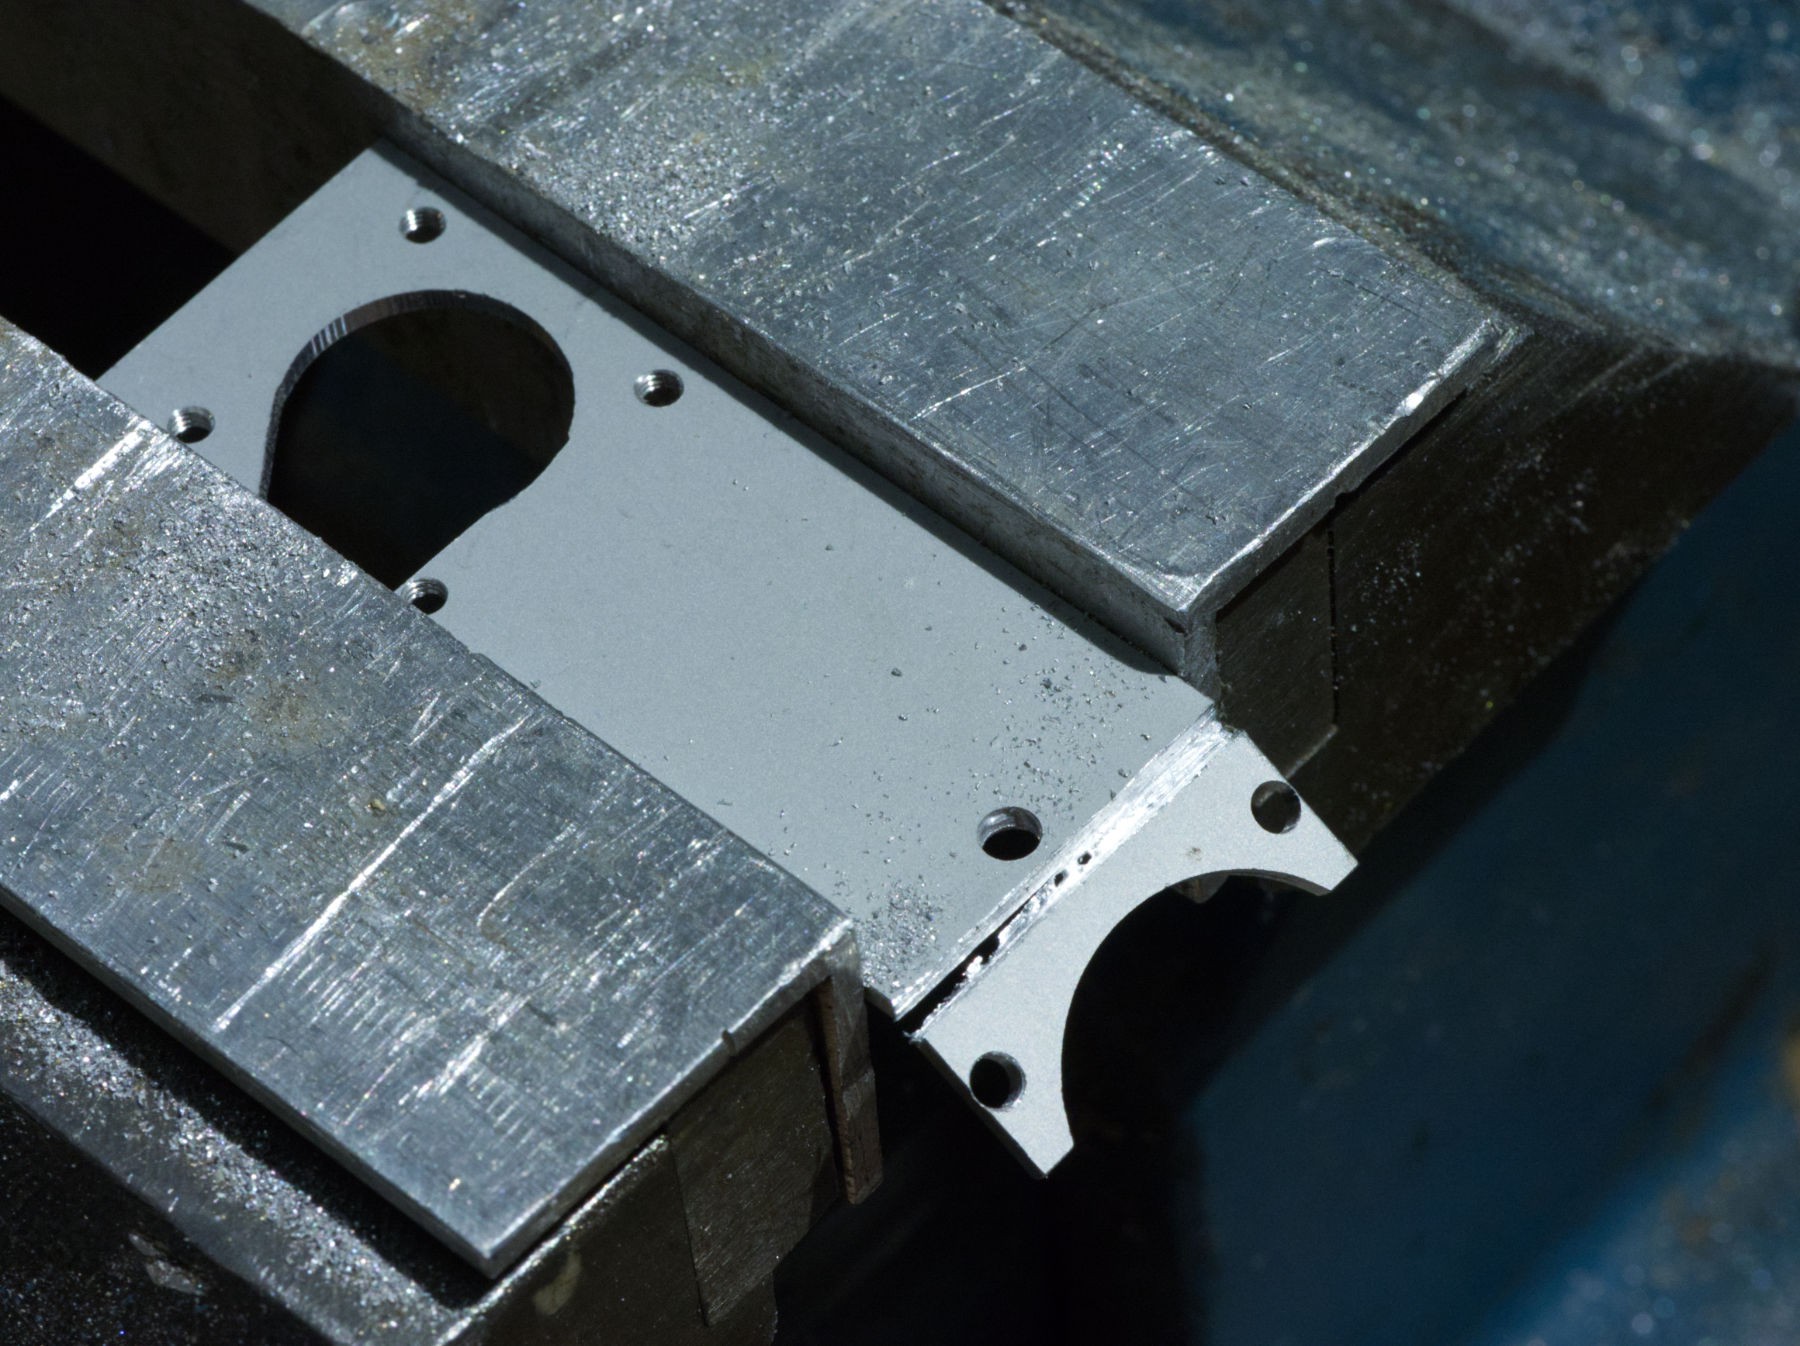
Cutting, filing.
![]()
Mmmm, not strong enough yet, and if the hole is centered, it'll look better.
![]()
Drilling, cutting.
![]()
Perfect !
![]()
It's now much more tight.
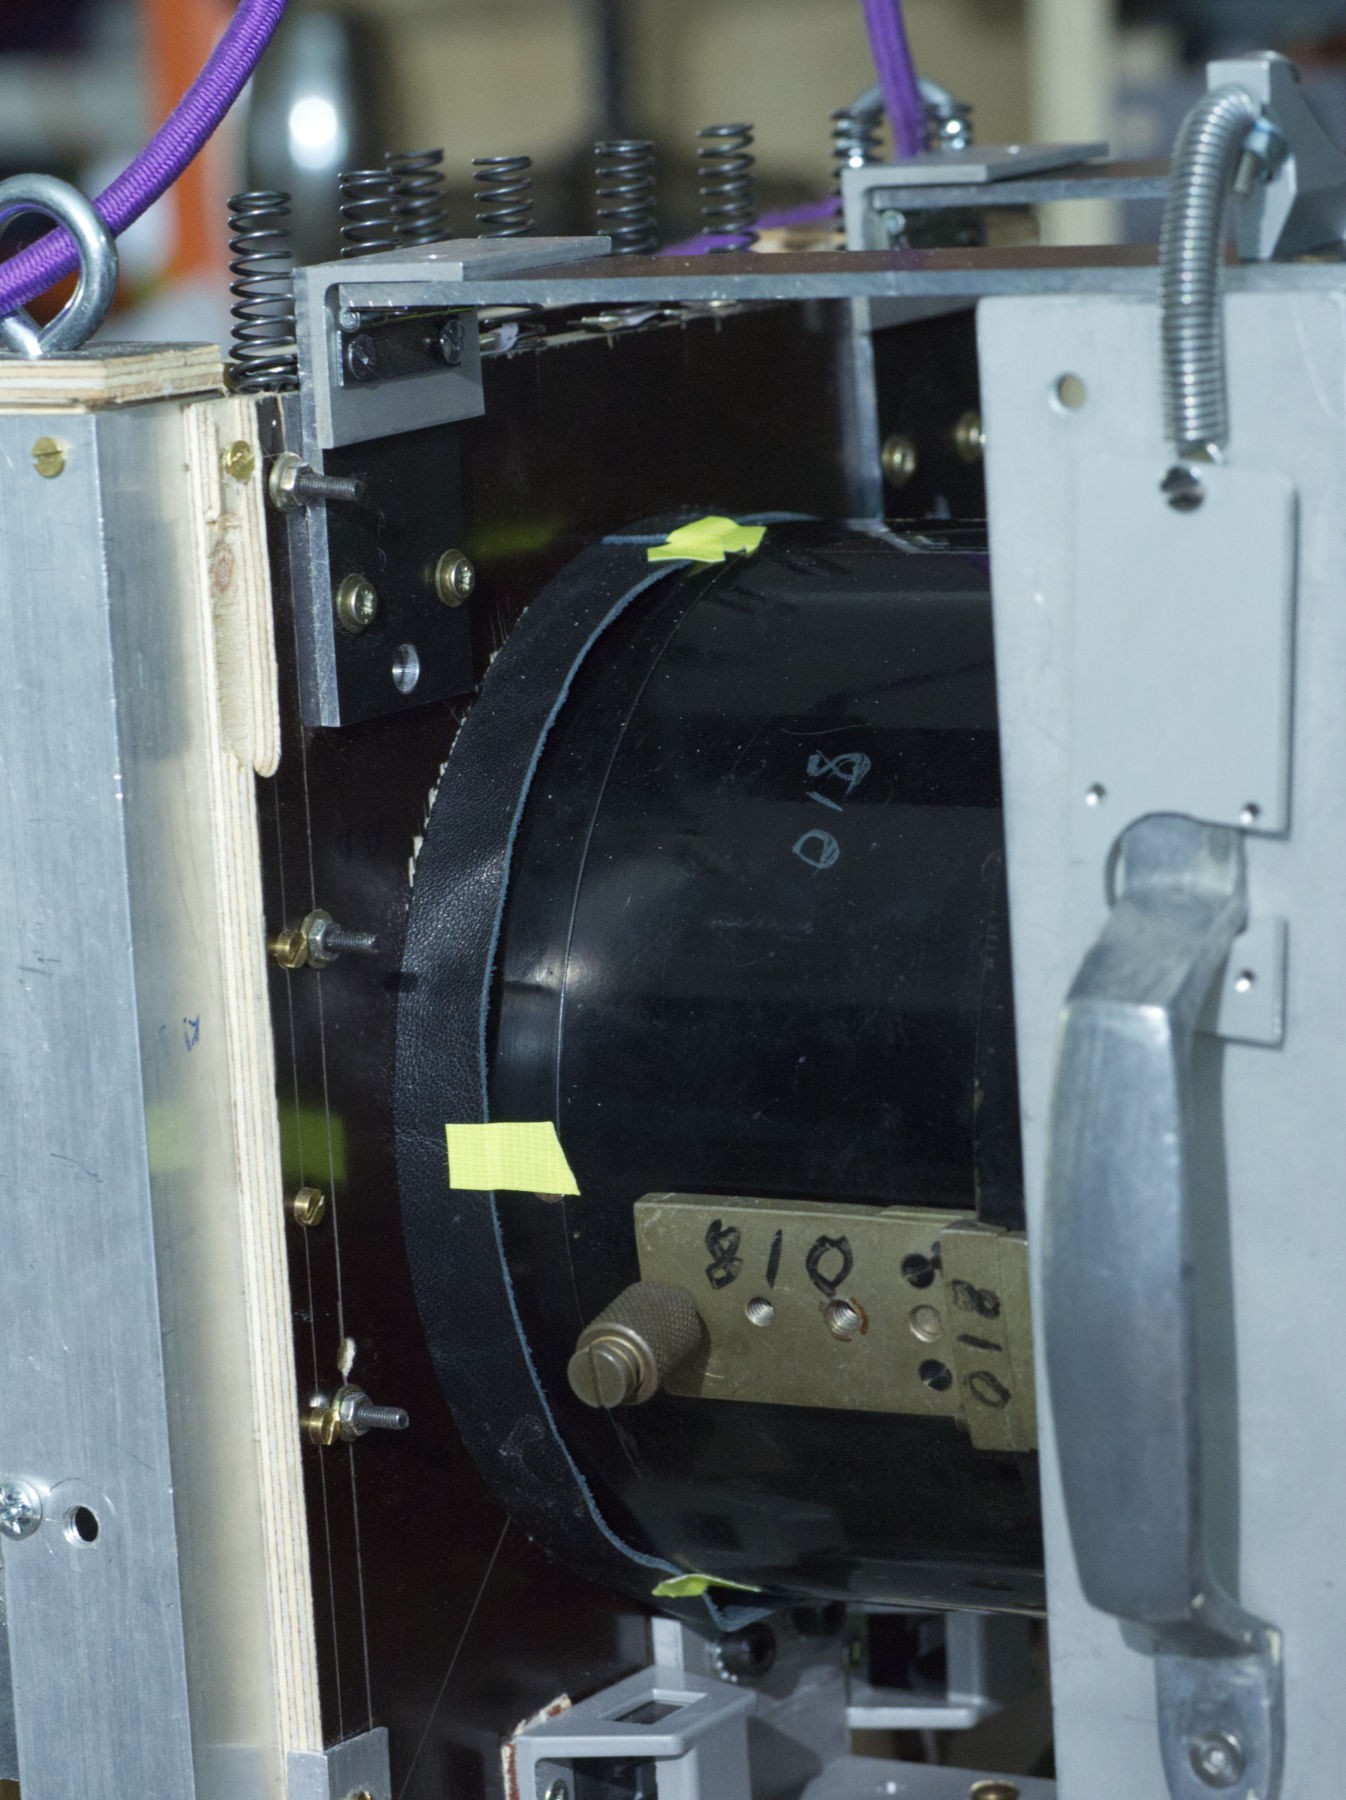
You can see that the previous owner of the lens has hand written 3 times the focal length in millimeters ! Twice on the aperture lever and once on the barrel.
![]()
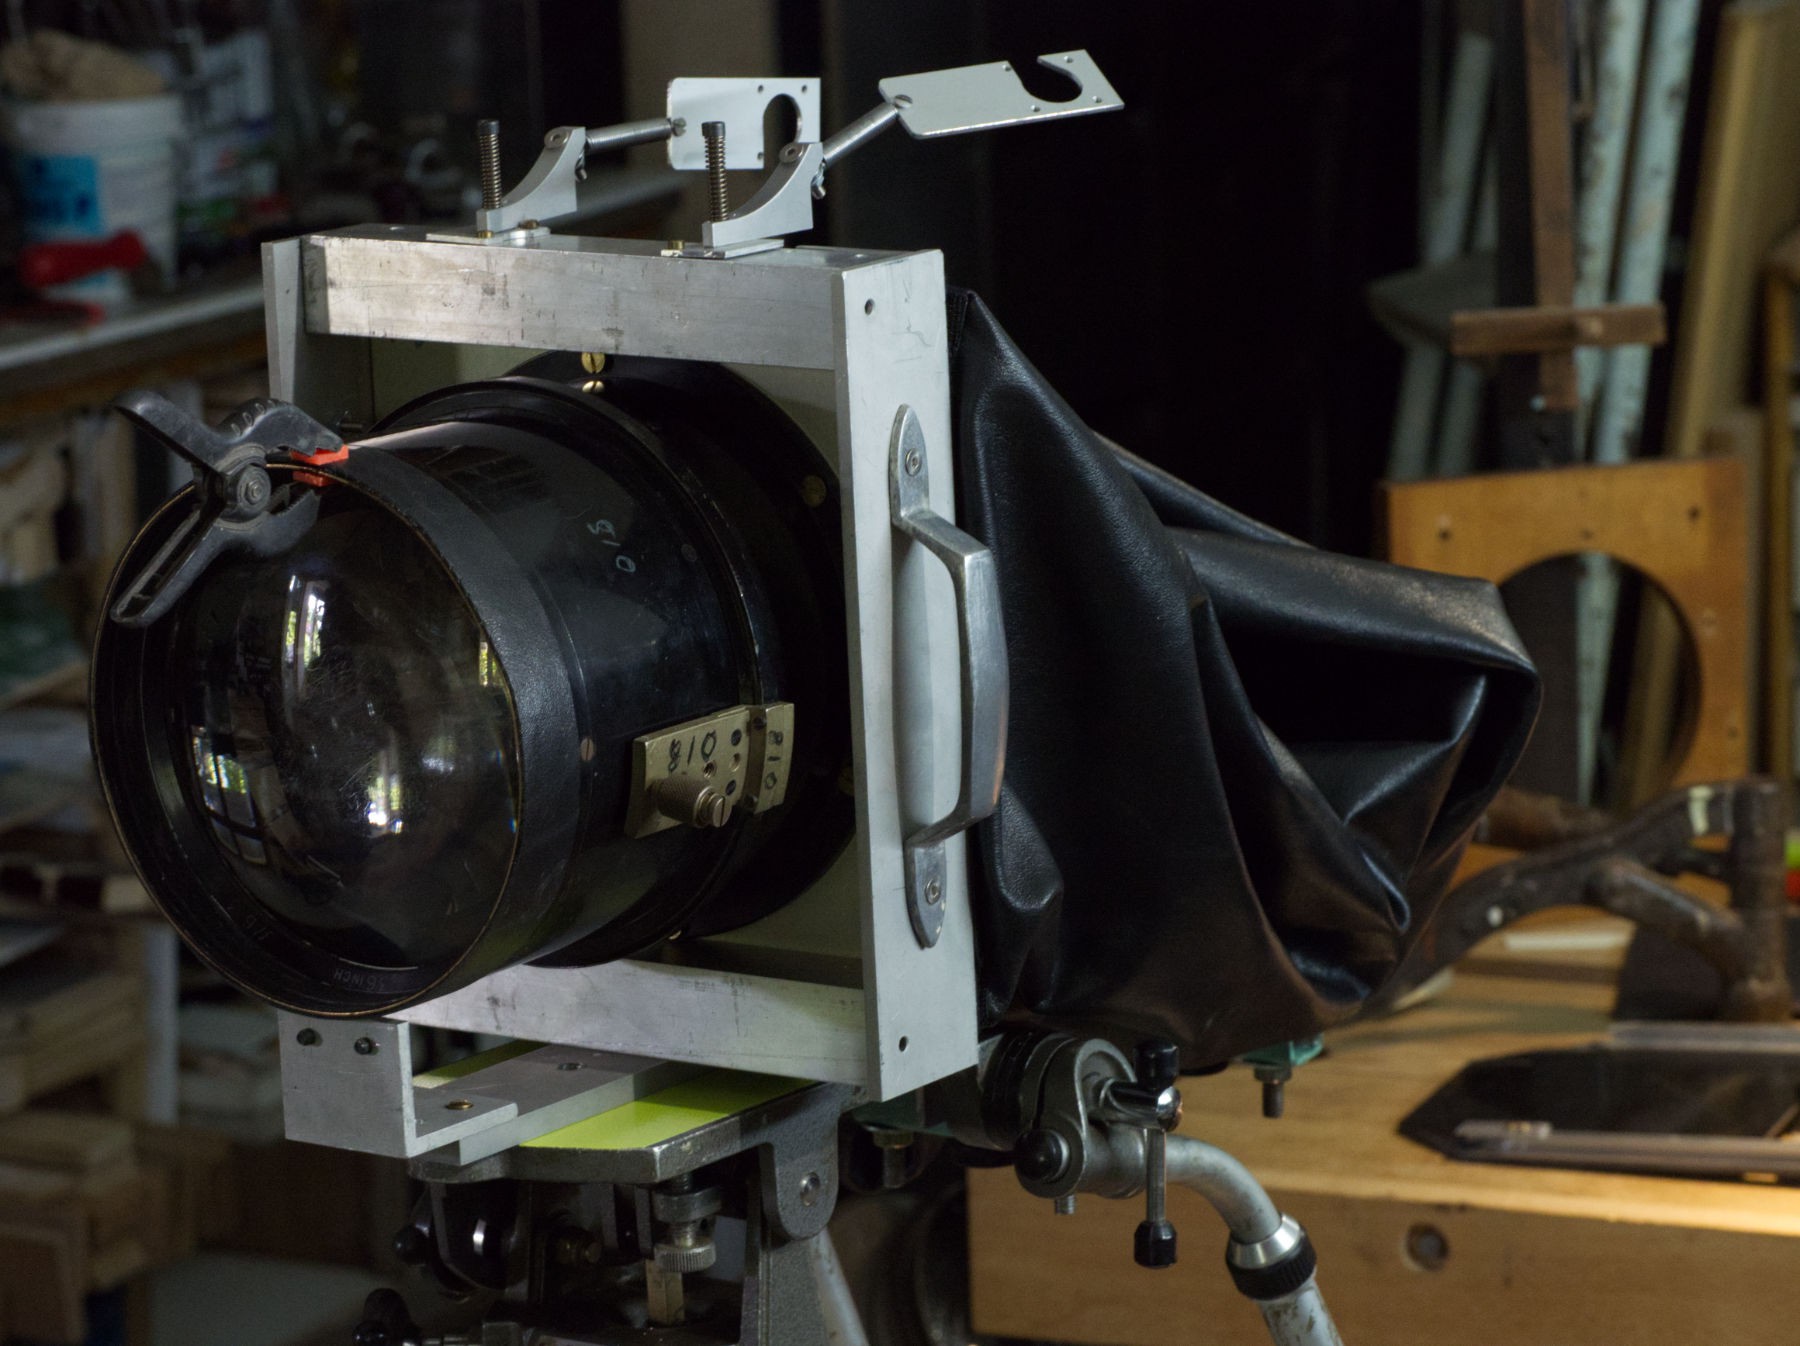
I love those ears pendants, they make very expressive shadows.
On the right, a very useful angled screw-driver, both ends have an 90 ° angle between them and for bizarrely positioned screws it's really cool to have it.
-
Handles
05/25/2022 at 17:48 • 0 comments![]()
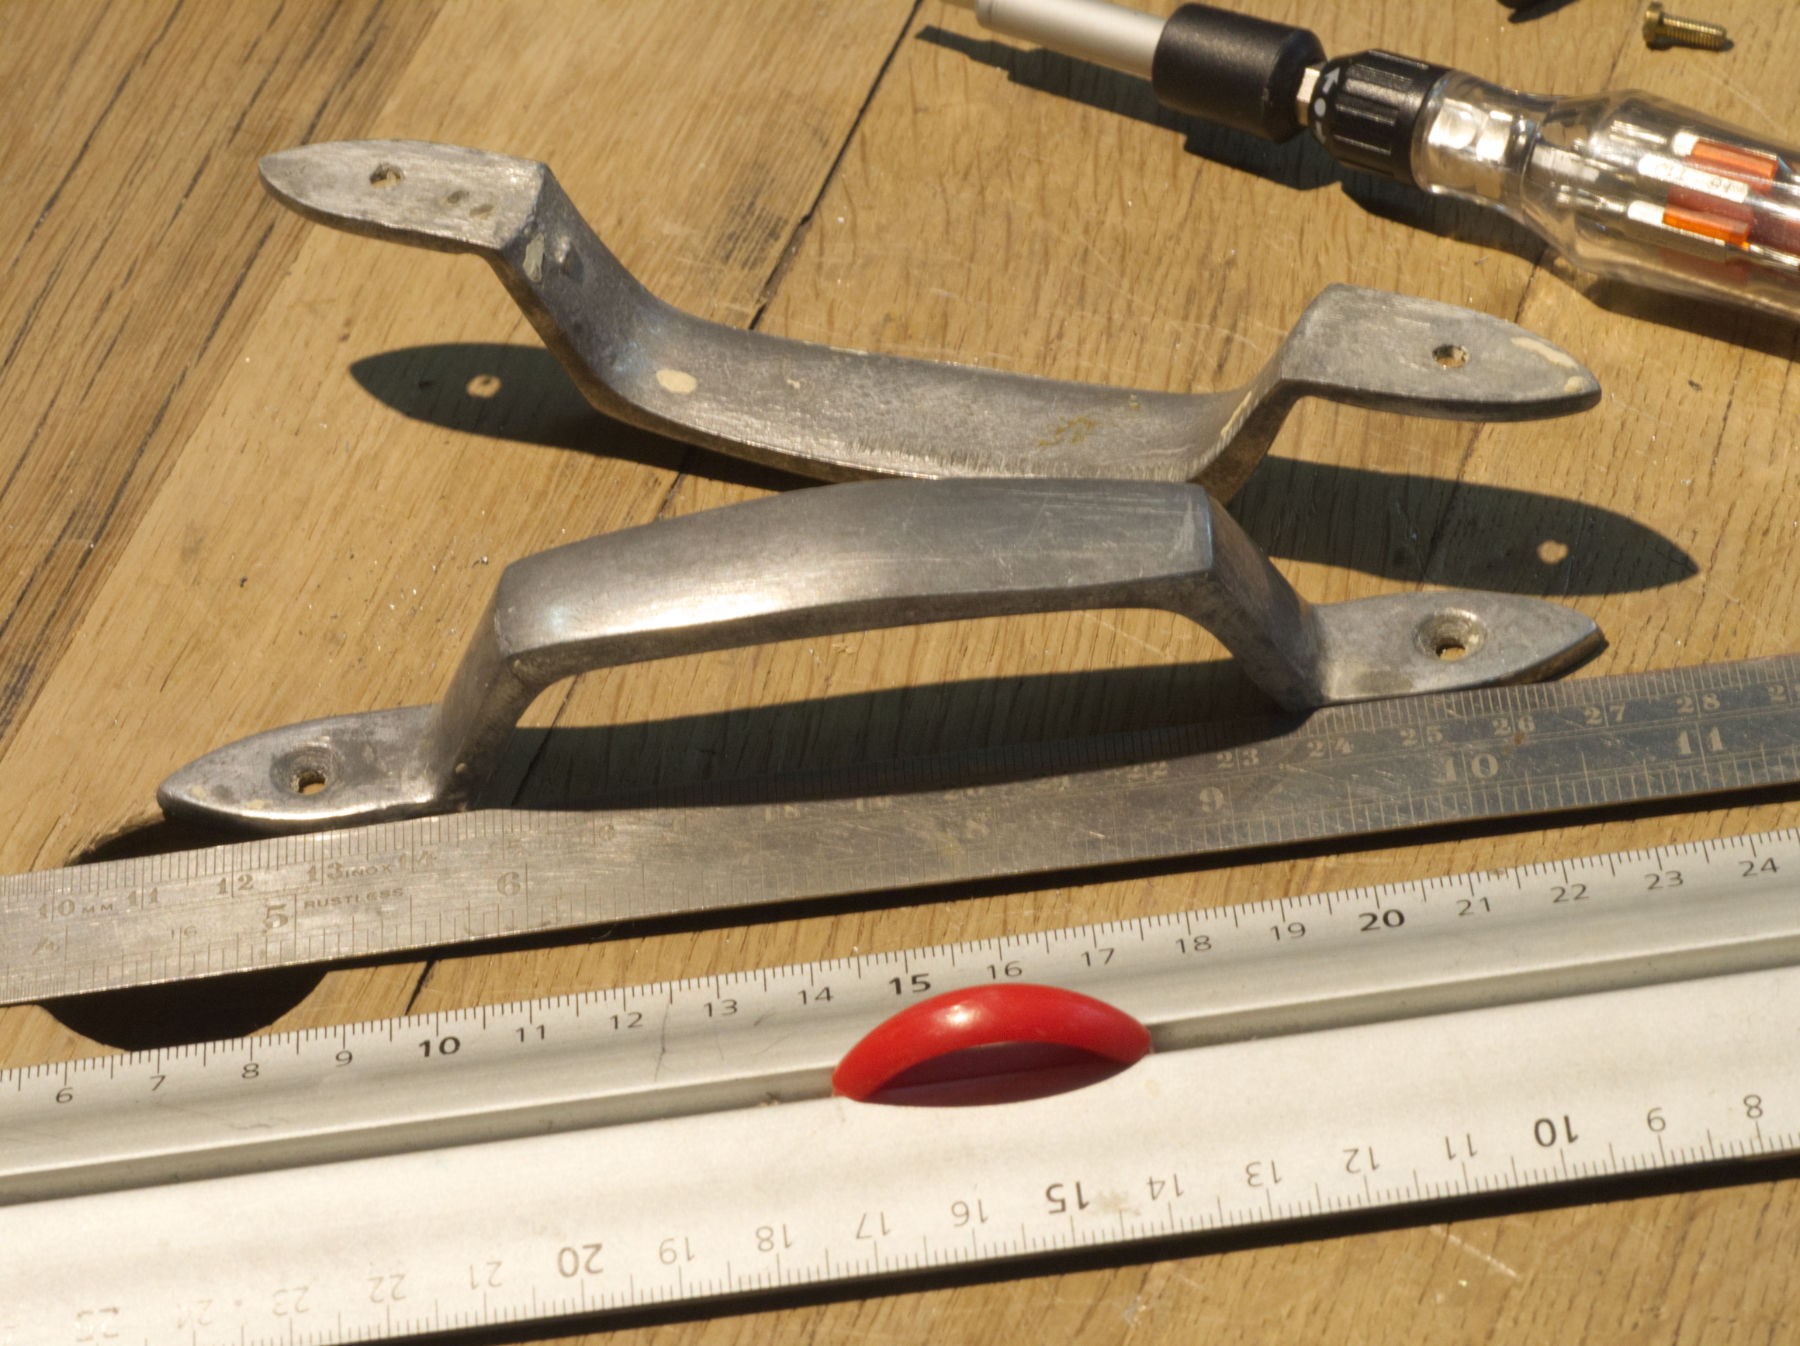
They've been lying around the bench for a while but I was sure to have to take them apart from the thing a few times, so I've waited until complete achievement of the work.
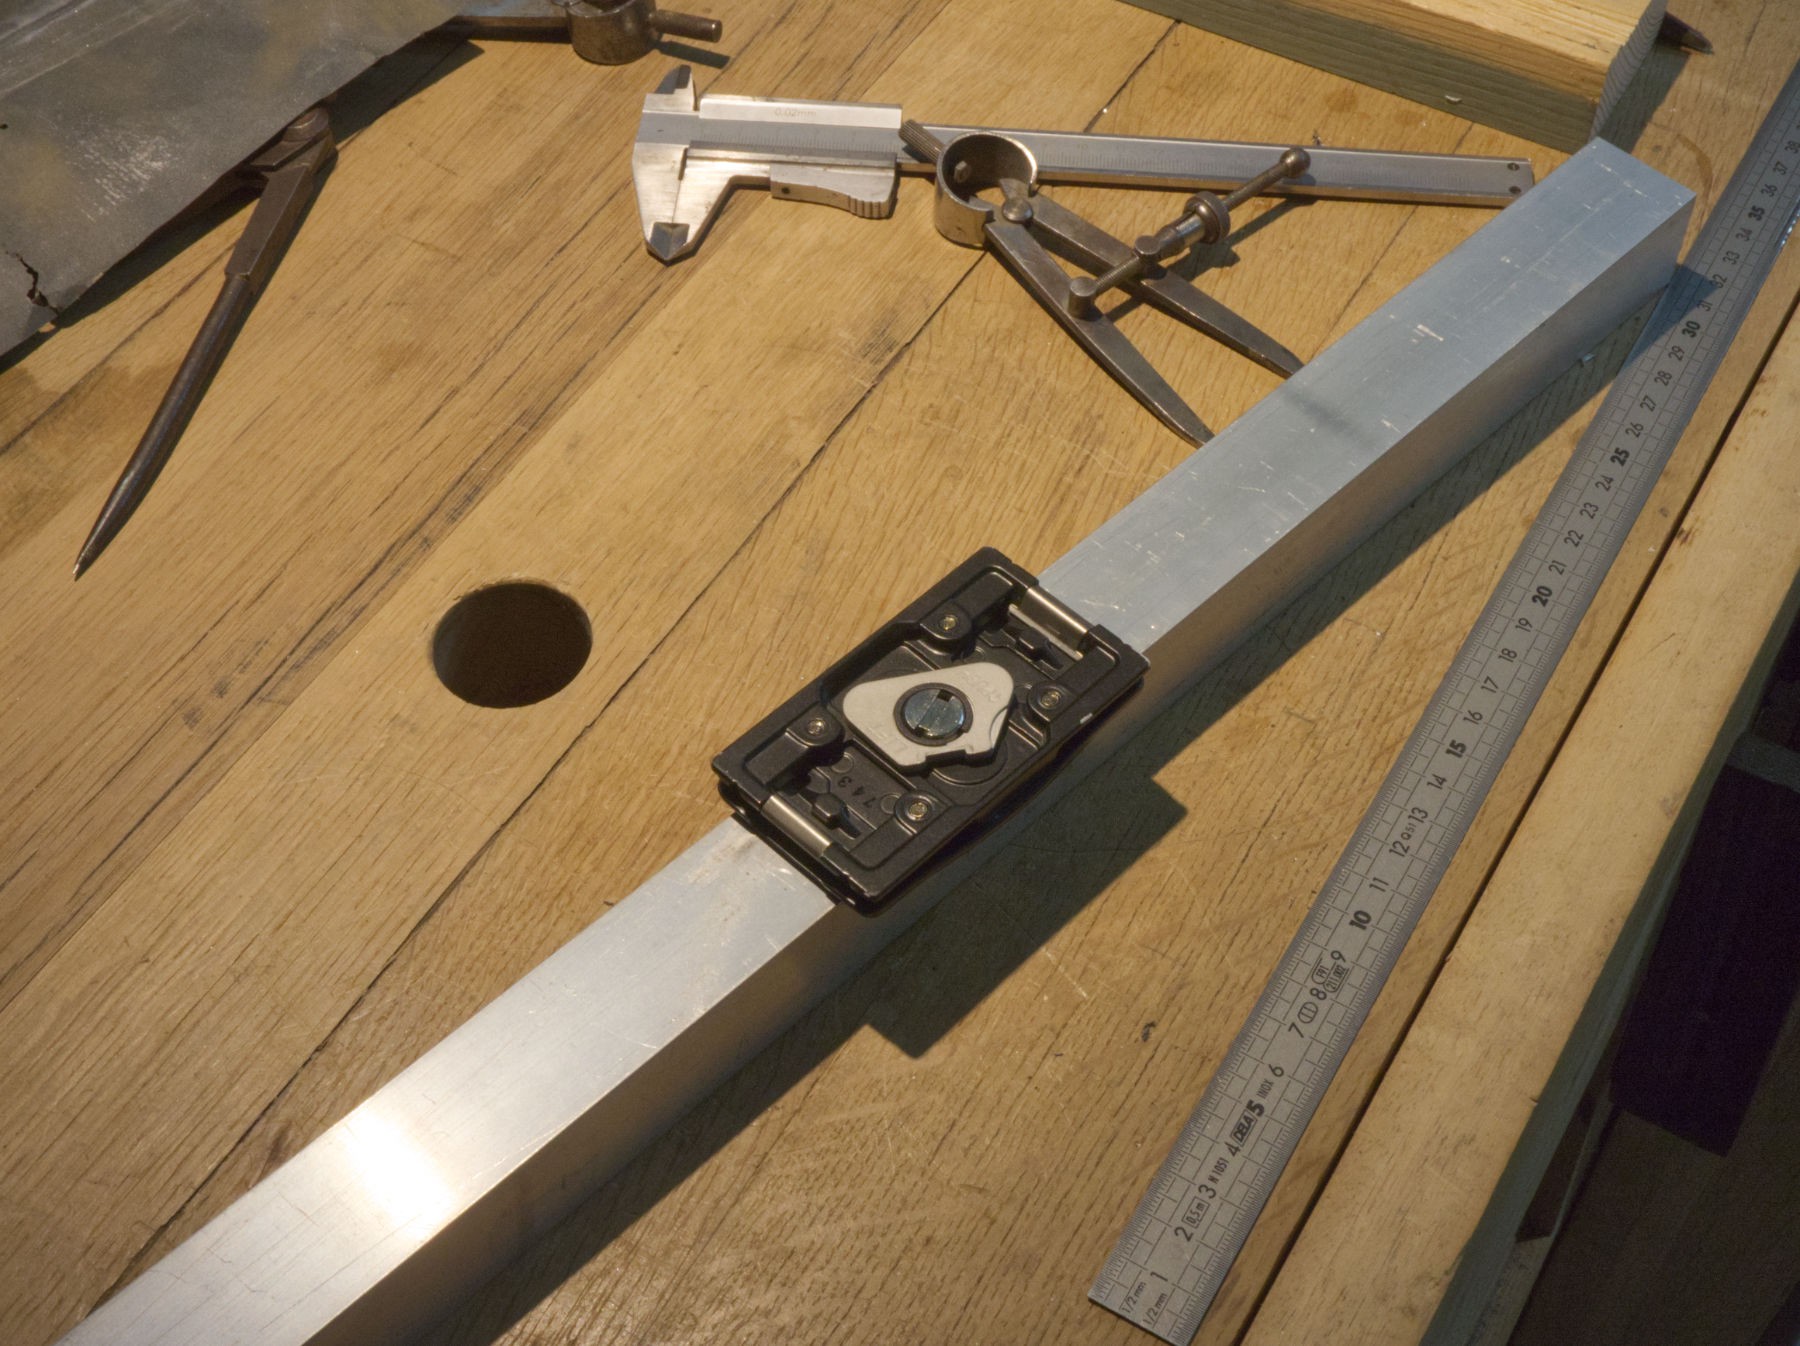
It's for sure some furniture stuff made in UK or USA as the distance between the holes is exactly 5 inches, so for a 36 inches lens, that's going to use 4 x 5 inches sheet films, it's perfect.
You can see on the picture a very rare thing in France : a ruler with inches ! (my workshop is rich).
![]()
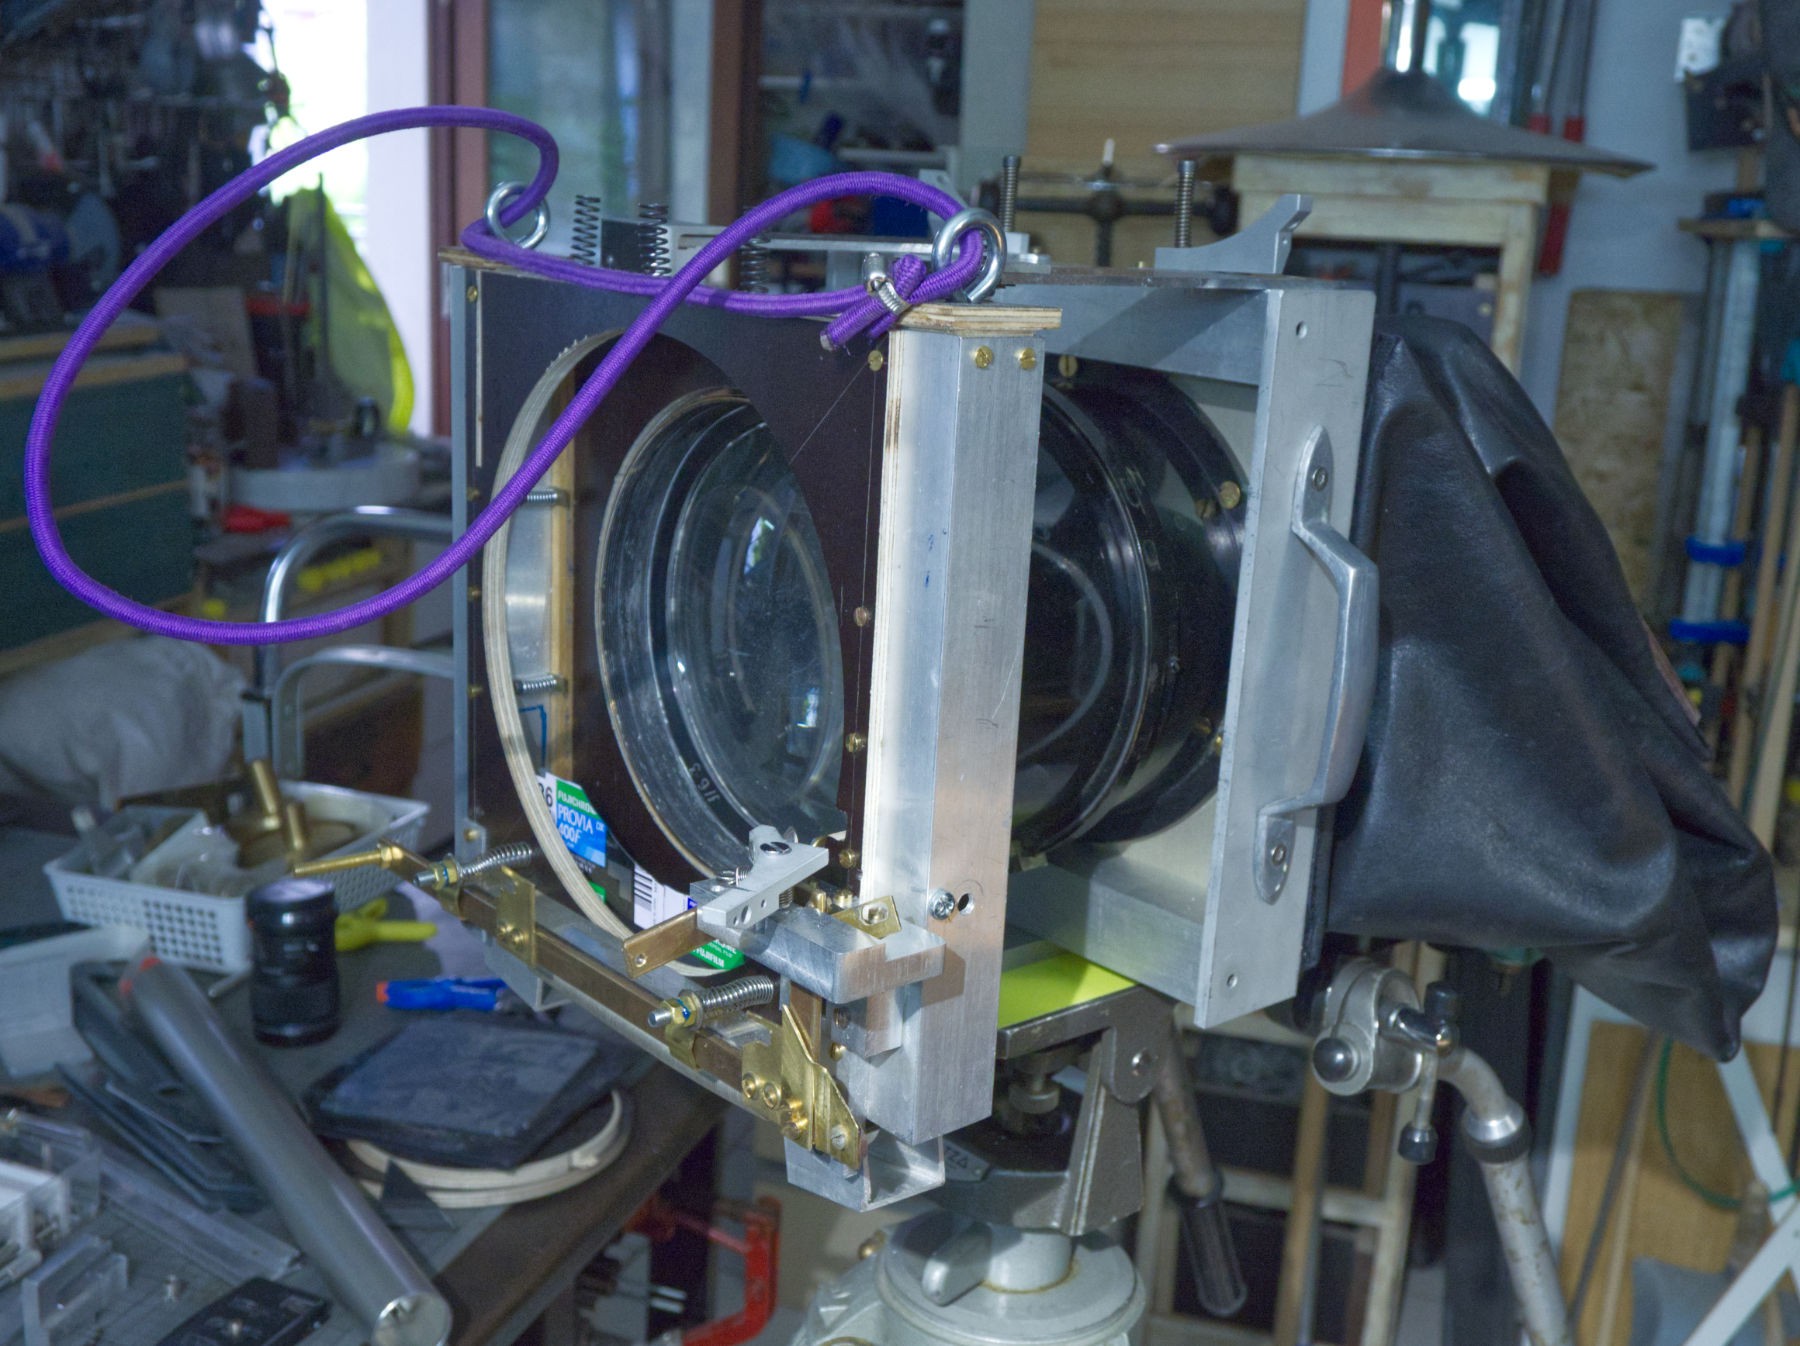
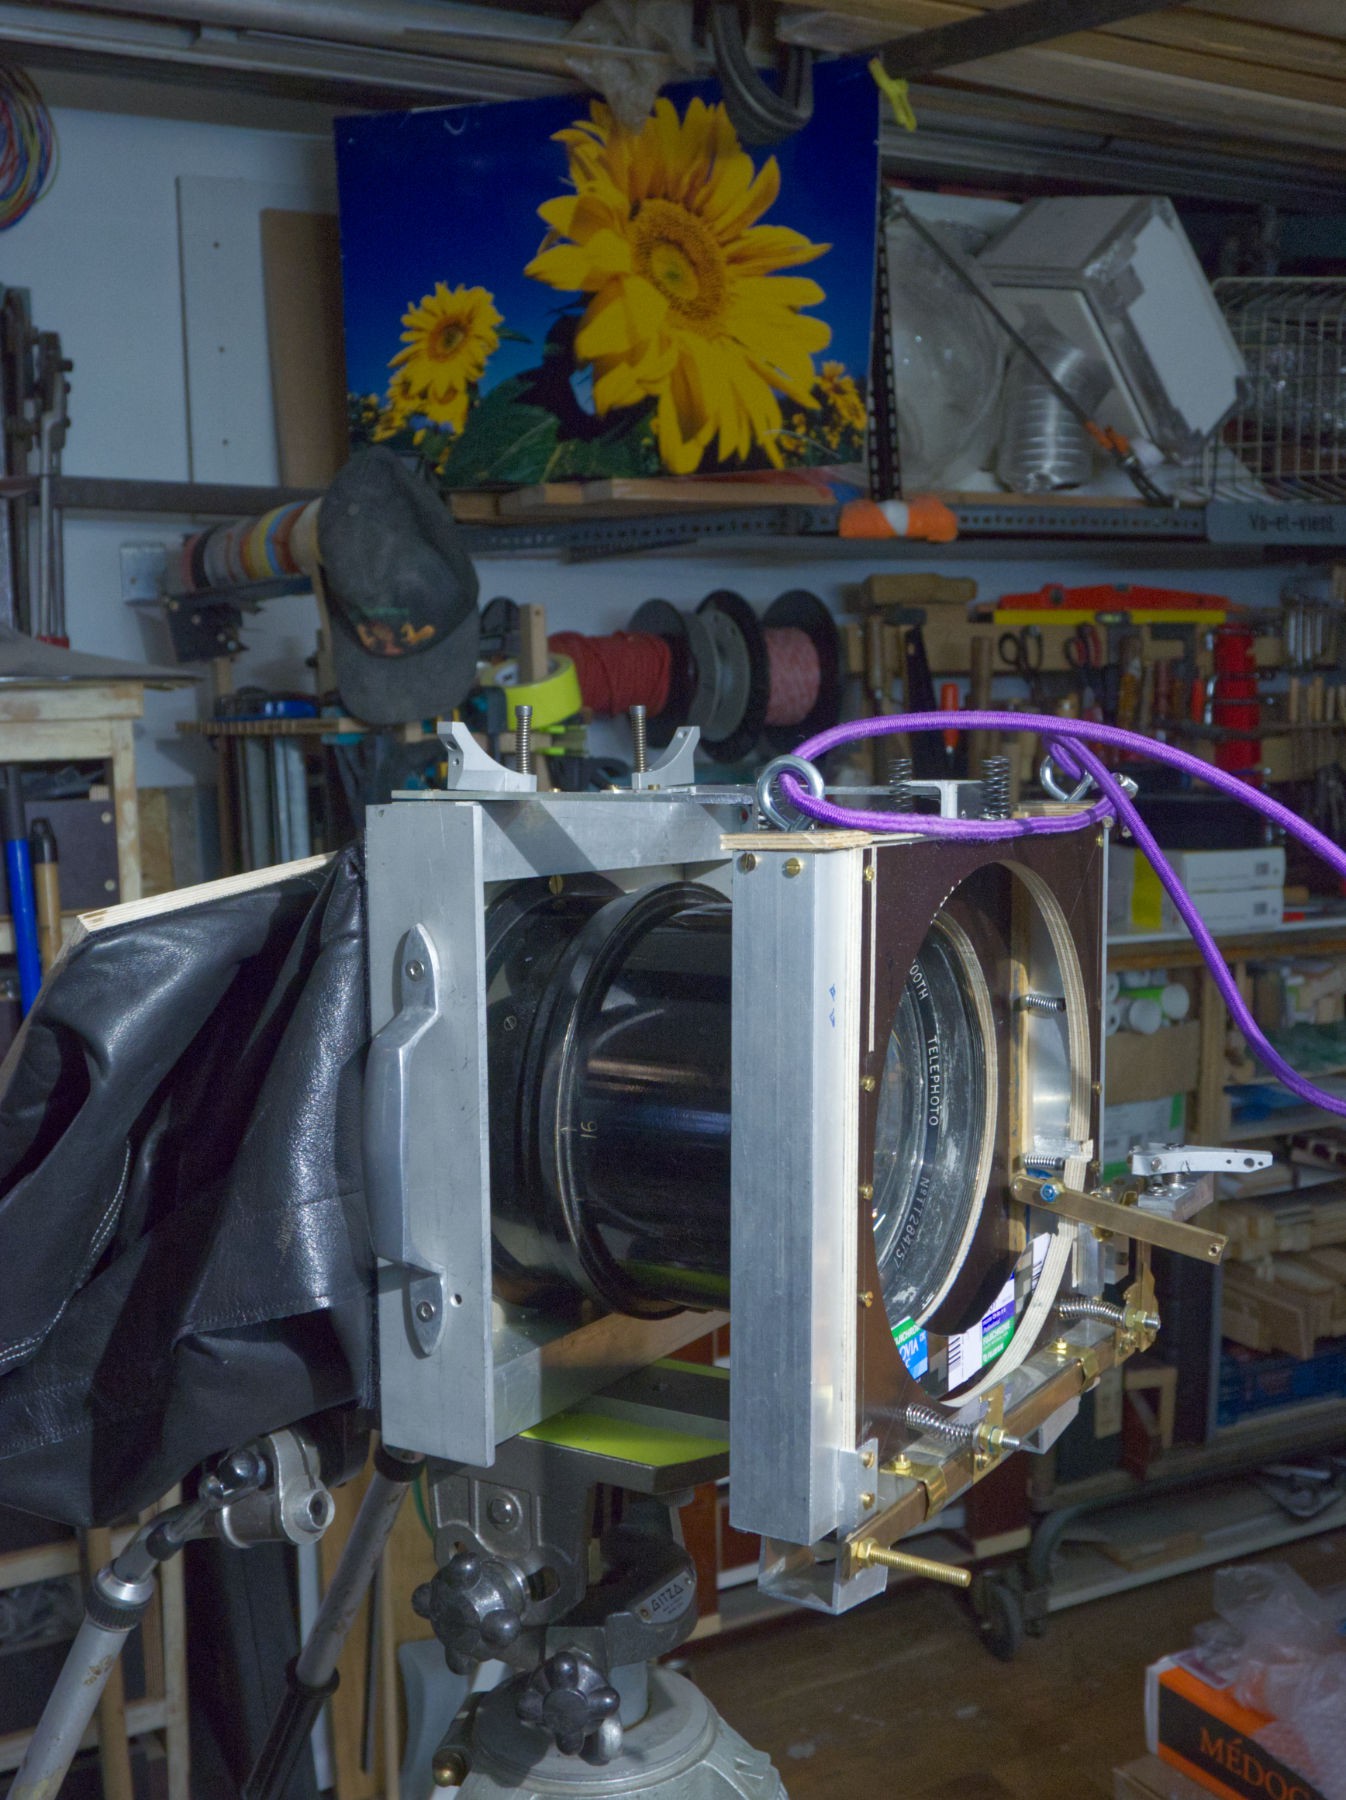
It gives a more professional look, and it's much more convenient to handle the lens when I want to put it on the tripod or to take it away.
![]()
From the opposite side, it has another important use : when triggering the lens, the right hand pushes the brass screw in the center down, and even if the release has became very soft, it might give a little movement to the lens, also, it's good to have the left hand far away from the mechanism that's quite fast and coud be armful if a finger is in a wrong position.
![]()
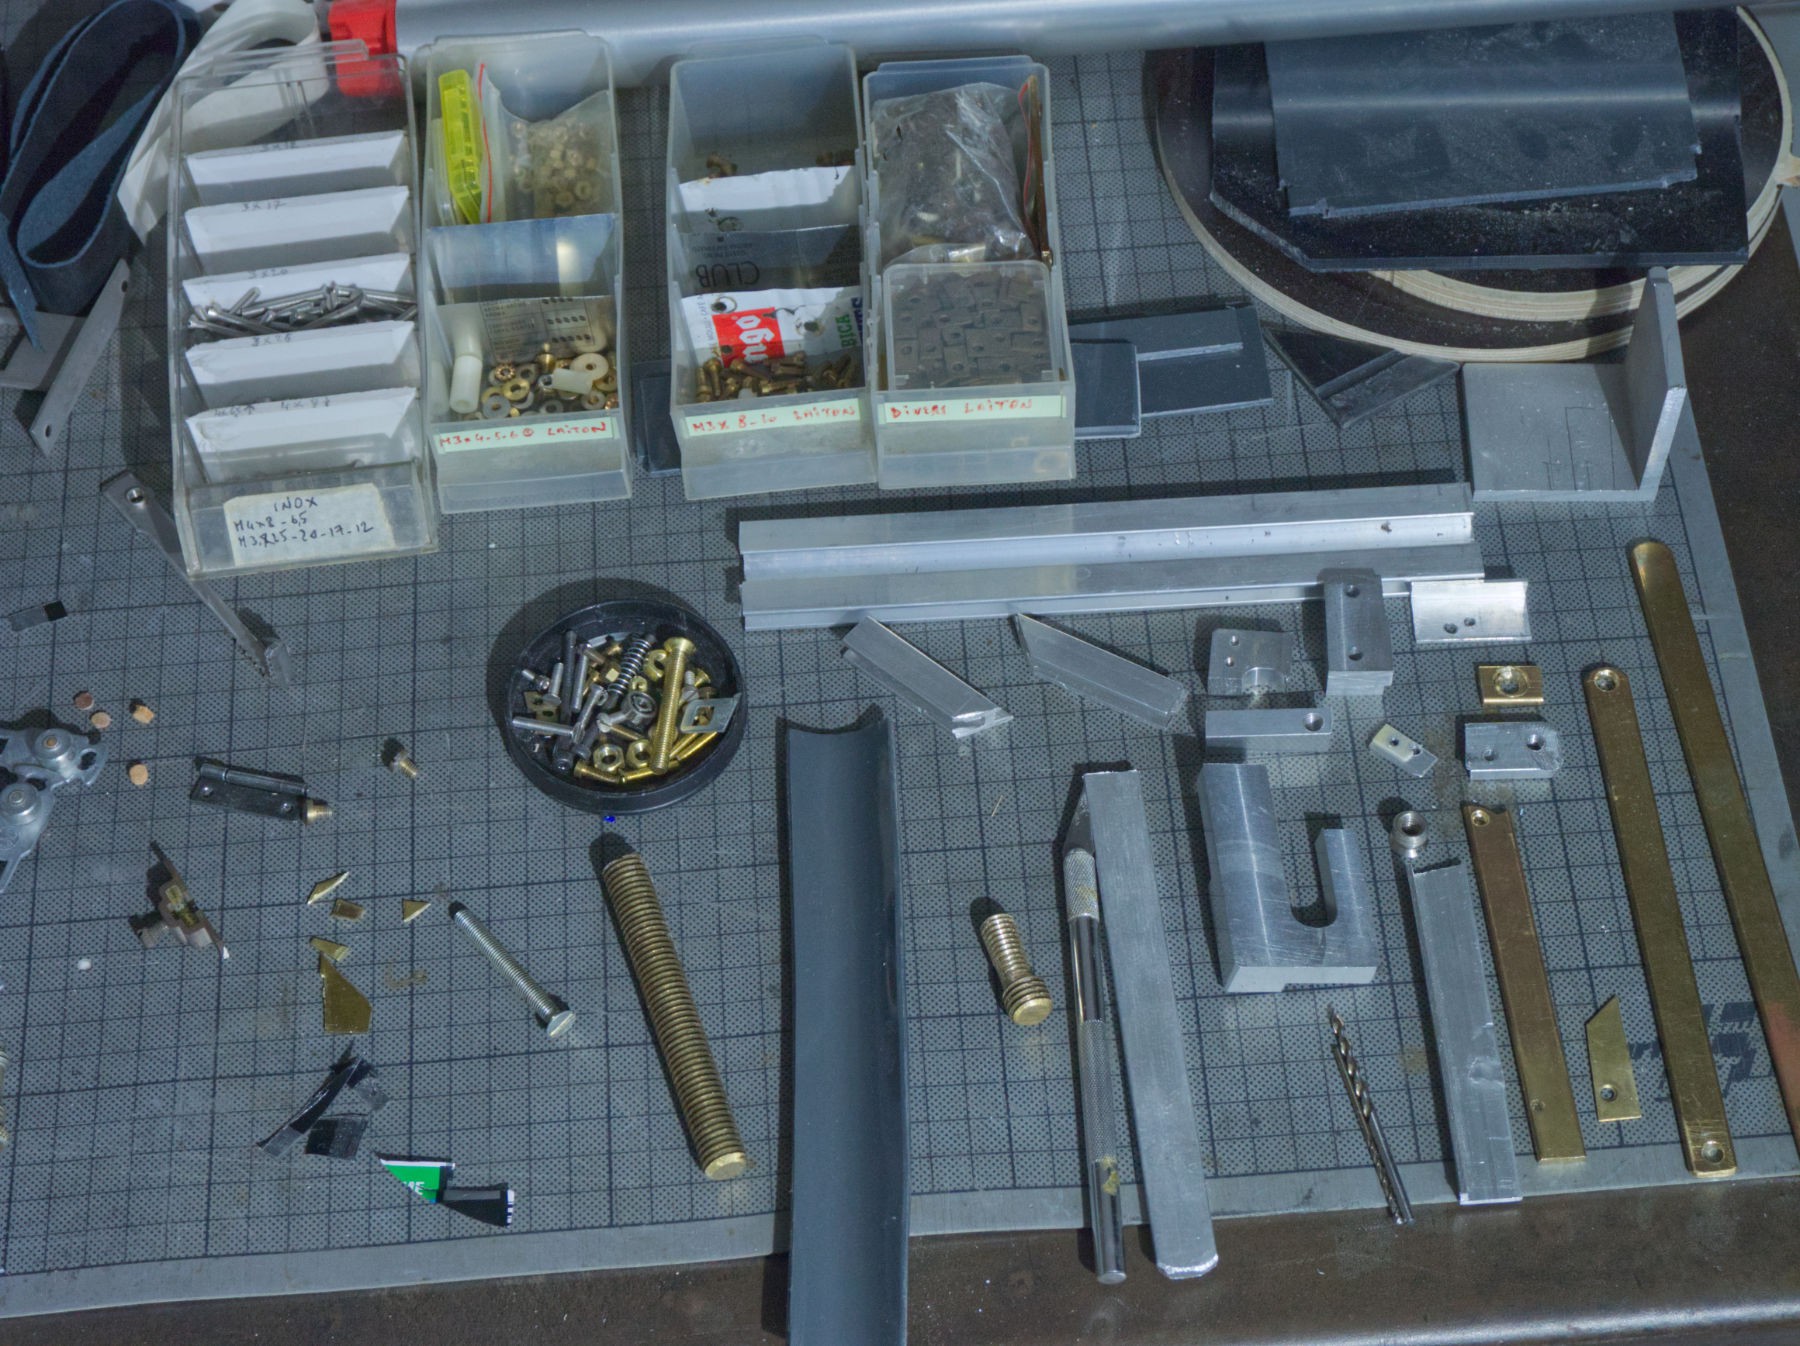
The workshop benches are a mess after all this, after cleaning, these are all the remains of the project.
![]()
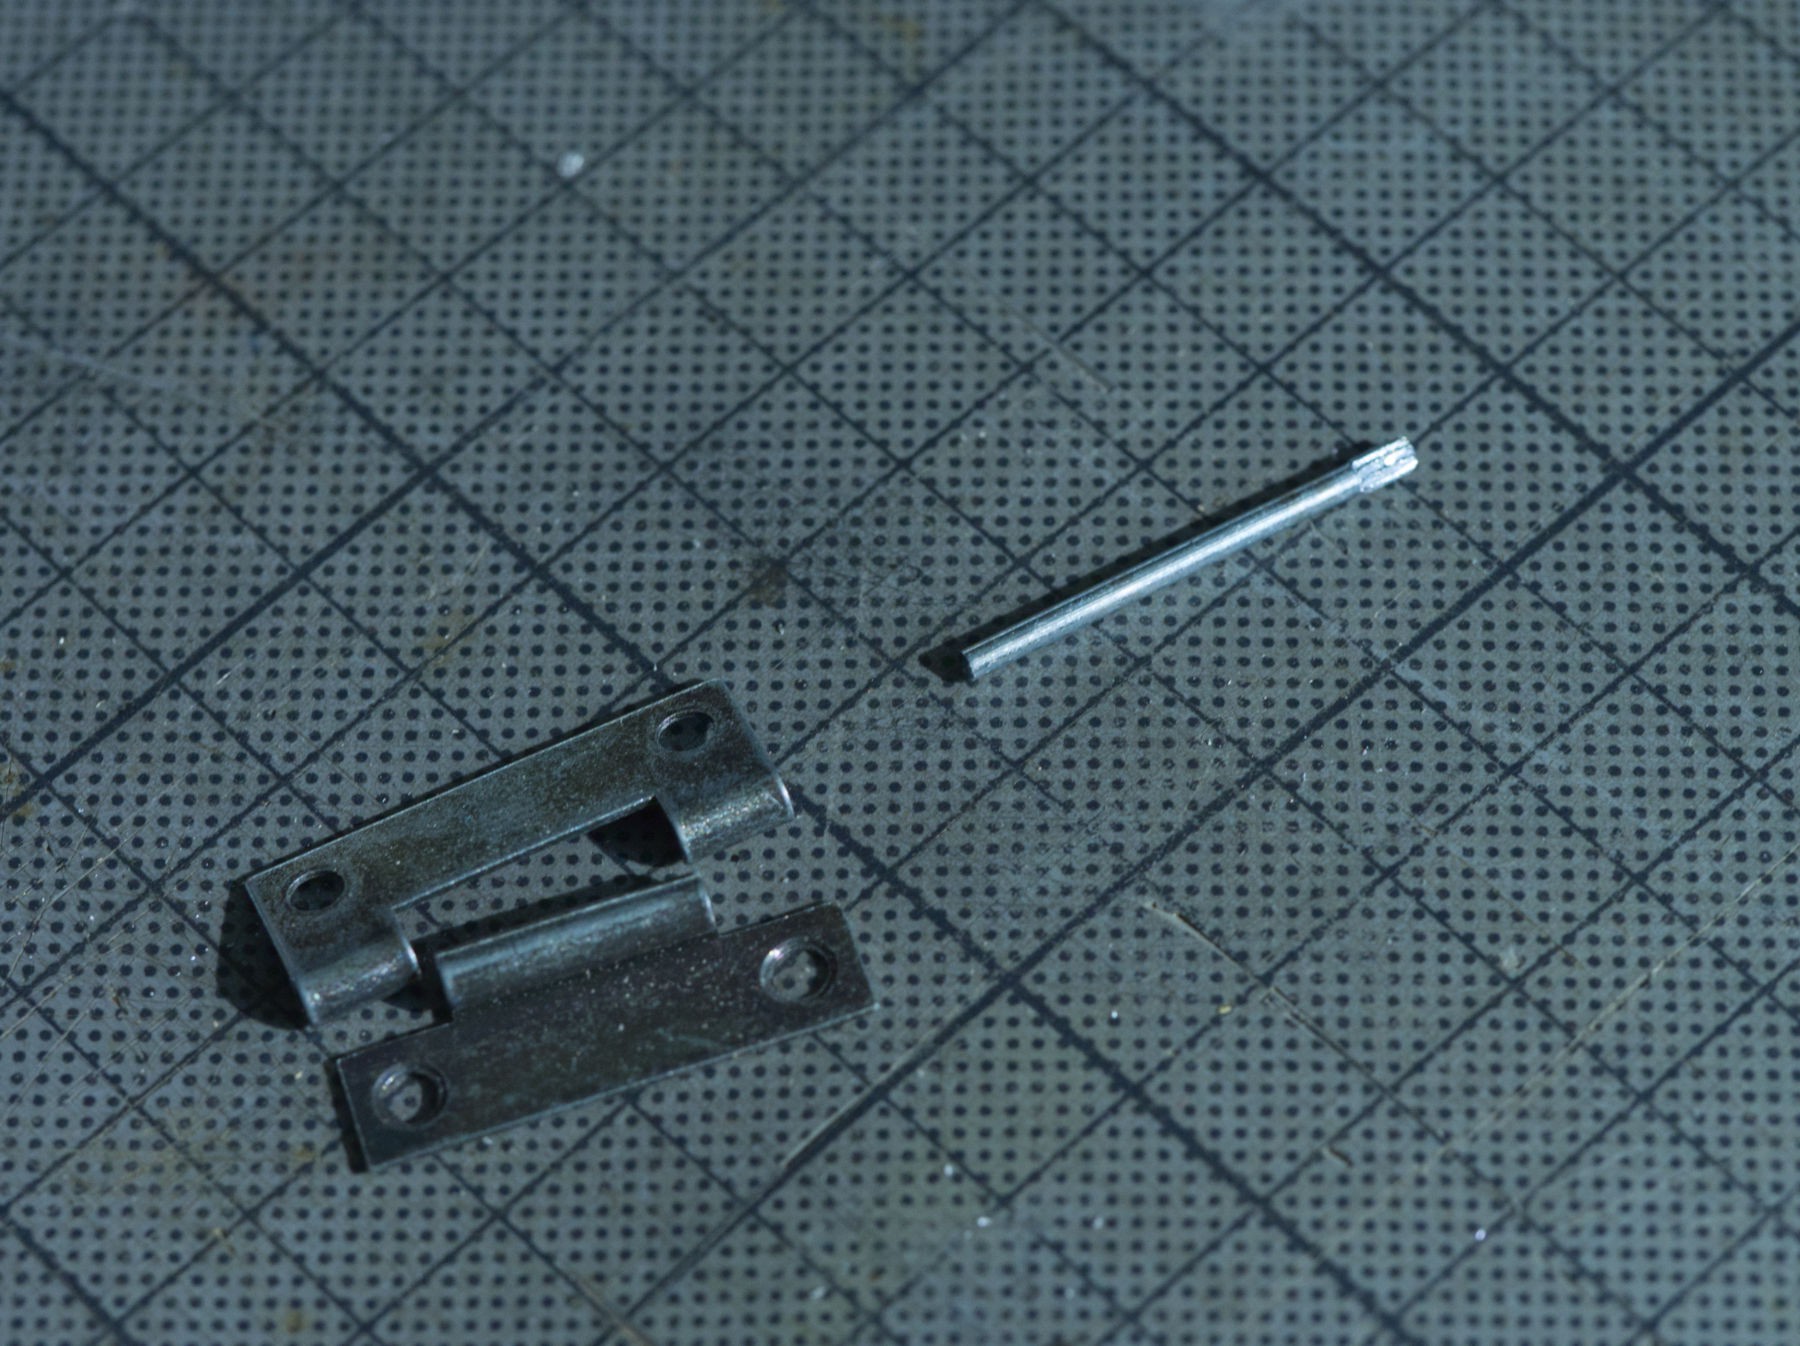
I had a big mystery in the beginning : one of the hinges had lost it's rod, maybe the poor quality of the stuff, and the shocks of the blade mechanism. Anyway I had another one, so I've changed it. And I finally found the lost rod in the dust.
Mystery solved.
-
Absorption of the blade end shock
05/25/2022 at 16:48 • 0 commentsThe shock at the end of the translation of the blade is quite strong. If nothing's done, something's going to break soon.
Springs, it needs more springs.
From the beginning there are two of them acting on both sides of the bungee holding screw.
It's clearly not enough.
One of the obvious place to put a spring is at both edges, but there's already a screw down there :
![]()
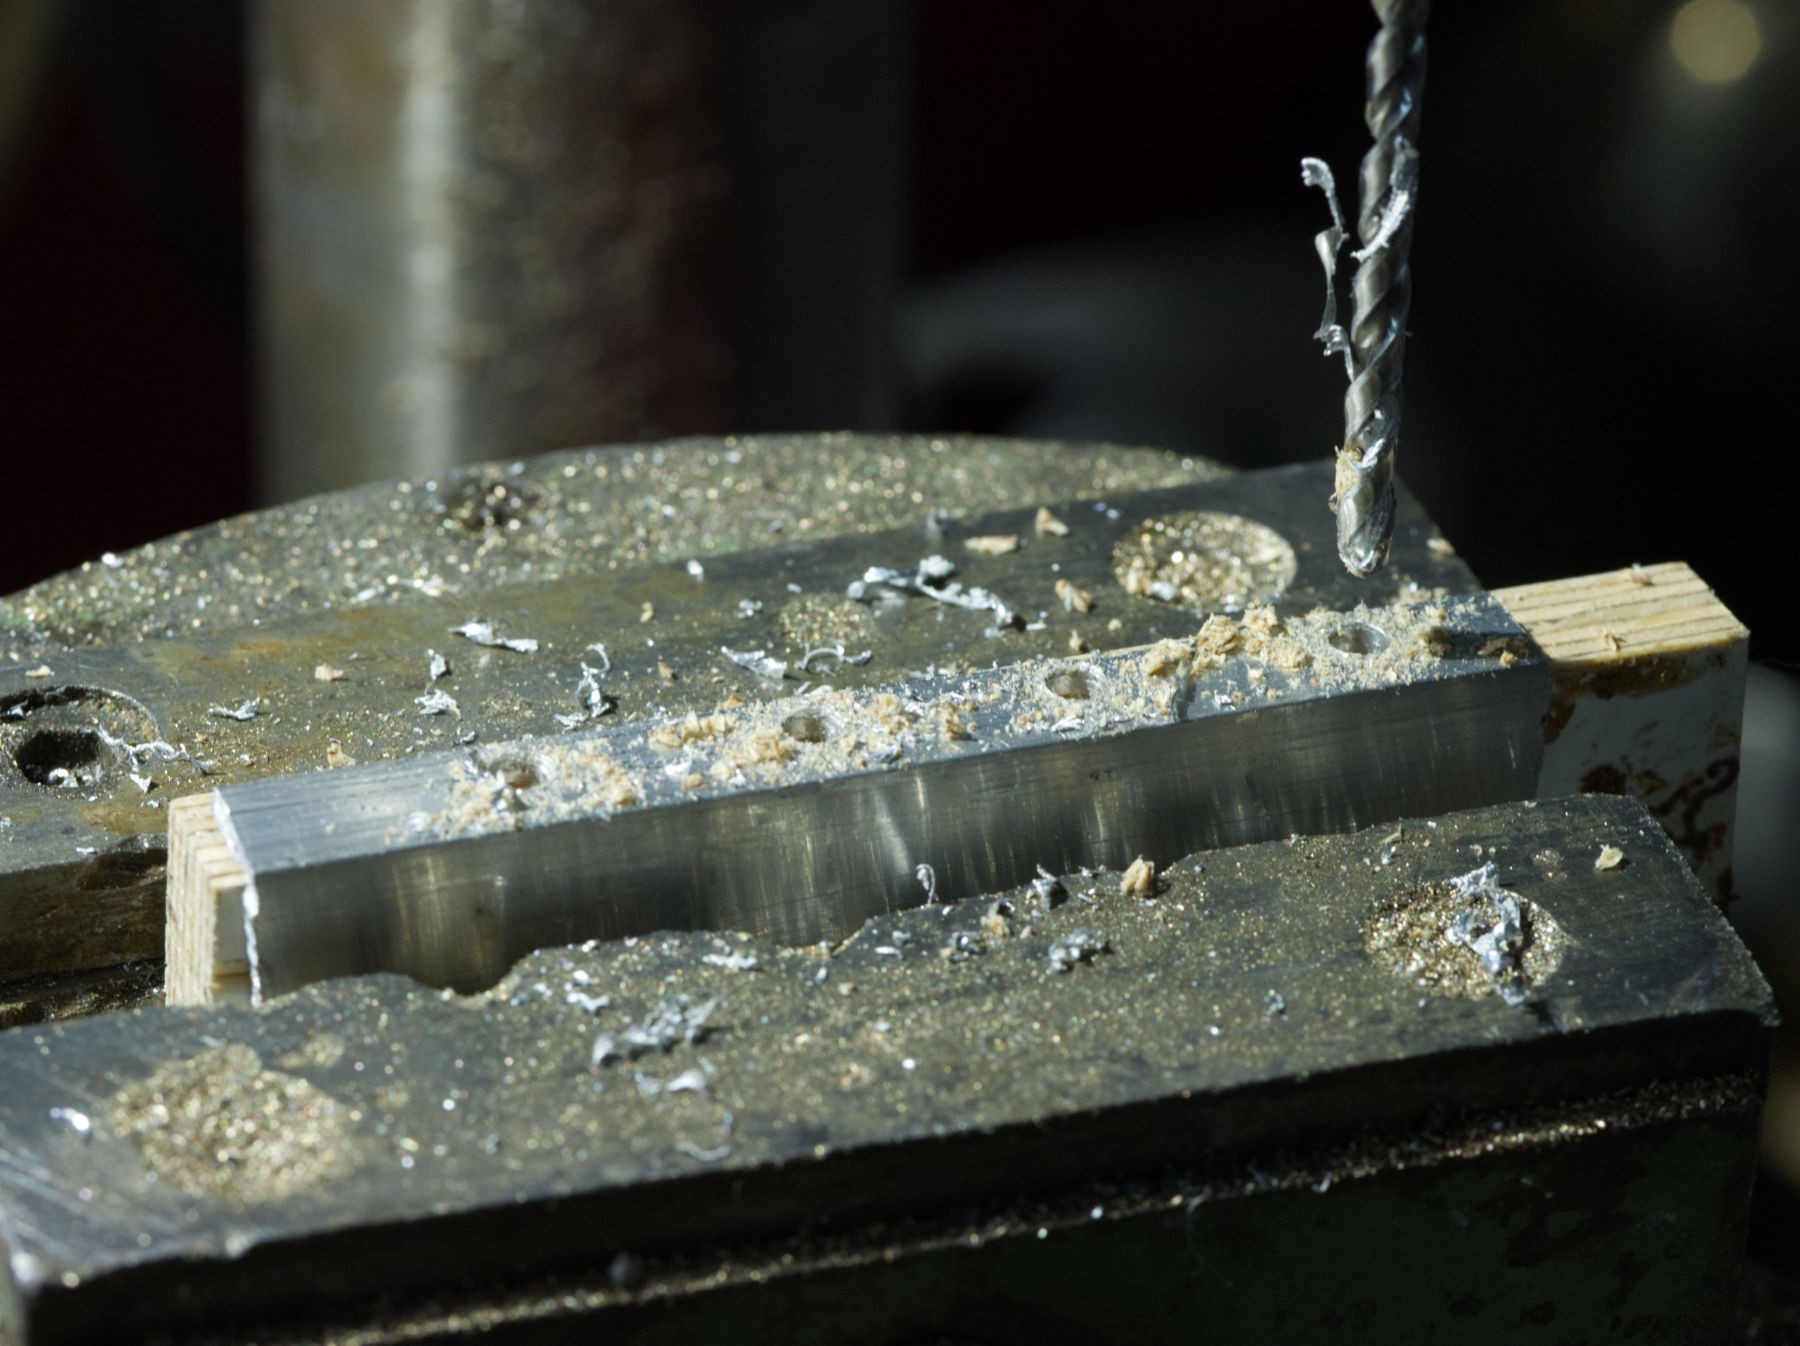
I didn't saw it before drilling because I was looking from the opposite side, but when the drill bit went to touch the metal, the noise made me understand that there was a problem.
![]()
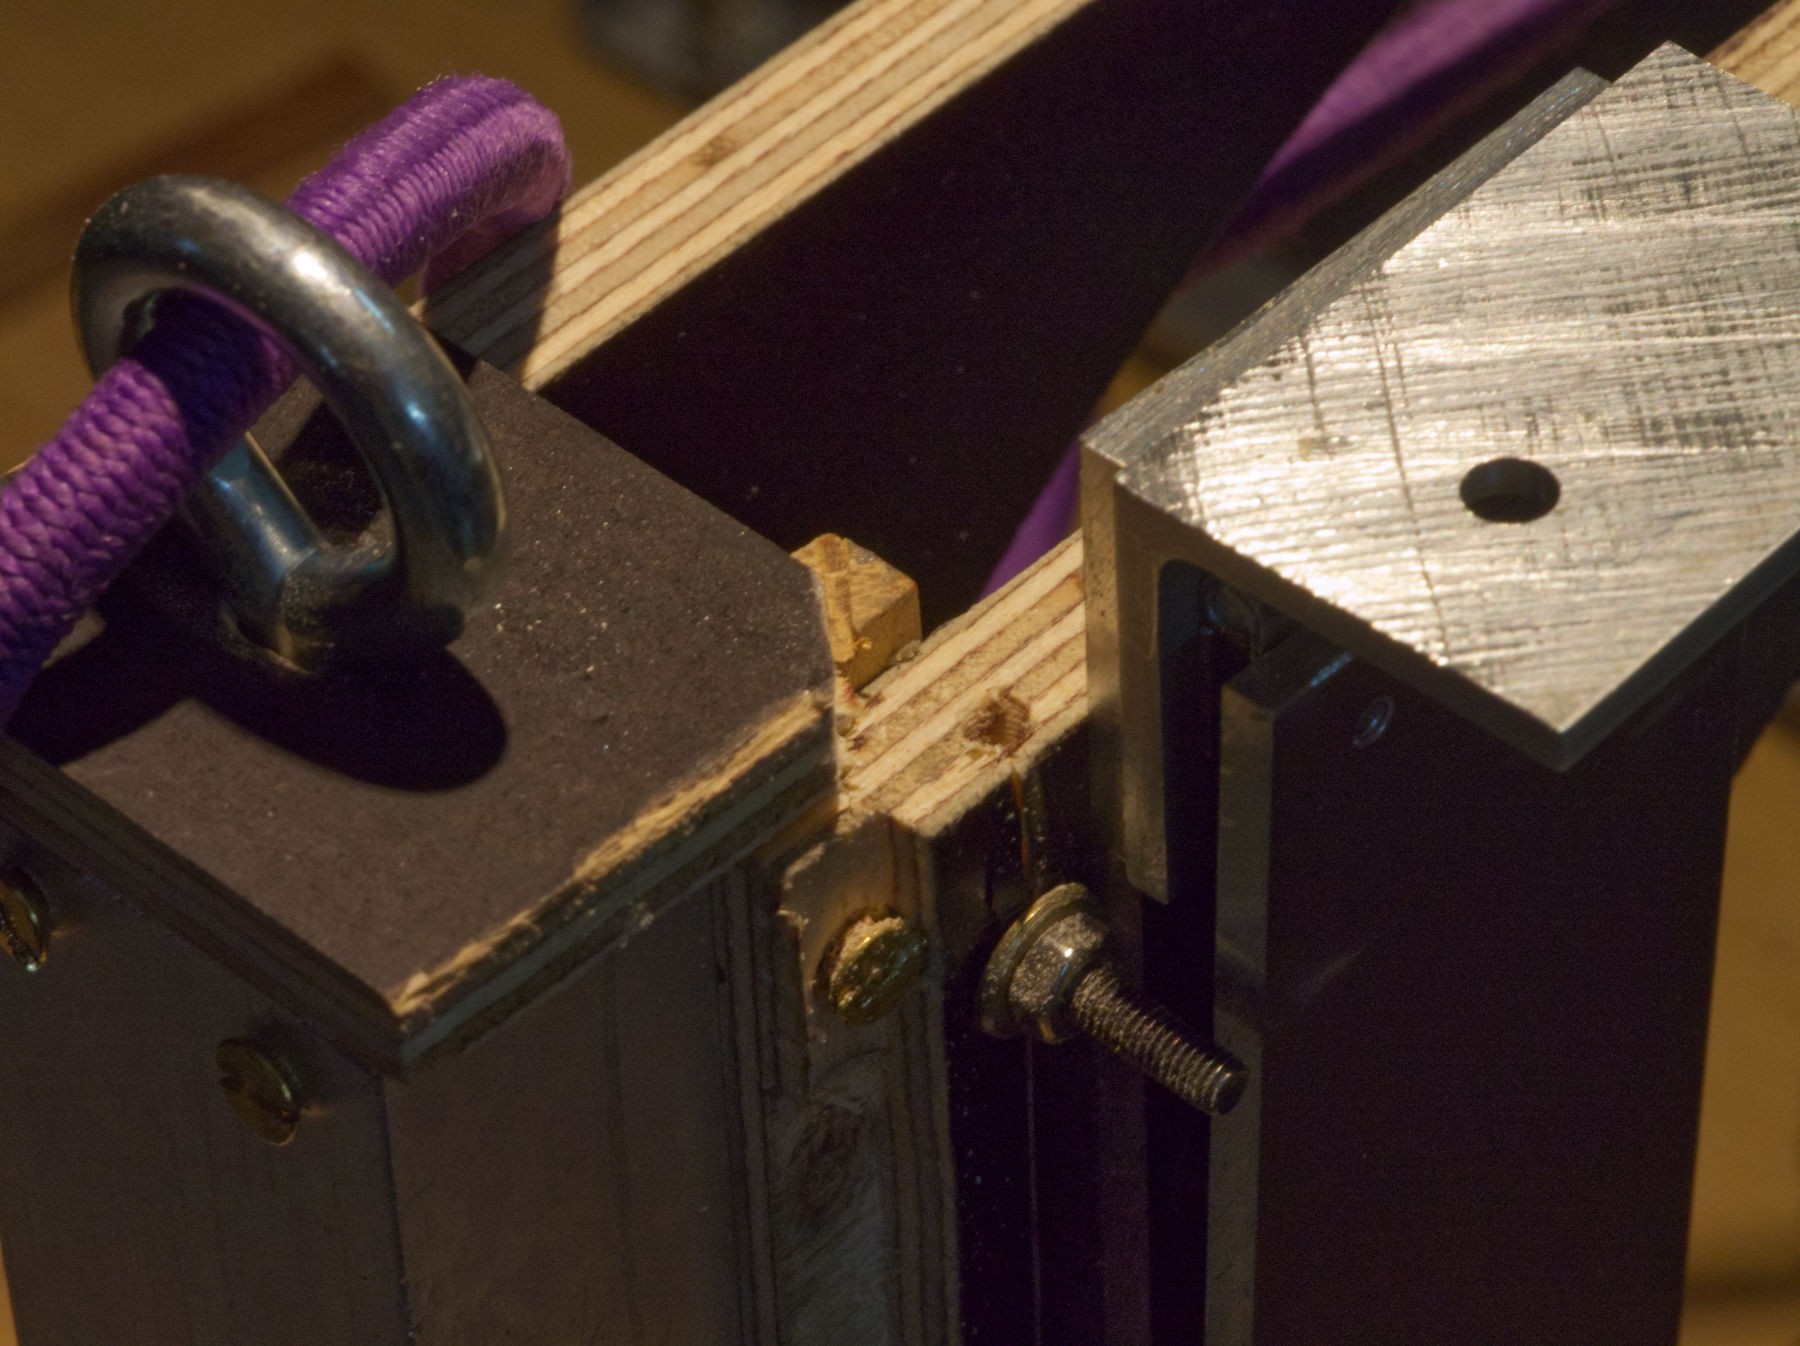
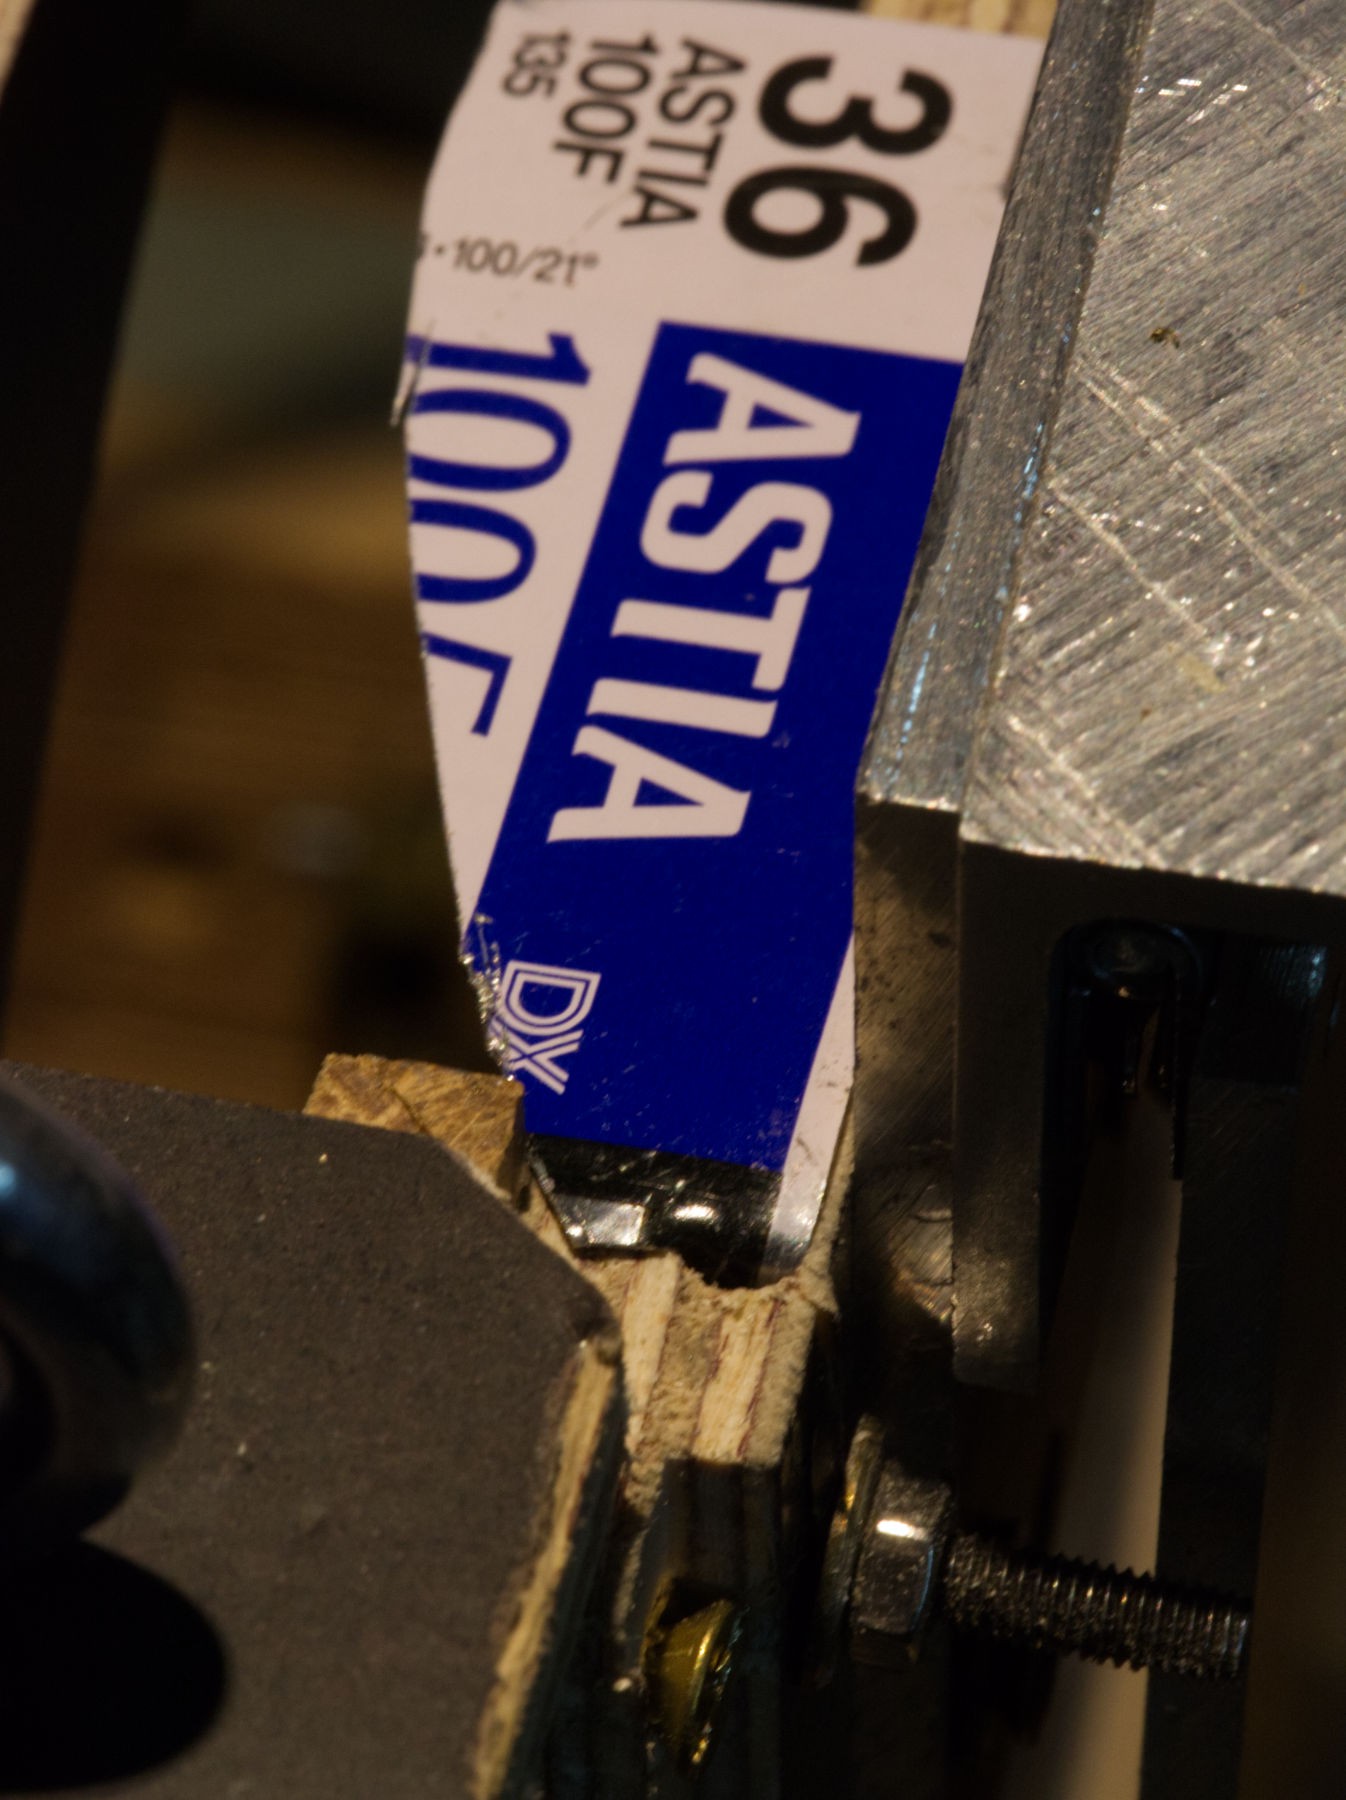
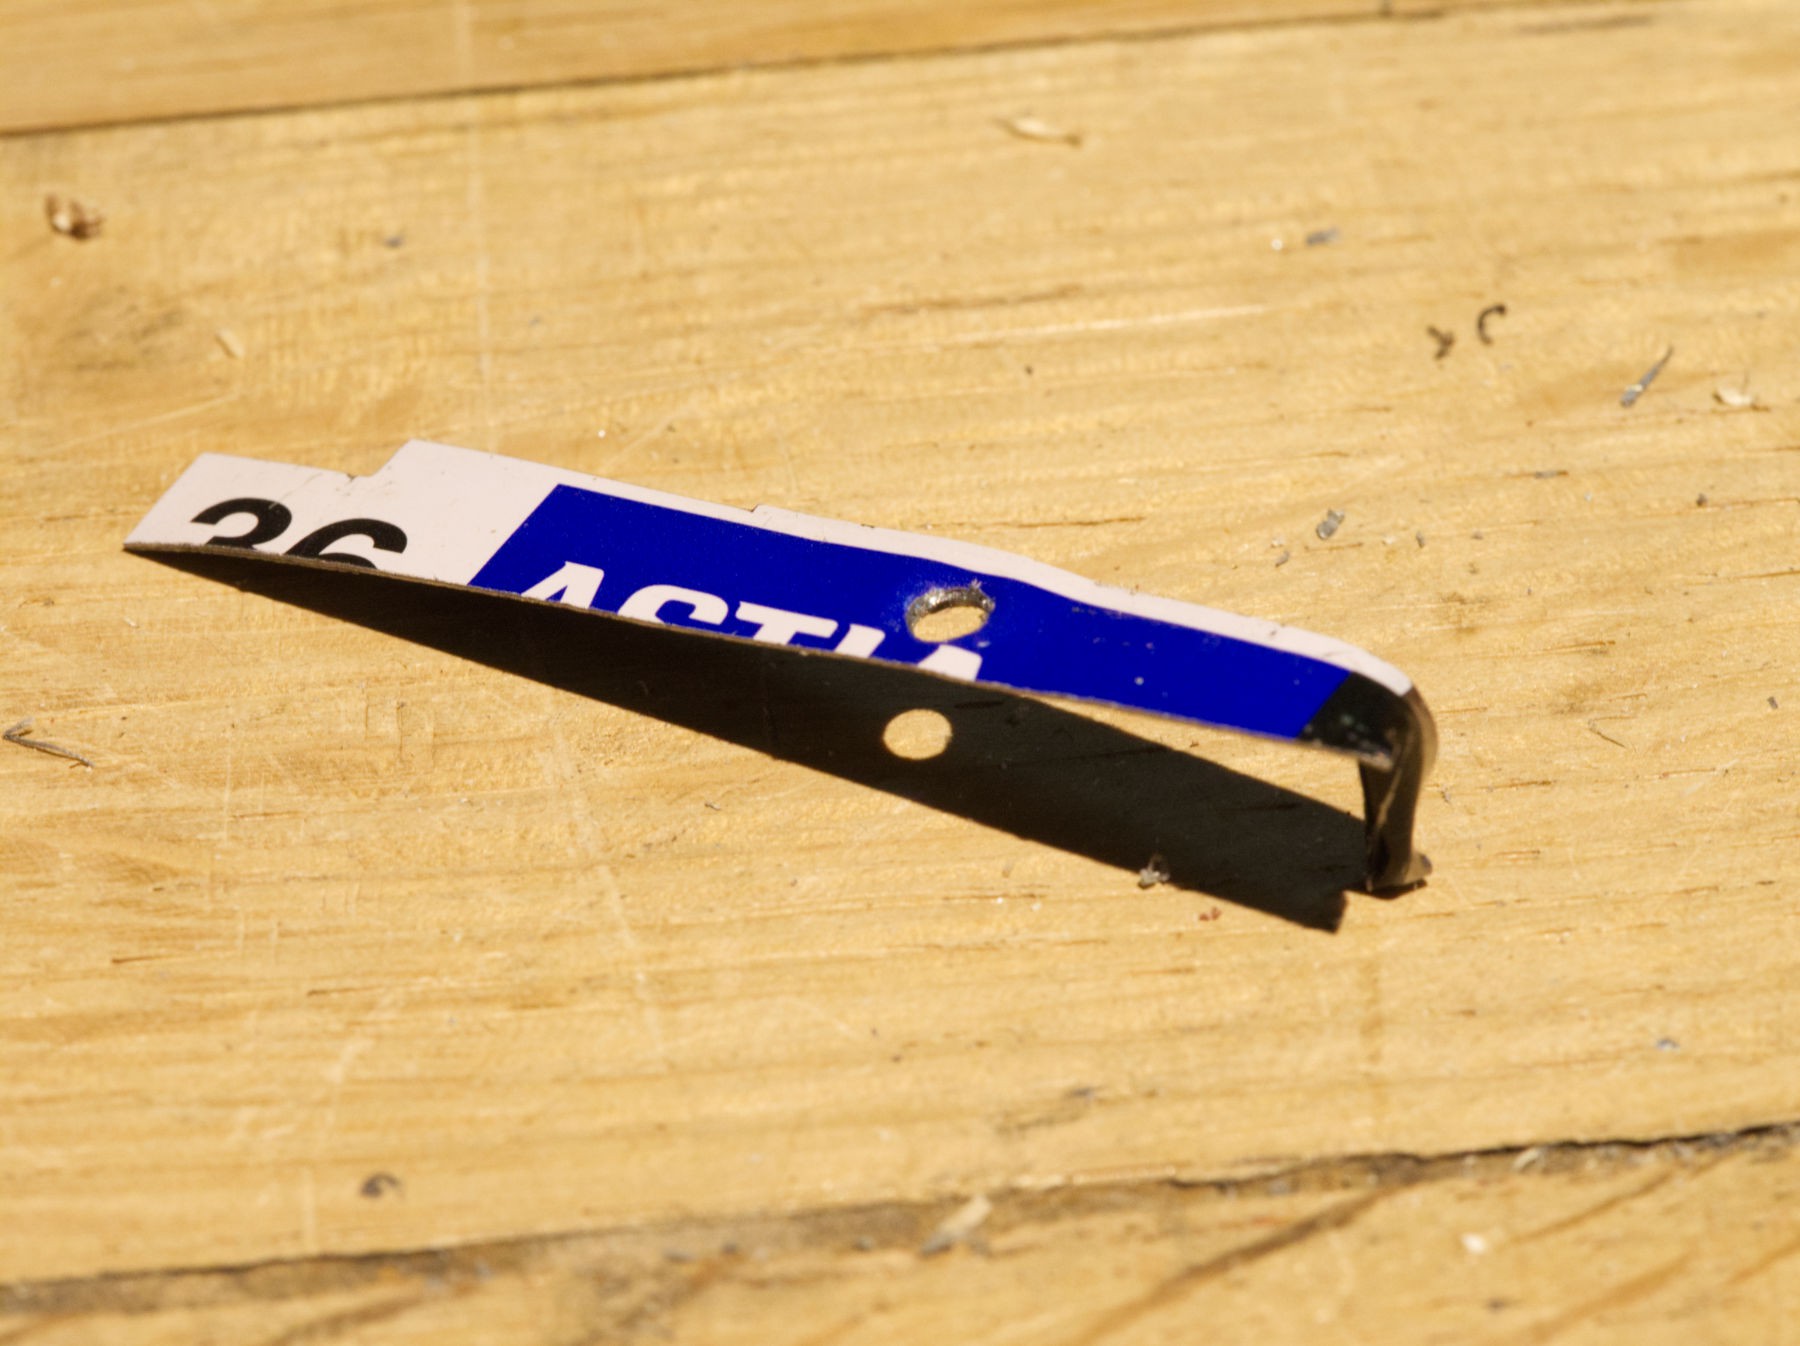
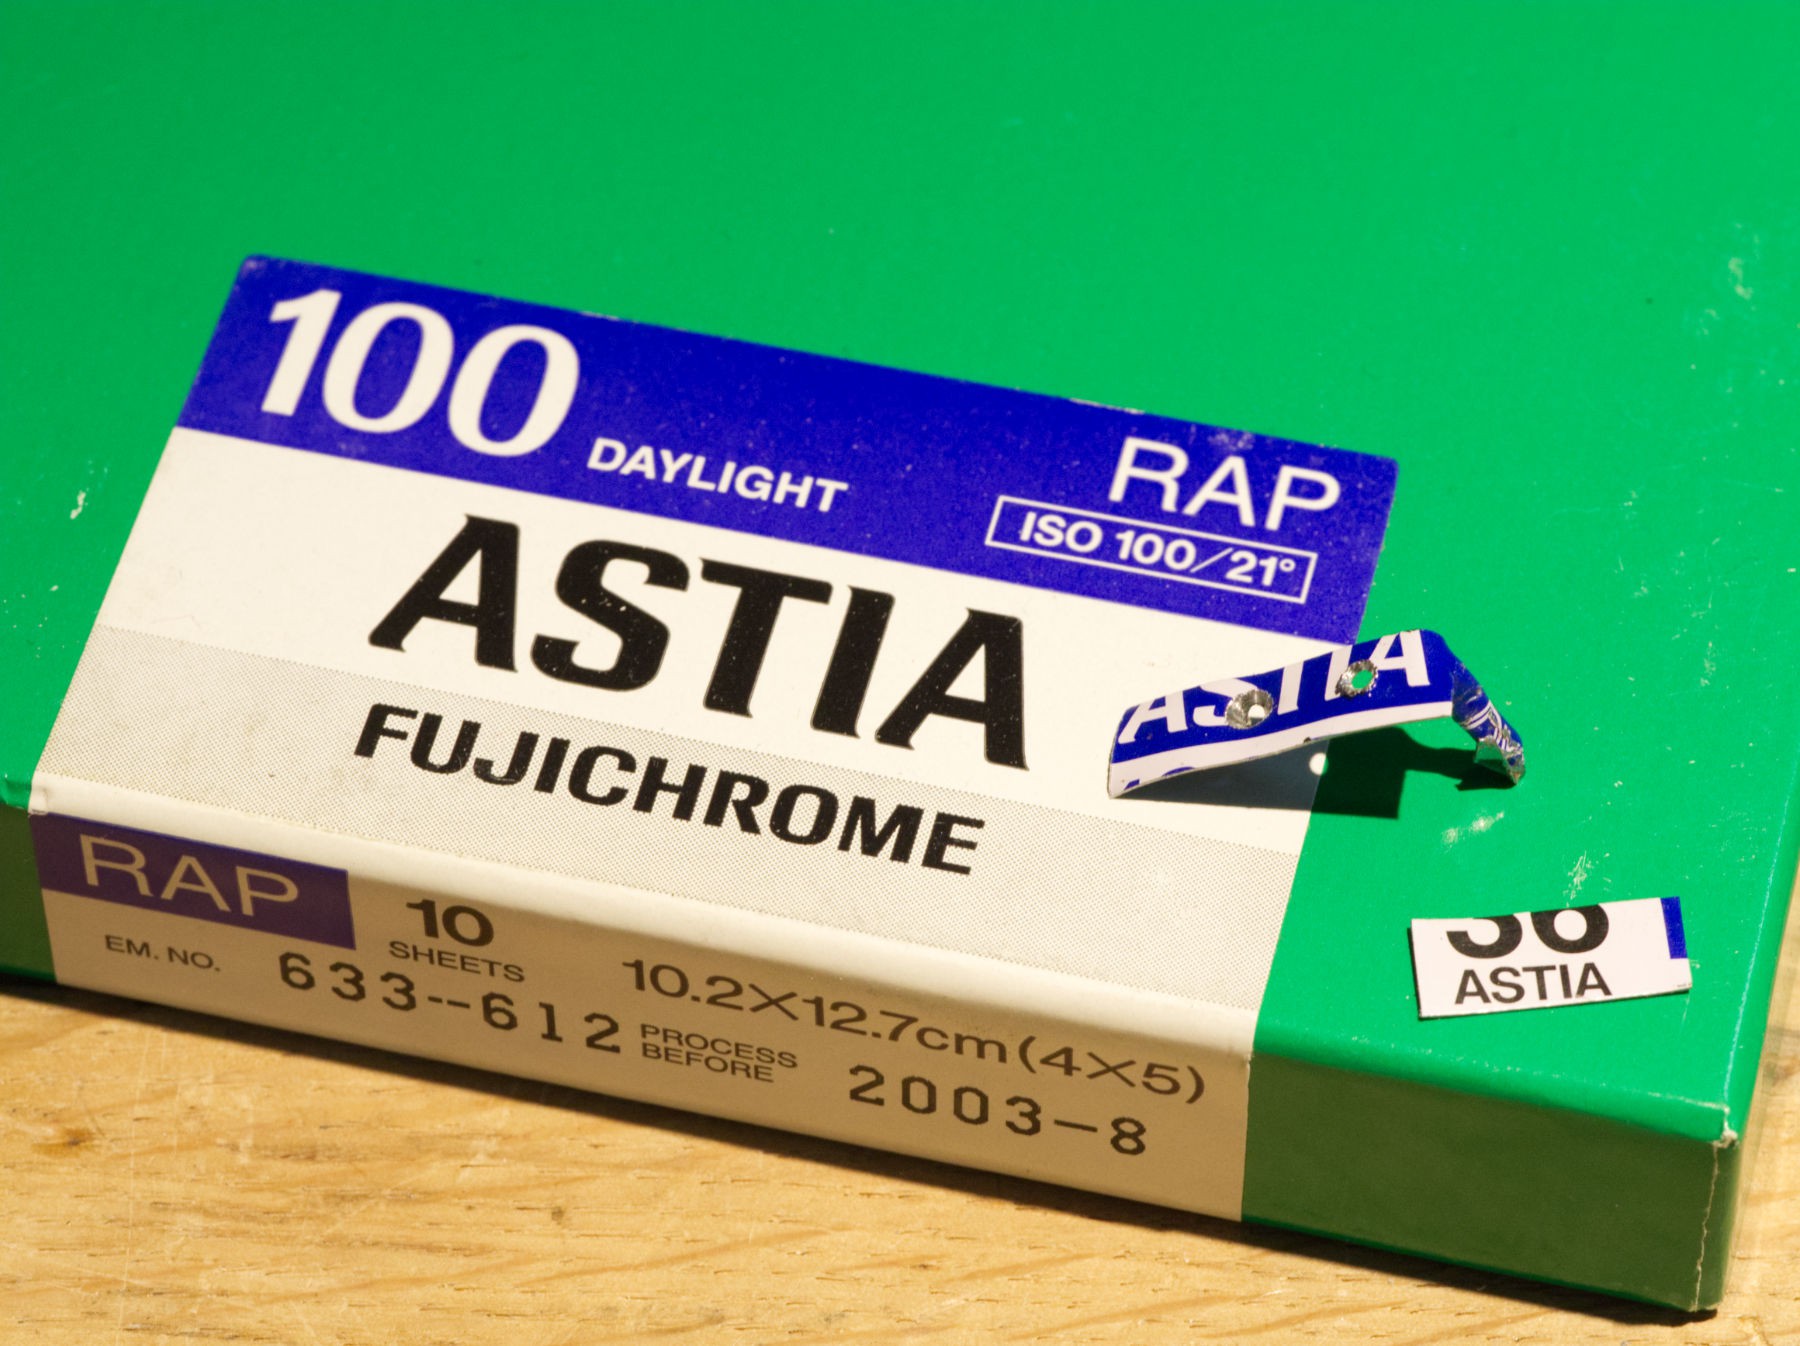
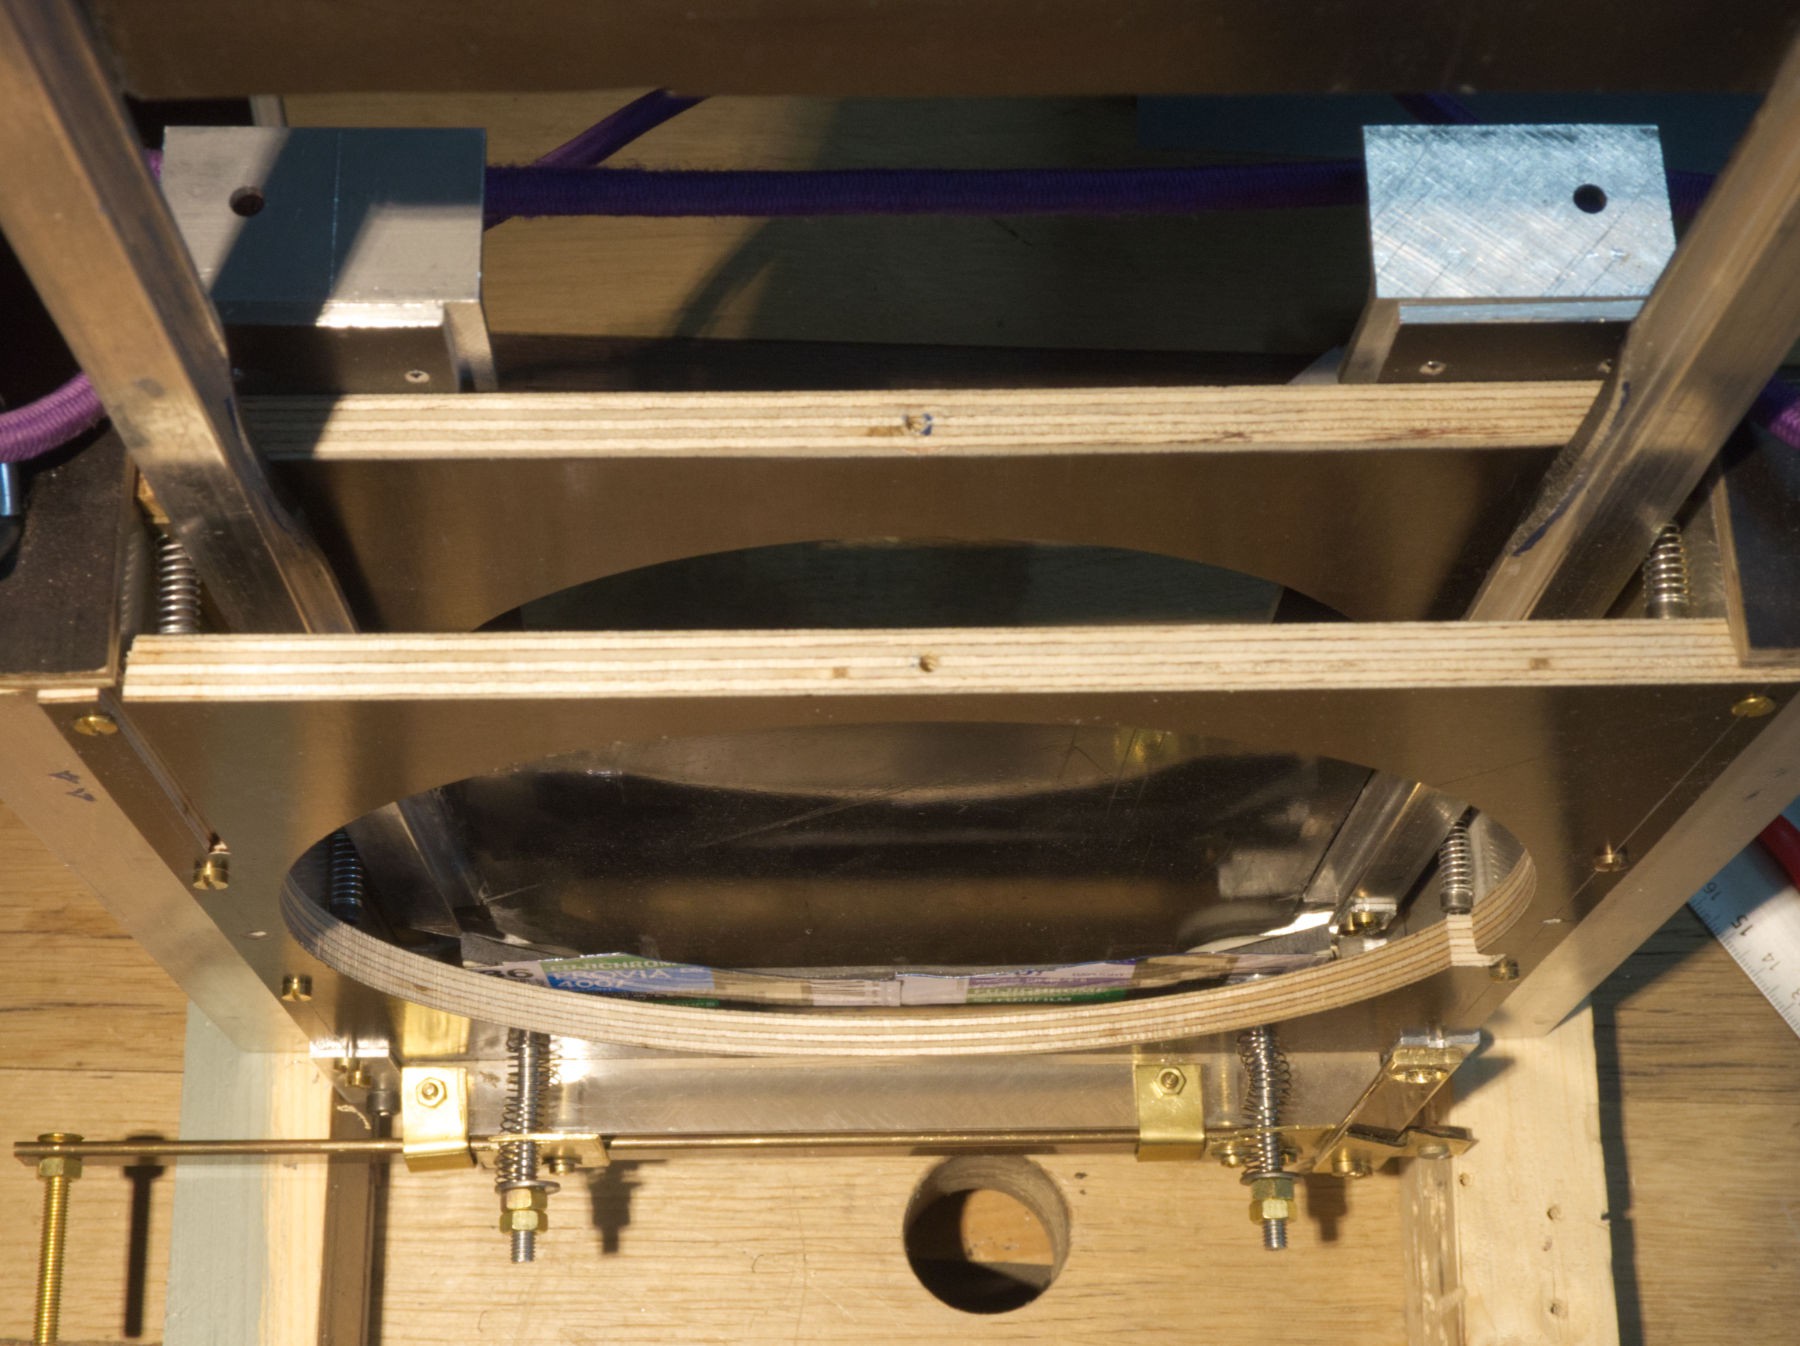
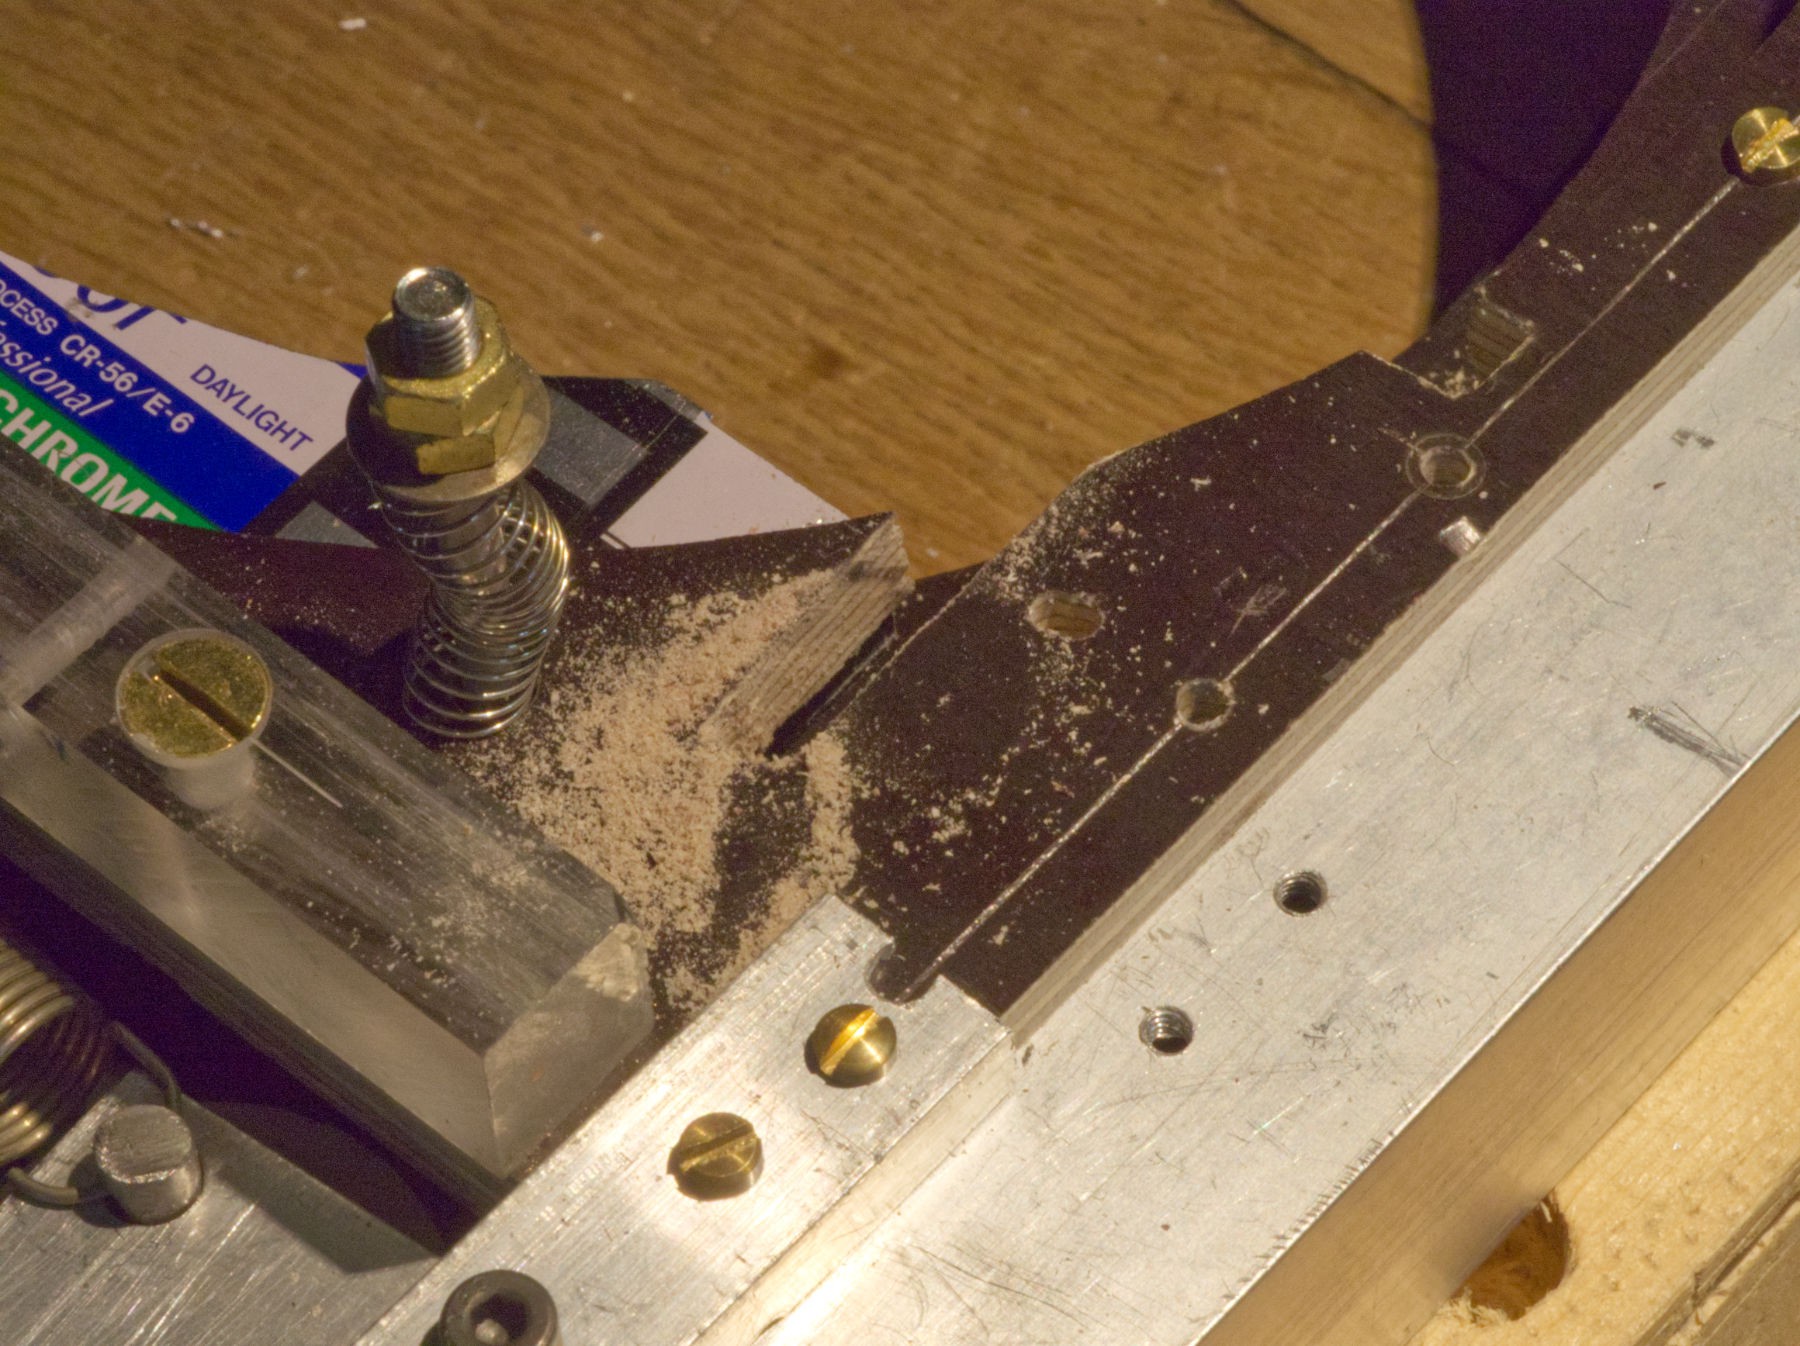
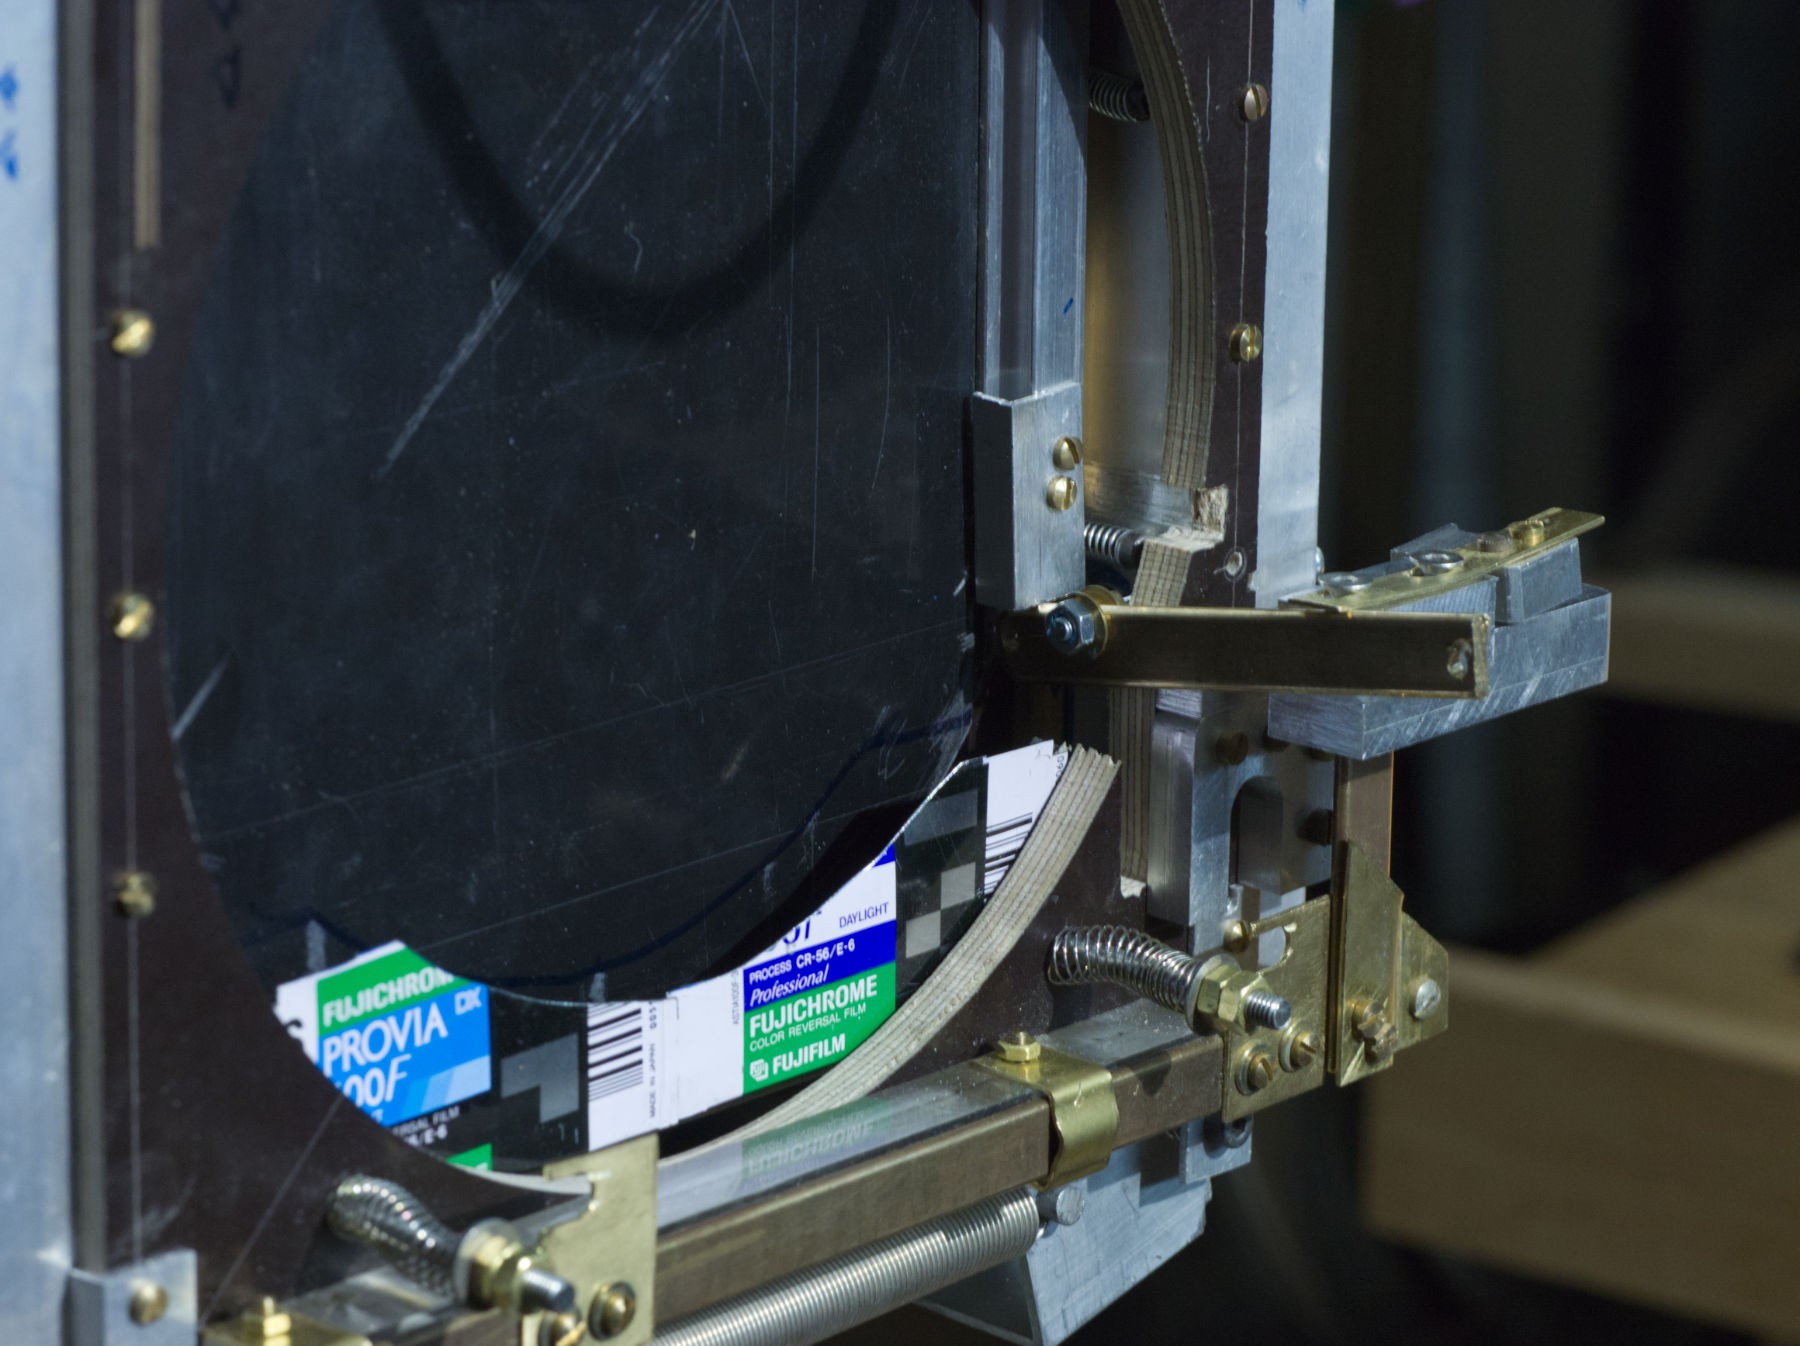
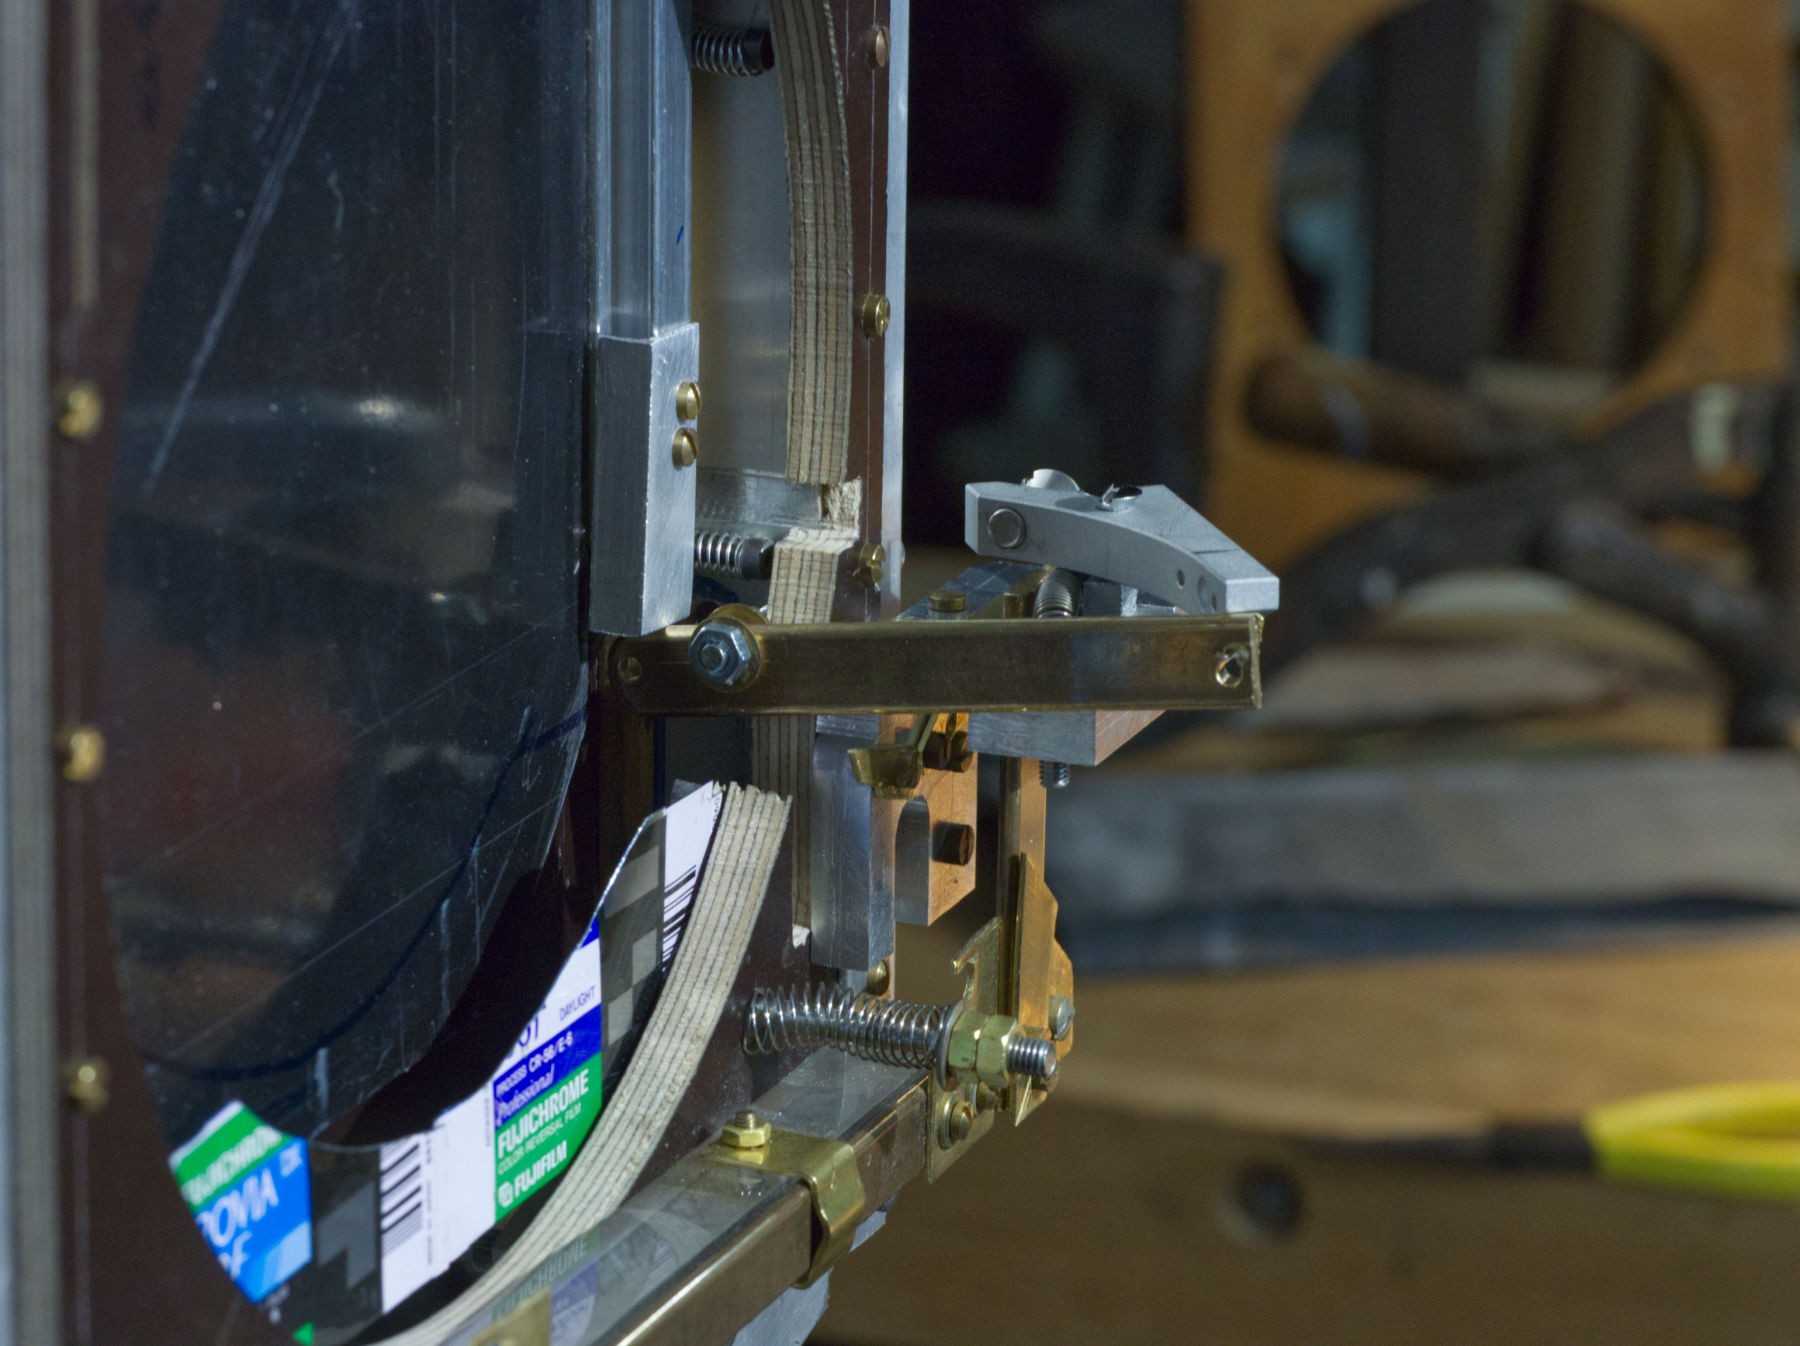
As the washers are too wide for the 9 mm thickness of the plywood, the 35 mm film cartridge finds another use.
![]()
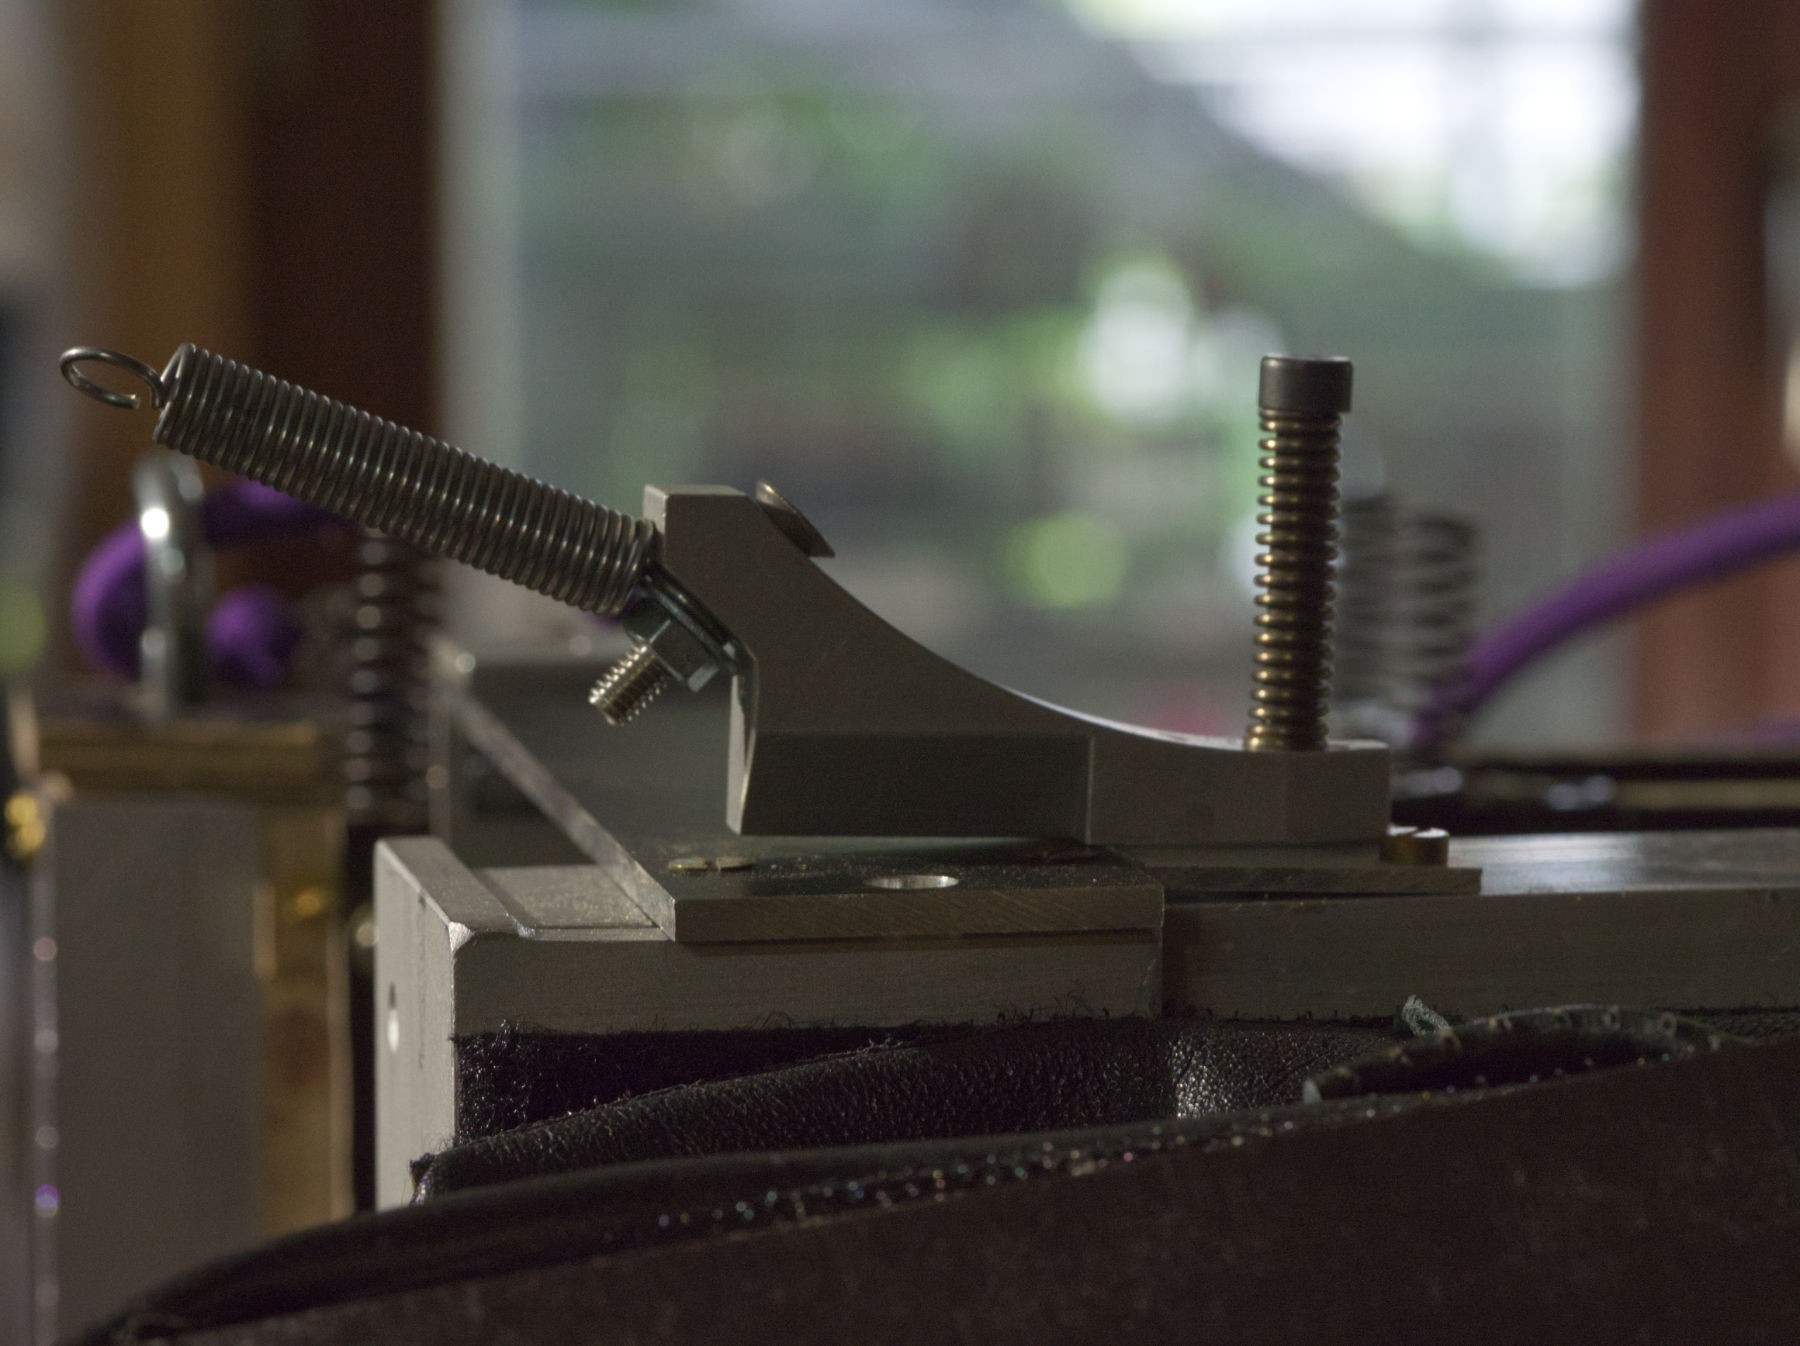
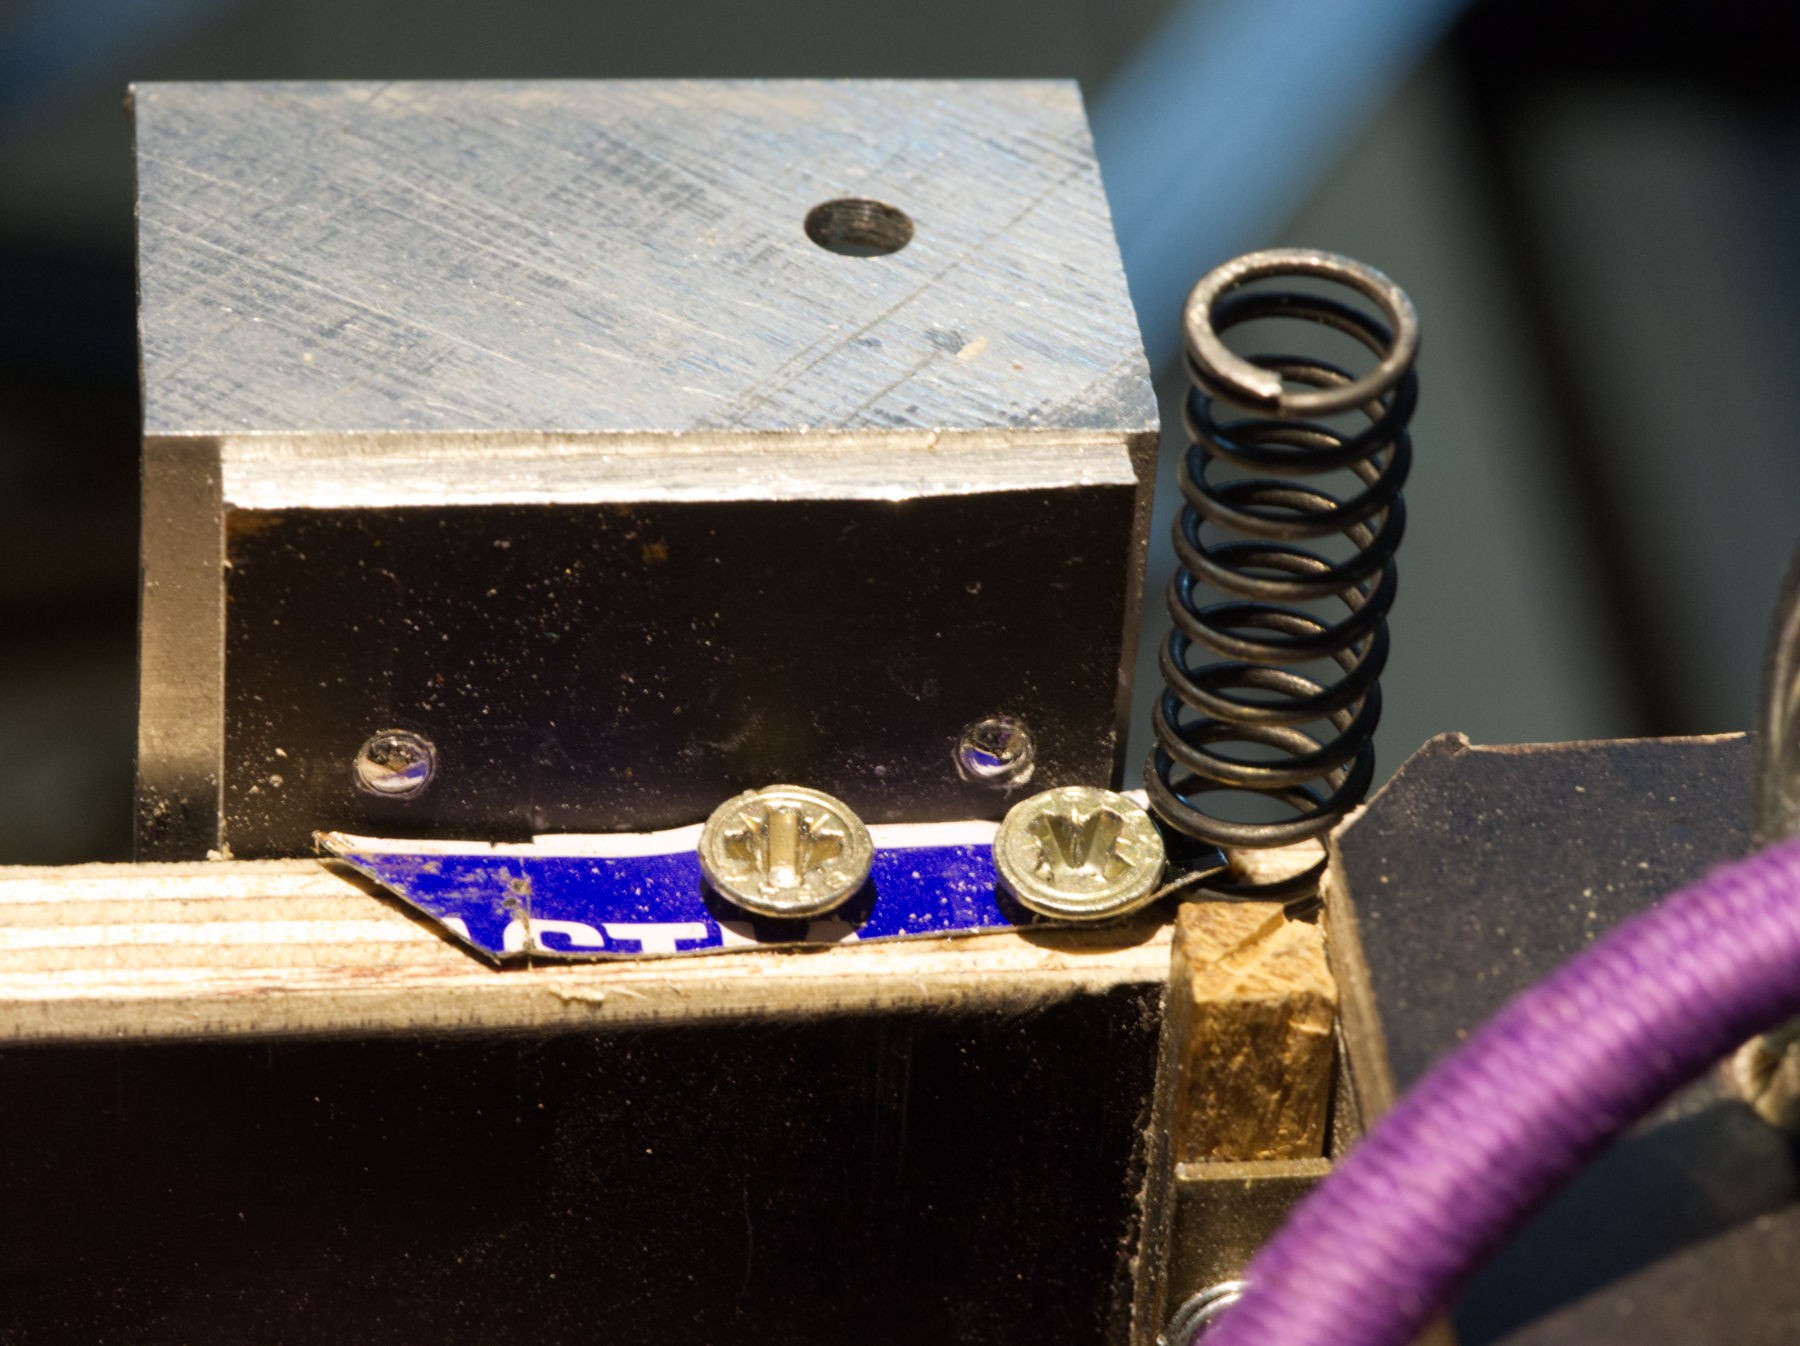
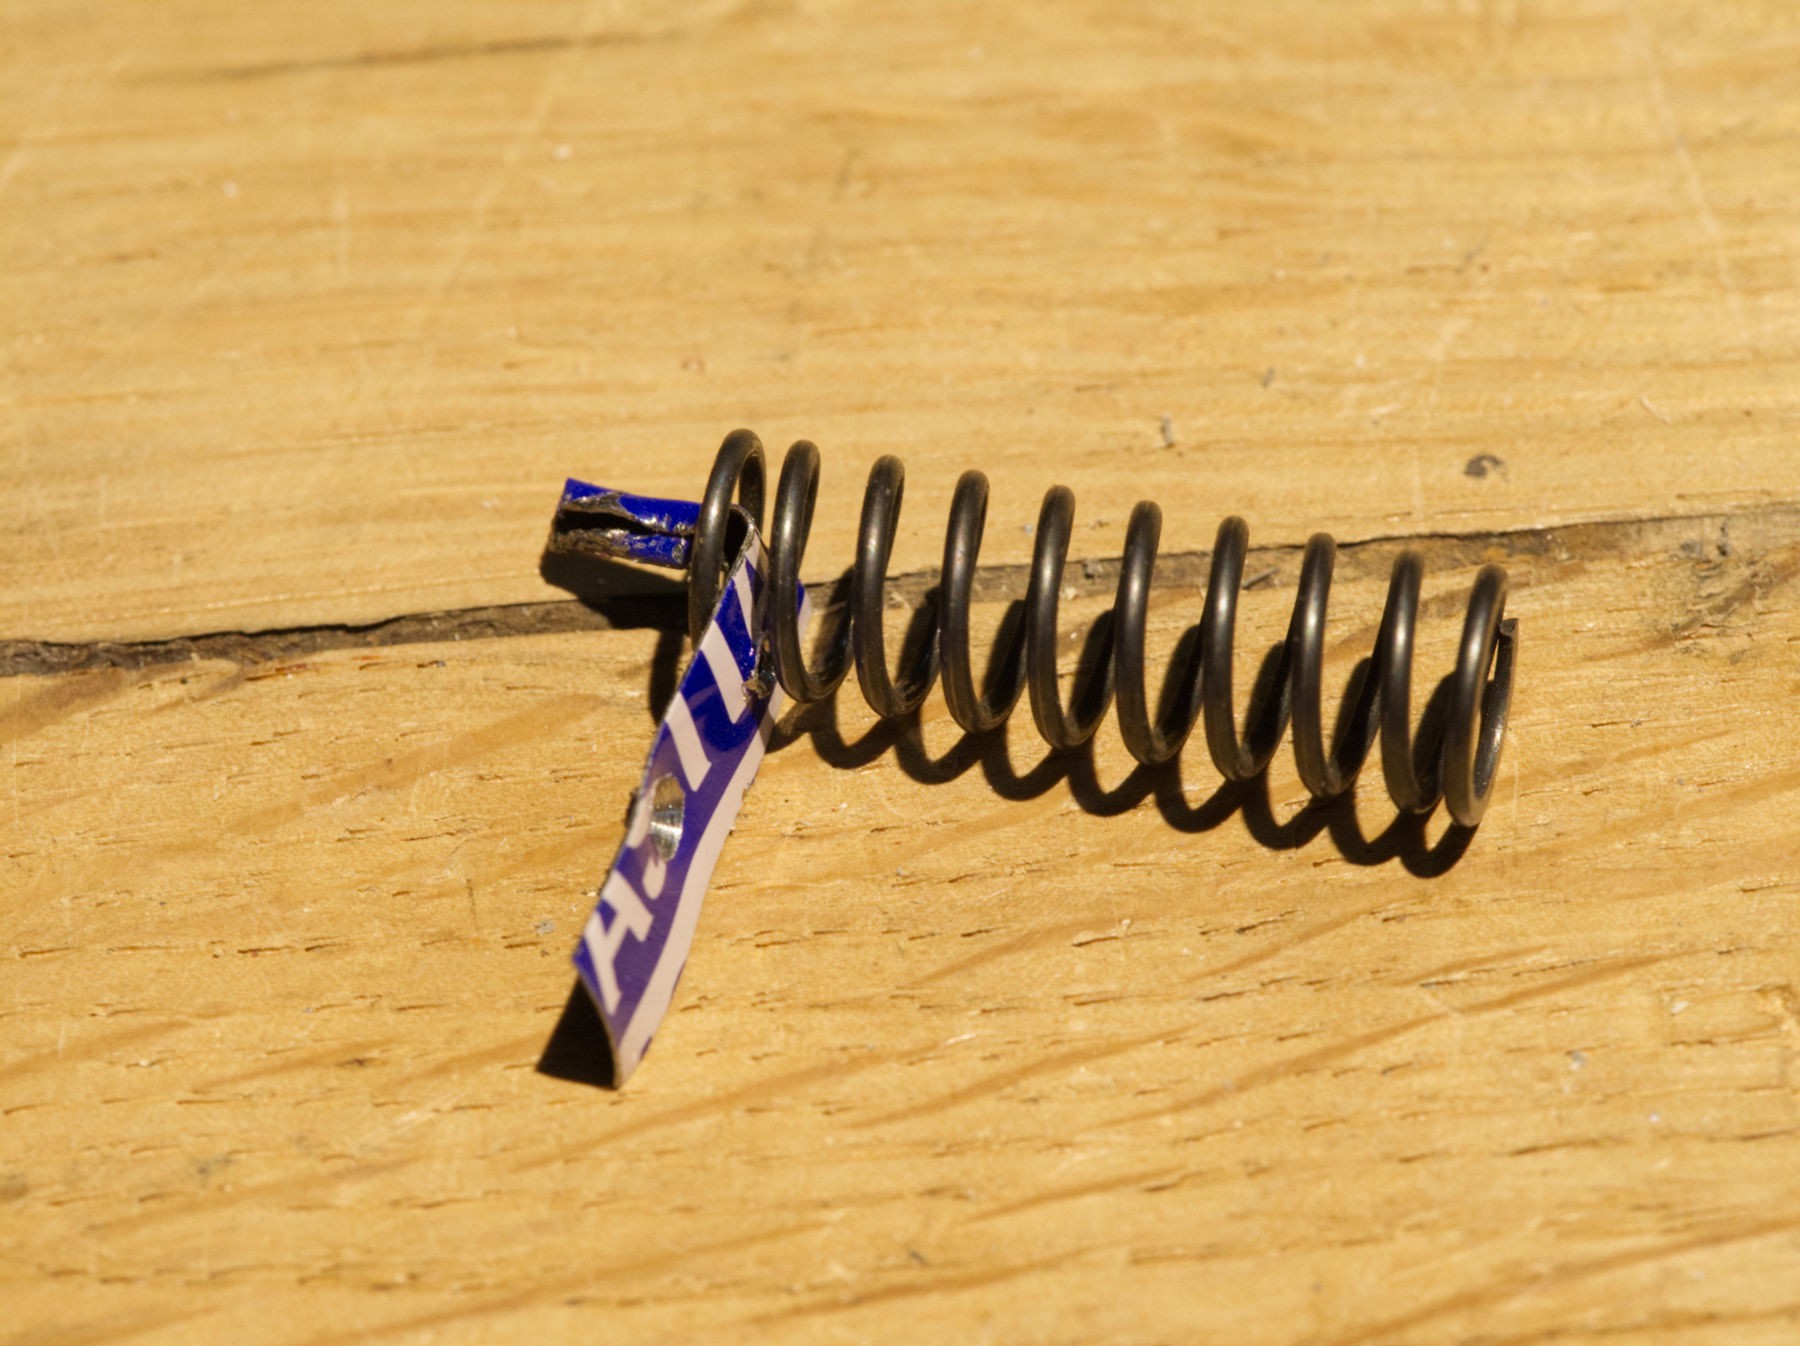
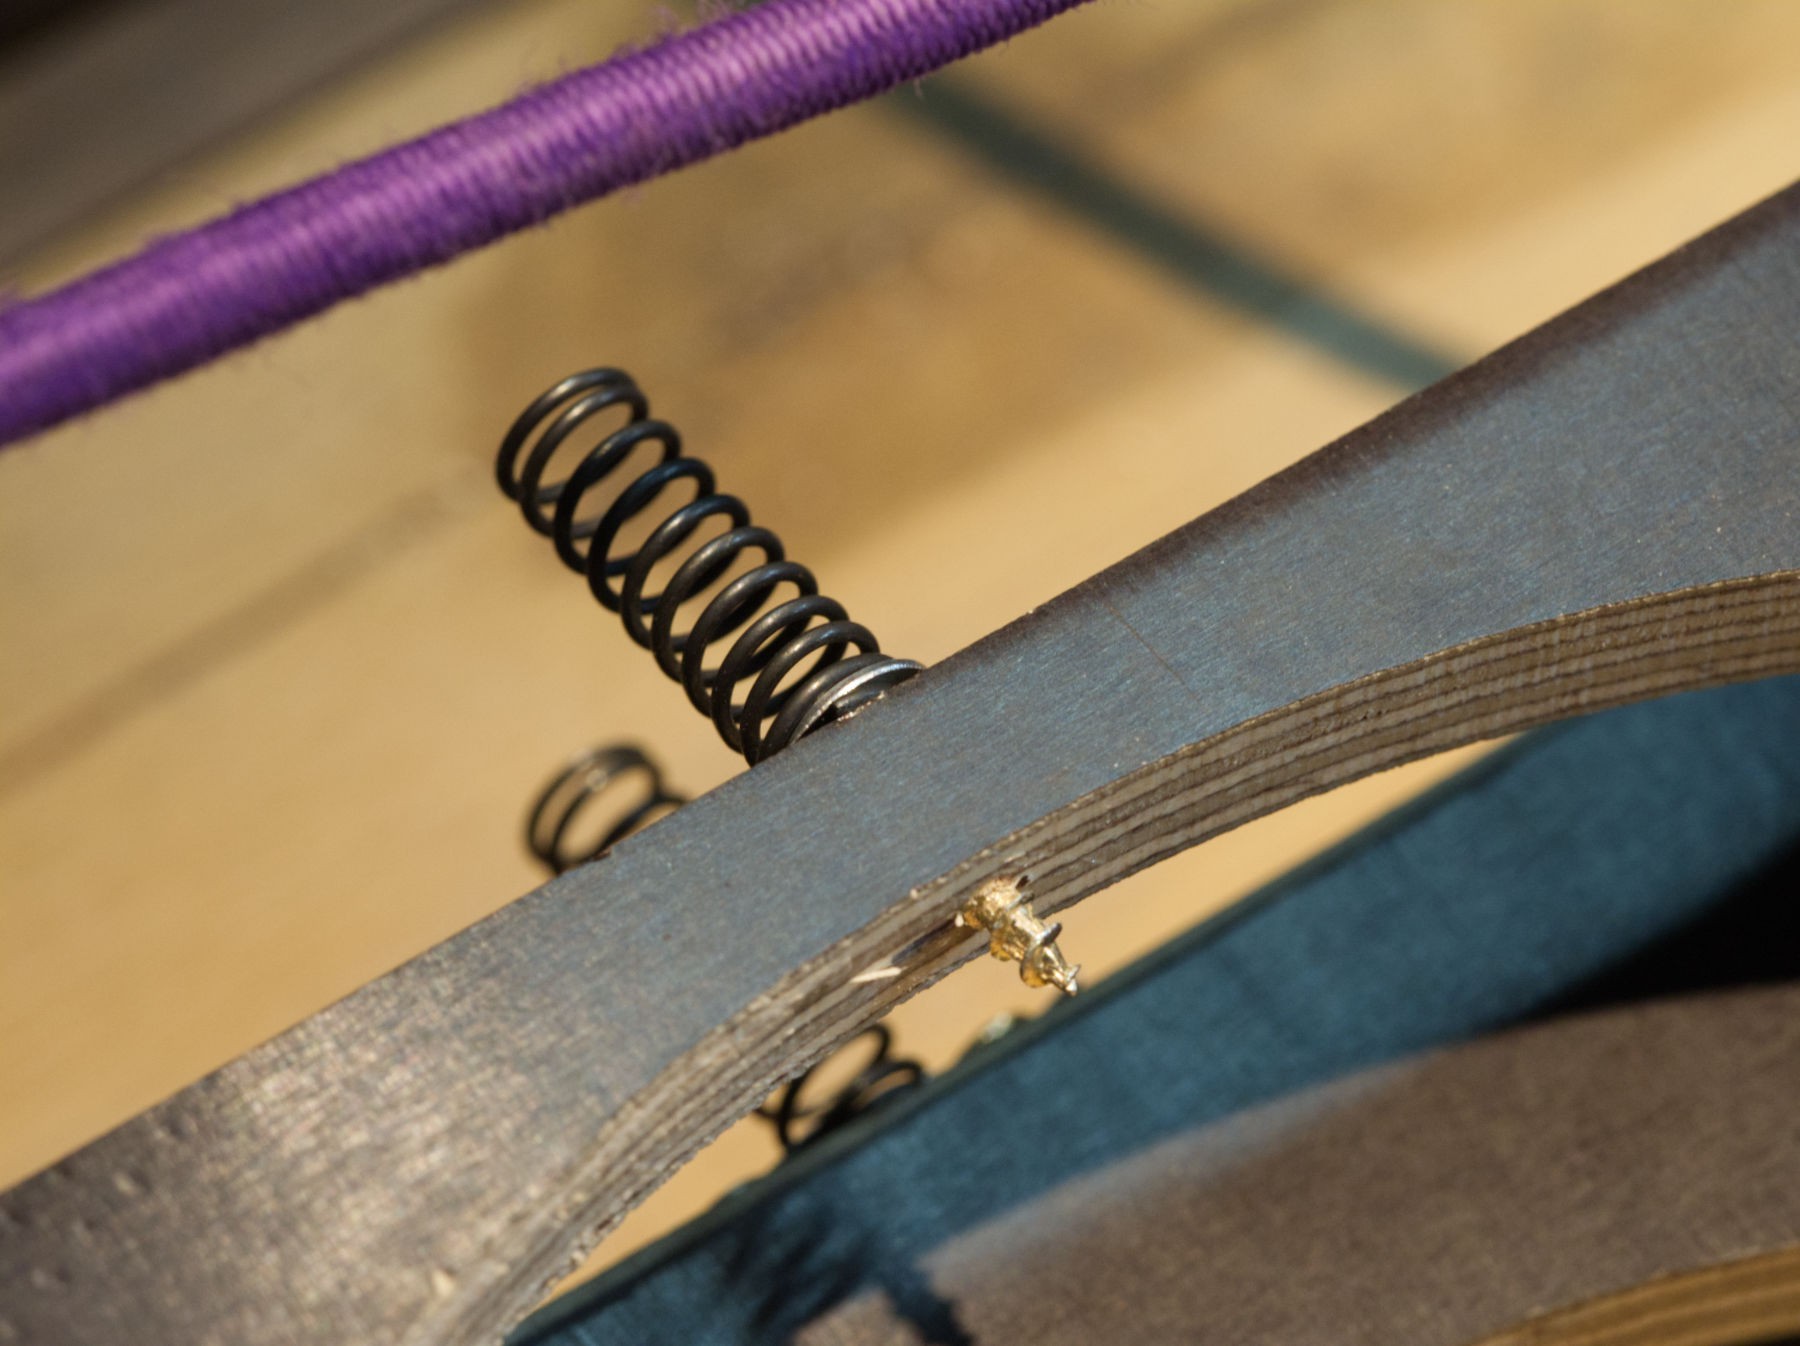
Shaped, drilled and ready to block a spring (with the sharp edge in the previously drilled hole).
![]()
Just like that.
![]()
Funny thing : I still have a few packs of that color slide film sheets, too old to give accurate colors, but interesting in cross processing, a strong cyan/green cast on the negative gives a weird color rendition. And they're going to be used to shoot with the lens.
![]()
Another one.
![]()
Drilling L profiles.
![]()
Adjusting the place with some double sided tape.
![]()
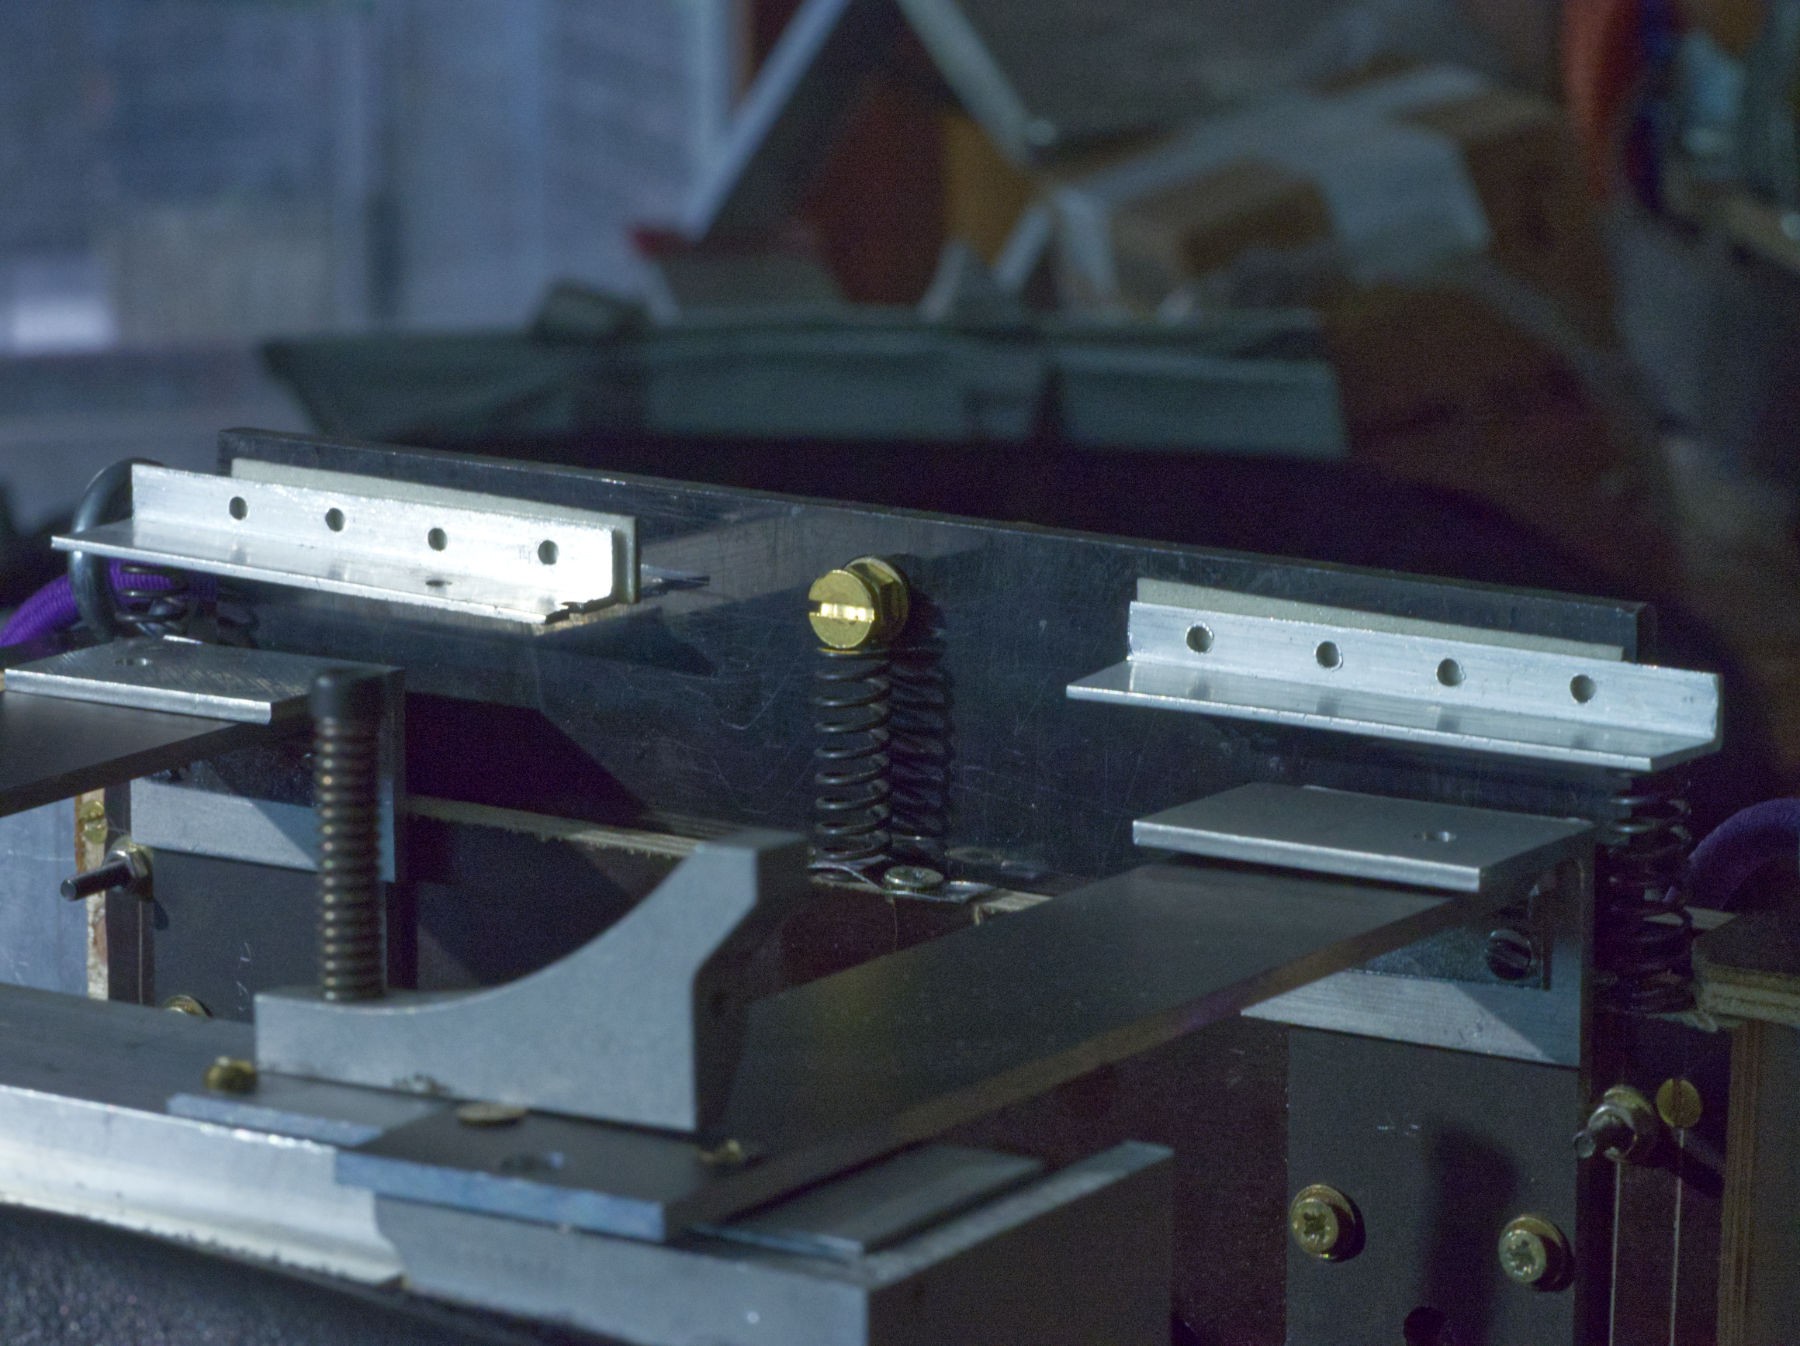
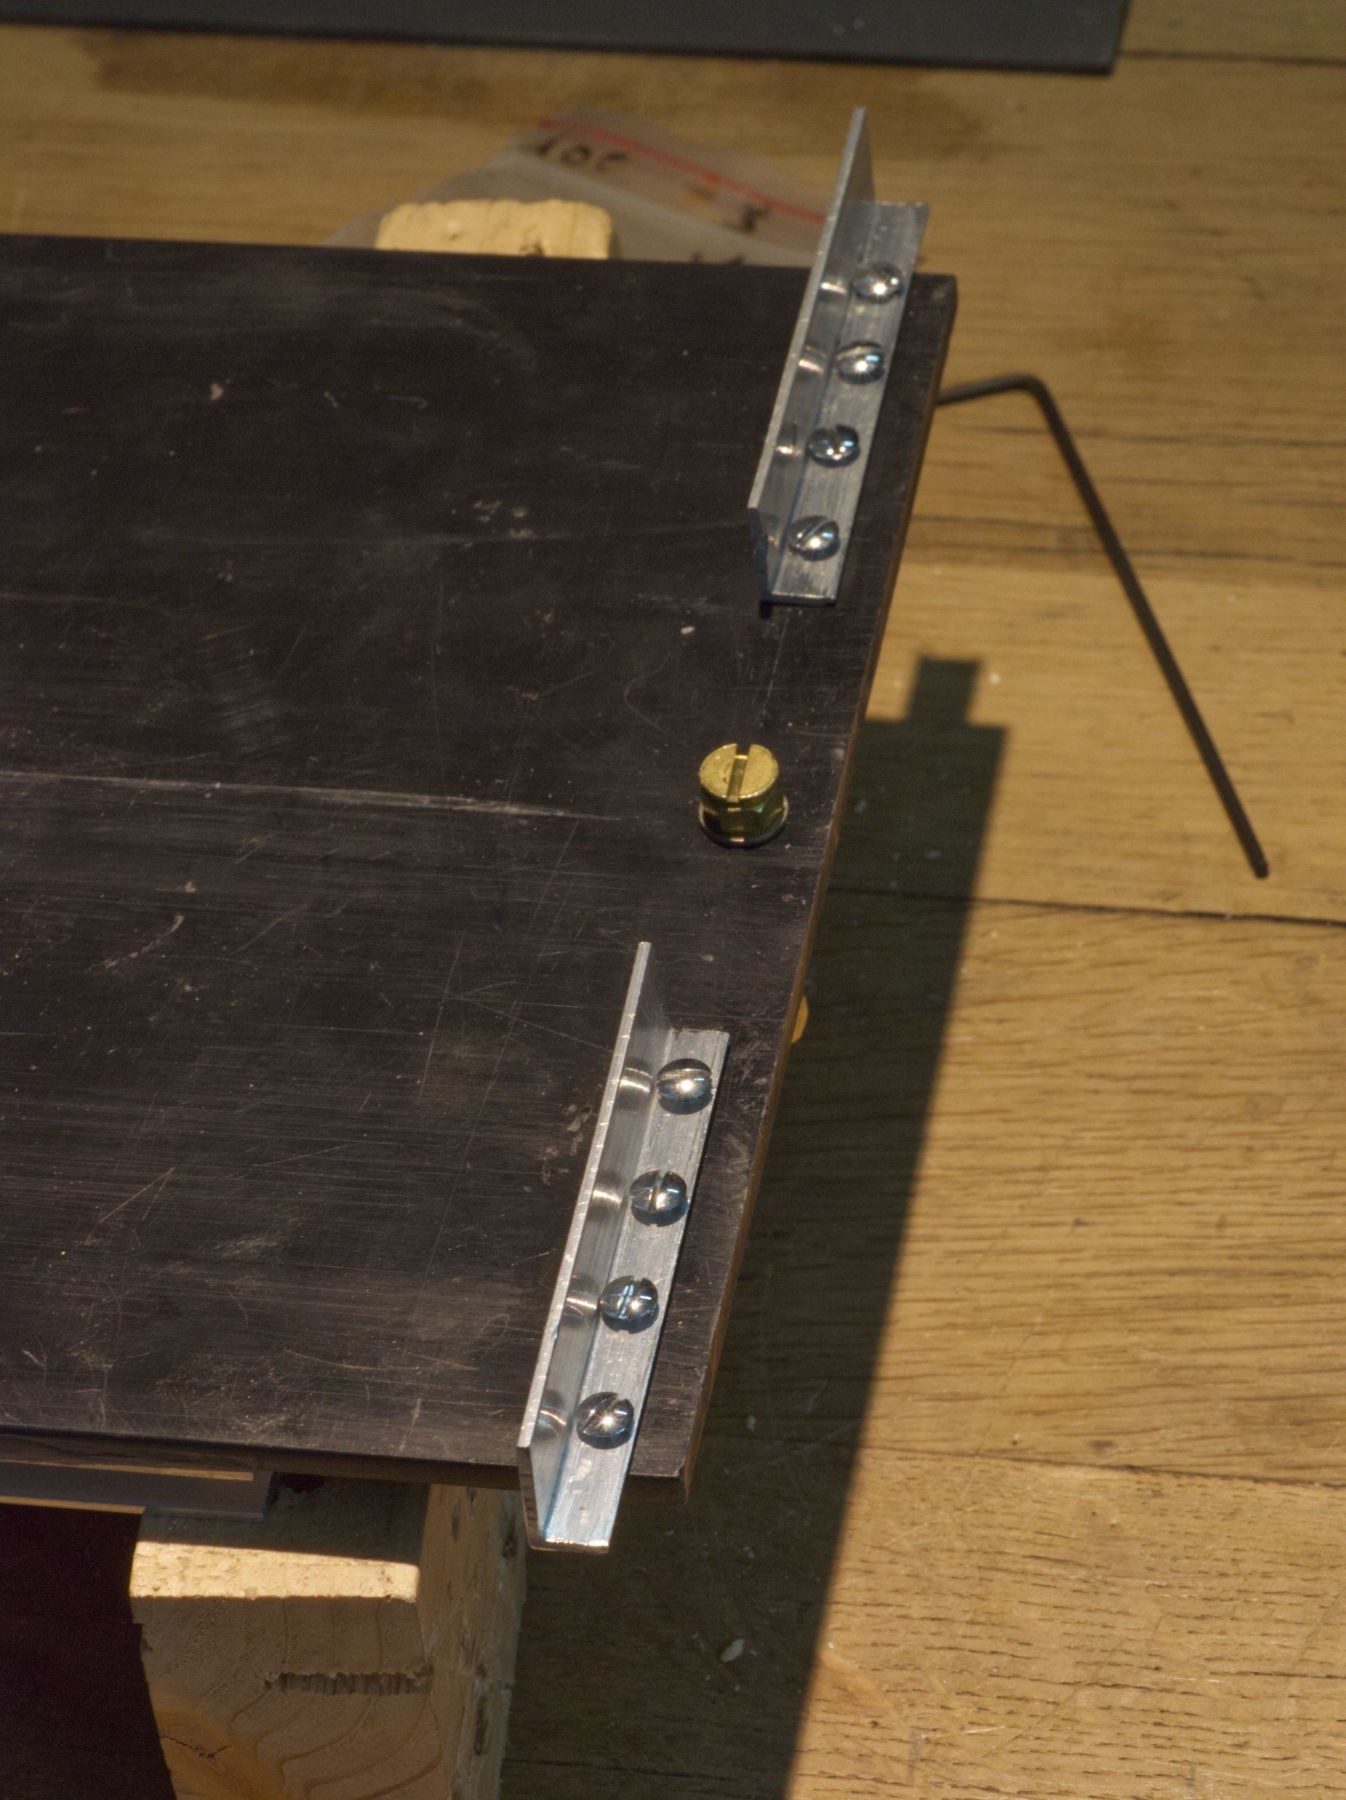
Tightly fixed with 4 stainless steel screws and nuts, as the shock is very strong, it must be sturdy.
![]()
Oops ! that 25 mm long screw is too long.
![]()
Not anymore.
-
Shutter release mechanism
05/20/2022 at 13:34 • 0 comments![]()
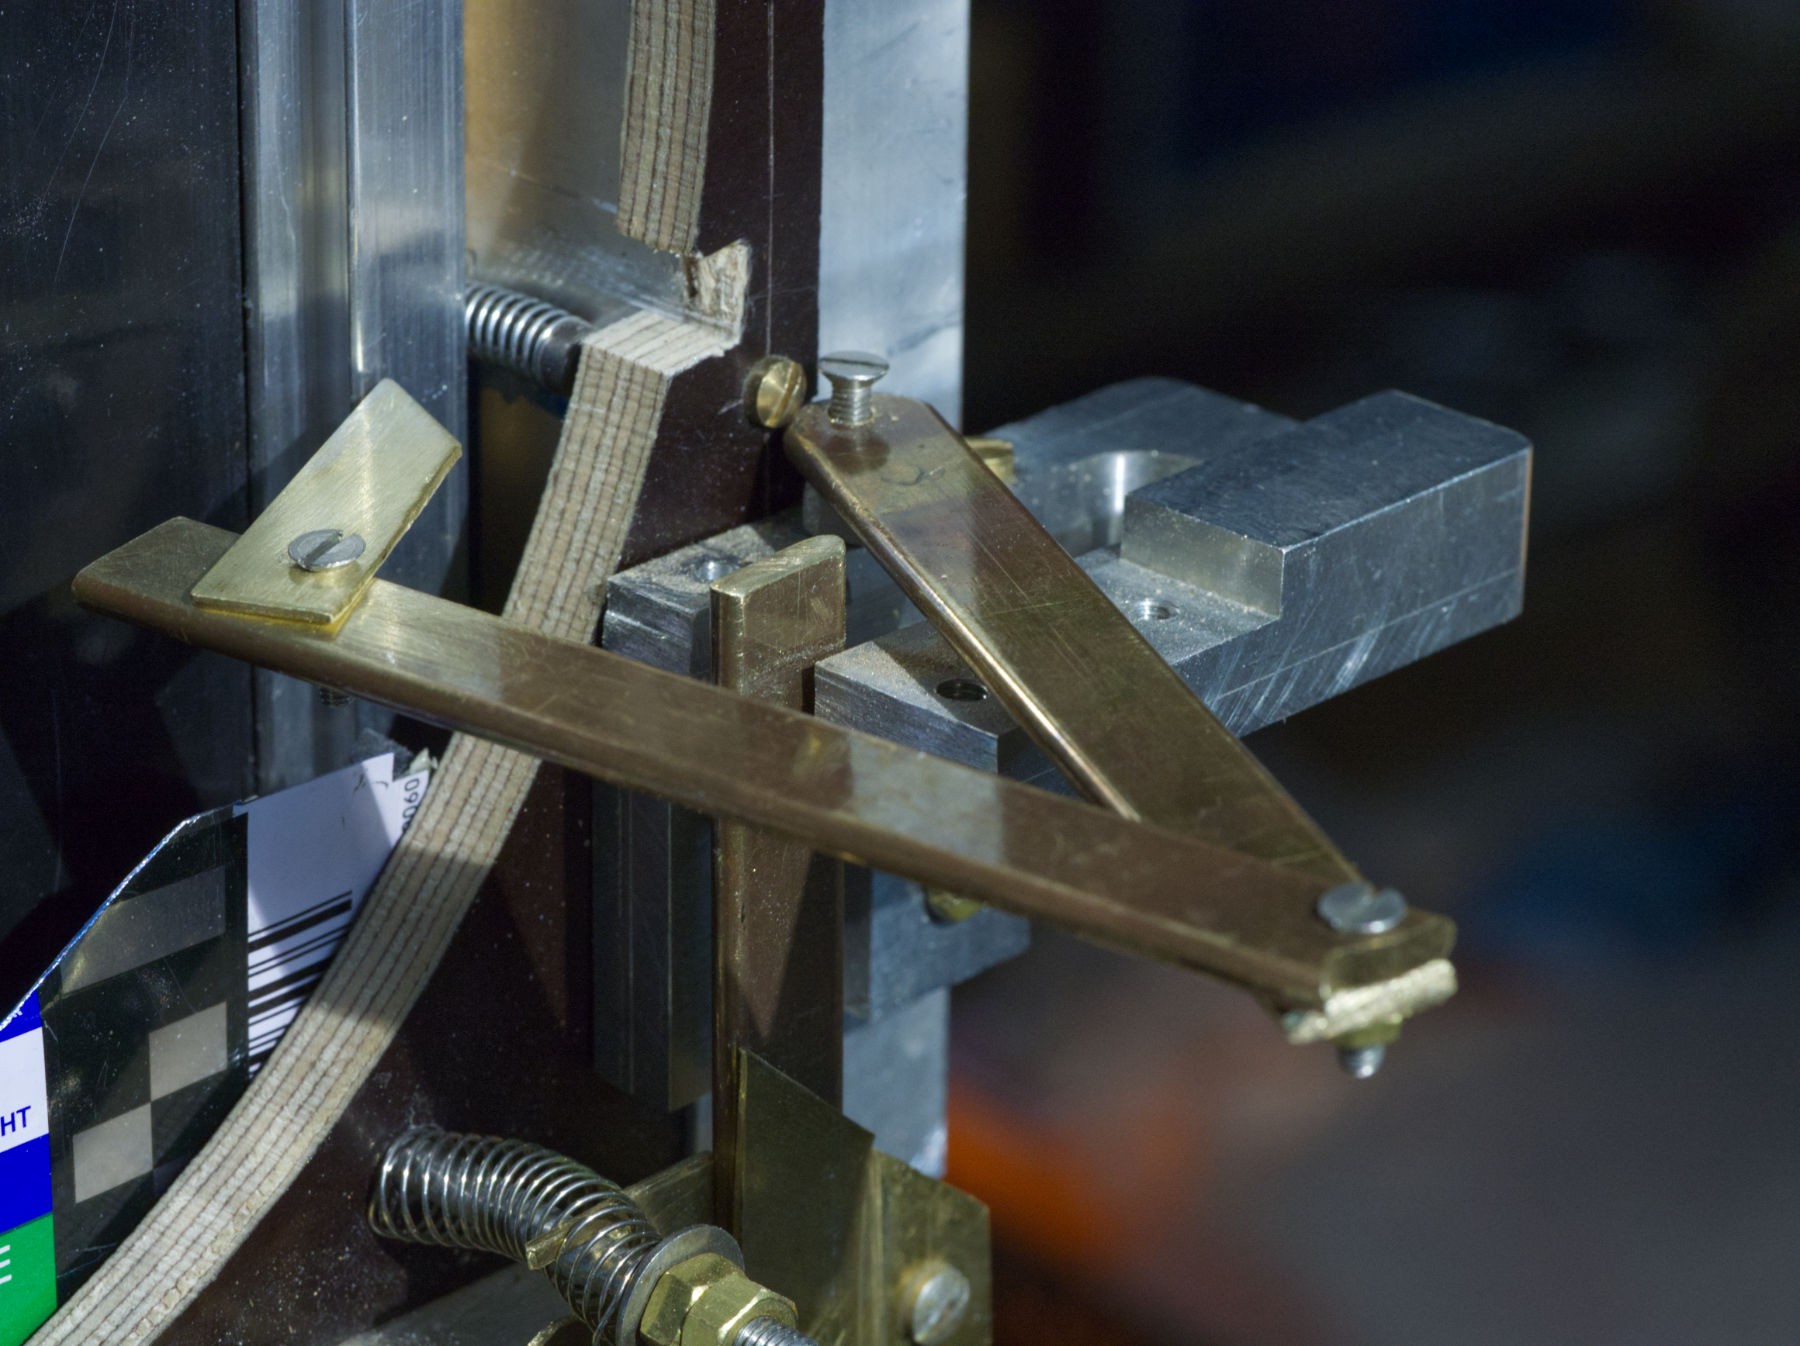
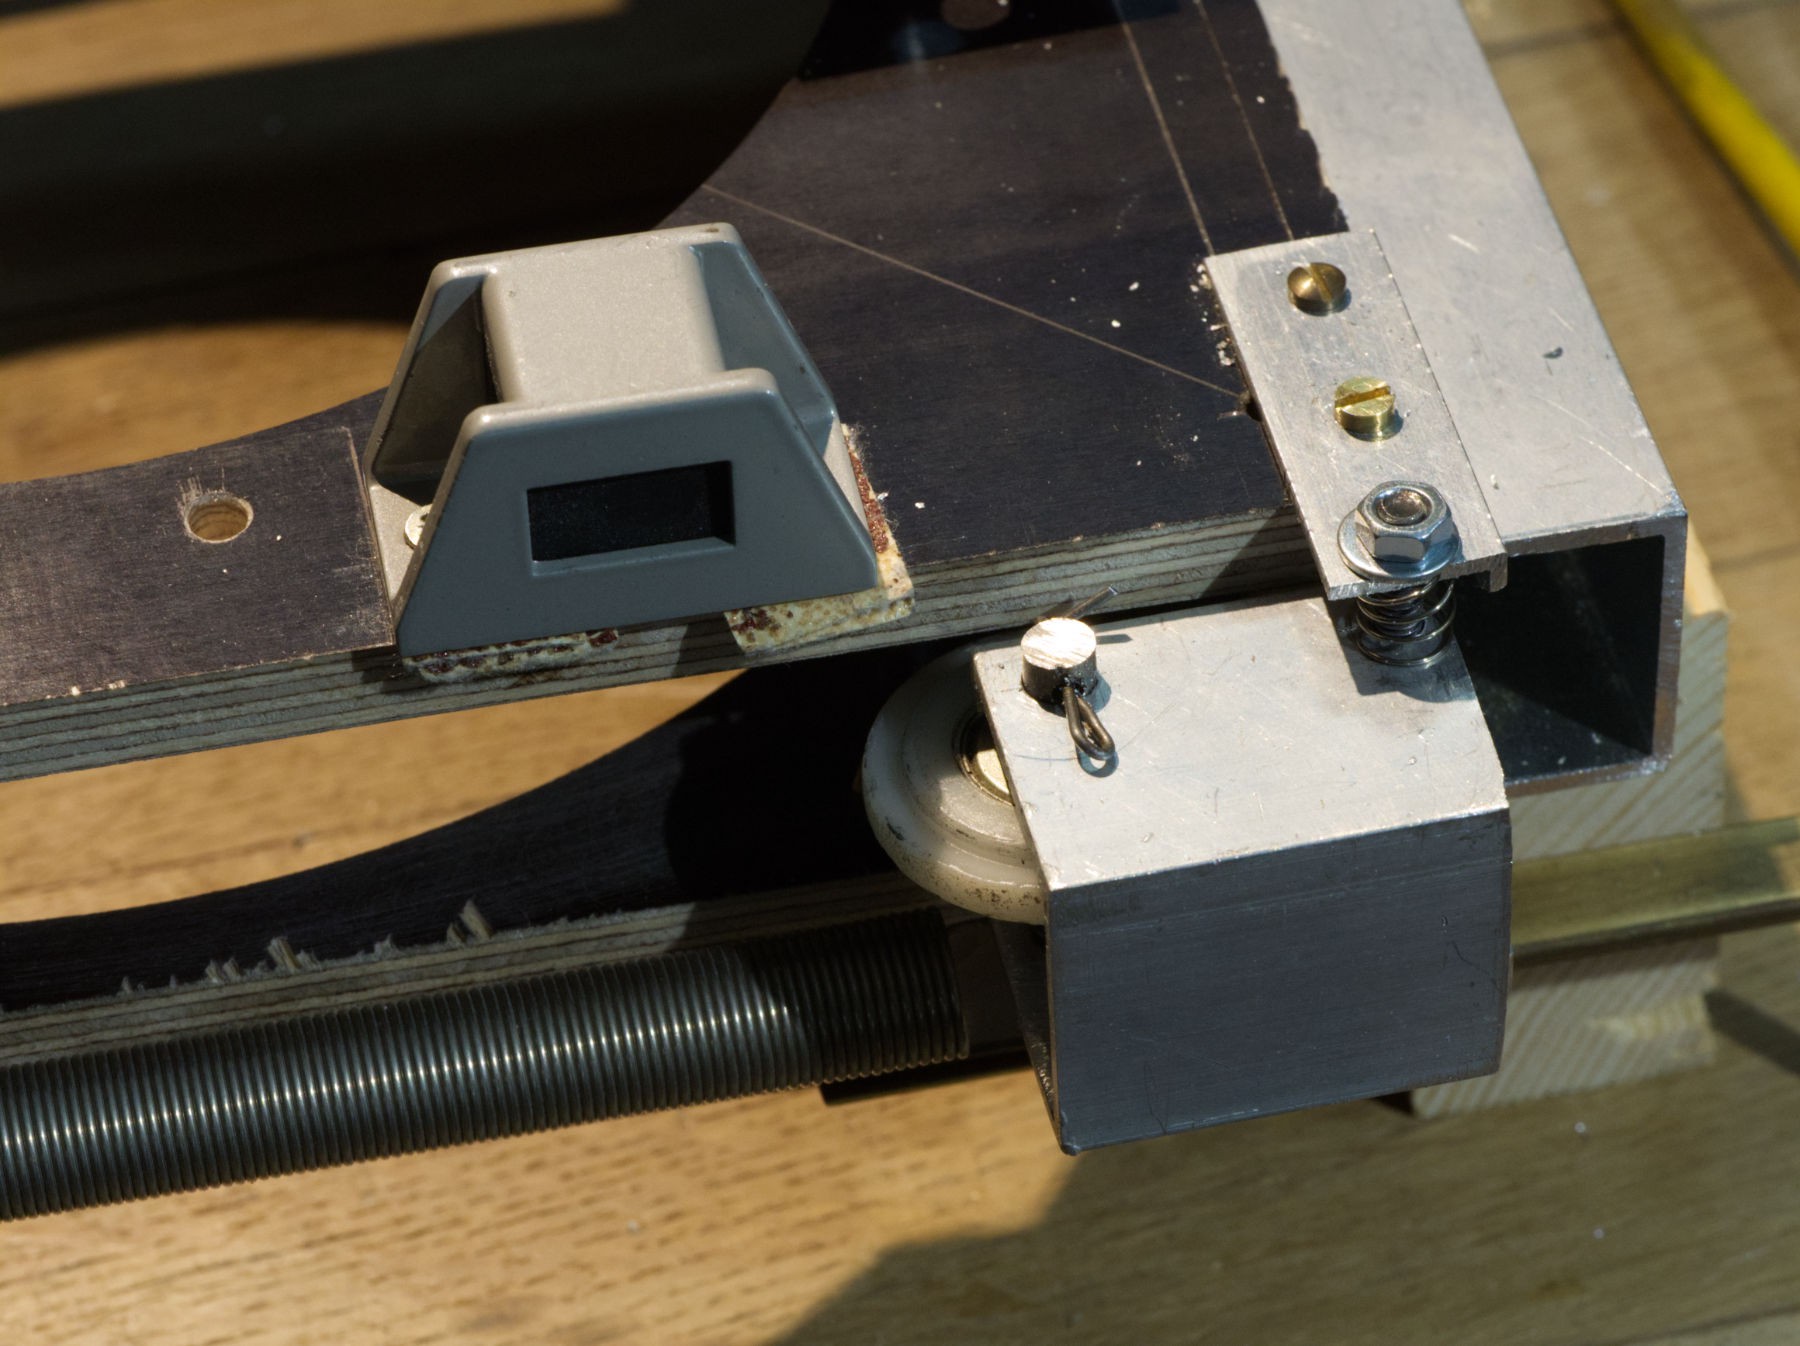
Since the fist try, there was an obvious problem for me : it needs a lot of strength to release the blade. As the bungee is quite strong, it's force is only stopped by the screw holding it, and it doesn't slip well at all.
Impossible to need so much strength to take a picture, it must be something smoother !
![]()
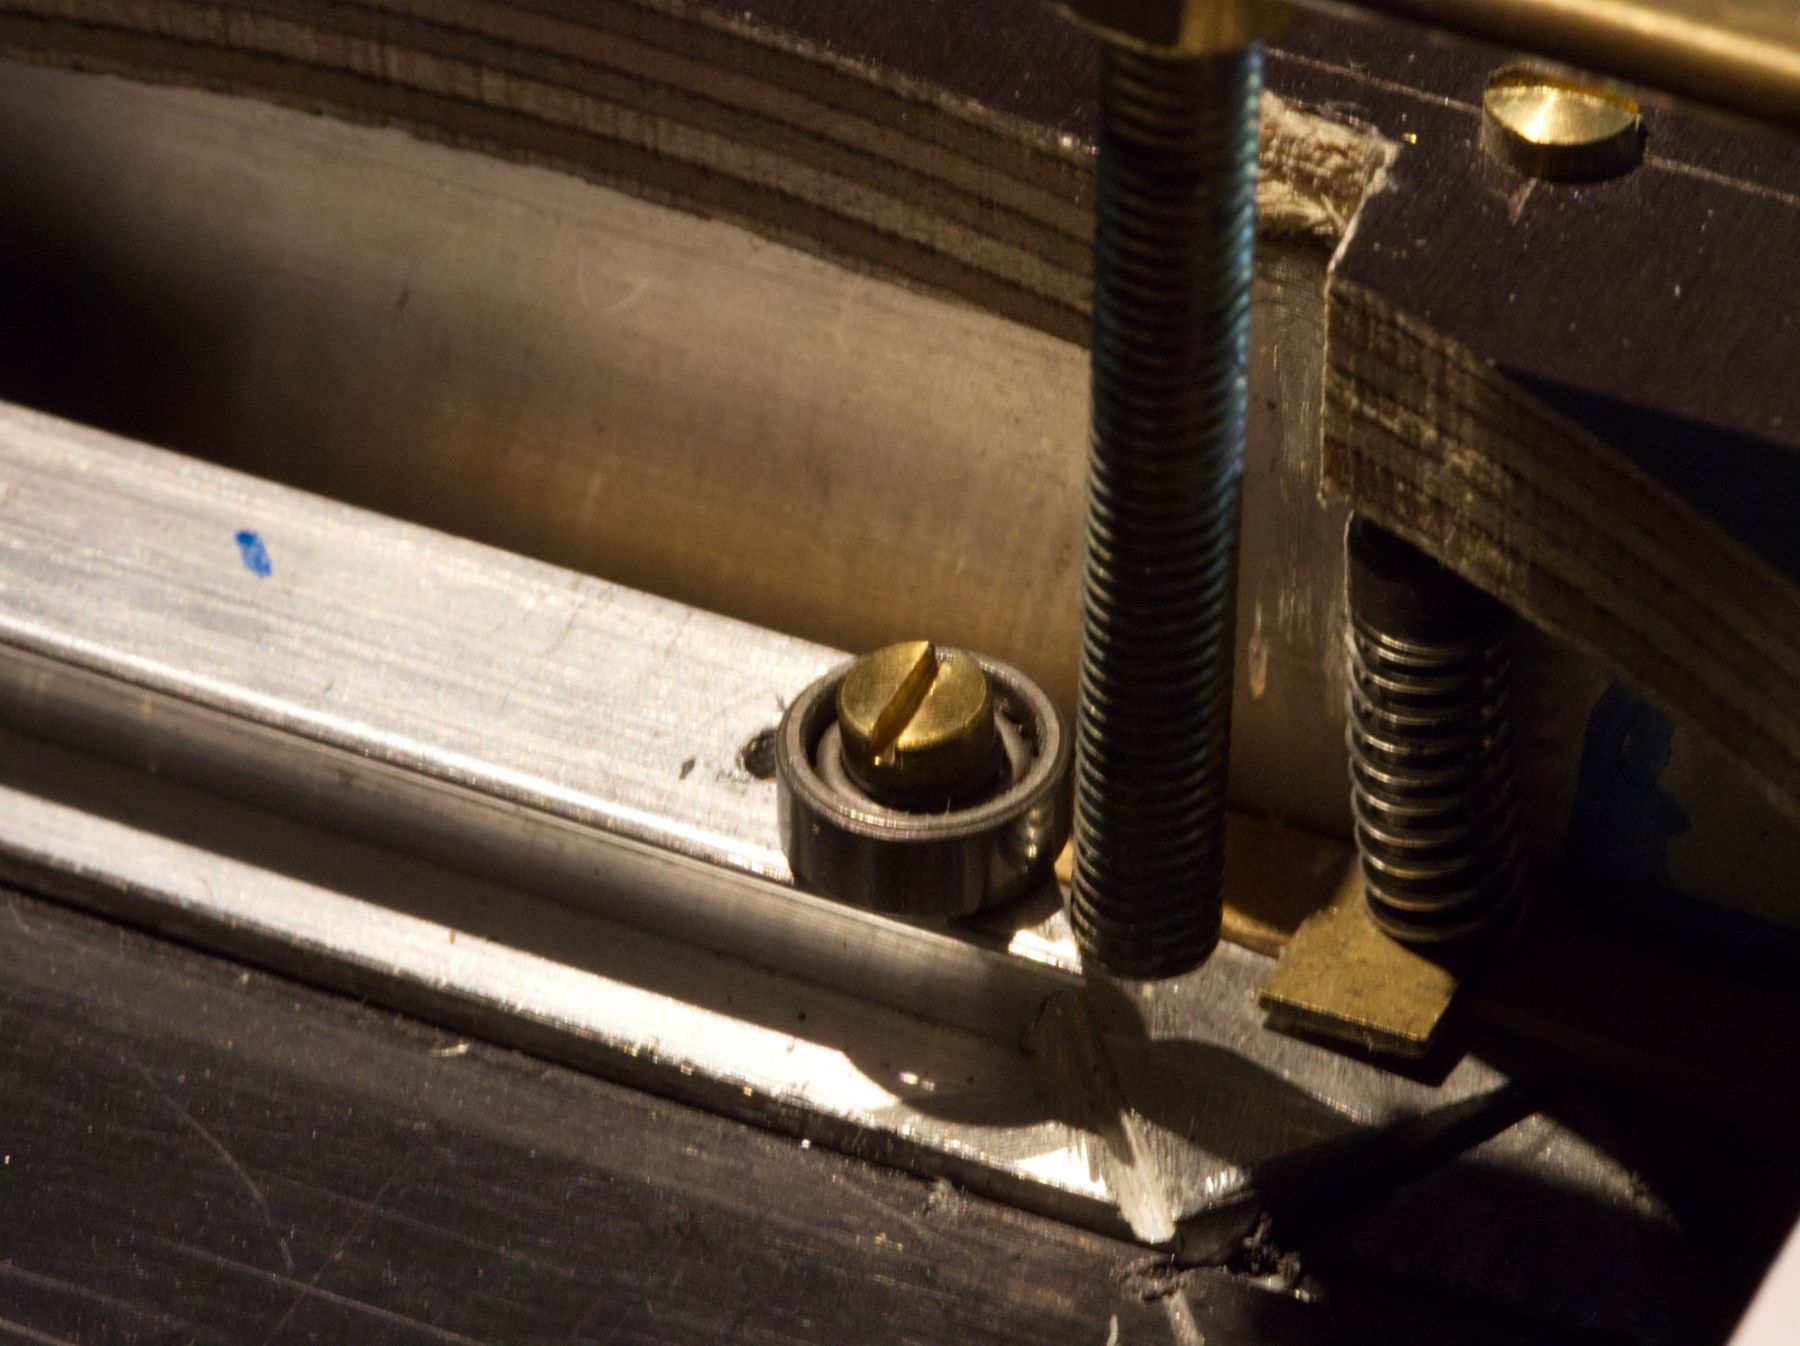
Tried with a small bearing.
Nope, it needs about the same strength and its too close to the flap opening time : the blade get stopped by the flap, there must be enough delay between the flap release mechanism and the shutter one for the flap to open completely before the blade goes, because it goes fast !
![]()
Let's try something completely different, some more pieces of aluminium are going to get a use.
![]()
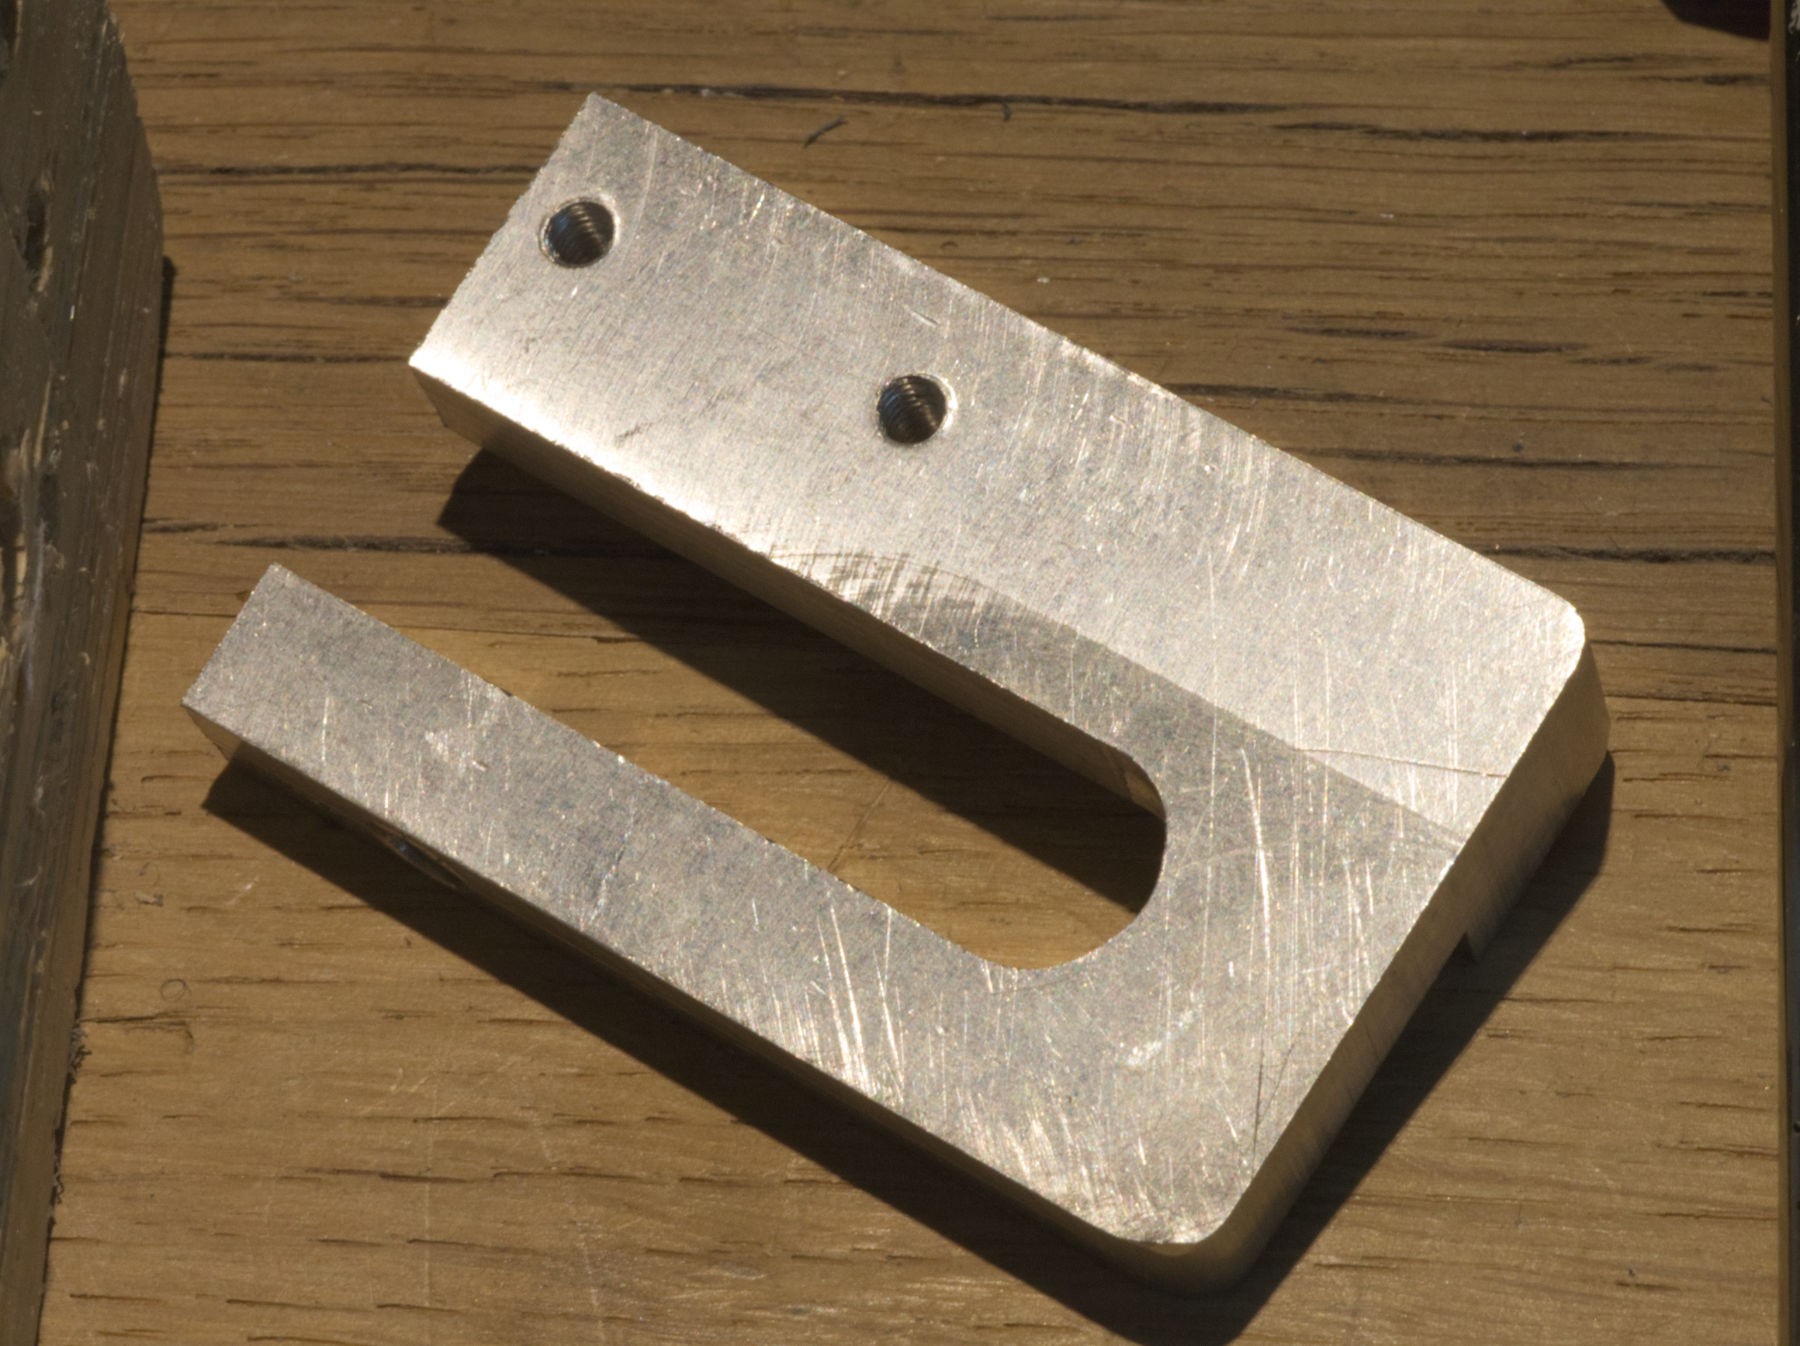
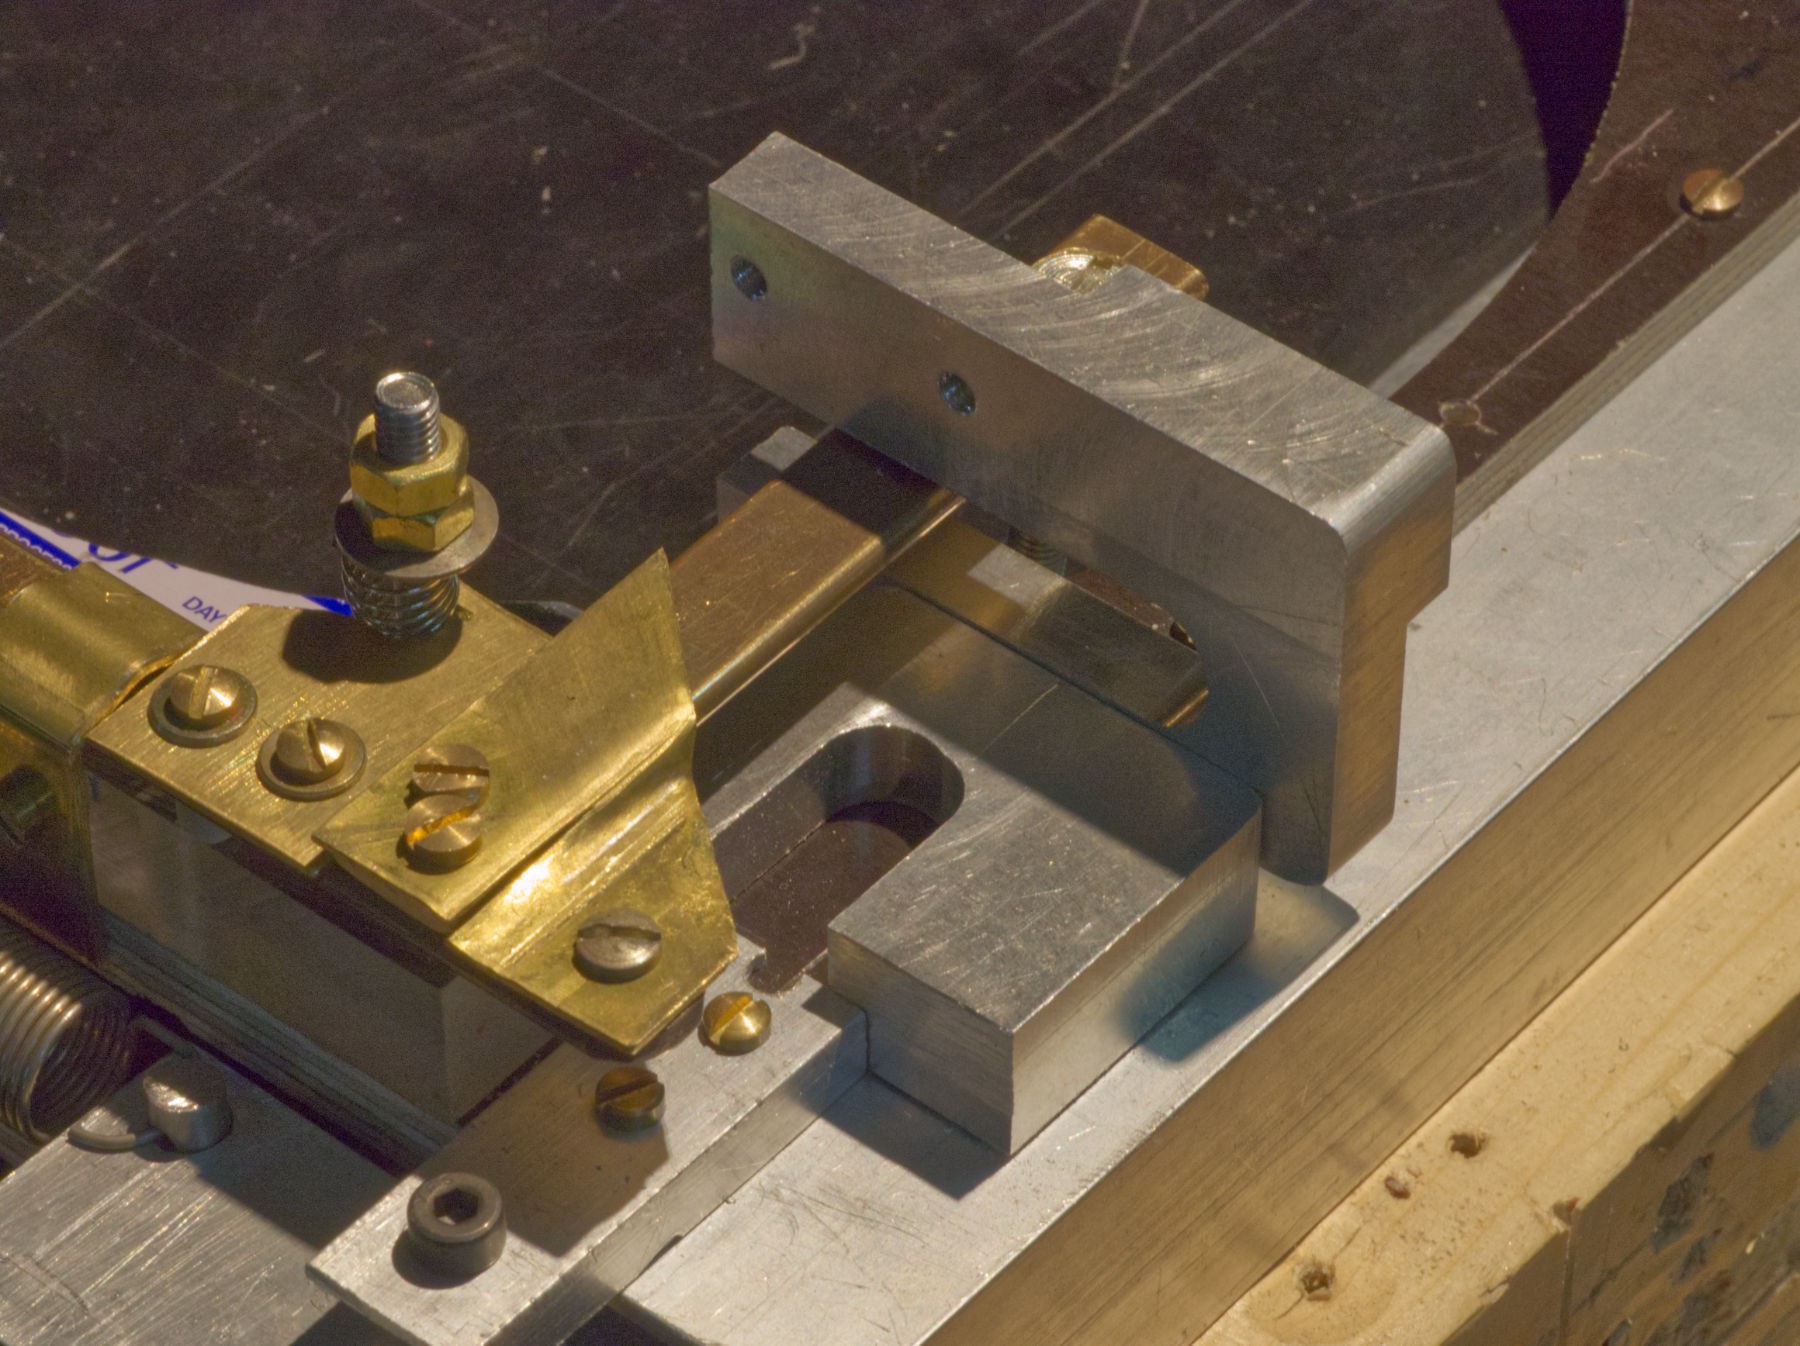
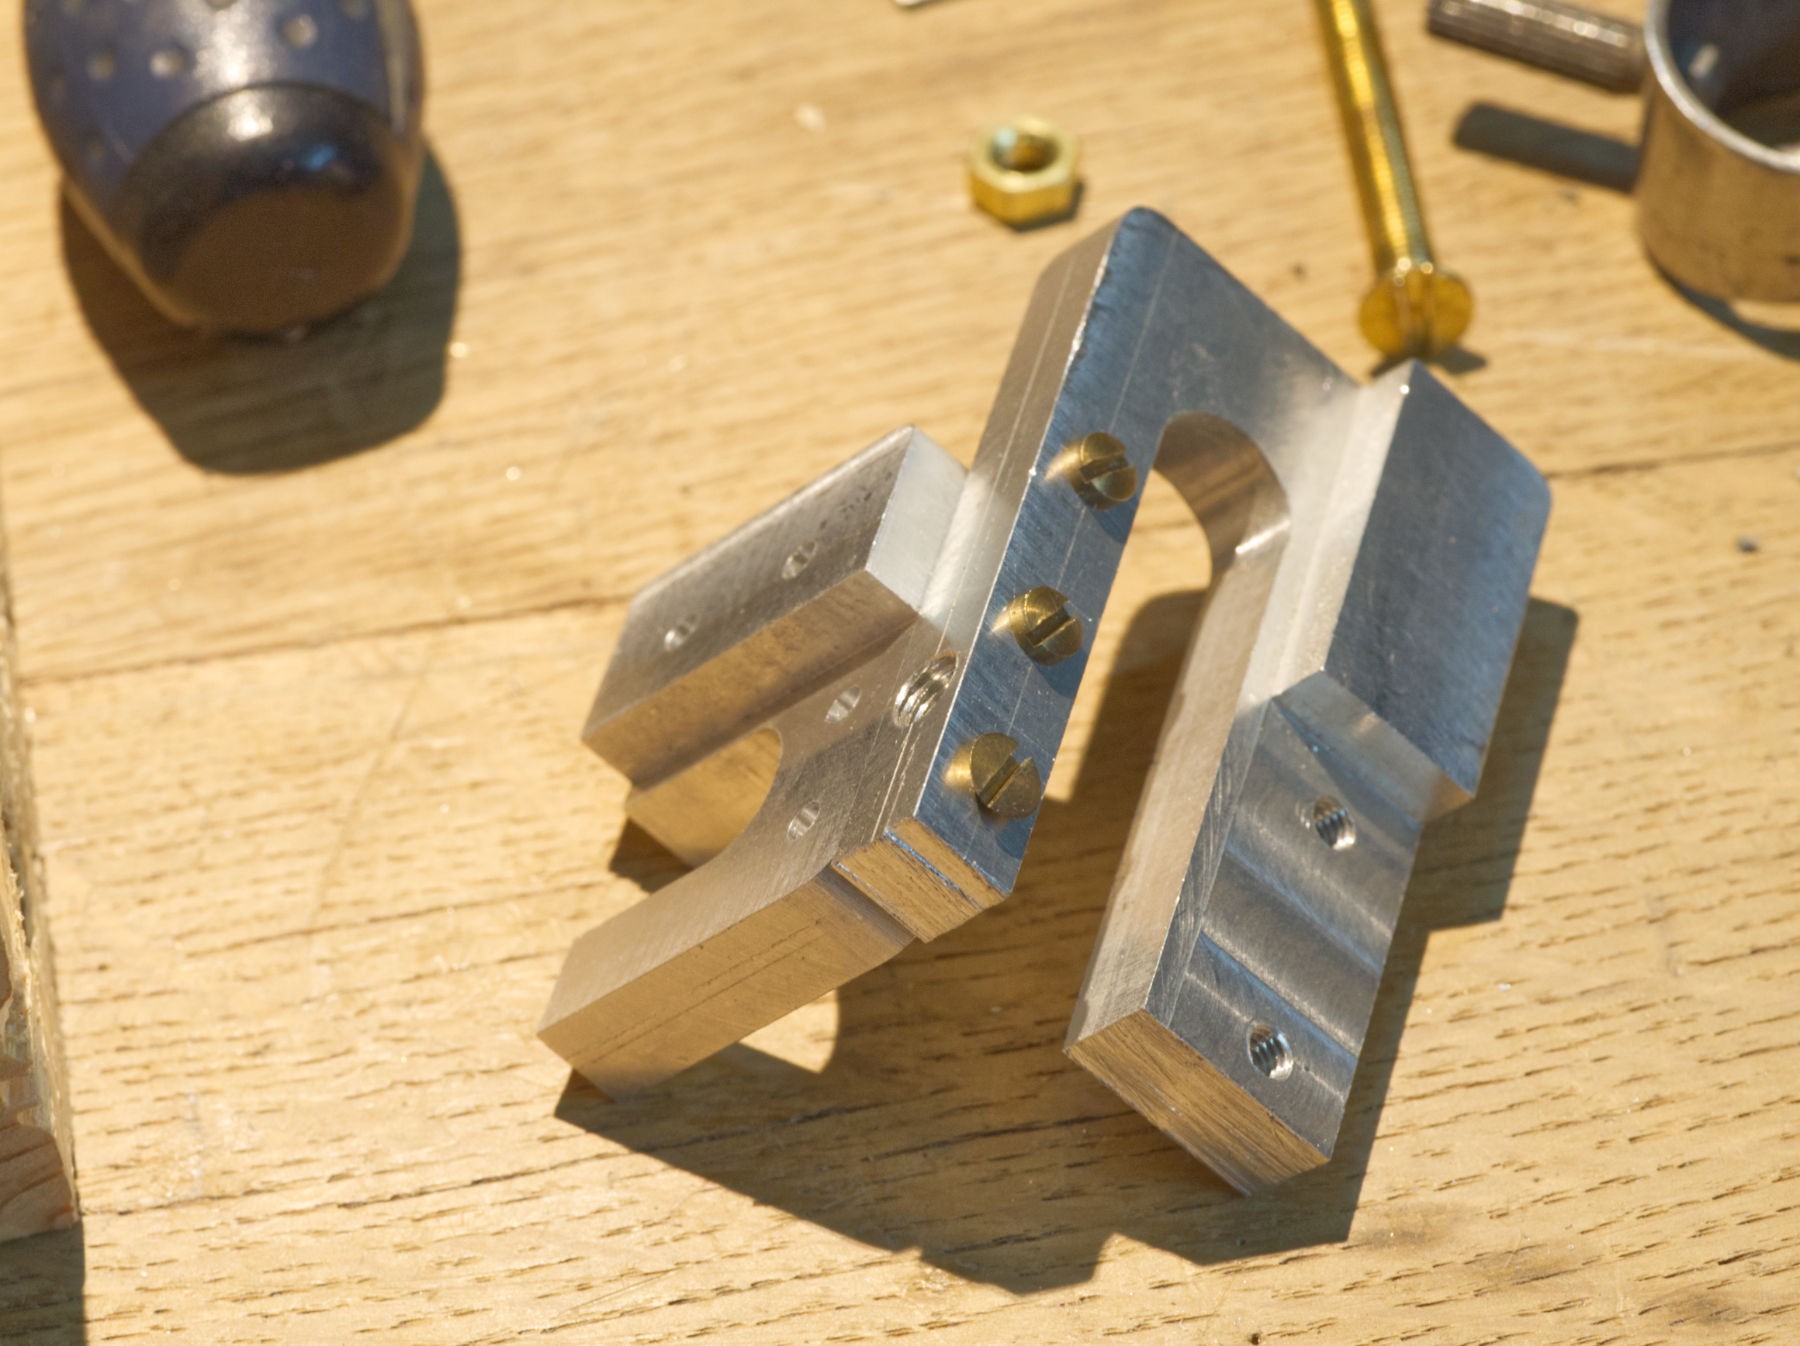
Using the two halves of the same part, assembly preview, it looks exactly like what's needed.
![]()
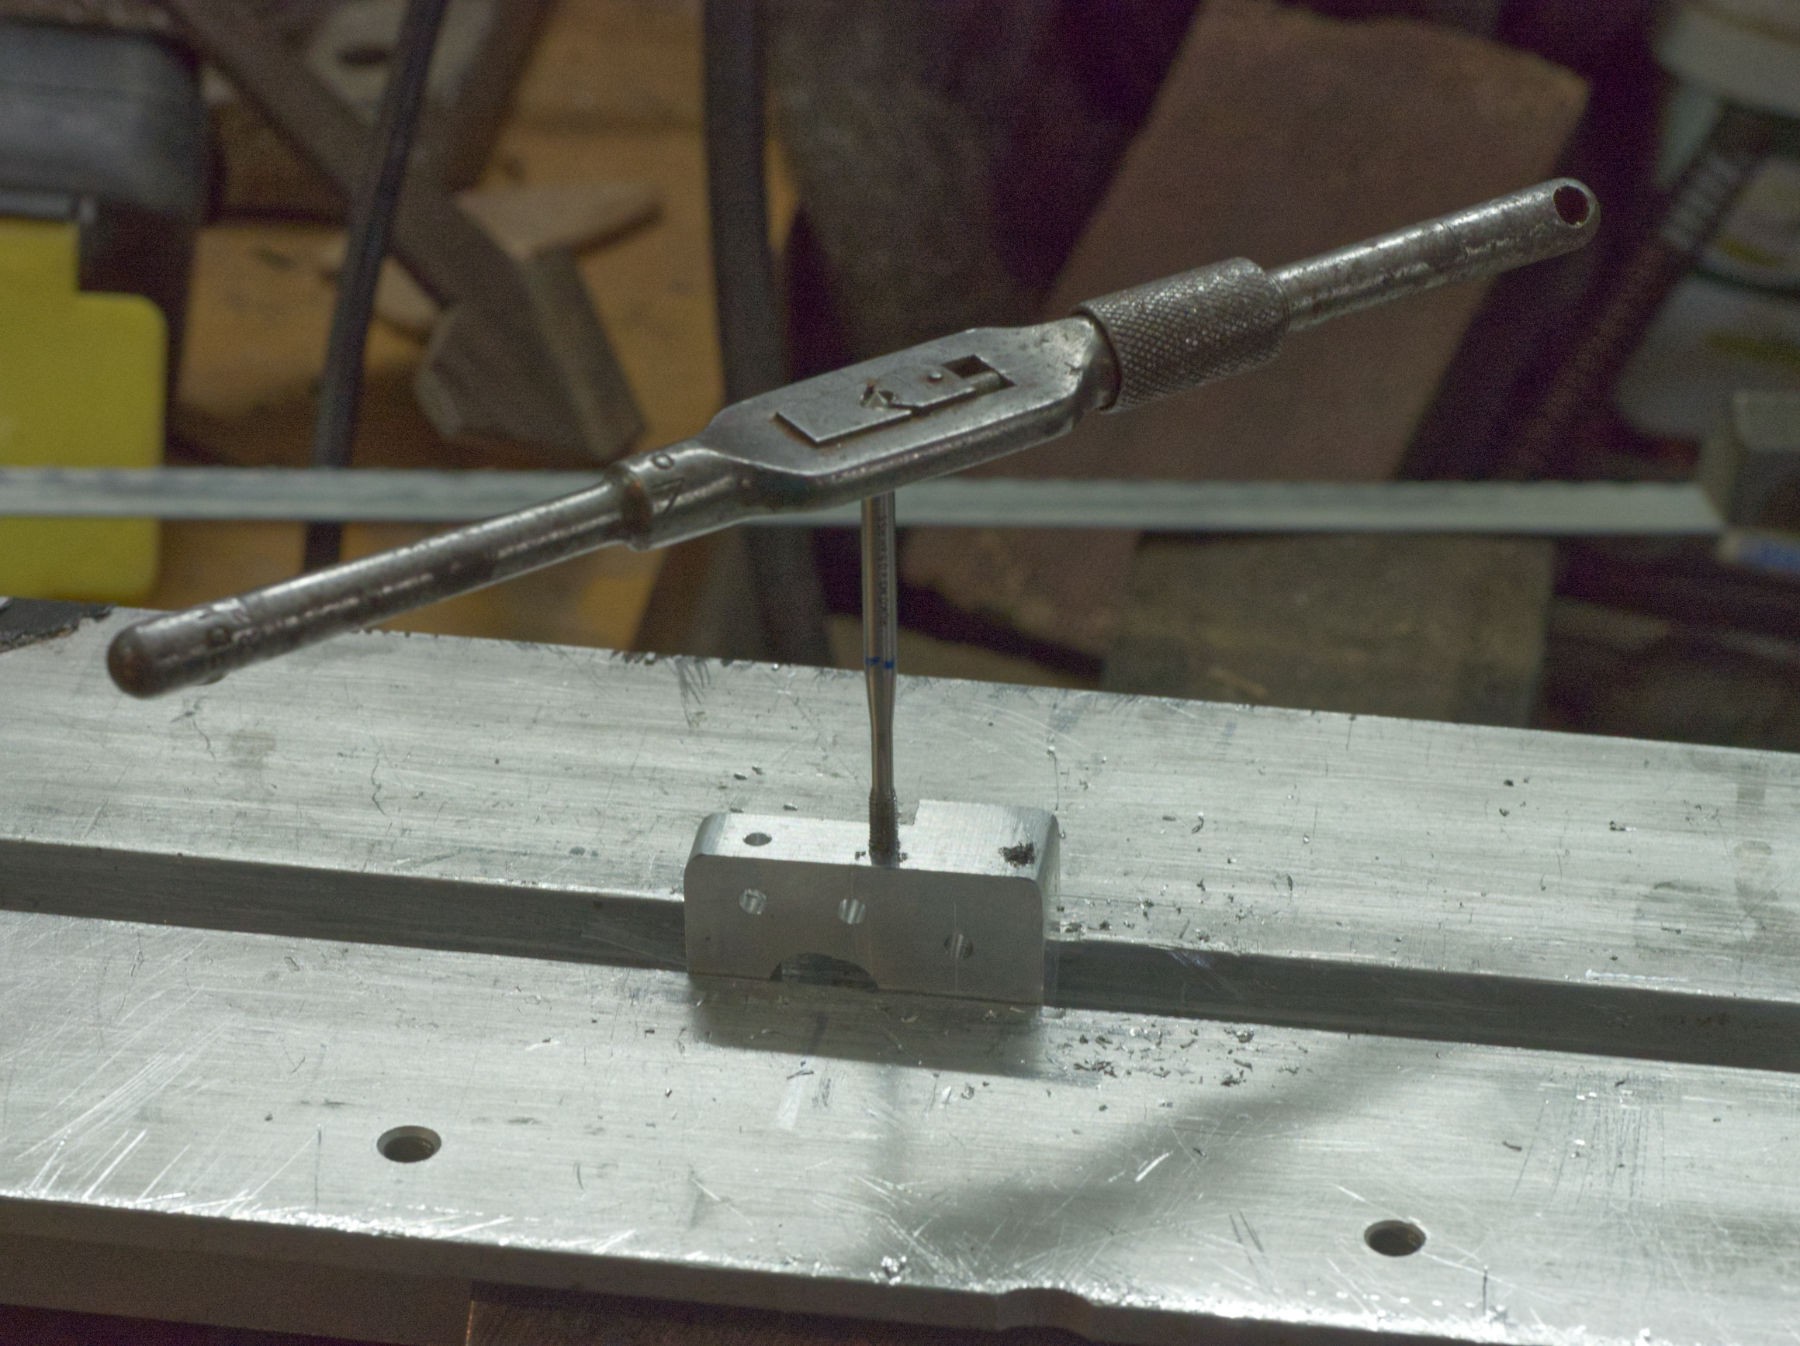
Drilling, taping M 3 threads.
![]()
Final assembly.
![]()
It's going to be there... drilling... taping...
![]()
Okay, let's try that...
No more softness with this mechanism.
In fact, this very trouble was some background thinking for at least a month until...
Fulcrum !
Give me a long enough lever and a fulcrum point and everything is gonna be easy.
![]()
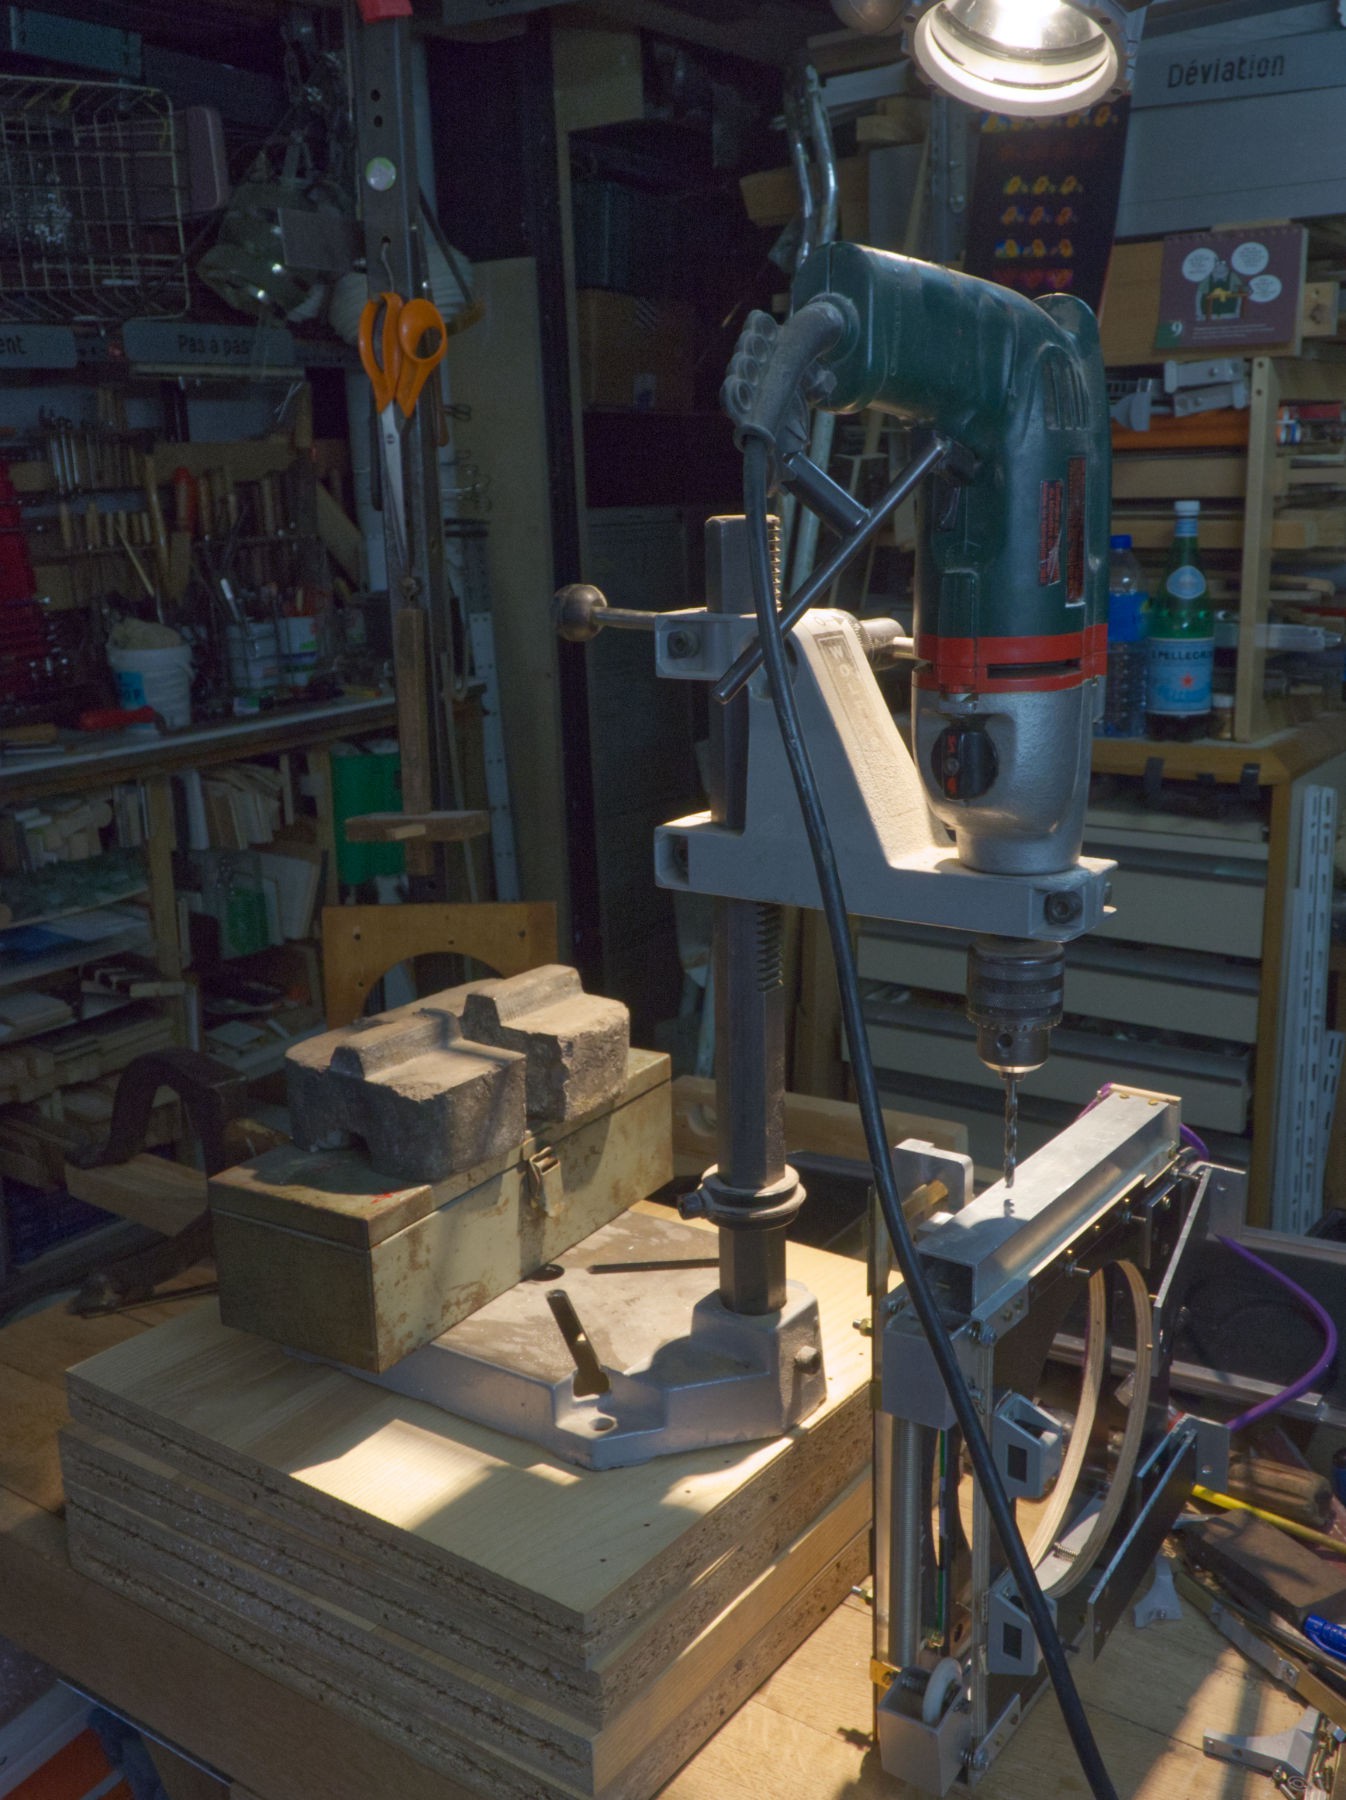
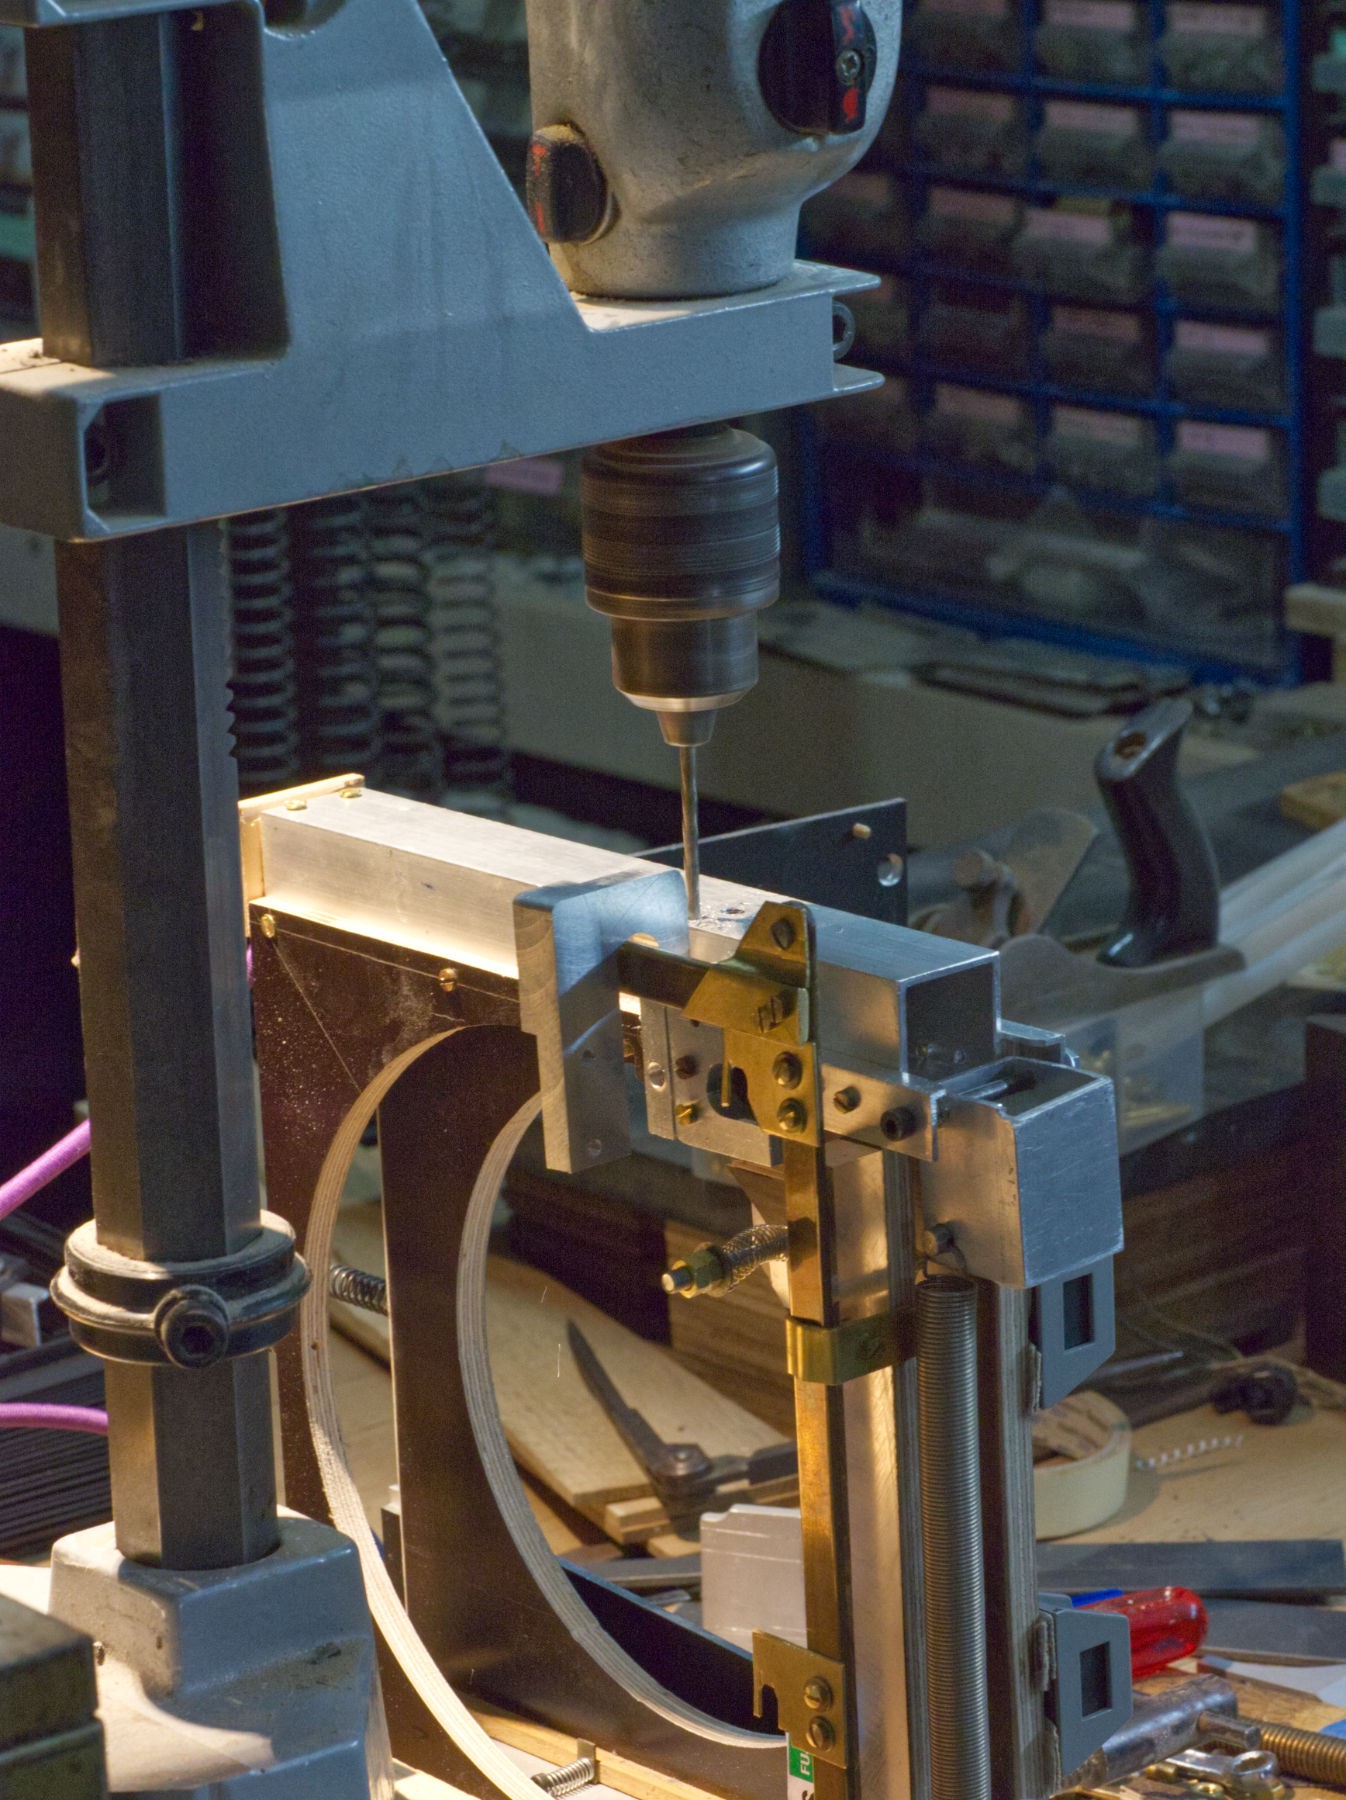
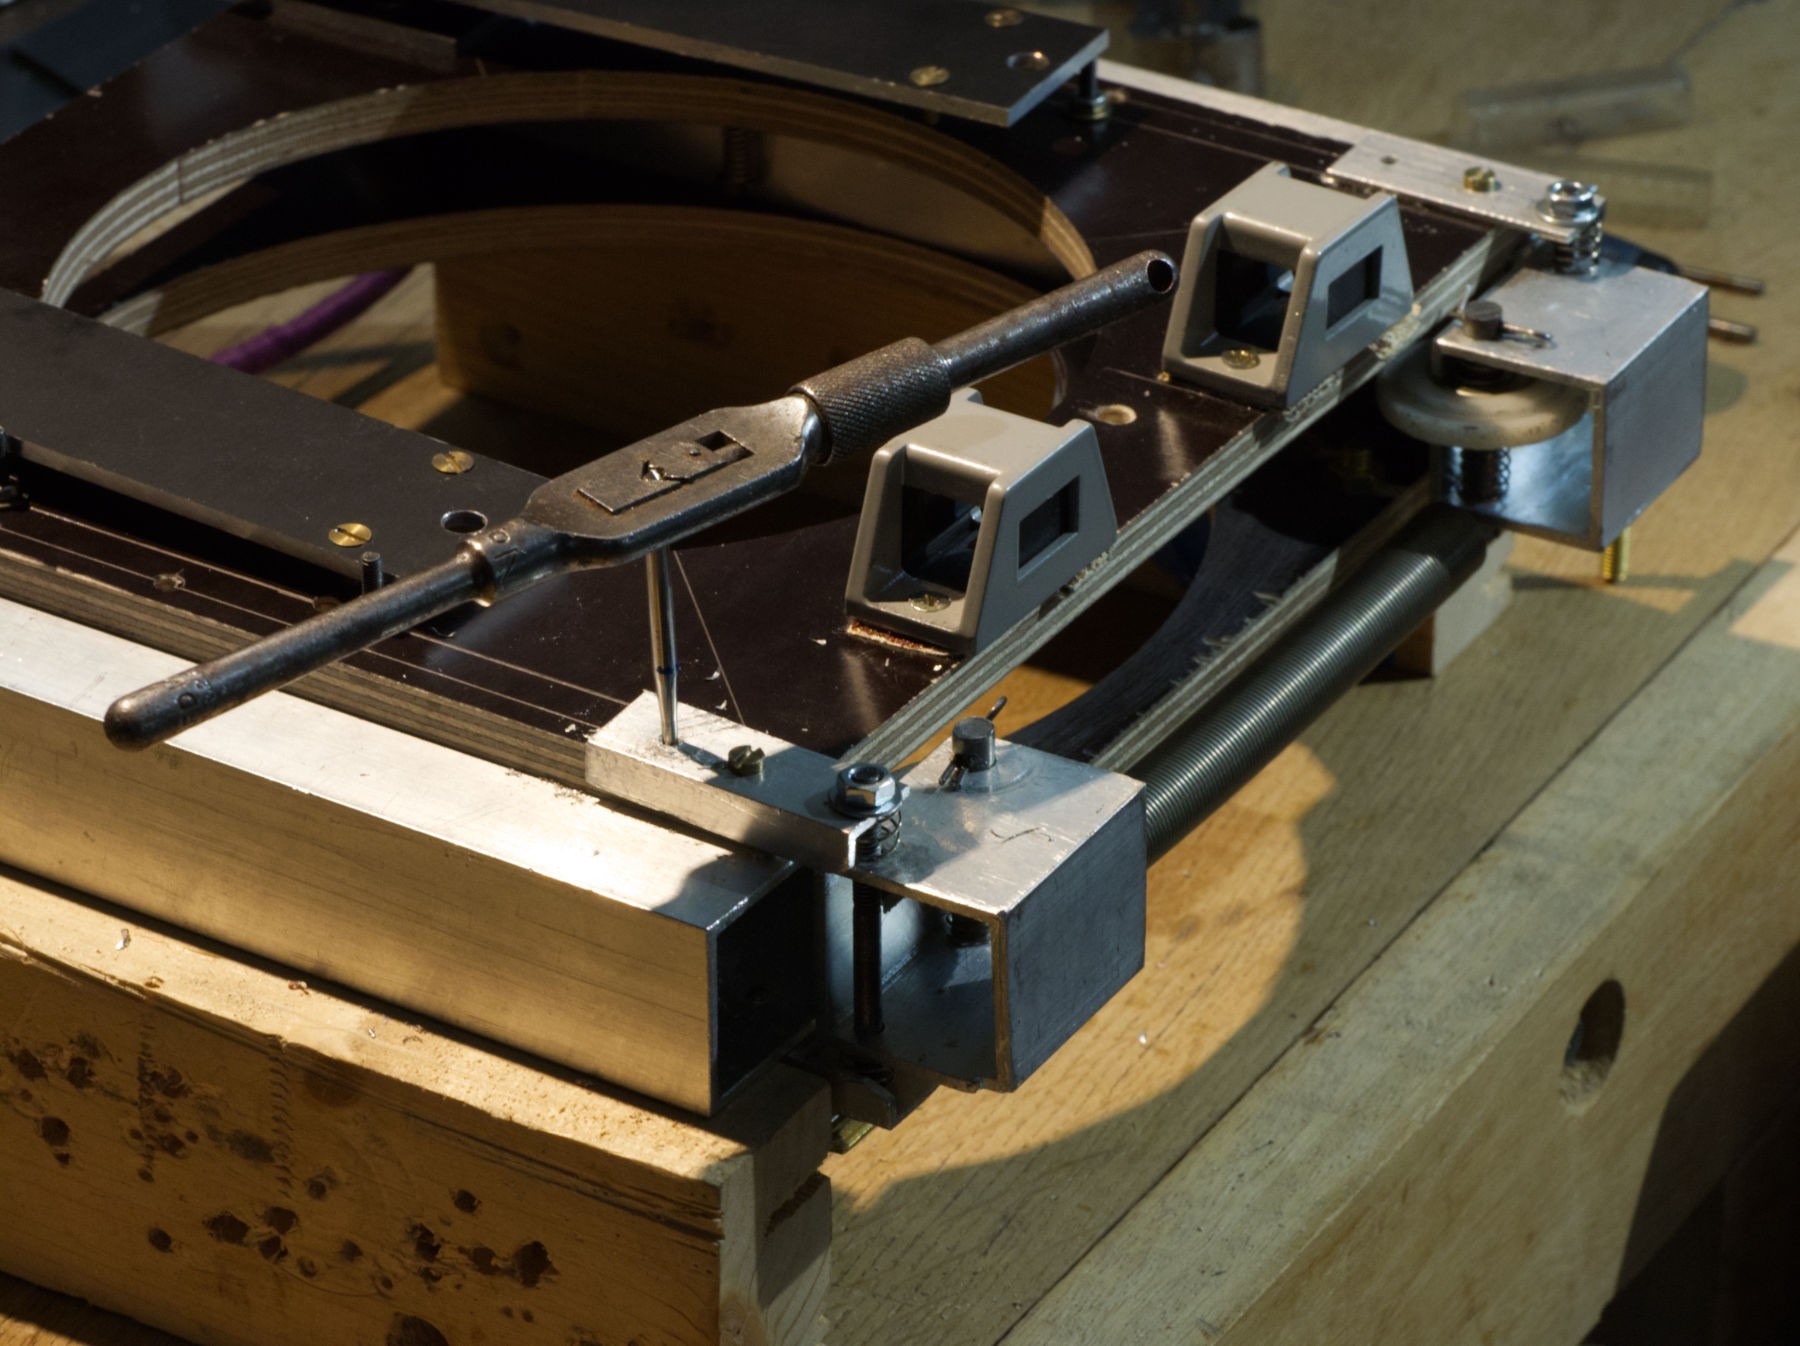
The bench top drill press is too small, but I sure want a hole at the same place on both sides of the square tube, hand drilling would't be accurate enough.
![]()
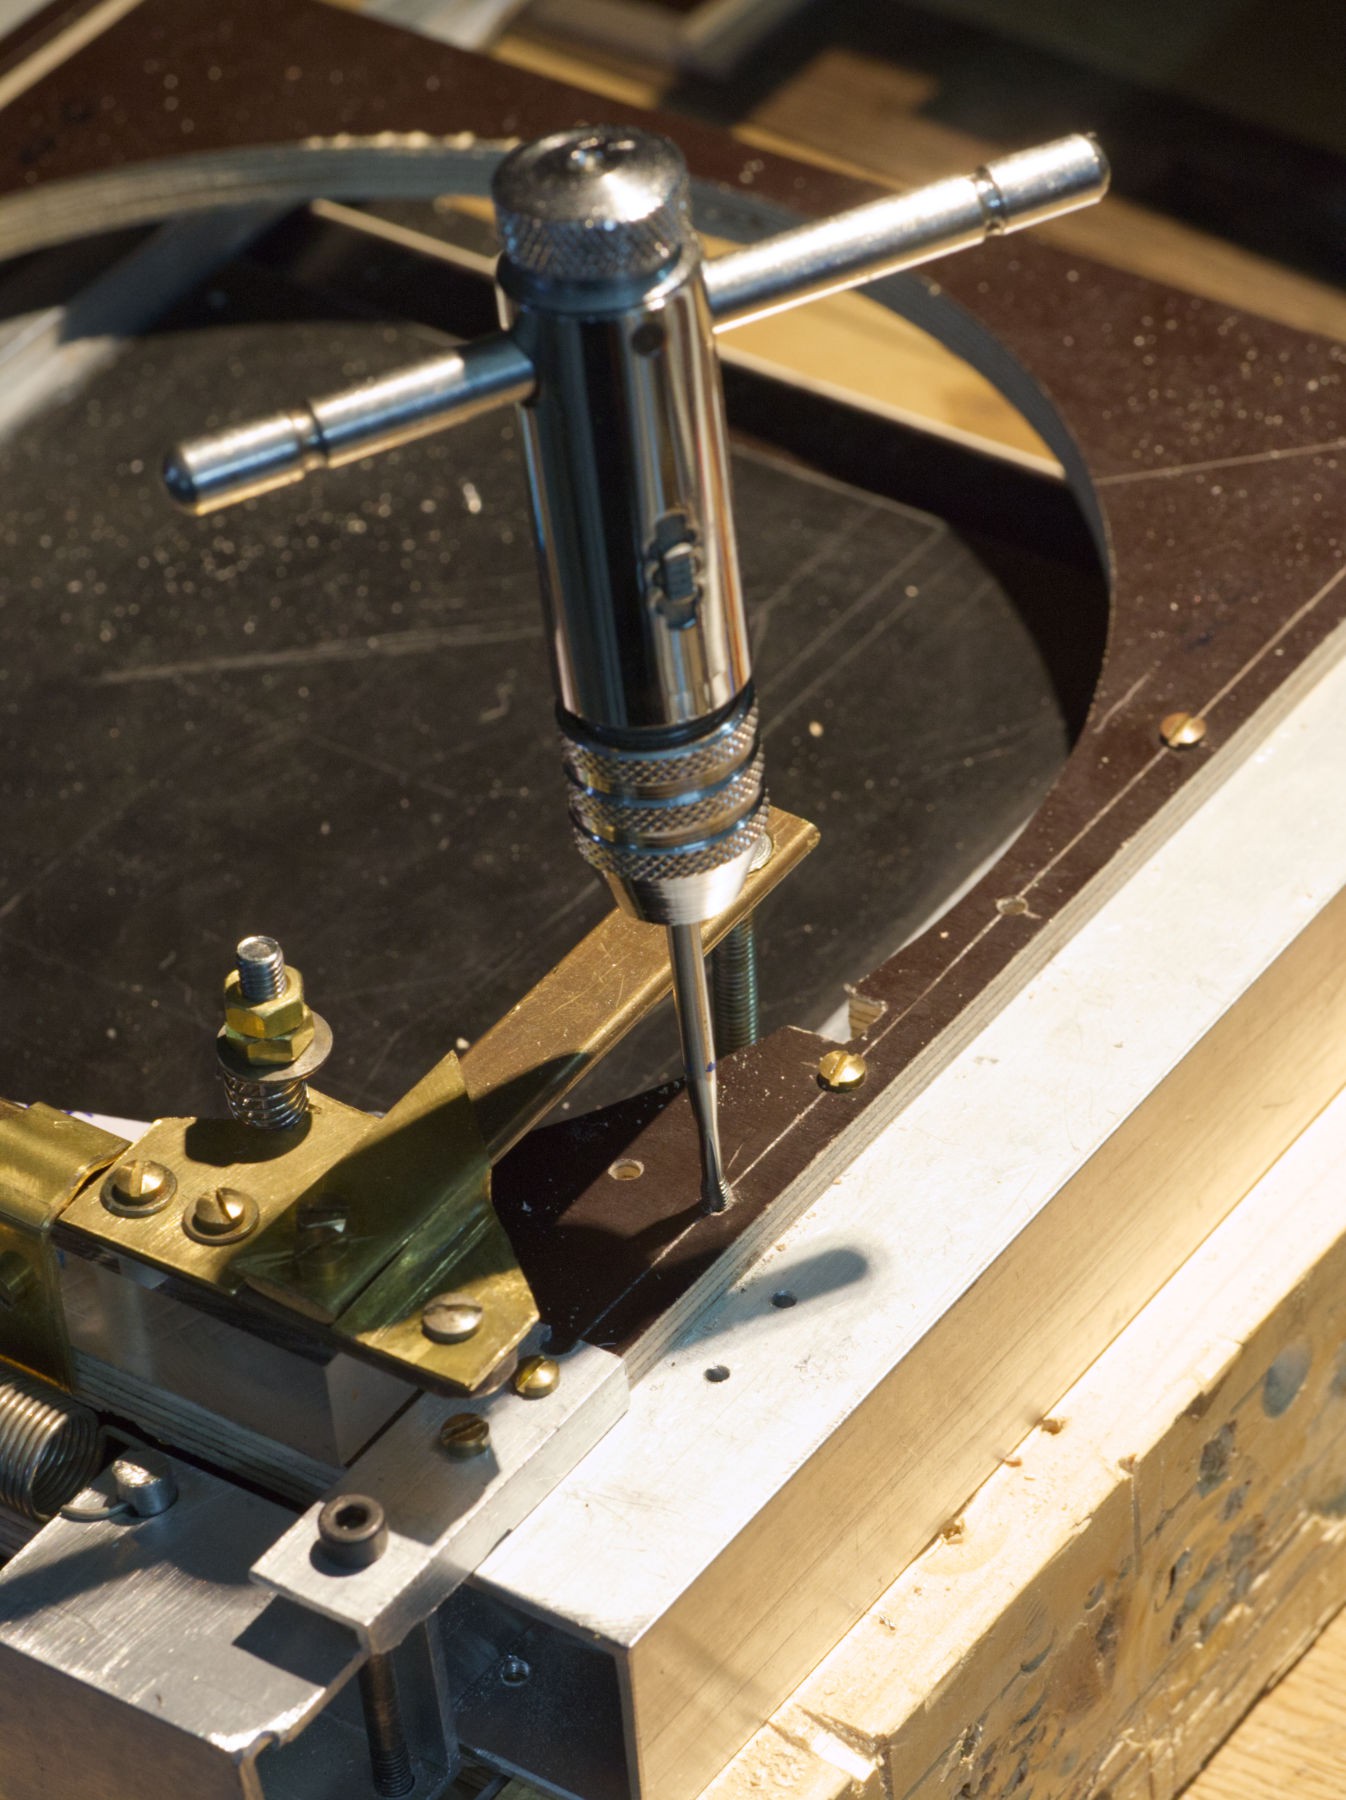
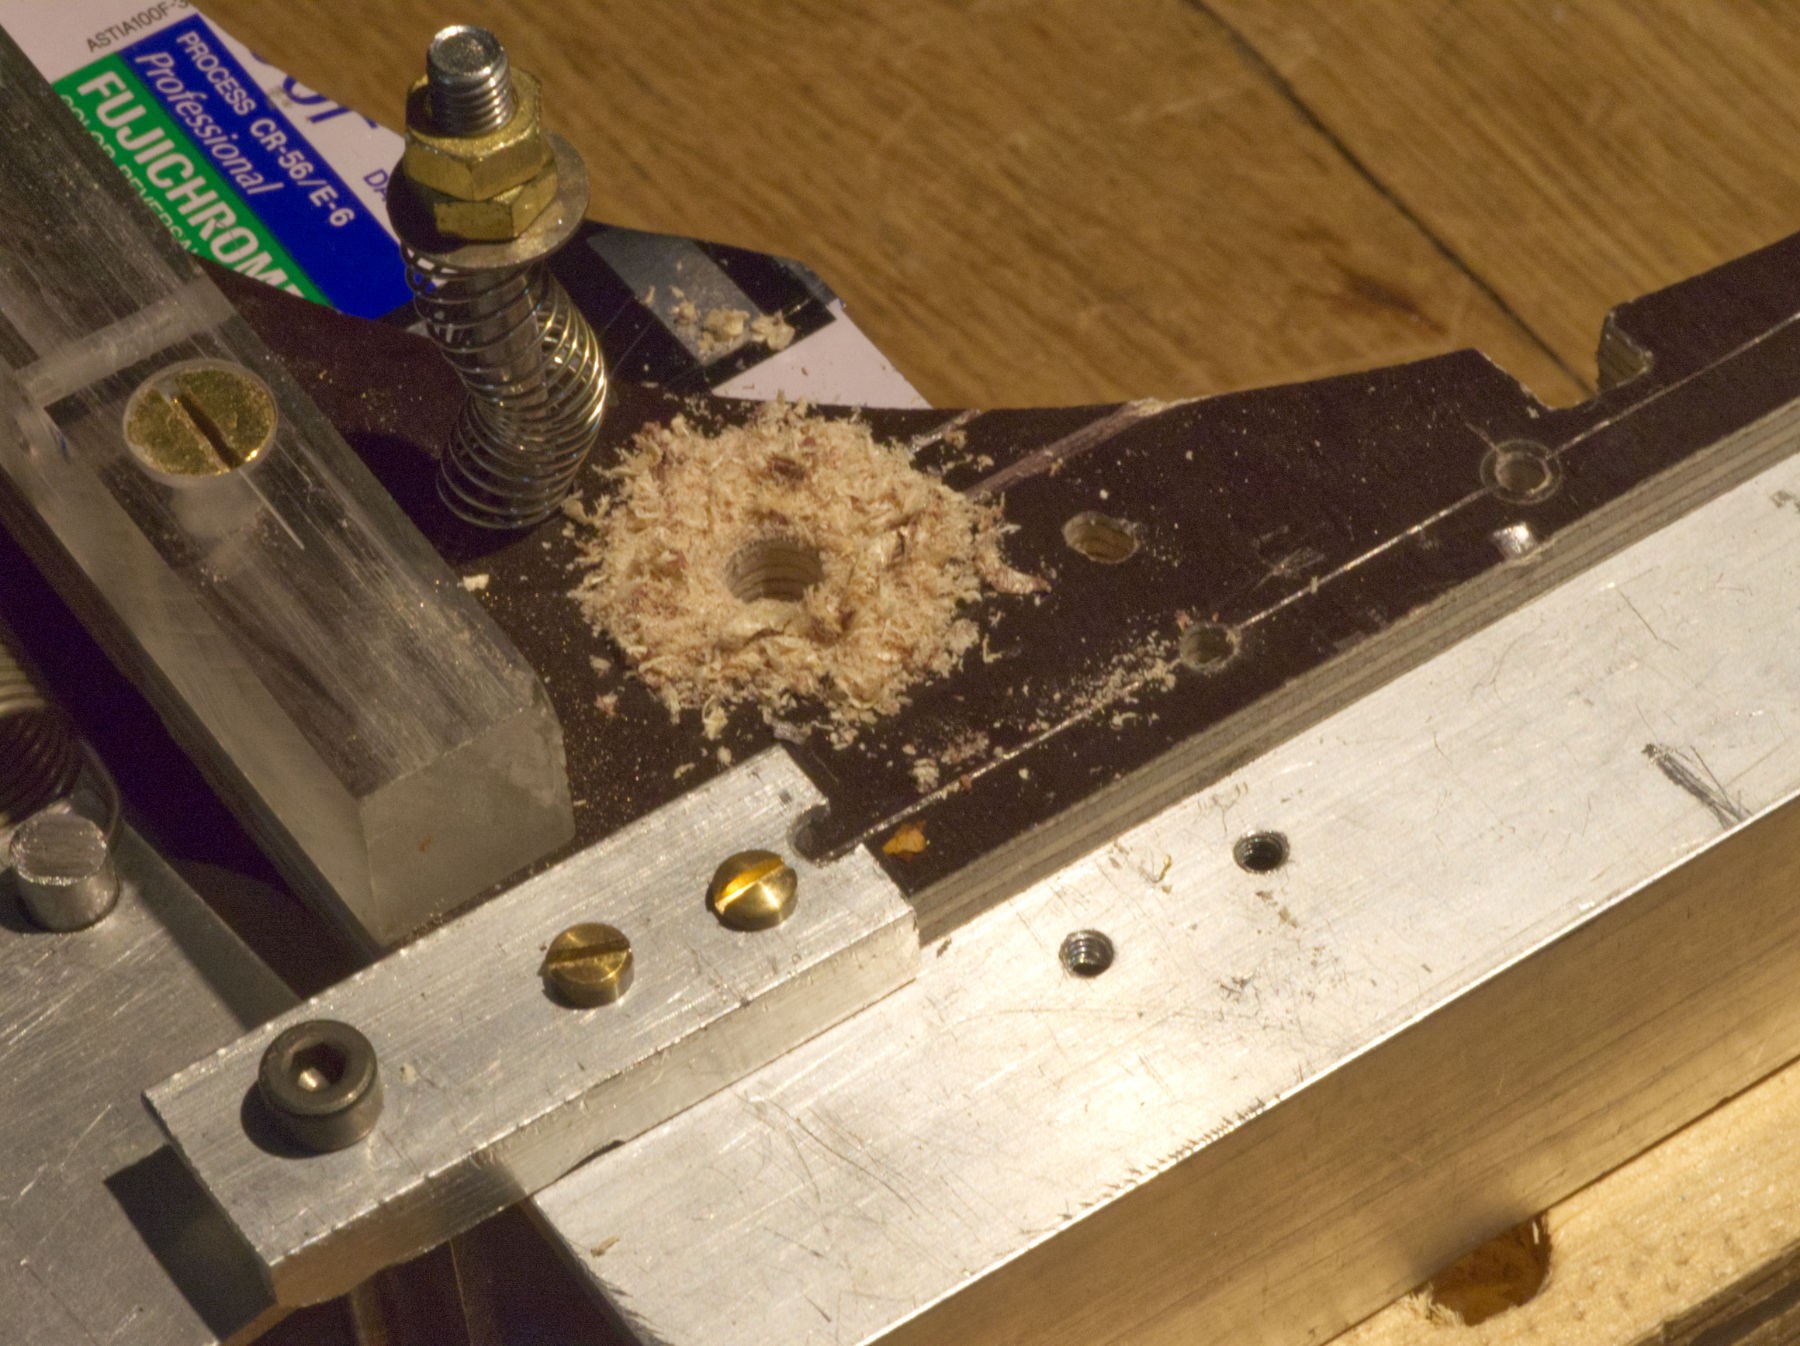
Taping M 6 threads, as the fulcrum point will have to stand a big strength.
![]()
Drilling another hole.
![]()
To cut a path for something.
![]()
Drilling another 5 mm hole aside the first one that wasn't really at the right place : too close from the blade, it couldn't allow all the needed movement.
![]()
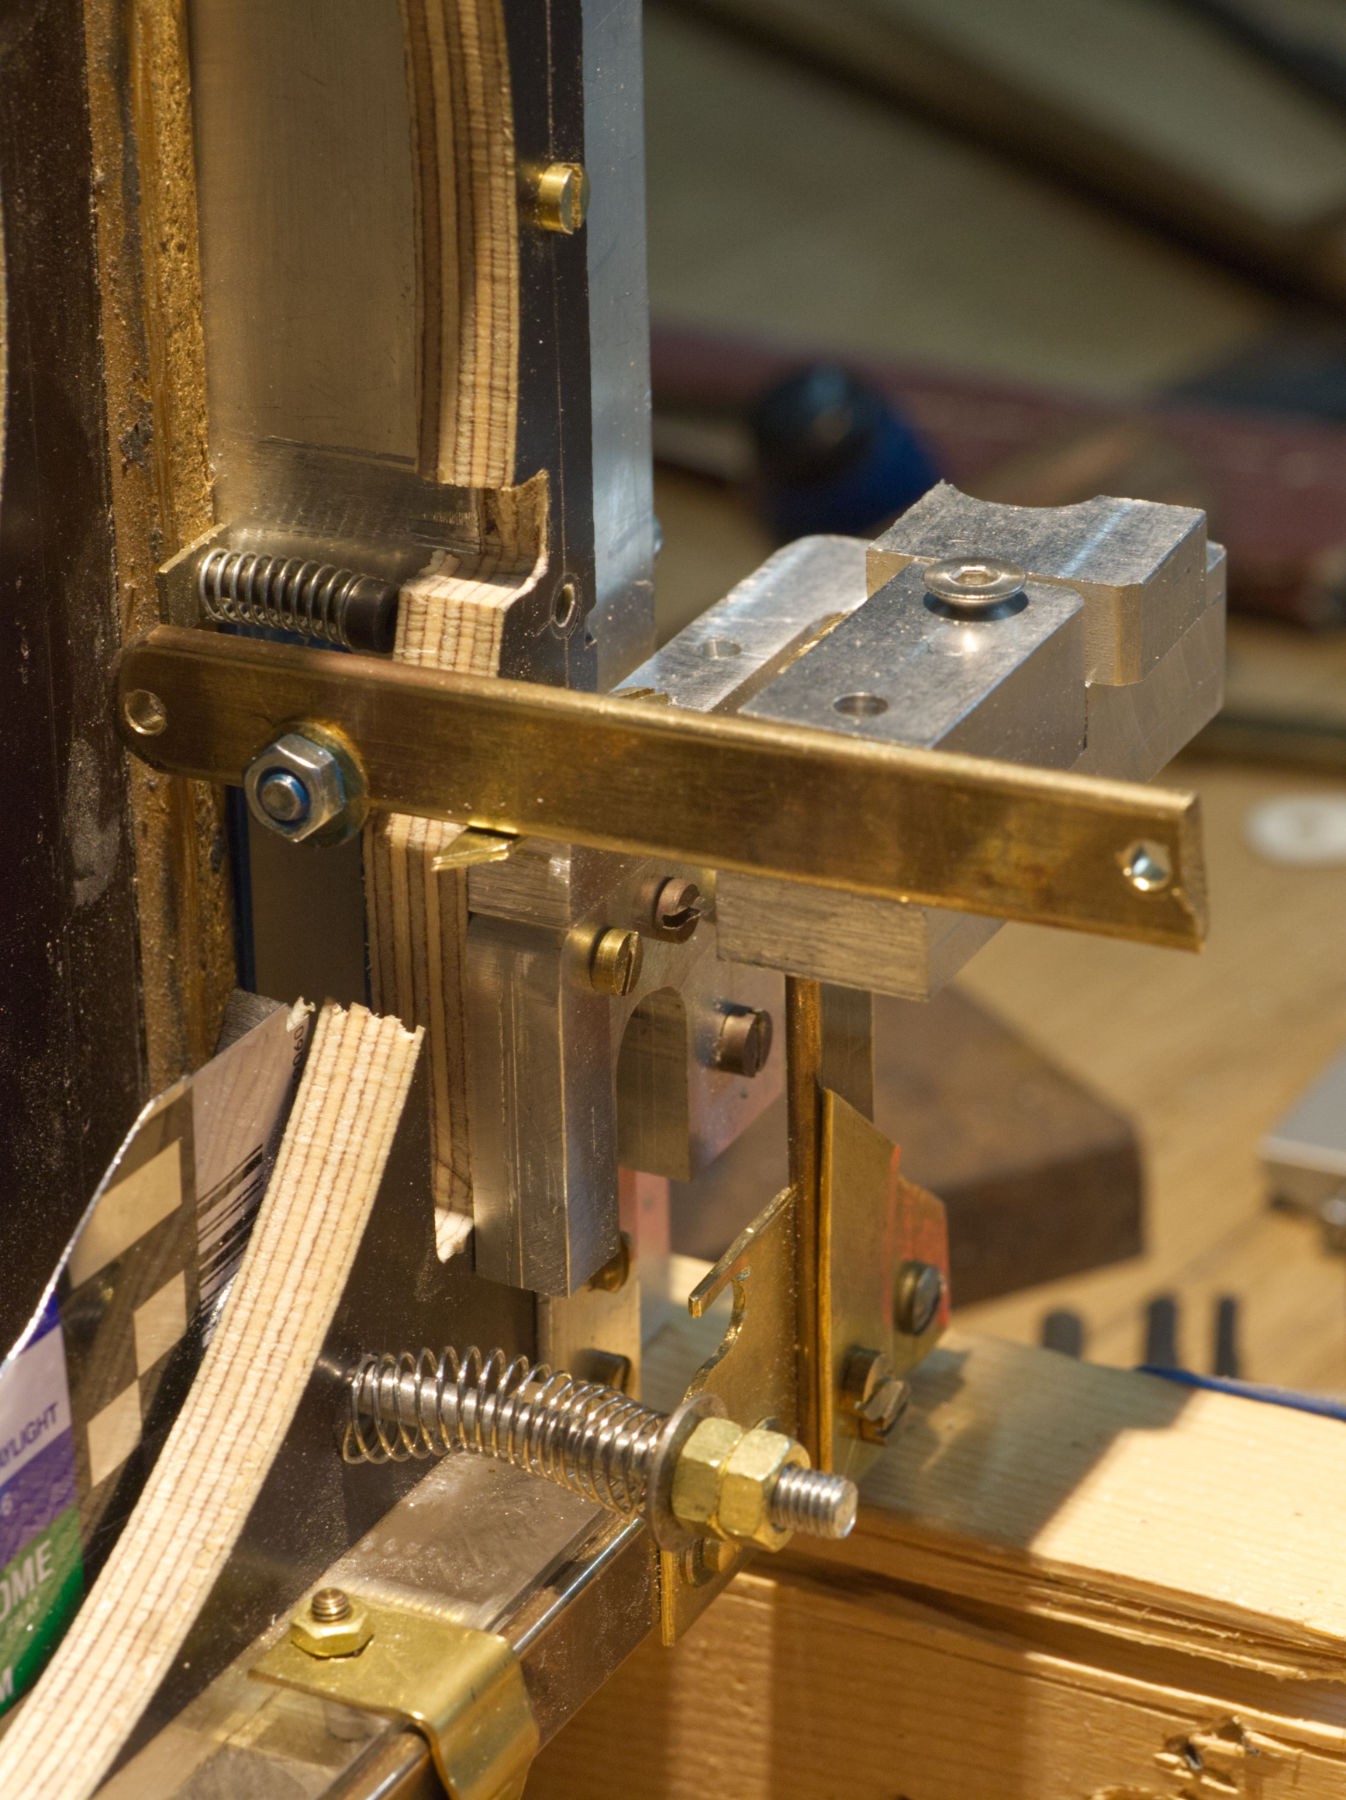
I'm very confident, that lever is the solution. Now, how to release it softly ?
![]()
The assembly on the left has been raised with another aluminium block to have the same height as the lever.
![]()
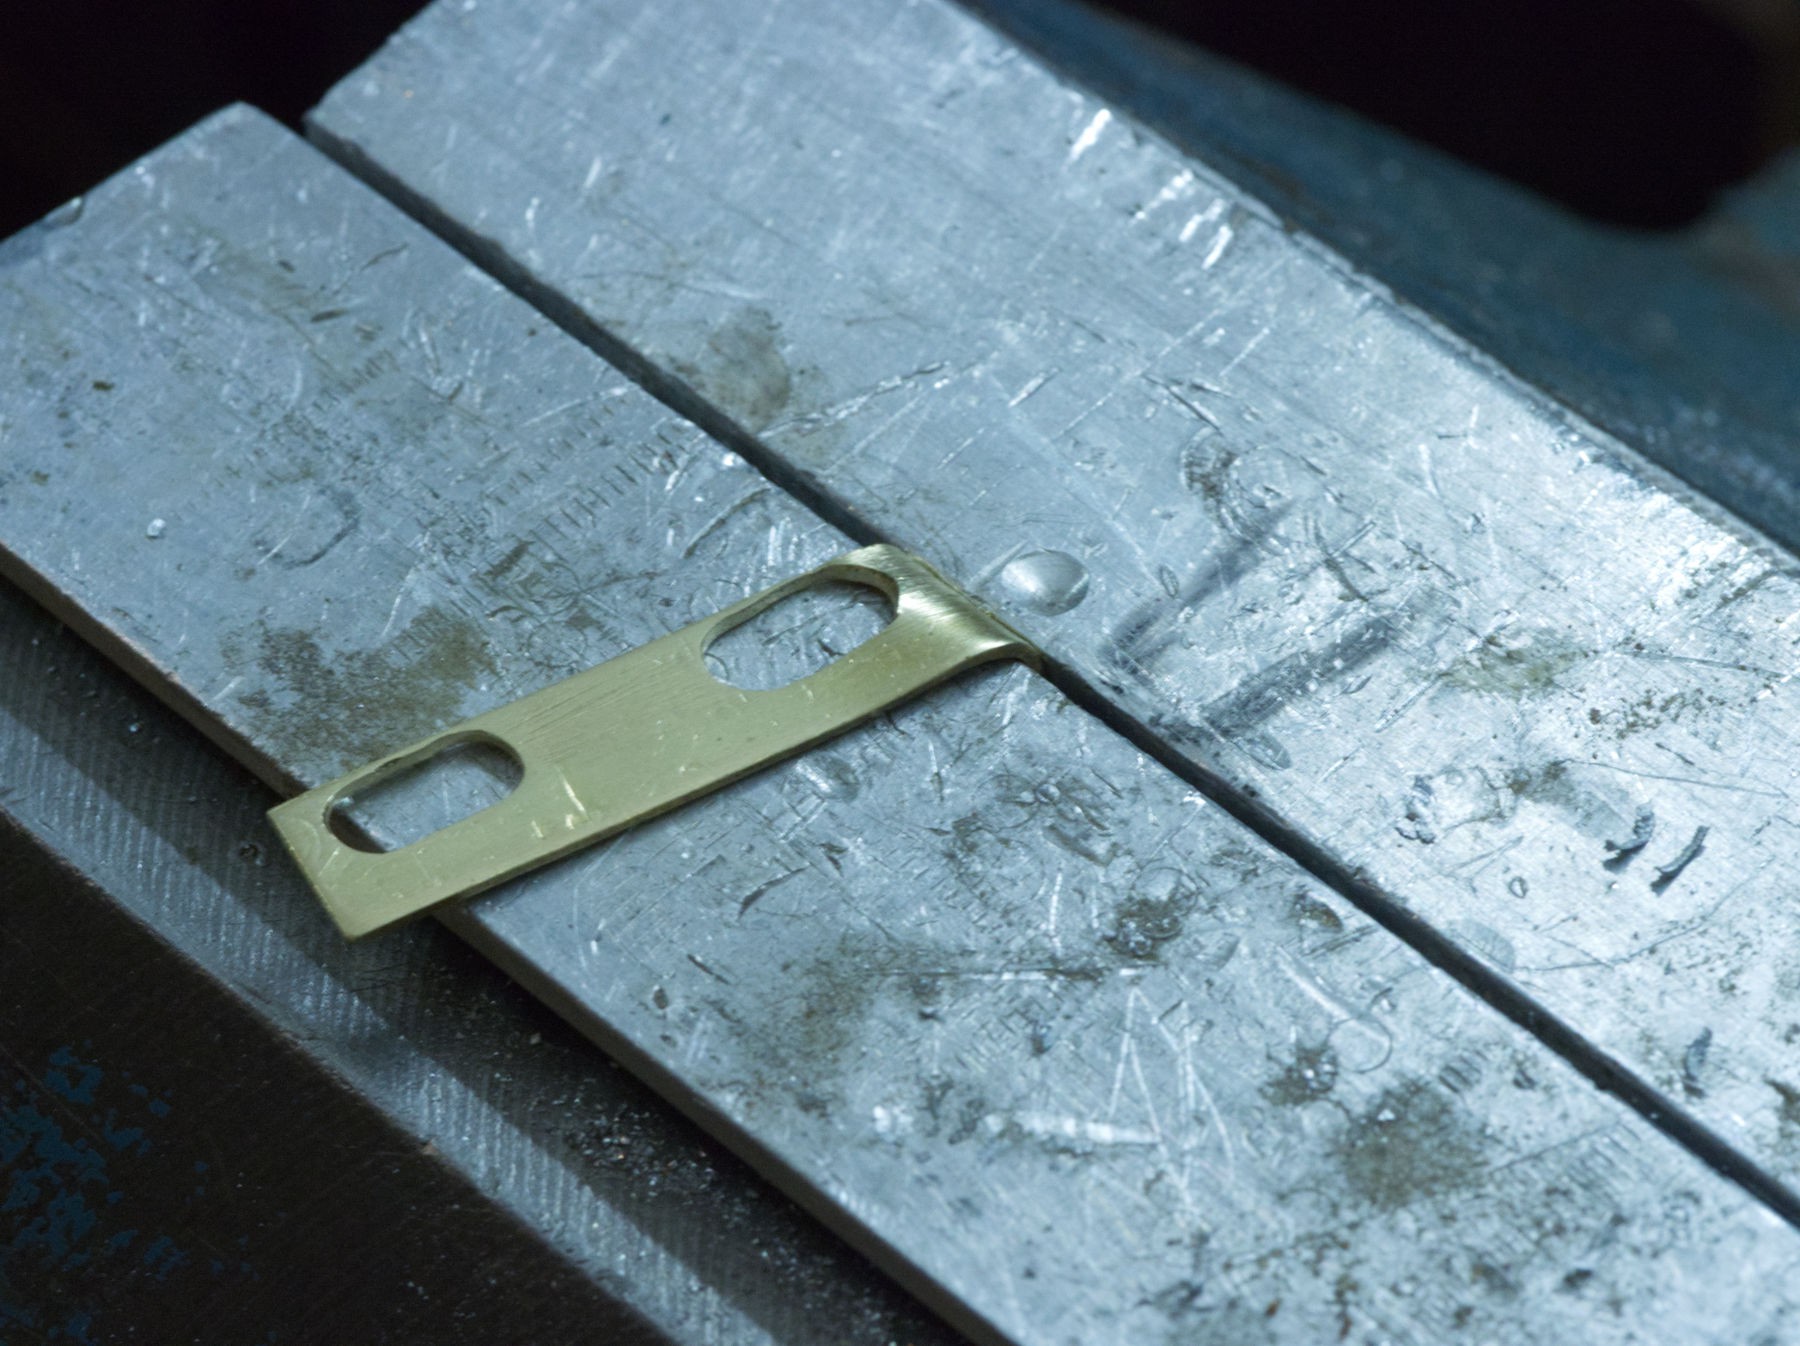
I'll make something with that drop of brass.
![]()
Milling with the the drill press.
![]()
Finishing with une queue de rat (round file).
![]()
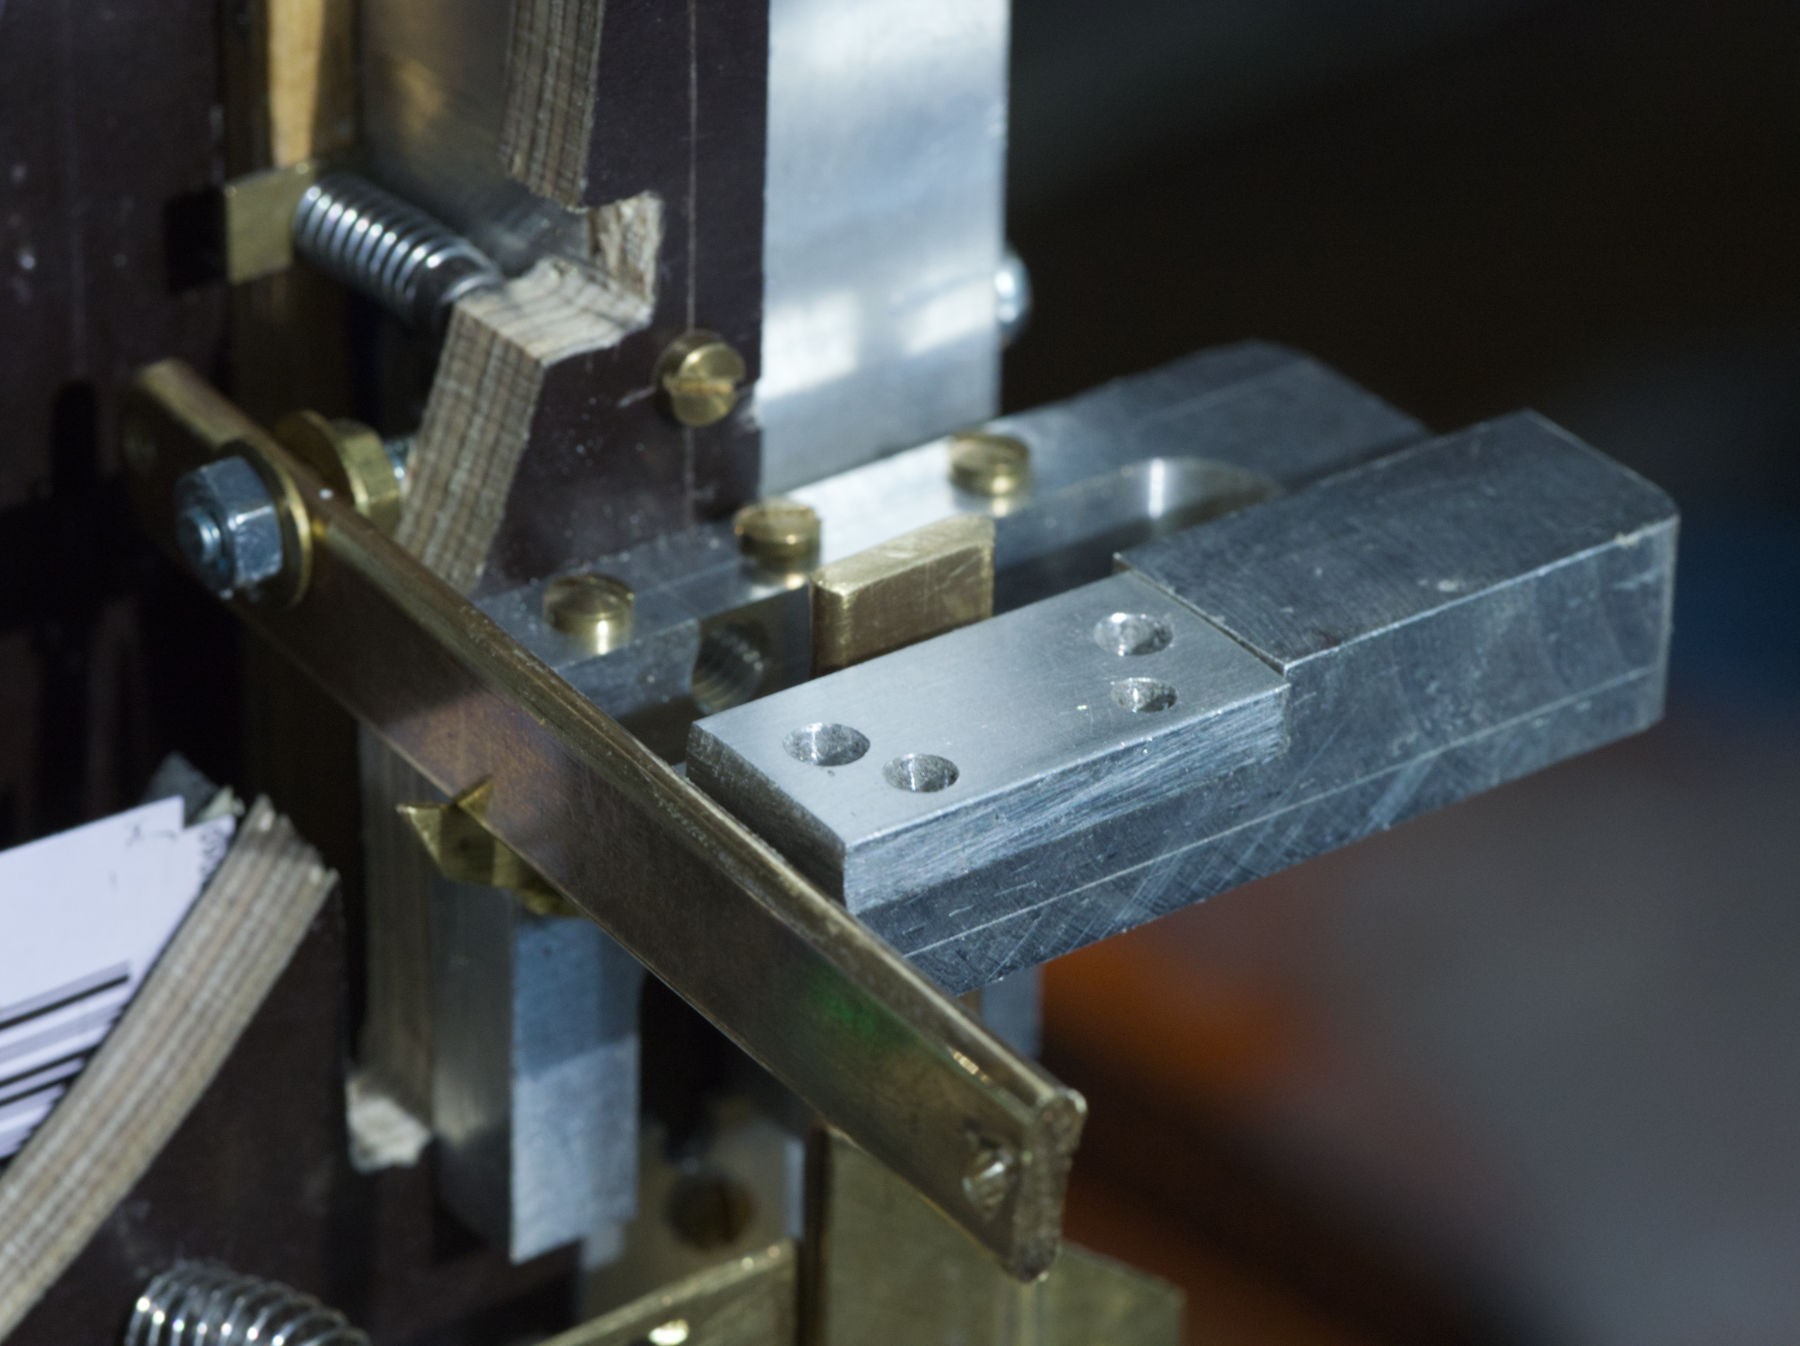
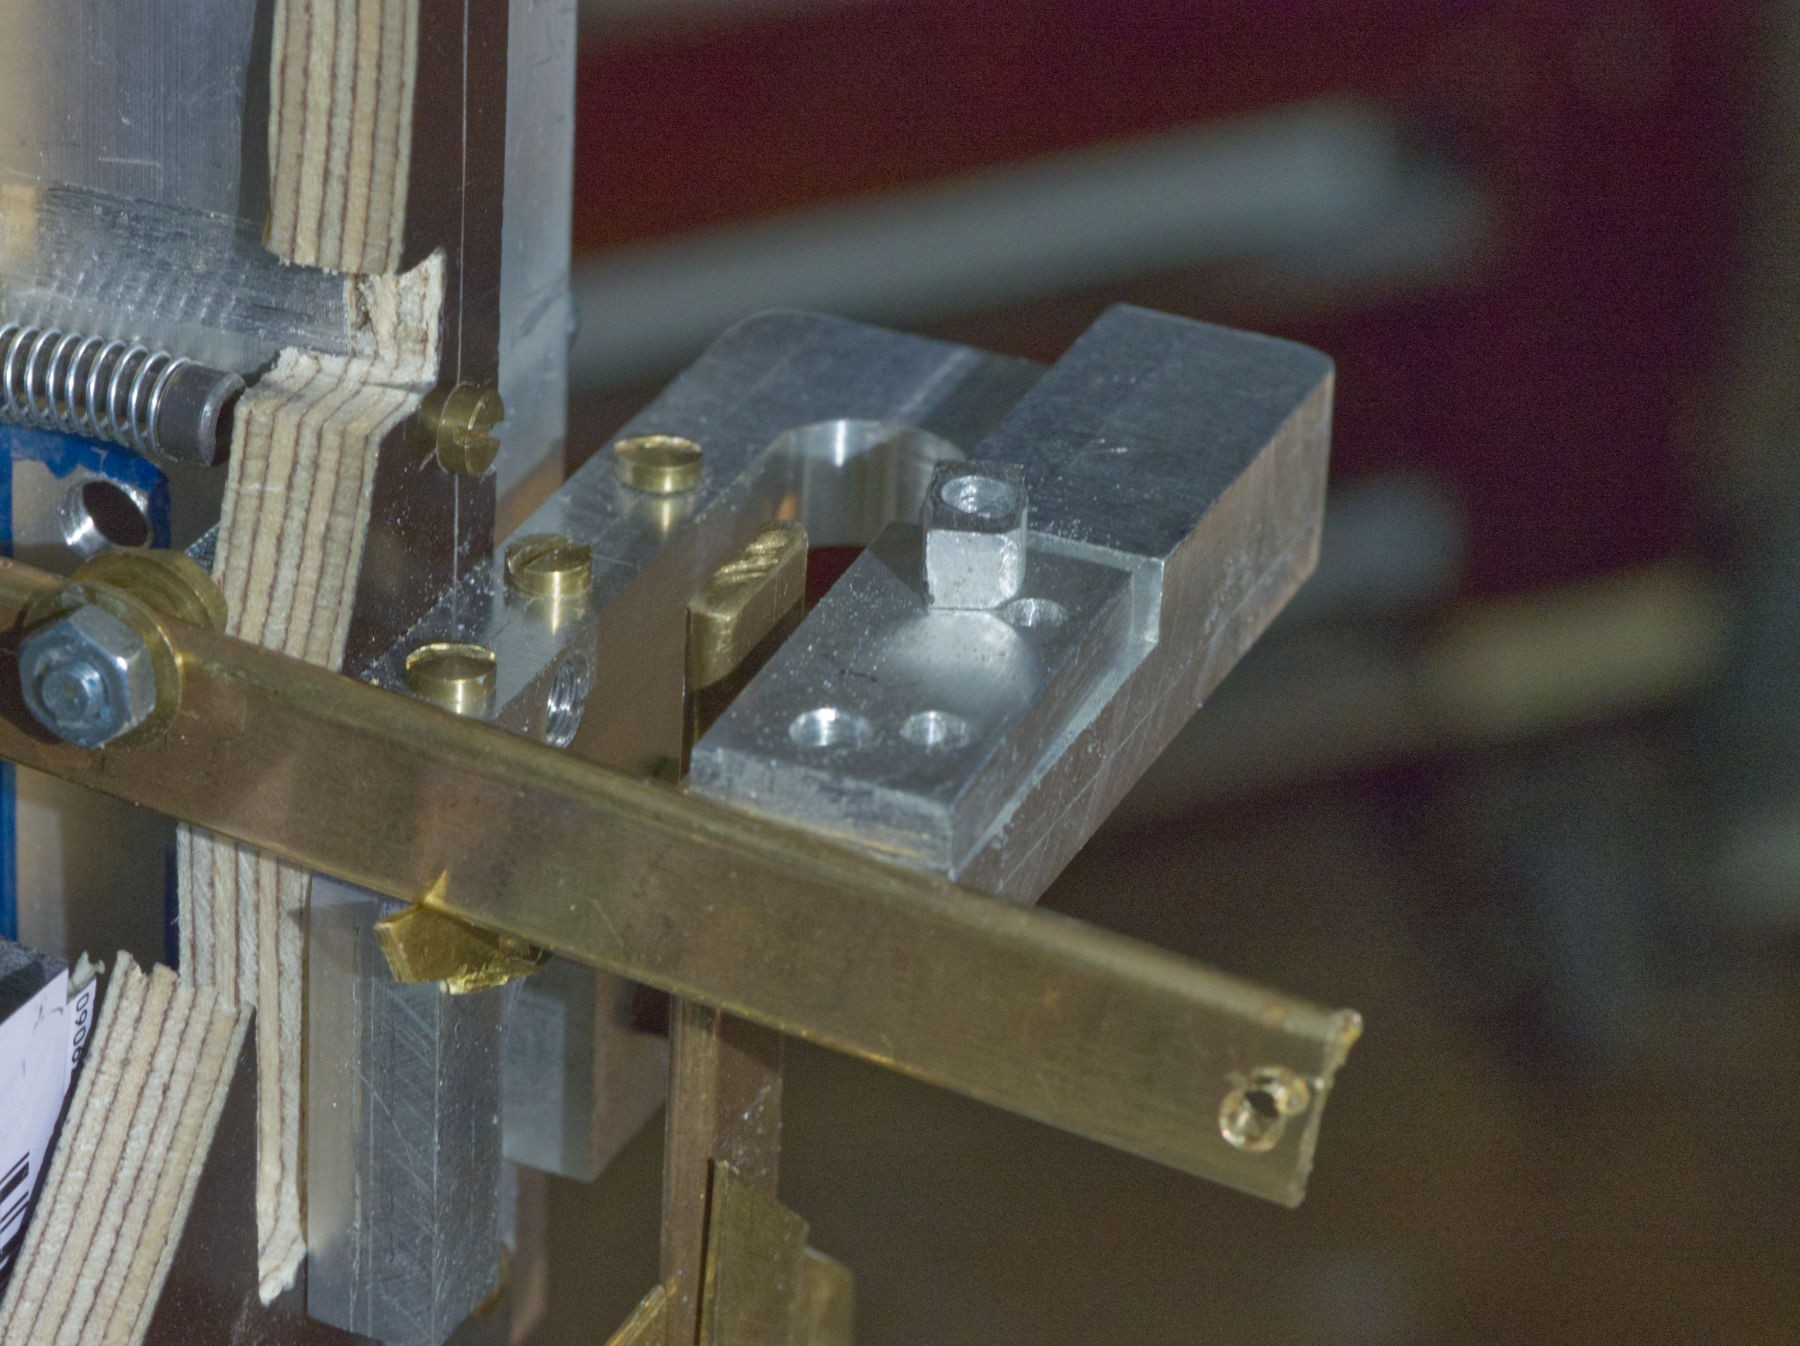
The small aluminium cube part on the top right is going to be pushed by the brass rod in the center of the assembly, and it will liberate the lever.
![]()
No. It's still stuck, too much strength...
![]()
Lets try something completely different. Adjusting the height with an appropriate piece of aluminium. Only 2 holes are needed, but reusing things is not always compatible with perfect finish.
![]()
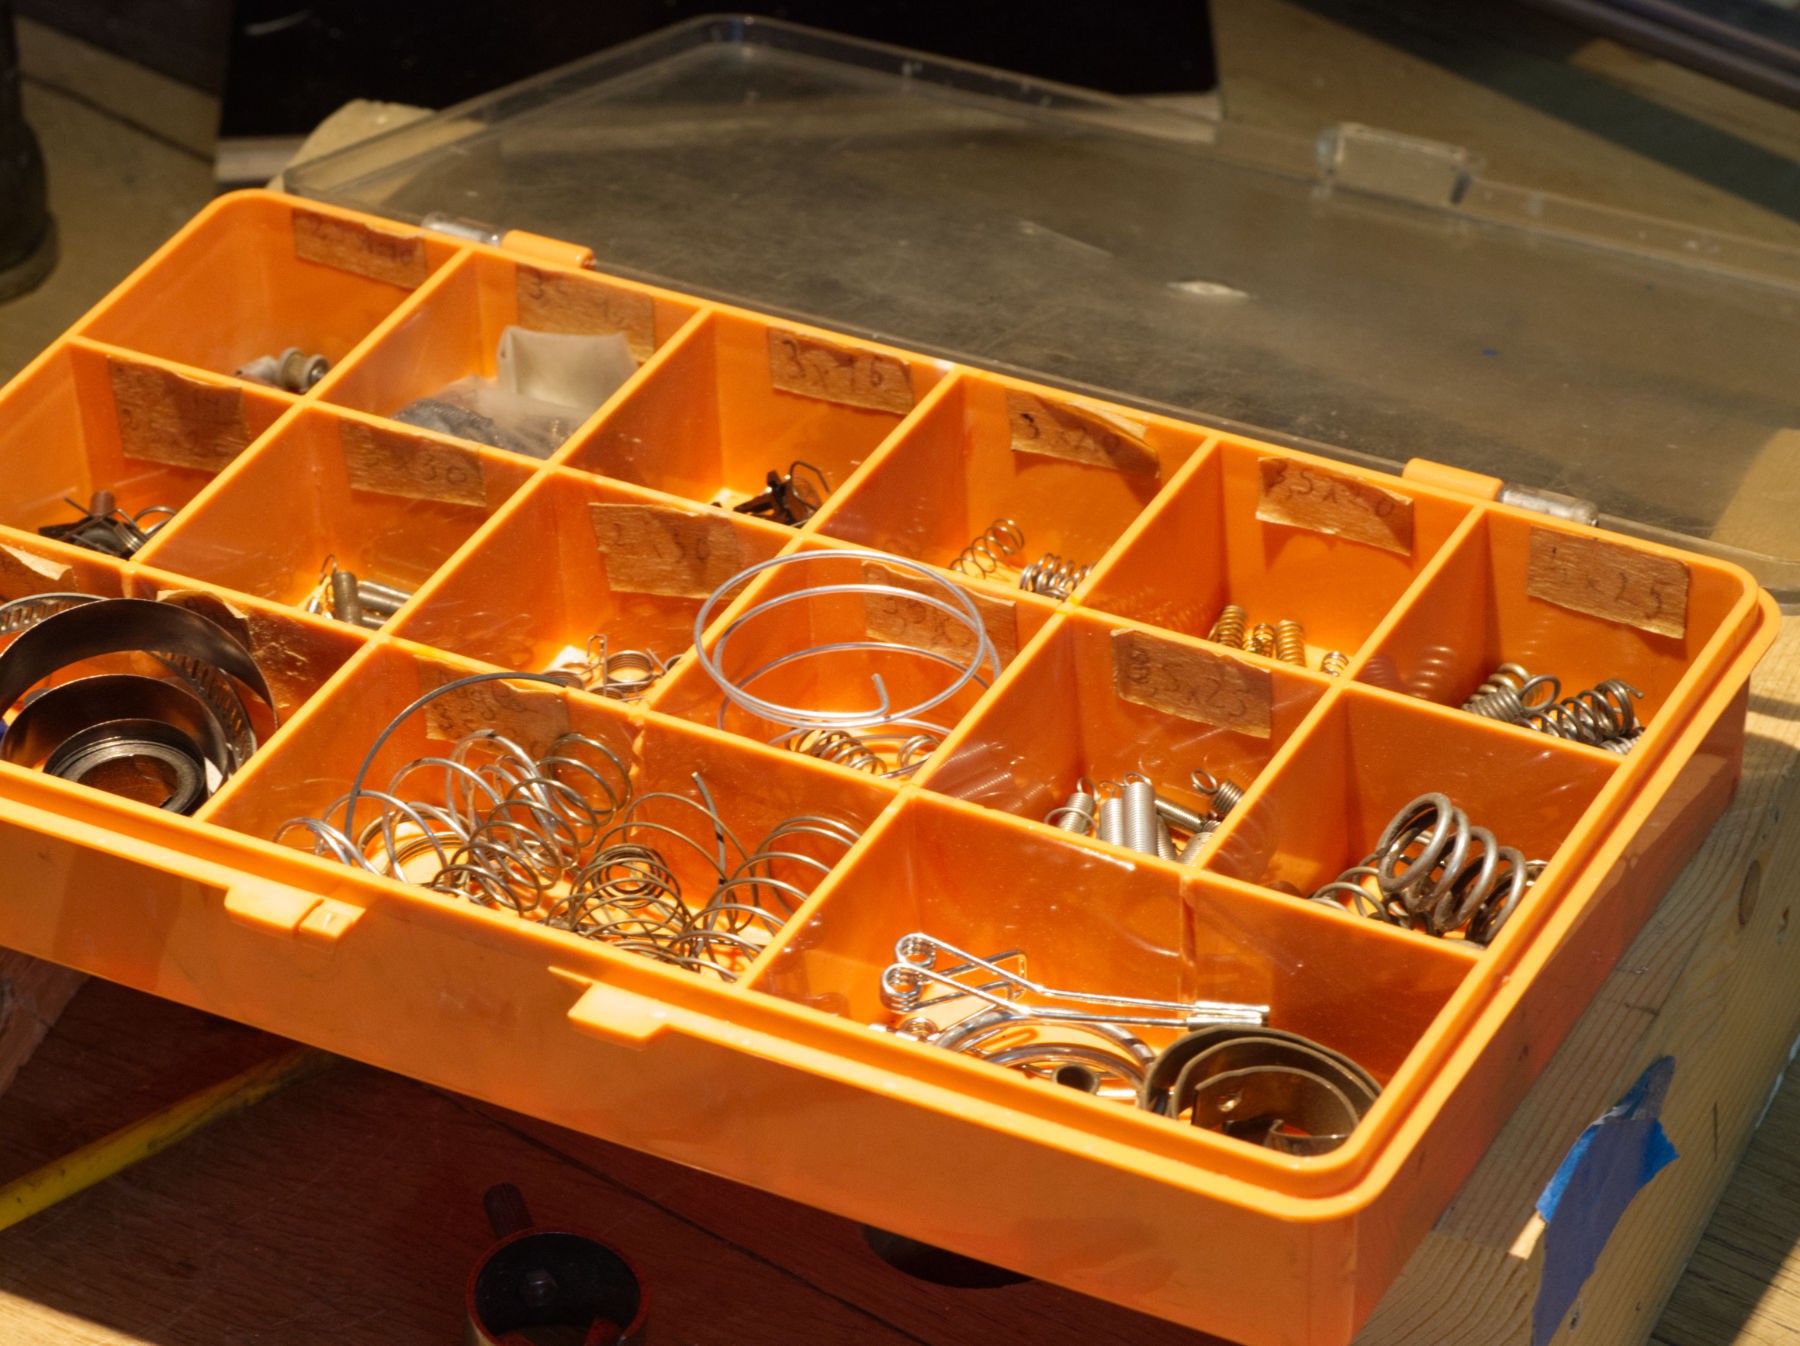
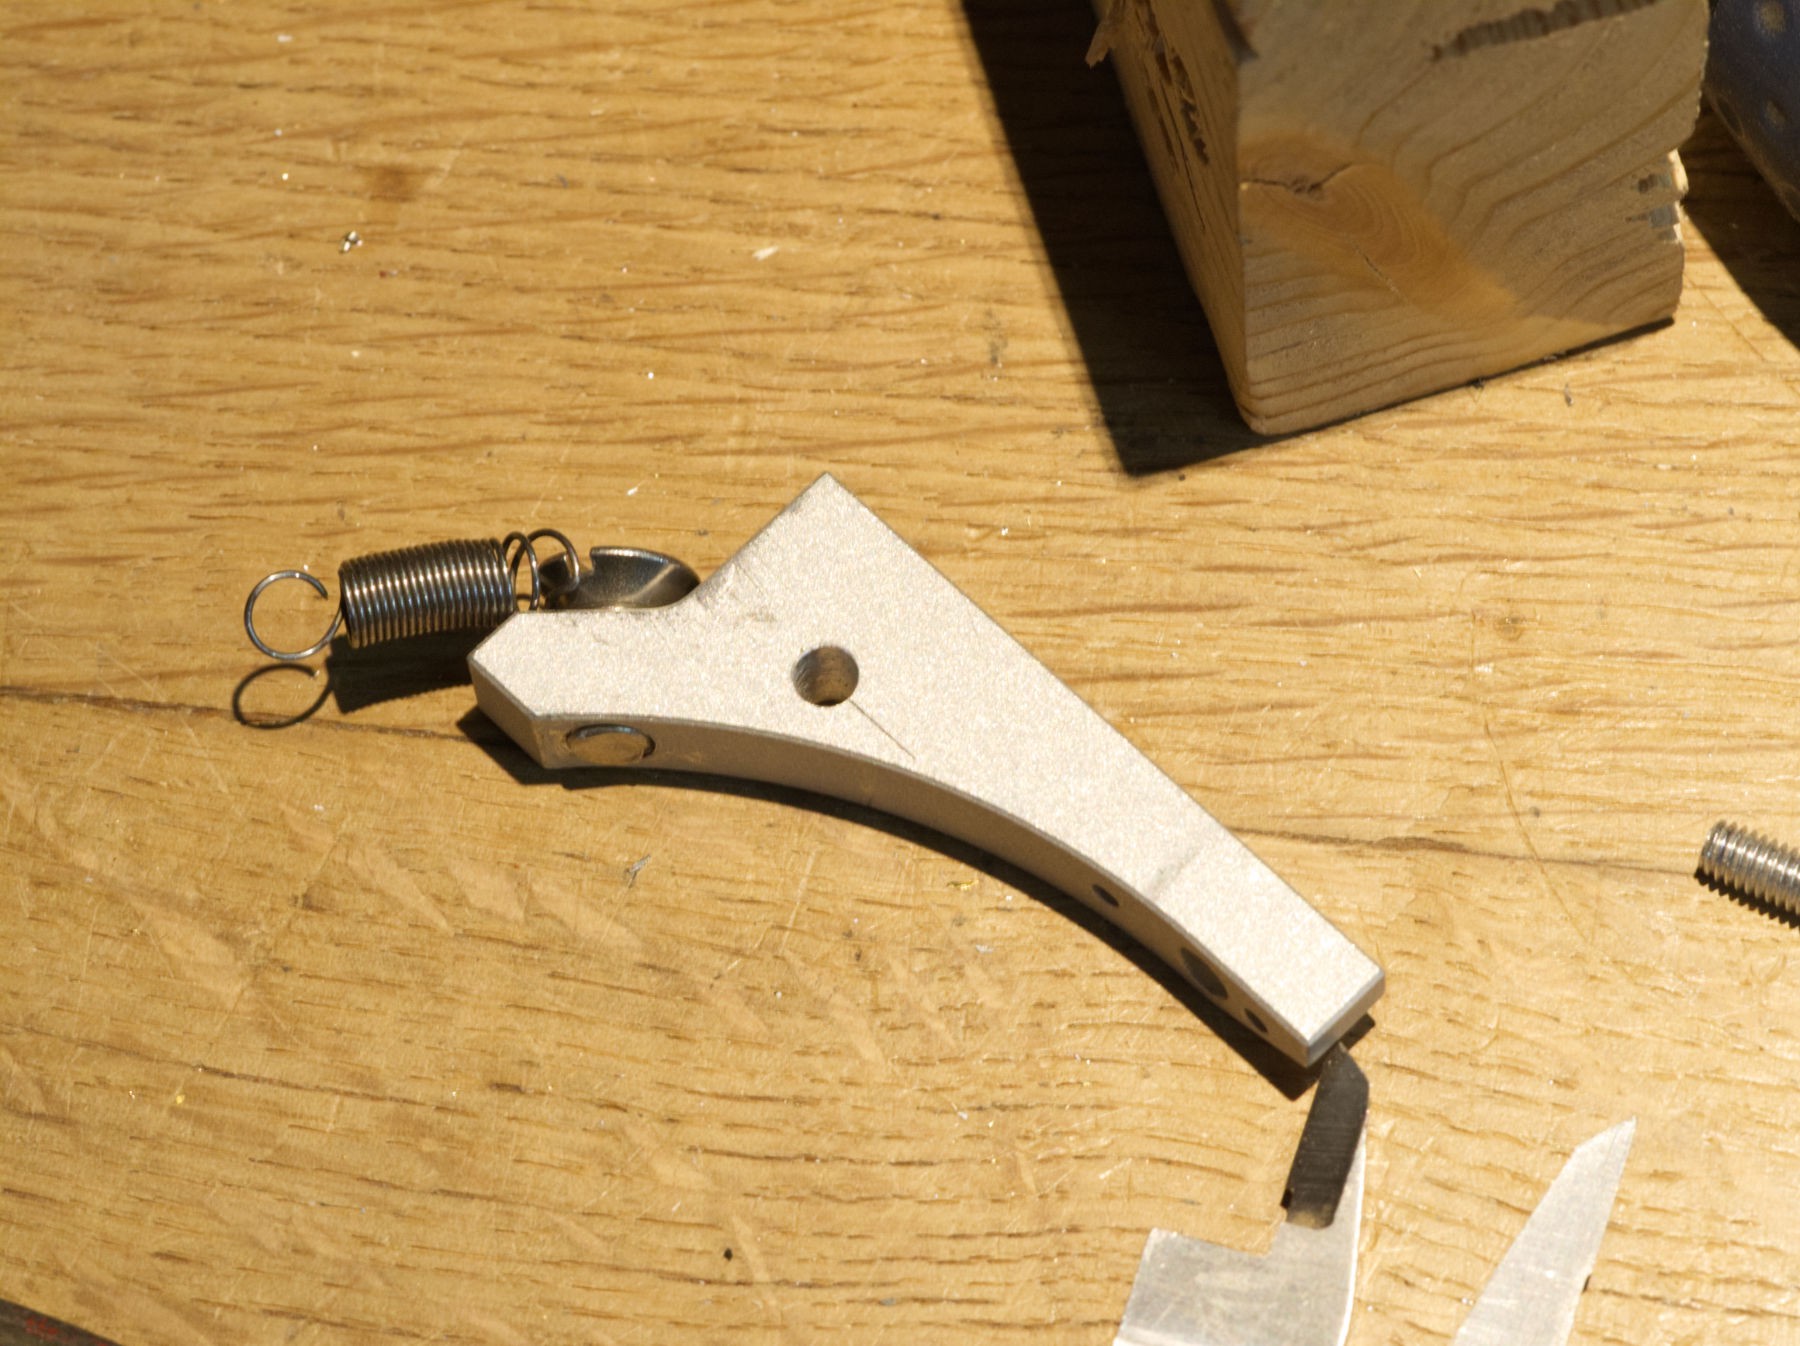
Need a strong and small tension string, found it in that box.
![]()
Another of these very nice sintered aluminium parts is taped with M 6 Threads to hold the spring.
![]()
An 6 mm thick drop's been drilled (better than a pile of washers that was my first idea) to adjust to the height of the spring.
![]()
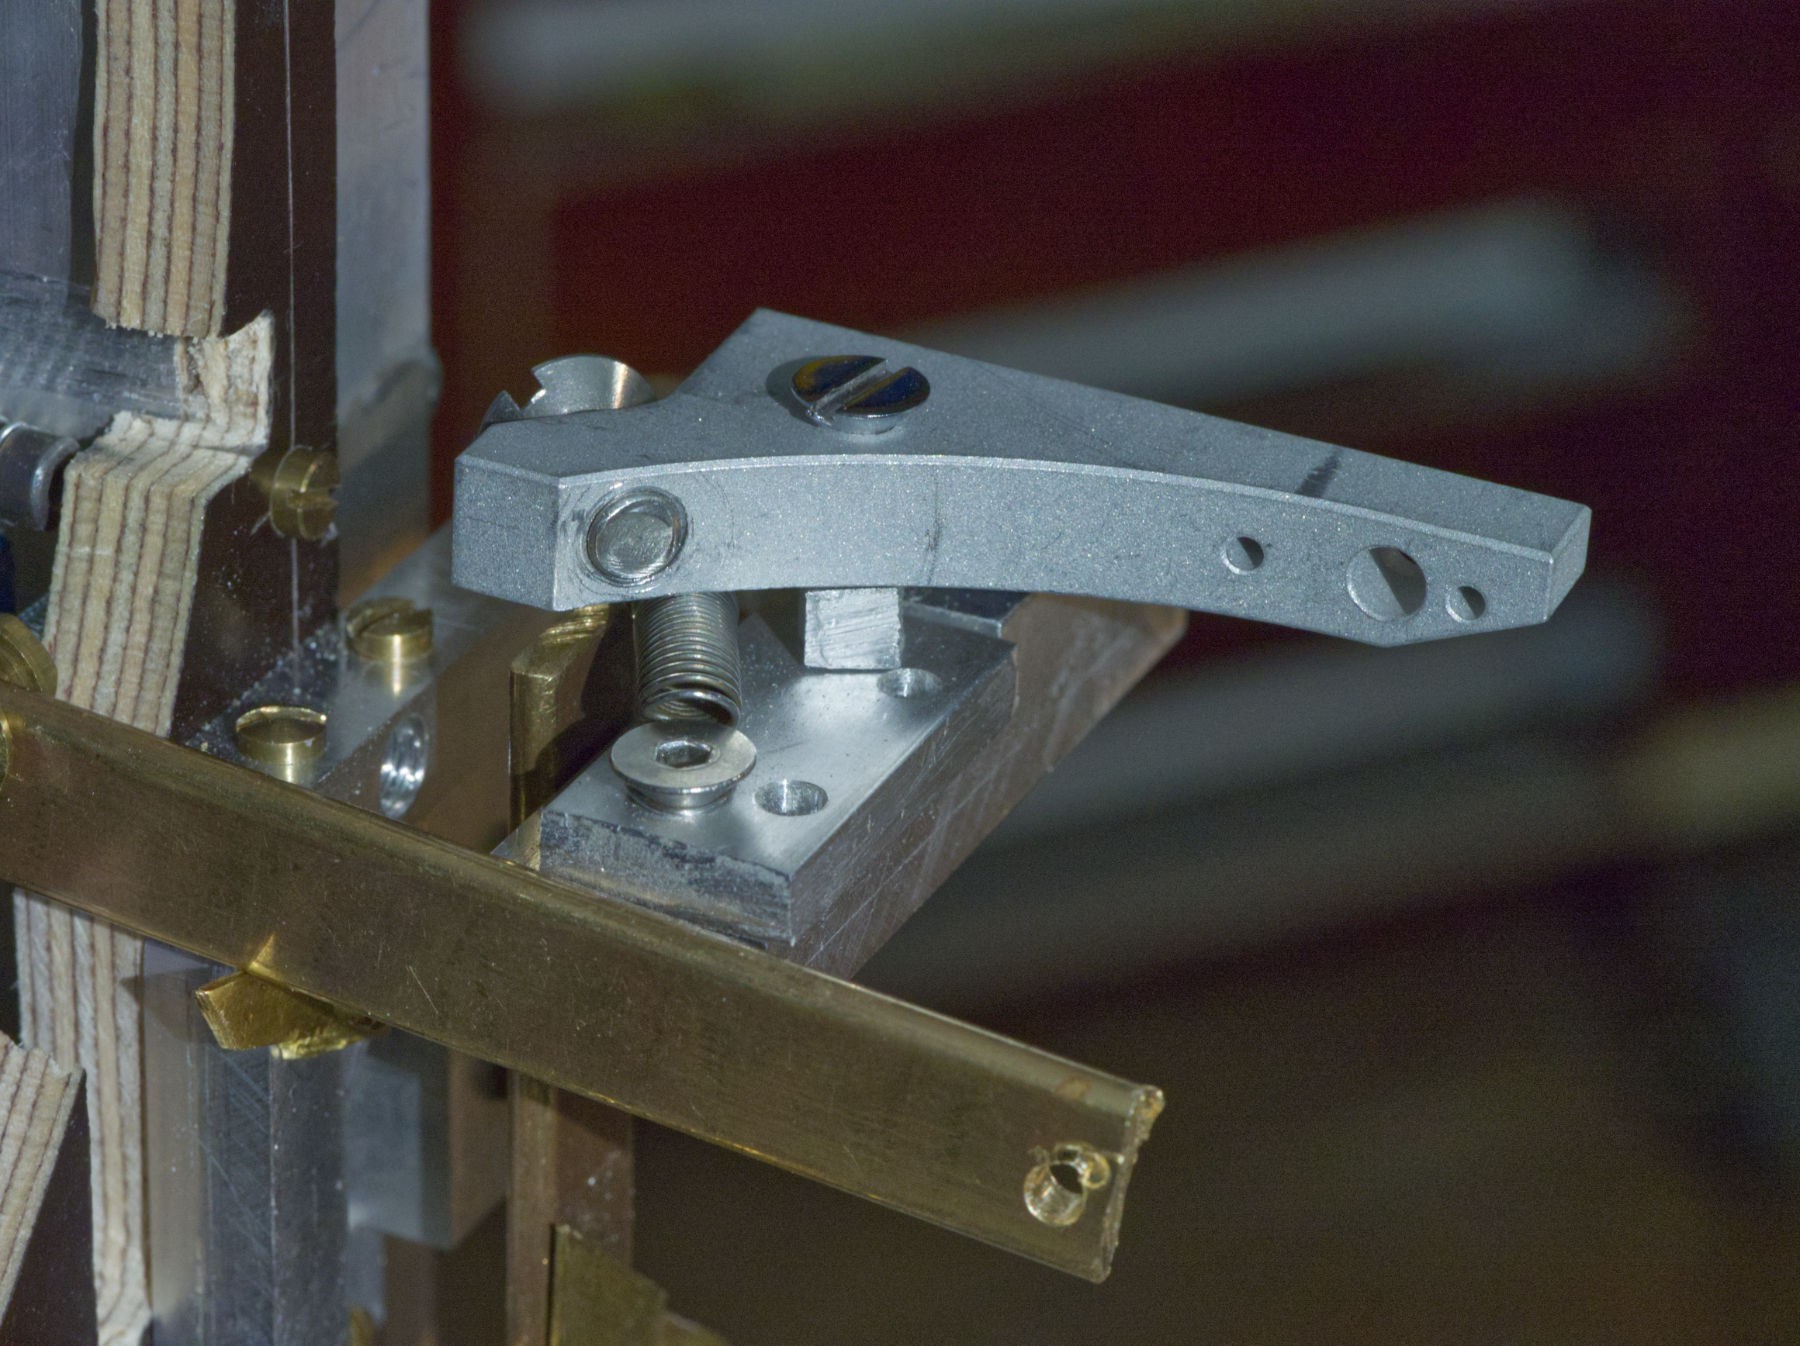
Ready to use, with a hole drilled at the fulcrum point (another lever).
![]()
In place... Will it work ?
![]()
Recycling that useless part into a pusher.
![]()
Horrible, isn't it ? but it will work (I hope so). Of course I could have used another piece of metal and kept that for another project, but it had the good size, was lying around on the bench...
![]()
The length of the blade retainer has to be slightly adjusted.
I don't know why I couldn't do a clean job, twice, even wit a lot of care : the thing is not really parallel to the edge of the blade,
it's ugly, but it works alright, and nobody will never notice it, but I'm not proud.
![]()
Arghhh !
The movement is now much smoother, no strength is needed to have the mechanism working, but...
It's still stuck, just a millimeter, but it doesn't release the blade :
the spring's not strong enough !
![]()
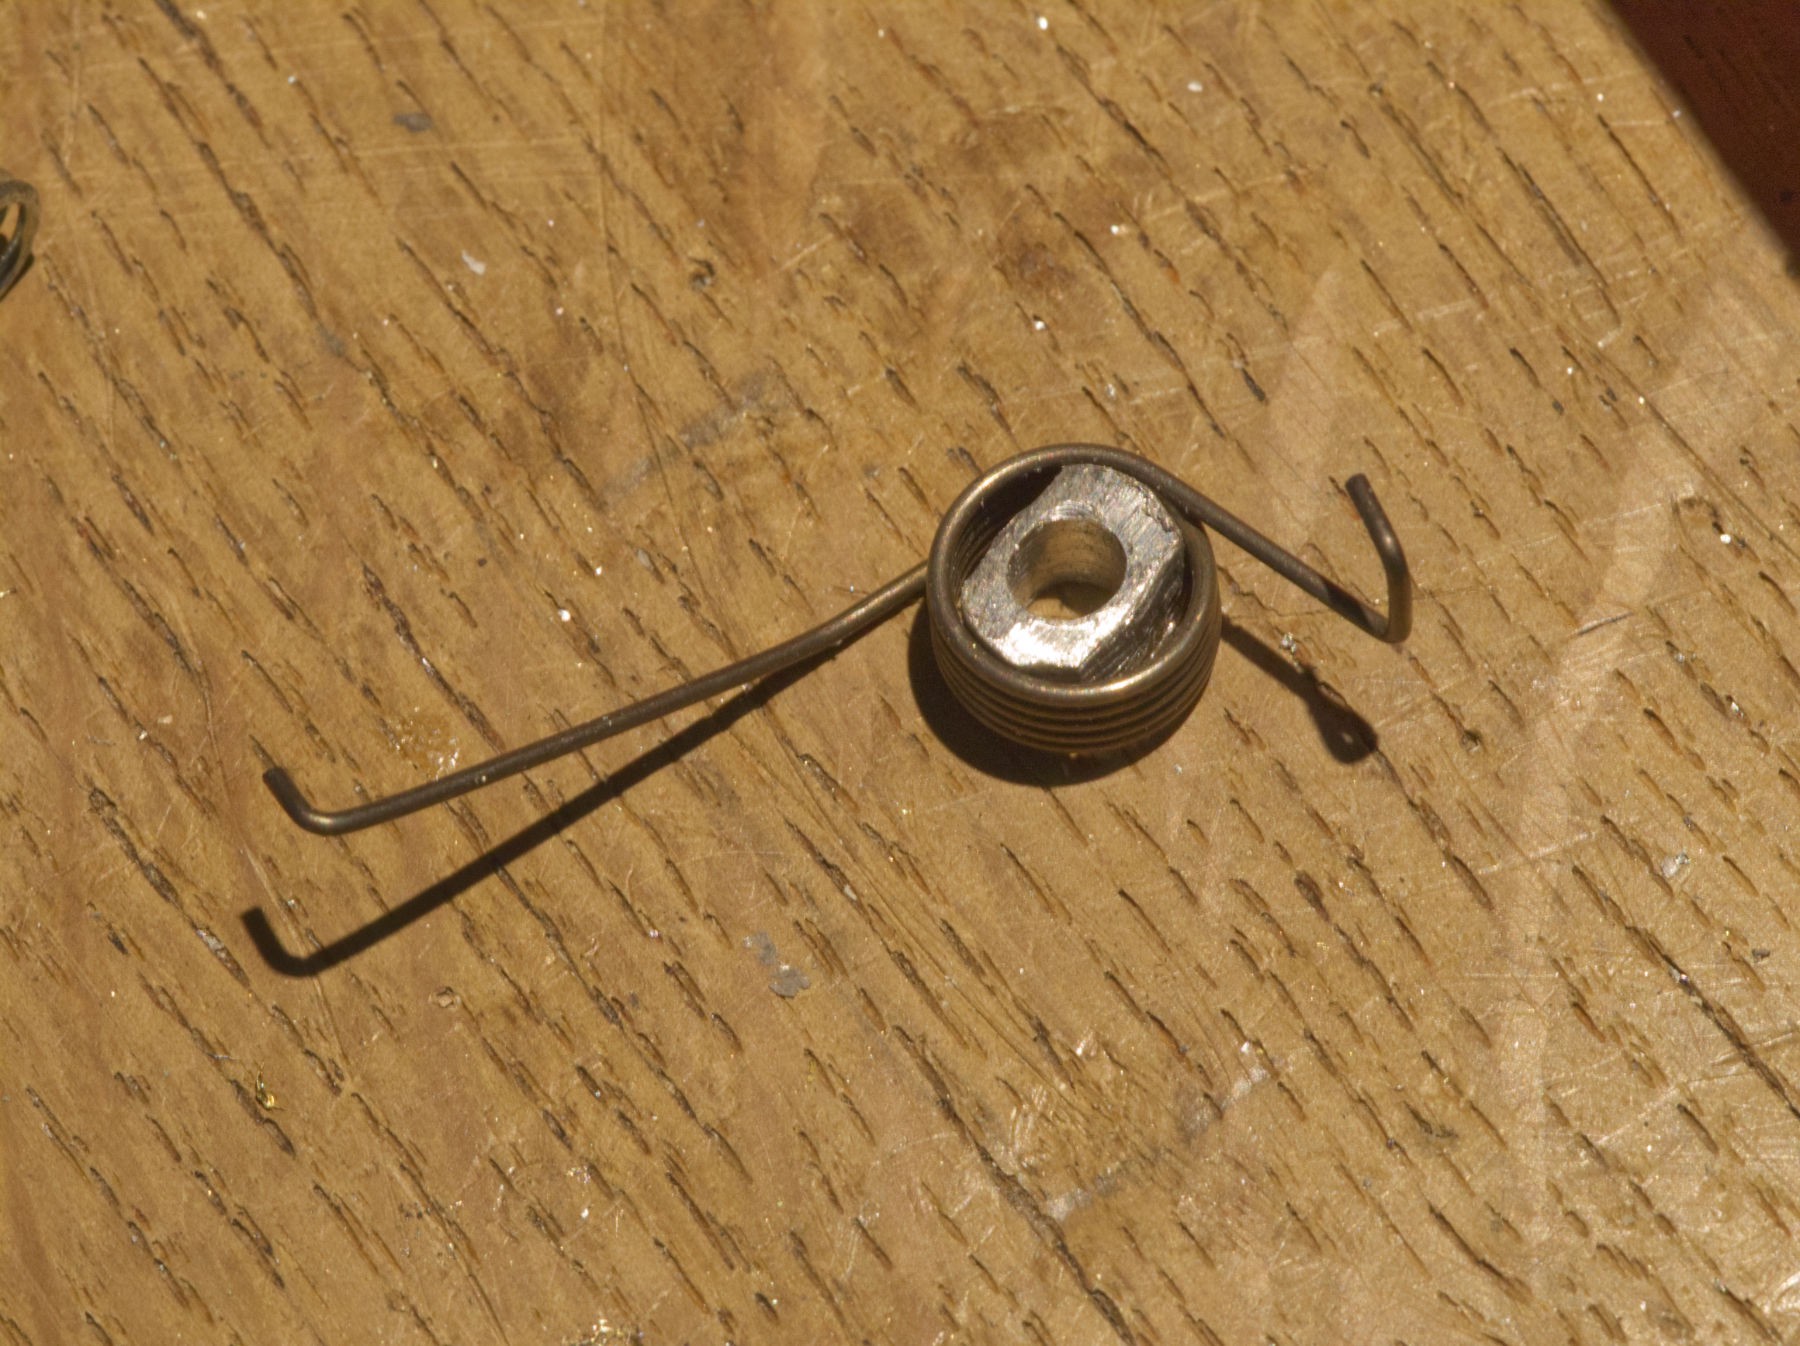
Let's try a two springs mechanism !
![]()
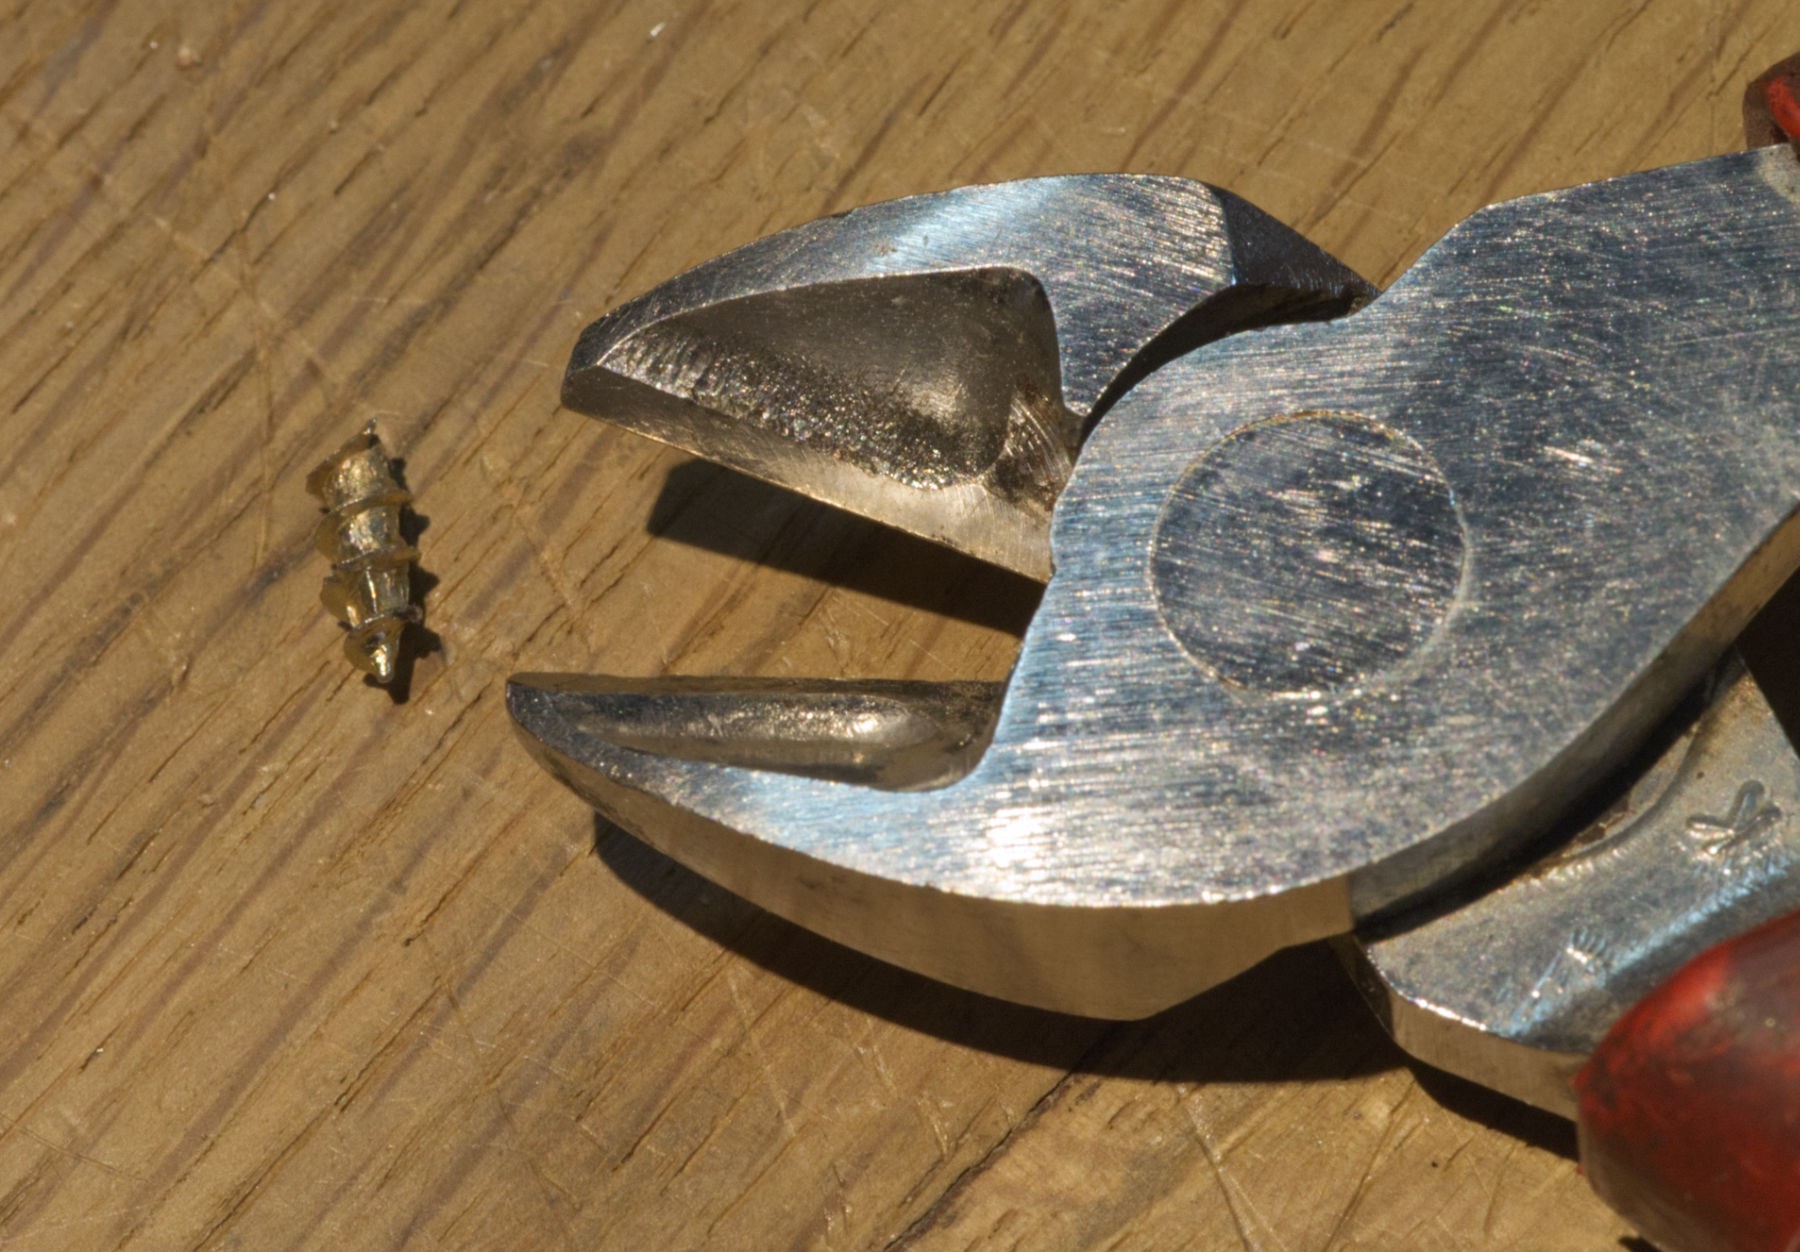
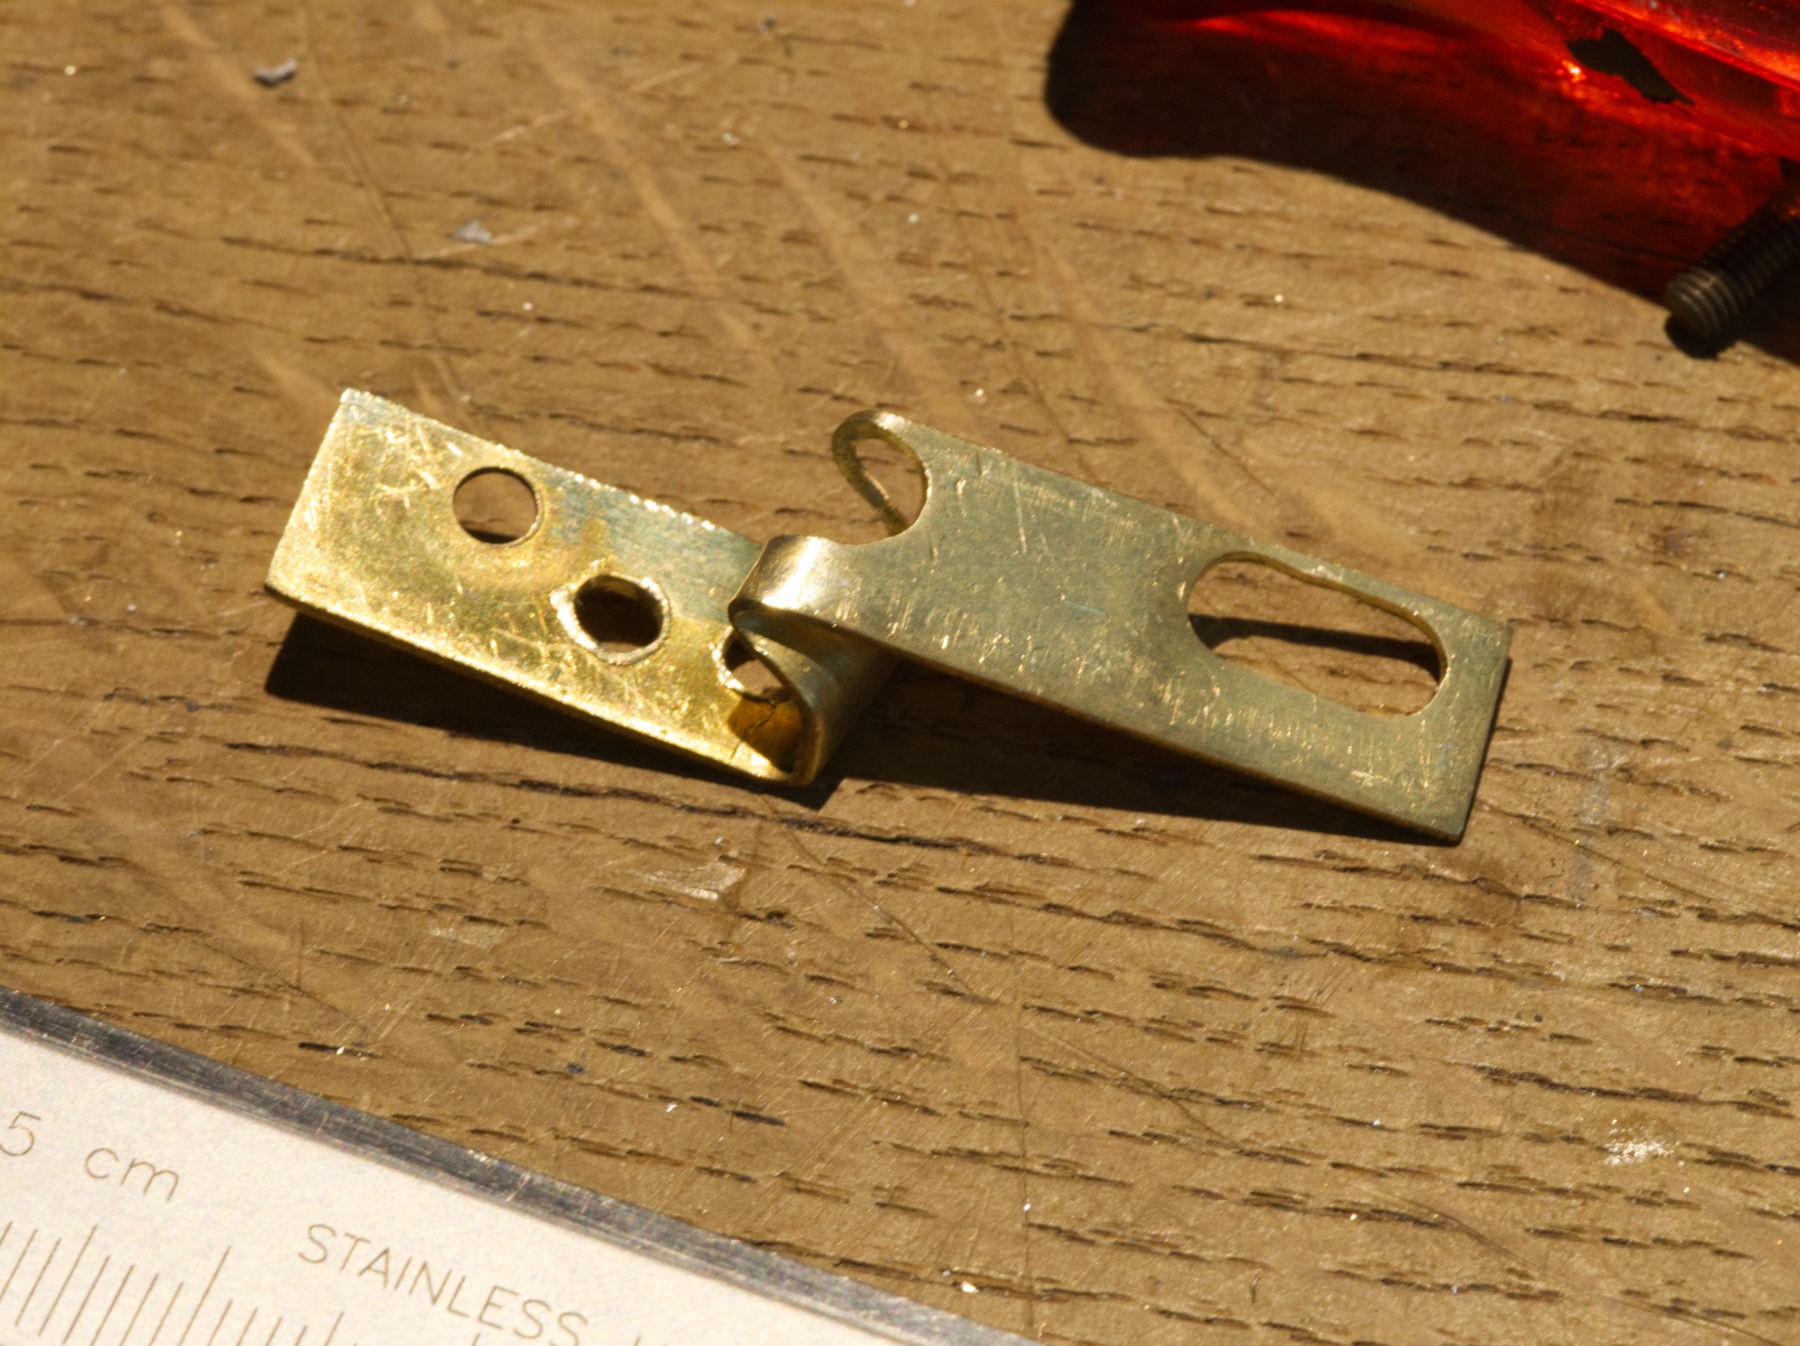
It fits perfectly, the end just have to be bend around the screw on the left side with the appropriate pliers and some strength, you can't bend that with the fingertips!
![]()
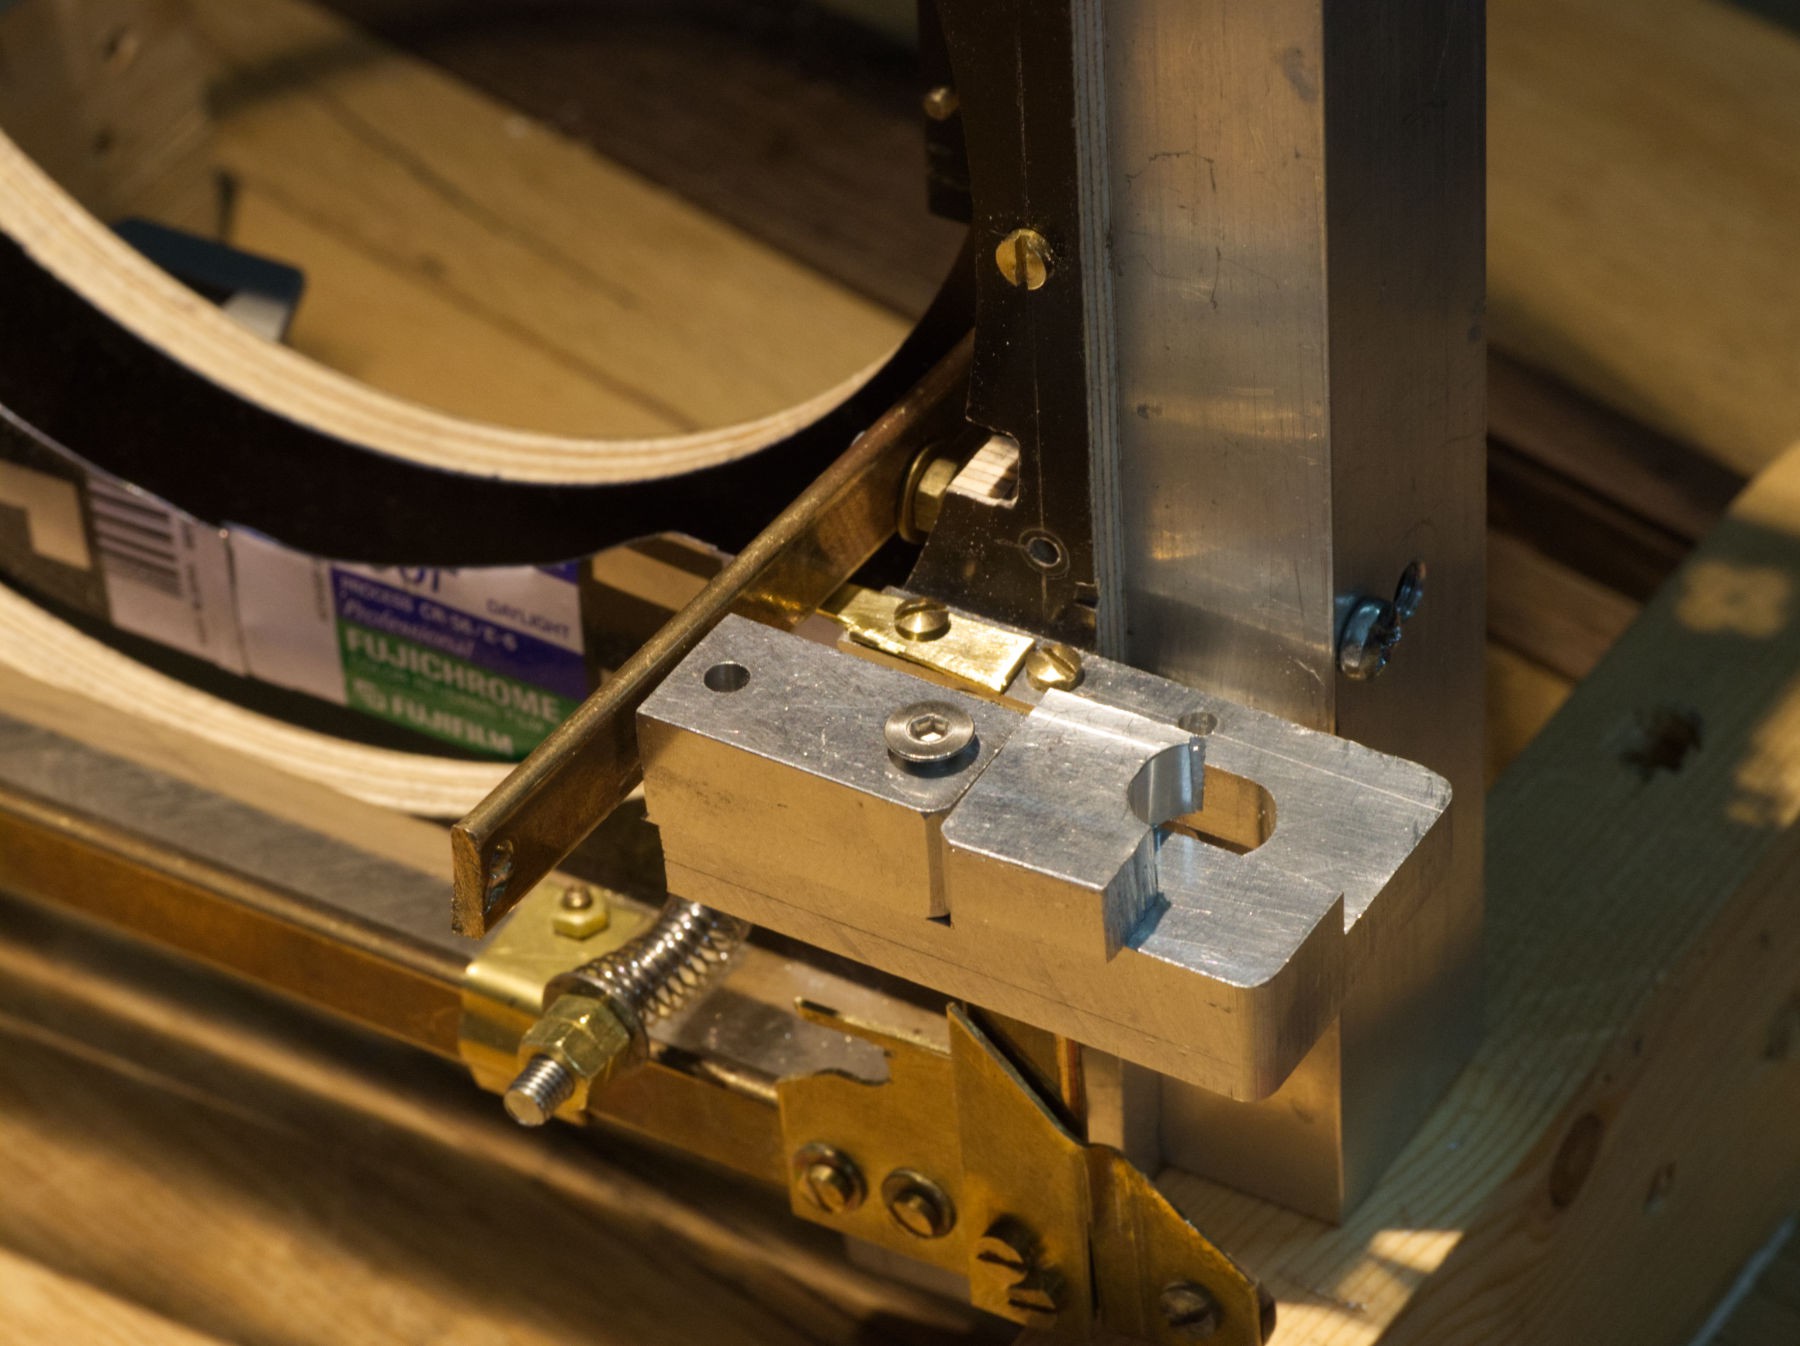
Ready...
And it works !
;oD
-
Digital test at the shop window.
05/18/2022 at 16:33 • 0 comments![]()
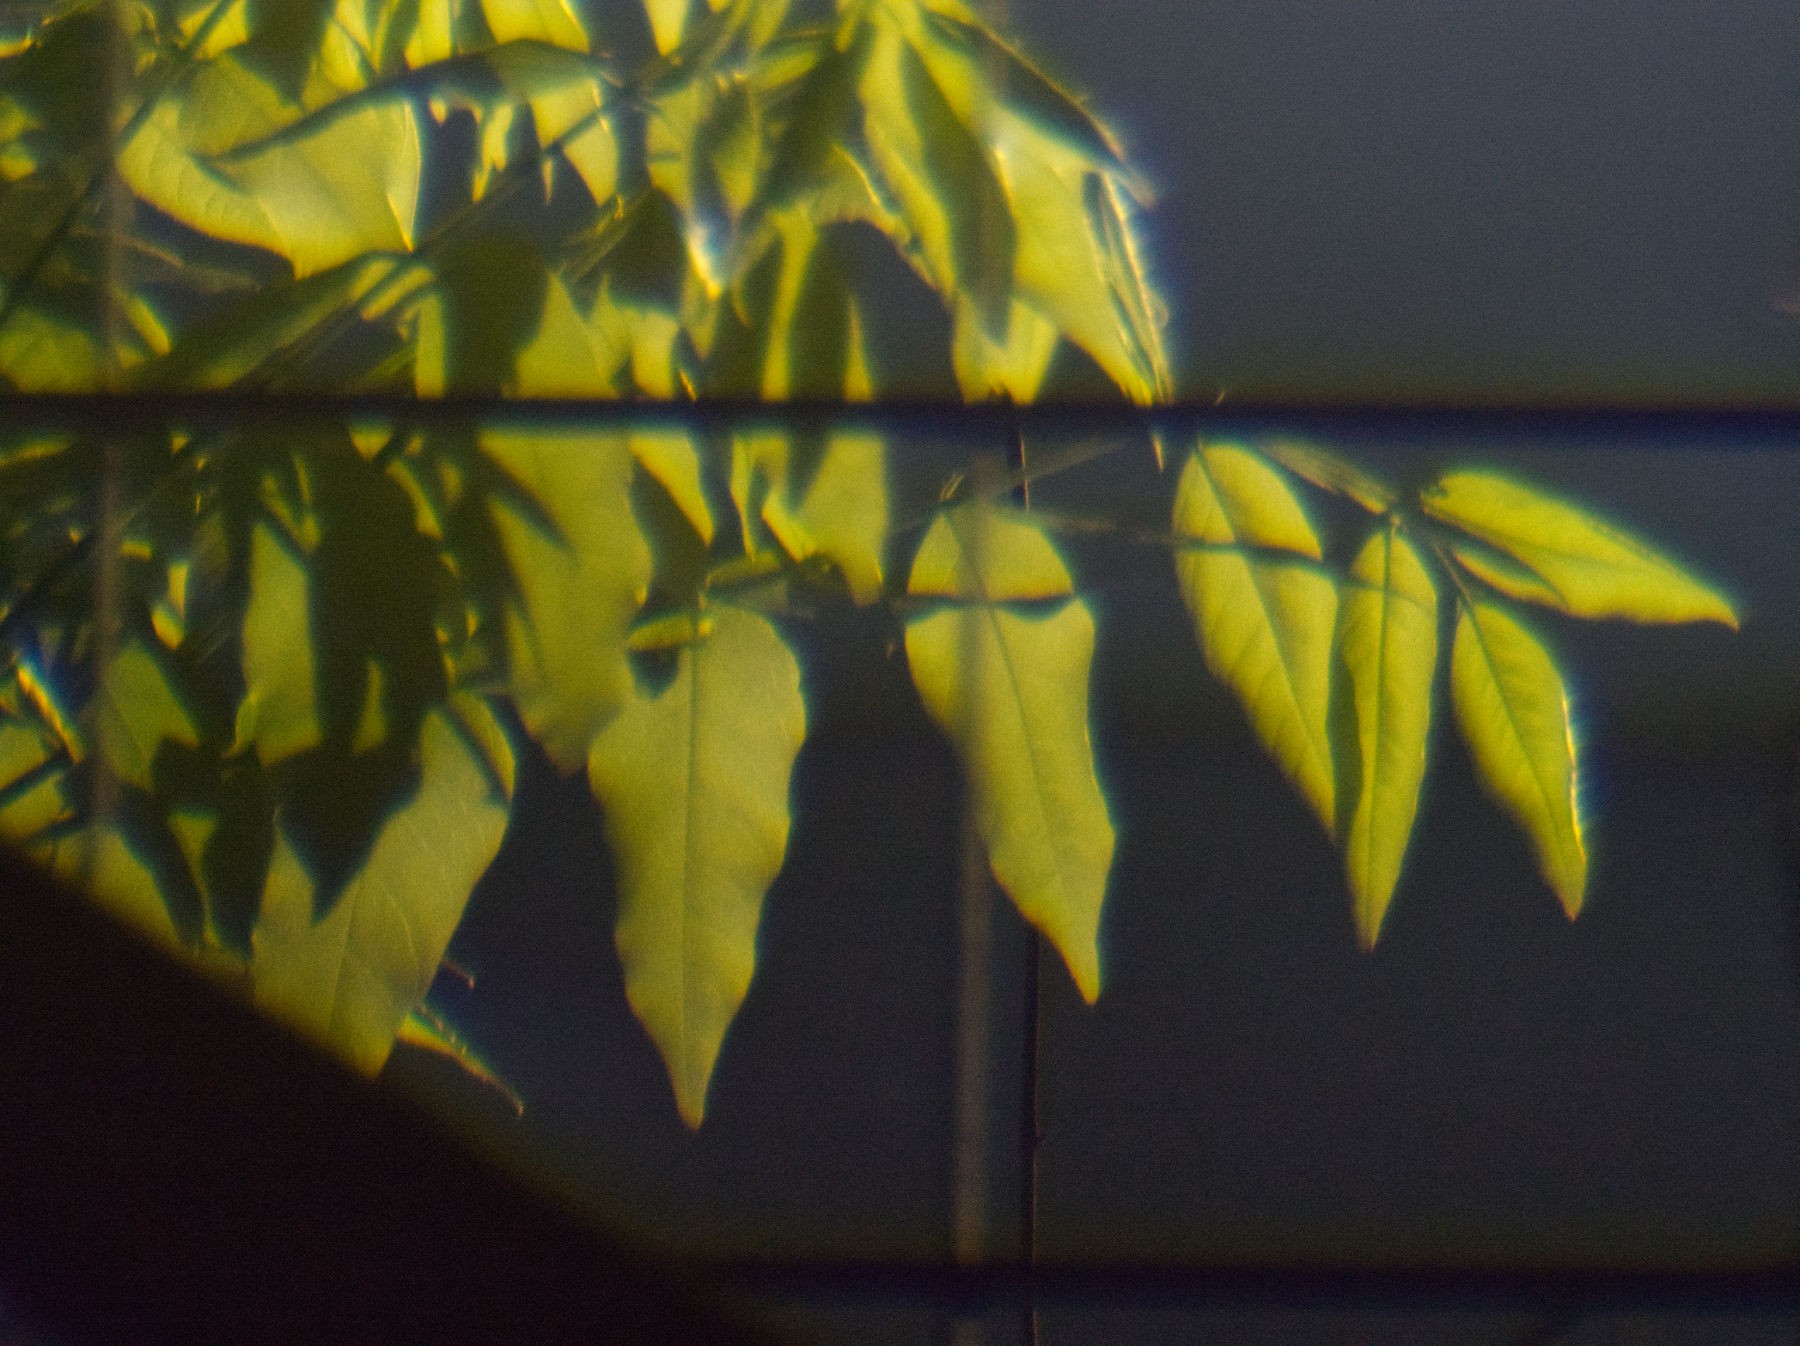
Very impatient to have a look with the Olympus, and not wishing to move all that stuff anywhere "just to have a look", I've tried it thru the window.
And opened the not so clean window.
![]()
That looks promising, not super sharp, the colors are not very accurate, there's some chromatic aberration, but, it's at purpose that I chose that backlight evening sun, it's a hard test for a lens : I'll keep on.
Those leaves are at about 12 meters away from the front of the lens, magnification is important and focusing isn't easy.
I'll try someday extreme macro shots with that lens, but other story.
-
Screws
05/17/2022 at 17:44 • 0 comments![]()
I only got one 3/8" screw that's adapted to the vintage Gitzo tripod head system, and there's the need for two more.
The first try's been made with some 1/4" screws with 3/8" adapters, I want full 3/8" screw, more strong.
![]()
That M 12 brass screw brought on the cheap at a vide grenier (garage sales) will be perfect.
![]()
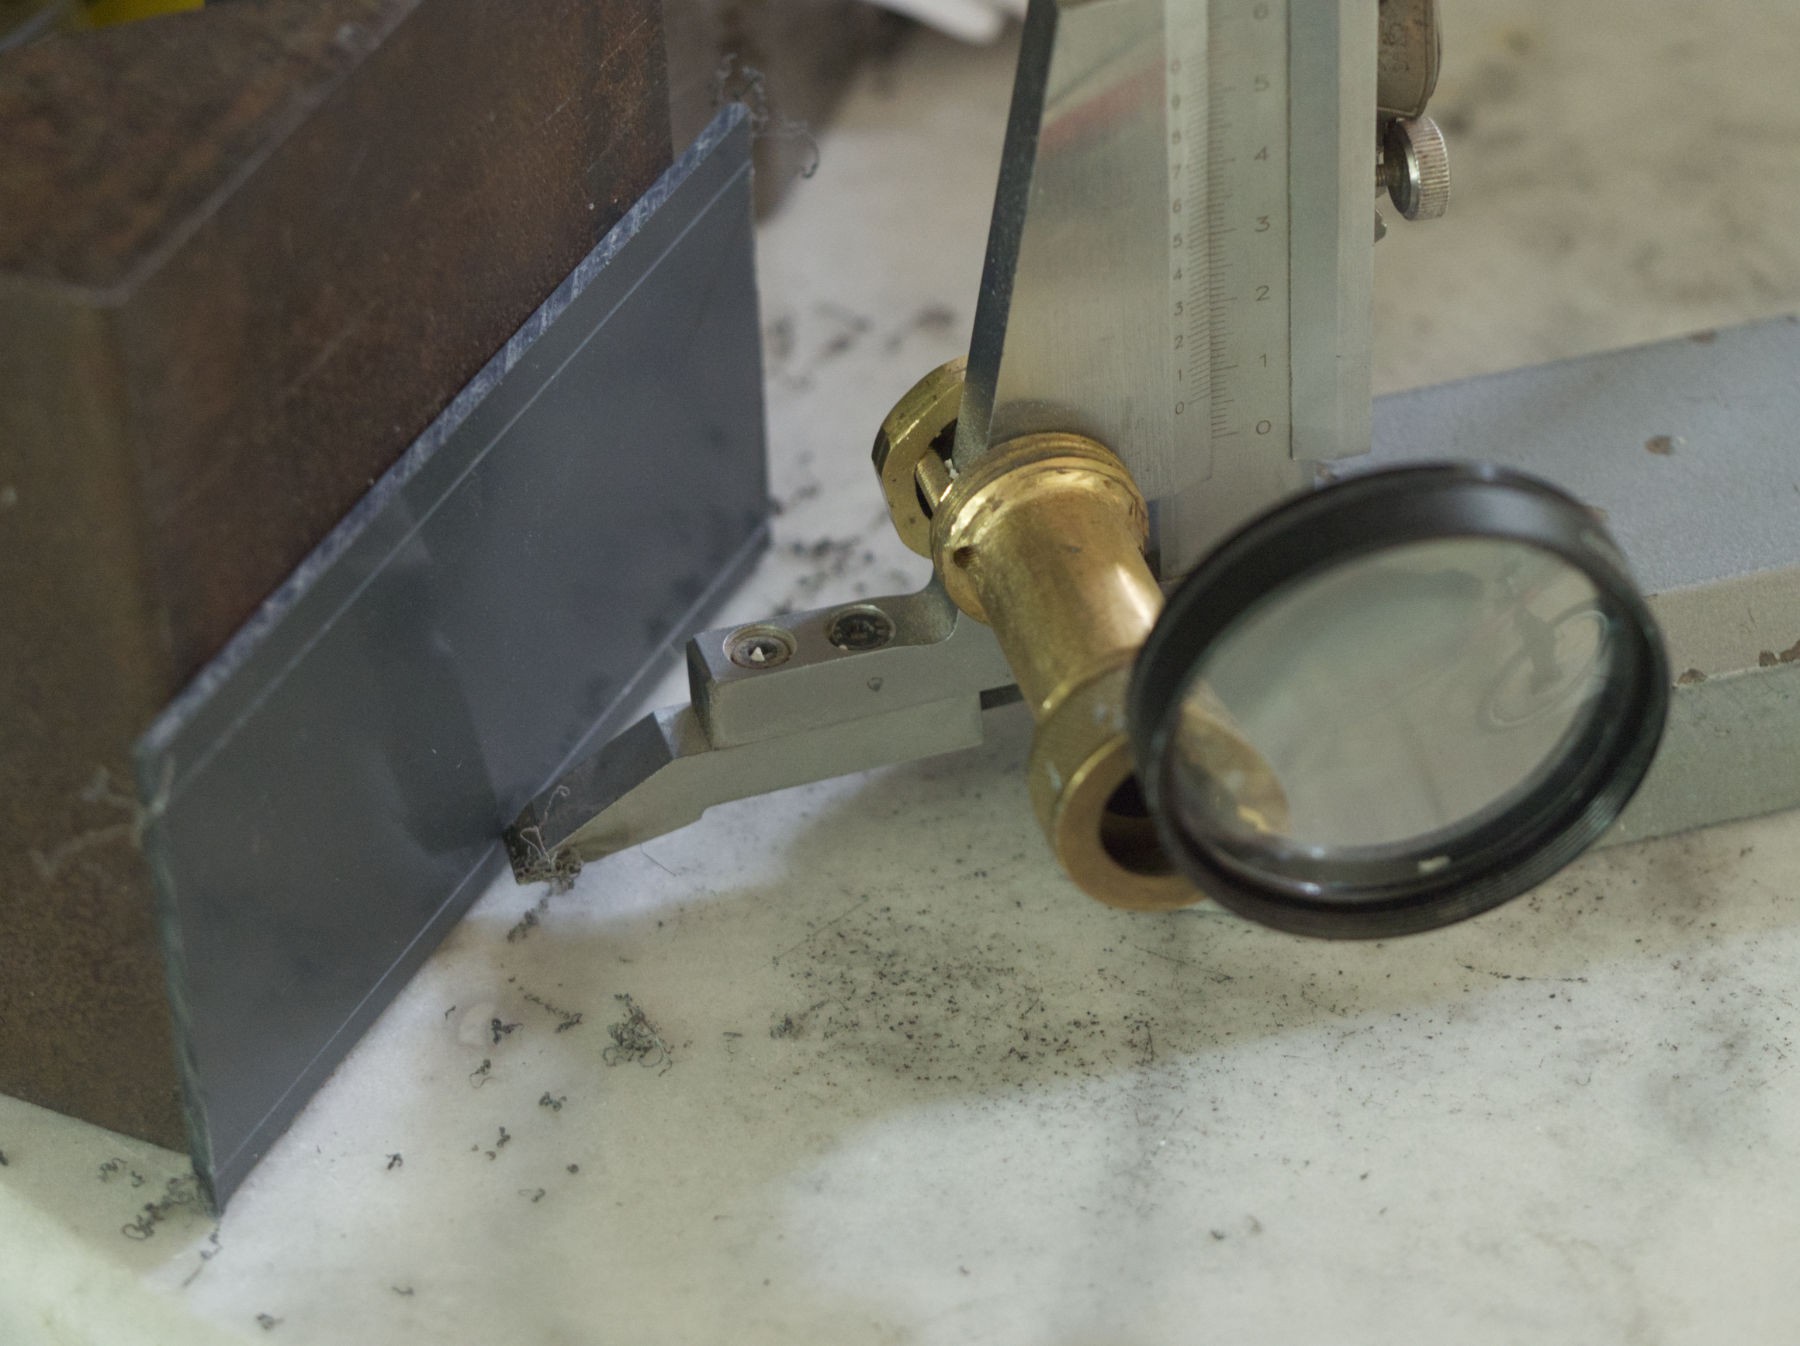
The drill press is another time used as a metal lathe, the tool is just handheld and the vibrations are tiring, as the fastest speed is around 2500 RPM, it takes time.
![]()
Finished with sandpaper, it's nice, but too short ! the model used has a worn end...
![]()
Next I've used a clamp to help holding the tool, like a with a wood lathe, it was much better, less tiring and more accurate.
![]()
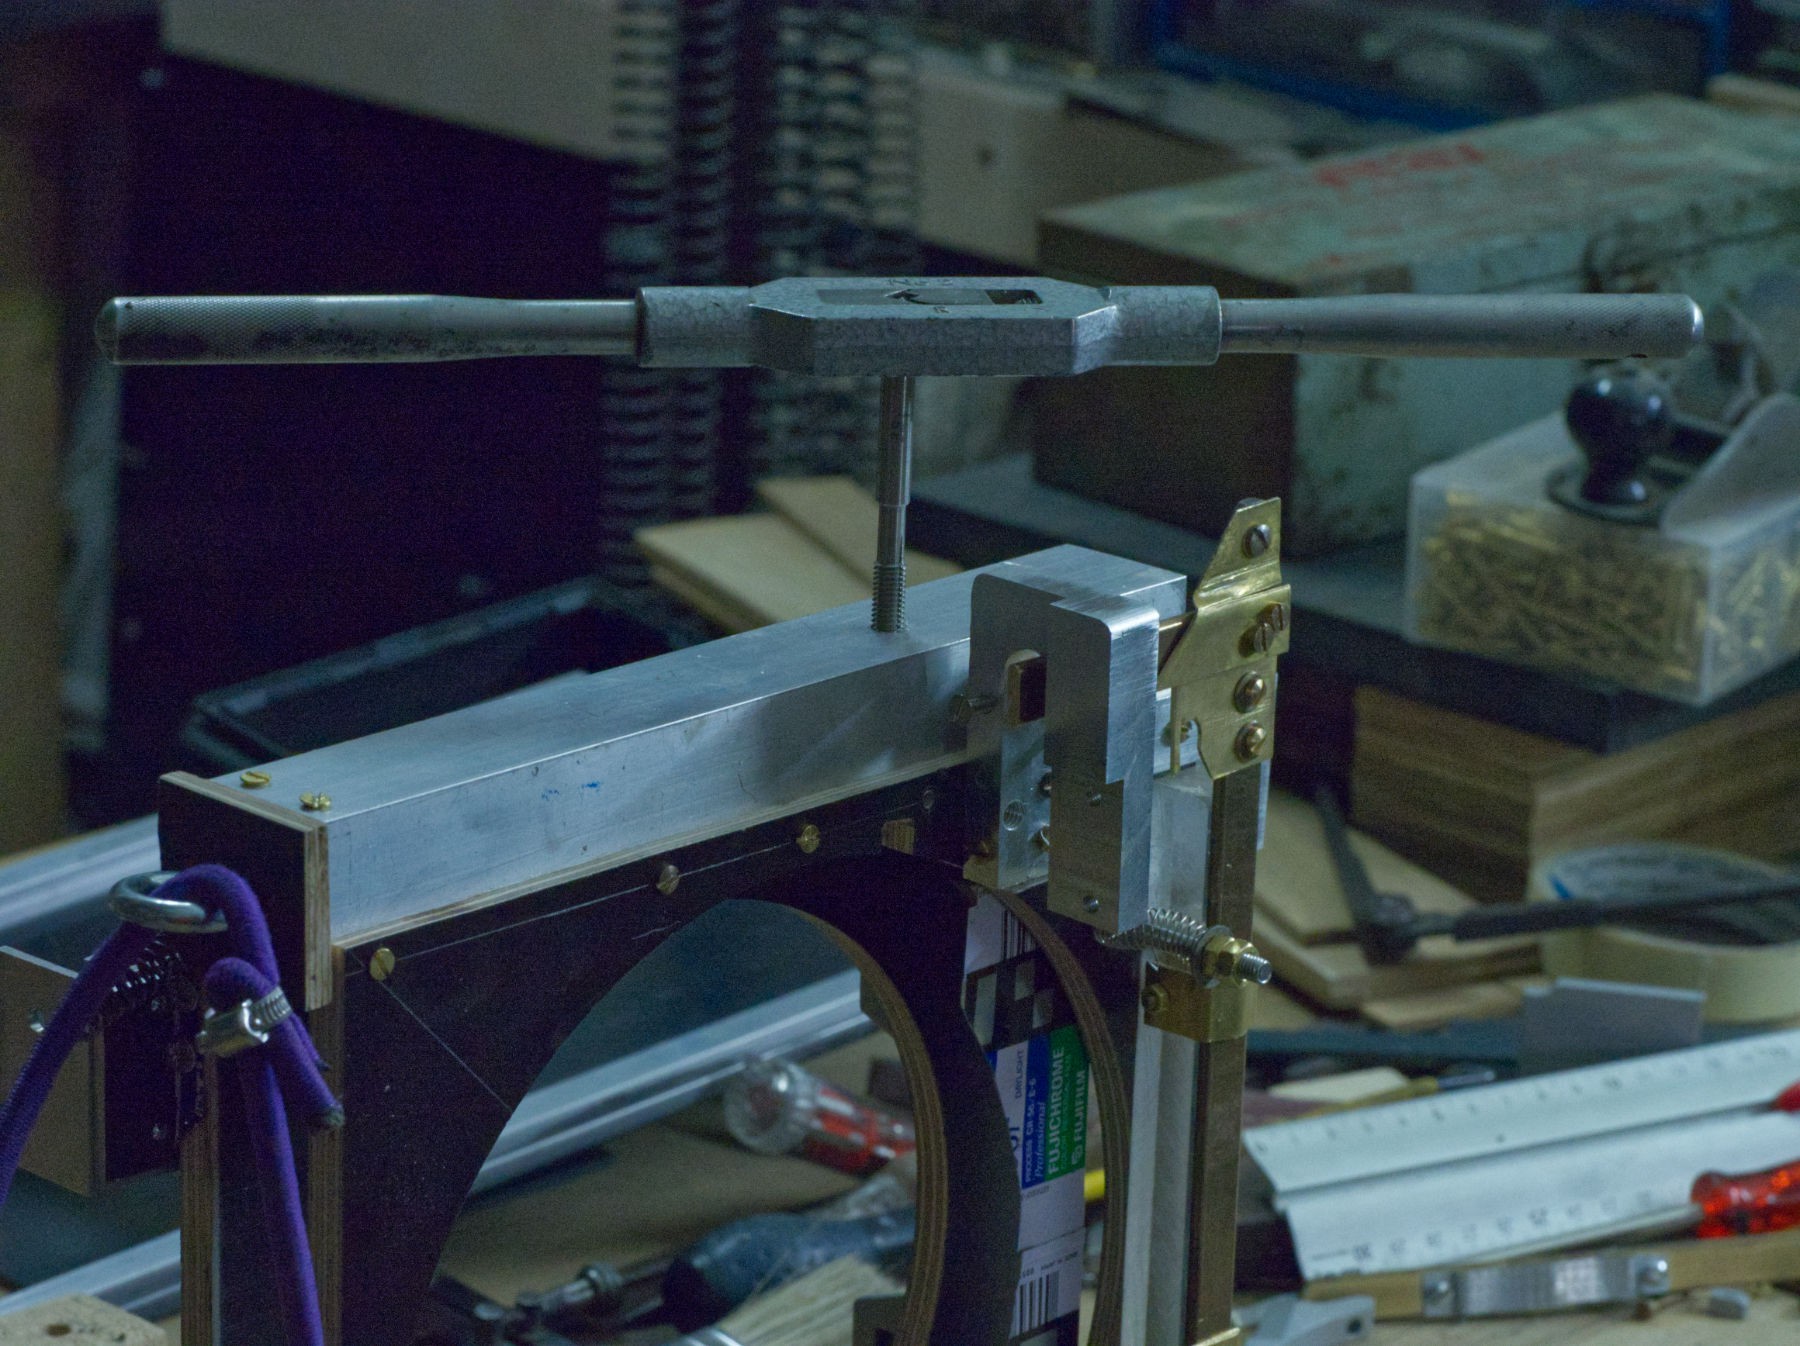
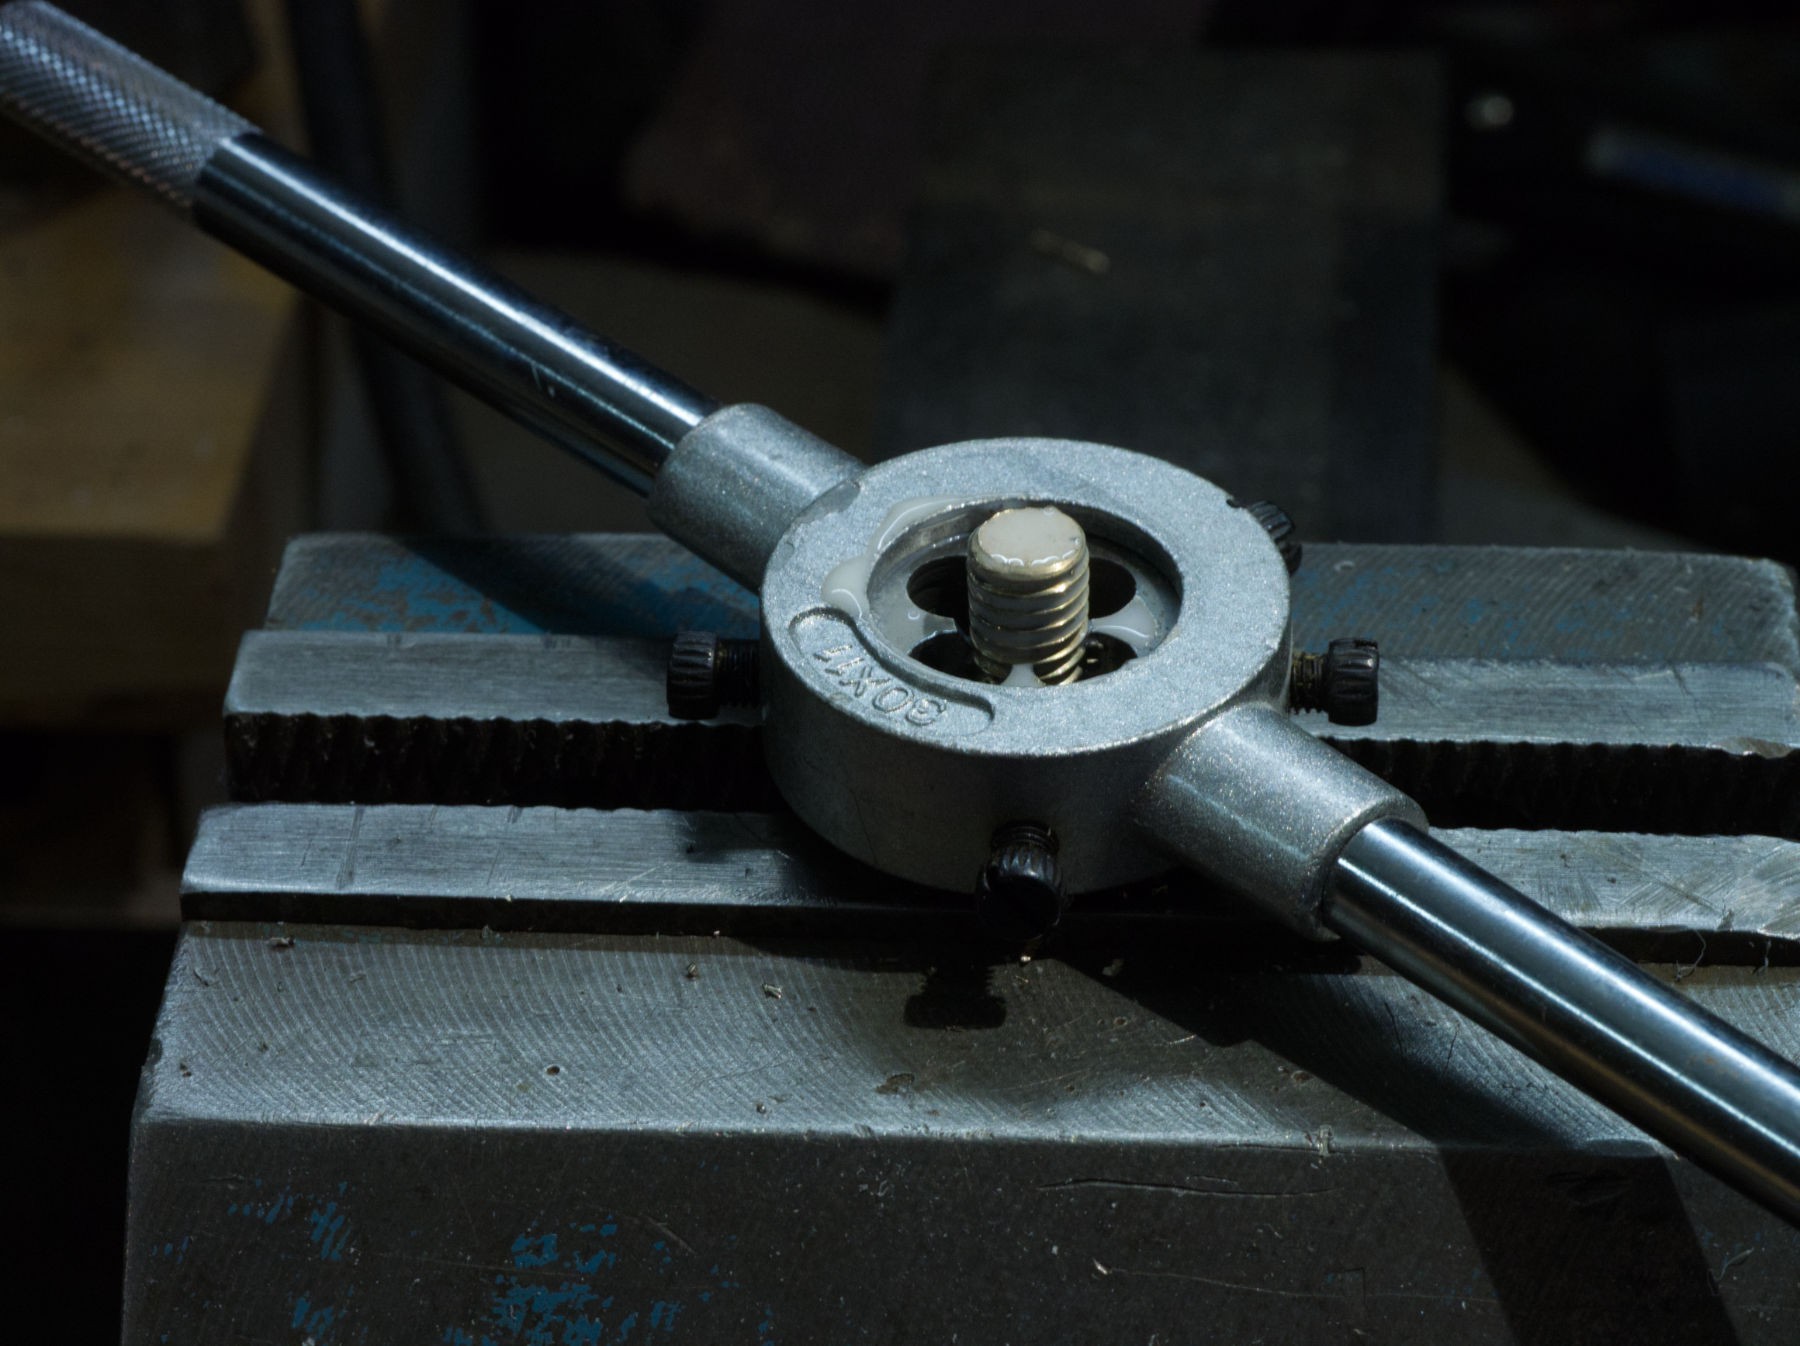
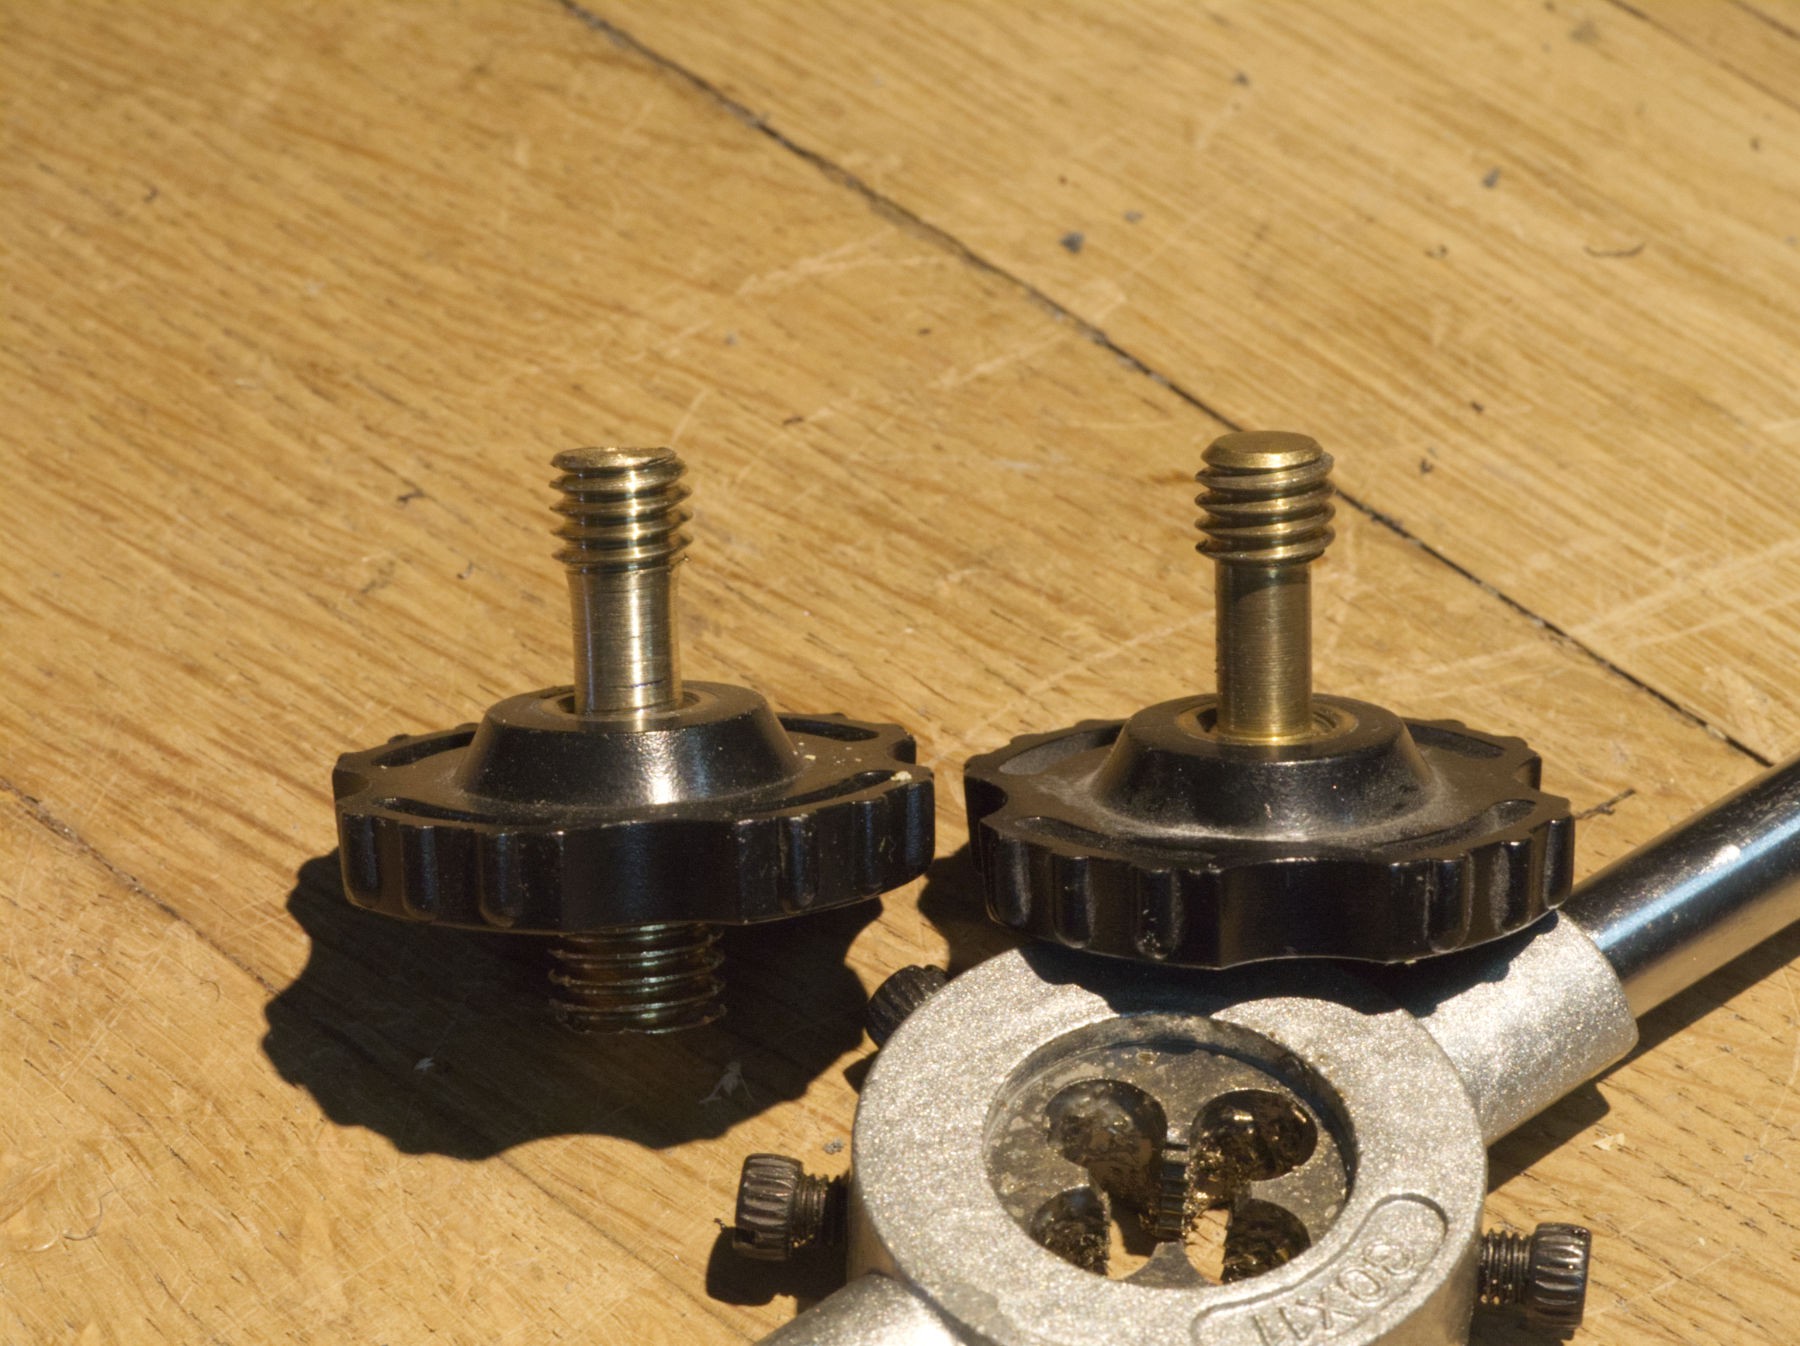
Threading with the appropriate 3/8 " filière (die), I like that holding tool with those 5 adjusting screws, precise and sturdy, both where brought on order in a specialized shop, big price for unusual stuff (anything that's not metric around here is some exotic thing, hence expensive).
The first and only time I asked for a 3/8 " threaded hole in a photographic workshop, the price for that only hole was close to the expensive die and tool holder.
![]()
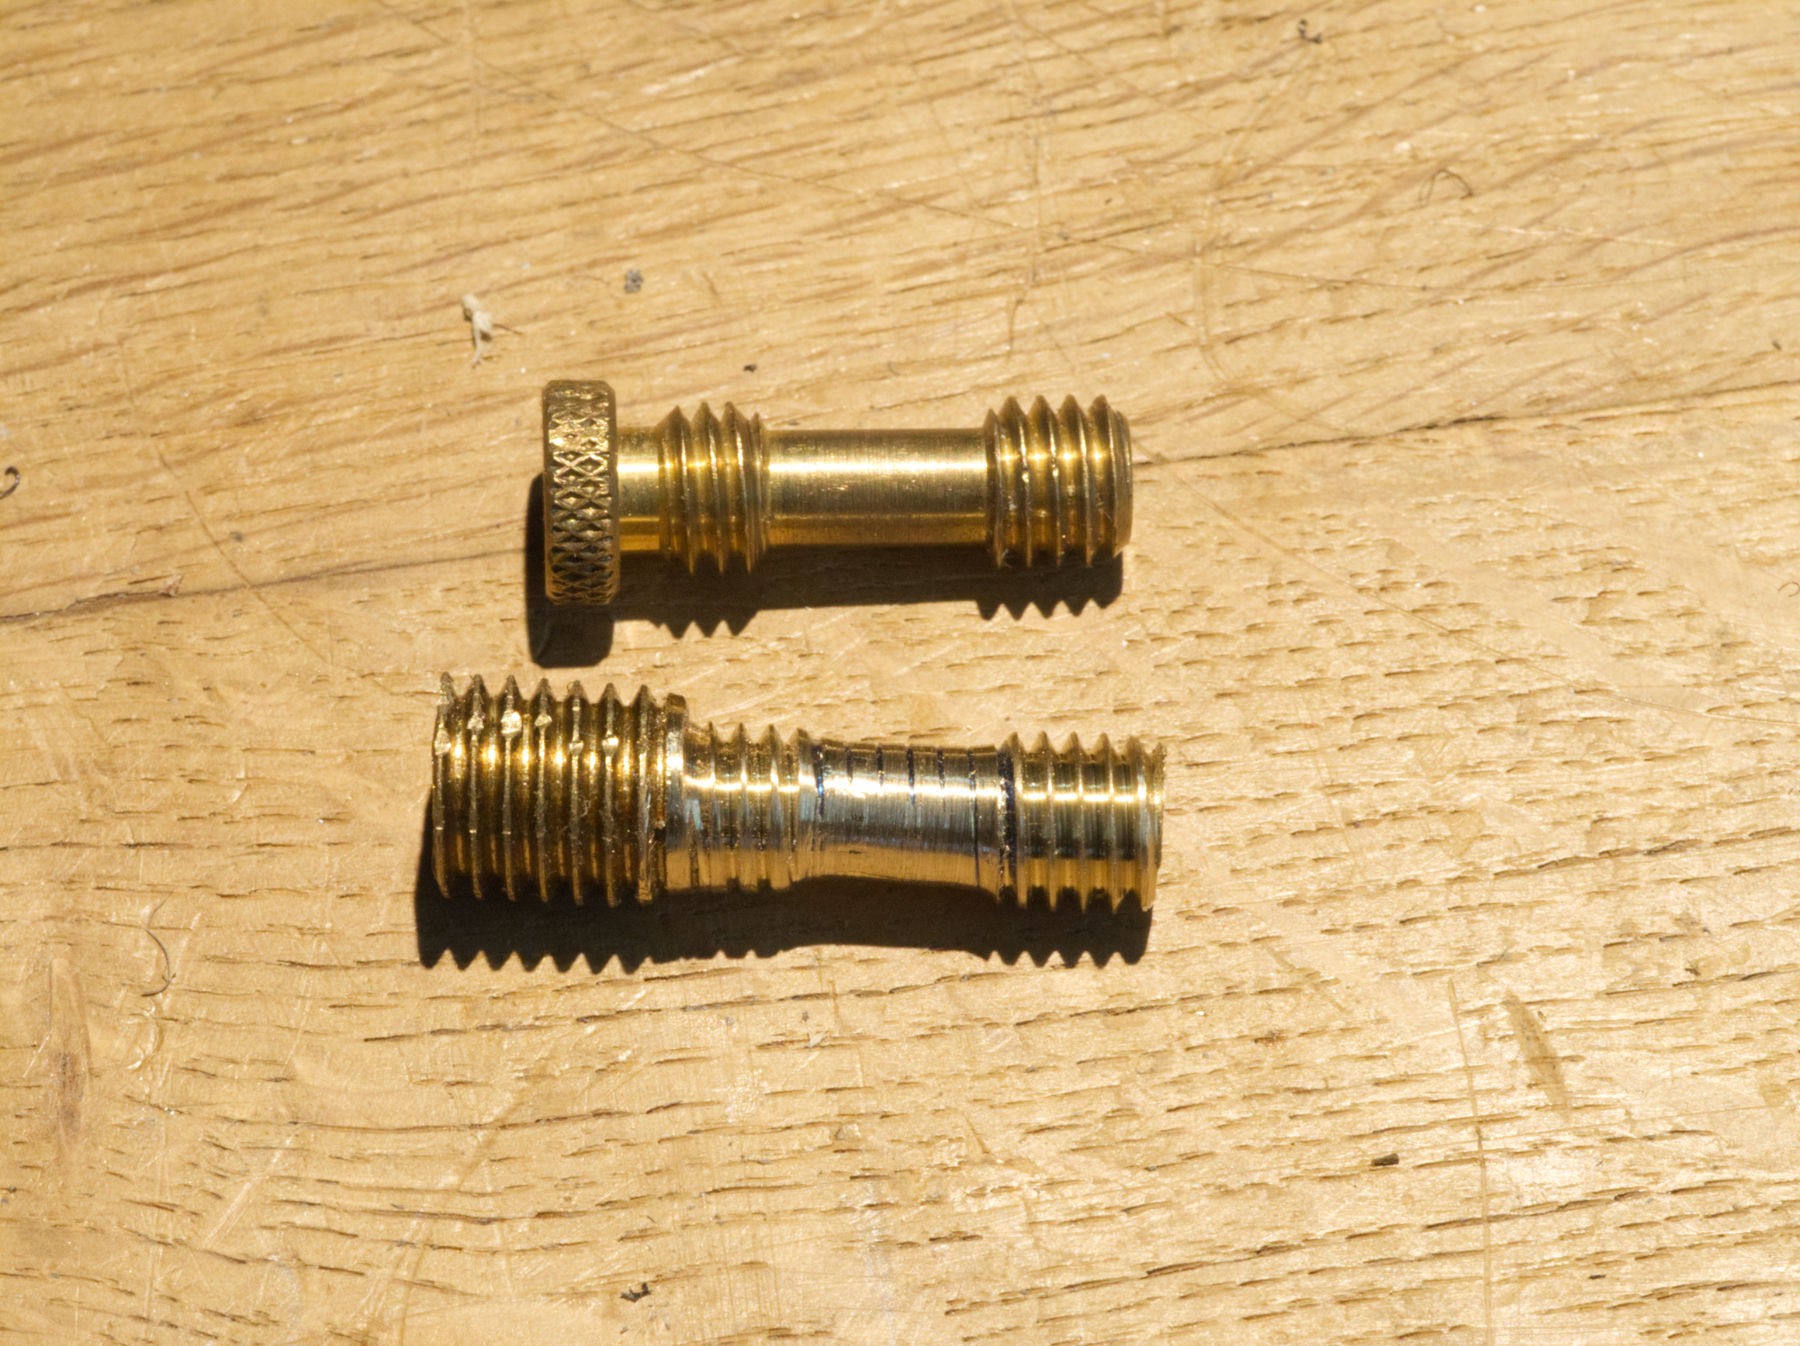
After threading the whole screw, it must have un épaulement (a shoulder) in the middle, to be able to move slightly in the slot.
![]()
It's not perfect but it works.
![]()
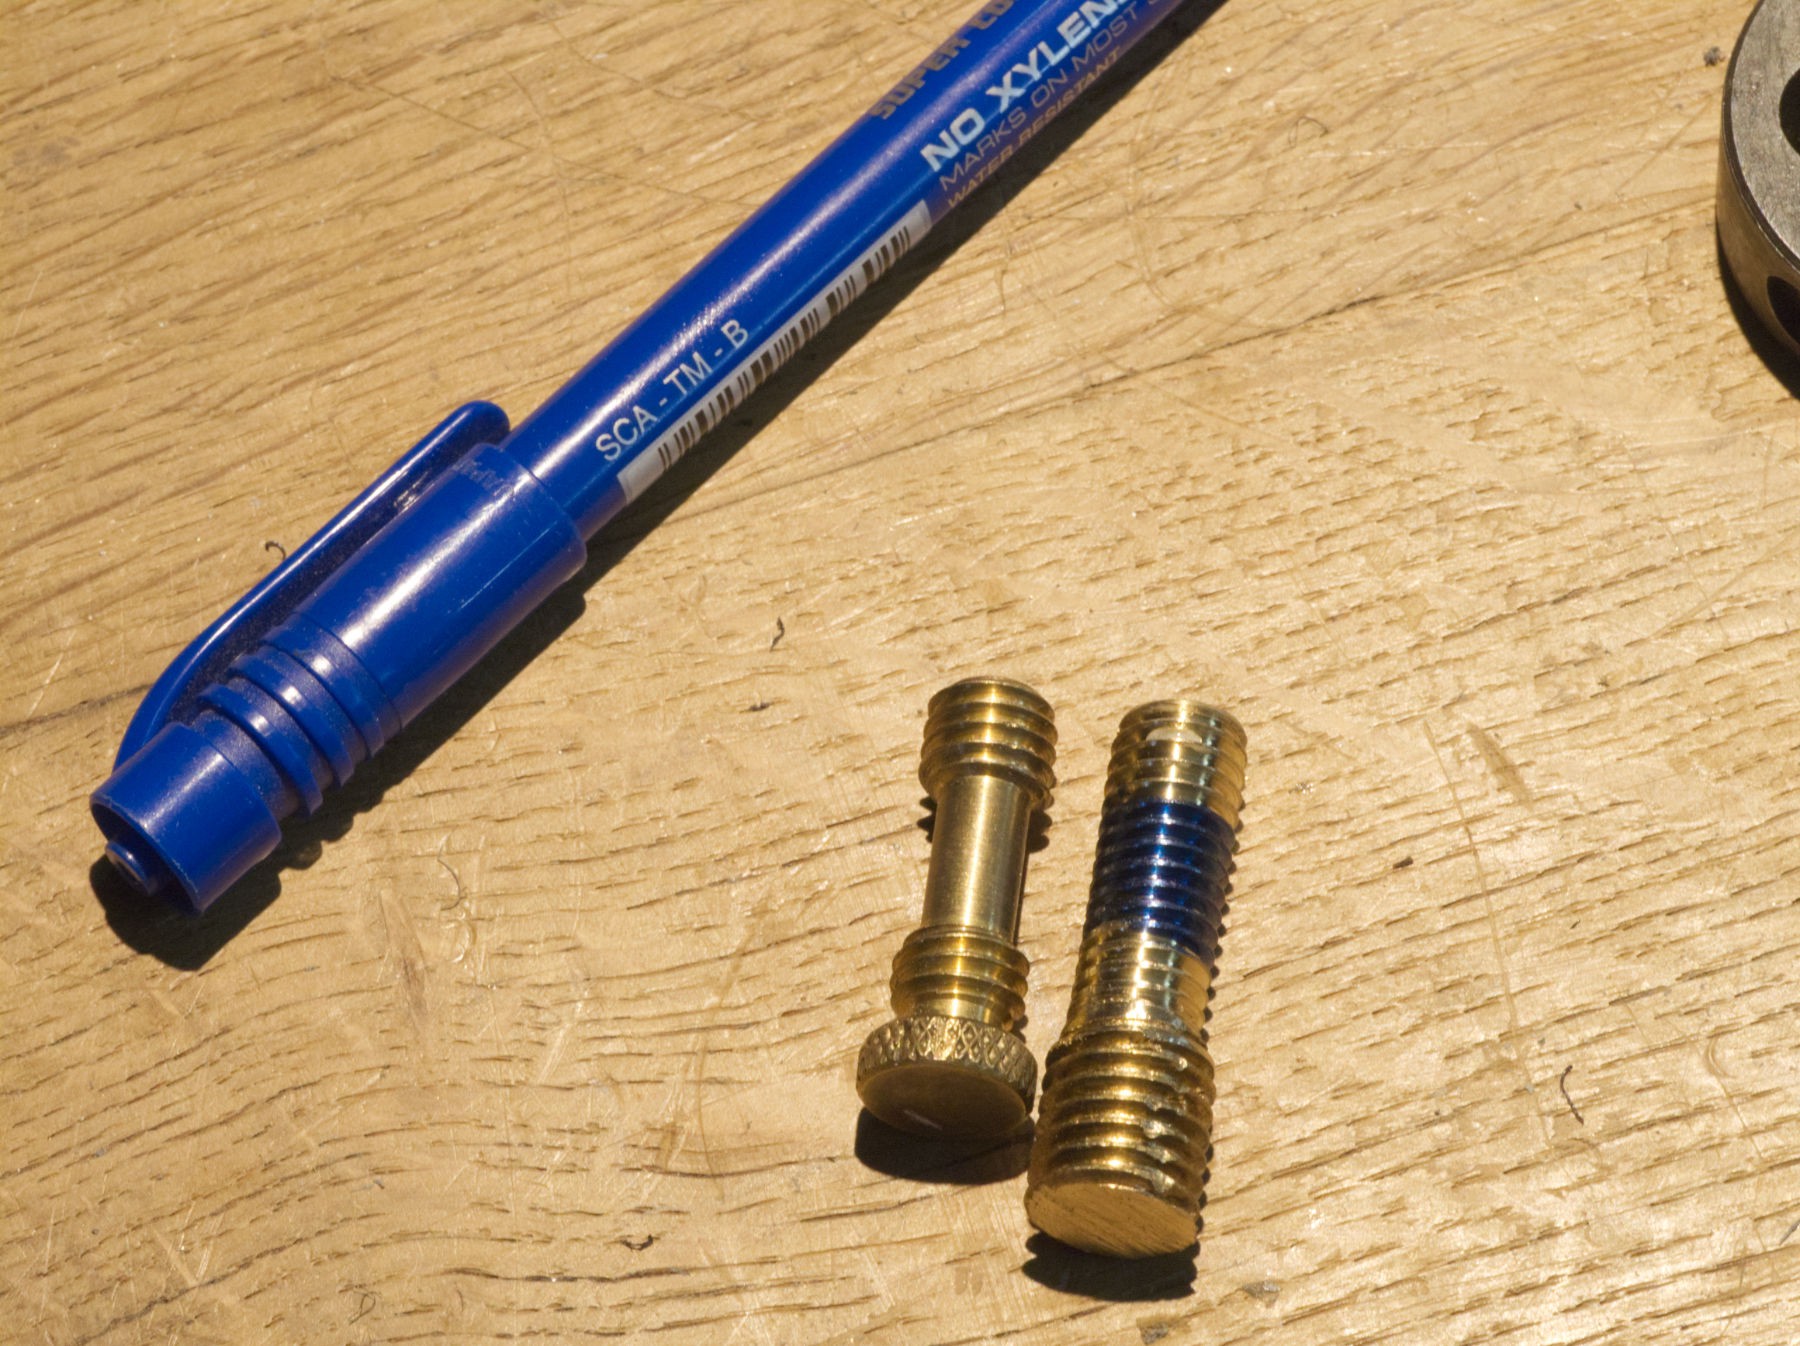
Very proud of the second one : mine on the left, the Gitzo one on the right.
![]()
Taping M 2 threads in an M 12 nut to have a big head with a good grip.
![]()
Very good.
![]()
Well, not so much, the closest hole isn't aligned at all ! but the clearance of the screws shoulders in the slot is enough to have a good alignment with the lens.
-
The return of the Sinar board replica
05/17/2022 at 15:52 • 0 comments![]()
Another Sinar board is necessary for the rear end of the assembly, to be able to mont a digital camera, to calibrate the shutter speed without wasting too much film, and to use the monster with a small sensor, like my Olympus Micro 4/3 gives a 1620 mm focal length frame, it should be spectacular.
![]()
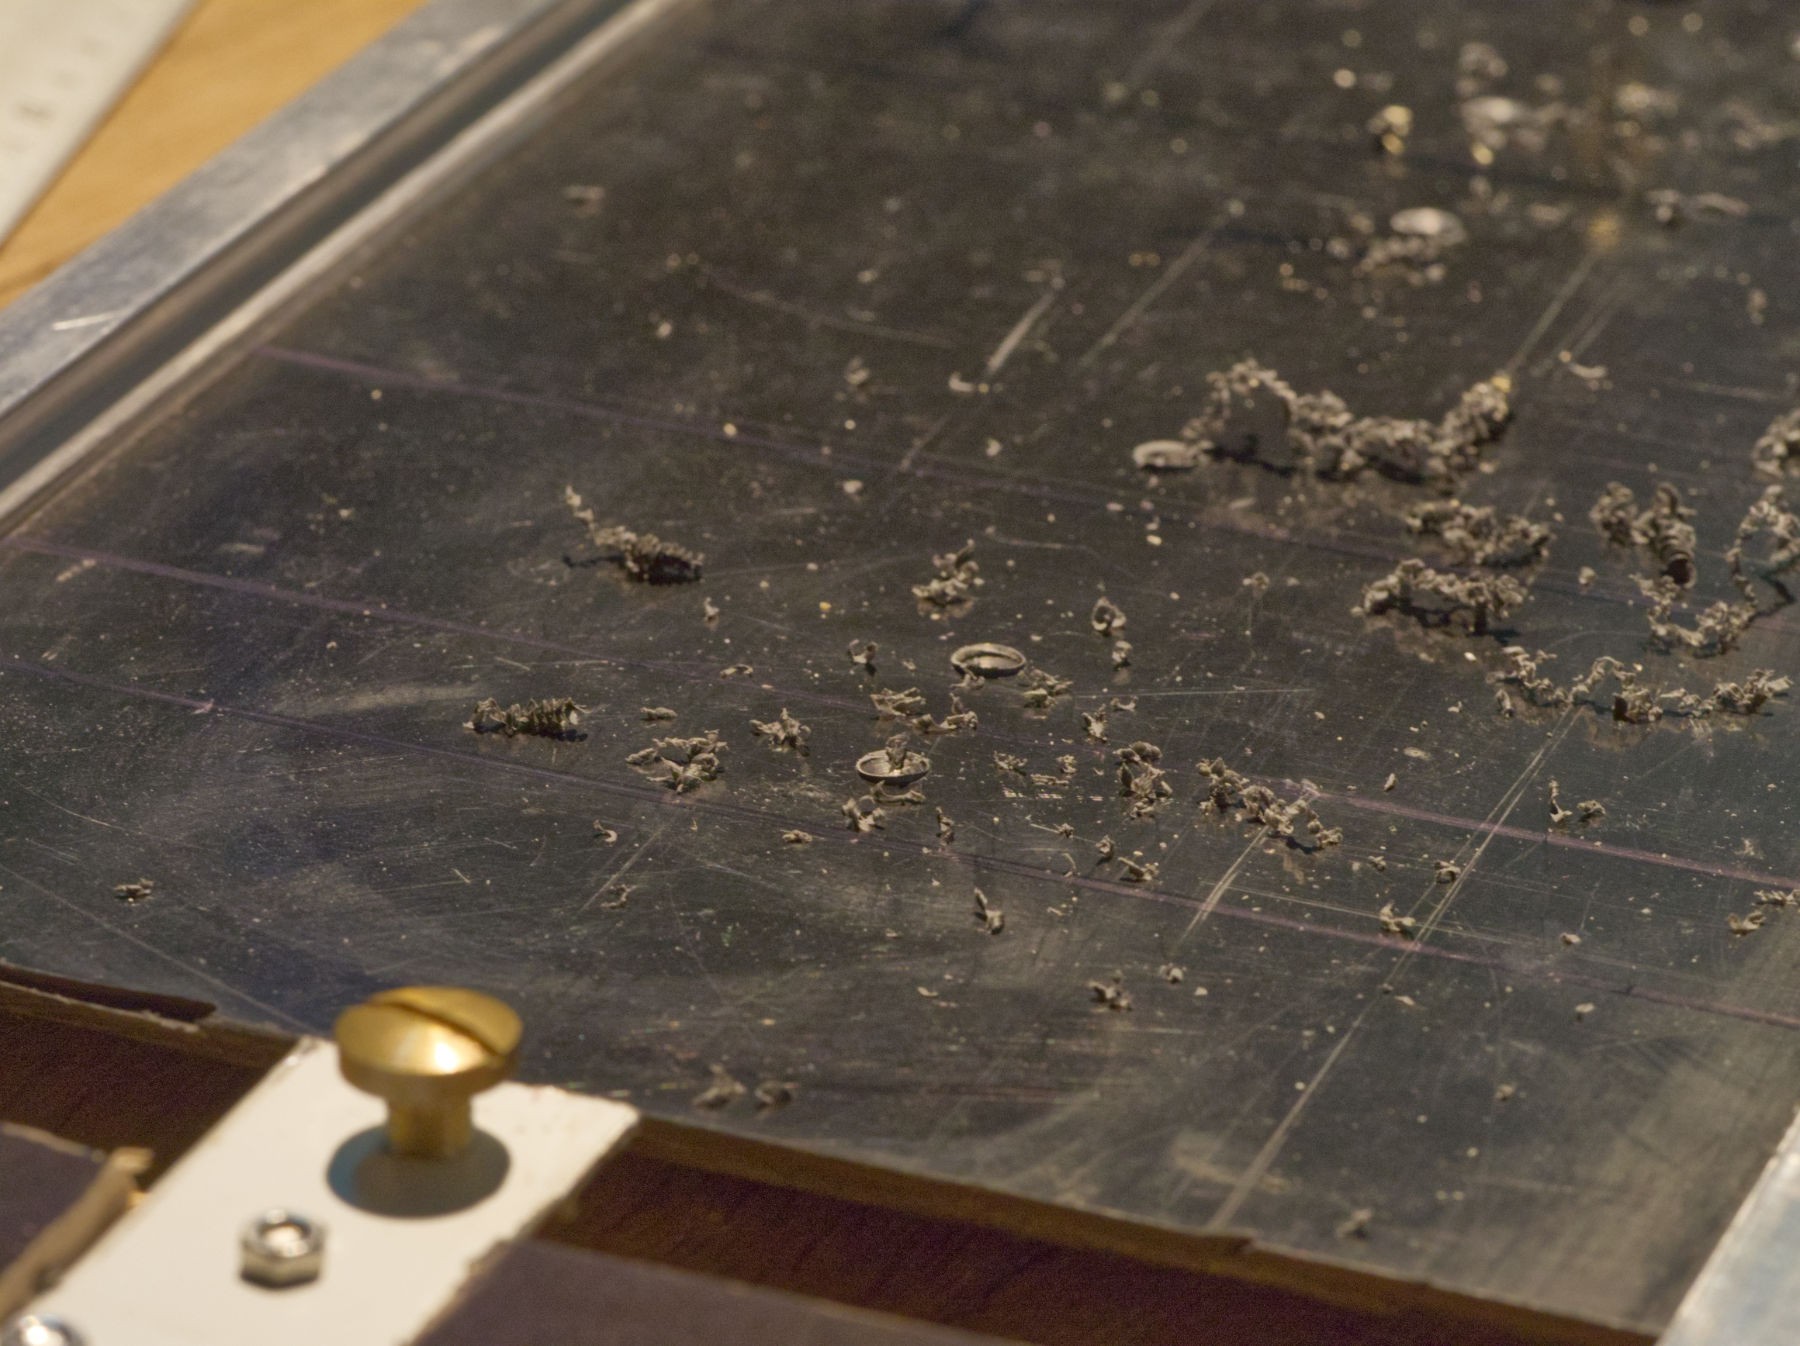
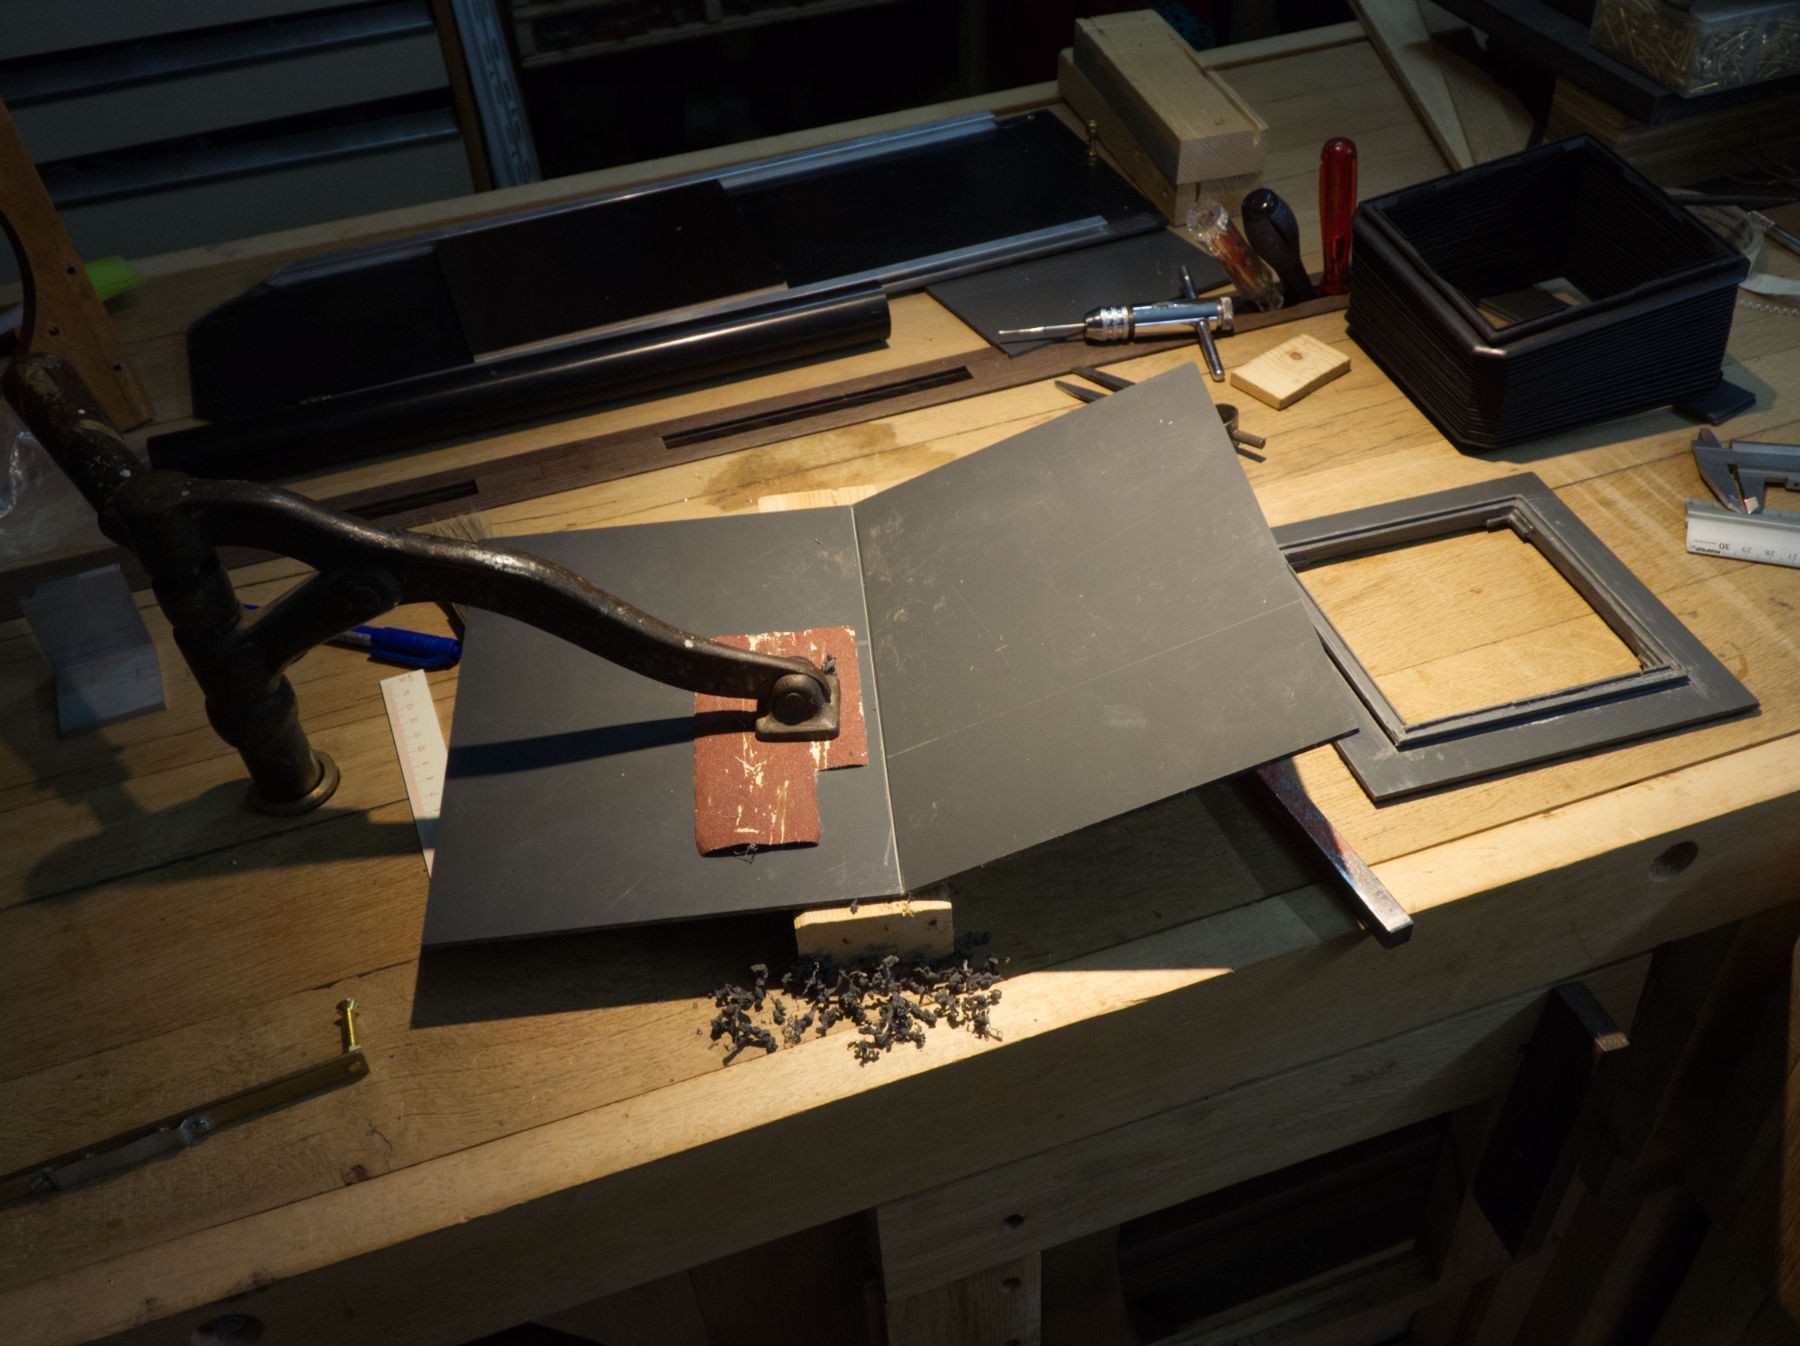
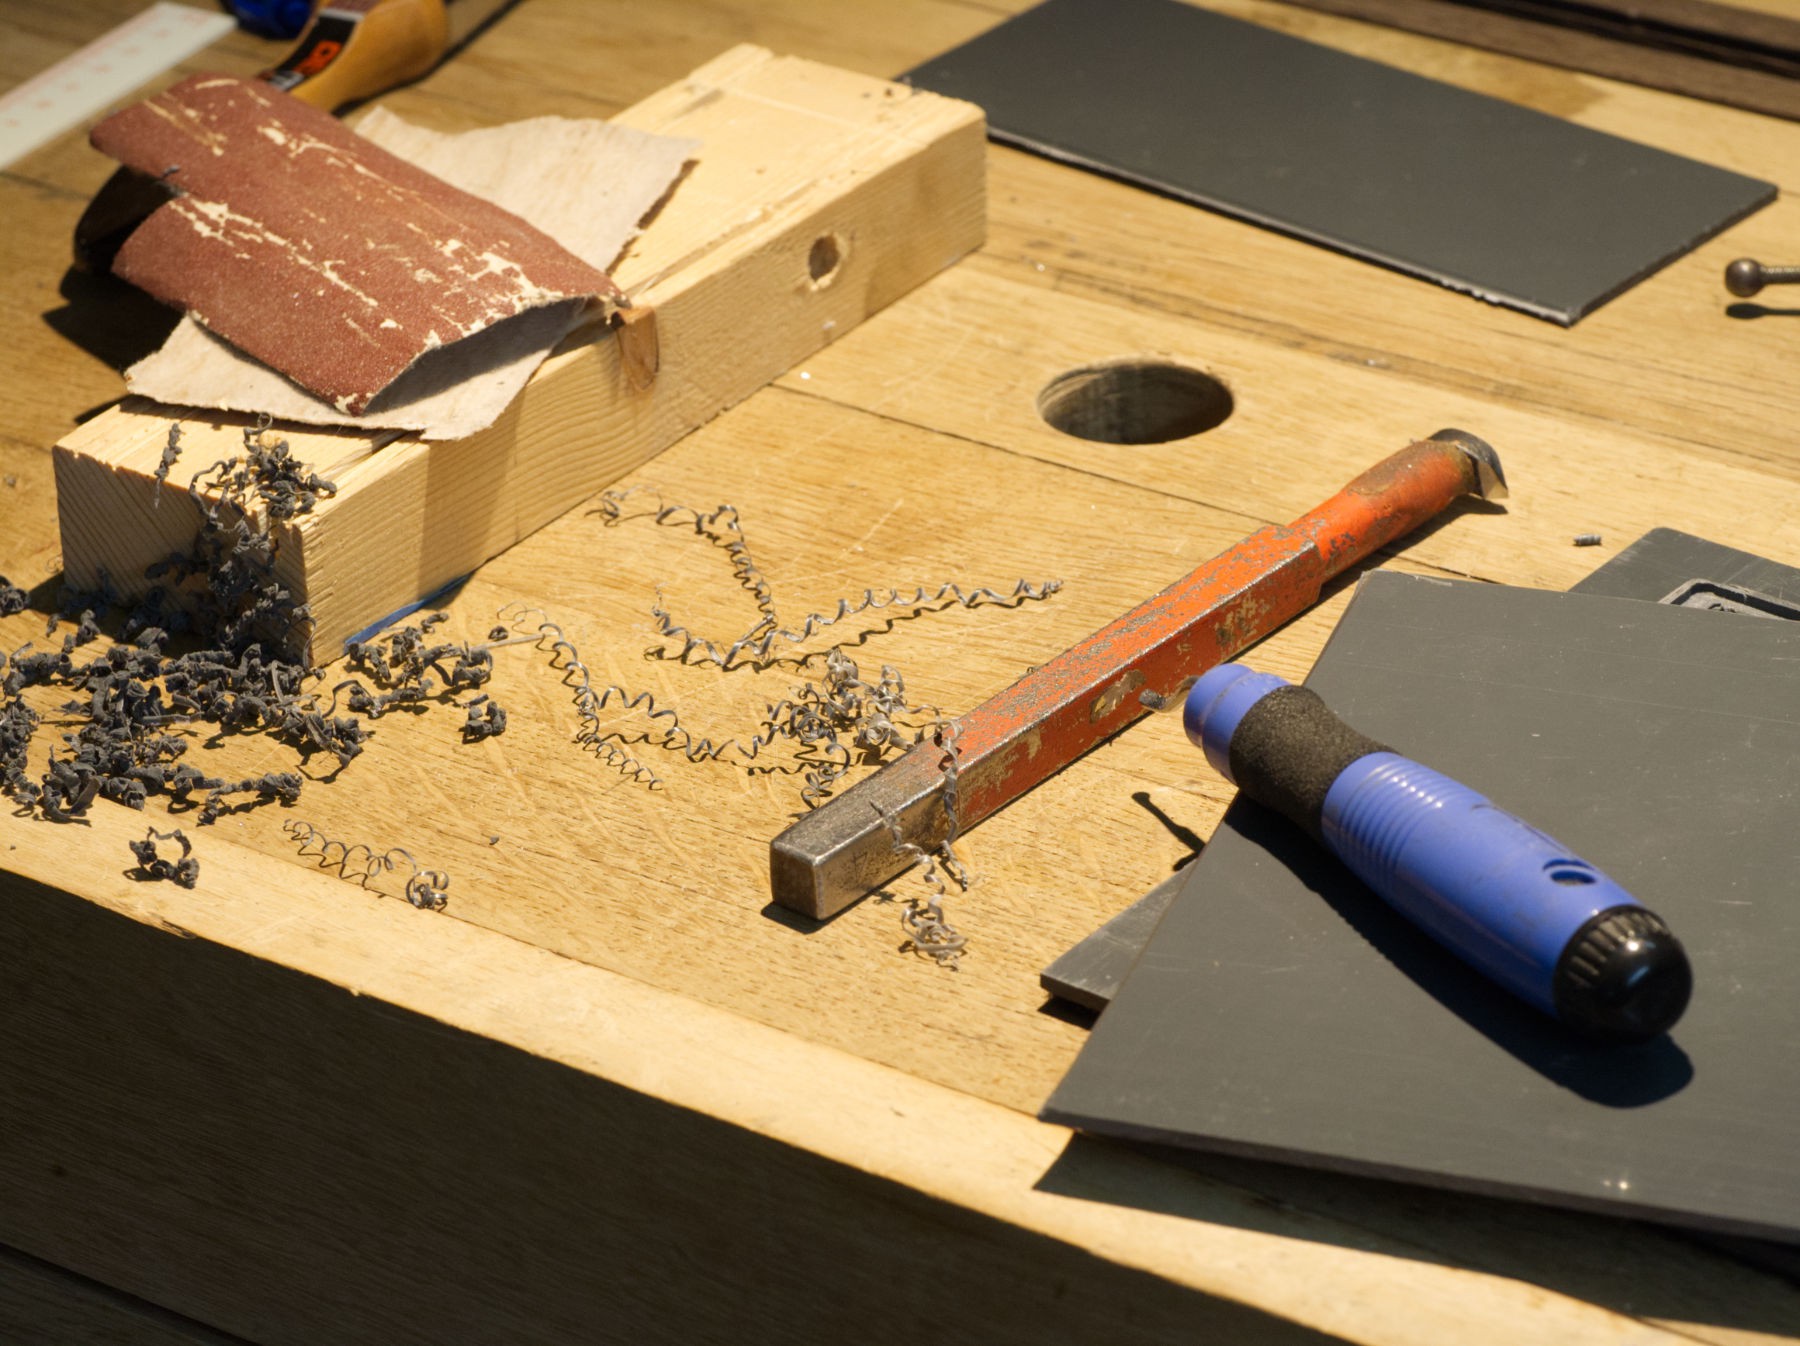
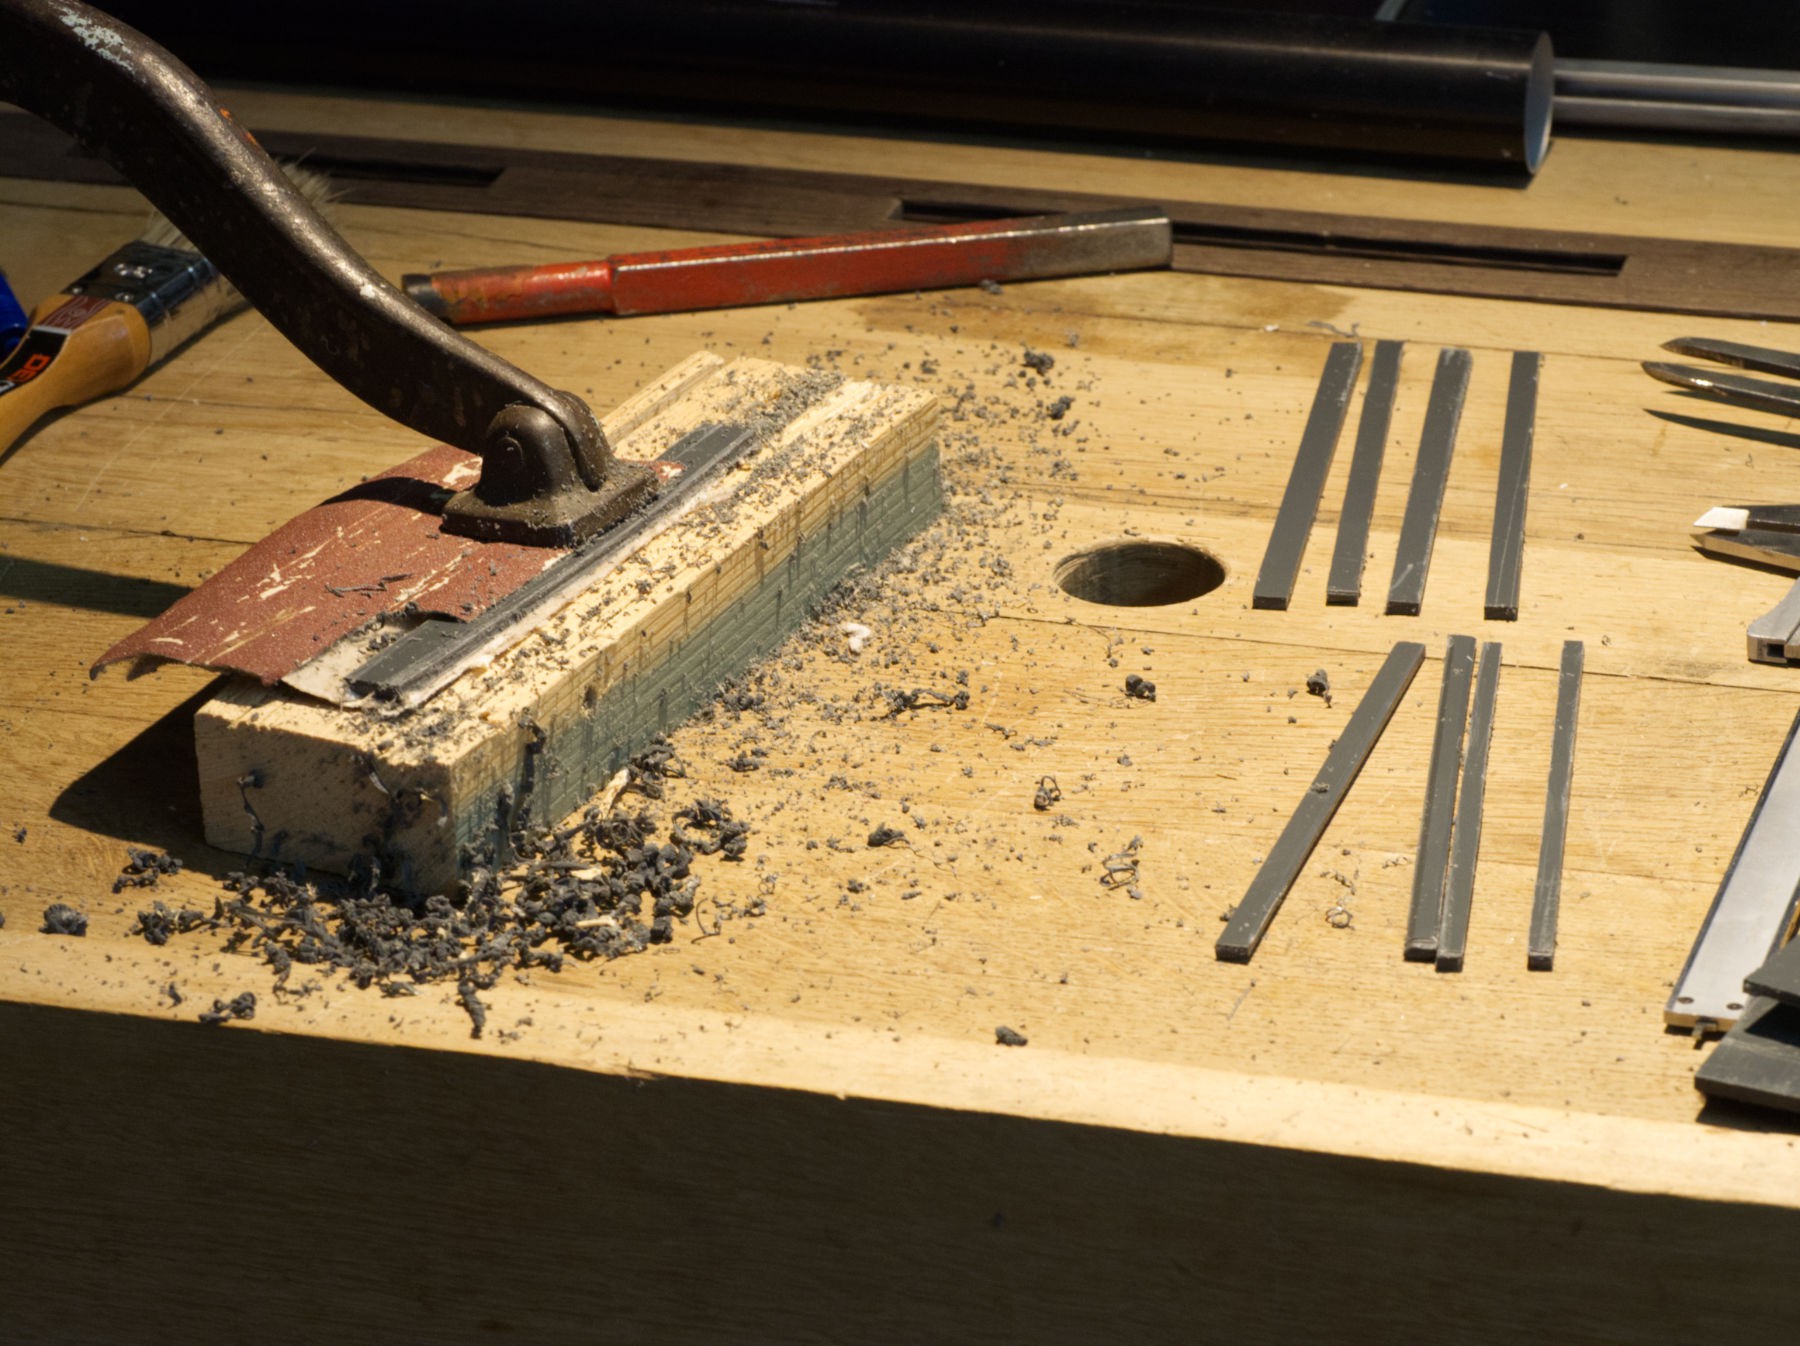
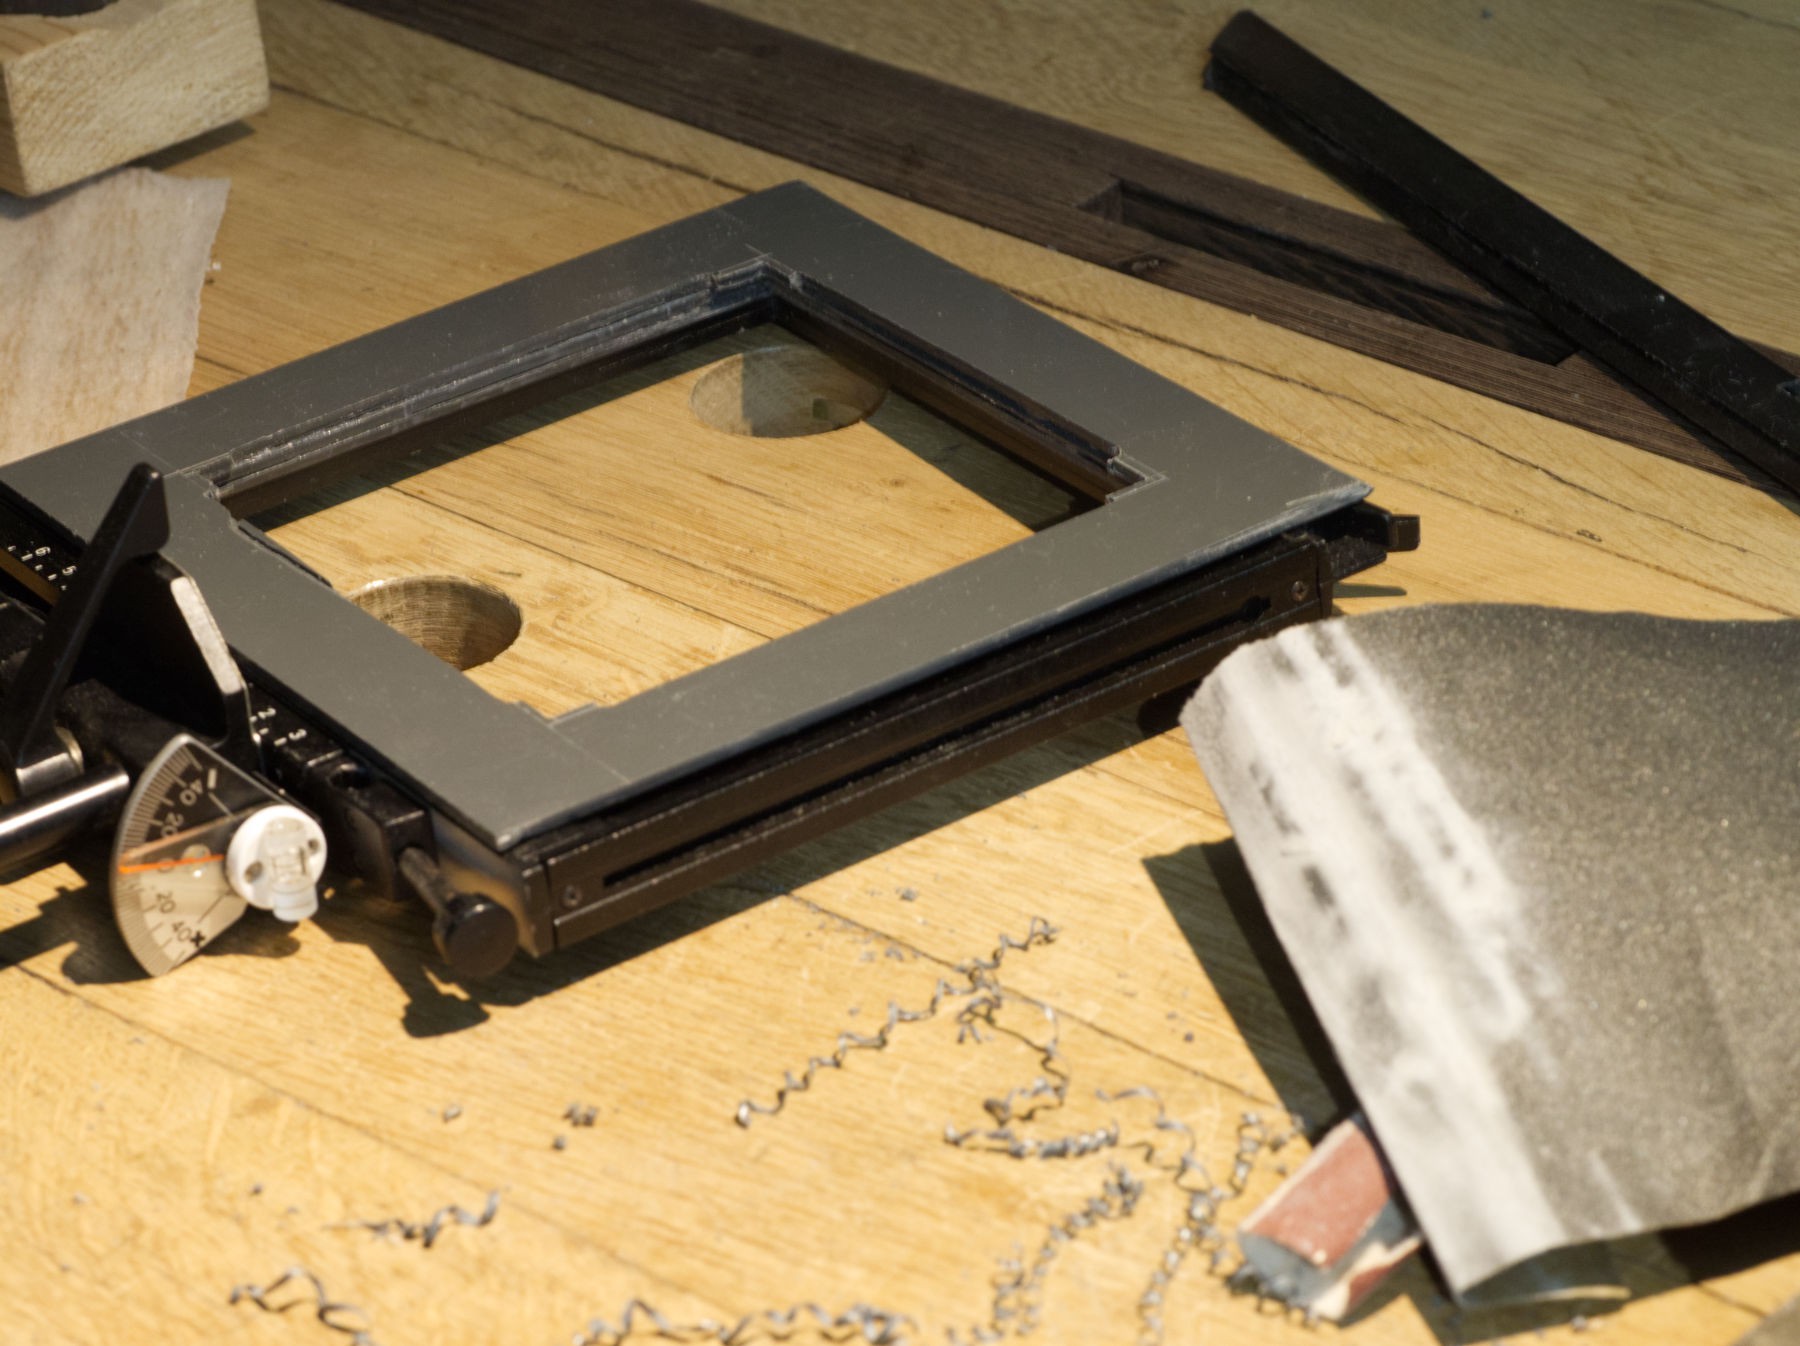
Cutting with the lathe tool and finishing the edge with the ébavureur (demurring toot), makes nice copeaux (chips).
![]()
Getting used to milling with the 2 mm tool.
![]()
Now I need 8 narrow strips, 4 for the first stage, and 4 for the top.
![]()
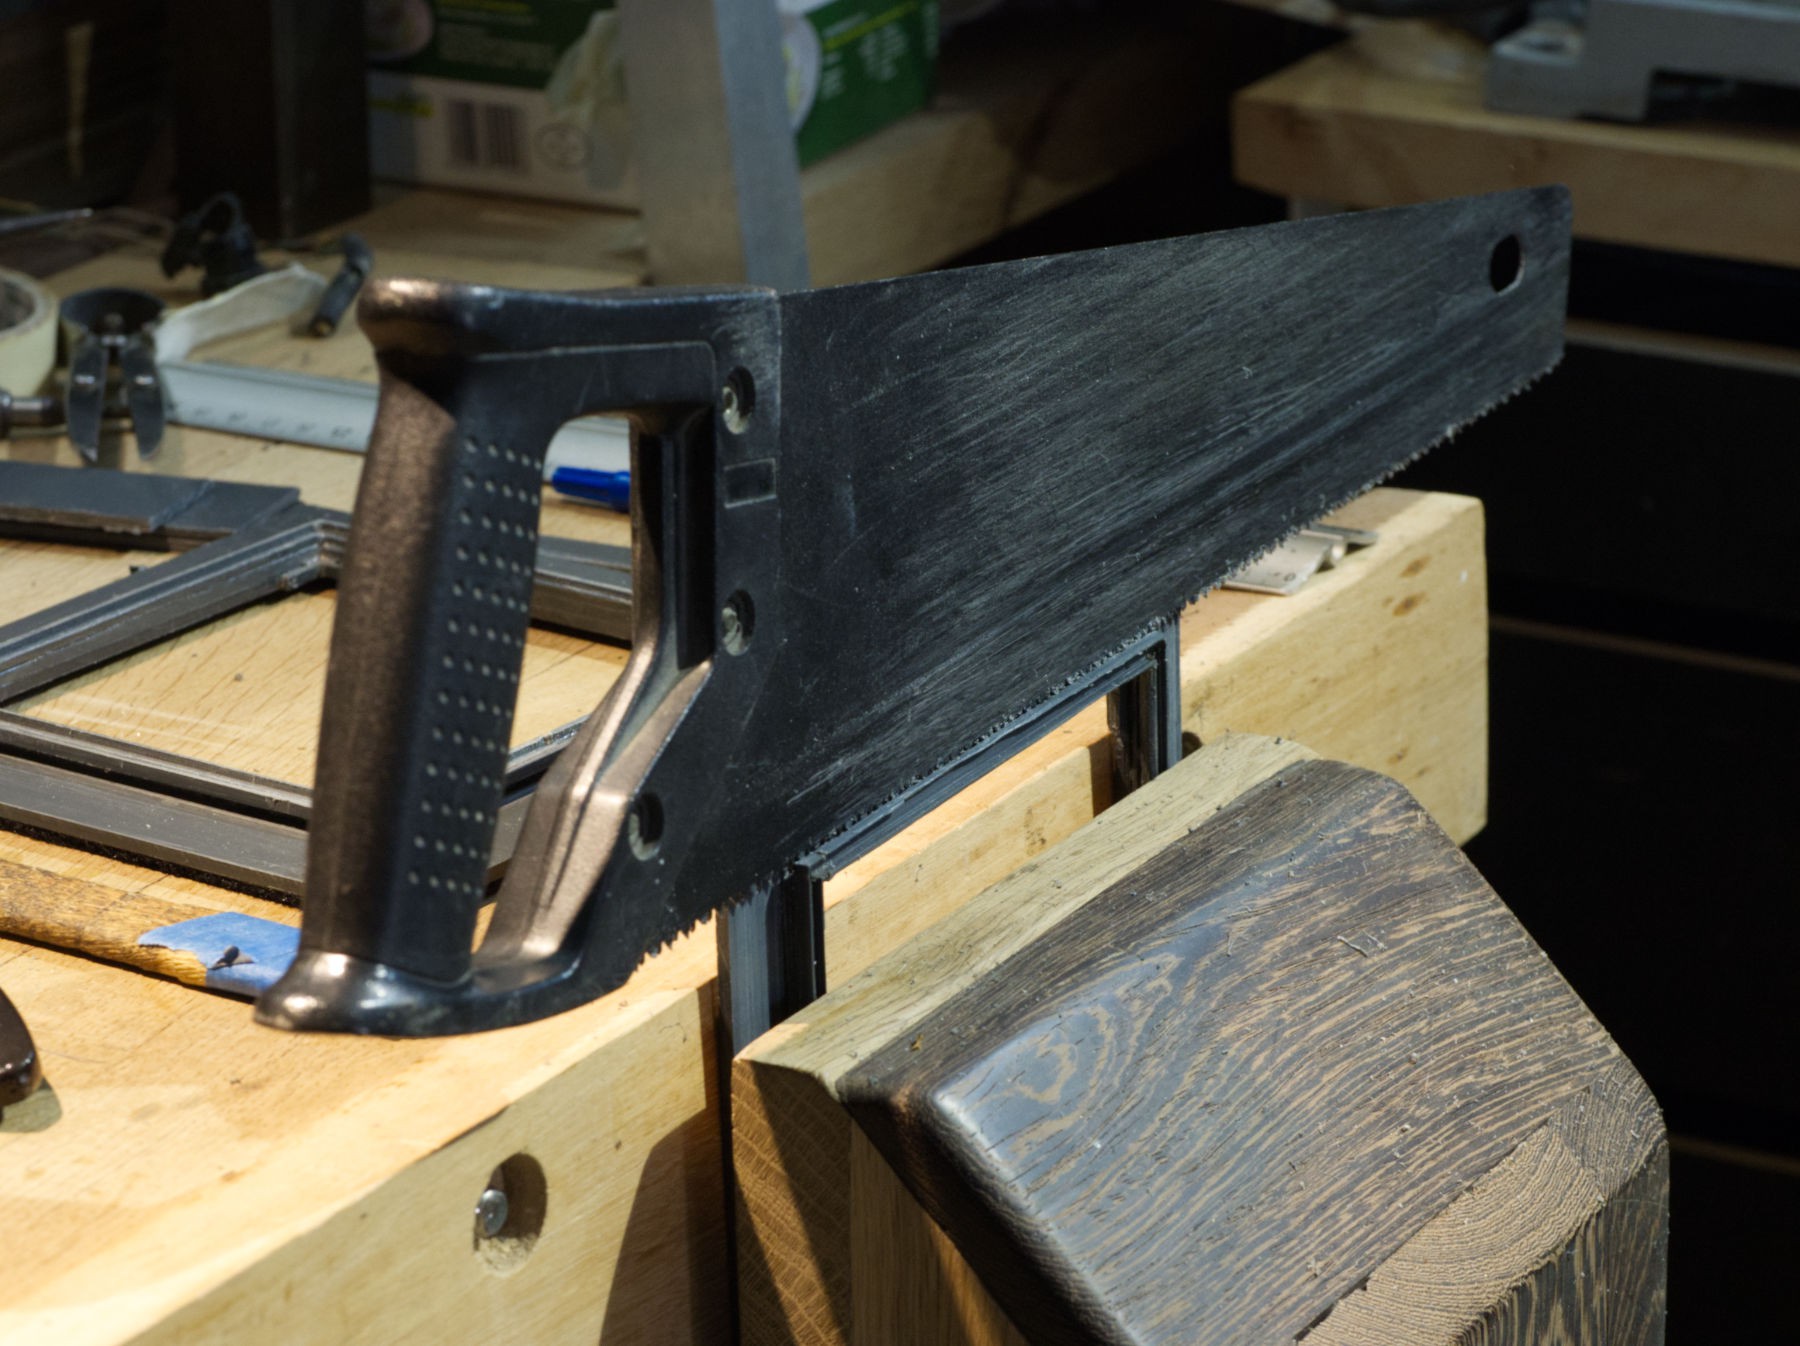
It takes more time but I've used the metal hand saw to have a strait edge.
![]()
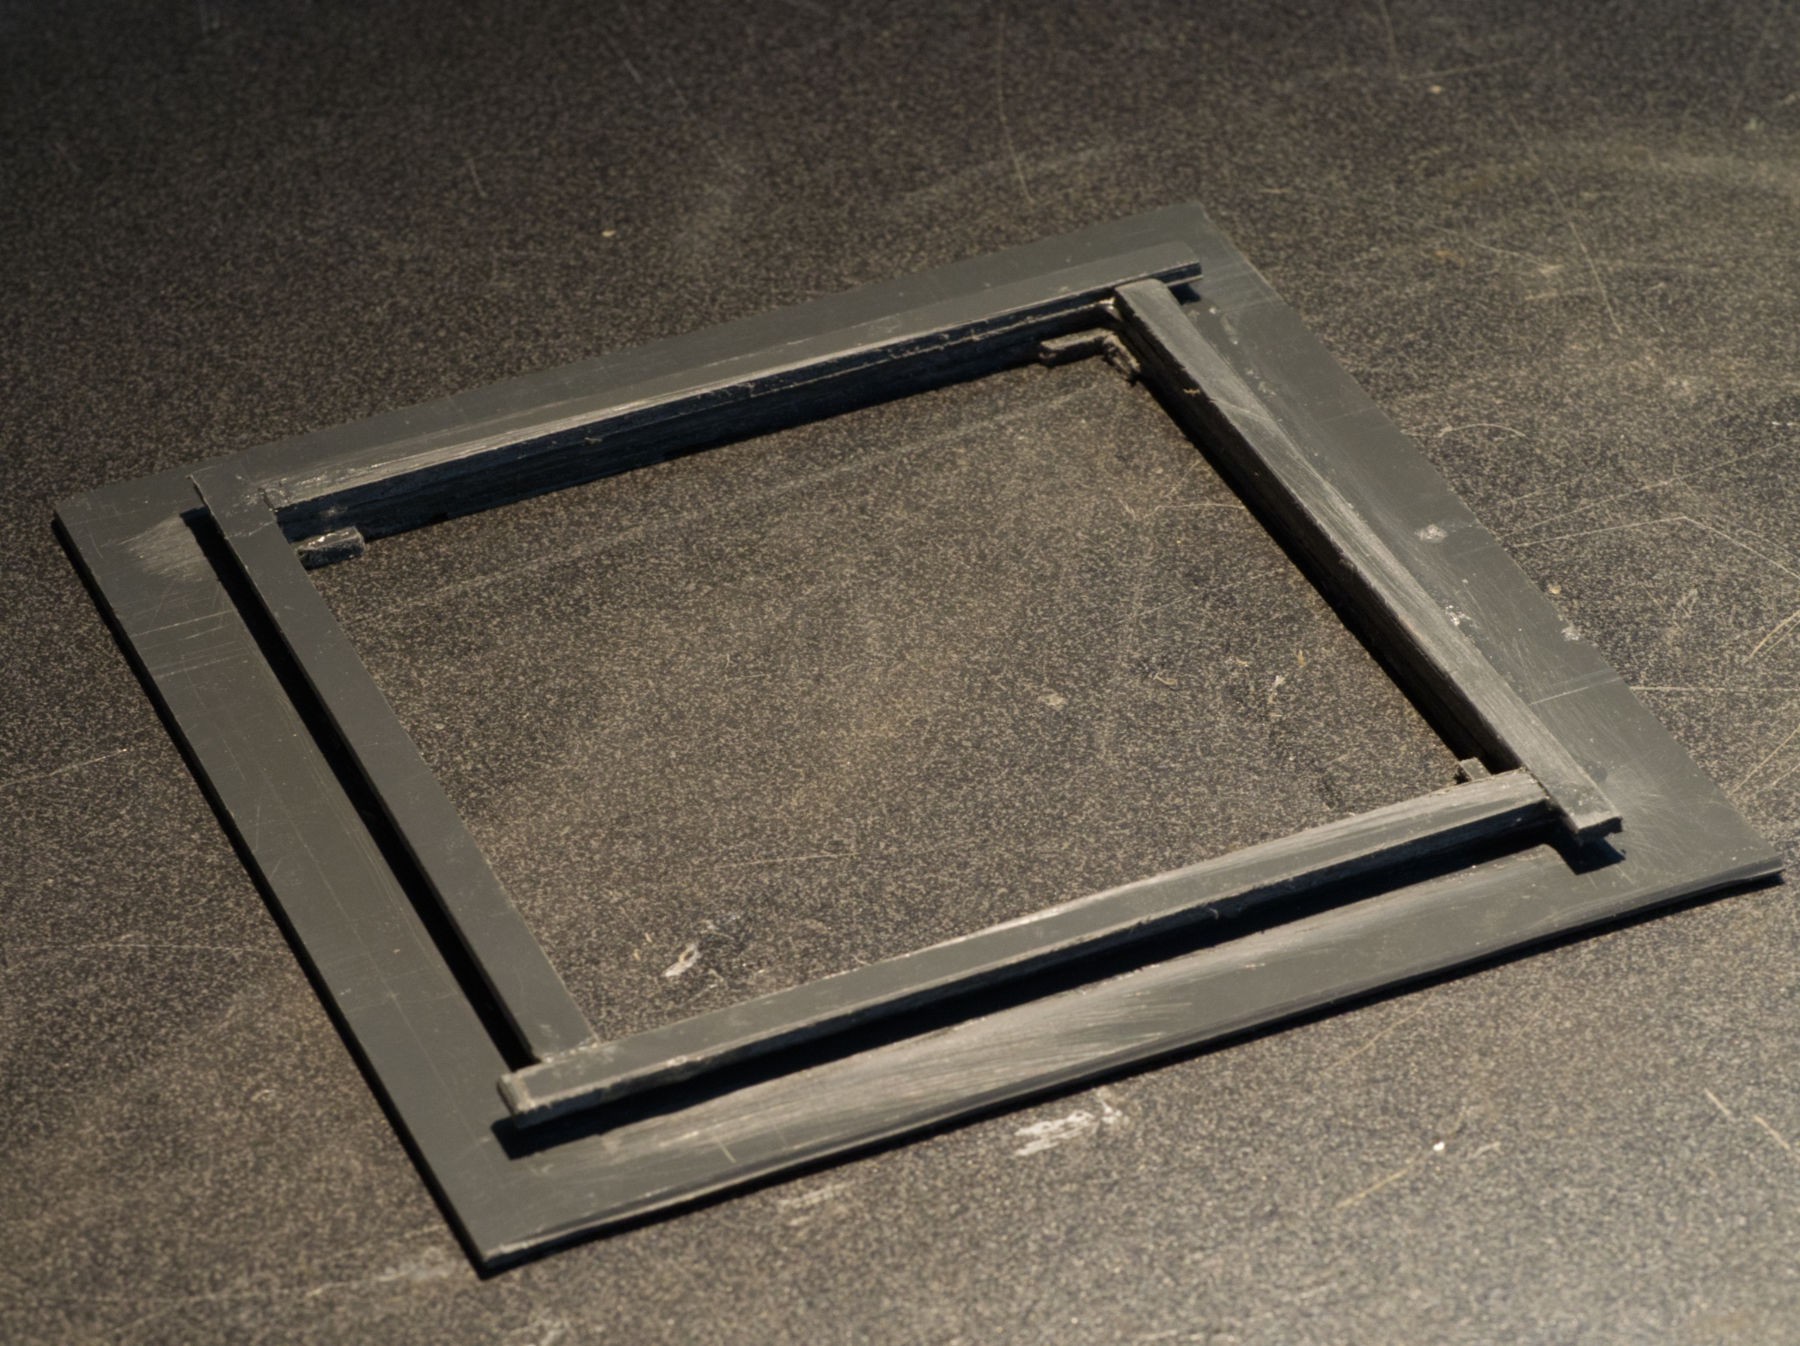
After welding/gluing.
![]()
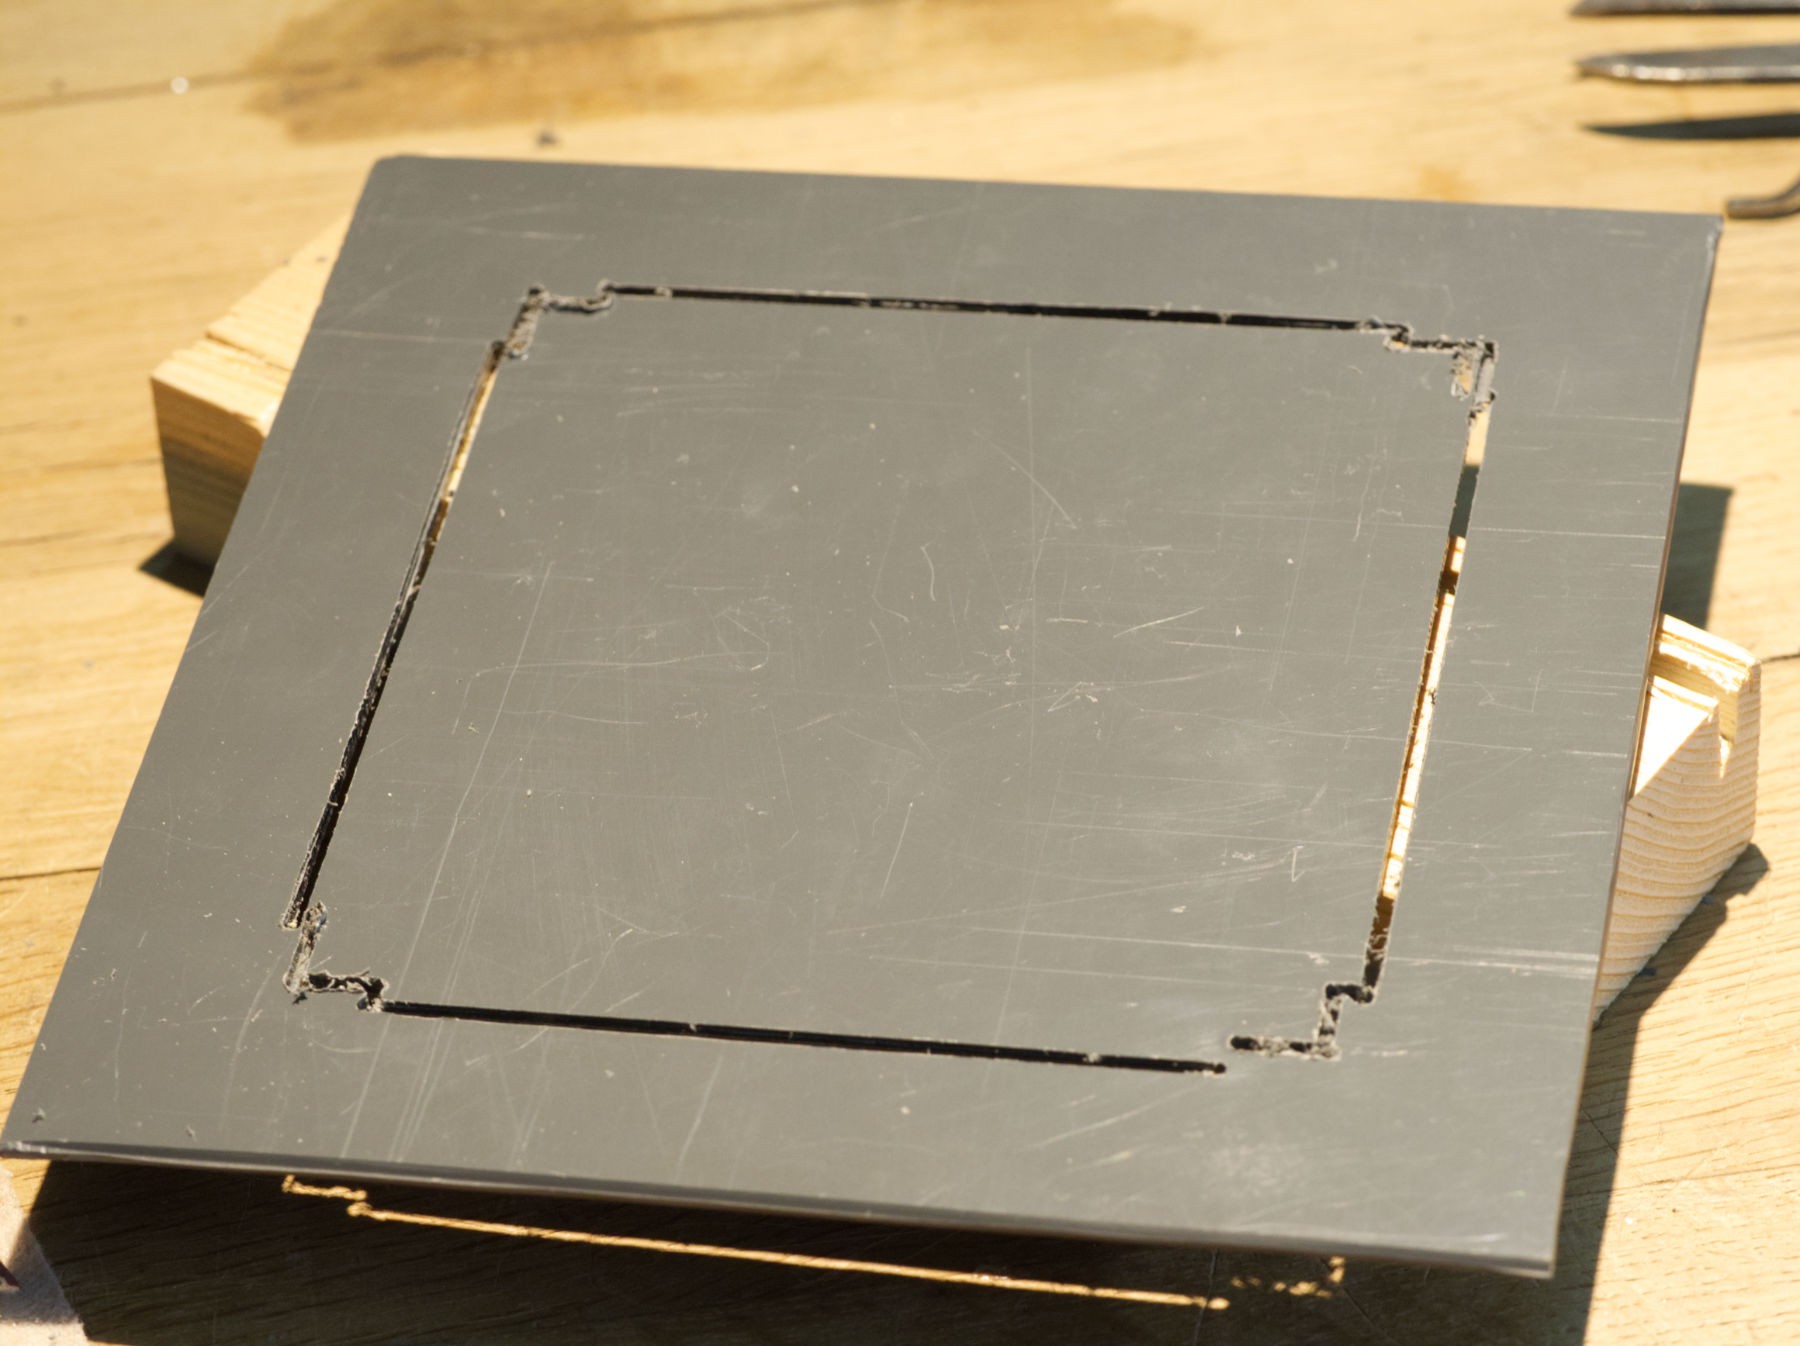
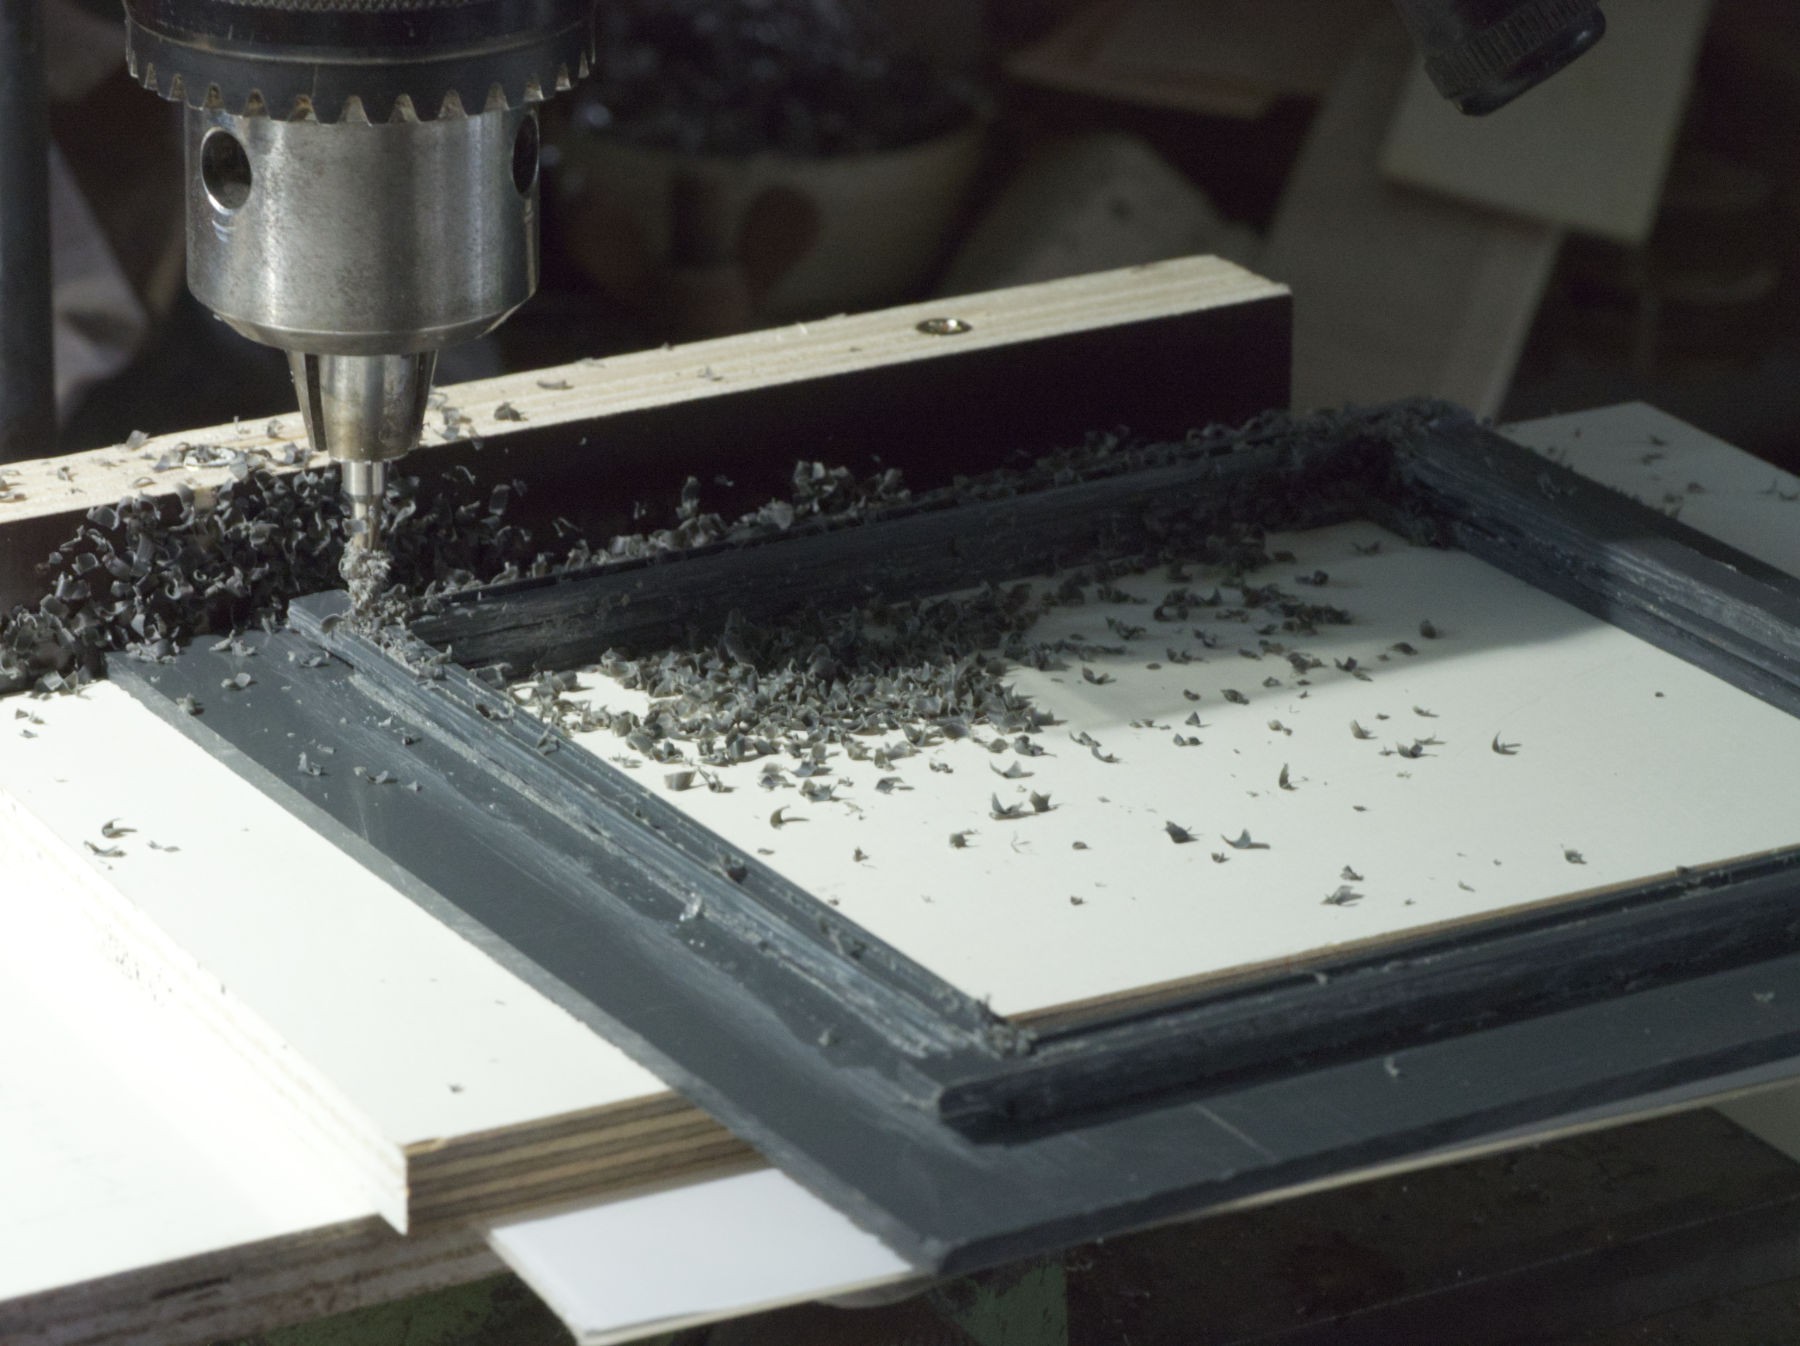
Milling the top groove.
![]()
Enlarging the inner groove, carefully.
![]()
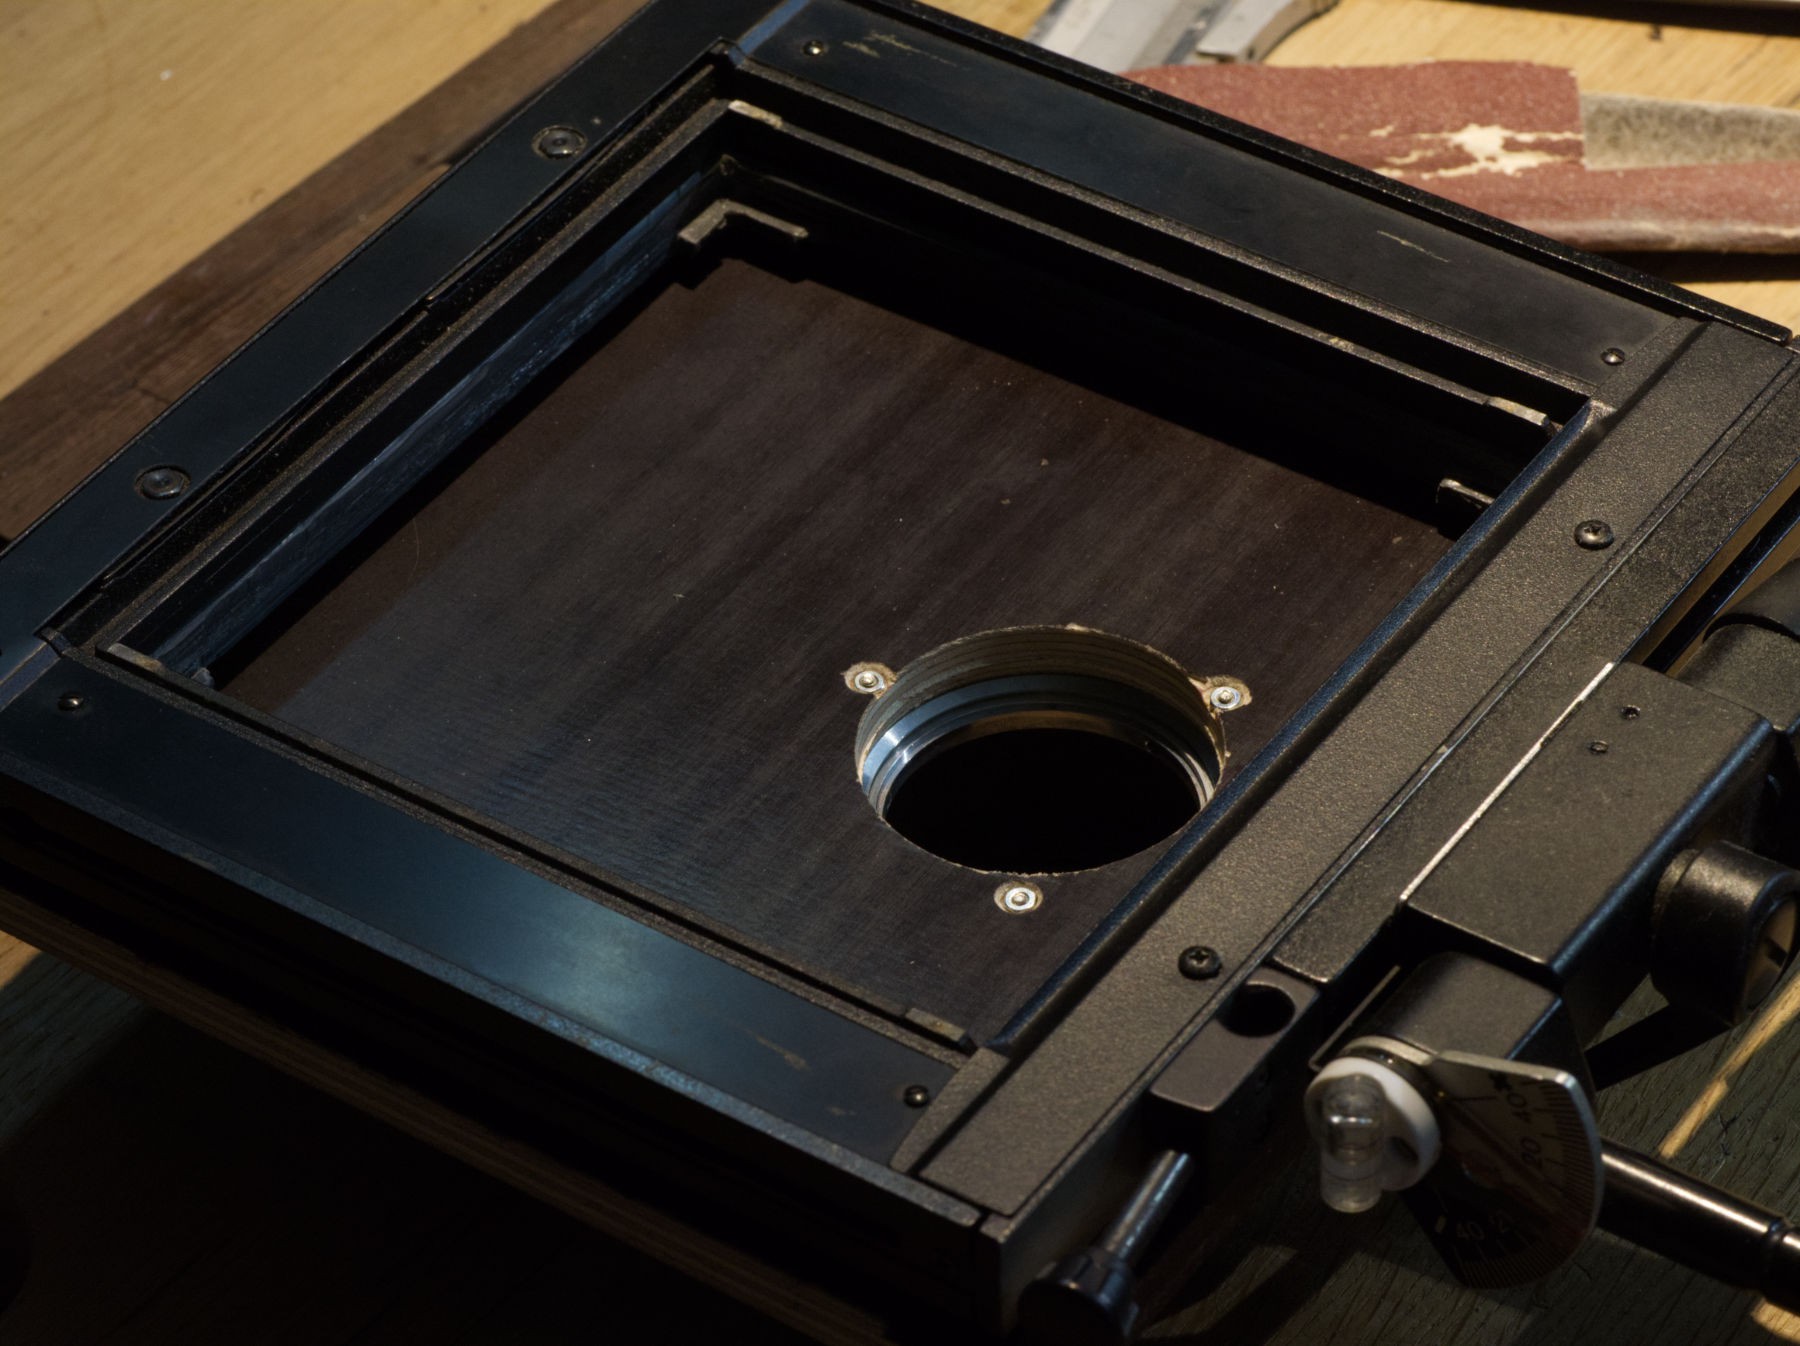
After sanding here and there, and again and again, it fits alright and tight on the Sinar.
![]()
The back of the thing, after velcroing both the board replica and the camera mounting plate, ready to go !
-
Reinforcement
05/17/2022 at 15:49 • 0 comments![]()
The rolling system's been tested and validated : the blade glides perfectly !
It must be strengthen by adding another screw on each of the four lower corners, only 1 M 3 screw for the violence of the movement is not serious at all, but I wasn't sure of the assembly, so I've been lazy.
![]()
I feel relieved.
![]()
That last screw on the front needed another tourne à gauche (taping tool) as I didn't want to disassemble everything, but it was close.
How to use an aerial 36 inches lens
the different steps involved to shoot with an aerial photographic (enormous) lens when you don't have the airplane to hold it
 [zit] Olivier Gade
