 Splendide_Mendax
-
1E-Paper Introduction
The 2.9” active area contains 296 x 128 pixels and has 1-bit white/black full display capabilities. An integrated circuit contains a gate buffer, source buffer, interface, timing control logic, oscillator, etc… are supplied with each panel.
You may refer to the official 2.9-inch e-Paper HAT(D) datasheet to know more information about this module. Front view of the e-Paper Module:
![1]()
-
2Connection wiring diagram
RTL8722DM / RTL8722CSM wiring diagram:
![1]()
![1]()
RTL8722DM MINI wiring diagram:
![1]()
![1]()
RTL8720DN(BW16) Wiring Diagram:
![1]()
![1]()
-
3Image preparation
Firstly, you need to prepare a picture/photo in the format of 296×128 pixels. We can easily find a photo resizing tool online, for example, the Online Image Resizer.
Following the instructions on the website, then download the generated image in JPG format.
Secondly, we use the Image2LCD tool to transfer the downloaded 296×128 image into hexadecimal codes. You can visit this YouTube link to get detailed instructions.
-
4Build and upload the example
Download the Eink zip library, AmebaEink.zip, at https://github.com/ambiot/ambd_arduino/tree/master/Arduino_zip_libraries
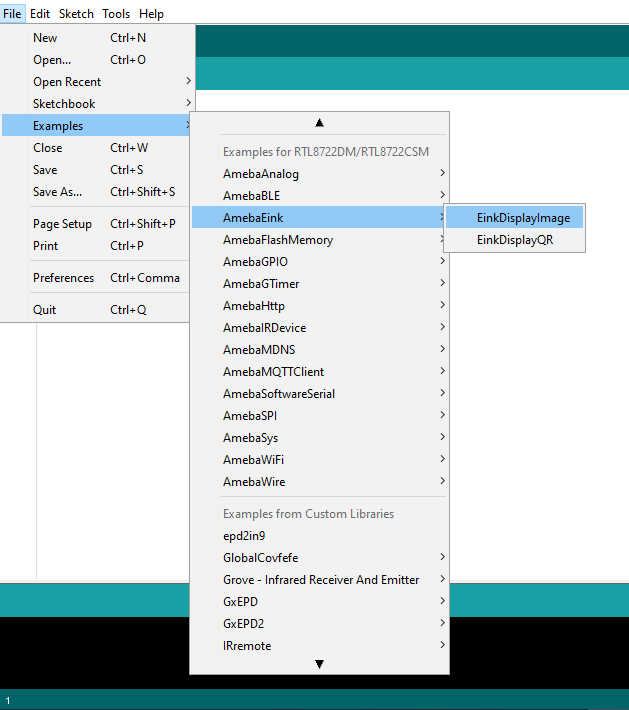
Then install the AmebaEink.zip. Open the “DisplayQR” example in “File” → “Examples” → “AmebaEink” → “EinkDisplayImage”:
![1]()
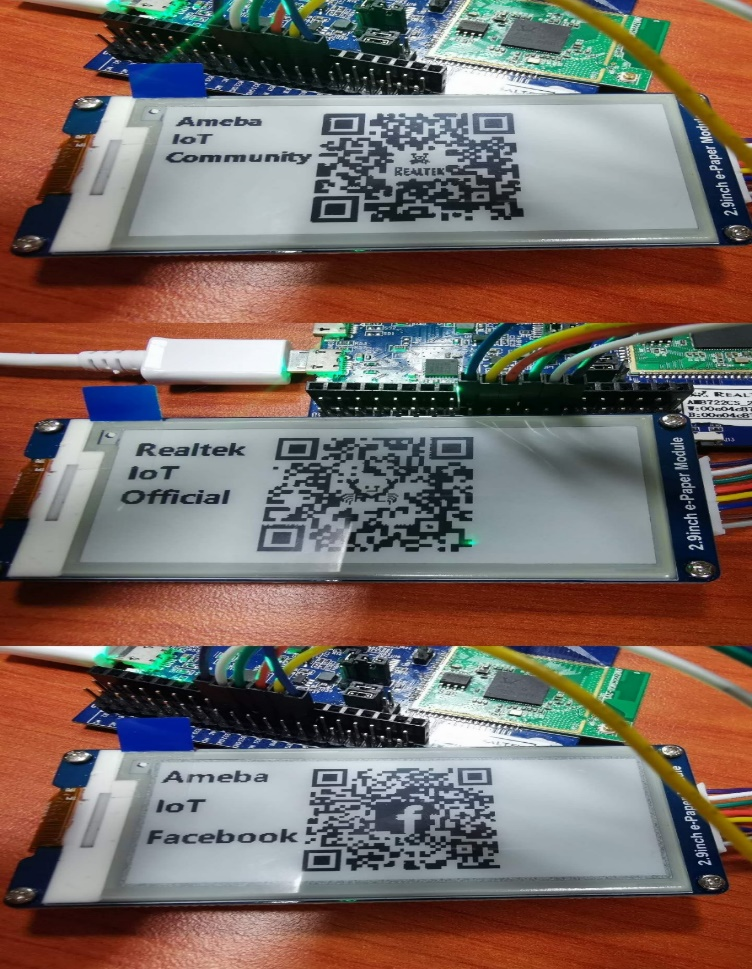
Press the reset button after uploading the sample code, you will need to wait for around 1-2 seconds for the e-Paper module to fresh its screen. Then the screen will start to display an image for 5 seconds first, then 3 different QR codes will be displayed every 5 seconds (showing in the screenshot below, you may scan the QR codes and find out more information if you wish to). Lastly, a gif that comes in form of 3 frames will be displayed for a few seconds.
![1]()
-
5Code Reference
[1] We use Good Display GDEH029A1 2.9 Inch / 296×128 Resolution / Partial Refresh Arduino Sample Code to get the e-Paper successfully Display:
http://www.good-display.com/product/201.html
[2] Provide the link to how to generate a QR code on the E-paper module:
https://eugeniopace.org/qrcode/arduino/eink/2019/07/01/qrcode-on-arduino.html -
6More References
Please visit the following websites for more details about the board & other examples:
- AmebaIoT Official Website: https://www.amebaiot.com/en/
- AmebaIoT Official FB Page: https://www.facebook.com/groups/AmebaIoT
- AmebaIoT Forum: https://forum.amebaiot.com/
AMB21/22/23 E-Paper Display Images
Ameba AMB21/22/23 boards are being used to connect to a Waveshare 2.9-inch e-Paper module for display.


Discussions
Become a Hackaday.io Member
Create an account to leave a comment. Already have an account? Log In.