-
Adding Games Over Wifi From Android
11/03/2024 at 20:00 • 0 commentsI finally got this up and running and have played a little bit of Pokemon Yellow Legacy. It's quite a good experience. What isn't a good experience is adding games to the SD card. I have a nice Linux laptop, so it's fairly easy for me to put in the SD card and drop files in. What's even easier is using Total Commander on my android phone to send new games and save files over wifi. Using the LAN plugin for Total Commander and enabling SMB makes transfers very easy.
In the advanced setting menus on the device, enable windows networking under Toggle Windows Network. Go to the Wi-Fi settings under RetroPie Options, connect to your network, and then reboot. Go back to the Wi-Fi settings and note the IP address at the top of the screen. Go to Total Commander, choose the LAN option towards the bottom, then Add New Server. Name it whatever you'd like, then continue to add the IP address, username, and password. The default username is pi and the default password is raspberry.
If all has gone well, you'll be able to connect to the device and move files into the rooms folders from an Android device. There is a bit of a learning curve to Total Commander, so see the documentation if you need to.
I find this method is plenty fast, and is so much more convenient than putting the SD card into another device.
The game save files are located in the folder with the rom files, so they're easy to move around as well.
I highly recommend setting this up. I'd love to find a way to automatically back up the save files and roma to a Google drive, but I'm not sure I'll get into that. For now it's good enough to copy the files to my phone and then upload them to my drive as needed.
I hope this helps someone.
-
Correcting Display Settings for Use With Pi Zero 2W
11/03/2024 at 17:30 • 0 commentsThe GPi Case is still a fantastic device, even in late 2024, and I've set about getting mine working again. I have a Raspberry Pi Zero 2W. The device is designed for the Zero W, and lacks native support for the 2W. An aesome user on reddit, by the name of SliverX created a fantasti software image that gets this device working with the newer Pi. The problem I encountered was that the display settings are incorrect and it causes the display to not work right. It is unusable. I went through all of the troubleshooting with the creator a few years ago and got it working. I never documented the exact fix for this, and it's come back to haunt me now... I'm here today to document this fix, correct the base image file, and upload a known working image, or at least the correct config.txt file, and finally share this fix for all. THe original creator on Reddit has deleted their account, sadly. They did great work for the niche community that uses this device, and were a joy to work with. I am quite sad to see them go. I decided to pick up the torch and finish what we started. They did upload a patch file, which I will include, but I have not been able to get it working, so I will continue to work on this and supply my own fix. I'll share the fix here in this log, as well as in the "Files" section of this project page. I might even upload this to my own blog.
As originally discussed with the creator, my solution was to change the HDMI timing settings in config.txt(located in the root of the Boot partition) to match those of the older 1.51 version of their image. For whatever reason, the timings in the latest 1.52t version were wrong. I installed the 1.51 version on a secondary SD card and compared the timings to those of the patch file. They match, which tells me that the patch should fix the display issues. the rotate field was also set to 1, instead of 0, which again tells me that both issues of rotation and screen formatting should be fixed by the patch. I could have just dropped in the patch file and tested, but I wanted to isolate these variables to see exactly what was wrong and how to fix it. I'll test my manual fixes and then drop in the patch file and see if it works as well.
My manual fix did not work, so that tells me the creator made more changes than just the HDMI timings. I'm not entirely sure what changes were made, and I won't dig into it now. What matters is that it works. The goal now is to modify the original disc image and upload it somewhere that people can get to it.
I got the display working, but now there is no audio... Working on that now. The system does not detect any audio devices. I know I had this working before, and I have no idea what changed. Version 1.51 seems to have working audio. Adding a ROM and confirming. Audio does work under version 1.51 on the GPi Case with a Raspberry Pi Zero 2W. It fails under version 1.52t with the patched config.txt file. Comparing the two config files to look for obvious changes. There could be changes beyond the config.txt file.
I noticed a change in the pin mapping parameters:
1.51: dtoverlay=audremap,pins_18_19,swap_lr
1.52t: dtoverlay=audremap,pins_18_19,enable_jack=on
I added the line in 1.52t in order to try to fix this, based on some research. Replacing it with the line from 1.51. This did not work.
1.52t contains the following line, whereas 1.51 does not. Removing it and testing:
dtoverlay=pwm-audio-pi-zero
That got audio working.
Disabling the following line to see if this has any effect on audio as well.
dtoverlay=audremap,pins_18_19,swap_lr
Disabling that line caused the audio output to fail. The combination of the following two lines are required to get audio working on a GPi Case with a Pi Zero 2 W using the Sliver X version 1.52t image.
I was working with a file other than the one in use on the device, so my changes weren't doing anything...The joy of random distractions. I managed to get the audio working, and am unsure how. I won't remove my mistakes from this log, as they're an important part of the story of me making super basic mistakes.
At this point, I'm very tired and have spent way too much time messing with this. Following are the settings in the config.txt file that I have confirmed are working:
# Version 1.52t
# For more options and information see
# http://www.raspberrypi.org/documentation/configuration/config-txt.md
# Some settings may impact device functionality. See link above for details# uncomment if you get no picture on HDMI for a default "safe" mode
#hdmi_safe=1# uncomment this if your display has a black border of unused pixels visible
# and your display can output without overscan
#disable_overscan=1# uncomment the following to adjust overscan. Use positive numbers if console
# goes off screen, and negative if there is too much border
#overscan_left=16
#overscan_right=16
#overscan_top=16
#overscan_bottom=16# uncomment to force a console size. By default it will be display's size minus
# overscan.
#framebuffer_width=1280
#framebuffer_height=720# uncomment if hdmi display is not detected and composite is being output
#hdmi_force_hotplug=1# uncomment to force a specific HDMI mode (this will force VGA)
#hdmi_group=1
#hdmi_mode=1# uncomment to force a HDMI mode rather than DVI. This can make audio work in
# DMT (computer monitor) modes
#hdmi_drive=2# uncomment to increase signal to HDMI, if you have interference, blanking, or
# no display
#config_hdmi_boost=4# uncomment for composite PAL
#sdtv_mode=2#uncomment to overclock the arm. 700 MHz is the default.
#arm_freq=800# Uncomment some or all of these to enable the optional hardware interfaces
#dtparam=i2c_arm=on
#dtparam=i2s=on
#dtparam=spi=on# Uncomment this to enable the lirc-rpi module
#dtoverlay=lirc-rpi# Additional overlays and parameters are documented /boot/overlays/README
# Enable audio (loads snd_bcm2835)
dtparam=audio=on#config_hdmi_boost=0
# force hdmi while the tv can take time before sending the signal on the hdmi output
#hdmi_force_hotplug=1# uncomment for composite PAL
#sdtv_mode=2# uncomment for lirc-rpi
#dtoverlay=lirc-rpi# if you plug your tv at the same time as your rpi and that the rpi switches from the hdmi or give a low resolution because tv had no enough time to initialize it
boot_delay=3# uncomment if you don't want the rainbow at startup
disable_splash=1# default CEC name
cec_osd_name=recalbox# Overclock
gpu_mem_256=128
gpu_mem_512=256
gpu_mem_1024=512avoid_safe_mode=1
kernel=zImage
dtoverlay=audremap,pins_18_19,enable_jack=on
#dtparam=audio=on
display_rotate=1
dtoverlay=dpi24
overscan_left=0
overscan_right=0
overscan_top=0
overscan_bottom=0
framebuffer_width=320
framebuffer_height=240
enable_dpi_lcd=1
display_default_lcd=1
dpi_group=2
dpi_mode=87
dpi_output_format=0x6016
#hdmi_timings=320 0 28 18 28 480 0 2 2 4 0 0 0 60 0 32000000 6
hdmi_timings=240 1 38 10 20 320 1 20 4 4 0 0 0 60 0 6400000 1
dtoverlay=pwm-2chan,pin=18,func=2,pin2=19,func2=2
disable_pvt=1
disable_audio_dither=1
dtoverlay=pwm-audio-pi-zero -
Custom Splash Screen: Rick Roll
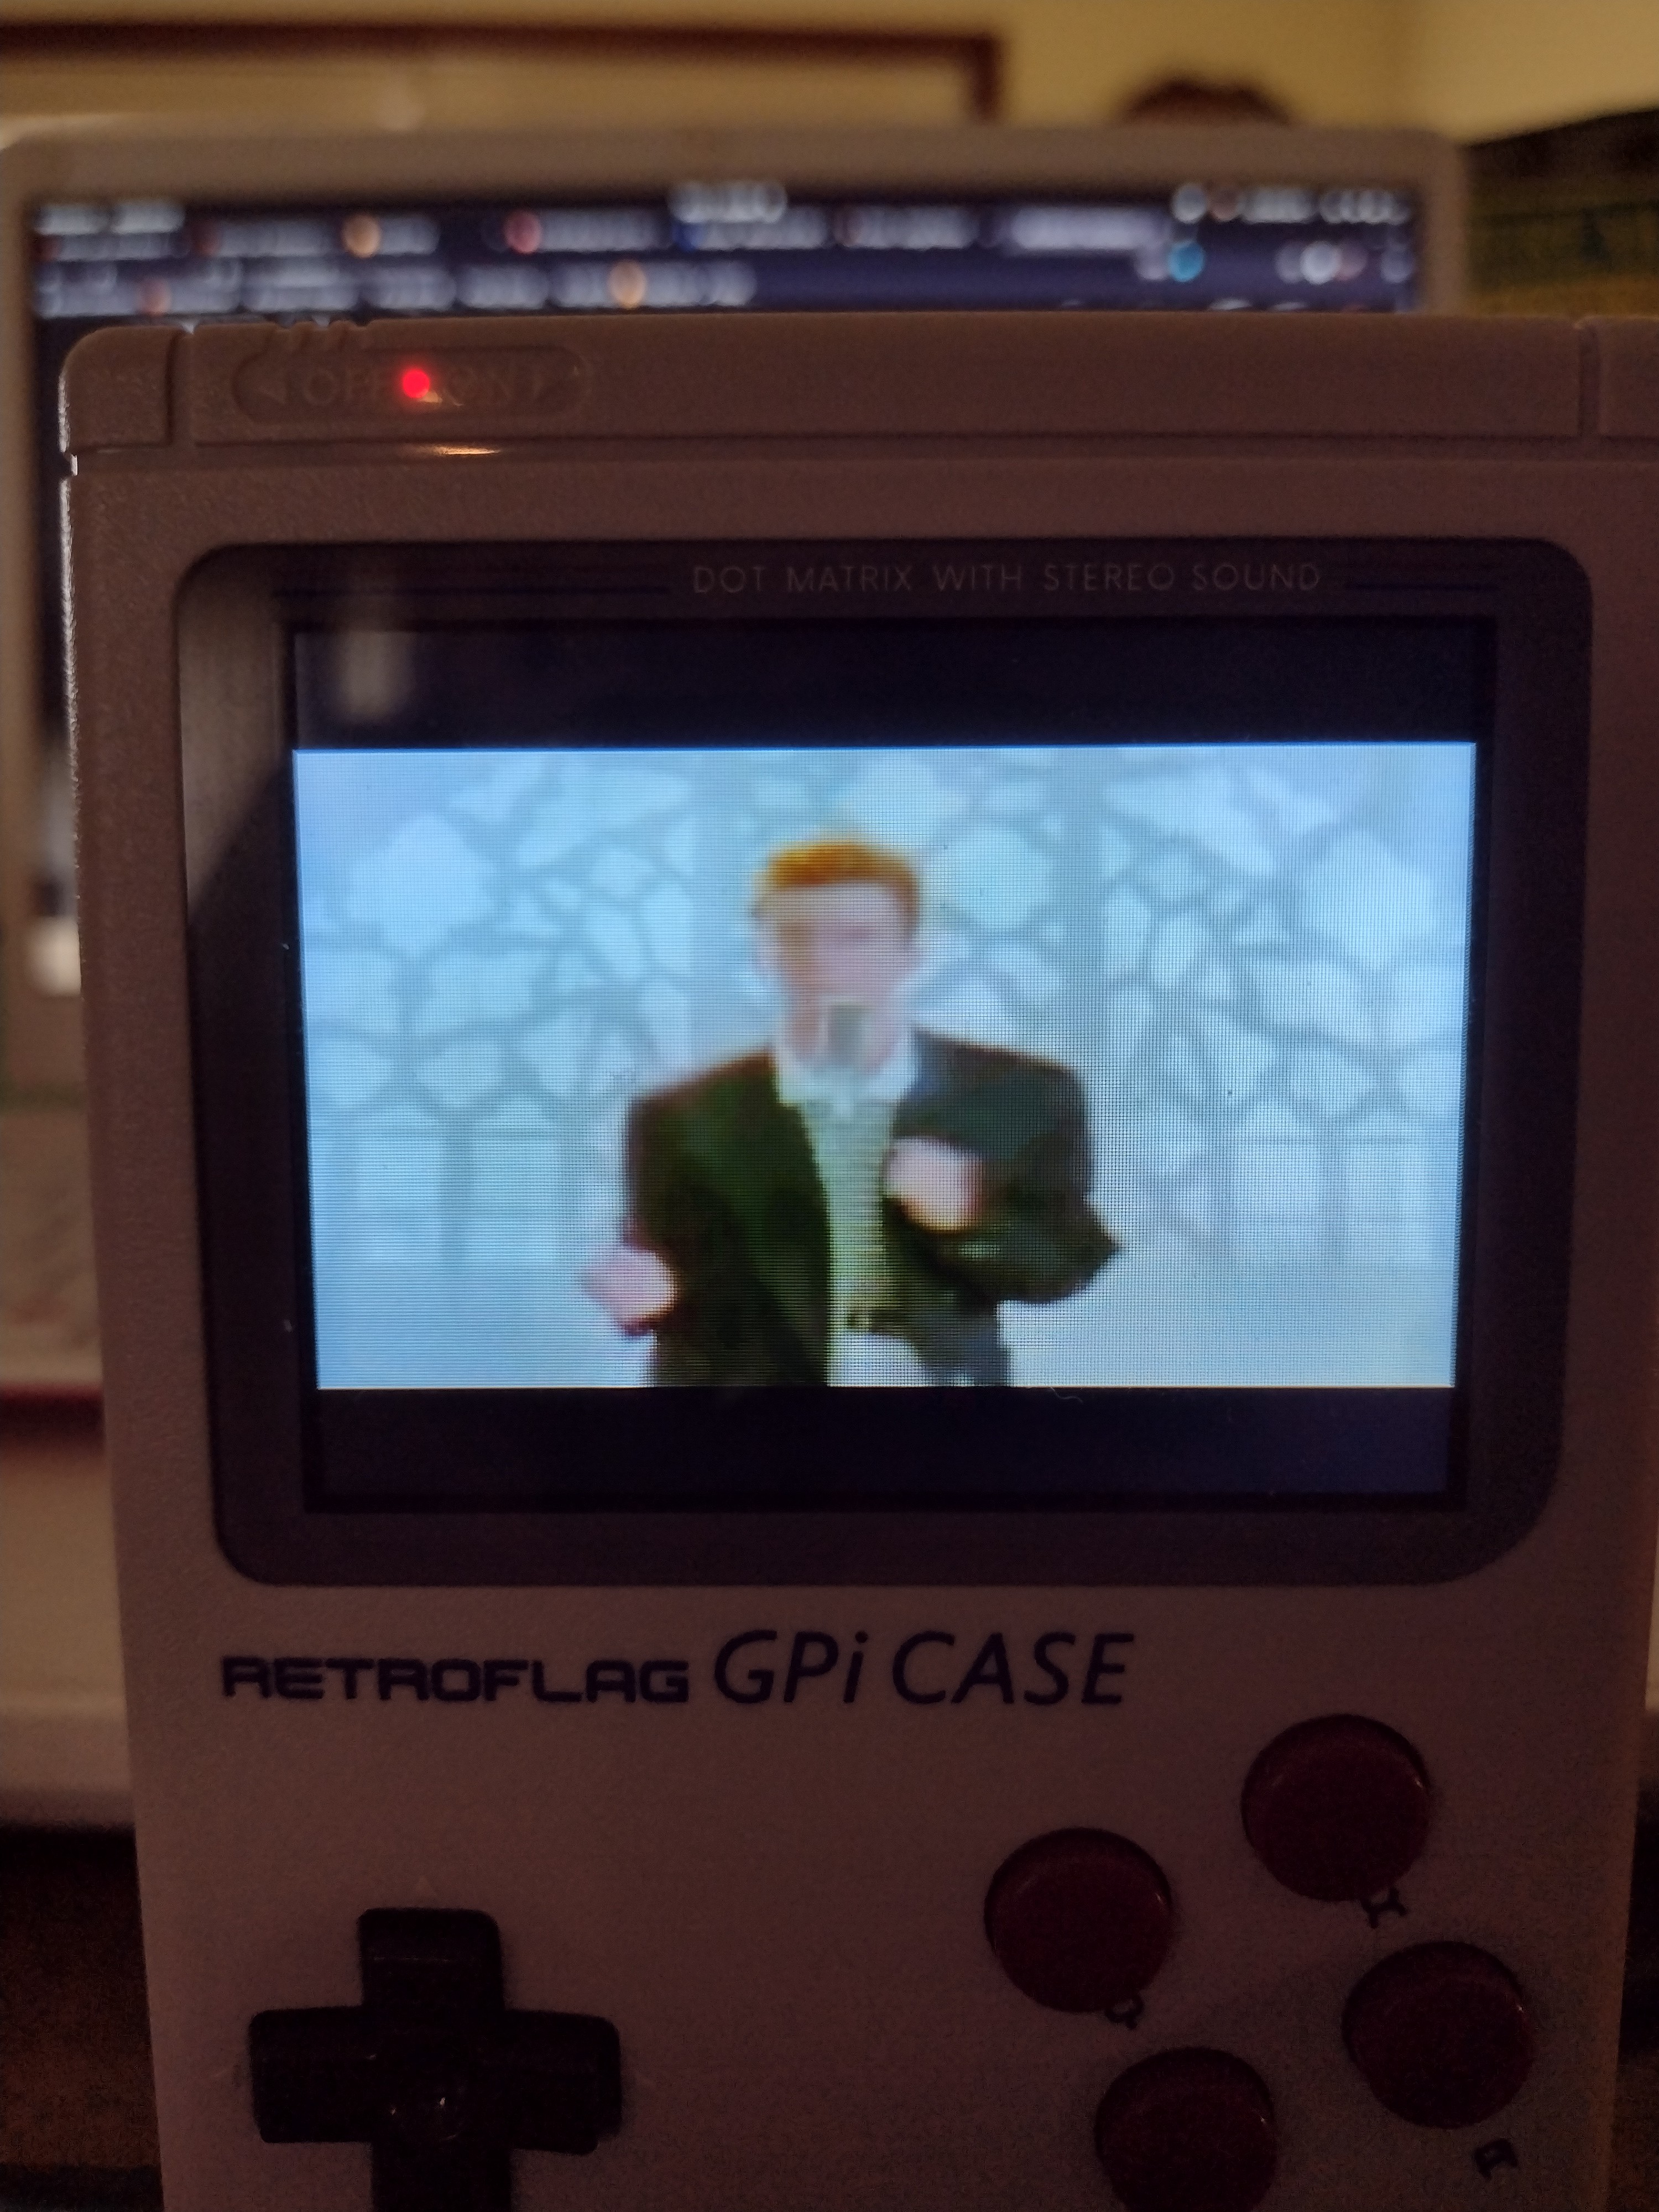
05/07/2022 at 19:55 • 0 commentsI finally had some free time to just play around with random stuff. I ended up taking the first 10 seconds of the classic Rick Astley video and turning it into a splash screen for my GPi Case. Now I, or anyone I hand this device over to, will get Rick Rolled. Dumb, but fun. I now know how to make custom startup screens for this thing, which is quite fun. I also made a custom start up image that shows right before the video starts. Video quality isn't great to begin with, and it gets worse after being compressed to 320x240 resolution and played on the tiny screen. The screen is actually quite good, but I started with a garbage quality video file that I feel makes it even more hilarious.
![]()
I hope someone else finds this as funny as I do. If so, I have the file o the main page for download as a zip file.
Unzip, drop the "starfield" folder into the following folder, overwriting the original:
retropie/home/pi/RetroPie/splashscreens
Will load the splash screen image, then play this video clip with audio.
The initial spalsh screen image is located under the "boot" partition on the SD card, and is named "splash.png". I took one of my favorite images, added funny text in Inkscape, then resized it to 320x240 pixels and exported as "splash.png" and dropped it into the folder above.
I'm sure there are more proper ways to do this, but I'm lazy and it works for me. I'd love to get all the little bugs worked out of the already excellent GPi Zero 2 OS image by Sliver X and release it and the changes so more people can enjoy this excellent little system. If you already have a Pi Zero 2W, I highly recommend getting the GPi Case ad playing around with it. Seeing a standard mp4 video play was promising, and is motivating me to get Kodi working on the system. I want to watch TV on my GameBoy.
GPi Case + Raspberry Pi Zero 2 W
Using a Pi Zero 2 W with the Retroflag GPi Case