 Sean Billups
-
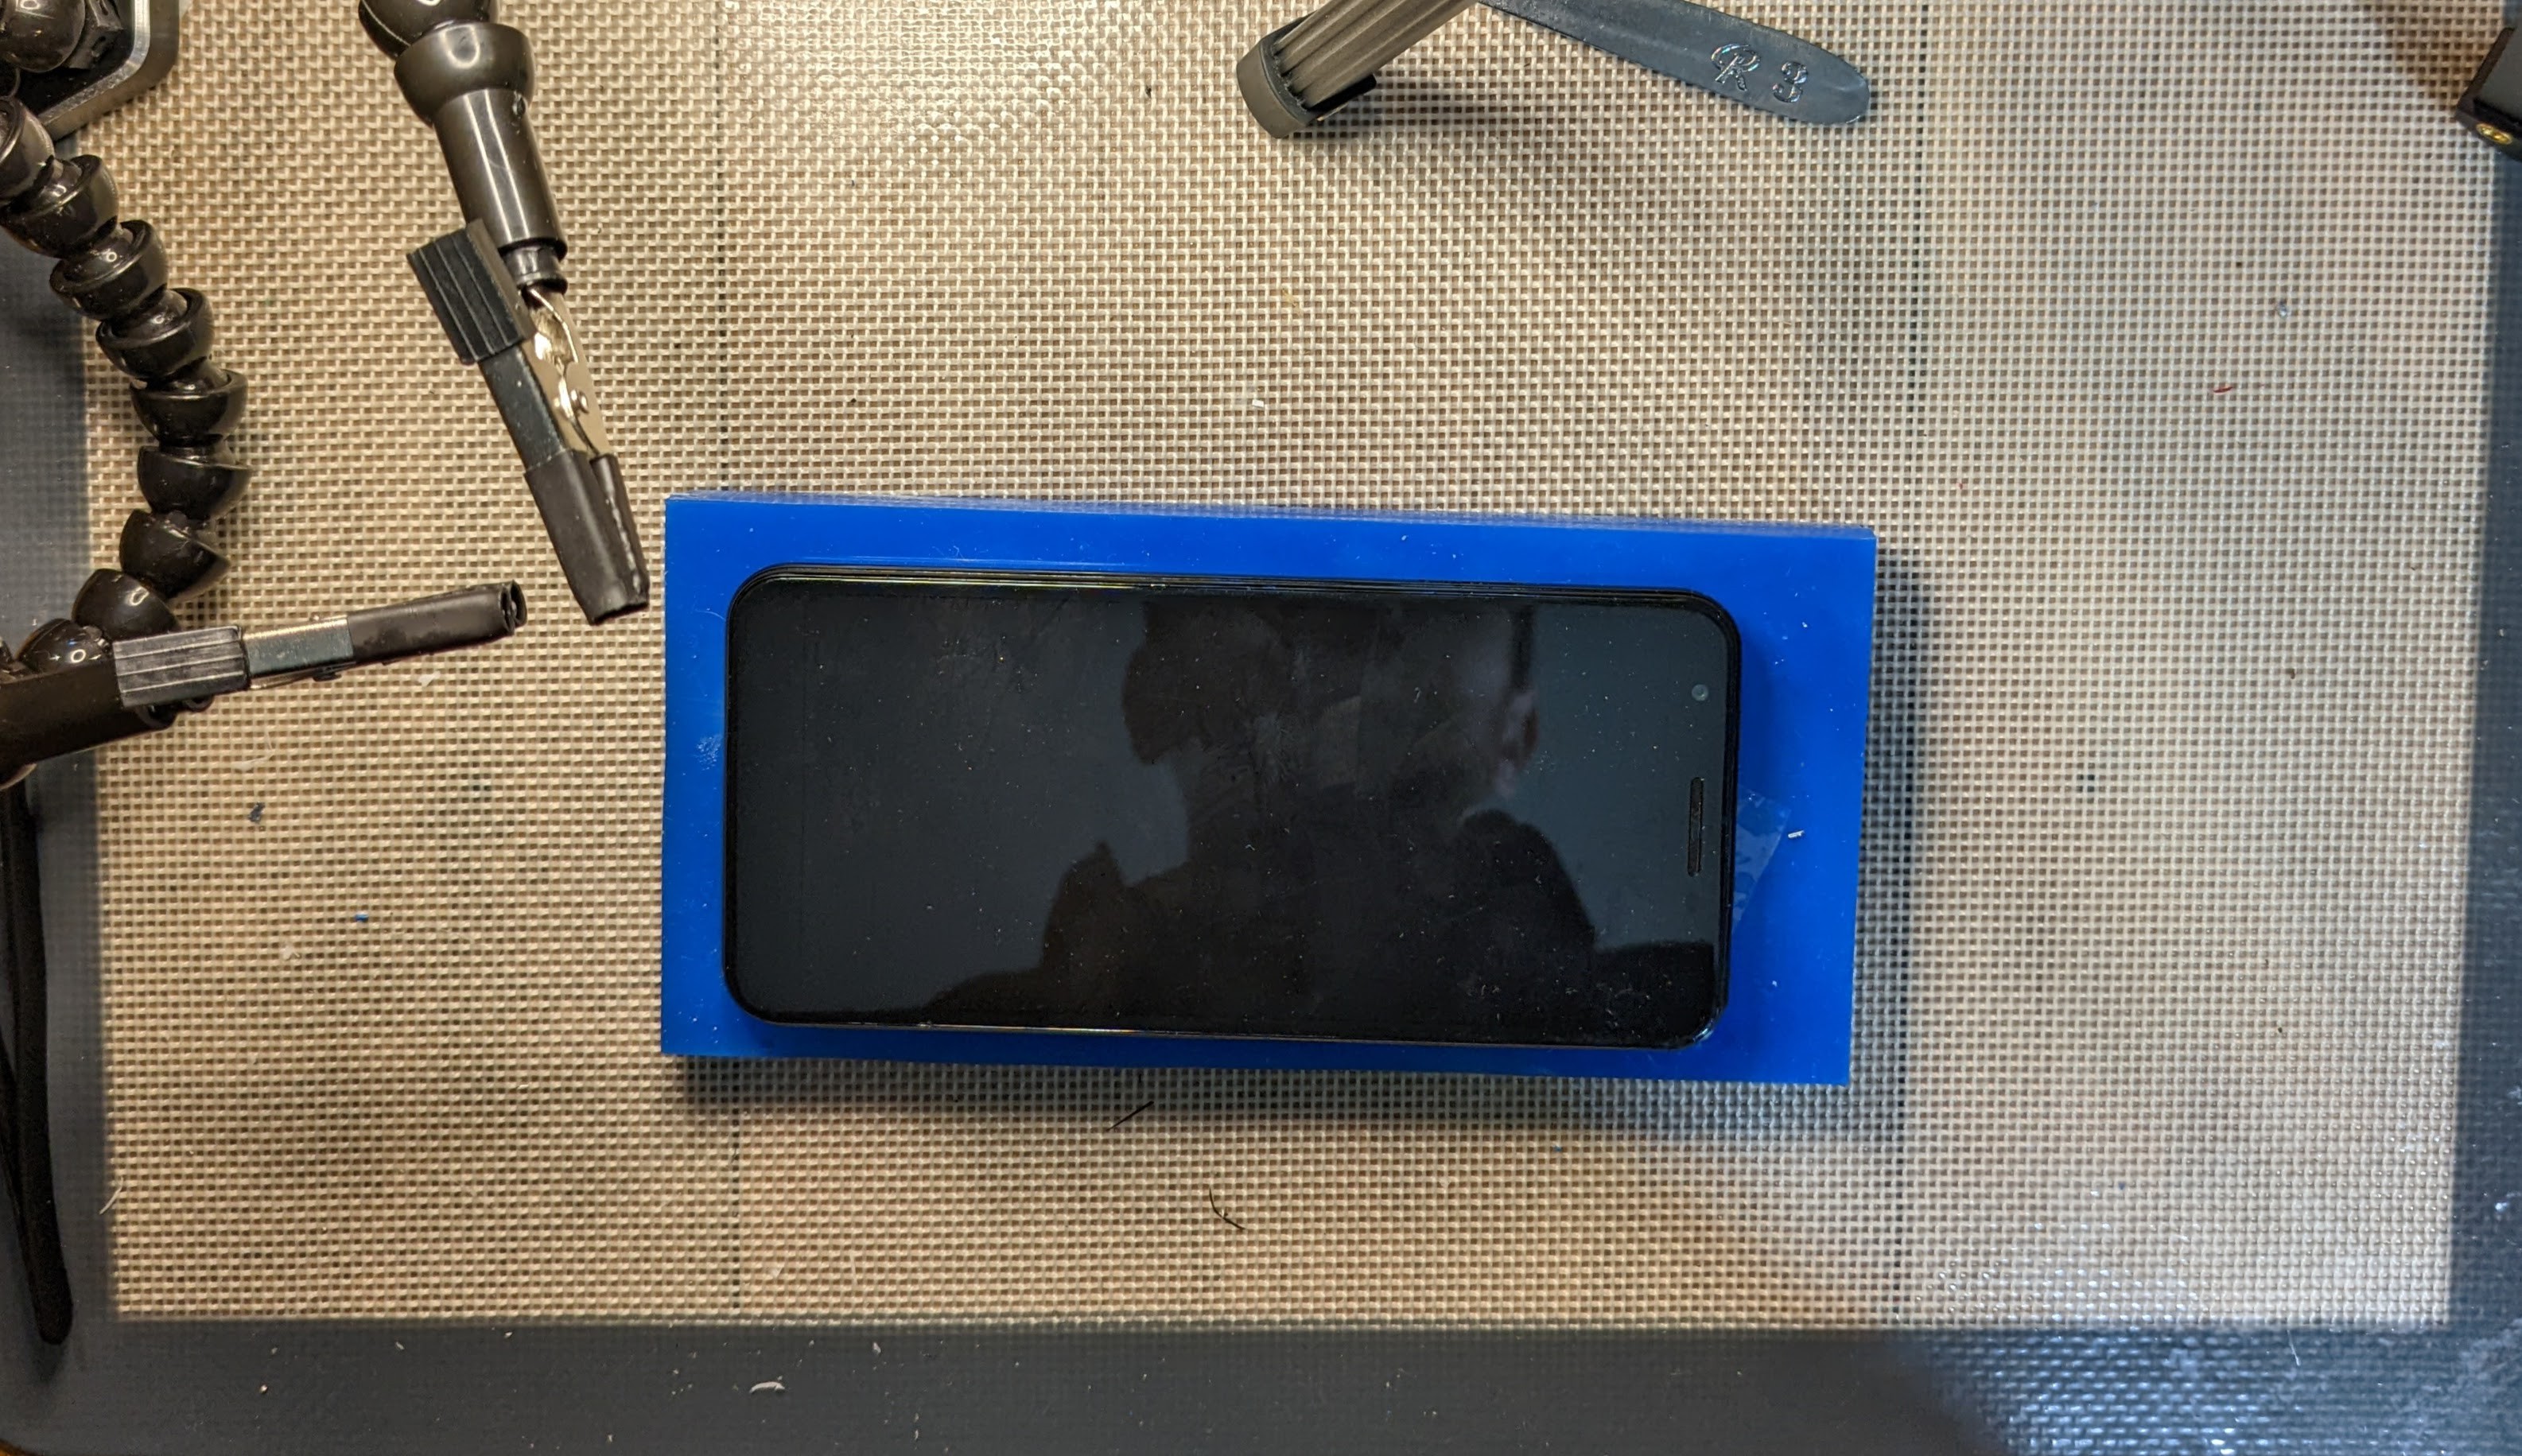
1Removing the camera
The first step is the remove the camera from the Pixel 3a phone. The screen on this phone is pretty thin, so care should be taken.
There are plenty of extensive descriptions of this process elsewhere online, so I will be brief.
![]()
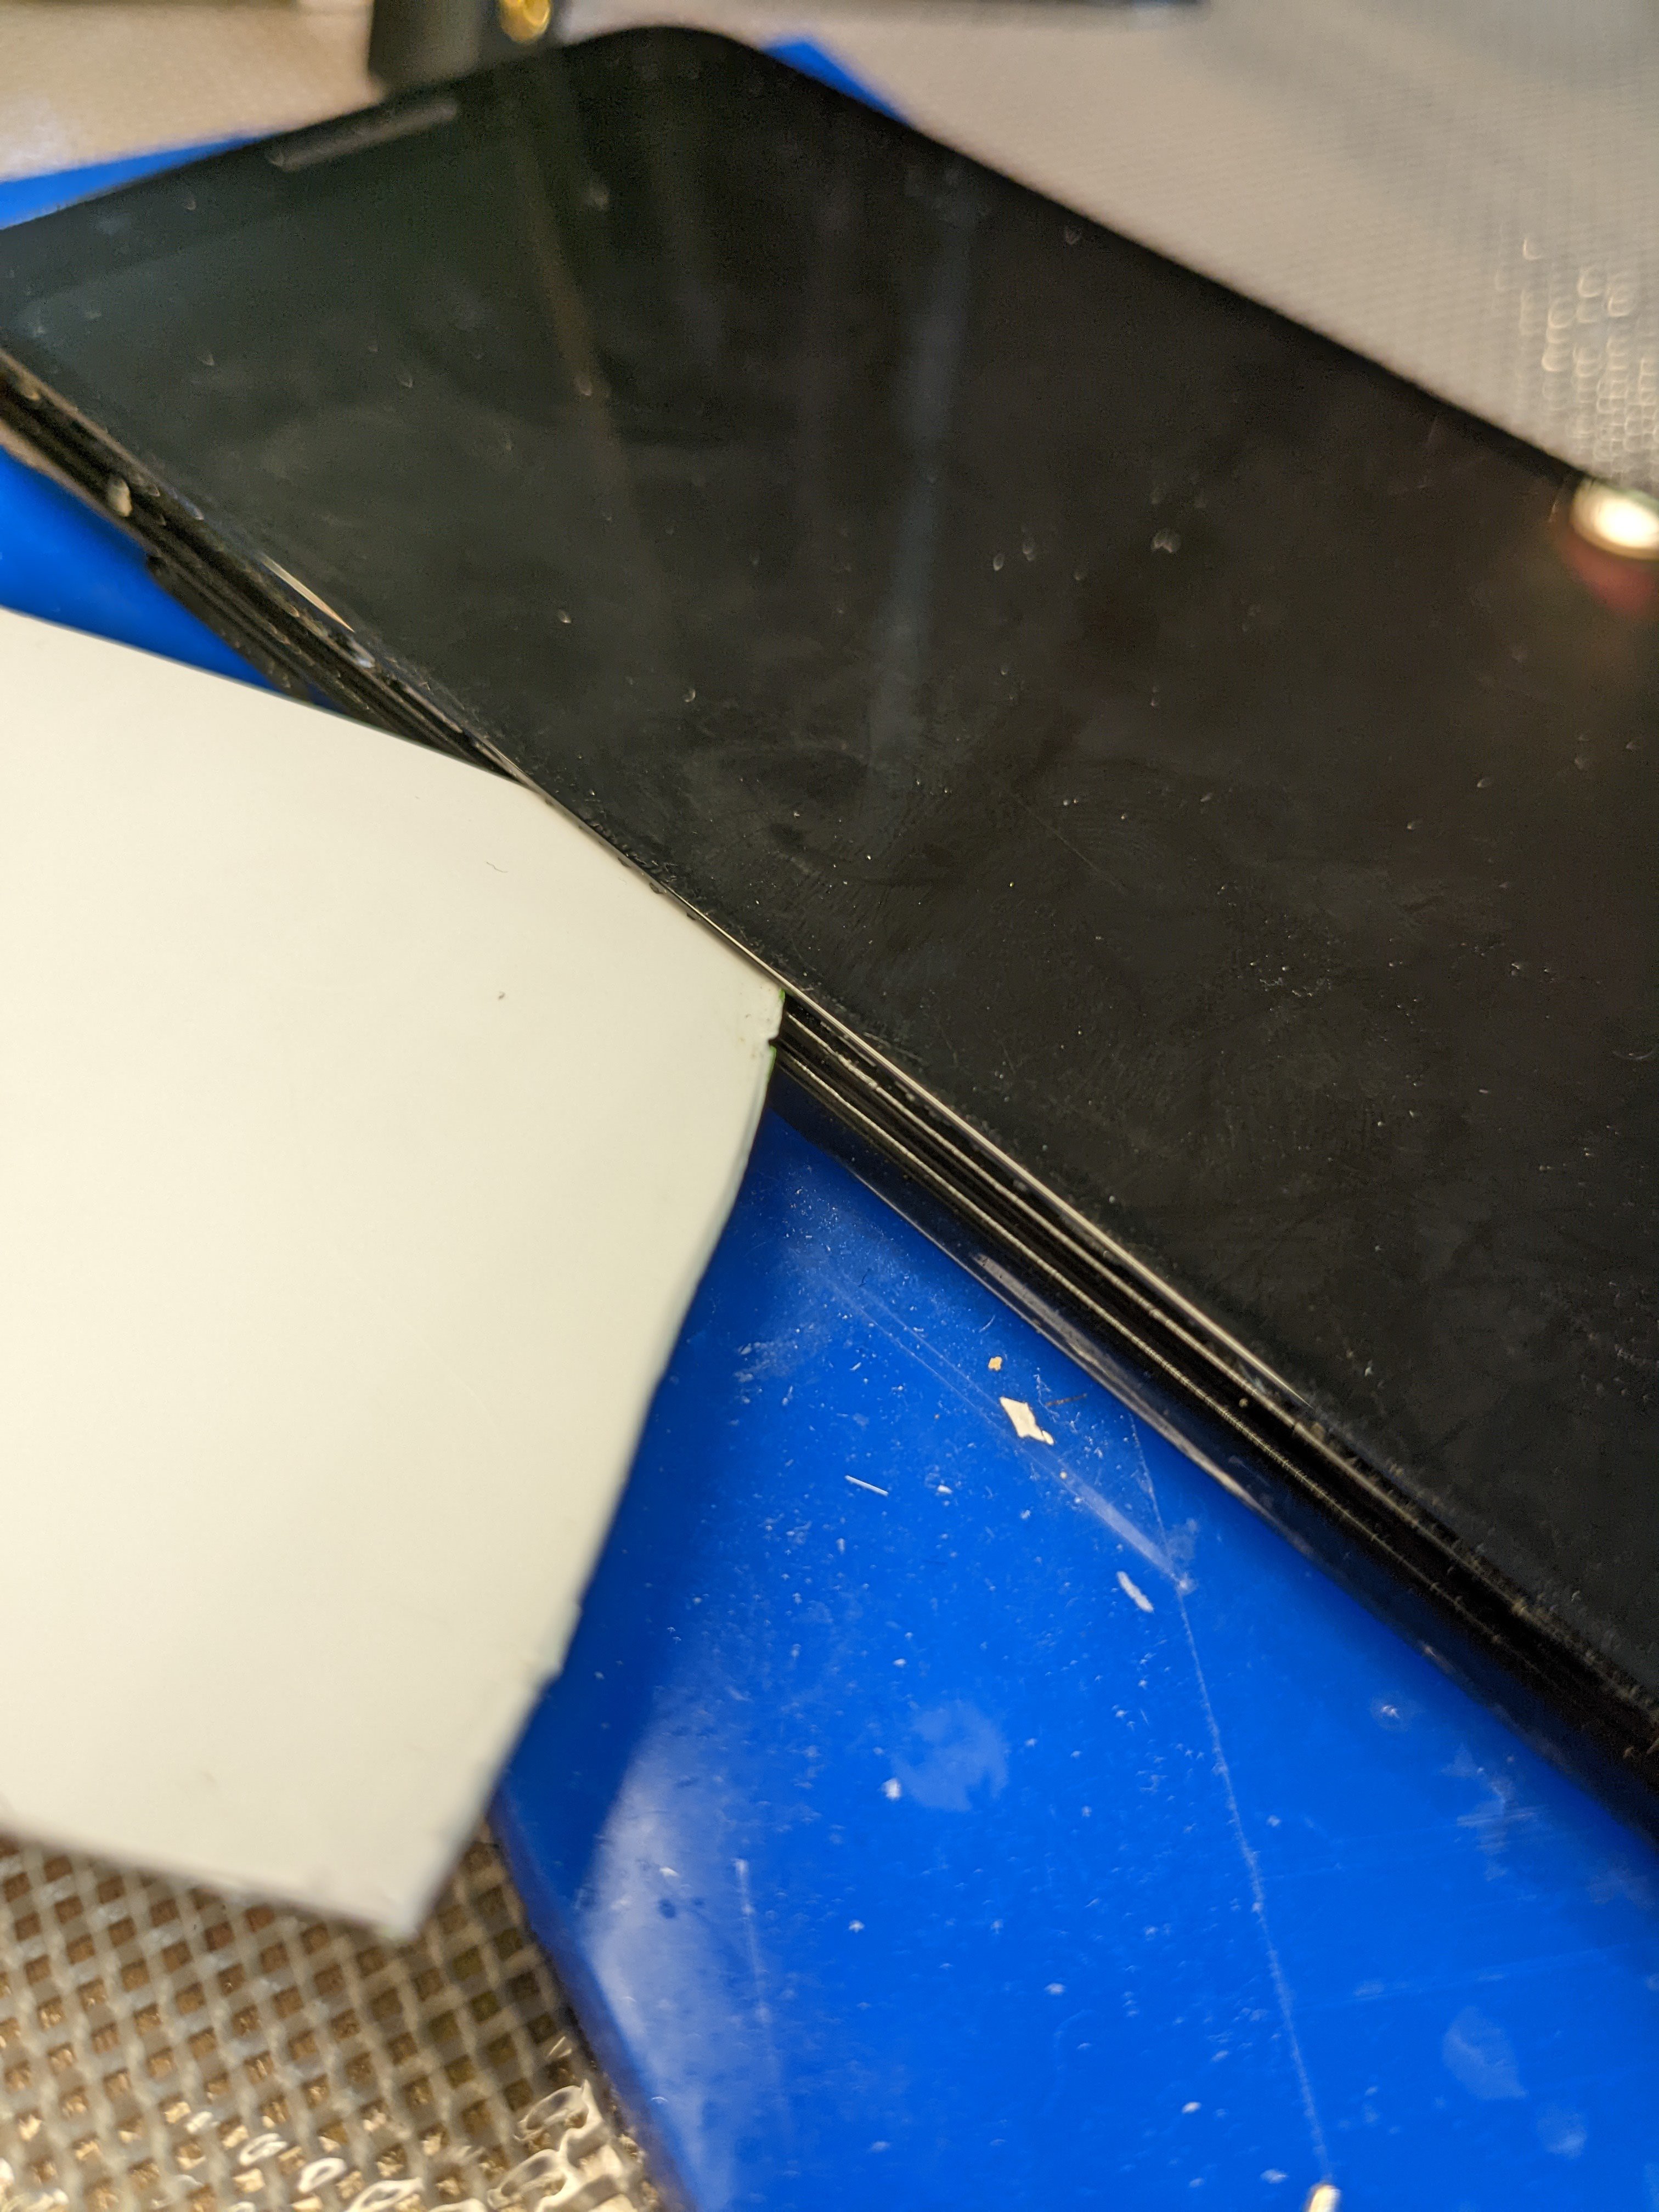
Separate the screen from the body with a thin tool. I prefer to cut up plastic food containers for these separator tools, because they are just thin and flexible enough to get inside the glue line, and stiff enough to cut through the adhesive.
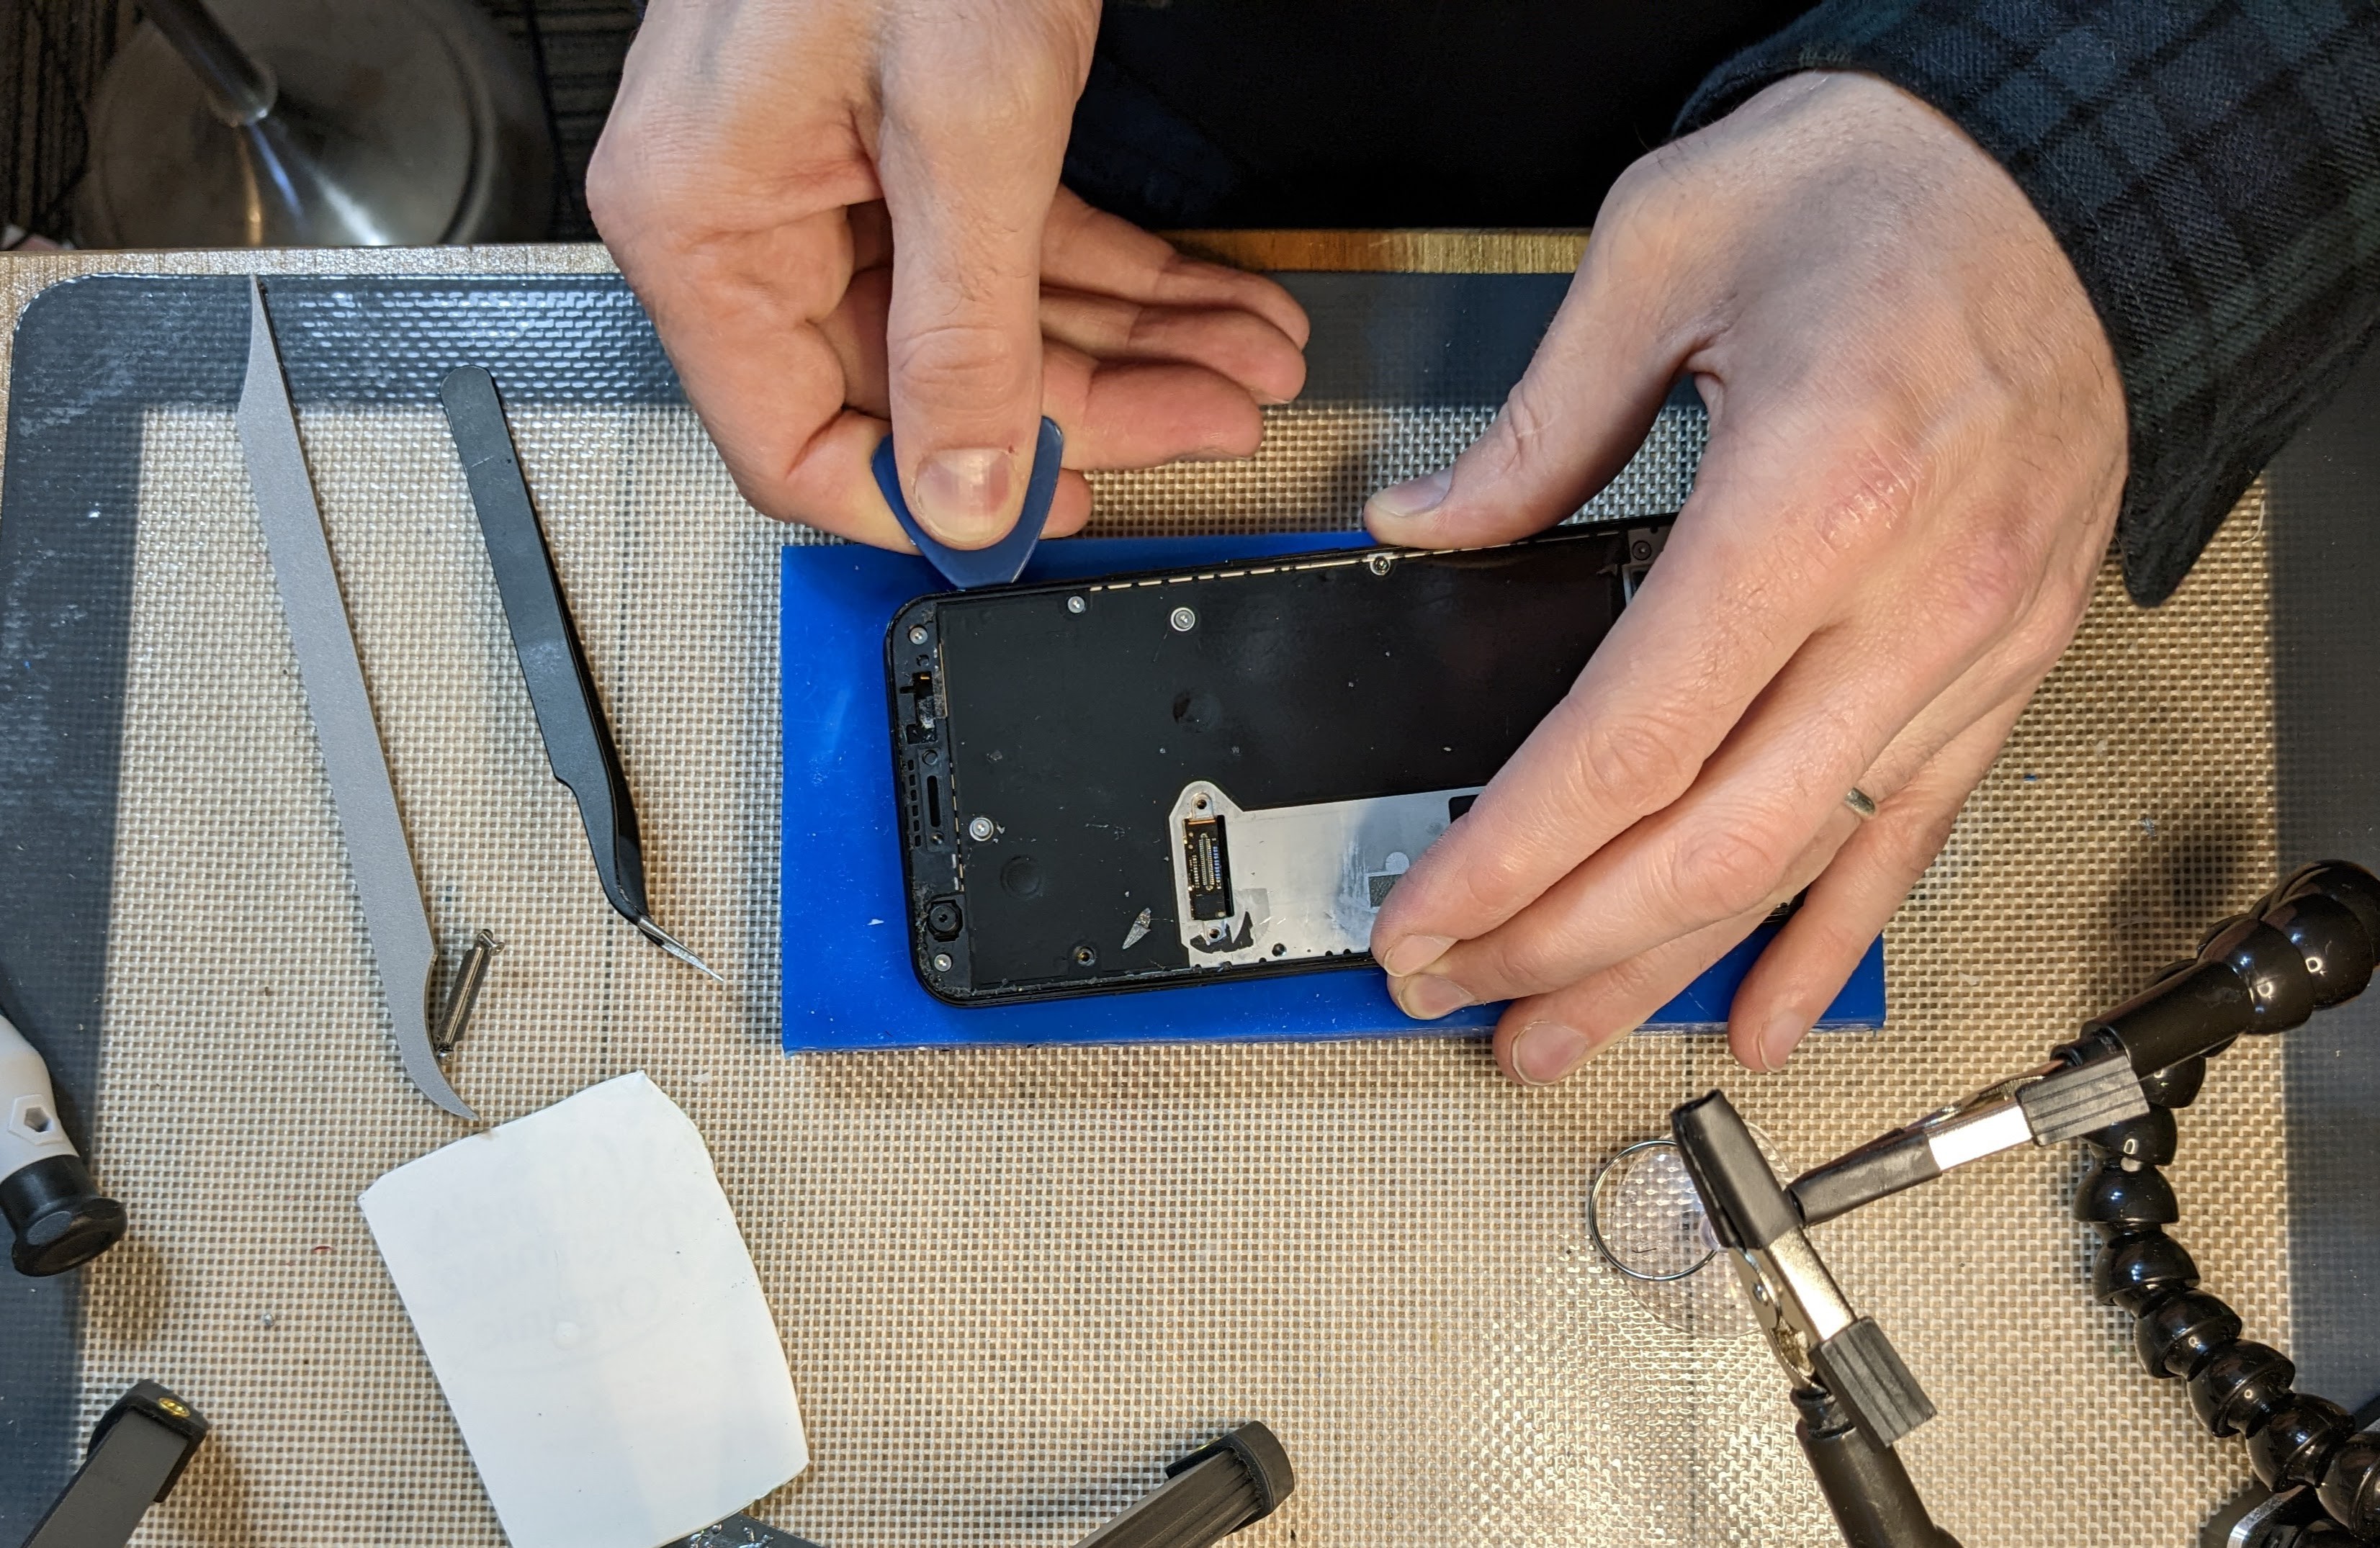
![]() Lift the screen away from the body. The adhesive tape is the only thing holding the screen on. No screws or snaps.
Lift the screen away from the body. The adhesive tape is the only thing holding the screen on. No screws or snaps.![]()
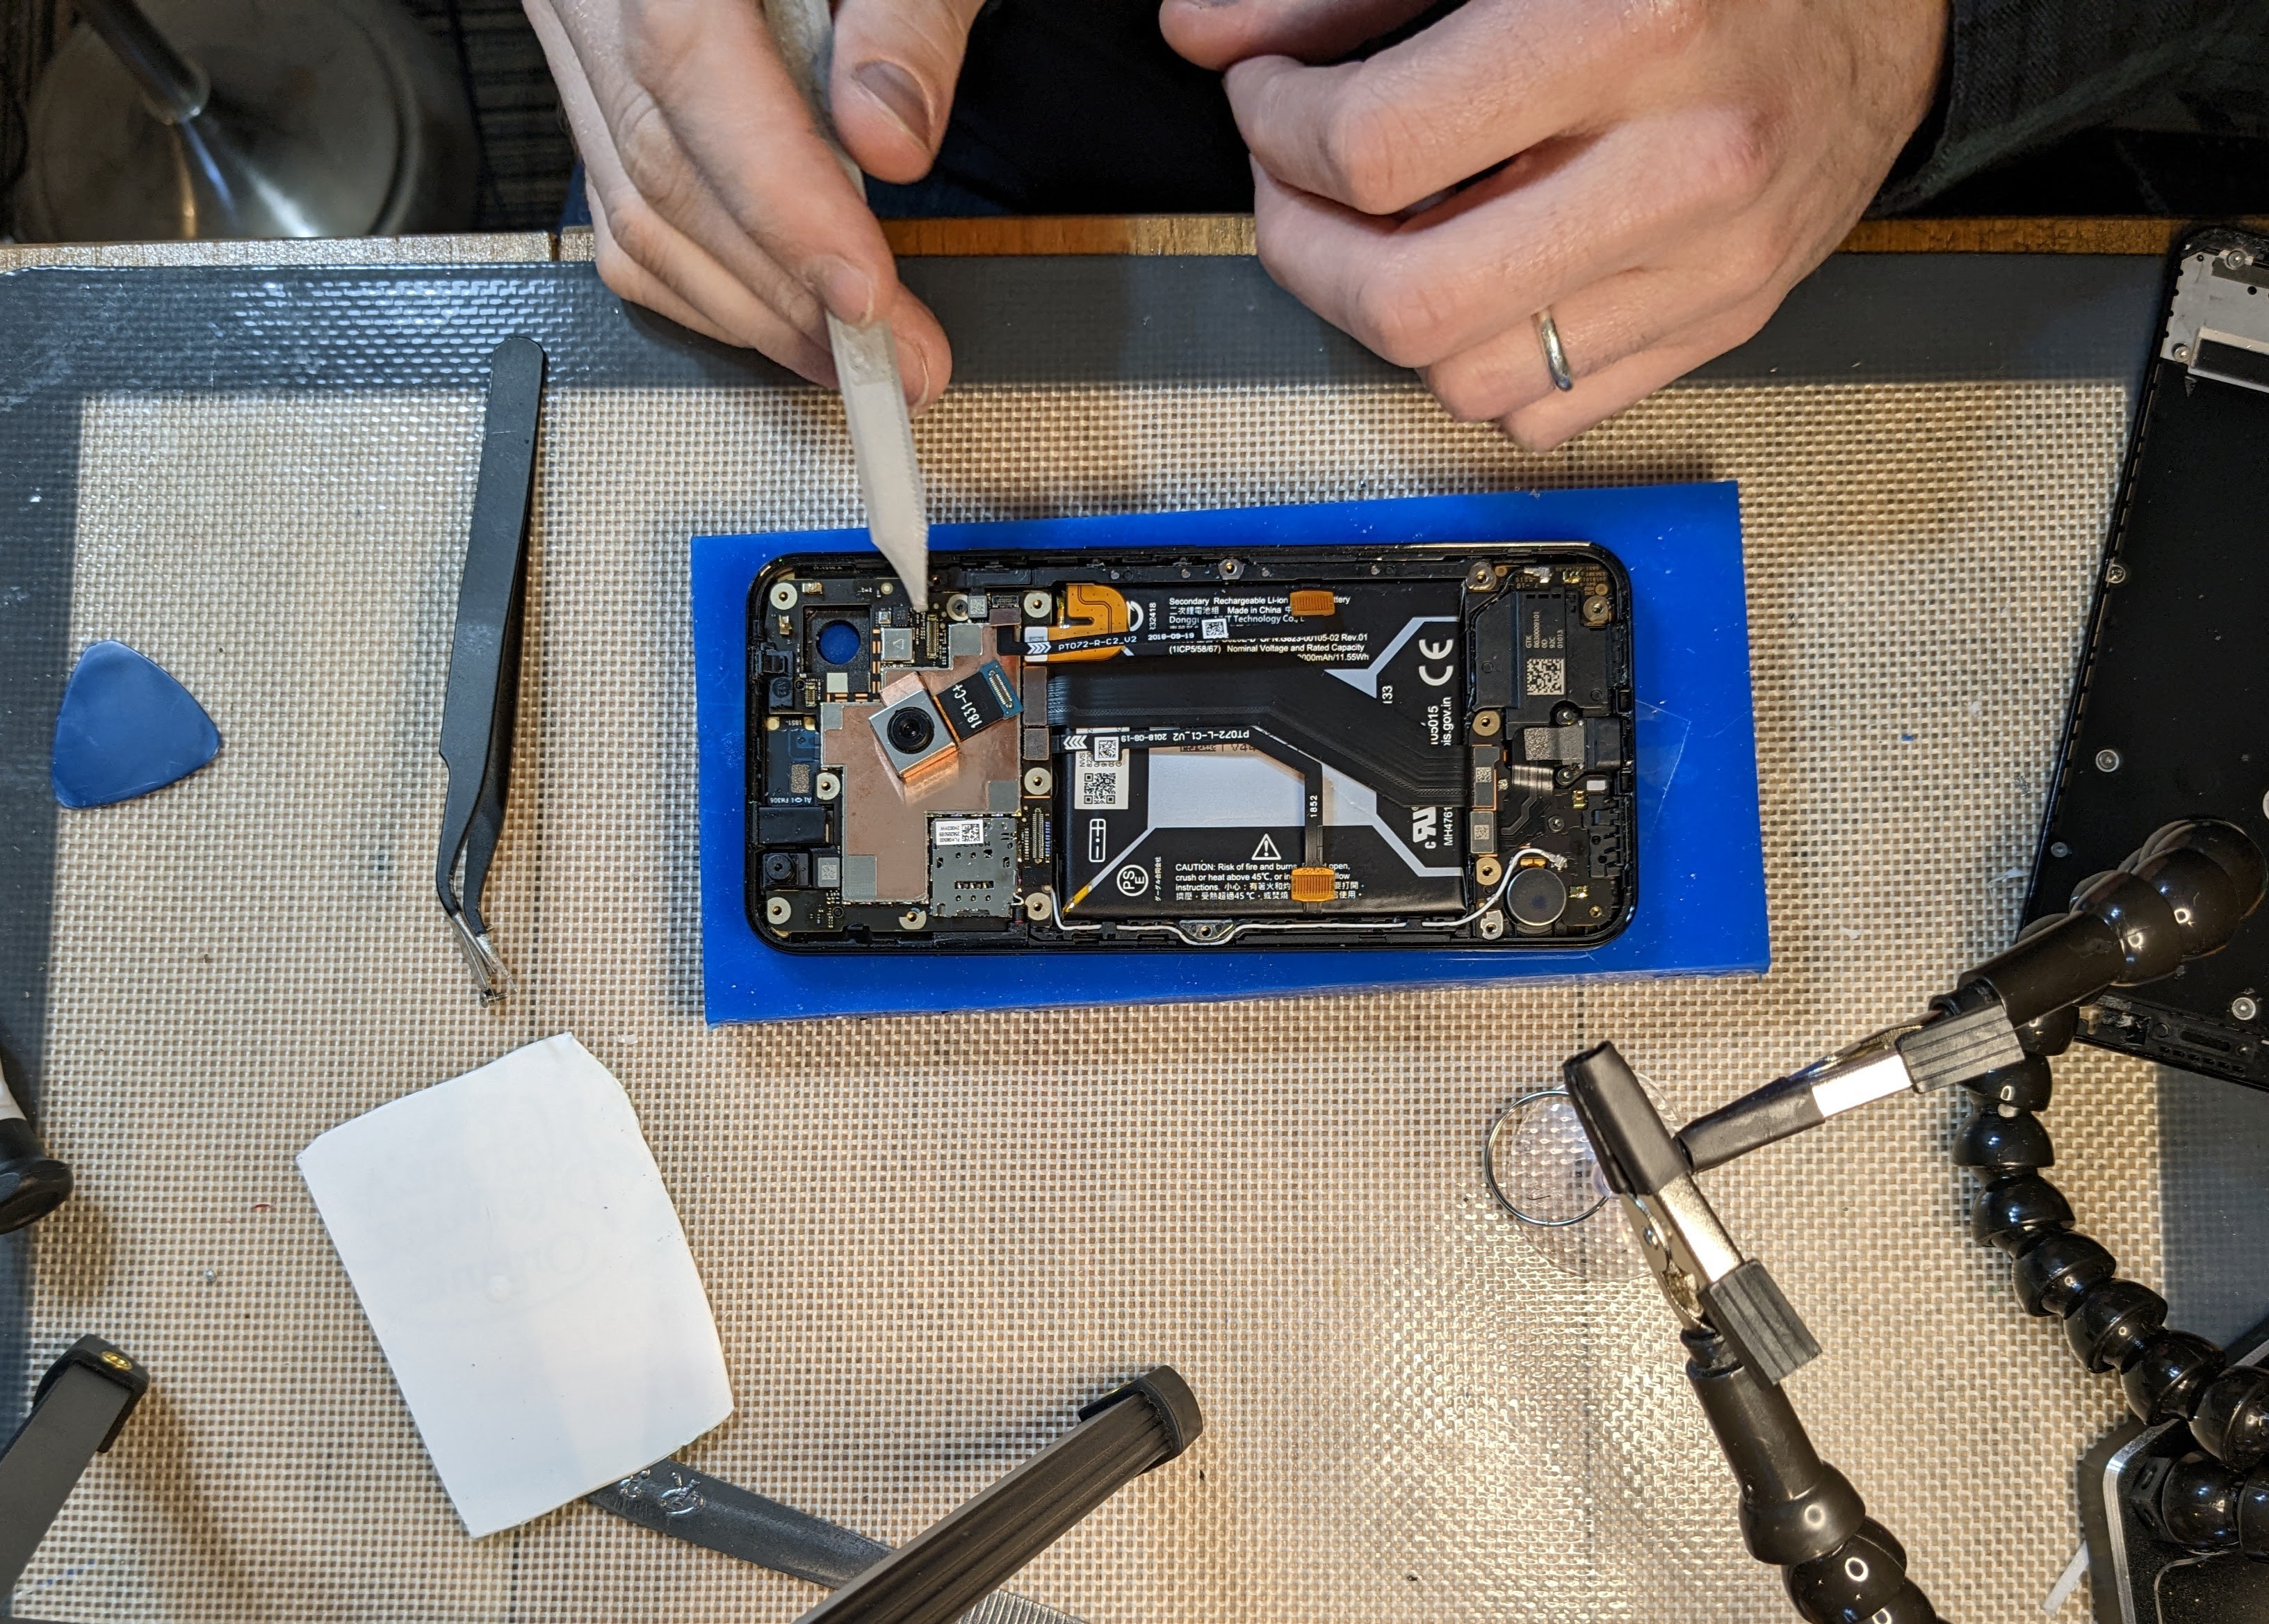
Remove the screws all around the mid plate, and pry the mid plate away from the rest of the body. There are snaps near the top and bottom of each side.
![]()
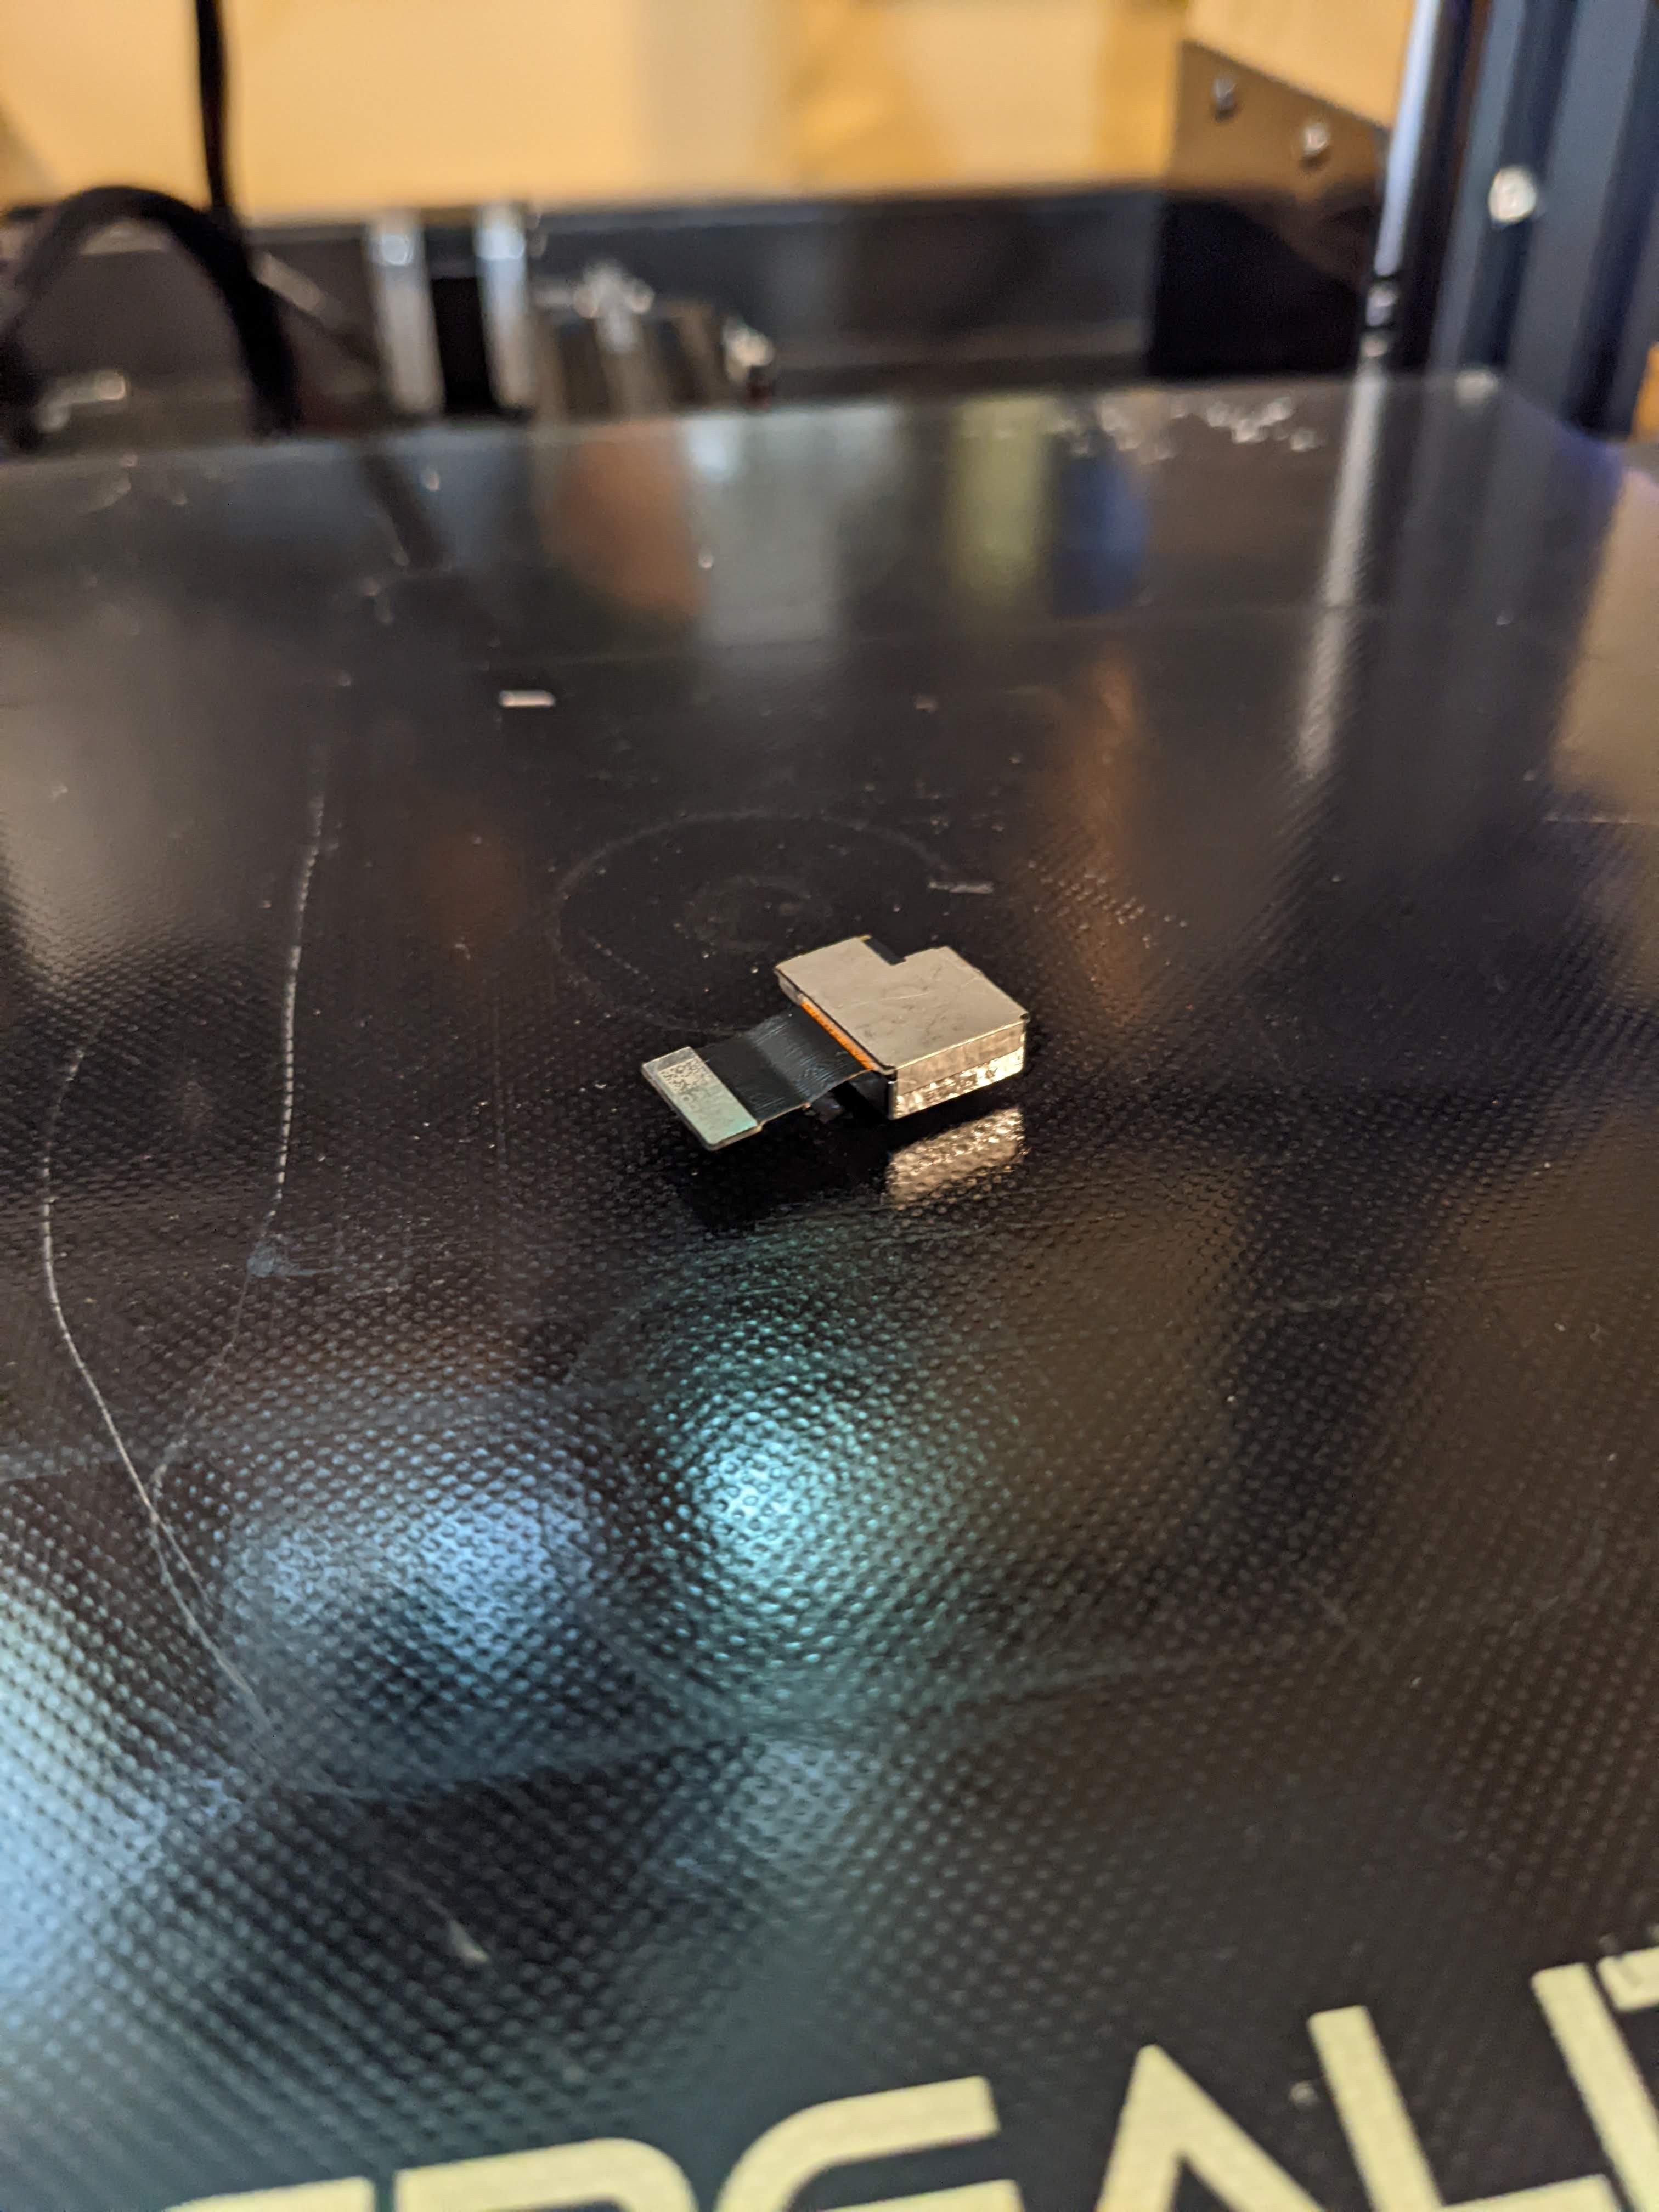
Lift the mid plat away, detach the battery connections (for the safety of the motherboard), and the camera is easily removed.
![]()
-
2Removing UV/IR cut filter
This step is the tricky part.
I have found that removing the lens is relatively easy when the camera is heated a bit with some denatured alcohol to soften the adhesive.
I use the heated bed of my 3d printer set to 60c, put the camera face down with a few drops of denatured alcohol underneath the camera, and cover it to keep the heat in and allow the alcohol to permeate the air inside the chamber.
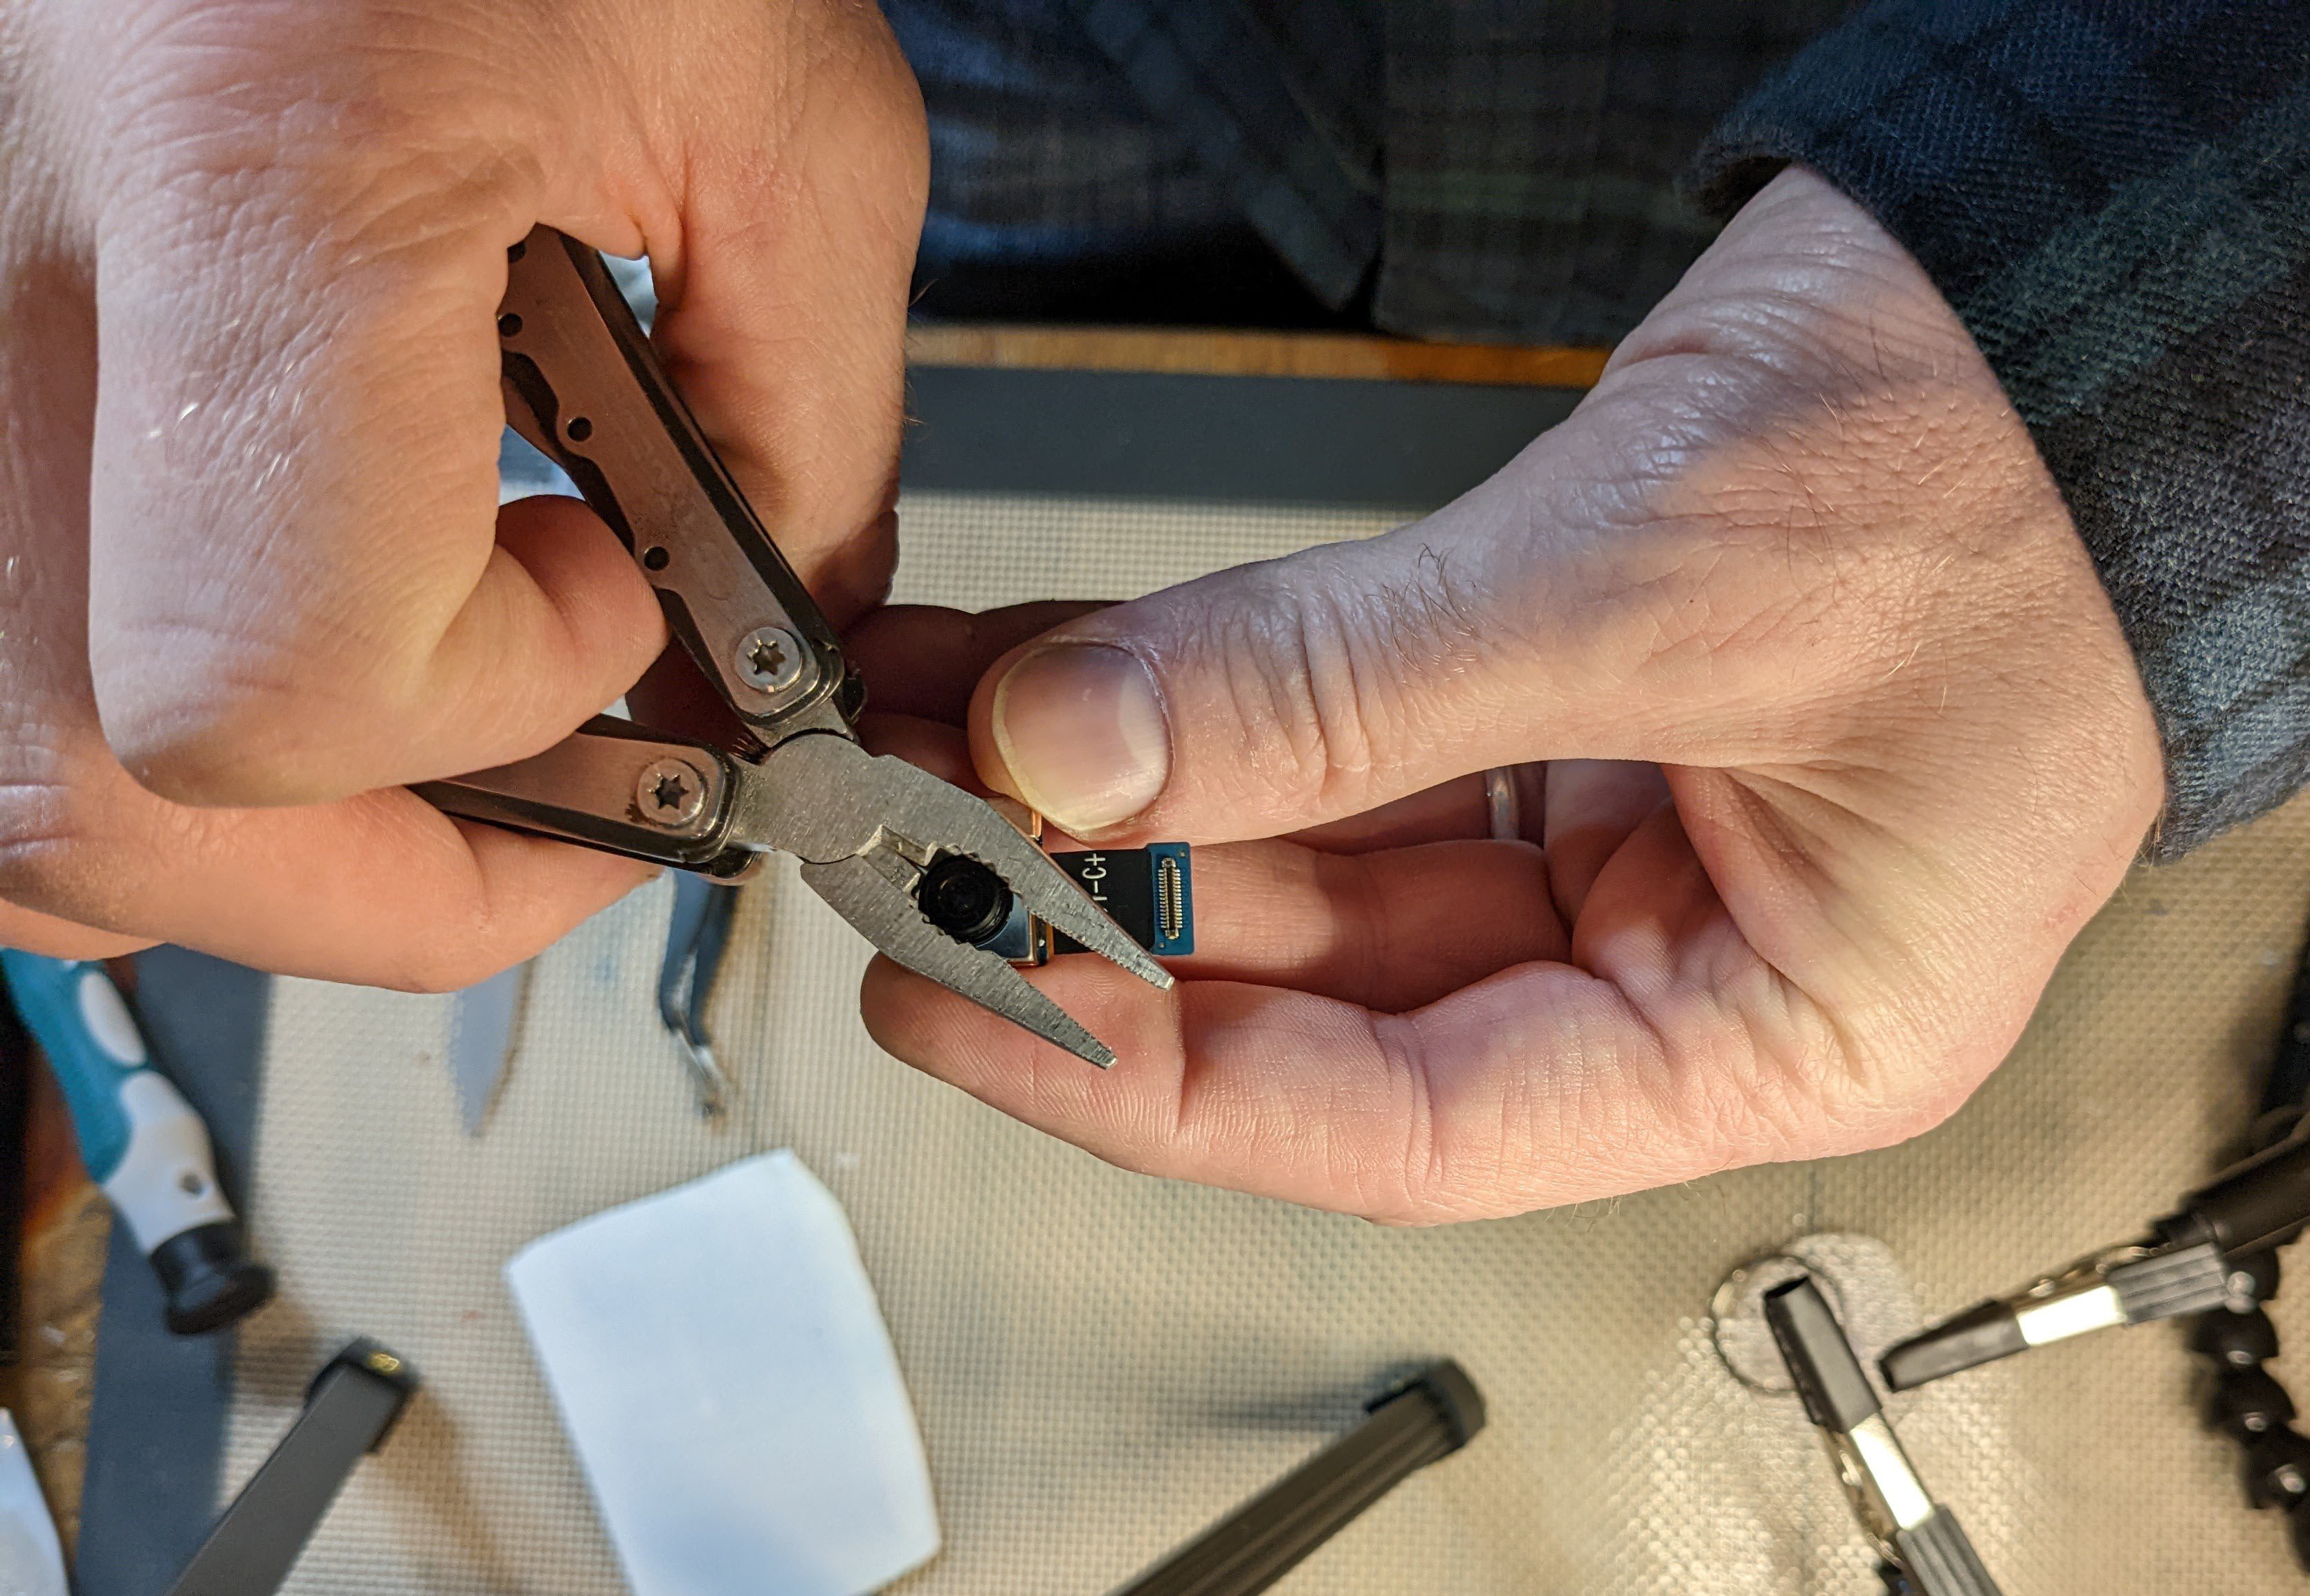
After about 15min, pull it out and test the adhesive with a small pair of pliers by carefully twisting. It is easy to damage the miniscule wires holding the lens ring in place if too much force is used or if it is lifted out instead of twisted.
If the lens does not turn with light to moderate pressure, put it back on the heated bed, a bit more alcohol, and 10 more minutes.
![]()
![]()
When the lens starts to twist, apply gentle pressure upwards as you twist, and slowly work it up and out.
![]()
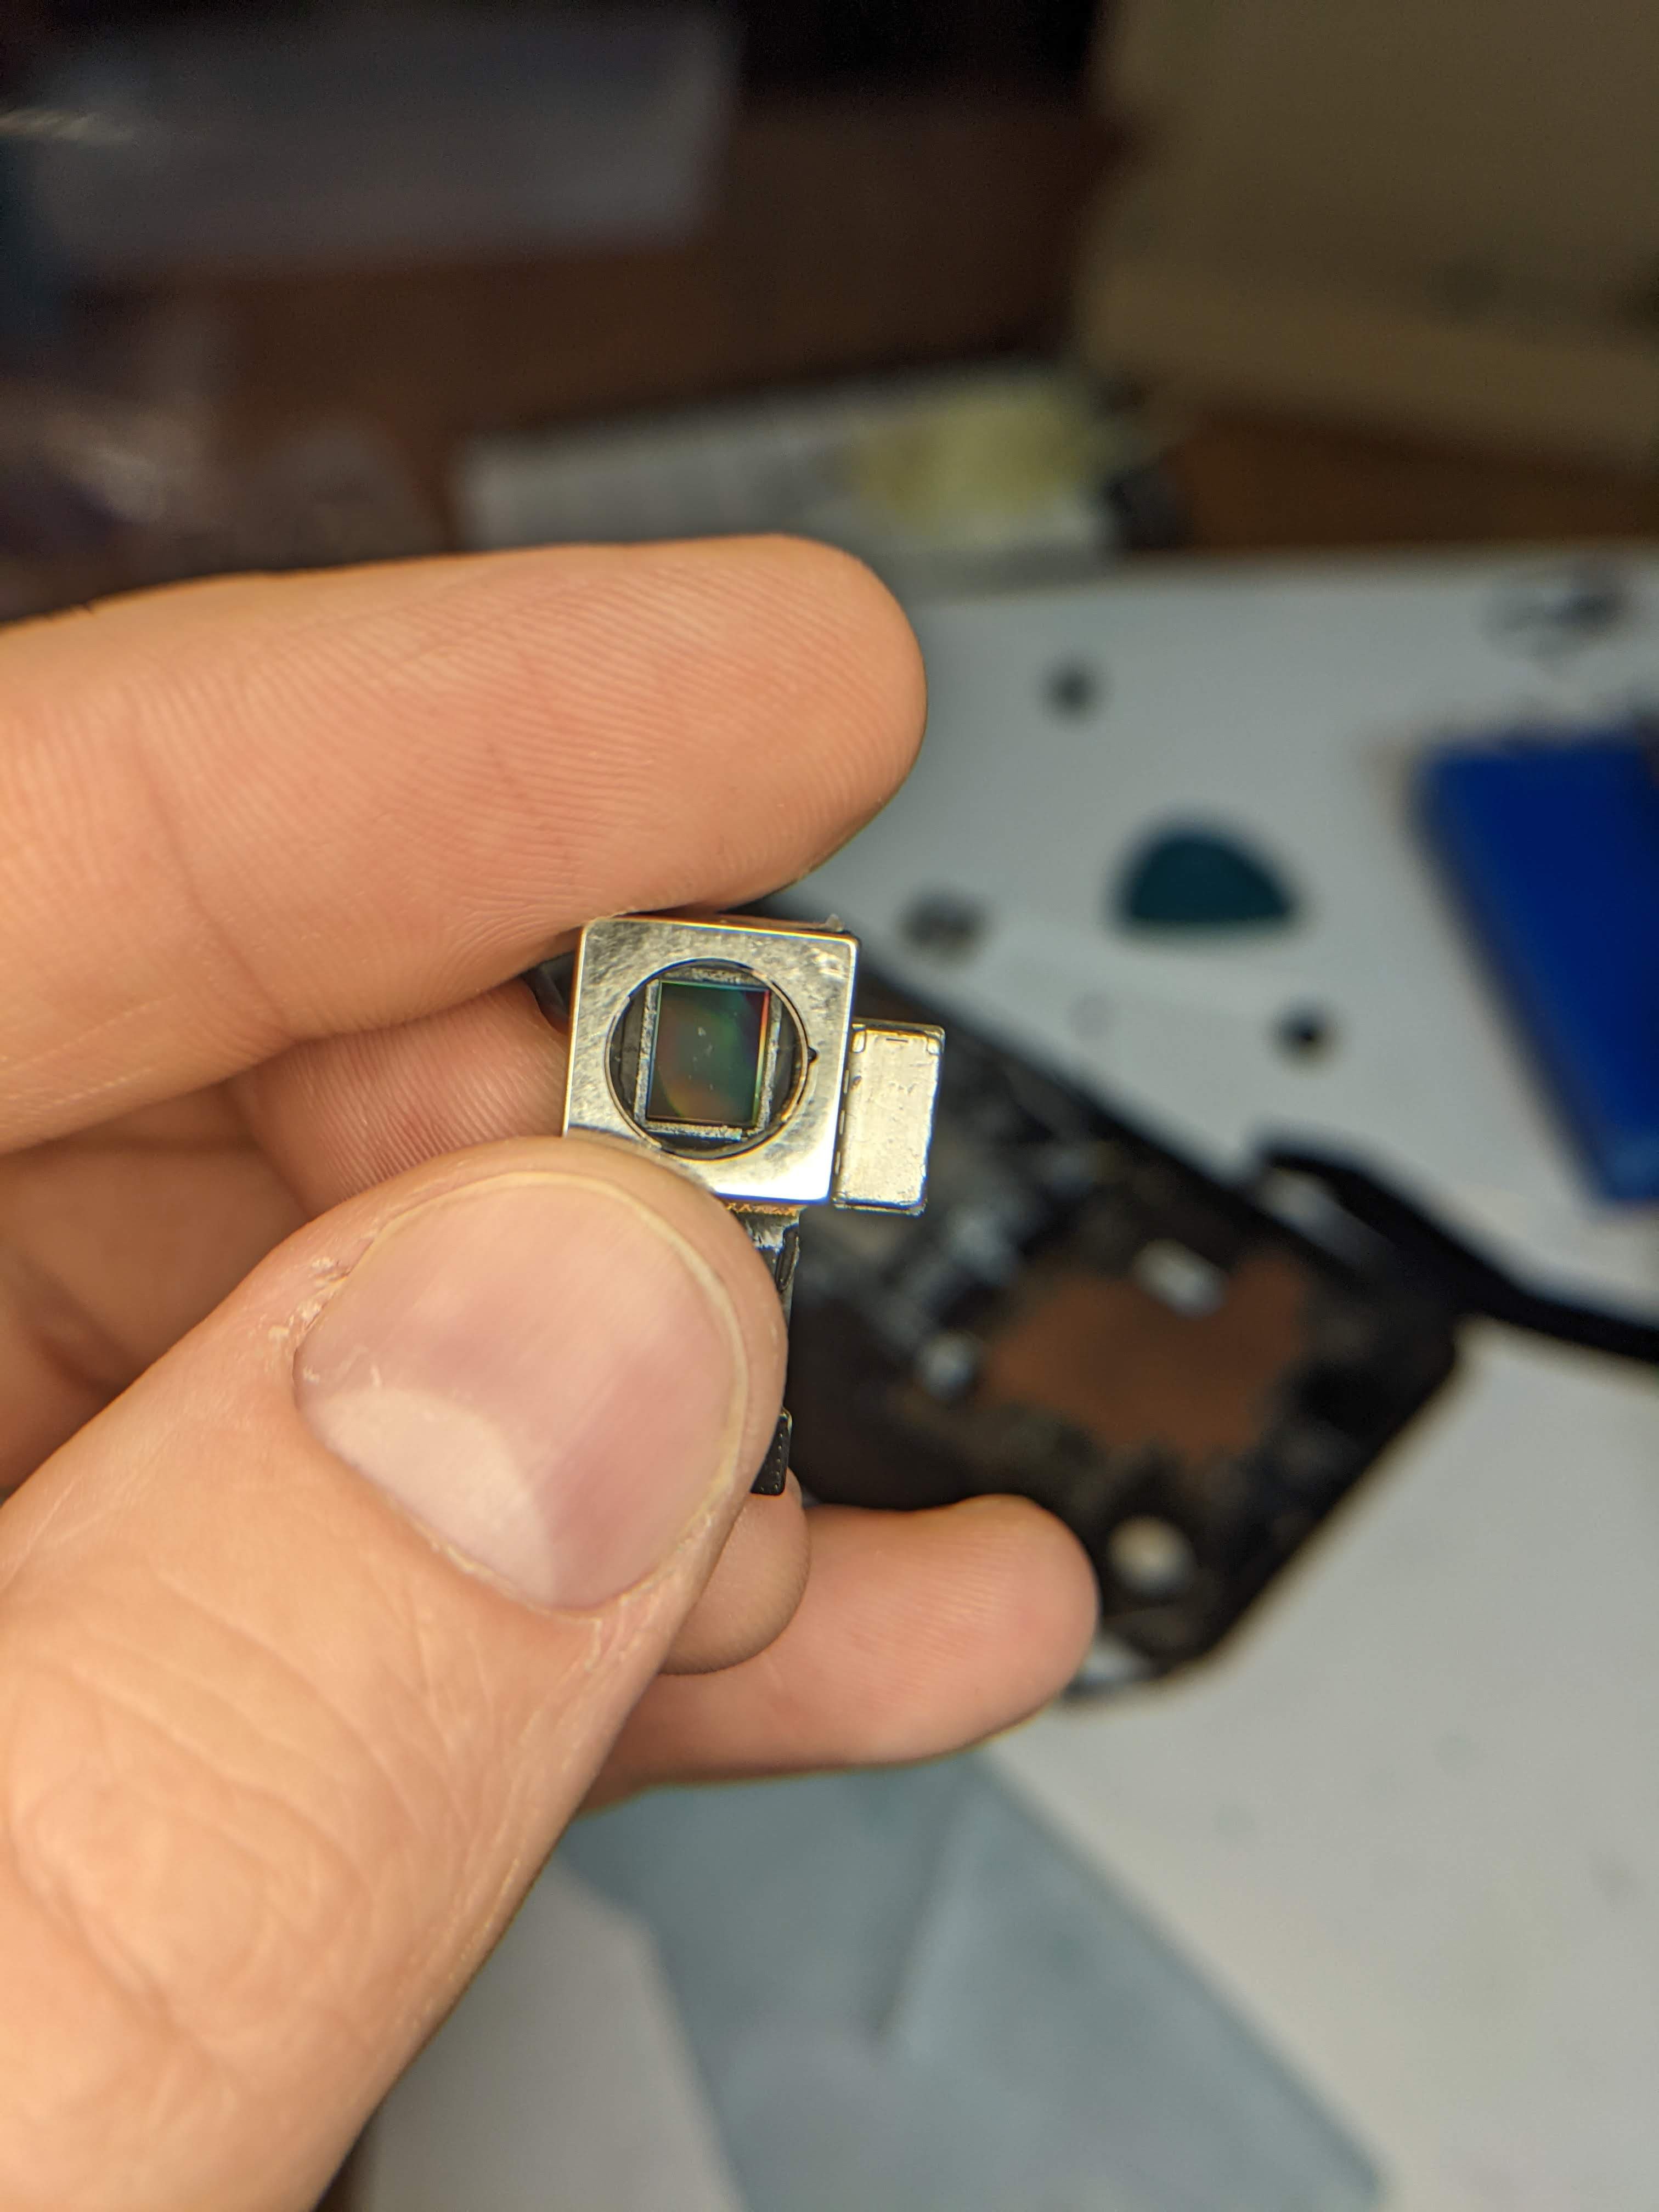
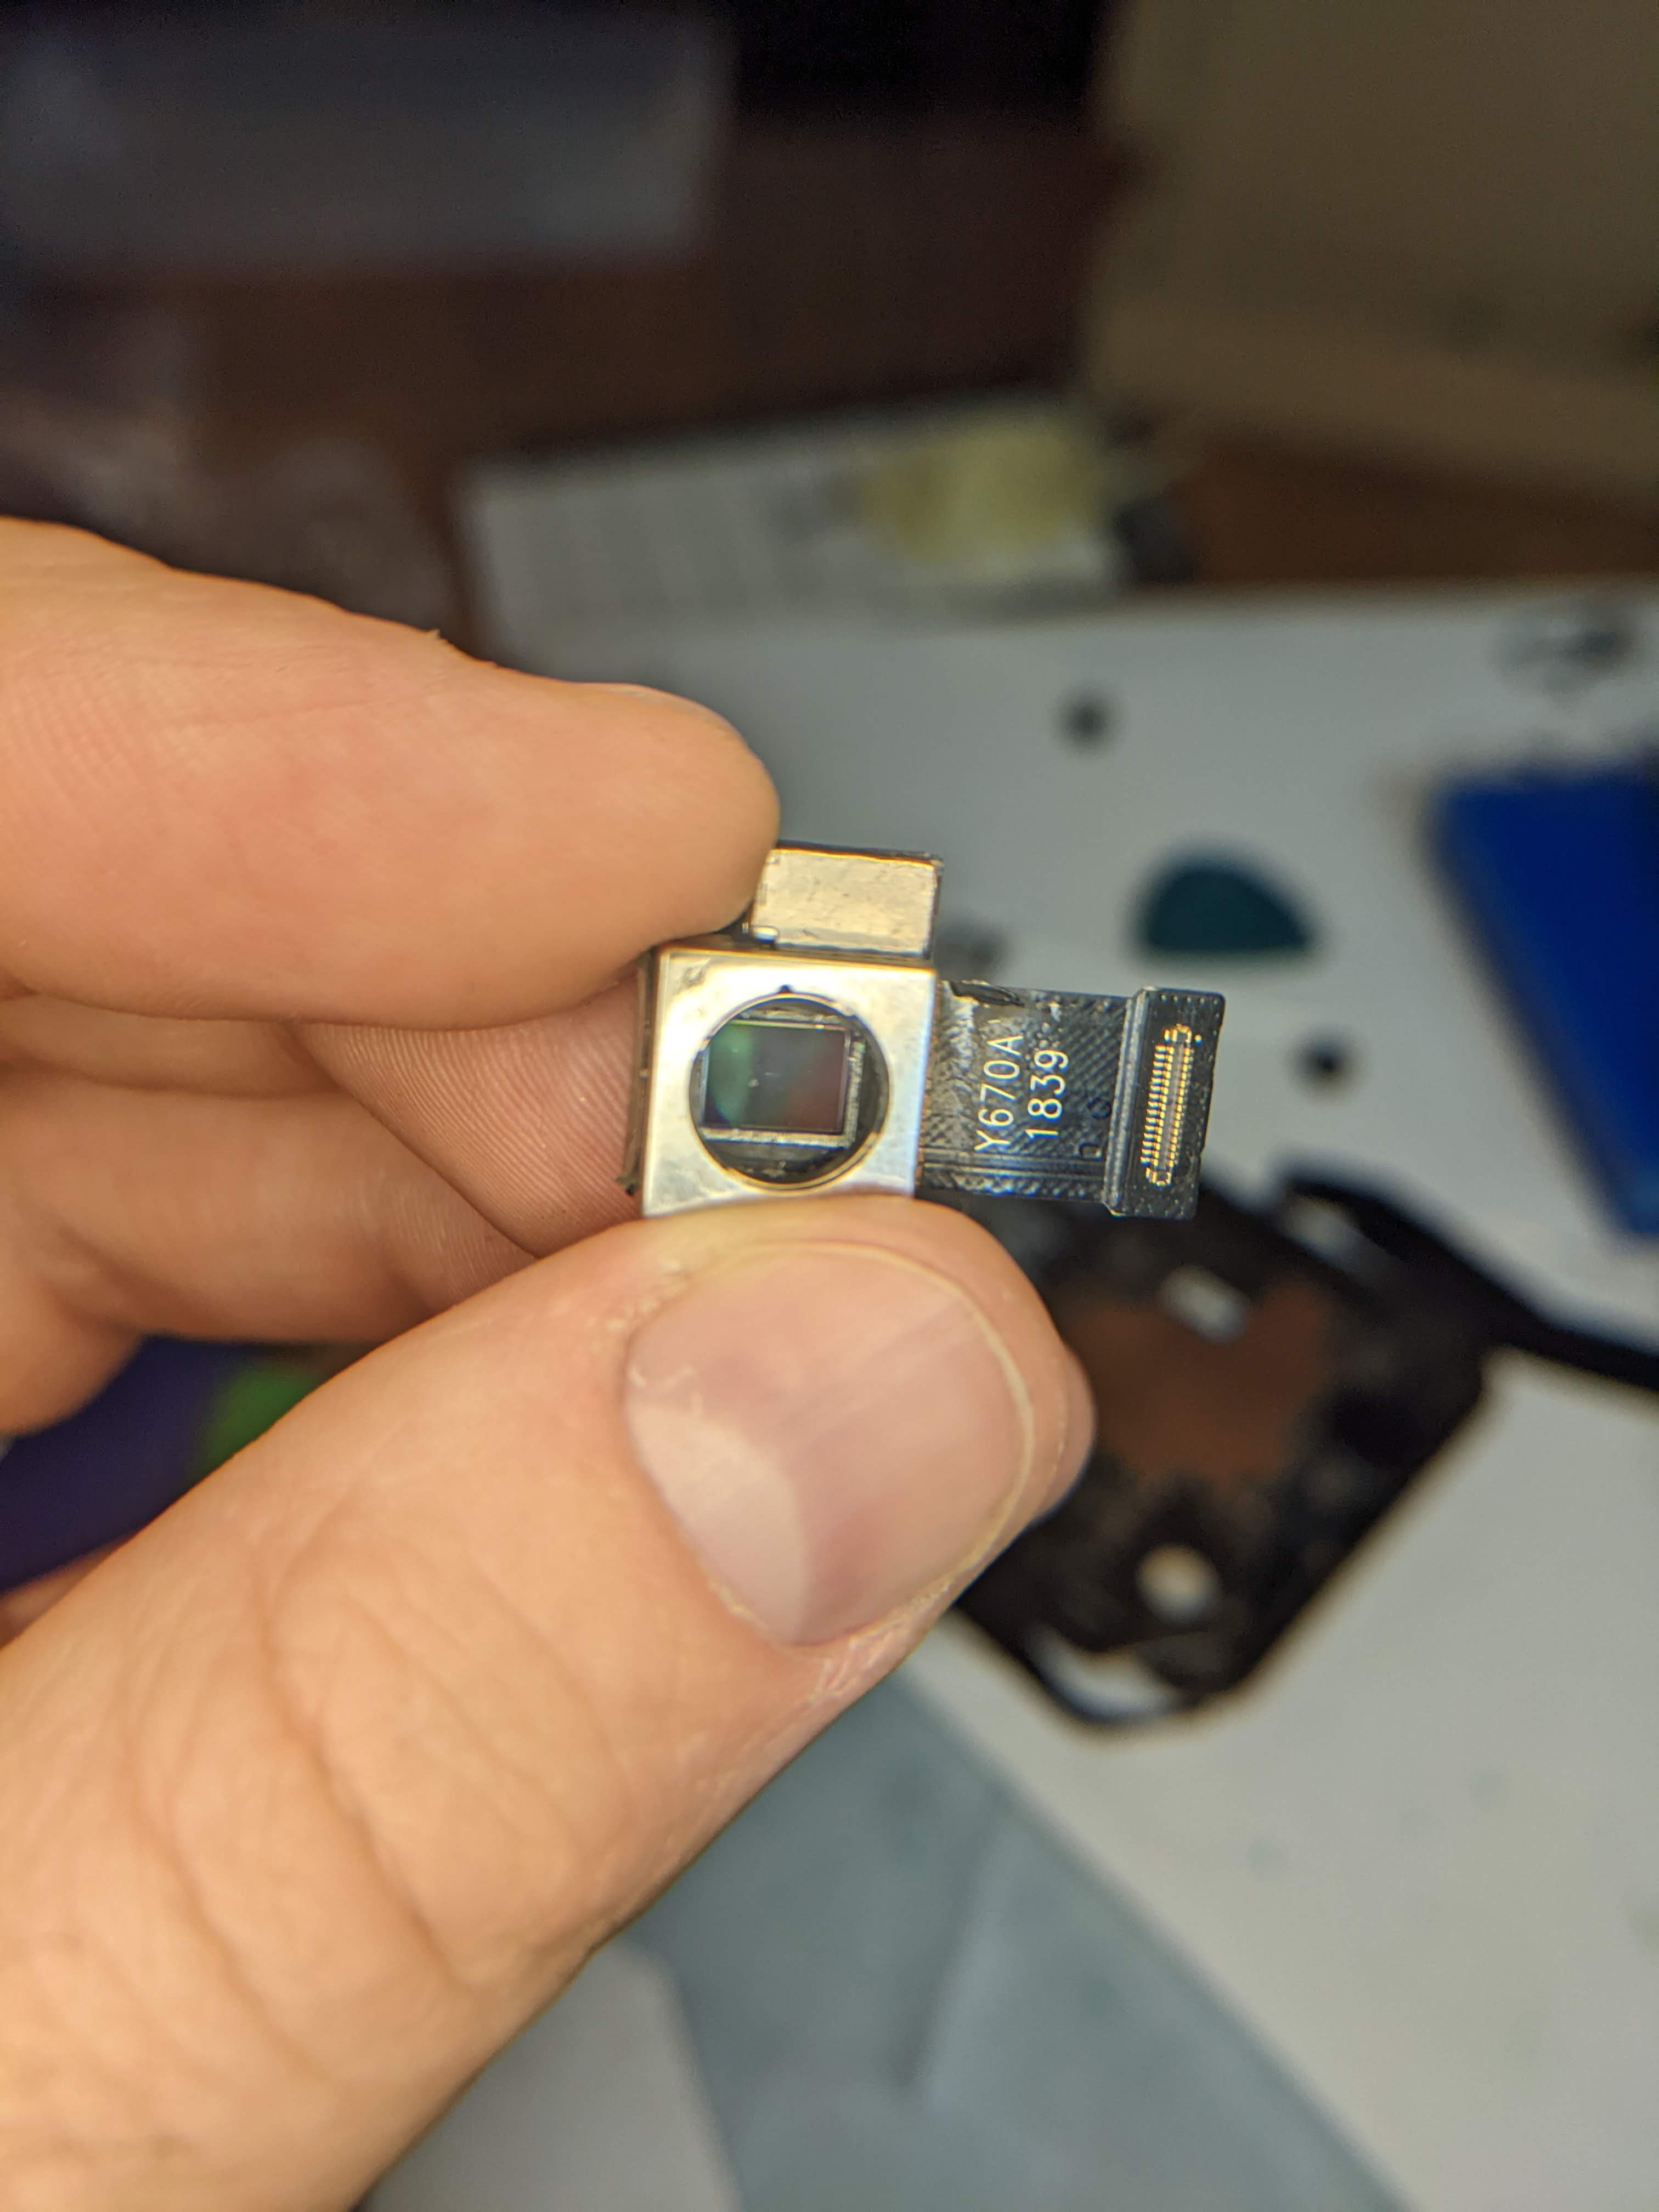
Once the lens is out, the UV/IR cut filter can be seen.
Put it back on the printer bed for another 10 minutes to make sure all the alcohol is evaporated. If the alcohol touches the sensor, the camera is likely done for.
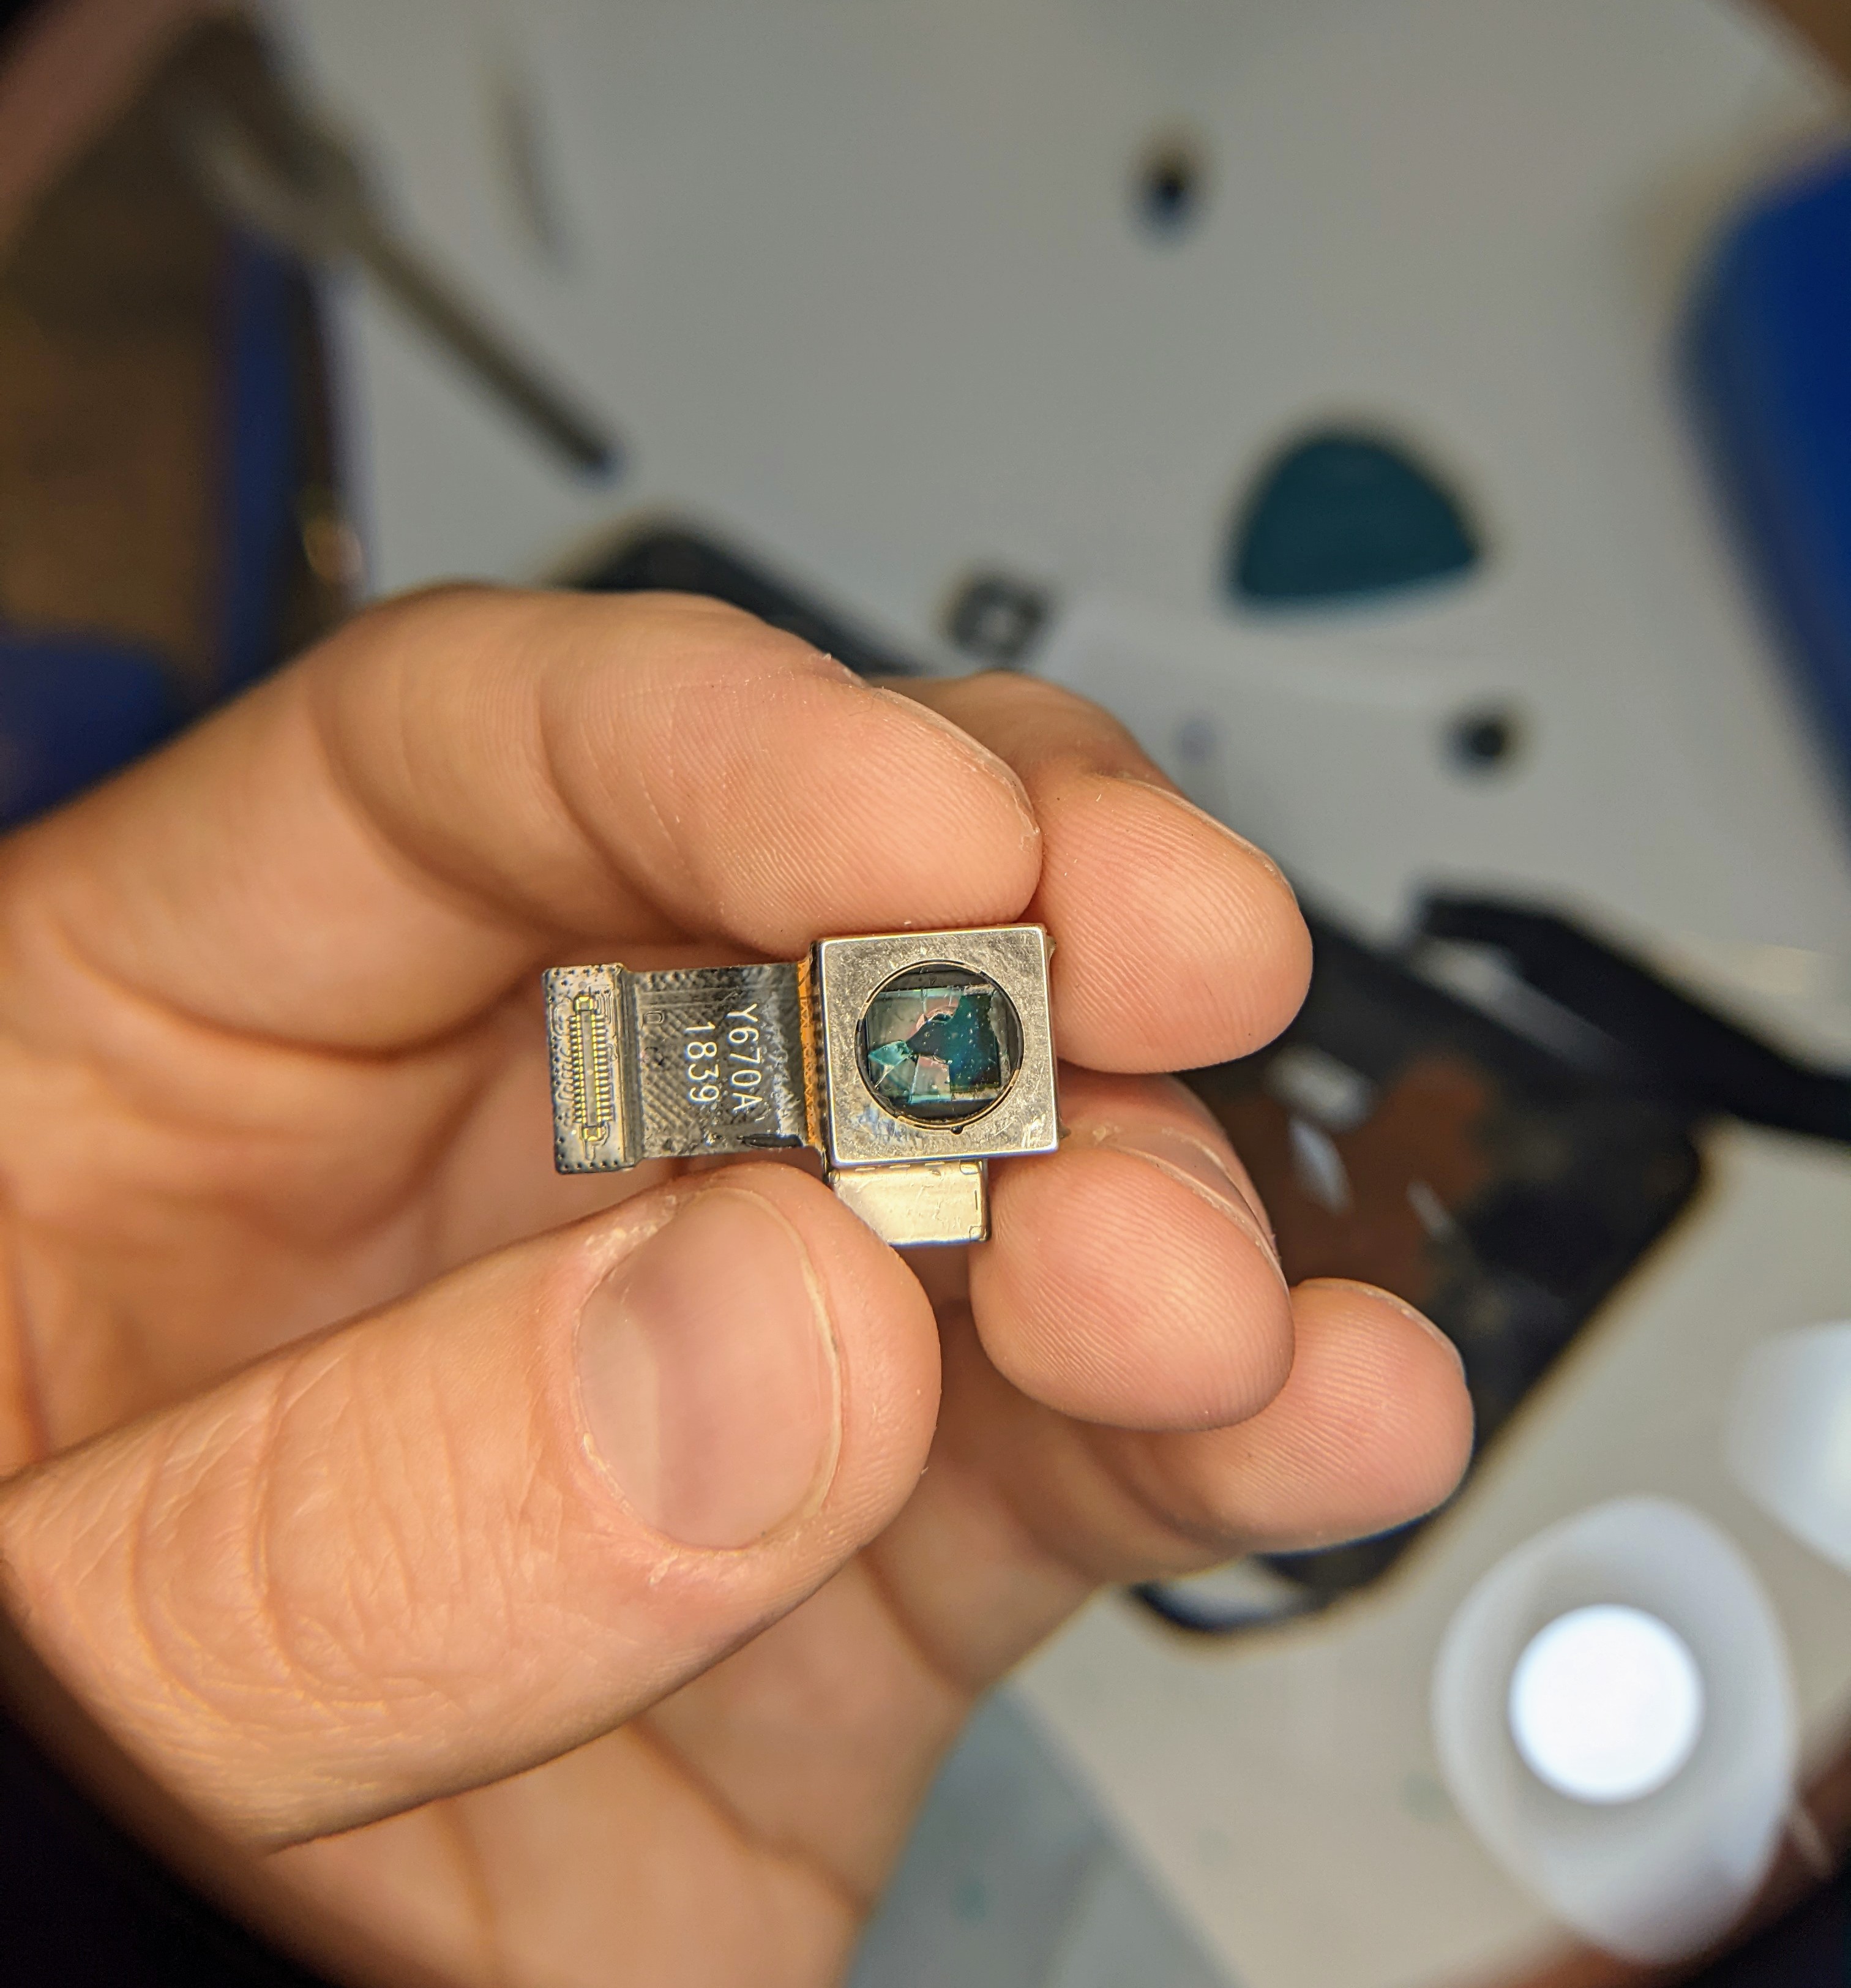
My method of removing the filter entails supergluing a small 1" section of 3d printer filament onto the filter, allowing it to fully dry, then pulling the filament out. This usually results in a broken filter, and care needs to be taken to remove all of the pieces without touching the sensor. It's tough work.
![]()
![]()
Once it's all removed, the camera and be reassembled, taking care to set the lens exactly at the height it was before.
Then the phone can be reassembled.
-
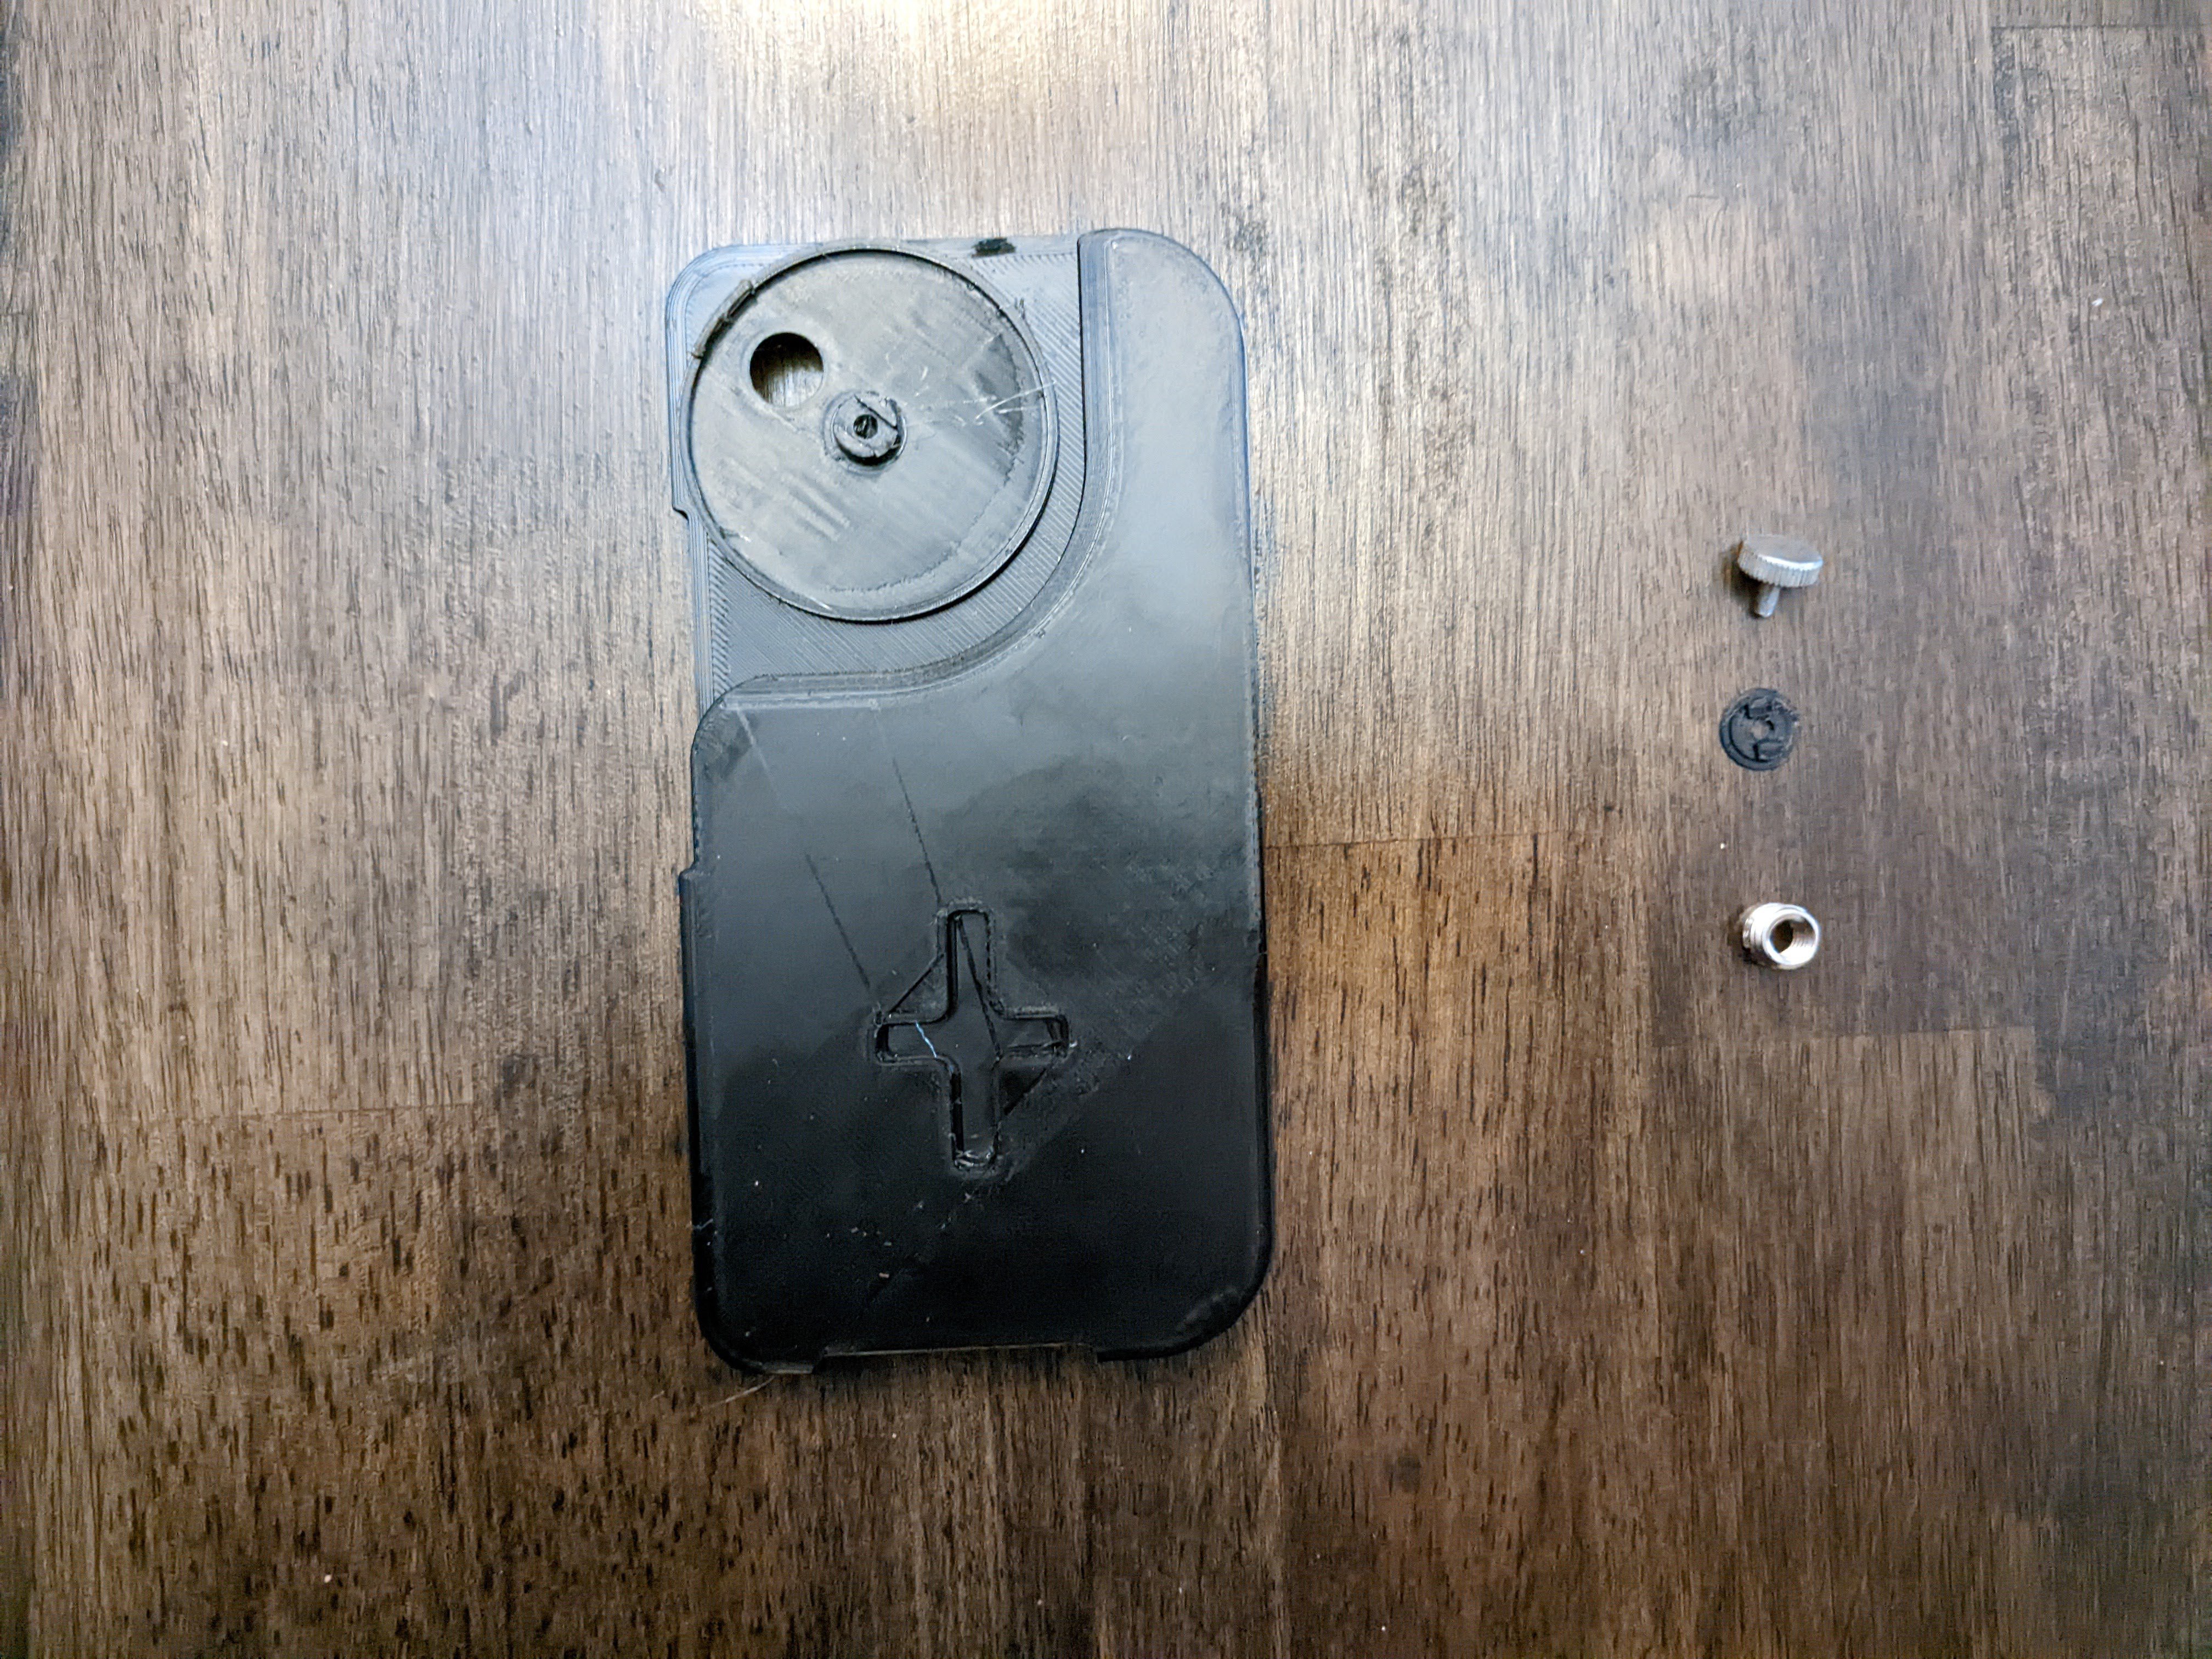
3Print and assemble phone case
Printing of all parts is done is PETG.
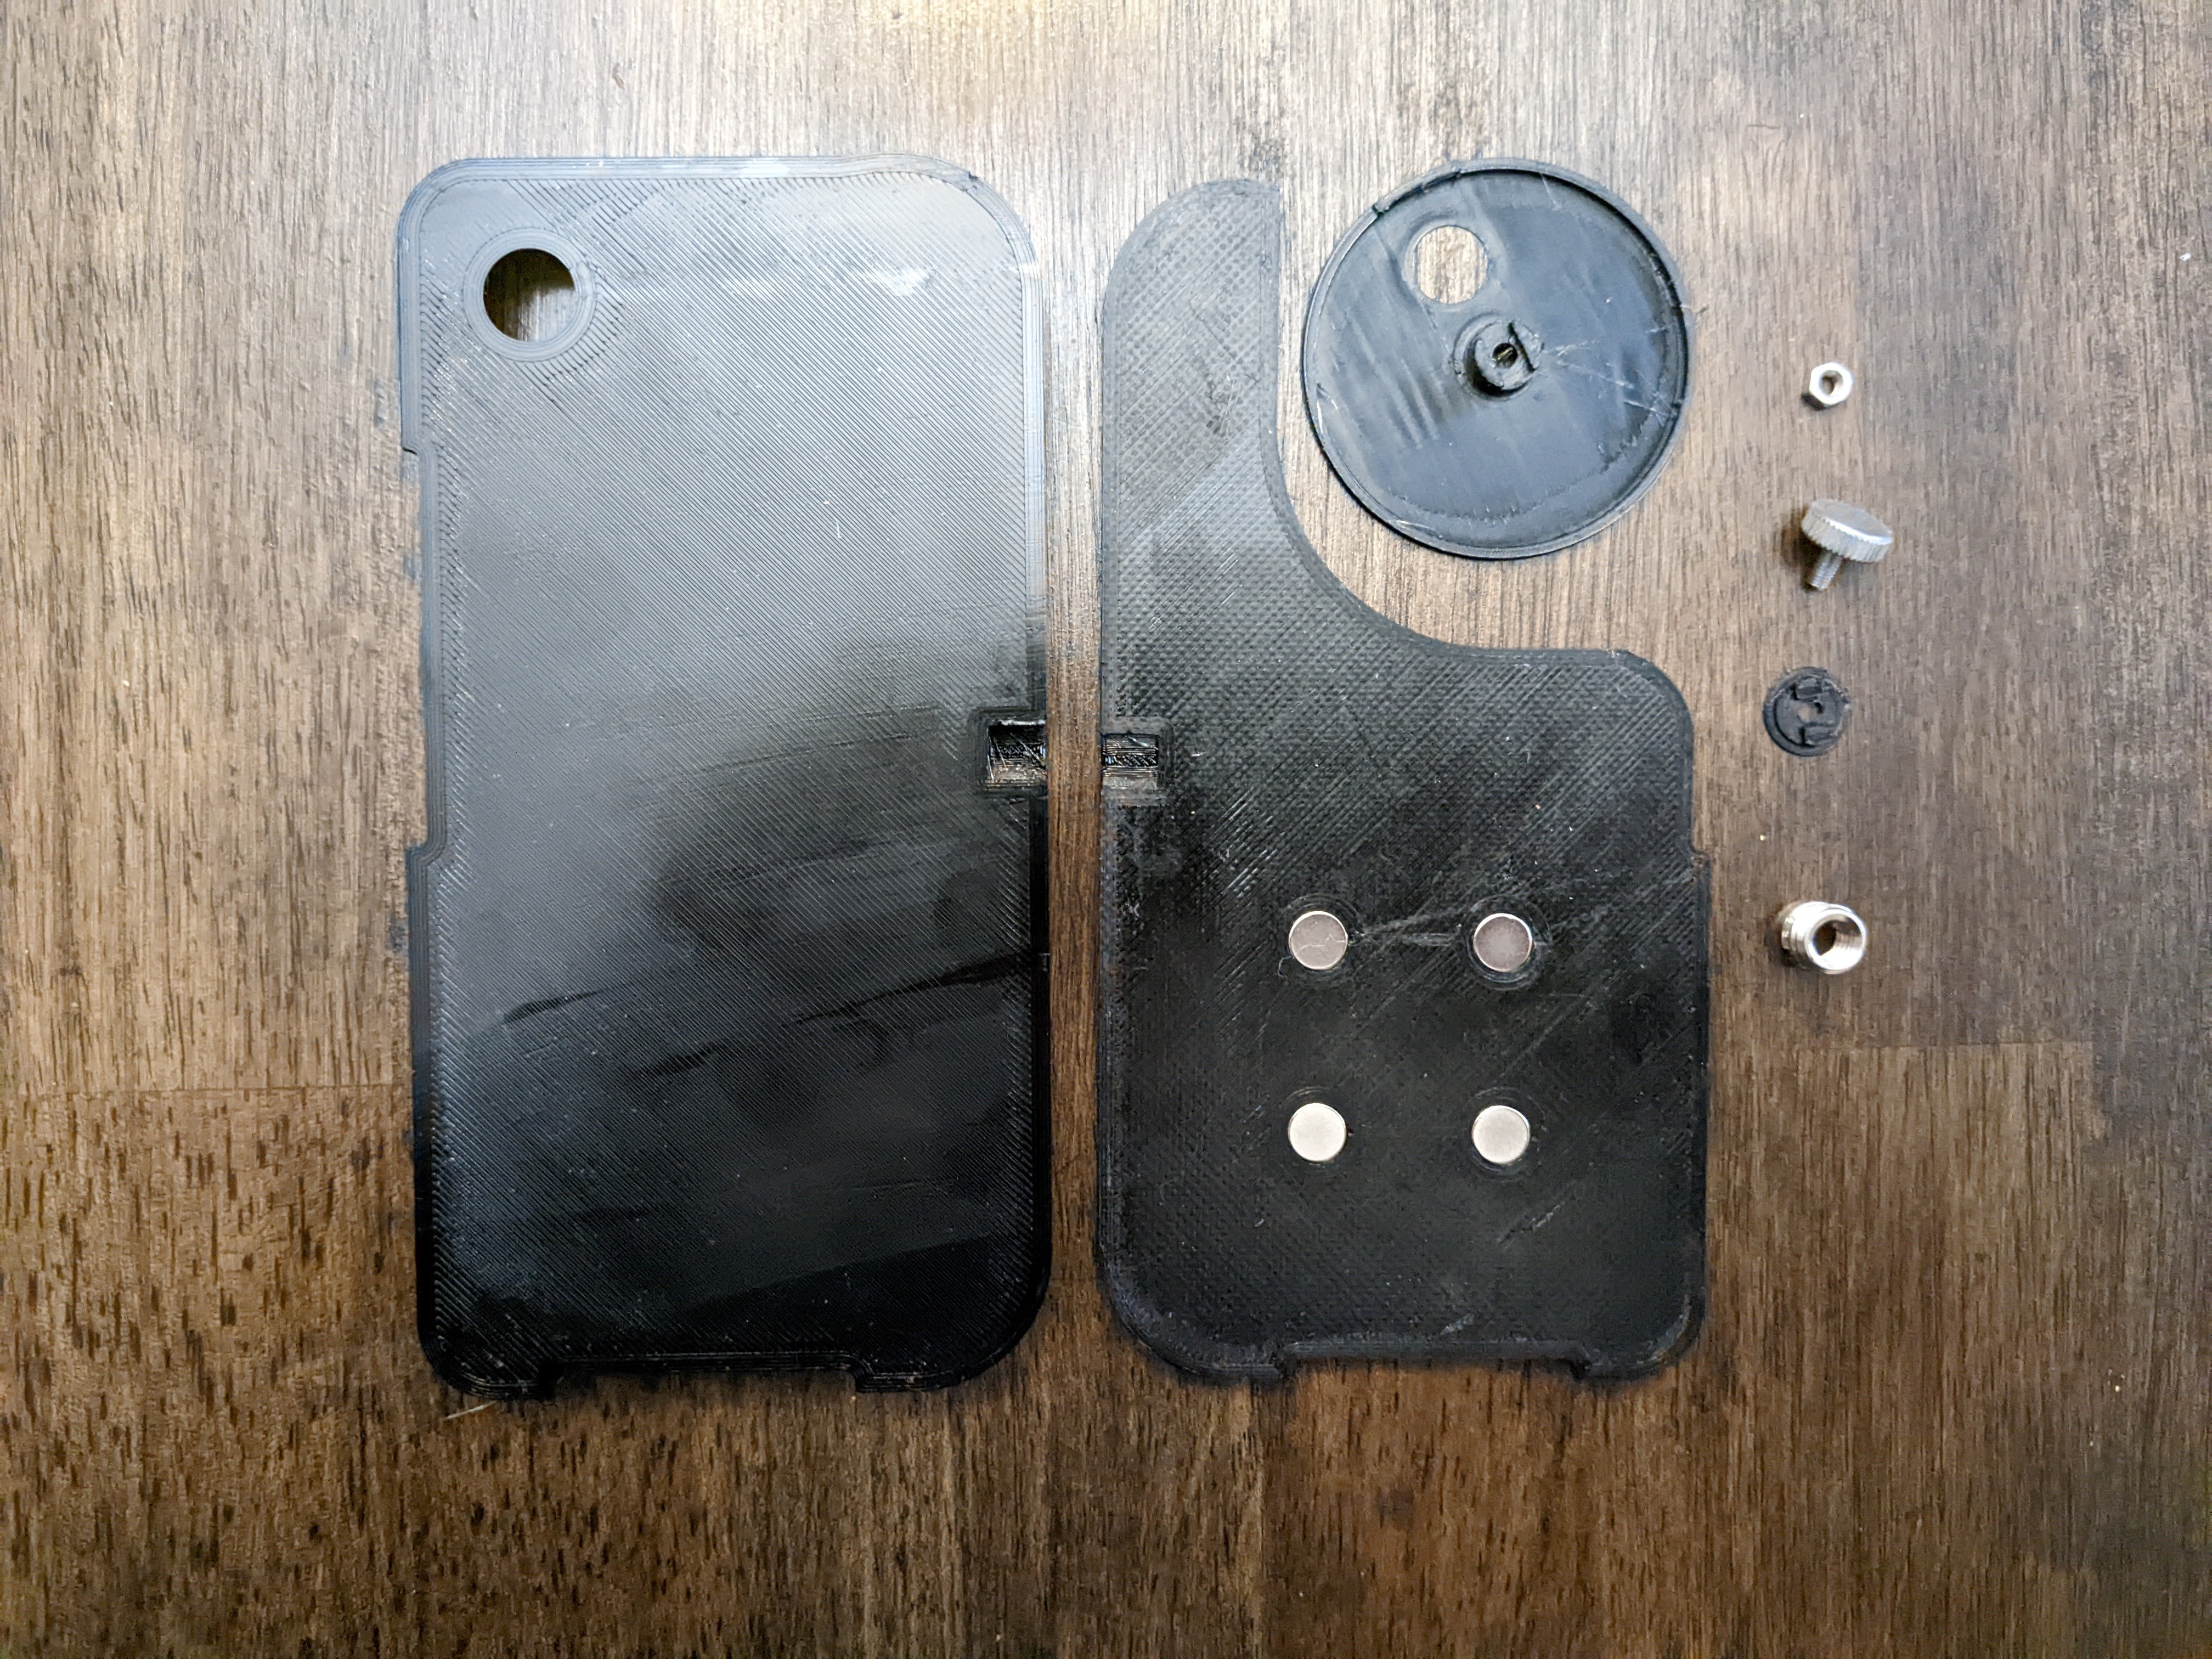
All parts needed for assembly of case:
Case
Case back/magnetic attachment
Filter wheel base
Filter wheel nut
M3 thumb screw
M3 nut
3/8" to 1/4" tripod mount adapter
8x3mm magnets (x4)
-----------------------------------
Insert magnets:
![]()
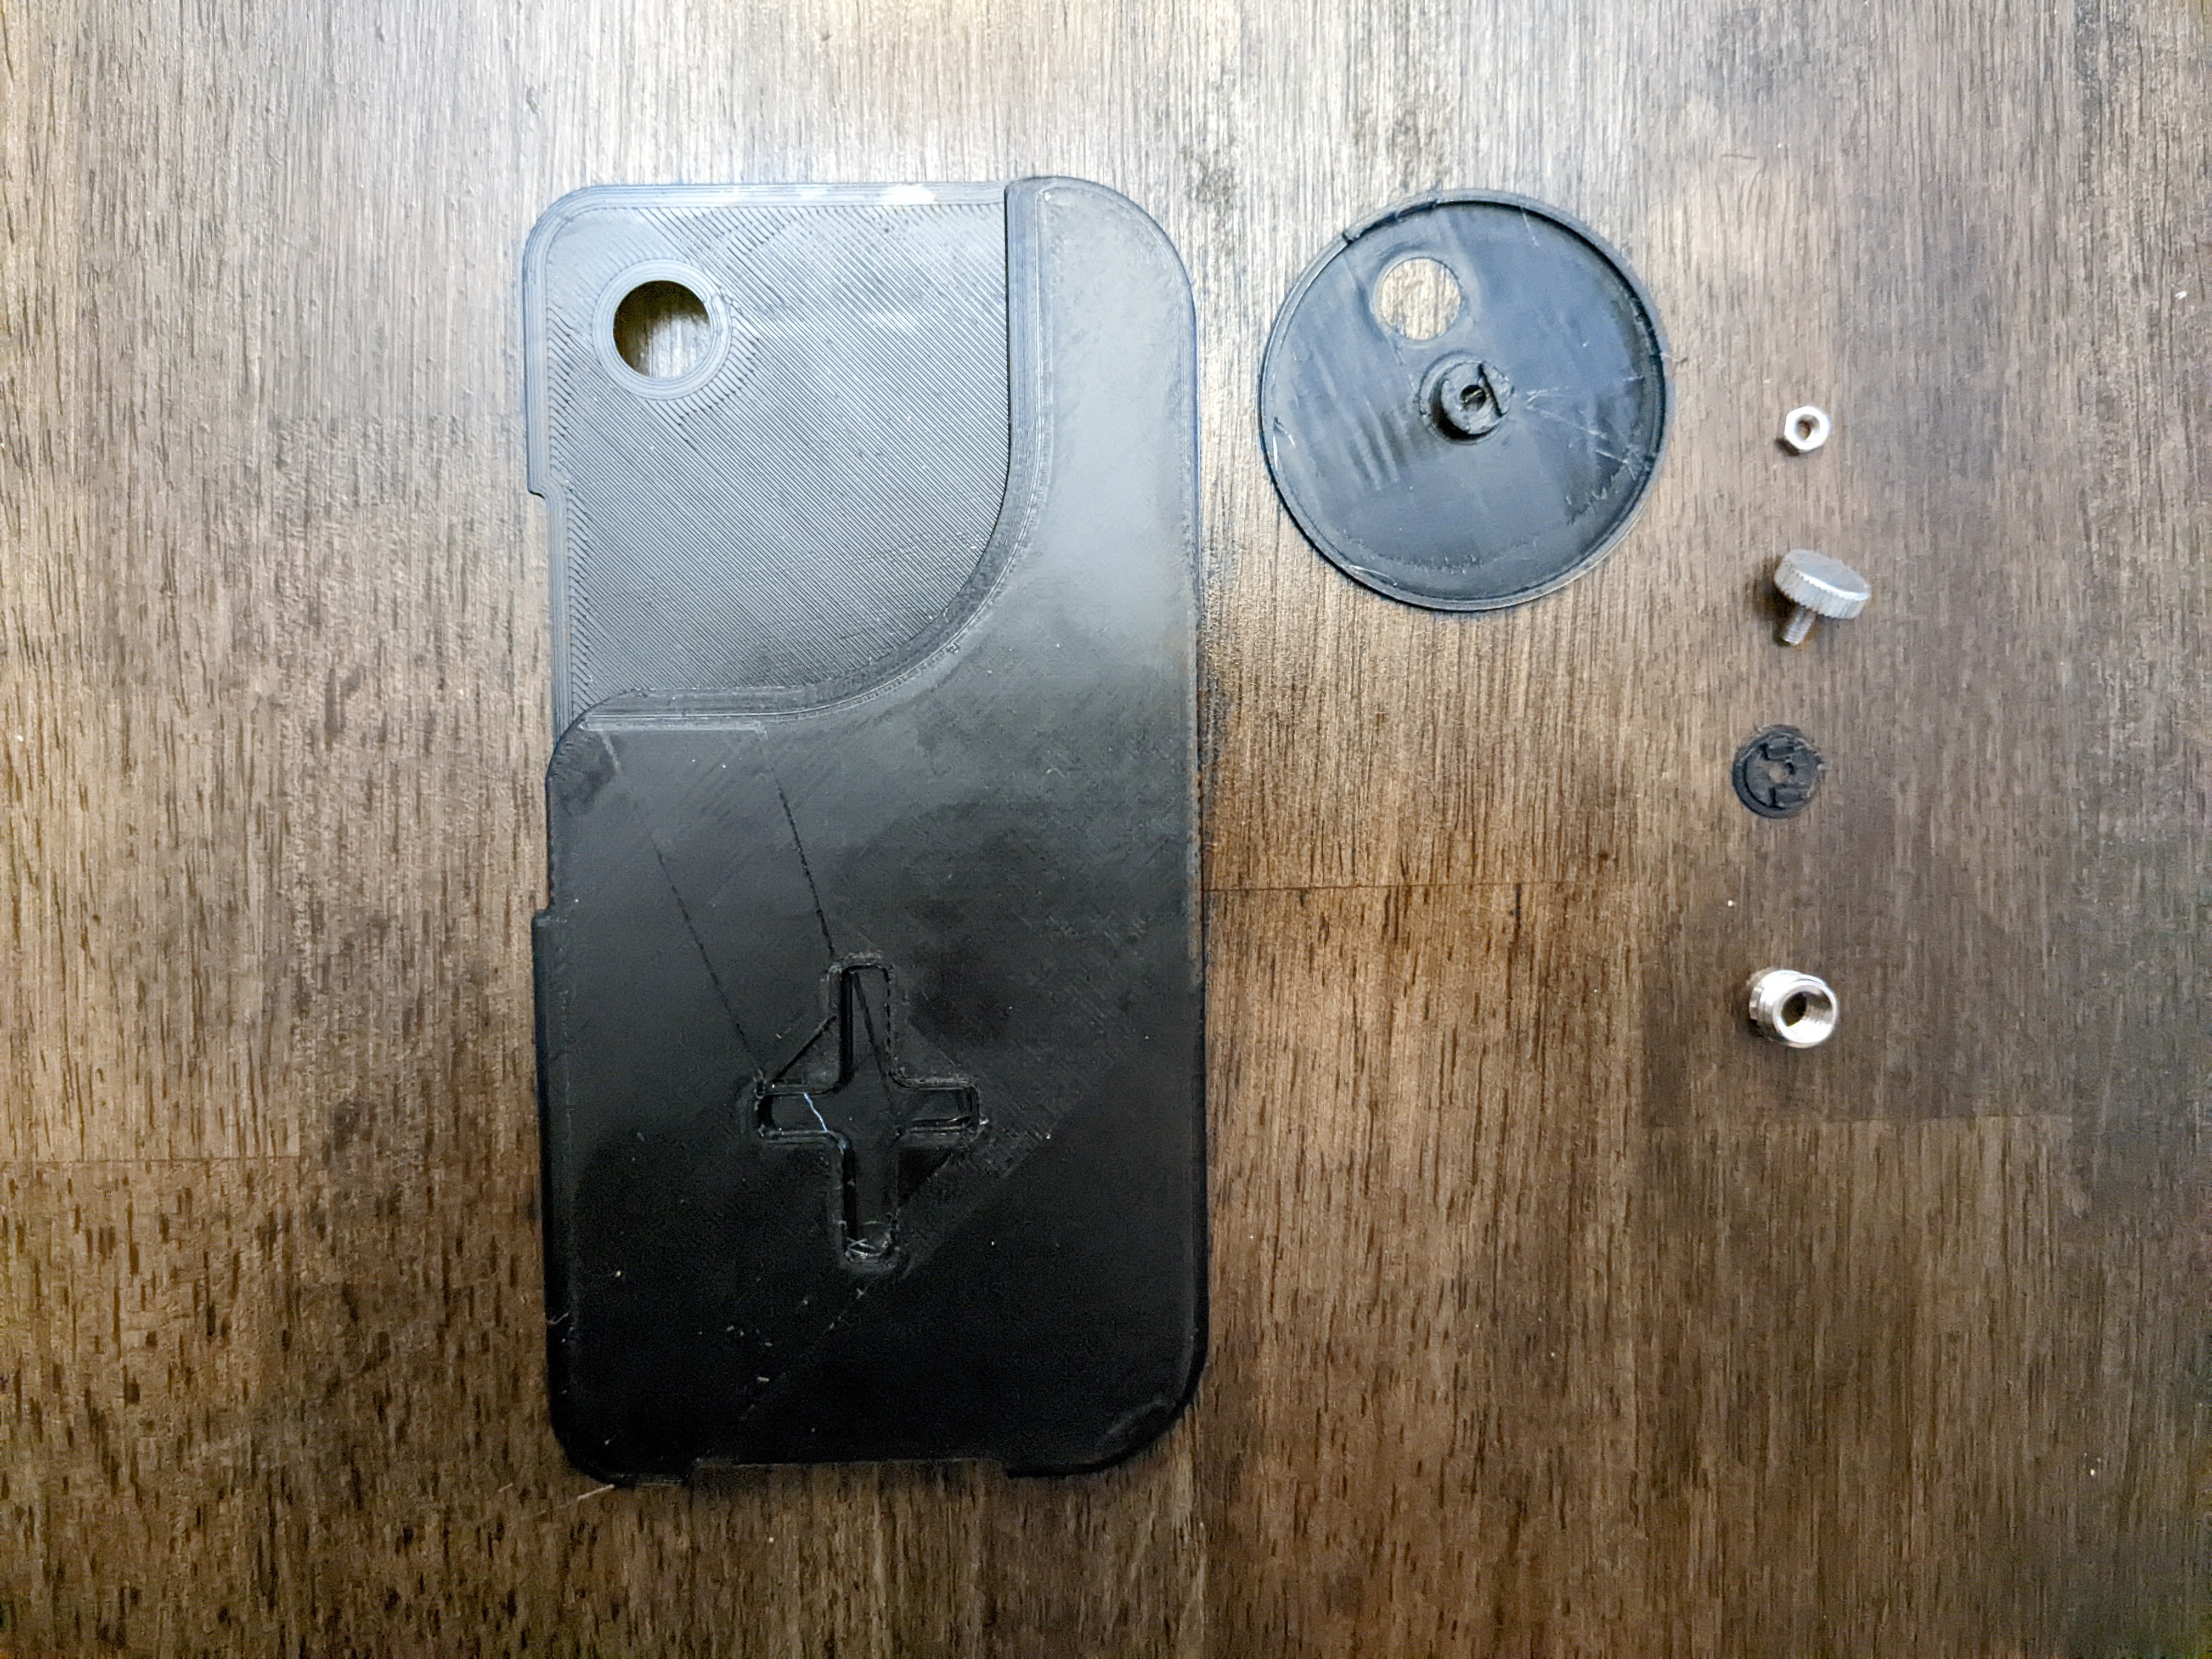
Adhere back onto case (I use superglue with 3d prints):
![]()
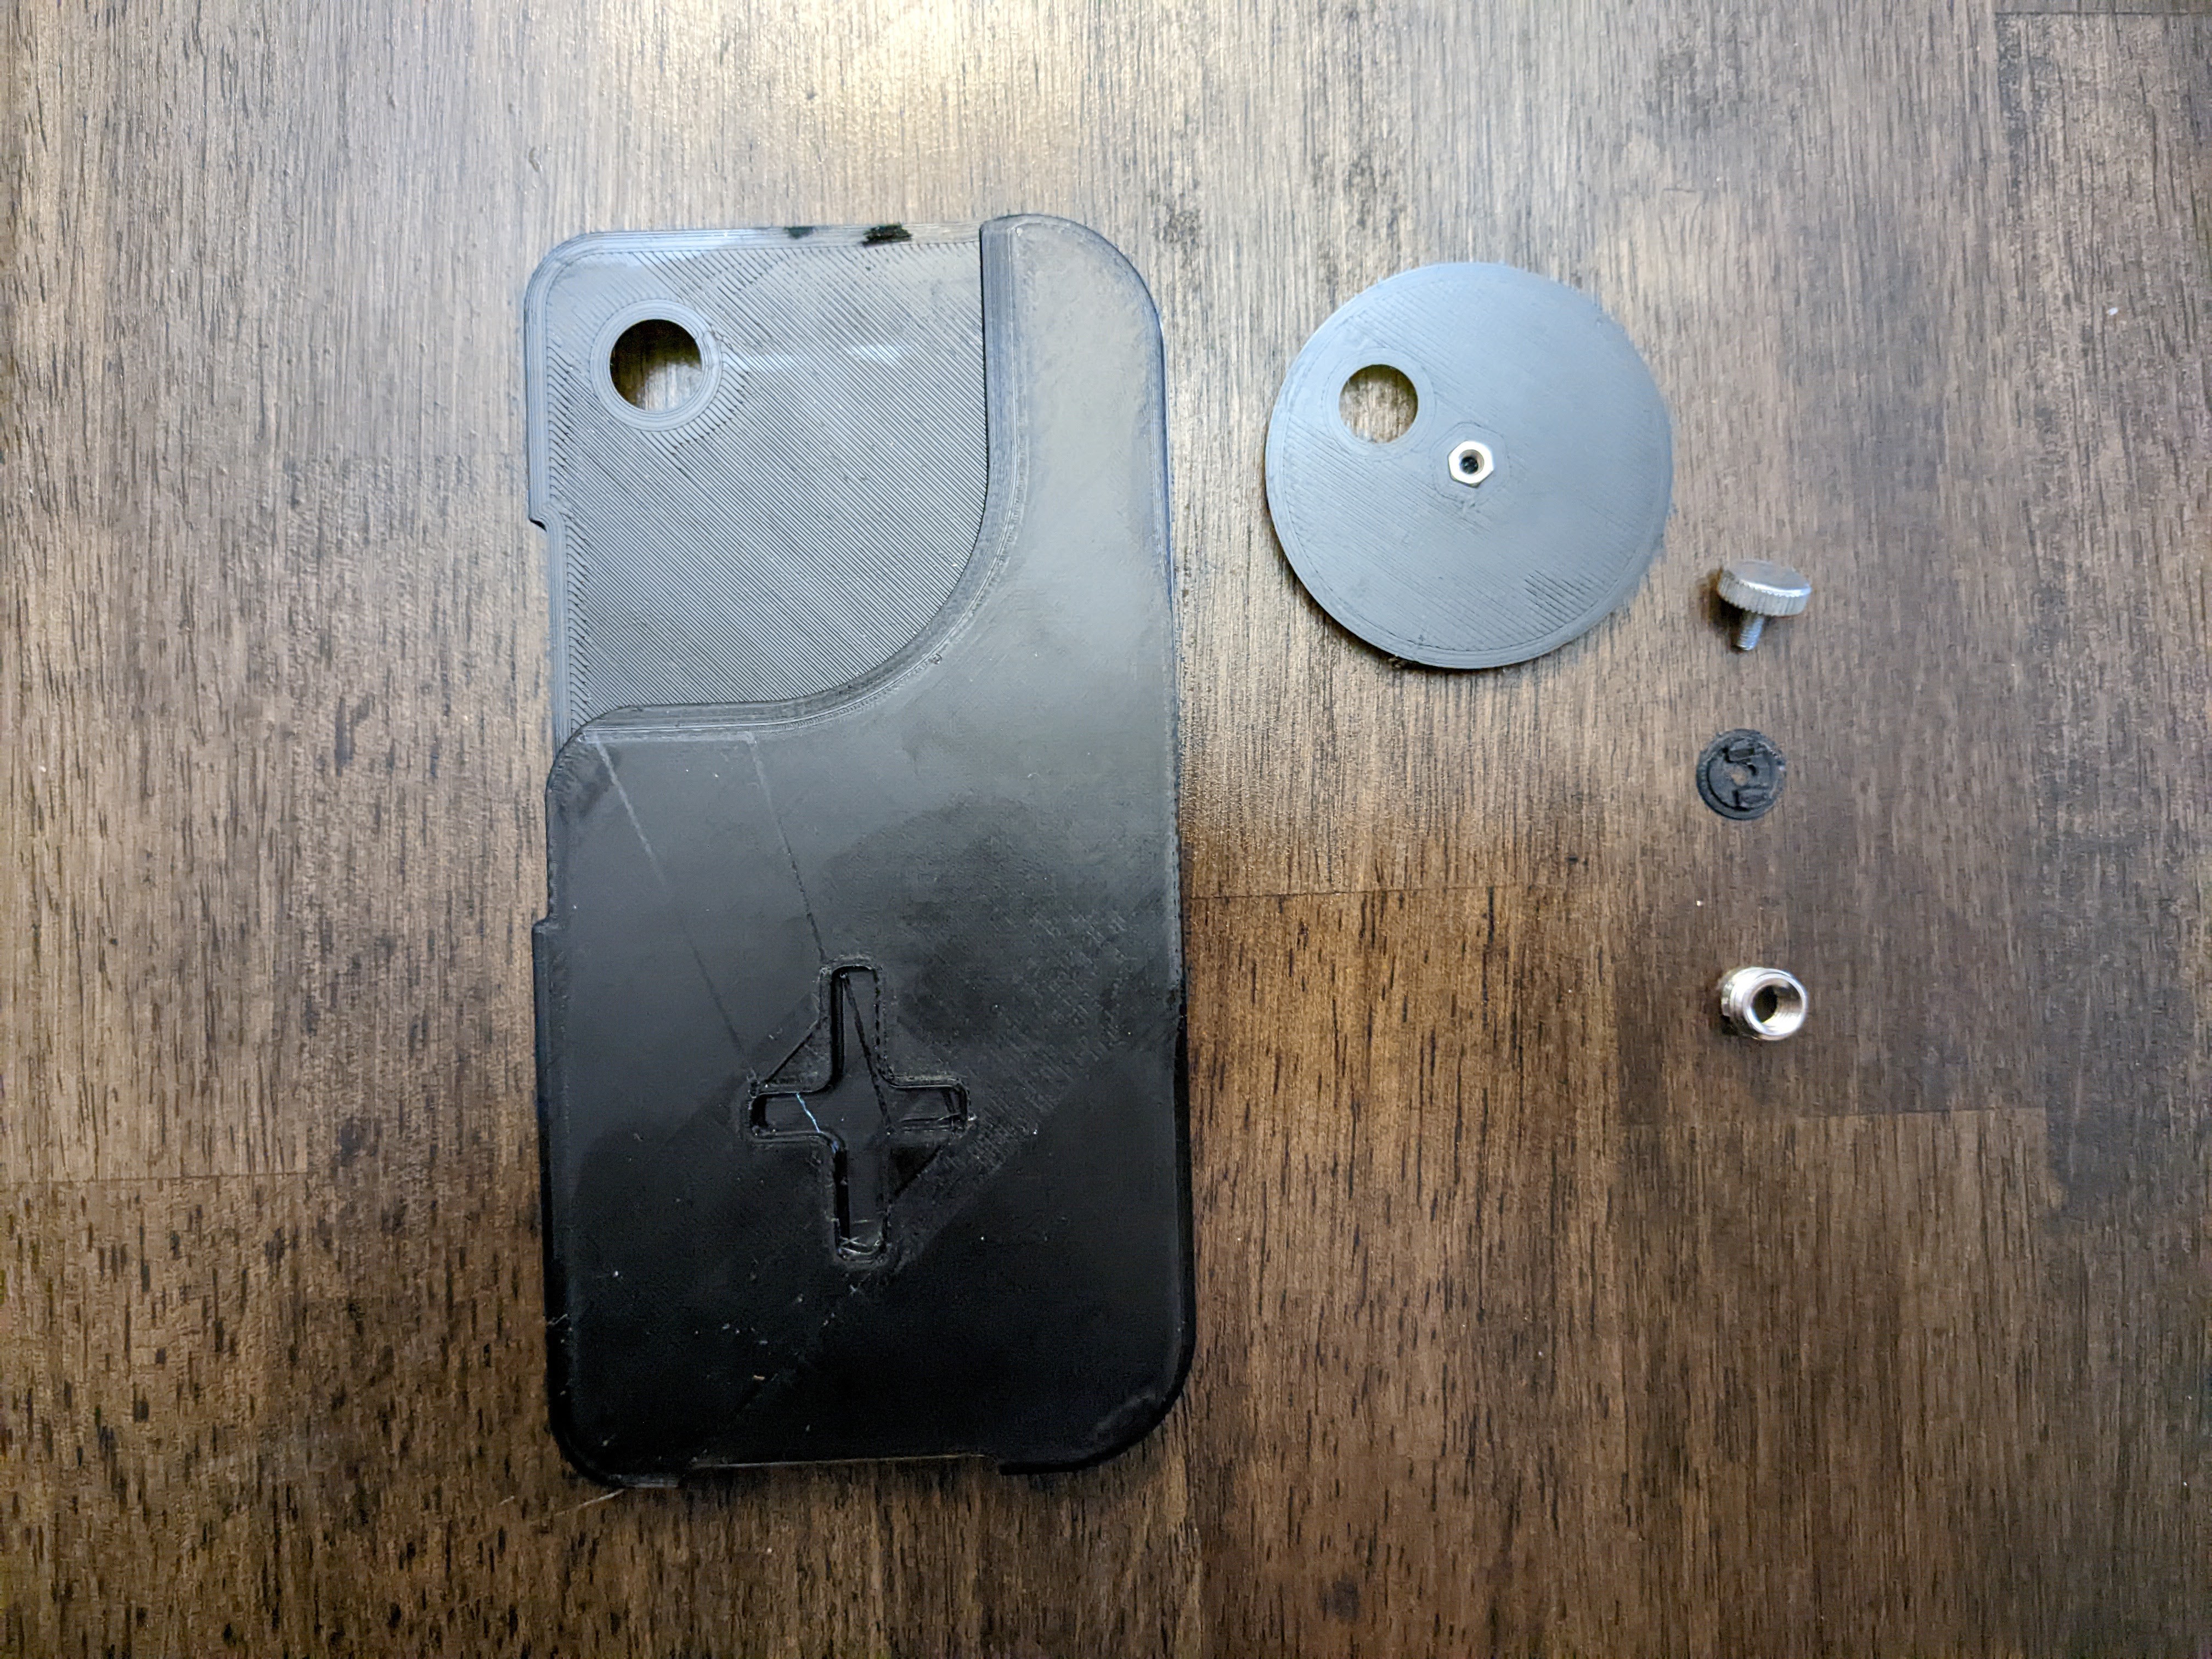
Insert M3 nut into back of filter wheel base:
![]()
Adhere filter wheel base into place:
![]()
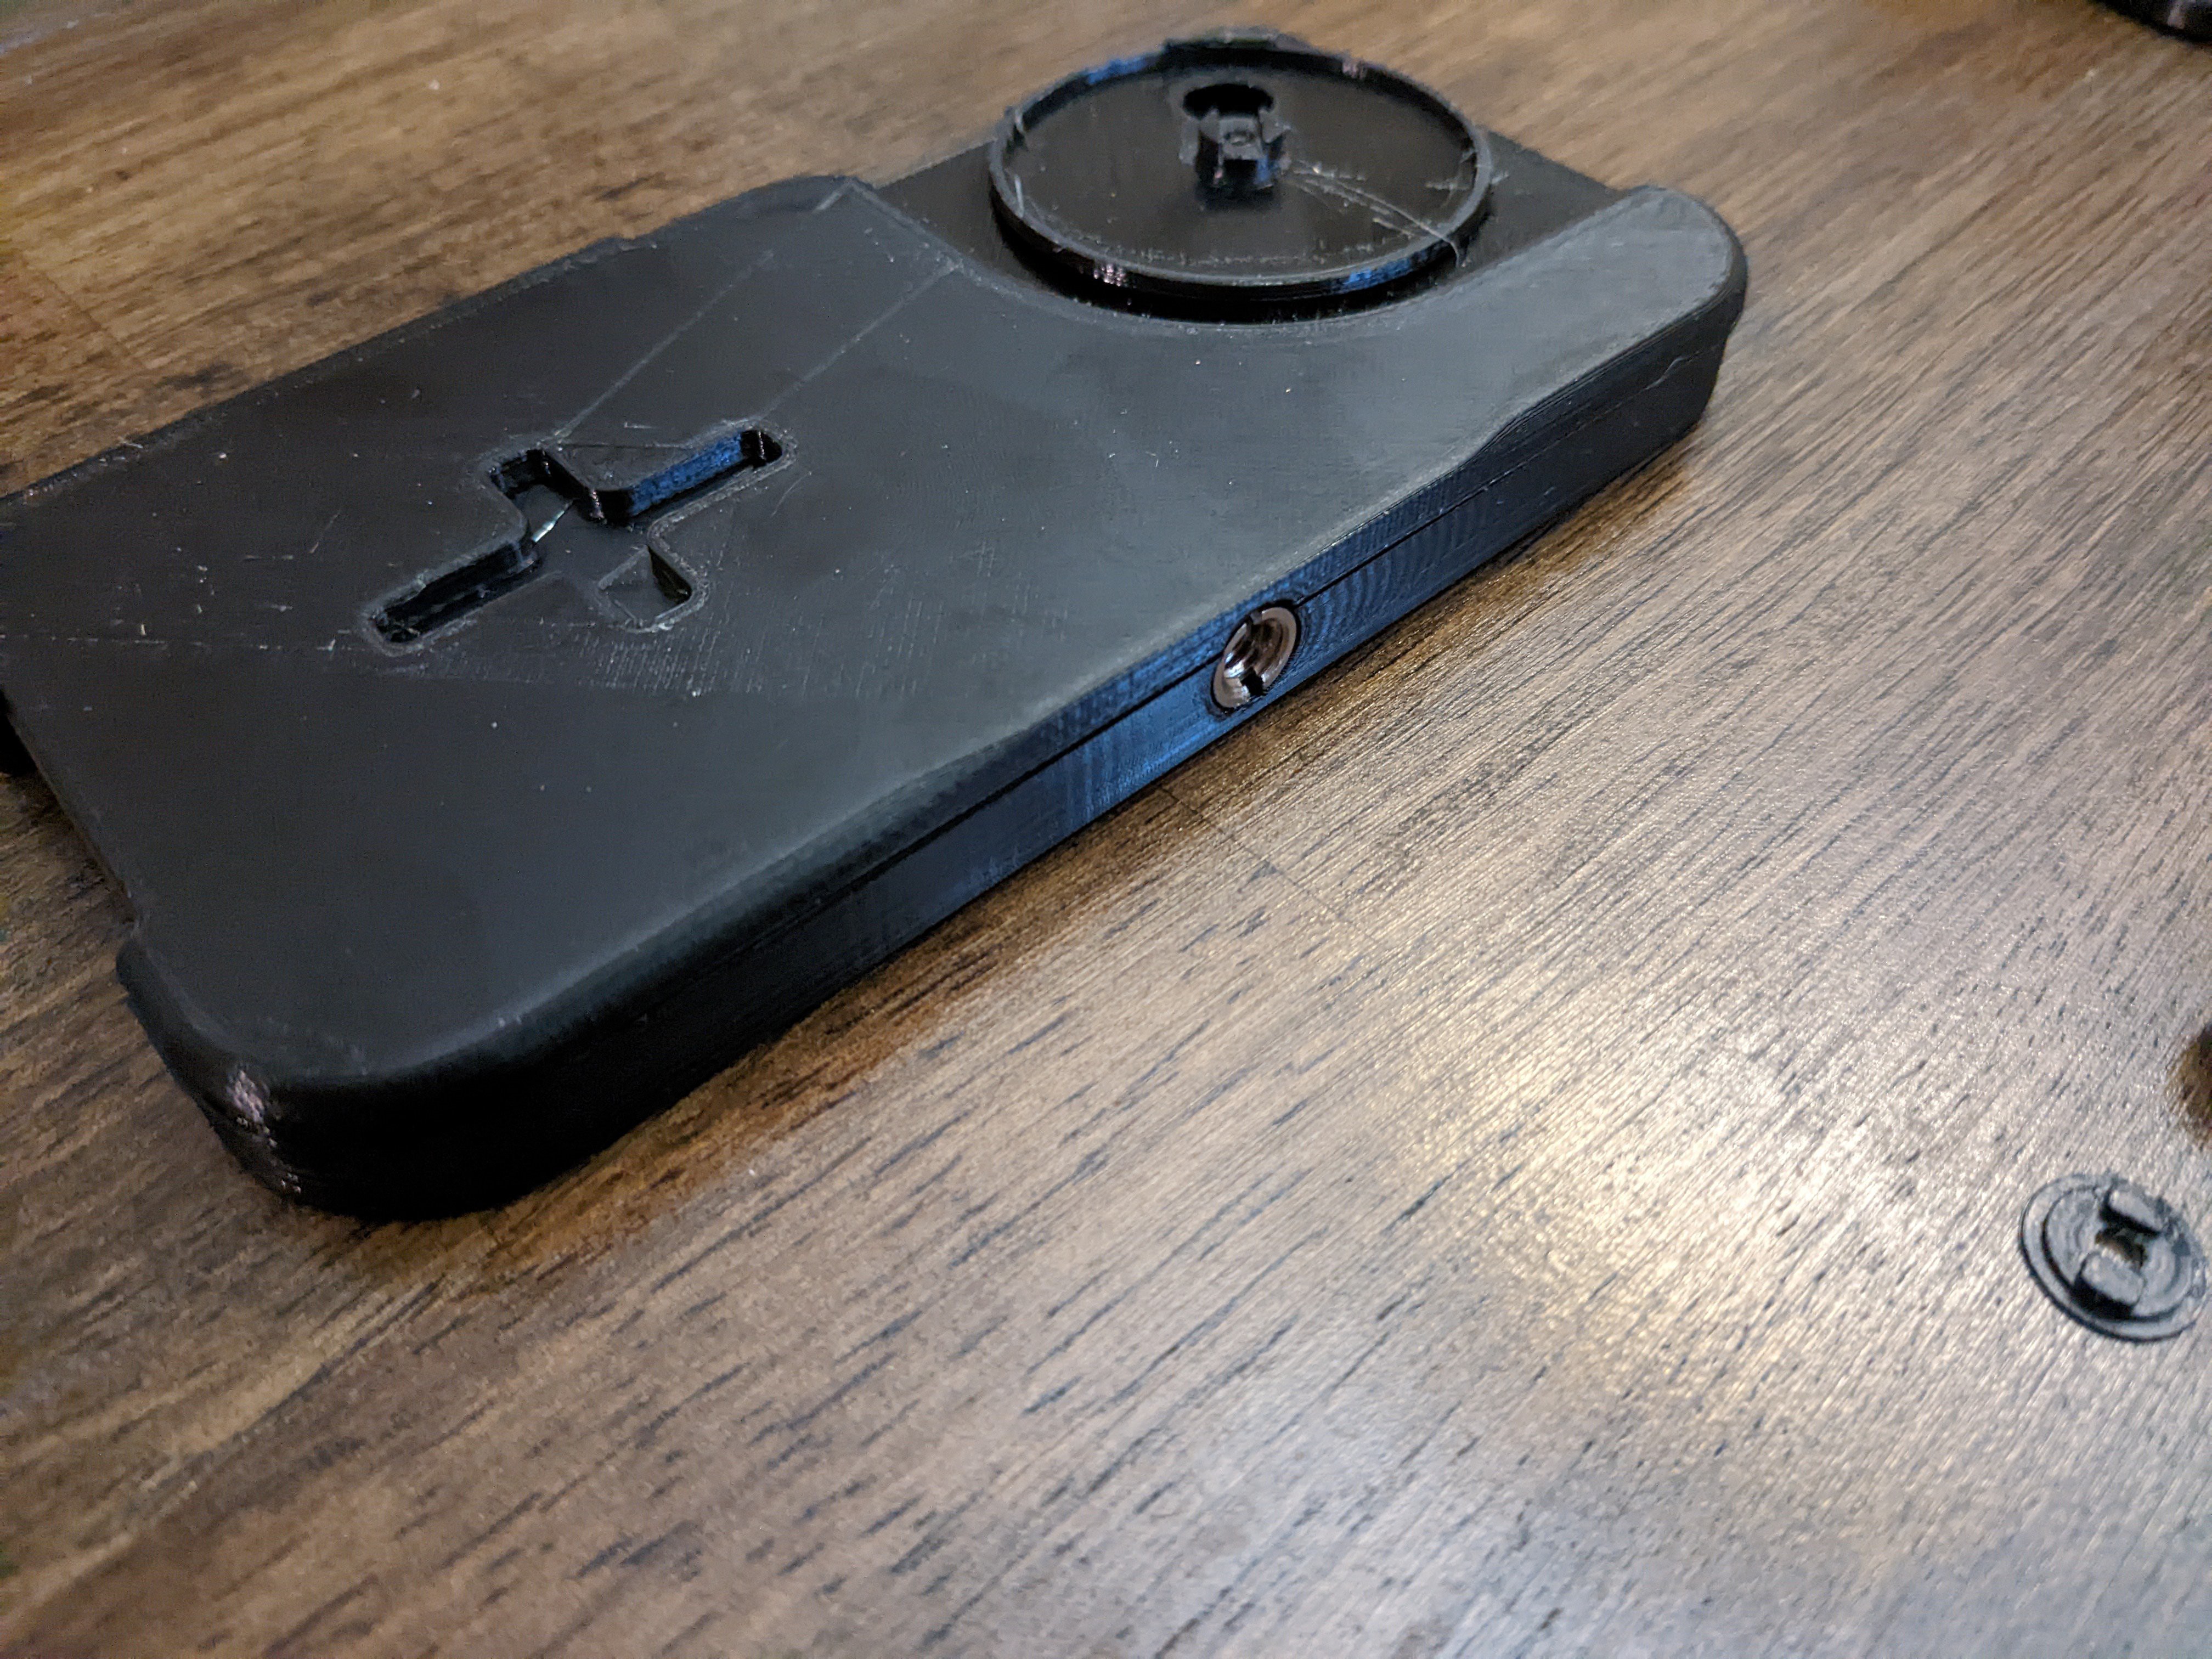
Insert tripod mount adapter (I use epoxy for this step):
![]()
-
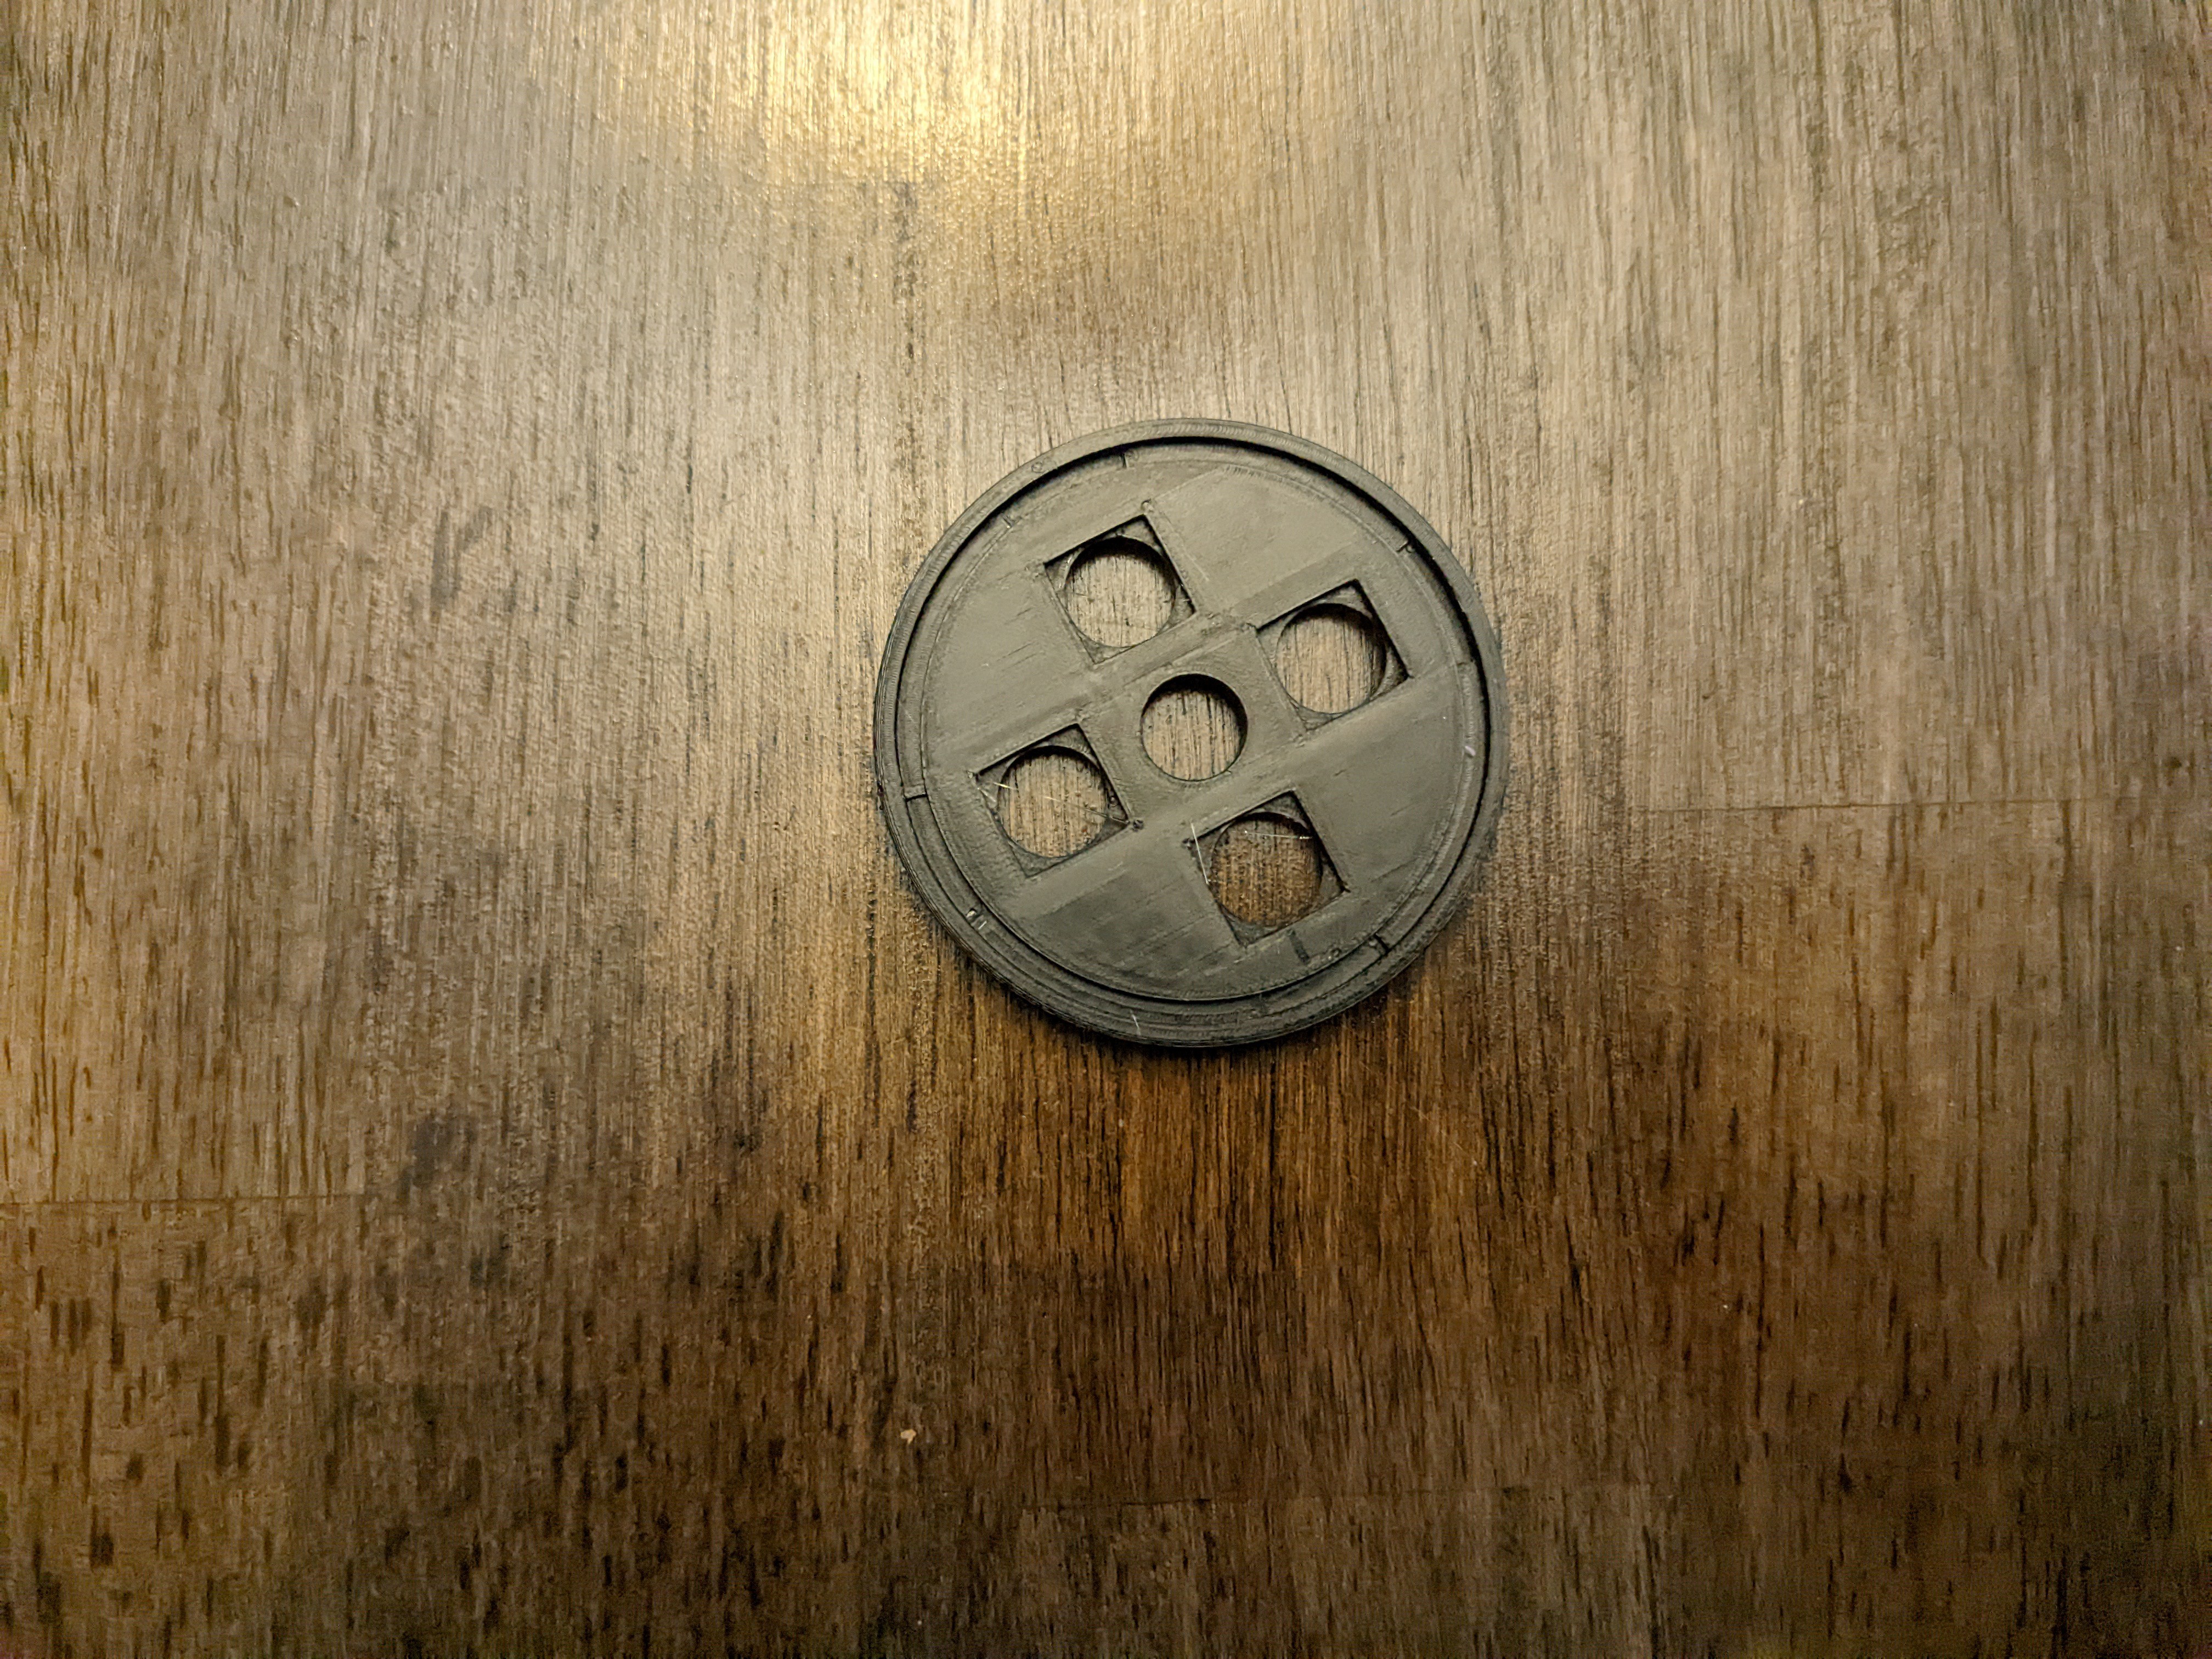
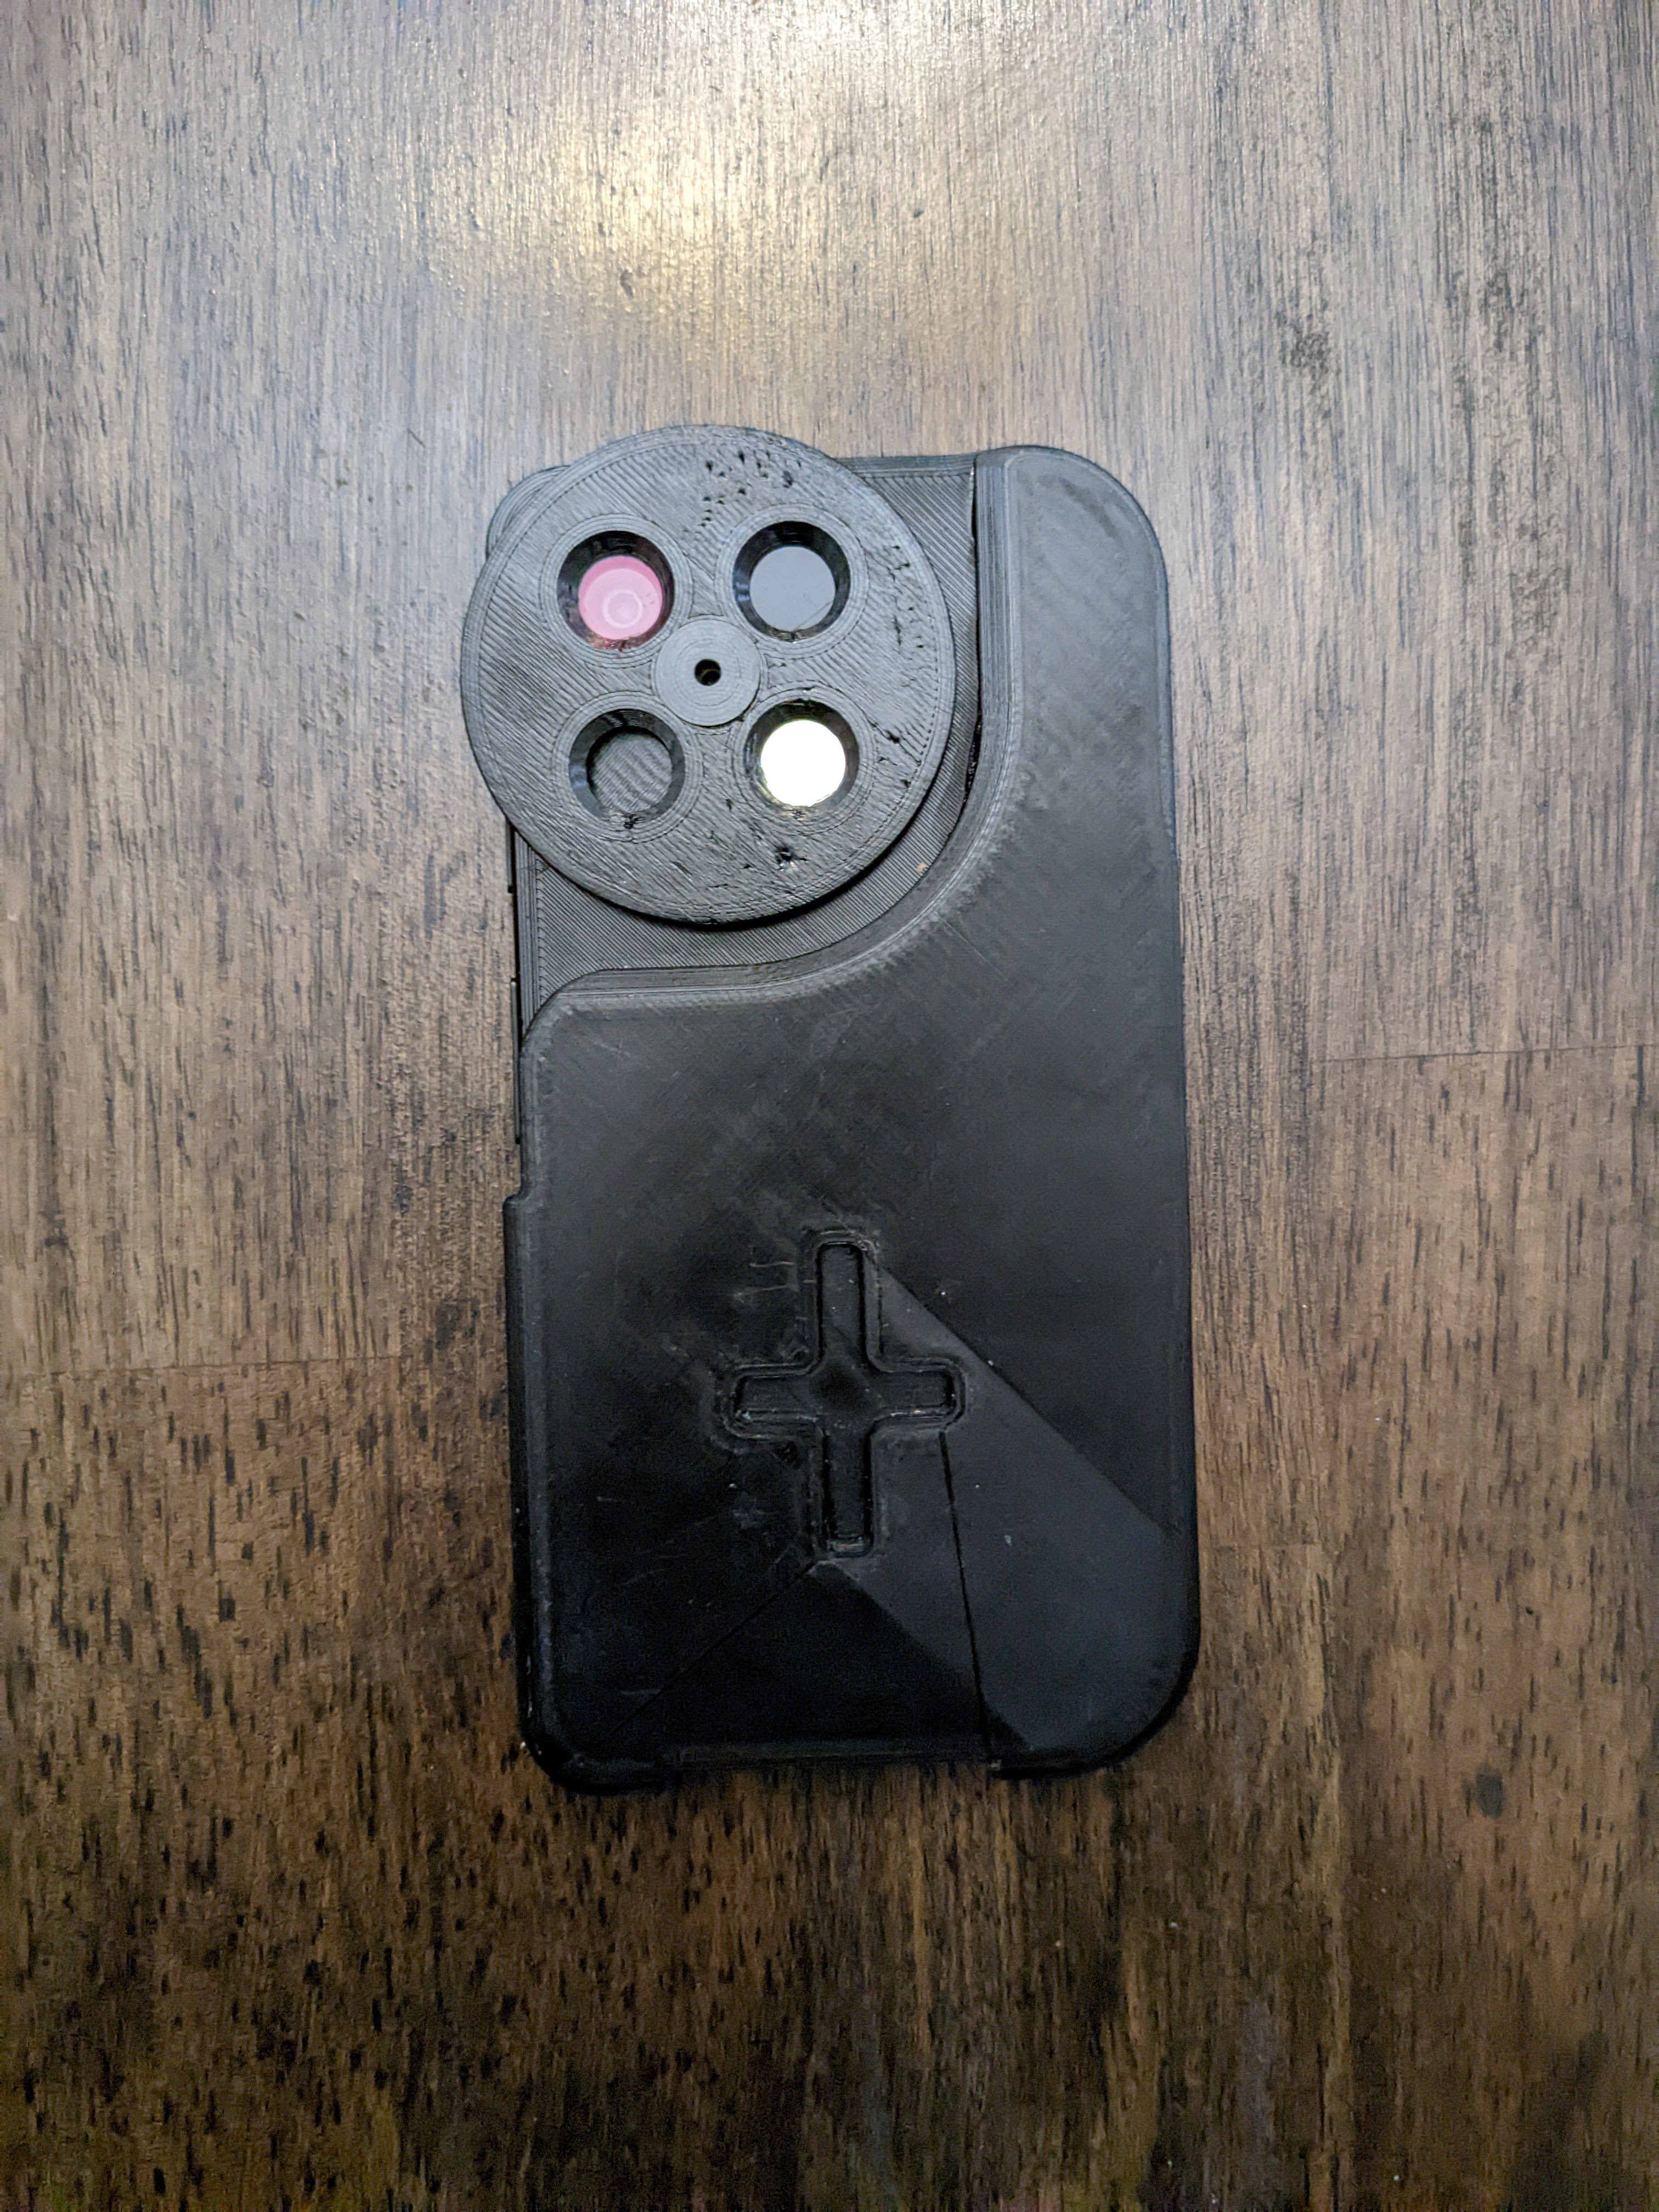
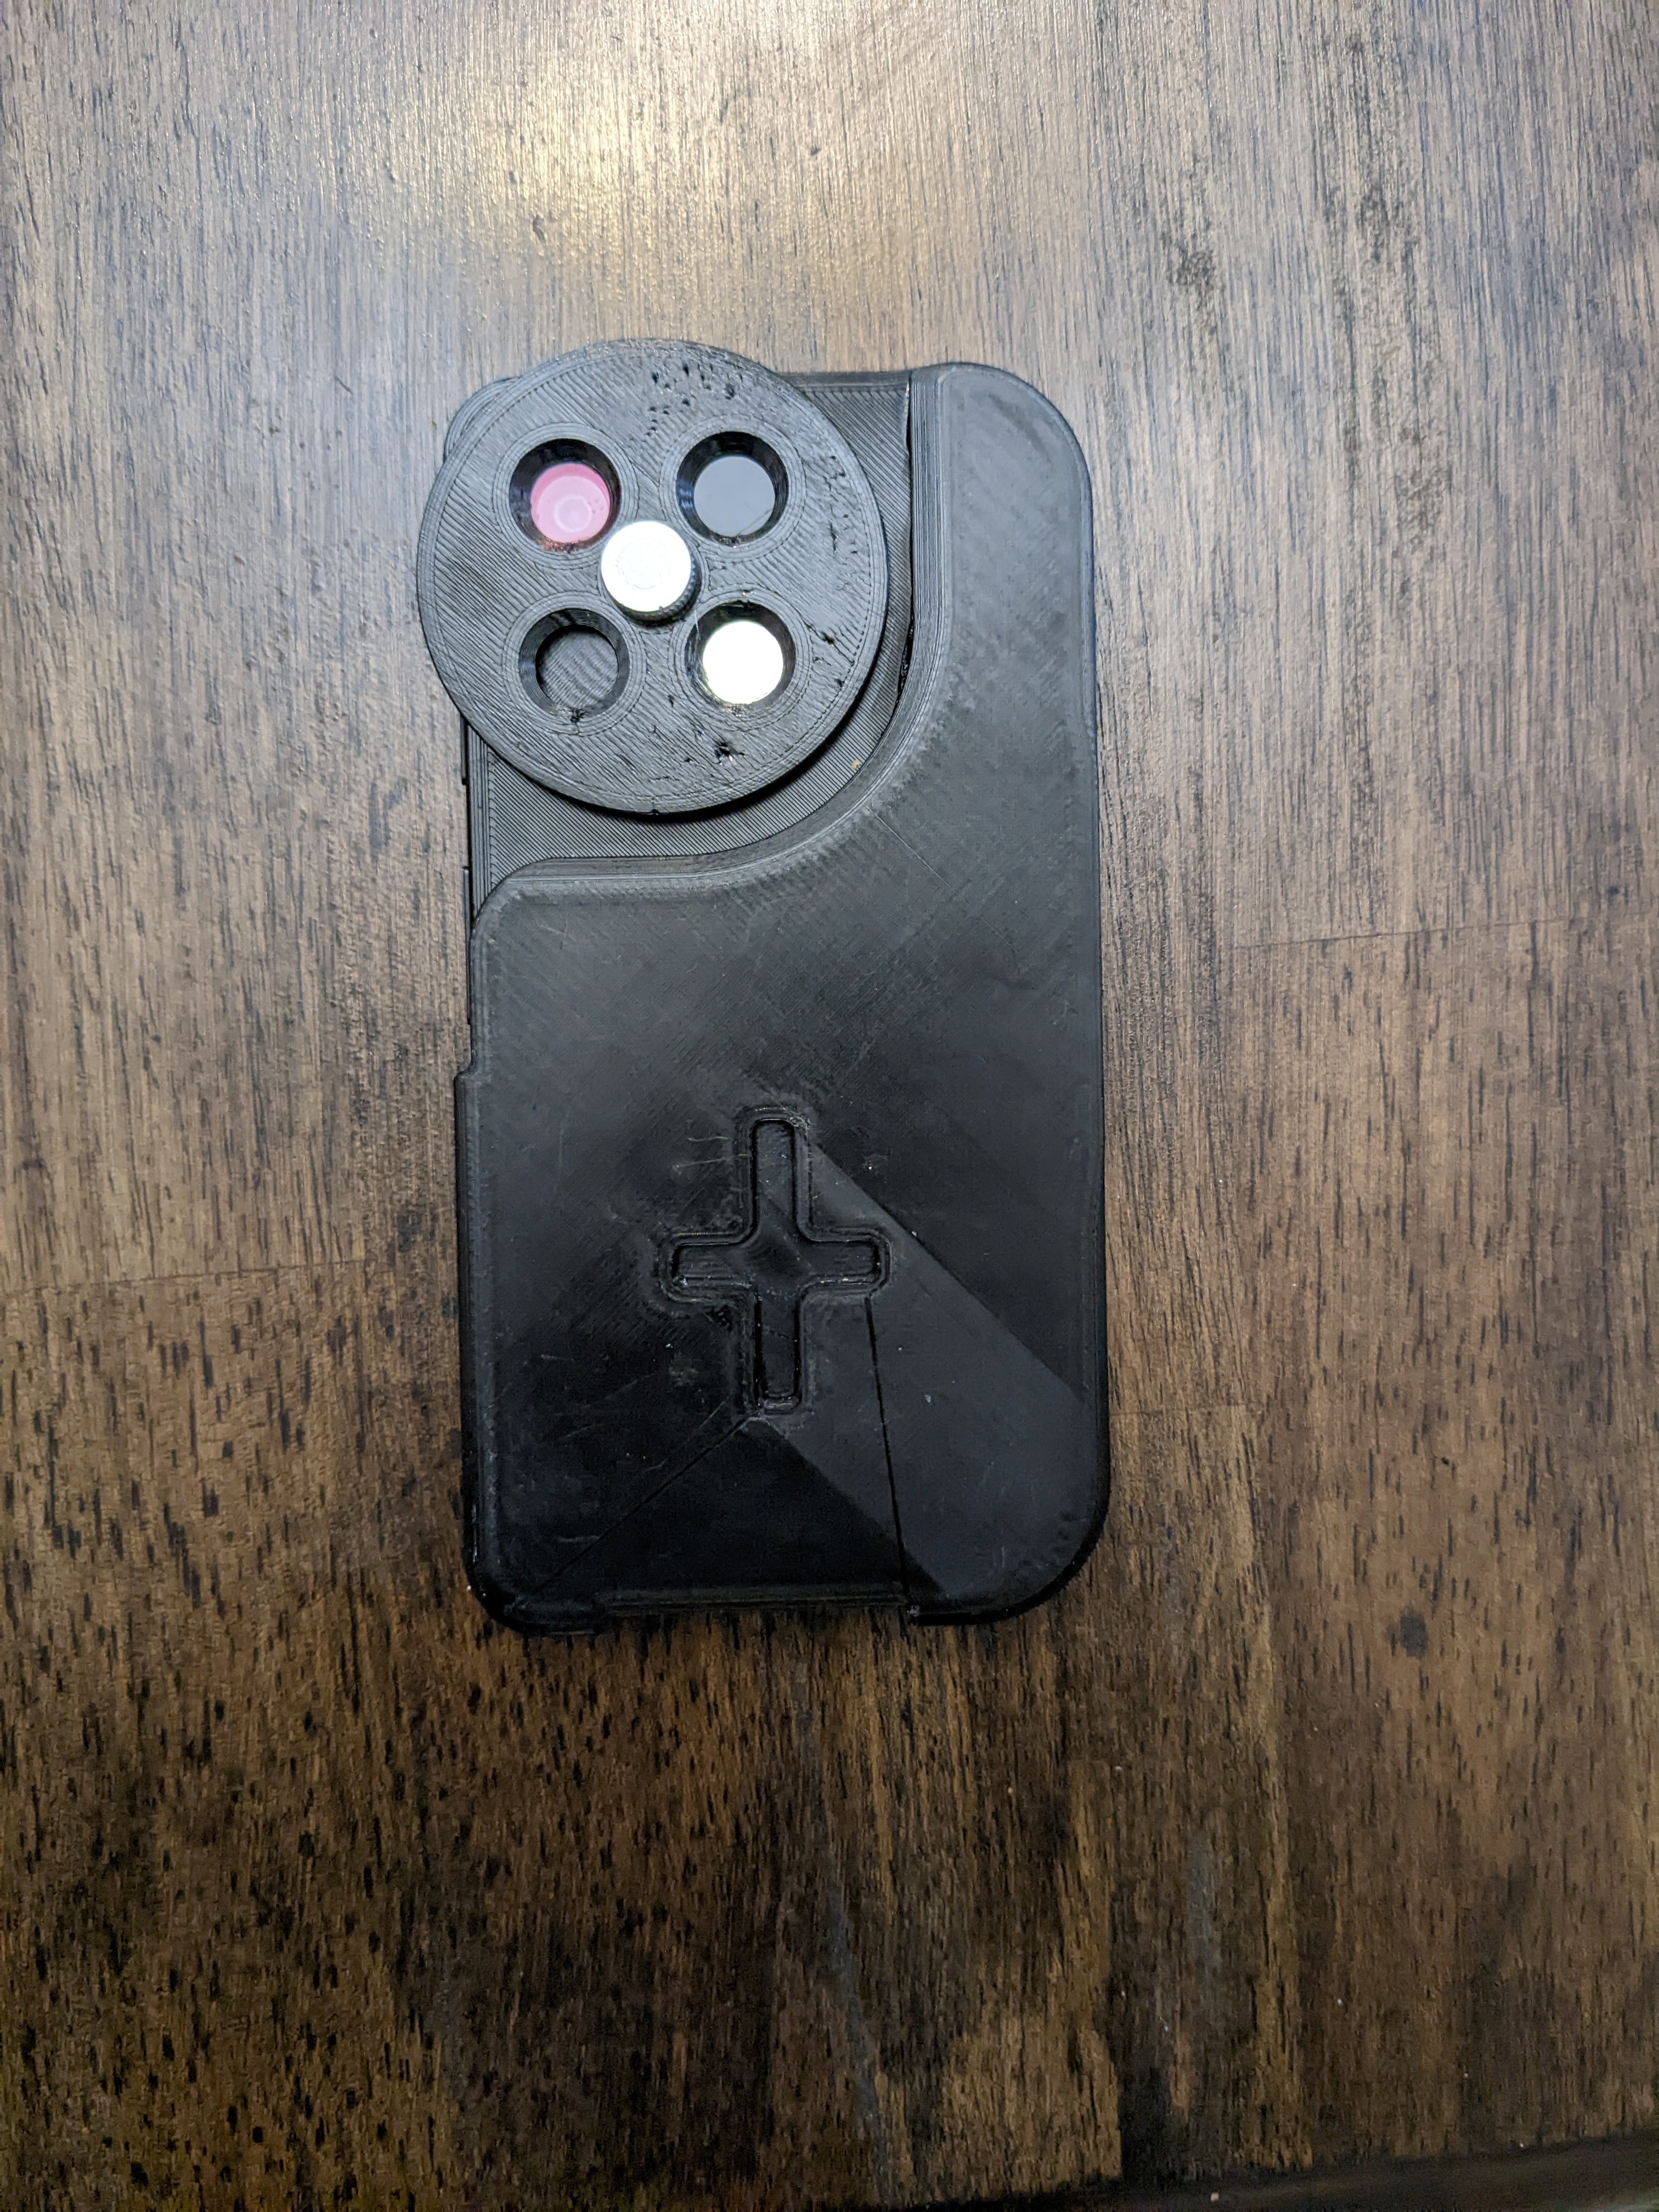
4Assemble filter wheel
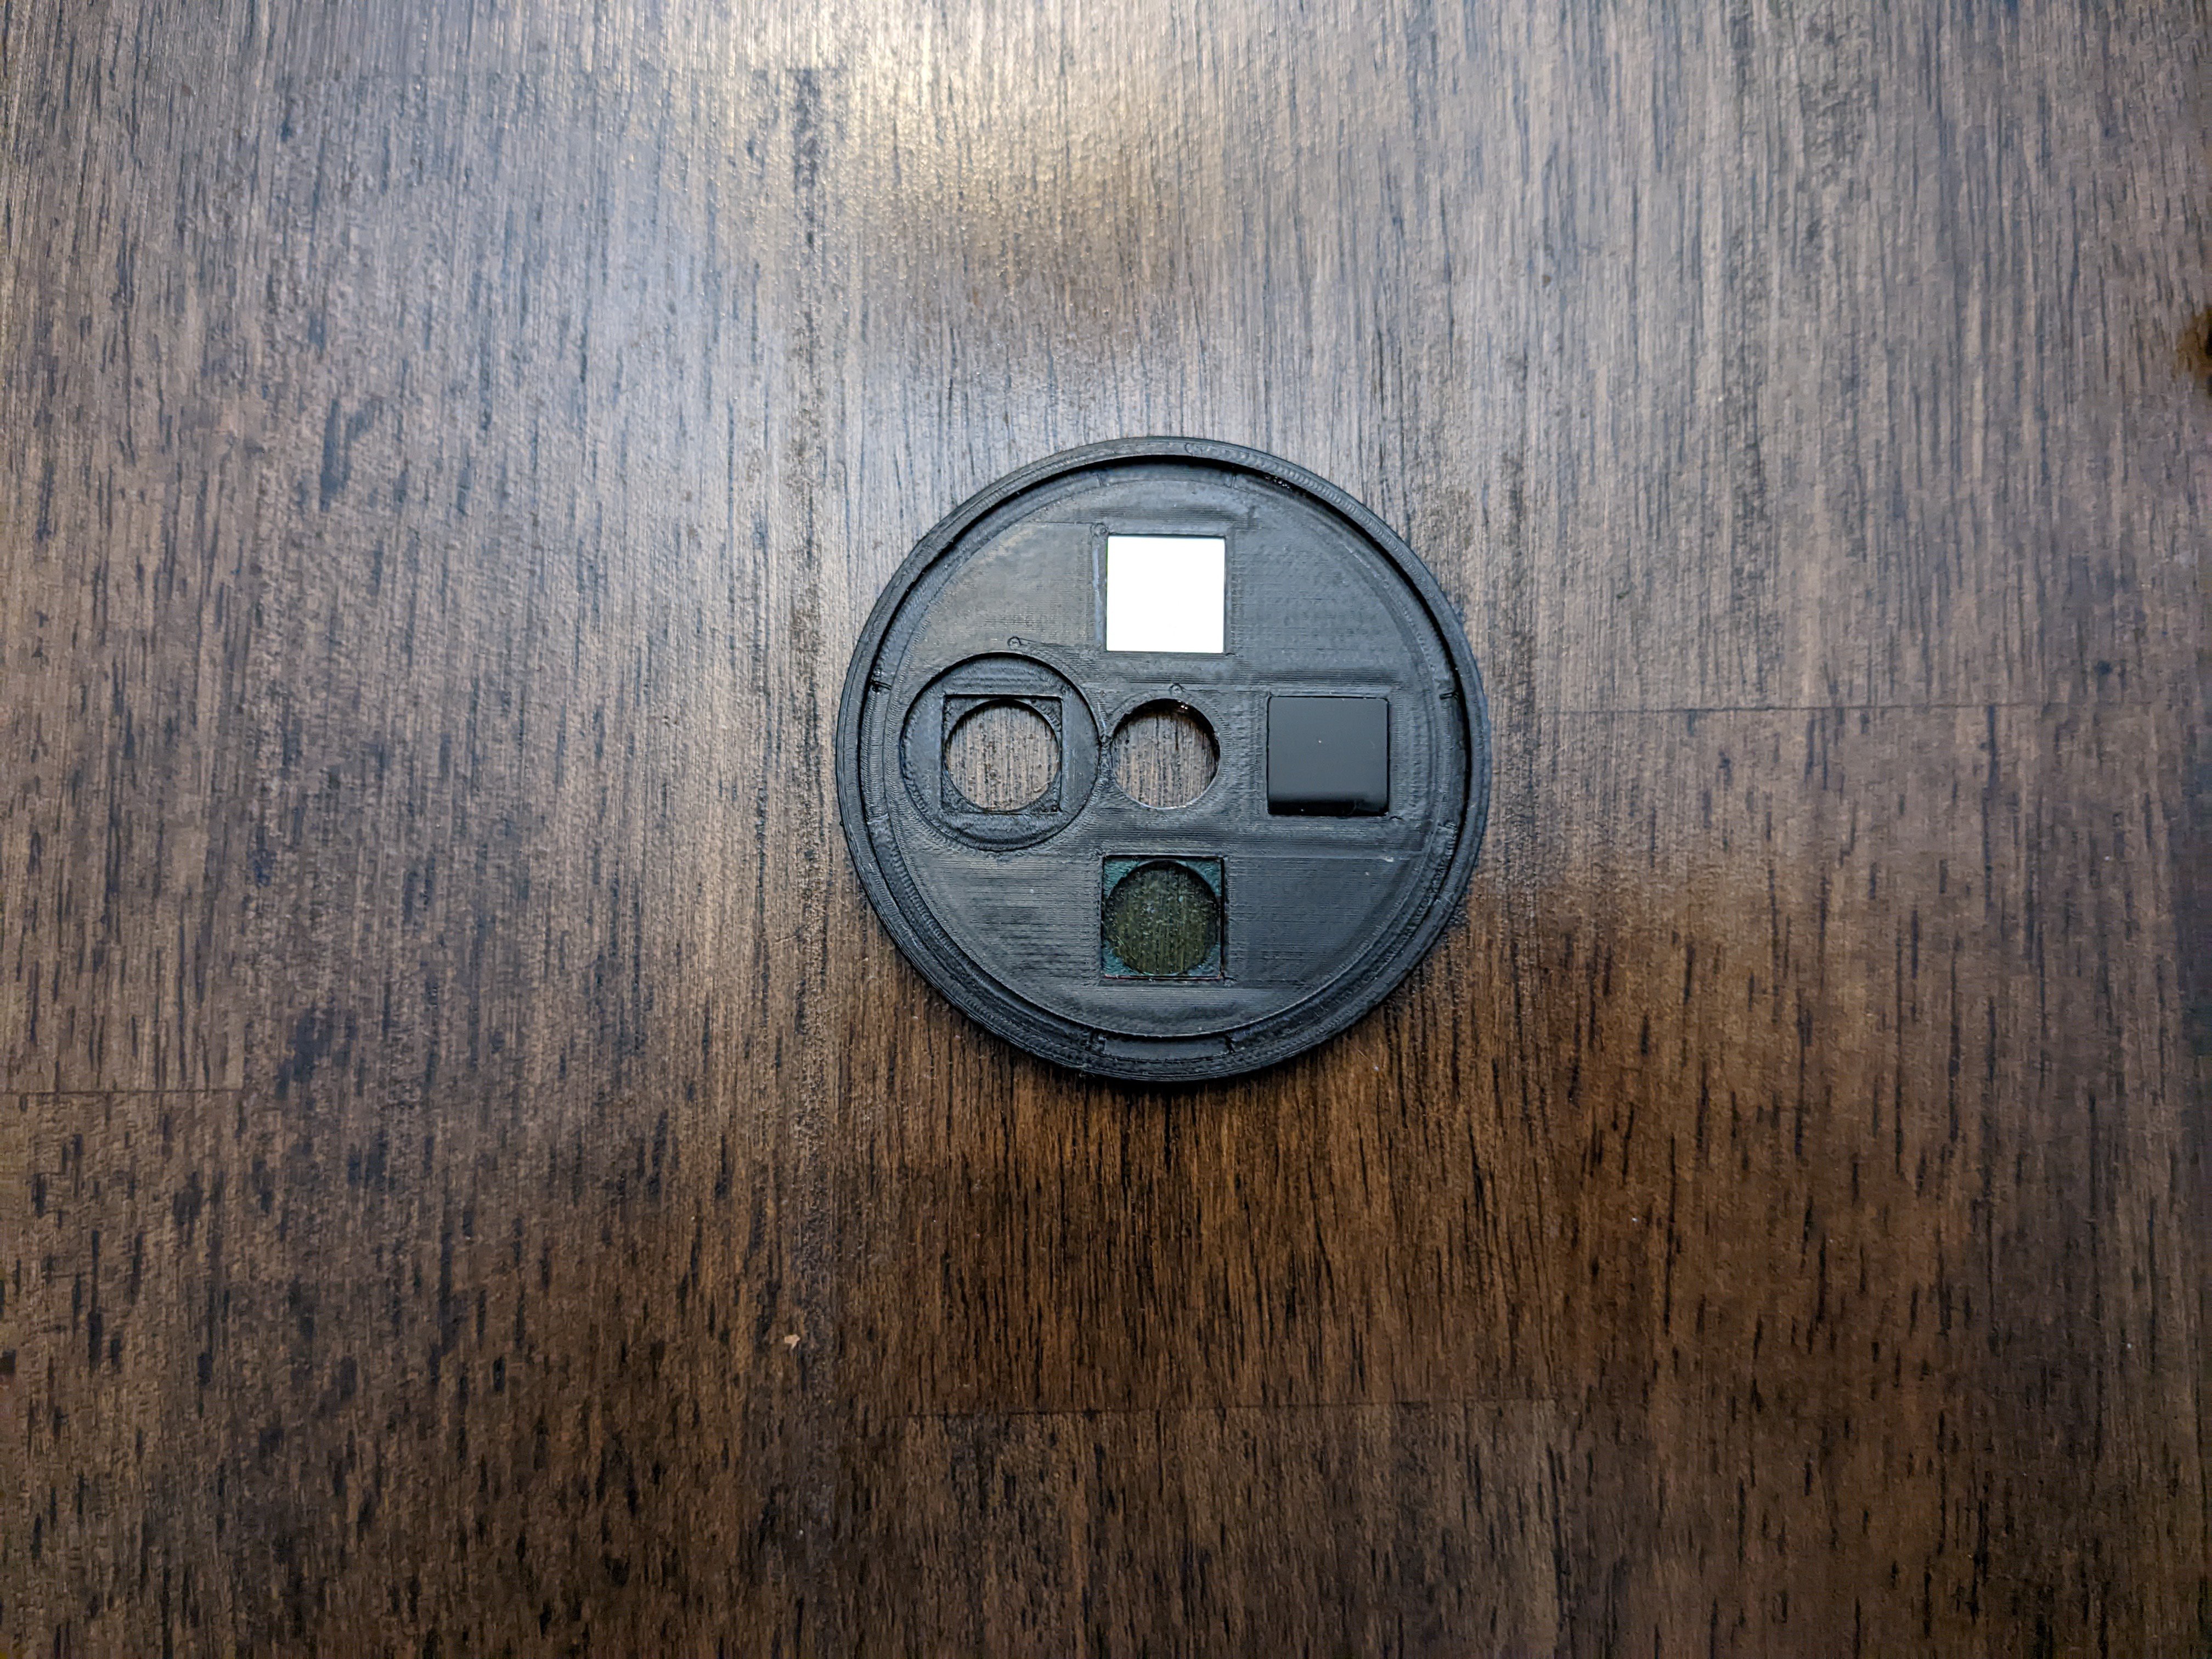
The filter wheels include spots for 10mm filters at the back.
![]()
Place a tiny amount of soft adhesive like E6000 into the corners and set the filters in place.
![]()
Then put it in place on the case:
-Drop the filter wheel nut into place, making sure to turn it until it sits flush with the top.
![]()
Then screw in the thumb screw, and you're done!
![]()
Multispectral imaging smartphone camera
A smartphone imaging system for art conservation analysis
 Lift the screen away from the body. The adhesive tape is the only thing holding the screen on. No screws or snaps.
Discussions
Become a Hackaday.io Member
Create an account to leave a comment. Already have an account? Log In.