-
1Prepare everything
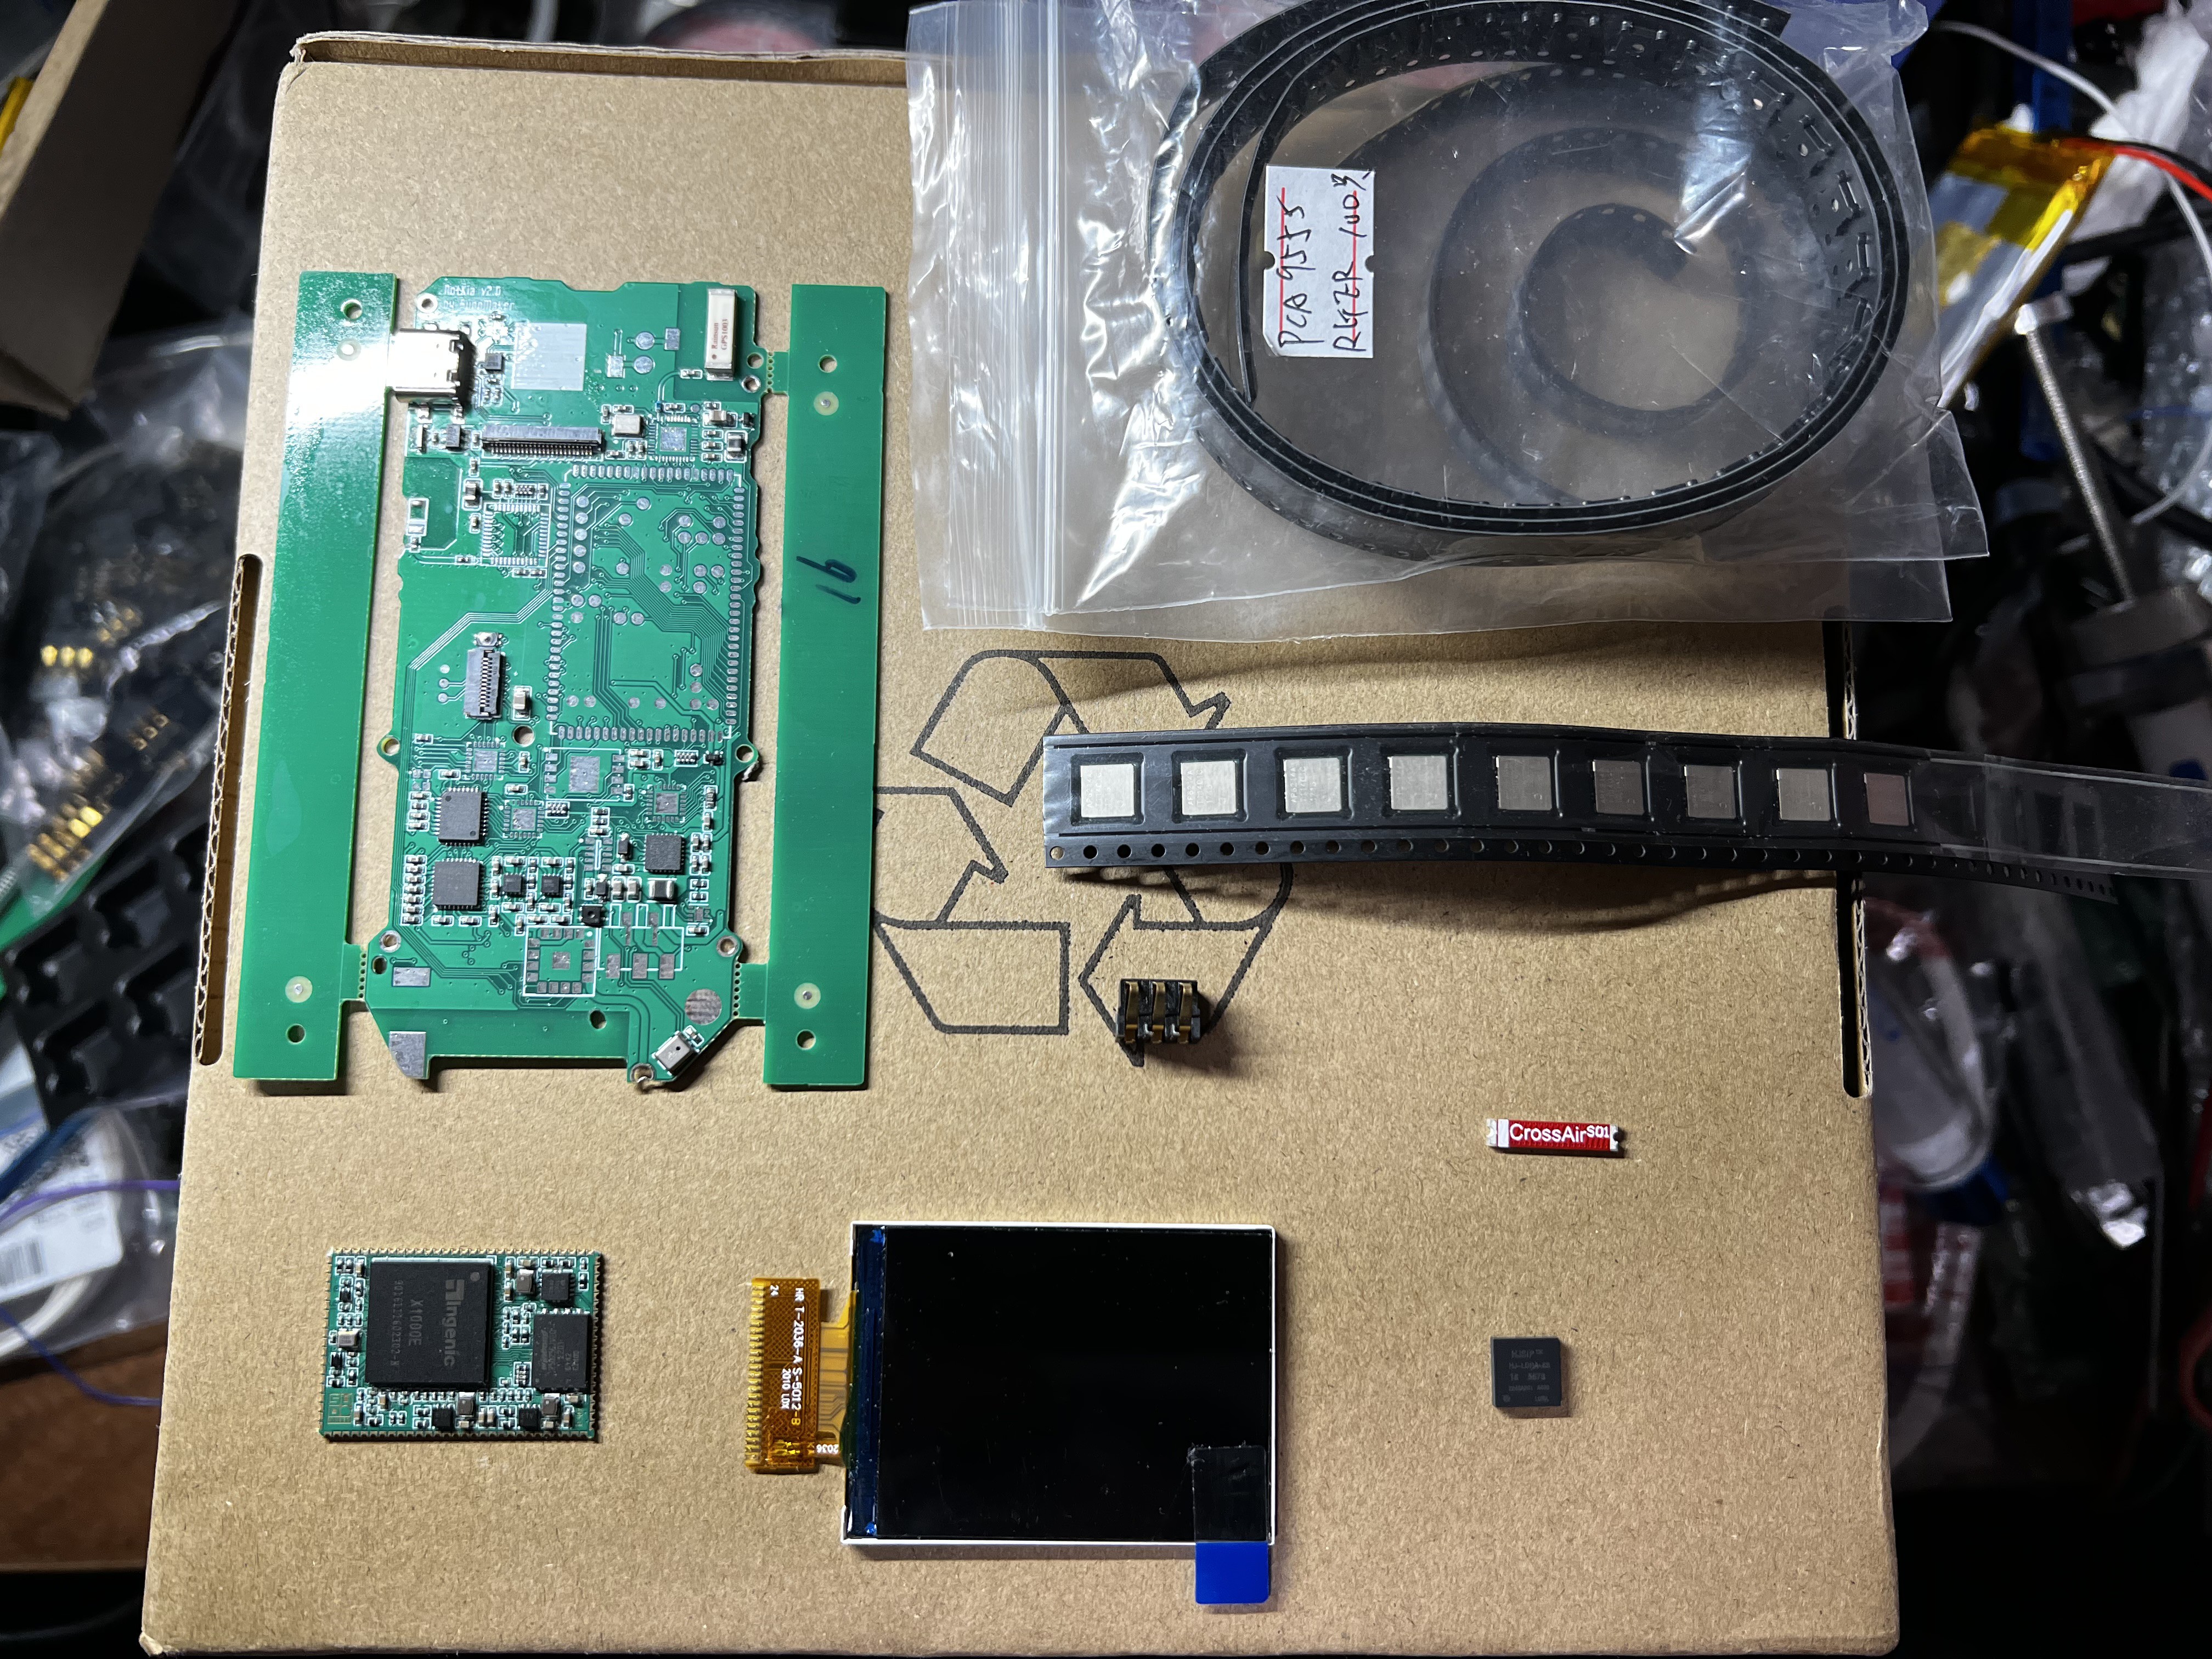
Download the Gerber and SMT related files from our GitHub repo, and produce them at any PCBA factory you like.
Most components can be bought from Mouser, DigiKey, and AliExpress easily.
For these rare components, the way to buy them is documented in the "Components" section, and their datasheets are also uploaded to our GitHub repo.
![]()
-
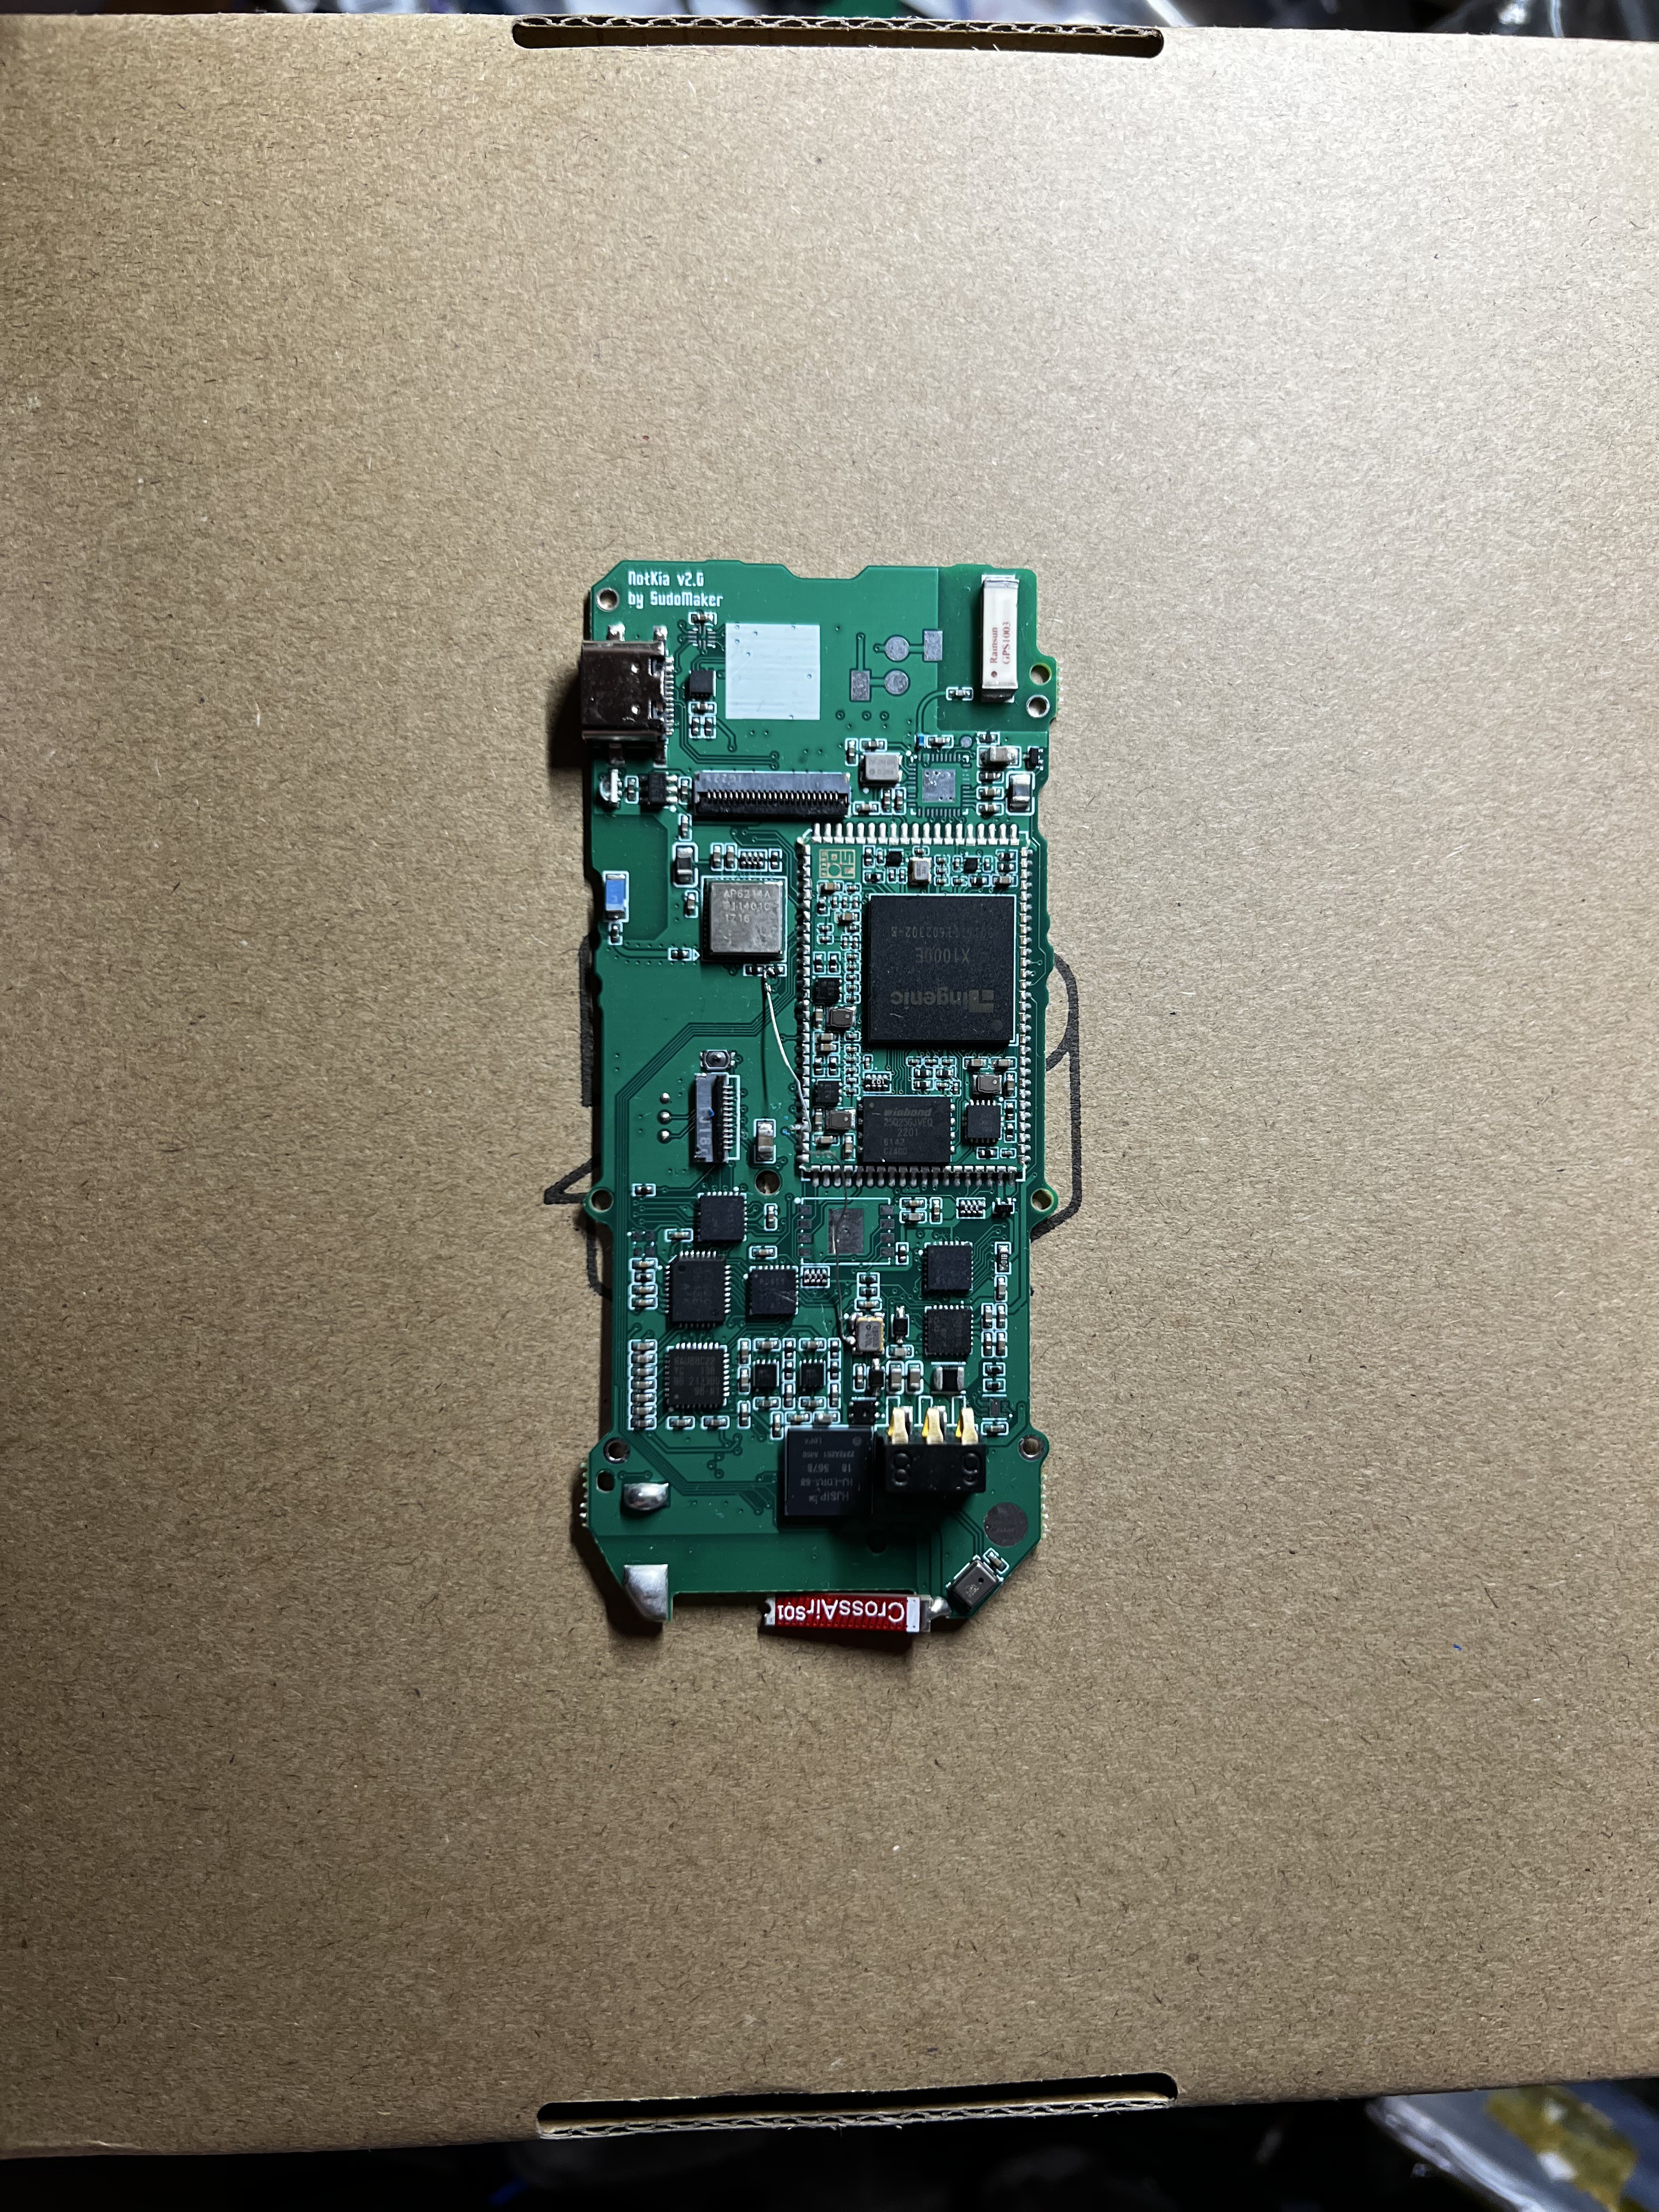
2Solder the components on the back
If you have good soldering skills, you can only SMT the small parts and do the rest by yourself.
![]()
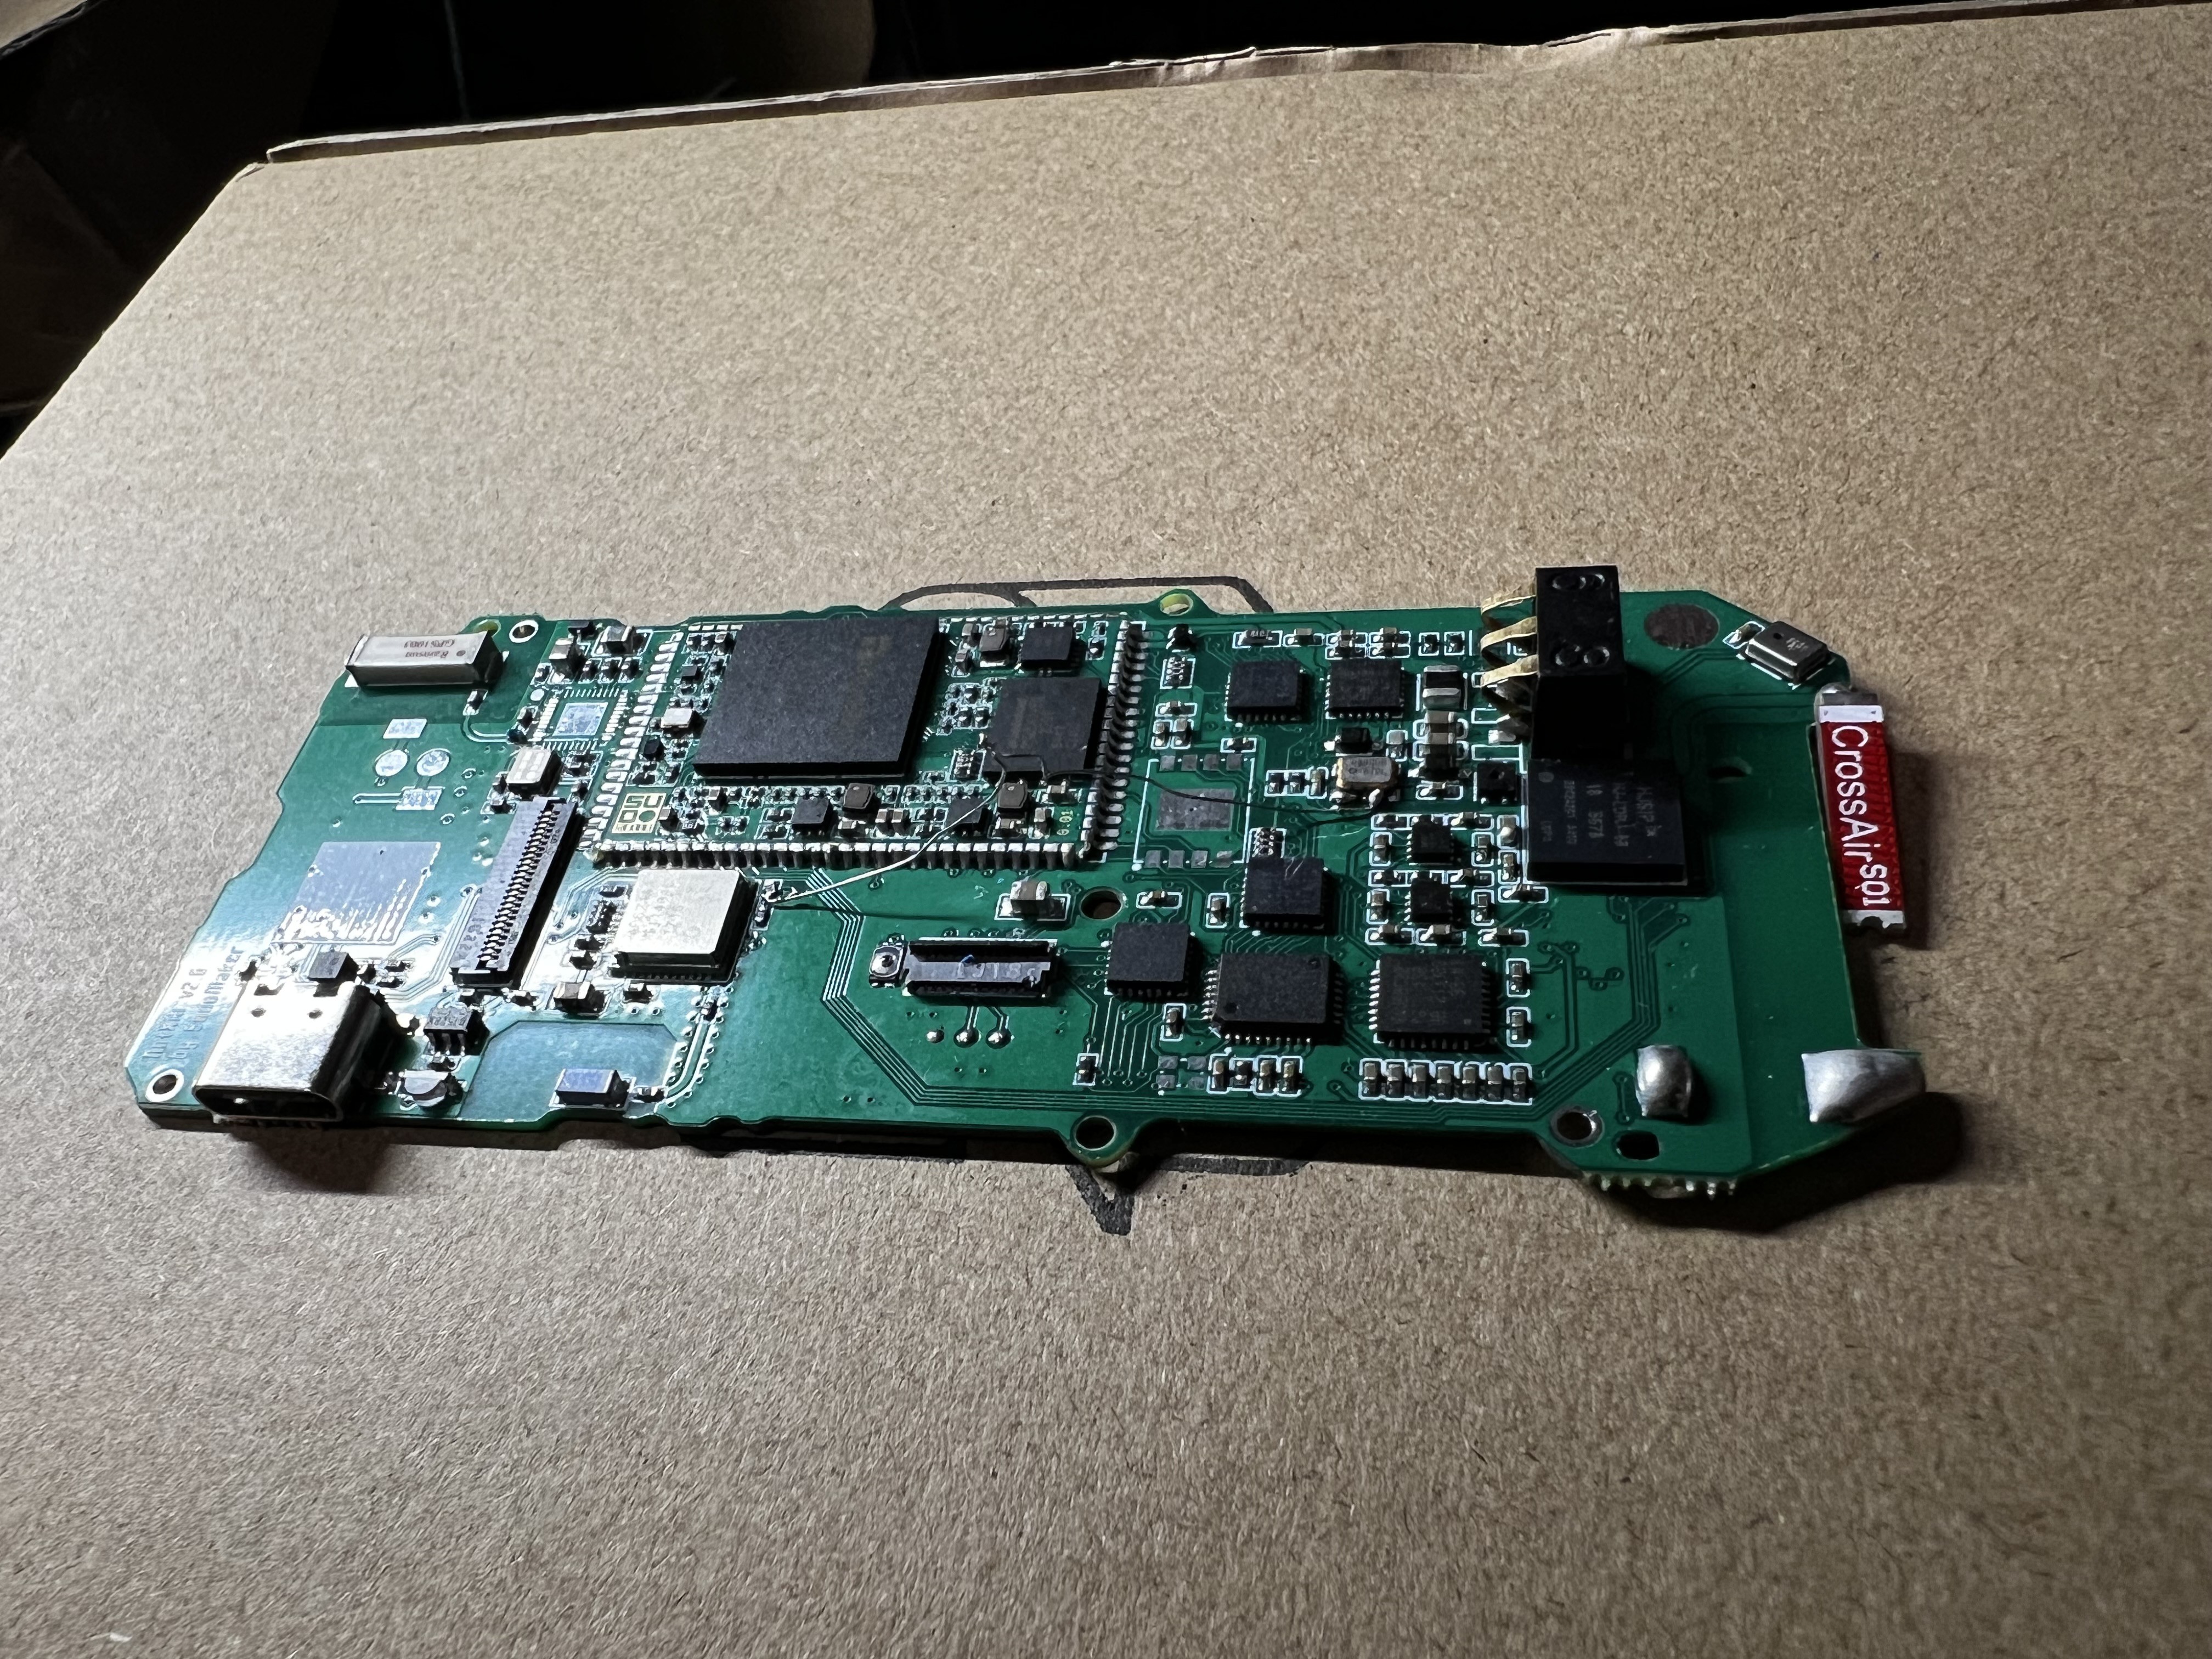
For the V2.0, if you need WiFi & BT to be working, solder a jumper wire from RX8900CE's FOUT pin to AP6214's LPO.
![]()
-
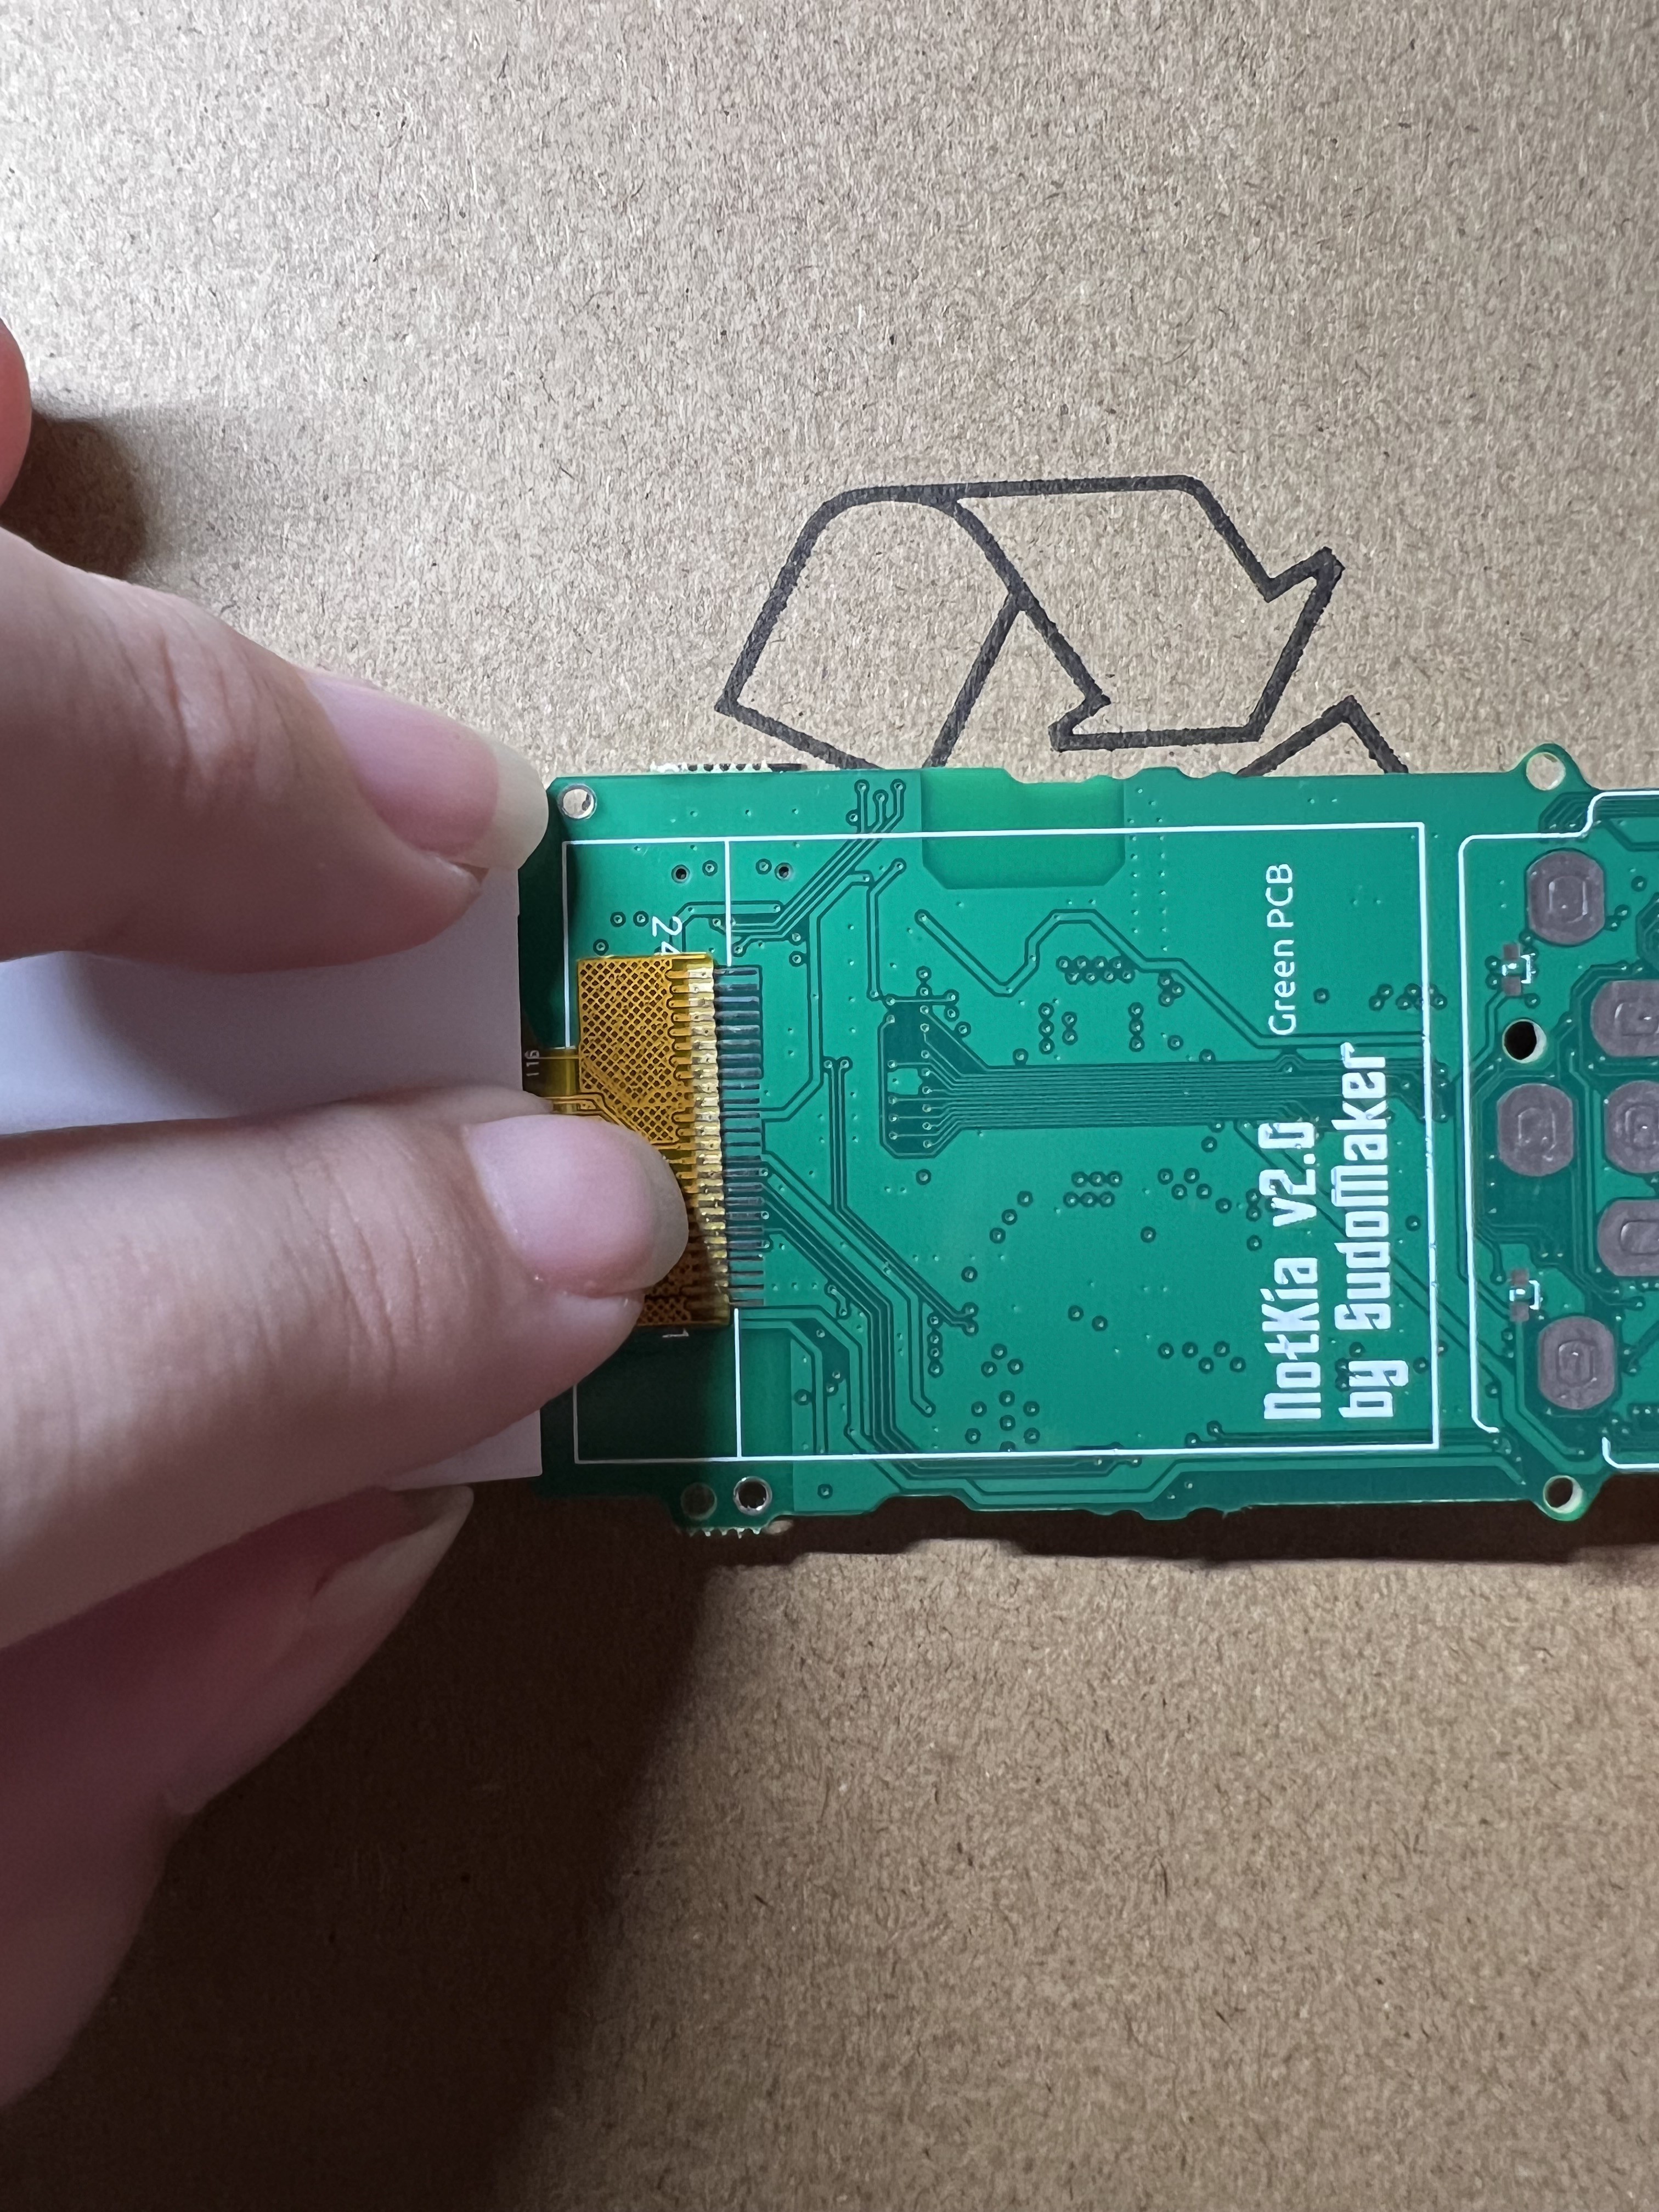
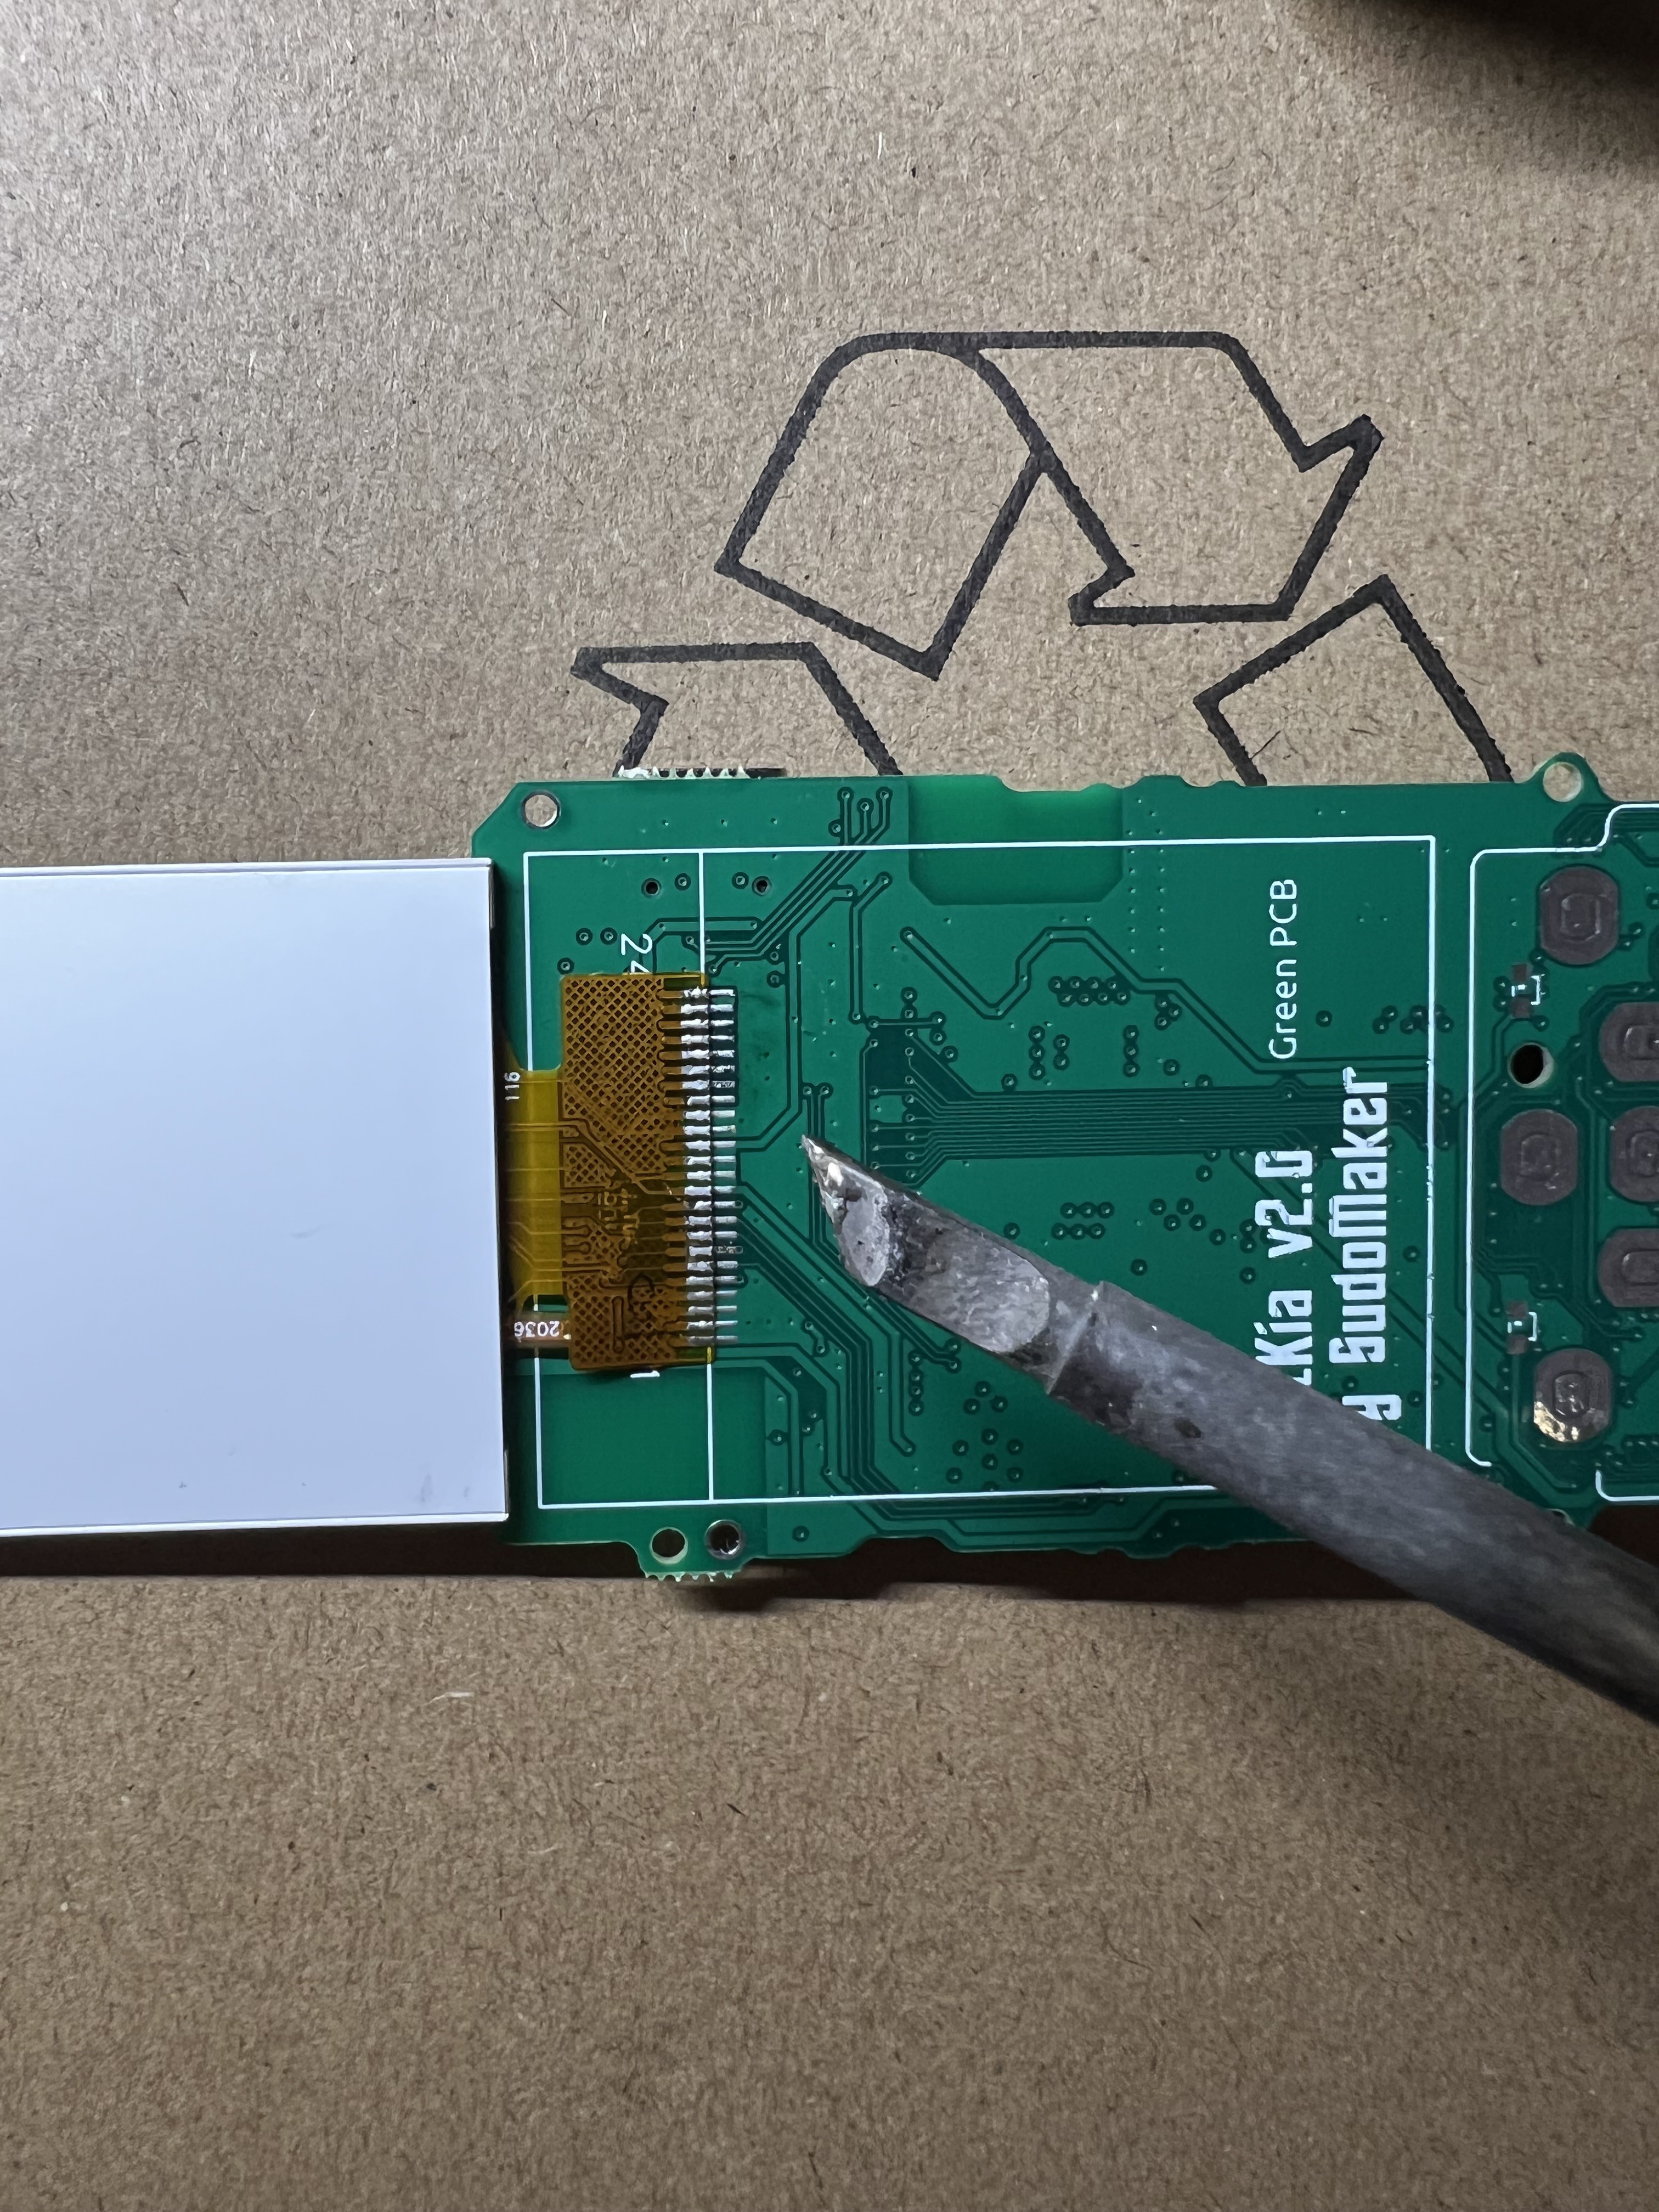
3Solder the LCD screen
![]()
![]()
-
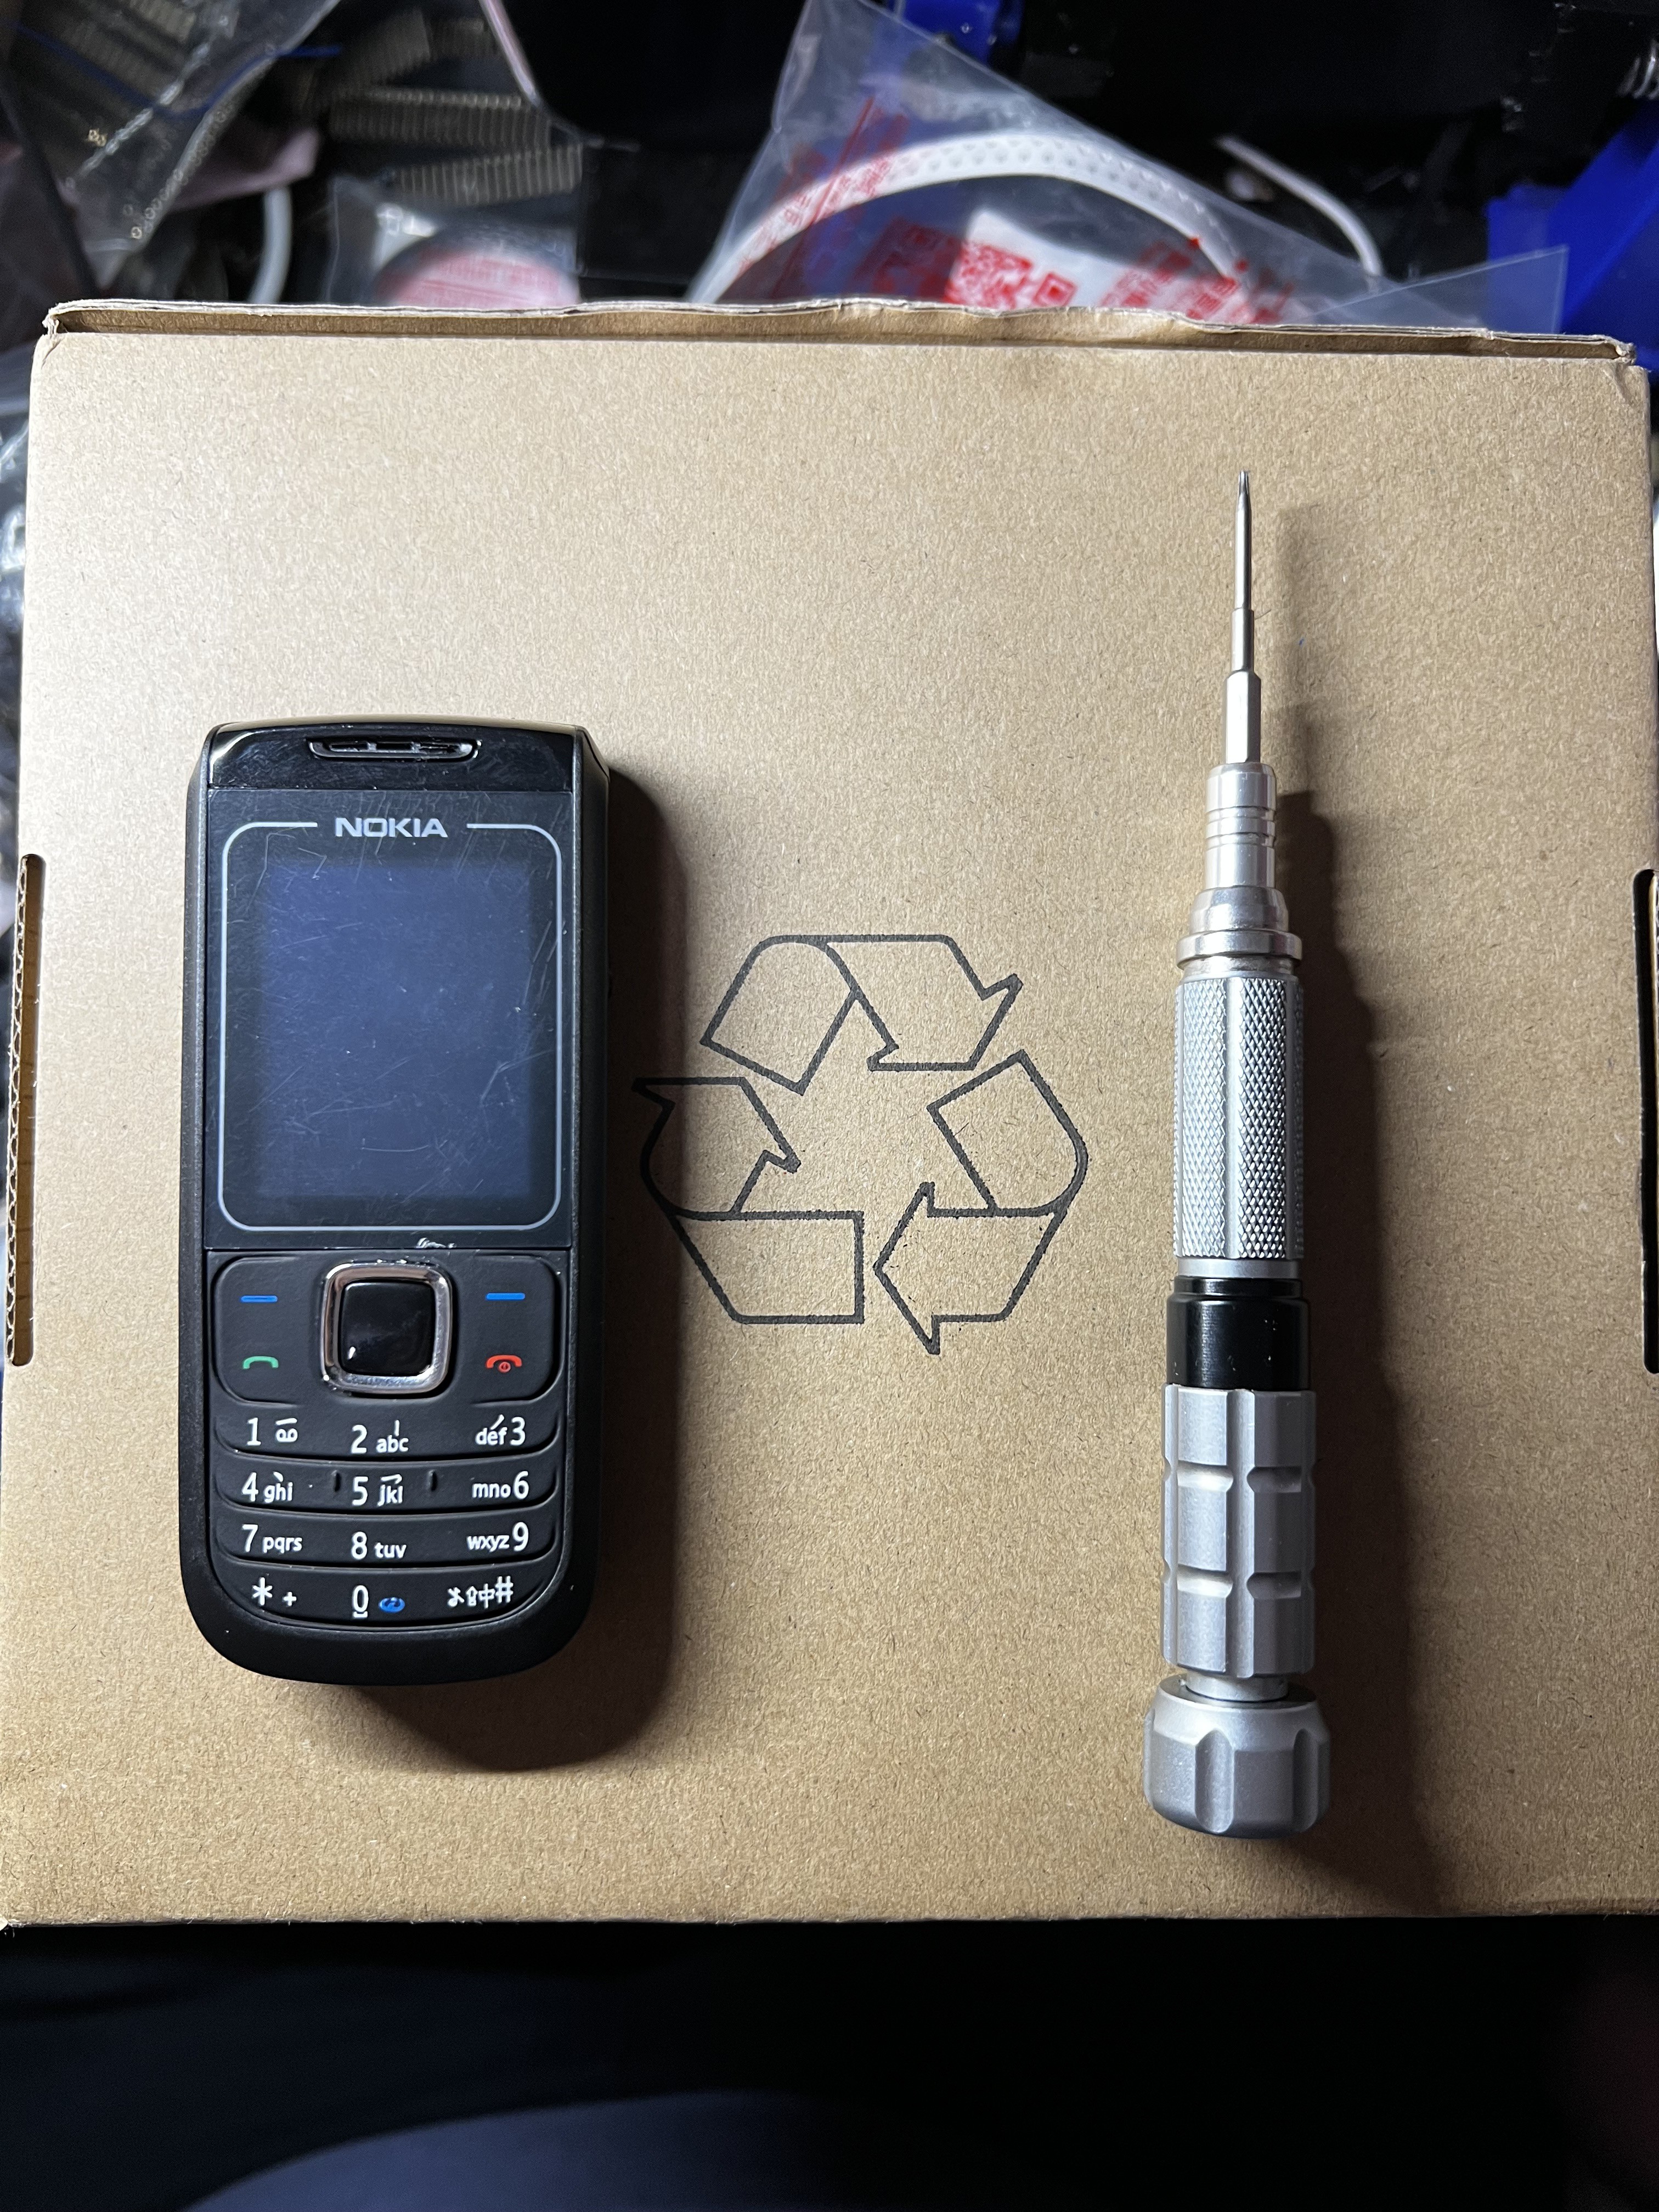
4Prepare an original Nokia 168x
![]()
-
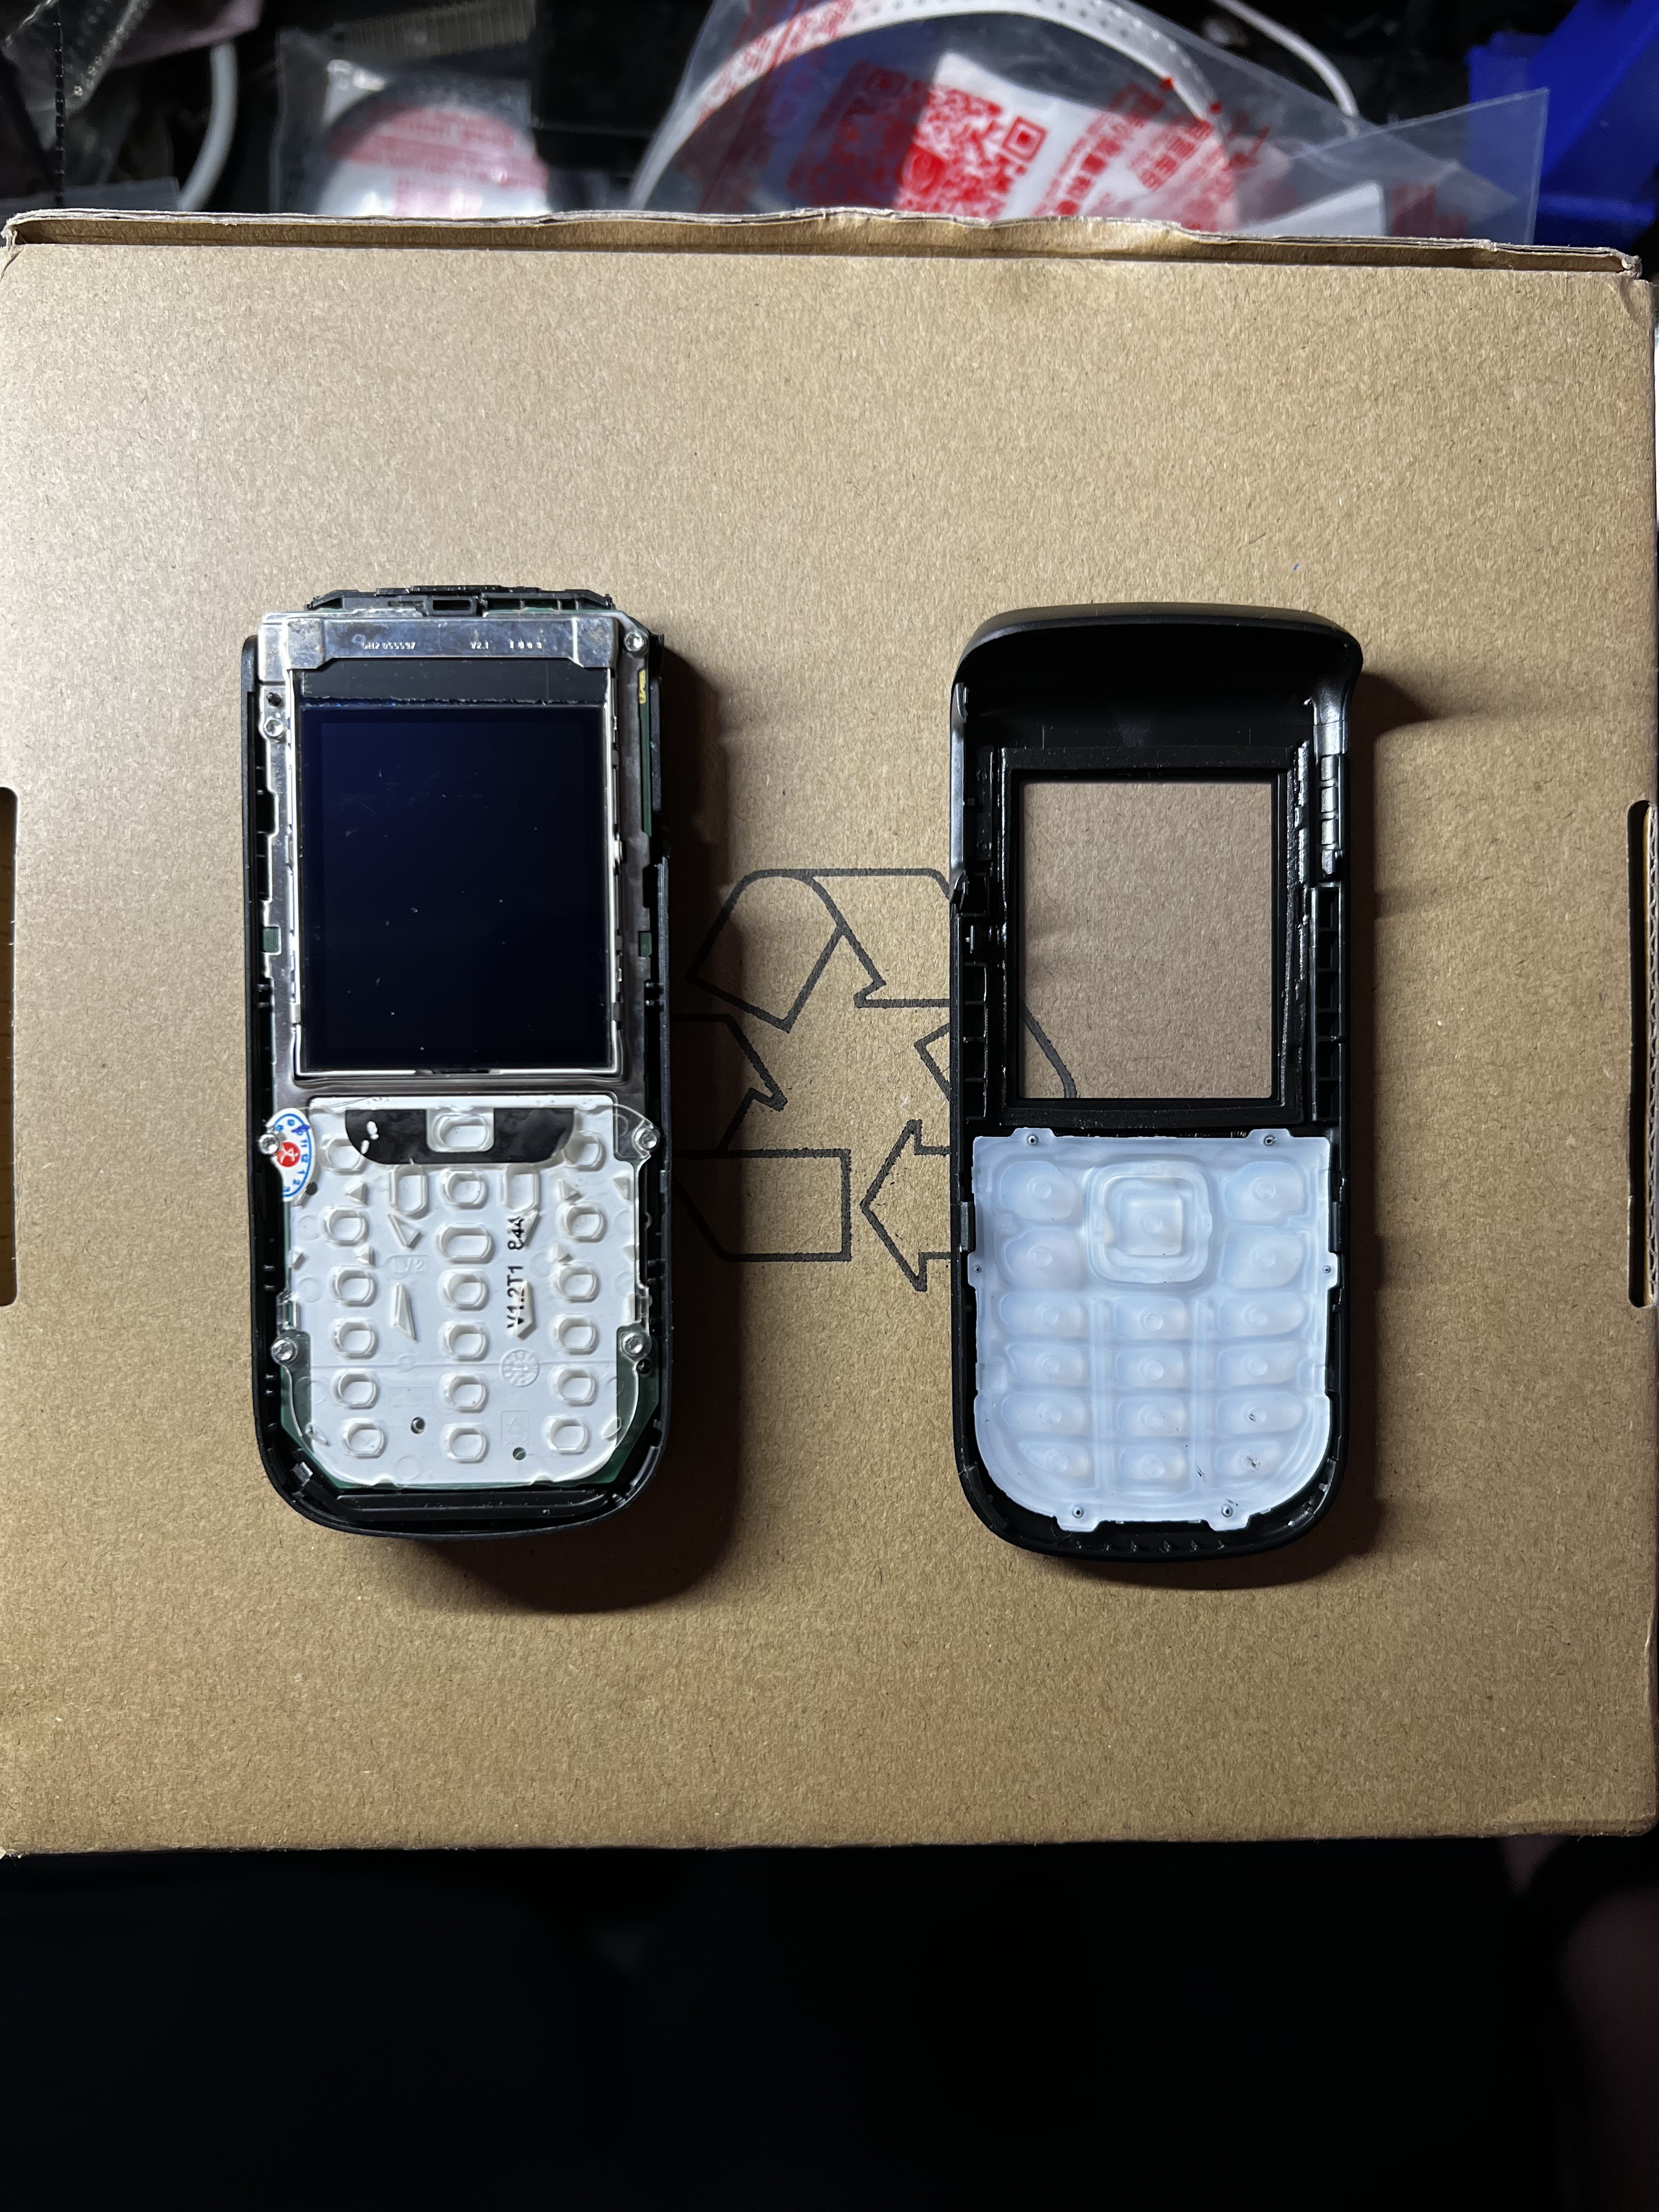
5Remove the front panel with your fingernails or a piece of plastic
![]()
-
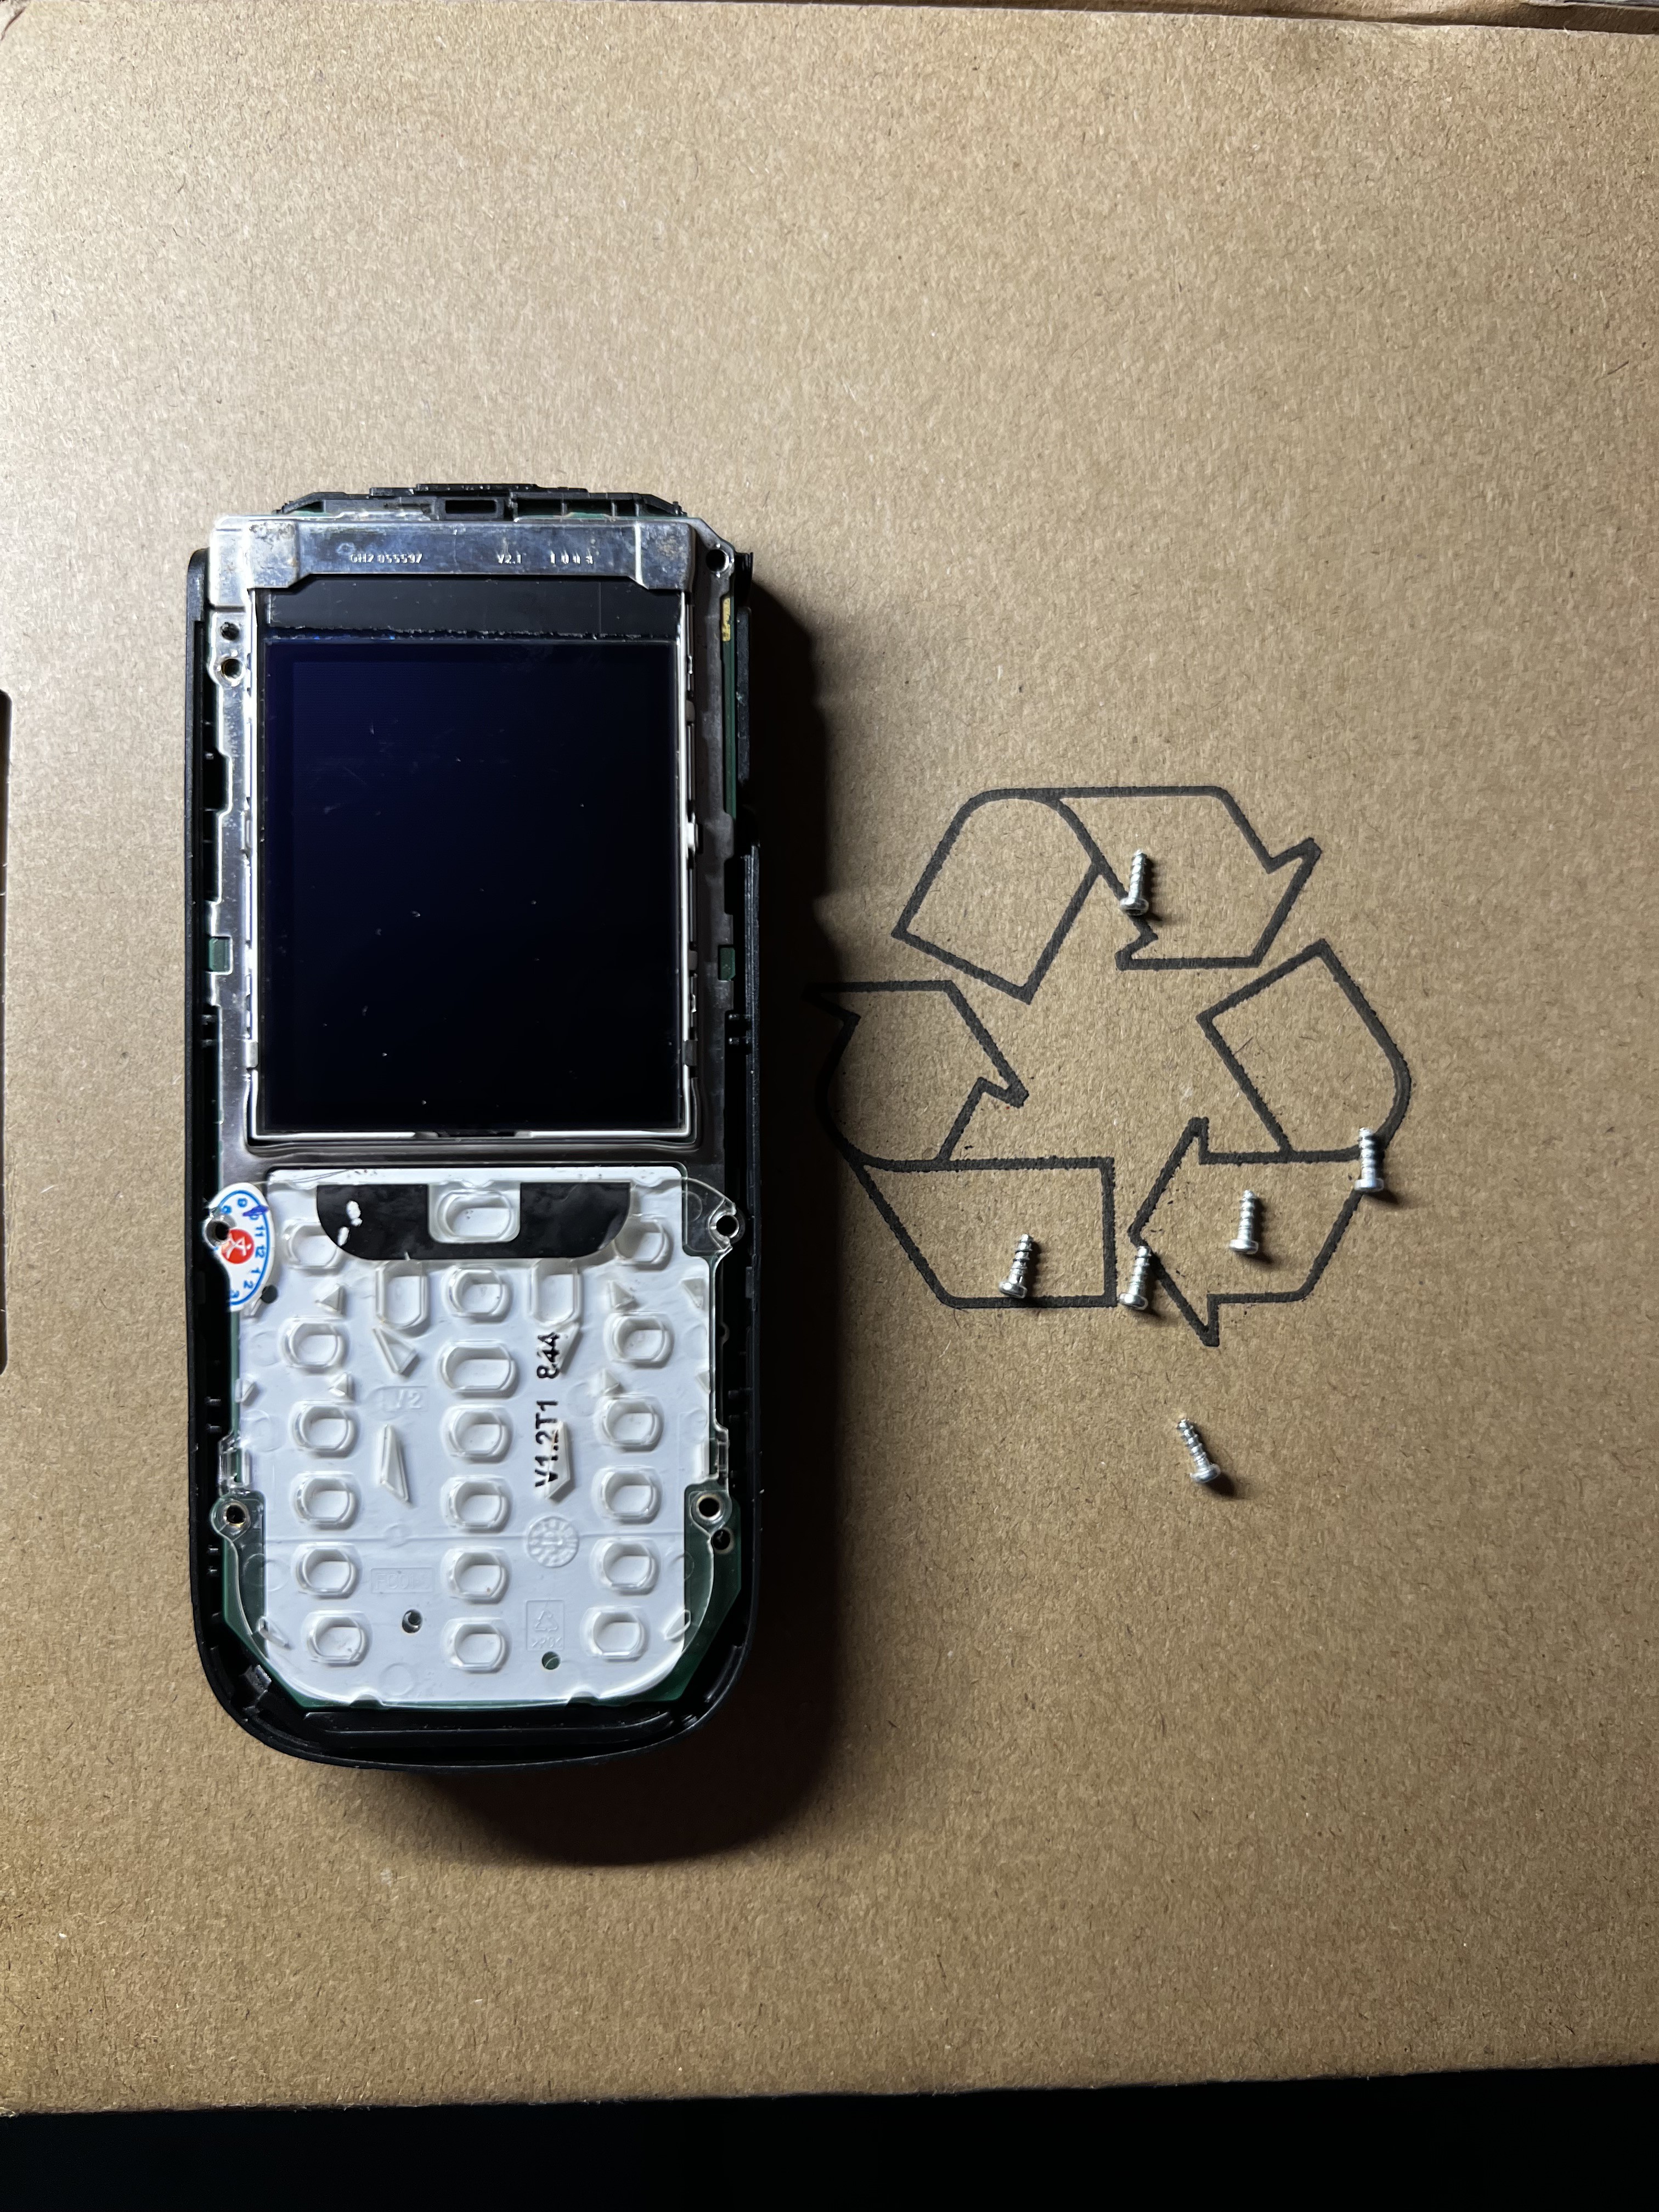
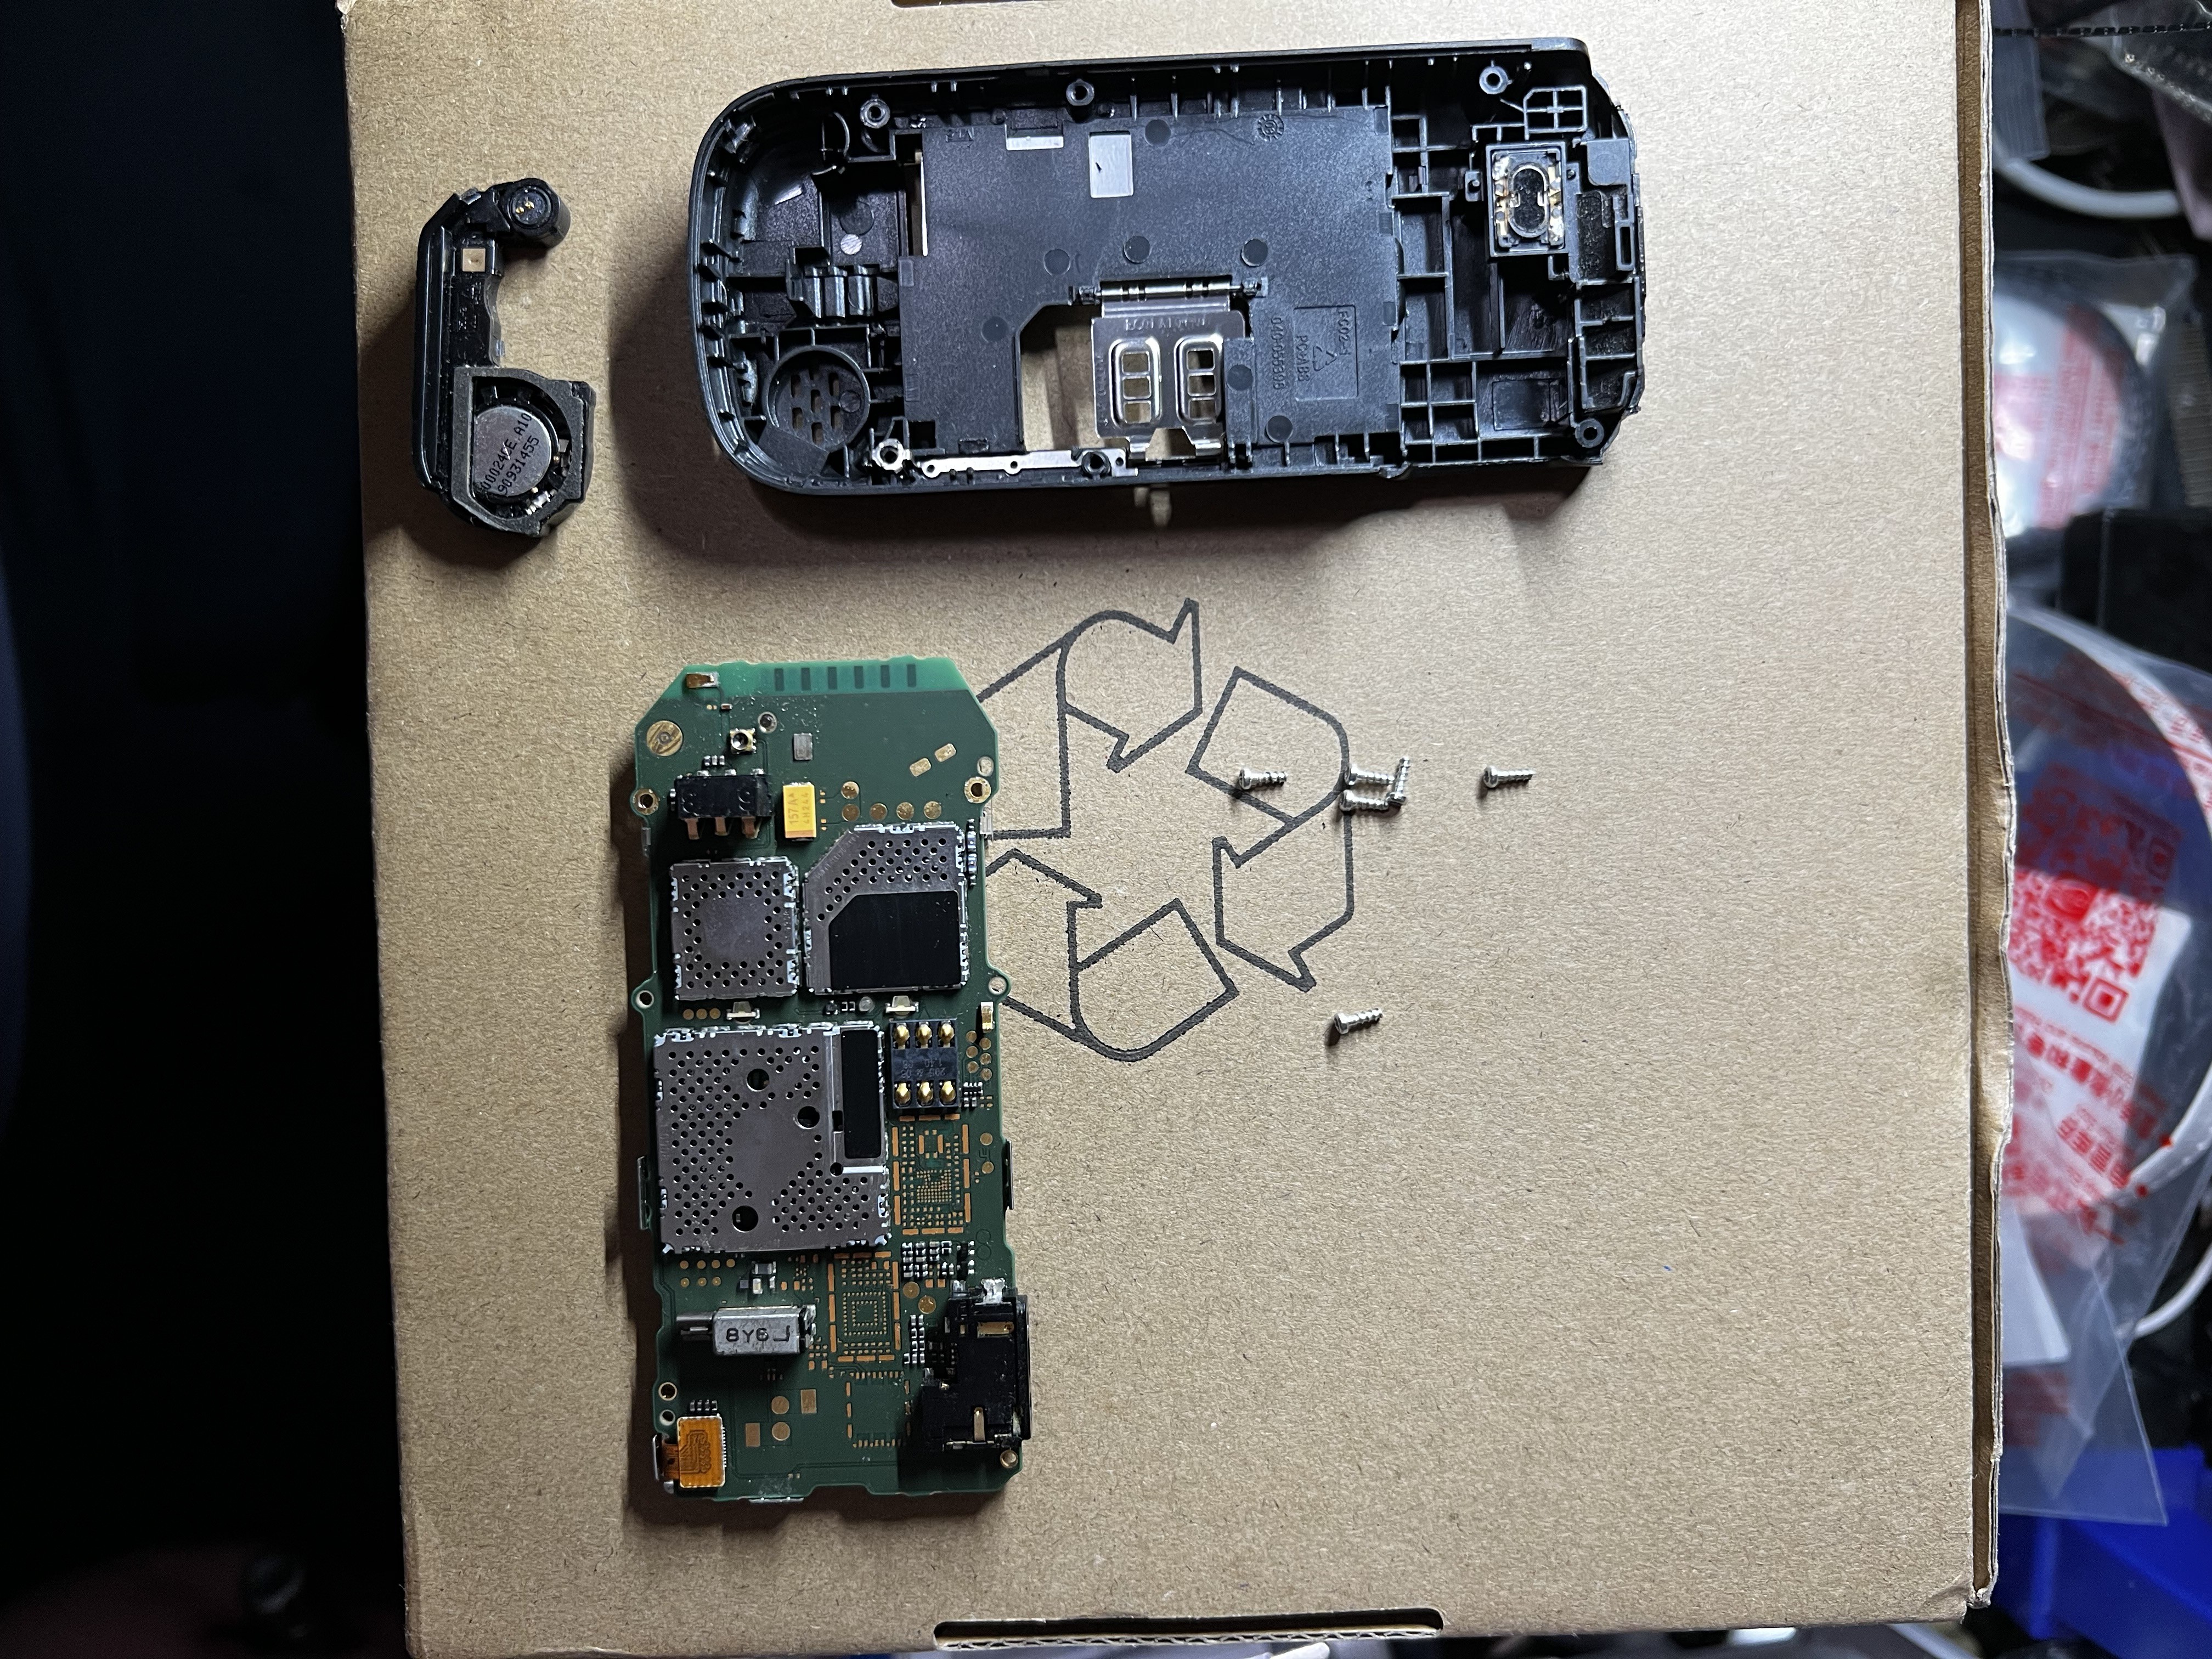
6Remove the hexagon screws, there are 6 of them
![]()
-
7Remove the original PCB and speaker set
![]()
-
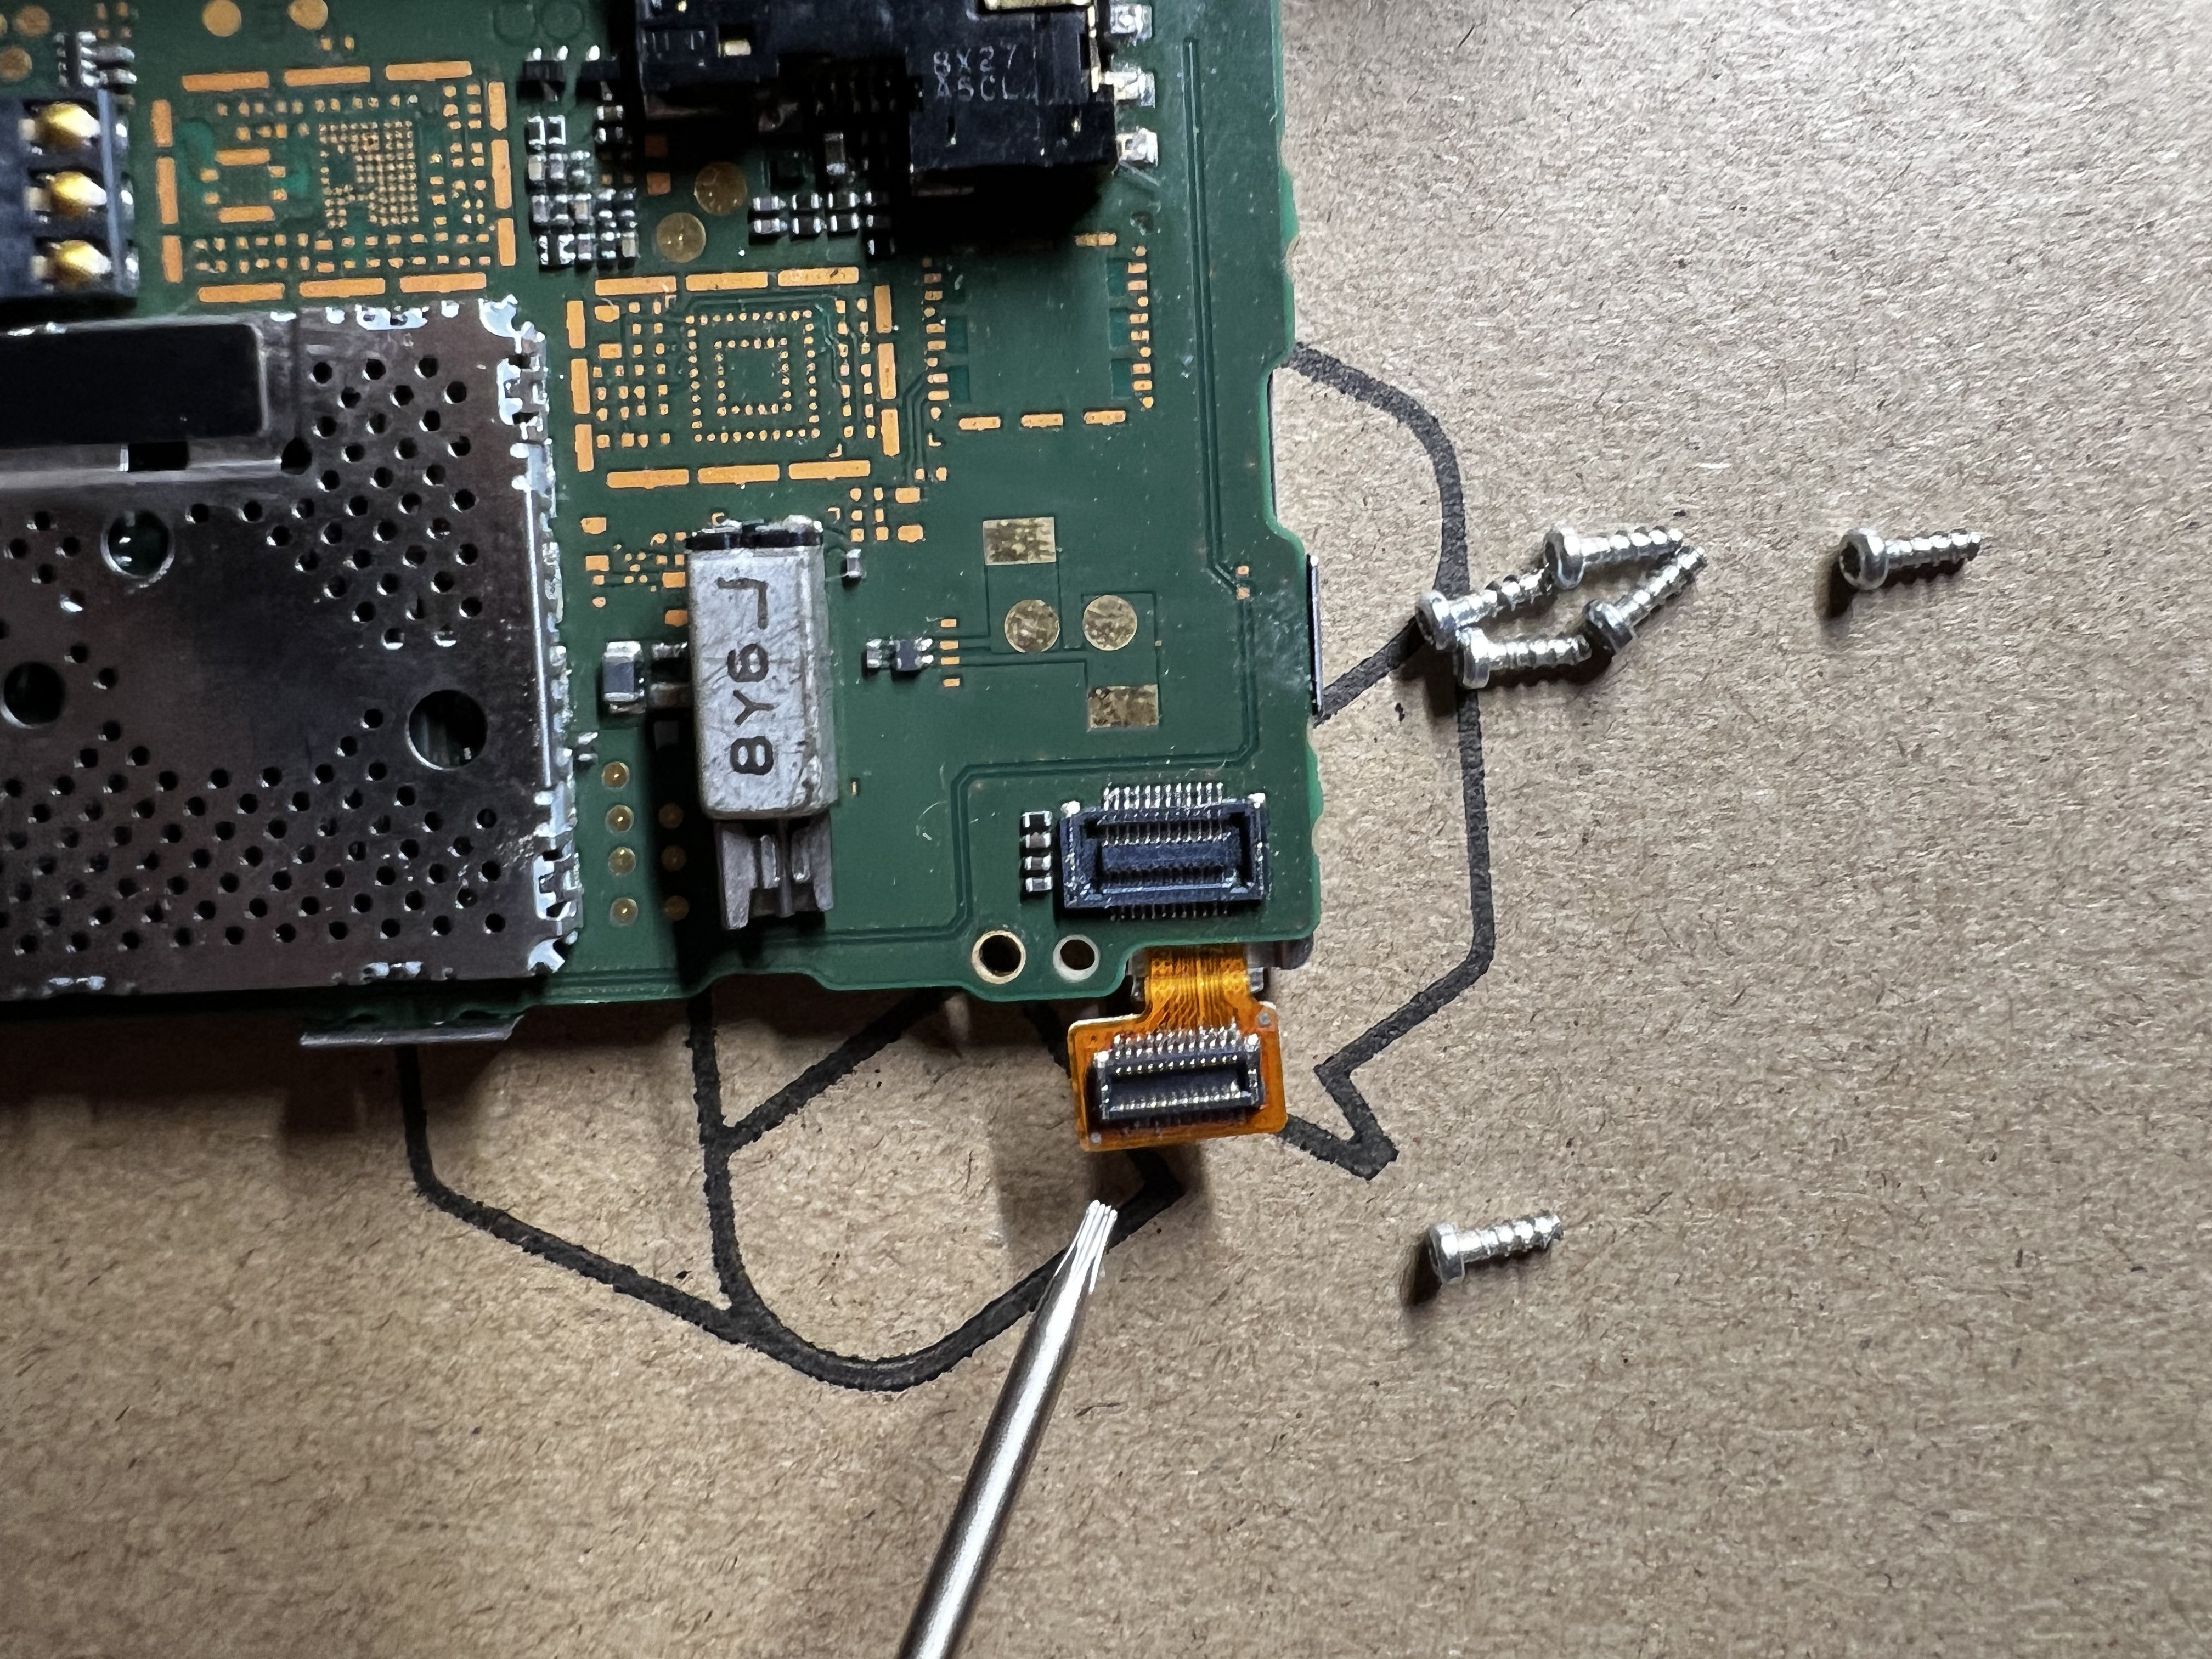
8Remove the original LCD screen connector on the original PCB carefully
![]()
-
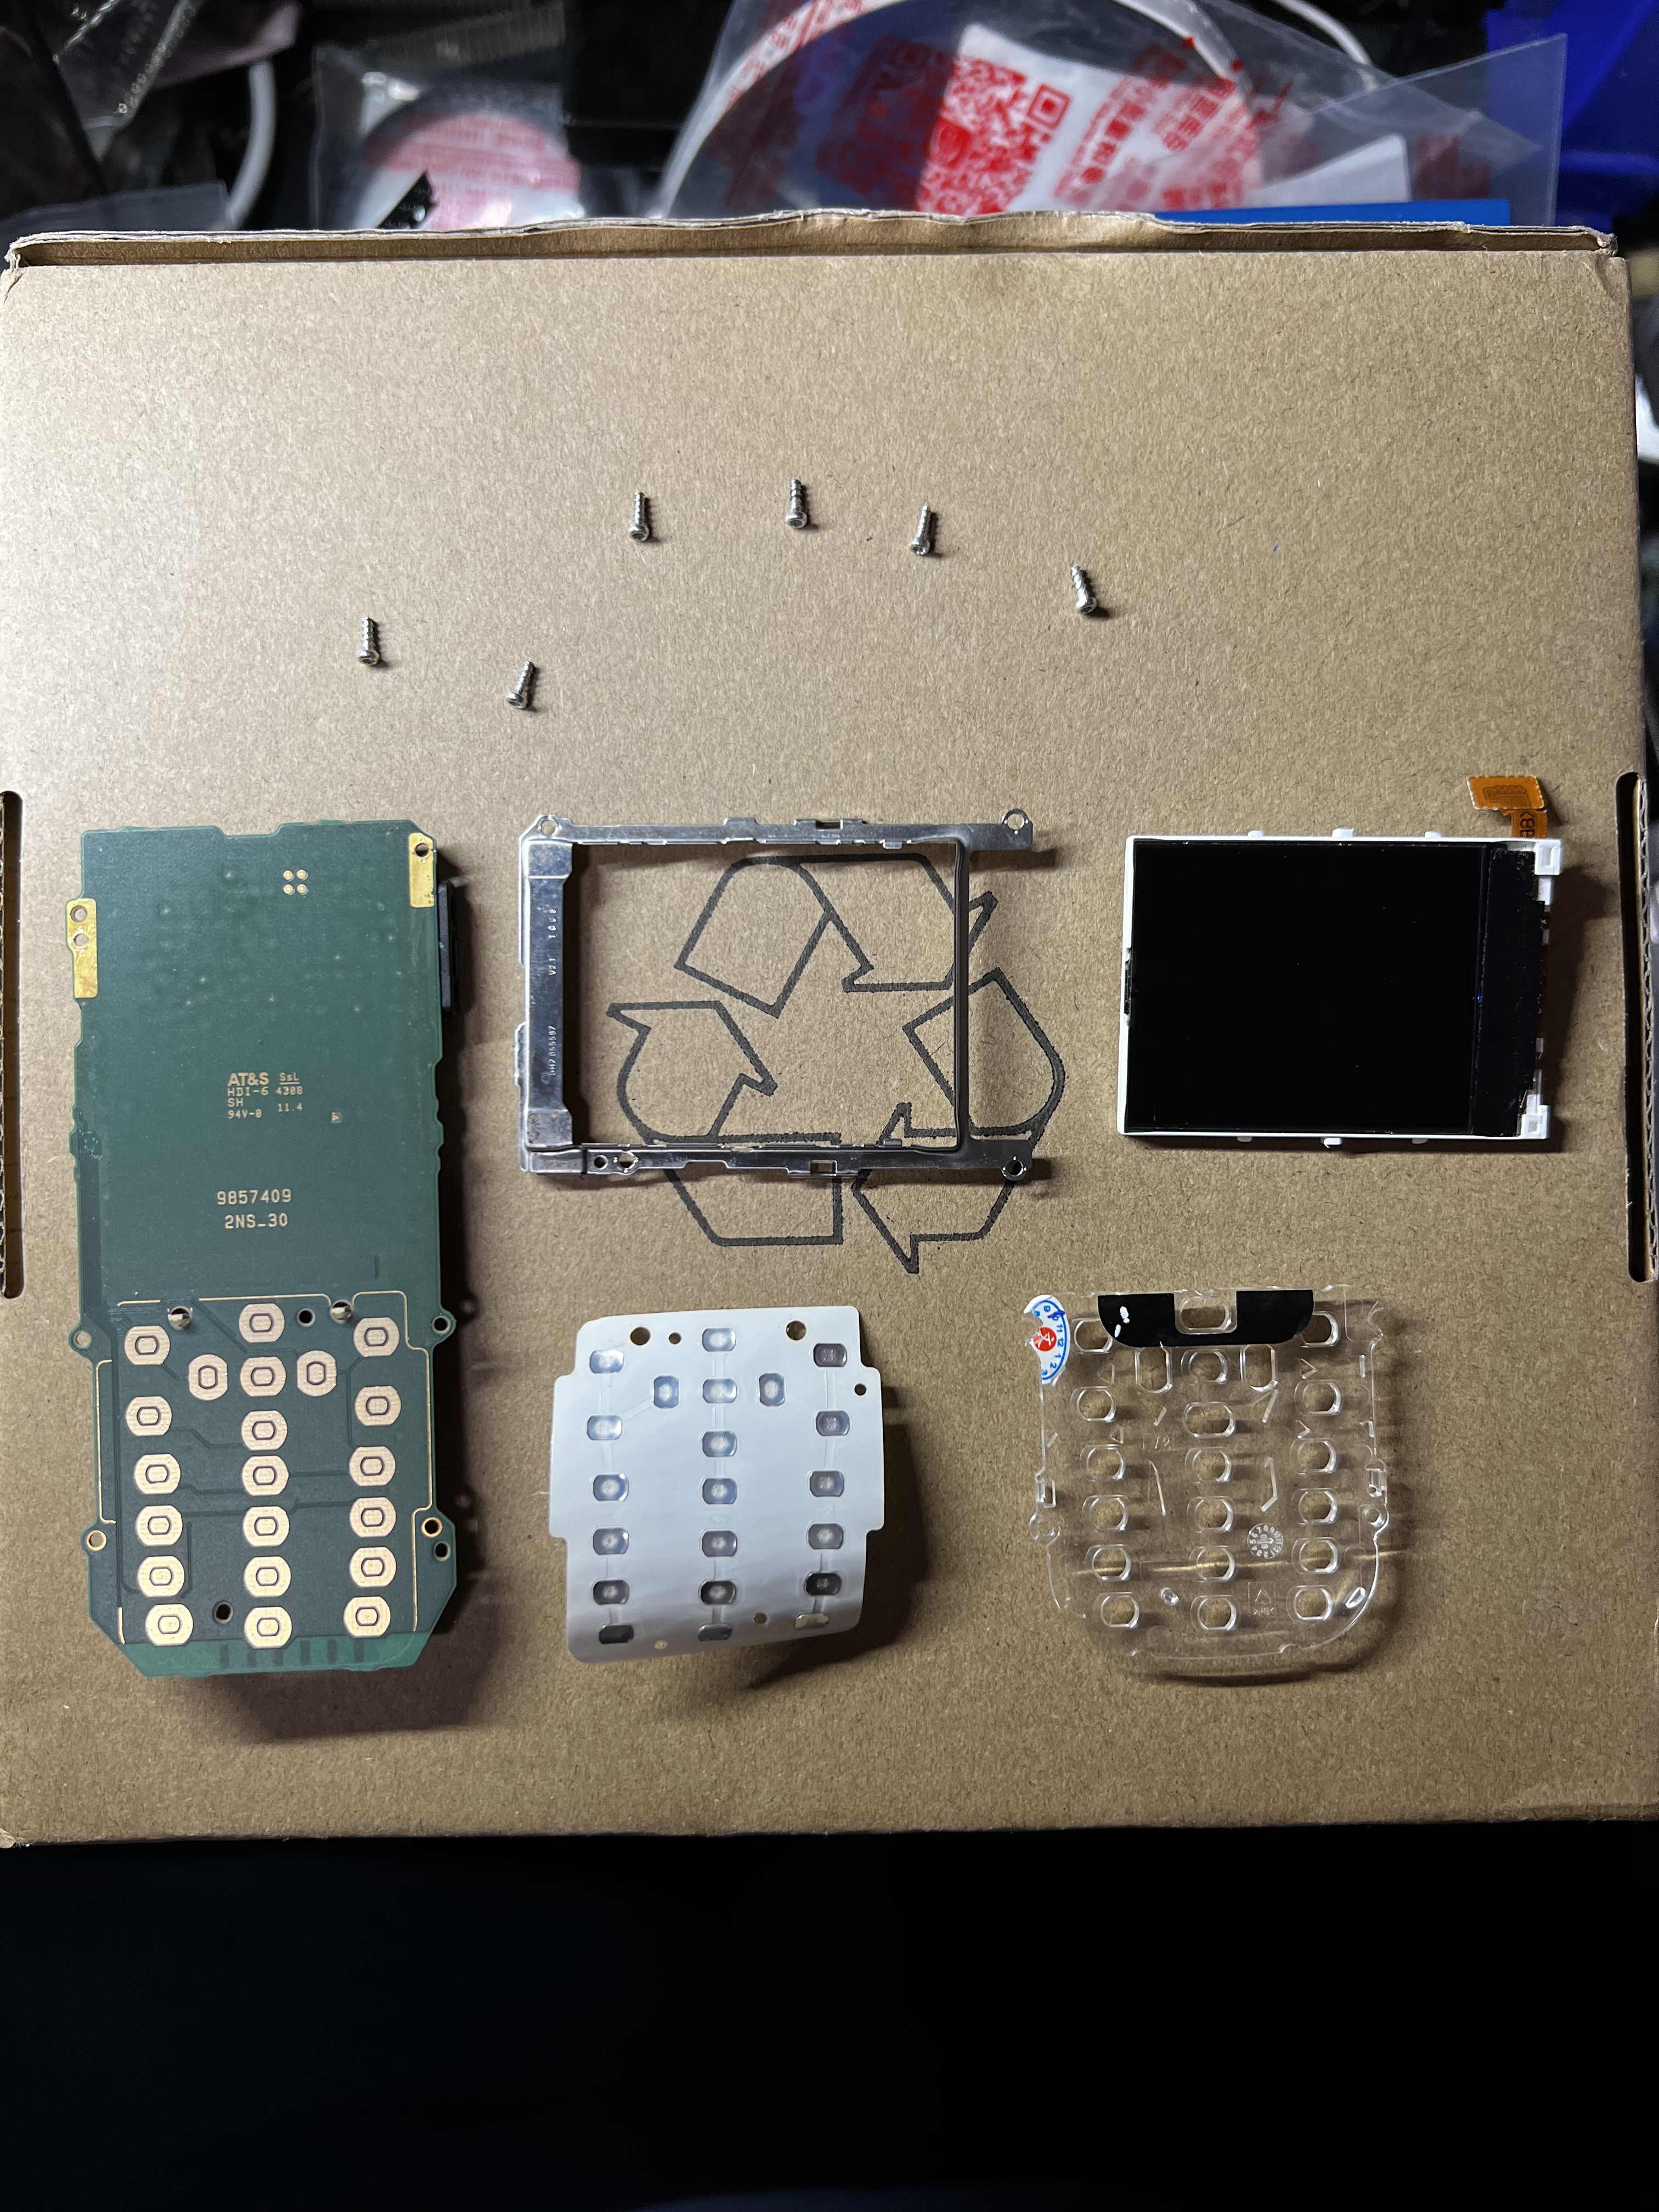
9Salvage the metal frame, the button sticker, and the plastic plate for aligning the buttons.
- Remove the metal frame from the original PCB
- Remove the original LCD screen from the metal frame
- Remove the transparent plastic plate
- Pry off the button sticker carefully
![]()
-
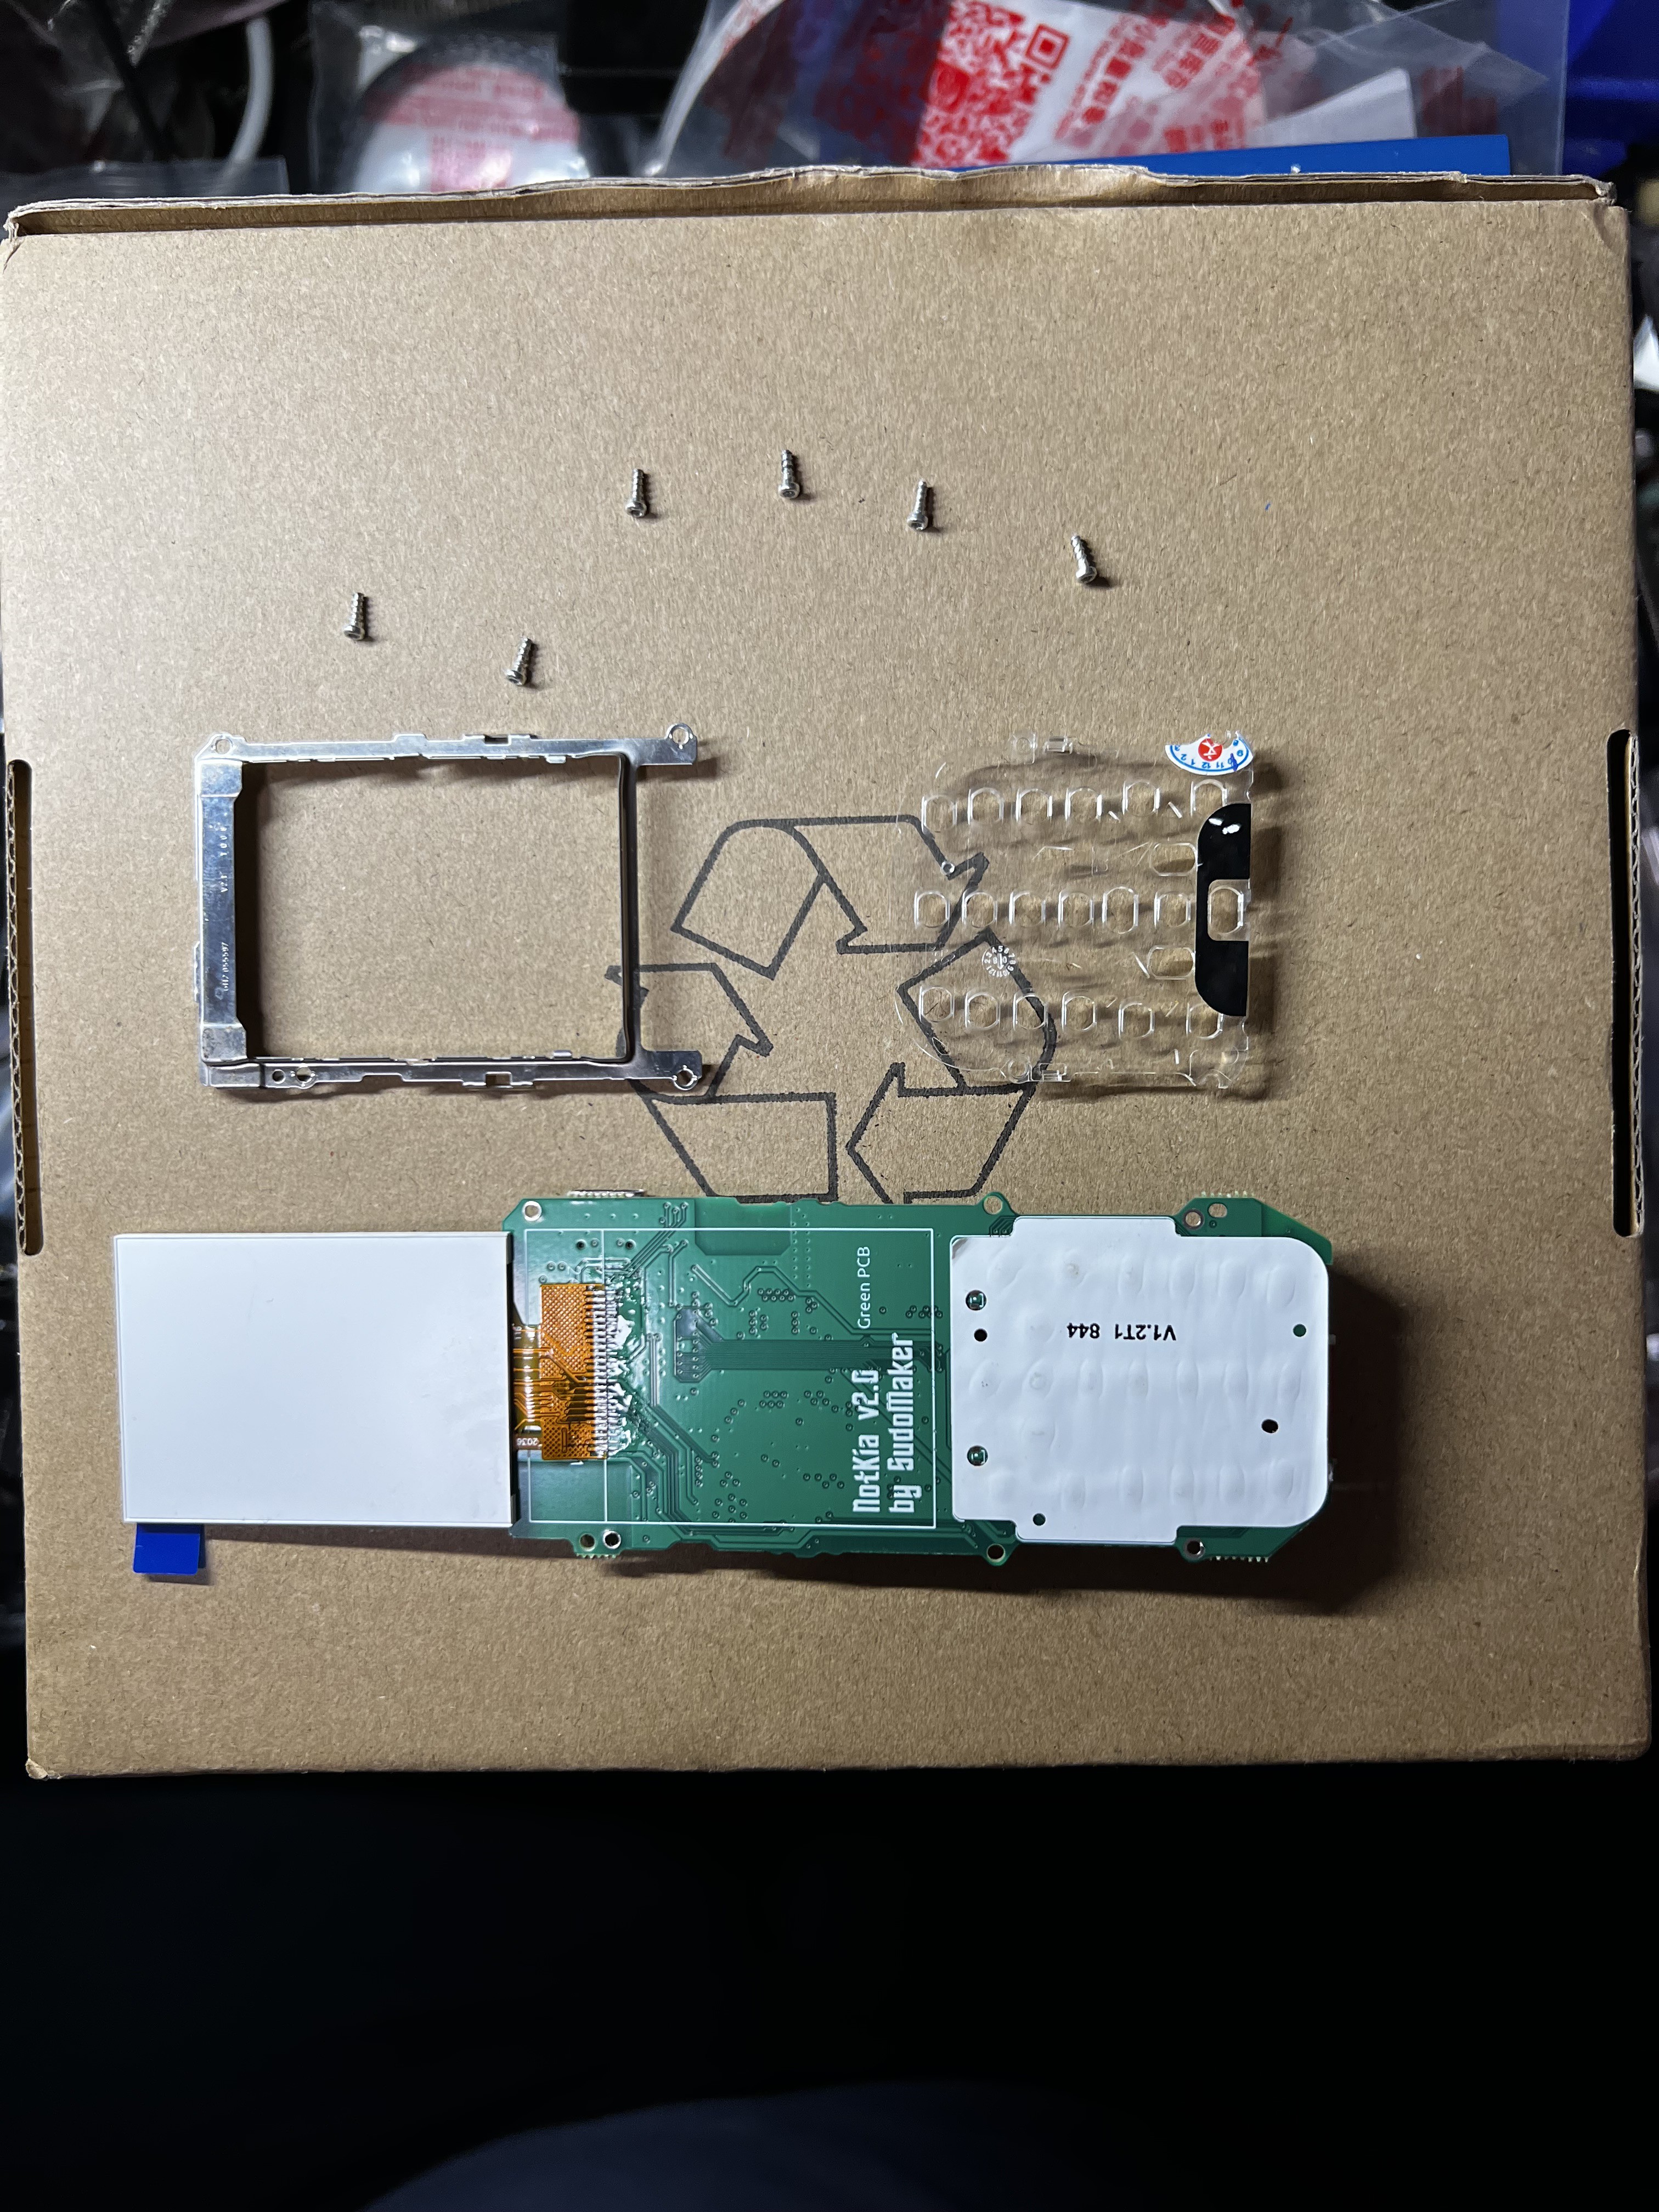
10Install the button sticker onto the new PCB carefully
![]()
 Reimu NotMoe
Discussions
Become a Hackaday.io Member
Create an account to leave a comment. Already have an account? Log In.