 jude_pullen
-
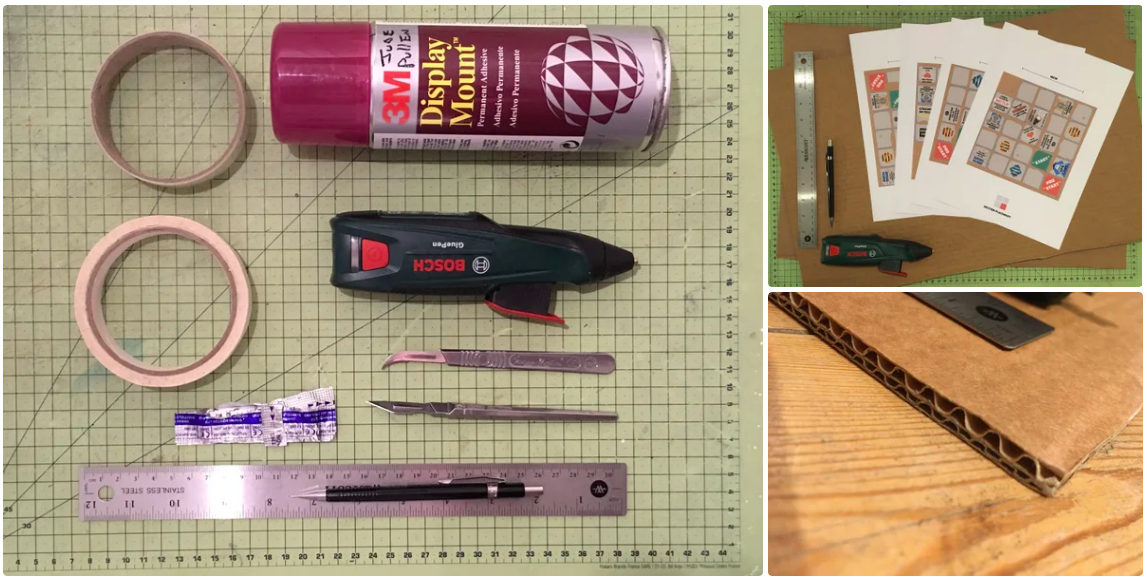
1Supplies
Some essentials are Photo Mount / Display Mount, Cardboard 9single or double corrugated is fine), Sticky Tape, Hot Melt Glue, Scalpel and Ruler.
As mentioned, 3D printing is not essential, but you can get into that later, if you have / access to one...
Disclaimer: Please note this is not a toy for young kids, and all builds should be supervised by an adult. We cannot accept responsibility for attempting to make and/or using this. Legal bit aside, if you're fine with this - we hope you have great fun!
-
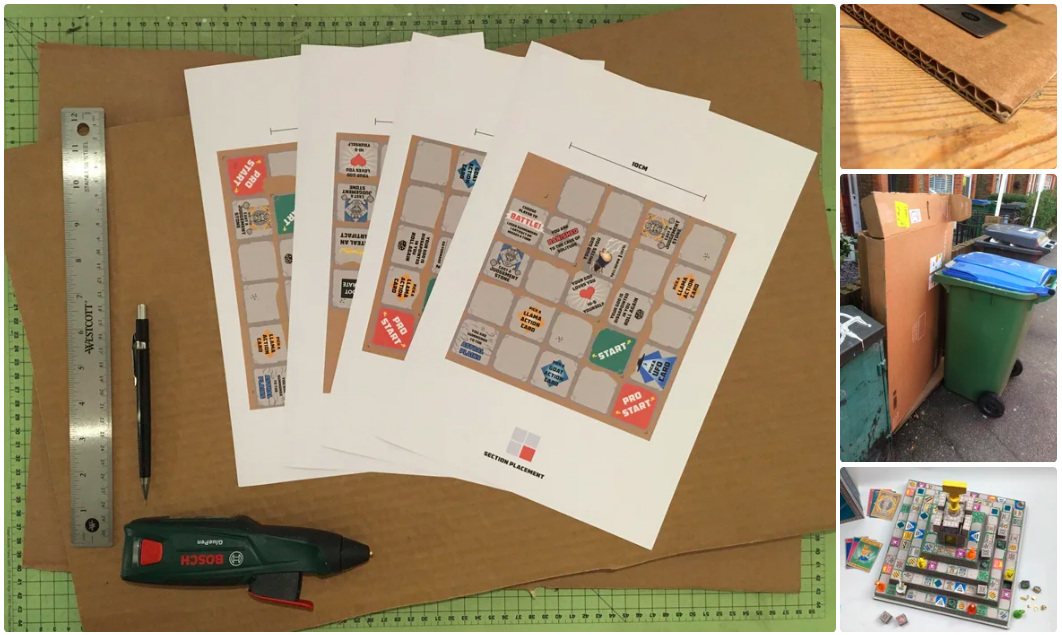
2Selecting Cardboard
Sounds obvious, but you do not need to buy this stuff - I got mine from outside someones home, after they had just got a massive TV set. Once you get started looking for 'good card' you tend to see it everywhere...
-
3Single/Double Corrugated is OK
As mentioned - both thicknesses work fine. The guide has been designed to work with either - as it works by building with regard to the relative size (this will make sense later - trust me!).
-
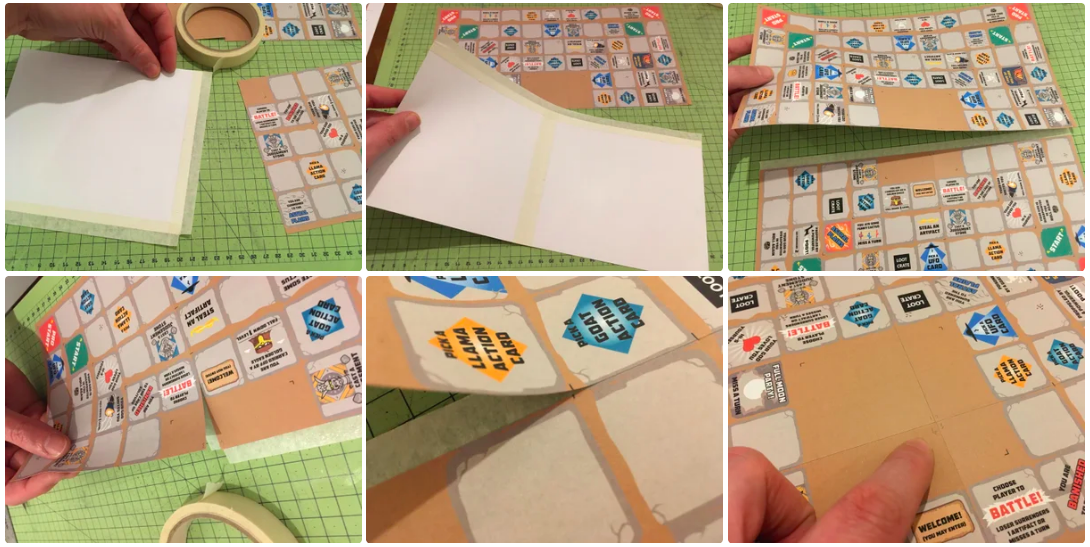
4Print & Assemble
Cut out the individual sections from the first PDF "Board Layout" and assemble as shown. Use Tape to stick together.
-
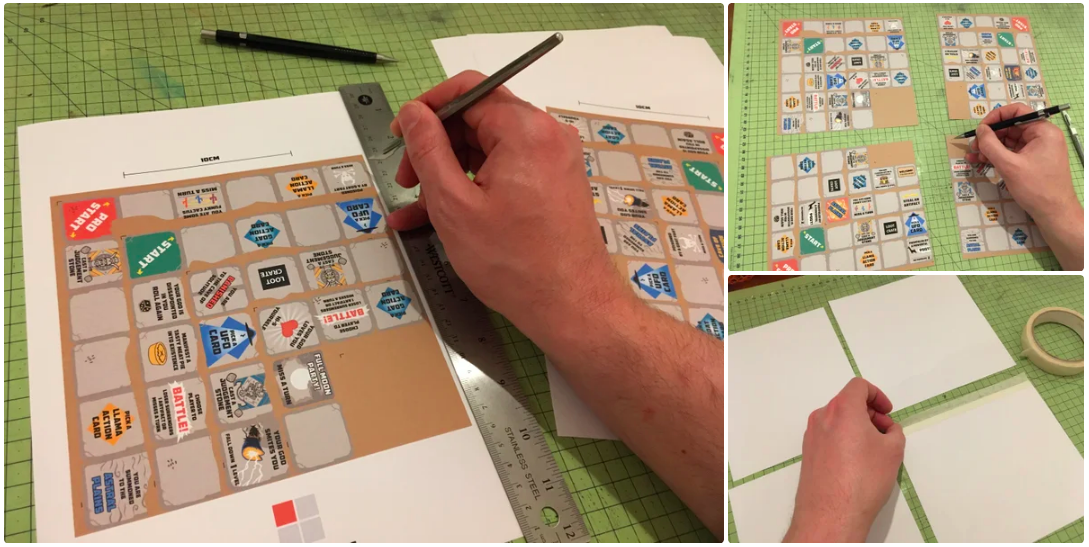
5Tick-Marks
Pay close attention to the 'tick-marks' (small black lines) to show you how to align things.
-
6Spray Adhesive Outside!
Sound obvious, but ignore this at your peril! Spray liberally as instructed on the can, and wear goggles and mask. Flip and stick down onto your card, ready to cut out.
-
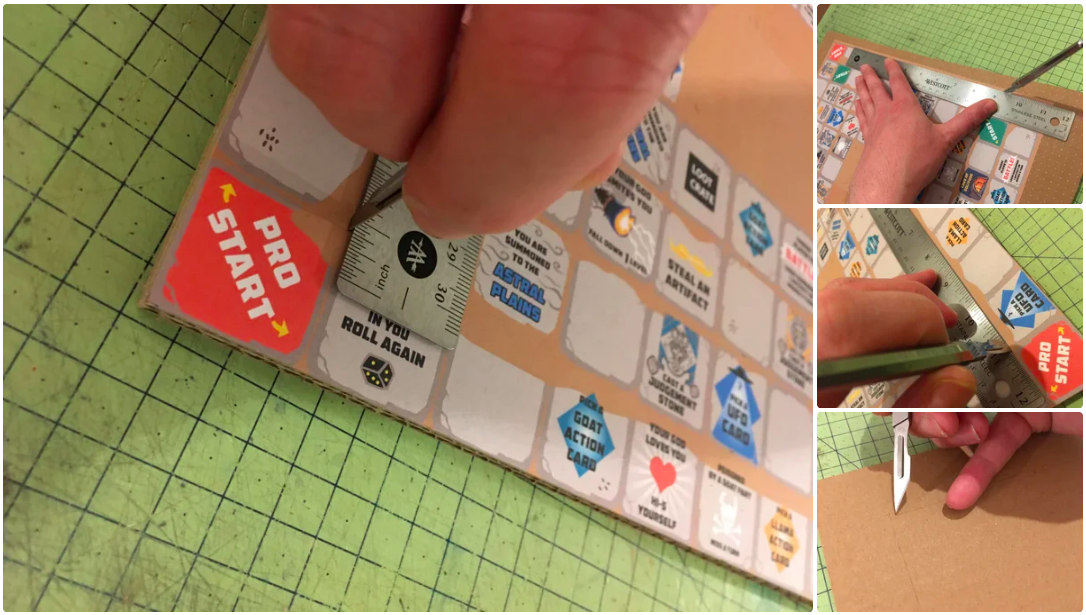
7Careful Cutting
Take acre to cut in from the edges, ideally cutting 'inwards' from each side'. This will give you clean edges for each 'level' of the game.
-
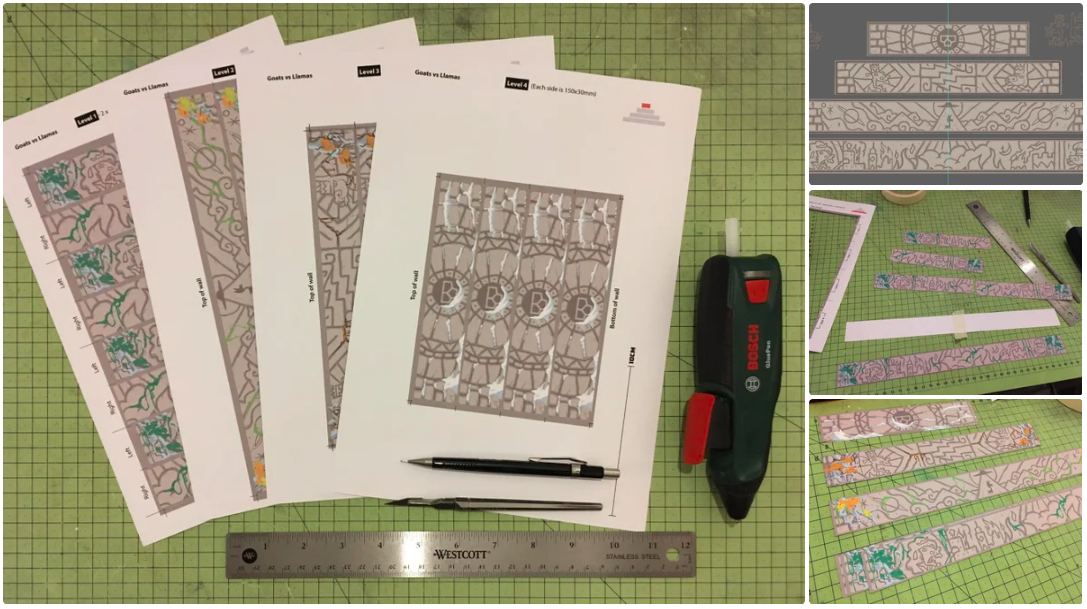
8Walls - Print & Prep
Print the "Walls" PDF on plain paper. Do as above, to stick down and cut out carefully.
-
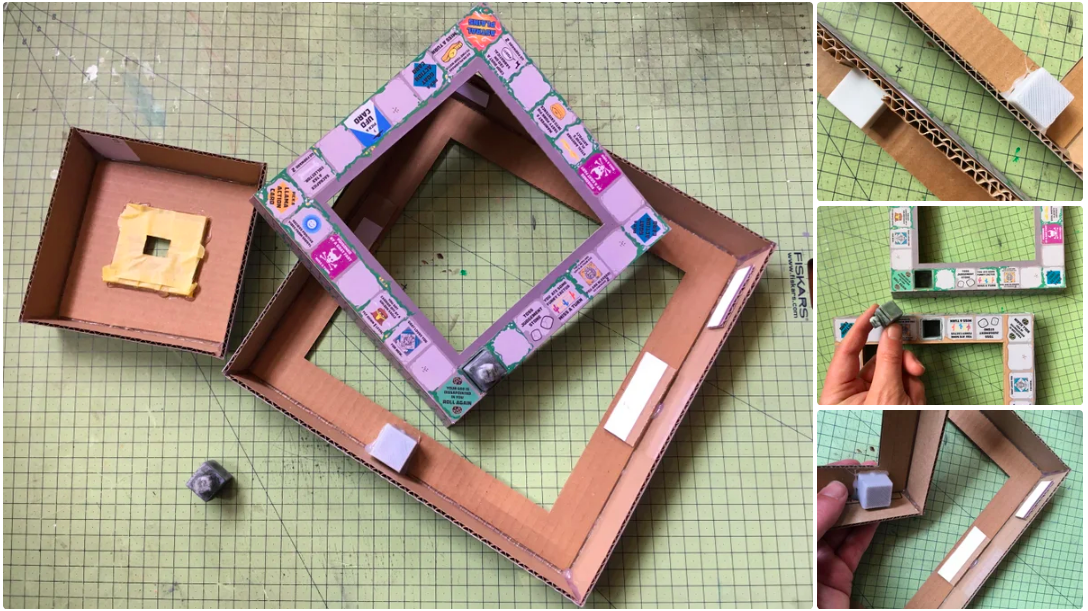
9Relative Sizing - Walls
![]()
This is a great prototyping tip to know. The fact is your printer might be slightly off (or if you're scaling from A4 to Letter US, it will be slightly smaller perhaps), so rather than tell you the walls *must* be 30mm high, what is more important is that you work with whatever they are (scaled down/up)...
...To do this, you take the walls as they are, be that 29 or 31 mm high, and then take a strip of your cardboard - which again may be 1ply (about 4mm) or 2ply (about 7mm) and place this alongside the inner edge of the graphic as shown.
You now have a note of the height the wall needs to be internally - in my case this was 23mm. So cut 4x strips this hight and be ready for the next step.
-
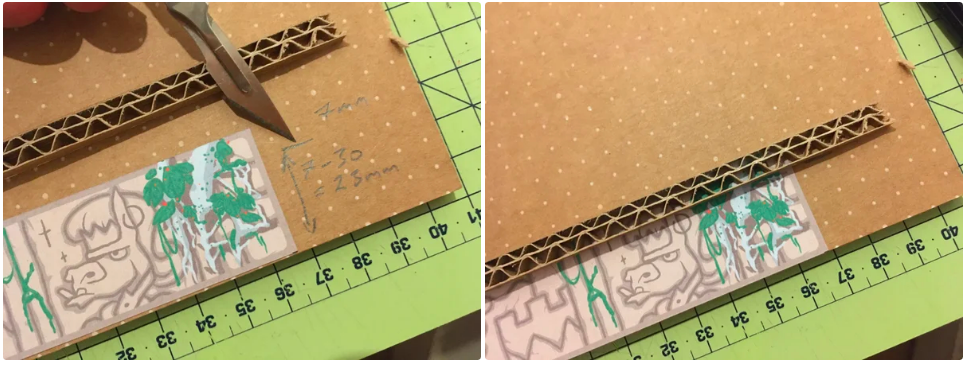
10Perfect Fit!
![]()
How with the inner wall (23mm) inset, the (30mm) wall will now fit with the top board (7mm) as shown.
Goats vs Llamas - a New Downloadable 3D Board Game
This game is an exploration of how much you can do by downloading a game - using both a paper-printer and a 3D printer.


Discussions
Become a Hackaday.io Member
Create an account to leave a comment. Already have an account? Log In.