-
2015 HAD Prize
07/29/2015 at 14:06 • 0 commentsPlease, don't forget to follow my new project, found here: https://hackaday.io/project/6180-realtime-pcr-diagnostic-device
Thanks!
PS some skulls would be nice :)
-
New Project time!
06/08/2015 at 18:56 • 0 commentsHi DIY-Bio fans!
I just want to announce my new entry to the 2015 prize, the Realtime PCR Diagnostic device https://hackaday.io/project/6180-realtime-pcr-diagnostic-device
This thing is a massive upgrade to the PCR machine I build last year, and to be honest, I'm not sure if it will even work. But start following the project to find out what happens!
Thanks,
David
PS, anyone want to collaborate?
-
And I'm out...
10/14/2014 at 08:06 • 4 comments...Thanks Hackaday, it was fun!
Not 100% sure what to do next with the project now.
Does anyone actually want to build a PCR machine (besides me :) ?
Do people out there want them as a kit? A finished product? Or just well documented and left on Github?
It would be pretty easy to get some PCB's made up and put up on Tindie or somewhere. Let me know if you would be interested!
-
Hybrid Human-Coral-Jellyfish Nanobots Biosensors
10/11/2014 at 20:16 • 0 commentsYou know how I promised you something really cool a few updates ago? Well, here is the project I will be undertaking next, using the $5 Polymerase Chain reactor!
![]()
What happens when you cross the DNA of a Jellyfish found off the coast of California, a Human, and a species of Japanese Coral?
...and then you go and add the combined DNA to an intestinal-inhabiting Bacteria? A whole lot of awesome is what I hope, as we try and create a nanobot that can optically display Calcium concentrations! Welcome to biohacking!
Here's the rough outline of the Hack: We use the DNA sequence from the jellyfish Aequorea victoria that encodes its Green Fluorescent Protein, and the Orange fluorescent Protein from the kusabira-ish coral, both from available plasmids. Muscles contract when nerves impulses lead to Calcium concentration increases in muscle cells. The interwoven fibers are pulled together by trillions of bio-nano-bots, after Calcium unlocks the blocking-bot. By using PCR to read out the spaced DNA sequence of Human DNA and the fluorescent proteins, and using some Phage proteins to join the DNA strands into a circular plasmid, we can fool Bacteria into reading the fused instructions, and build our bio-nanobot-sensors for us. The sensor works by the shape-changing effects of Calcium on the sensor, and translating this to a change in color! So, this bio-nanobot-sensor should change from glowing green to orange (or vice versa?), as the amount of Calcium in a solution increases.
$5 Polymerase Reactor Update:
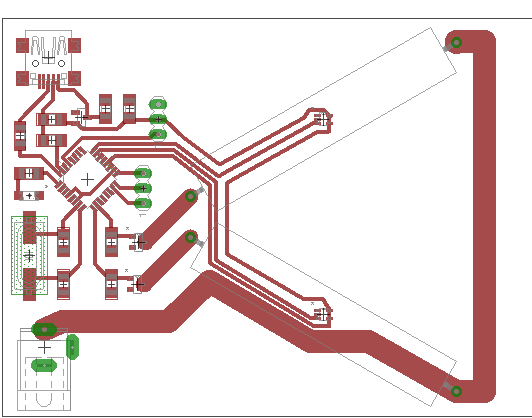
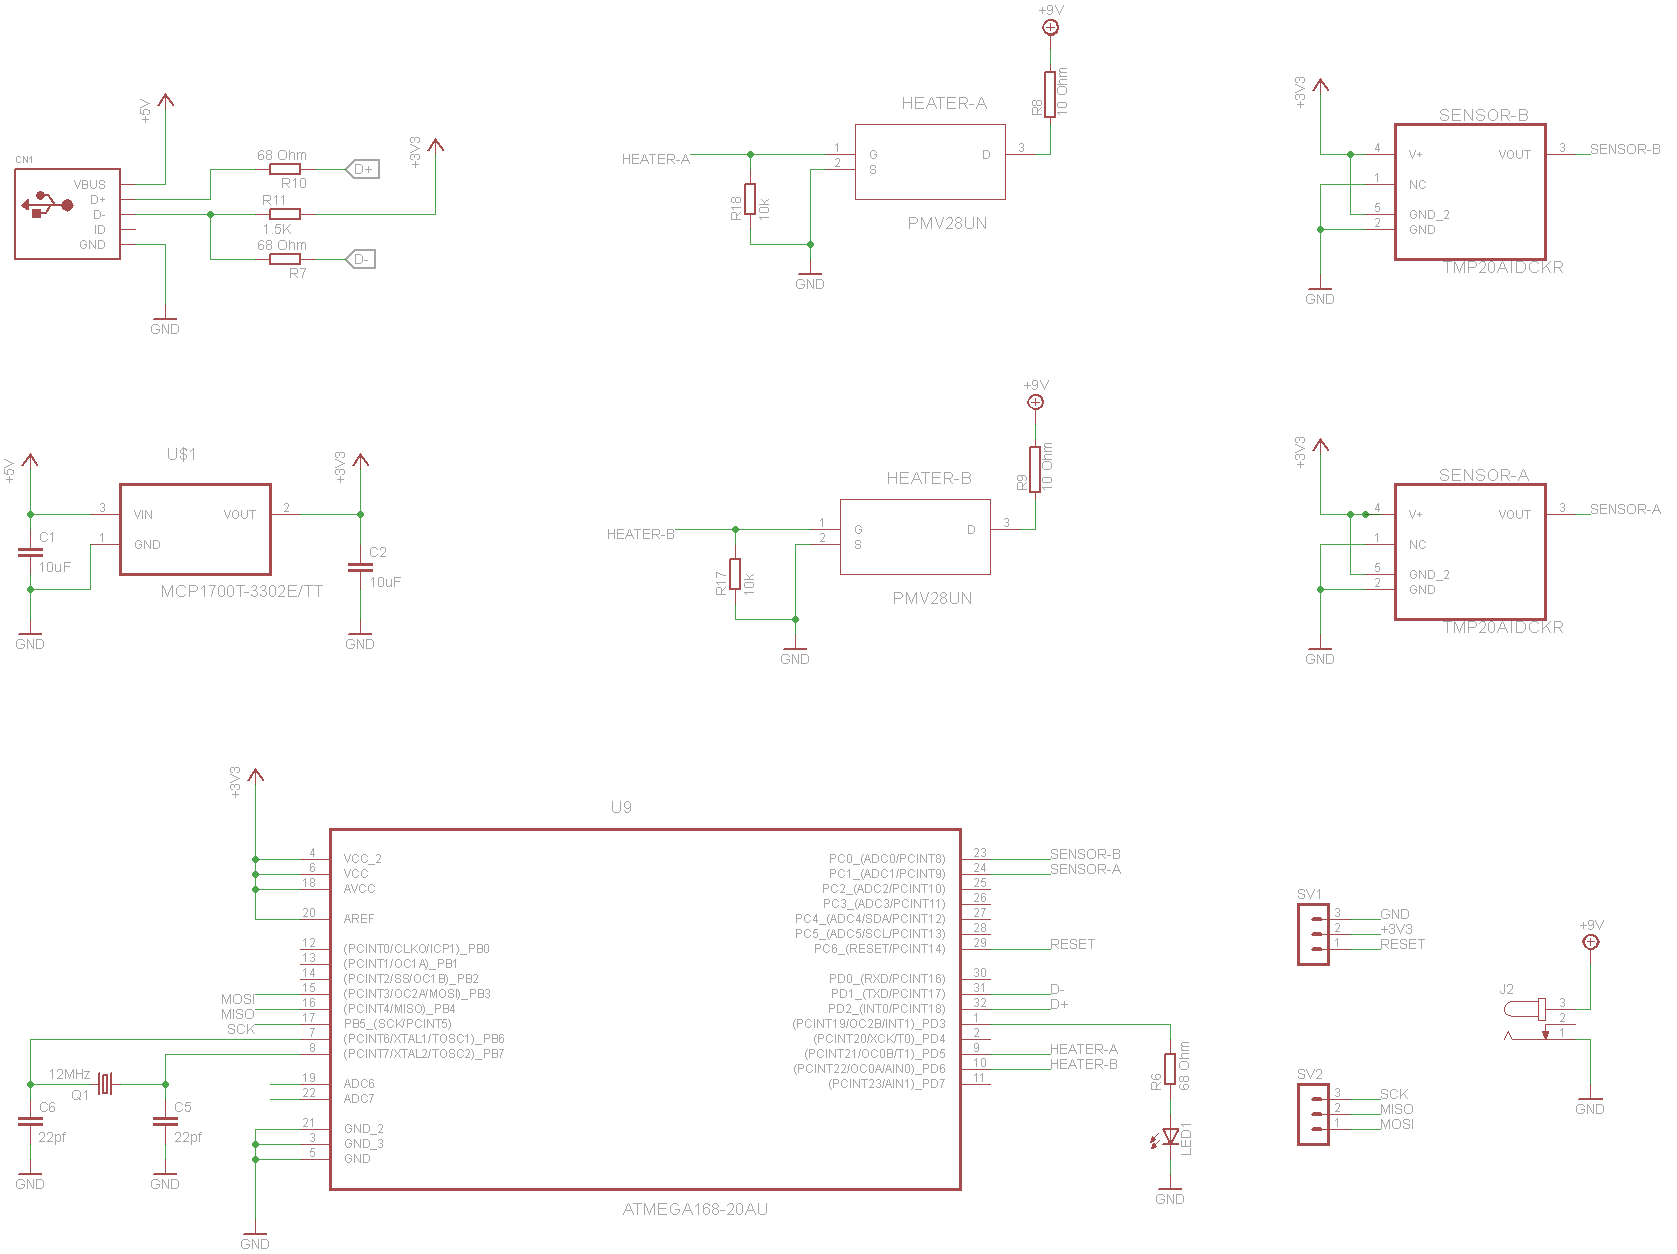
I've also update the PCB and Schematics, so now it uses surface mount components on a single-layer board! That should save a few more cents!
![]()
![]()
-
CSI: Hackaday
09/27/2014 at 21:51 • 0 commentsI've just uploaded my 5 minute video, hopefully completing the last entry requirement for this stage of the competition! I've got my fingers crossed, and I'm really hoping I haven't skipped a vital competition rule.
Biotech in Action
![]()
In the video, I've show how my Polymerase Chain Reactor works, how it compares to what's out there, and hopefully shown its innovation and connectedness. What I've also shown is the power of molecular biology. In the demo, I've demonstrated how DNA profiling can identify a person from the DNA evidence that everyone leaves behind wherever they go.
DNA profiling can be used to identify people by their DNA, and I've used a method based on some STR's, which are segments of DNA that vary in length between individuals. By taking samples from many people, and comparing the results of a sample of unknown identity, we can match that sample to our database.
Of course, to be relatively certain, you need to measure many different STR regions, as the variance of any one particular STR is not-so-high. Usually, about a dozen or so are used by the FBI or Interpol.
![]()
I just used one, called TH01, which is used by both of those agencies. That's nowhere near enough to identify a person usually, but I cheated :)
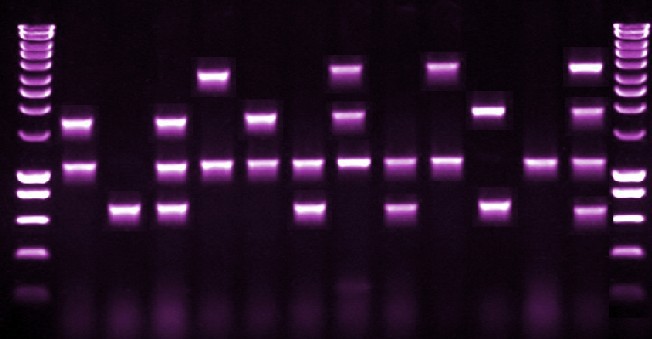
I asked for DNA sample from a bunch of friends, and did a TH01 STR analysis on all the samples. Many samples looked identical, but some were identifiable. So, I just used the 4 there were the most clearly different, and used them in the demonstration.
Besides the PCR machine, the only lab equipment needed for such an experiment is a centrifuge and a gel electrophoresis system. Both can be made at home, and make a fun and cheap weekend construction project.
It's a great proof-of-principal, but I have something really great planned next, for the next round of the competition. Are you ready for some Gene Hacking?
-
Race to the Finish II
09/26/2014 at 11:48 • 0 commentsThe Polymerase Reactor 2.0 is finished!
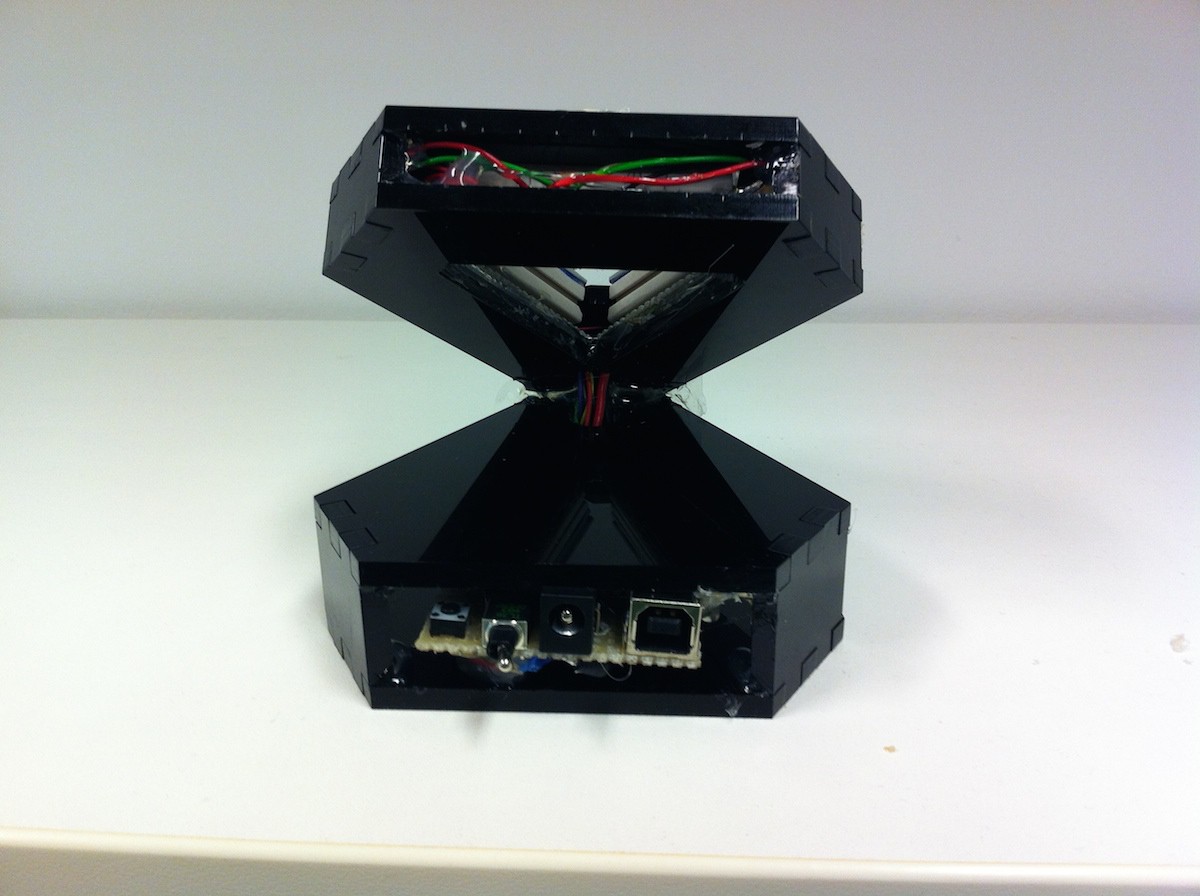
Here are some pictures:
The rear port contains a USB connector for reprogramming and debugging, a 9V input connector, and a toggle switch to select the power supply used to power the microcontroller. The switch doubles as on on-off switch when only one power source is connected.
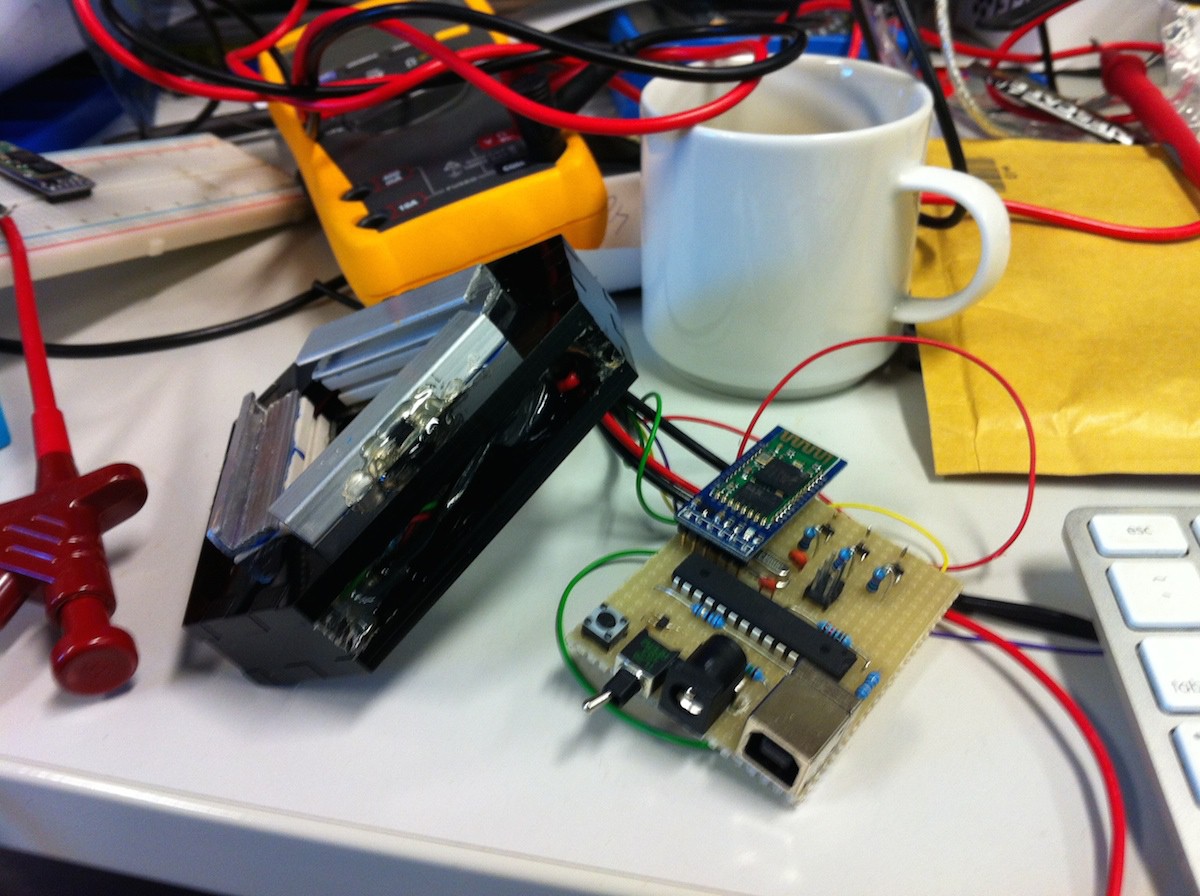
The device connects to a Windows/Linux/Mac machine via Bluetooth, using the cheap HC-05 module.
![]()
Any serial terminal can control the device; I used the Arduino software Serial Monitor to interface with it.
![]()
There are several commands for reading and writing data to the PCR machine, here is some examples:
![]()
You can connect and start controlling the PCR machine with just a few lines of Python code:
import serial

pcr = serial.Serial('/dev/tty.HC-05-DevB', 38400, timeout=1)
I hope to build a simple python server to control the PCR machine next, and then design a nice interactive web interface for the machine, so its easy to control over the internet.
EDIT:
Actually, an Intel Edison would be great from this kind of project. The built in WiFi saves lots of effort for the hardware, and its got enough power to handle the server side stuff for the web interface etc.
-
Race to the Finish
09/26/2014 at 08:25 • 0 commentsI hope to have a REALLY cool update late today, or early tomorrow, but for now, here's the current state of the PCR machine.
The $5 Polymerase Chain Reactor is finished, using perfboard and a combination of through-hole and surface mount parts. I've used V-USB for temperature logging, and it works great!
I have a cool demo planned for this machine very soon...
The full-featured machine prototype machine is also almost finished. I wrote a ton of arduino code into the small hours of the night, and now I have a nice API to control the device via bluetooth.
You can access via Bluetooth:
- Current temperatures of the heating blocks
- Current PID parameters
- Turn on/off temperature-streaming for real-time plotting
- Alter the target temperatures of the heating elements
- Alter PID parameters
- Shut down the heating elements
I really wanted to have a GUI prepared by now, but TBH, a month is a very short space of time to design and construct an entire new product, AND do all the coding necessary for a nice user interface. But with the hardware finished, and a bit of luck with making it to the top 5, I can focus on that next month.
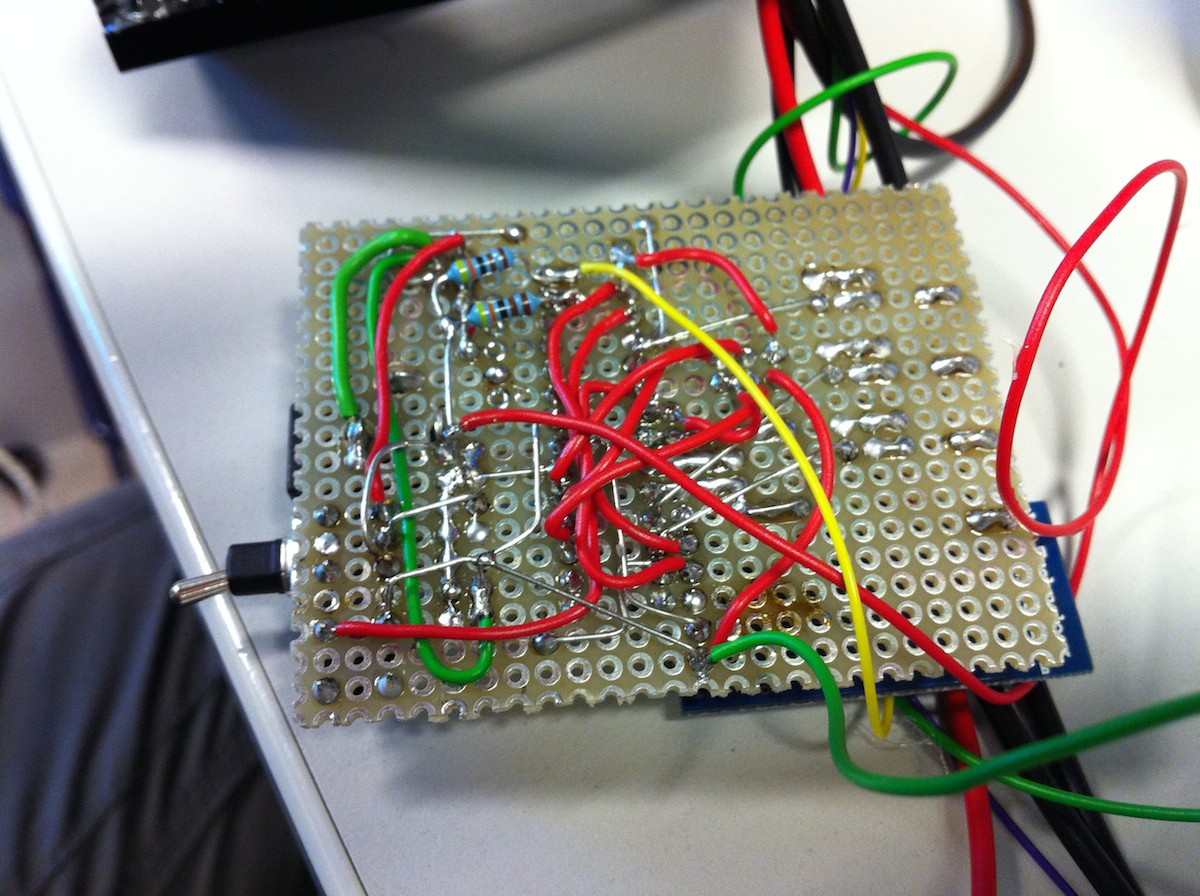
It's a real rat's nest on the back of the board though!
I hope I make the next round, so I can get some PCBs made up. I think building a 3D structure directly from the PCB will make construction much easier as well.
More Soon!
-
Case Design and Laser Cut Parts
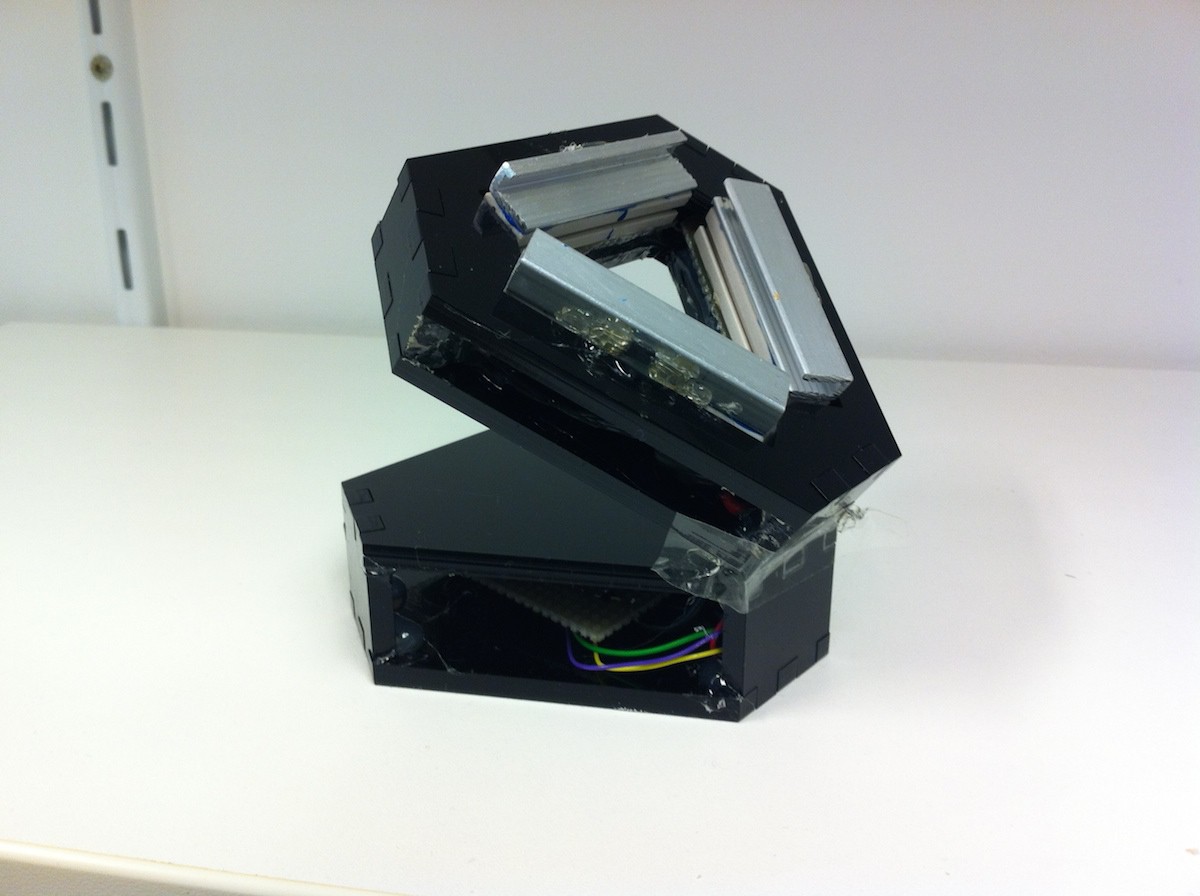
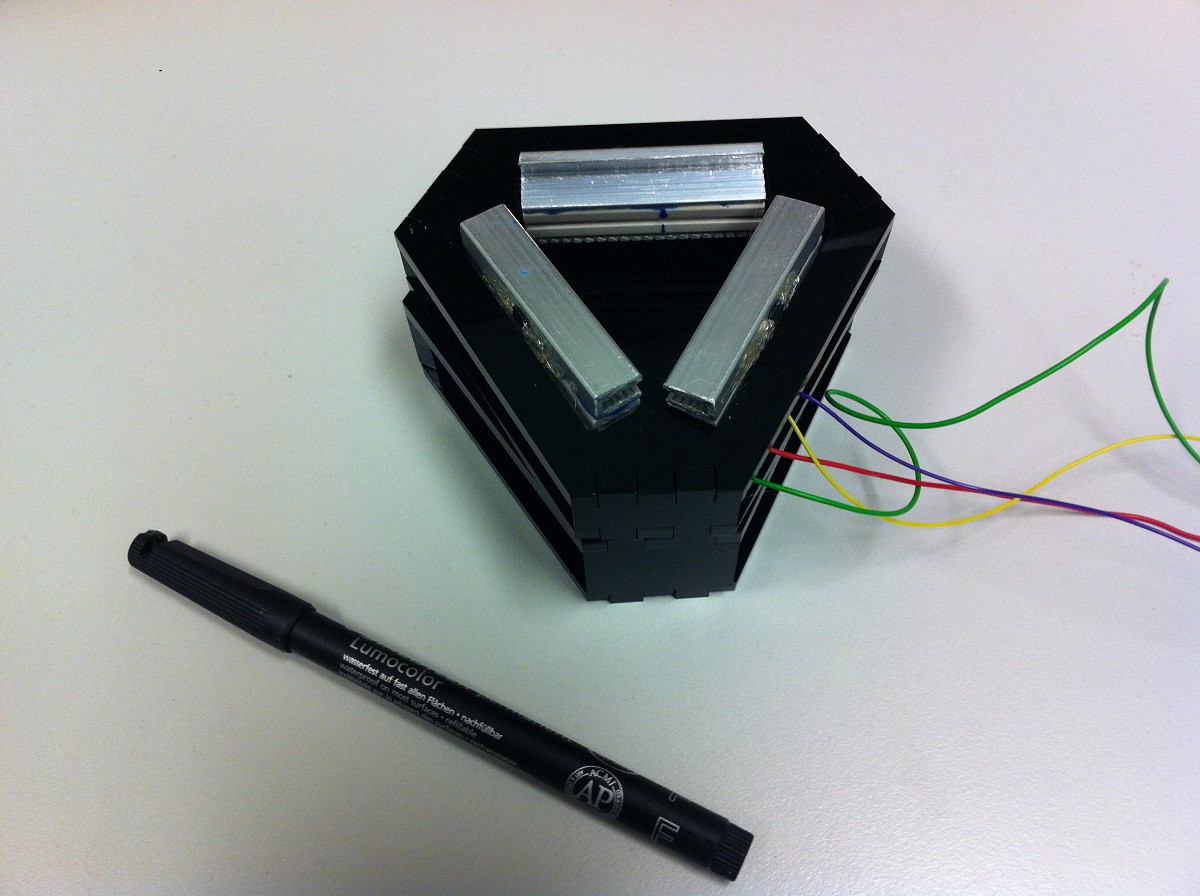
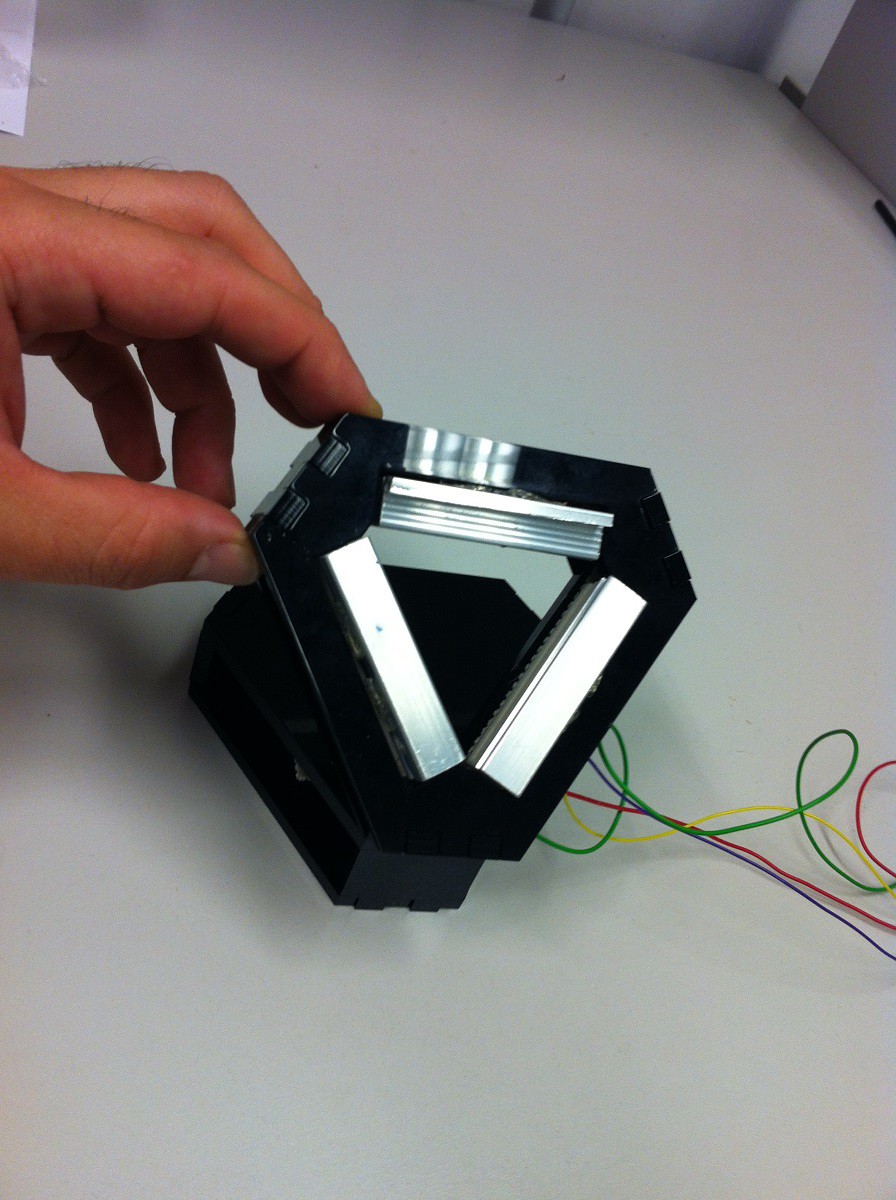
09/21/2014 at 17:27 • 0 commentsI have spent the weekend watching the Oculus Rift keynotes on TwitchTV, and putting together the Polymerase Chain Reactor. The design for the case was created in Illustrator, and laser cut from black 5mm acrylic plastic. I would have preferred to use my 3D printer, but it's out of action, and there's no chance I can get this project finished in time AND rebuild my DIY printer with this deadline. It uses interlocking tabs to hold together, but it's still missing a nice hinge mechanism between the top and bottom compartments. Does anyone have an elegant solution for me?
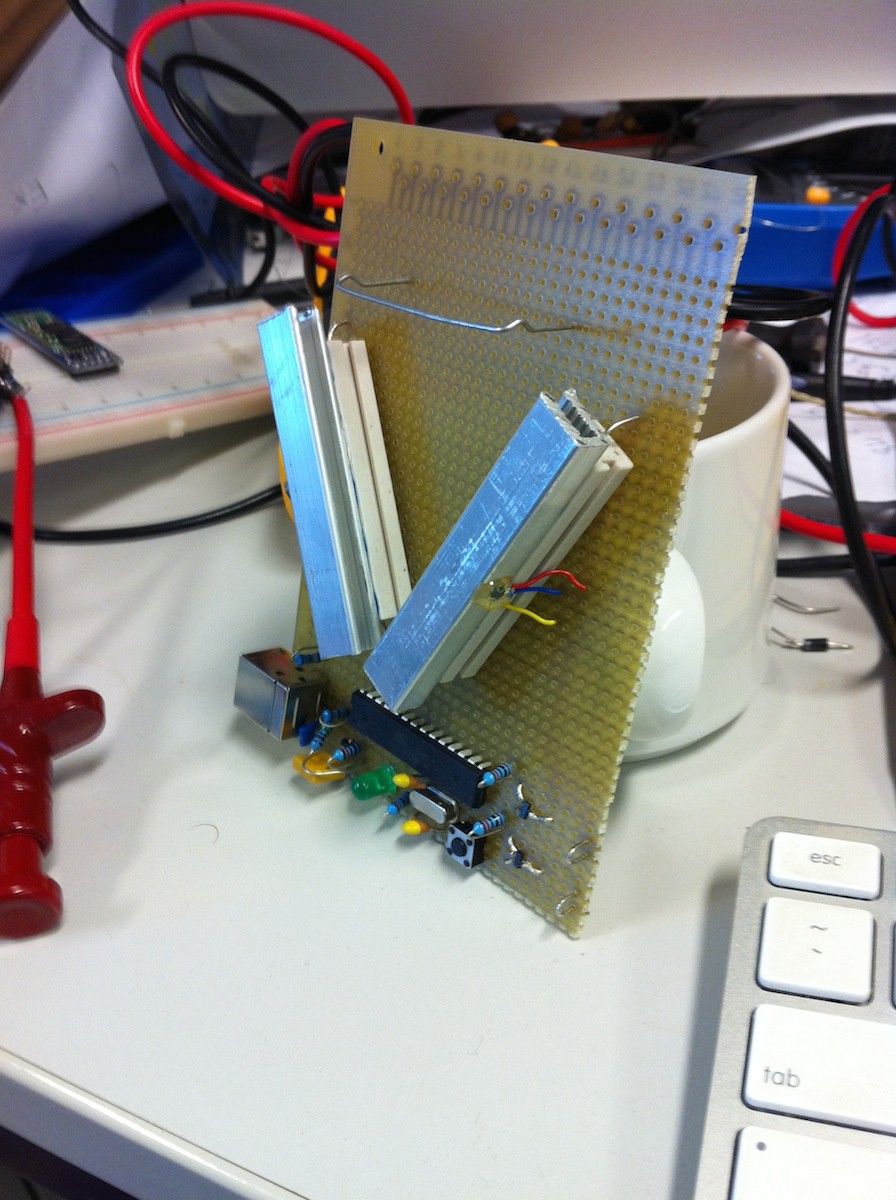
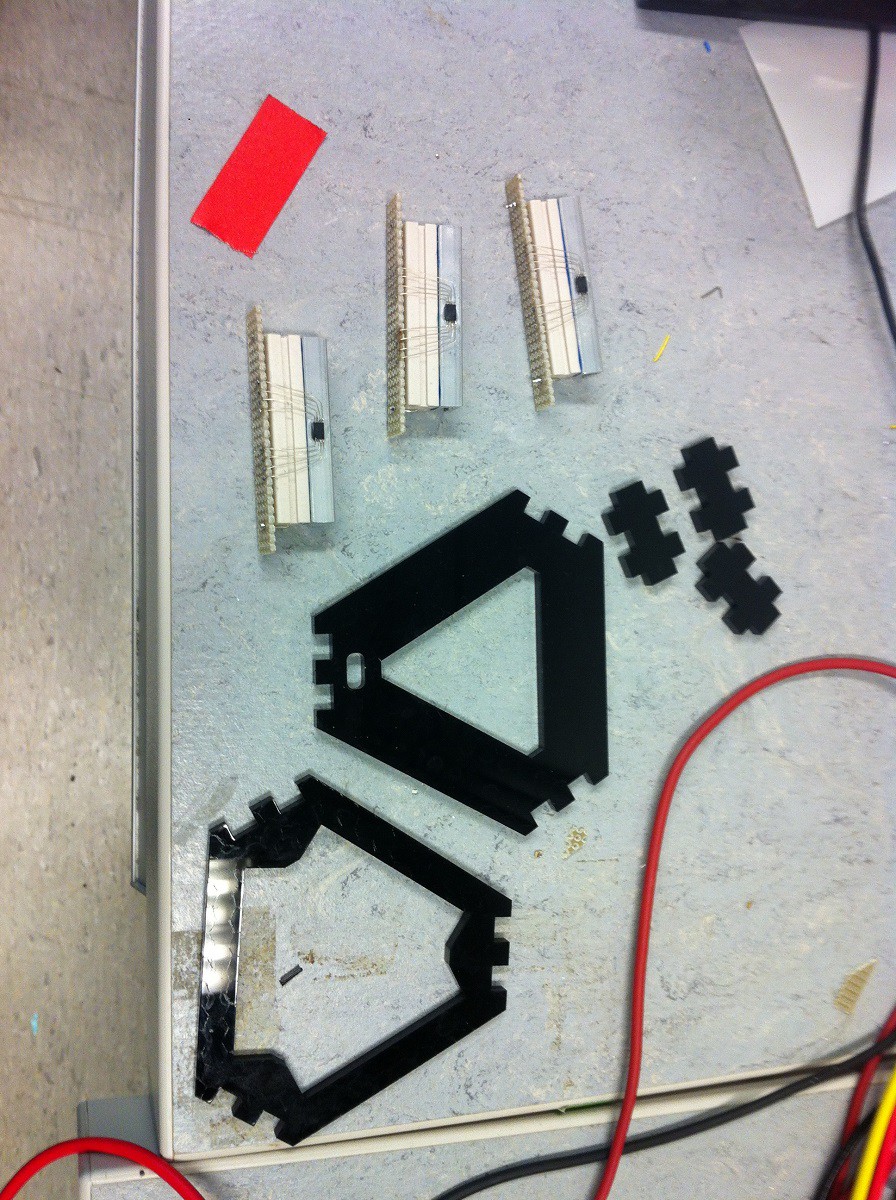
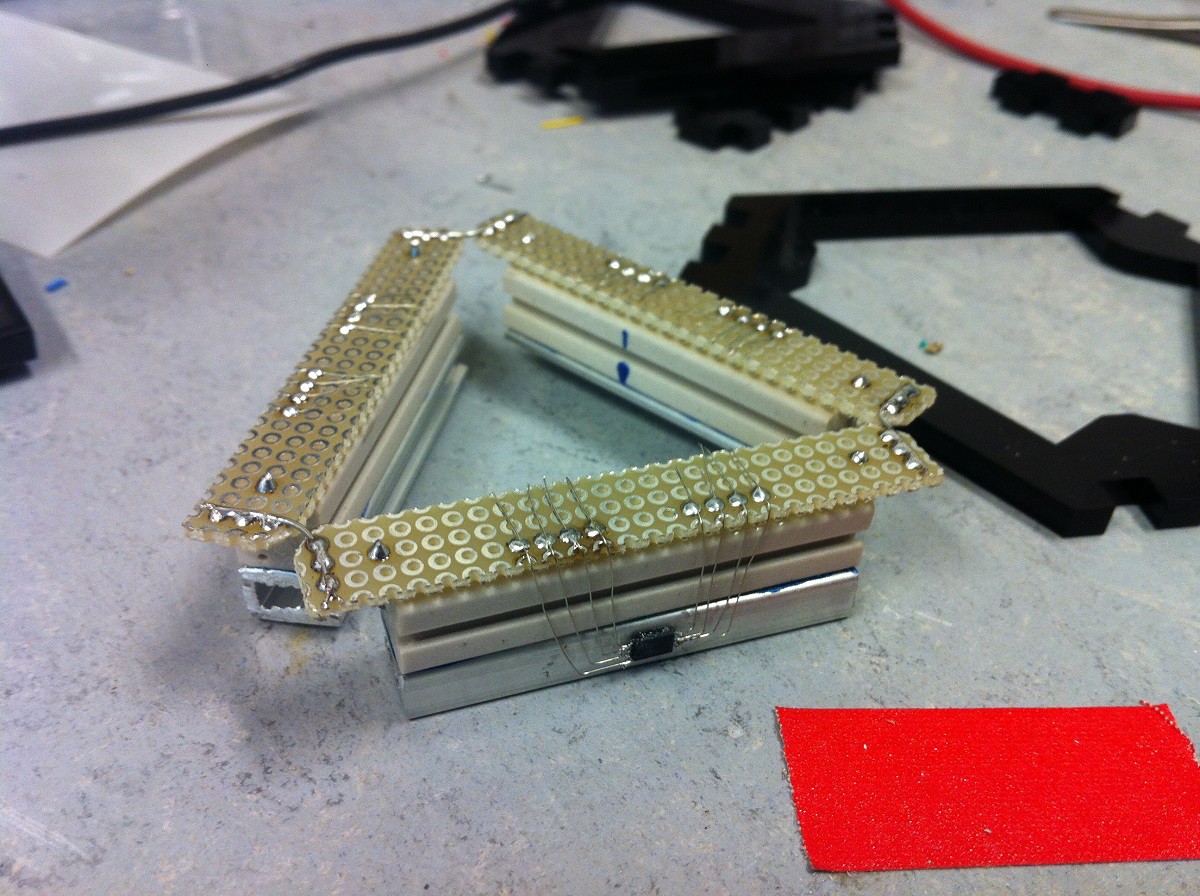
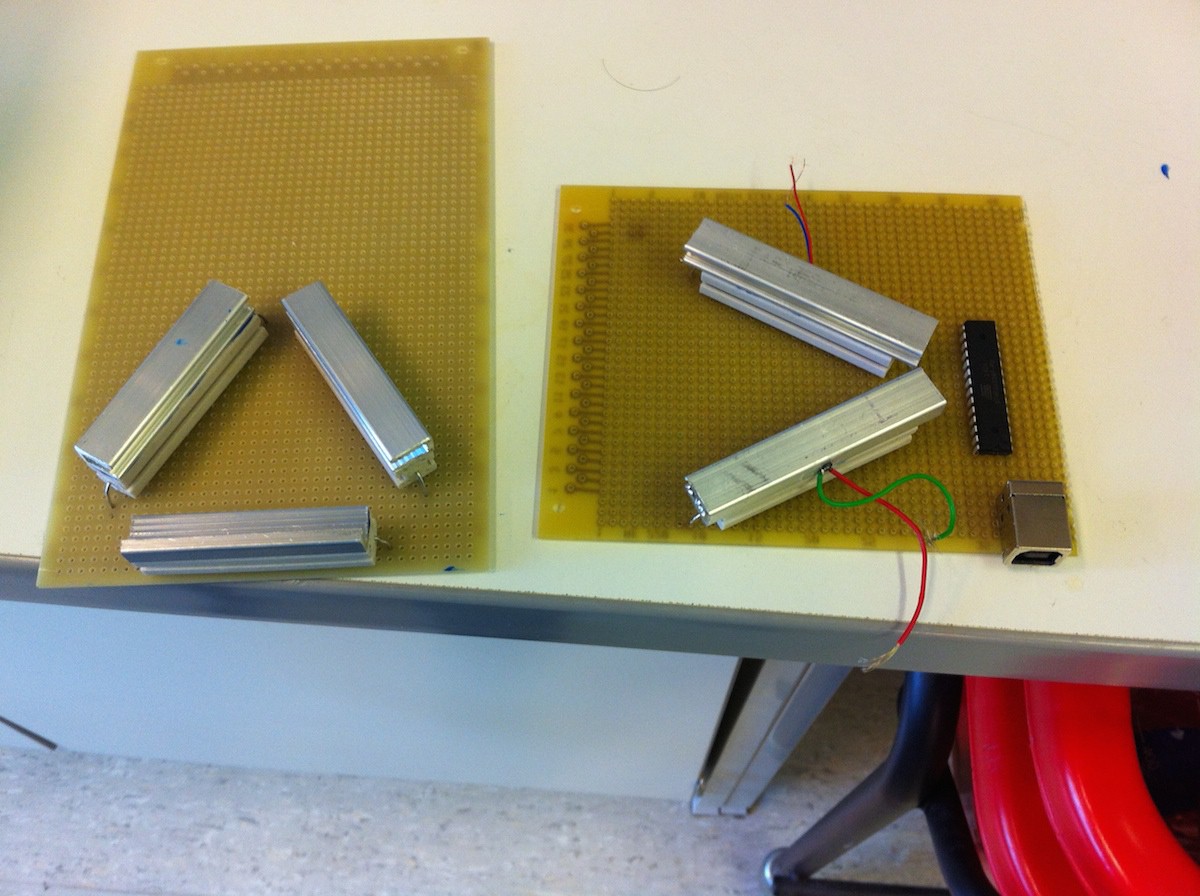
Each heating element uses a 10 Ohm, 11 watt ceramic resistor, and an Microchip MCP9805 temperature sensor on I2C to the Atmega328. They are wired up, and the separate boards held together by a short piece of wire. Of course the final design will use custom PCB's, but there's not much time left in the competition, so I have had to hand-solder the surface mount parts...
The wires to the surface mount chip are VERY delicate, so I used a blob of hot-glue to give them some support. Then the case was snapped together around the completed heating/sensing system.
The main-board is not yet complete. It will use the Atmega328P, with an Arduino-compatibleUSnooBie bootloader, so it doesn't need an FTDI chip for USB programming, and can act also as a HID device. It will use a cheap HC-05 bluetooth module for serial communication to the controlling computer. I hope to have a great-looking Processing based GUI for the PCR machine control and access online databases, but with time running out, I might have to make an alpha App with python and TraitsUI.
More to come soon!
-
New Parts List
09/16/2014 at 17:02 • 0 commentsI have the cheap version PCR machine completed, so here is the new parts list:
Microcontroller Atmega328p $2.30 3.3V Regulator MCP1700T-3302E/MB $0.37 2x 0.4C Temp sensors LMT86QDCKTQ1 $0.60 2x 11W 10ohm heating resistors SBCHE1110RJ $0.78 2x 4A N-Mosfets TSM2310CX $0.80 Capacitors and Resistors various $0.50 aluminium extrusion as described $0.50 12MHZ crystal XTAL003210- HC49/4HSMX $0.27 Paperclip $0.05 USB mini connector $0.45 Custom 2-layer PCB purchased in bulk
$0.70 The parts are commonly available and prices are good estimates for buying at single quantities You will just need a 9V 3A power supply to complete the project. That's a sum total of just $7.32, if you are buying single parts.
Moving to an ATTINY design would save about a dollar, and hand soldering on a 5x7cm perfboard a further 40 cents, lowering the cost to about $5.92, which I'll hope you will allow me to round down to the target price of $5 :) However, sticking with a custom PCB and buying a batch to make 100+ PCR machines, the price starts approaching $4.
-
Building the Prototypes
09/06/2014 at 15:31 • 0 commentsWell, its been awhile since my last update, but that's not because of the huge amount of works I've been doing. I've been on holiday, but now I'm back working of the project
Yay! I'm in the Top 50!
Wow, I wasn't sure I would get this far, but it seems like I've passed the first barrier! I understand that the top fifty receive $1000 worth of electronic parts. Well, I hope they arrive soon and I can use them in this project, because I'm seriously low on cash to buy parts. I also hope they are sent from within Europe, because custom and duty fees are a killer!
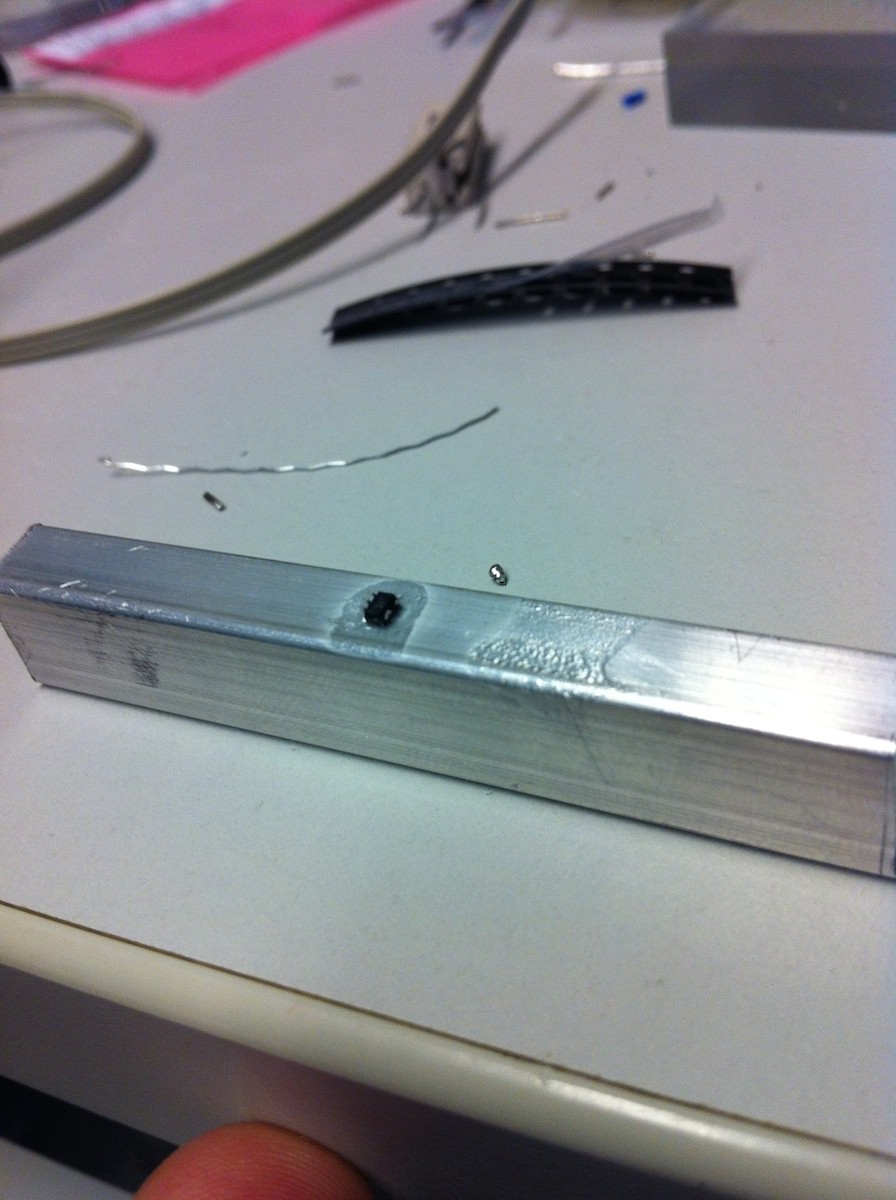
Anyway, I'm working hard on finishing working prototypes of the $5 board and the no-hold-barred super PCR machine. They are both really really really hard work, because at this stage, I don't have the time or funds to get PCB's made up. So, I am soldering all the parts by hand. And SC-70 surface mount parts are TINY!
The only way I can manage it to to super glue the tiny temperature sensor to the aluminium heat spreaders upside-down, and then try and solder fine wire onto the legs, dead-bug style. Yes, I have destroyed many sensors so far....
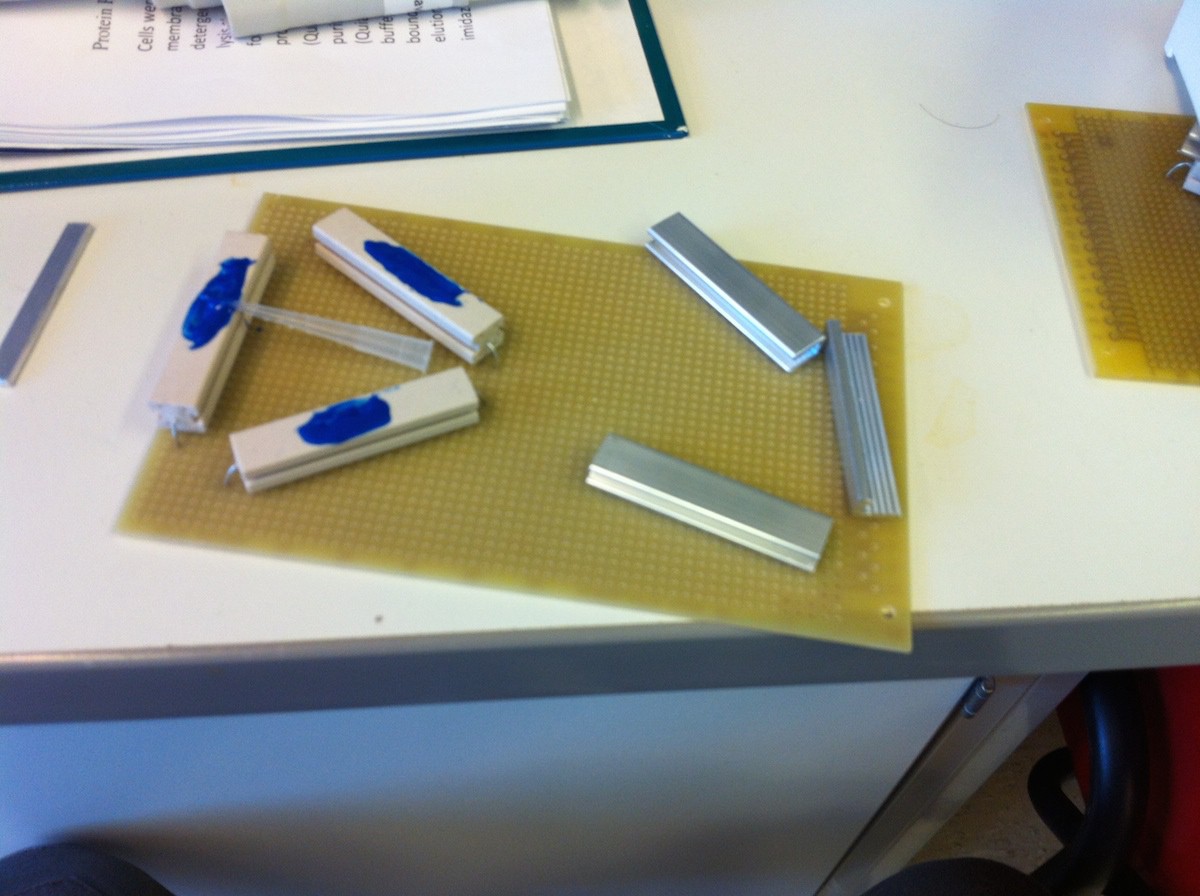
The heat spreaders are then held in place on the heating resistors with heating glue.
More to come soon!
$5 DNA Replicator
The one of the most revolutionary inventions of the 20th Century, designed for DIY gene replication.
 David
David
