Introduction
Has your dog ever woke you up early in the morning for food? Do you blame yourself for not being able to feed your hungry pet because you are too busy and can’t get home on time? Purchasing a smart dog feeder that allows you to control it through the internet can be quite expensive. So why not design and build your own smart dog feeder with a few inexpensive electronic components? In this article, we are going to build a simple IoT dog (or other friendly creature) feeder that costs less than $30 and can be controlled remotely via an IoT software. By the end of this project, you will learn:
- What is a WeMos D1 Mini development board and how to use it
- How to use the Blynk IoT platform to manage your hardware device
- How to program the WeMos D1 Mini development board using Arduino IDE
- How to build an IoT dog feeder
Background Knowledge
WeMos D1 Mini
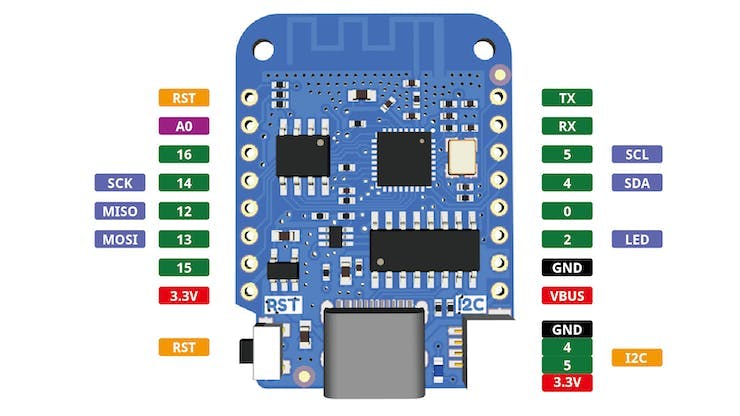
WeMos D1 Mini is a powerful internet-enabled development board. This small development board uses one of the most popular and cost-effective Wi-Fi microchip ESP8266, making it a perfect choice for any beginner-level internet of things projects.
Source: WeMos Documentation
One advantage of the WeMos D1 Mini is that it is user-friendly. It is perfectly compatible with MicroPython, Arduino, and nodemcu. Additionally, WeMos D1 Mini is compatible with the popular Arduino IDE, which allows you to develop and upload programs to the microcontroller.
The WeMos D1 Mini development board has 11 digital I/O pins, a 5V pin and a 3.3V pin. Out of the eleven digital I/O pins, there is one RX pin and one TXpin for serial communication. Every pin on the WeMos D1 mini board runs on 3.3V, anything higher than 3.3V can potentially damage the development board. If you want to use it with 5V devices, you will need a logic level converter.
The WeMos D1 Mini development board can be programmed via USB. Different versions of WeMos D1 Mini development boards have different USB ports. Some have type-C USB ports while others have micro-USB ports. The WeMos D1 Mini board used in this tutorial comes with a micro-USB port.
PIR Motion Sensor
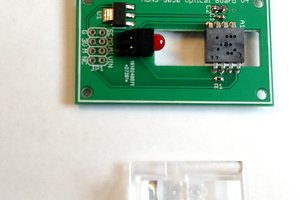
A passive infrared sensor, also known as a Pyroelectric or IR motion sensor, is a small inexpensive sensor that detects motion by measuring the amount of infrared radiation (IR) emitted or reflected by an object within its detection range. The level of infrared radiation detected is dependent on how hot the object is. An object with higher temperature emits more infrared radiation.
Source: Adafruit
PIR motion sensors rely on pyroelectric sensors to detect the level of infrared radiation. Pyroelectric sensors are highly sensitive to the change in thermal energy and generate electrical energy when heated or cooled.
The PIR motion sensor is split into two slots. When a living animal passes by the motion sensor, one side will detect the moving object before the other. The difference in the level of infrared radiation between the two sides of the motion sensor creates a positive differential change. When the moving object leaves the detection region, there will be a negative differential change between the two sides of the motion sensor.
Why do different PIR motion sensors have different detection ranges? The answer lies in the spherical lens of the motion sensor. PIR motion detectors use Fresnel lenses to condense a large range of IR to the sensor. In a PIR motion detector, the Fresnel lens is divided into many small sections, each section contains many concentric circles to focus light on a single point. The structure of the Fresnel lens allows the PIR motion sensor to detect motion in a large area.
If you liked this project please share it with others so we can keep on making these types of projects! If you're interested in more content from us you can visit our Learning Hub for more great and accessible electronics education.
 Gentiam




 DIY GUY Chris
 blorgggg