 TraceSpazer
Everything takes longer than expected.
But I'm having fun and learning along the way.
Budget build, and taking my time with it.
0%
0%
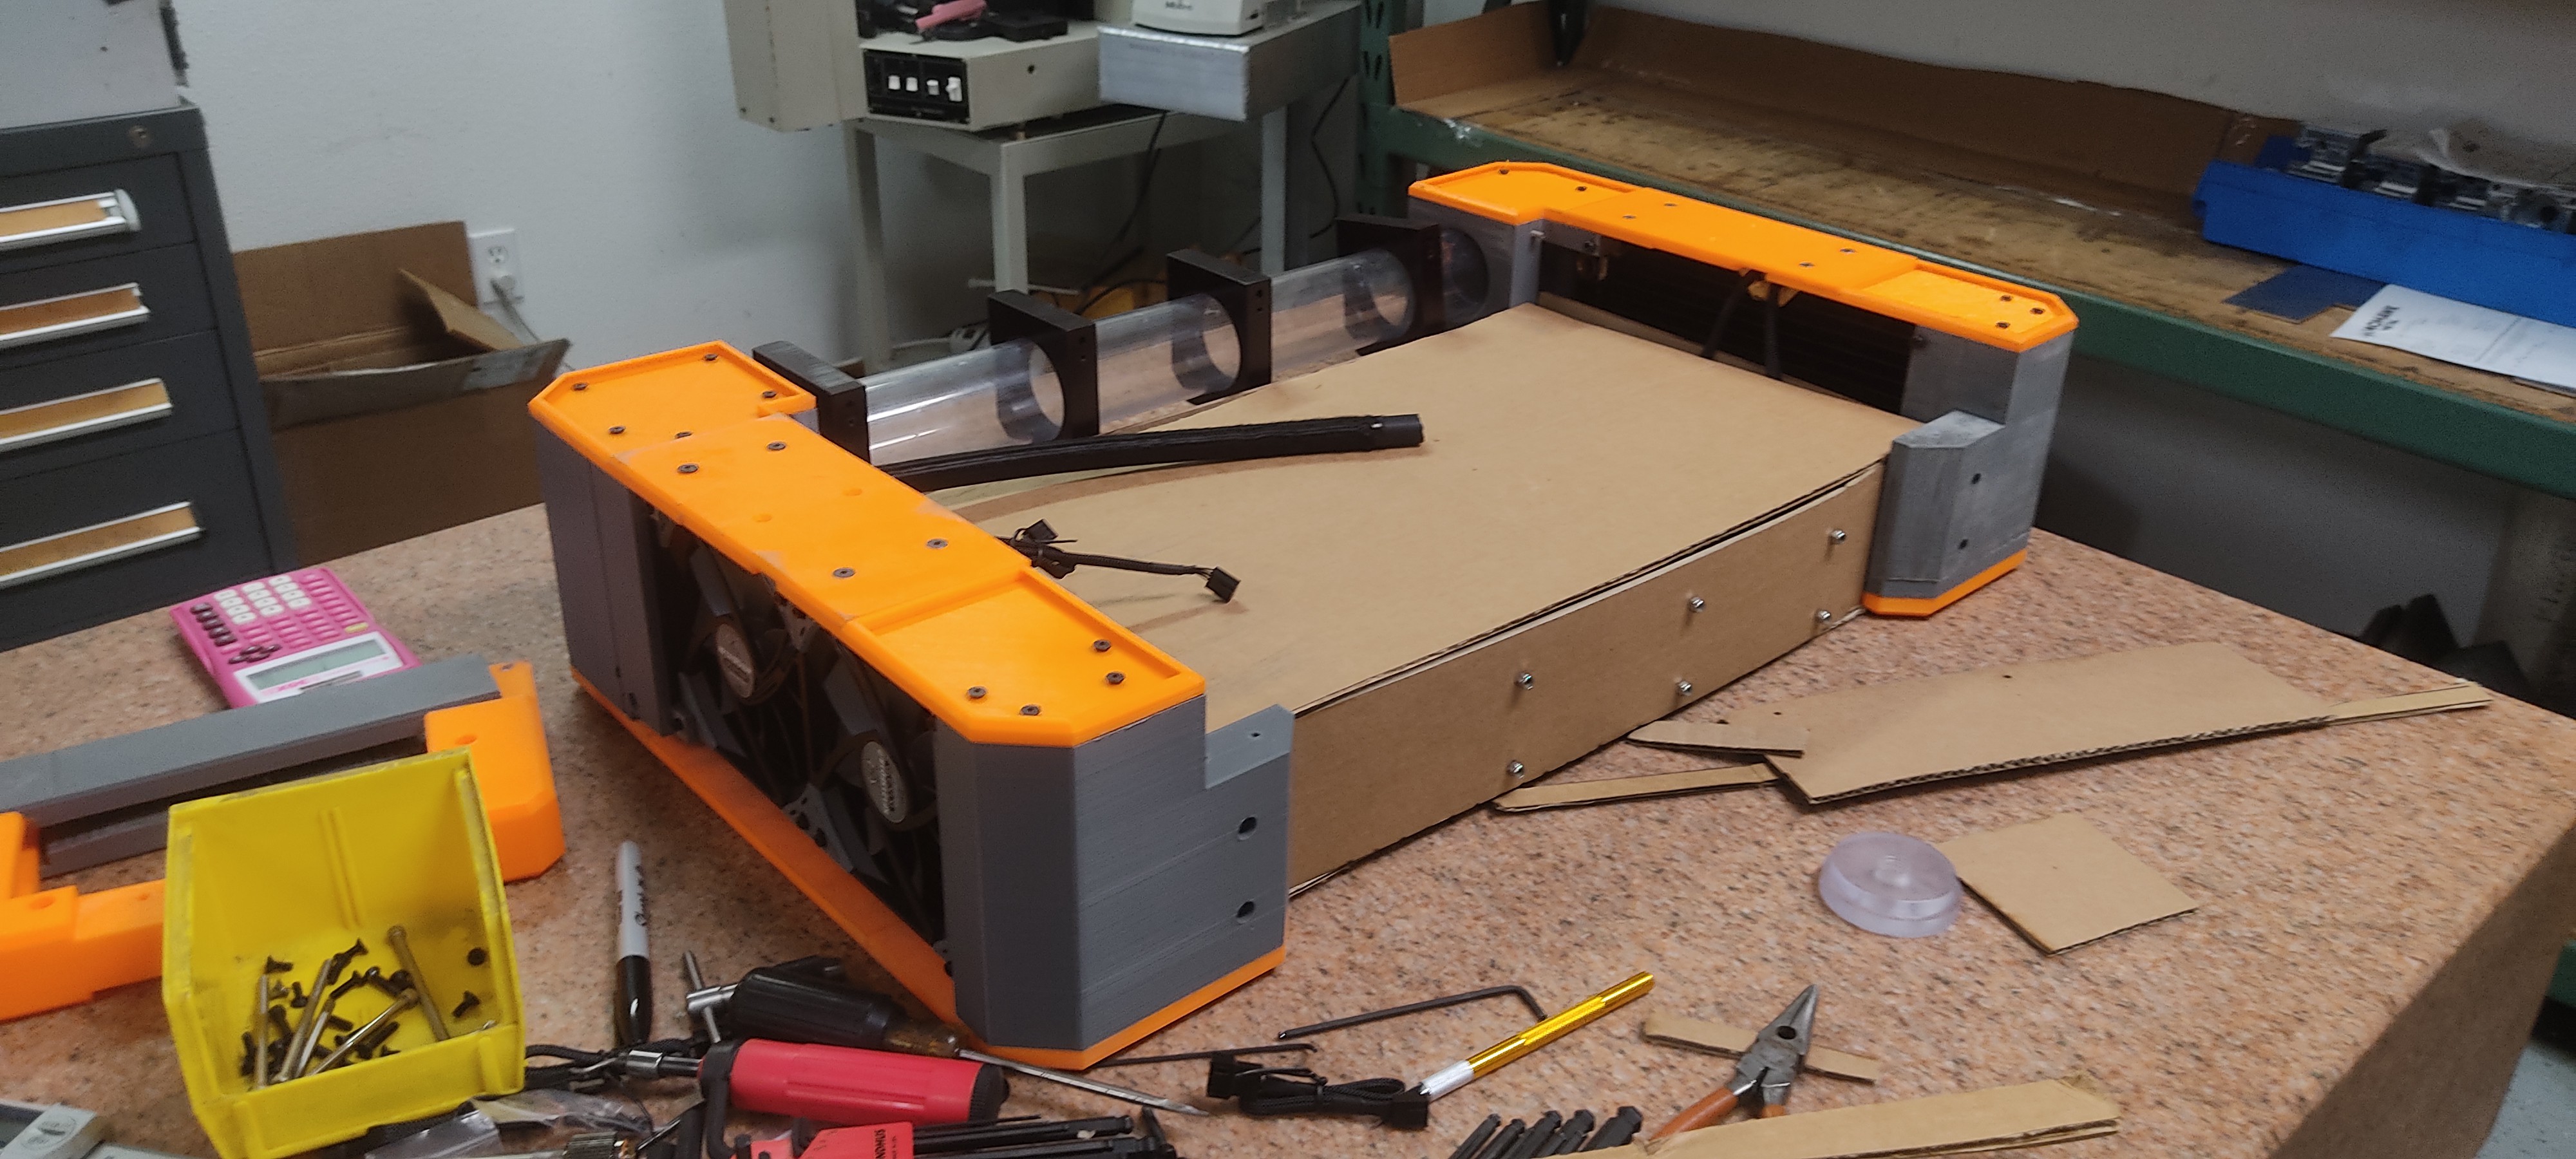
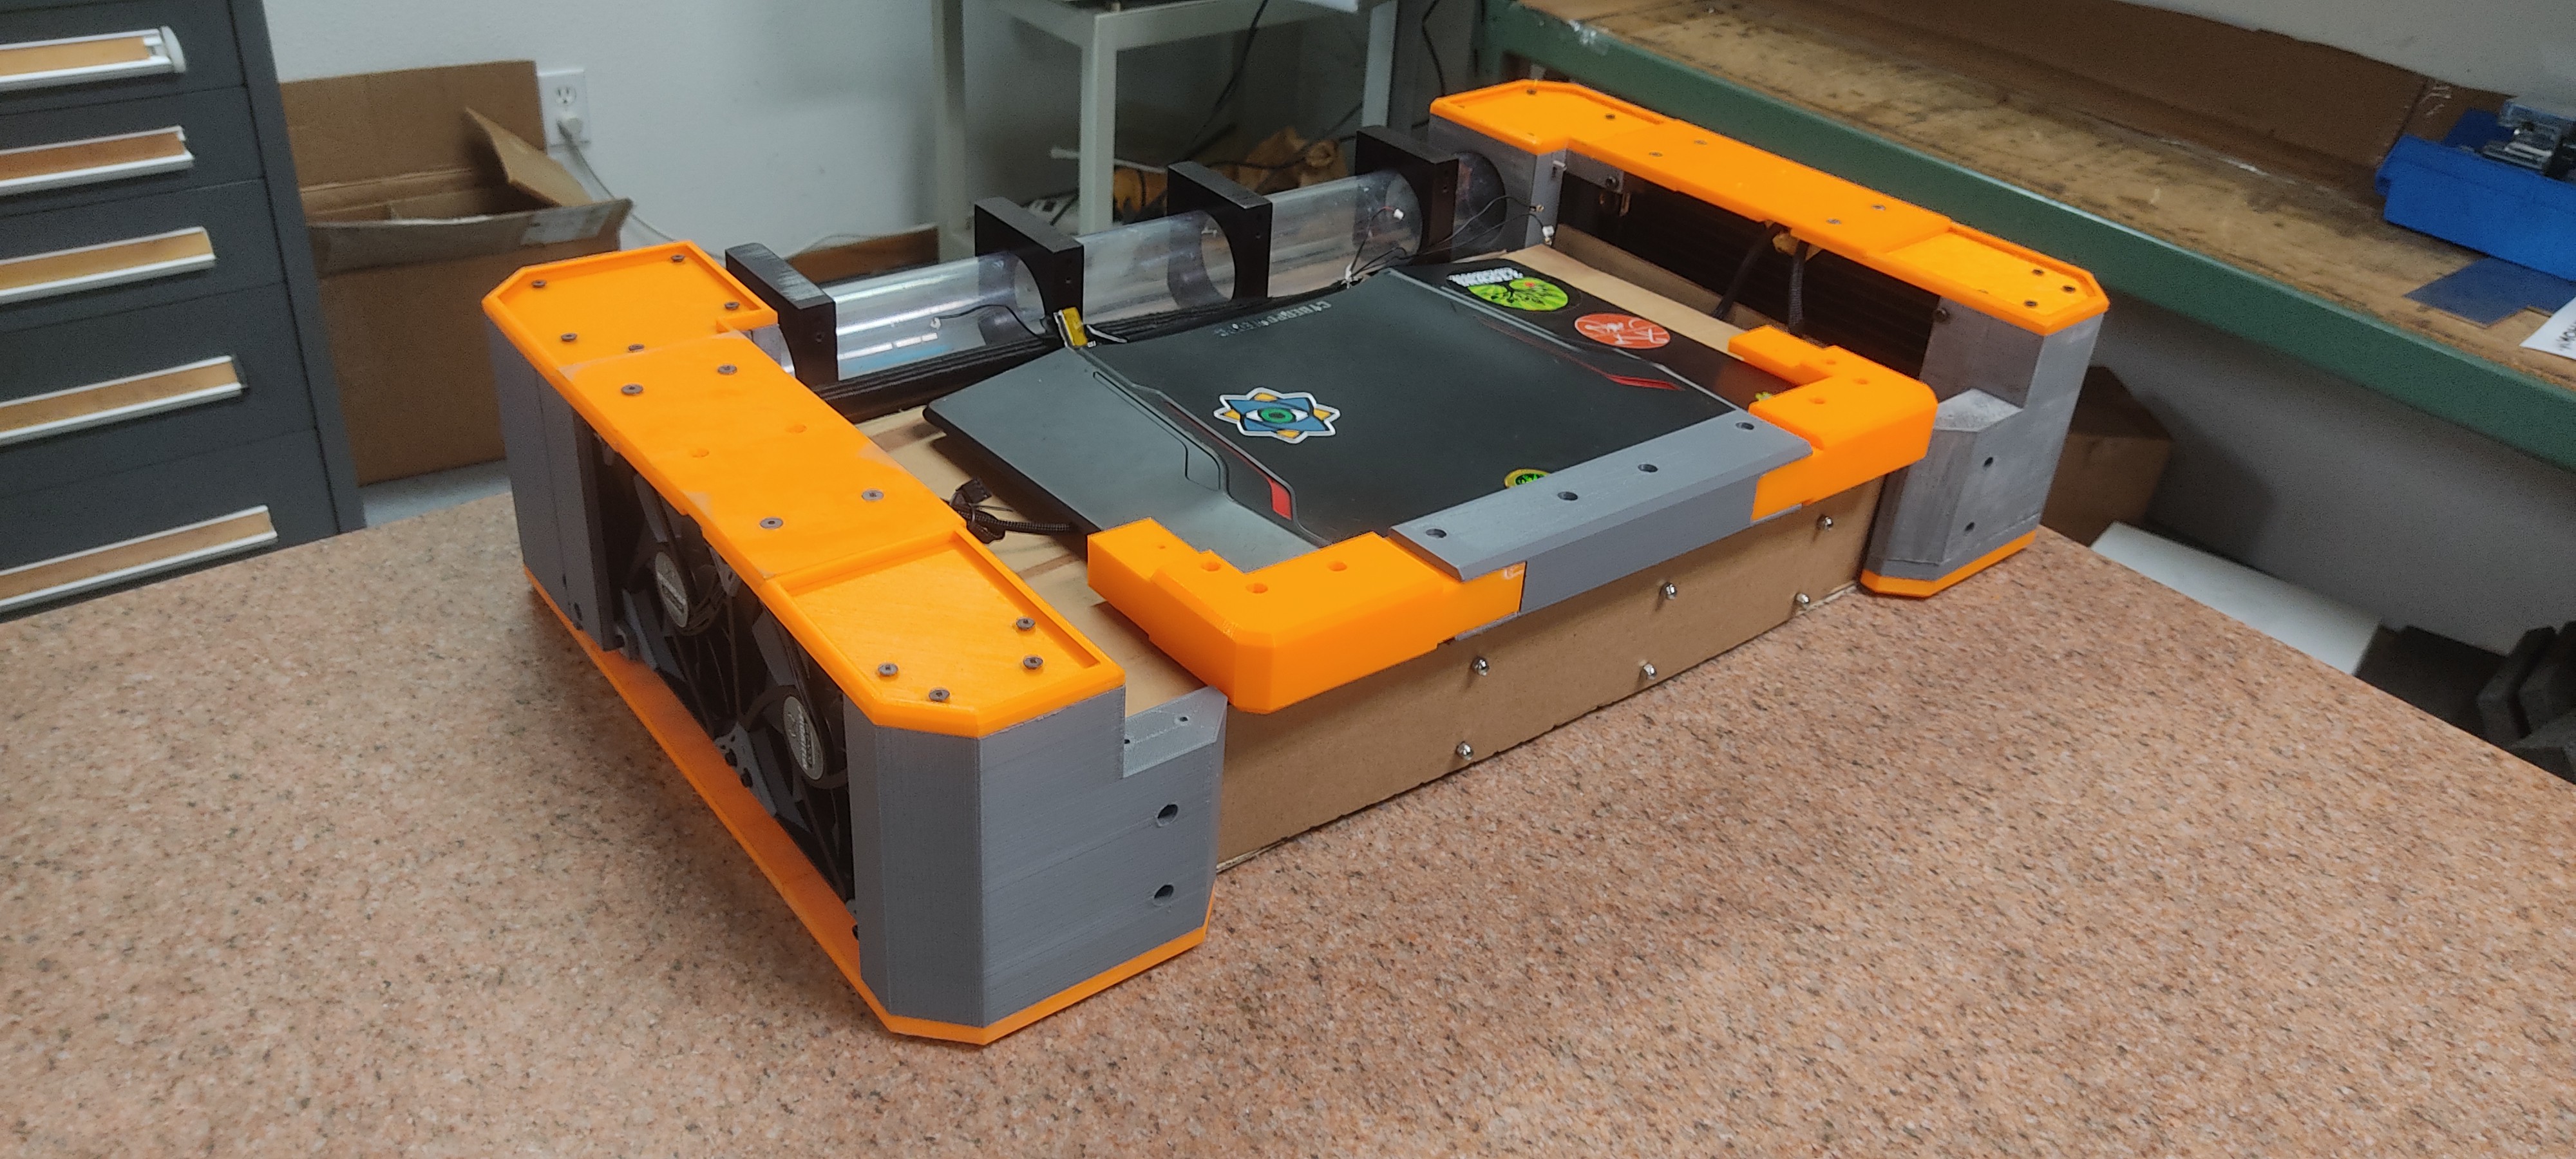
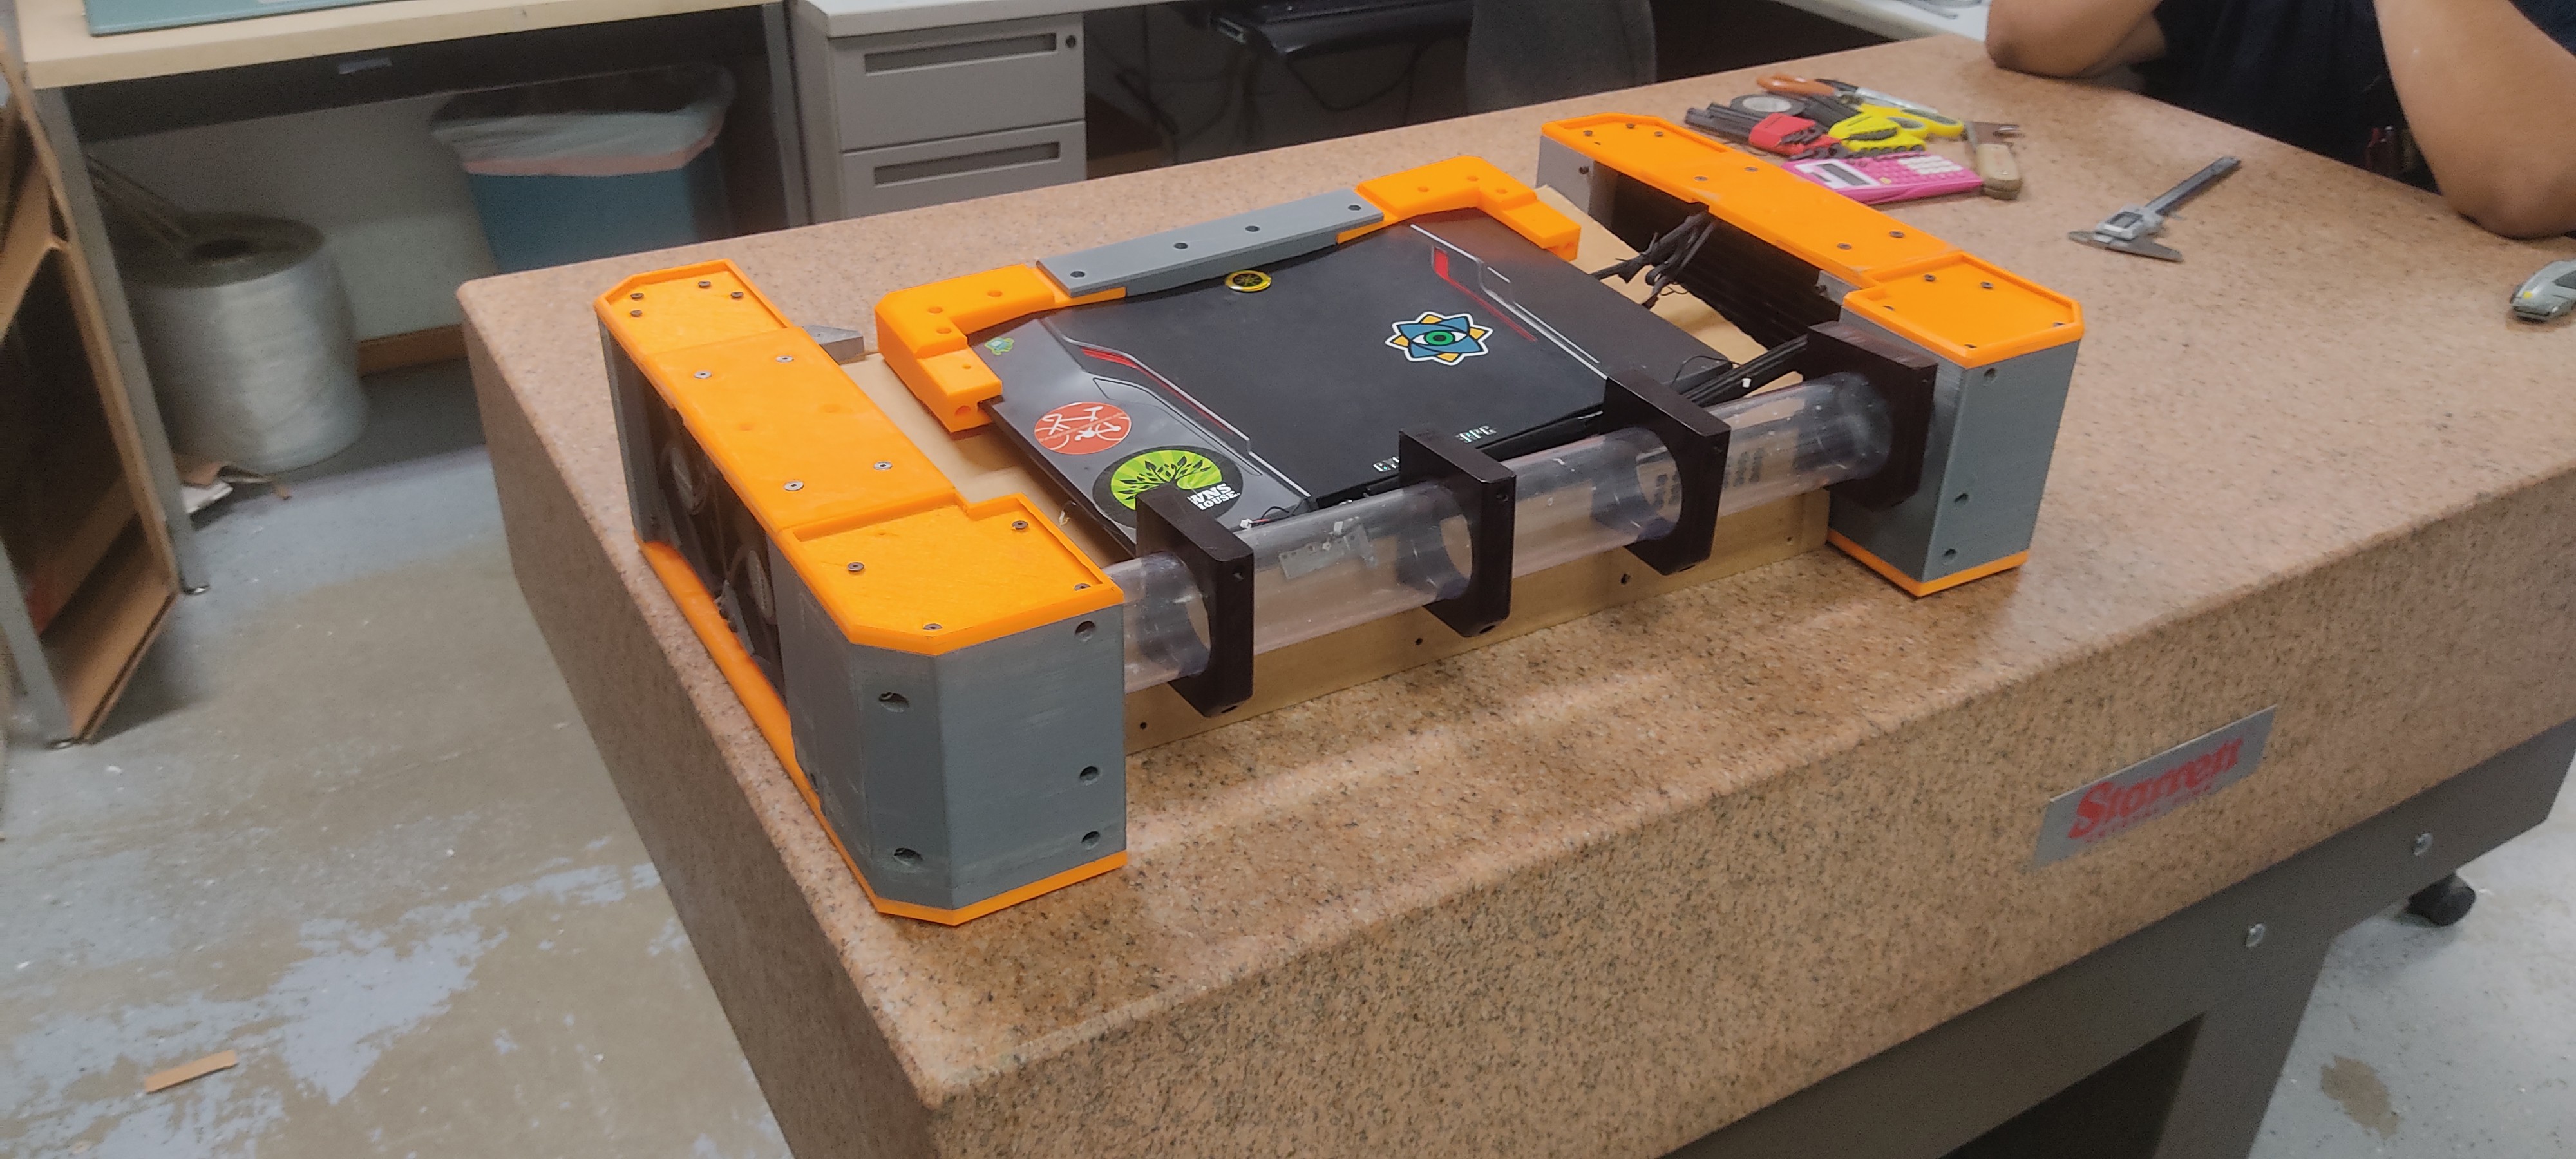
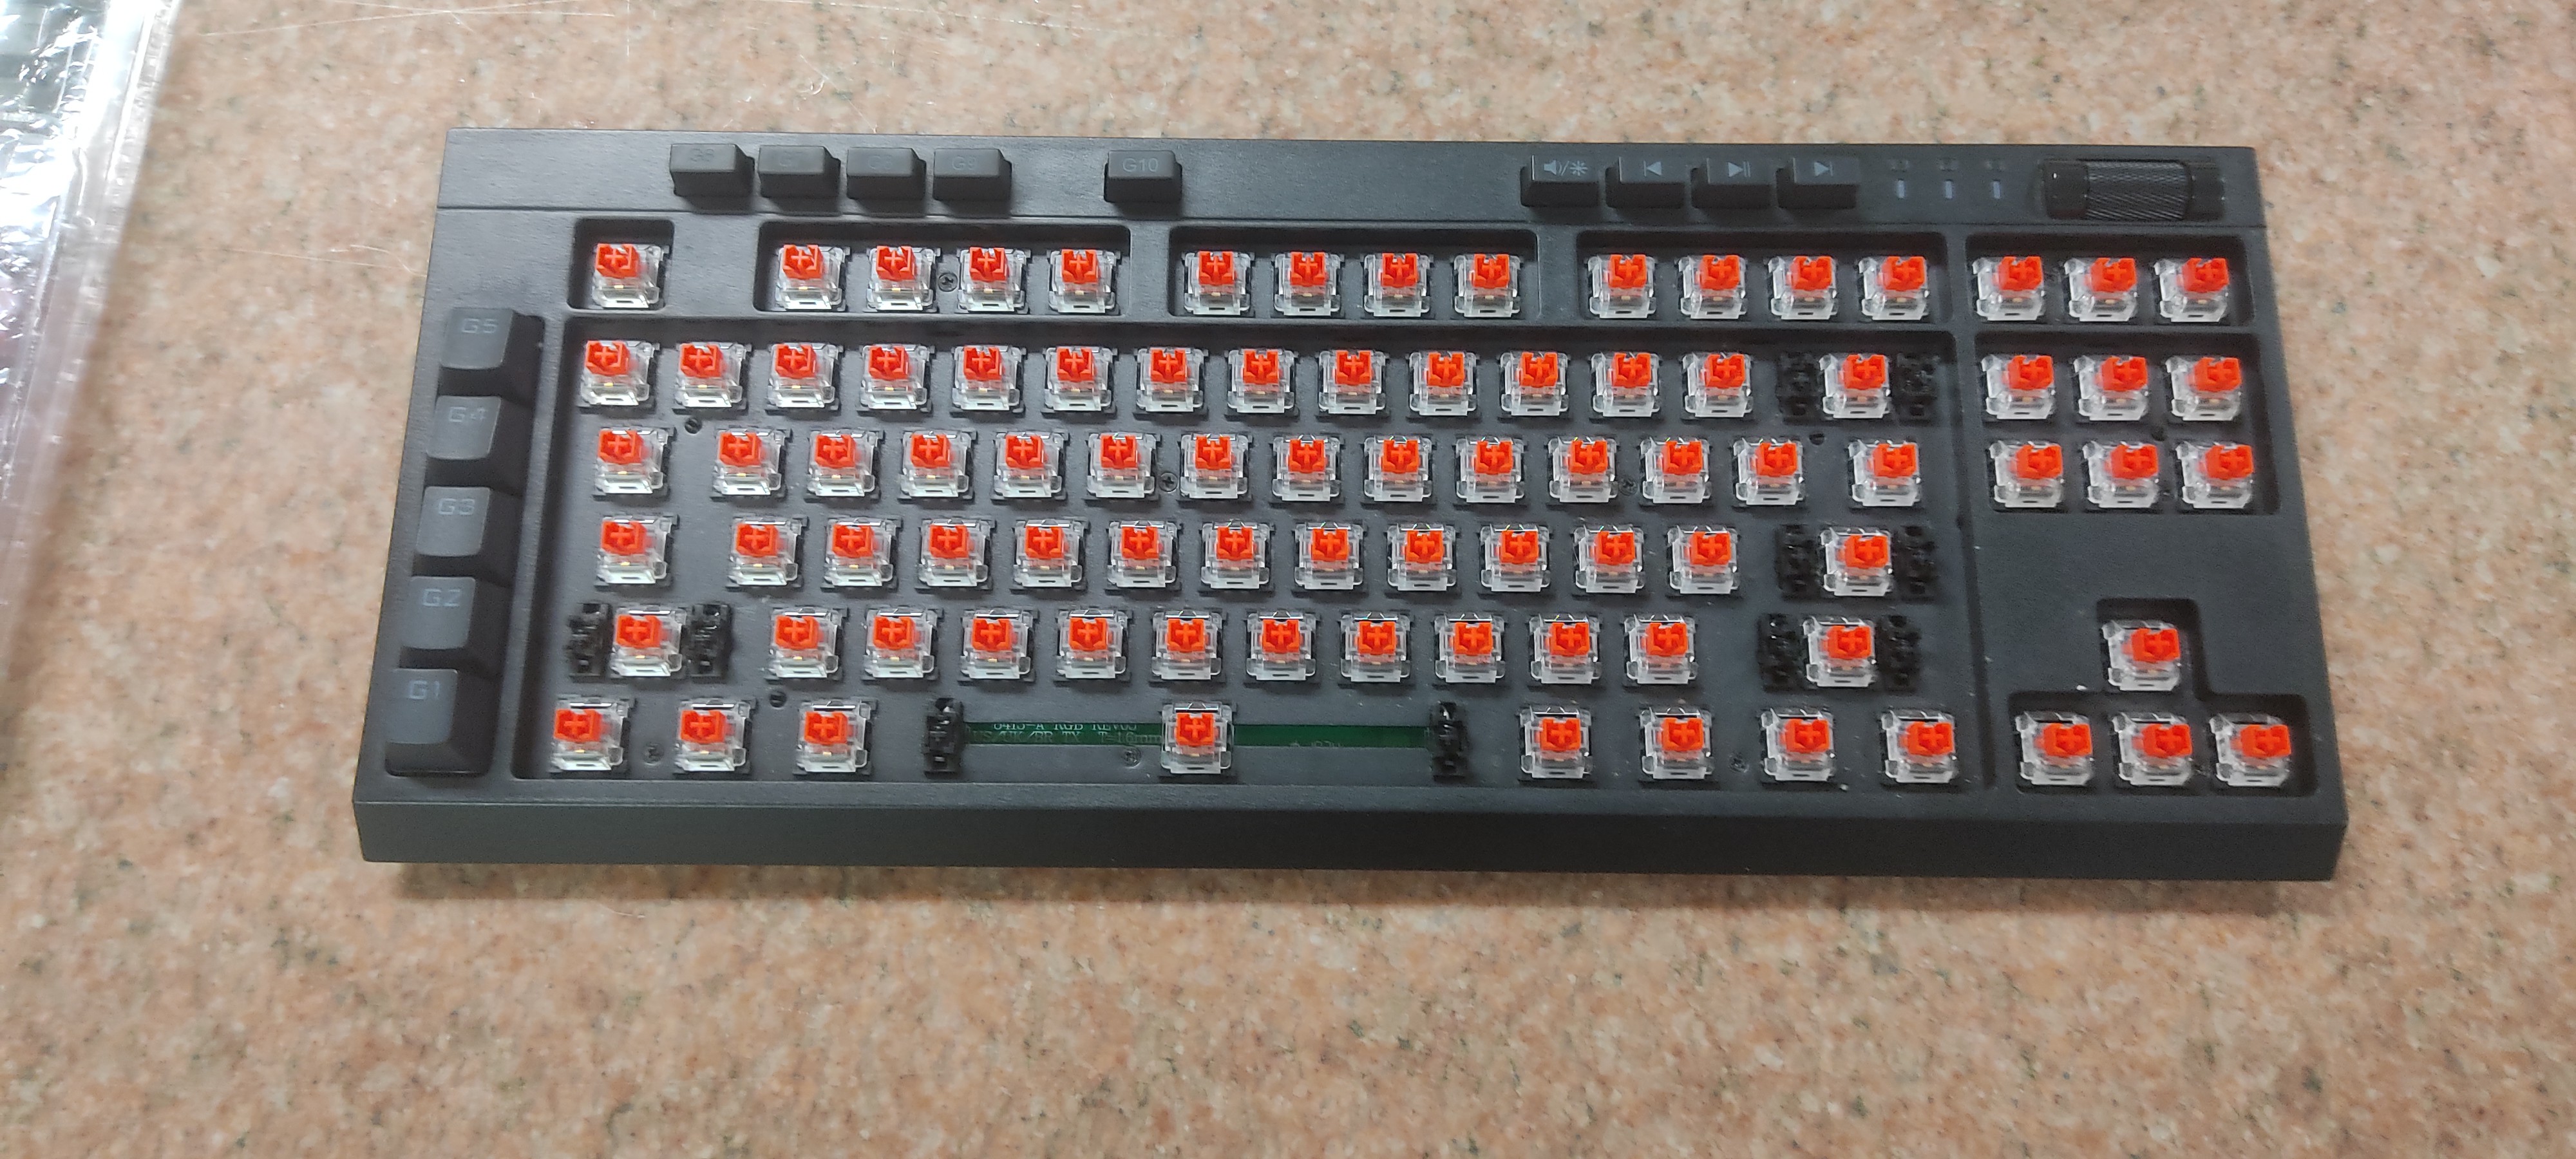
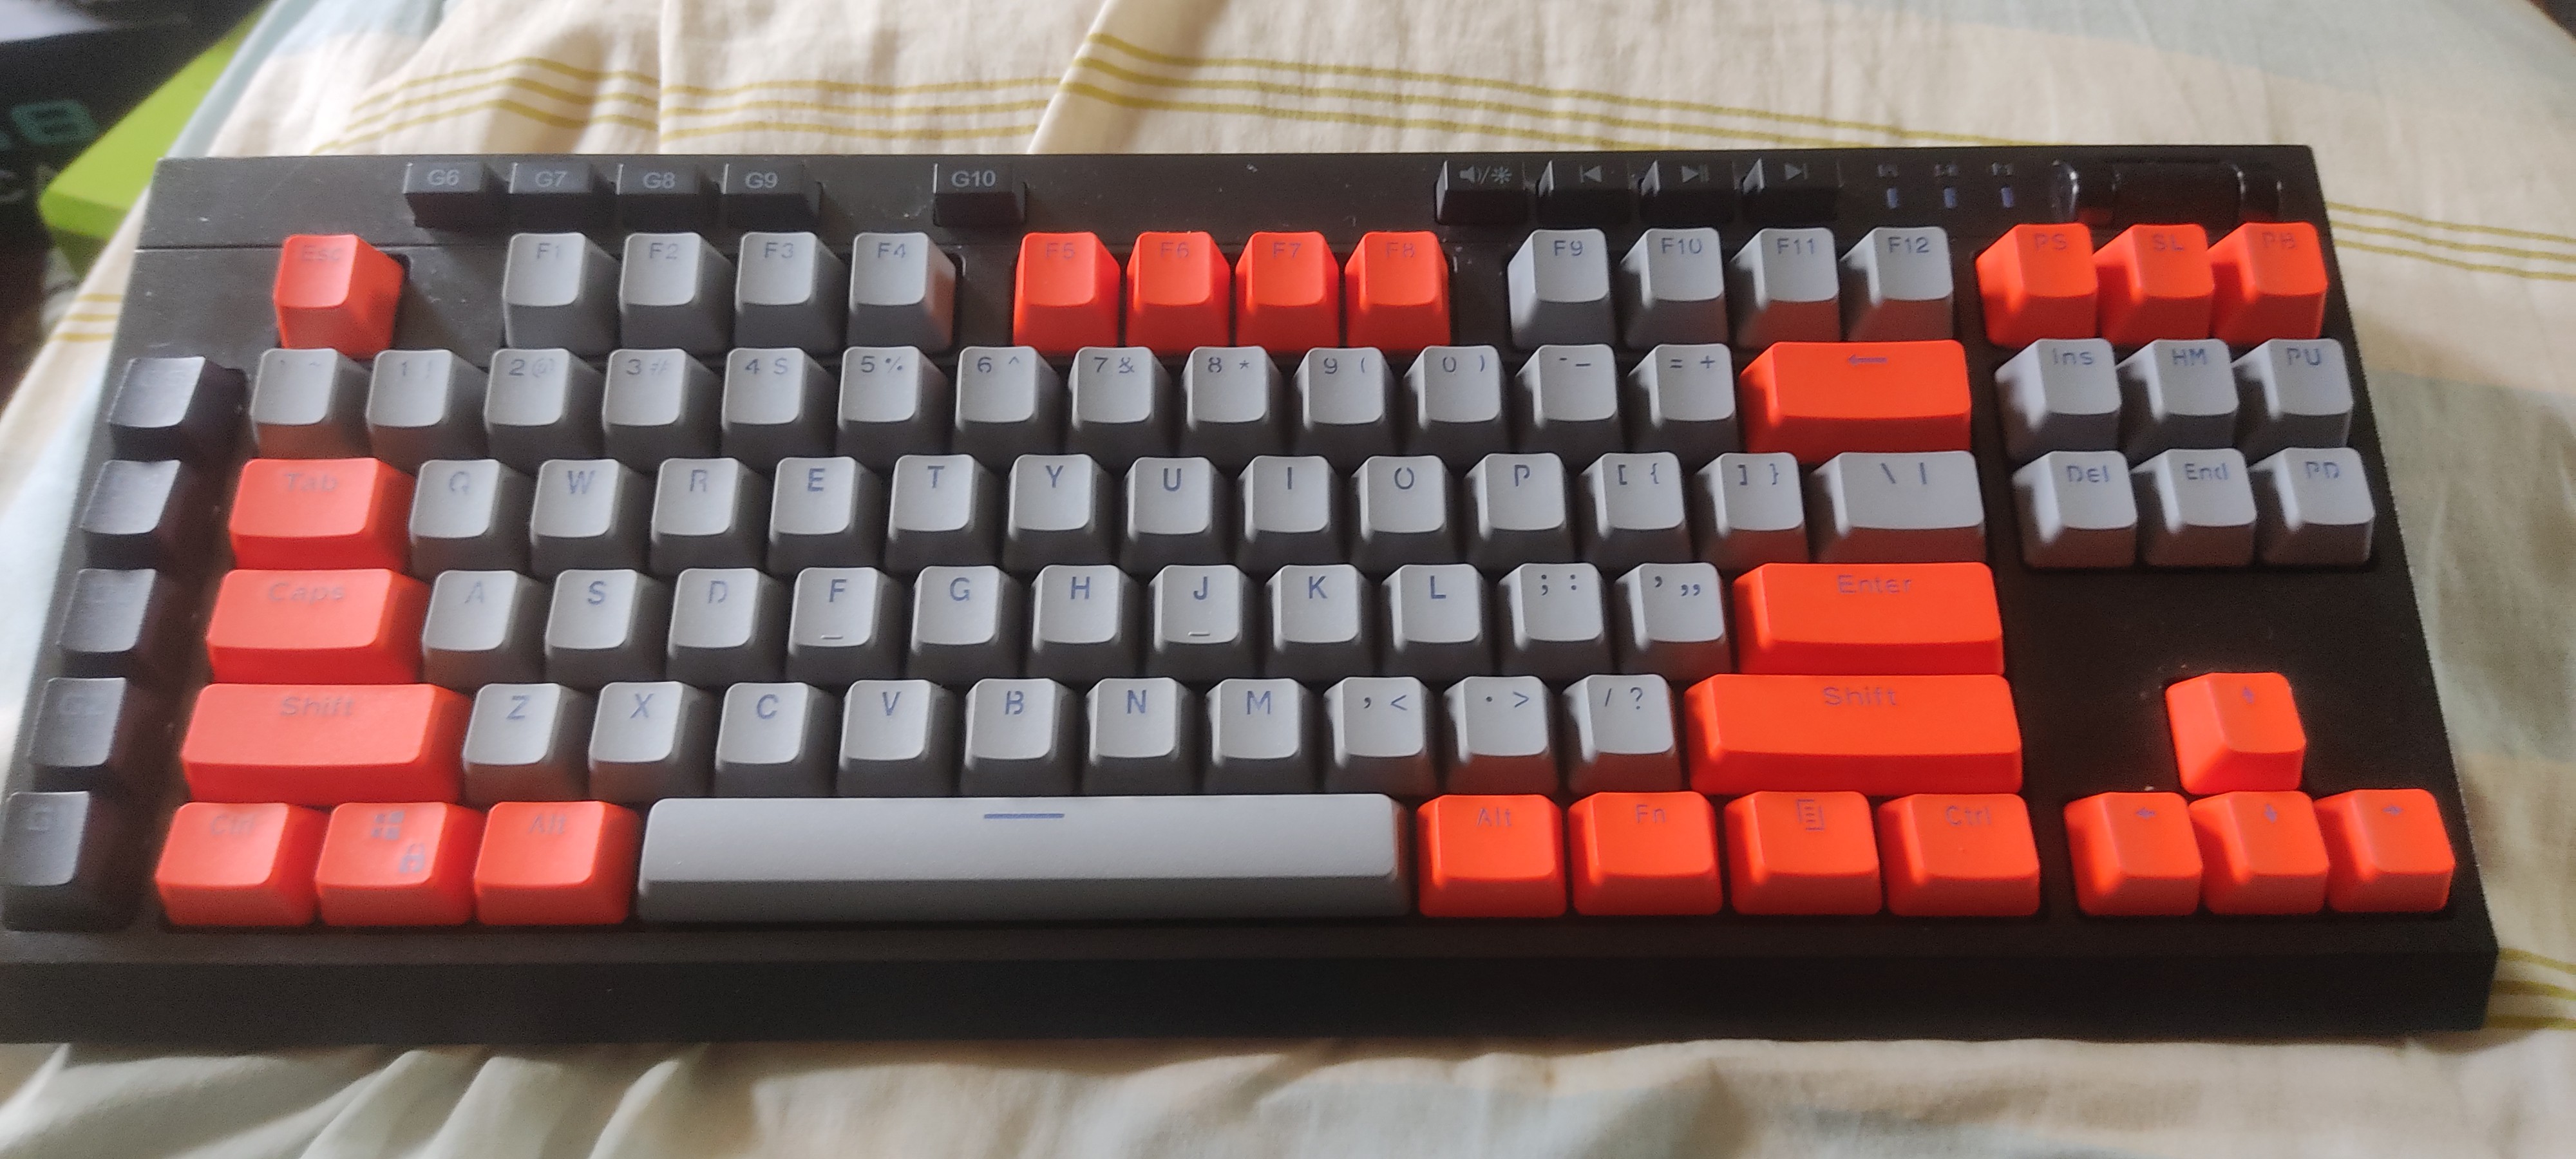
Luggable Cyberdeck
Watercooled MATx build with built in goodies for plug-n-play computing and art.
Become a Hackaday.io member
Already have an account? Log in.
Just one more thing
To make the experience fit your profile, pick a username and tell us what interests you.
Pick an awesome username
hackaday.io/
Your profile's URL: hackaday.io/username. Max 25 alphanumeric characters.
Pick a few interests
Projects that share your interests
People that share your interests
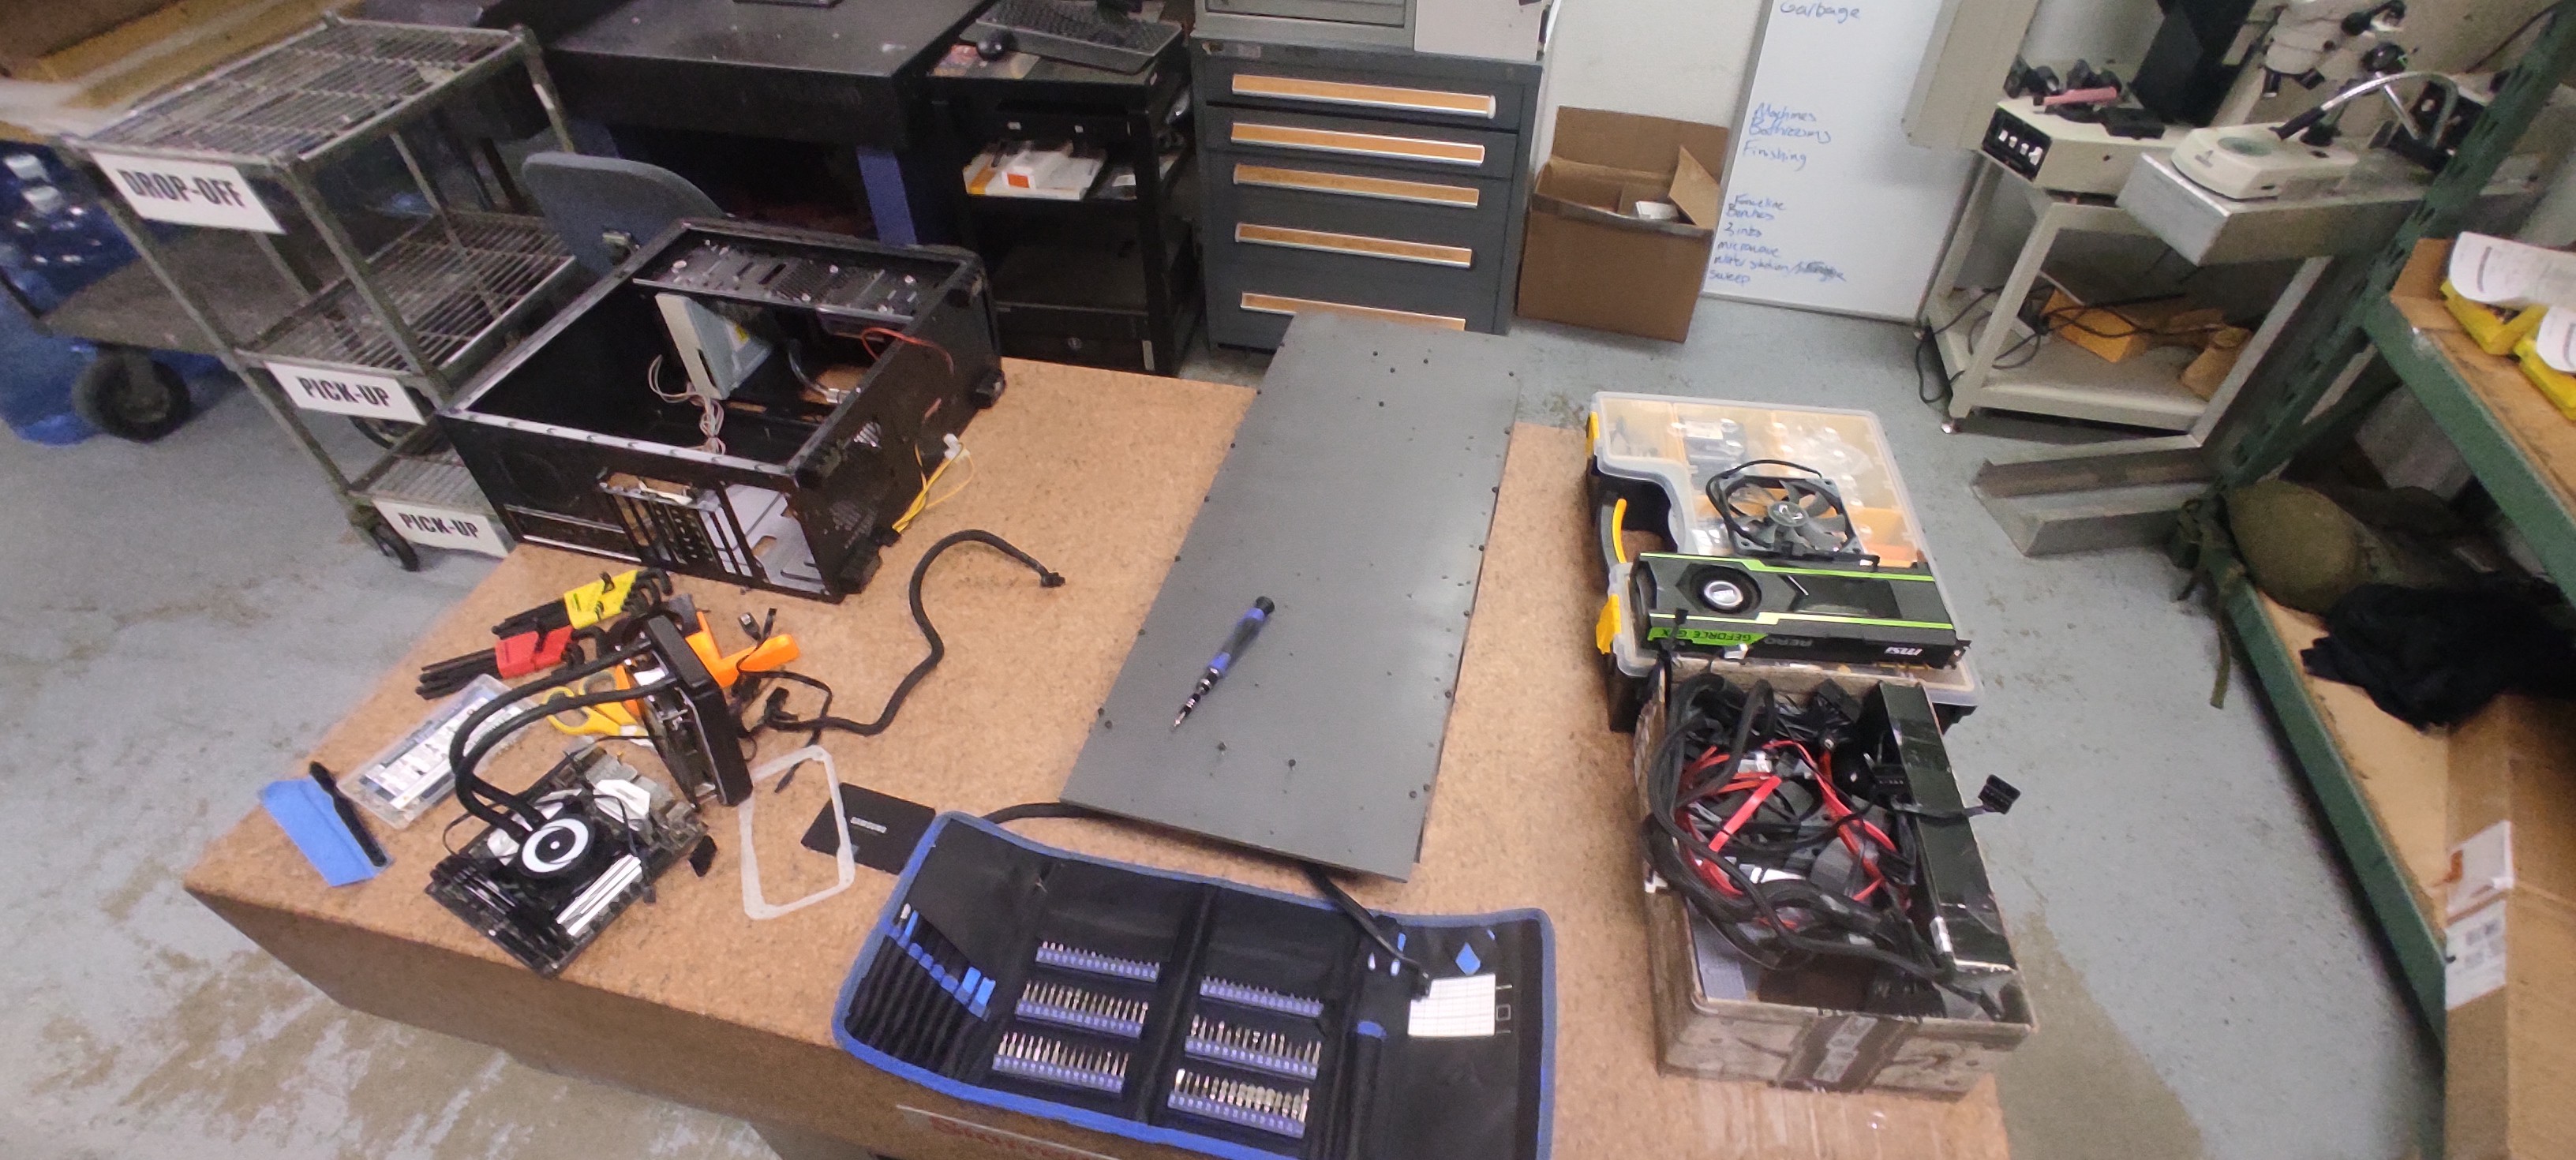
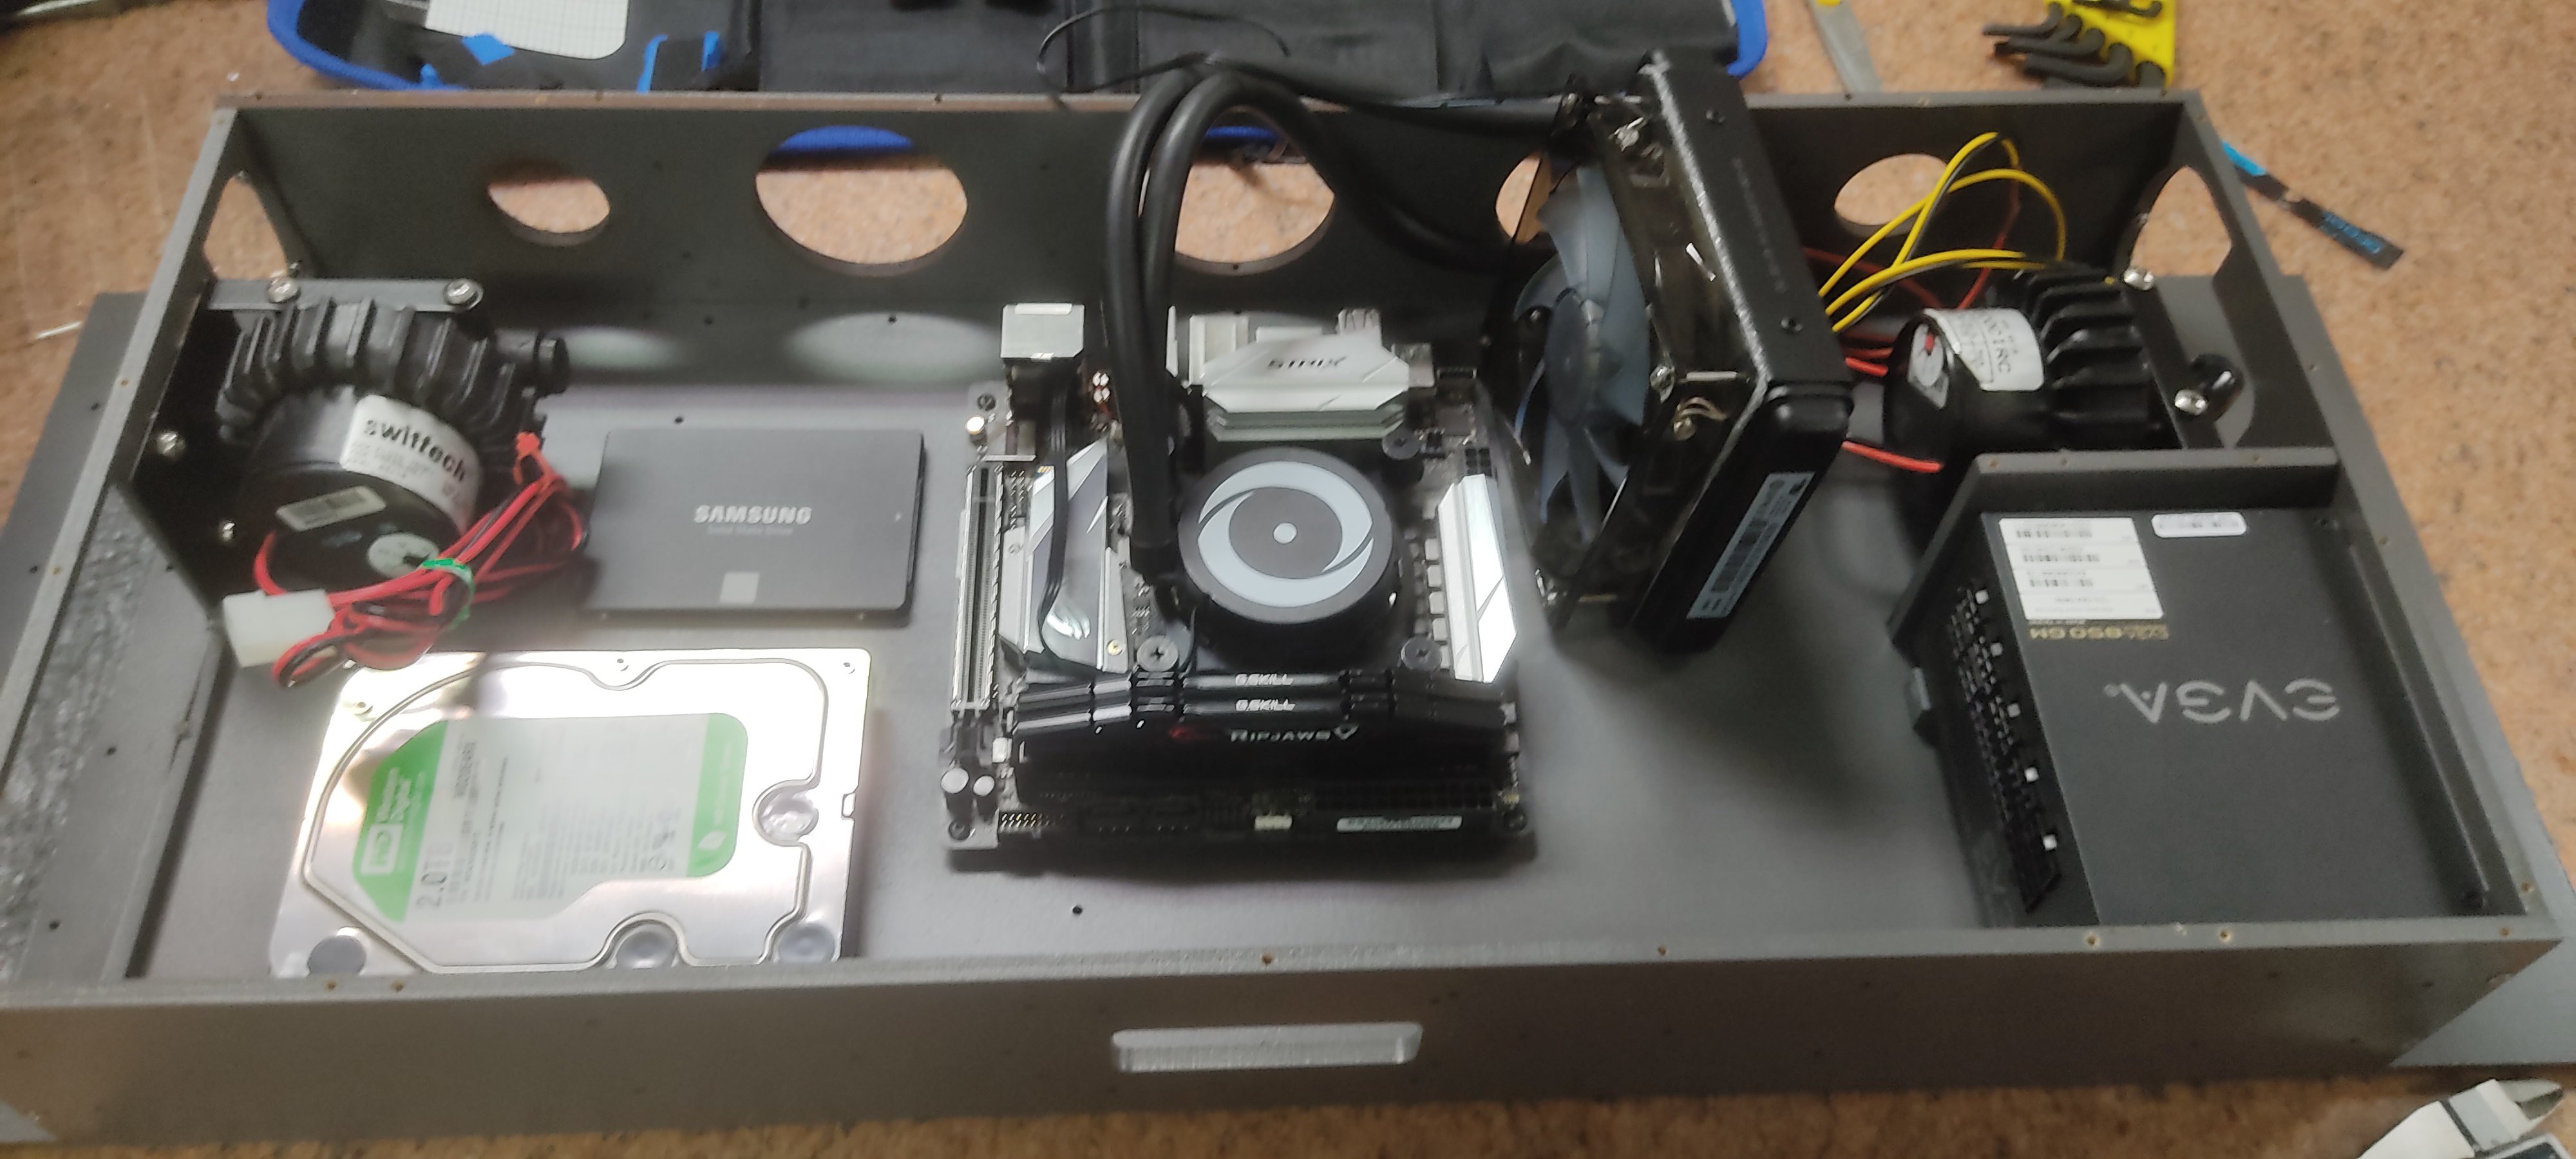
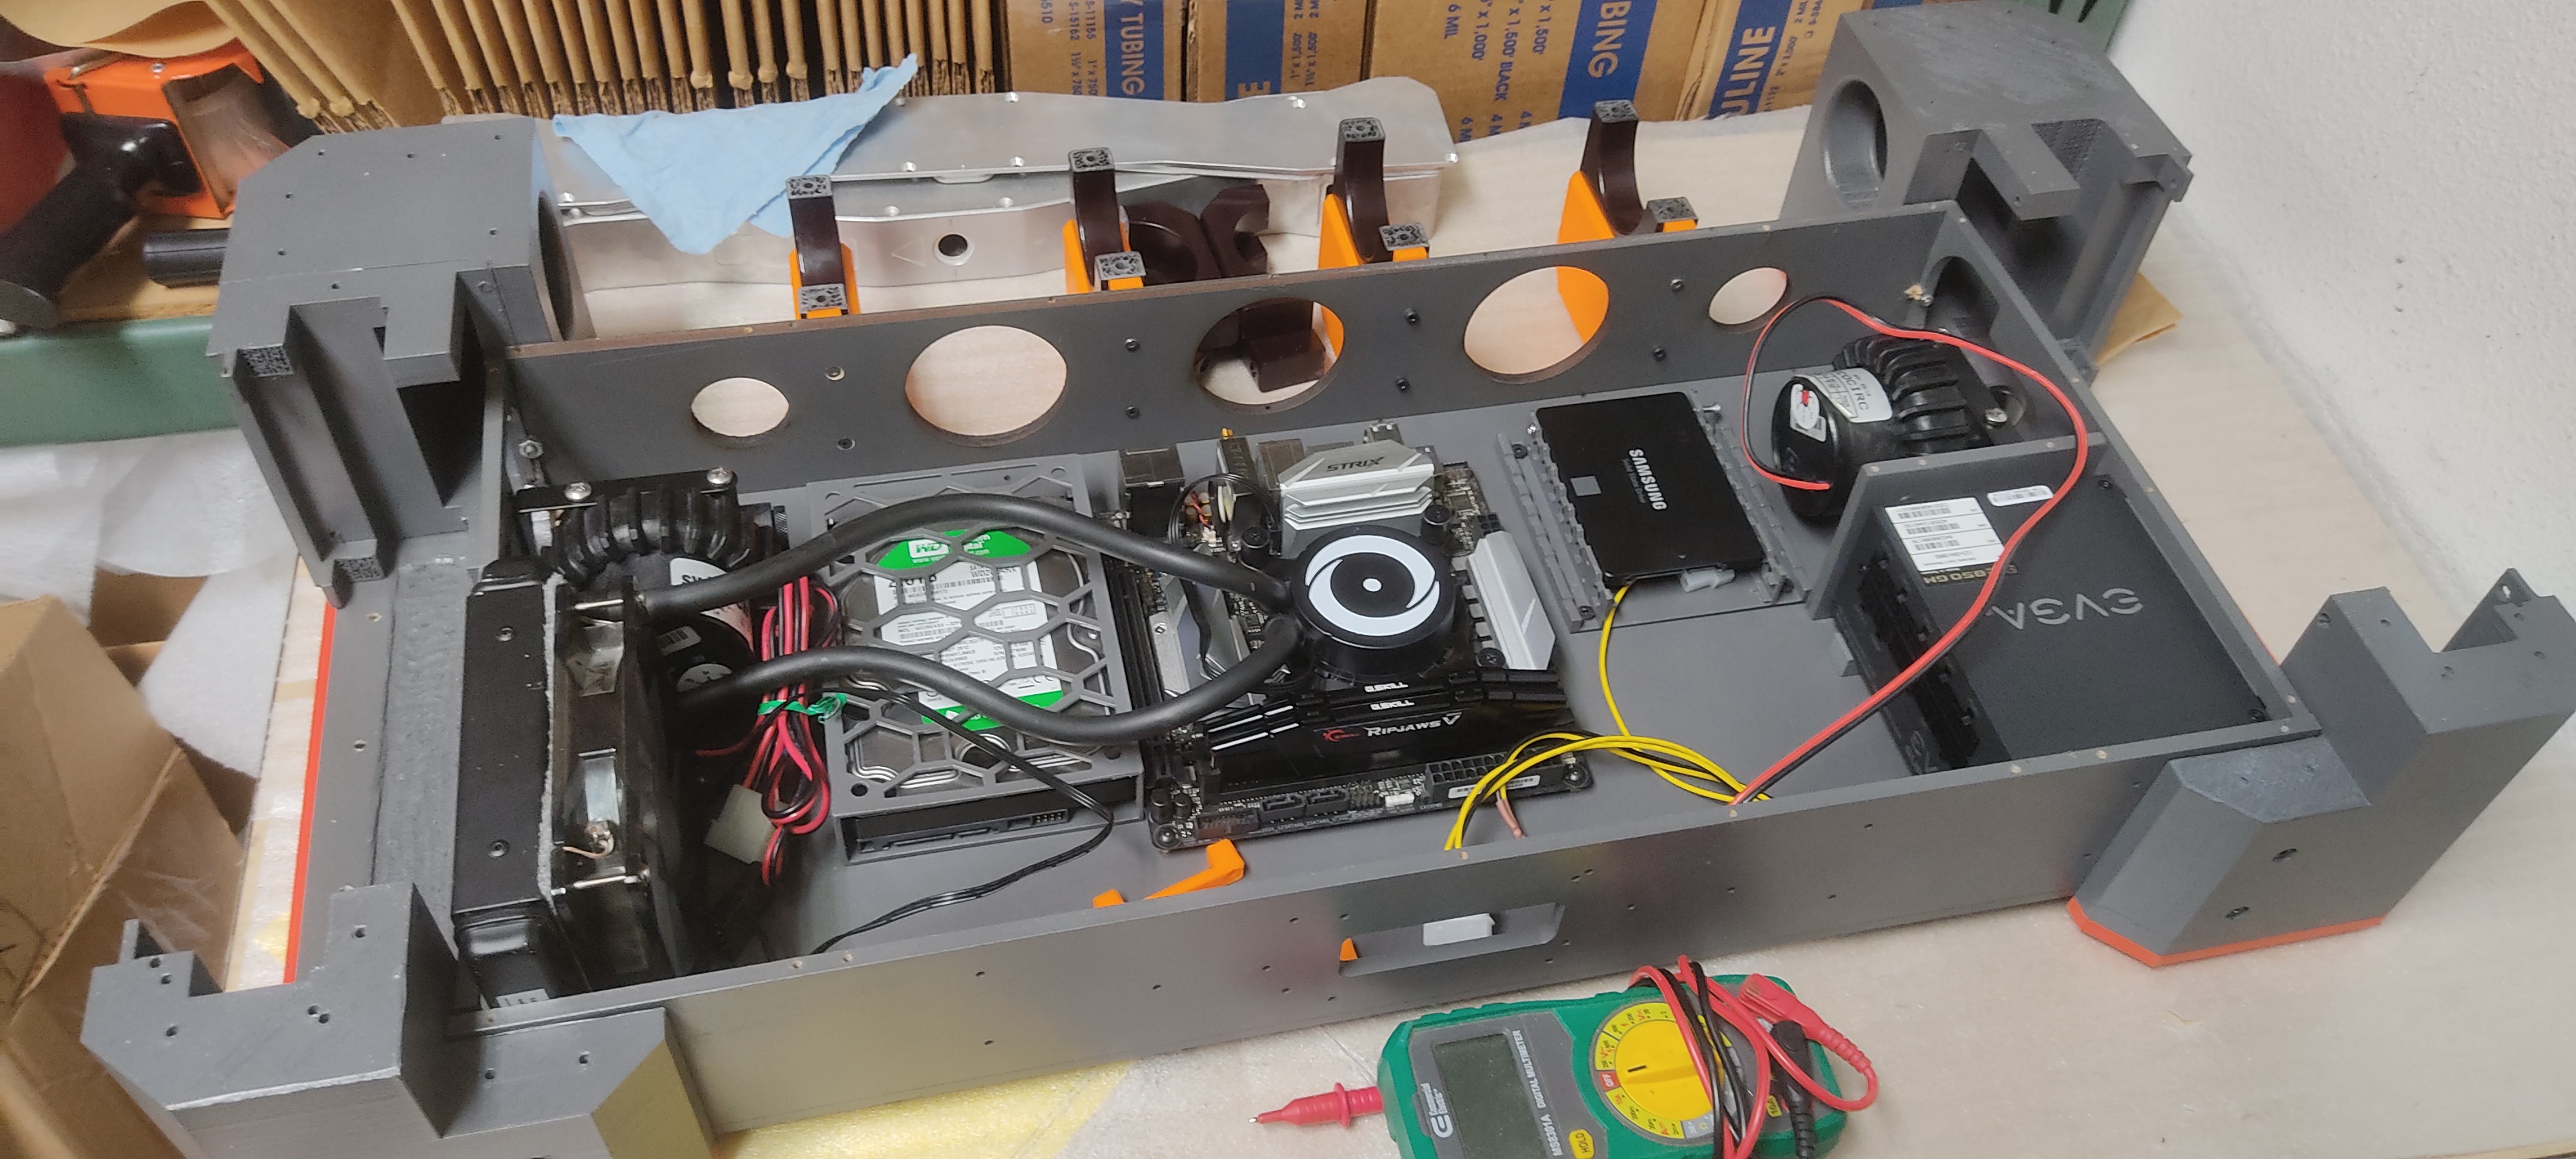
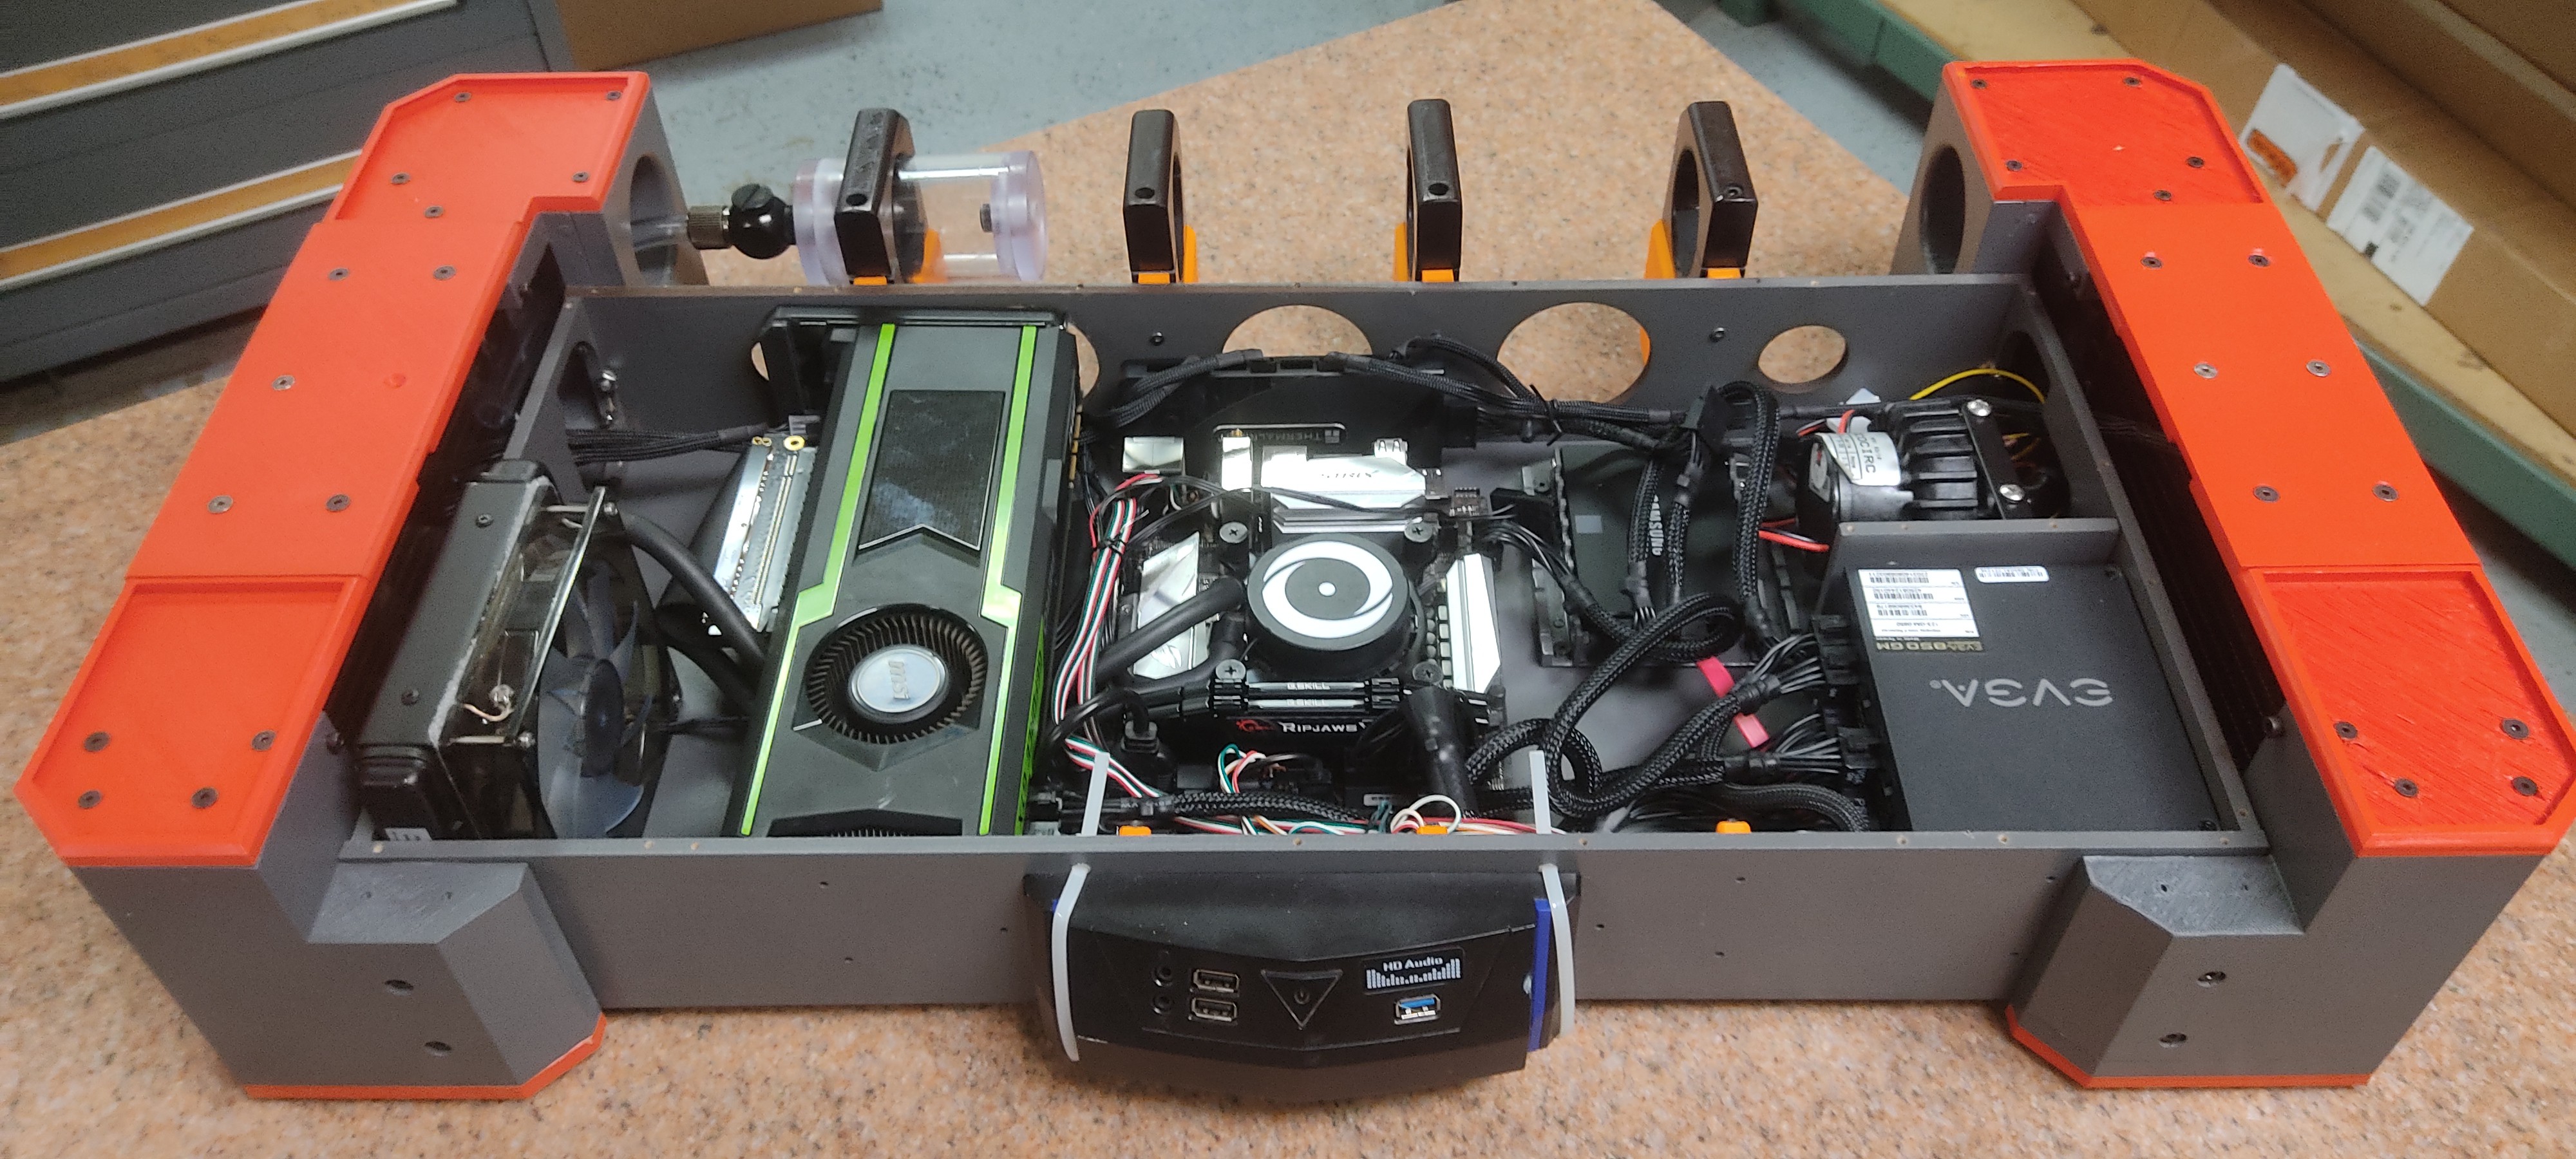
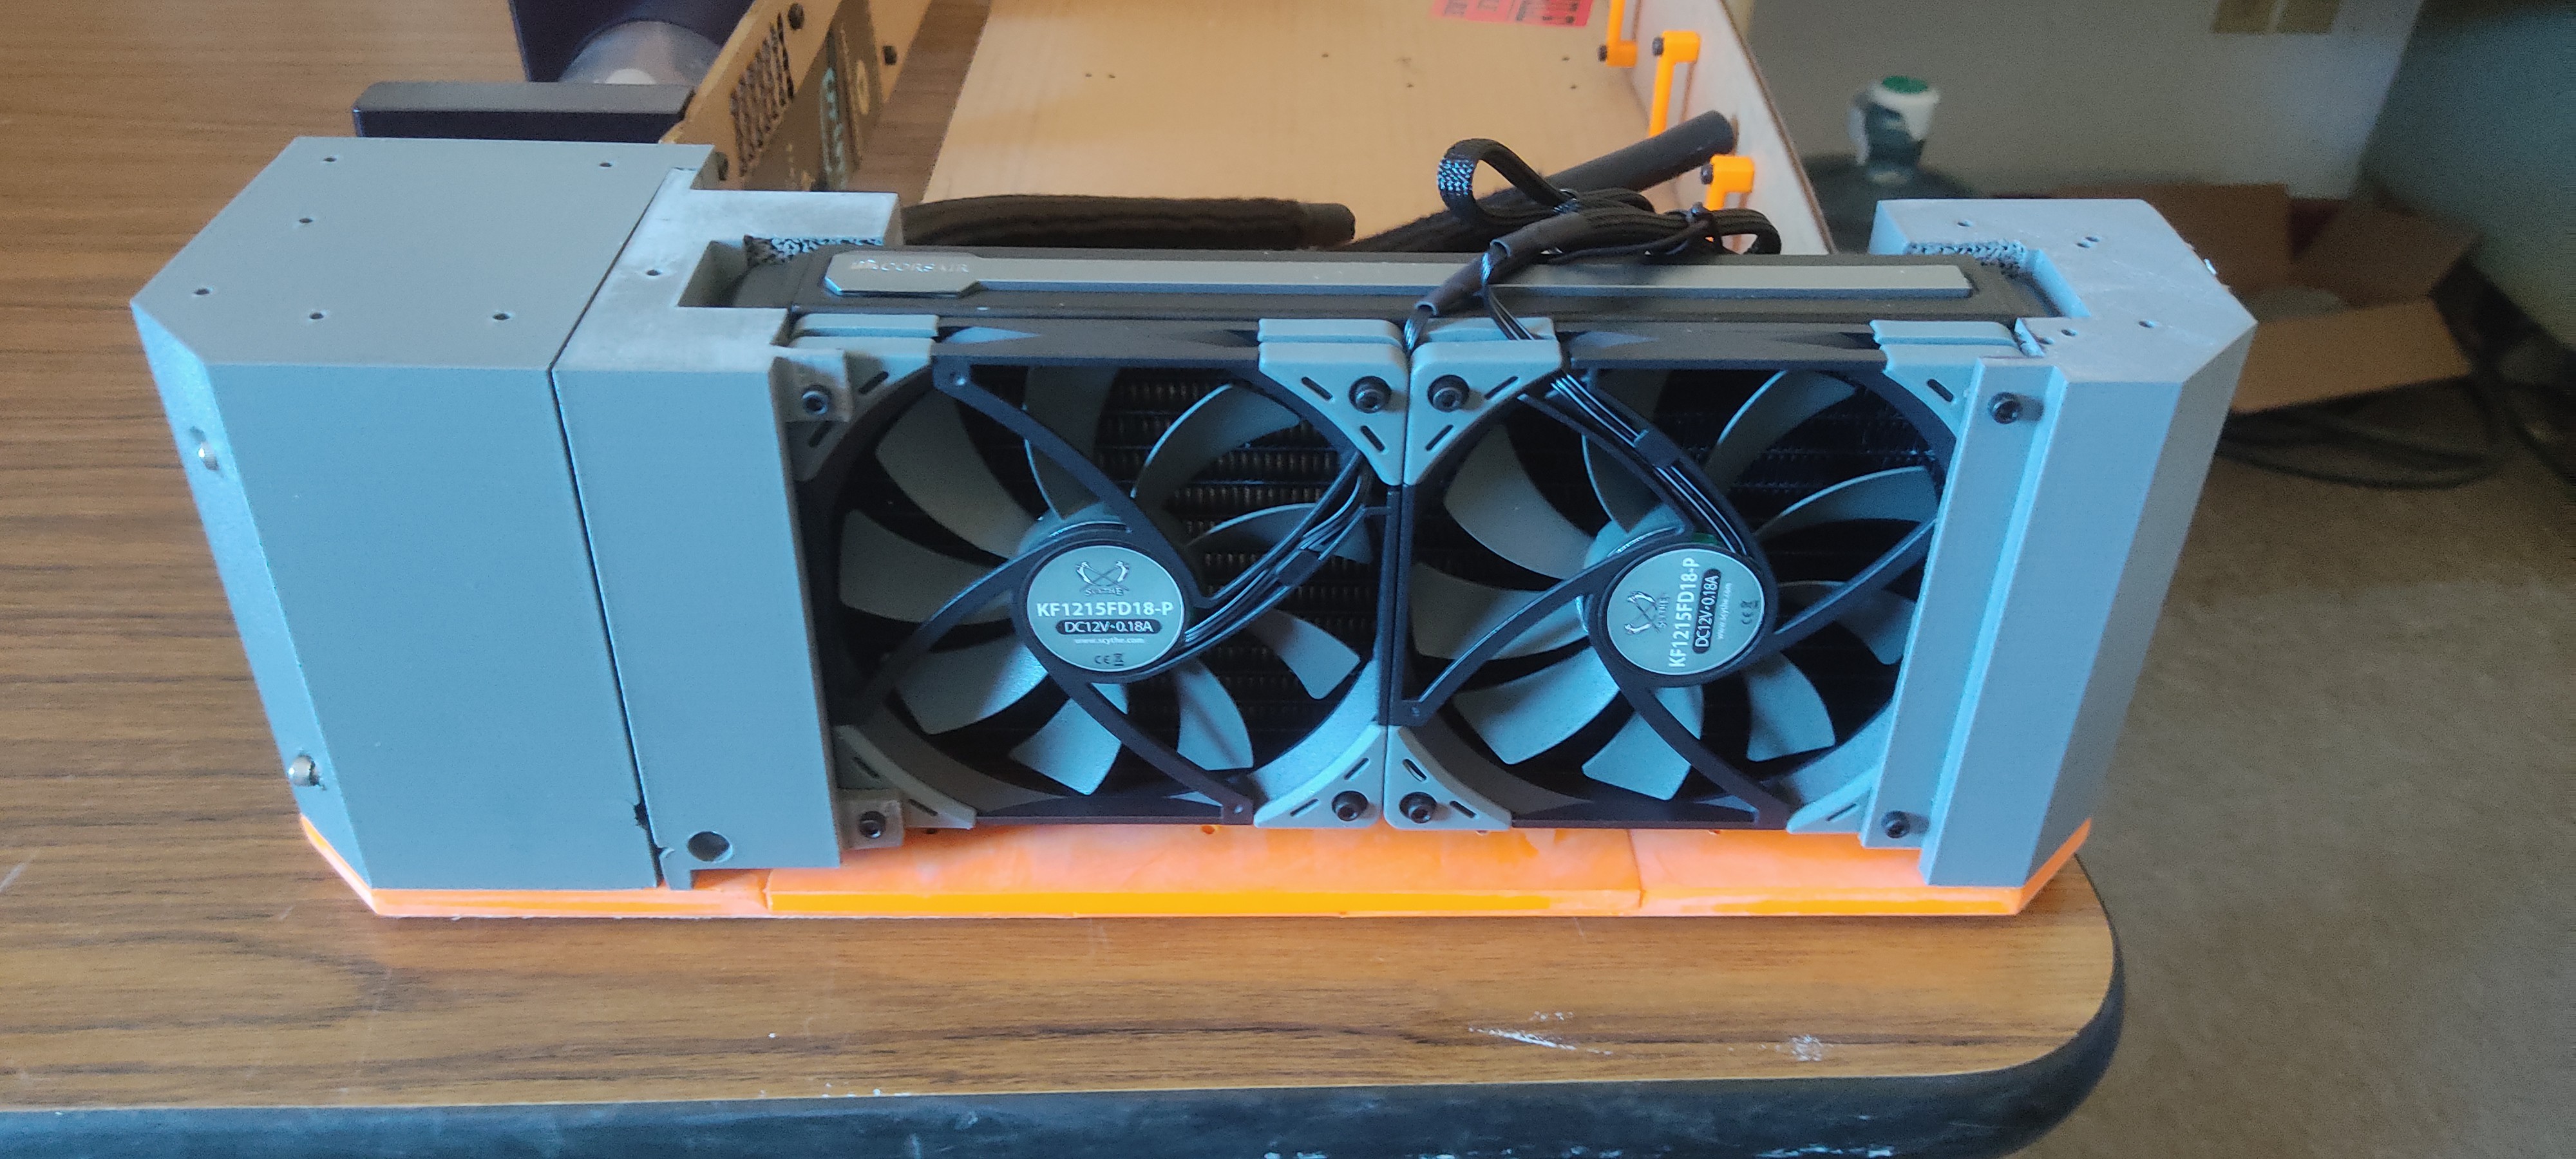
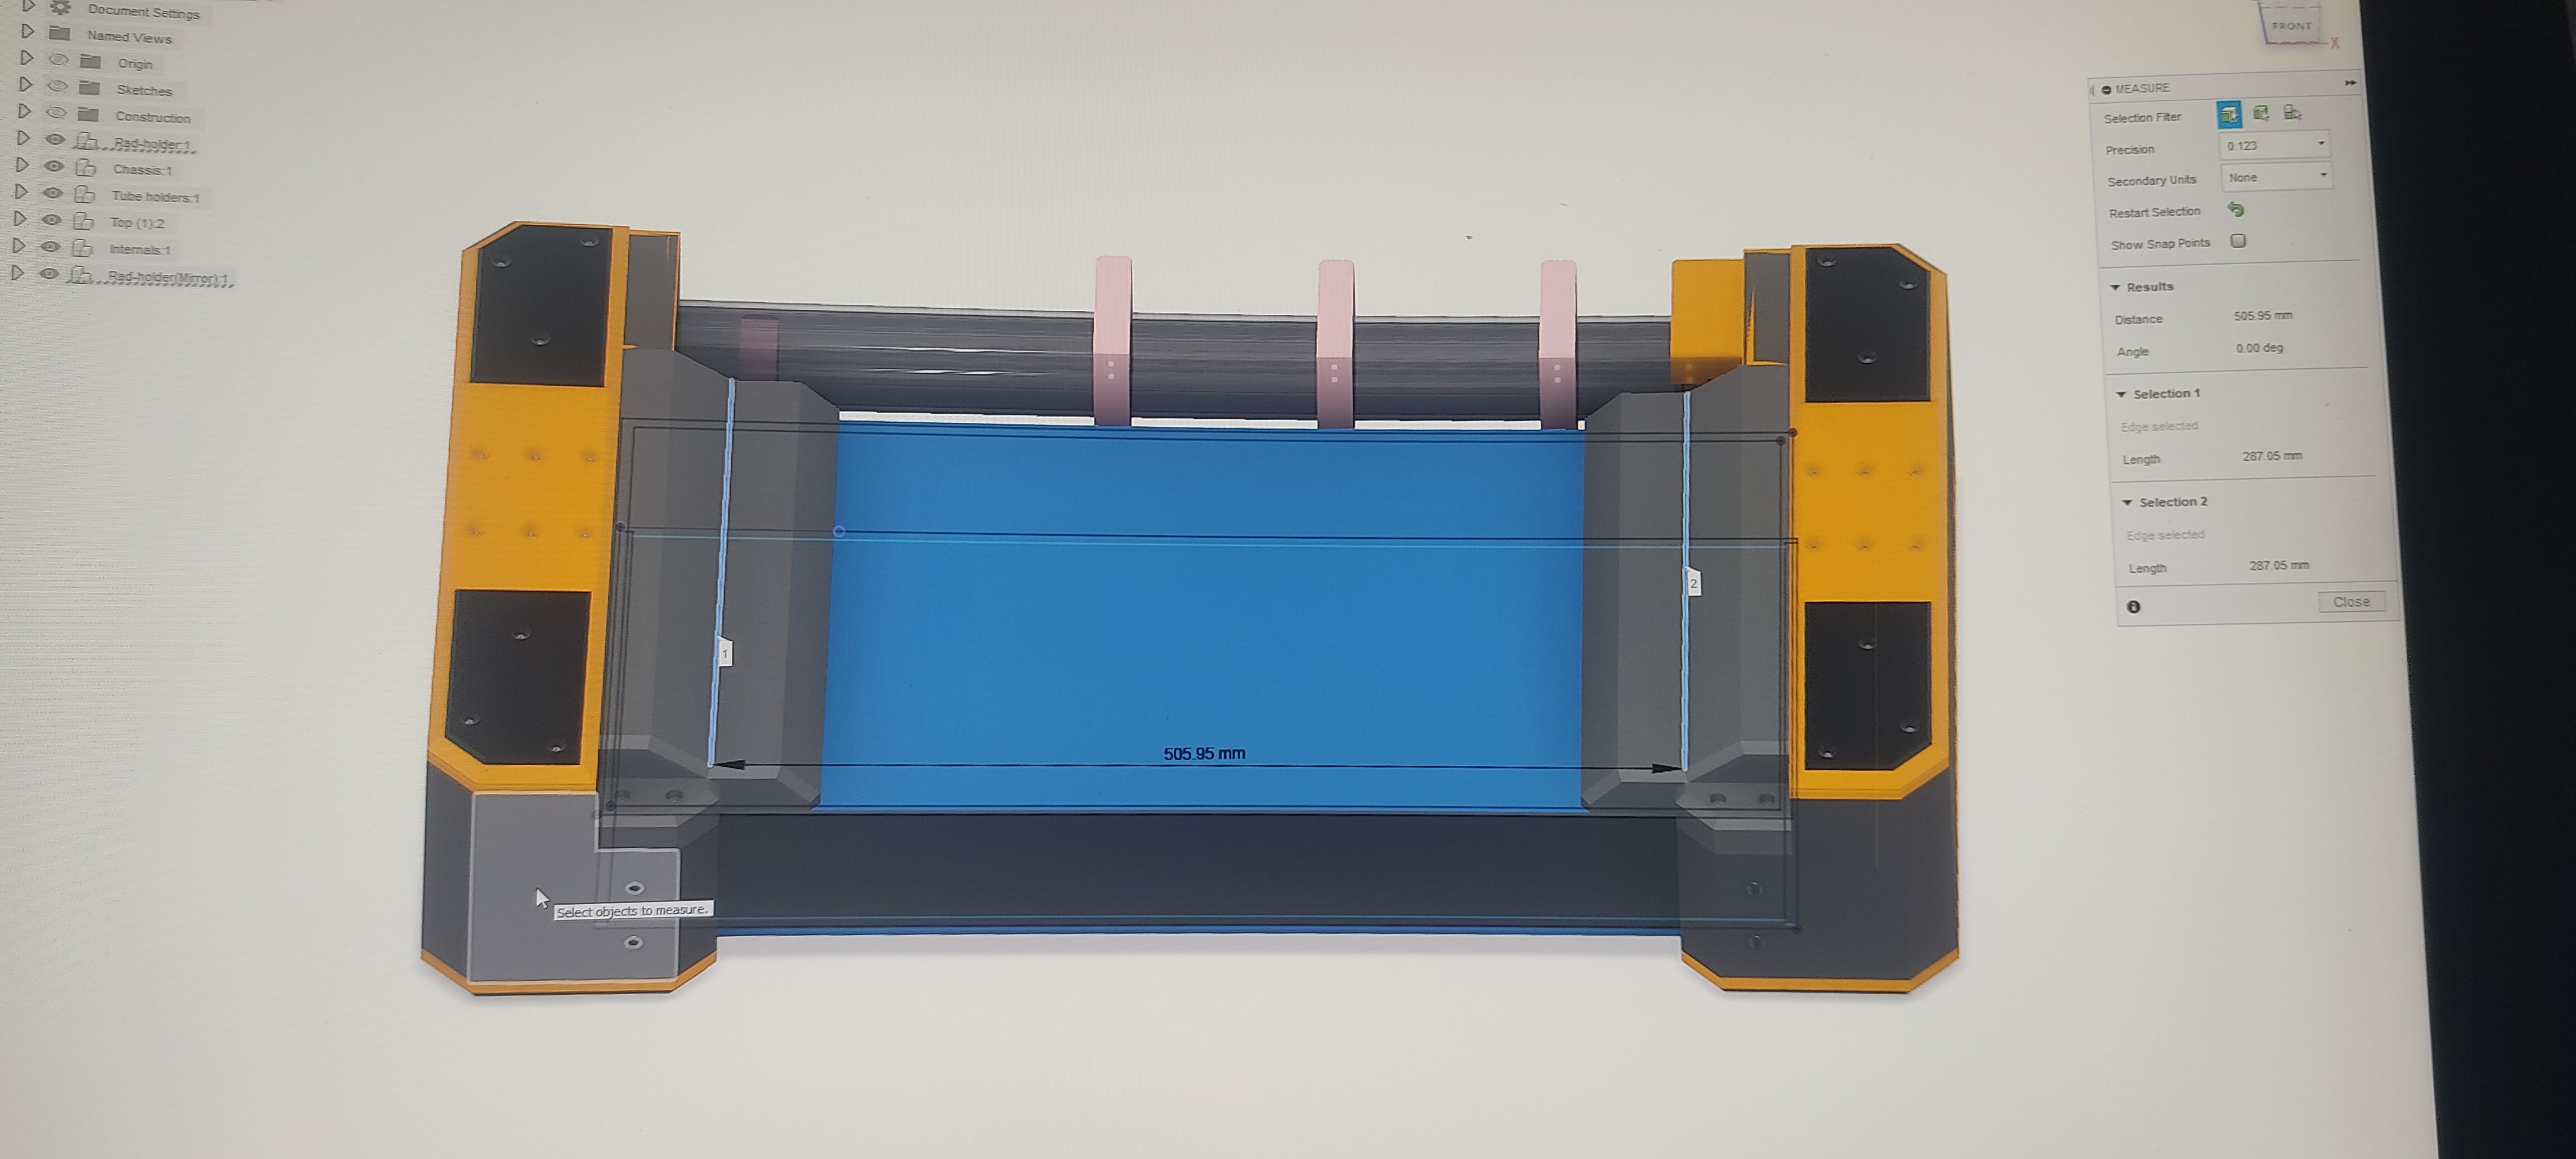
 And that's where it's at! Works, but I had to disassemble one of the radiators due to a lack of clearance for the power cable. Still very much a work in progress, bigger than I'd like and has many issues still...but I like it and I'm having fun. Looking forward to setting this thing up as a portable VR workstation.
 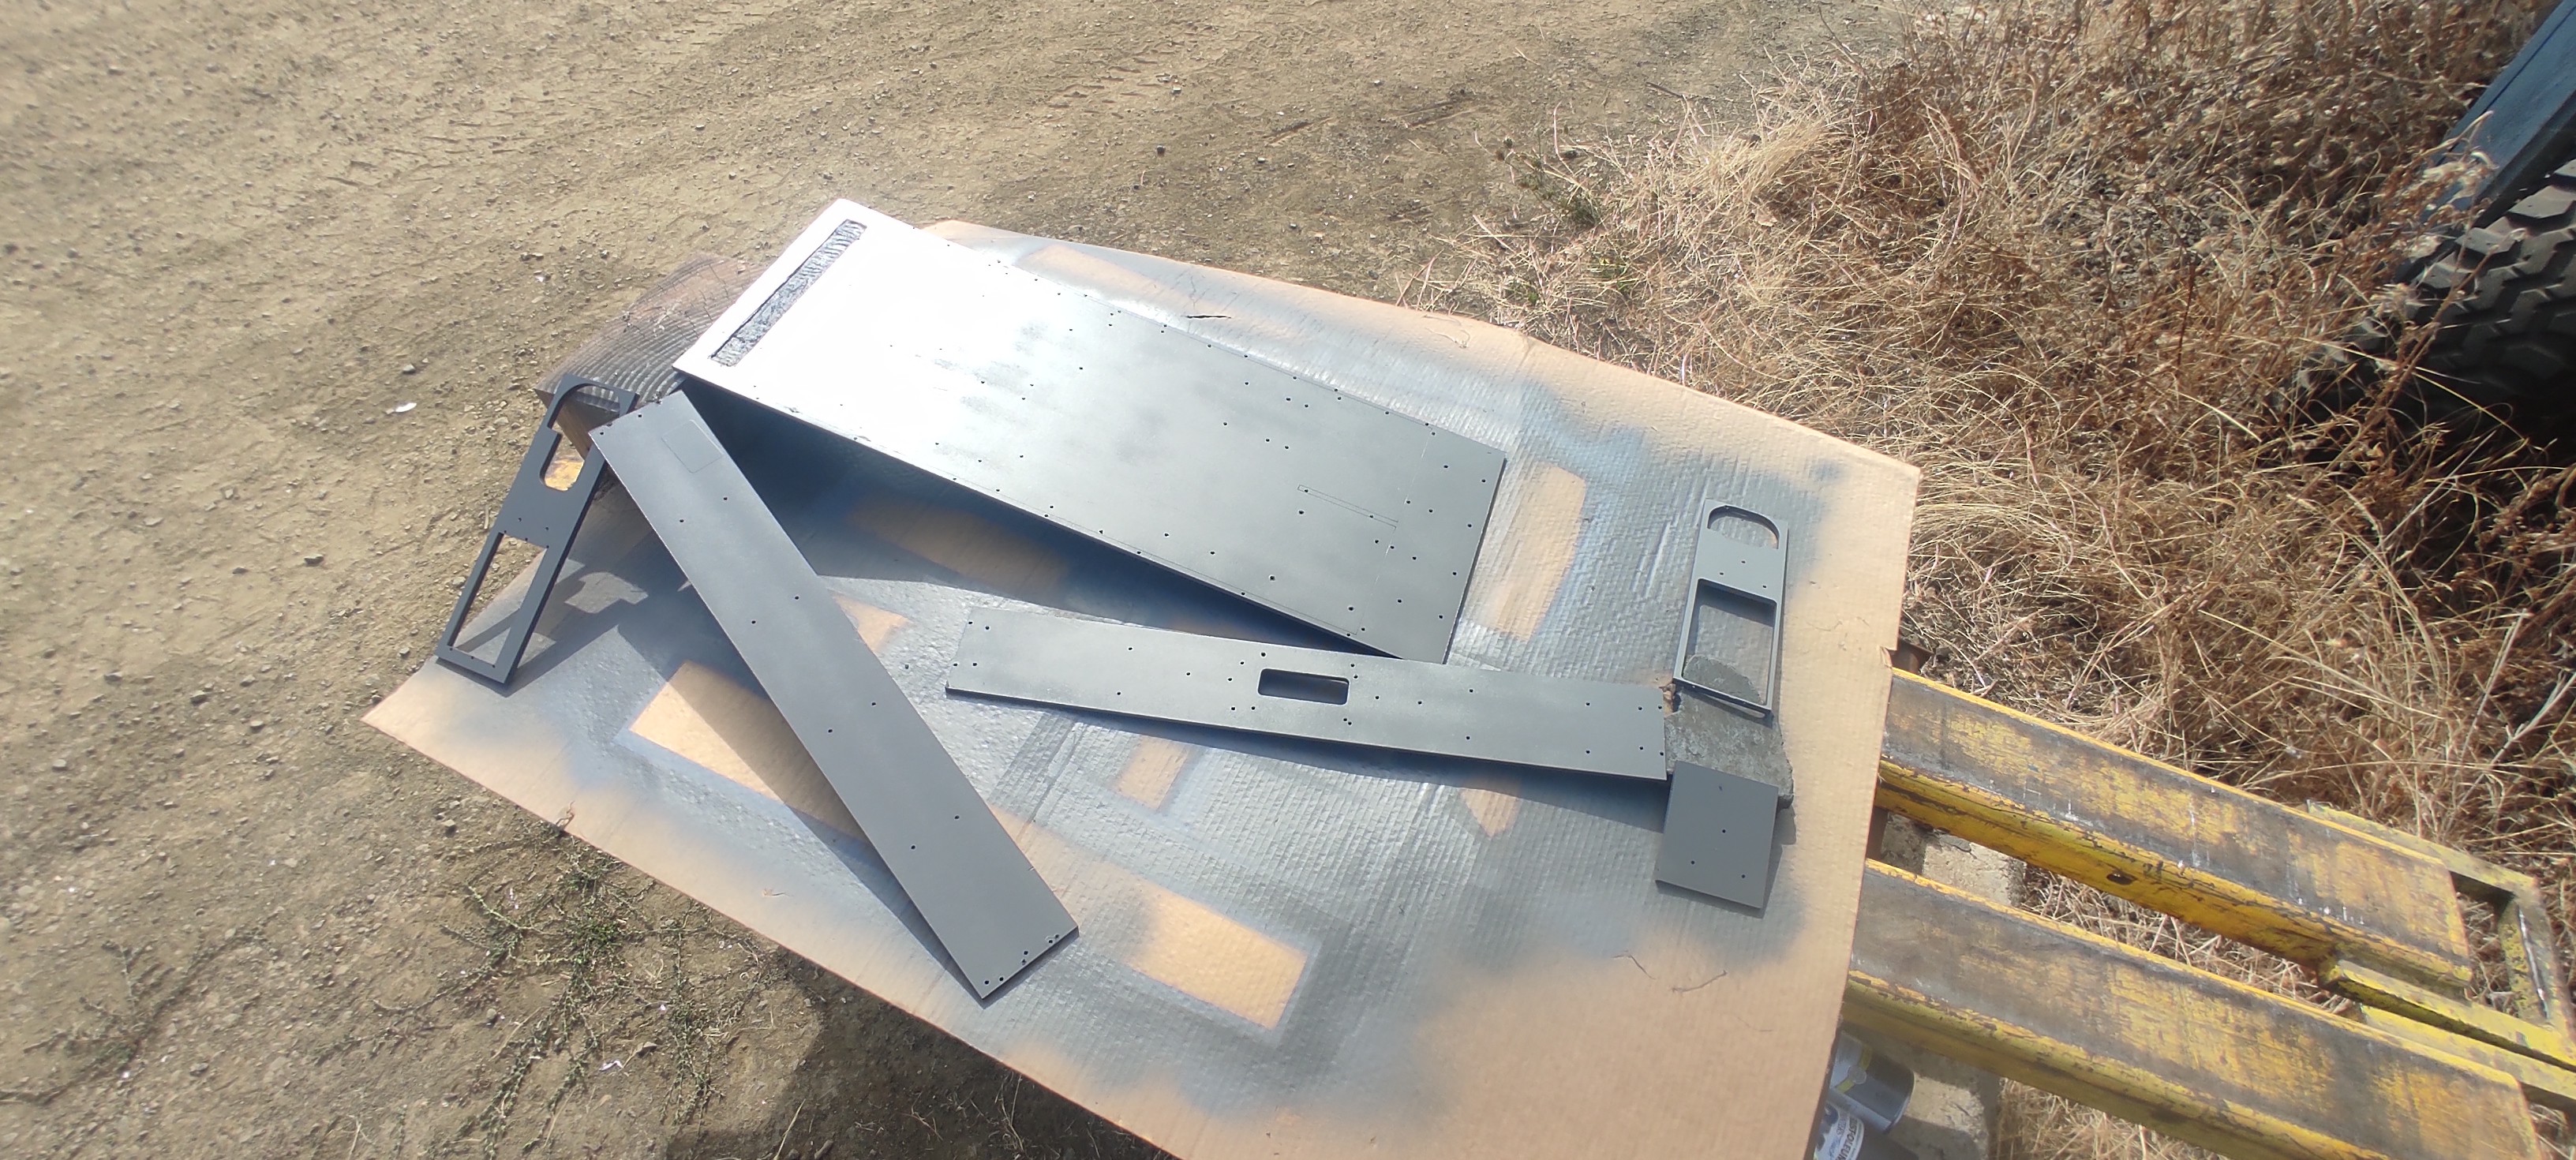 And the radiator assemblies were disassembled and sandblasted for paint adhesion. (Here's a before/after)
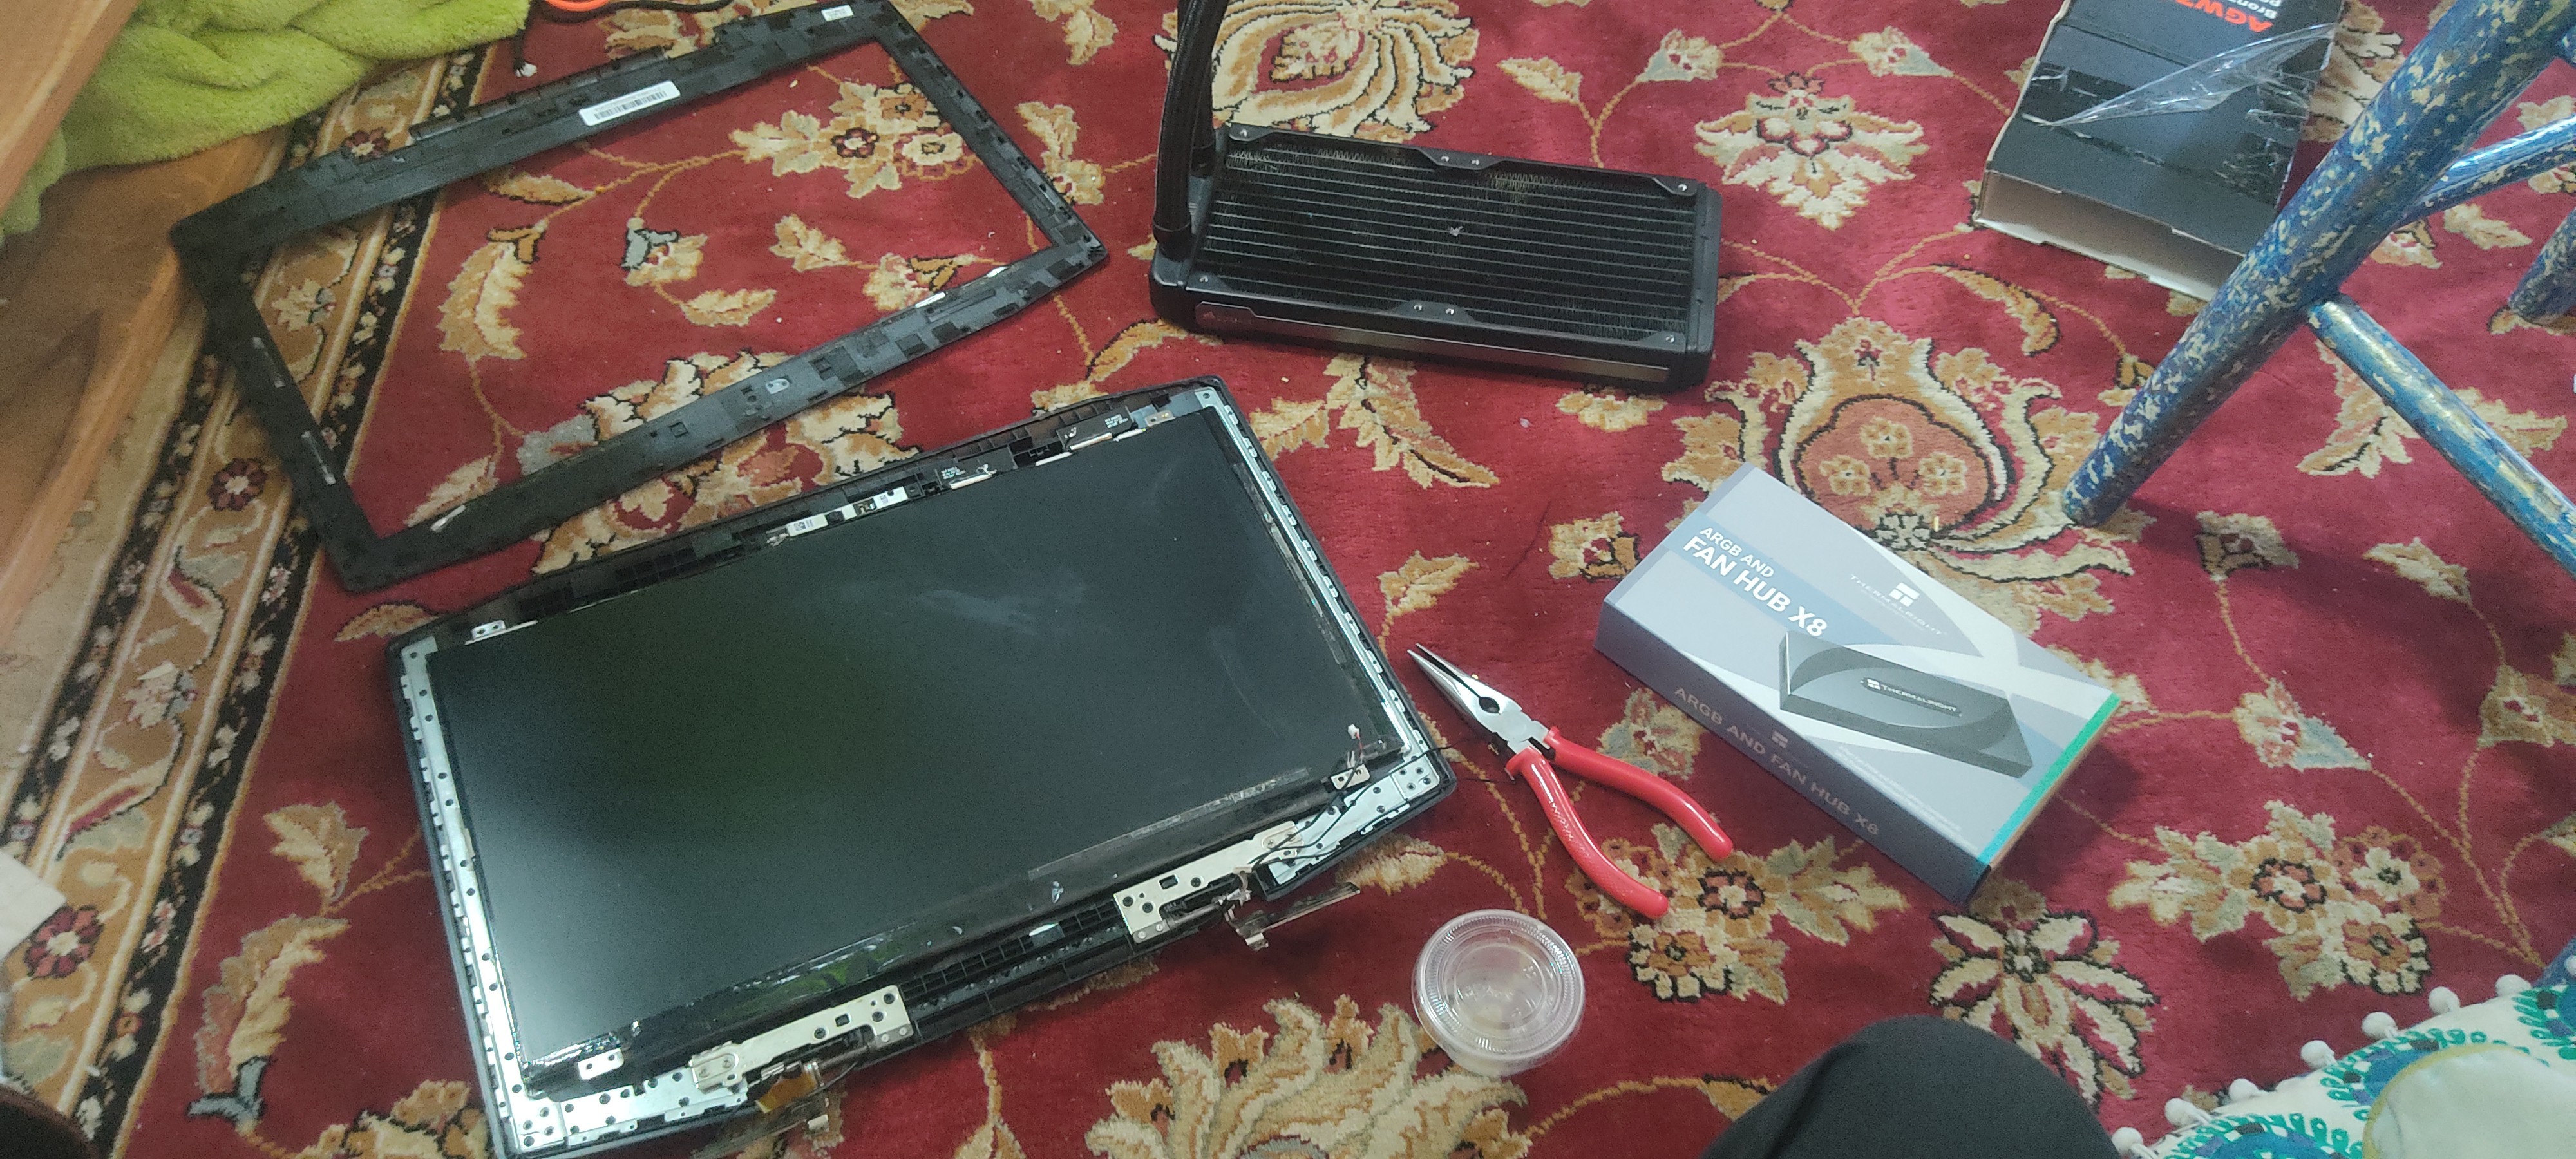
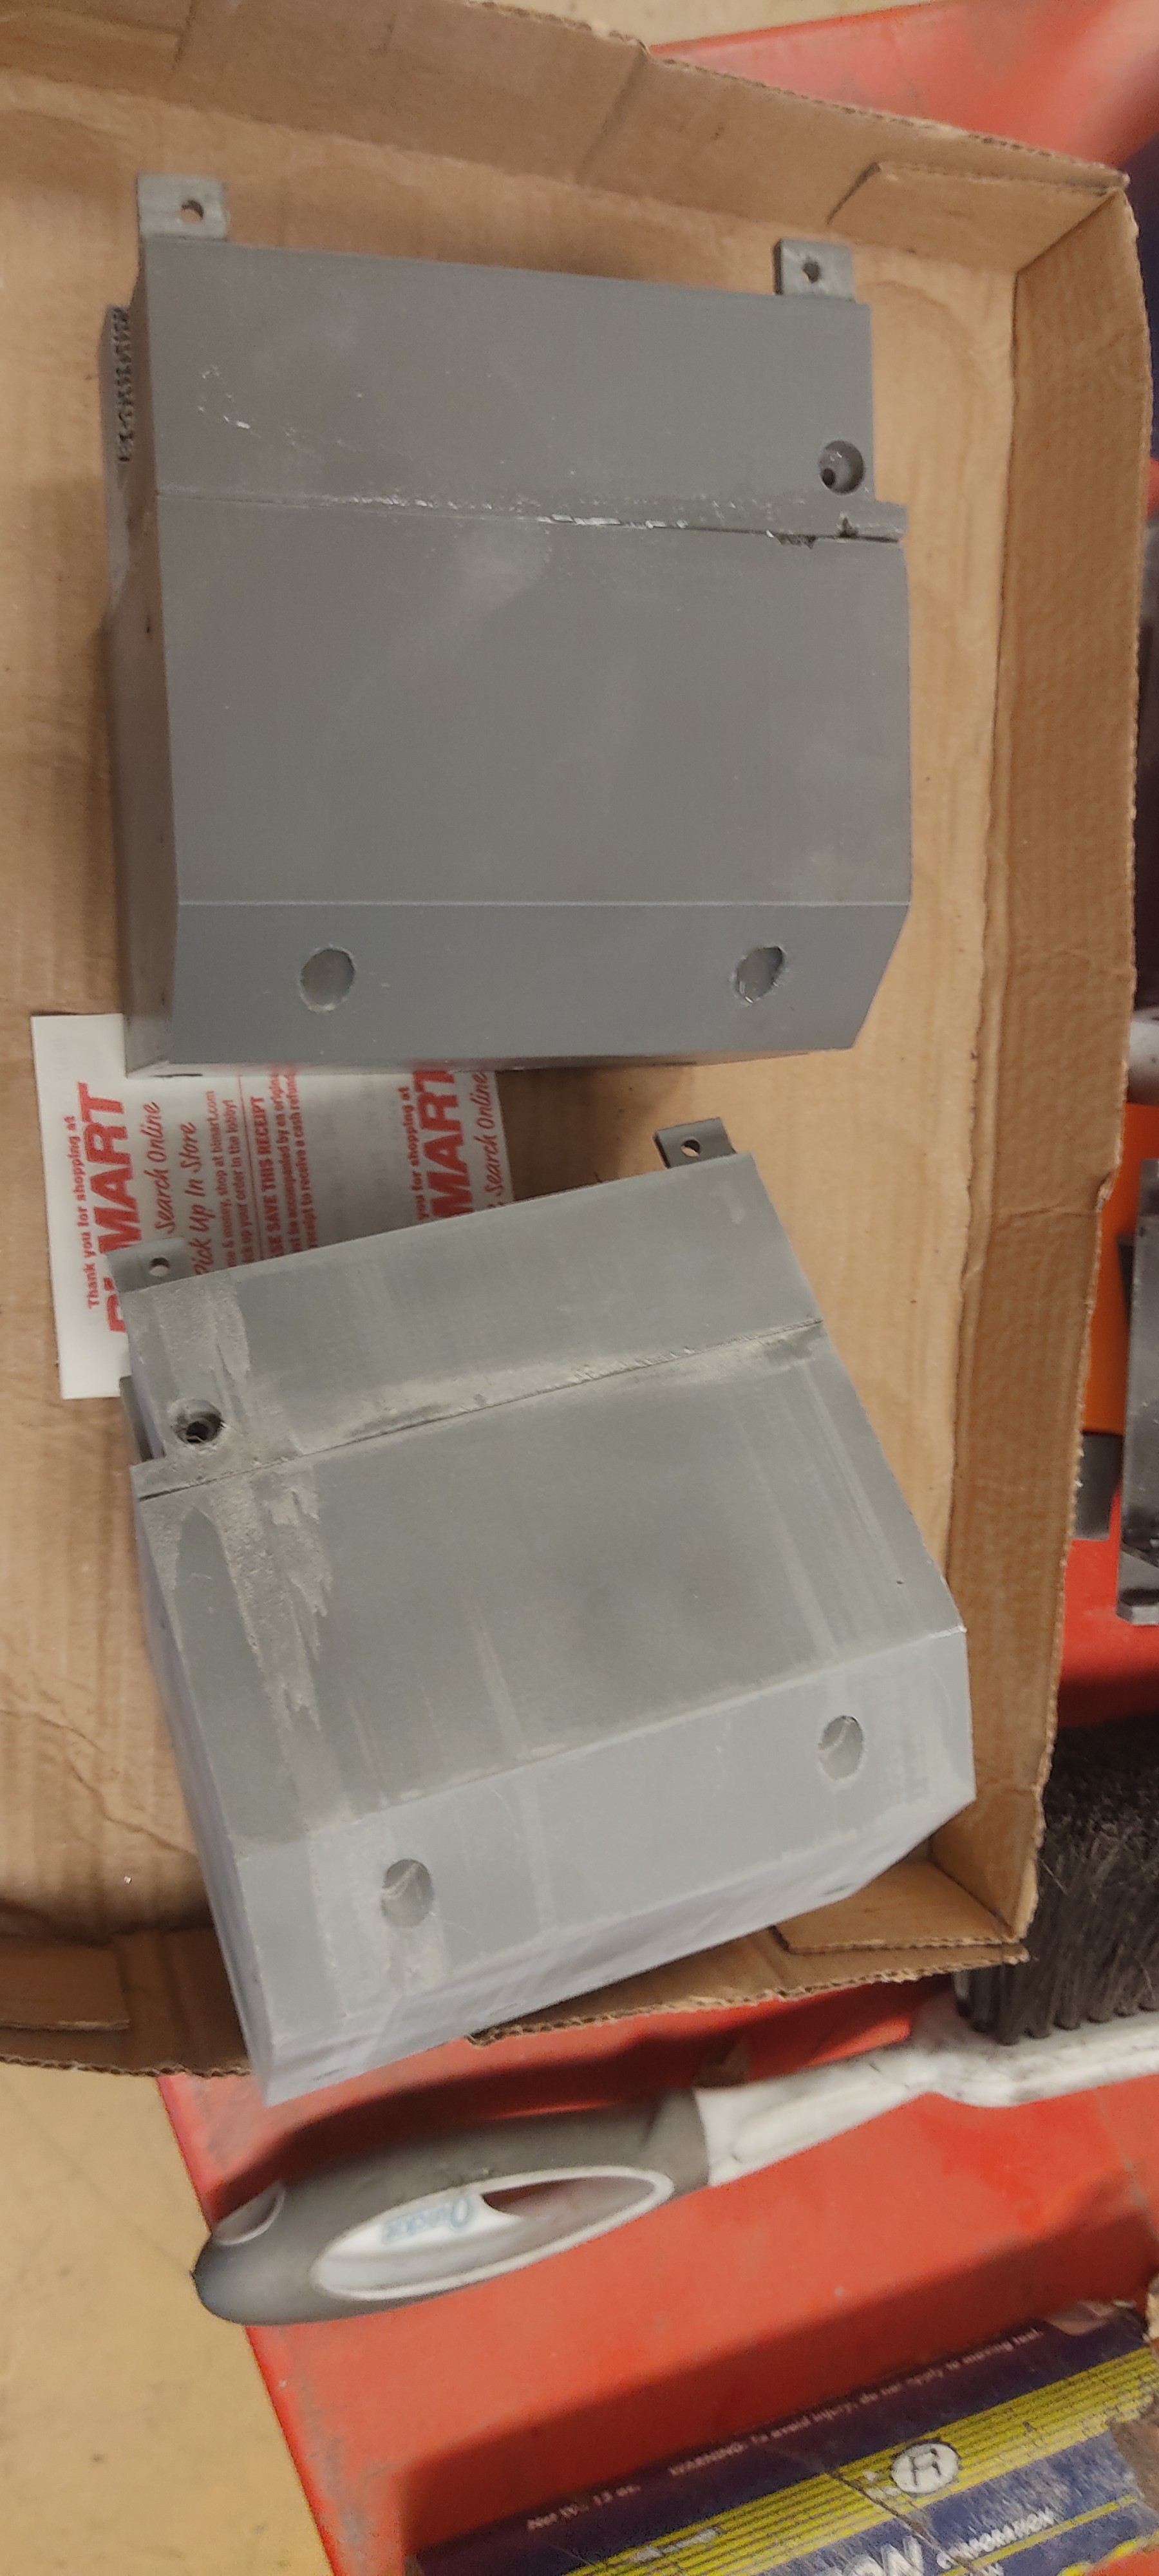


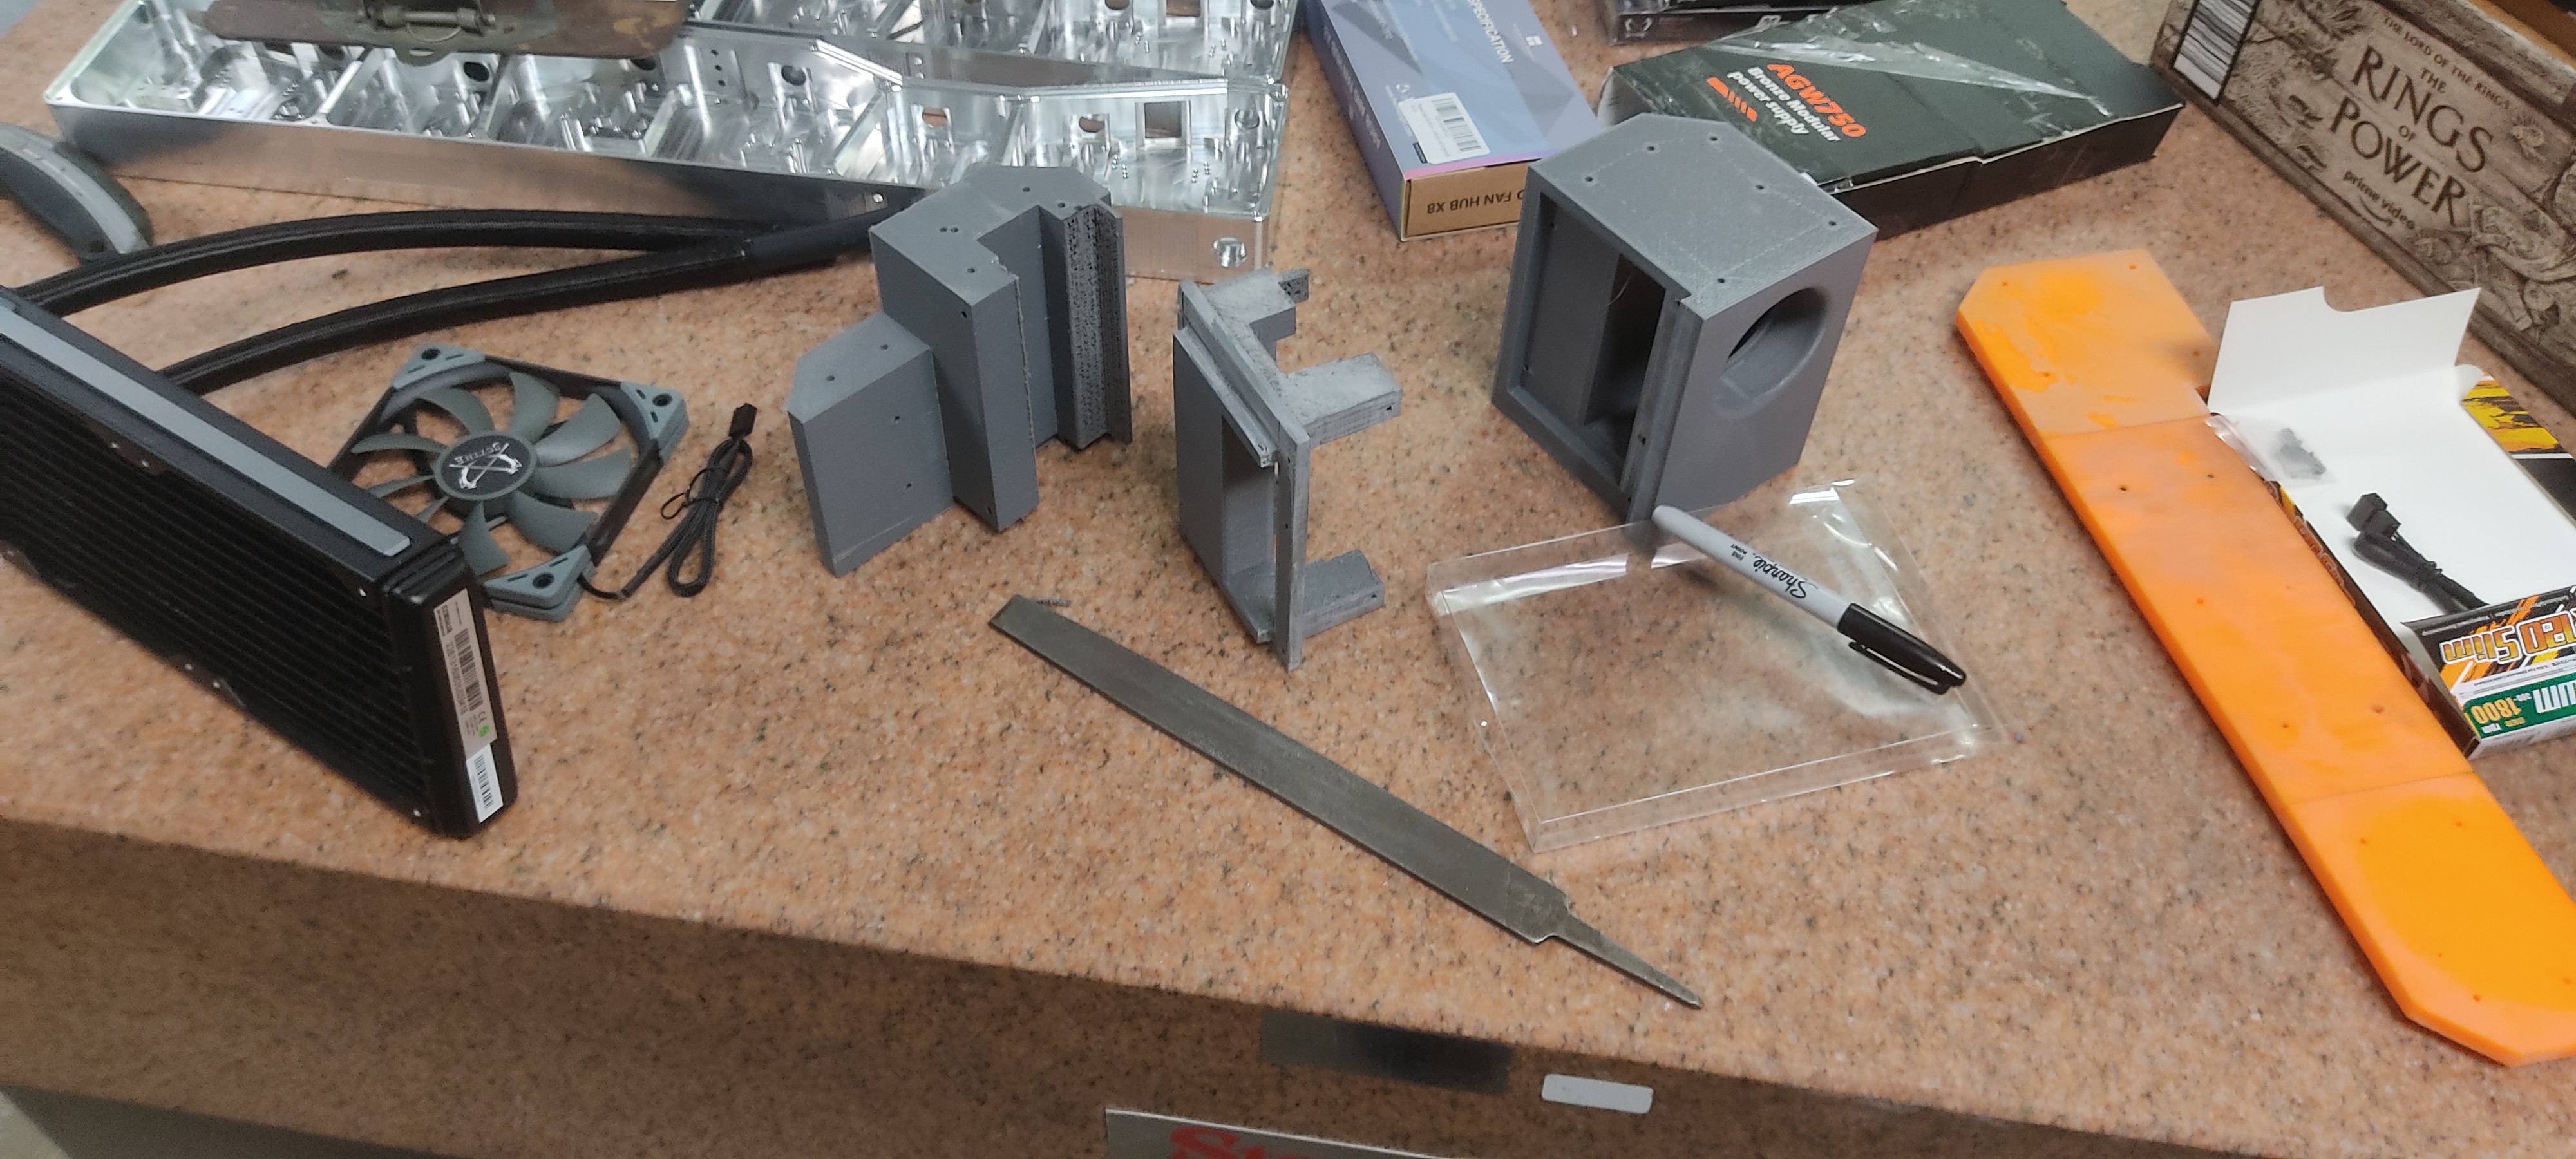
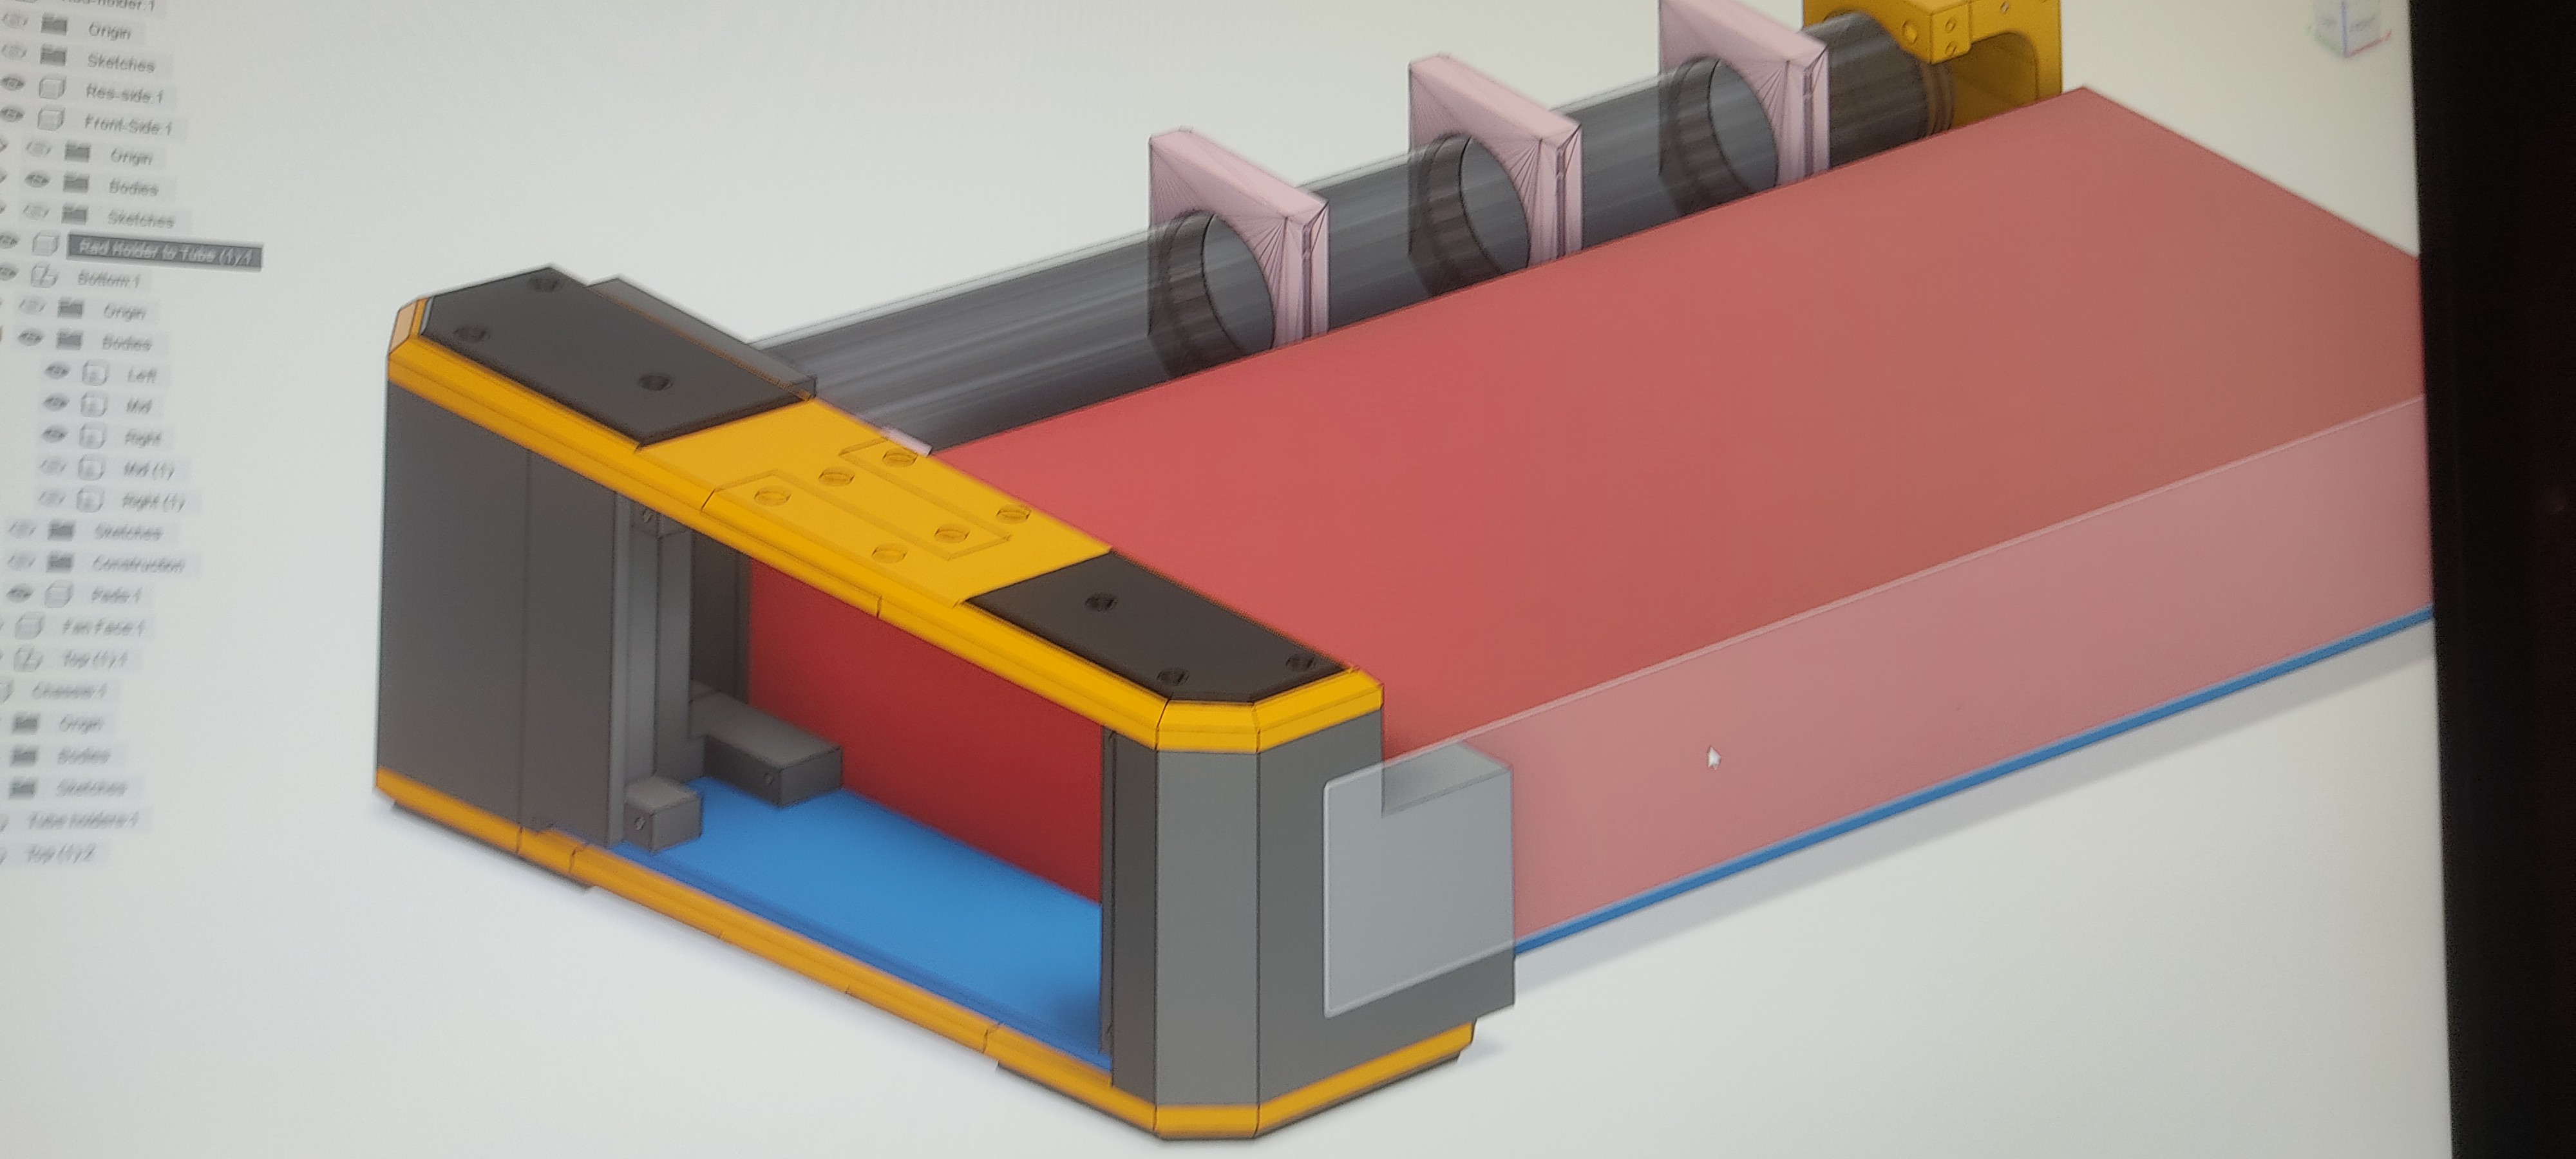
 First it was disassembled and I figured out where I could drill without harming the monitor. Then did a 3-d model of such in Fusion360 and printed the components.
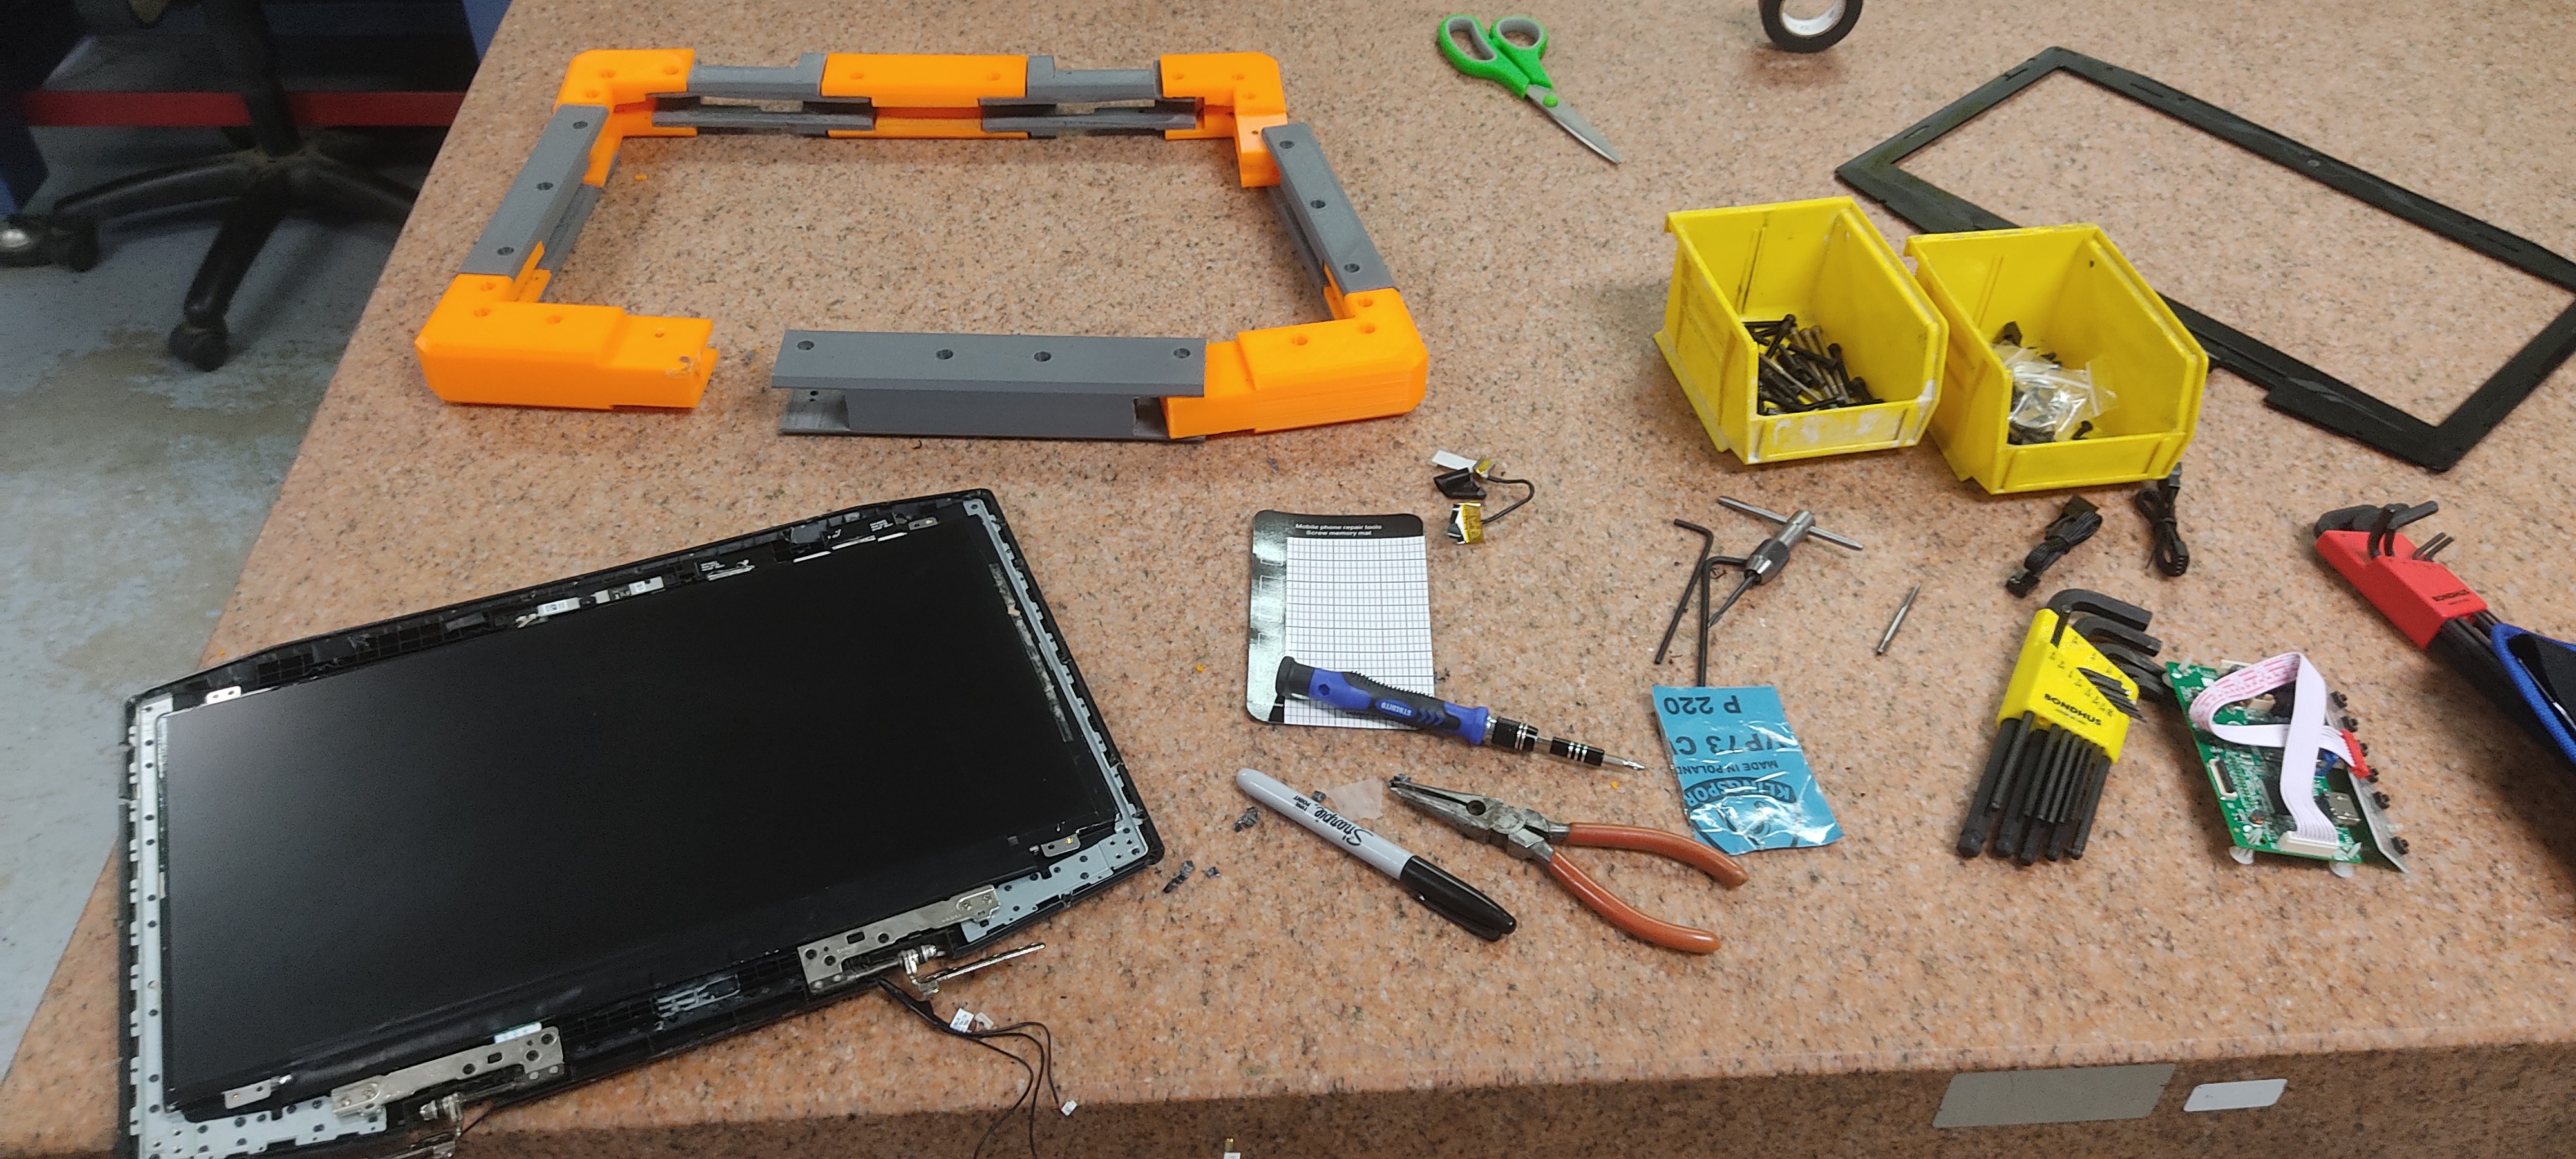
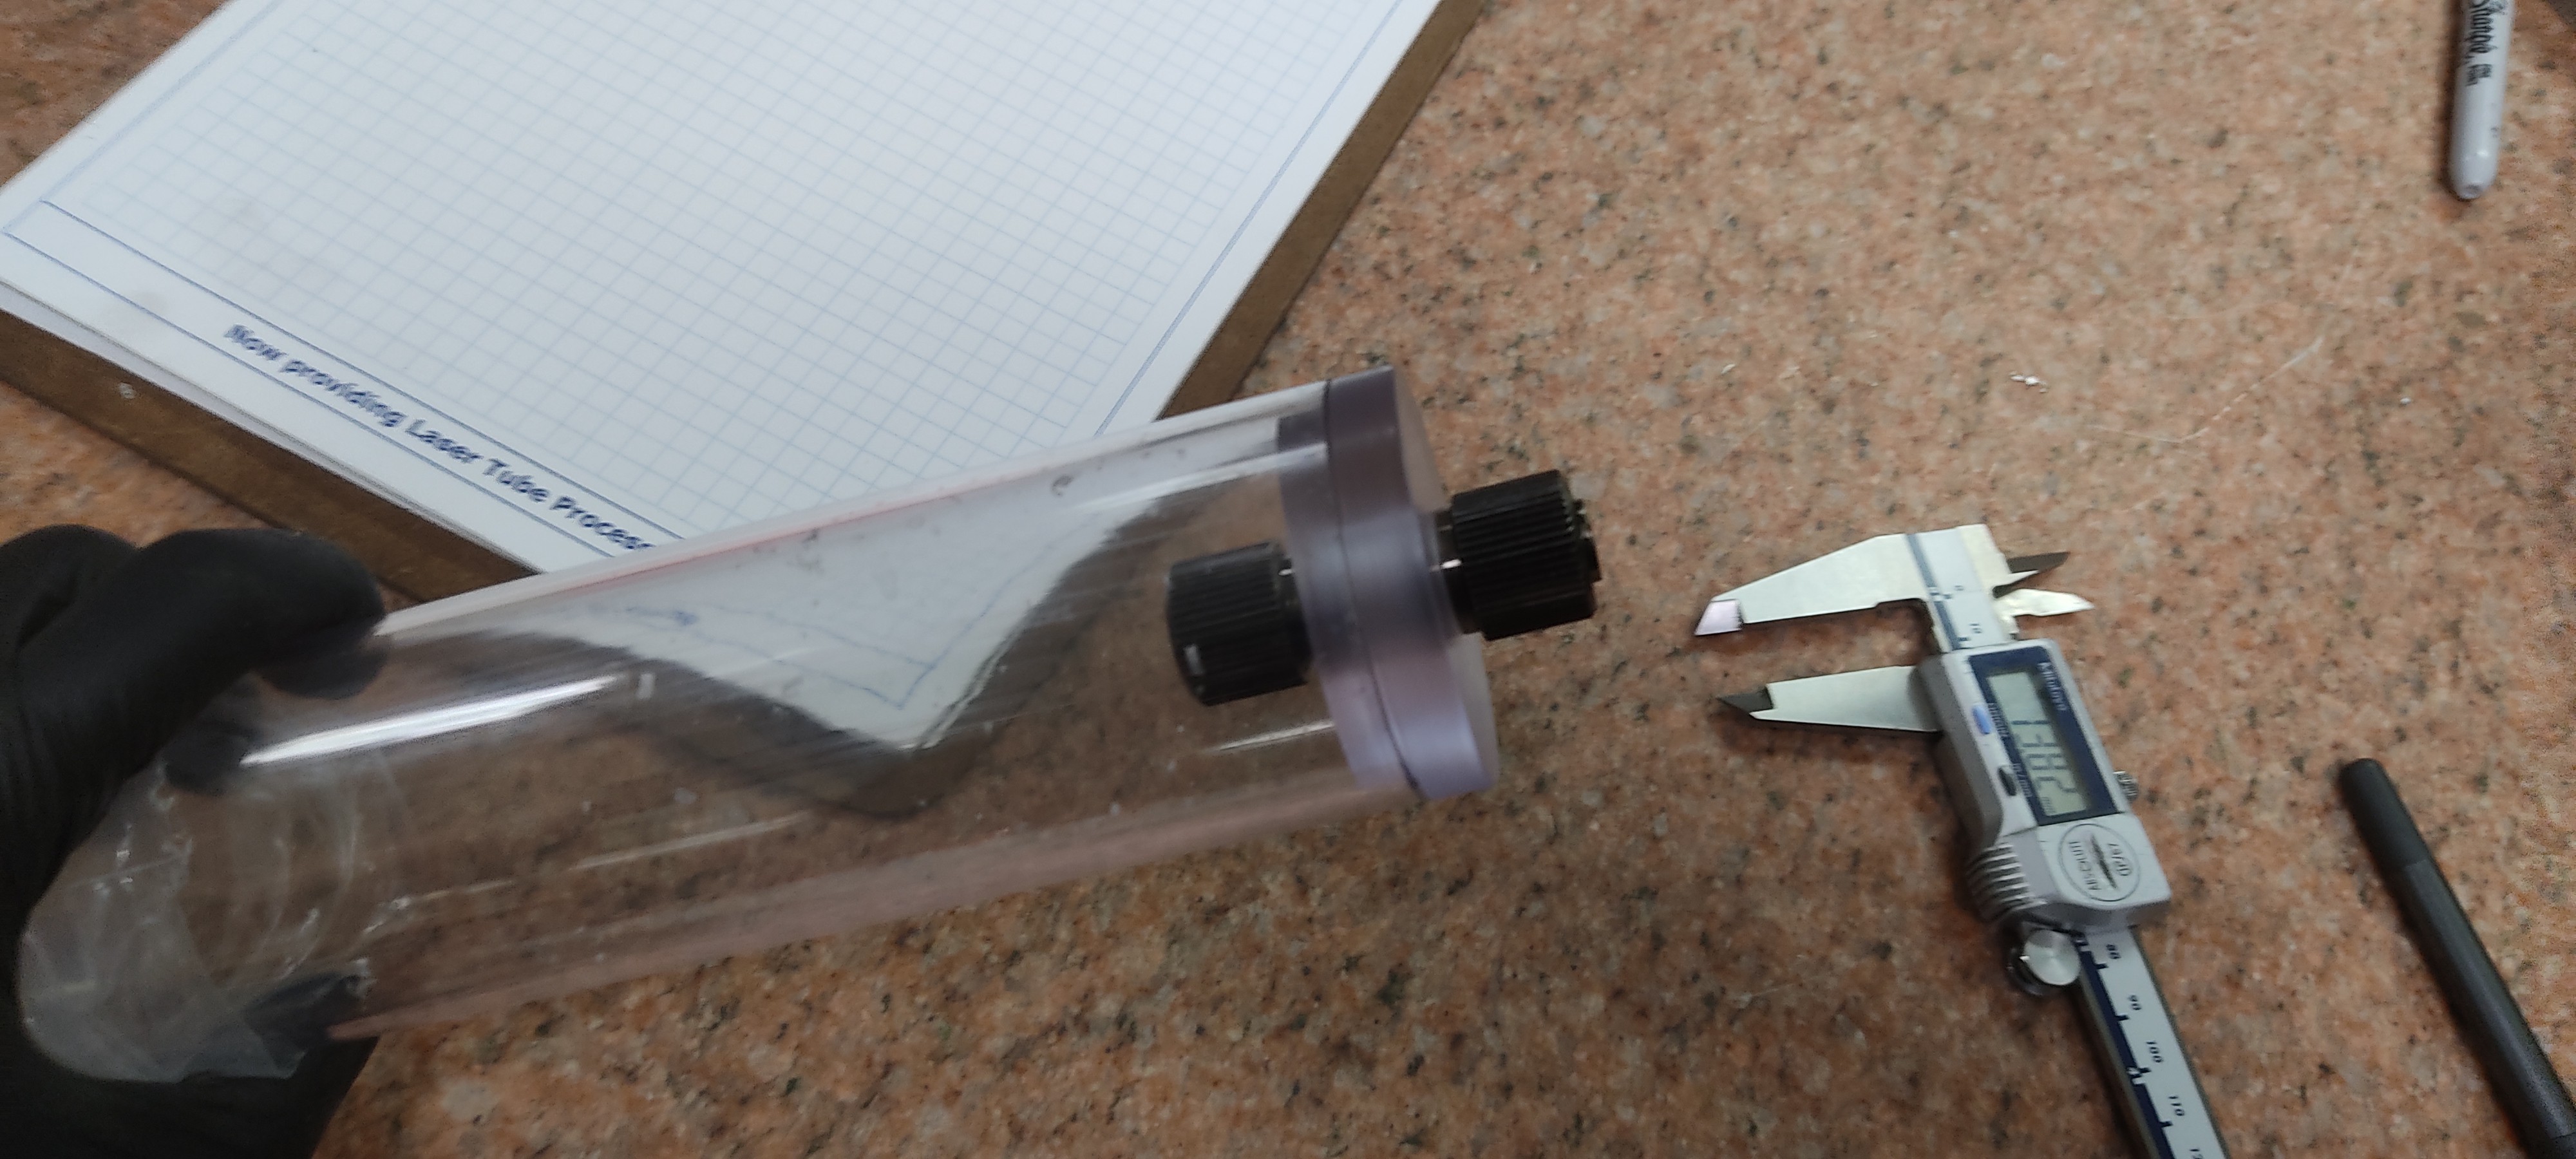
 The cable was particularly tricky as I forgot to make a slot for it and just drilled a hole instead of re-printing. (It's a prototype, no need for "perfection")
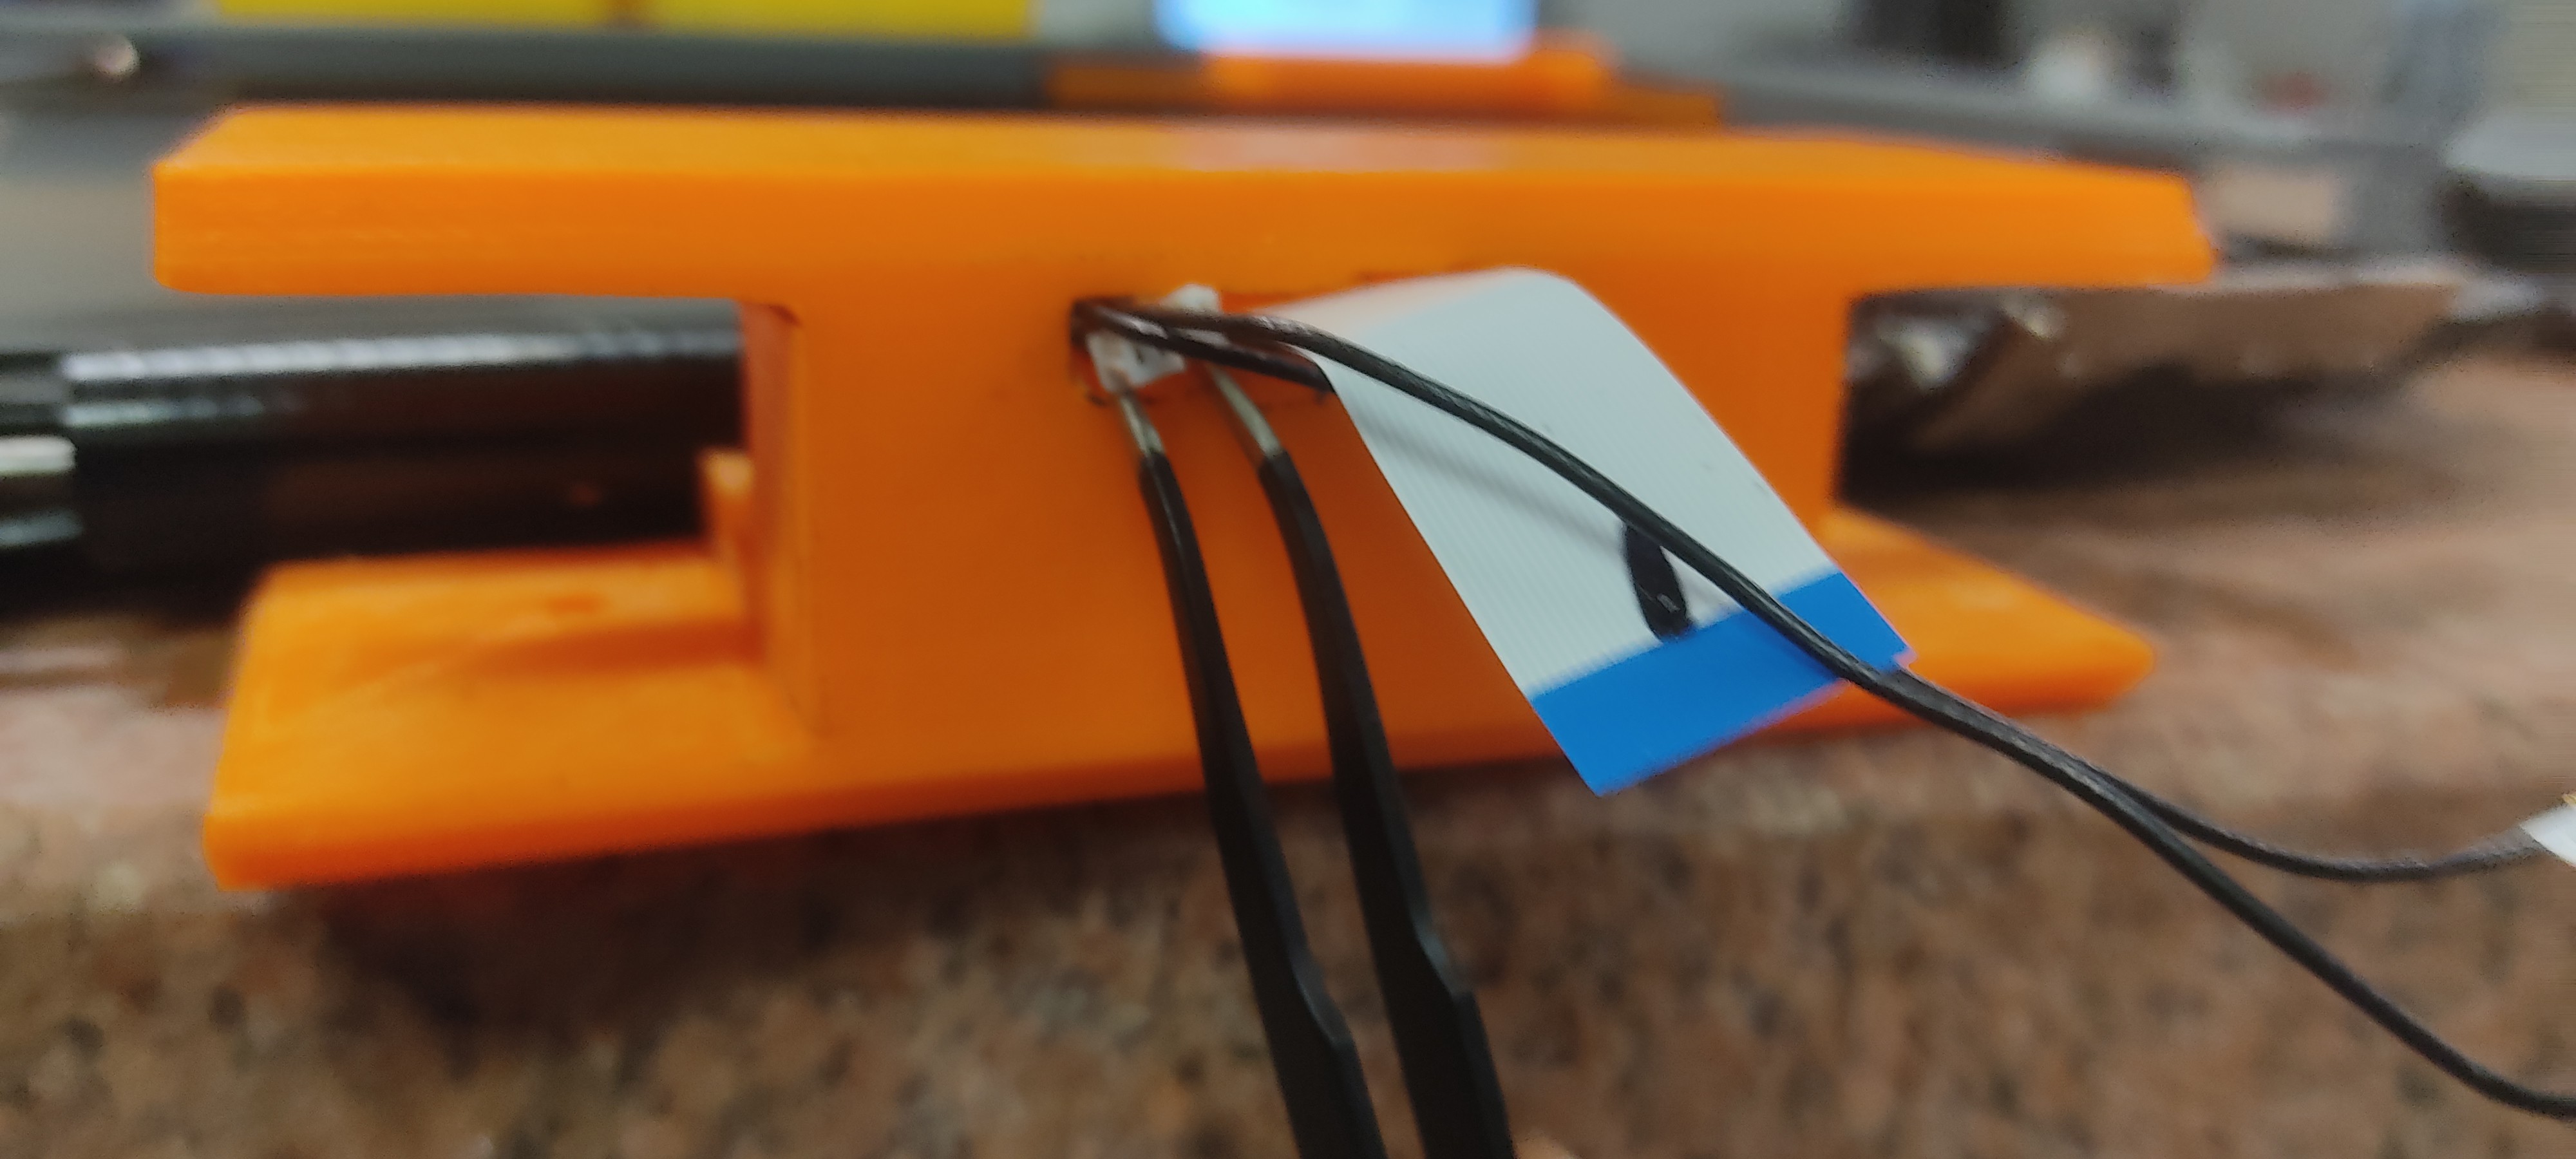
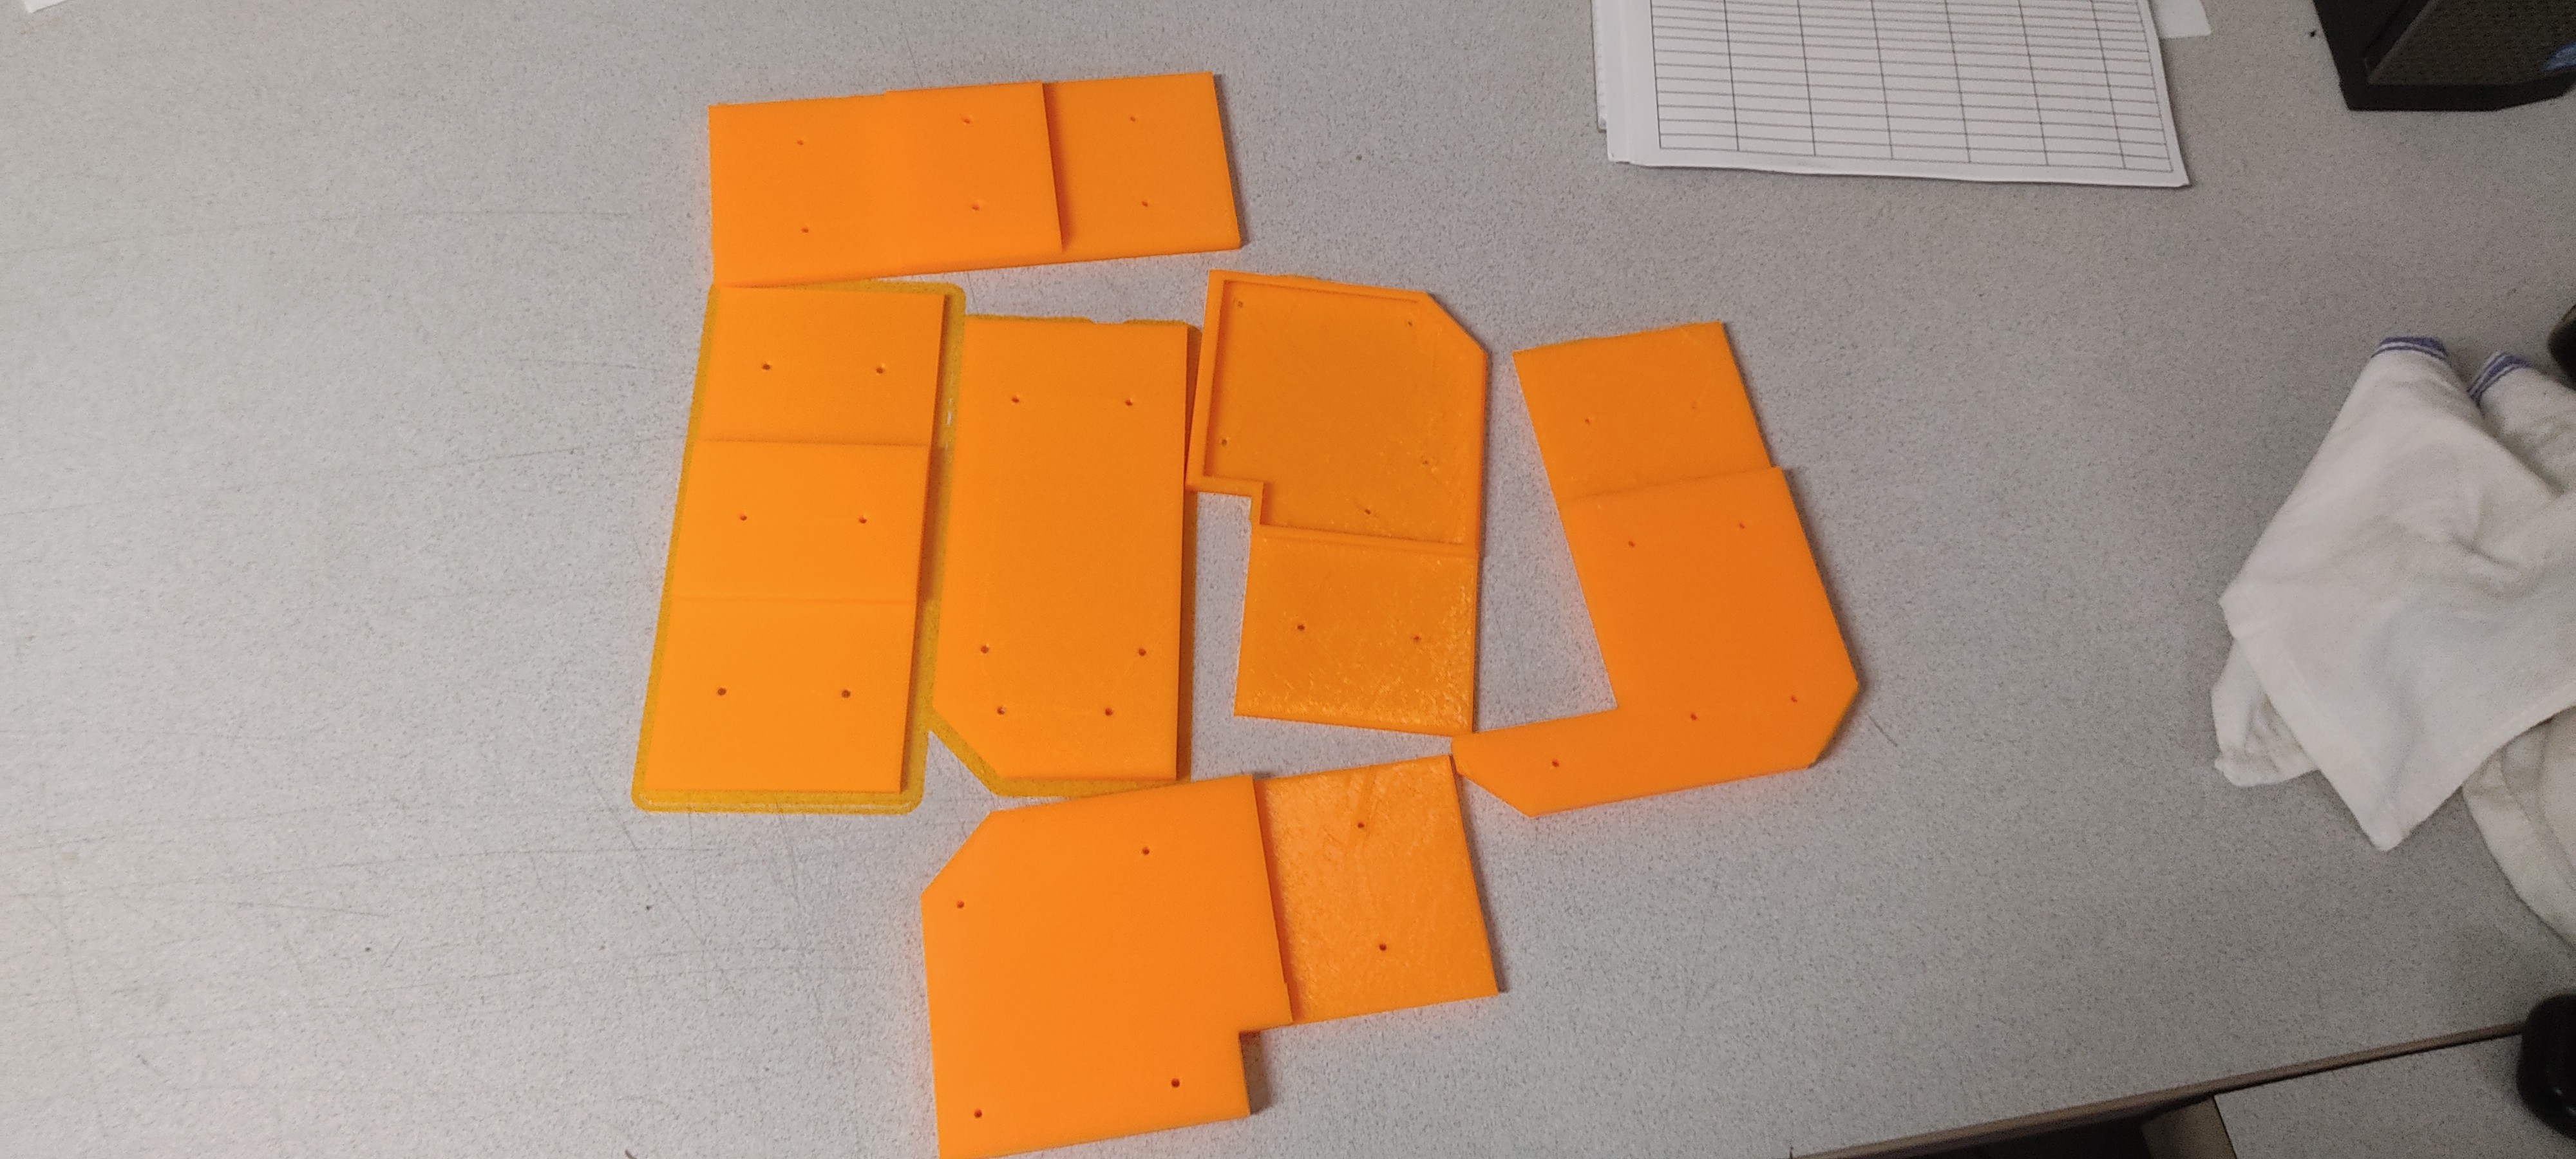
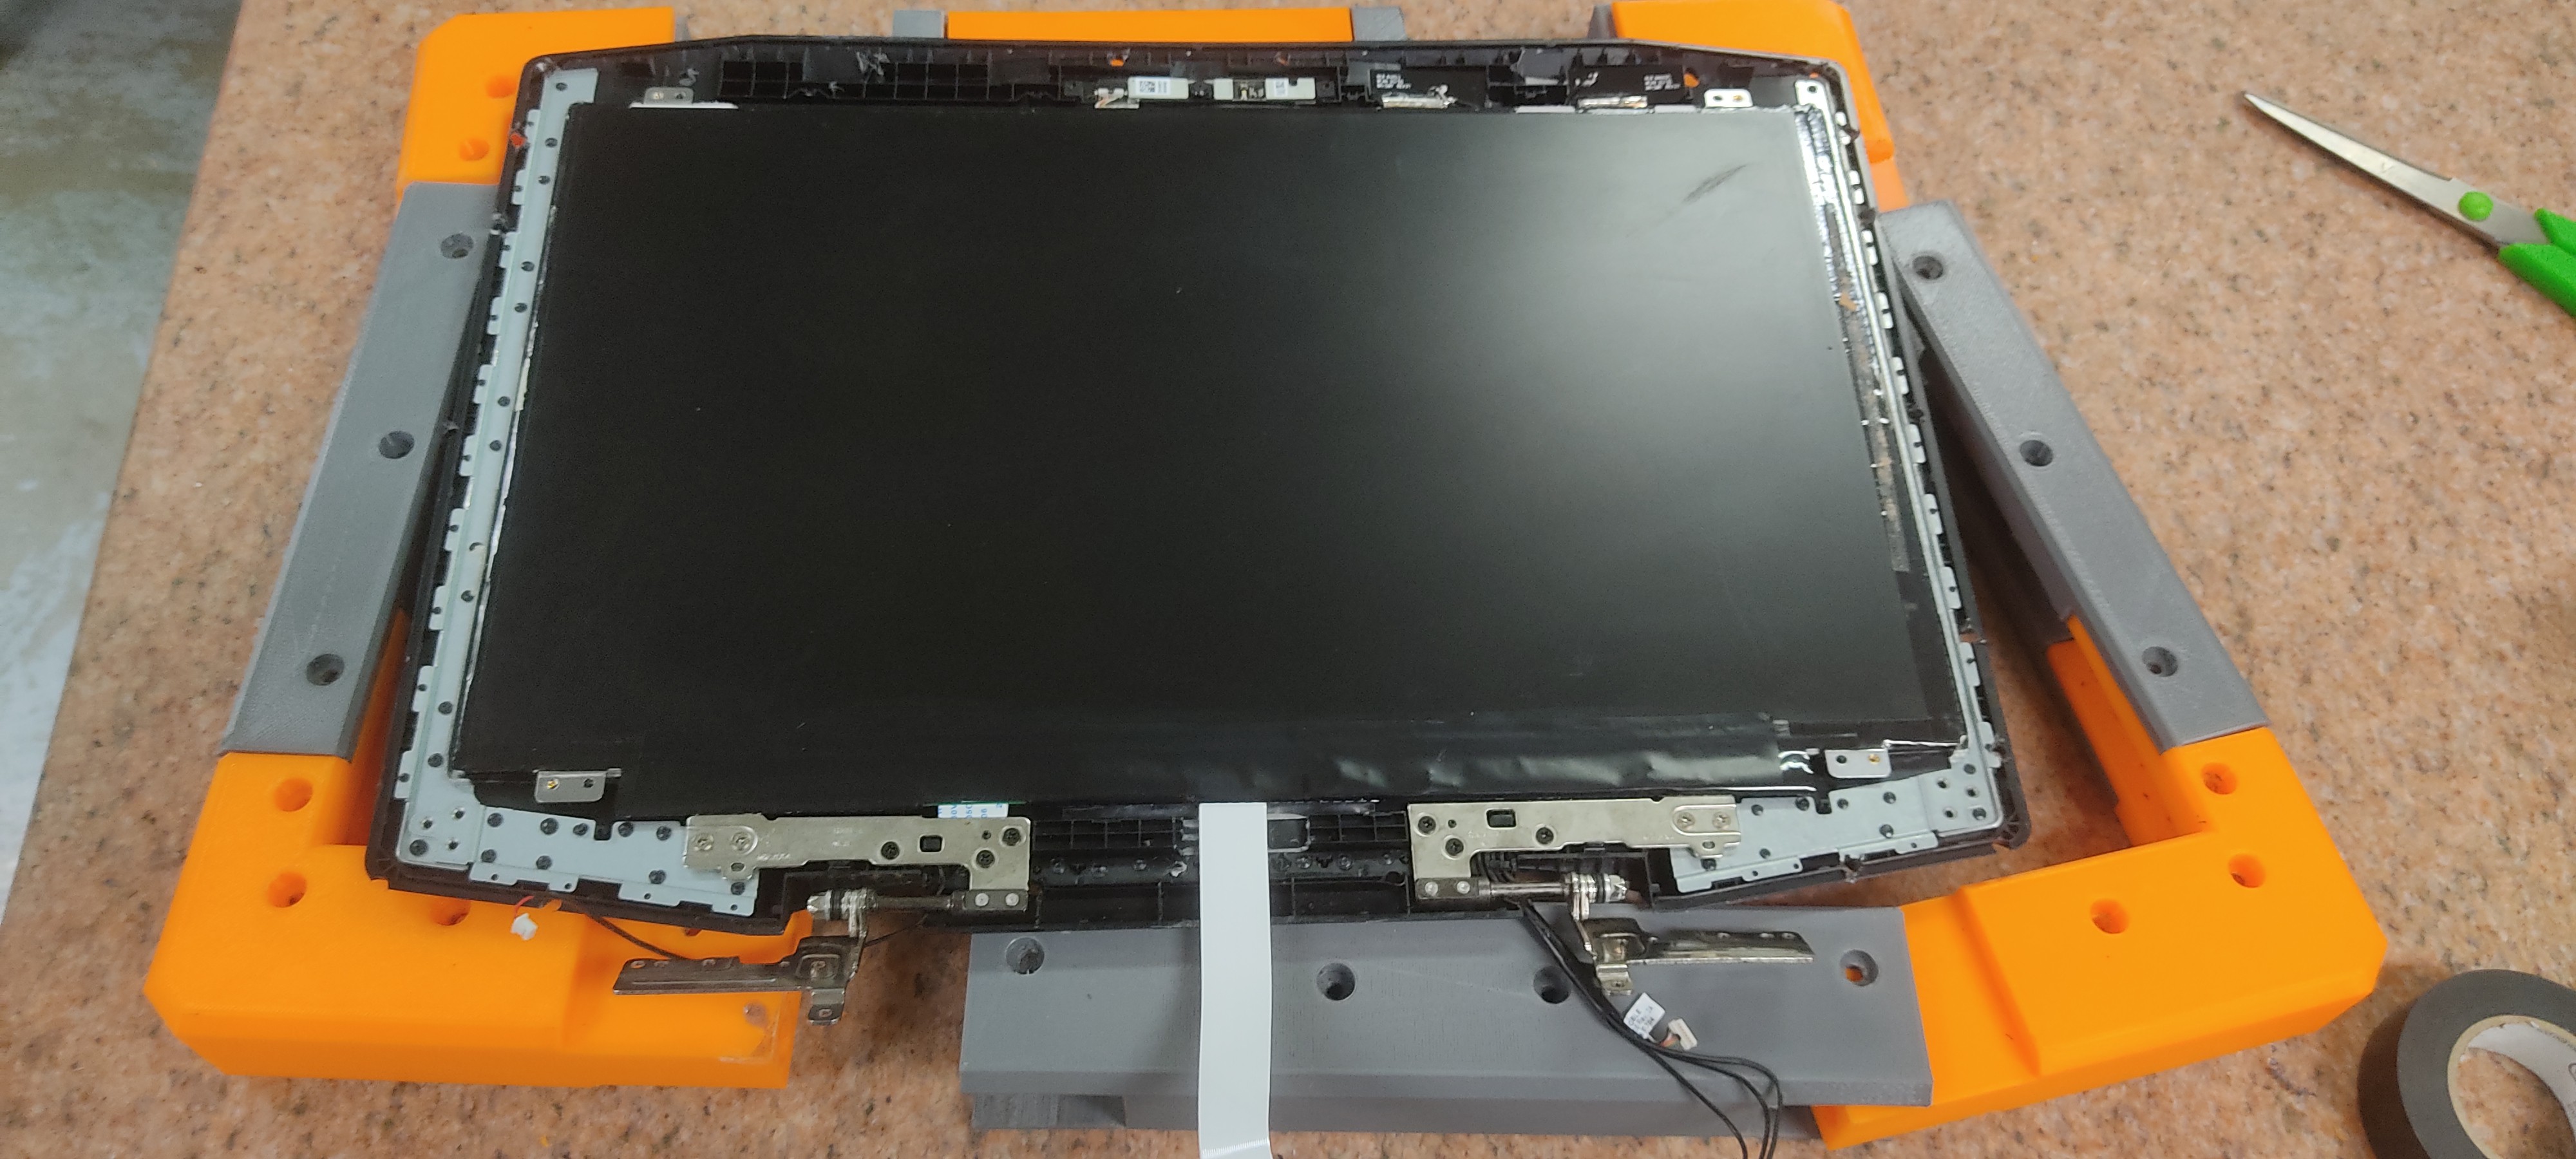
 I even could use the same hinges!
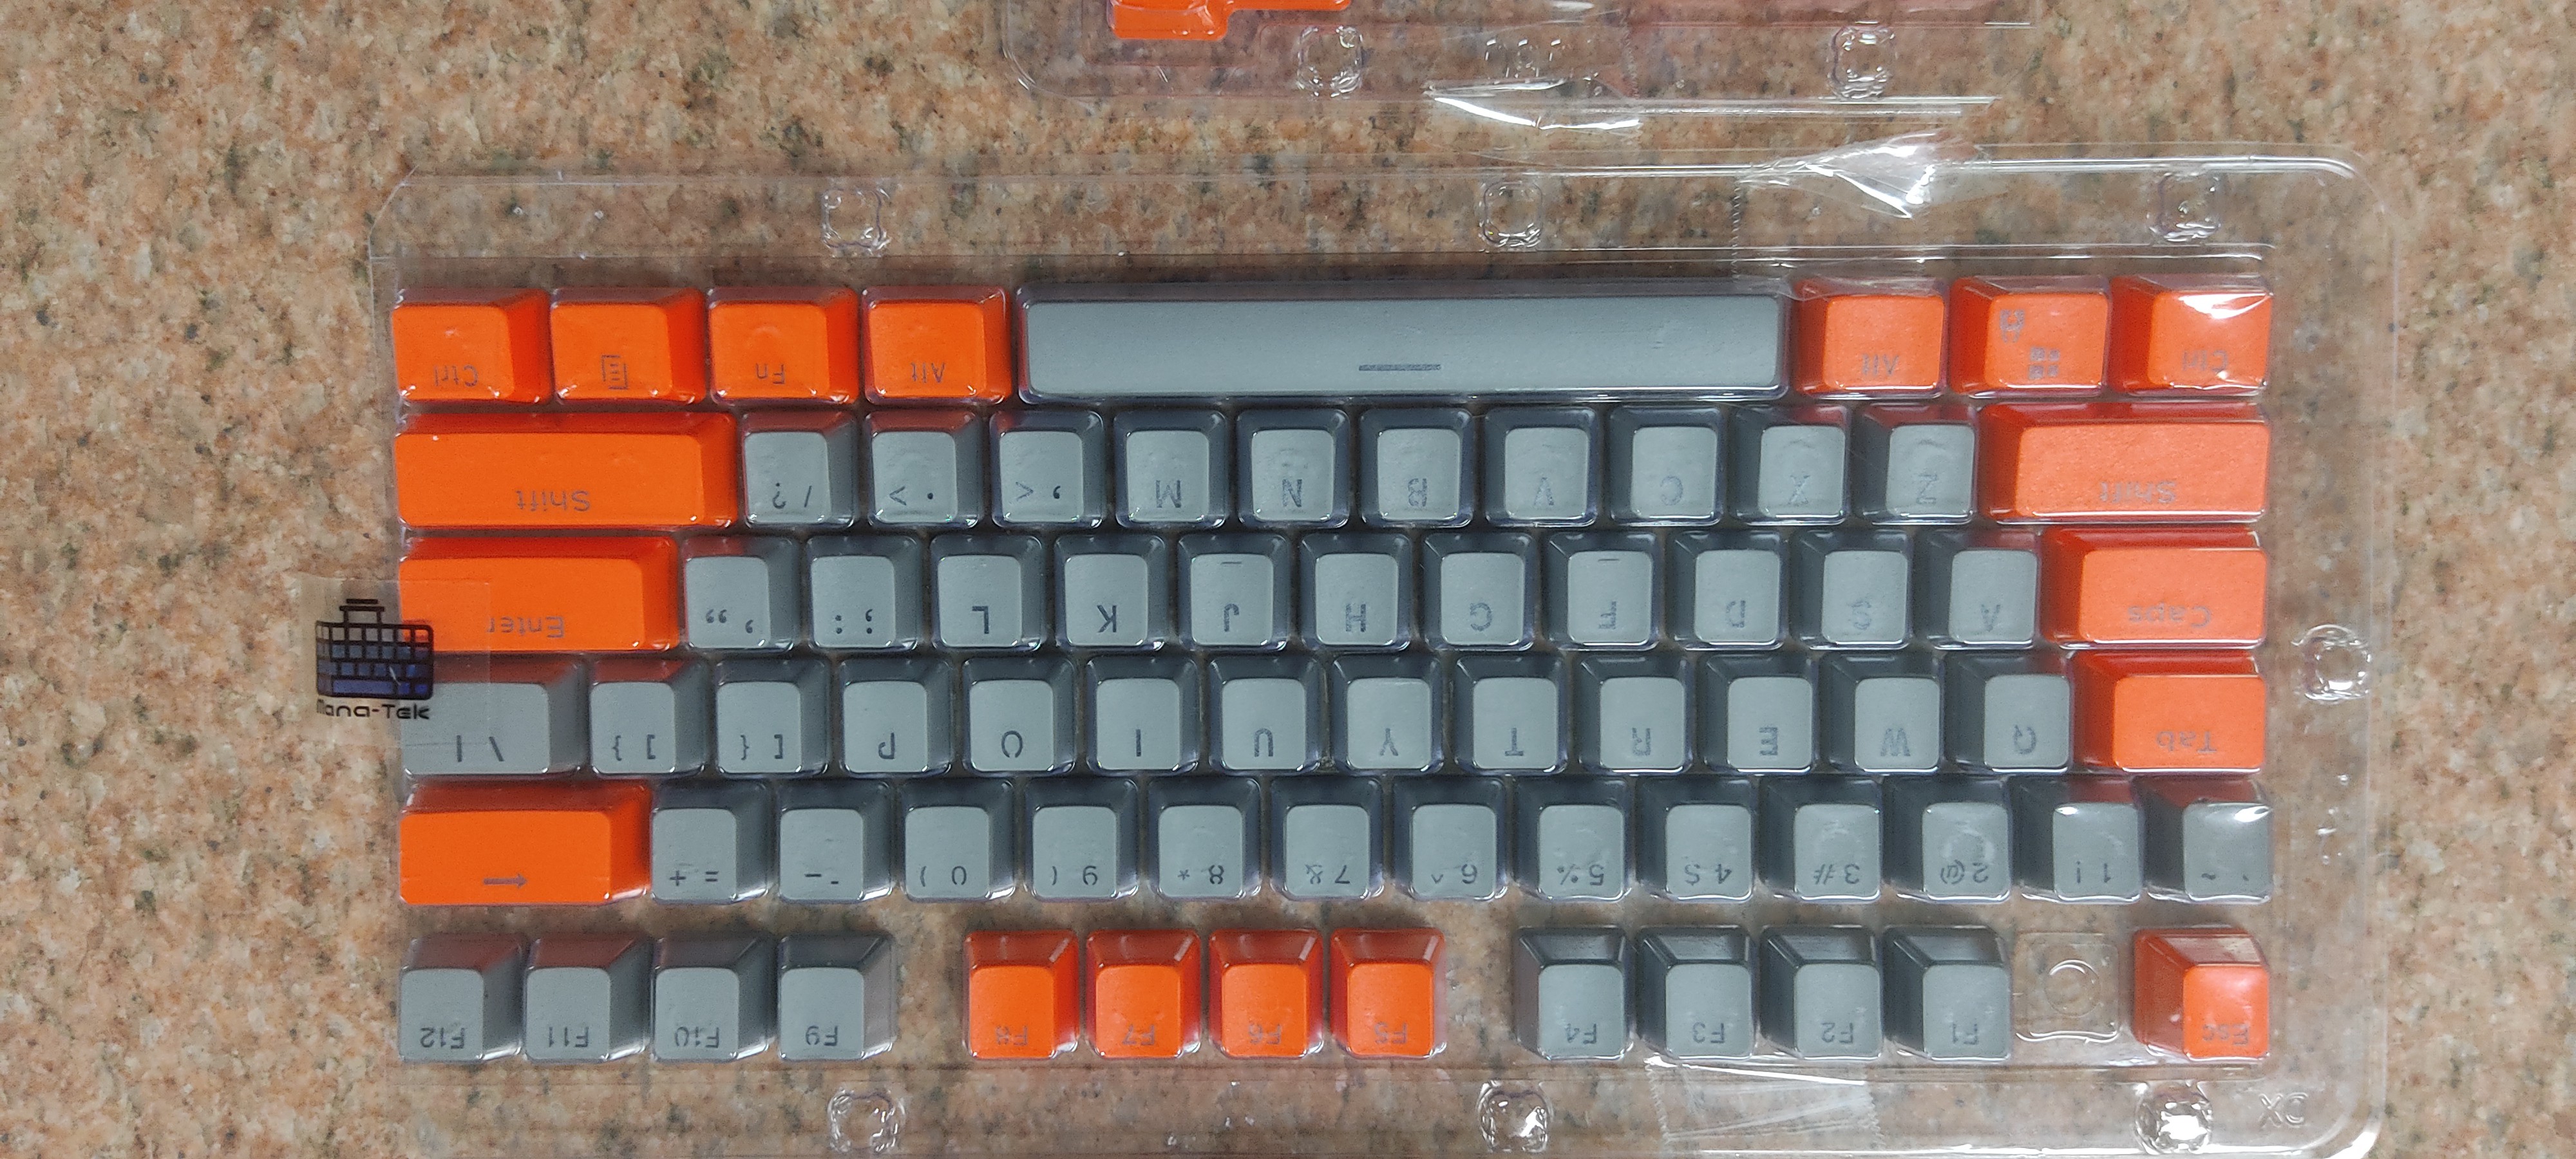
 Next up for these is to figure out the interface between the monitor, keyboard and case.
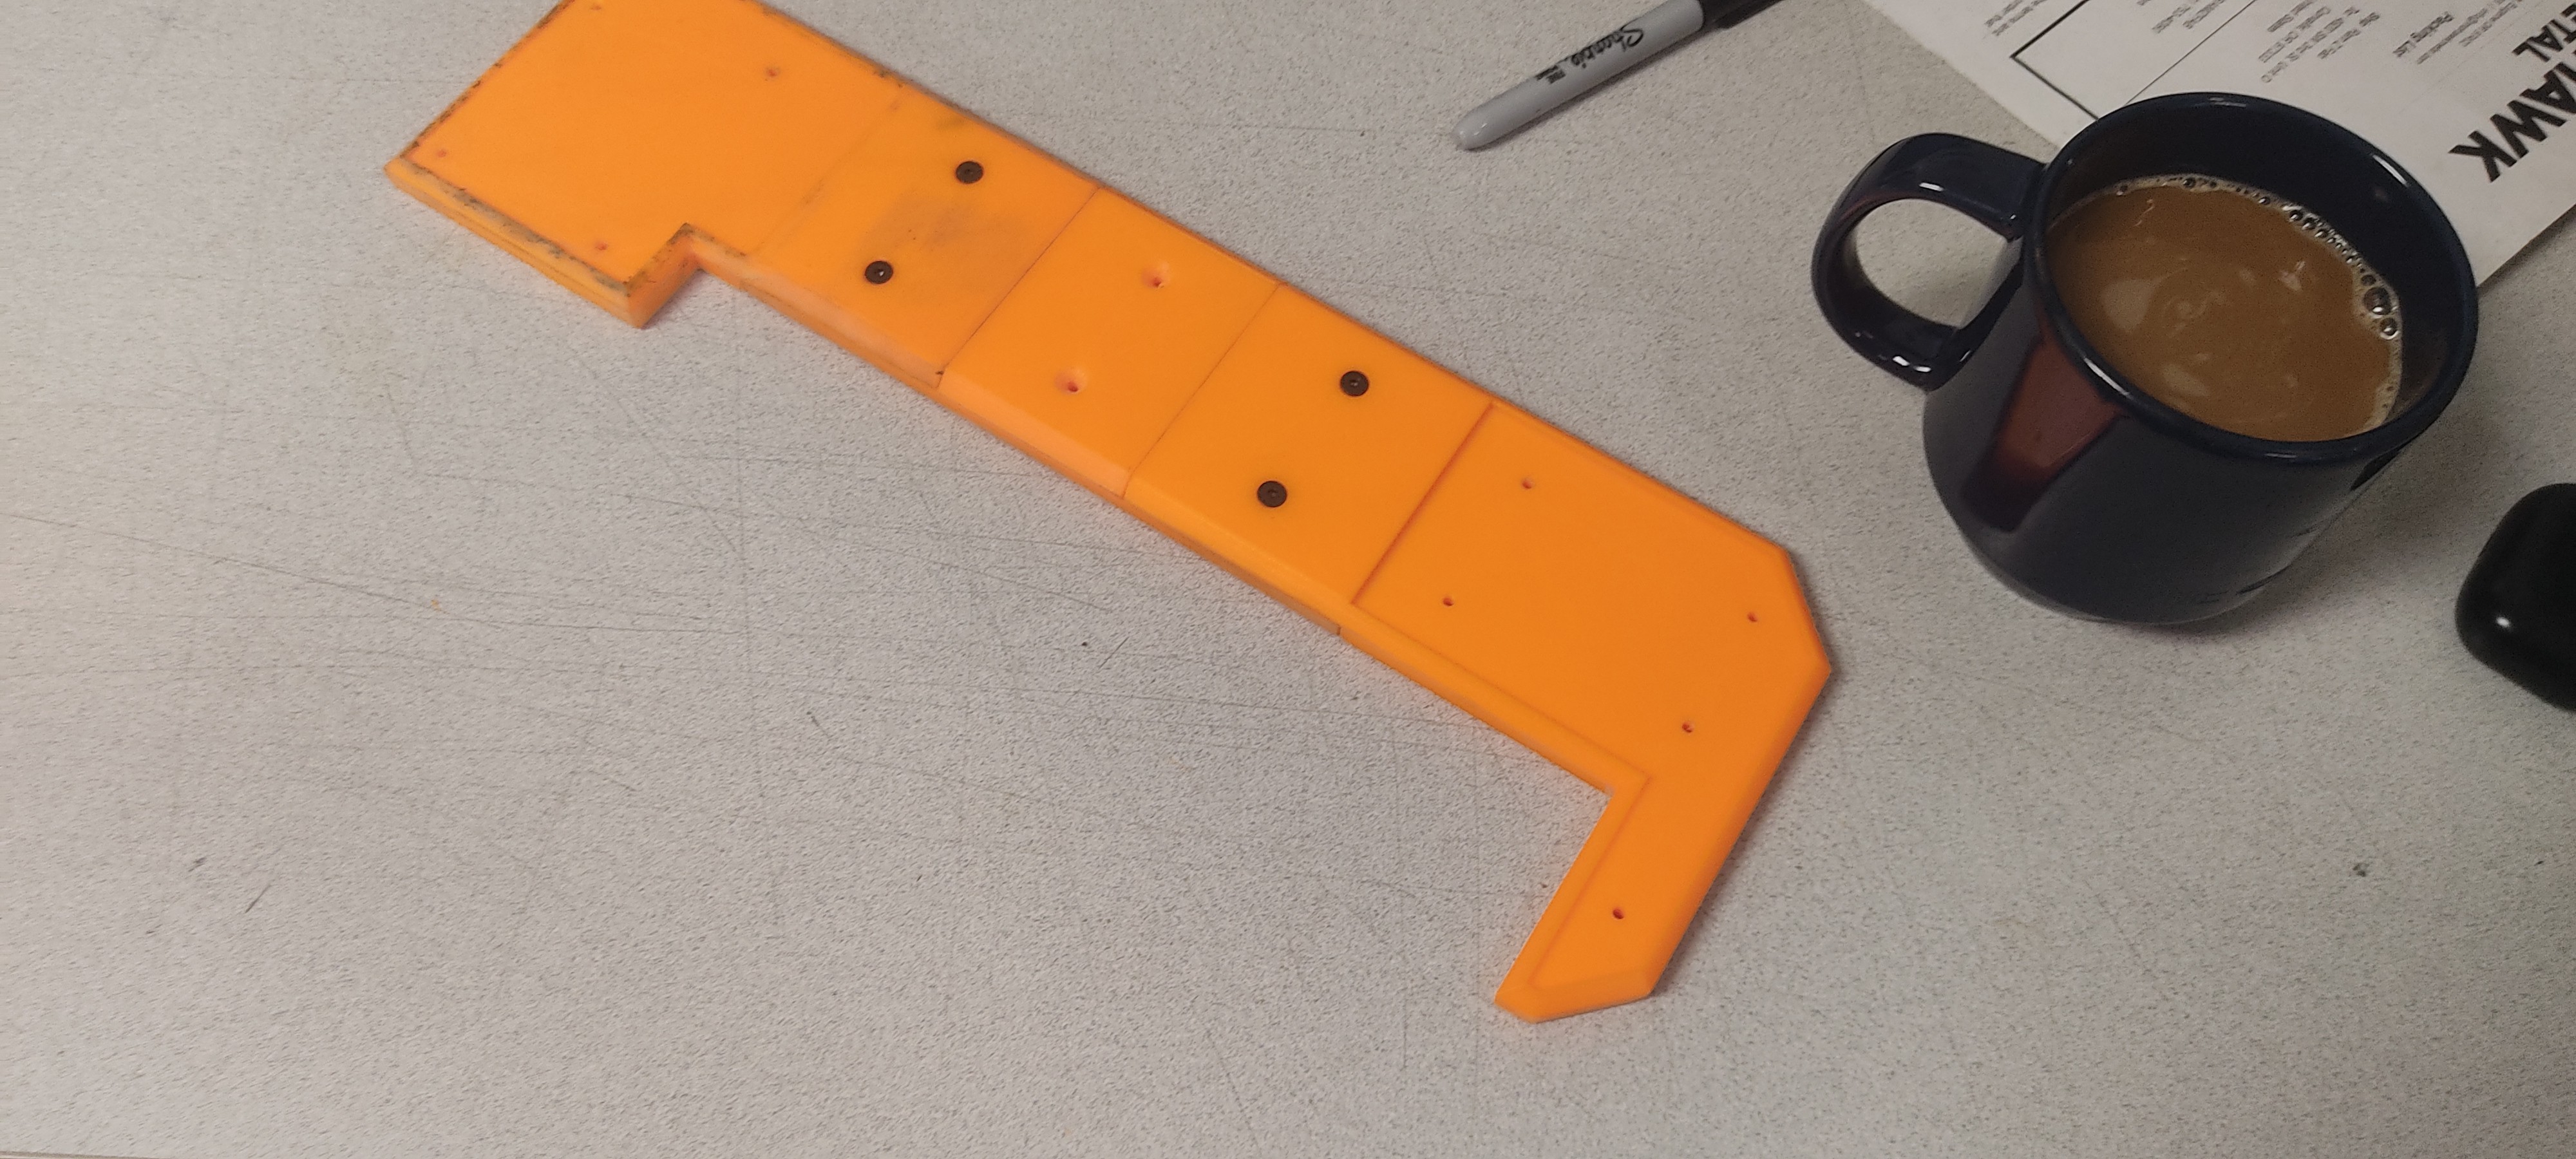
 Probably going to need a direct drive extruder for that. (I'm using an Ultimaker 3 currently)


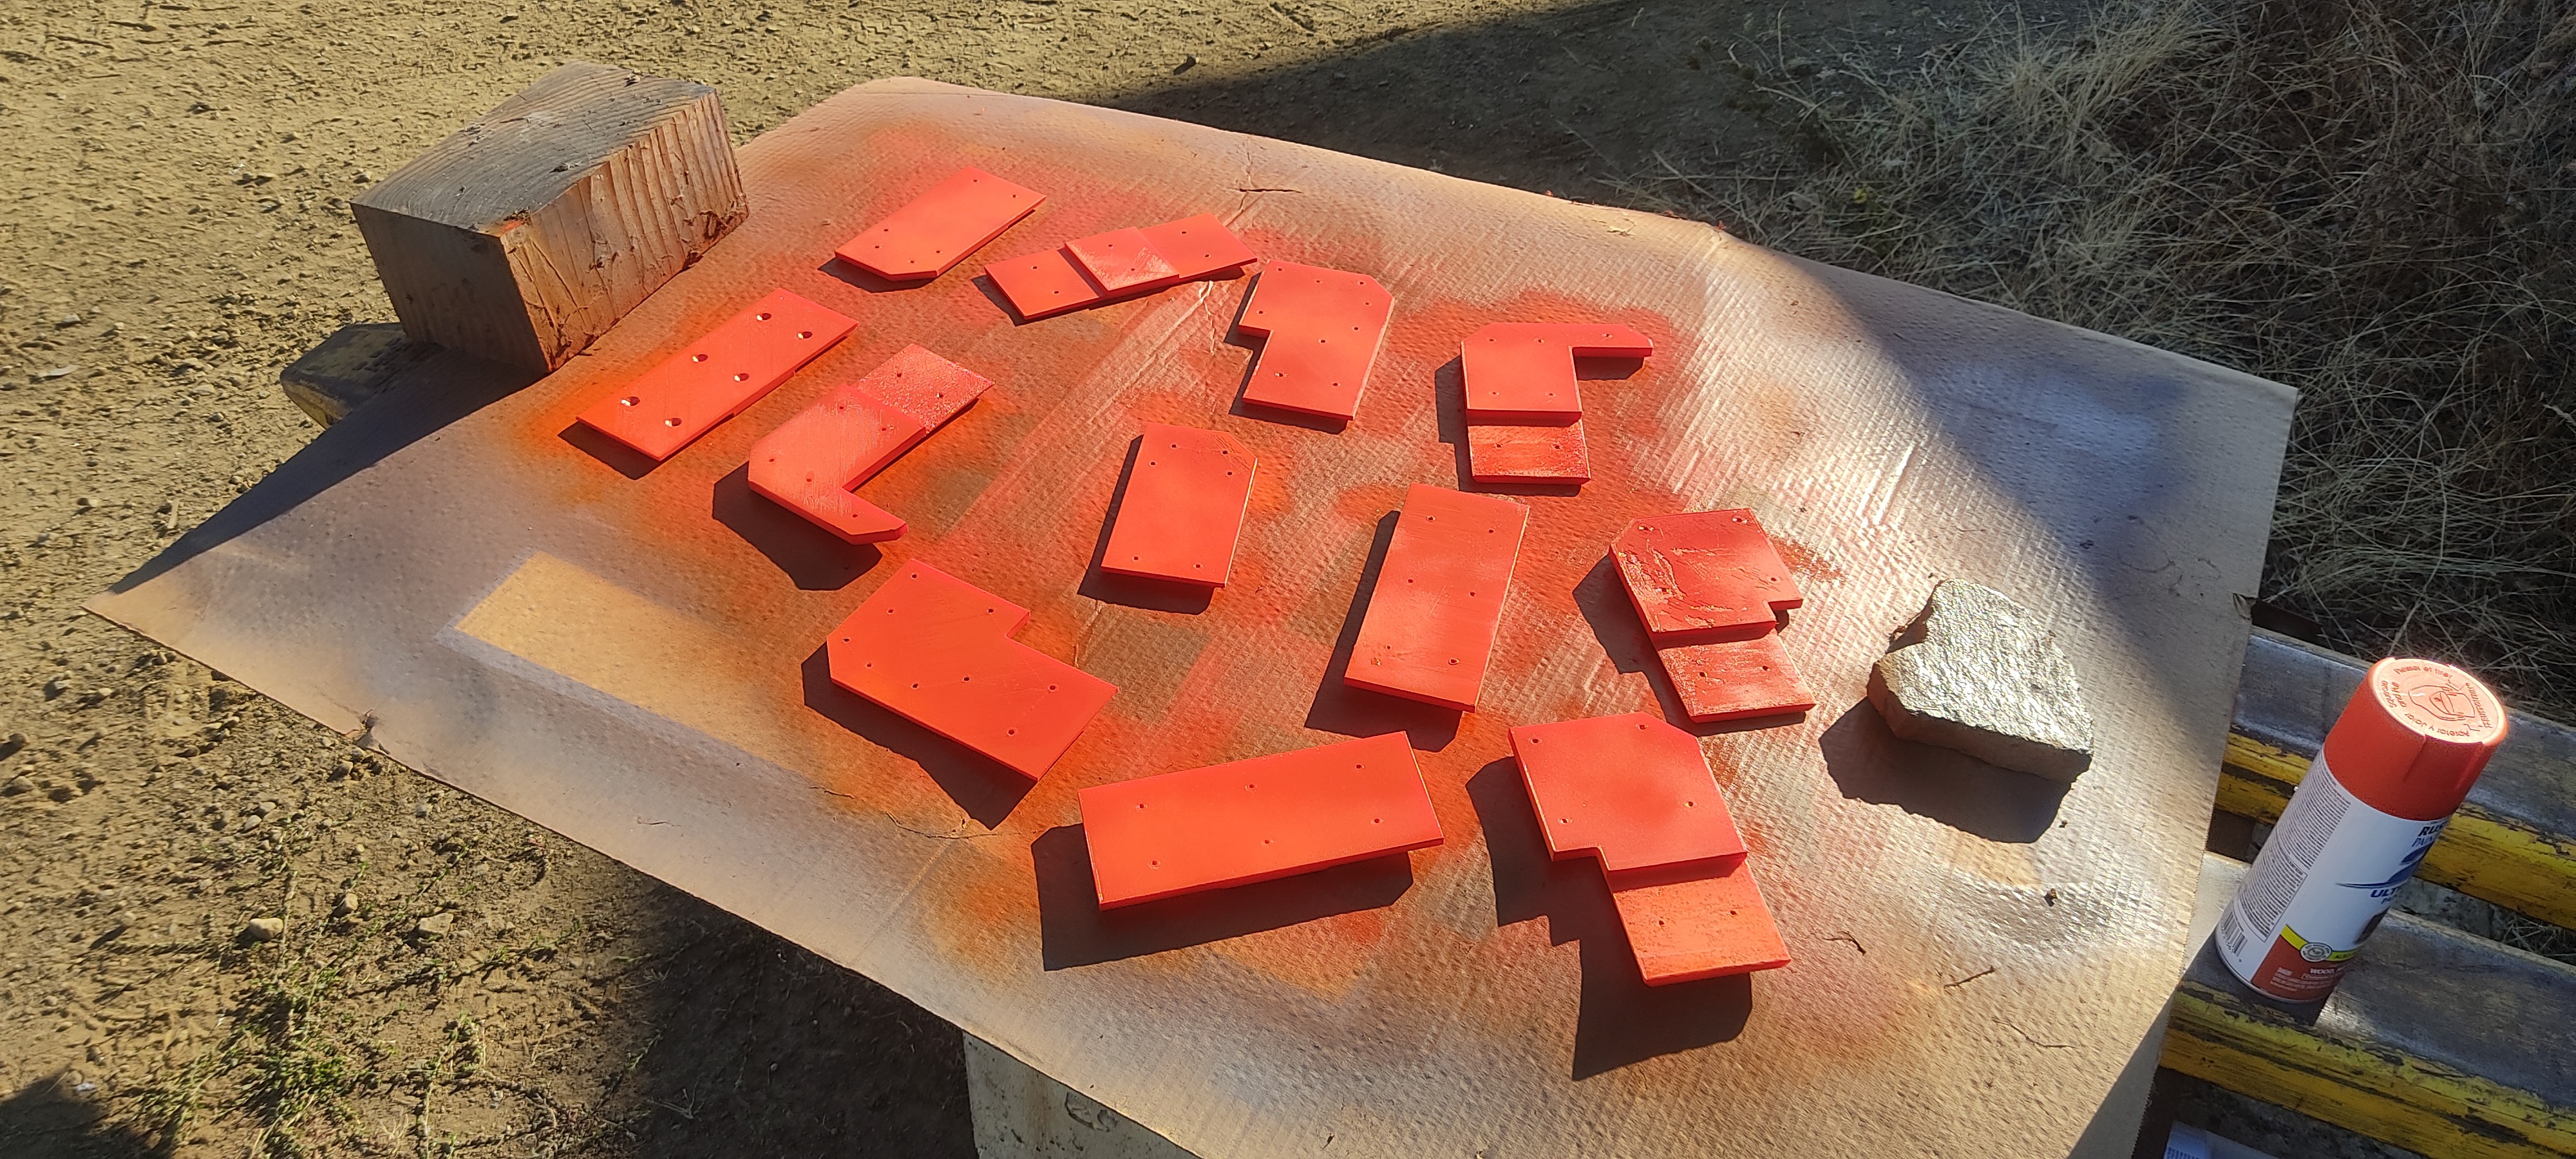
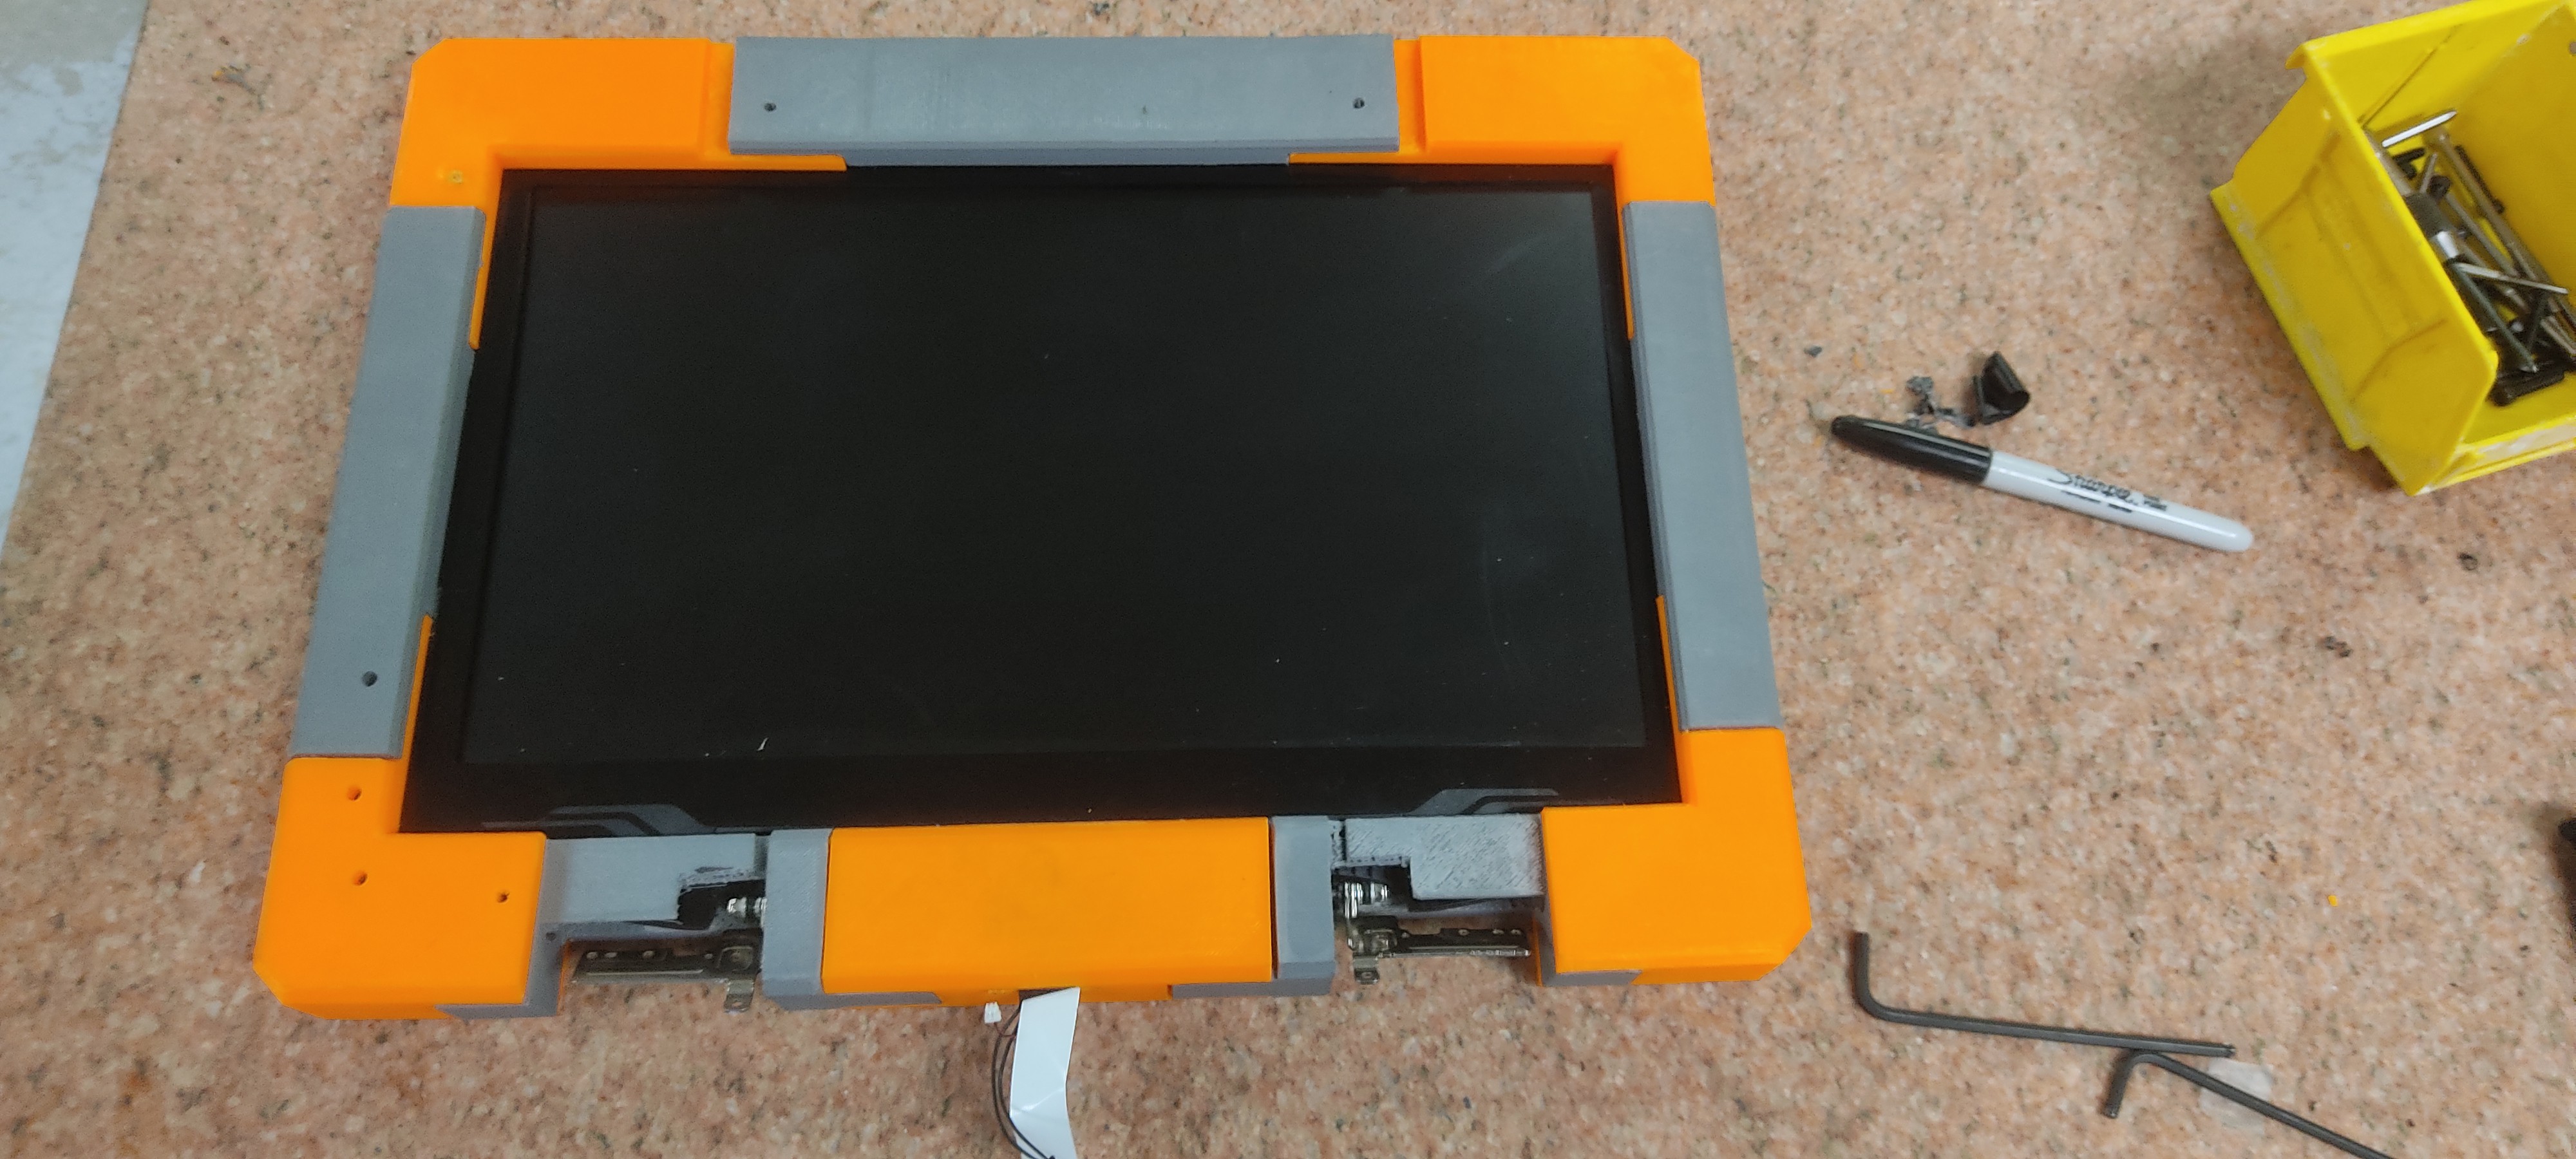
 And then finished!
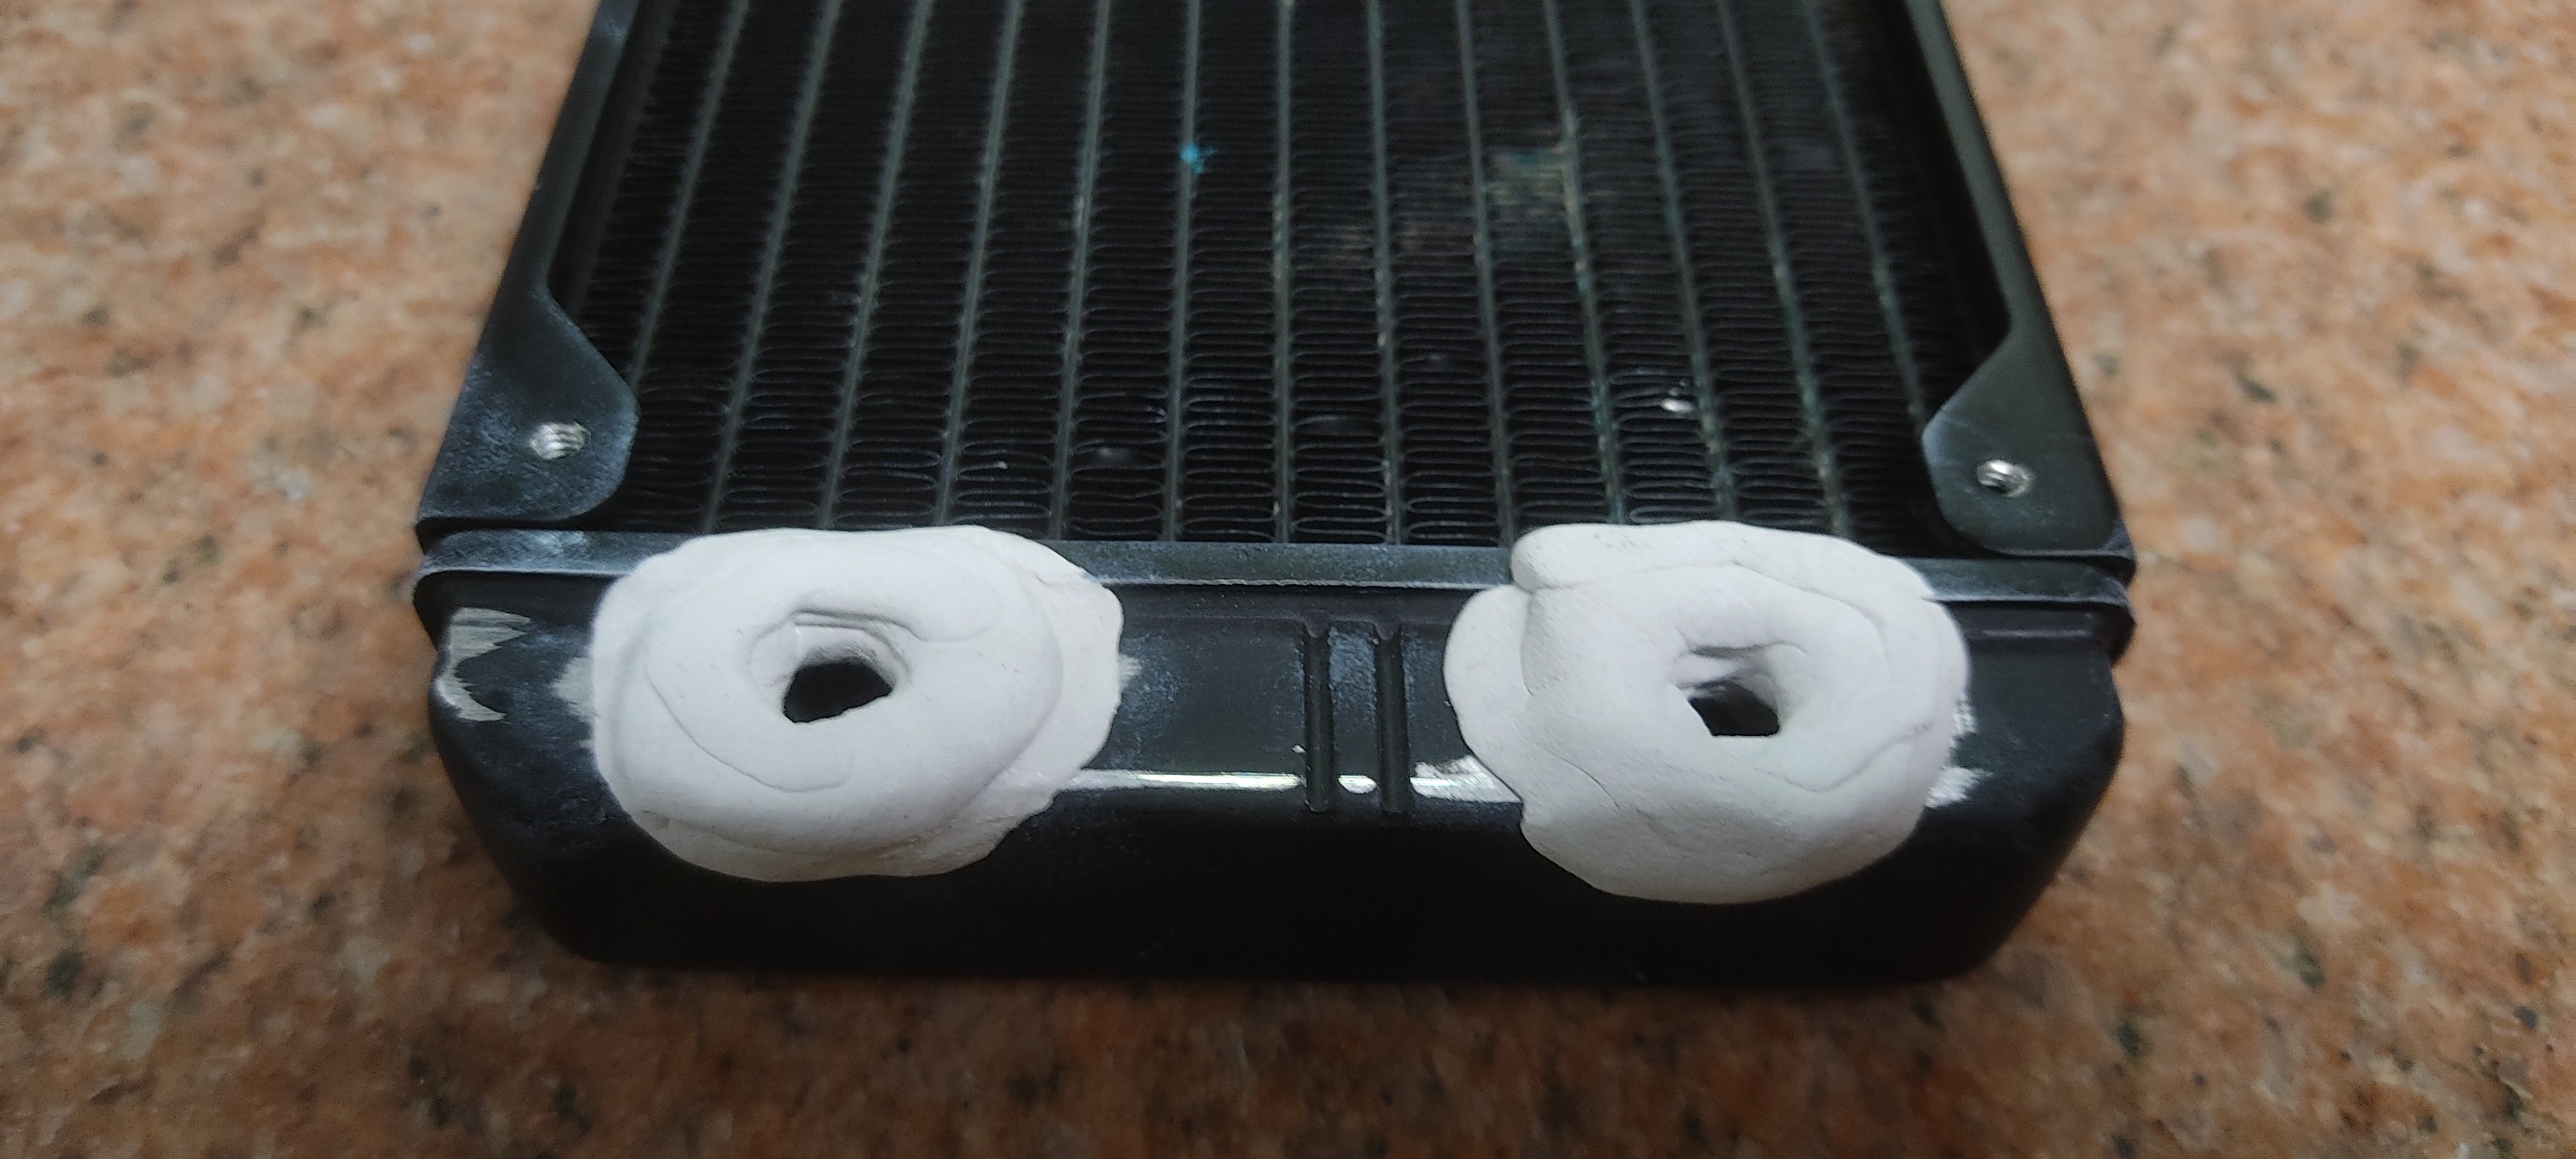
 But then I found out the connectors needed more clearance, and accidentally ground too deep while creating some...
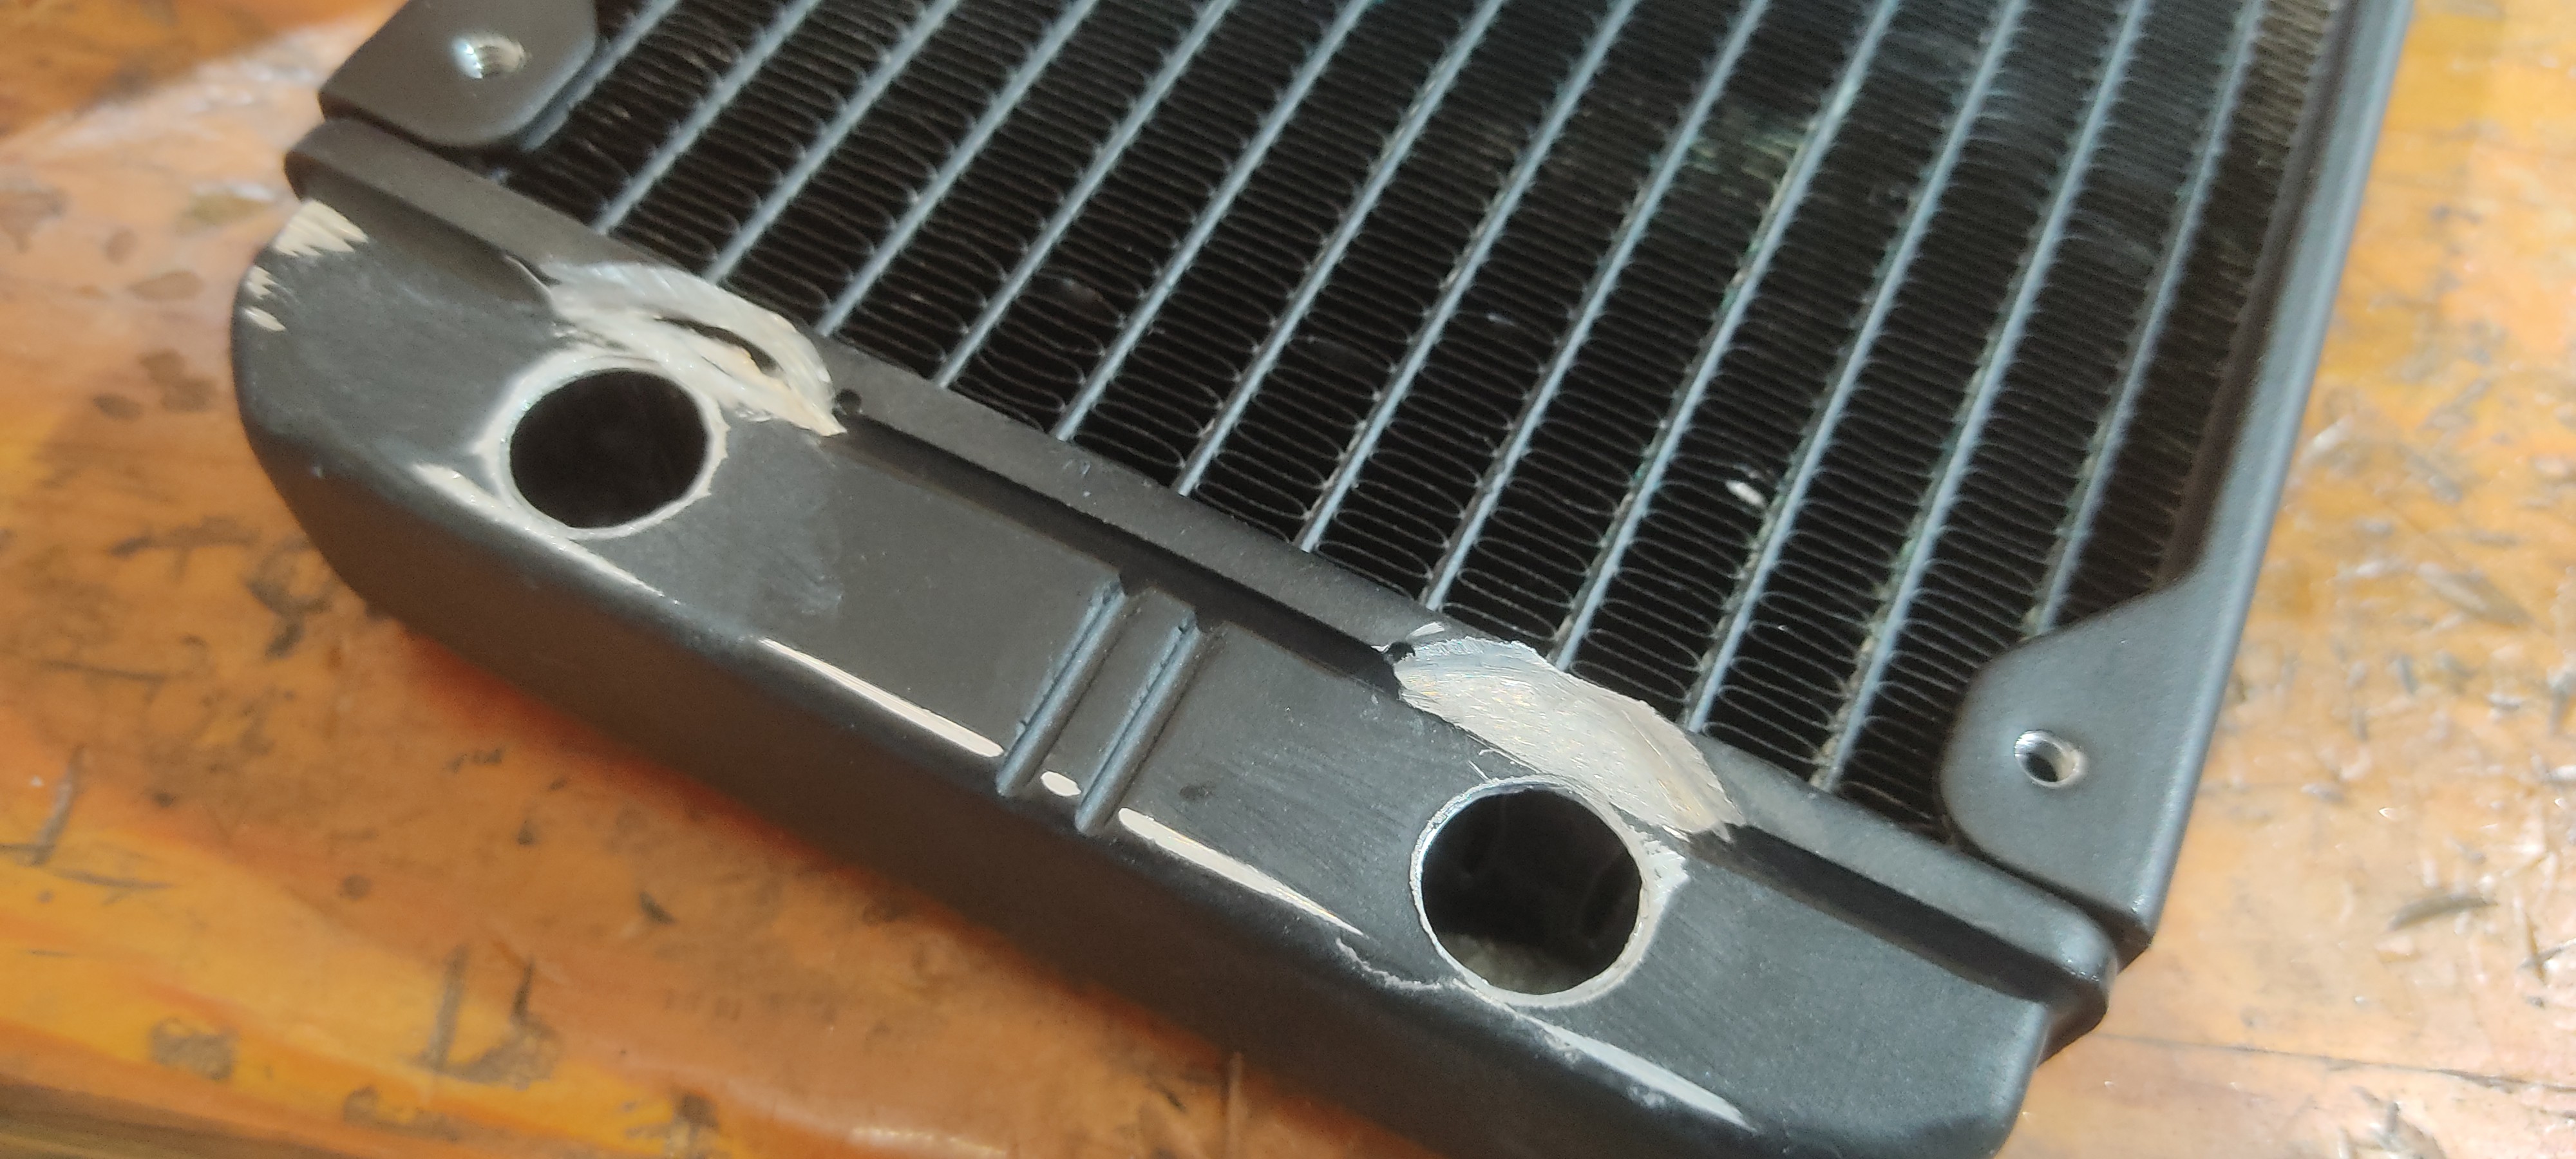
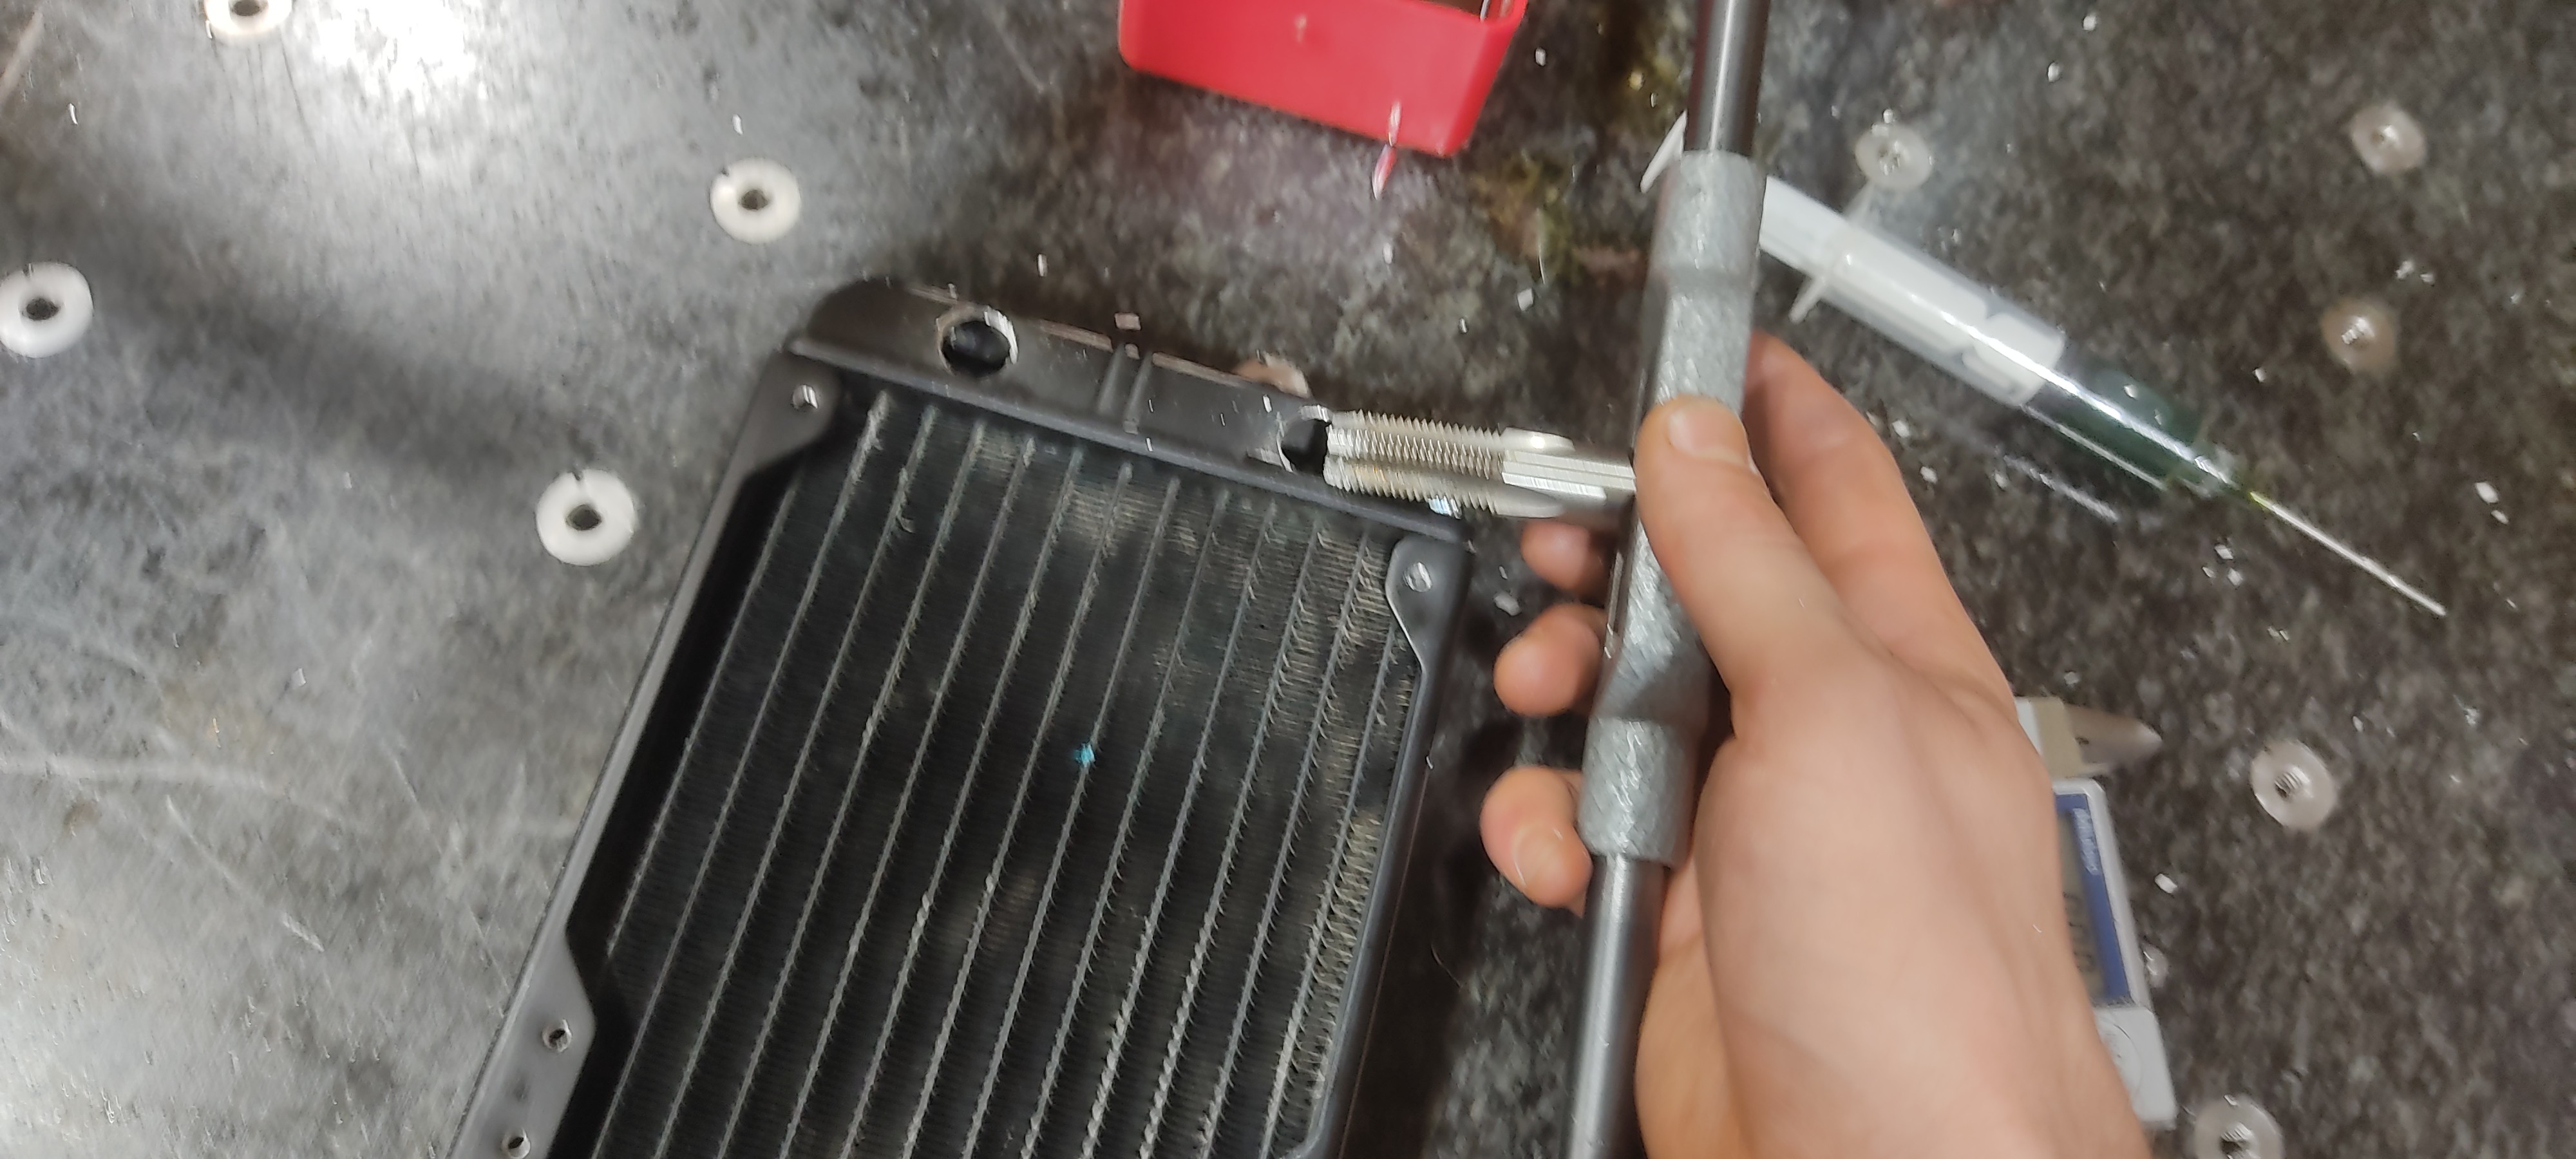
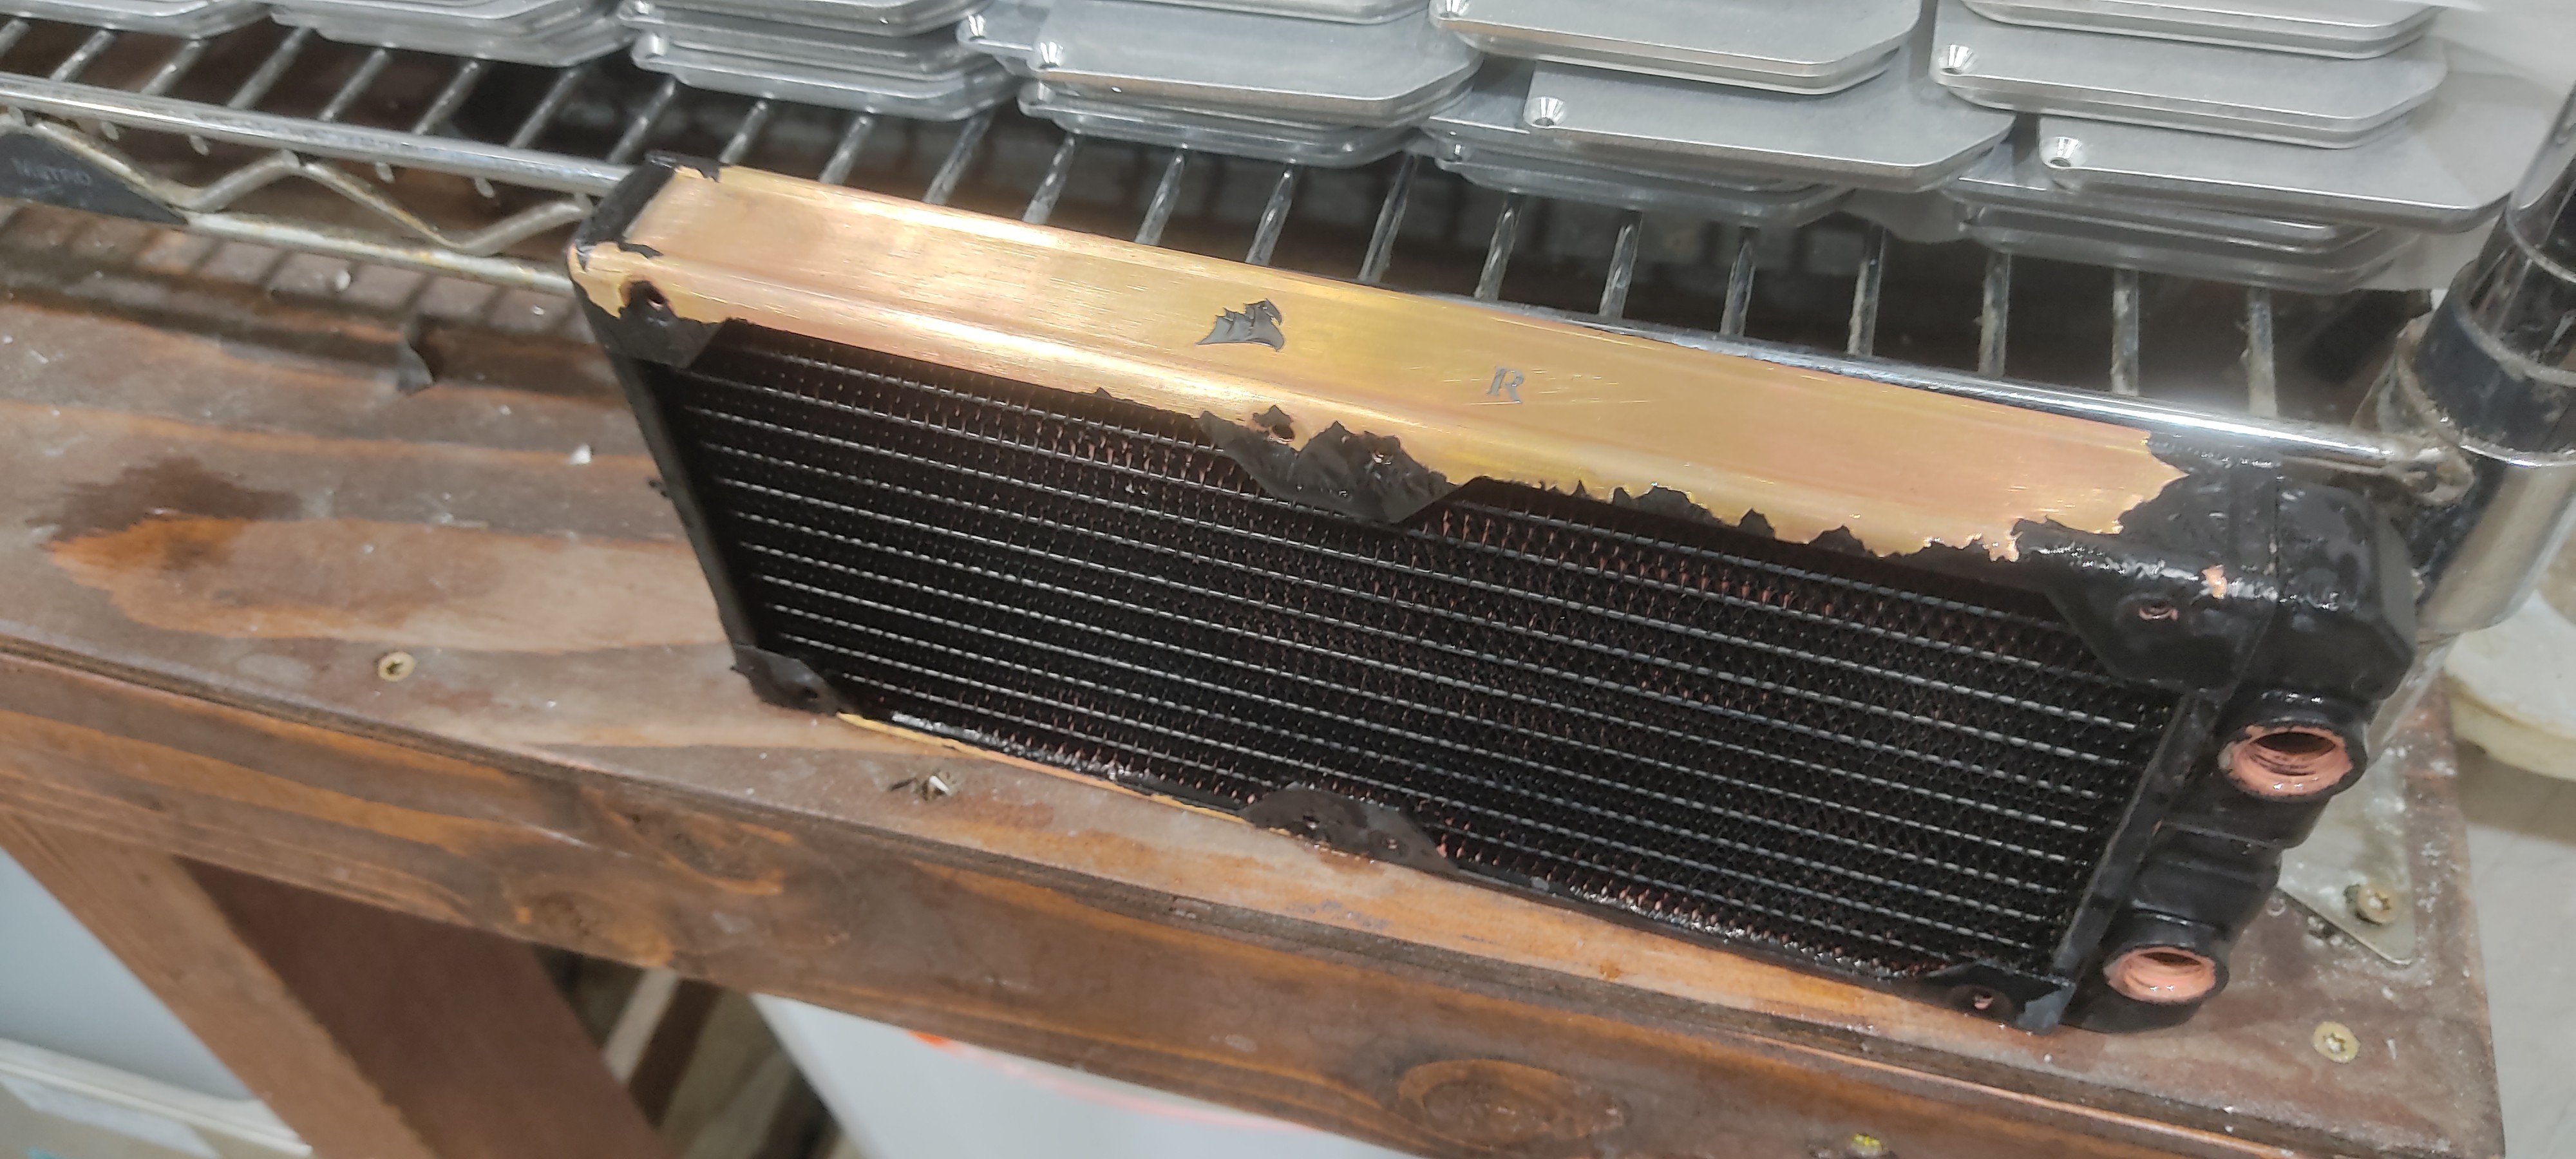
 The other radiator, which was supposed to be easier (requiring only cleaning) somehow became problematic as well...
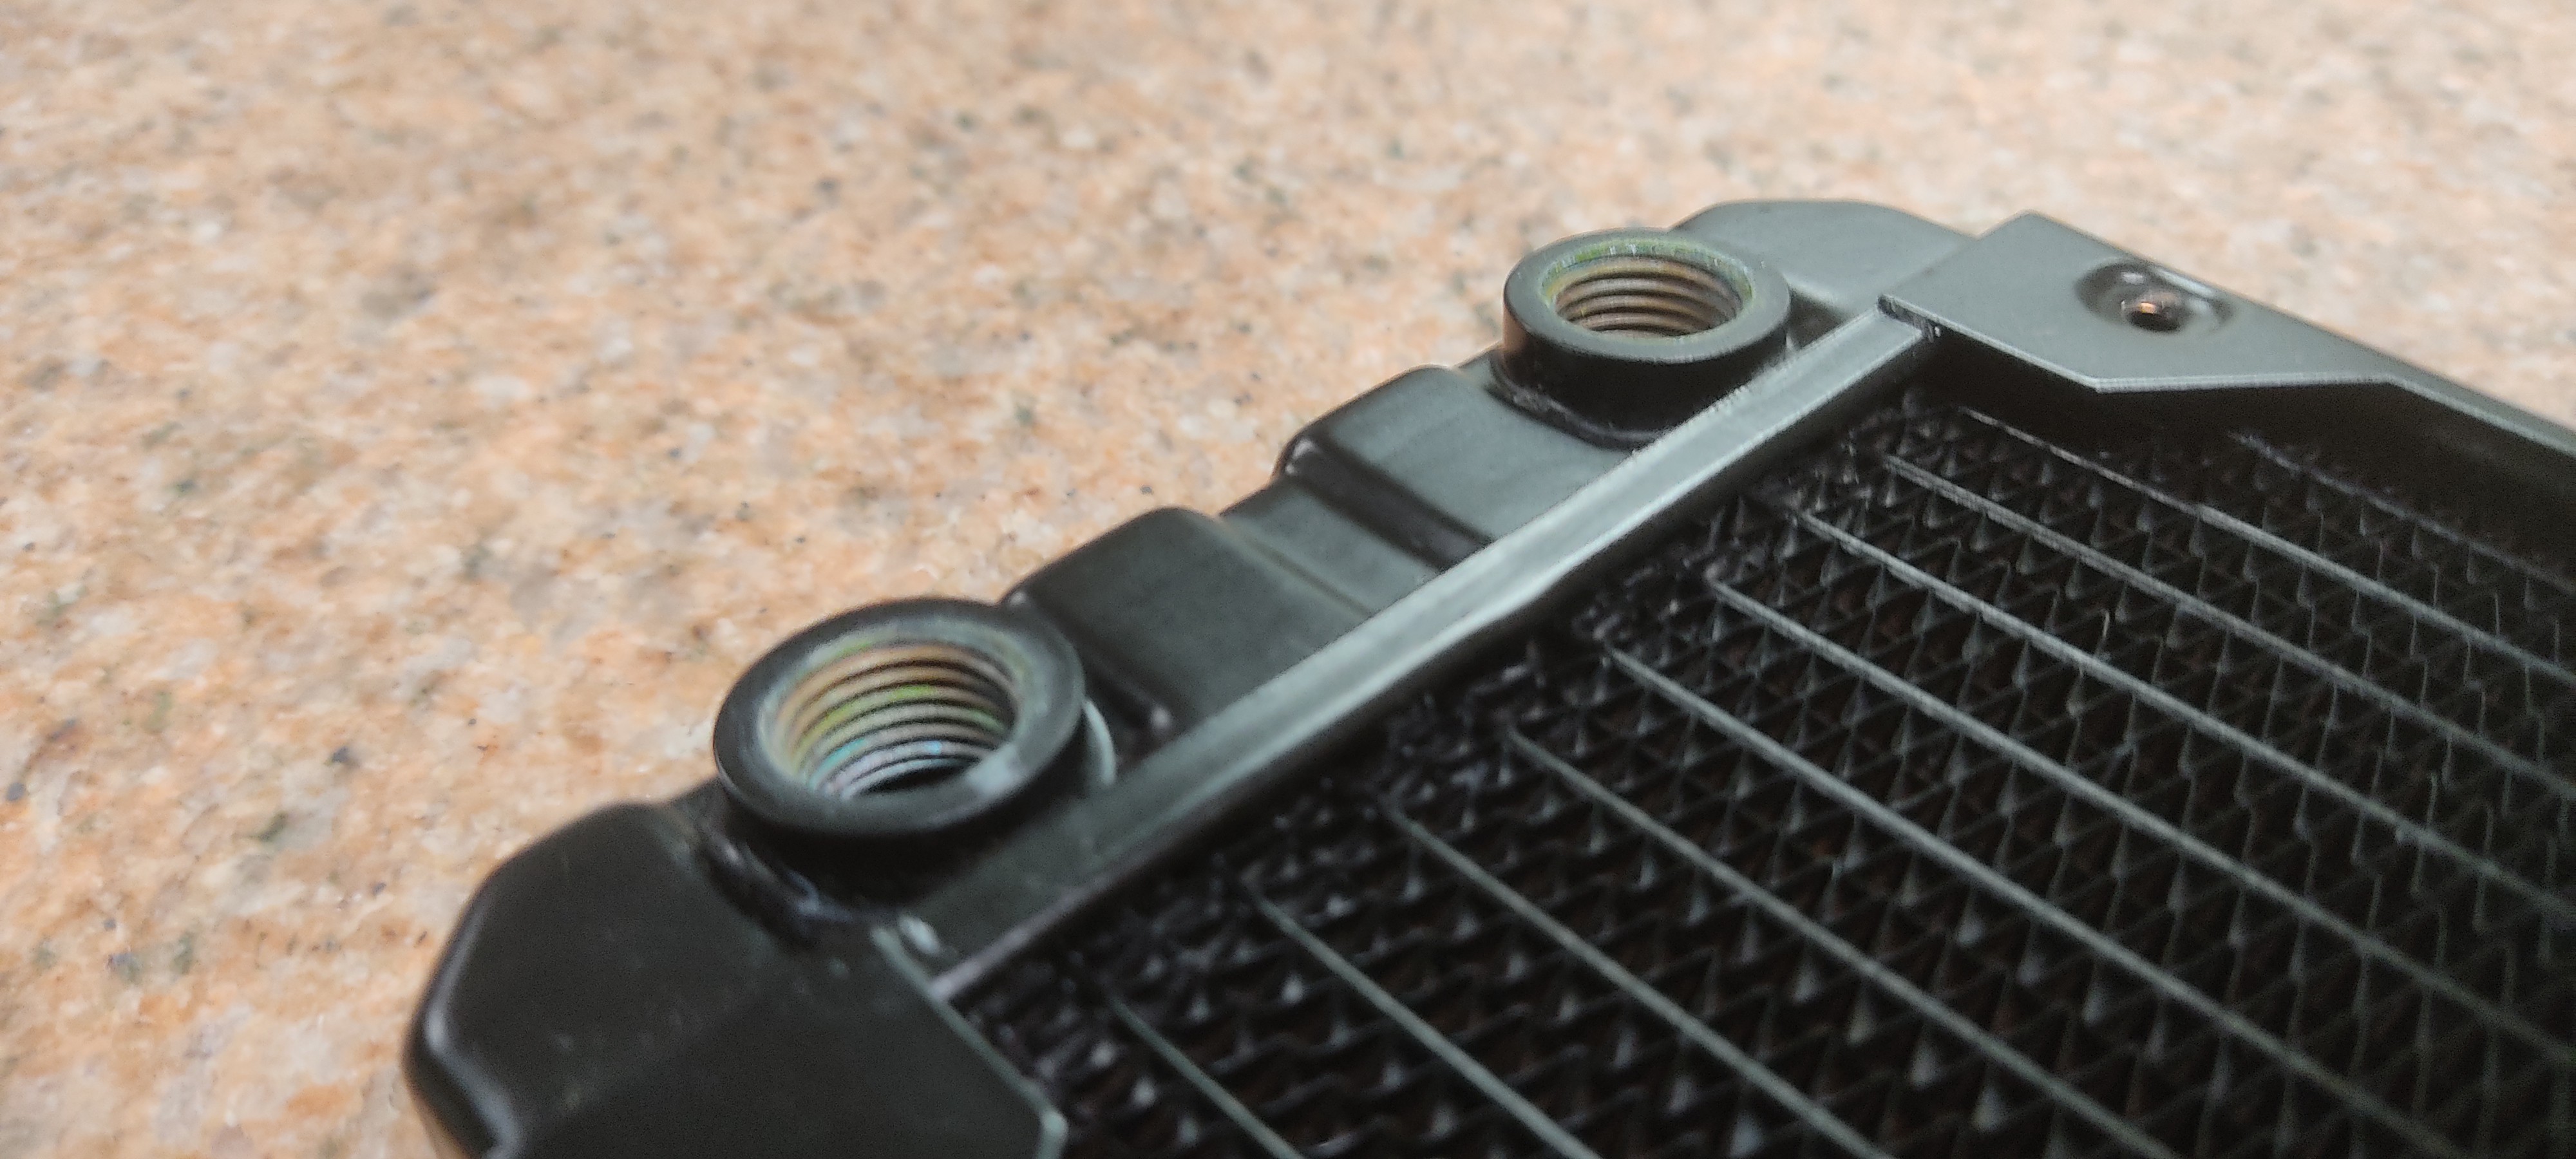
 A similar treatment (With colder settings) were used in conjunction with liberal application of a toothbrush to clean the used waterblock I found relatively cheap.
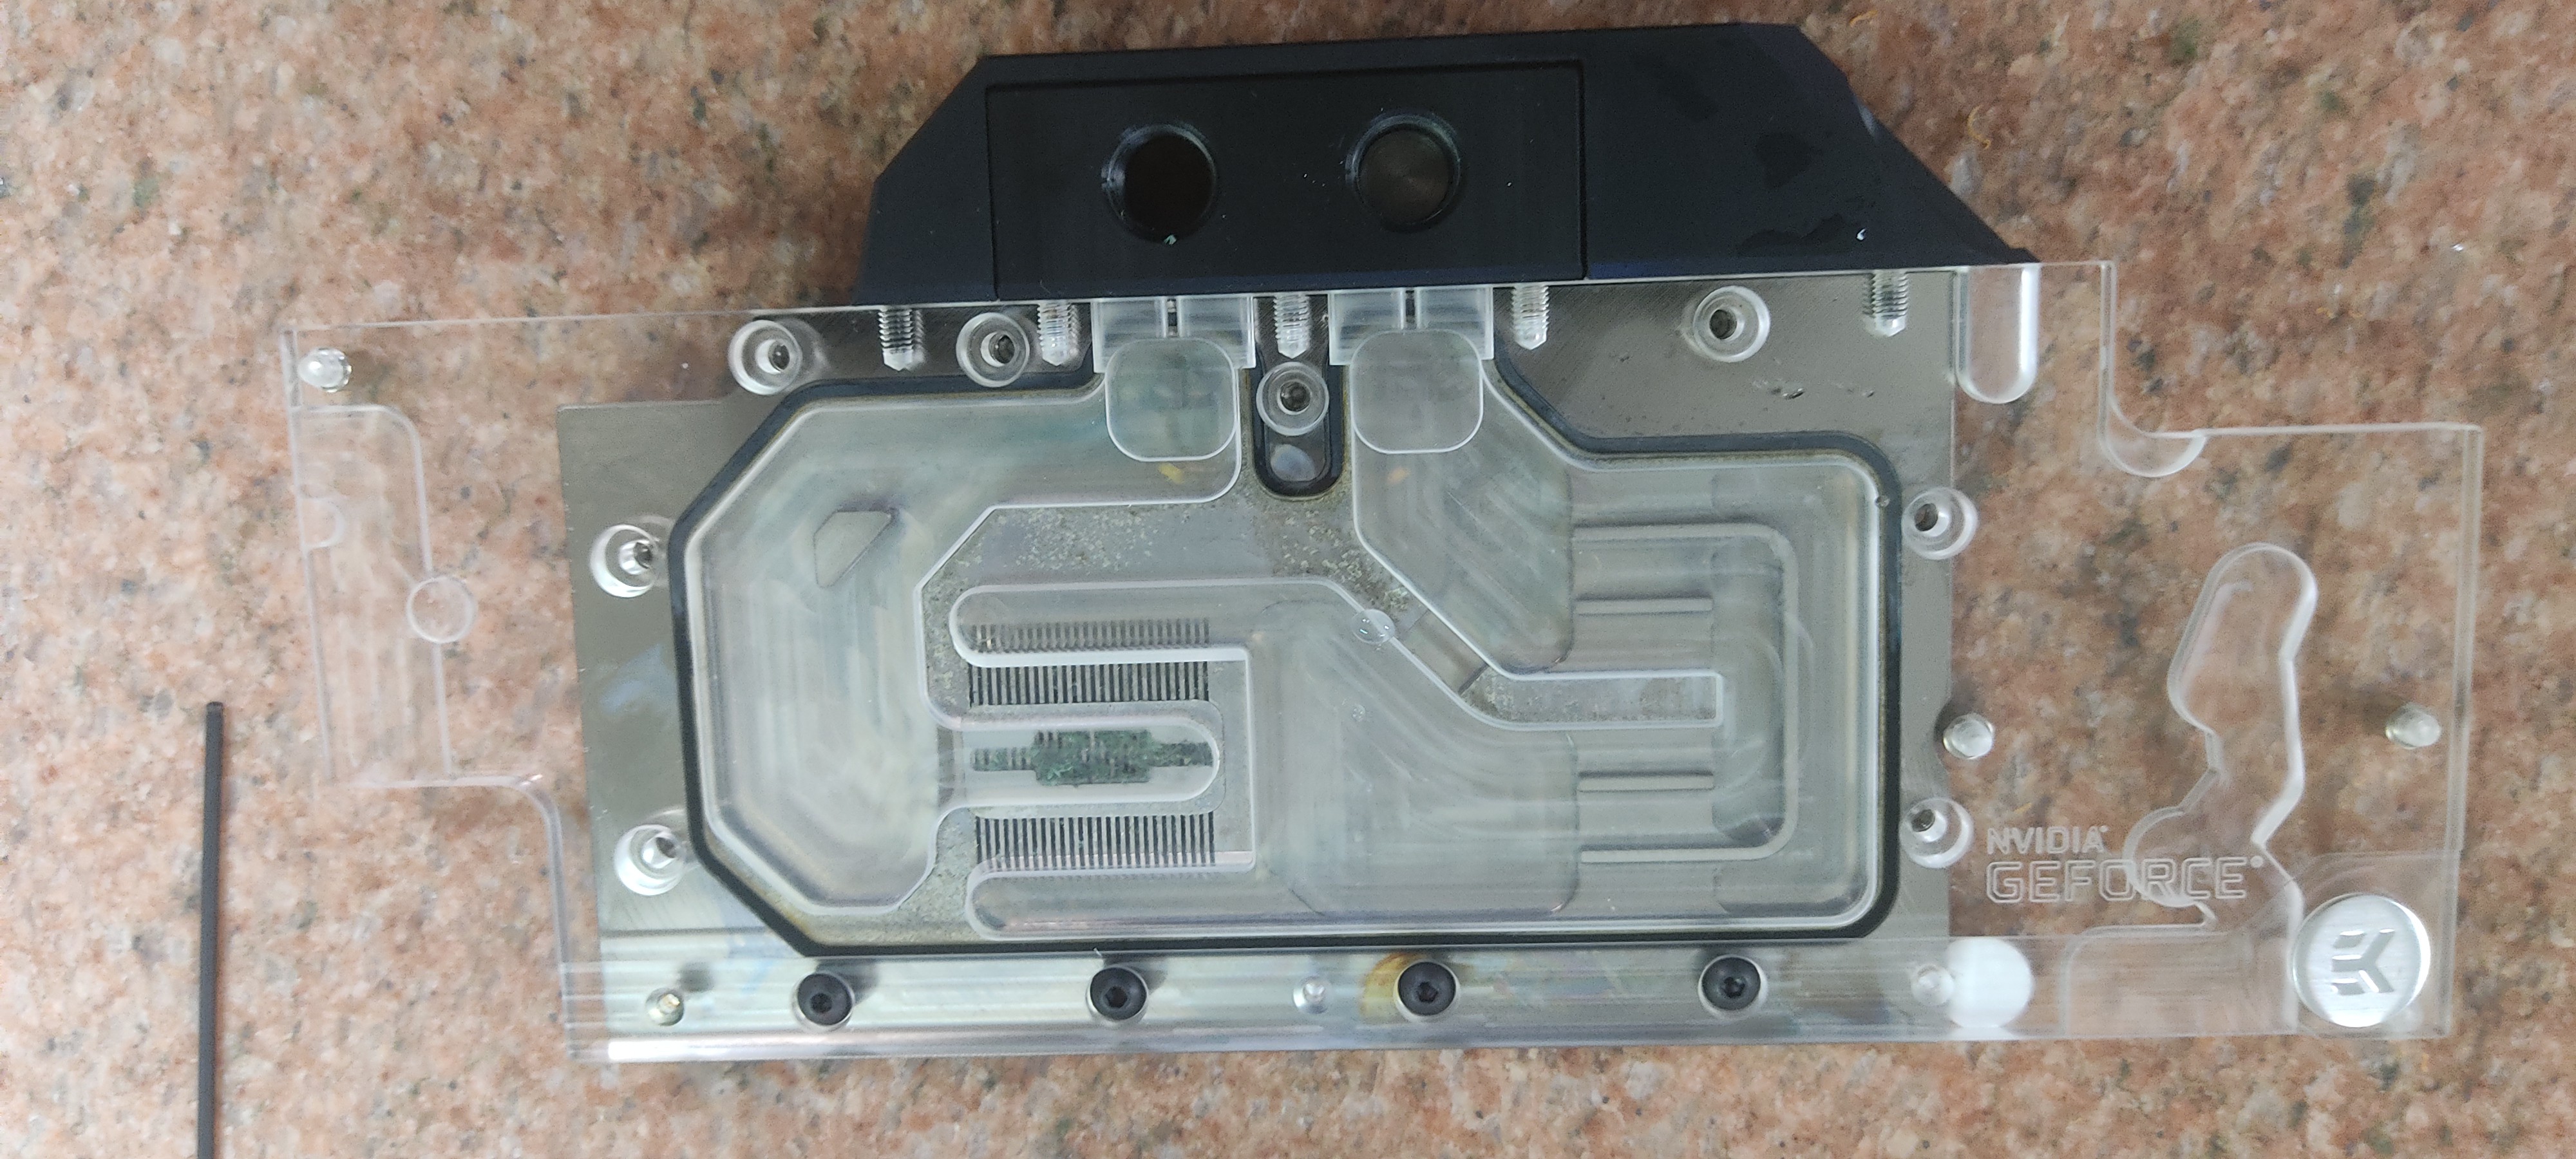
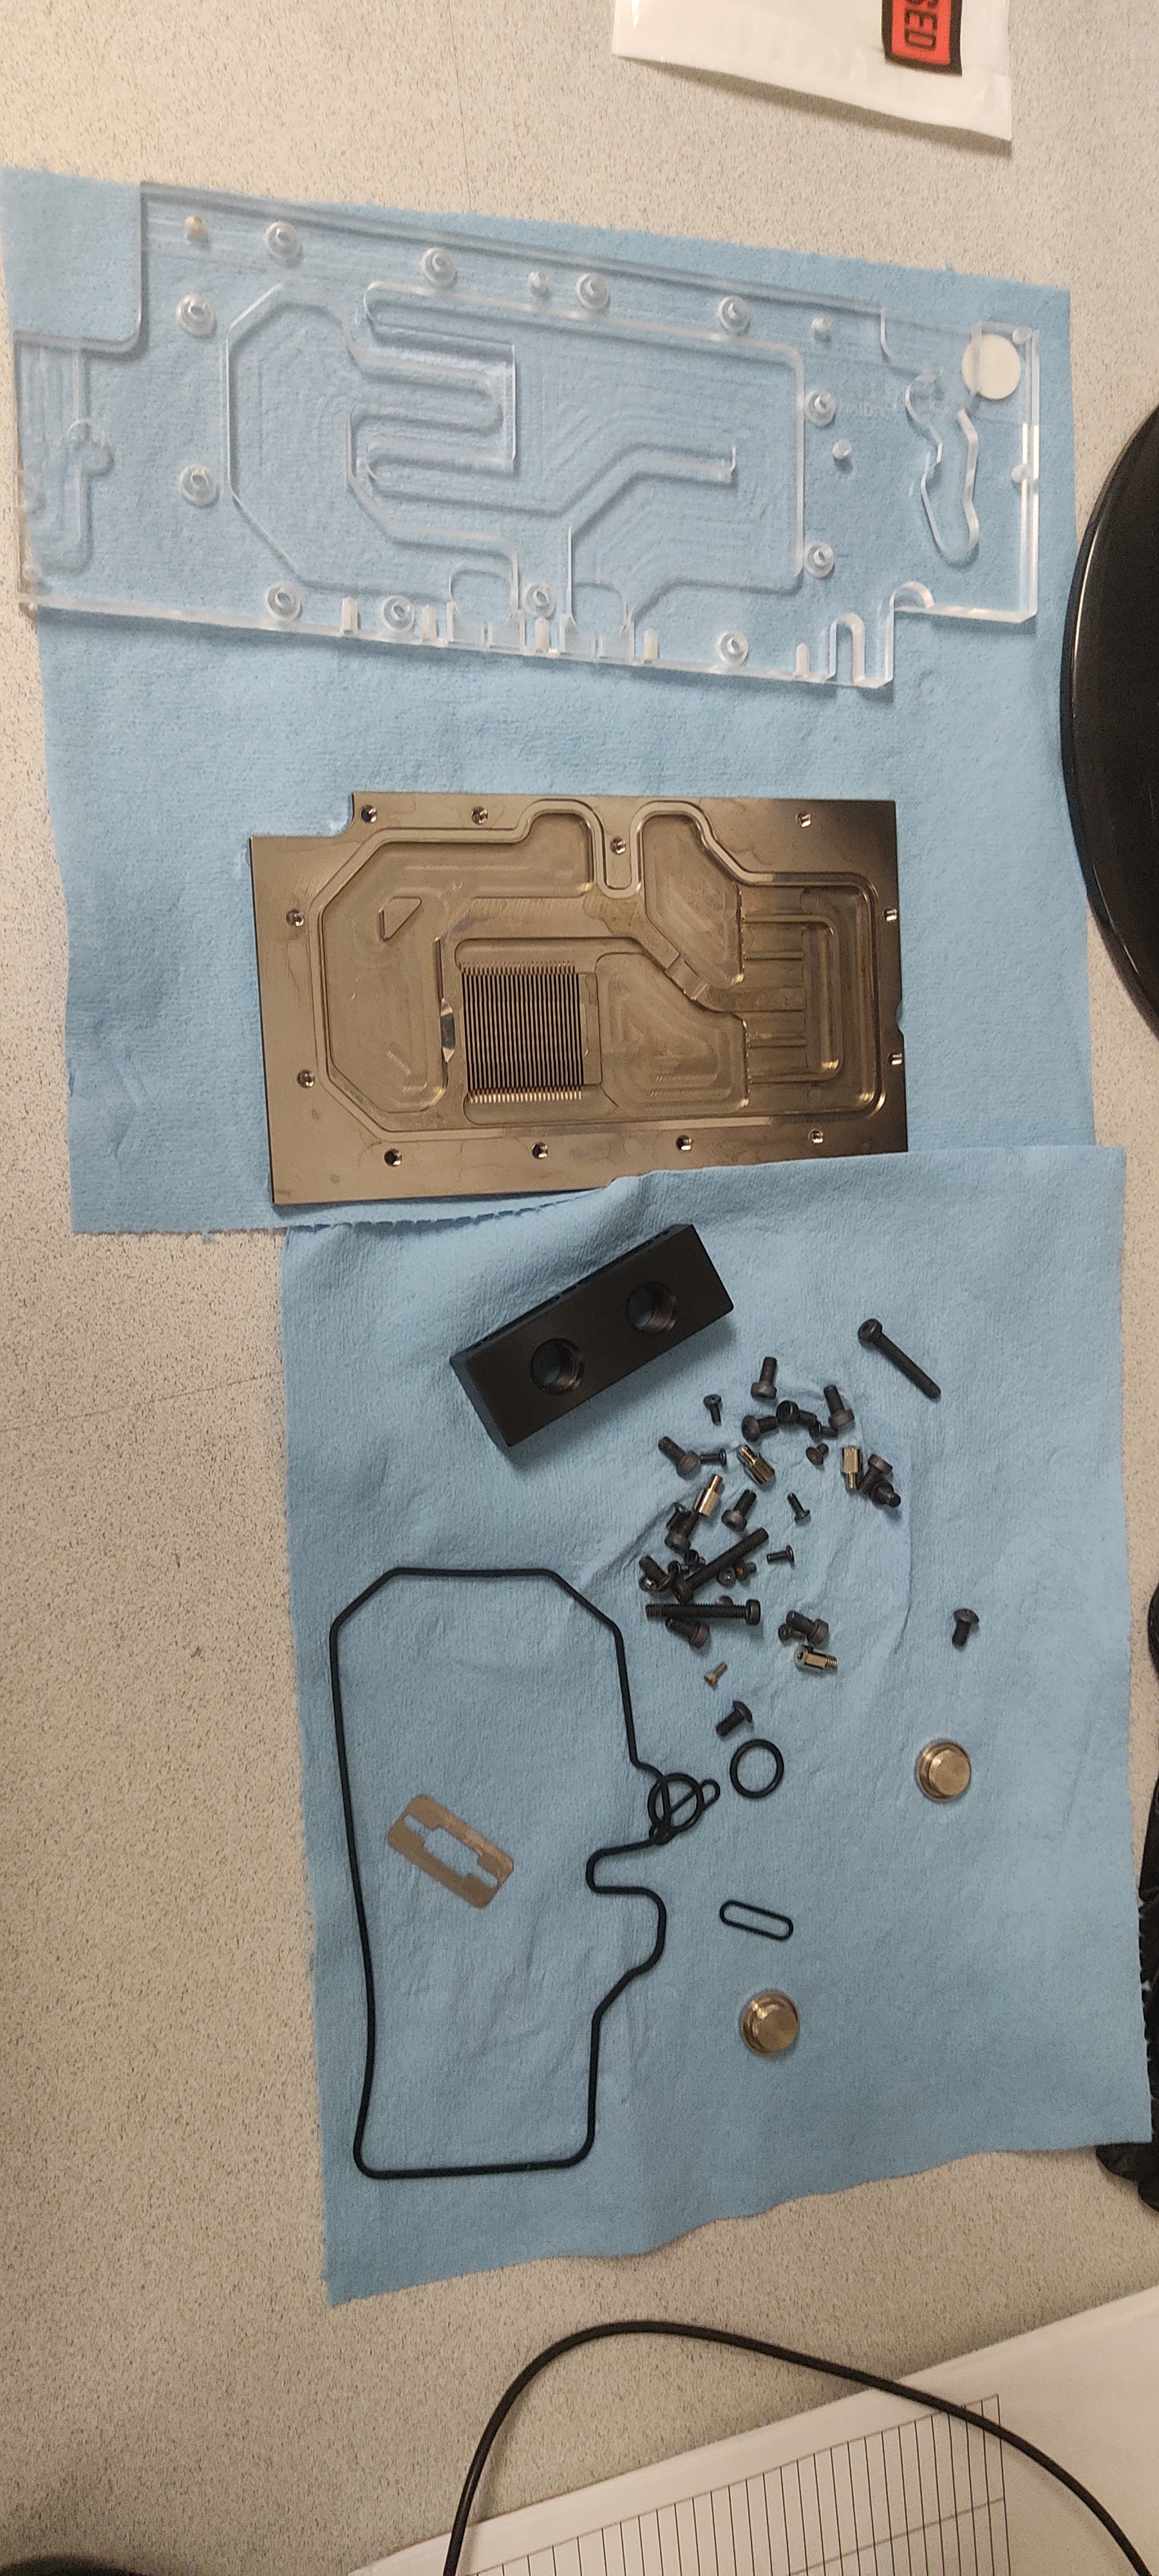 The screws and orings were thrown in for a shorter amount of time and then washed with soap.

 joseph
 Ovidiu Sandru
 zittware