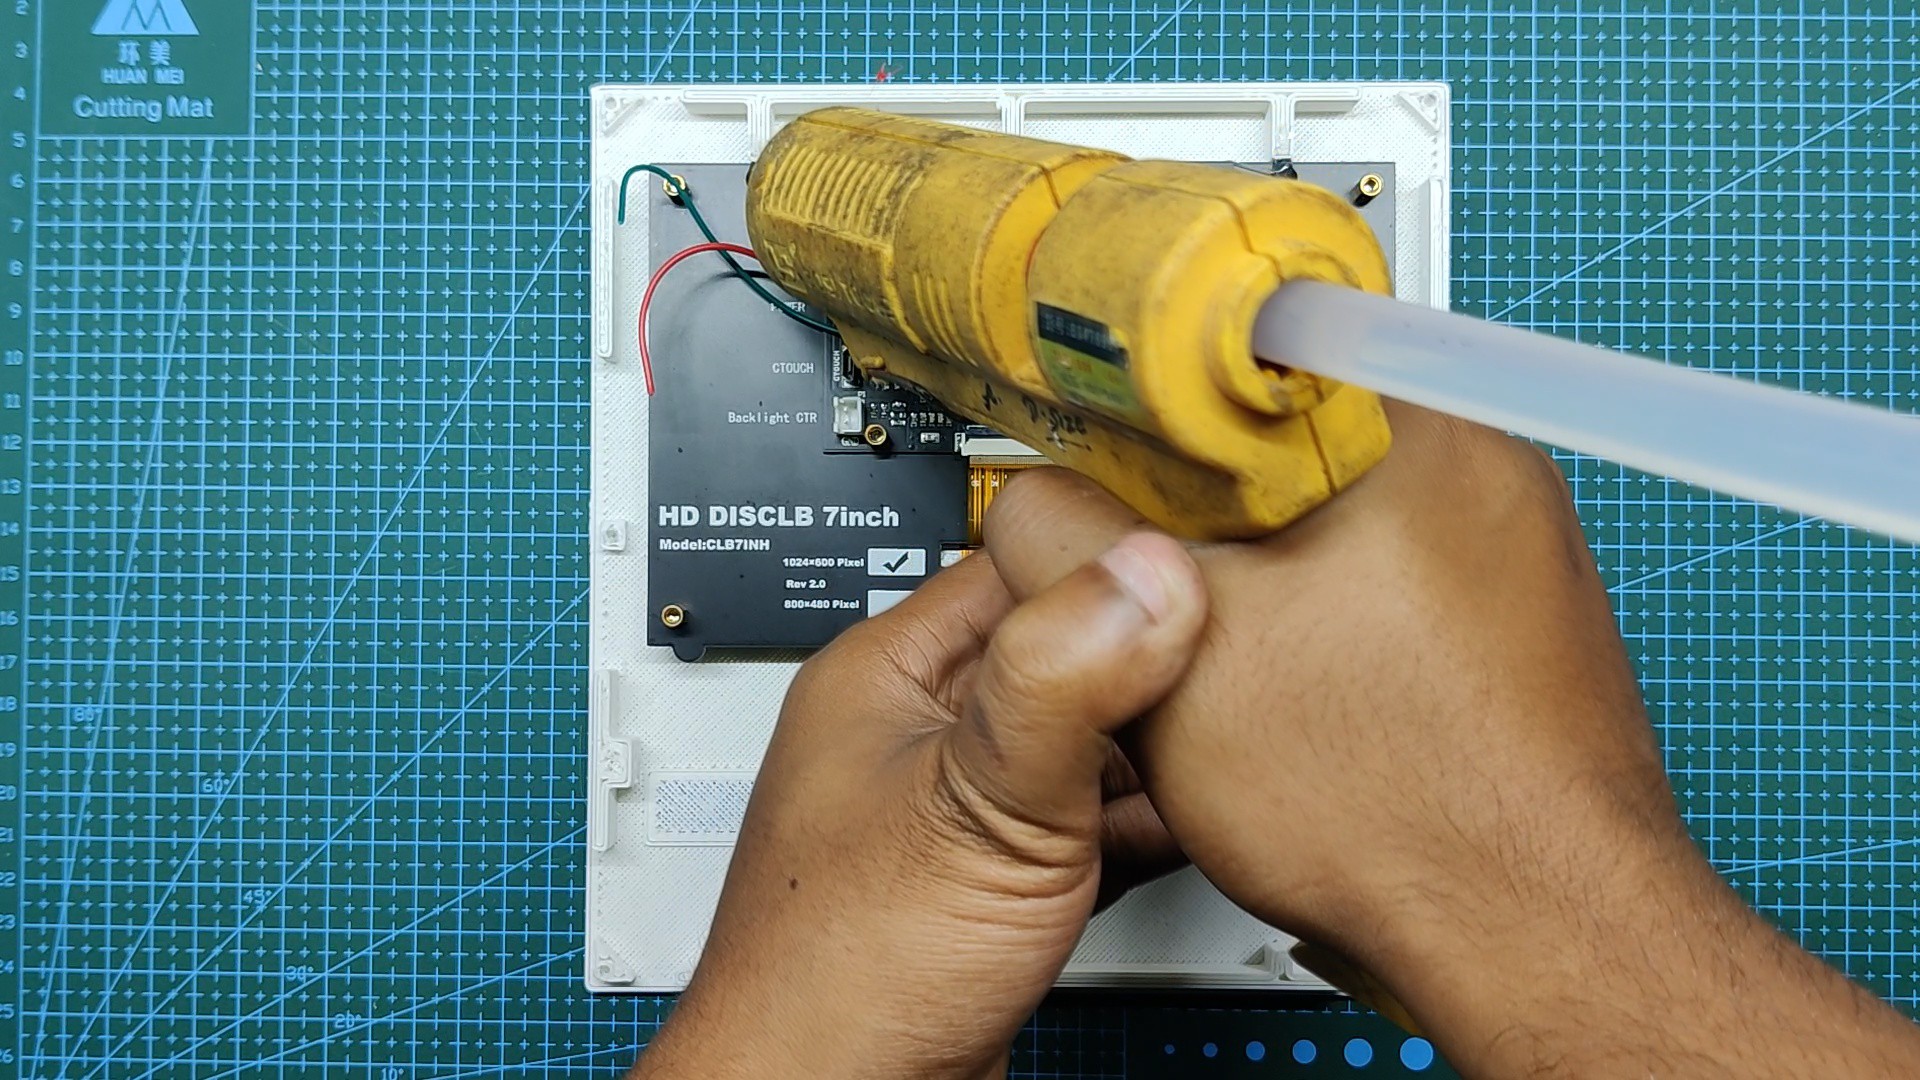
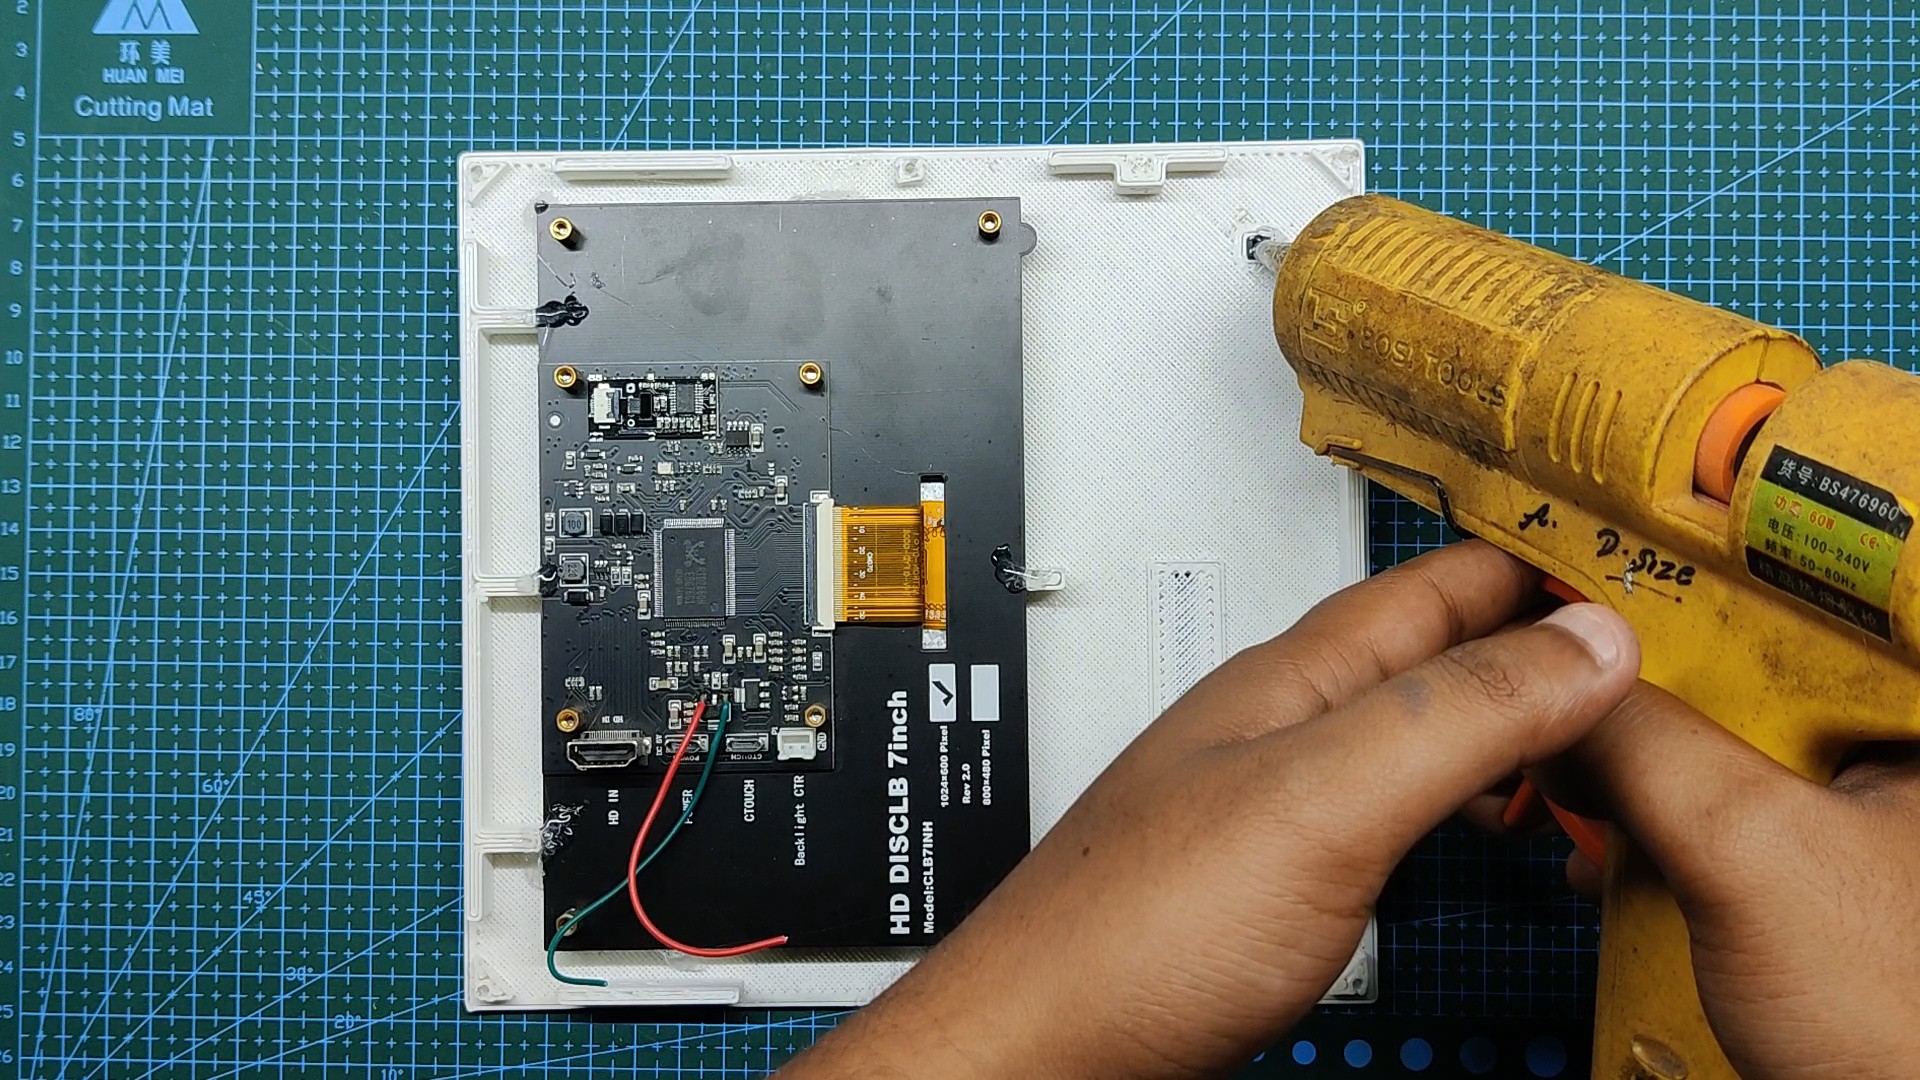
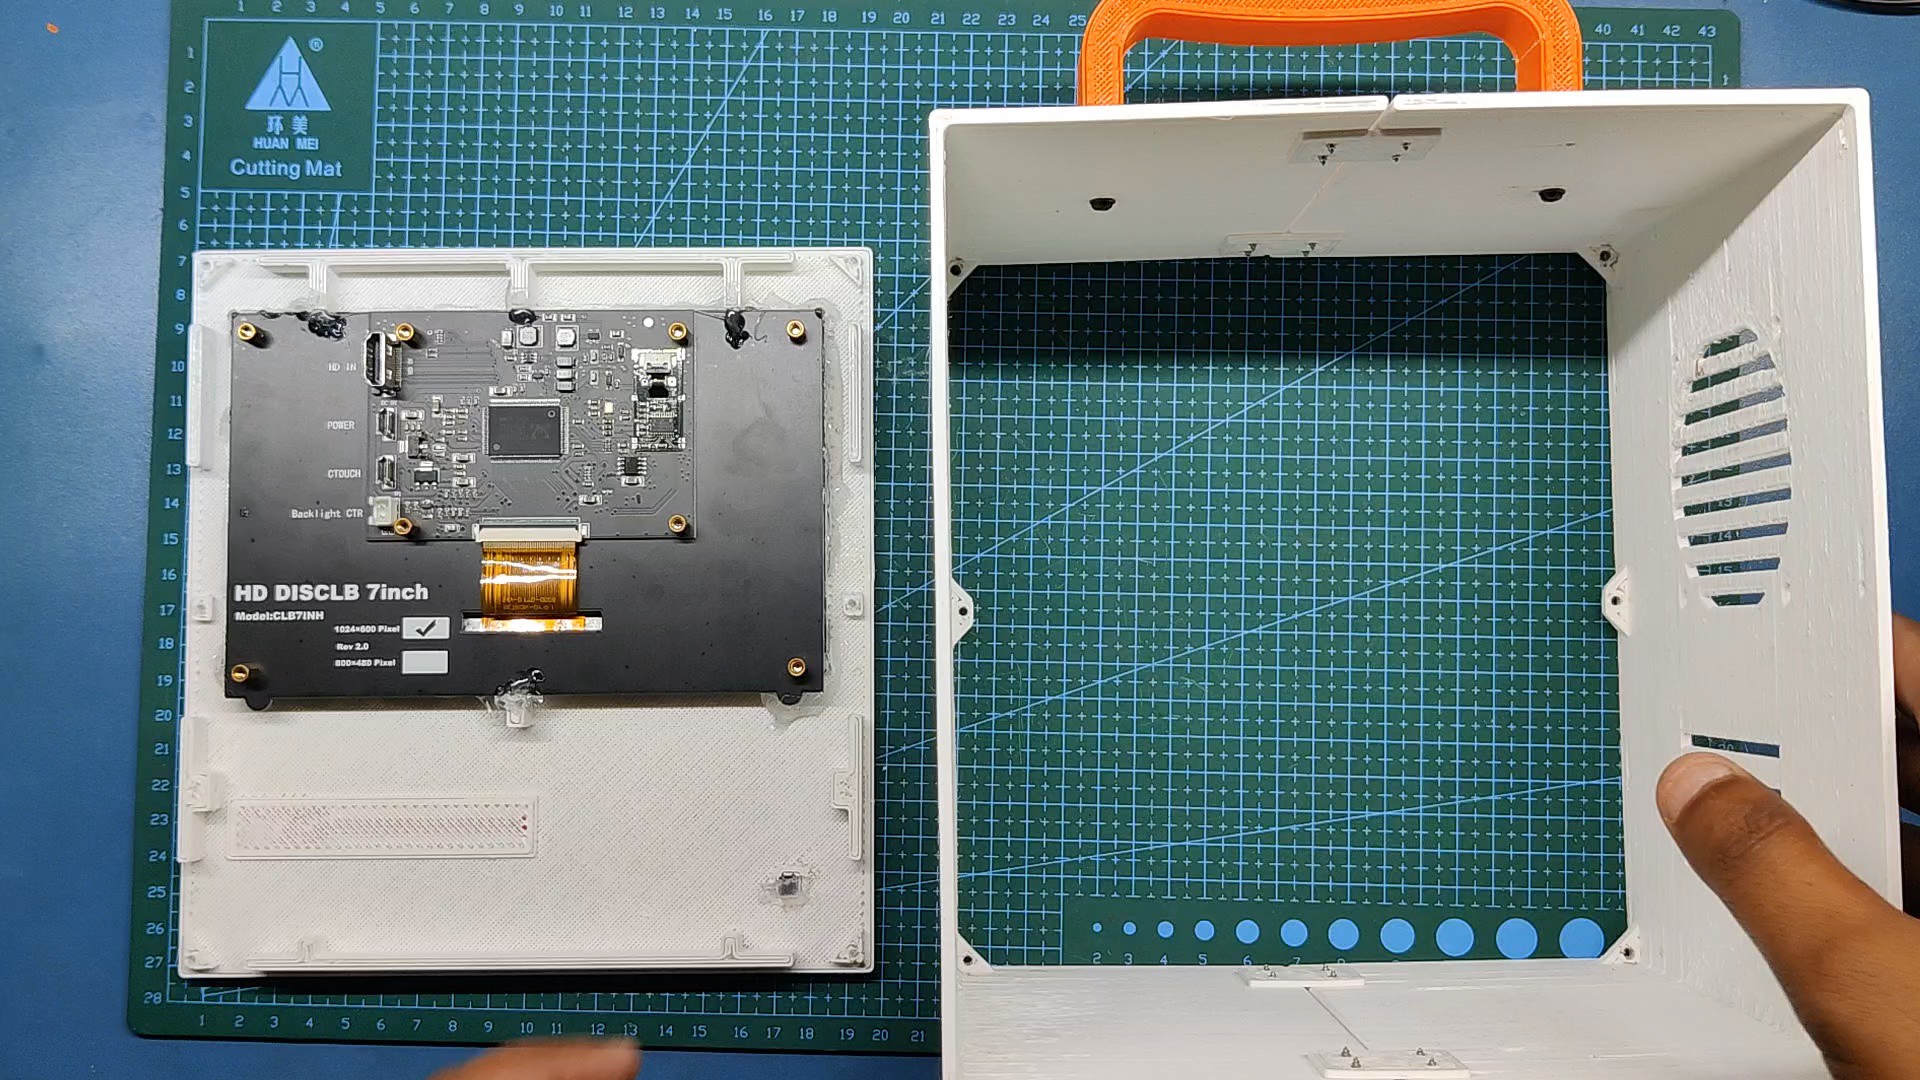
We add the 7-Inch LCD Display on the 3D Printed front lid cover by using some hot glue, we add hot glue on each corner of the display, which will hold it in place.
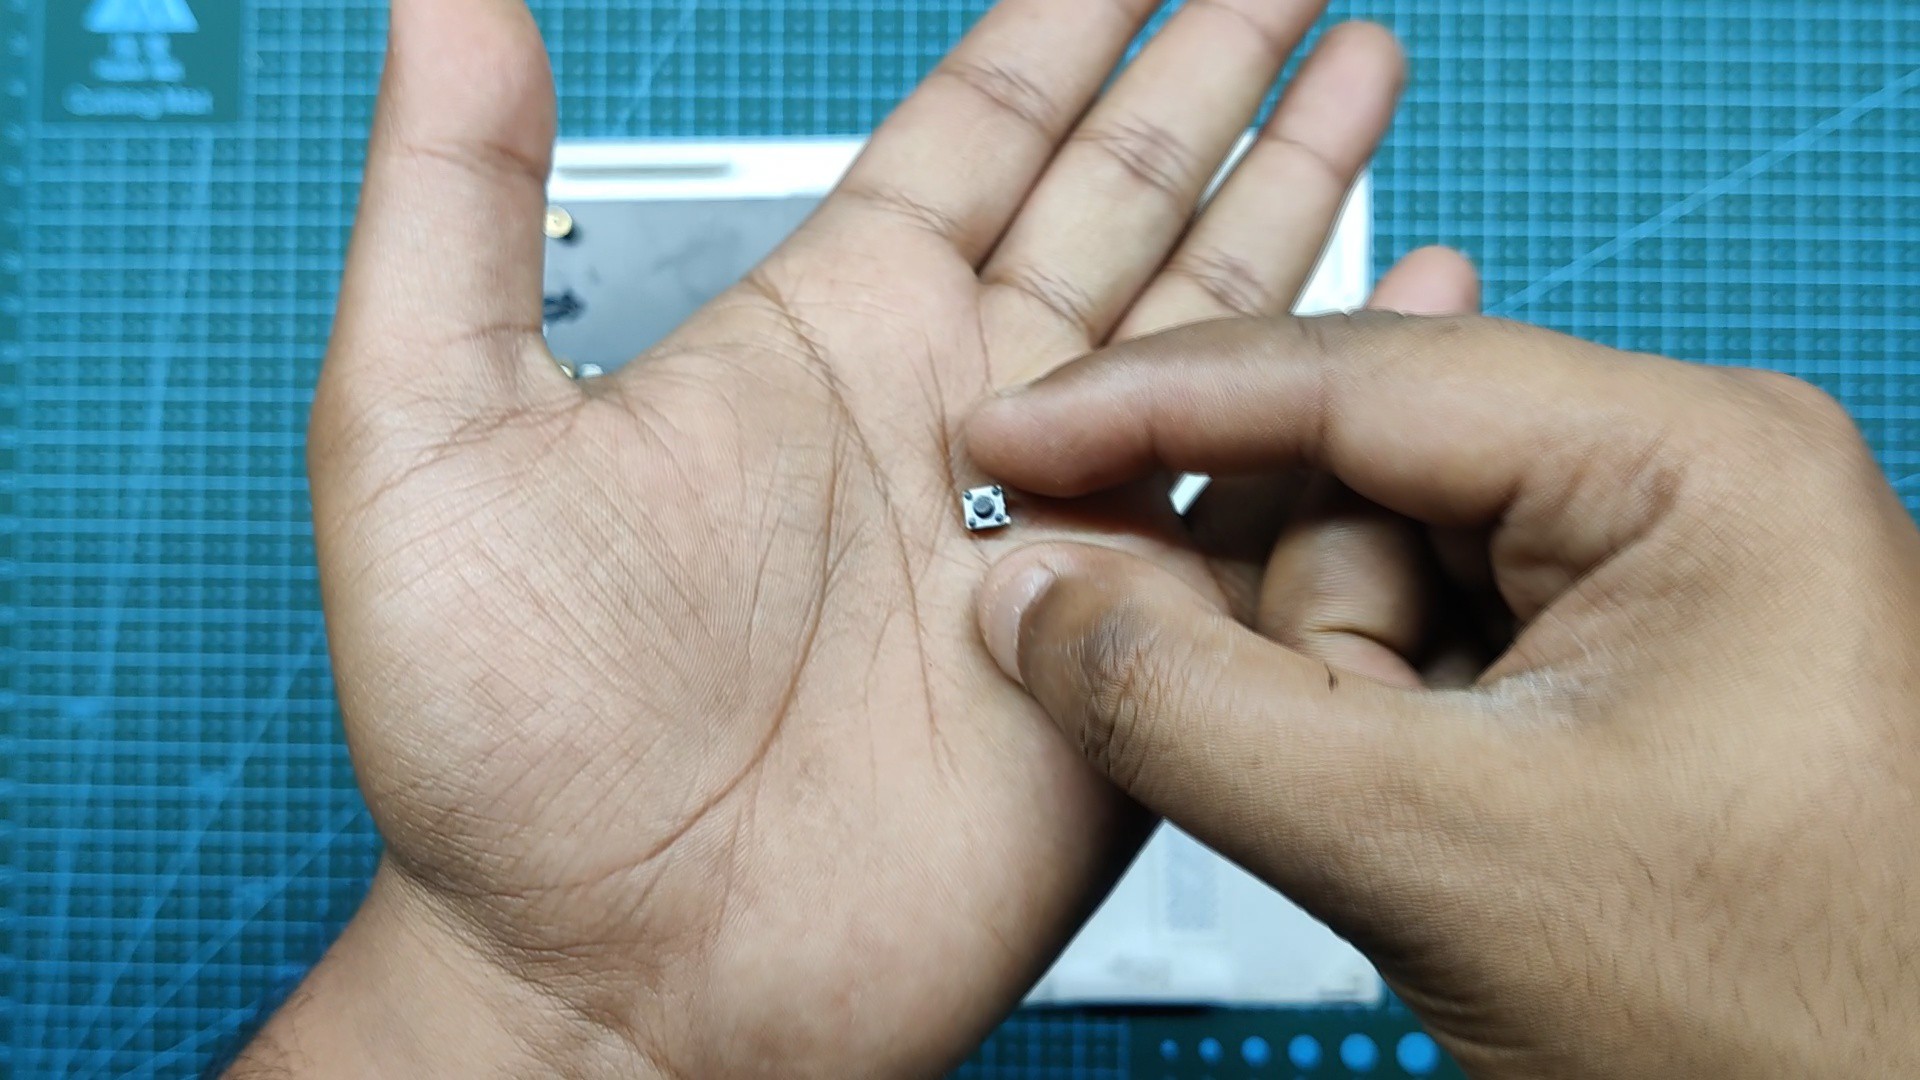
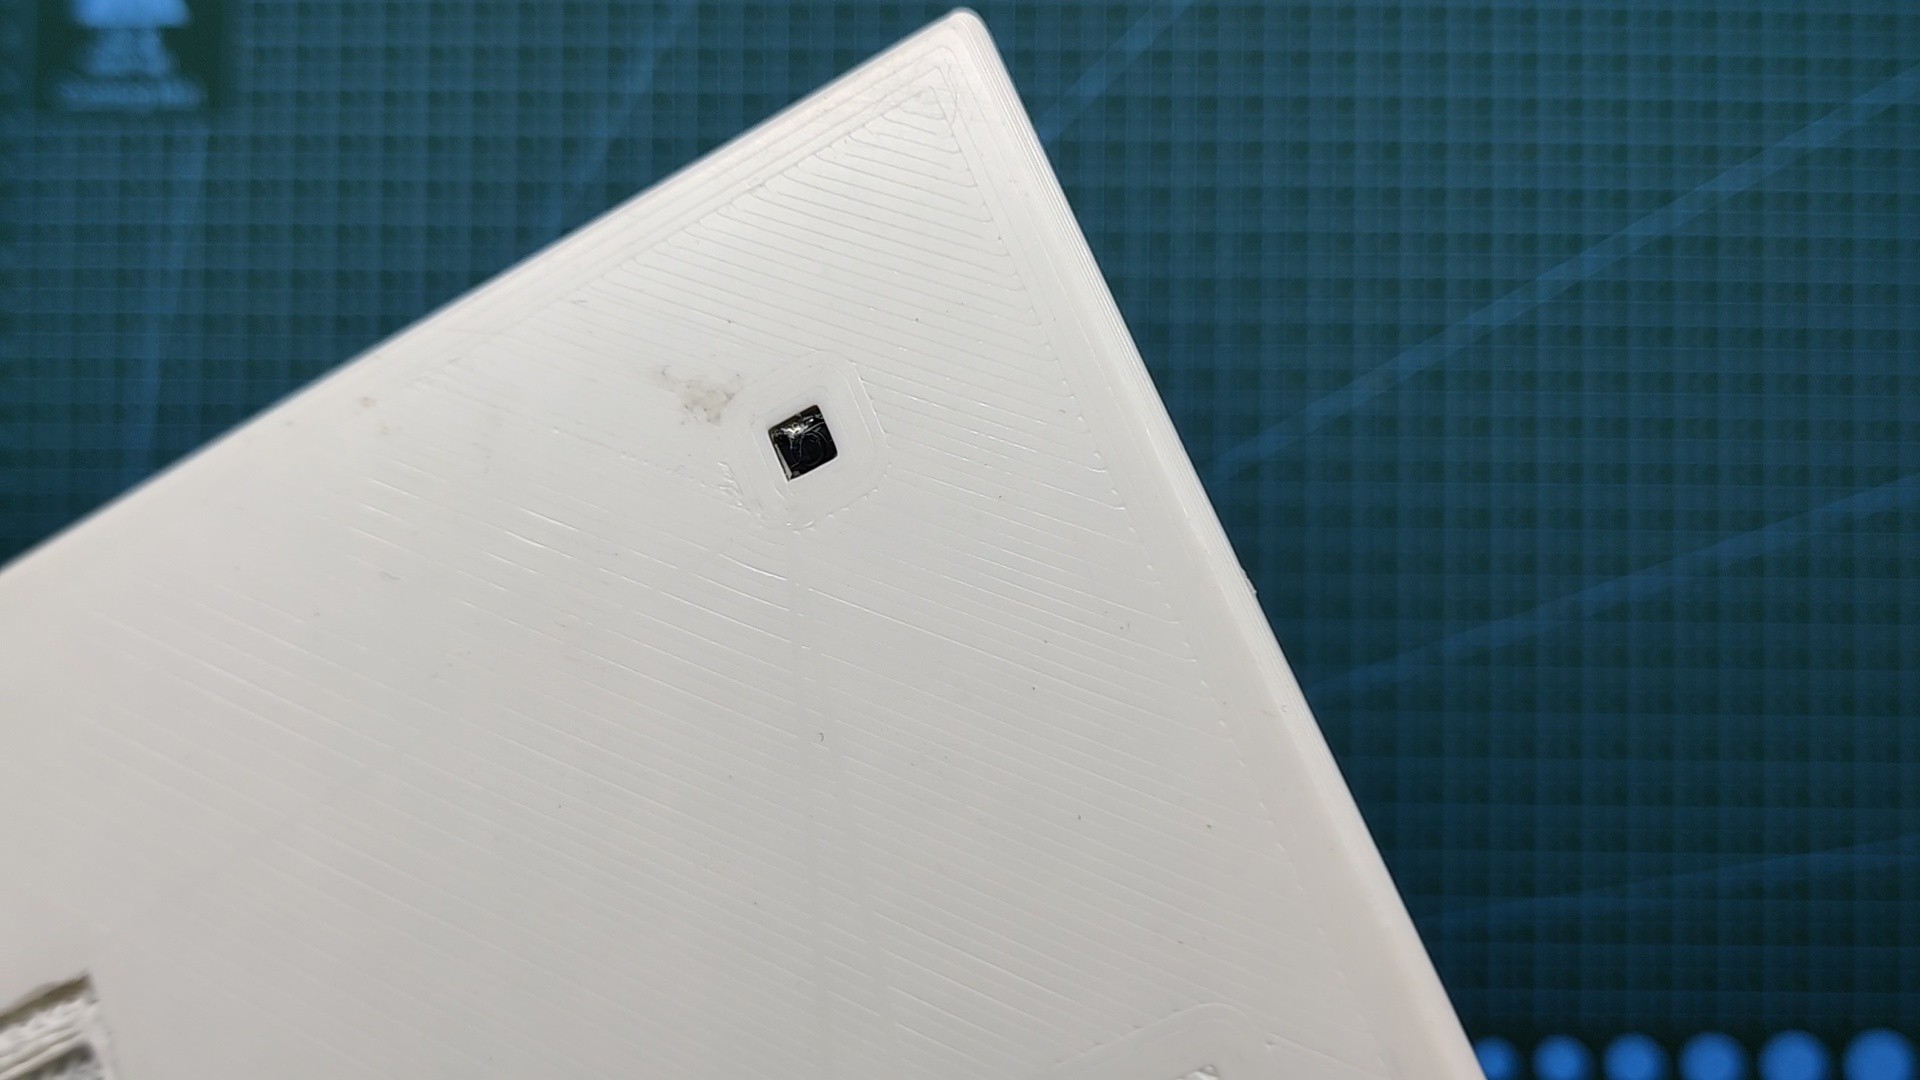
Next, we add a small tactile switch, this will be the main button for turning the Latte panda ON and OFF.
After that, we add LATTEintosh Name Place and floppy disk cover on the front side by using super glue.
3
Middle Body Assembly Process
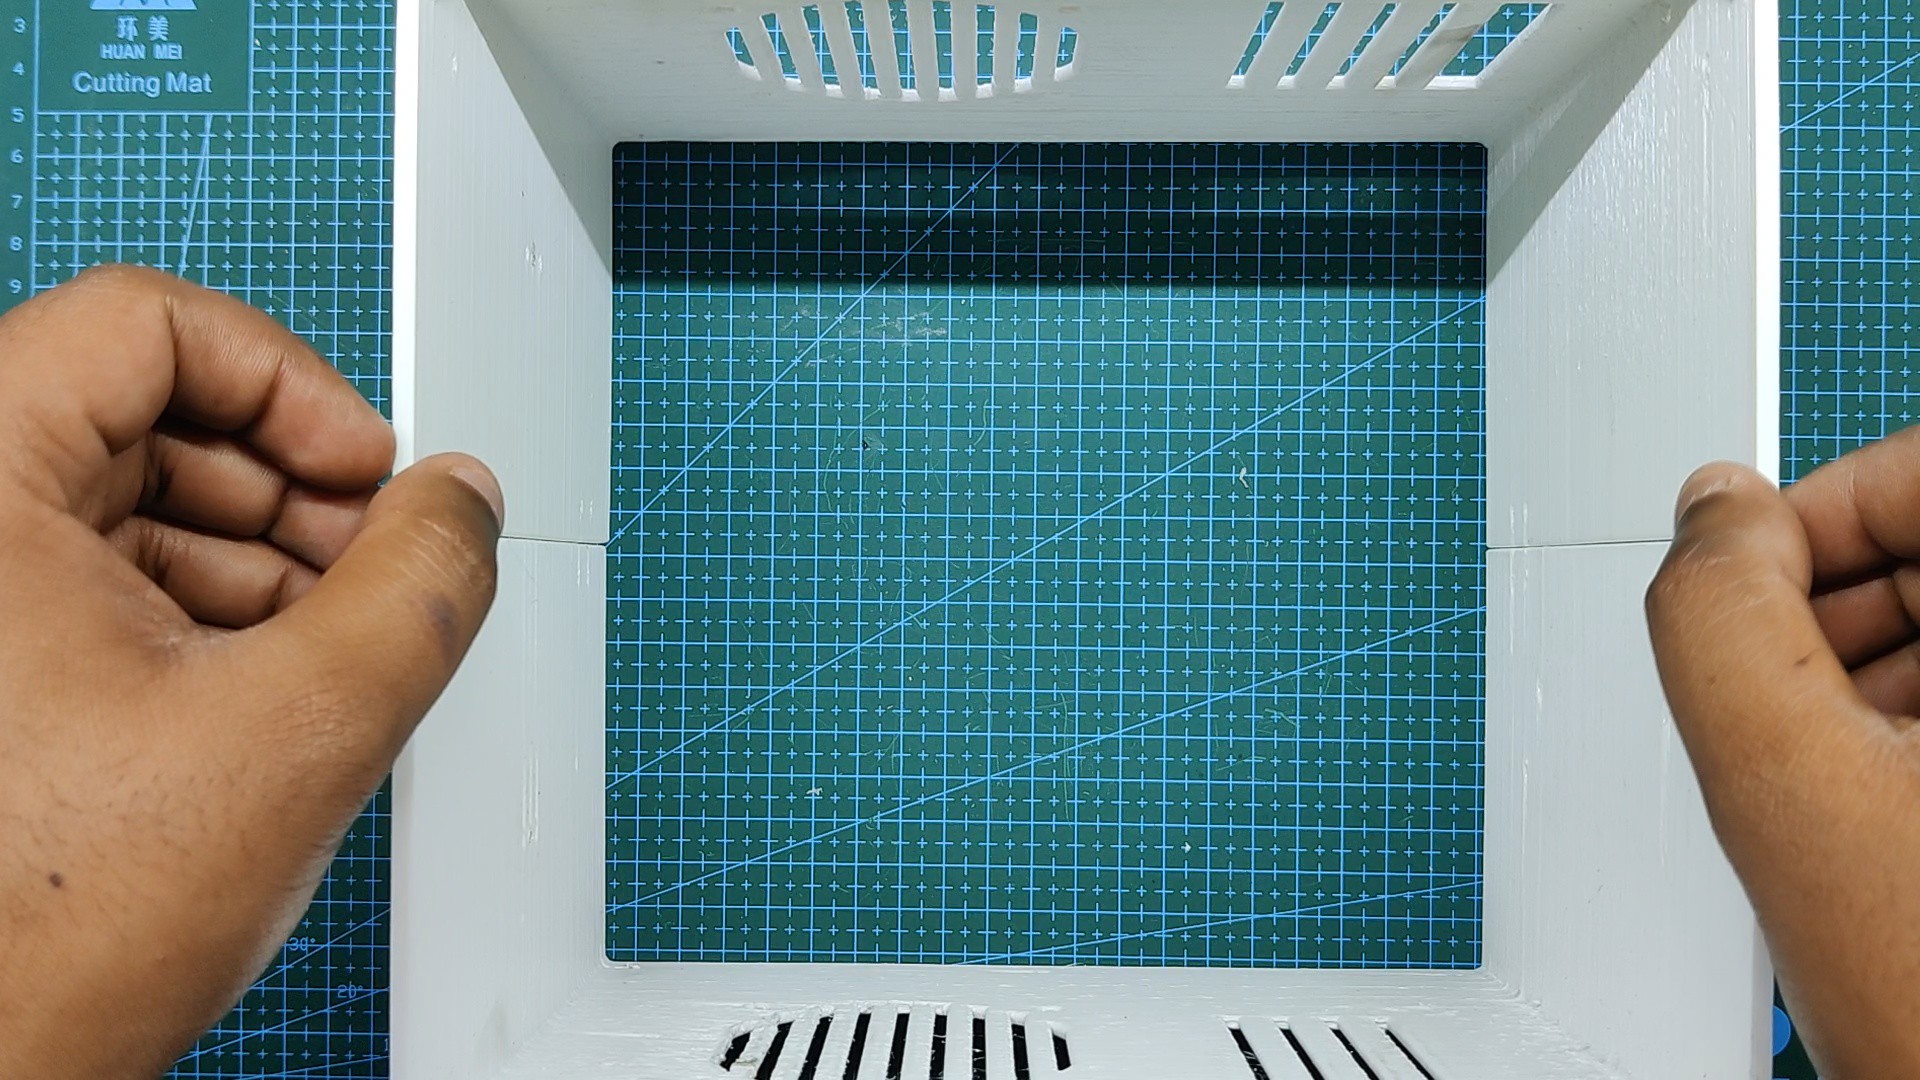
Middle Body was too large so it was printed in two parts to reduce print time, earlier it was 20 Hours but after dividing the middle part, each part is now printed in less than 10 hours.
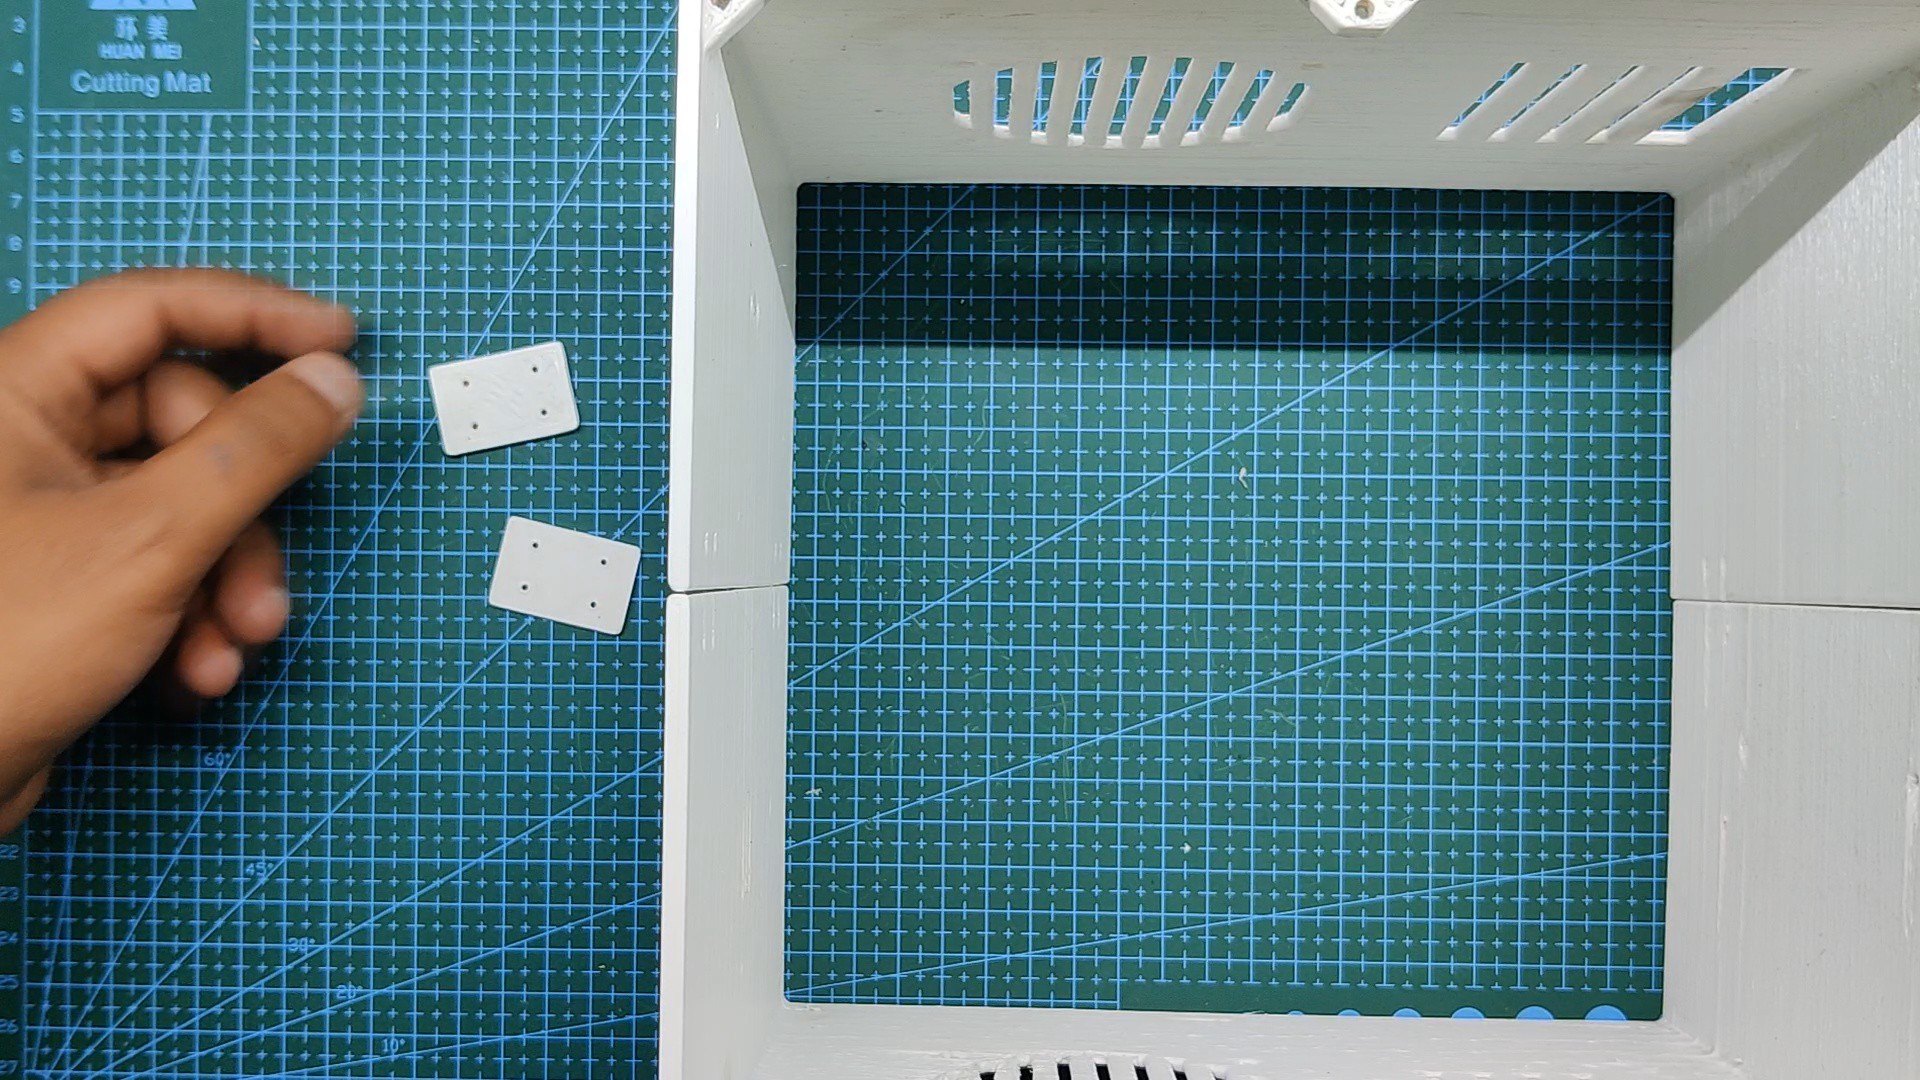
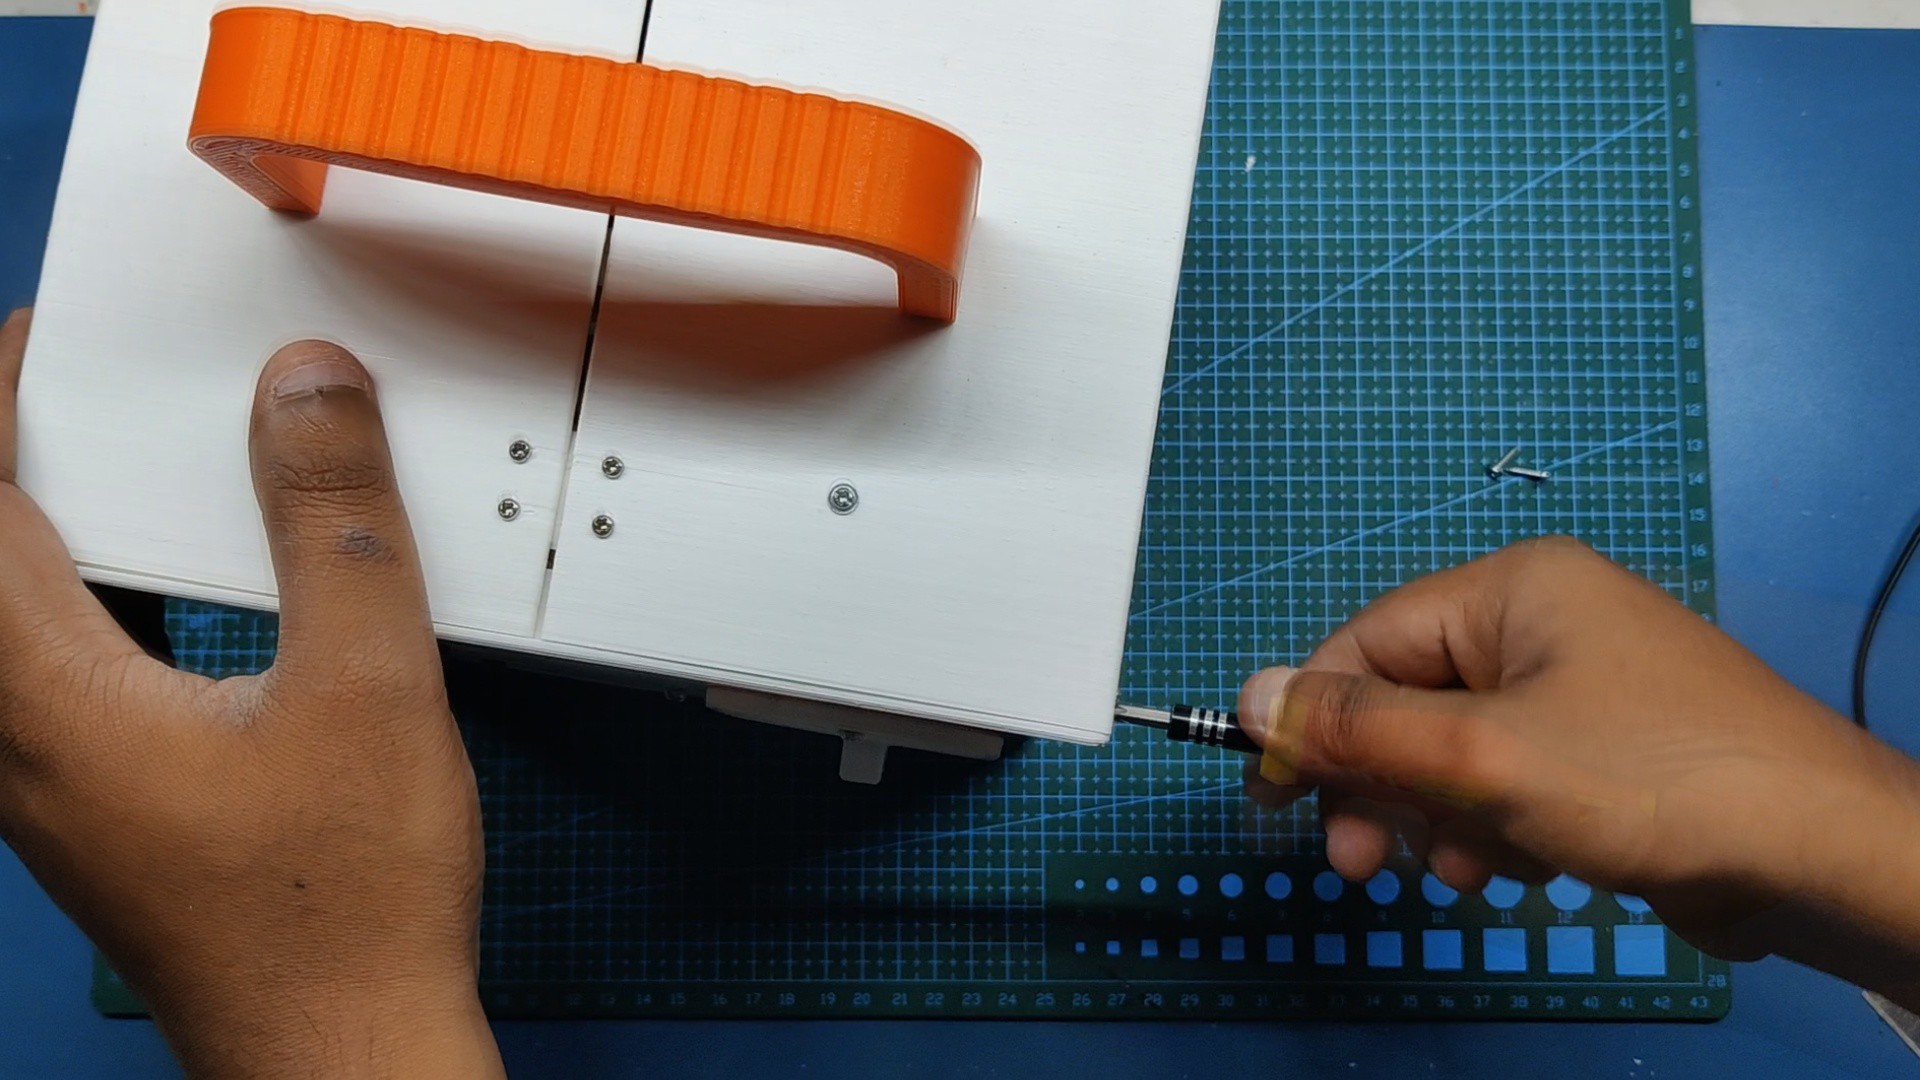
we also add four rectangular parts that hold the two separated parts in their place.
We start the assembly by first adding two rectangular parts on one side by using four M2 Screws for each holder.
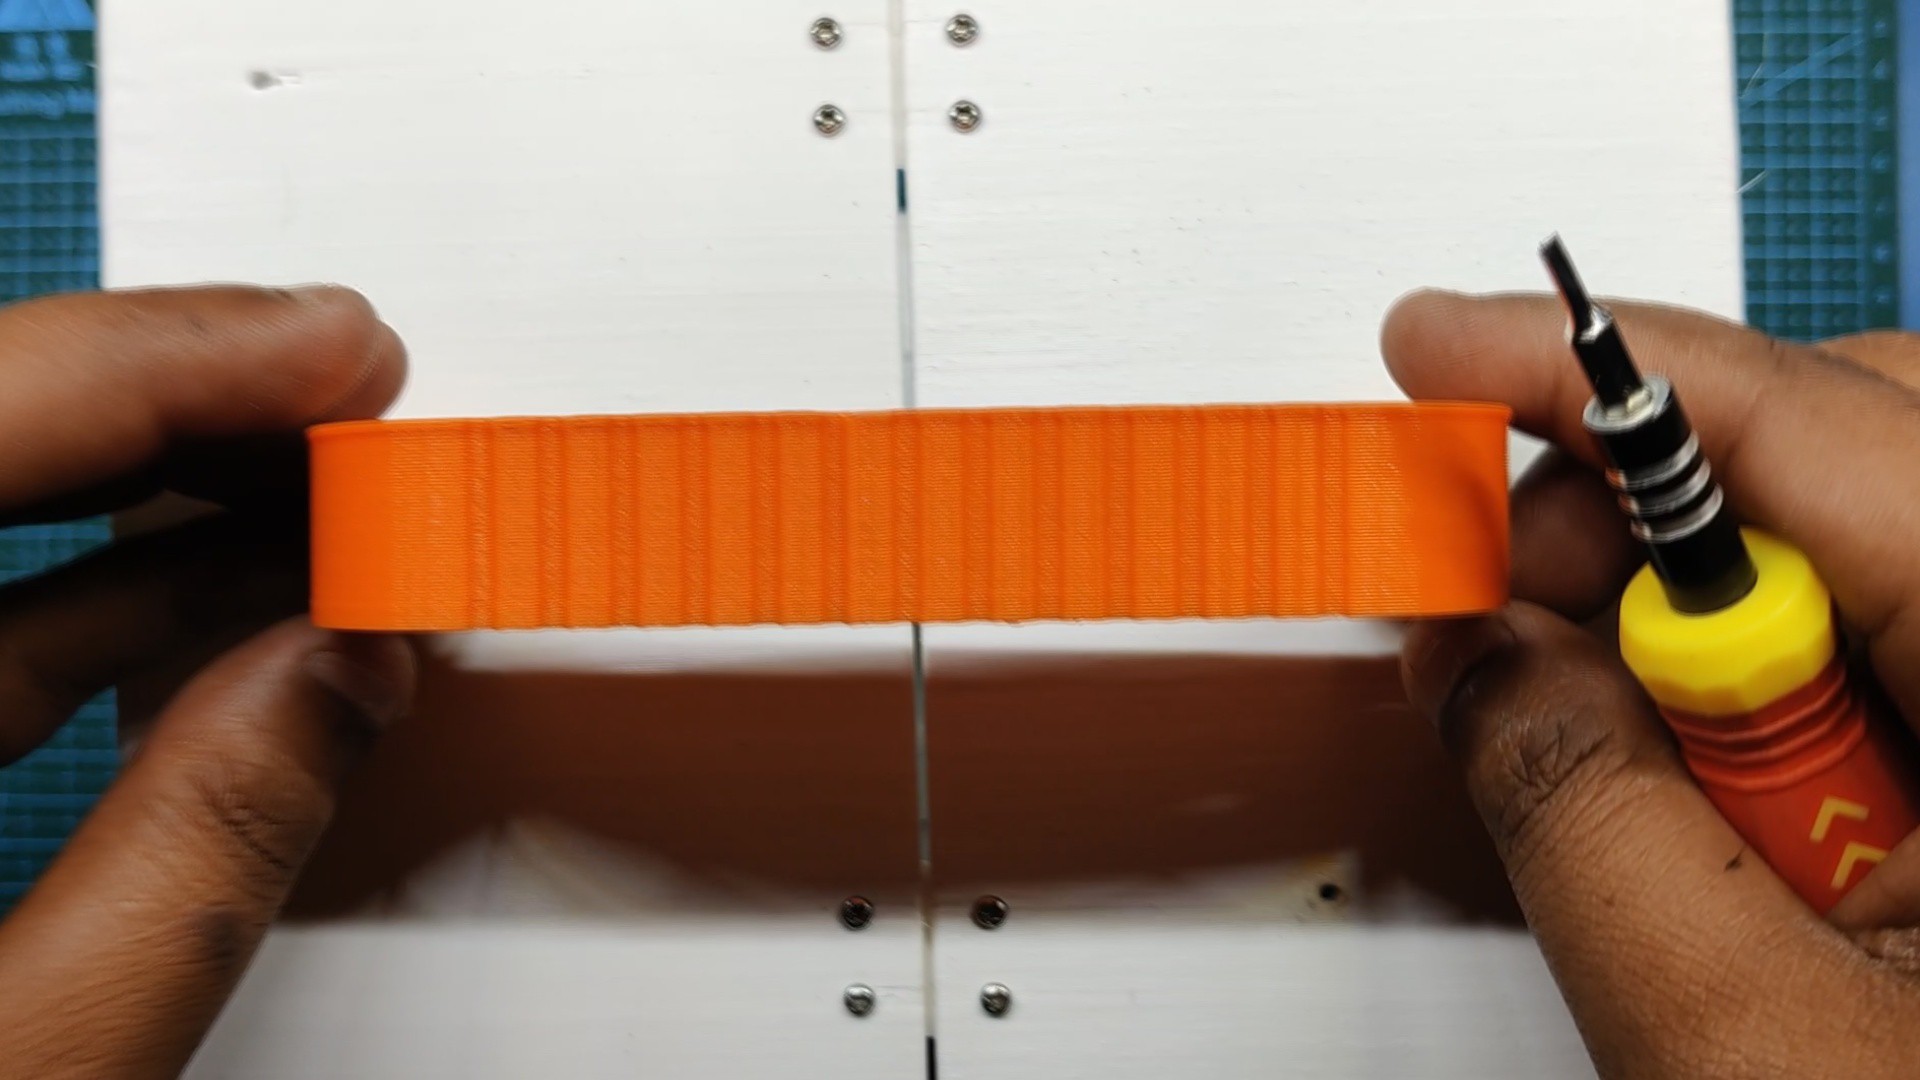
After completely merging two halves of the middle body, we add a Handle to it with two M3 Screws.
4
Front and Middle Body Merge
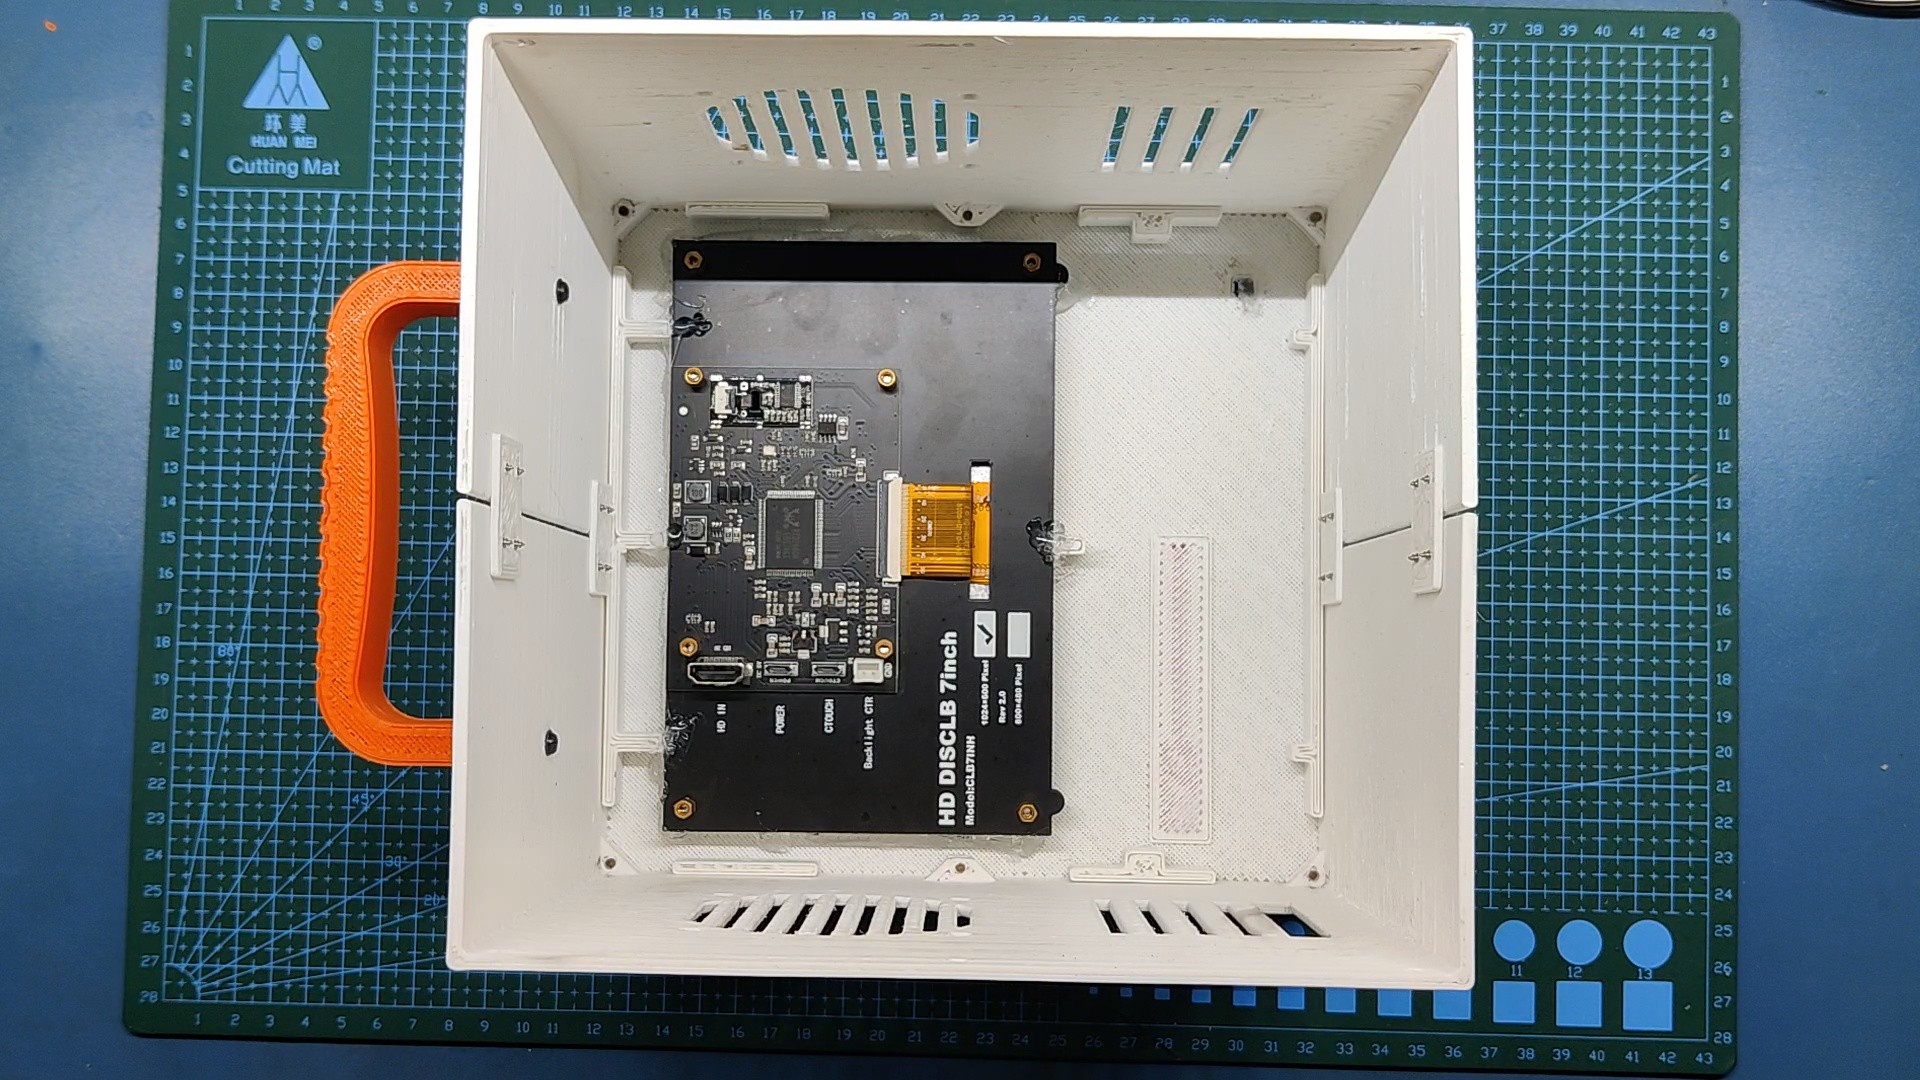
We place the Middle Body on the Front Lid, M3 Screws are used for combining these two bodies together.
5
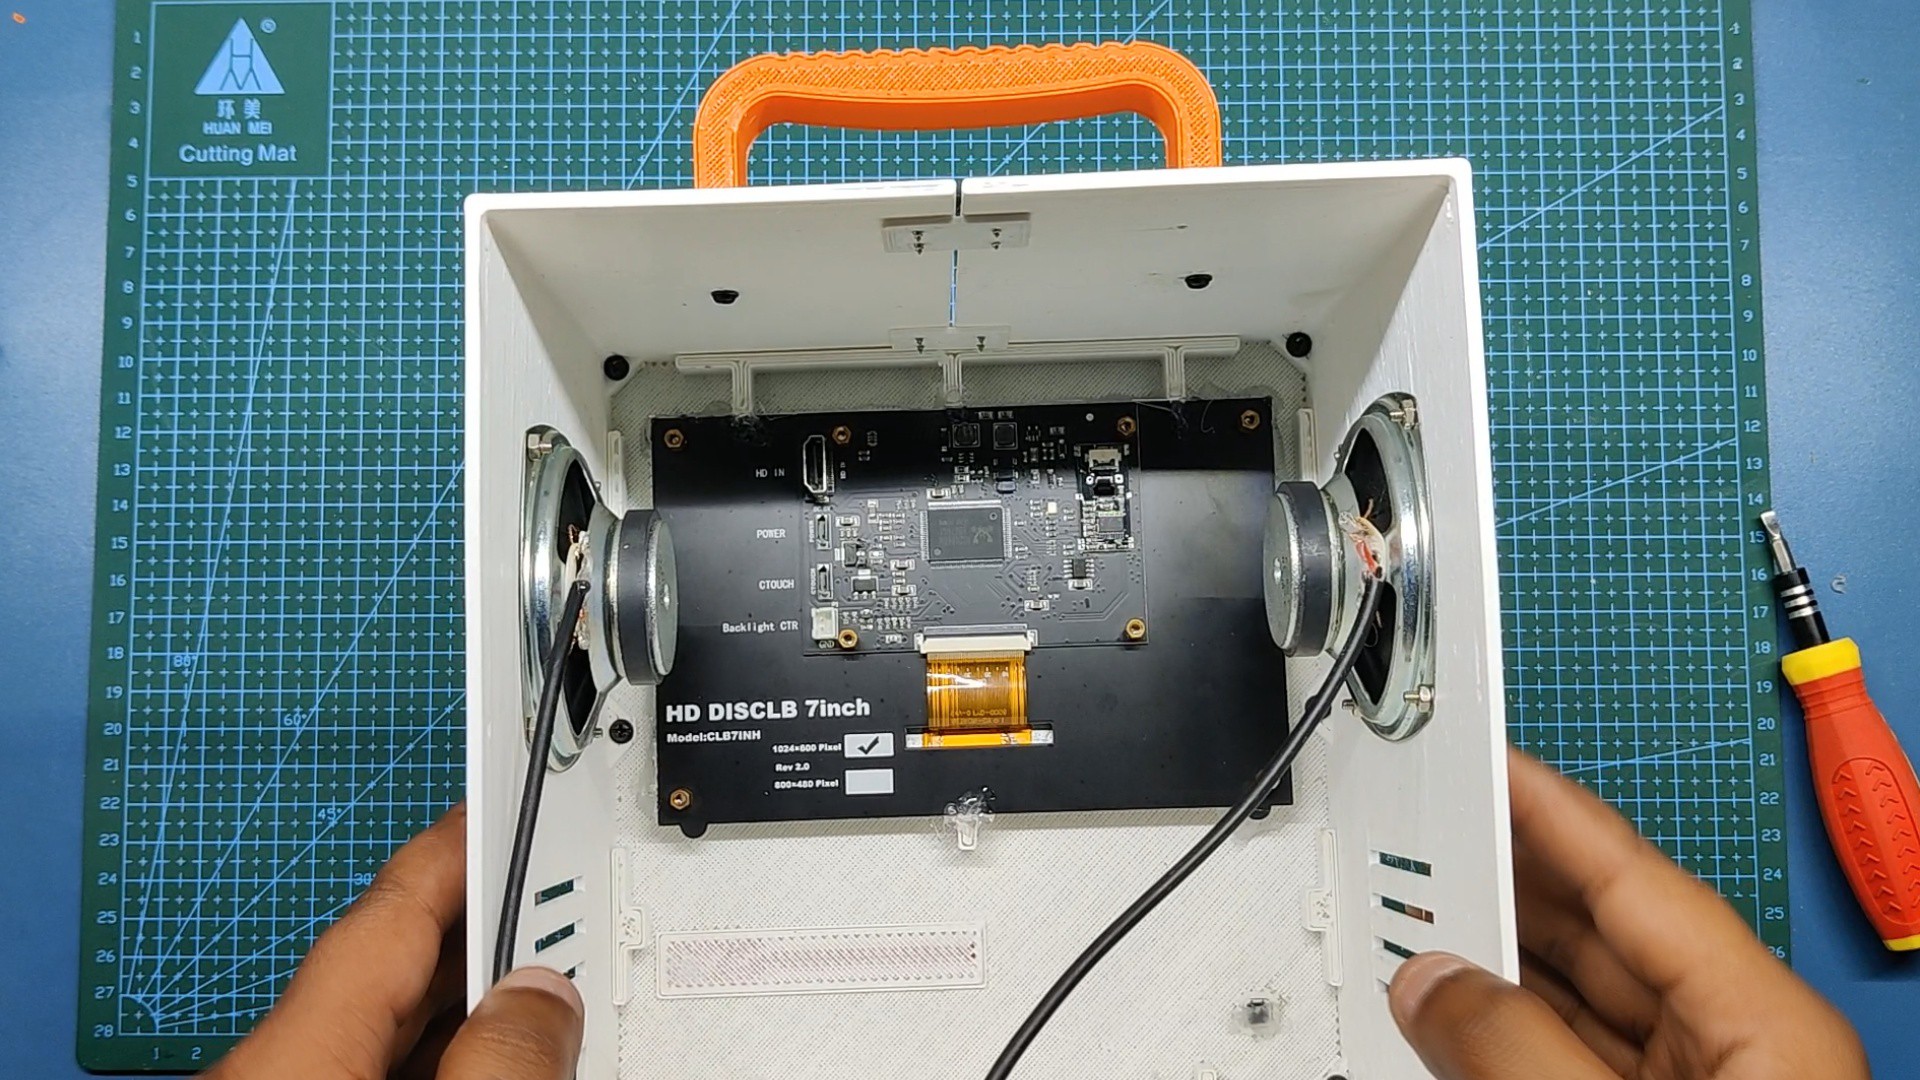
Adding Speaker
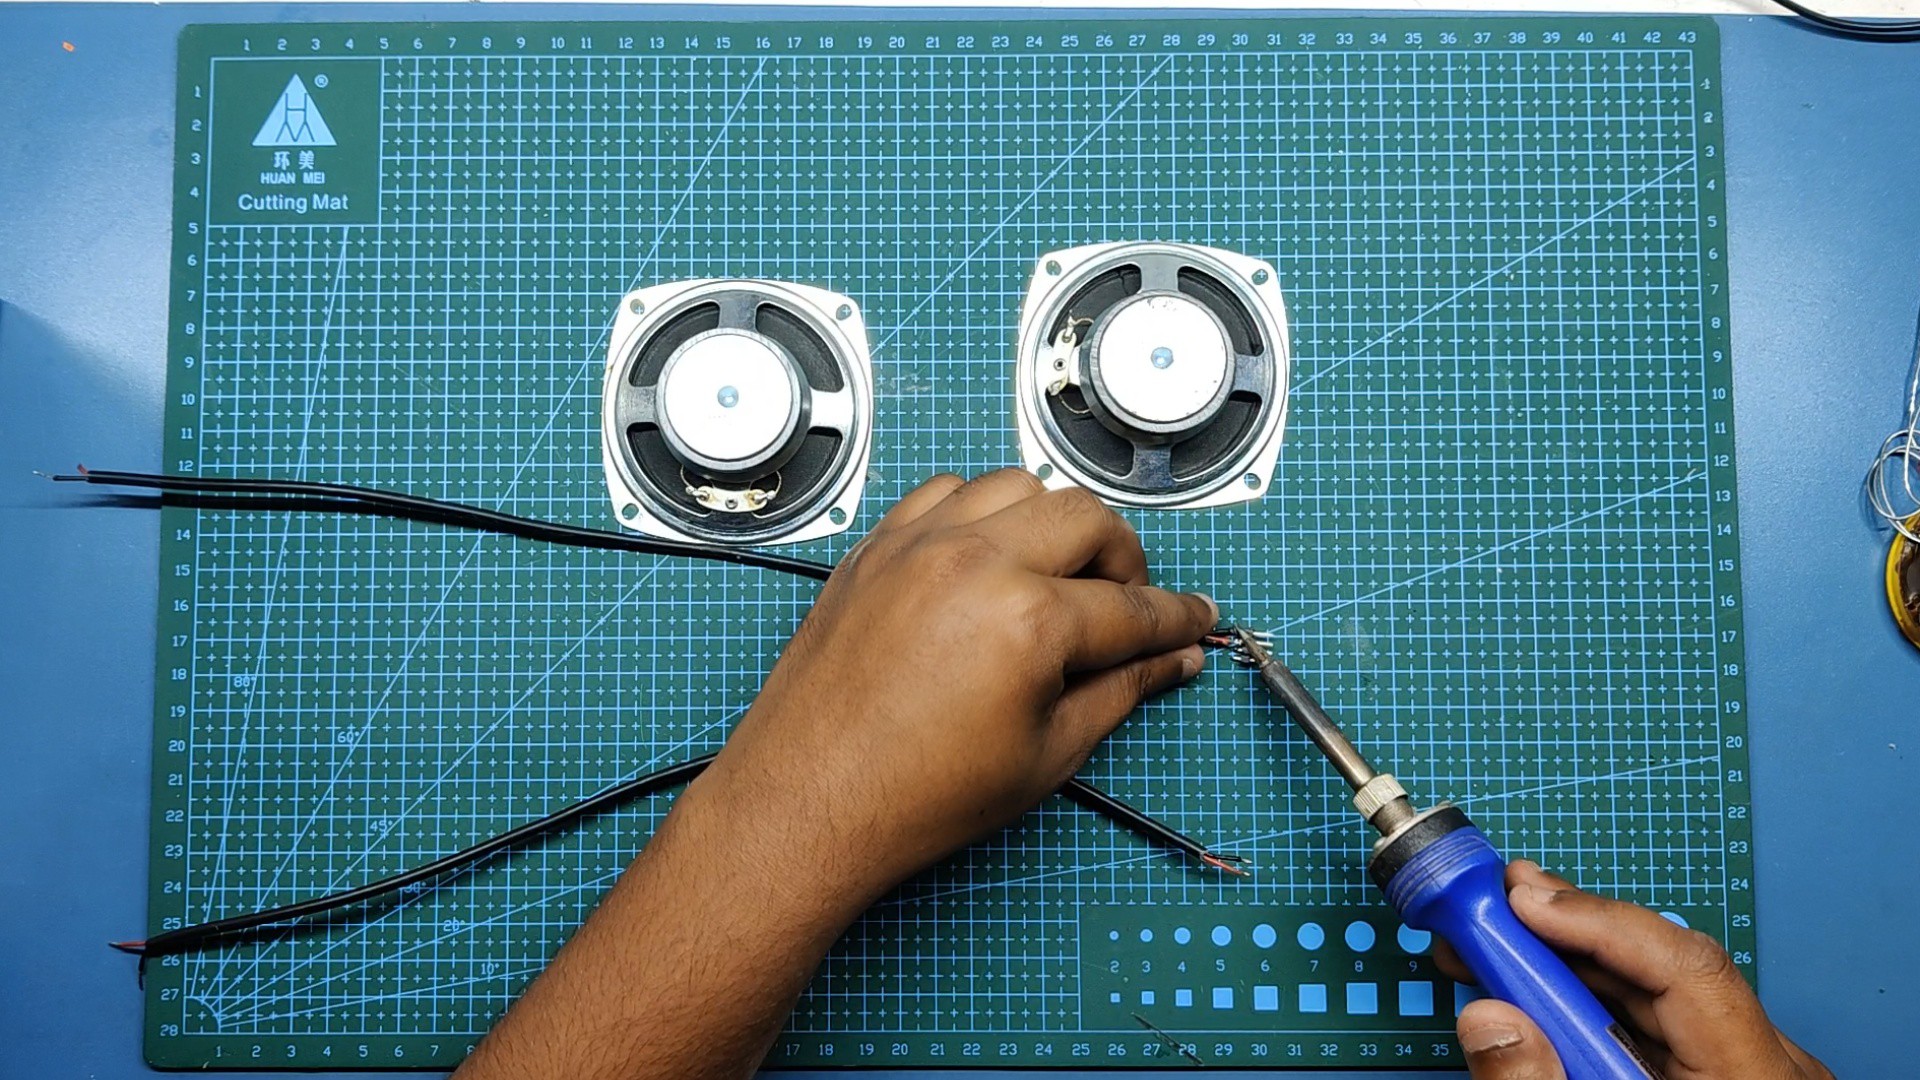
We start by first preparing two 4 Ohms Speakers by first adding two wires with each speaker and then connecting the other end of both wires with a CON4 Header Pin.
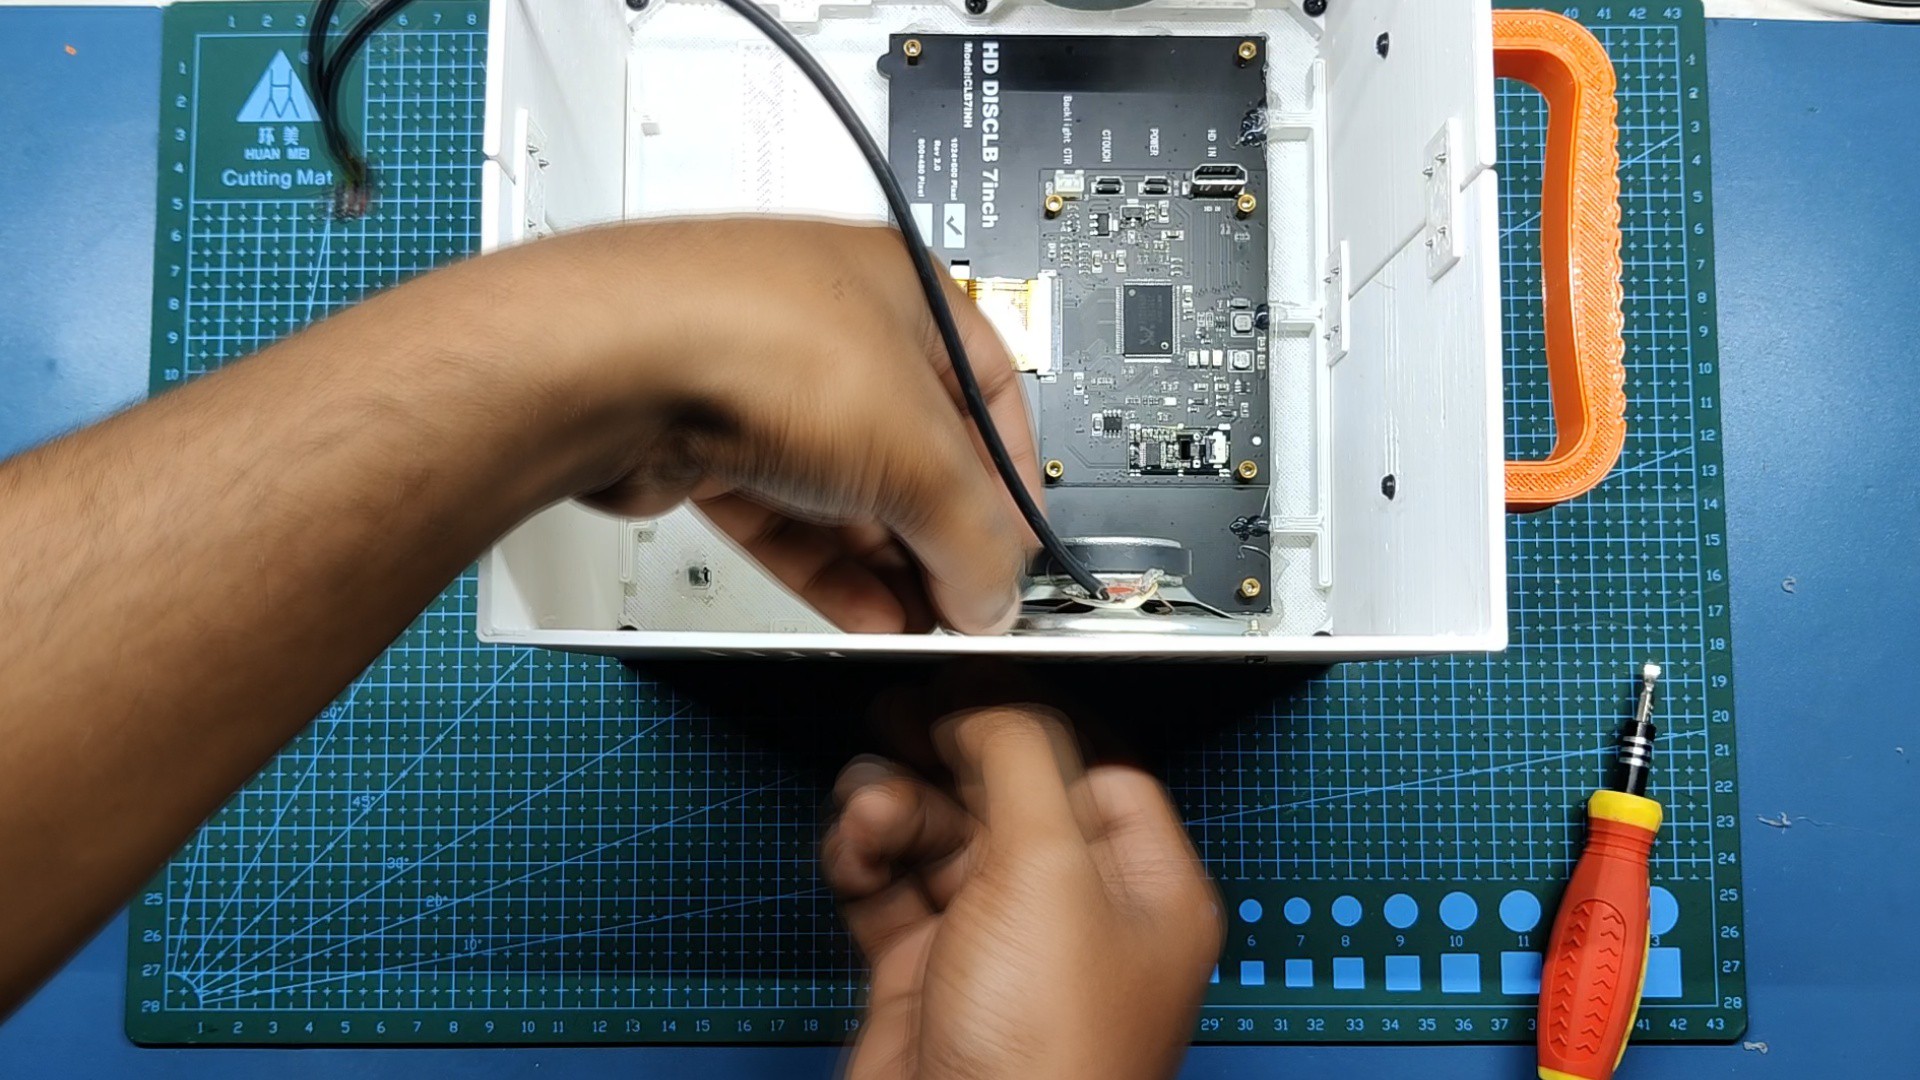
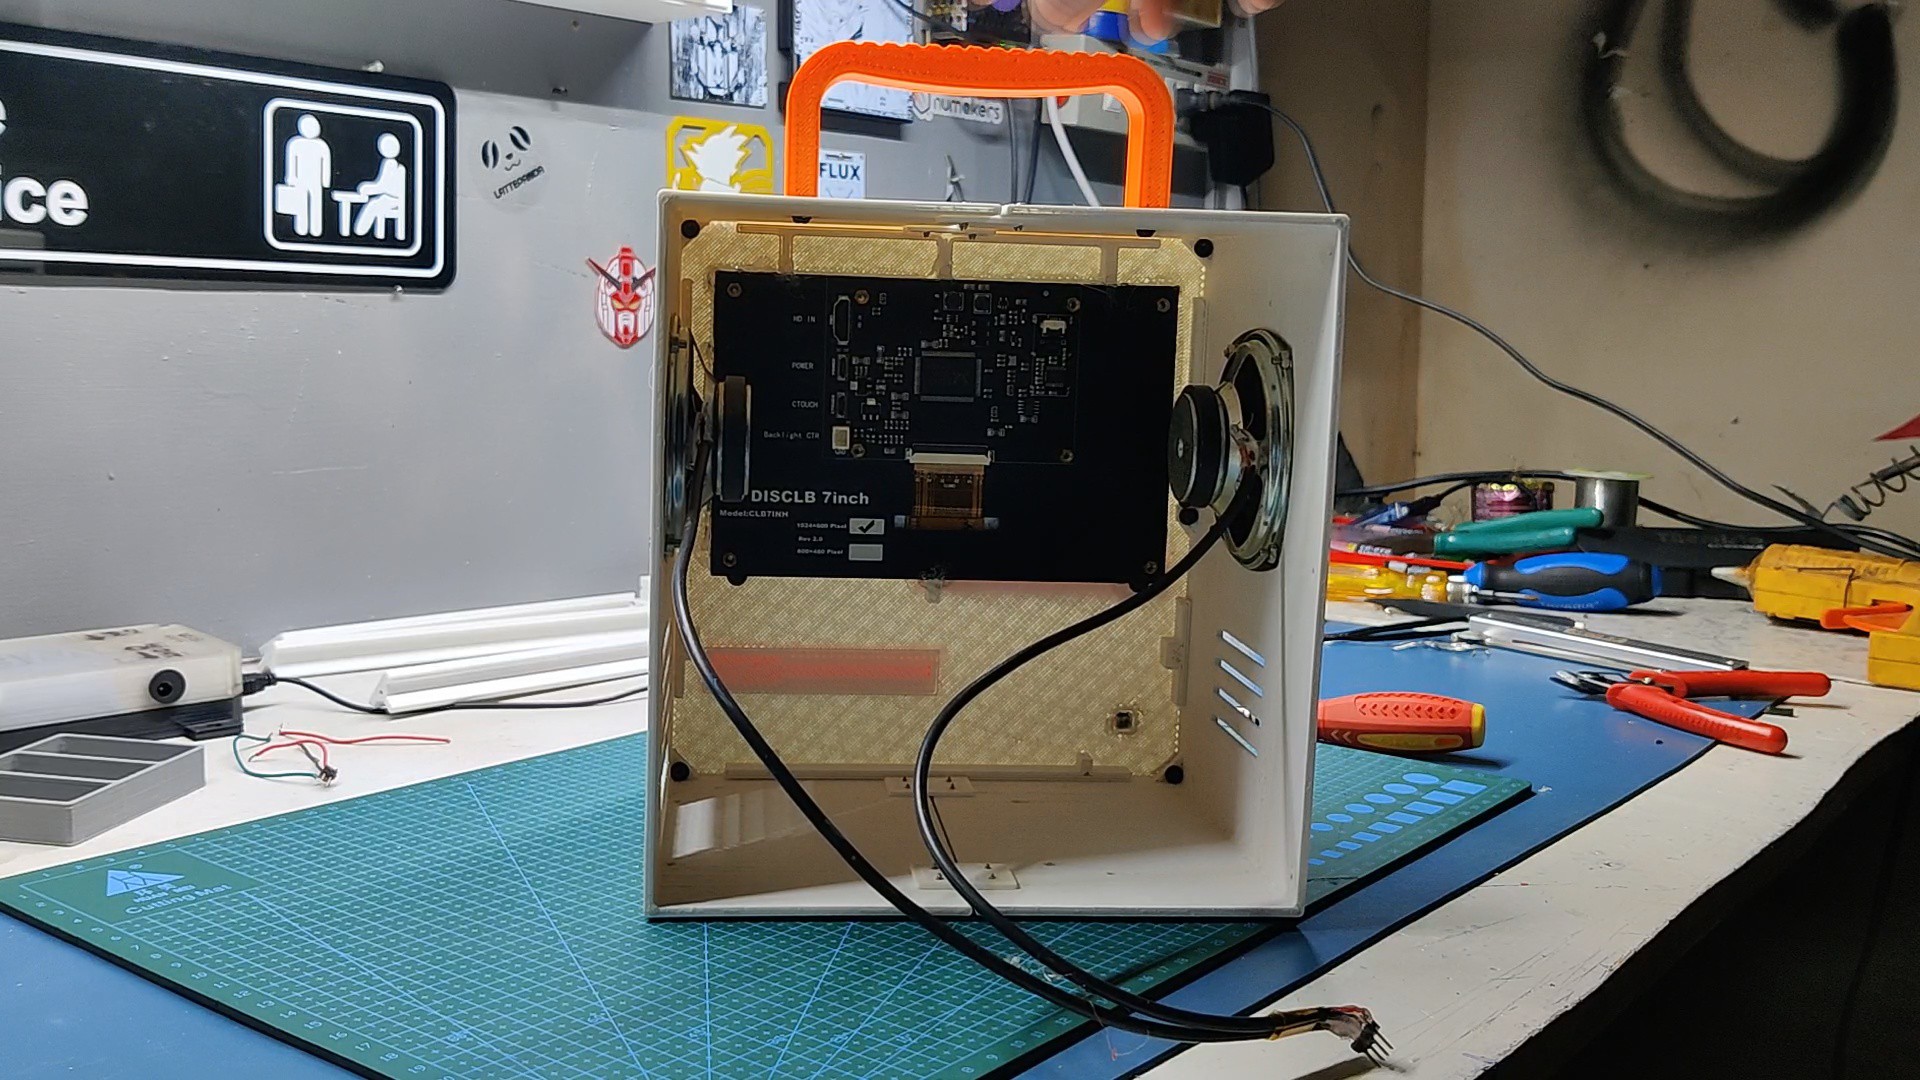
We then place each Speaker on the middle body, I've already made grills and mounting holes on the middle body in the CAD Design.
6
Result So Far...
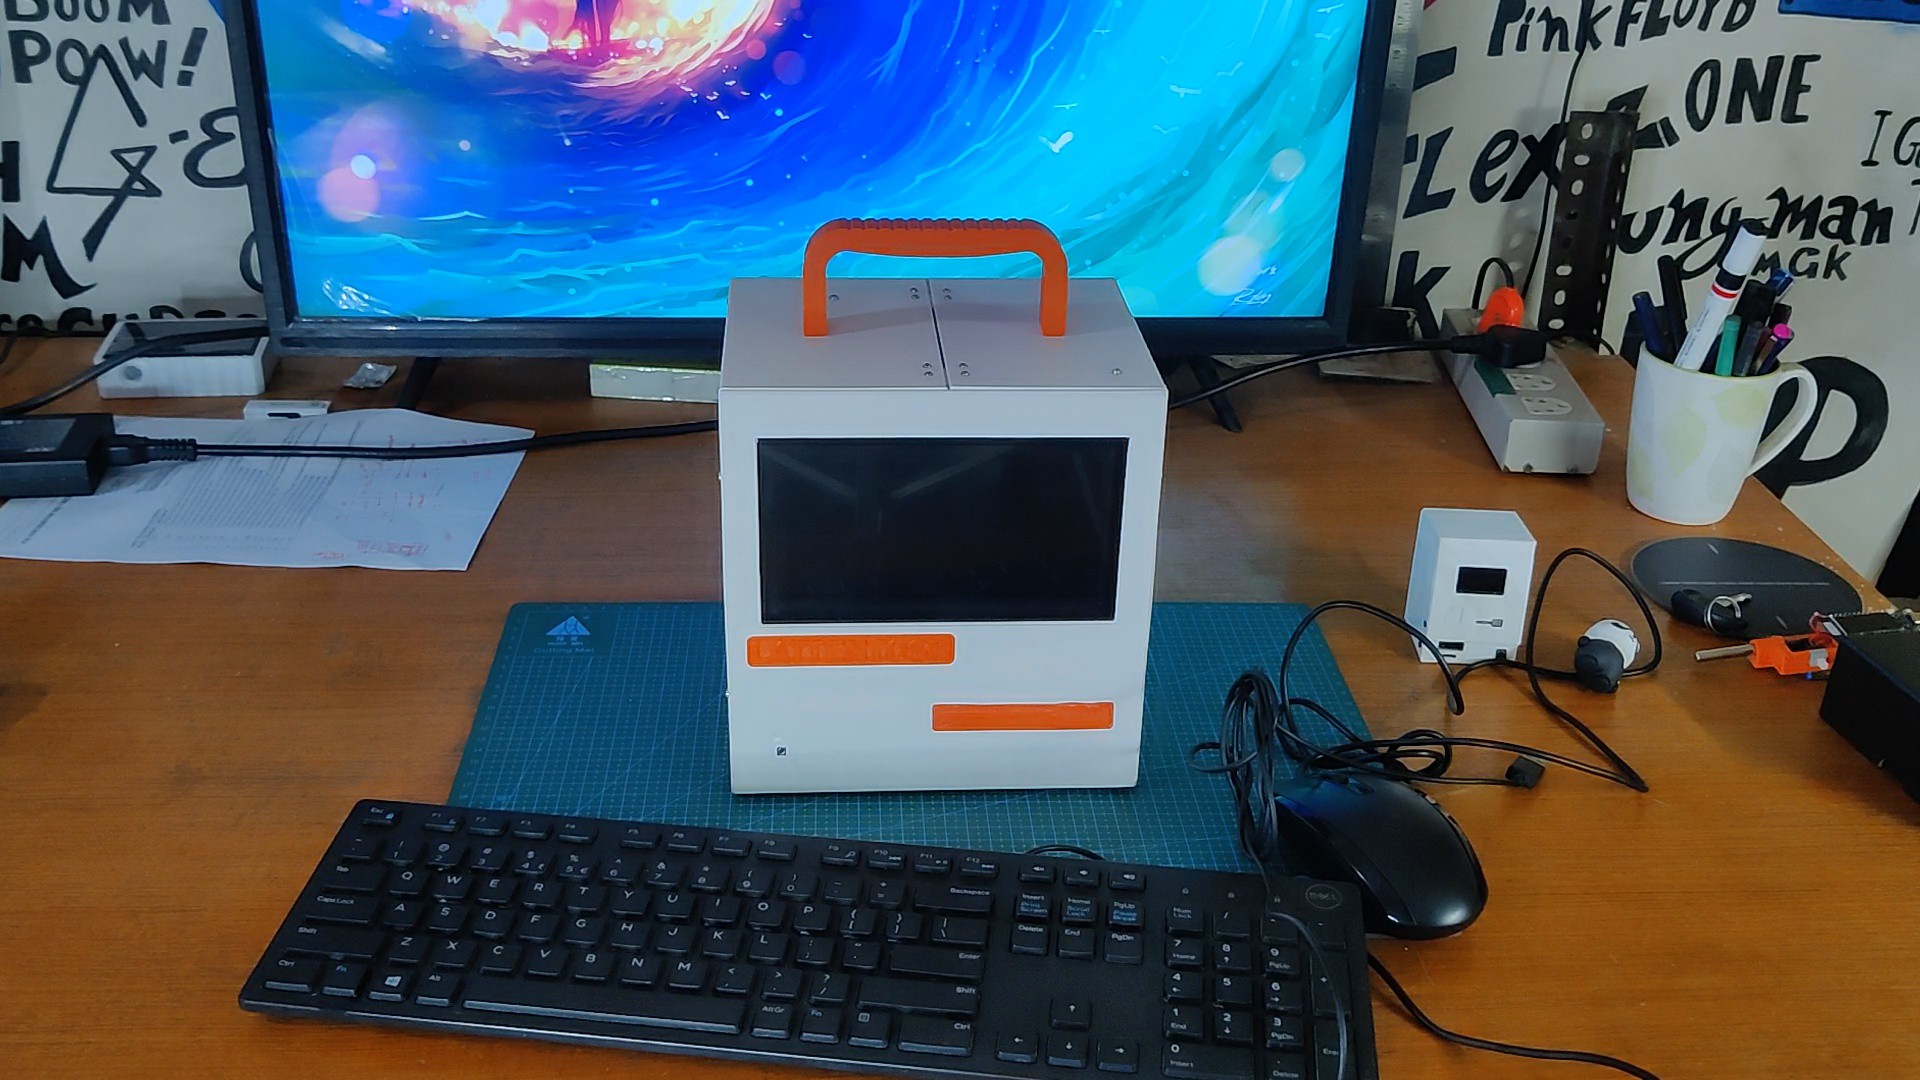
Until now, we have combined the front and middle body to prepare the basic structure of the computer, we have also added a Display and speakers on the front and middle body.
We add the VCC and GND of the display to Latte Panda's 5V and GND port for powering the display.
If you made up to this part, great.
7
Preparing Lid
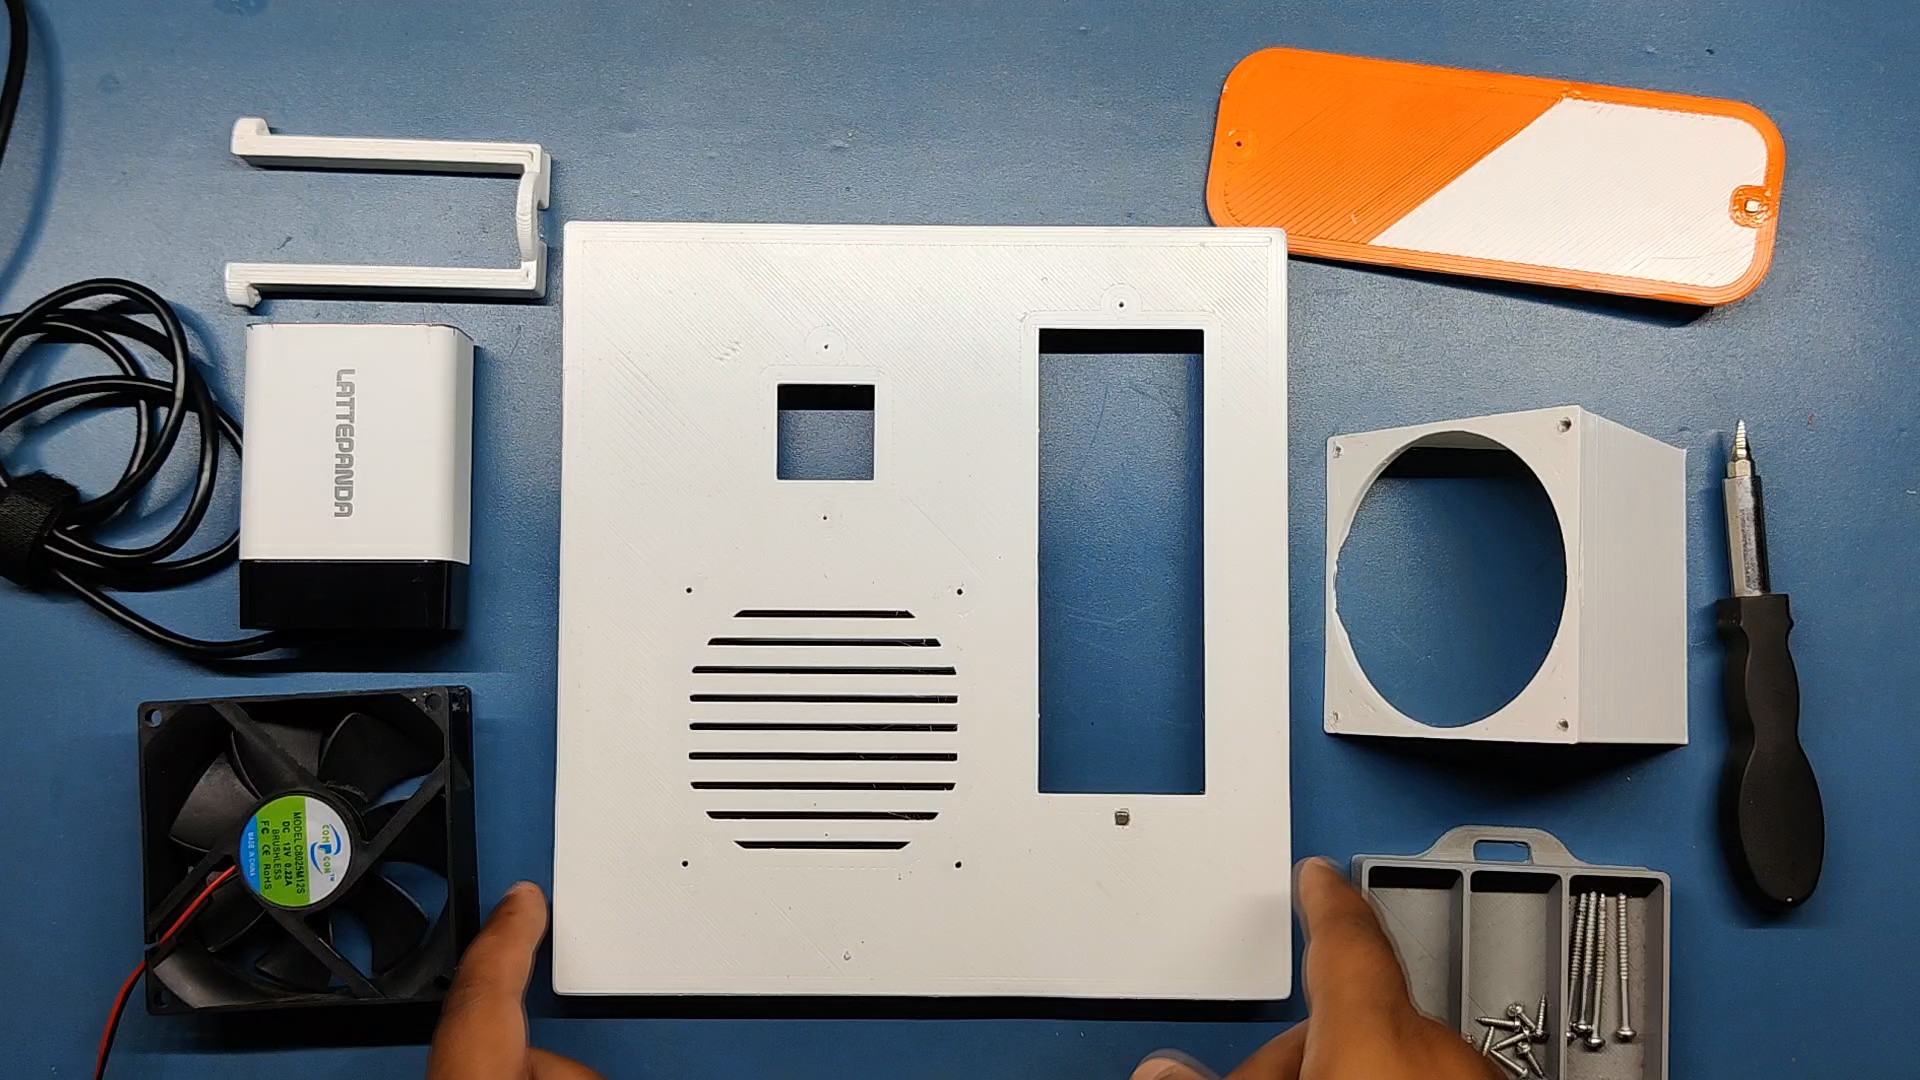
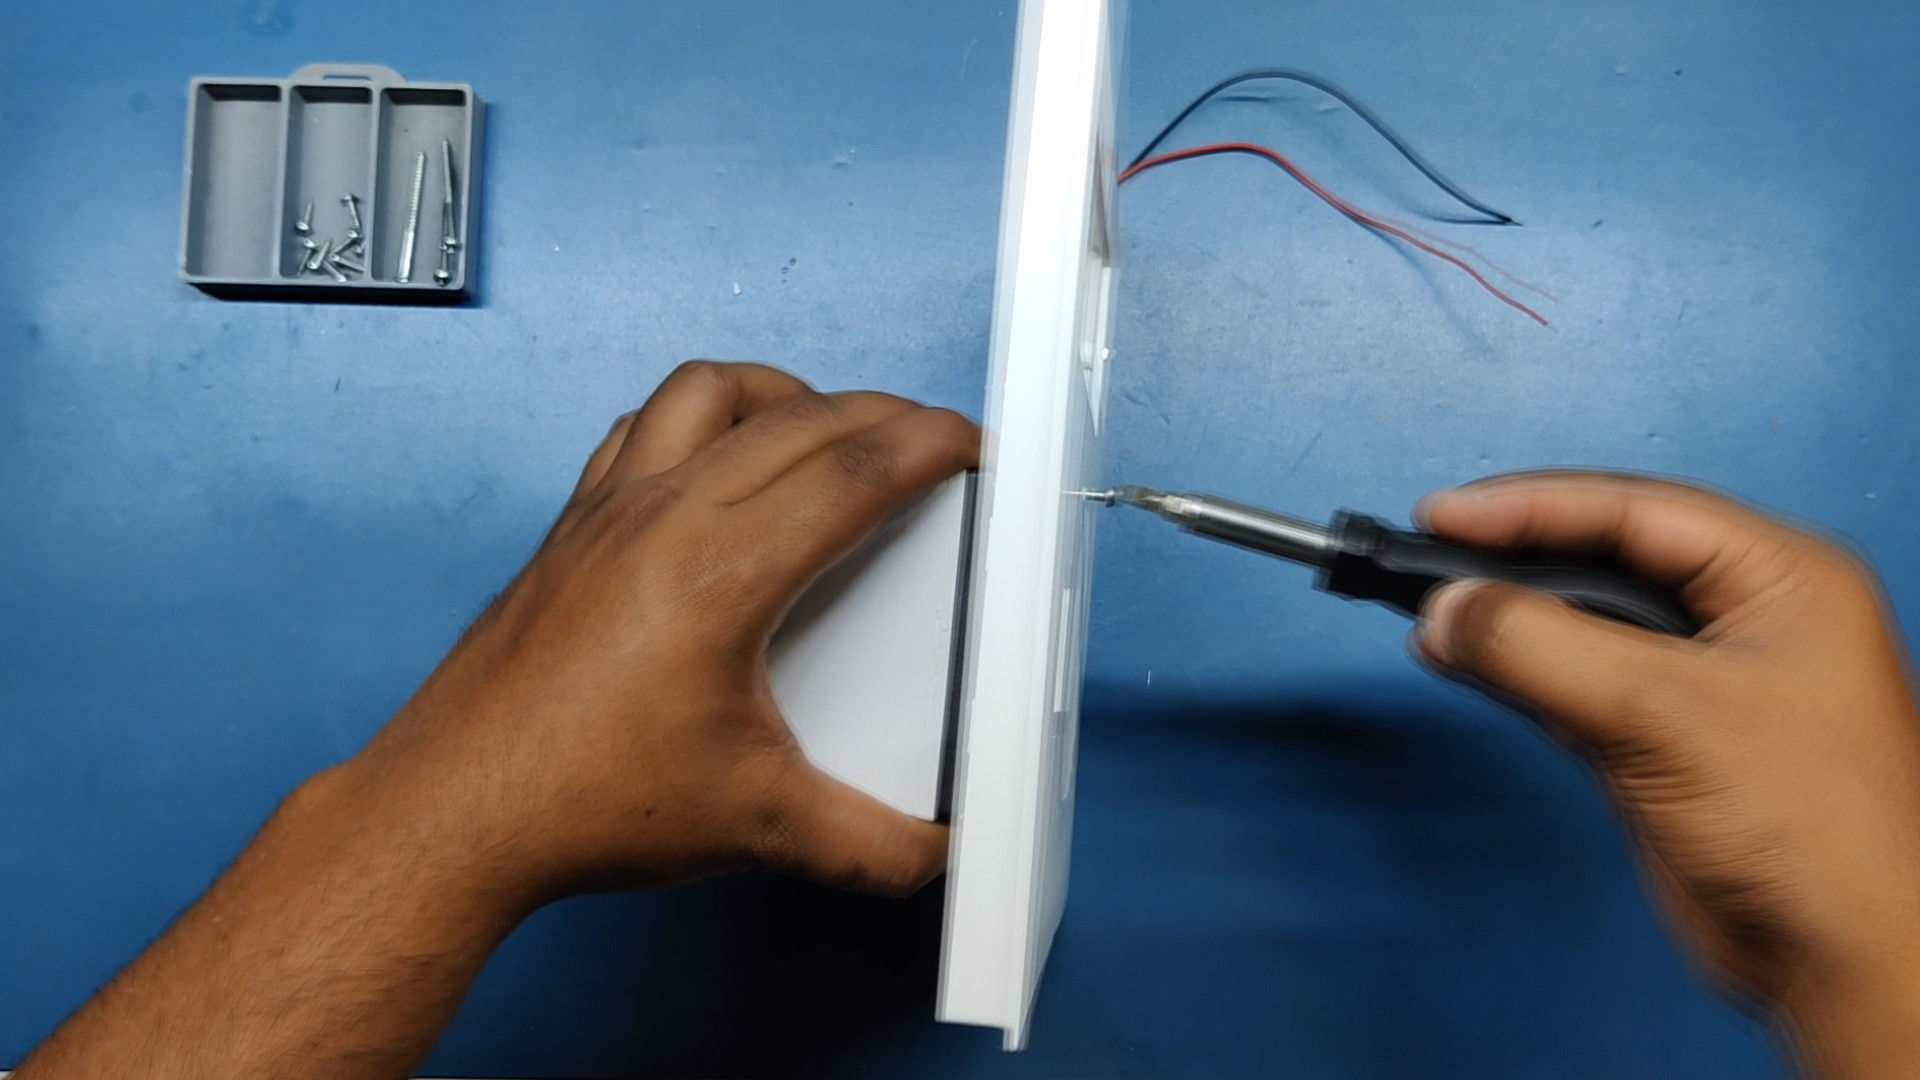
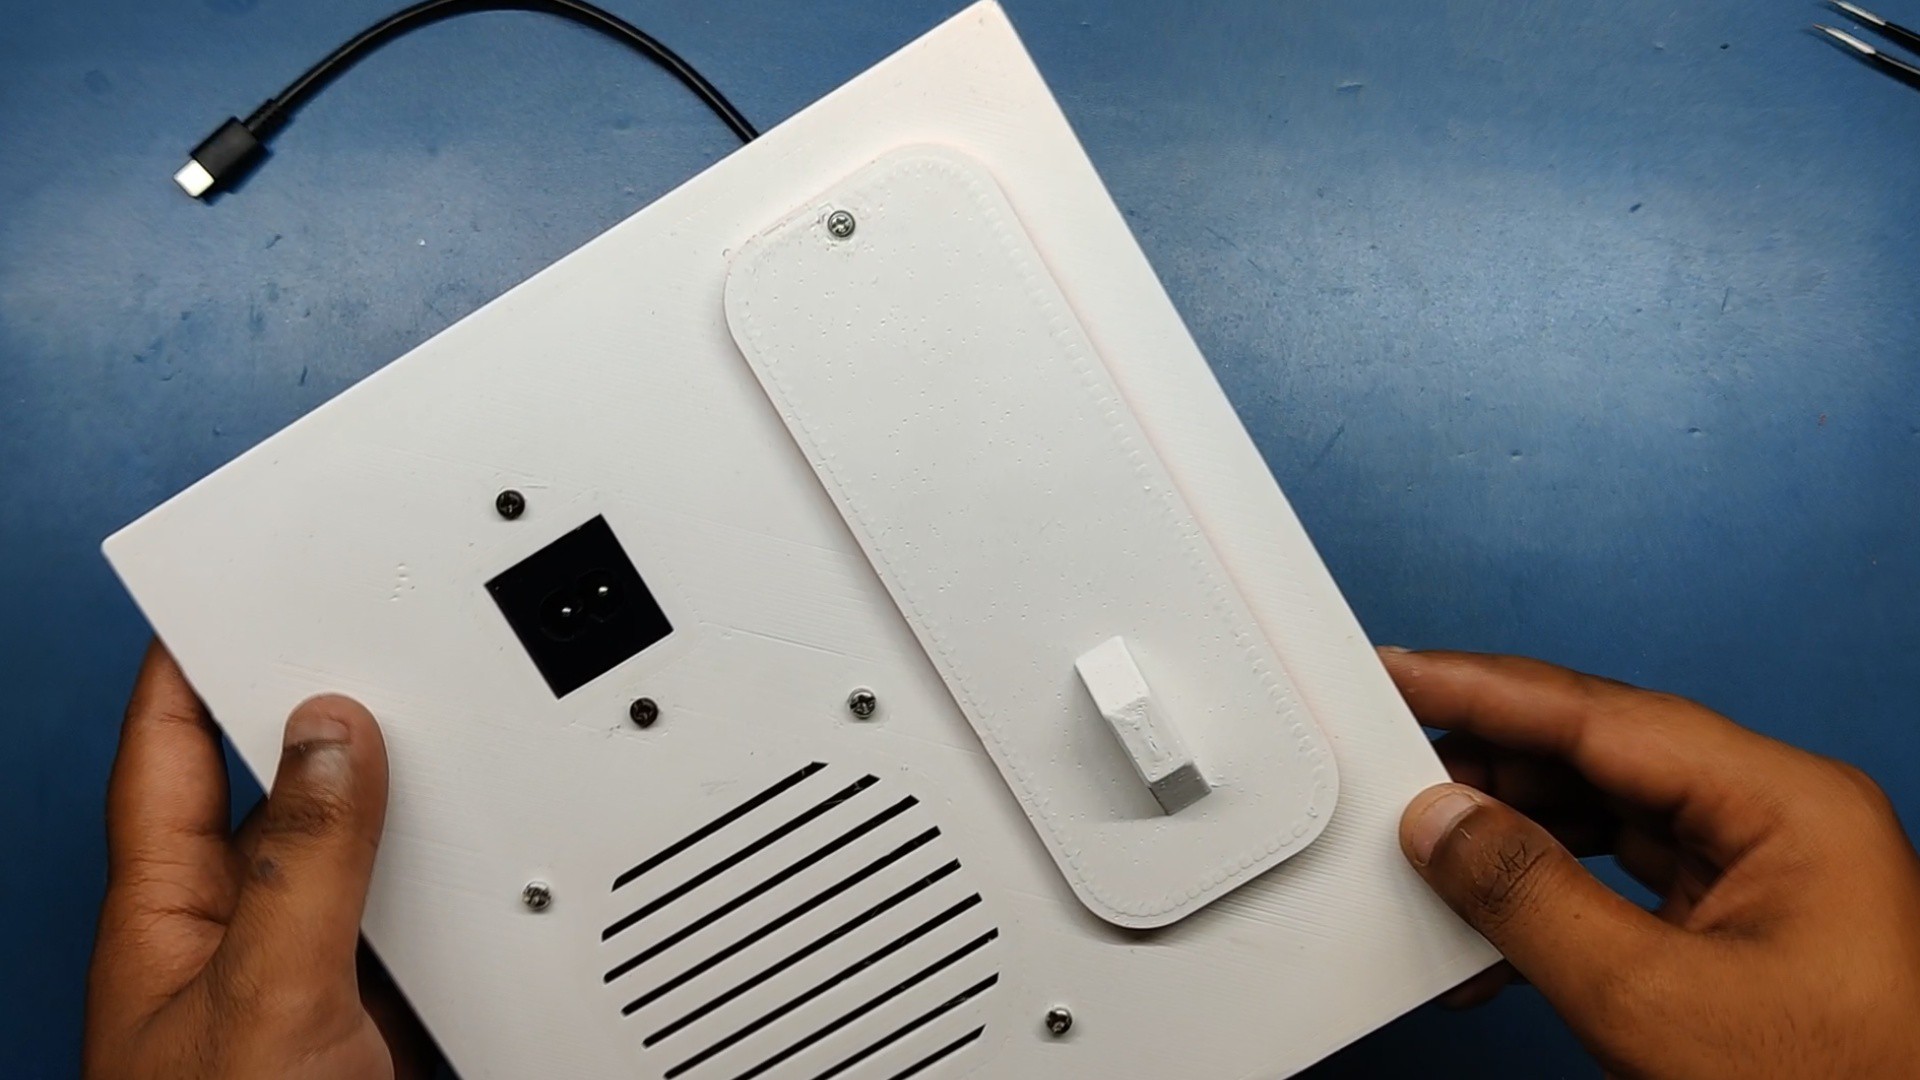
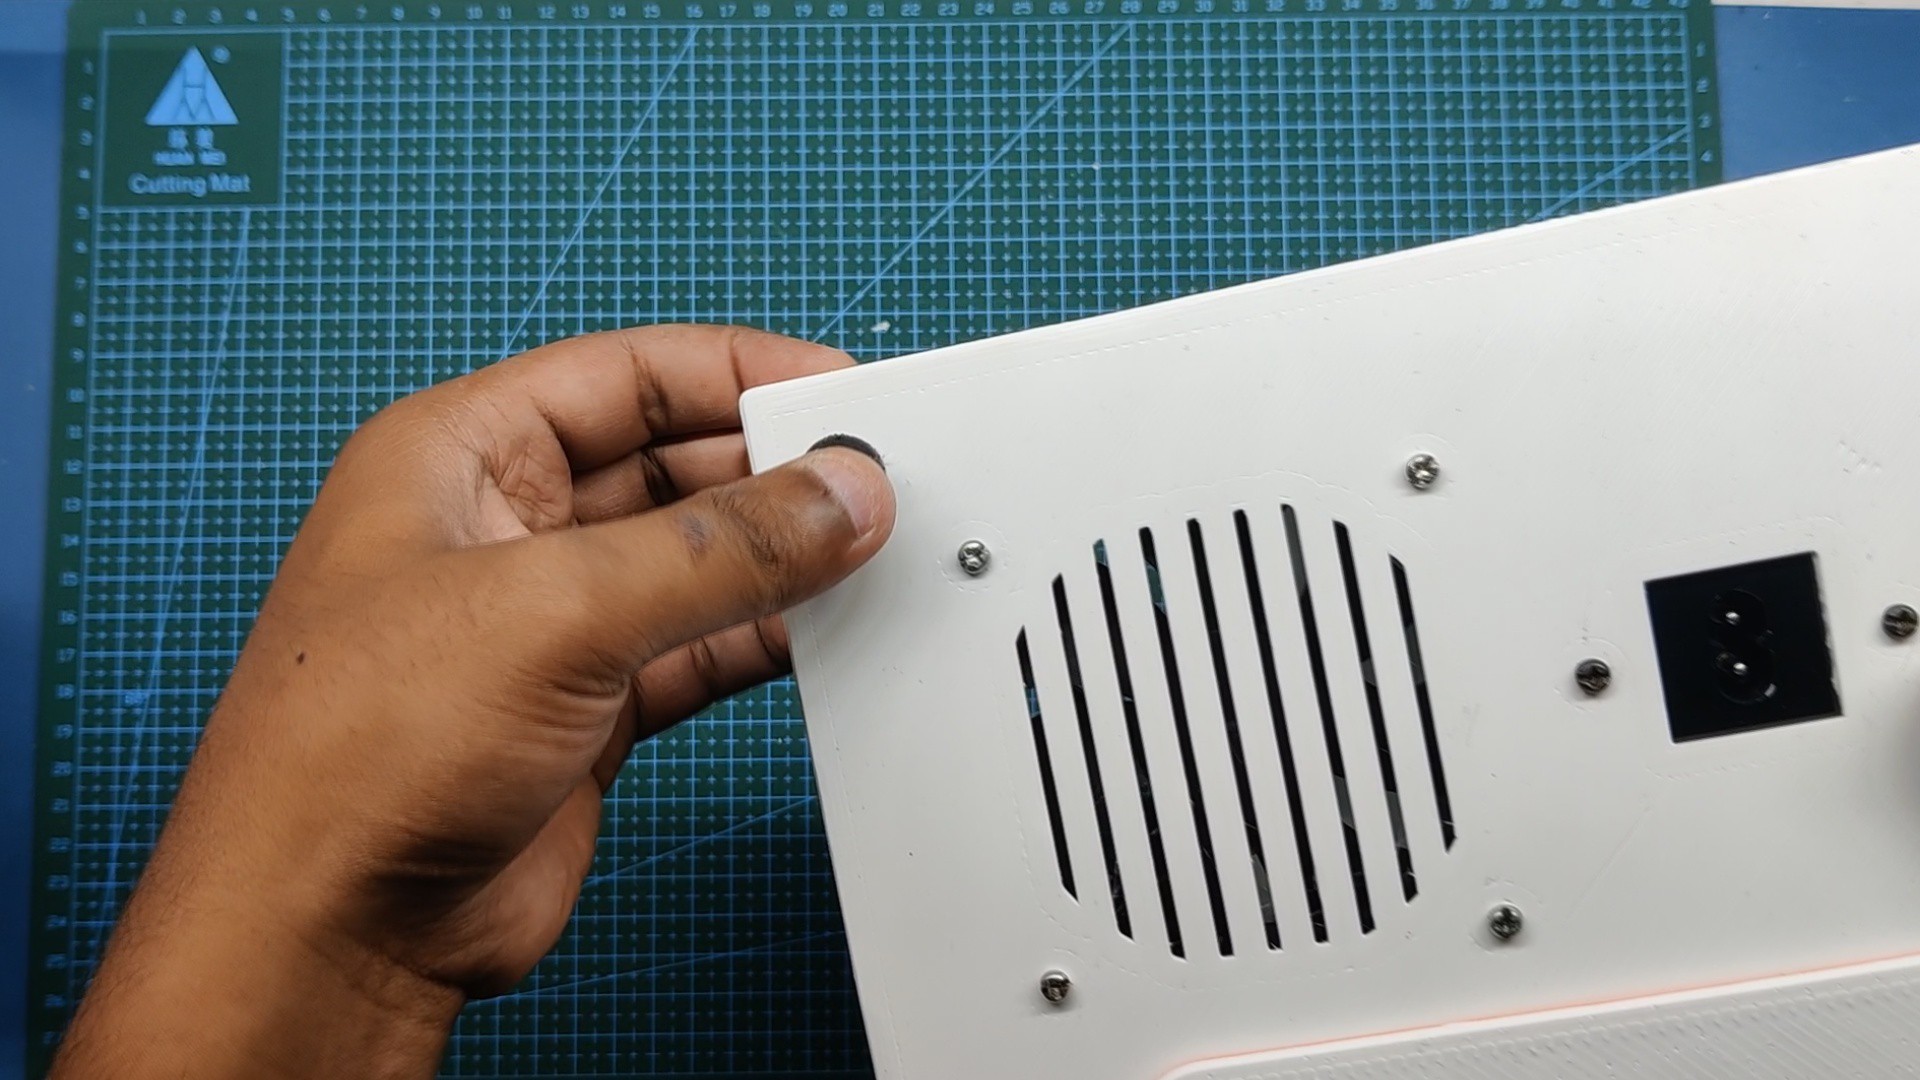
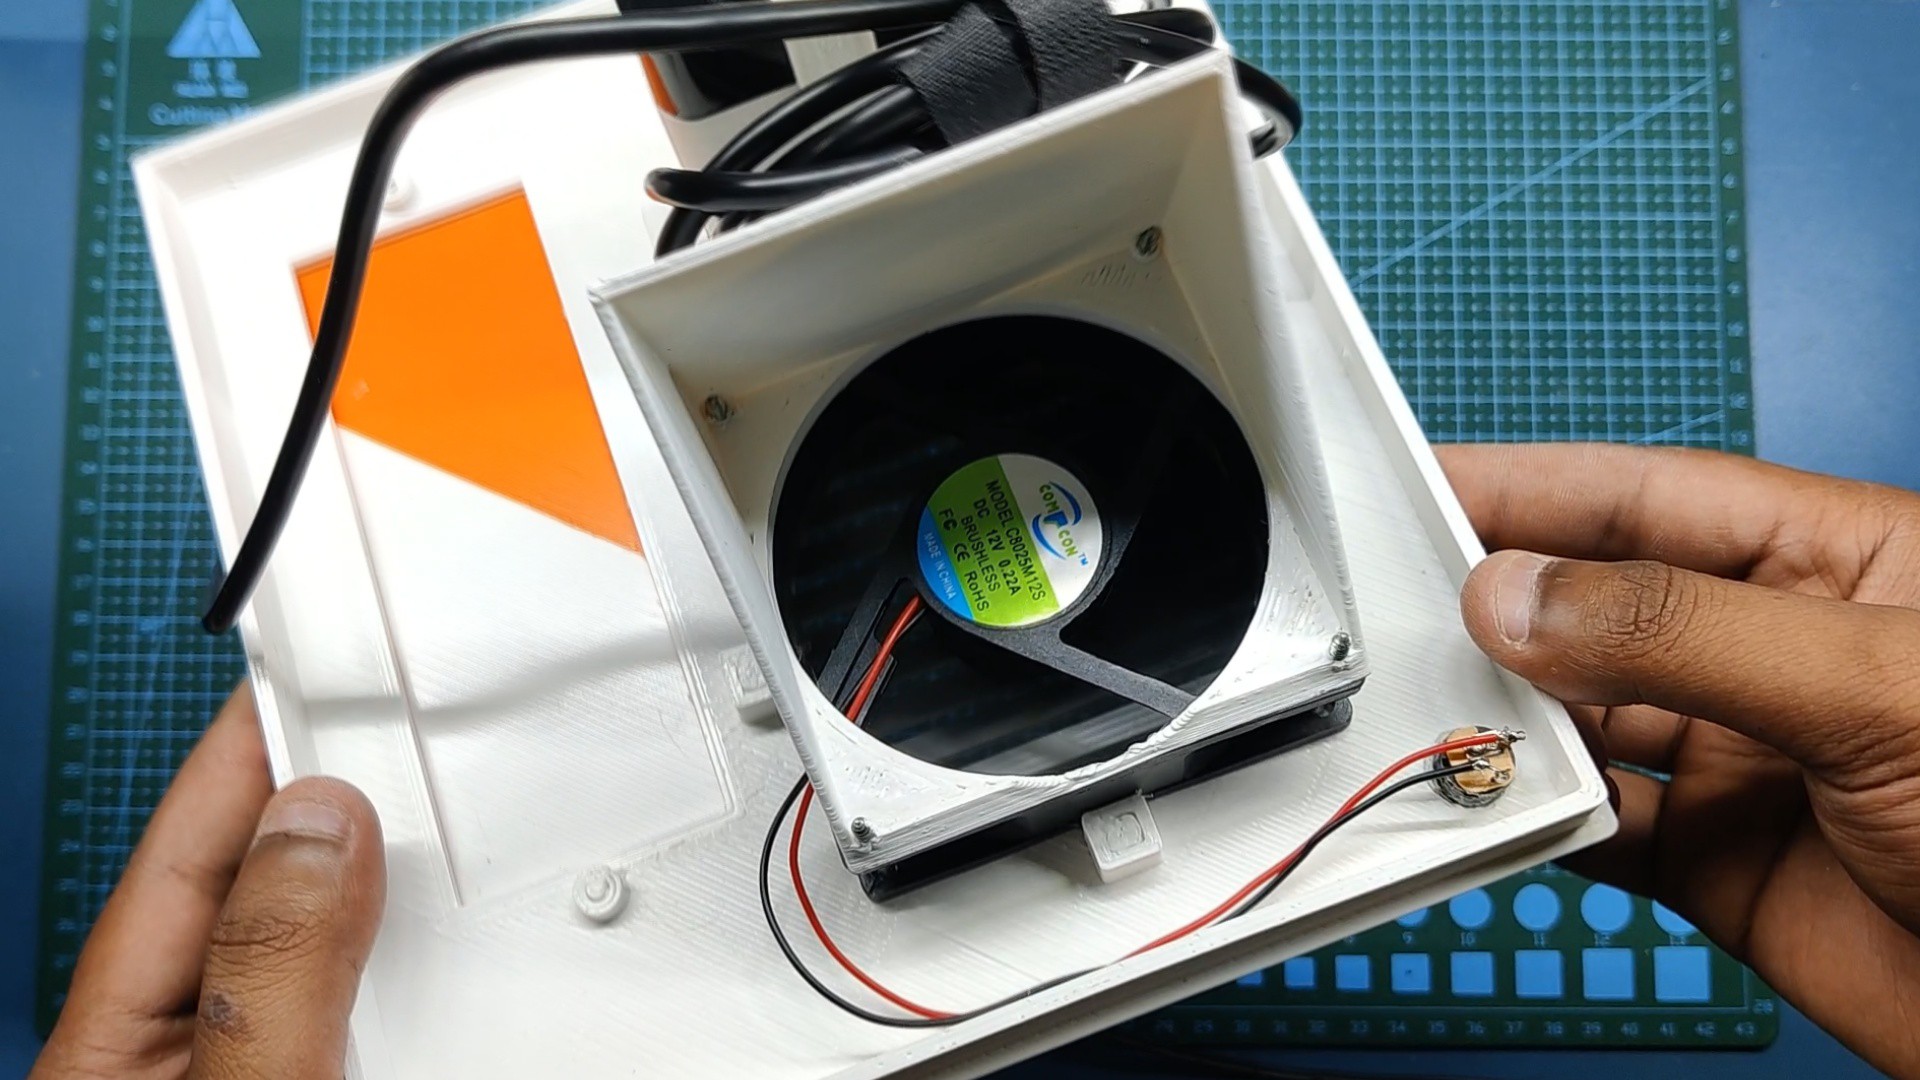
We start the Lid assembly by first adding DC Fan with the air vent by using four M3 Long Screws.
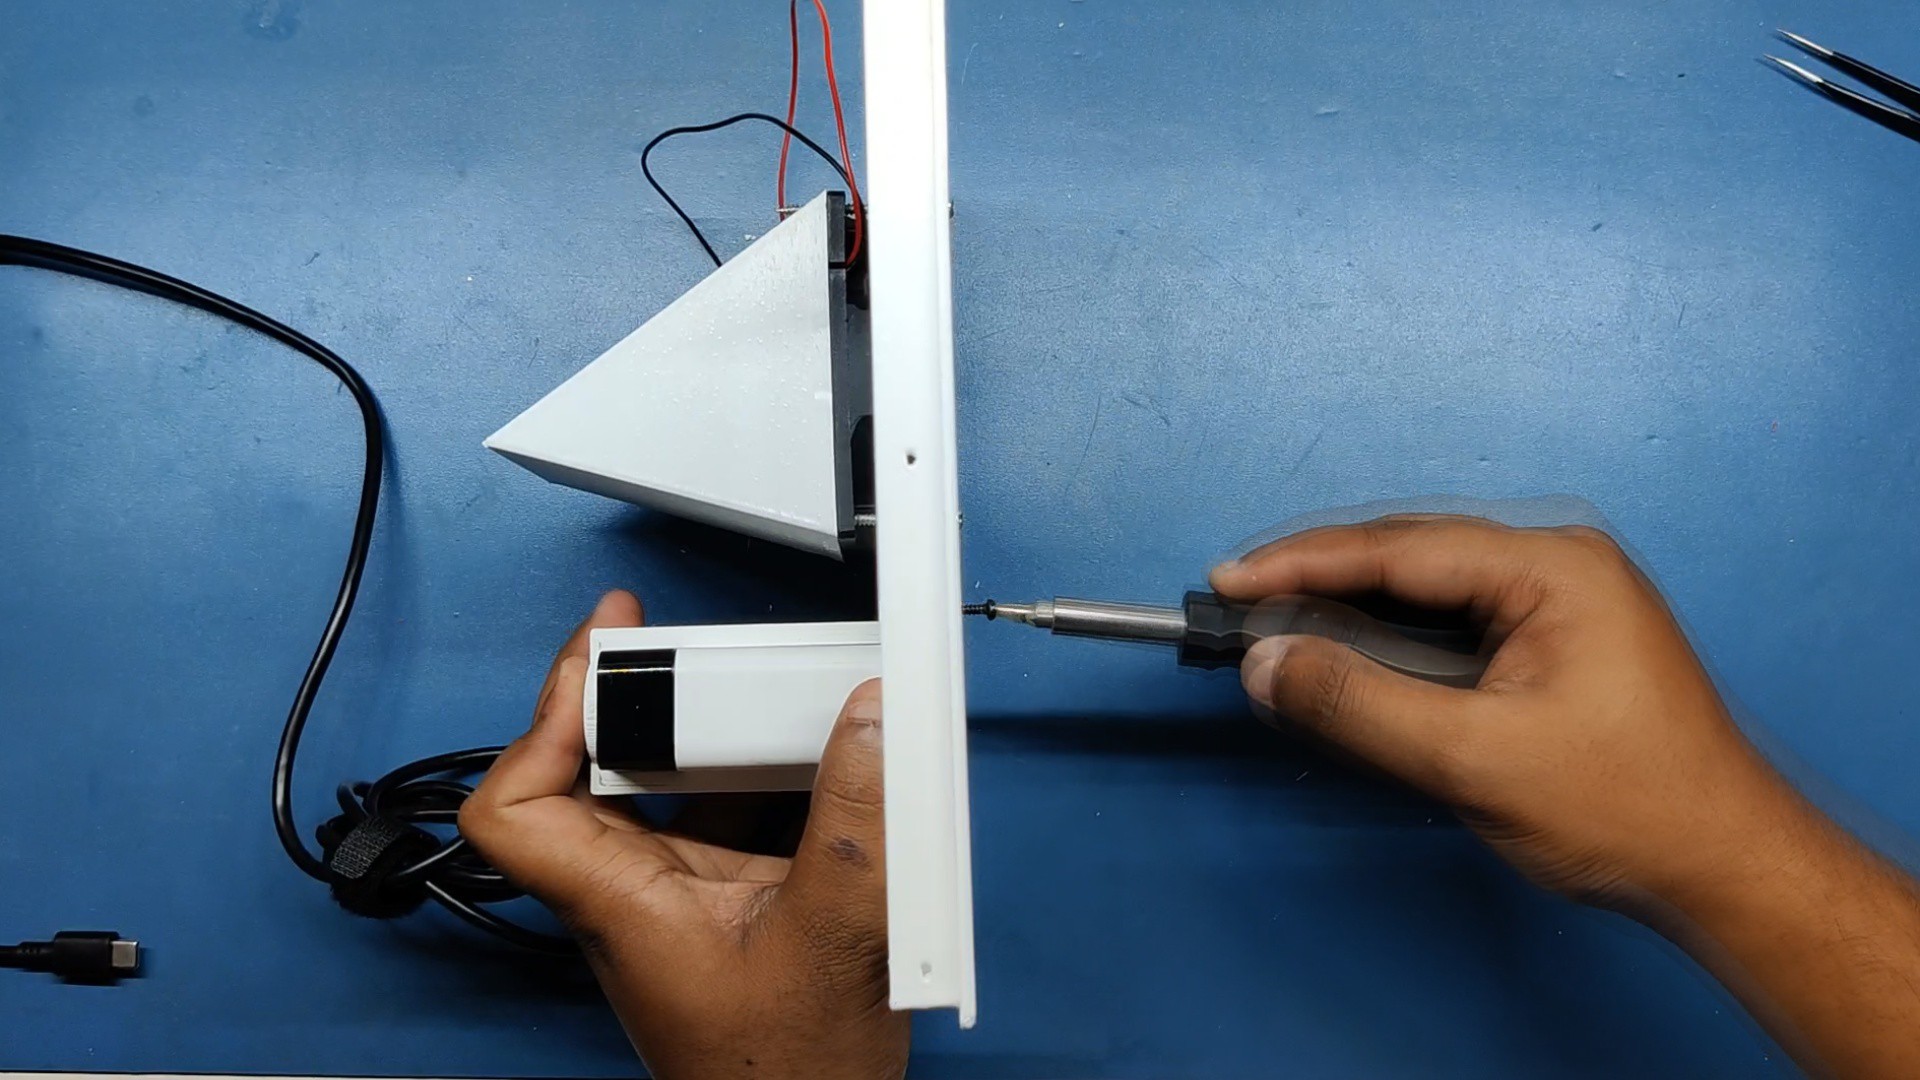
Next, we put the Latte Panda's Power Brick in its place and use the holder to mount it permanently in its place by two M2 Screws.
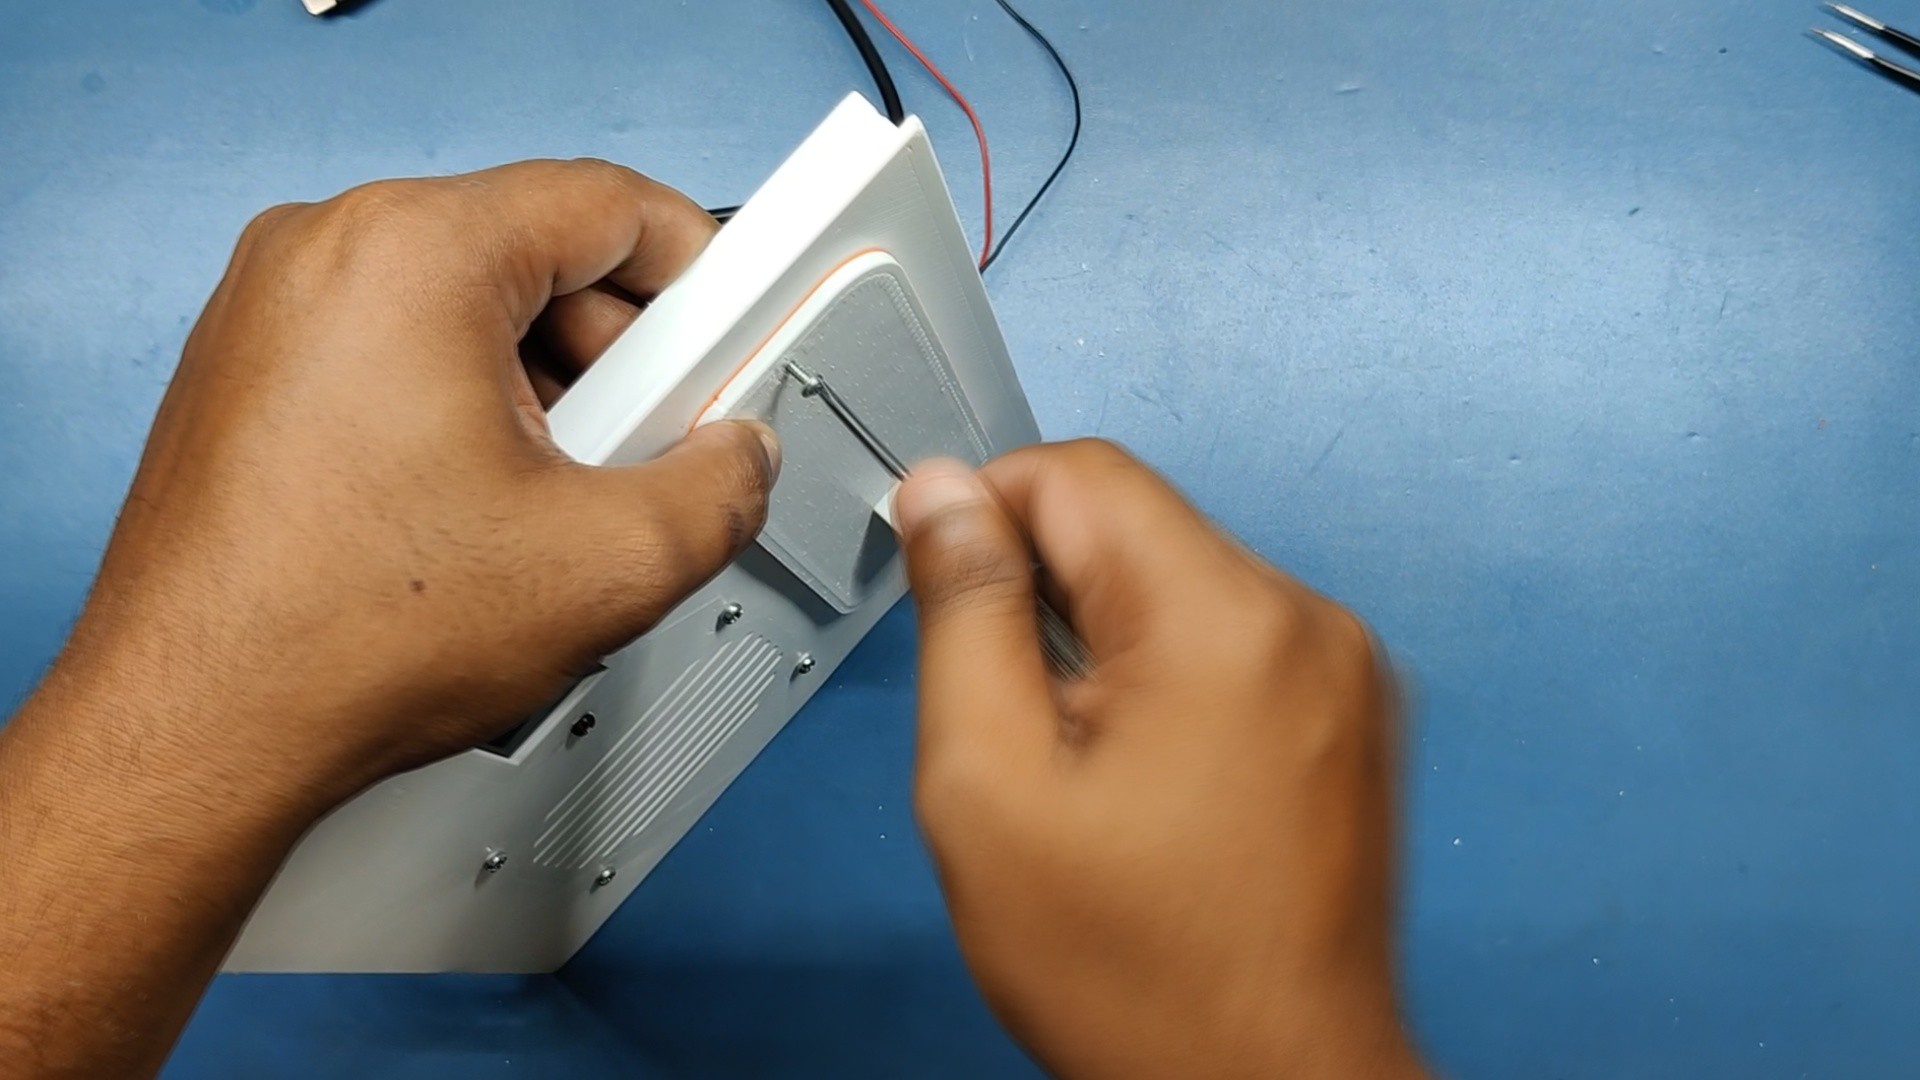
We then add the Lid cover to the lid by using a single M2 Screw, This lid cover is kept in its place by two square magnets.
for looking inside the Latte Panda, we move the lid cover and it rotates, revealing the inside part.
8
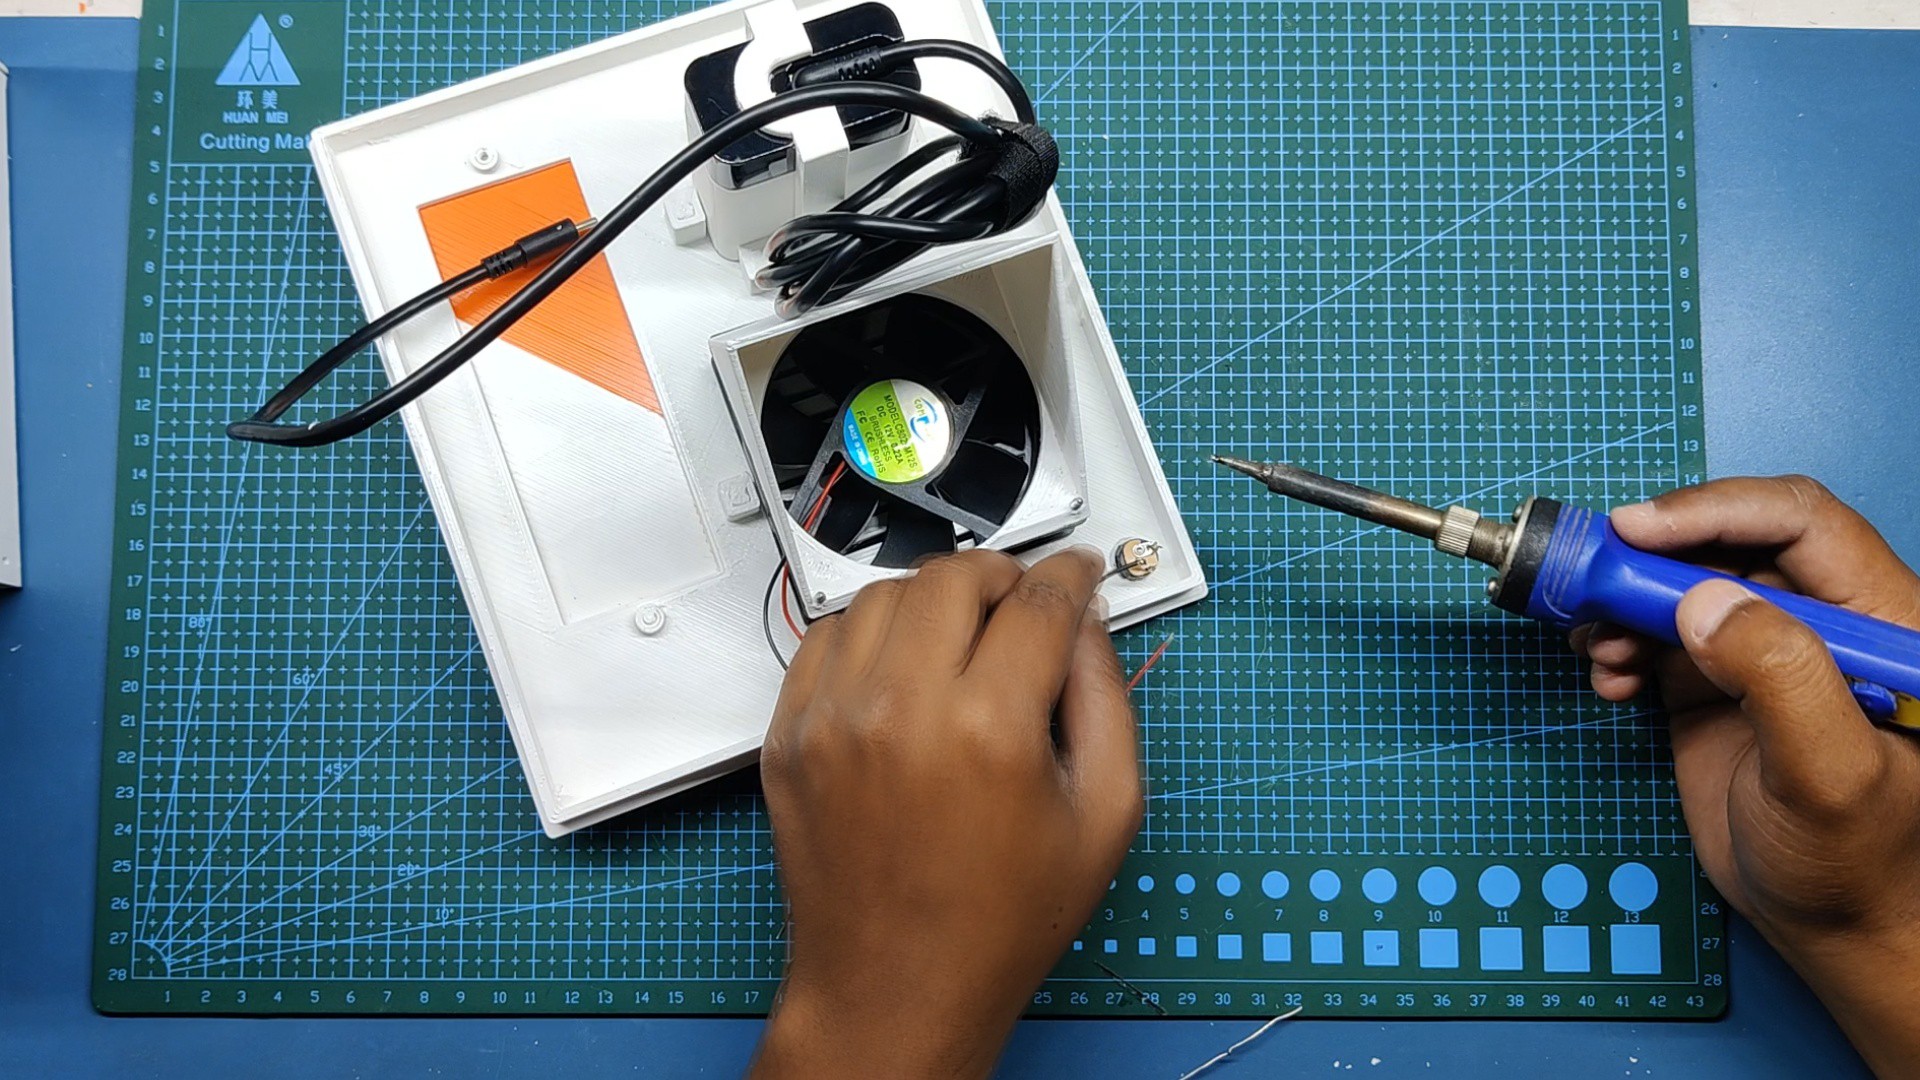
Barrel Jack for DC Fan
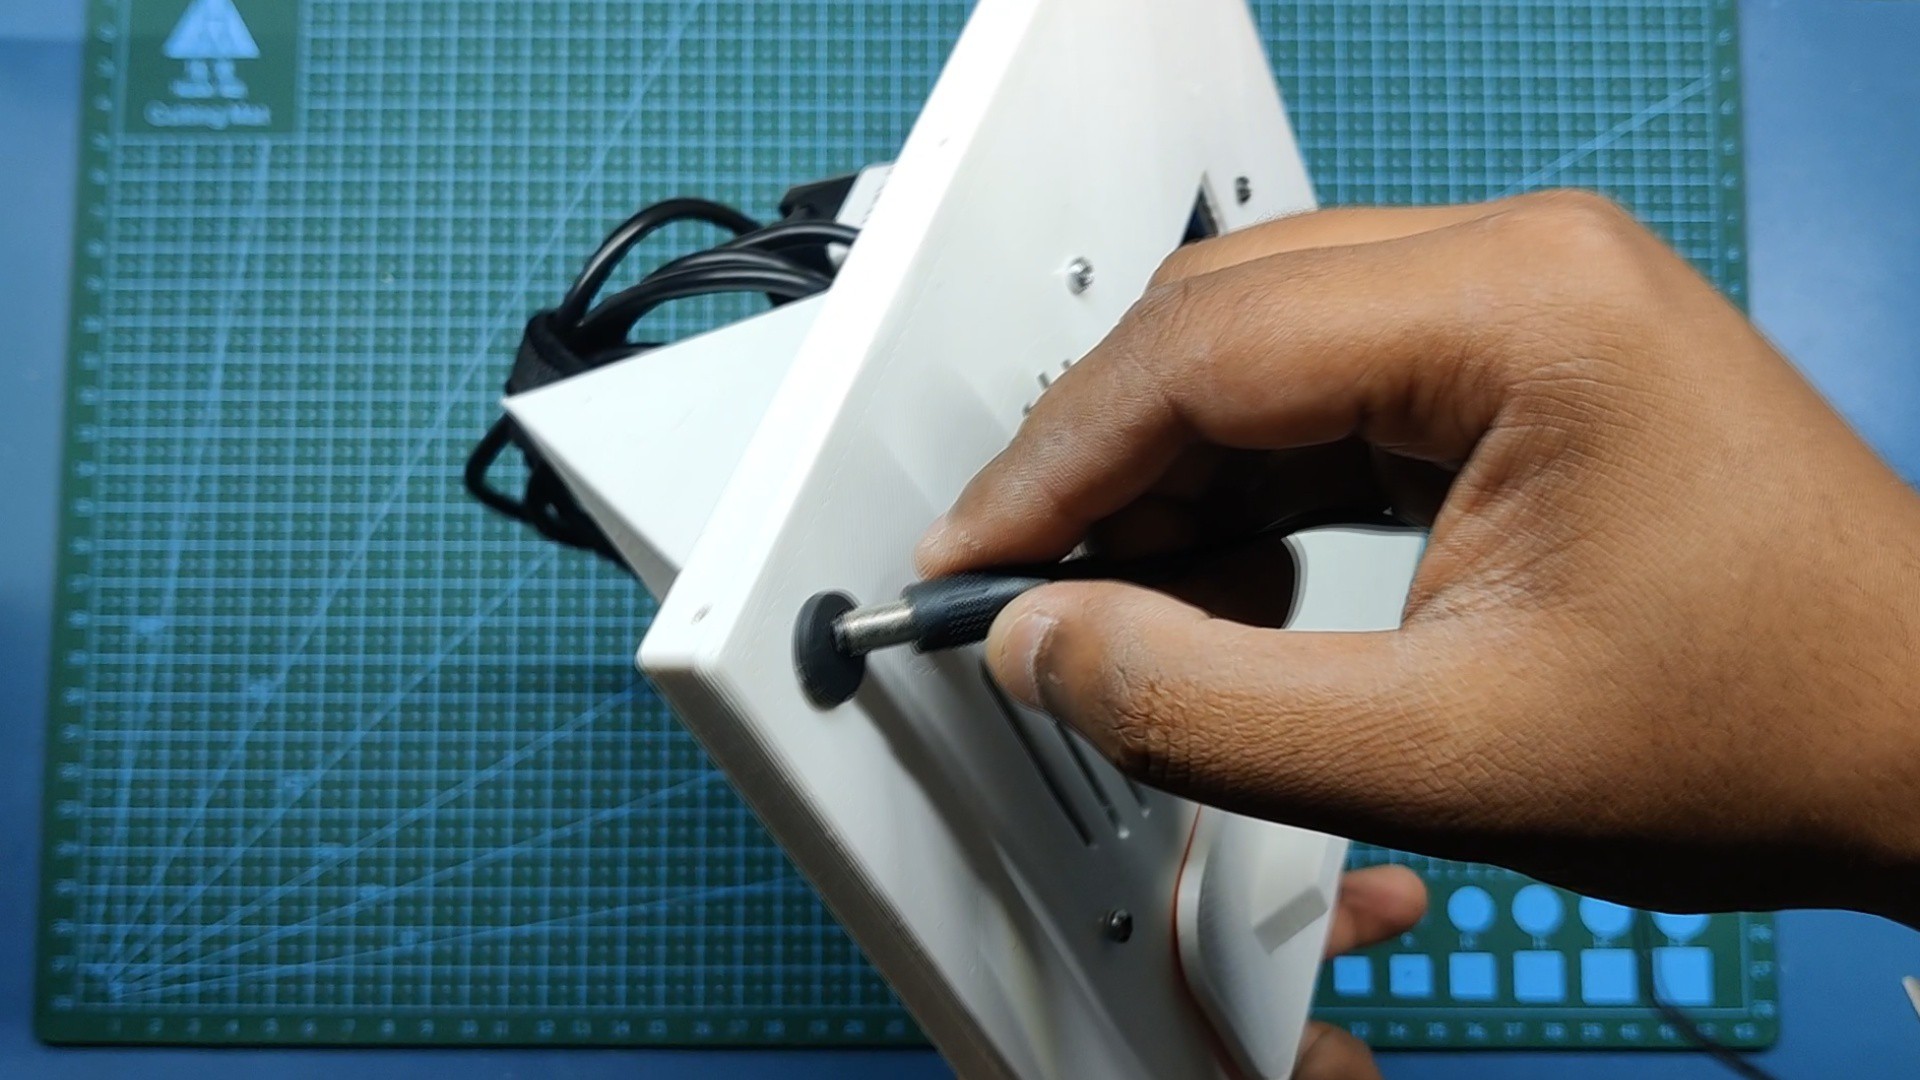
Next, we add a Barrel DC jack to the middle body.
This barrel jack is for connecting a 12V Adaptor for powering DC Fan.
We solder the positive and negative wires of DC Fan with Barrel jack's Vcc and GND.
At last, we test to connect the 12V Adaptor and test if the fan is working or not.
9
Adding Latte Panda to Middle Body
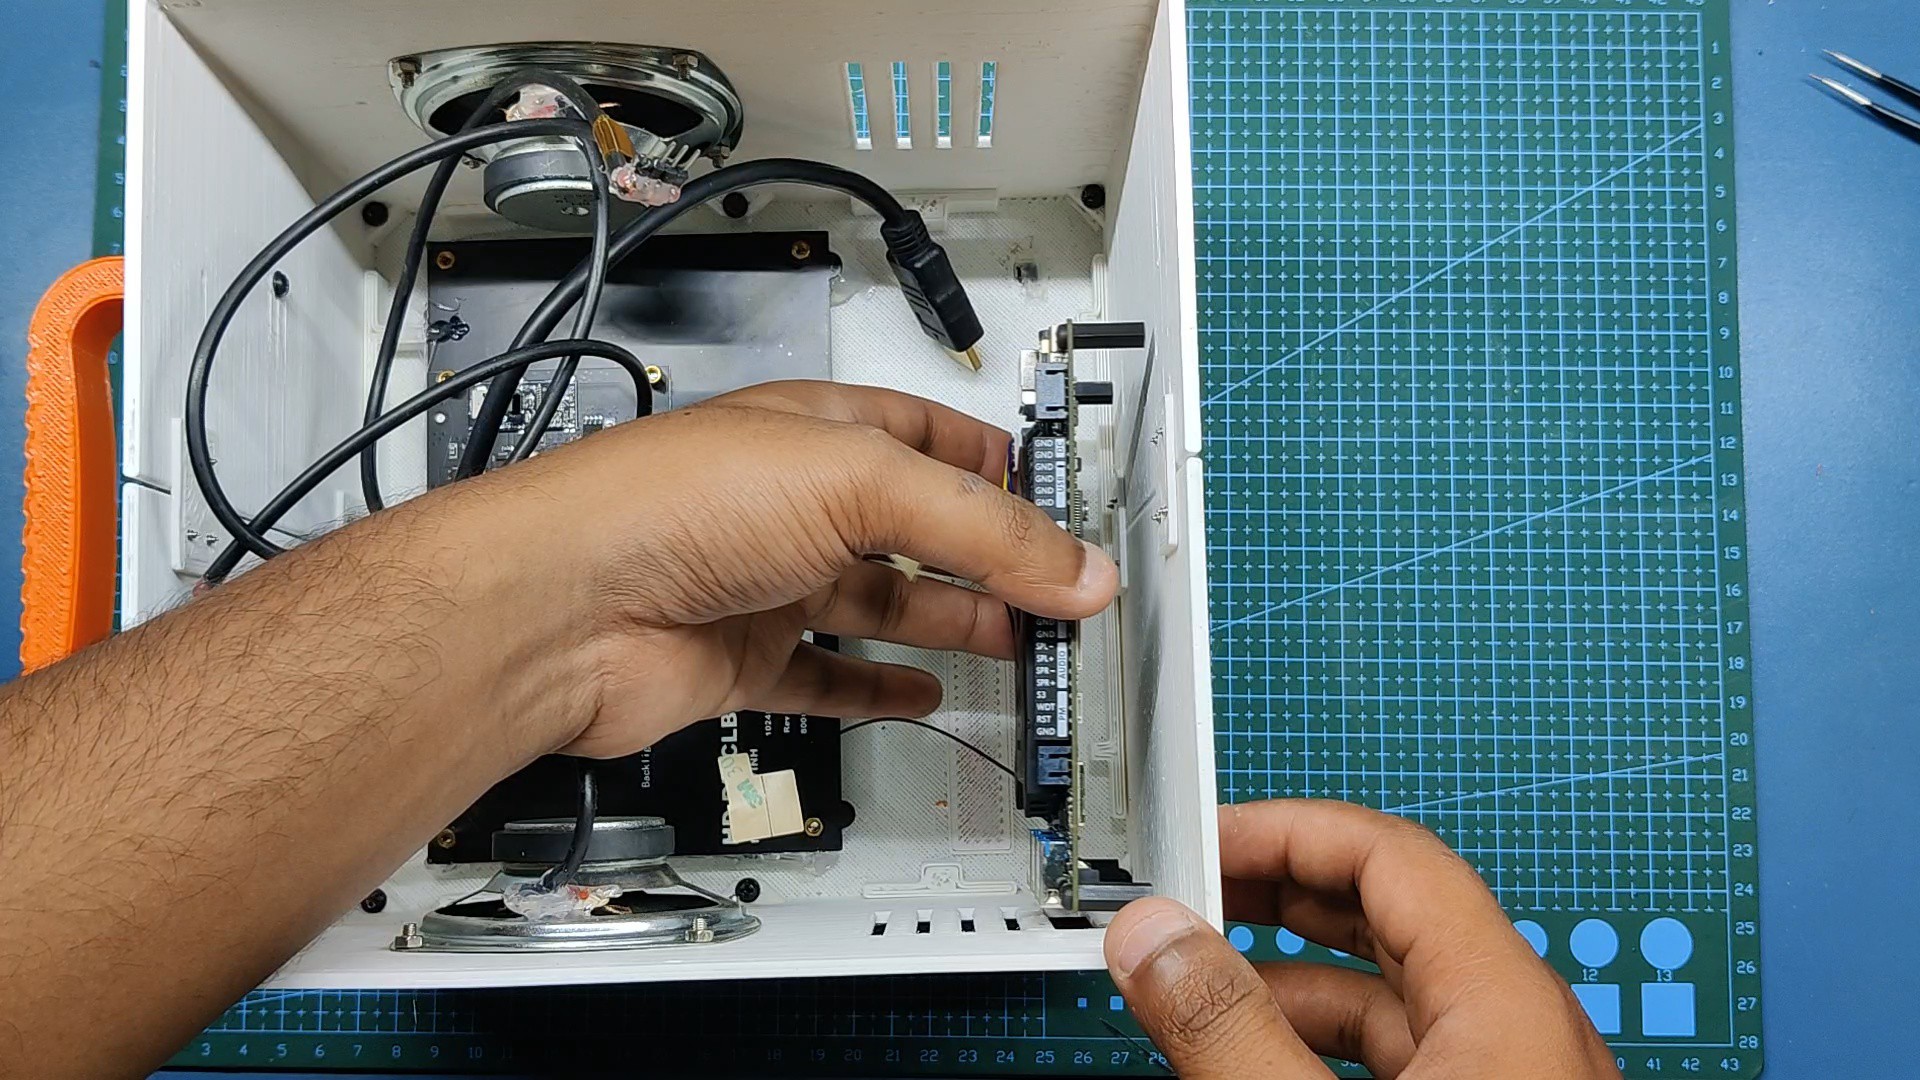
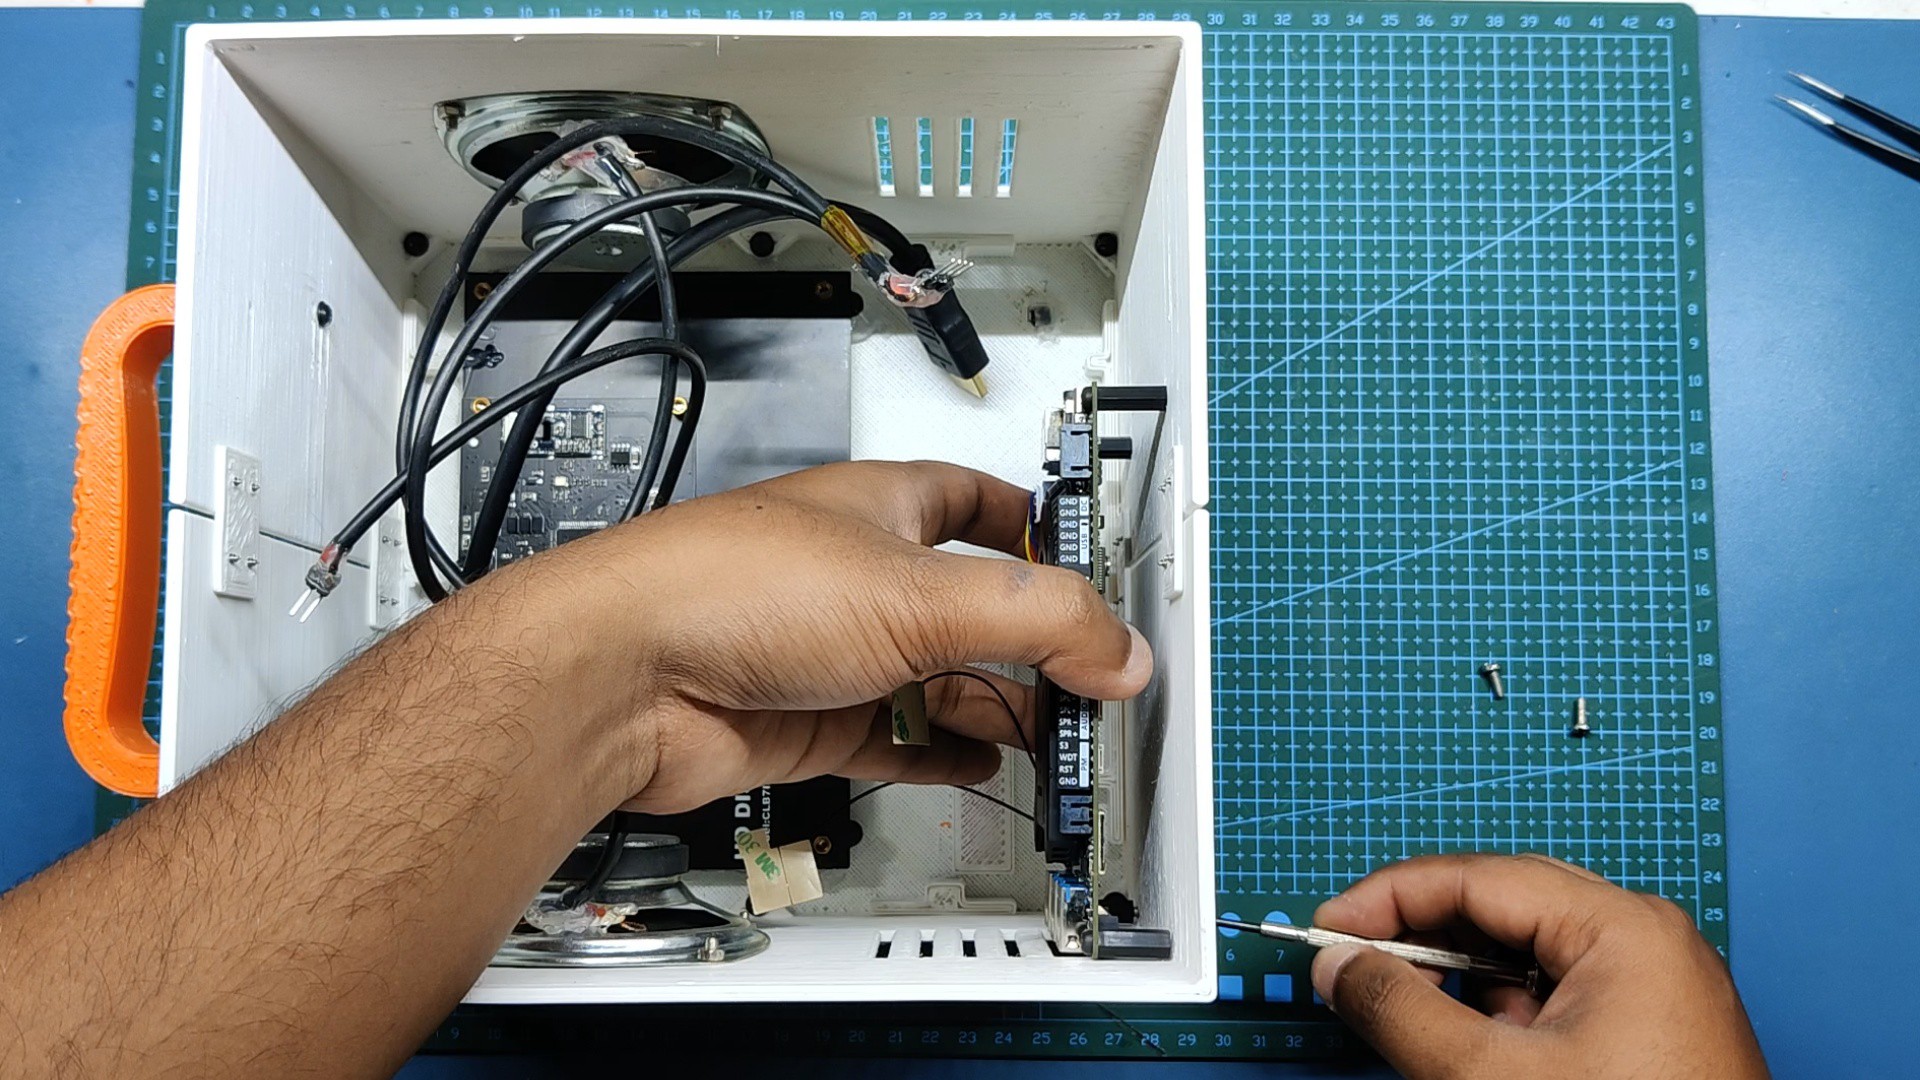
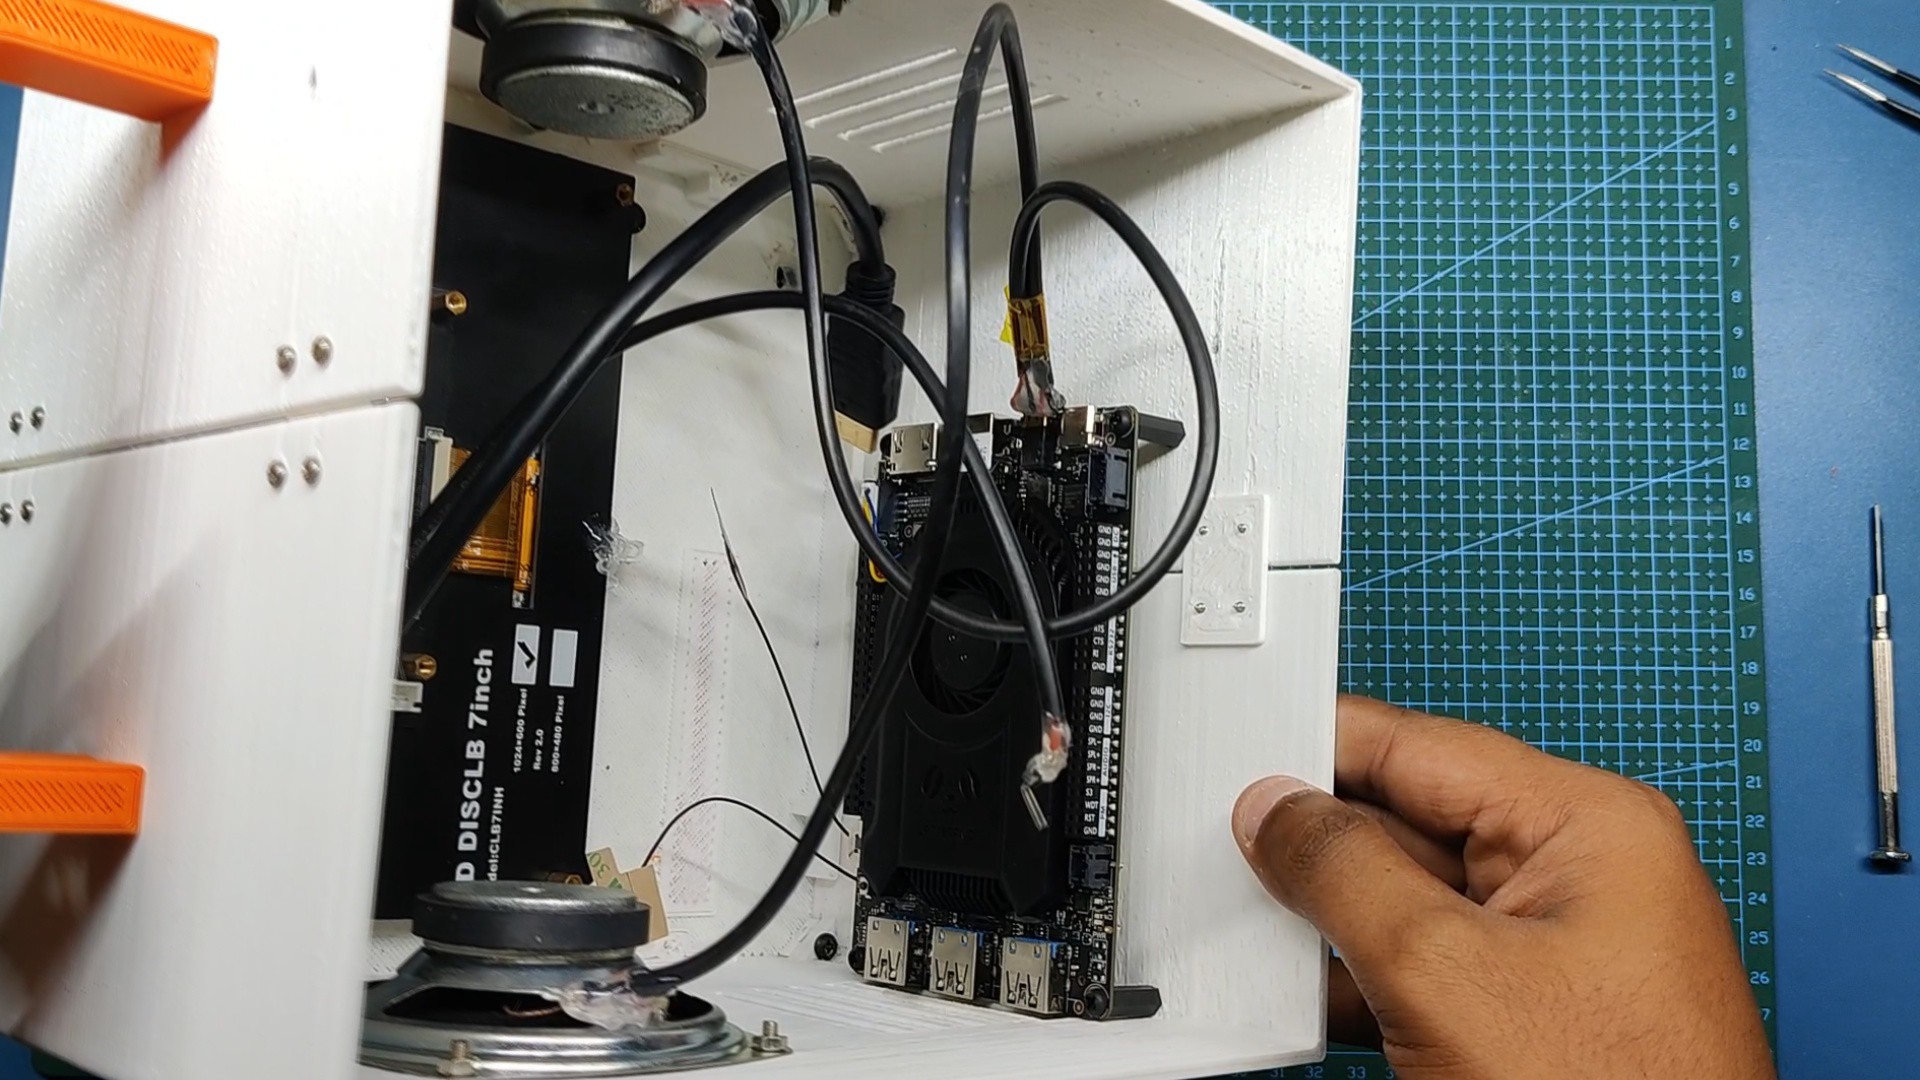
Now we add Latte Panda to the middle body
We start by adding Plastic Standoffs that came along with Latte Panda
We place the Latte Panda in its place and use four M3 Screws to hold the latte panda with the middle body.
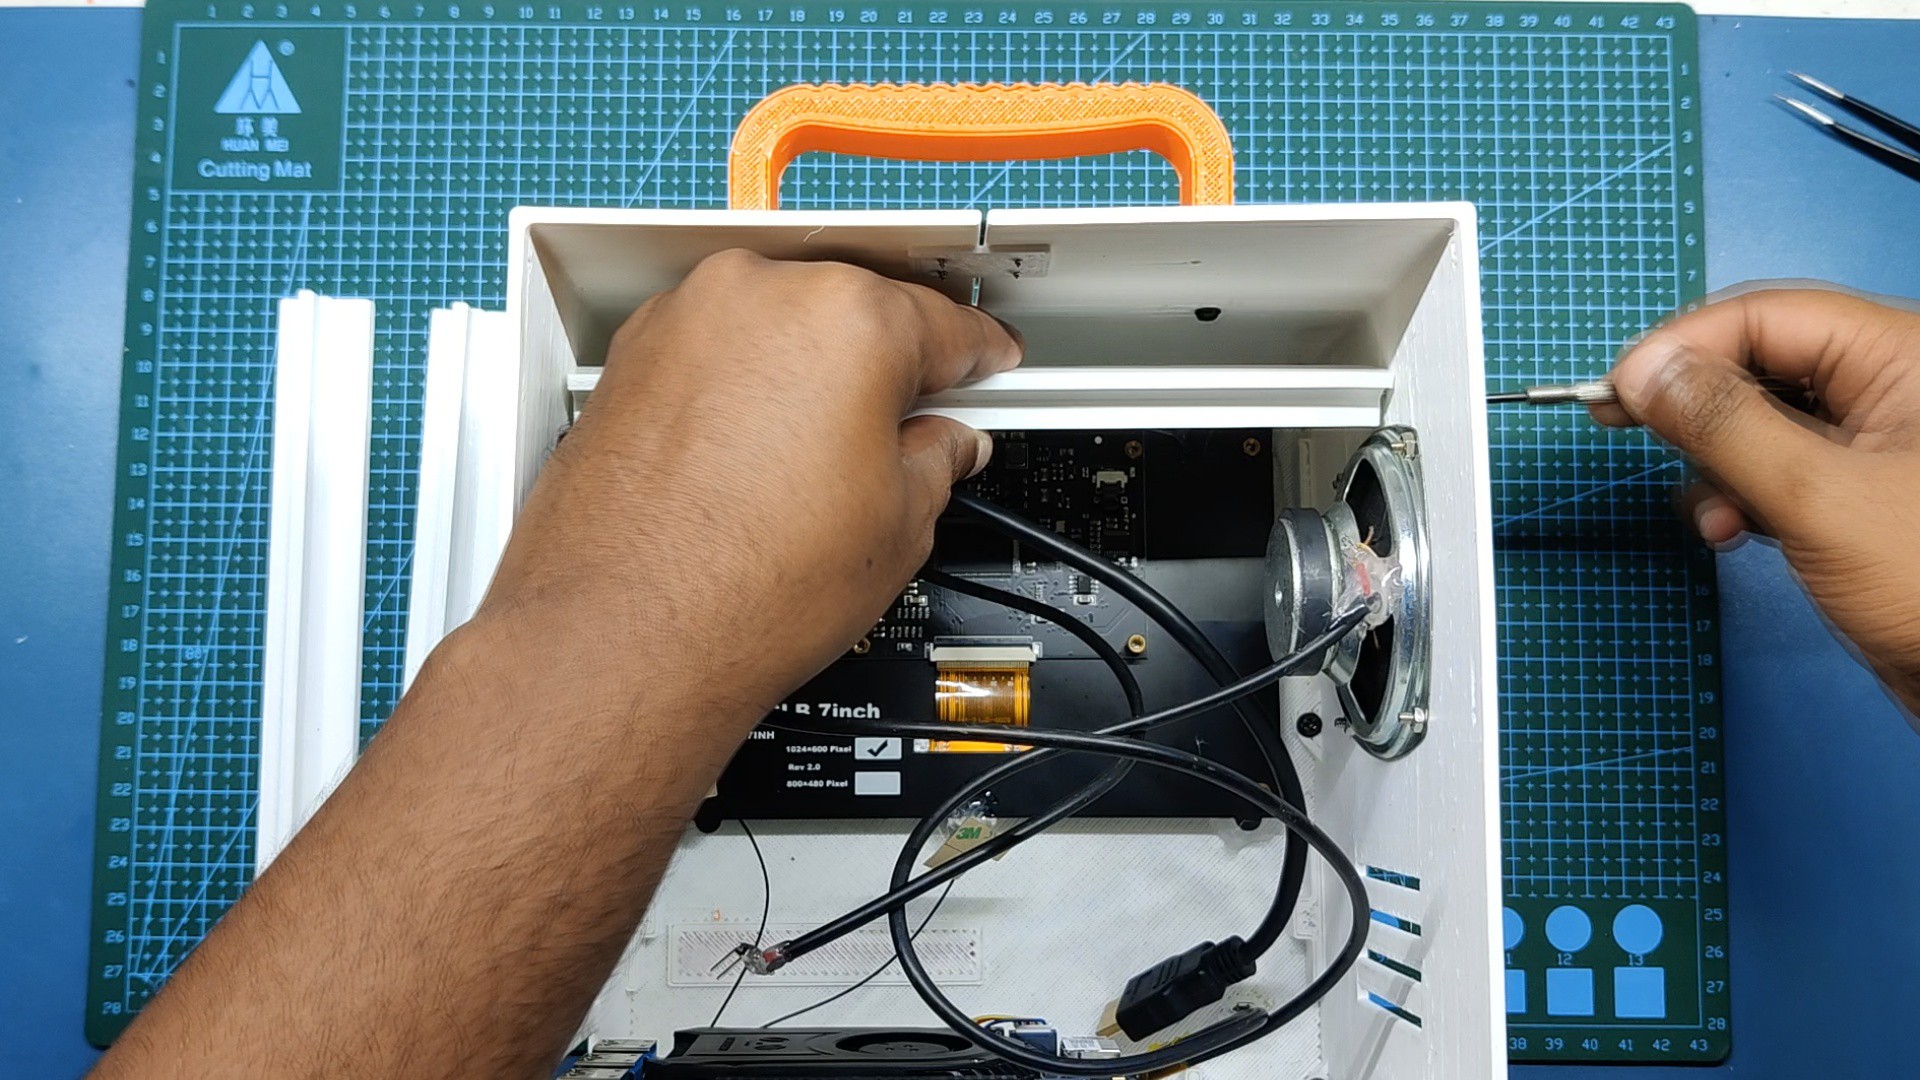
Next, we add internal supporting pillars inside the middle body. These pillars are essential as they dont let the body flex too much or compress, adding them to all sides makes this PC strong structurally.
We first place the Horizontal Internal Support Mount near the speaker, then we add two more vertical Internal support mounts.
Next, we add the HDMI cable to the Latte Panda's Display port
We then add the Display's Vcc and GND port into the 5V and GND of the latte panda.
Then we place the Speaker Positive and Negative (both Speakers) into the audio out of the latte panda.
At last, we add the Switch wire harness with the SW Port of Latte Panda
10
Final Assembly
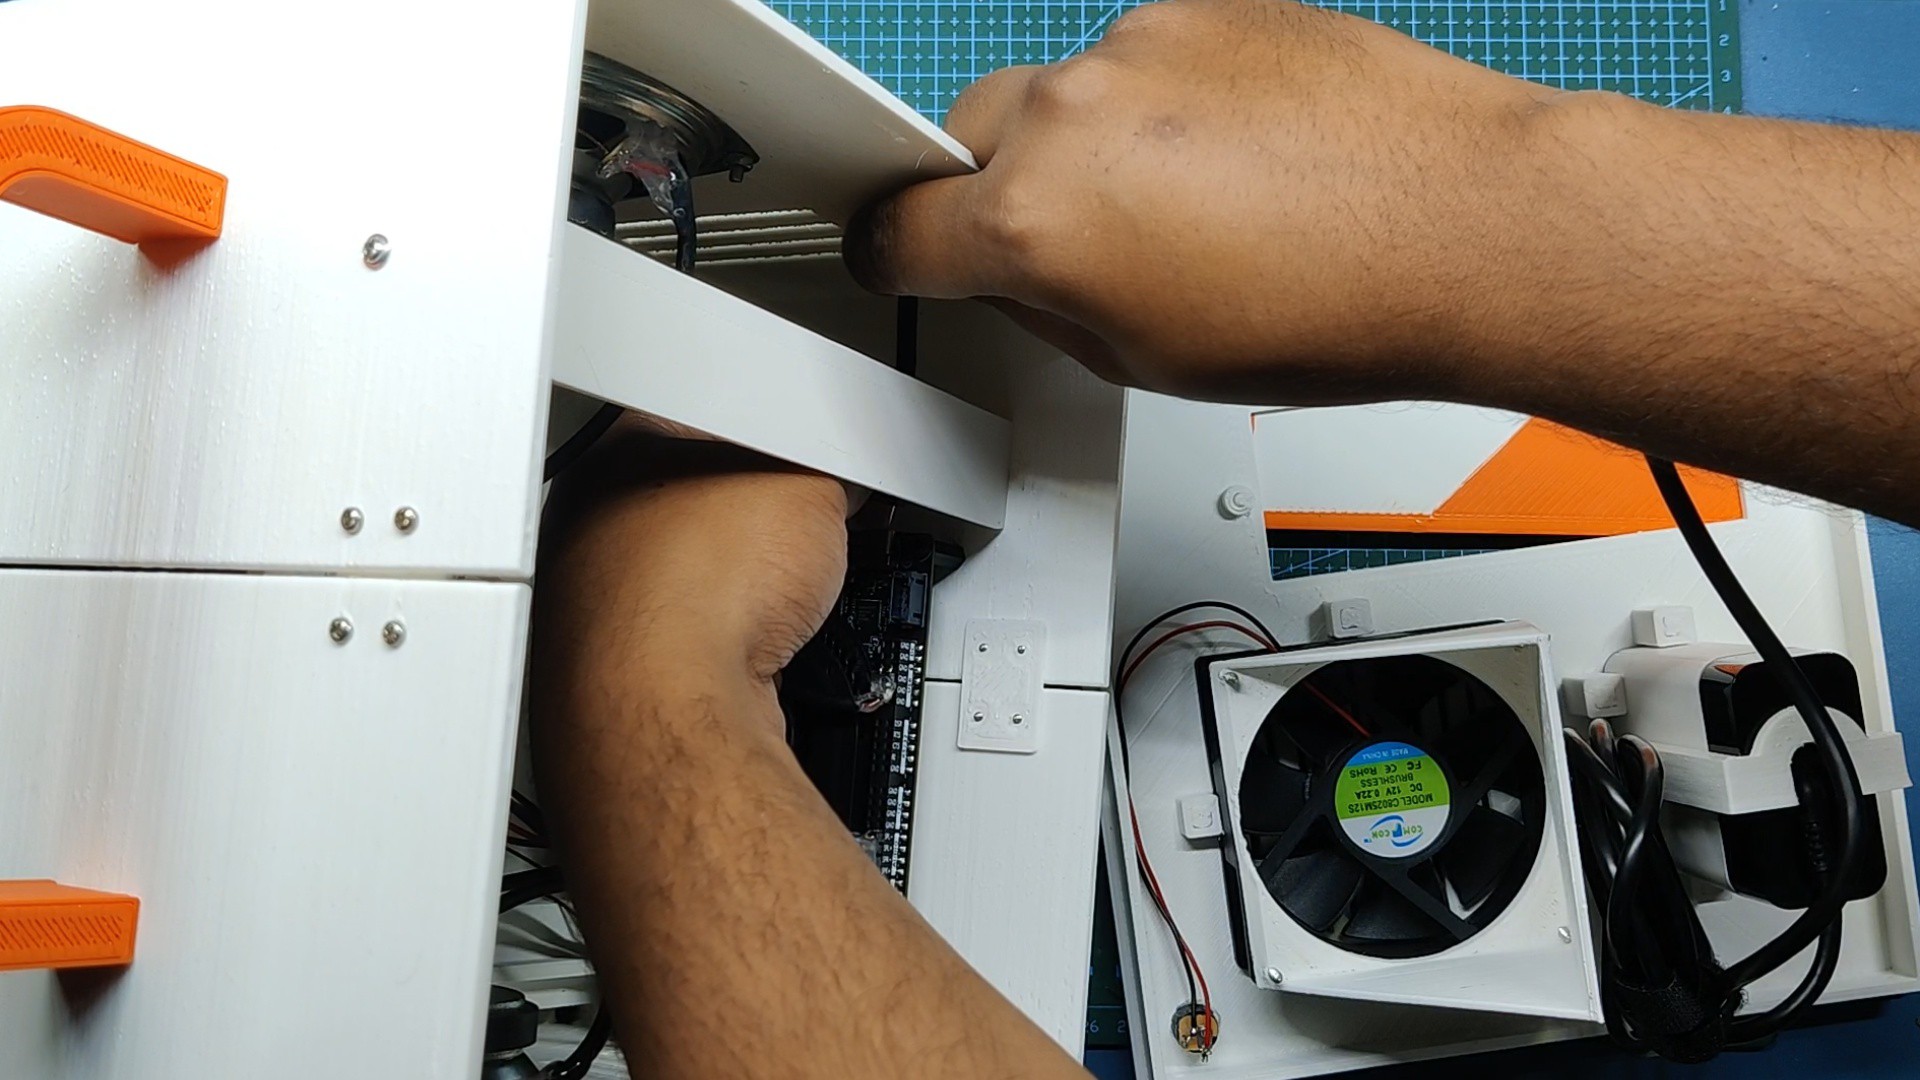
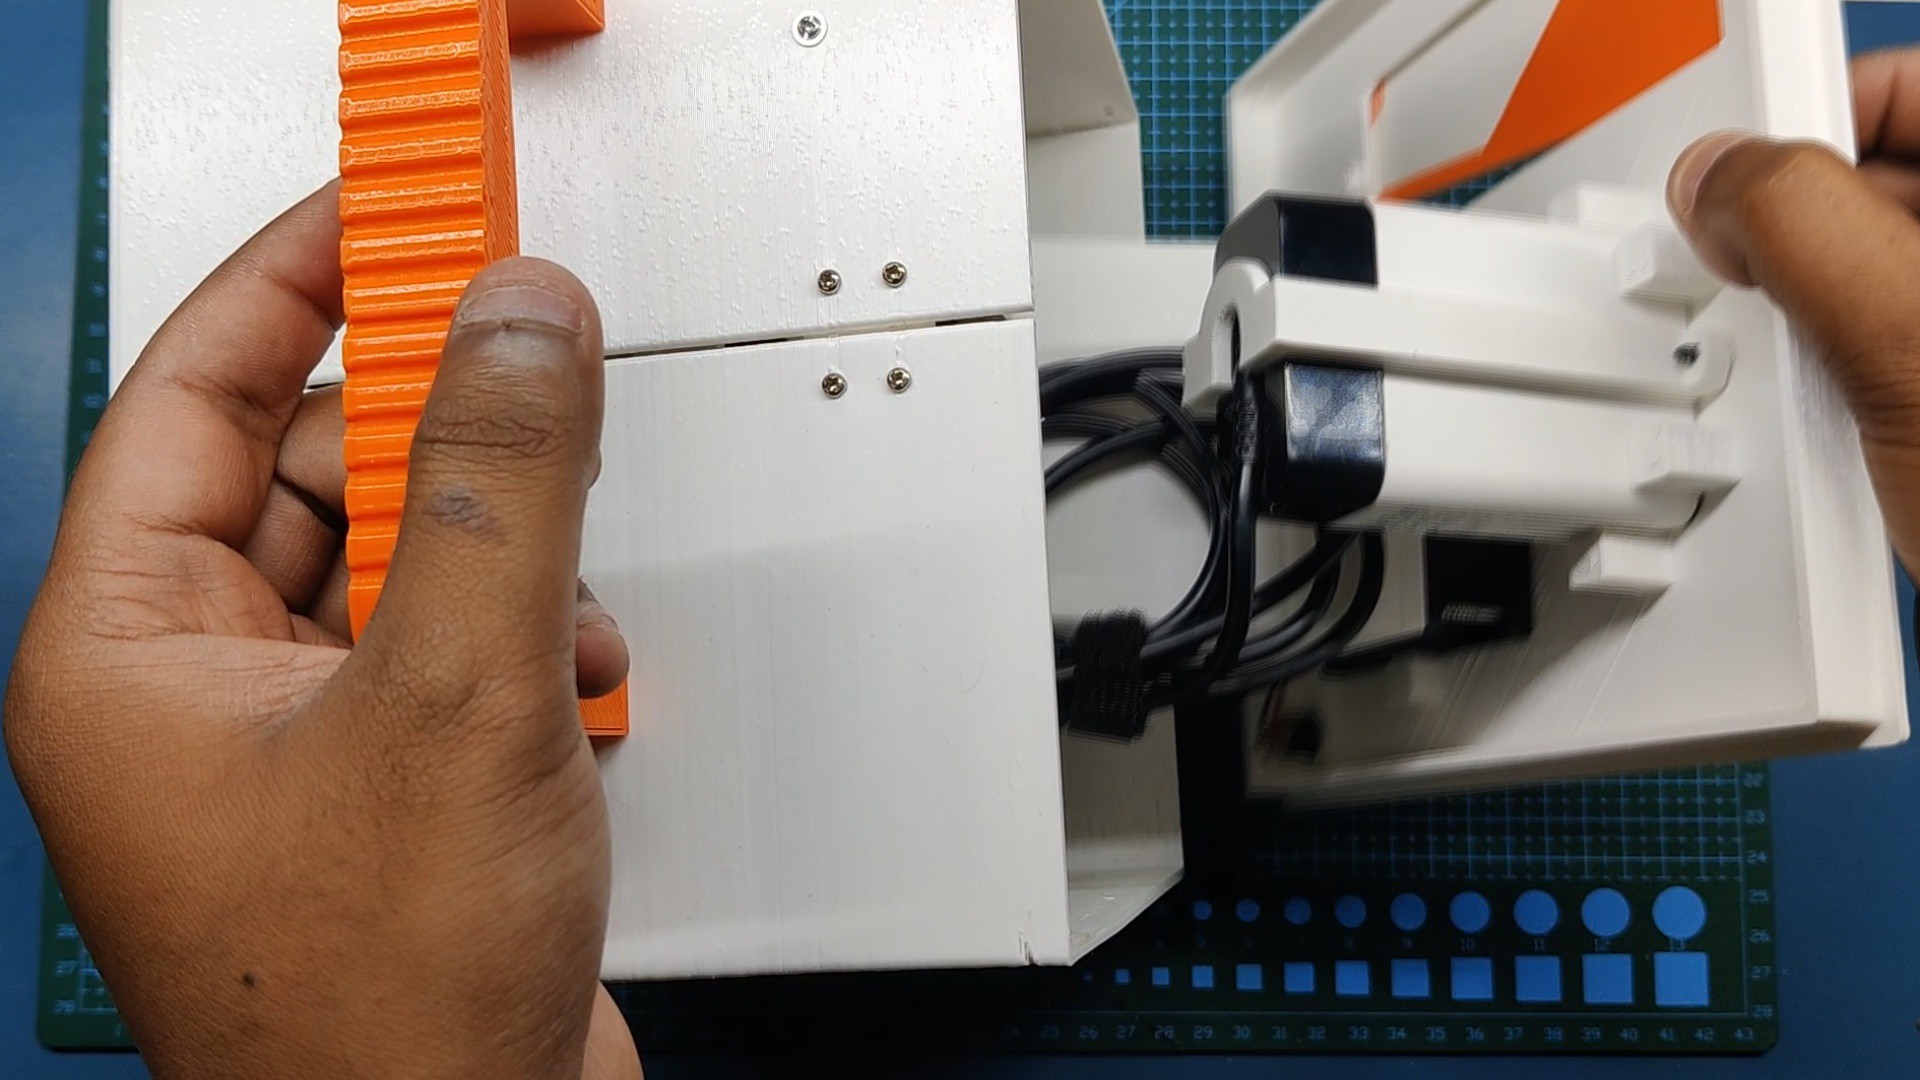
In the final assembly, we first merge the Assembled Middle body with the Assembled Lid, before adding both parts together, we plug the Type C USB Cable port into the Latte panda supply port and then close the Middle body with the Lid assembly.
Next, we use a total of Six M2 Screws to hold the lid in its place, we place three screws on each side.
 Arnov Sharma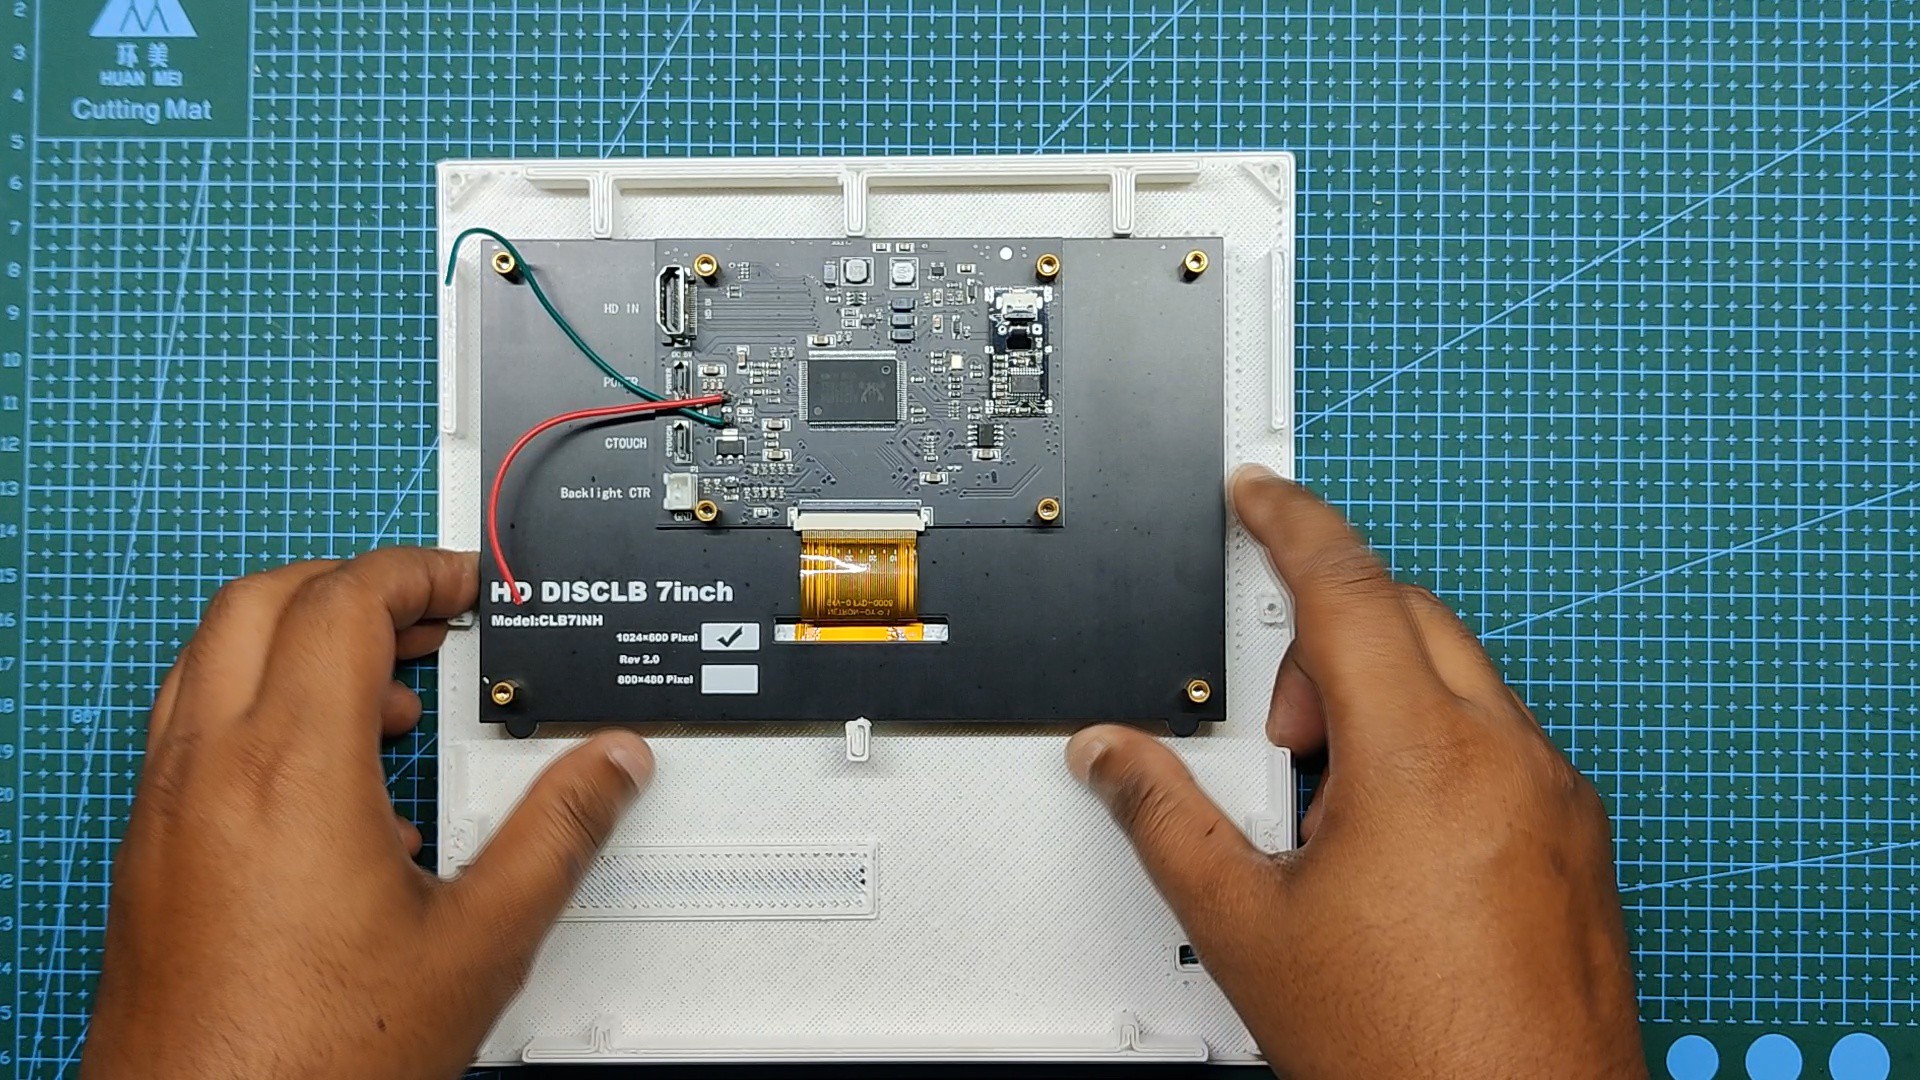

Discussions
Become a Hackaday.io Member
Create an account to leave a comment. Already have an account? Log In.