Close
0%
0%

Modular OTS Cyberdeck Creation Kit

A suite of printables designed around using (mostly) off-the-shell parts to make your own custom computing platform/ Cyber Deck/ Lapdock

Public Chat
Similar projects worth following
This project is built around a set of 3D printable parts designed to integrate commercial off-the-shelf components into a portable, modular human computer interface.

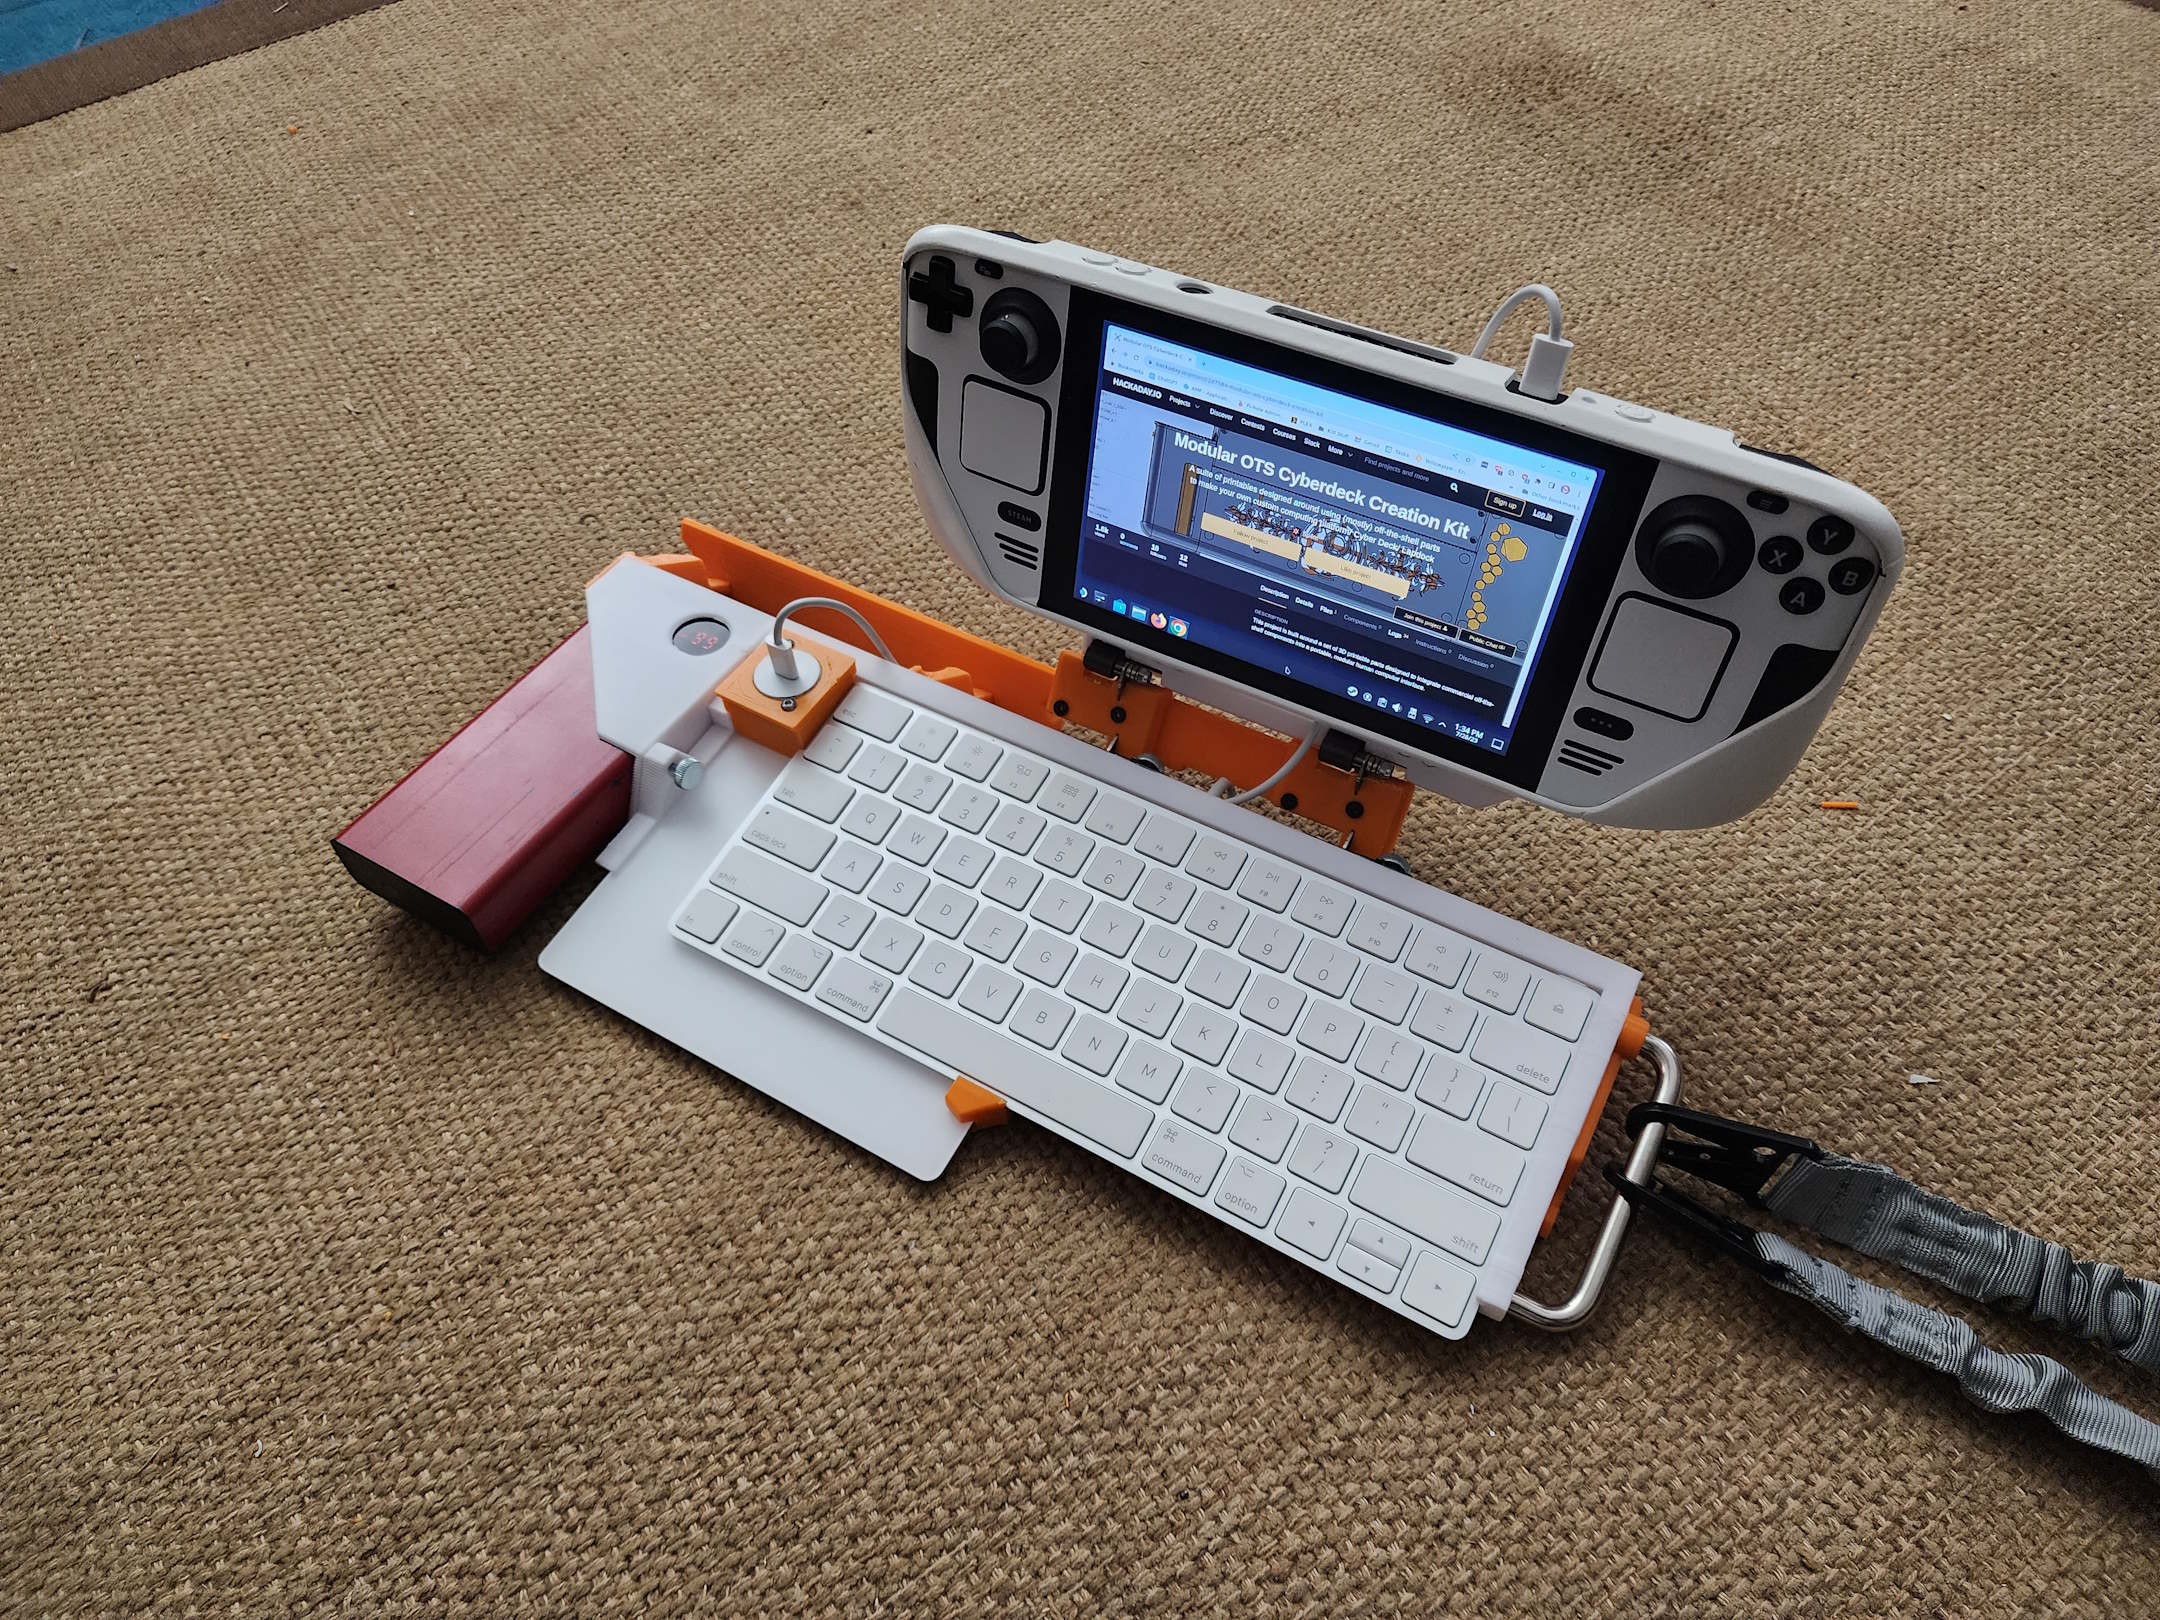
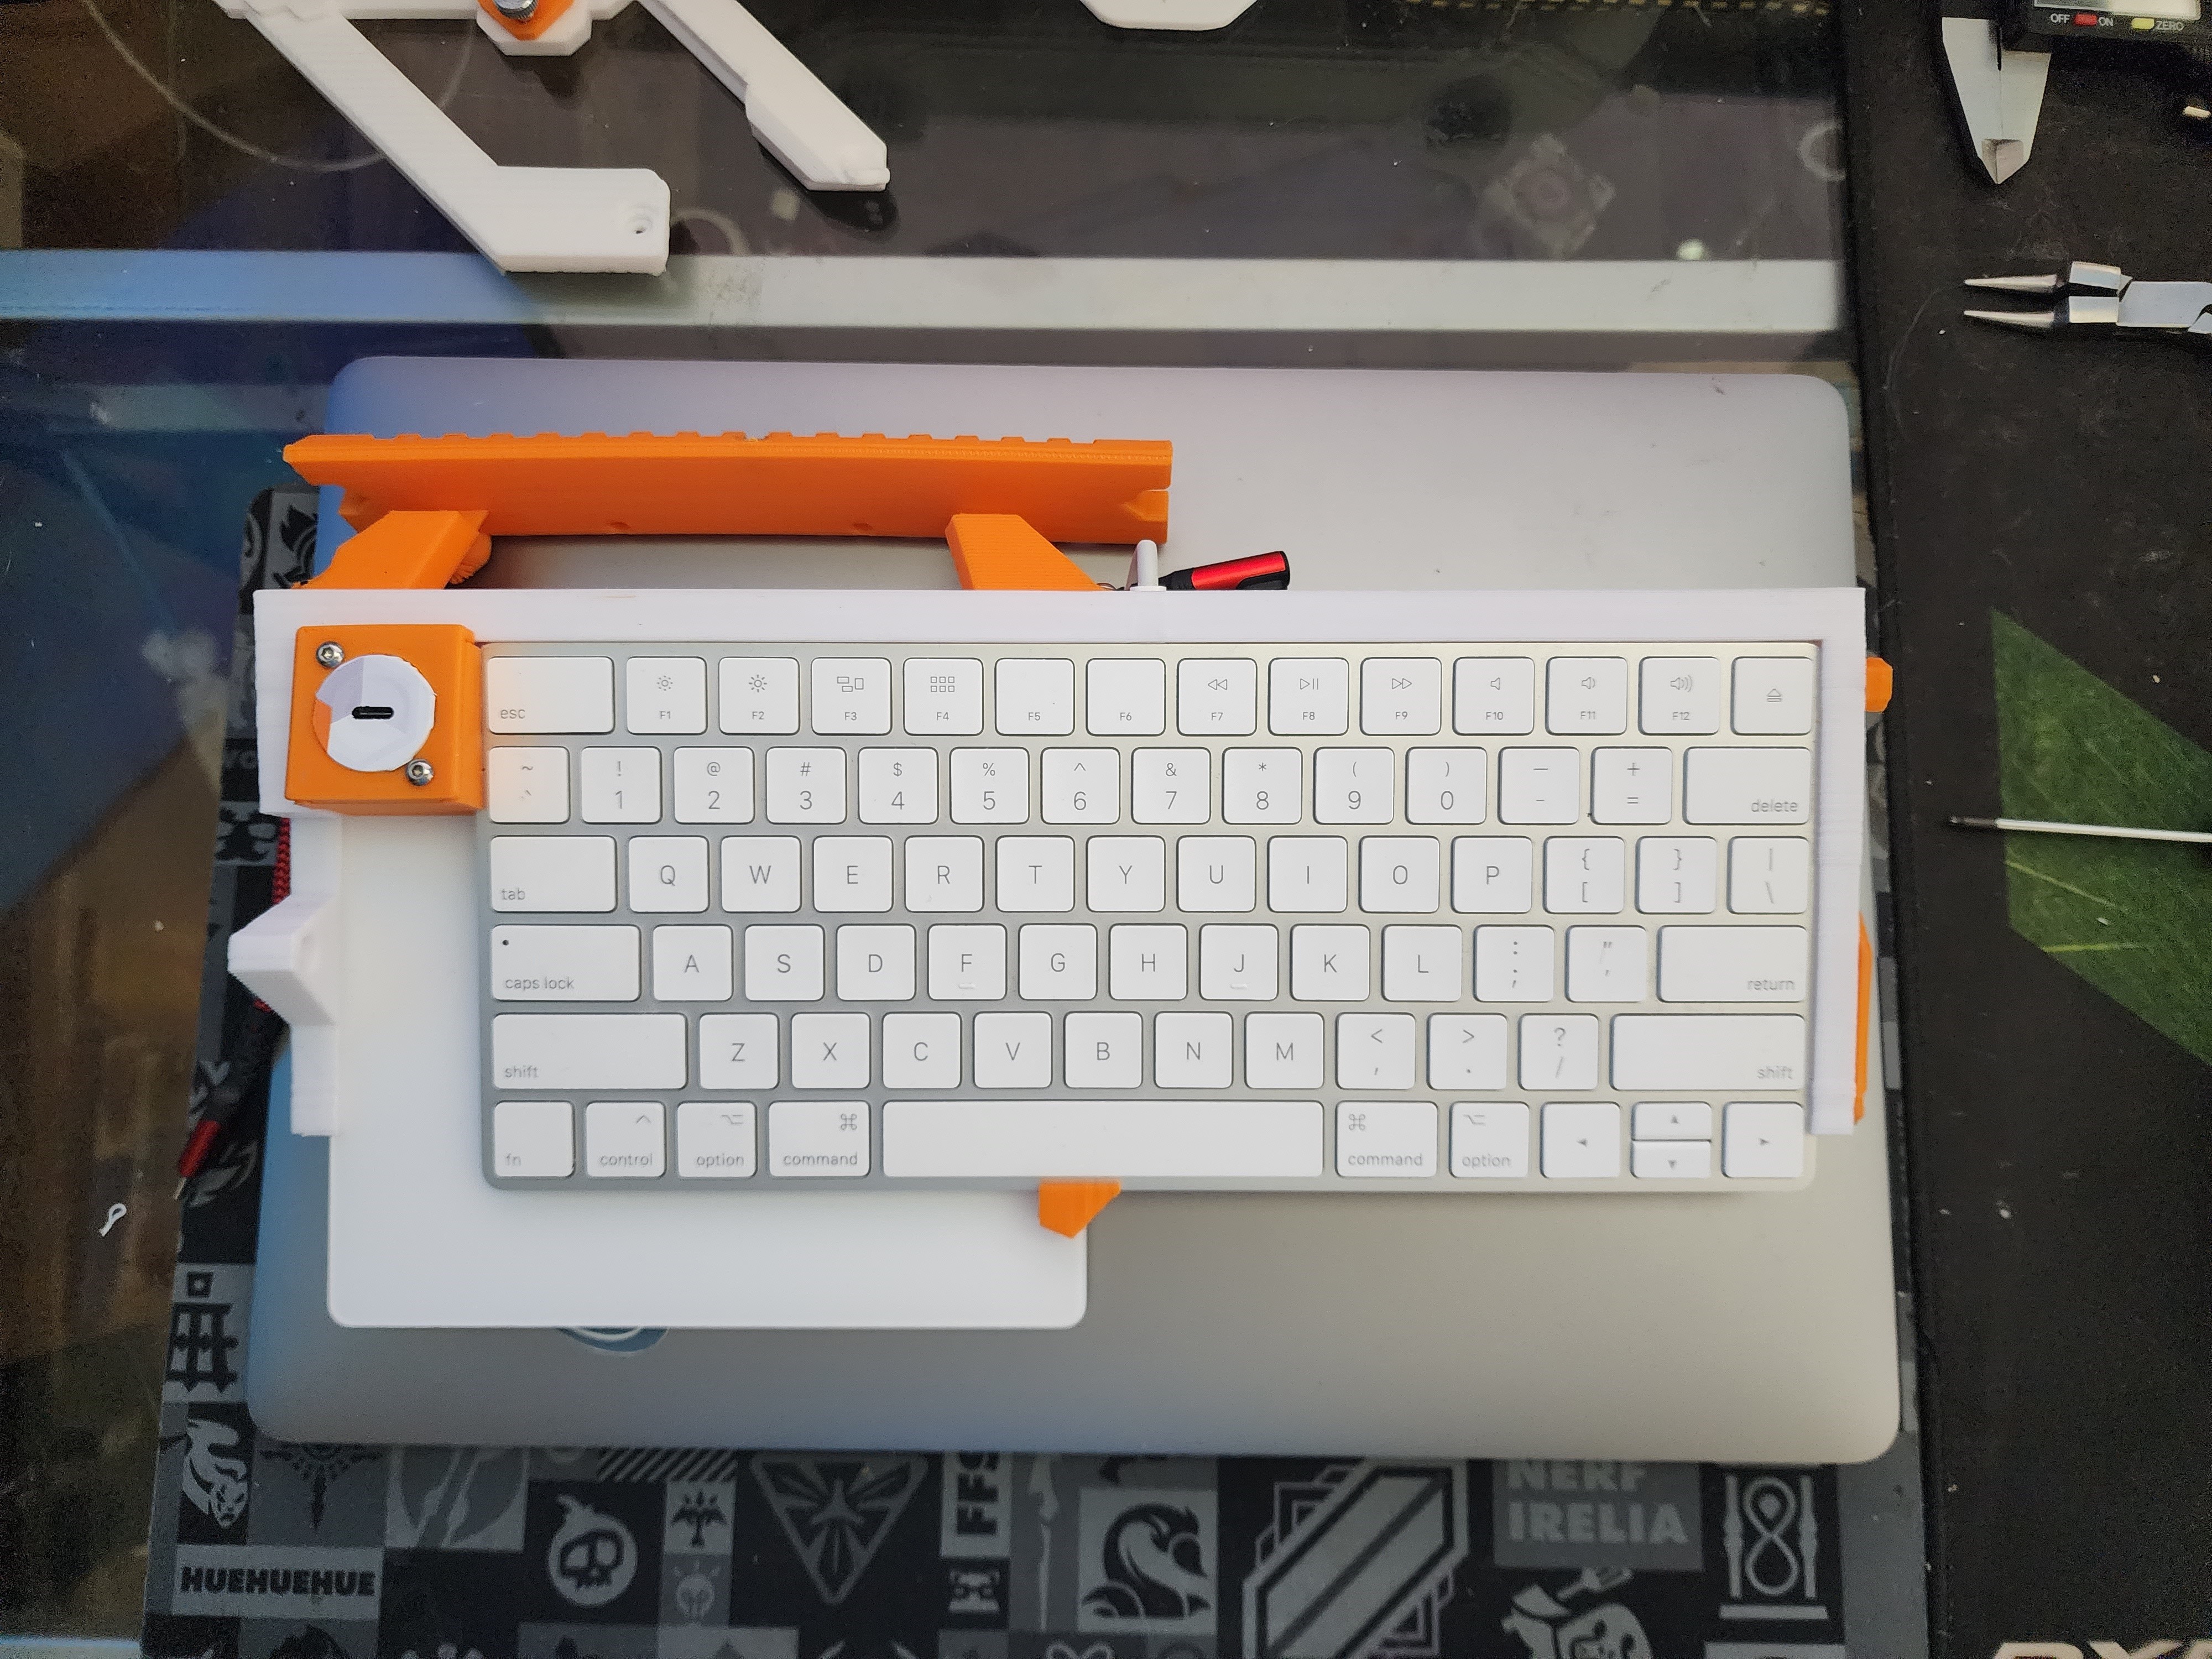
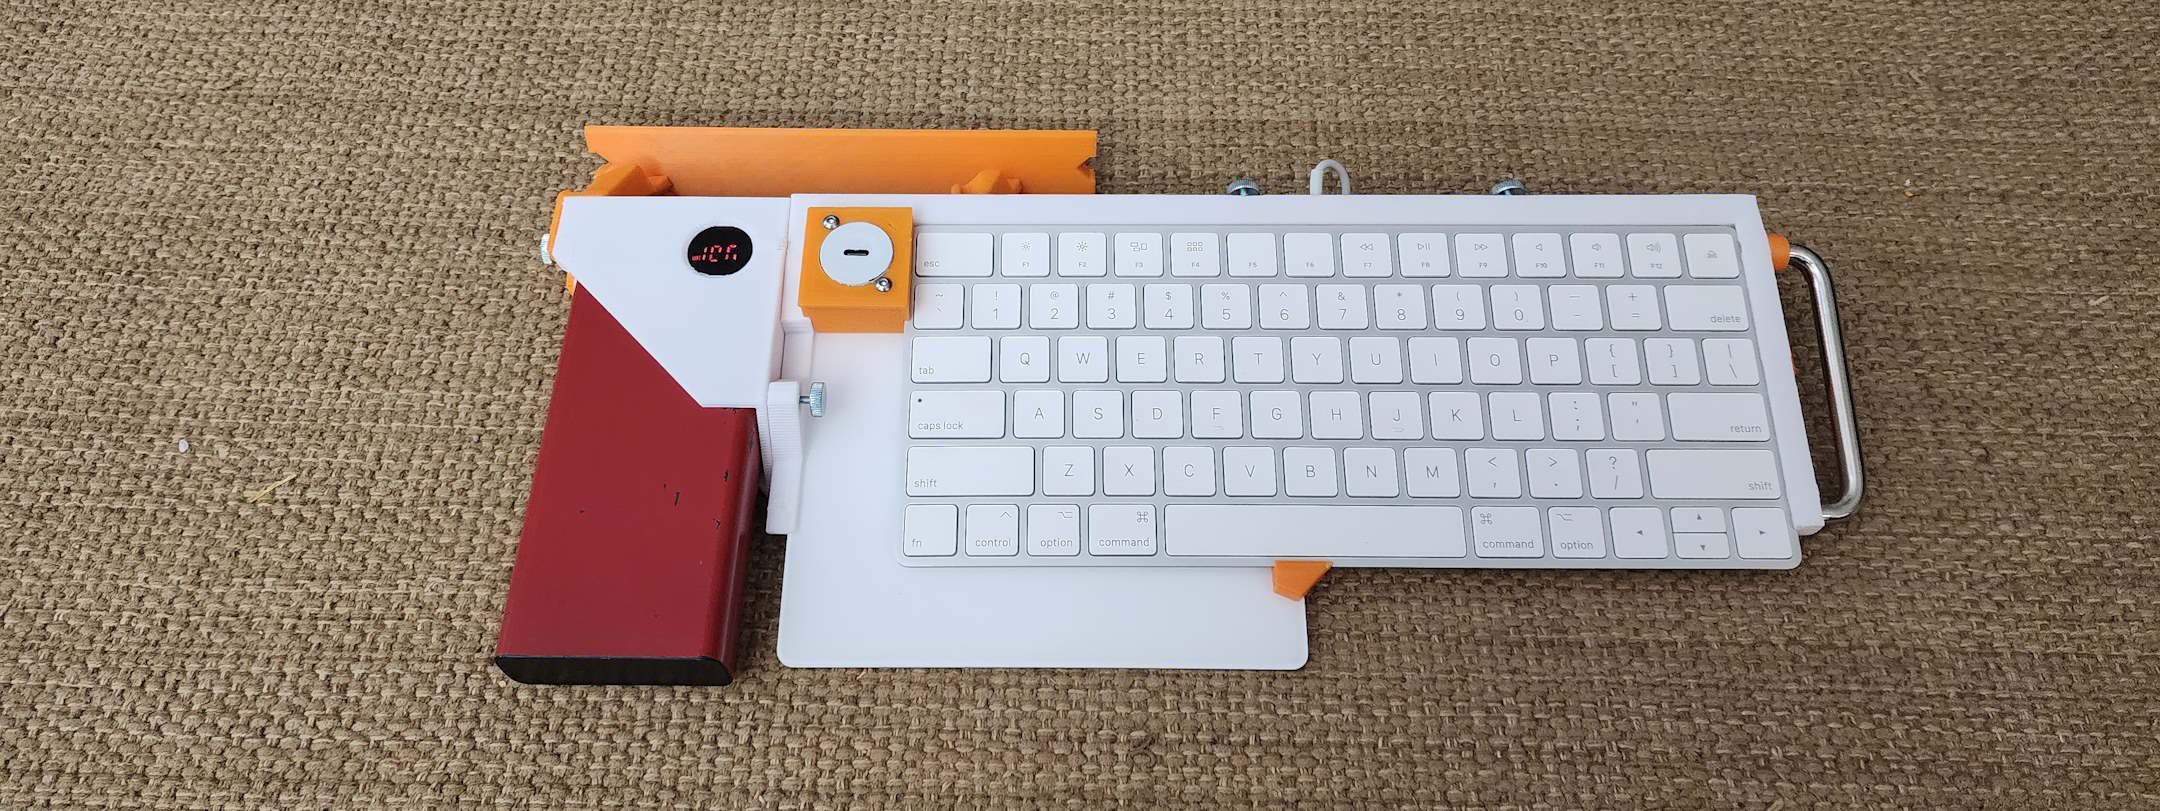
The current prototype unites low-profile Apple Magic Keyboard, Trackpad and a USB-C hub into a single unit, with room for expansion modules to the left, right and rear.

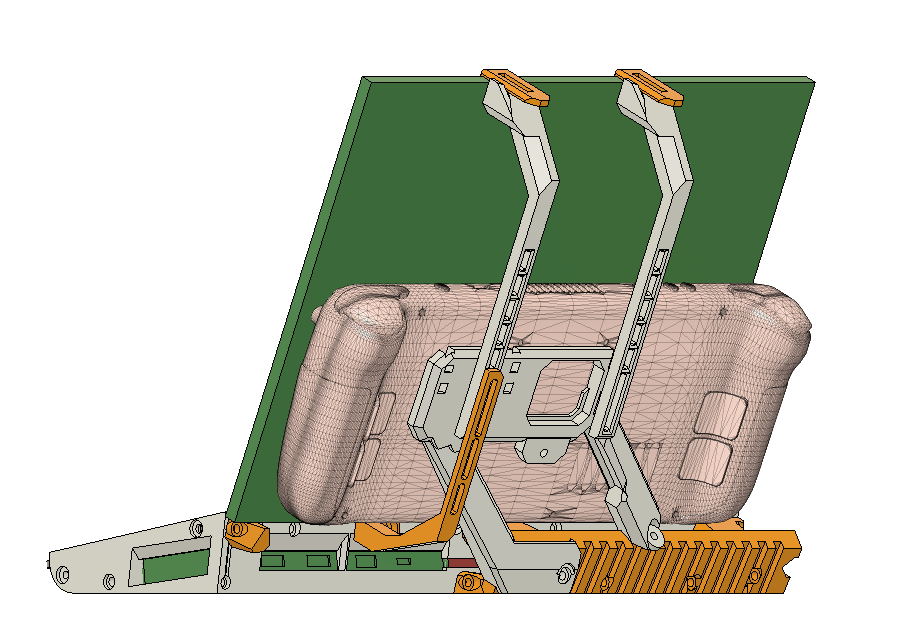
This device can be connected to almost any device with USB-C (Workstation, Mobile Device), and includes a removable mounting bracket for the Steam Deck.

In the future, I'll be expanding on the 'DZ60' style mechanical keyboard chassis for my Wooting HE60, and components compatible across both platforms.

The 'Modular Cyberdeck Creation Kit' project is tracking my work and lessons learned as I explore different ways to package robust human-computer interface devices into a portable package.

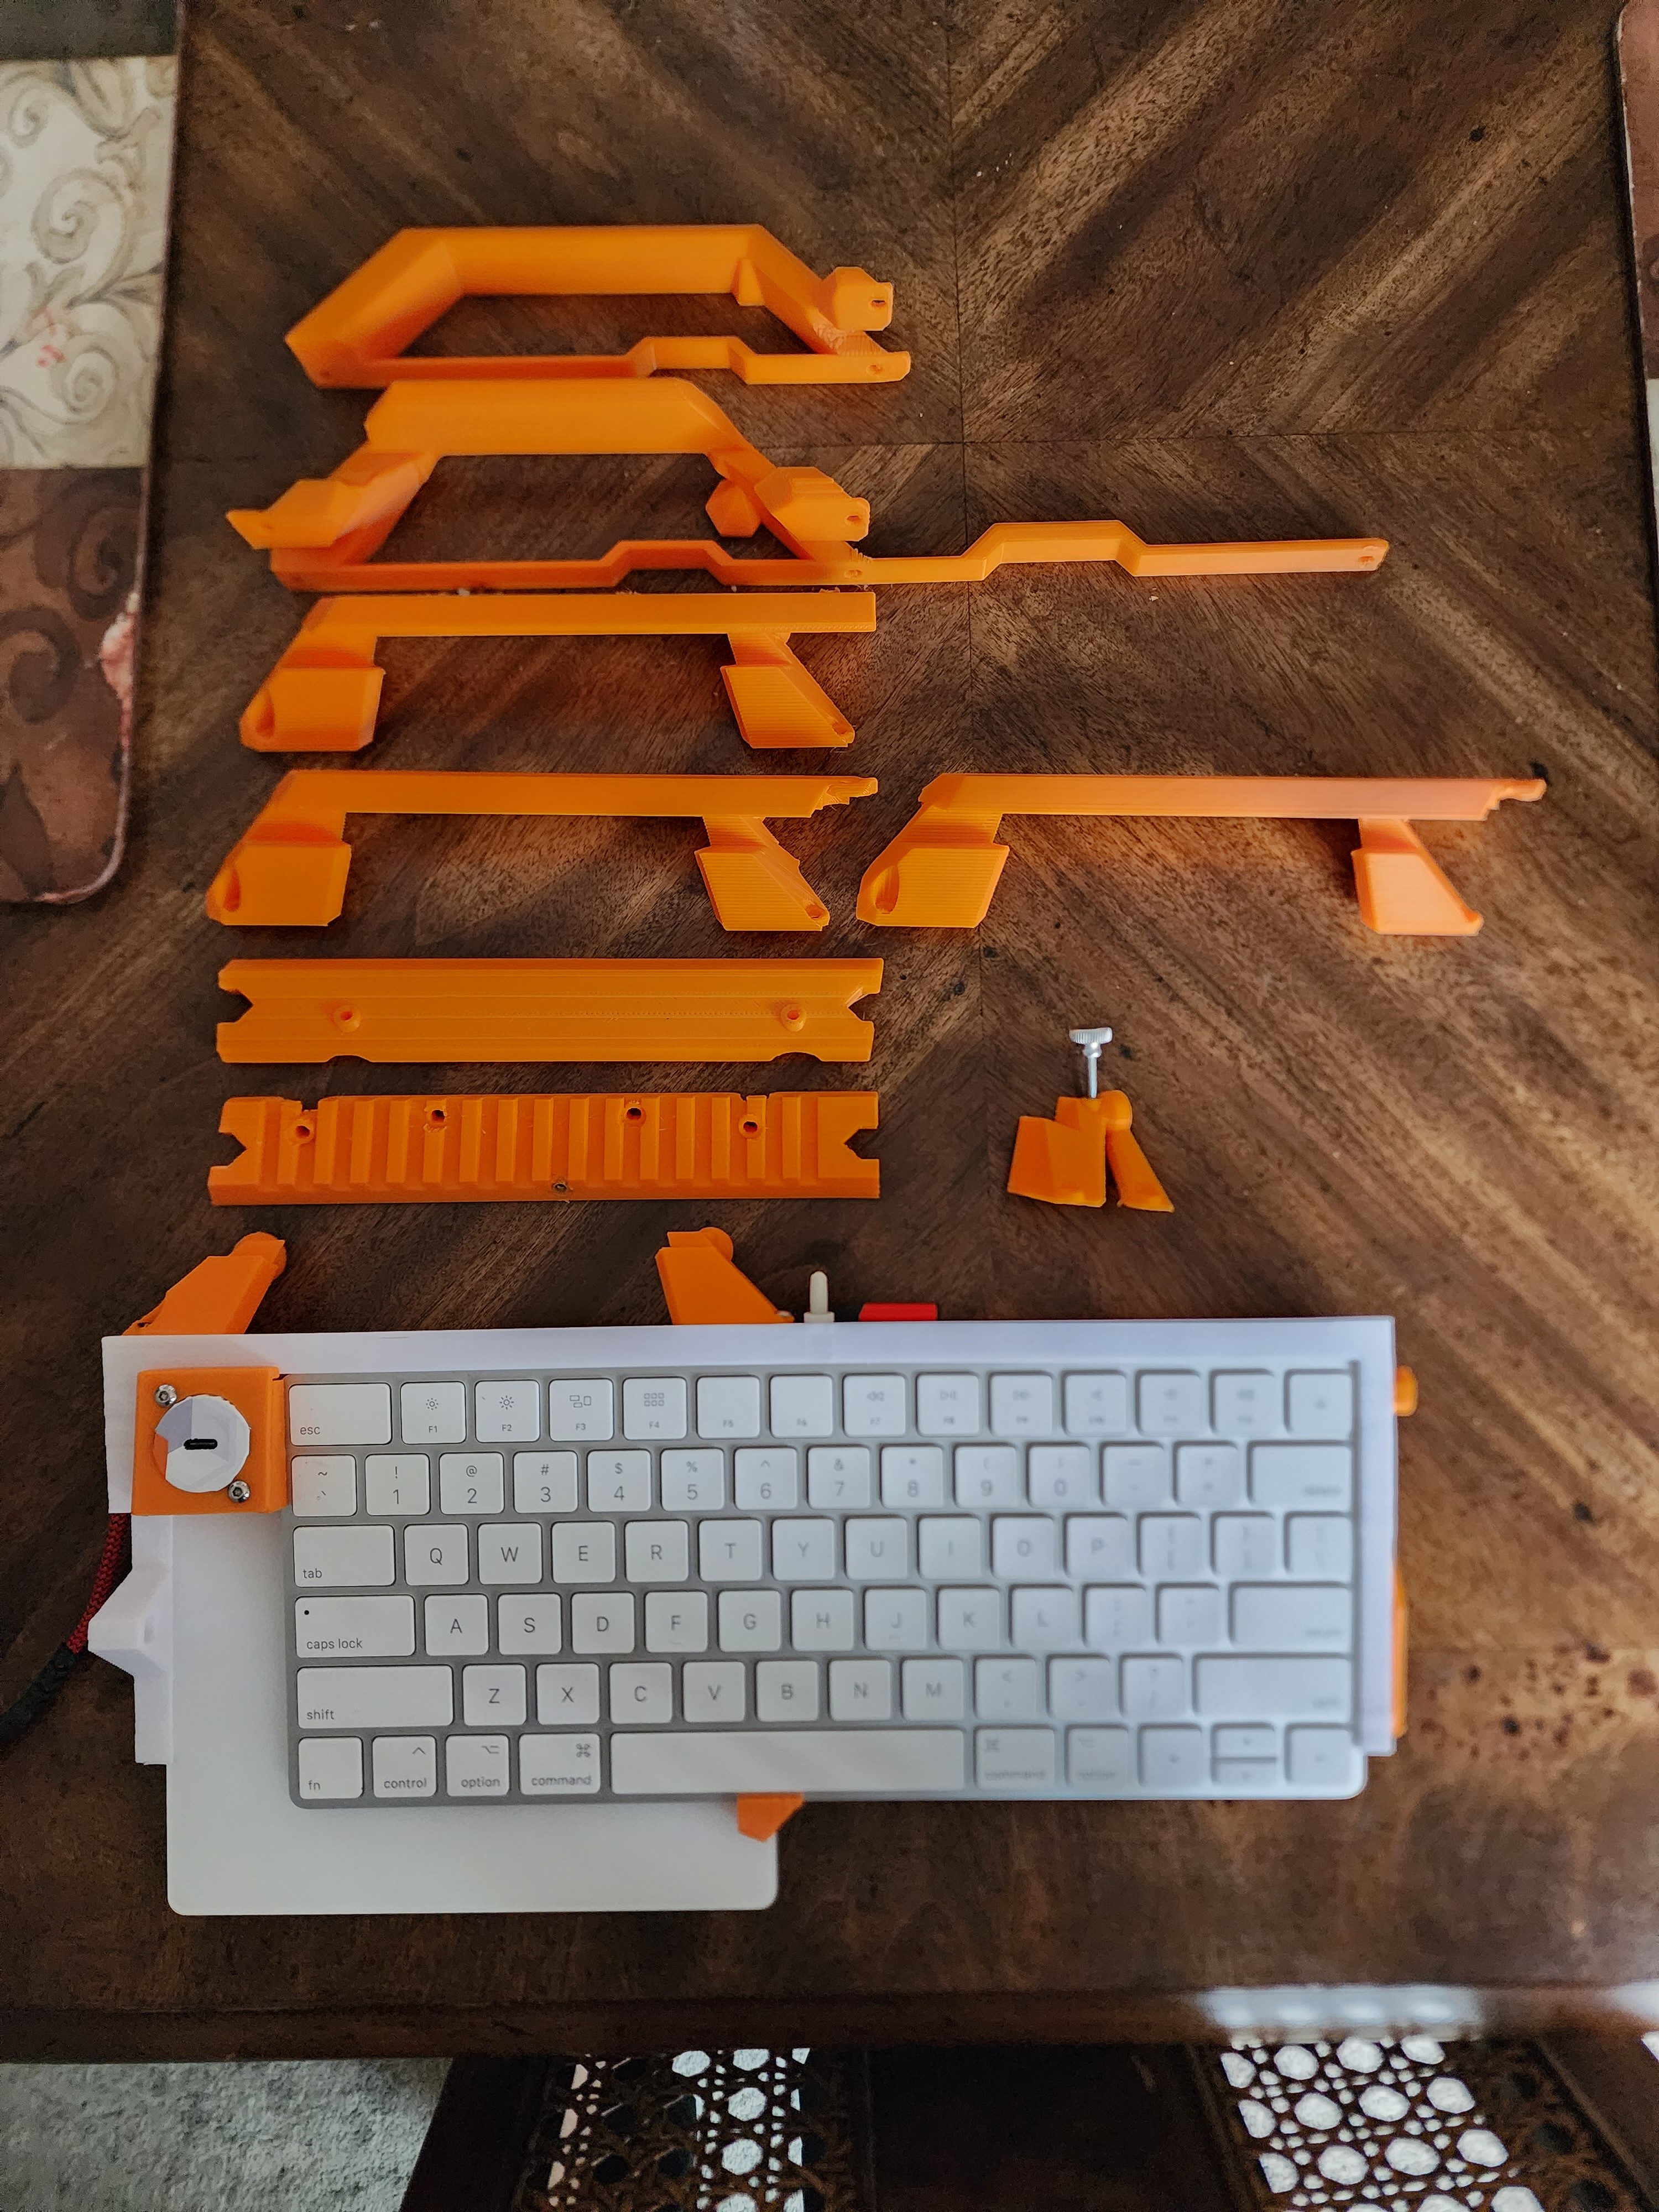
The kit consists of a printable chassis, built around off-the-shelf (OTS) components, such as a keyboard and a USB  hub, and modular components that can be affixed to the chassis to expand on the utility of the device. 

  • Apple Ecosystem Human Computer Interface (AEHCI) Cyberdeck Chassis- [Complete] - 
    • This is a small-form-factor chassis built around Apple Magic Keyboard and Trackpad devices that I found in the garbage. Includes backup battery module, and optional friction-hinge device mount for the Steam Deck.
  • Wooting/DZ60/HE60 HOSAS Cyberdeck Chassis [In Progress].
    • This is a larger, heavier build focused on integrating dual flight-stick sim controllers into a single -luggable- human interface device cluster. It's going to be heavy, but it will reduce desk space and awkward storage requirements for a Space-Sim HOSAS setup.

Modular Components

  • Left Hand Side Battery Mount / Multi-purpose Connectable Storage Modules

AEHCI Cyberdeck_v112.zip

Includes a collection of printable STLs, pre-positioned for optimal printing. A CSV shopping list for components.df

x-zip-compressed - 3.94 MB - 07/26/2023 at 19:16

Download

  • 1 × AEHCI printables, commercial parts and Non-Affiliate purchase links are provided in the AEHCI .zip file <3

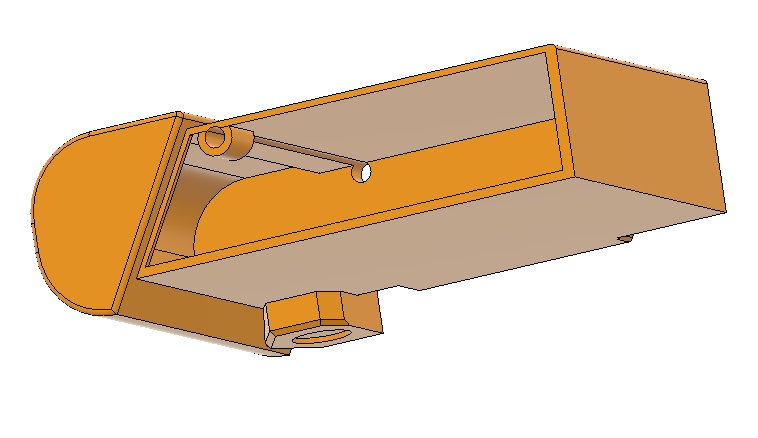
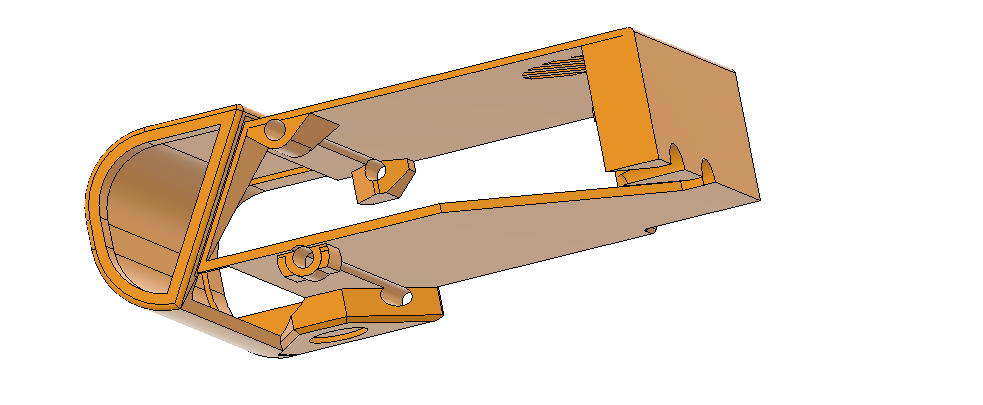
  • Trackpad RHS Module

    Sp4m12/29/2023 at 03:42 0 comments

    I almost referred to this as a Sidecar. Can that term work? It's definitely sexier than "module"

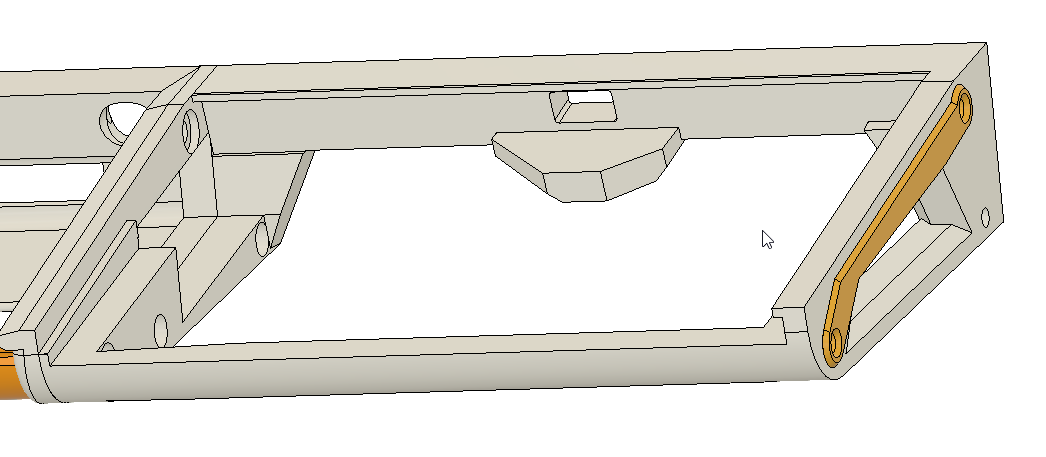
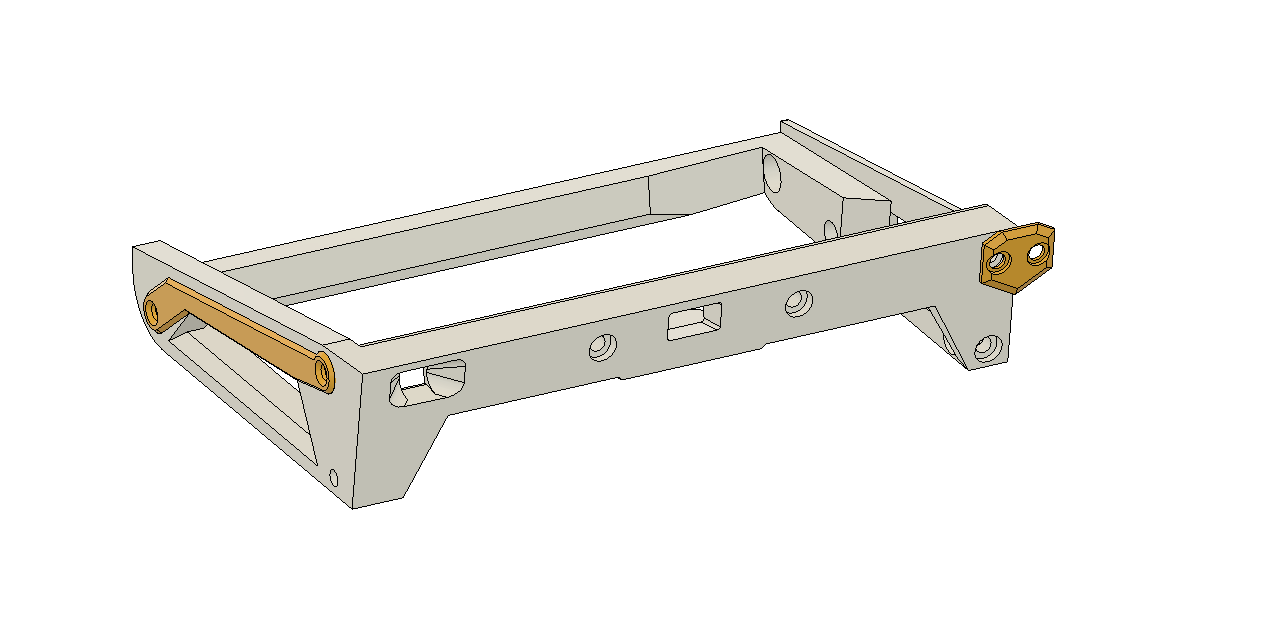
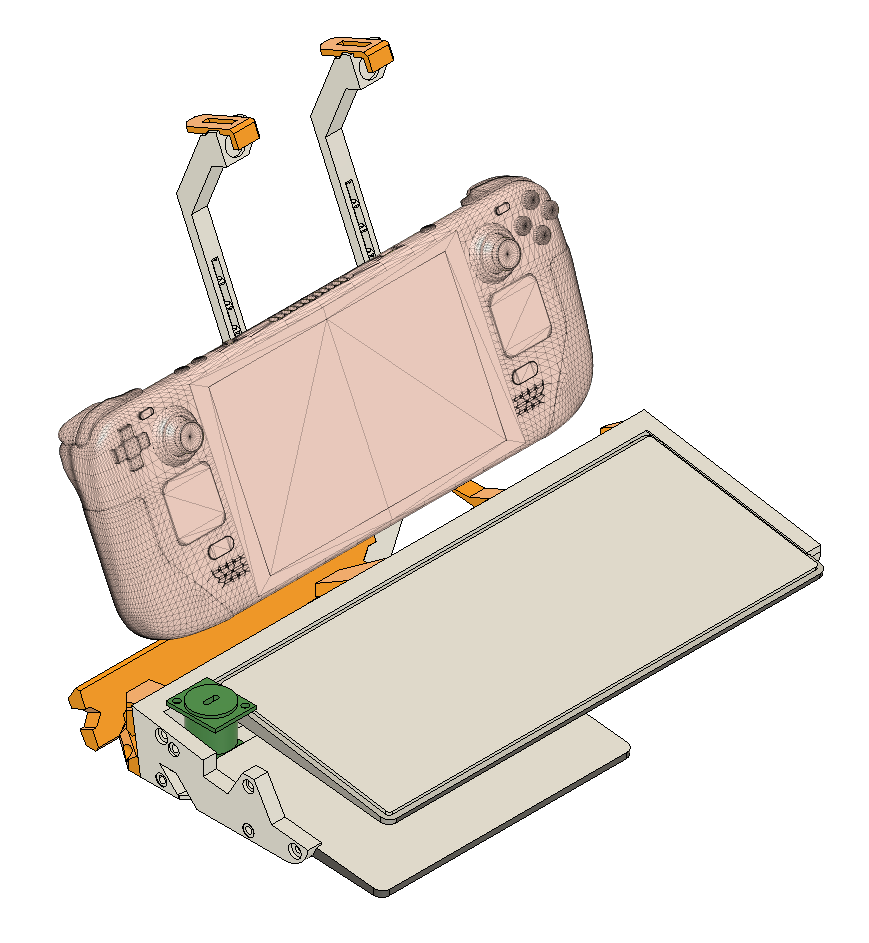
    I've decided on a whim to mount a second trackpad to this thing.

    So here's the idea.. trackpad slides into this unit, and the screw tension holding this on is enough to hold the trackpad in place. No, not quite...

    OMG, I just got a GREAT idea...
    The Trackpad slots in, the module is attached to the main chassis...


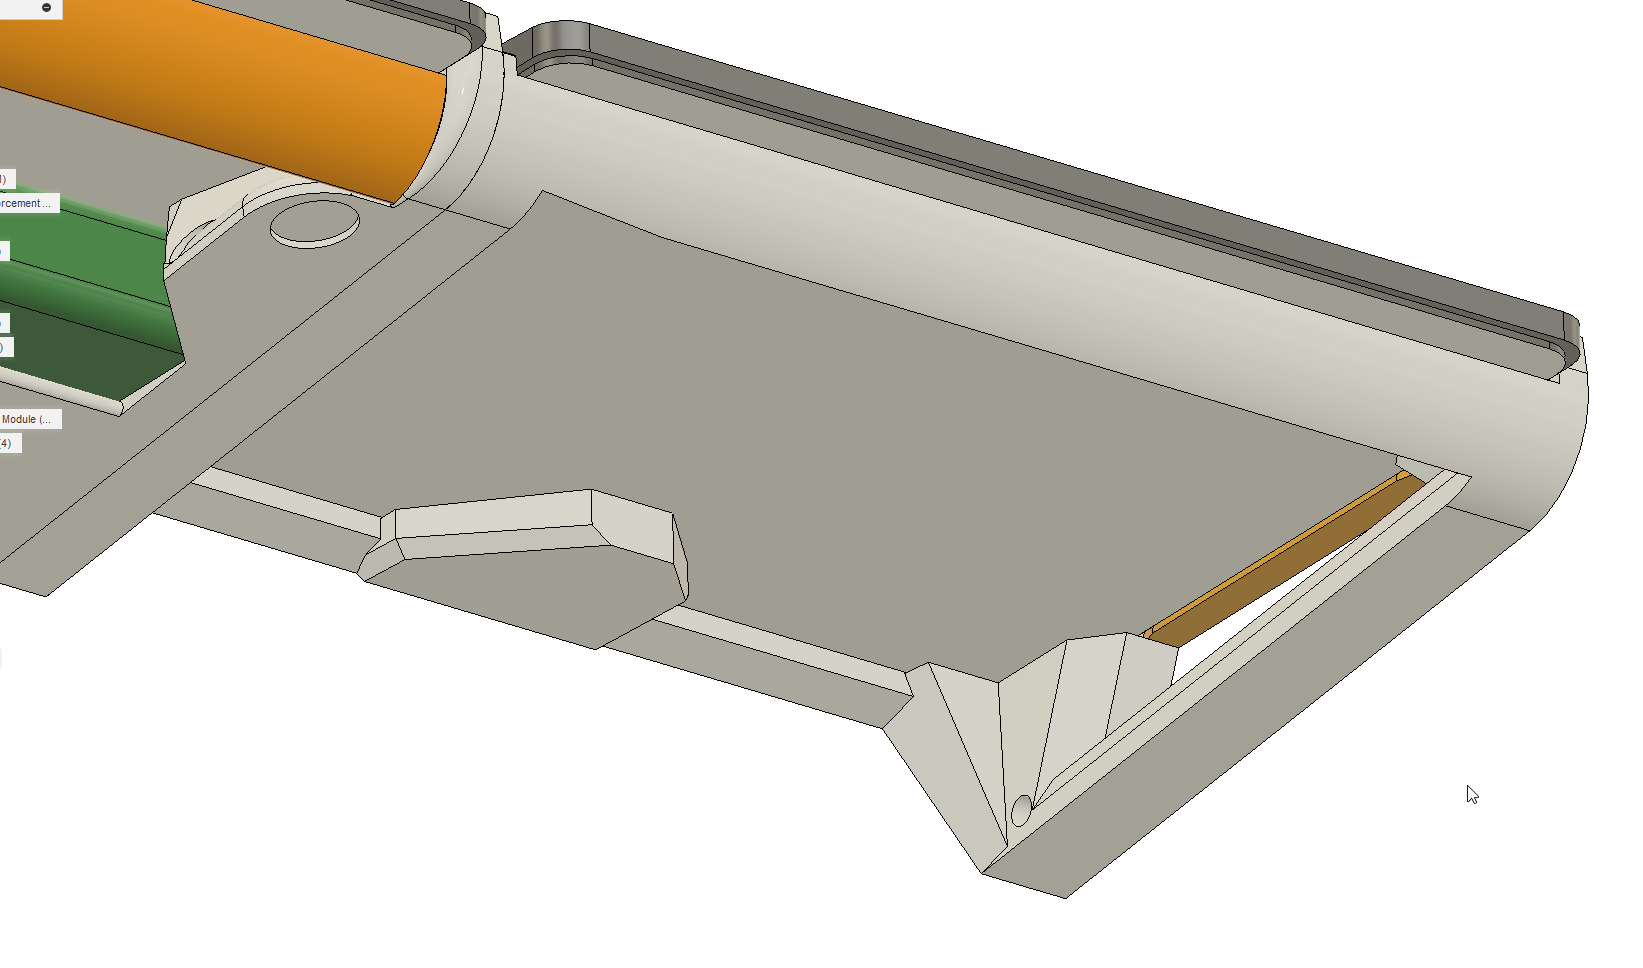
    and then this orange decorative piece is screwed in, and it's actually a lock block, putting tension on the aluminum base of the trackpad!
    Pretty clever, right?

    Final touch is to add the mounting holes to the back...

    Looks pretty good!

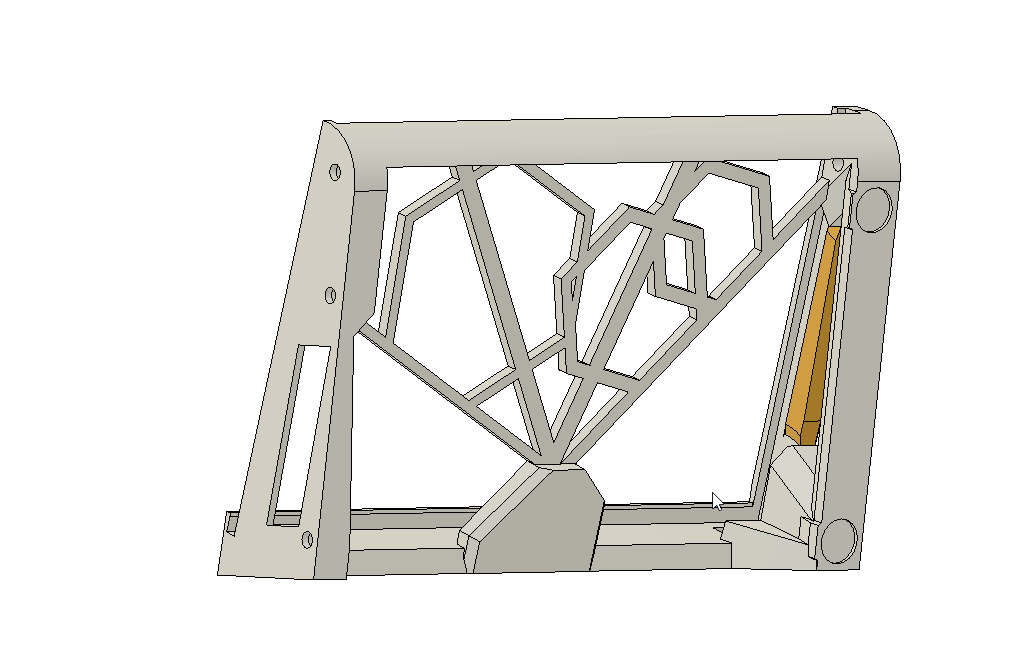
    ... and since I can't leave well enough alone, let's add some decorative flair that is also a support structure...

    That should do! I bet it can print fully without supports. Though the design isn't my favorite.
  • Modular Cyberdeck Creation Kit : Design Principles

    Sp4m08/17/2023 at 17:36 0 comments

    This "log entry" describes the deliberate design choices I will (try) to adhere to while I expand on this project.


    Practical Engineering Choices

    • Consistent Spacing from the Center of Mounting Points
      • Vertical distance between mounting holes is 25mm
      • Horizontal distance between mounting holes is 25mm or 50m
      • Horizontal distance between mounting holes and the 'side' of a module SHOULD be divisible by 5
        • The goal is to facilitate accessories and modules to connect across multiple modules
    • Minimize Support Material
      • Parts will be designed to minimize the need for support material
    • M3 Hex Machine Screws as standard connectors
      • Various lengths and head styles may be used
      • Visible Screw heads are part of the aesthetic design
    • M3 Heat-Set Inserts as standard
      • 4mm depth as standard


    Artistic Style Choices

    • Screw Heads will be visible, and are considered part of the artistic design
    • Hexagonal Access Ports and "Speed Holes"
      • Where necessary to include holes and slots, a hexagon should be used
        • A flat surface of the hexagon should be parallel to the bottom  of the component
        • The sides of a hexagon can be arbitrarily stretched to meet the practical engineering need of a hole or slot


    Practical Concessions

    These are some practical choices I've made that may be sub-optimal, but should be acknowledged as tested and considered.

    • Flat sides for Modular Interfaces
      • The sides of a part that are compatible with other modular components should be parallel or perpendicular to the normal.

  • AEHCI Cyberdeck Writeup

    Sp4m07/26/2023 at 22:23 0 comments

    The Apple Ecosystem Human Computer Interface (AEHCI) is a small-form-factor input/output cluster designed to give you all the connections and interfaces you need, wherever you are.

    Built around a universal USB-C Hub, the AEHCI can connect to most devices that support USB-C, and provides the following:

    • 60% Keyboard
    • Multi-Touch Trackpad
    • 65w, 20K mAh power supply
    • 3x USB 3.0 ports
    • 2x HDMI
    • 1x DisplayPort
    • Gigabit Ethernet
    • SD and Micro-SD Card Reader

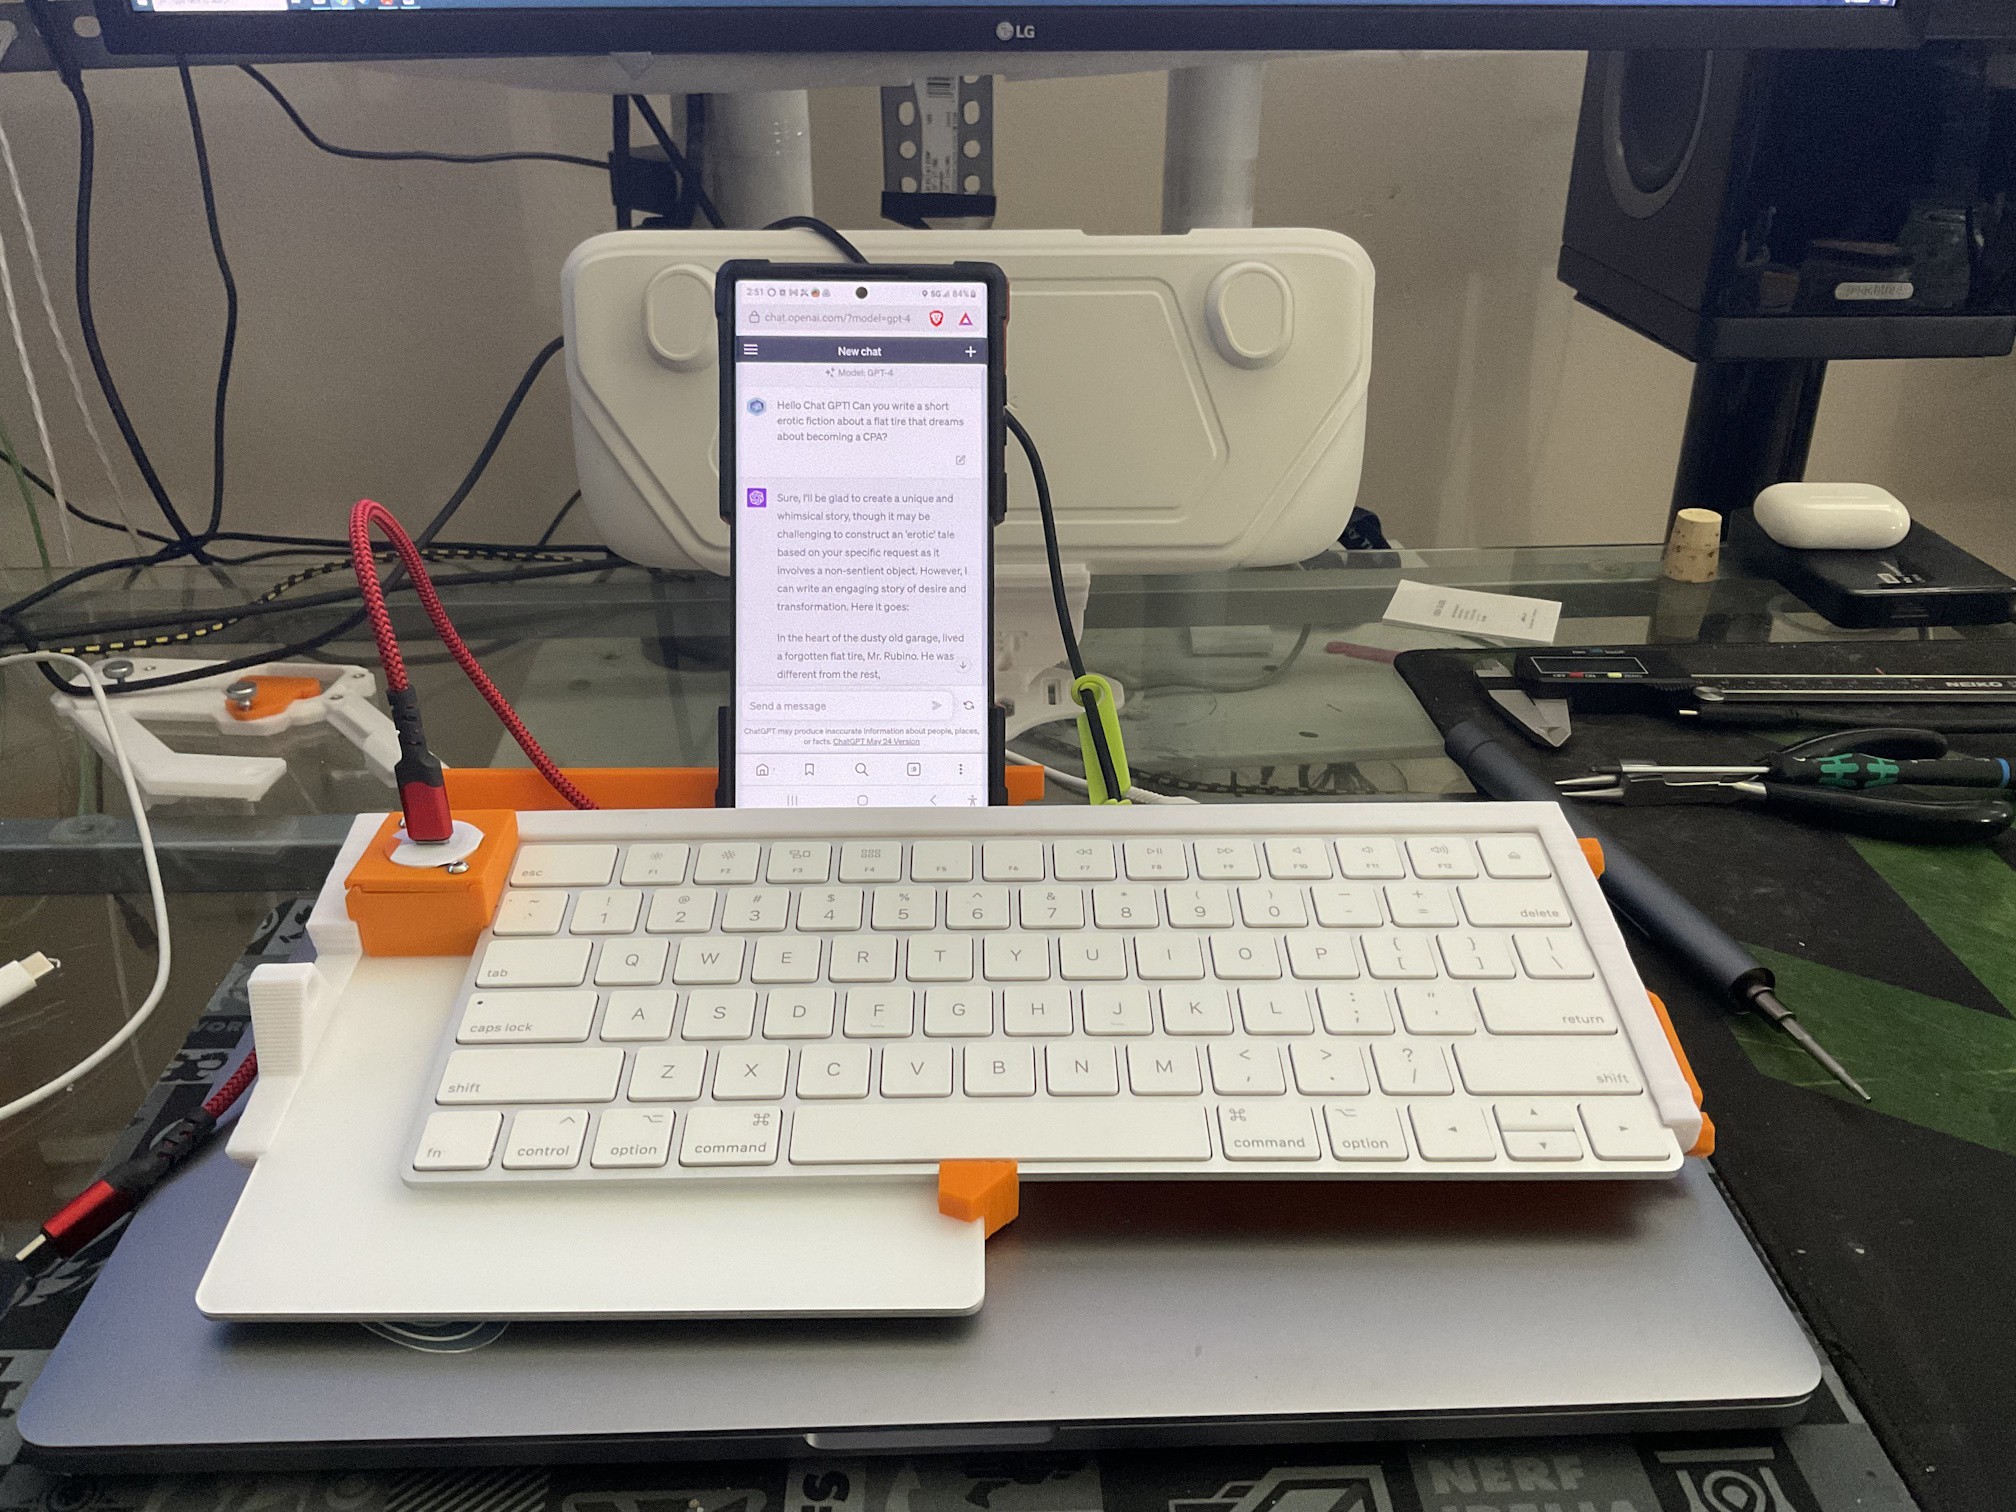
    The trackpad is positioned underneath the keyboard, with ample exposed area for left hand, 2-finger vertical scrolling and left hand thumb pointer control. This novel positioning works well to reduce the footprint of the device while improving ease of access for common activity. 

    The device features a convenient carry handle that also works as a mobile device stand, facilitating convenient use with tablets and smartphones.

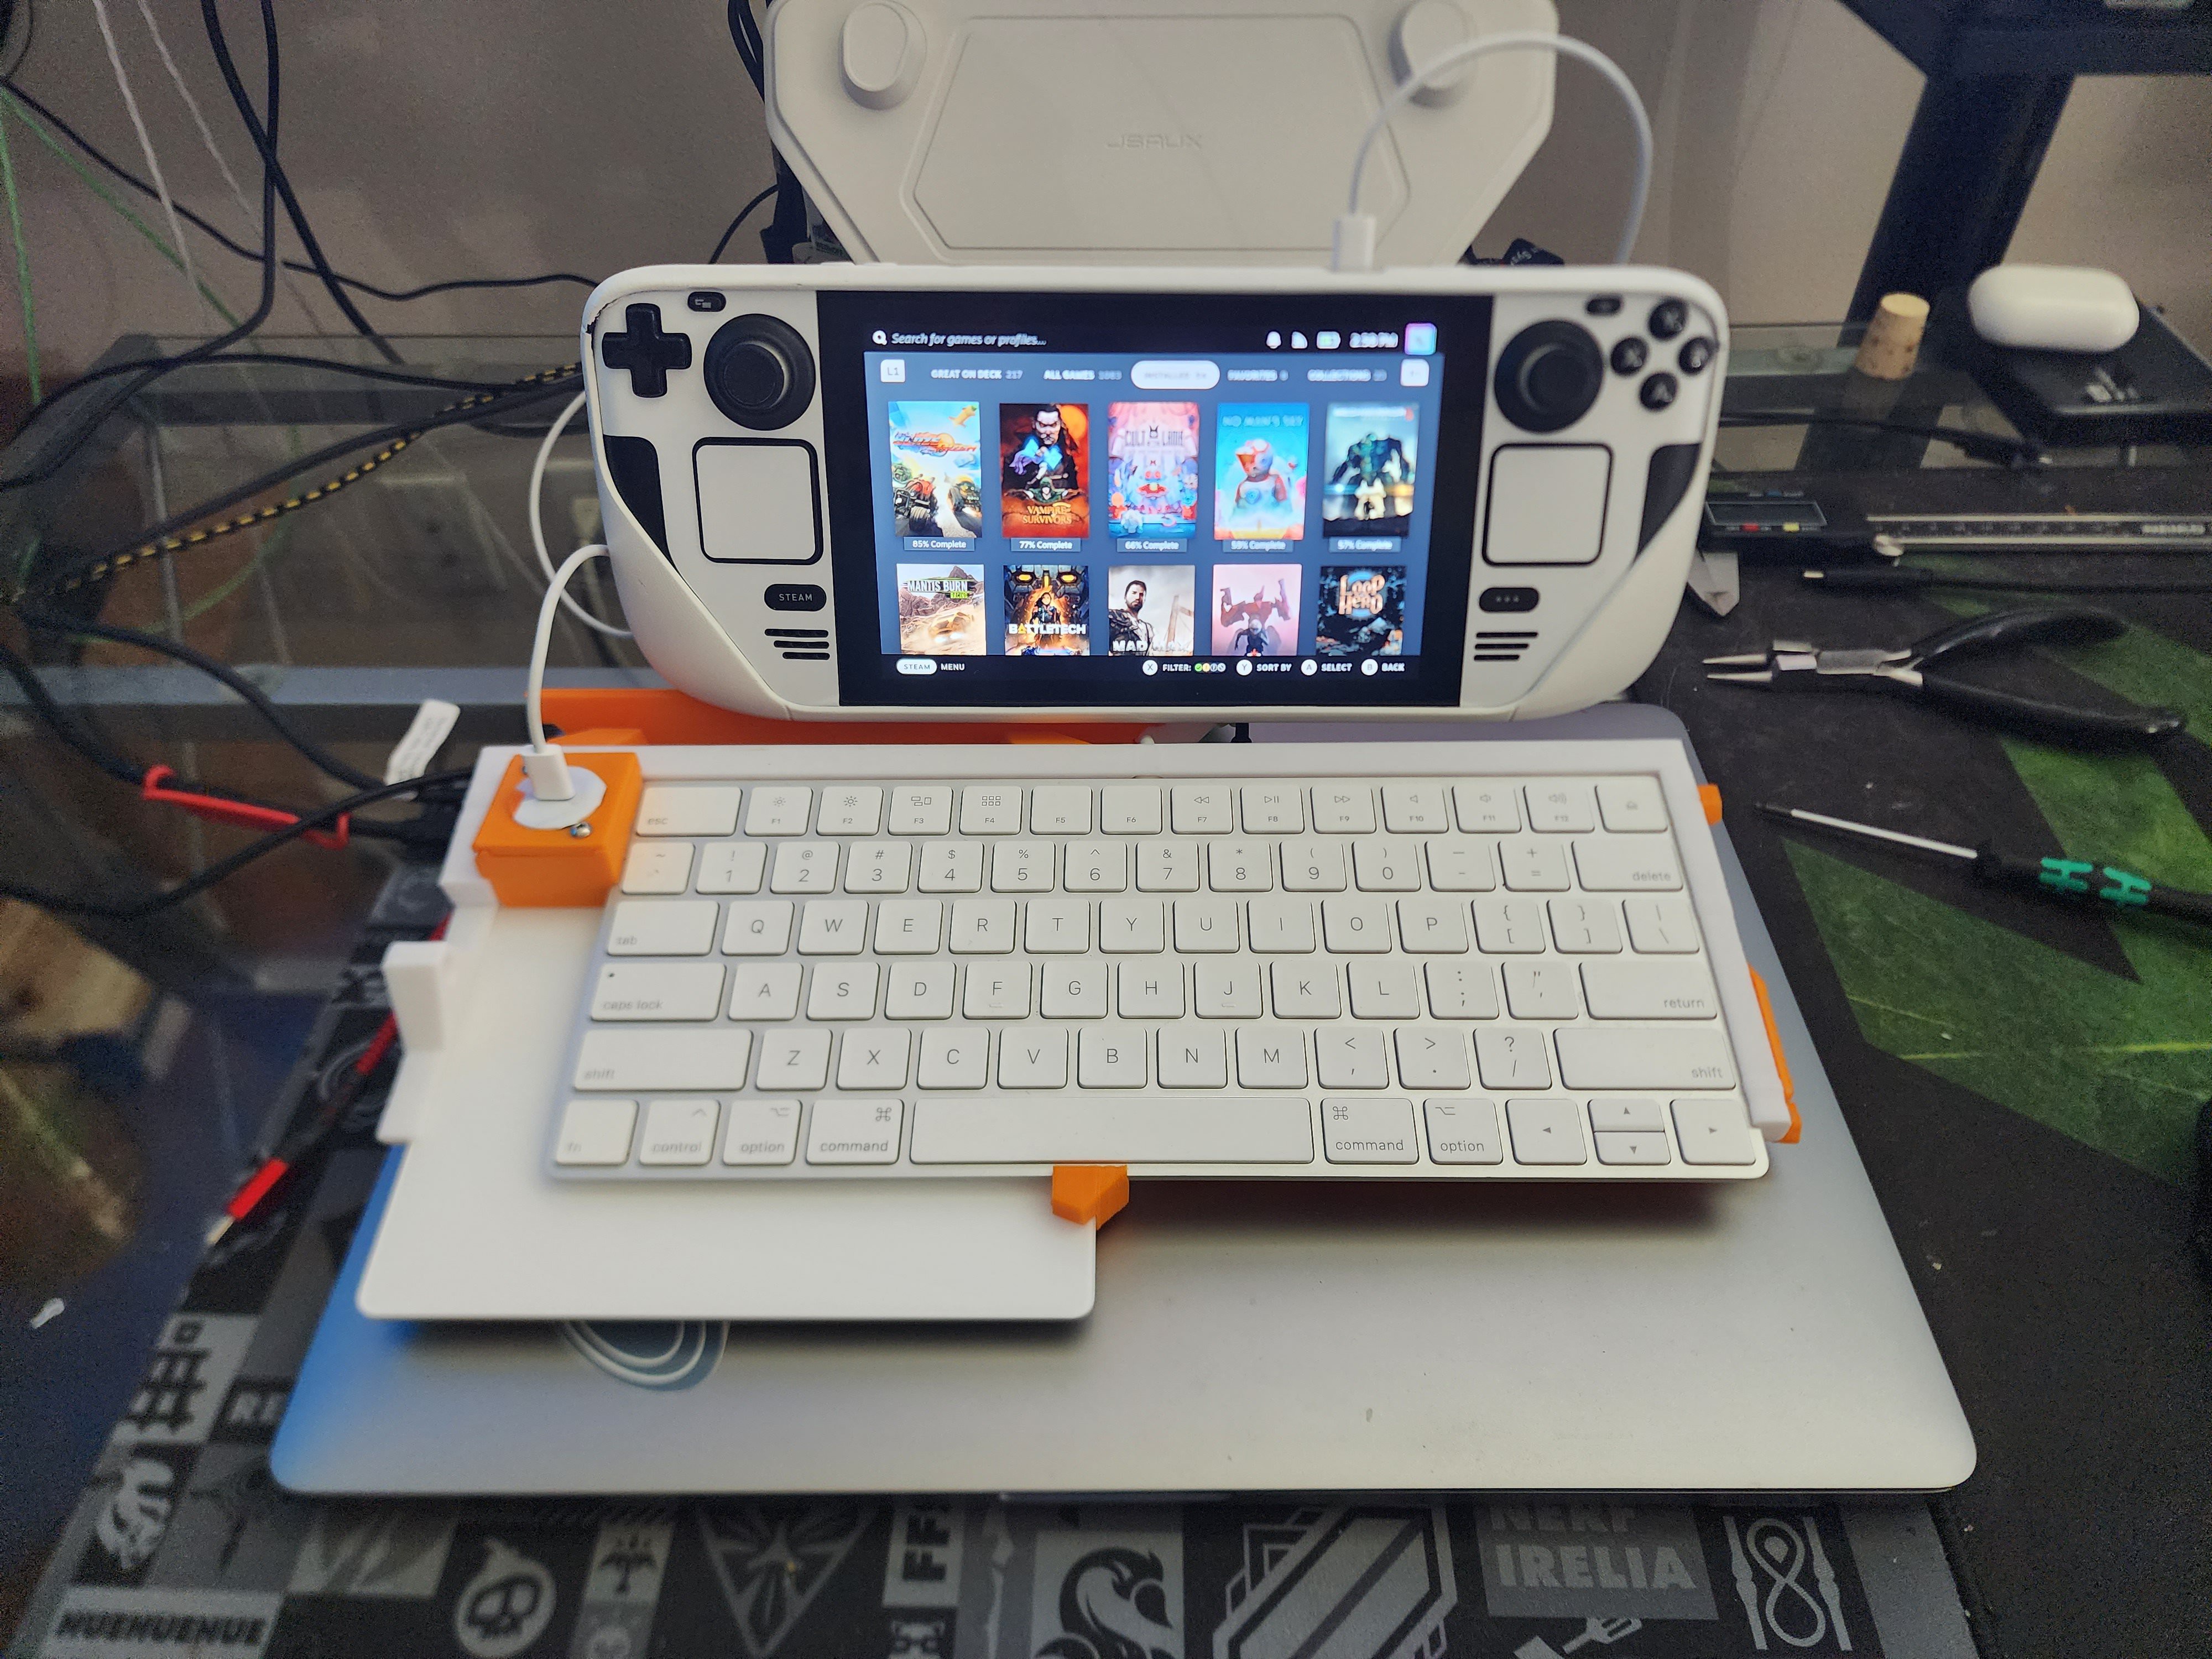
    The AEHCI includes a removable clamshell mount for the Steam Deck, transforming it into a gorgeous all-in-one mobile workstation and gaming machine.


    AEHCI Gallery

    The AEHCI without attached devices.

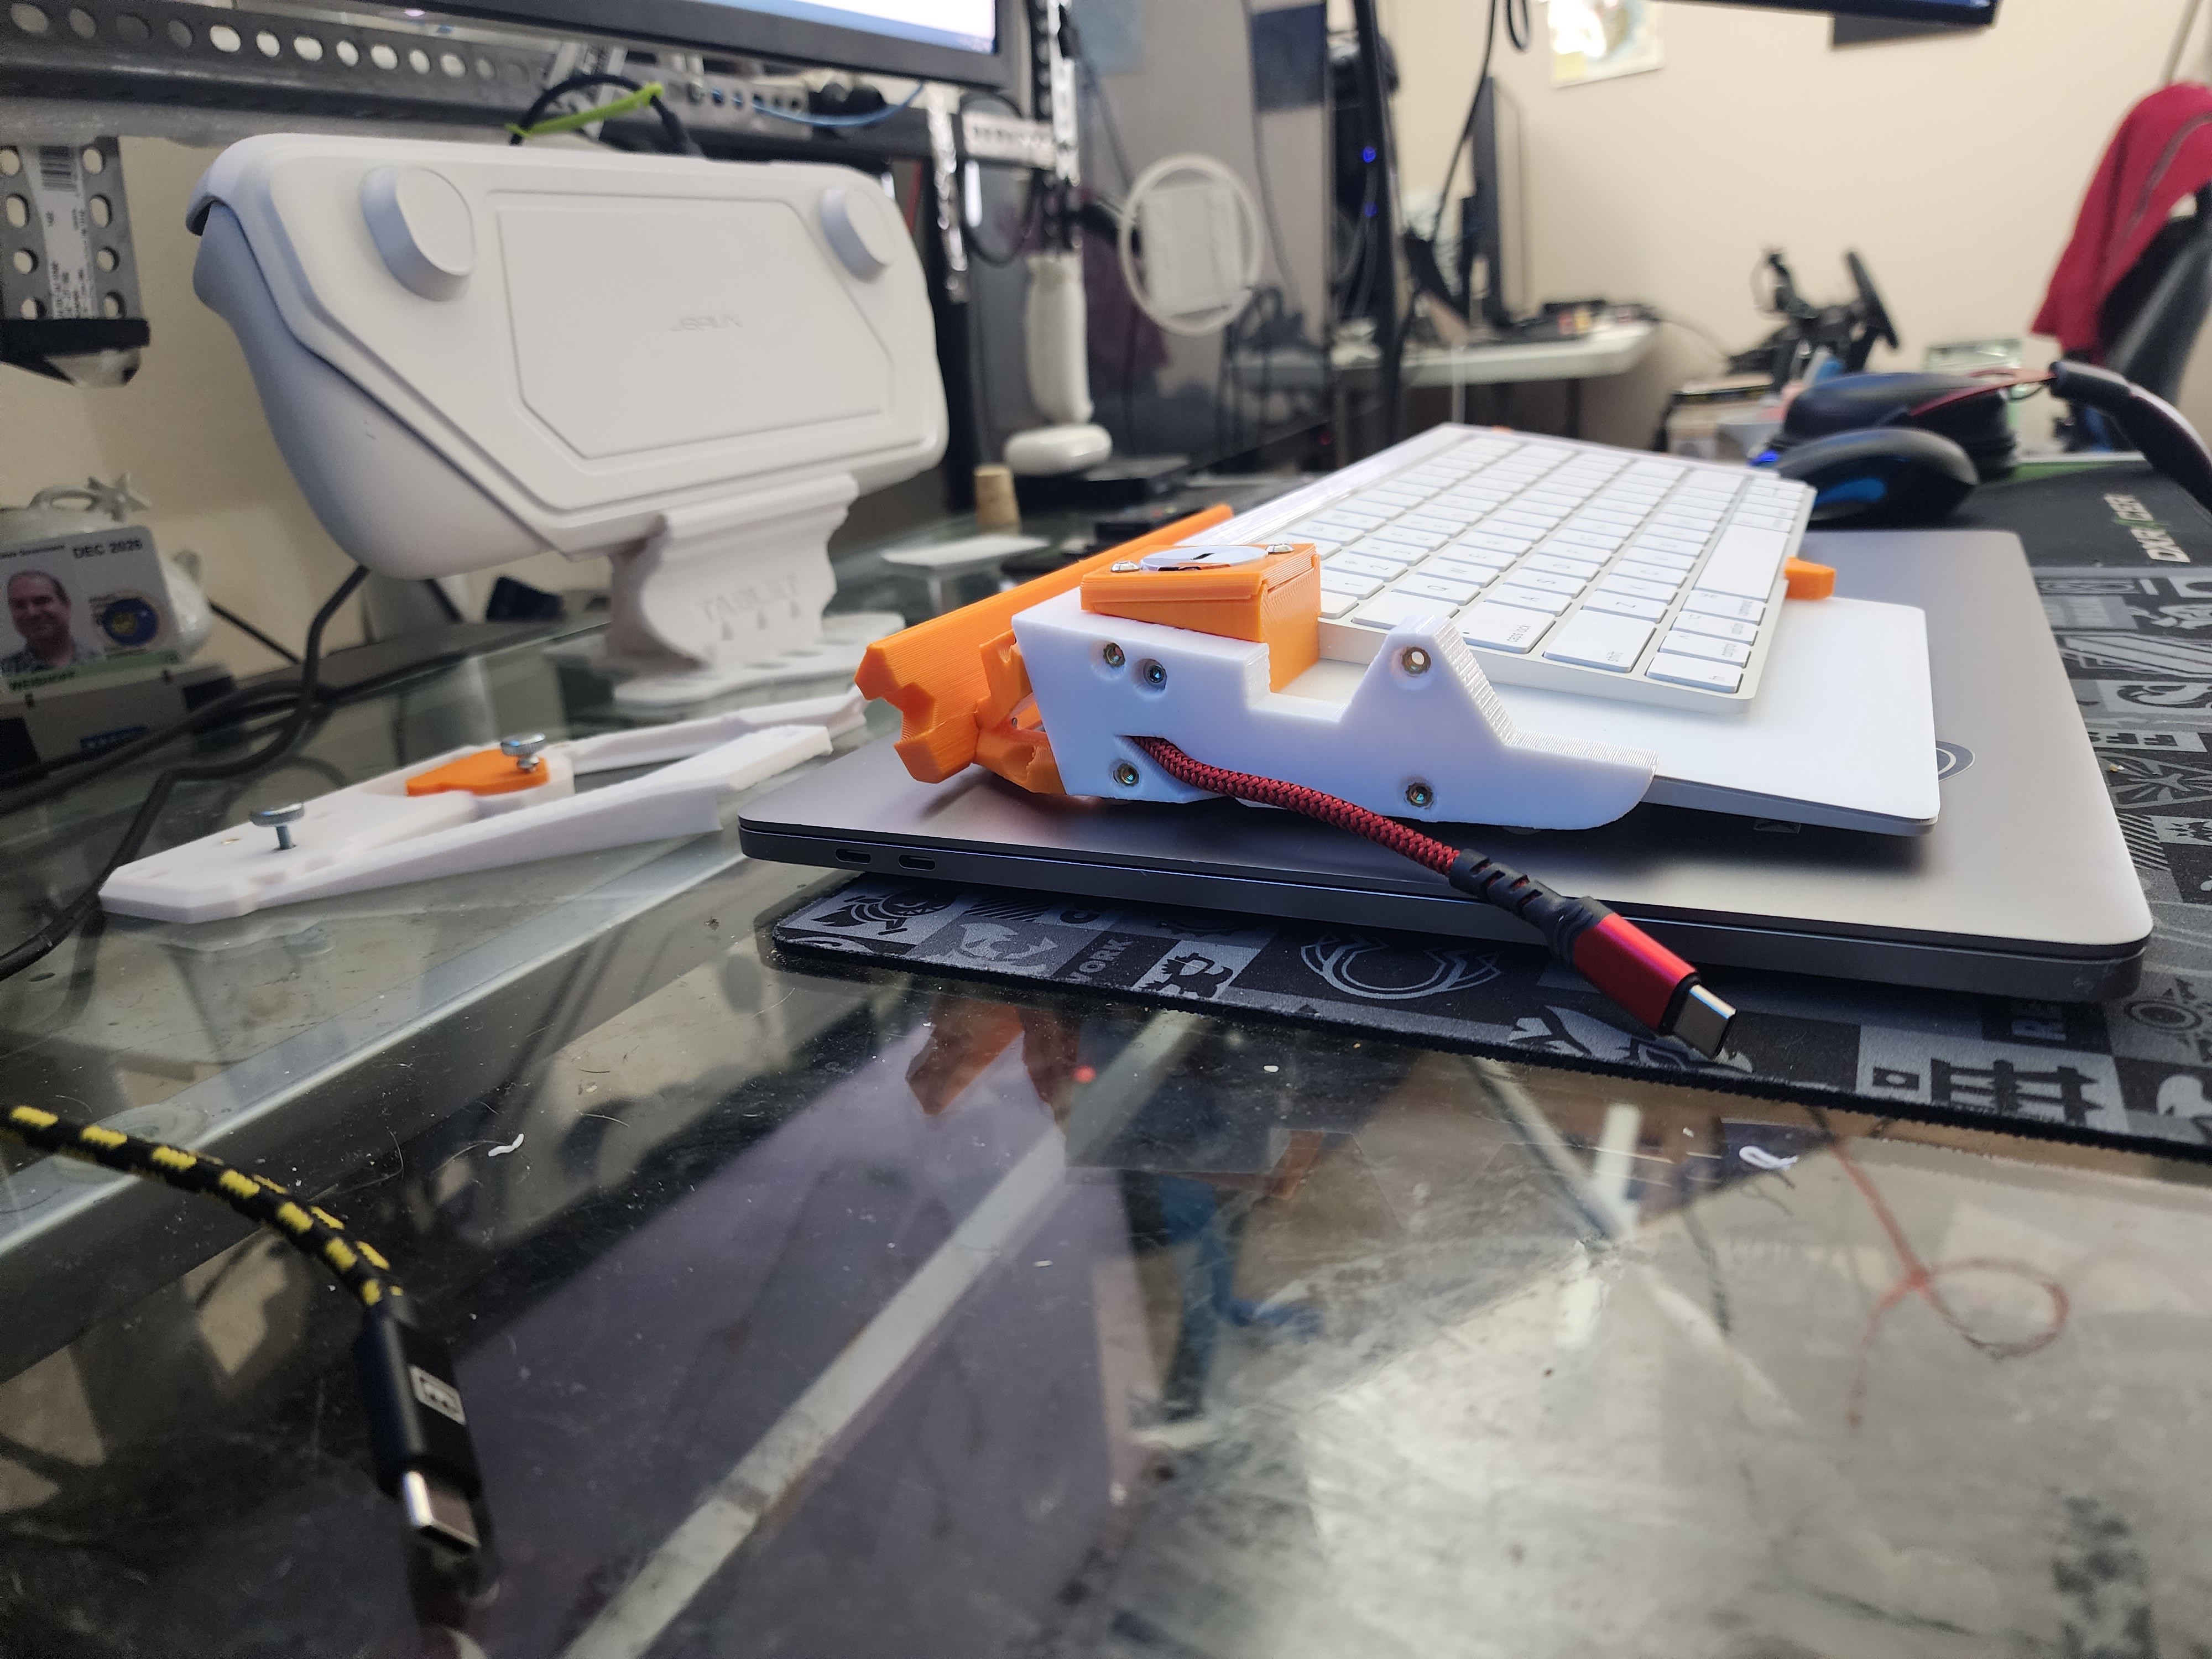
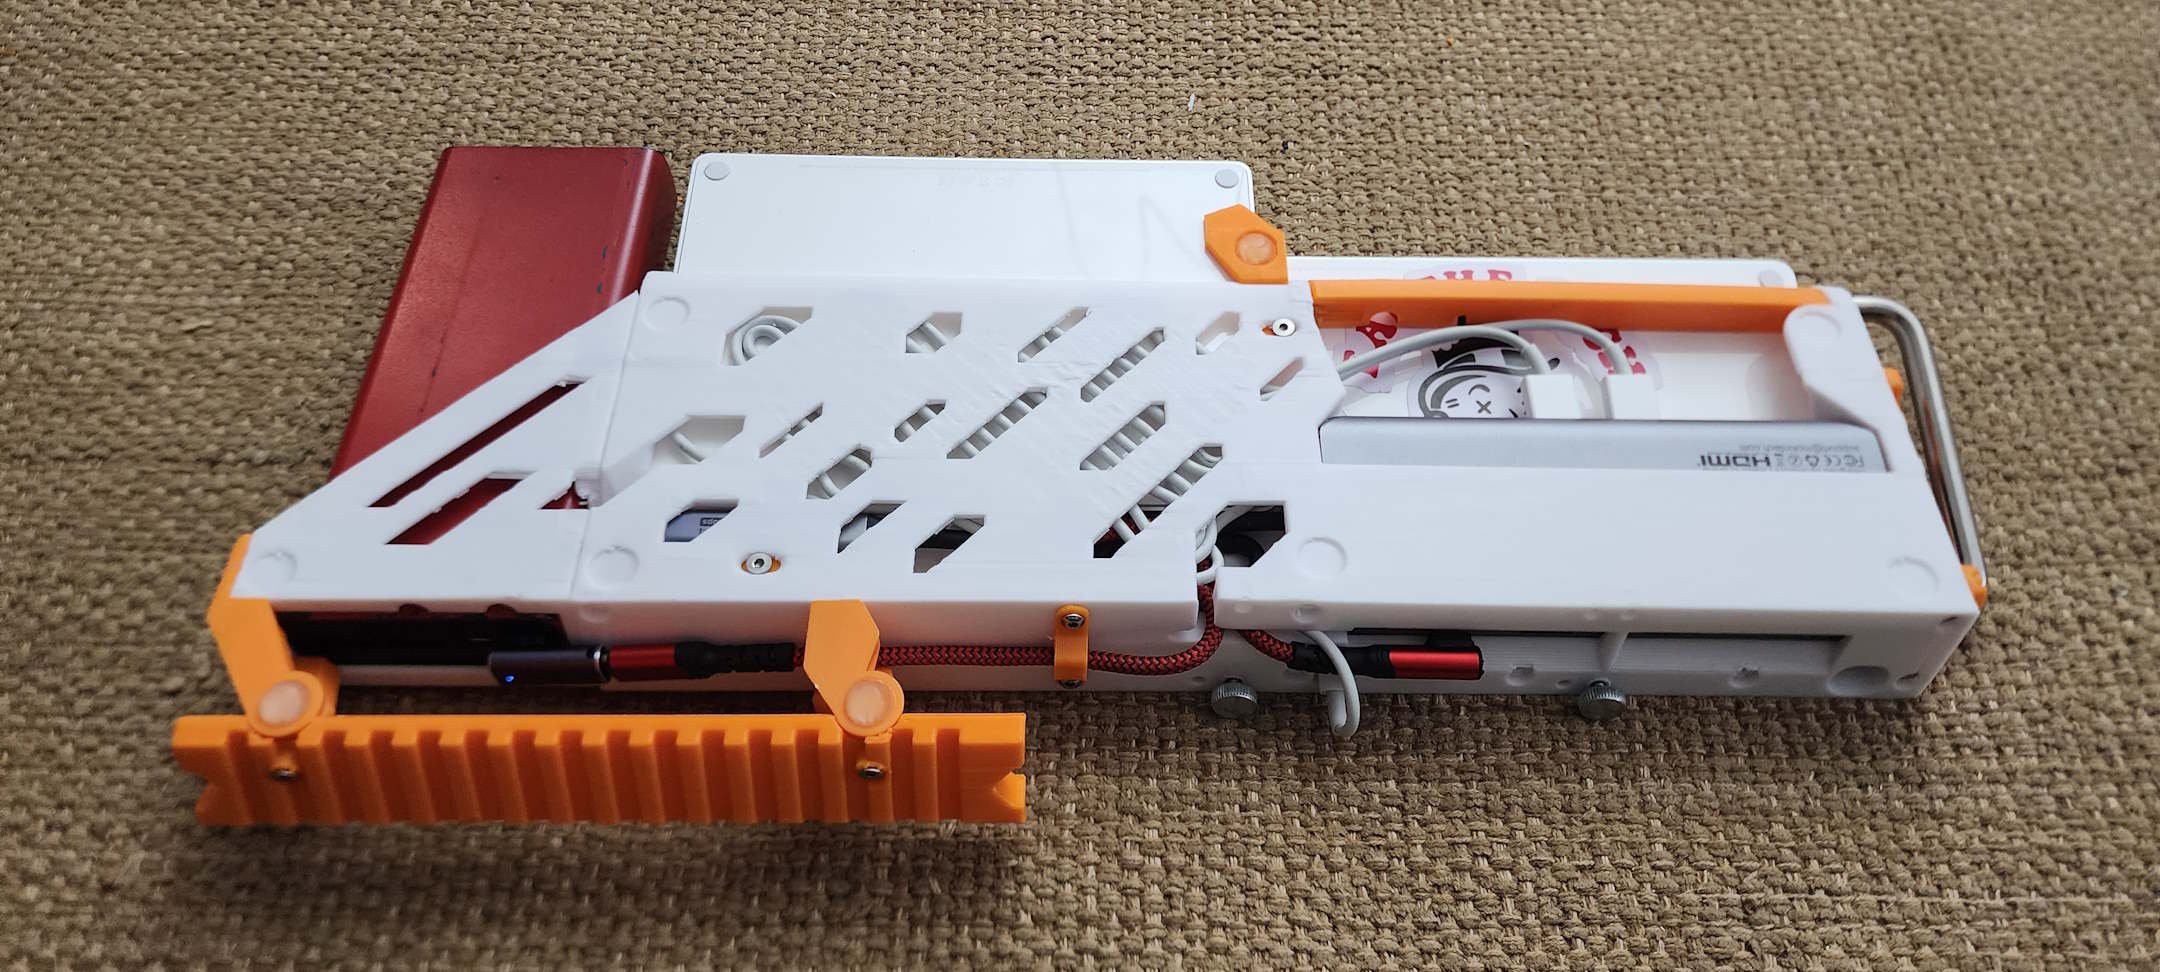
    A view of the bottom of the AEHCI, you can see how I built cable guides into the chassis to give all the wires somewhere nice to go.

    The Keyboard and Trackbad are both Bluetooth compatible, and feature their own batteries, but I built all of this with reliable, consistent wired connectivity in mind.

    Connected to the Steam Deck, the keyboard and trackpad work well to unlock the full potential of the hand-held workstation.

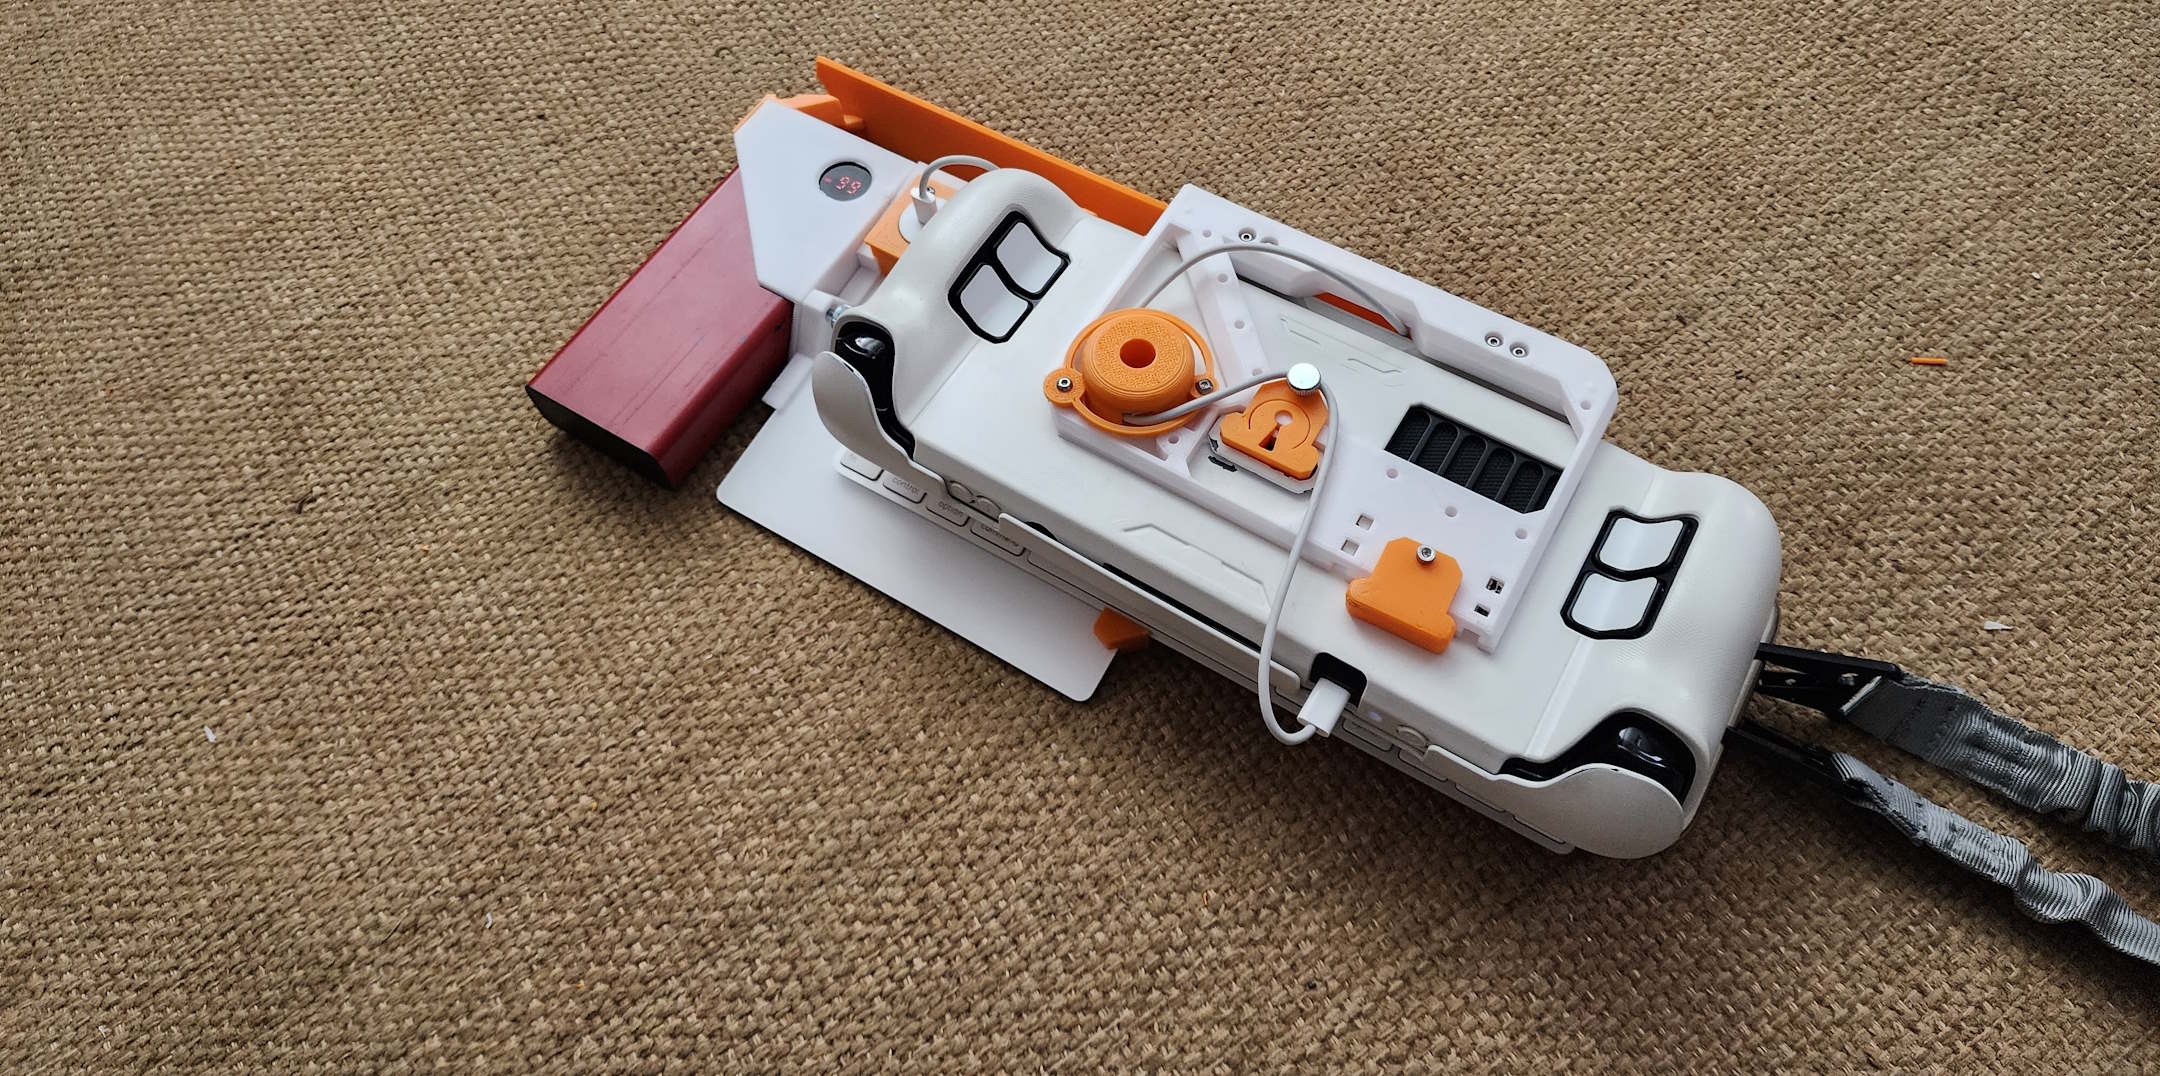
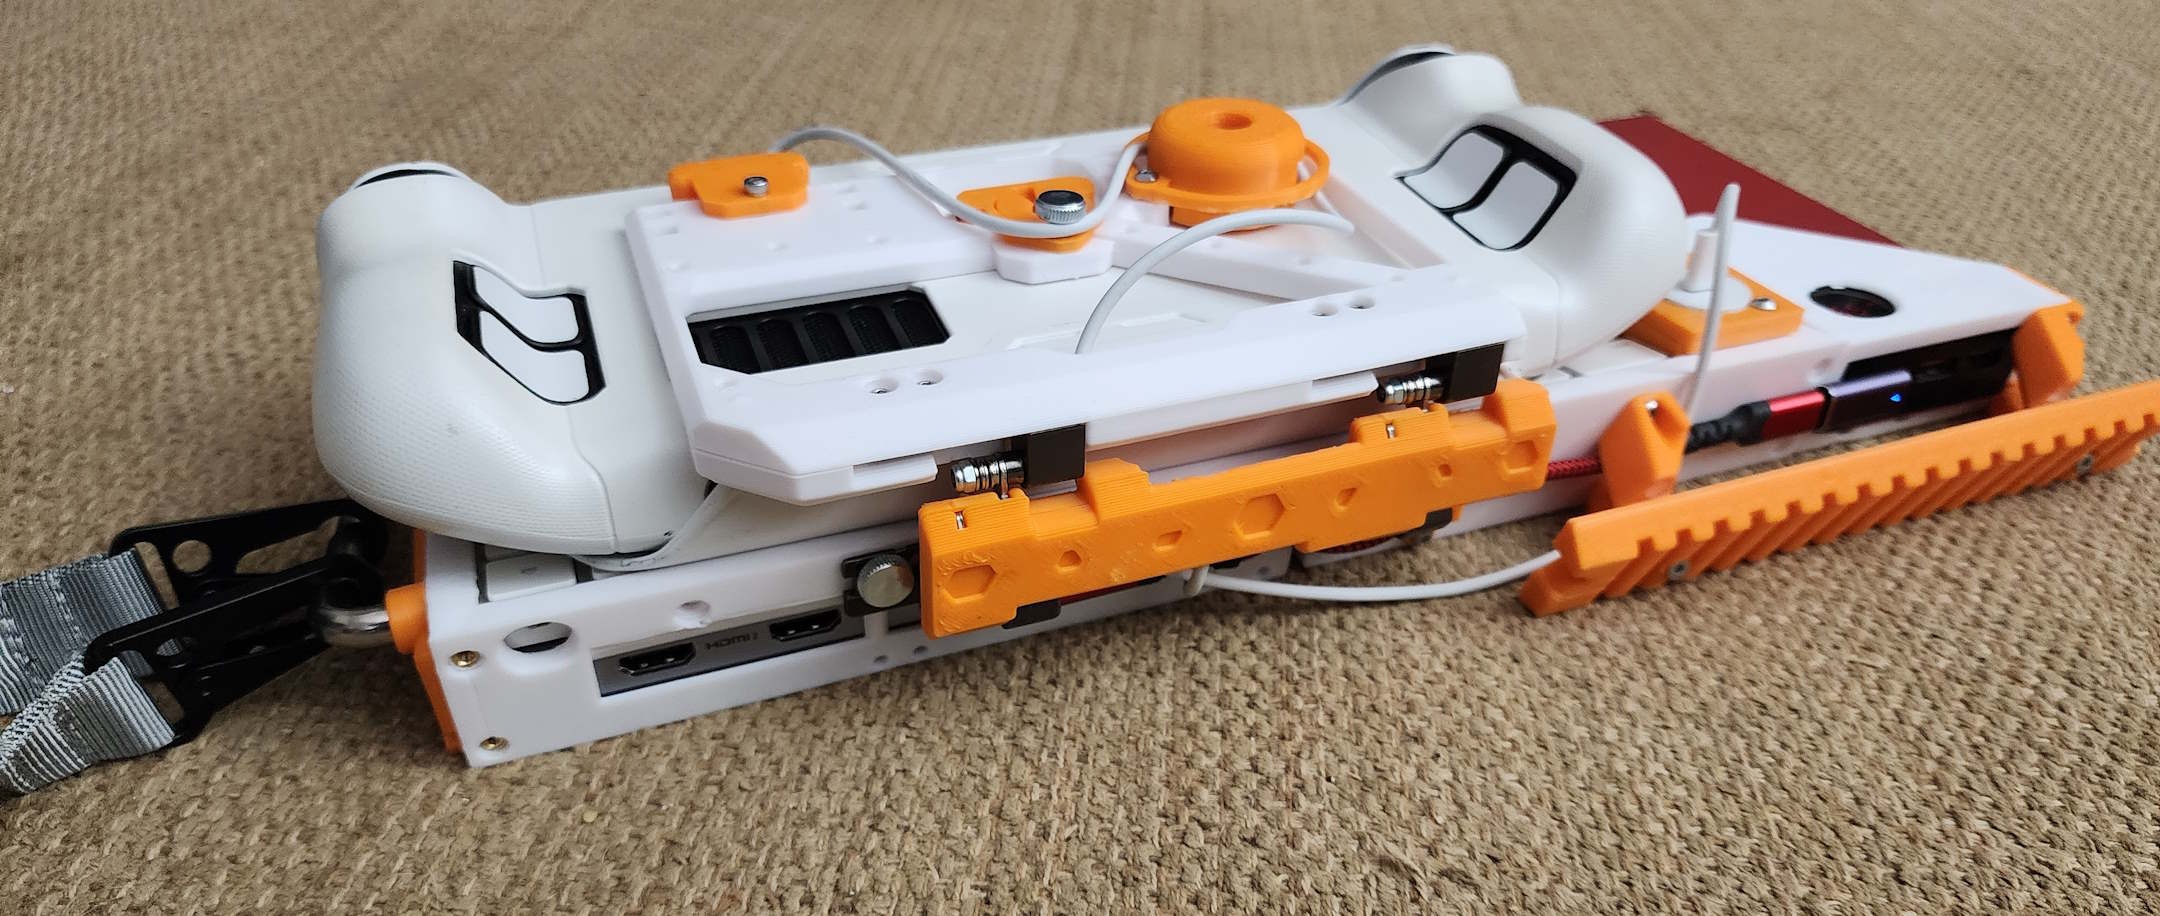
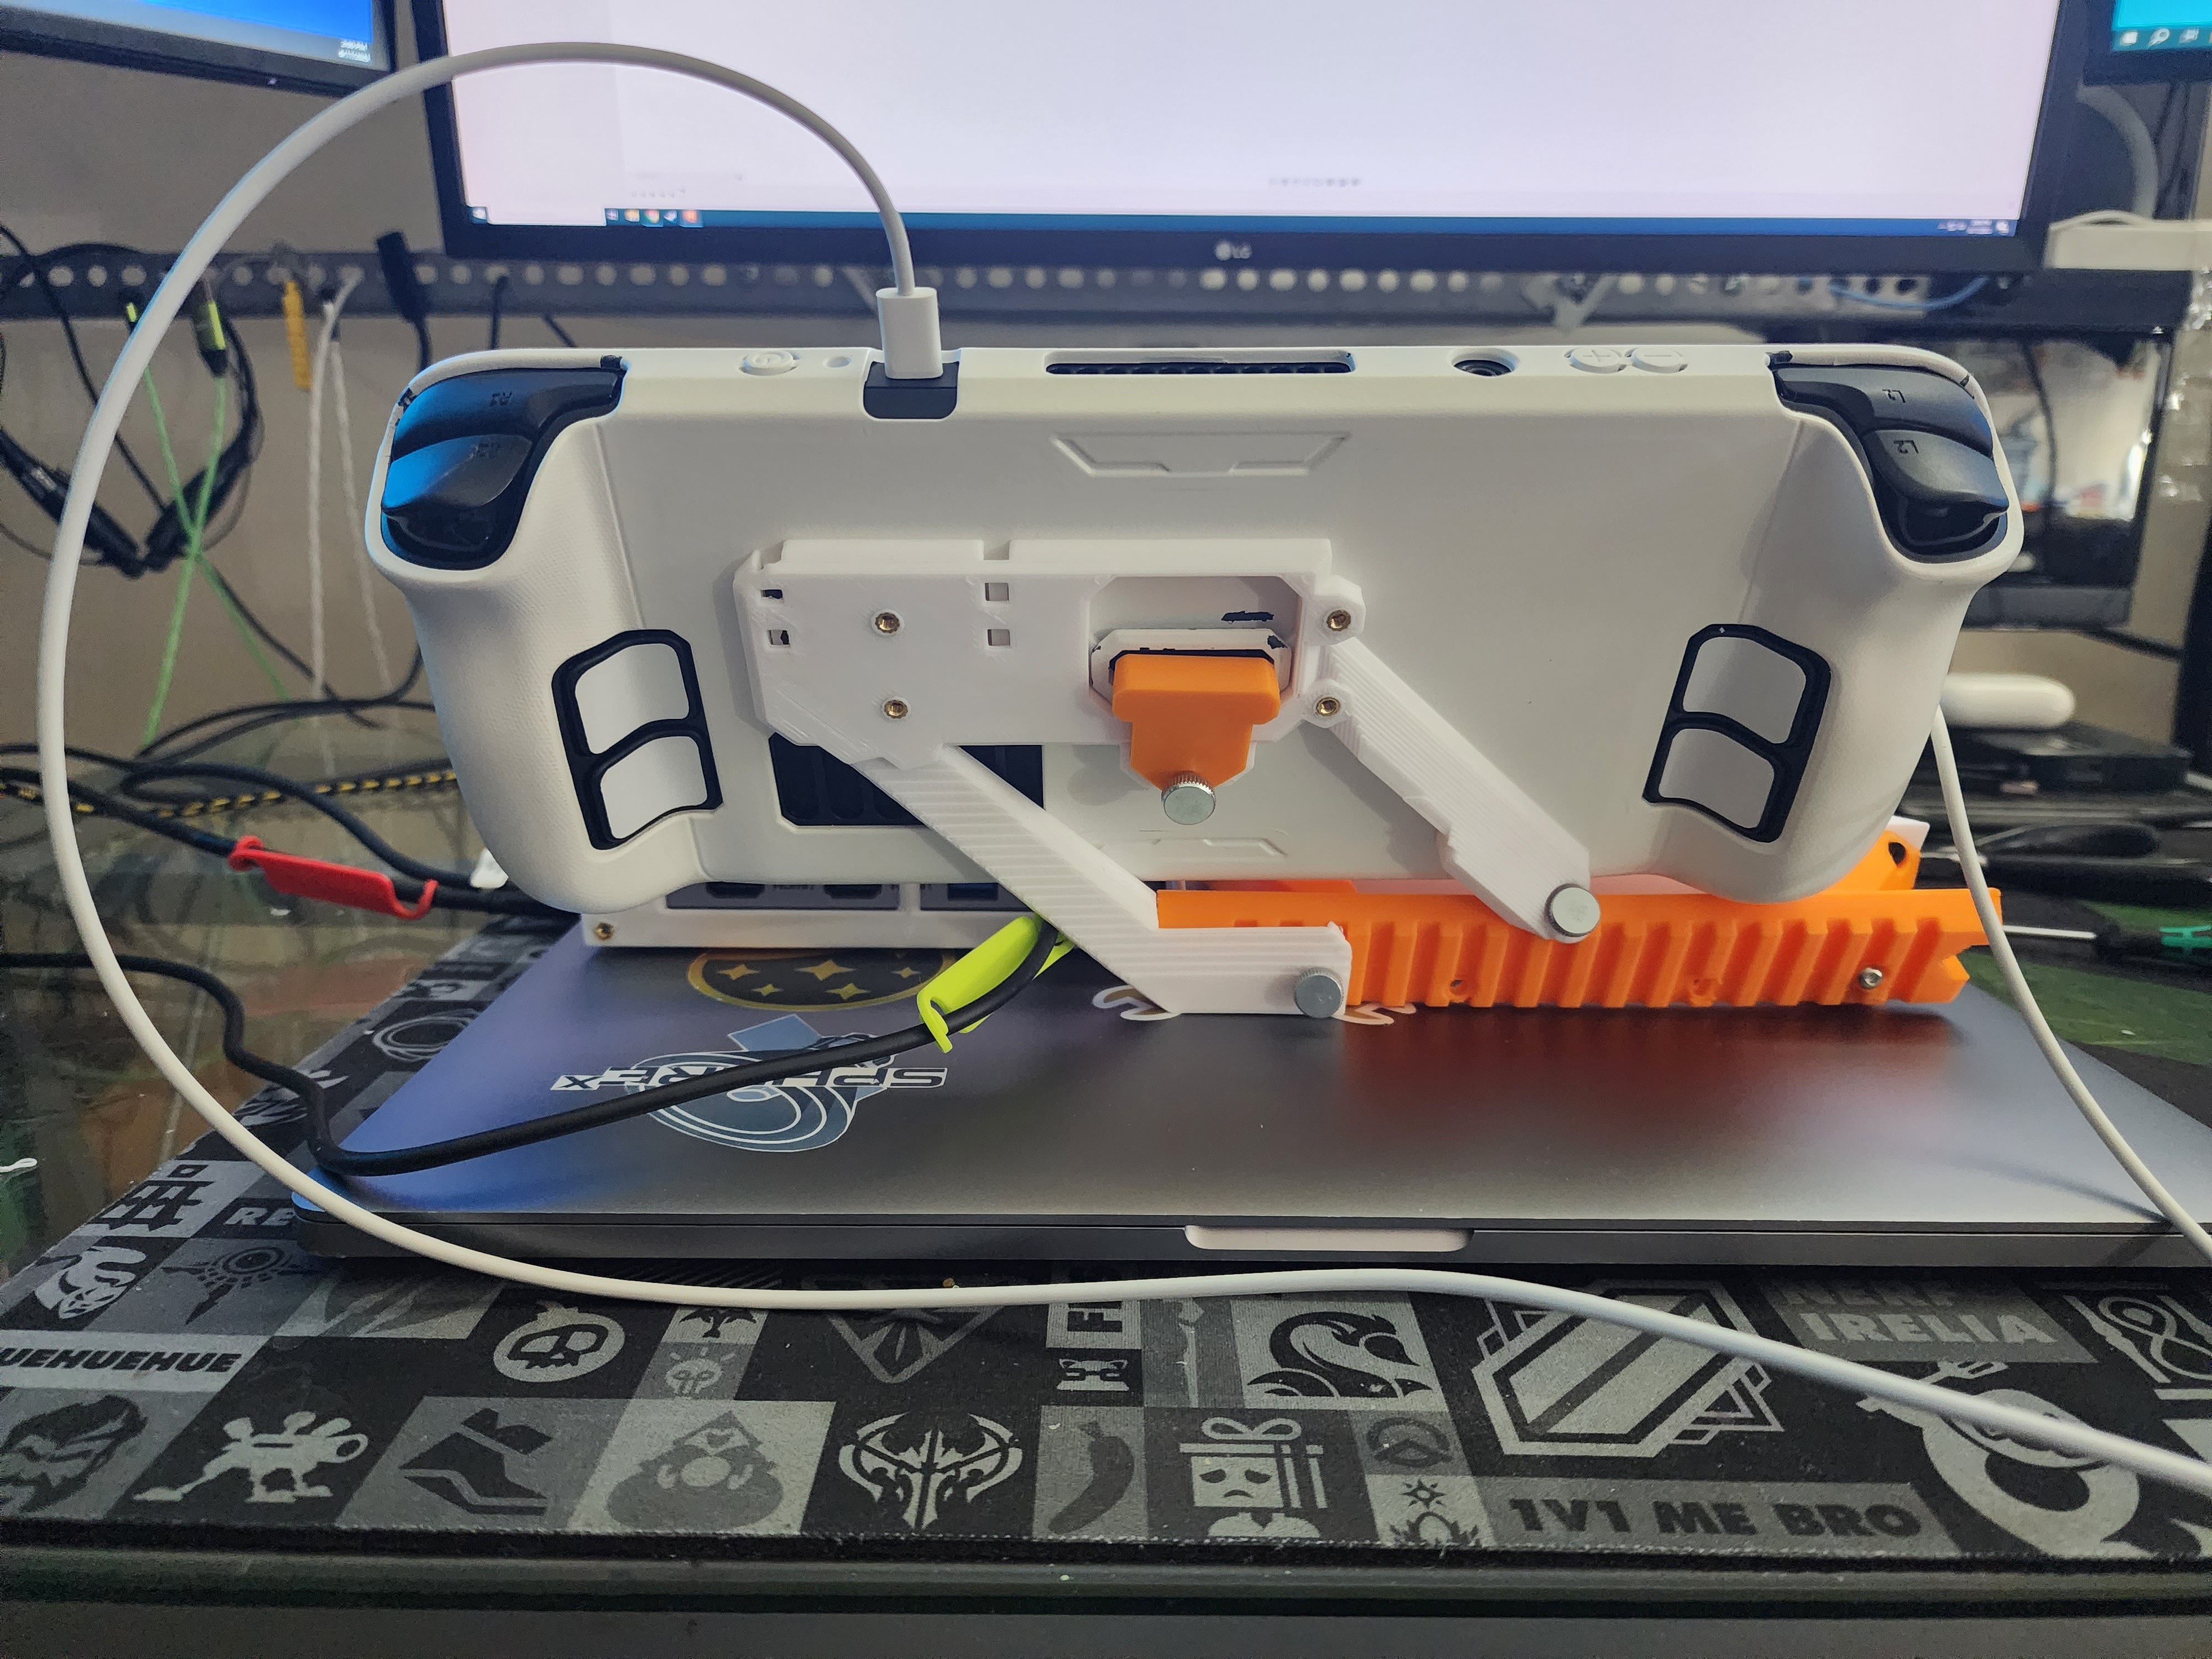
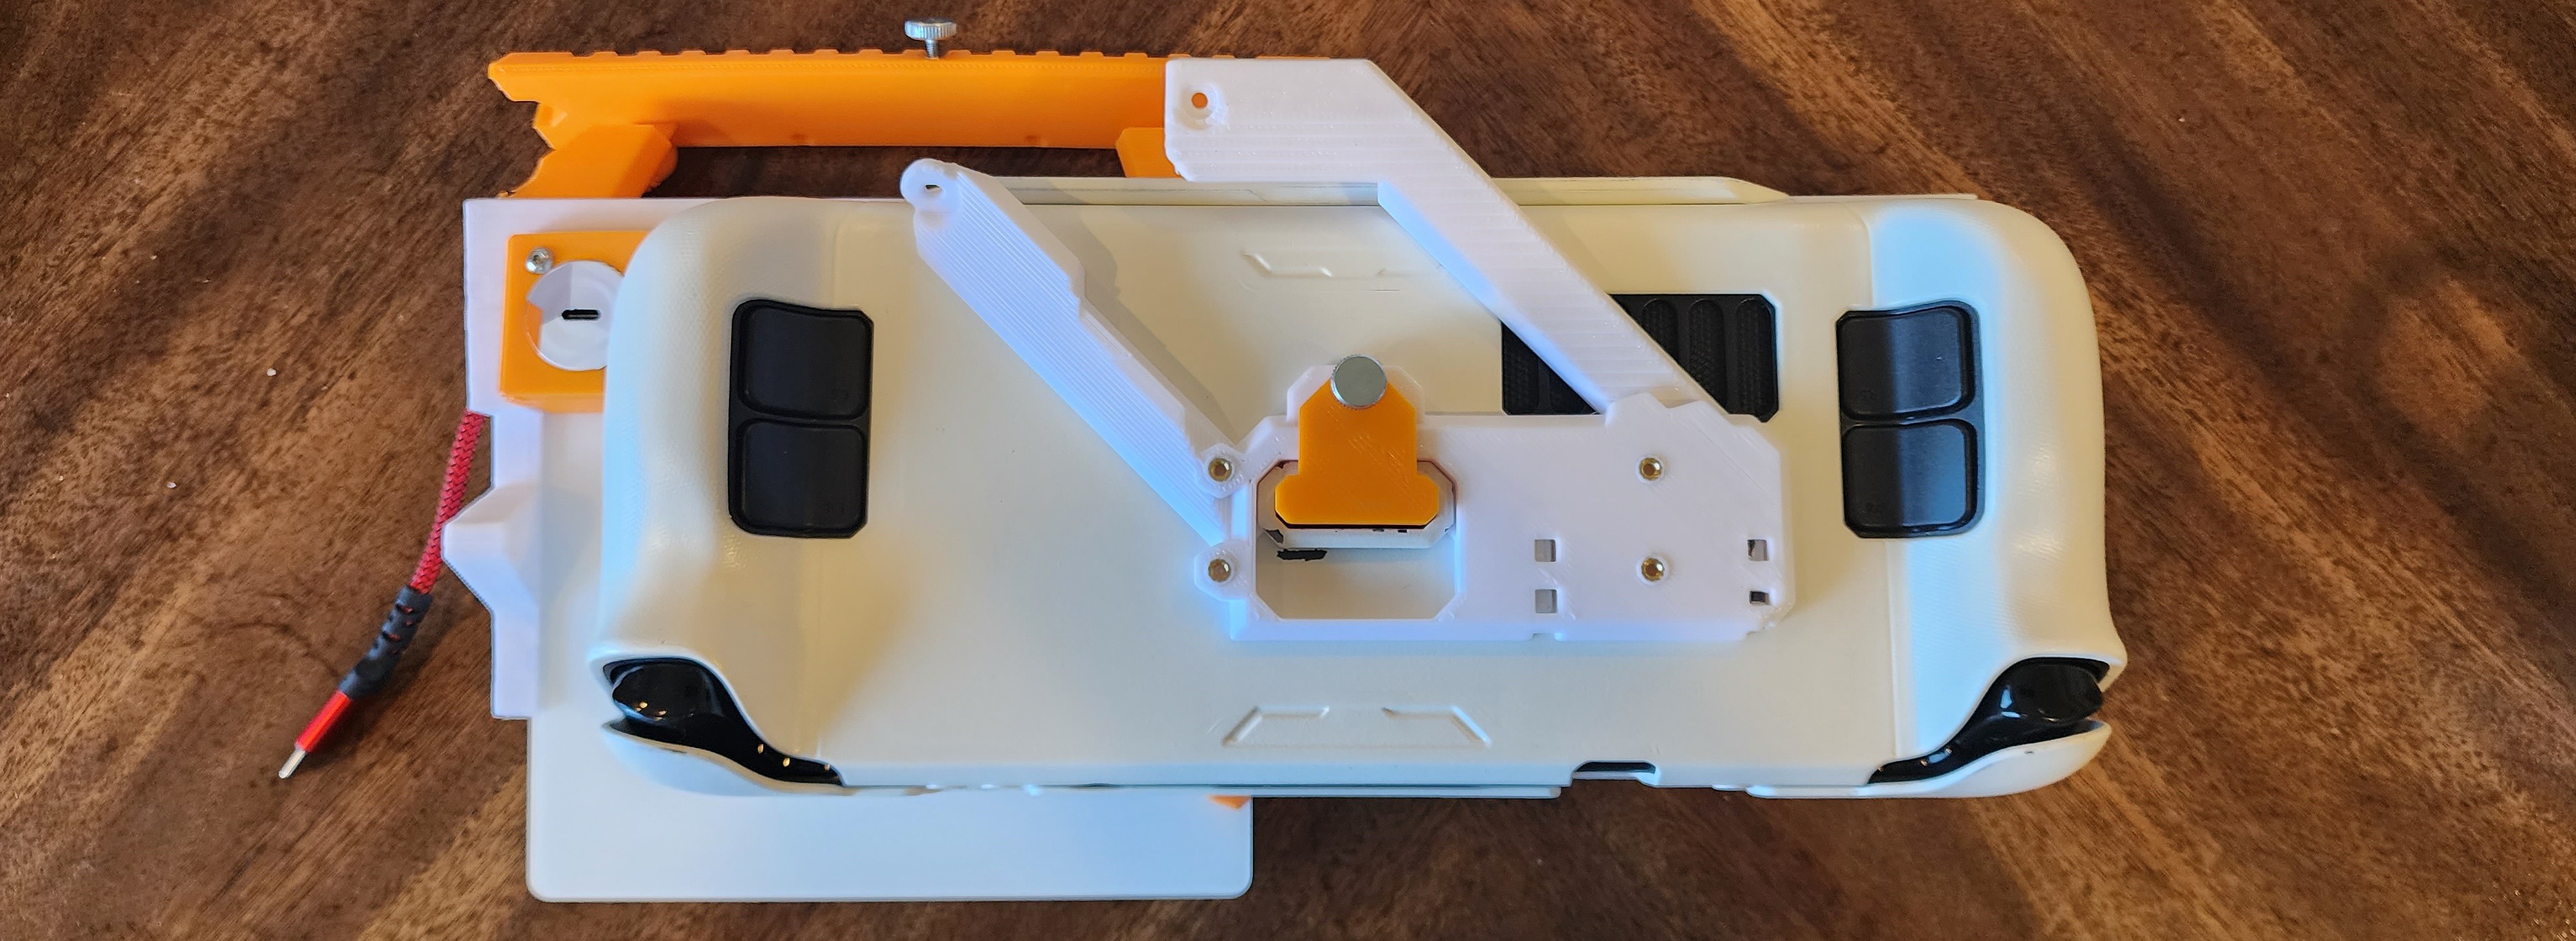
    The AEHCI uses two pair of Lenovo laptop hinges to support the deck at an array of convenient viewing angles, and to clamshell closed for safe travel.

    The AEHCI hinge doesn't block access to any ports, and includes ample tools for cable management, and plenty of room for additional accessories.

    Not yet photographed, the Battery Module includes an optional storage box as an alternate configuration.

    Multiple storage modules can be connected together if you need a bunch of connected interior storage space, though I haven't had a need for that yet.

    I hope you've enjoyed seeing the AEHCI! All the files necessary to create your own, along with a shopping list, are attached to the project. 

  • AEHCI Prototype Complete?

    Sp4m07/26/2023 at 16:30 0 comments

    I am at a weird place. I have been iterating on this model for 6 months, I am at version #110 of my Fusion 360 file, and I think I'm... done?

    Is there anything that needs to be improved?

    The Chassis

    • Prints in 2 pieces -Reinforcement Bar is important.
      • I think I can adjust the model to print in just one, but I kind of like the color splash of the reinforcement bar.
      • Reinforcement Bar prevents larger UISB 3.0 devices from attaching to the 'front'. Extensions can be used.
    • Cable Management could benefit from a couple more guided channels
      • I can't believe how effective the current system is though!
    • (Optional) Right Side Handle is hard to source
      • I found a metal handle in the garbage, and I used that. I don't know if I can find an equivalent part online.
    • Chassis has built-in cutouts on the inside for rubber feet to help cushion the keyboard and trackpad, but the feet I bought for the bottom are too thick.

    The Hinge

    • Imperfect, but it's absolutely functional. Could it work with just 2 hinges instead of 4?
      • Earlier testing had too much wobble with a single connection point, even if it was solid and attached via 2 screw mounts.
    • Design-wise, it doesn't blend with the aesthetic elements of the rear of the deck very well. 
      • Asymmetry and parts mismatch is part of the Cyberpunk aesthetic... but it still bothers me.d

    The Handle

    • Uses a picatinny rail, but has no picatinny accessories.
    • Current Design has cutouts requiring the handle to mount in a single spot, AND it requires attachment to the Modular Storage Box, which has non-standard hole spacing
      • Without the Modular Storage Box, the Right Side Handle is adequate.
    • Current Design has it attached with thumb-screws, which allows for relatively easy removal.
      • Attaching the hinge is a little finnicky, and the screws need to be tightened down hard. 
        • I could improve on the attachment tech.

    The Modular Storage Box

    • BaseUS 20kmAh battery is secure enough, but has some wiggle
      • This is a direct consequence of form-over-function aesthetic, as the heavy battery is held in place with a small contact patch at the end, rather than in the middle.
      • I have ample mounting points for an optional support strap or something, but it doesn't seem strictly necessary.

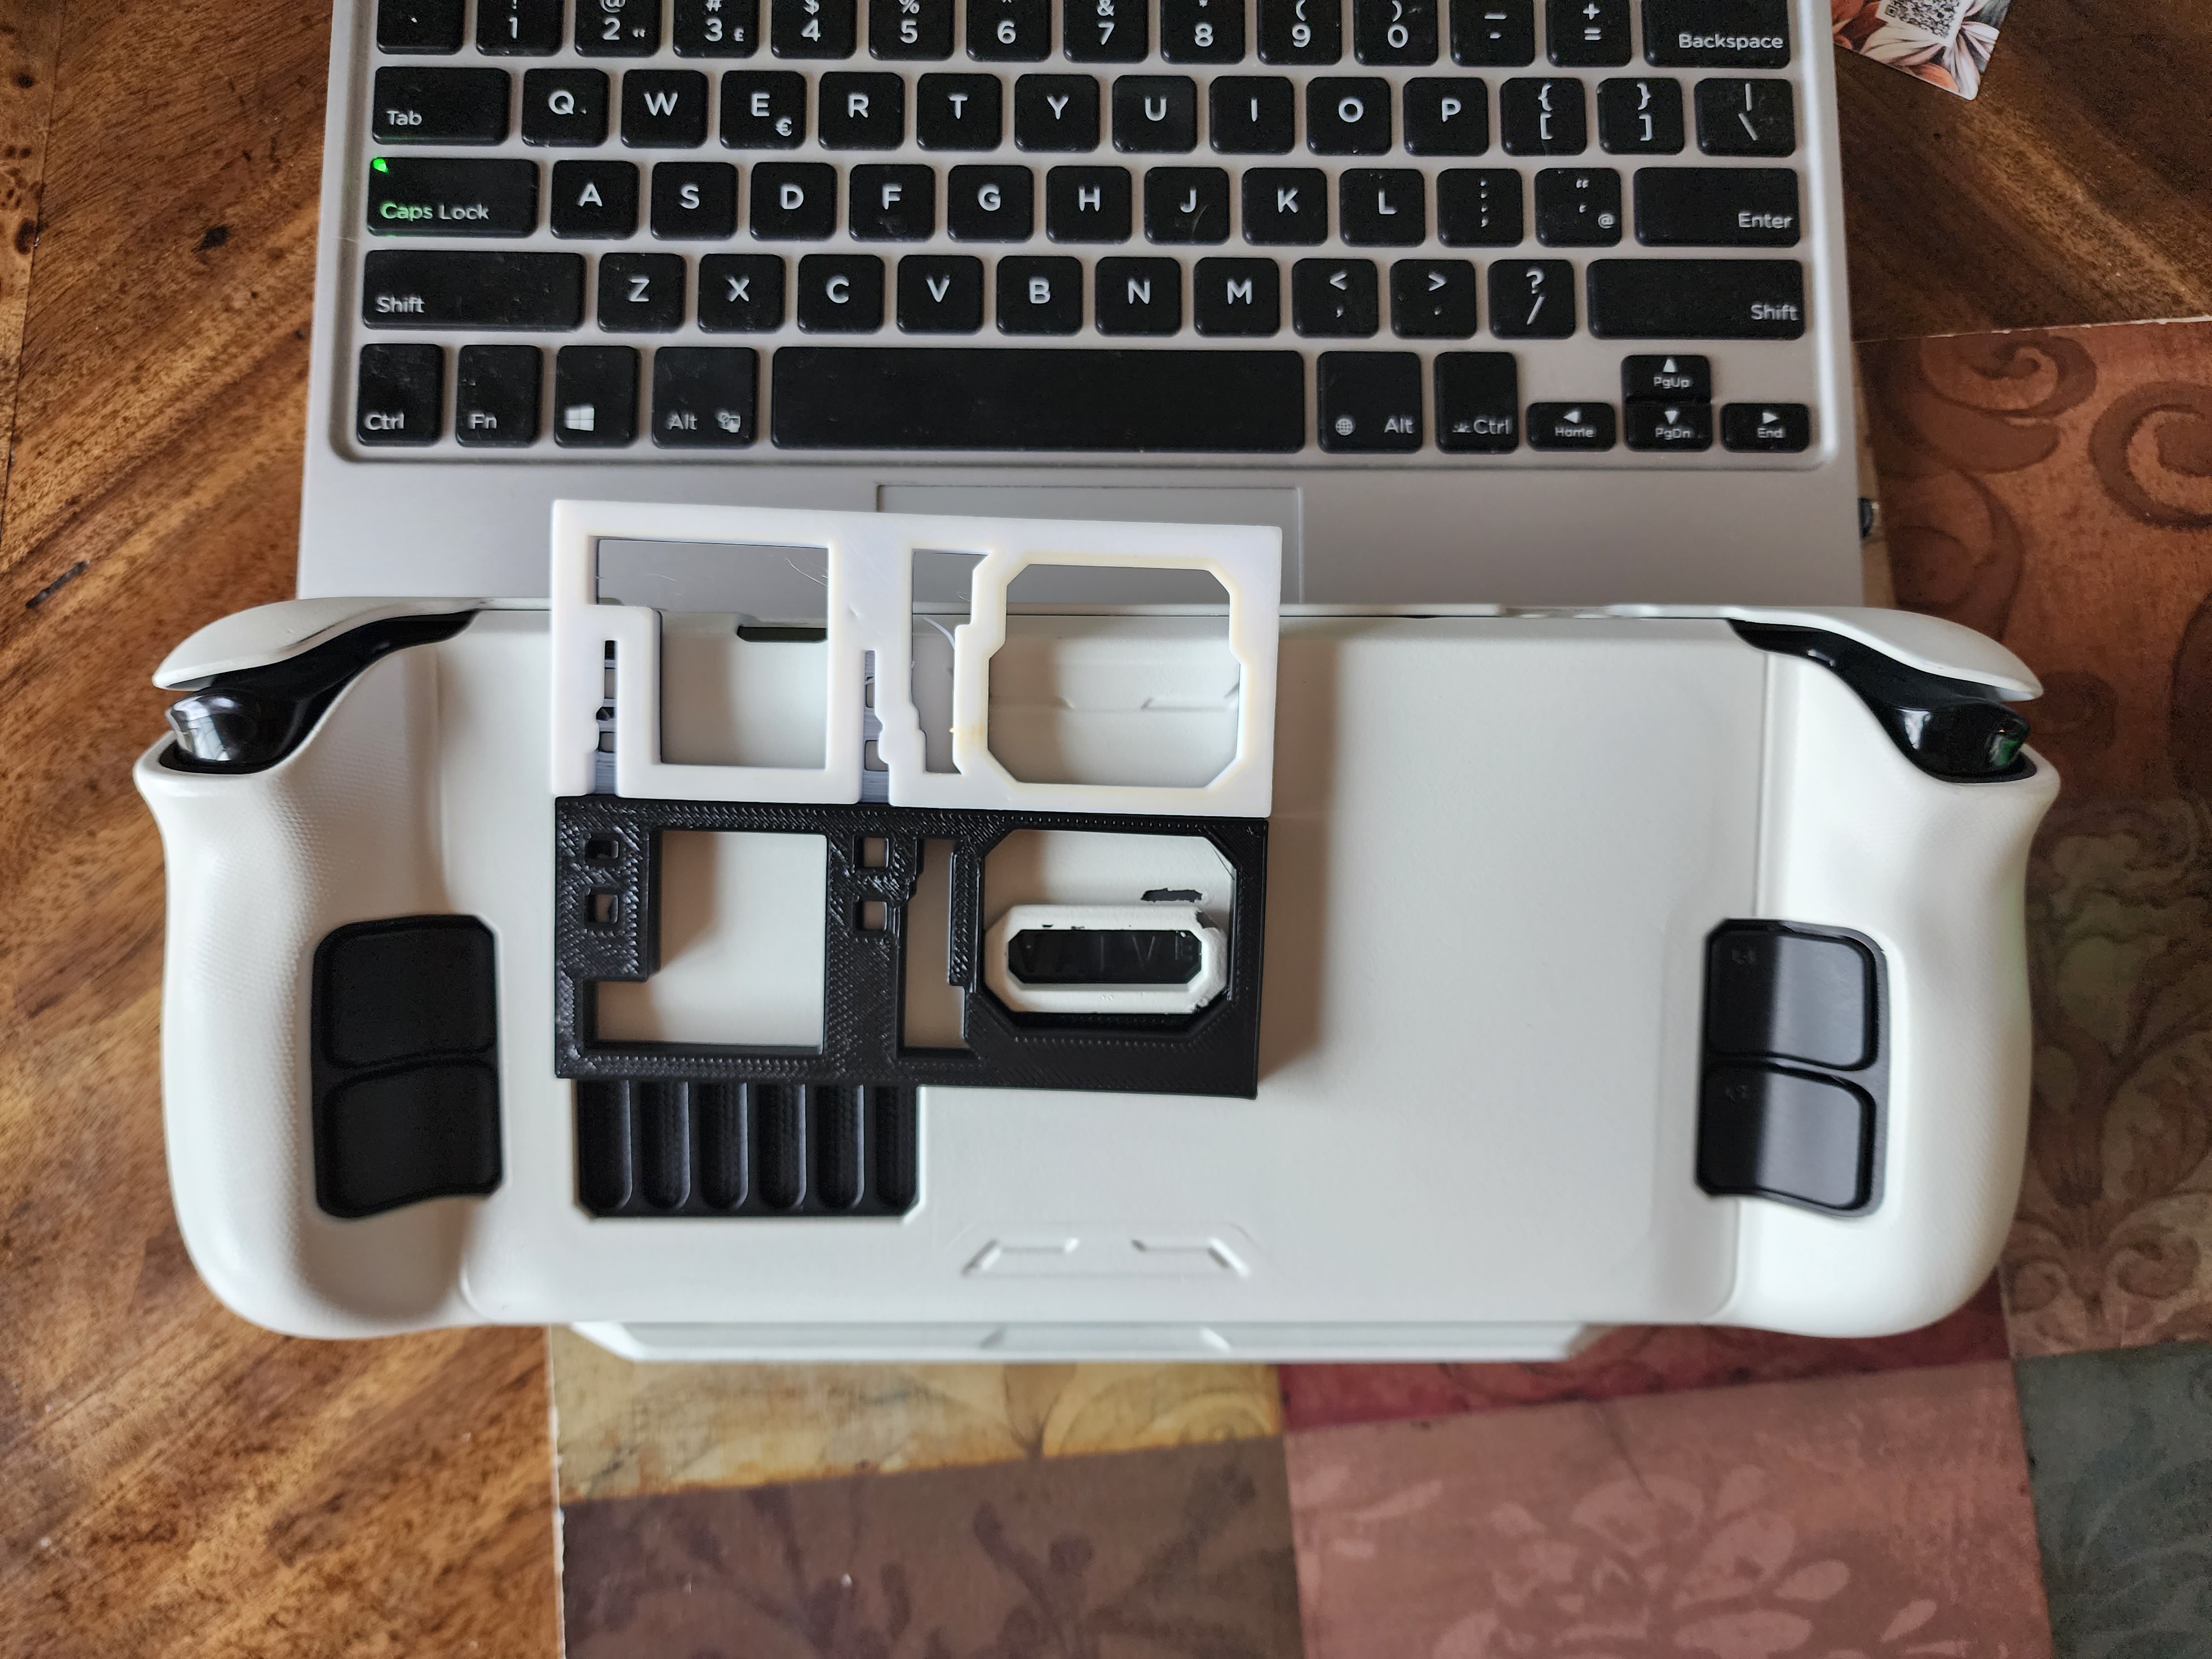
    The Steam Deck JSAUX Modcase Mount

    • The mount points on it are positioned haphazardly, not universally compatible
      • I could cover the entire backside in holes, so users can install Heat-Set inserts anywhere they want, but why bother? The only accessories I am attaching at this point are custom-designed cable management, and I doubt anyone will actually make their own AHCI.
    • The Steam Deck is a little "floppy" when the 'clamshell' is closed. 
      • Old laptops used little clips to help secure the lids closed, but I don't see the return in all that effort
      • I built a fixed hook to secure the deck, but it gets in the way during use.
      • I'm thinking an elastic garter could easily do the trick, but where would I put it when it's not in use?

    I think that's my whole list. Are any of those items worth the effort to fix?

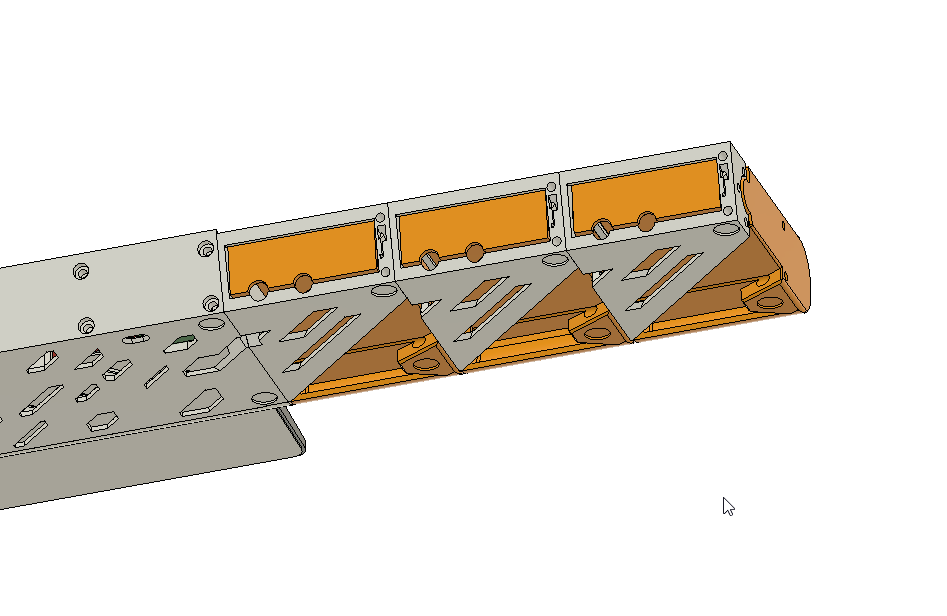
  • Storage Boxes

    Sp4m06/23/2023 at 19:59 0 comments

    It's hard to know when a piece of art/engineering is done. I guess when there's nothing left to take away?
    Oh well! Time to add more Stuff!

    I've been iterating on what I am calling the Multipurpose Storage Module.

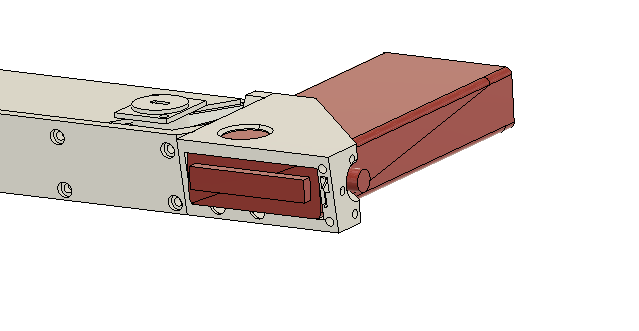
    Initially designed to house a BASEUS 20,000mah power brick, I also wanted to make a storage box that would fit in place if someone didn't have this power brick, OR if someone just needed space to store wires.

    Here's the "Basic" Storage Box.

    It gets secured by a friction screw on the rear-left, and either a thumb-screw on the front right, or some sort of elastic/form wire strap that slots into that cut-out on the left side.

    Then I realized that this storage box could be used for EVERYTHING. At least as an intermediate step while I work on more custom modules!

    Want to add an SSD to your cyberdeck? Toss it into a storage box!
    Need more USB ports? Put a hub in there!
    You could stack them, and get a lot of extra room in your cyberdeck... as long as there is room to connect adjacent boxes.
    This one goes in the middle.


    This is a great example of Scope Creep, but check it out!

    Now even the basic AEHCI has support modules to add anything you want!

  • Perfect is the Enemy of Good

    Sp4m06/17/2023 at 22:04 0 comments

    I've done so much work on this, I think it's ready to share with others. Even though It's not perfect or really complete.

    So without further ado, BEHOLD! The Apple Ecosystem Human Interface Cluster! 

    Apple Ecosystem Human Interface Device Cluster

    The AEHIC looks sharp on a desktop, and is fully capable of connecting via USB-C to your workstation.

    Although both the Trackpad and the keyboard support Bluetooth, I leverage wired connections to ensure reliability and connectivity as it is moved between multiple computing devices.

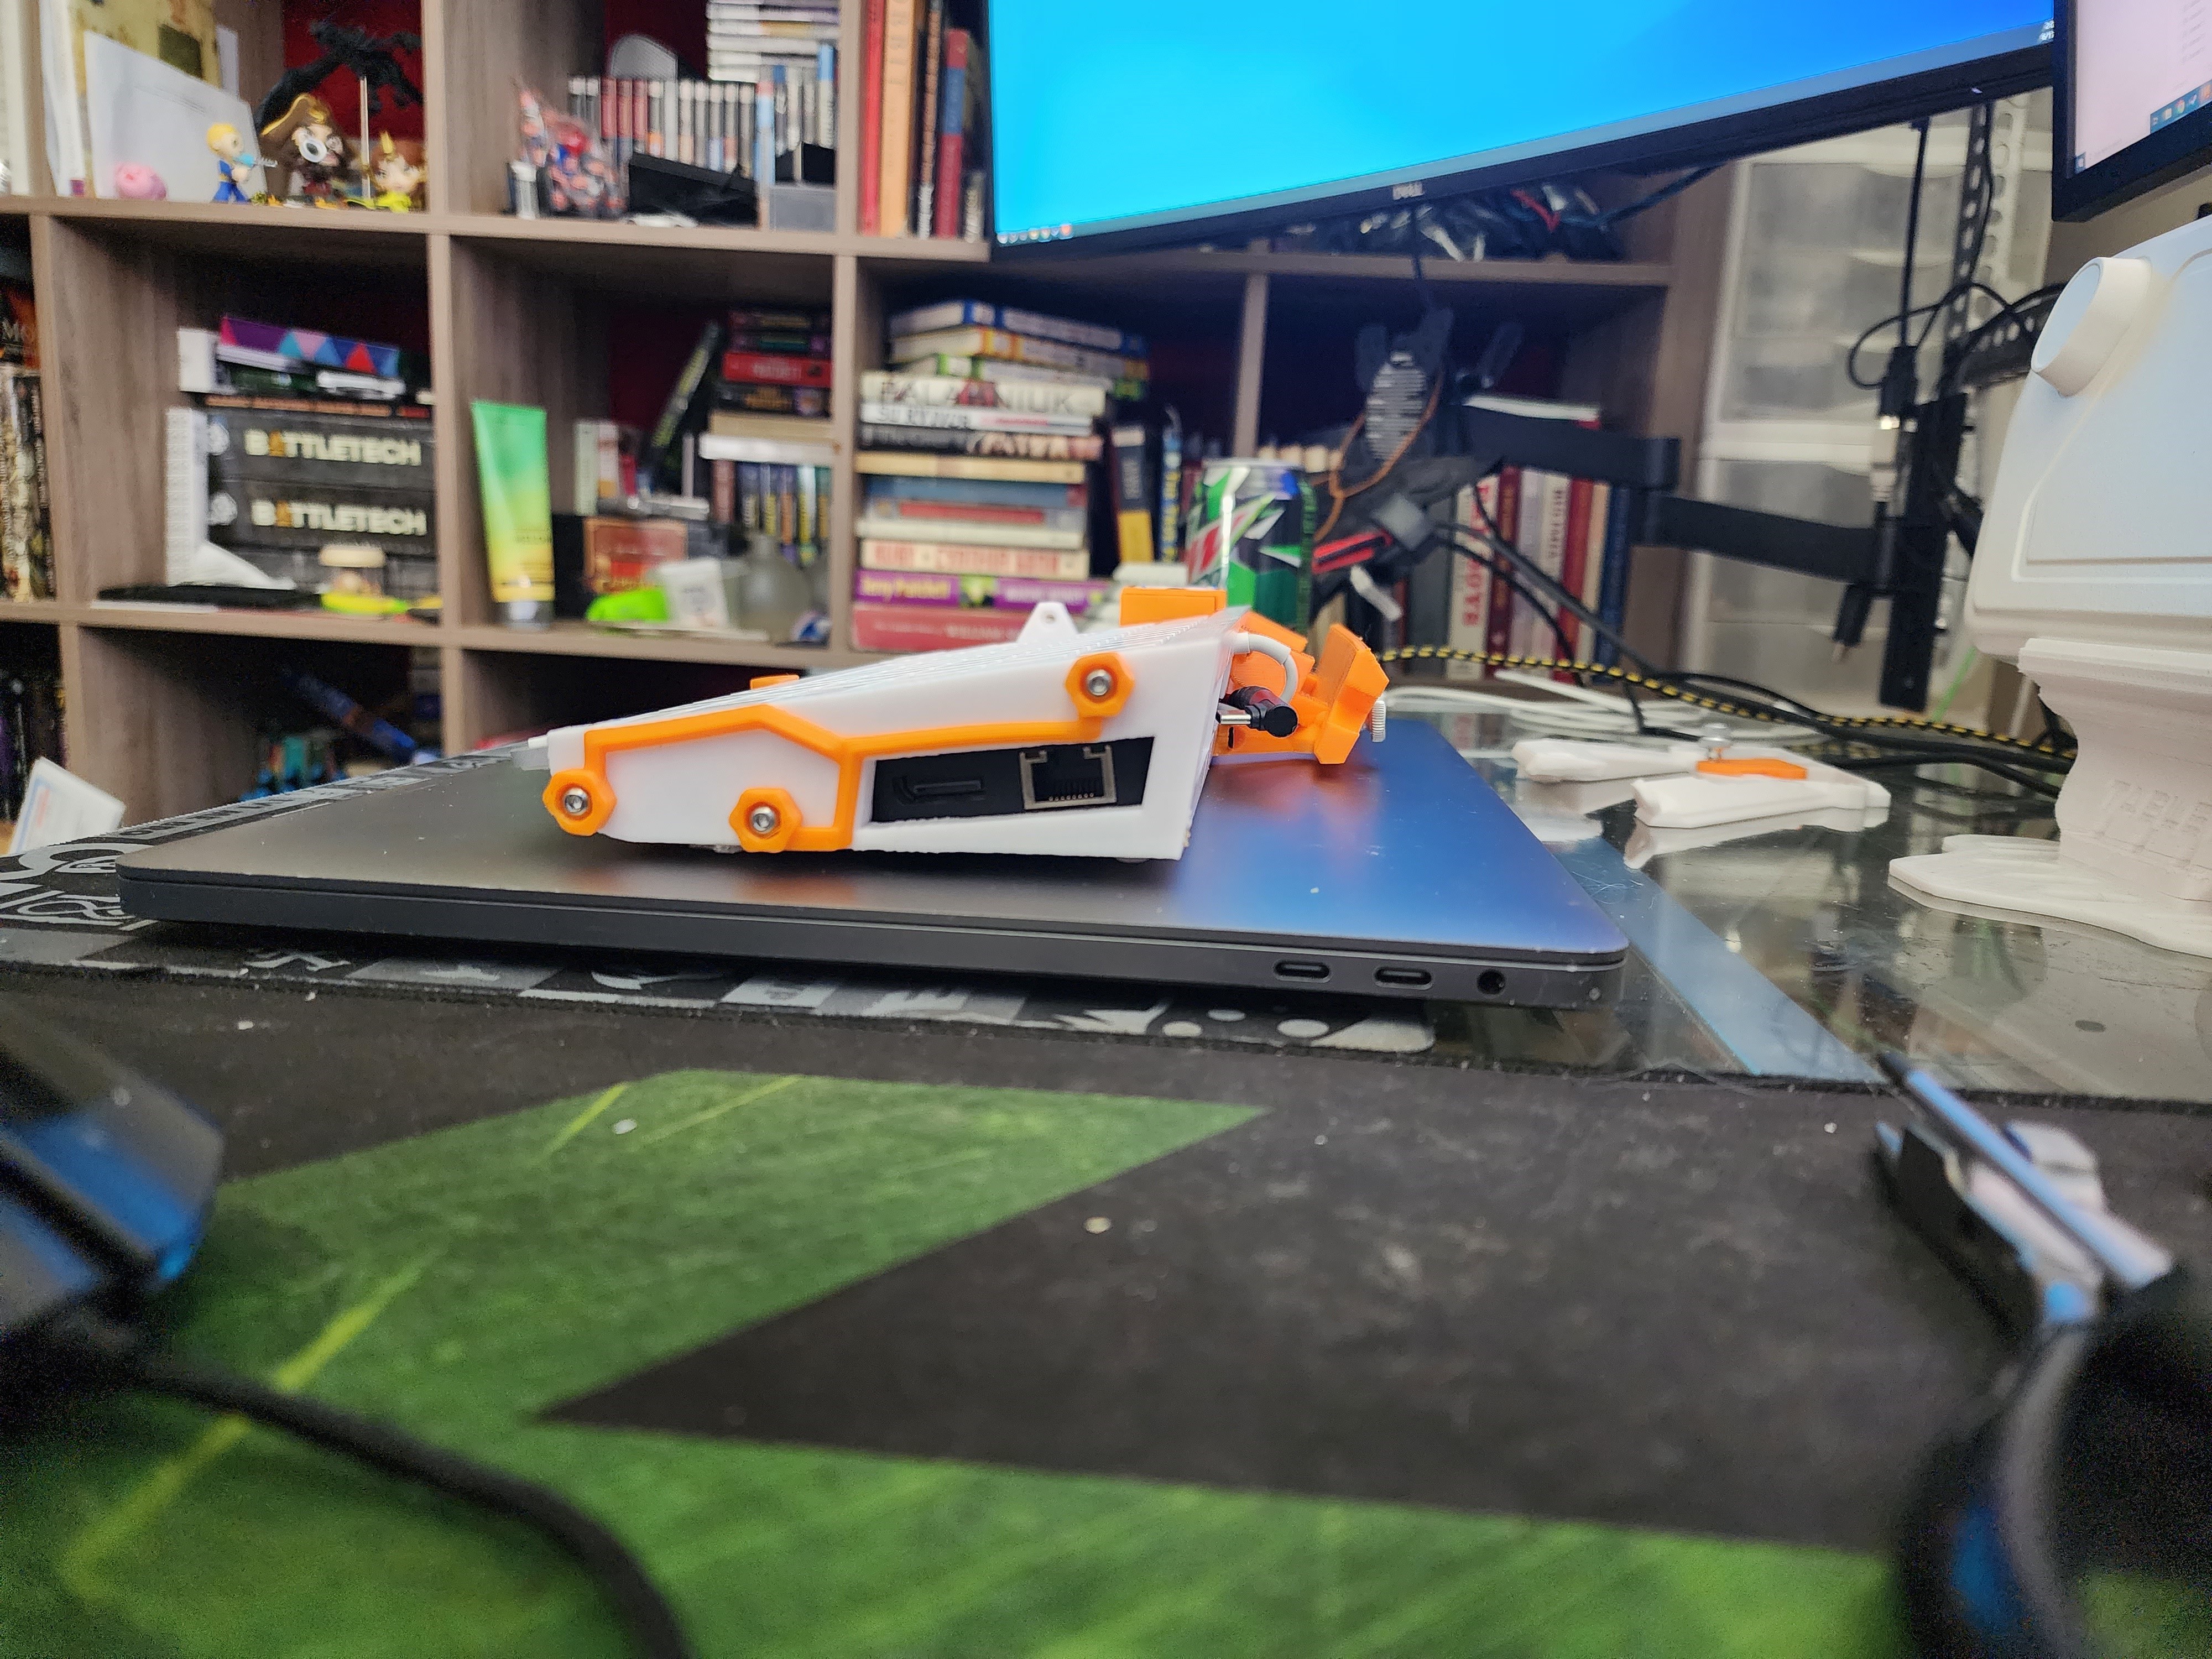
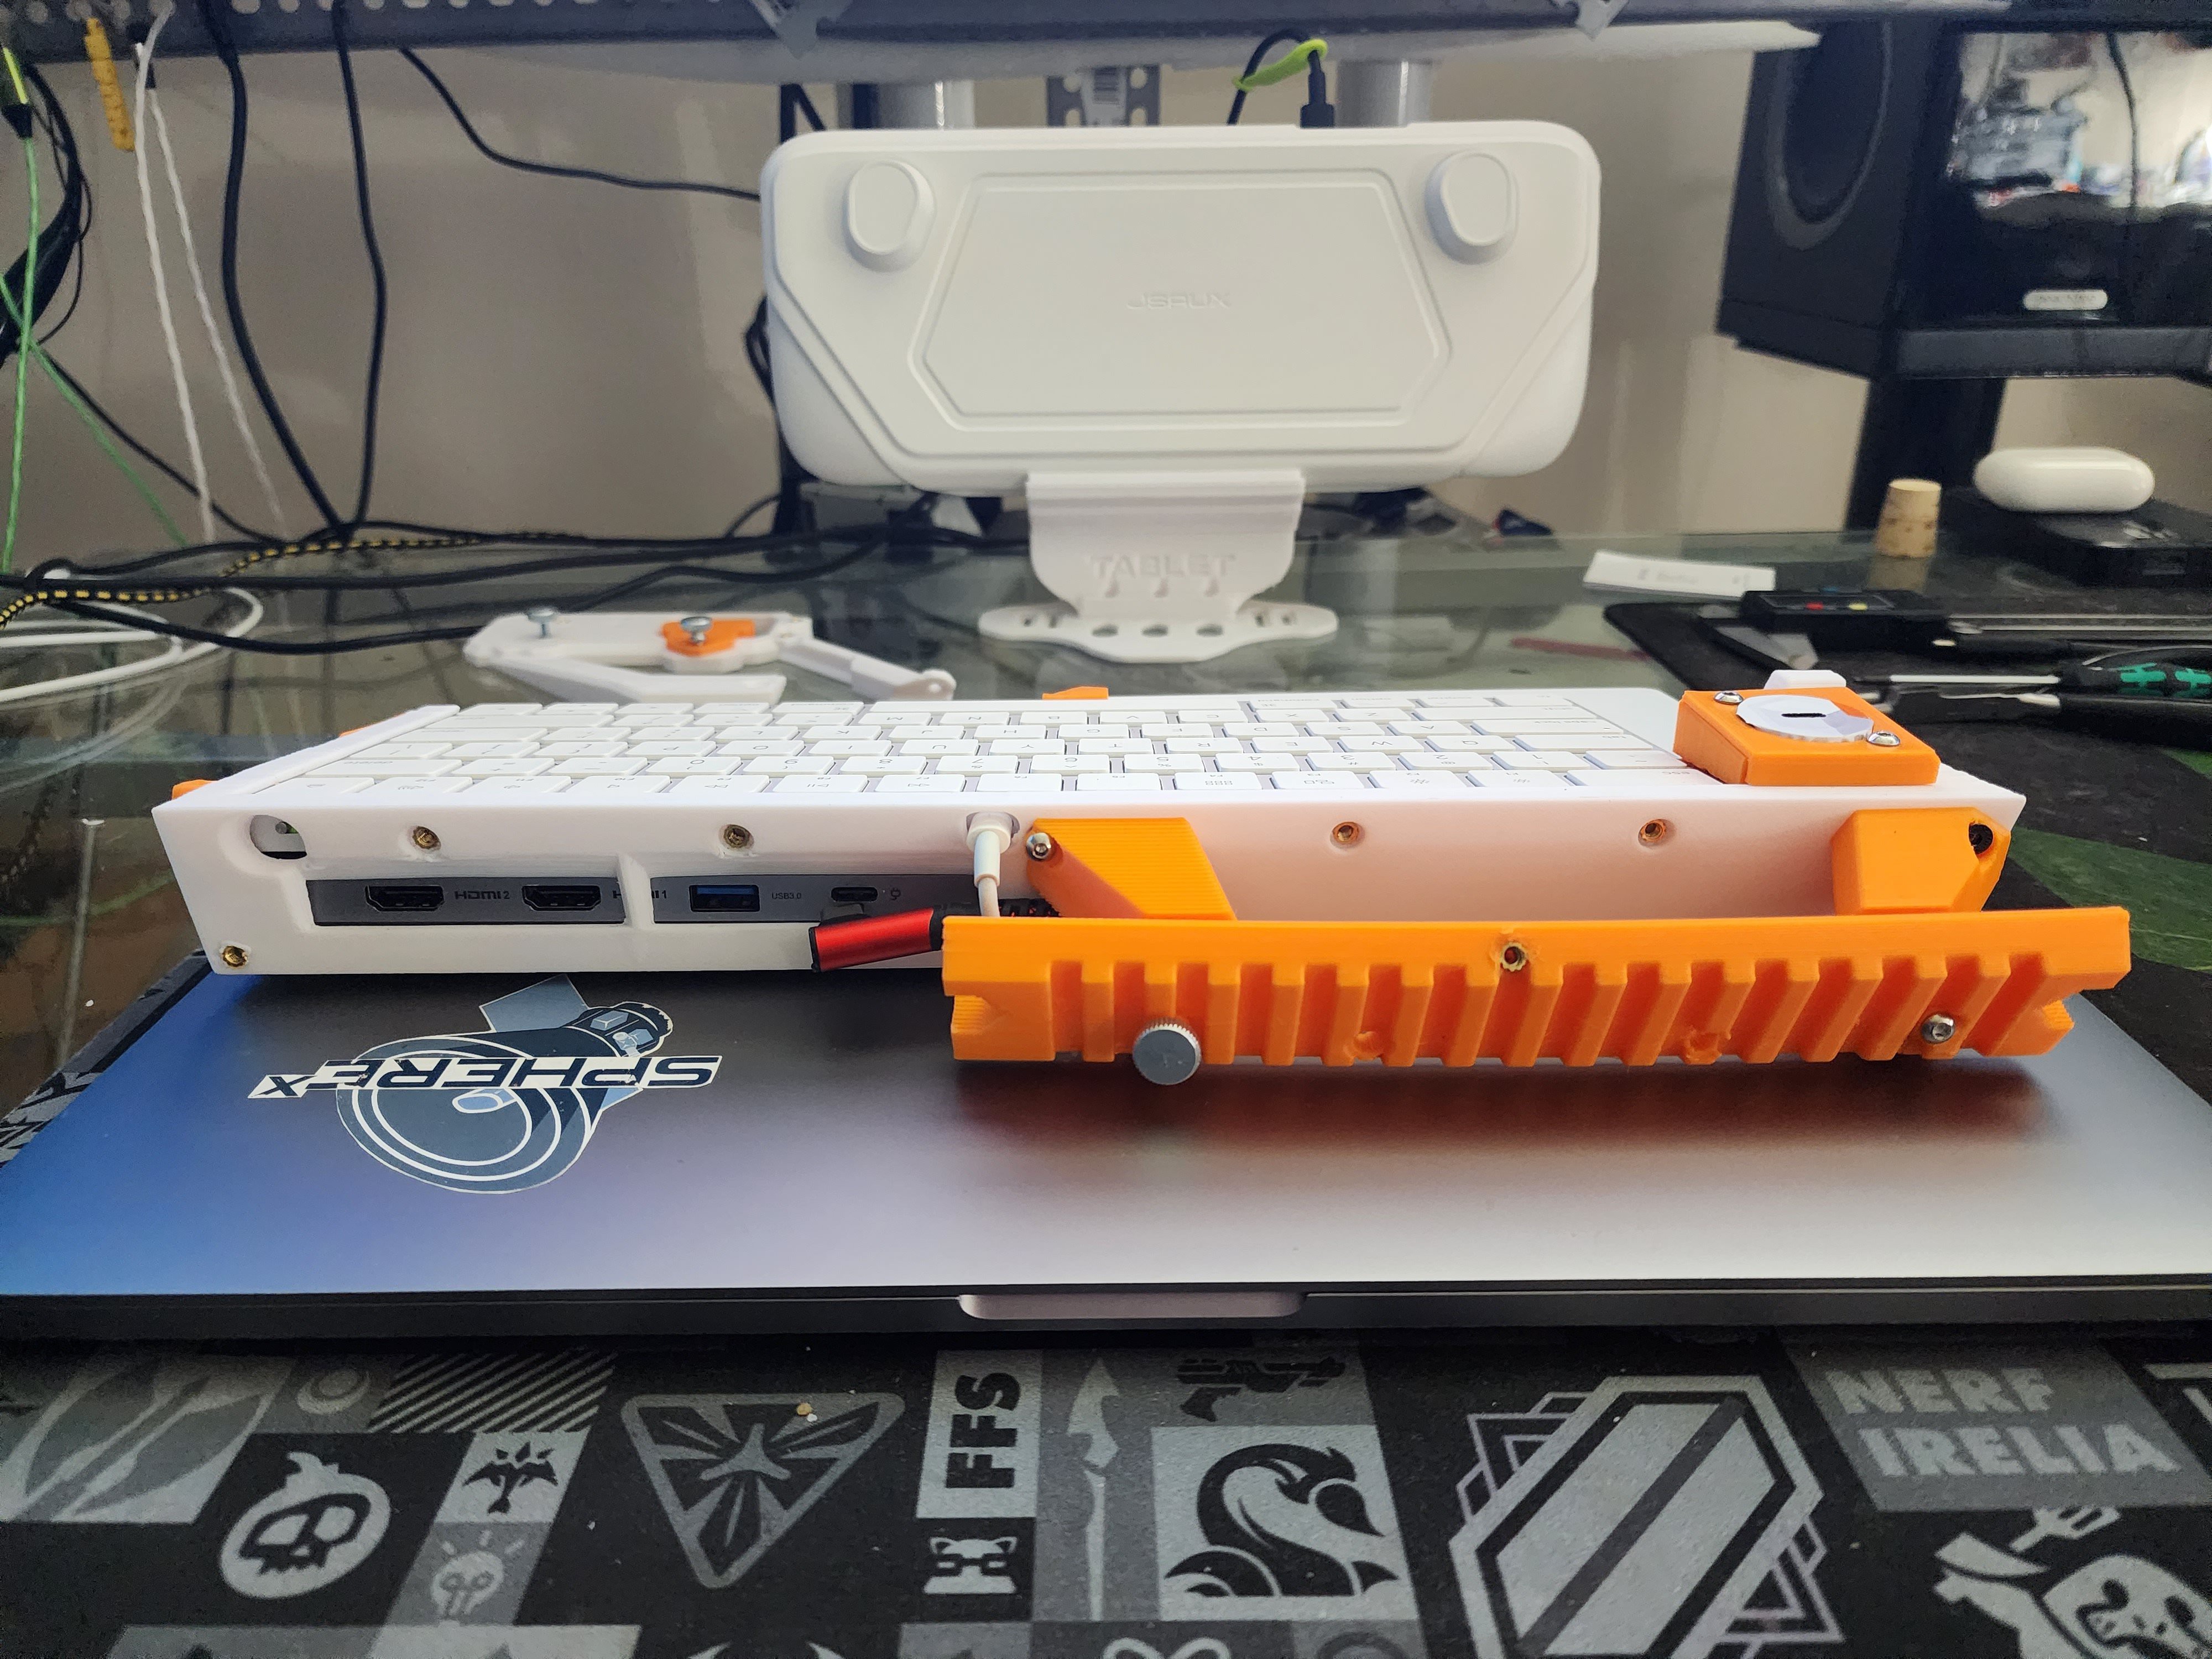
    Right  Side allows access to Display Port and gigabit Ethernet. Additional devices could be connected via mounting points.

    Left Side has mounting points for additional modules, and (at the moment) has a USB-C cable hanging off. It was recently connected to a battery module that I have abandoned.

    Rear of the AEHIC shows additional ports and the handle, which is both a handle and a tablet/mobile stand.

    My cyberdock works as a lapdock, compatible with DEX Devices (though the hub must be powered)

    Like most things in my life, I built it to play video games. The cyberdock mounts cleanly to the Steam Deck, shown here wearing a white skin, and a JSAUX Modcase.

    The current mounting solution for the Steam Deck is a fixed, albeit removable bracket.

    Just imagine how slick this will look once I get a folding. clamshell mechanism integrated!

  • Grabby Little Hands

    Sp4m06/14/2023 at 21:56 0 comments

    The Cyberdock is designed around the Steam Deck, but I want to make sure it's compatible with other common computing devices as well, so I've added some adjustable grips large enough for an ipad pro. An additional benefit is that this can be used to support a tablet device with a very nice screen, and use Steam Link to wirelessly (boo) connect to the deck. Under the right circumstances, it could give you a nicer lookling, larger screen for your gaming pleasure.

    I am making significant use of heat-set inserts, and thumb screws.

  • Updated Printables..

    Sp4m06/14/2023 at 18:14 0 comments

    I updated my Printables files for the [JSAUX Modcase Design Environment] and reached out to JSAUX to invite them to include my files in their official development kit!

    The current build of the Apple Ecosystem Human Interface Cluster (Cyberdock) is looking good!

    A few small adjustments are needed for the 'Fixed Steam Deck Device Mount' component

  • The right Fit...

    Sp4m06/11/2023 at 22:05 0 comments

    THE WORK continues, albeit crudely at the moment.

    My goal is to make a secure mount for the steam deck that can be attached to the handle of my cyberdock.

    A week or so back, I made a mockup of the JSAUX mounting hardware, and discovered that they had made their own tools. Good news, it turns out the tools they released are inadequate for my purposes. TLDR, they just made sample printables that connect to the central mount point, but not to the right side stand connectors... so my creation is a solid value add!

    I'm running through a series of test prints to get a piece that fits *perfectly* to all of the rear-mount points. 

    As you can see, at the moment, there is some misalignment between 'central' mounting point, and the 'stand' mounting points.

    I'm not sure where I went awry... how I made such a large error, but I'm guessing the model I used for the 'central' mounting point got vertically flipped. Or I measured bad. 

    Either way, not hard to fix, but then I need to update the JSAUX Mounting Kit Fusion Project and the models on Printables. Trying to make my stuff useful to others adds significant overhead.

    Oh RIGHT. The Handle. Using a thing is an awesome way to realize how much it sucks. 

    And my handle SUCKS.

    Here you can see some of my recent development work on the handle. 

    The first one was actually good. It felt solid and had good balance.

    Future iterations where I attempted to integrate a device stand made the balance off, and holding it was uncomfortable... though I still haven't given up on the idea of making the handle a device stand. 

    The current design shown above, but not yet tested, is a 3 part handle (Left, Right and Rail). The 'Rail' is the actual handle, and it's connected to the cyberdock with thumb screws that allow the user to adjust the spacing to allow for a range of device thicknesses. The practicality of this is yet untested.

    Additionally, this rail will be used to mount the Steam Deck Mounting hardware, since the deck is relatively large and heavy, I am using the Left/Right handle mounts and the rear of the chassis itself to help support the deck. 

    I chose a standard 'picatiny rail' to augment the handle, giving you something interesting to touch and more importantly providing multiple points of contact that can prevent the Steam Deck mount from slipping around, since it's going to be held on by thumb screws. 

  • Fail Forward

    Sp4m06/04/2023 at 01:09 0 comments

    I've been working towards a nice semi-permanent device mount to attach my Steam Deck to the Apple Ecosystem Human Interface Device Cluster, and I haven't gotten it right yet.

    The first thing I tried was that rotating handle. It more or less works, but it's too wobbly even with gearing to lock it in place, so I added a leg that slots into the JSAUX Modcase "stand" mount.

    It's not good enough.

View all 37 project logs

  • 1
    AEHCI Basic Build Instructions
    1. Print Chassis, Keyboard Lock Block, Trackpad Lock Block
    2. Install Heat-set inserts into Lock Blocks
    3. Install Penglin USB-C Panel Mount connector in the Keyboard Lock Block
    4. Mount 'Mokin' USB Hub in the AEHCI Chassis, using a 90 degree USB-C connector to attach the hub's USB-C Input to the Penglin Panel Mount
    5. Connect @pple lightning cables to the USB 2.0 ports on the Mokin Hub, and zig-zag them through the integrated cable management channels in the AEHCI Chassis
    6. Trace one lightning cable through the narrow cable opening in the back of the AEHCI chassis, so it can double over and connect to the back of the keyboard during step 10
    7. Position the Trackpad Lock Block on the Right Front side of the Magic Trackpad, and slide both parts into place on the AEHCI Chassis
      1. Use a short ~4mm M3 screw to secure the Trackpad Lockblock in place
    8. Connect the Magic Trackpad Lightning Cable
    9. Position the Keyboard Lock Block to the side of the @pple Magic Keyboard, and slide them both into position, pivoting on the right side, and moving down.
      1. The Penglin Panel Mount Connector must socket into the 90 degree USB-C connector. It may be necessary to adjust the position of the connector with a prodding tool
      2. Use a short ~4mm M3 screw to secure the Keyboard Lock Block in place
    10. Connect the lightning cable to the keyboard

    Basic Assembly is complete. I will write a more detailed set of build instructions if requested.

View all instructions

Enjoy this project?

Share

Discussions

Similar Projects

Does this project spark your interest?

Become a member to follow this project and never miss any updates