After making the circuit diagram I transformed it into a PCB design to produce it, to produce the PCB, I have chosen JLCPCB the best PCB supplier and the cheapest PCB provider to order my circuit. with the reliable platform, all I need to do is some simple steps which we will talk later.
Related Download Files
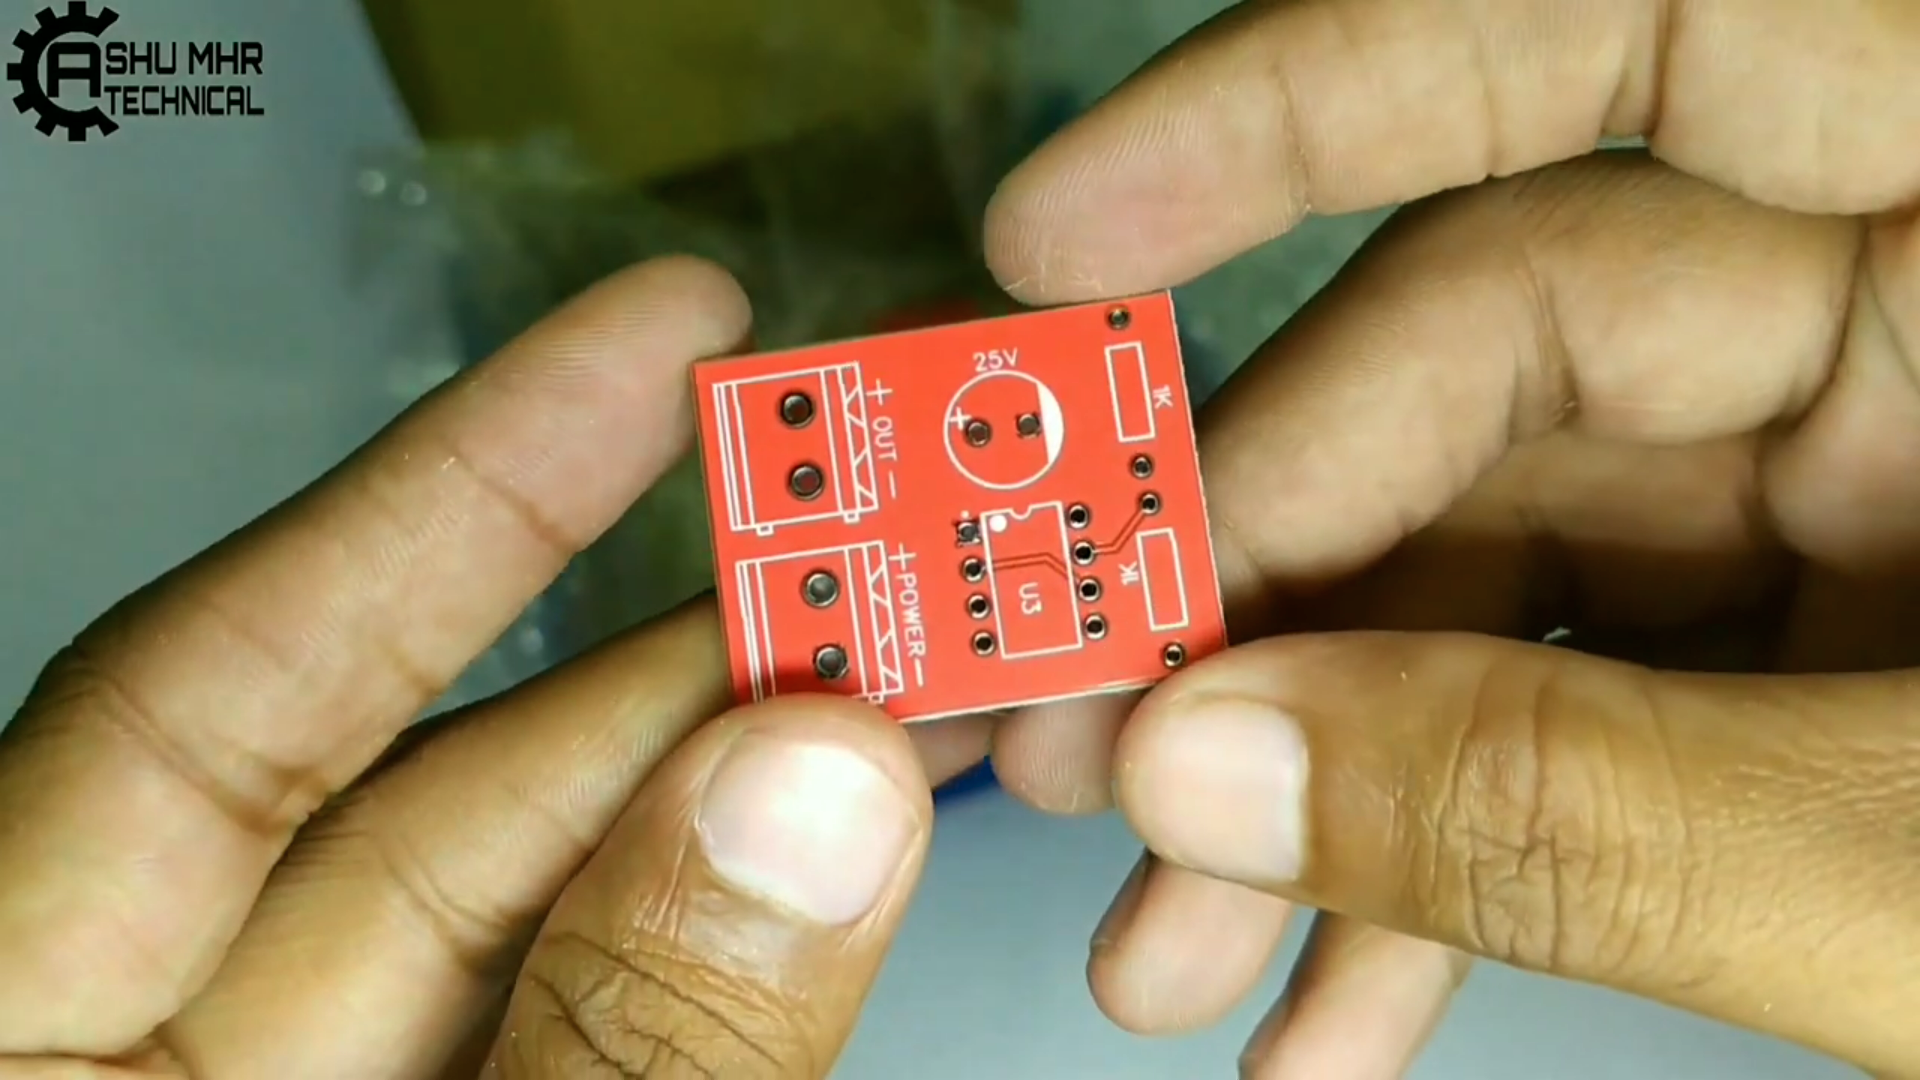
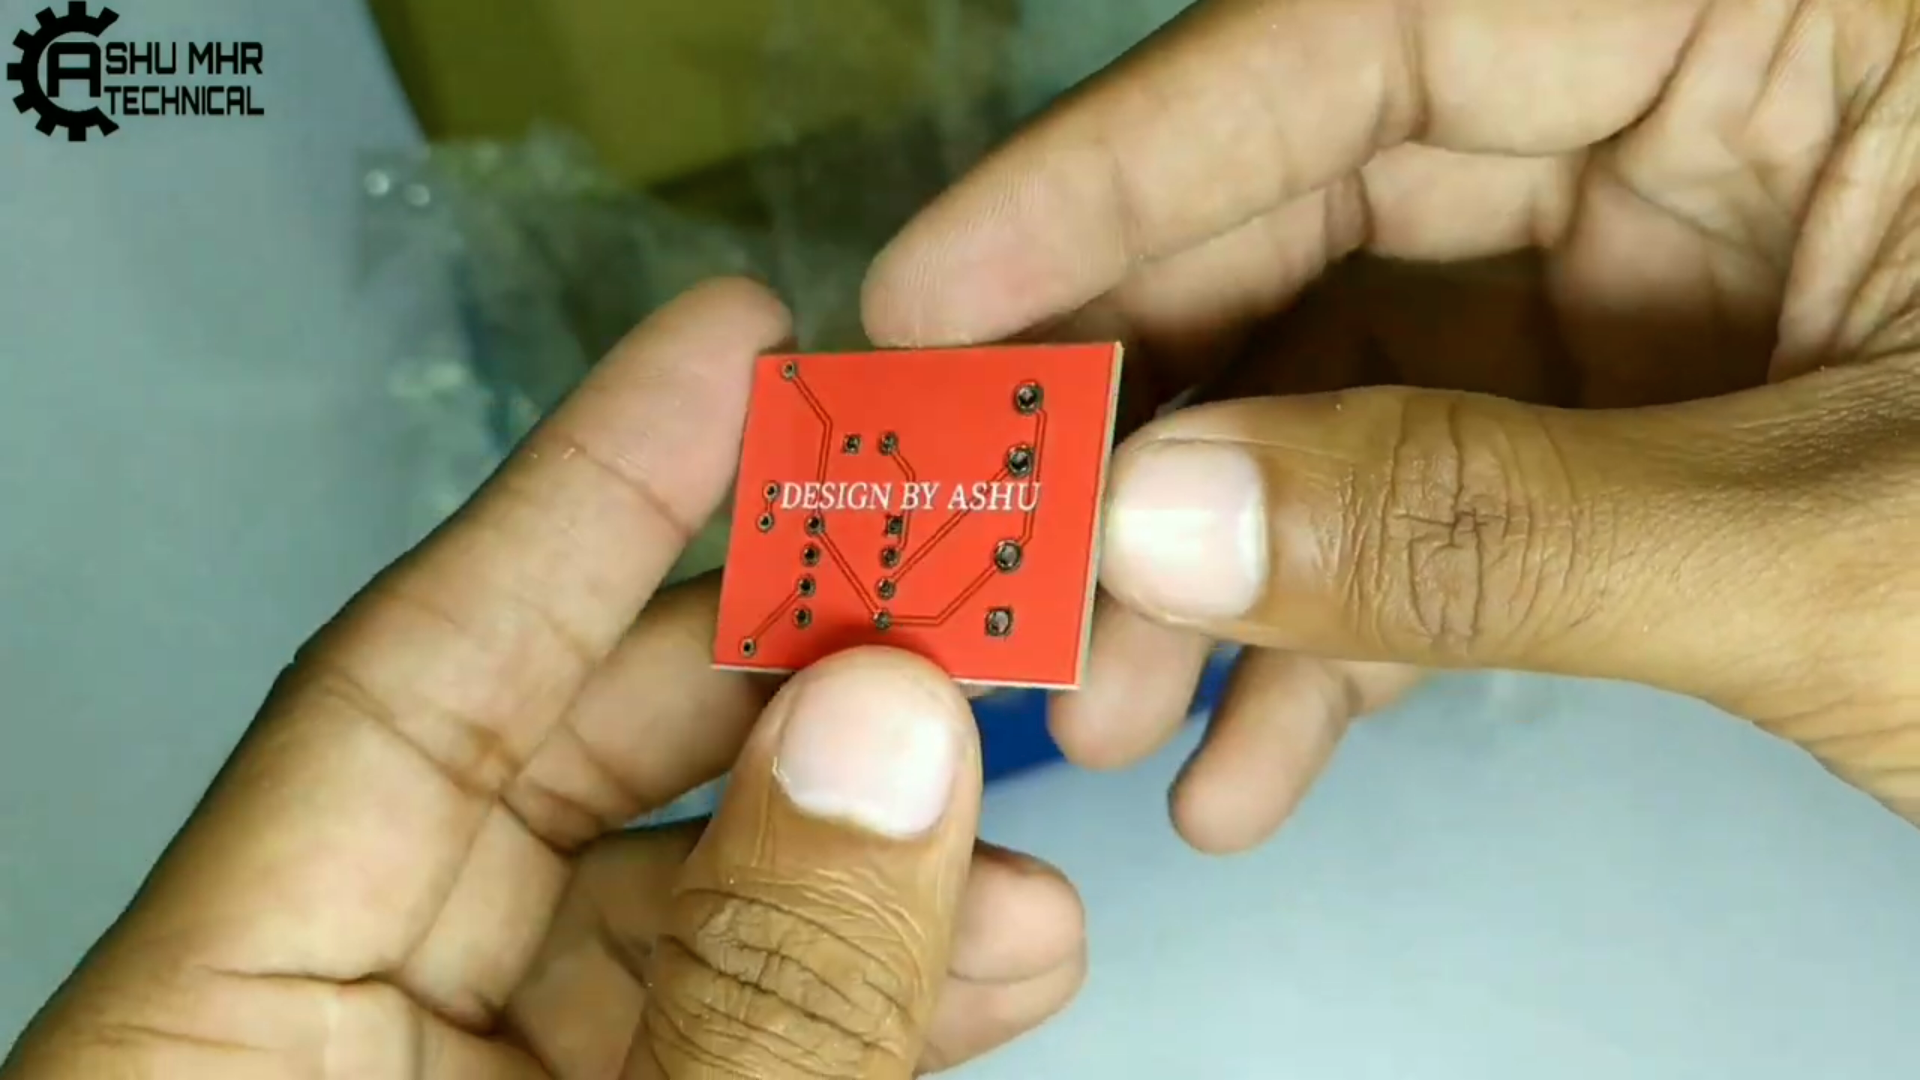
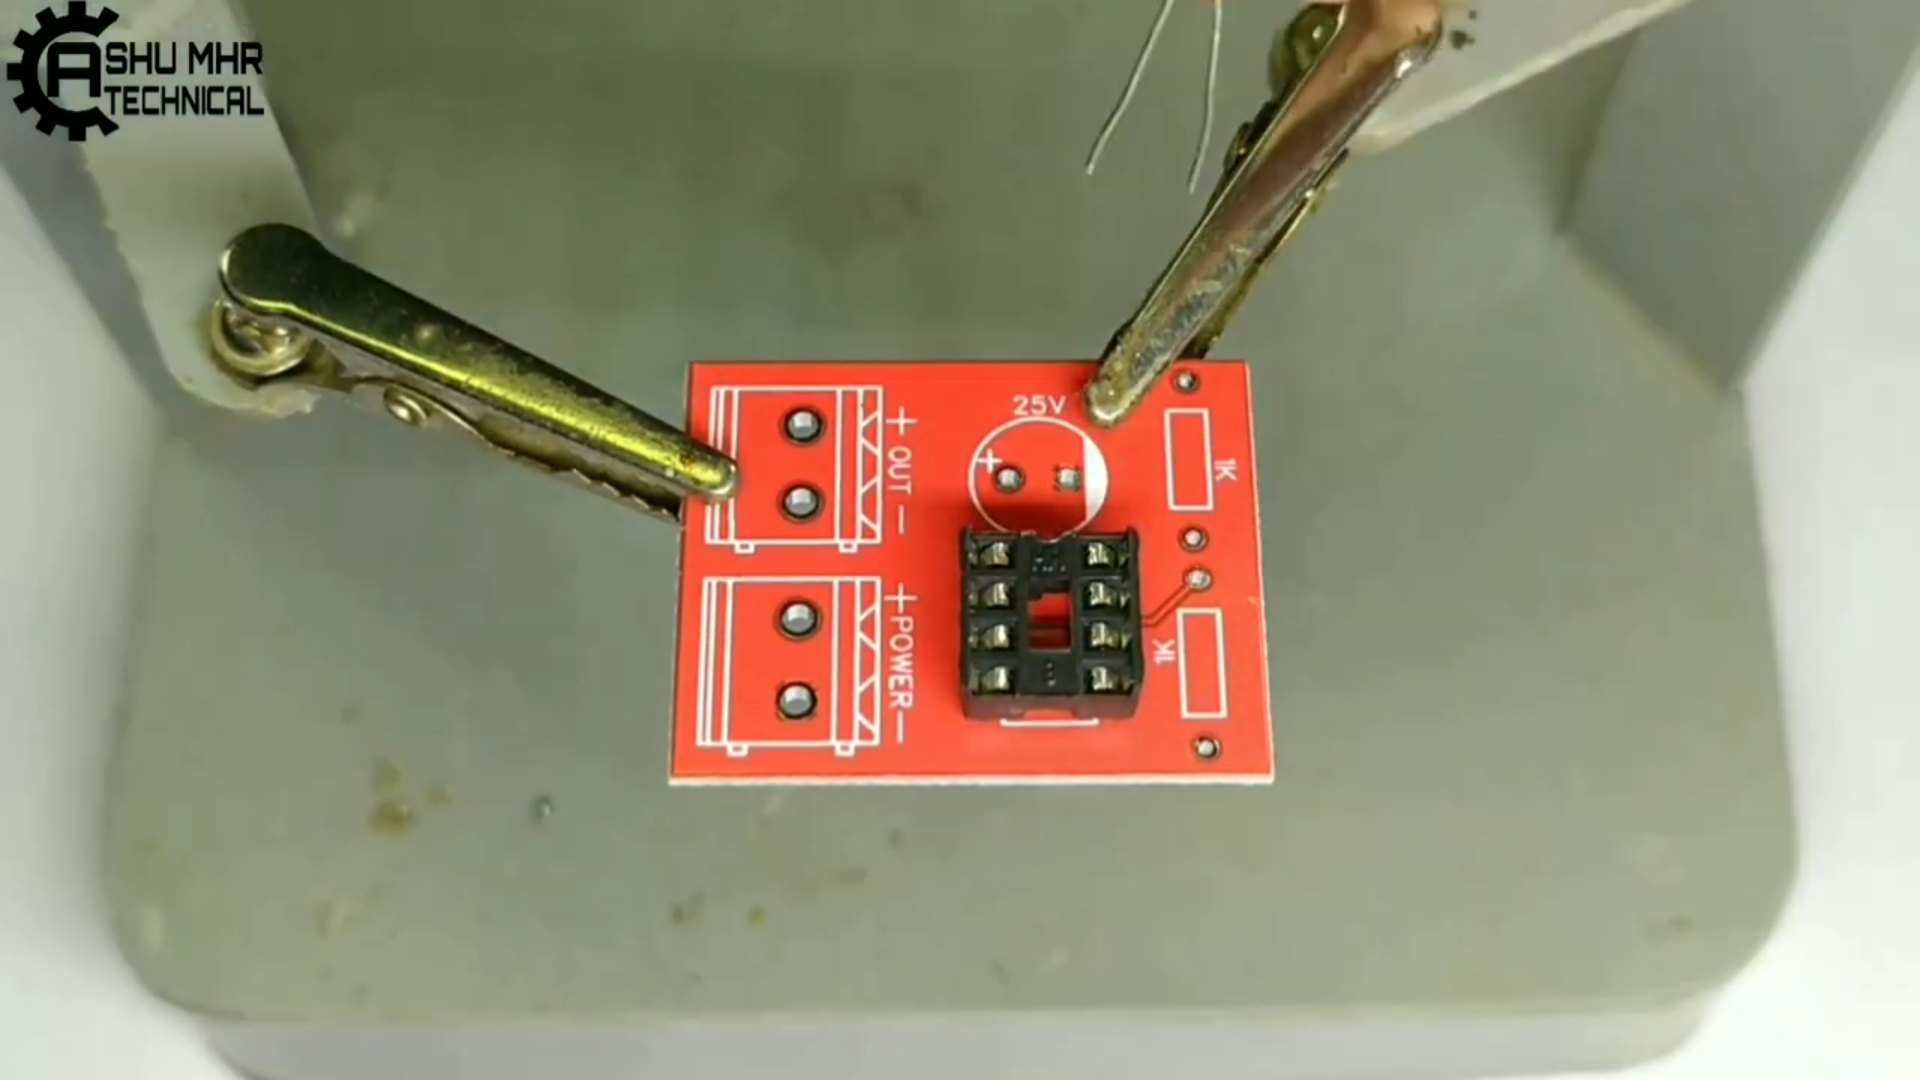
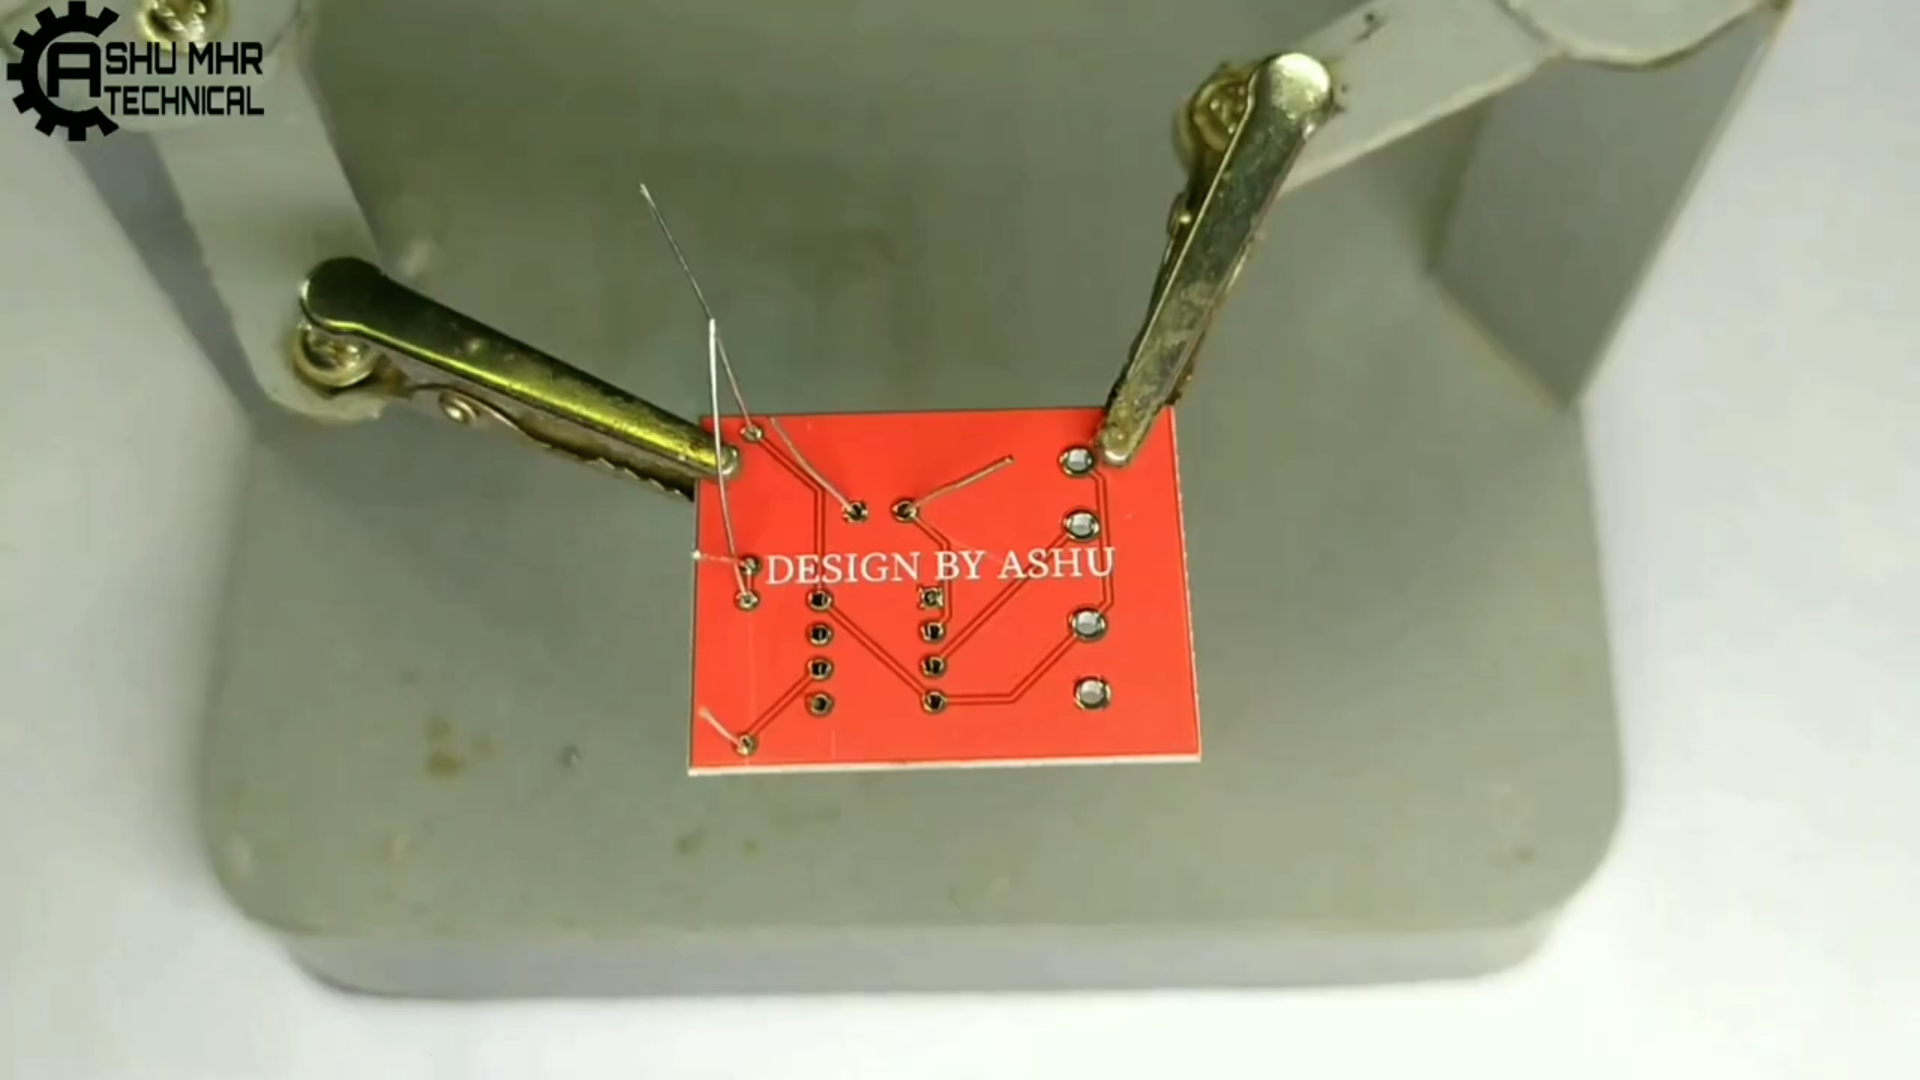
As you can see in the pictures above the PCB is very well manufactured and I’ve got the same PCB assembled with all the components that we want to use for our main board and all the labels and logos are there to guide me during the soldering steps. You can also download the Gerber file for this circuit from the download link below in case you want to place an order for the same circuit design.
3
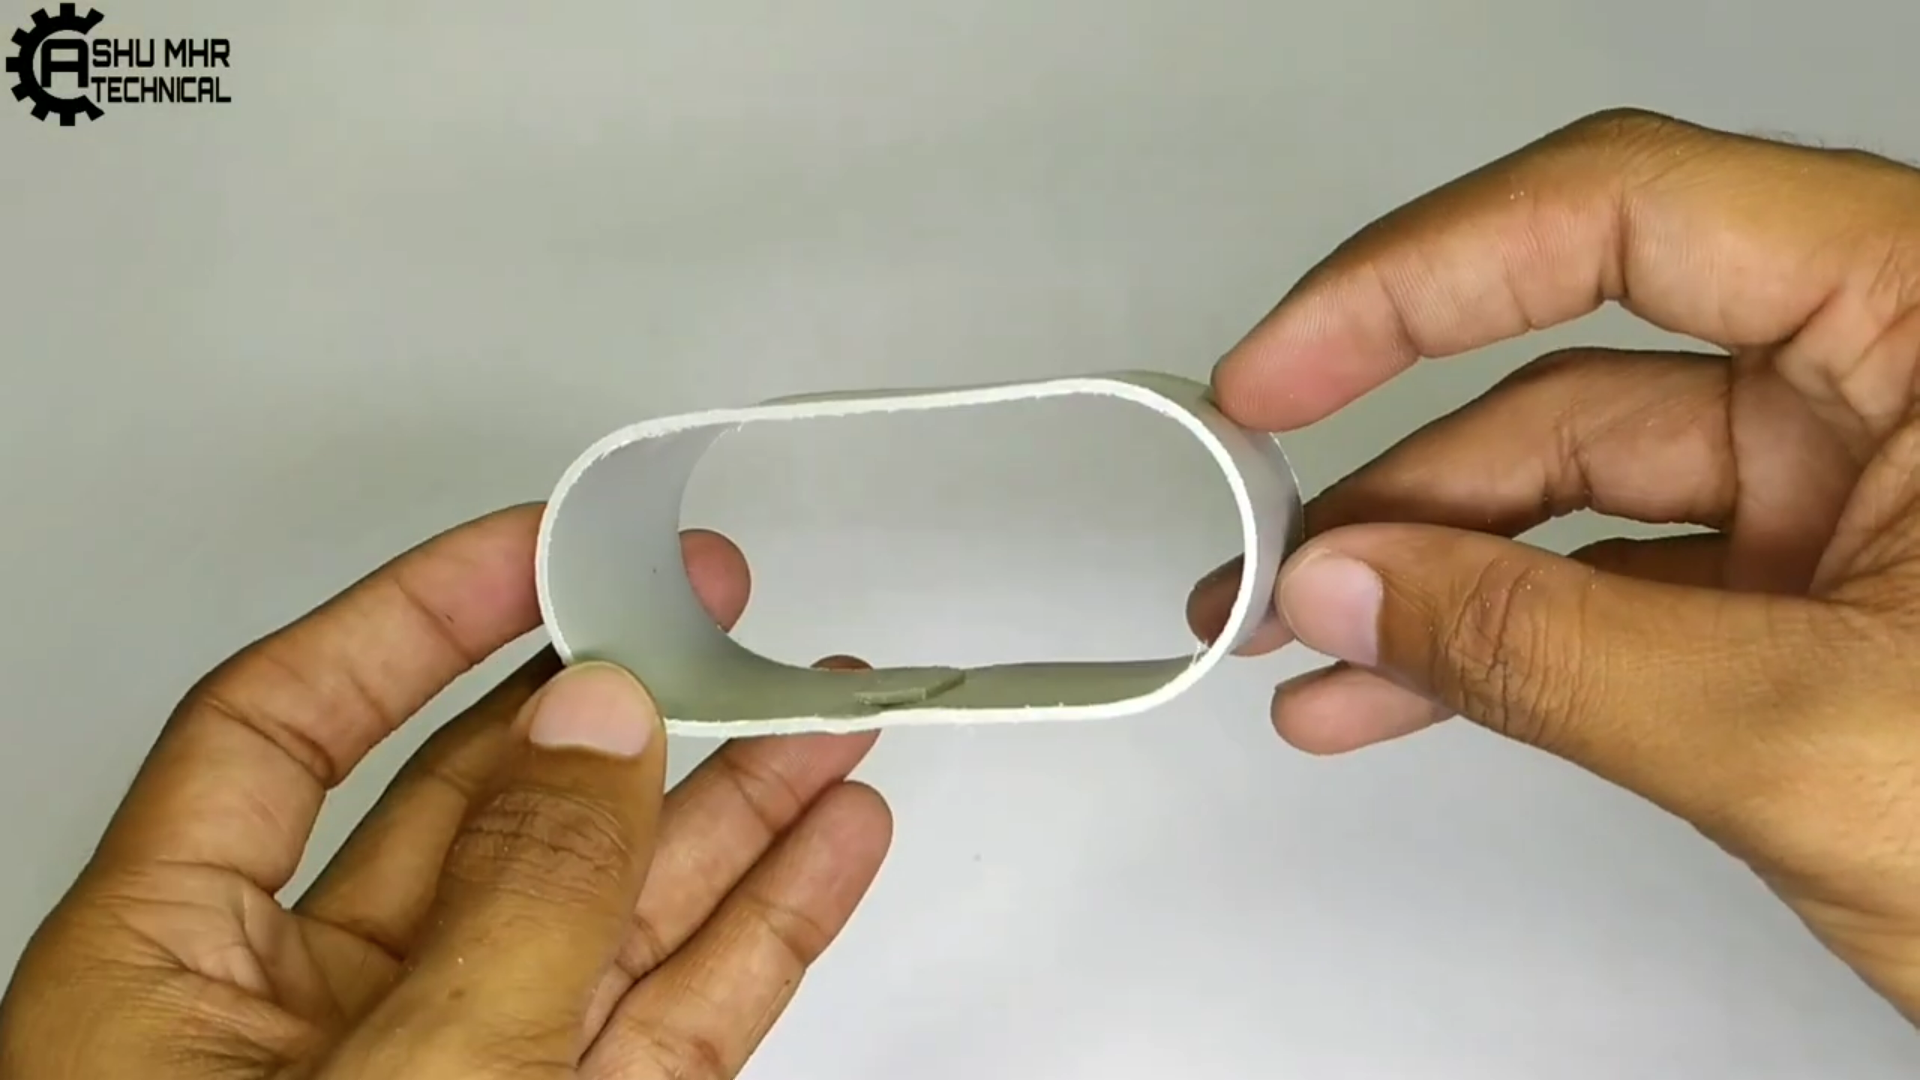
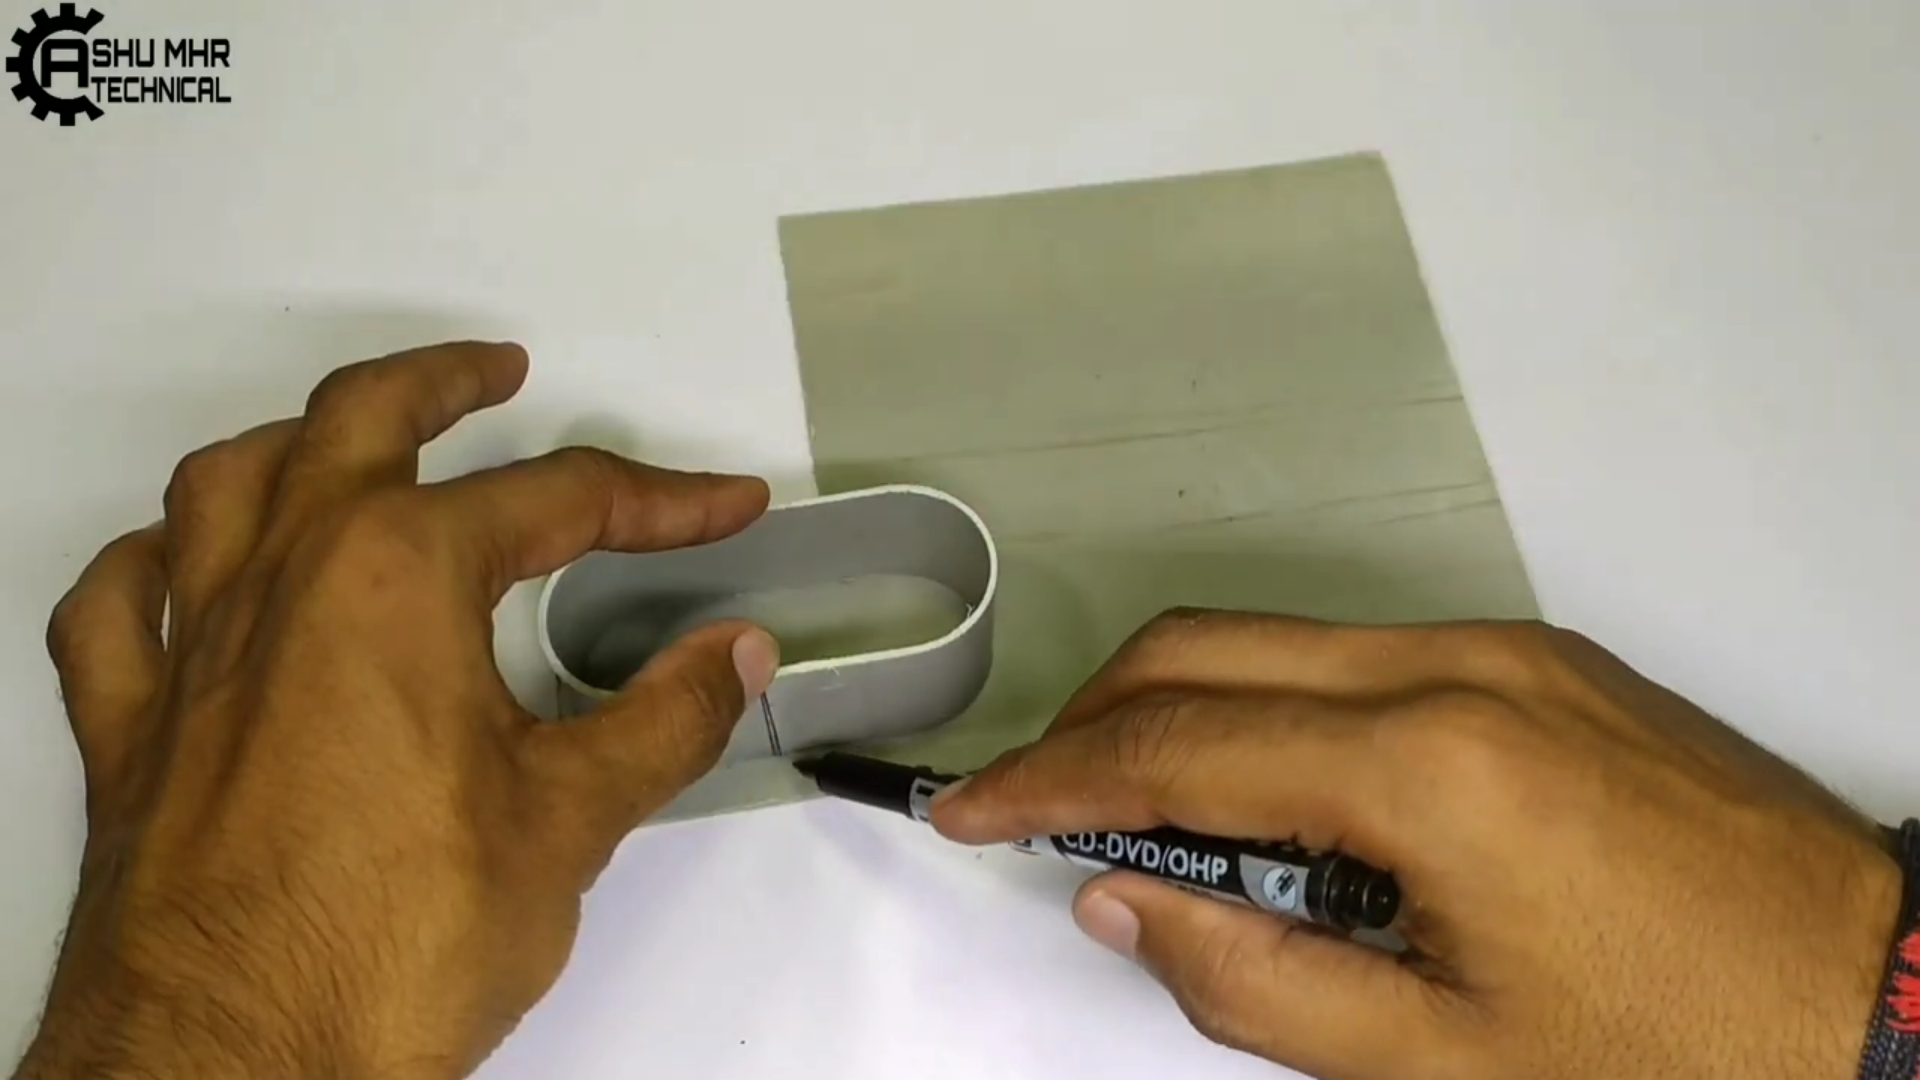
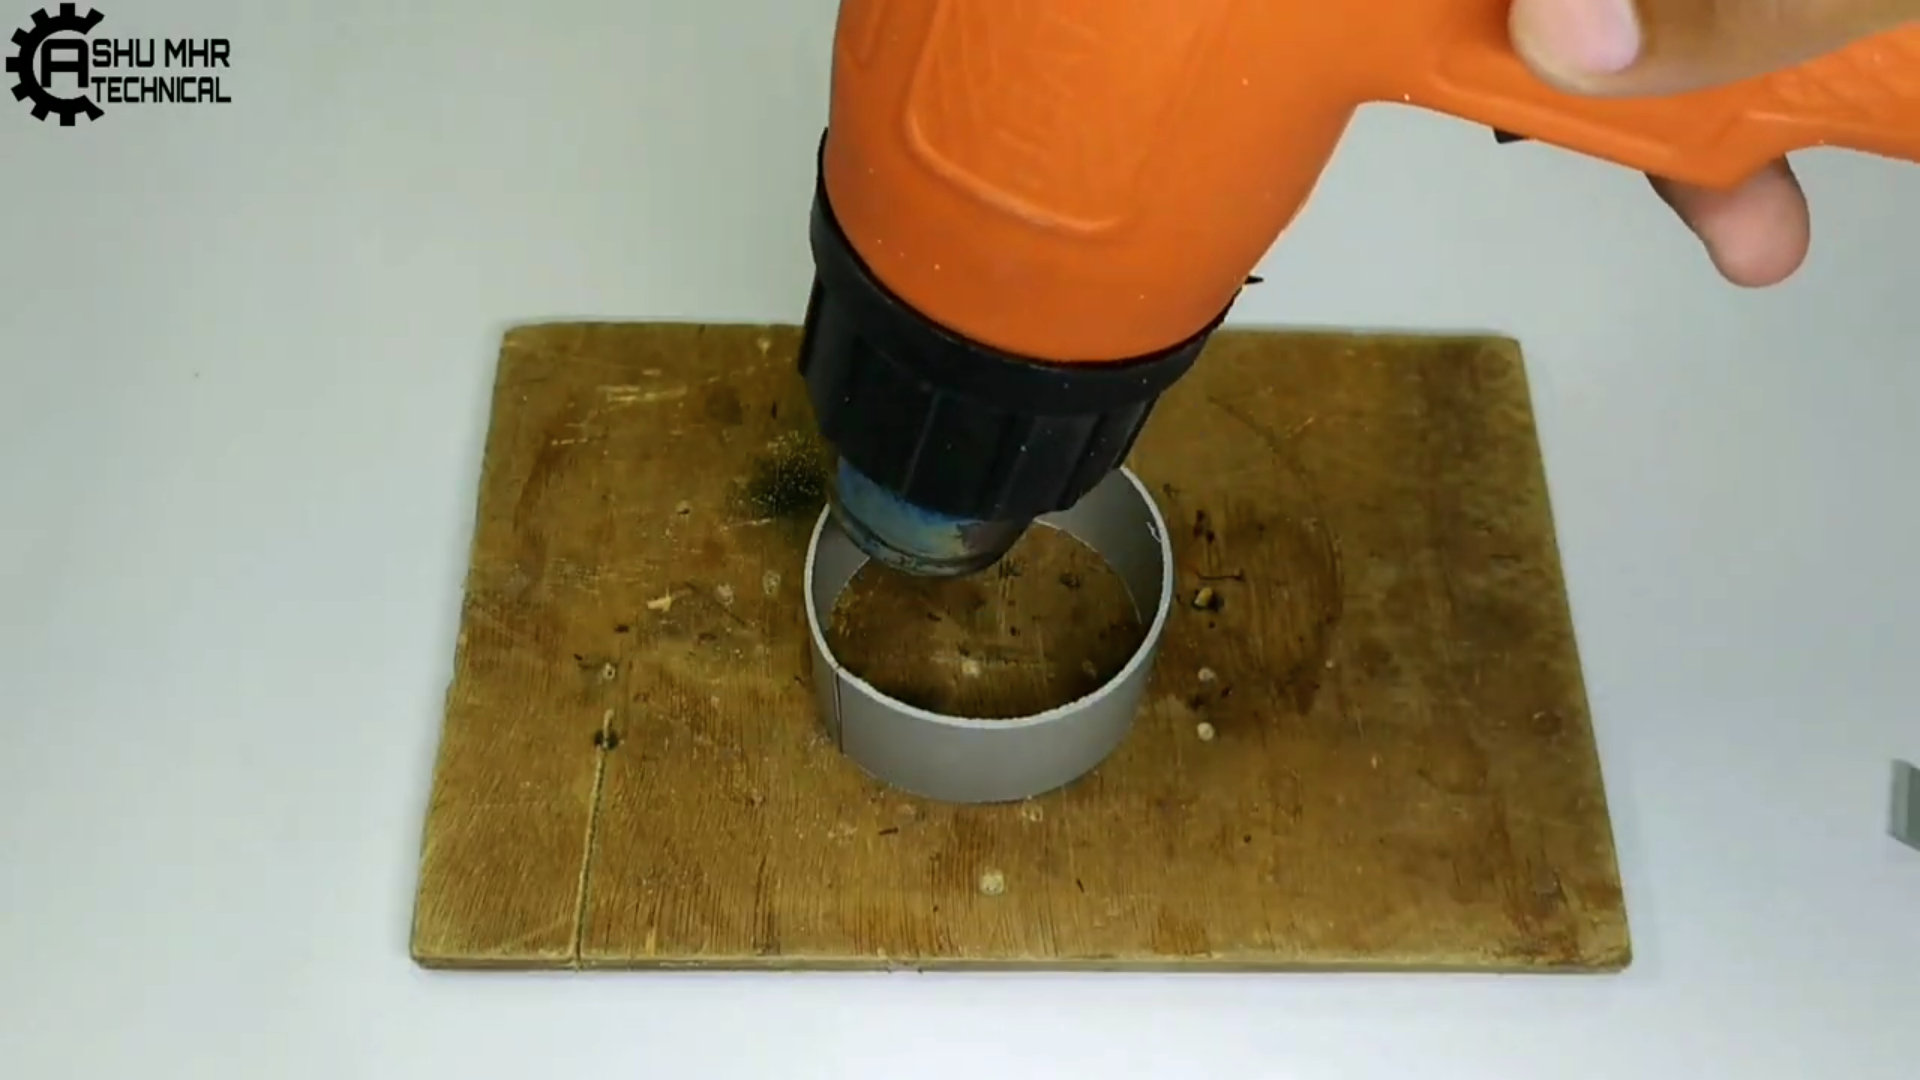
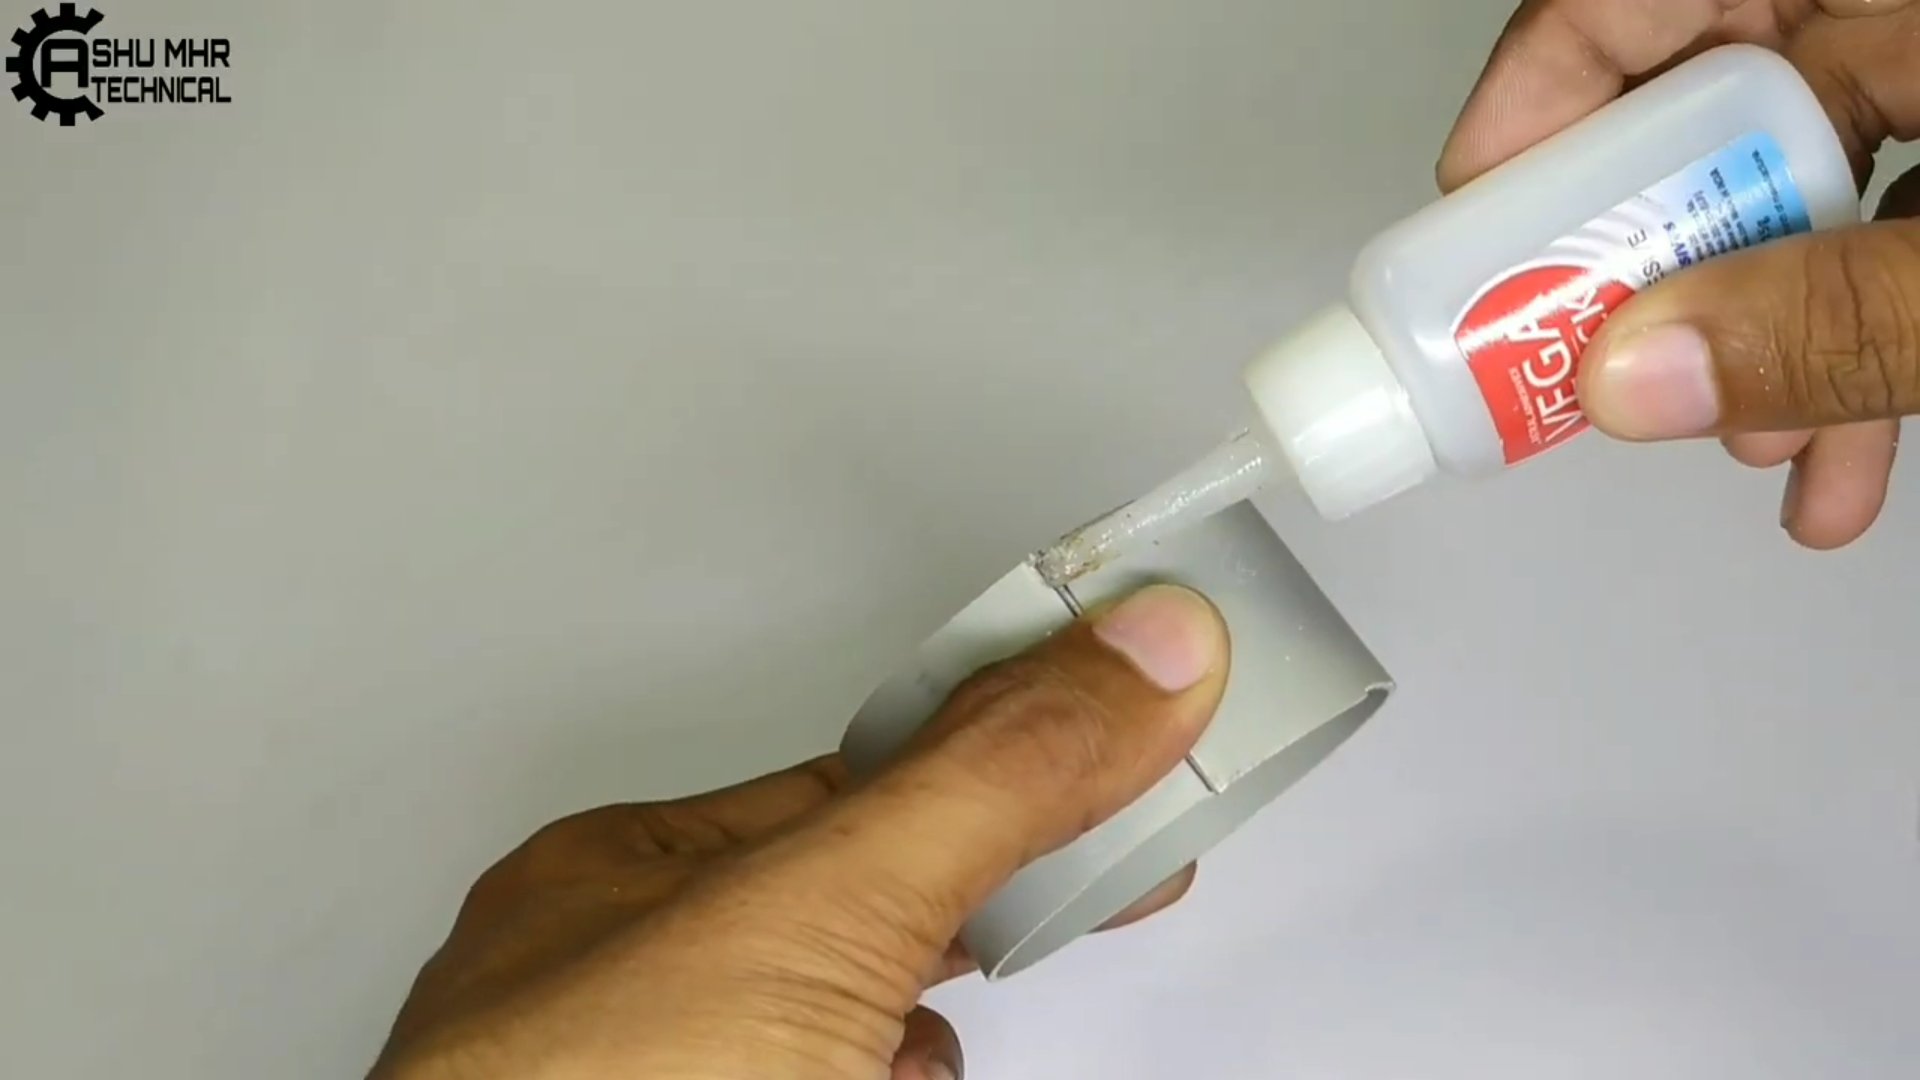
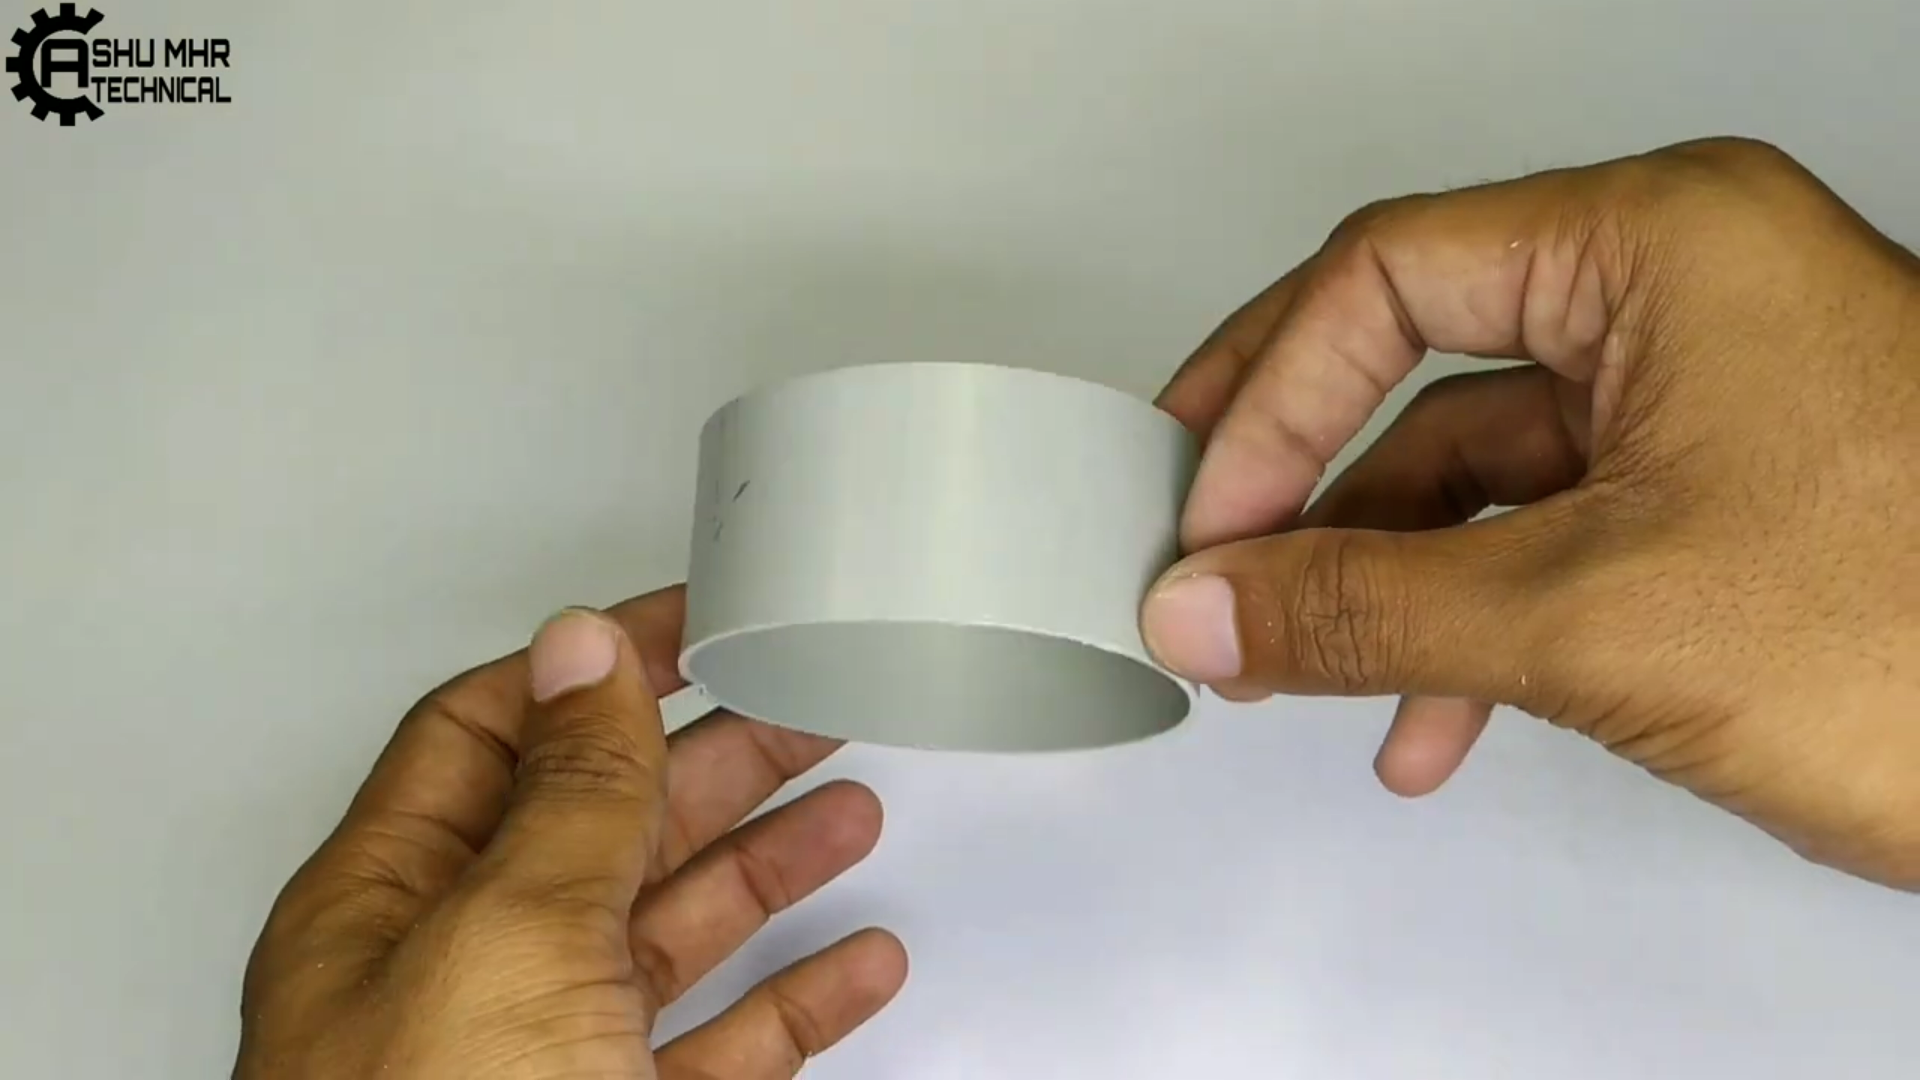
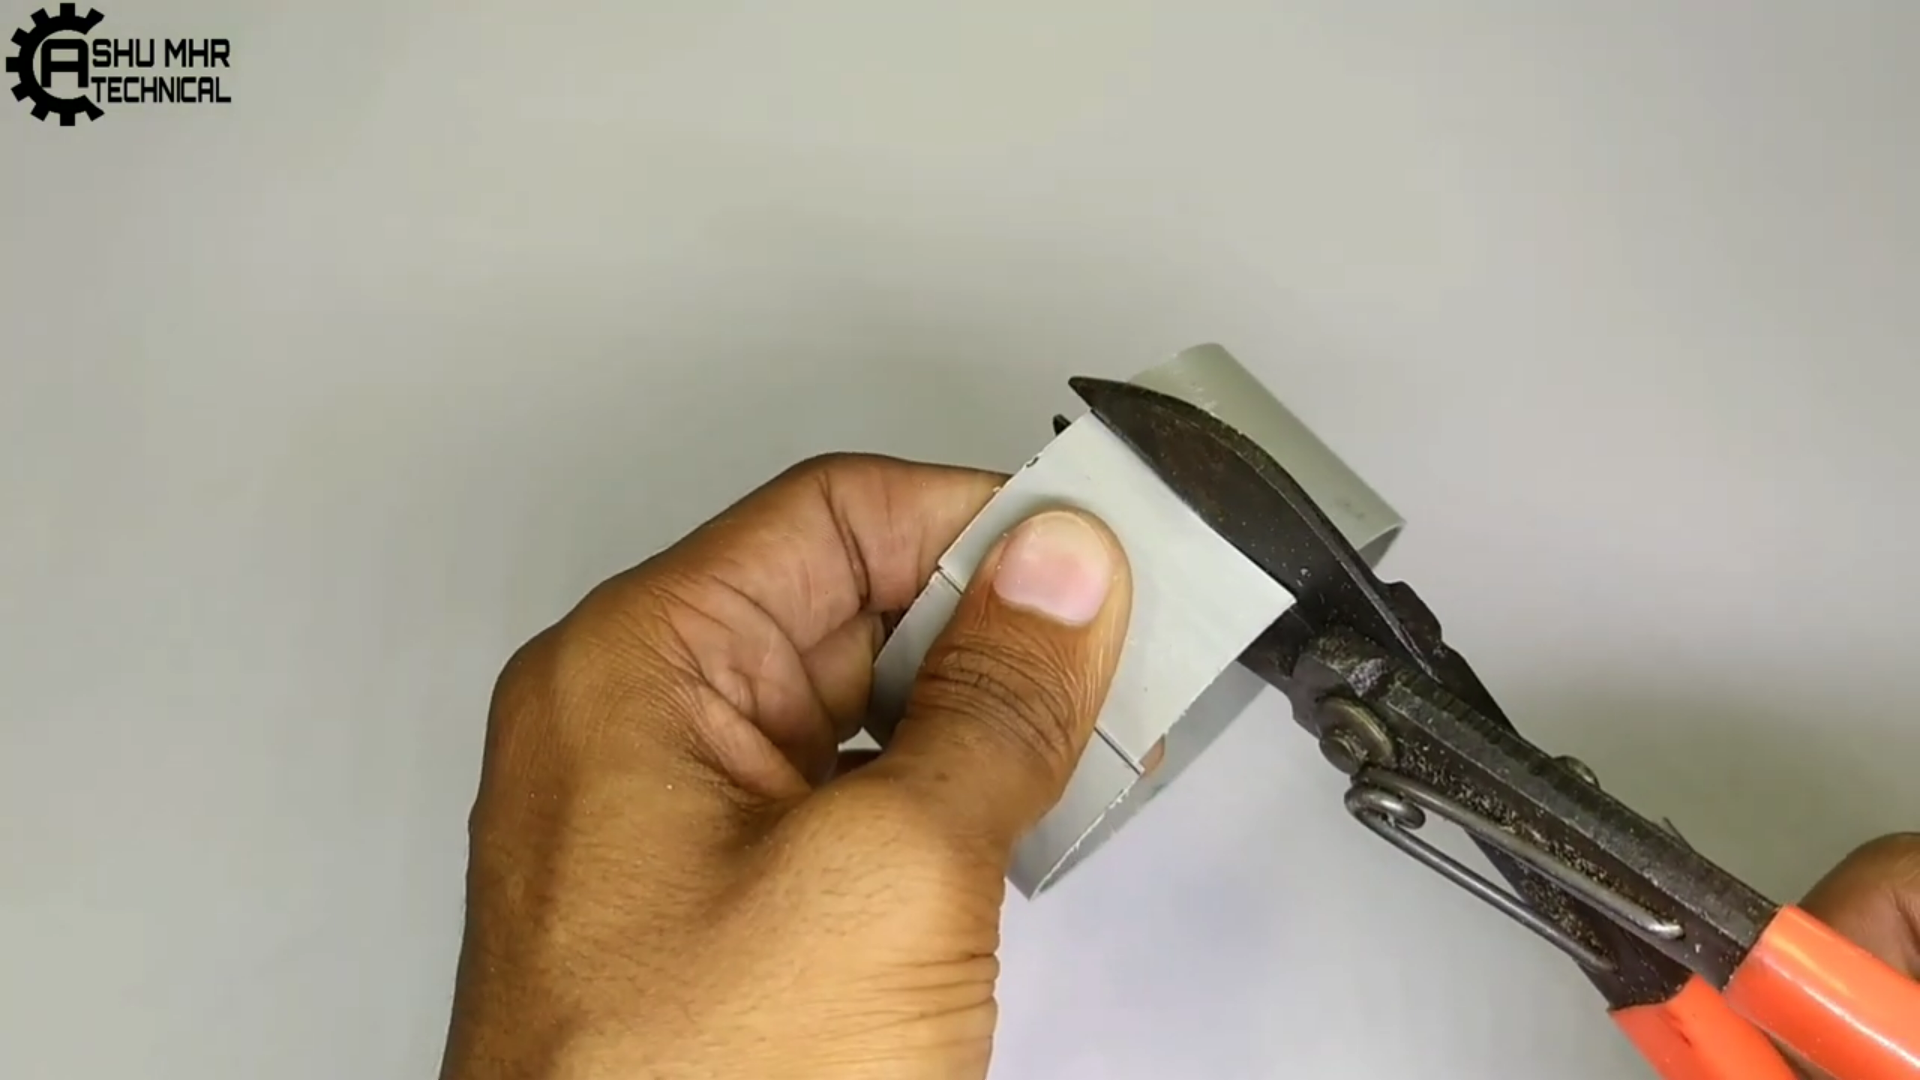
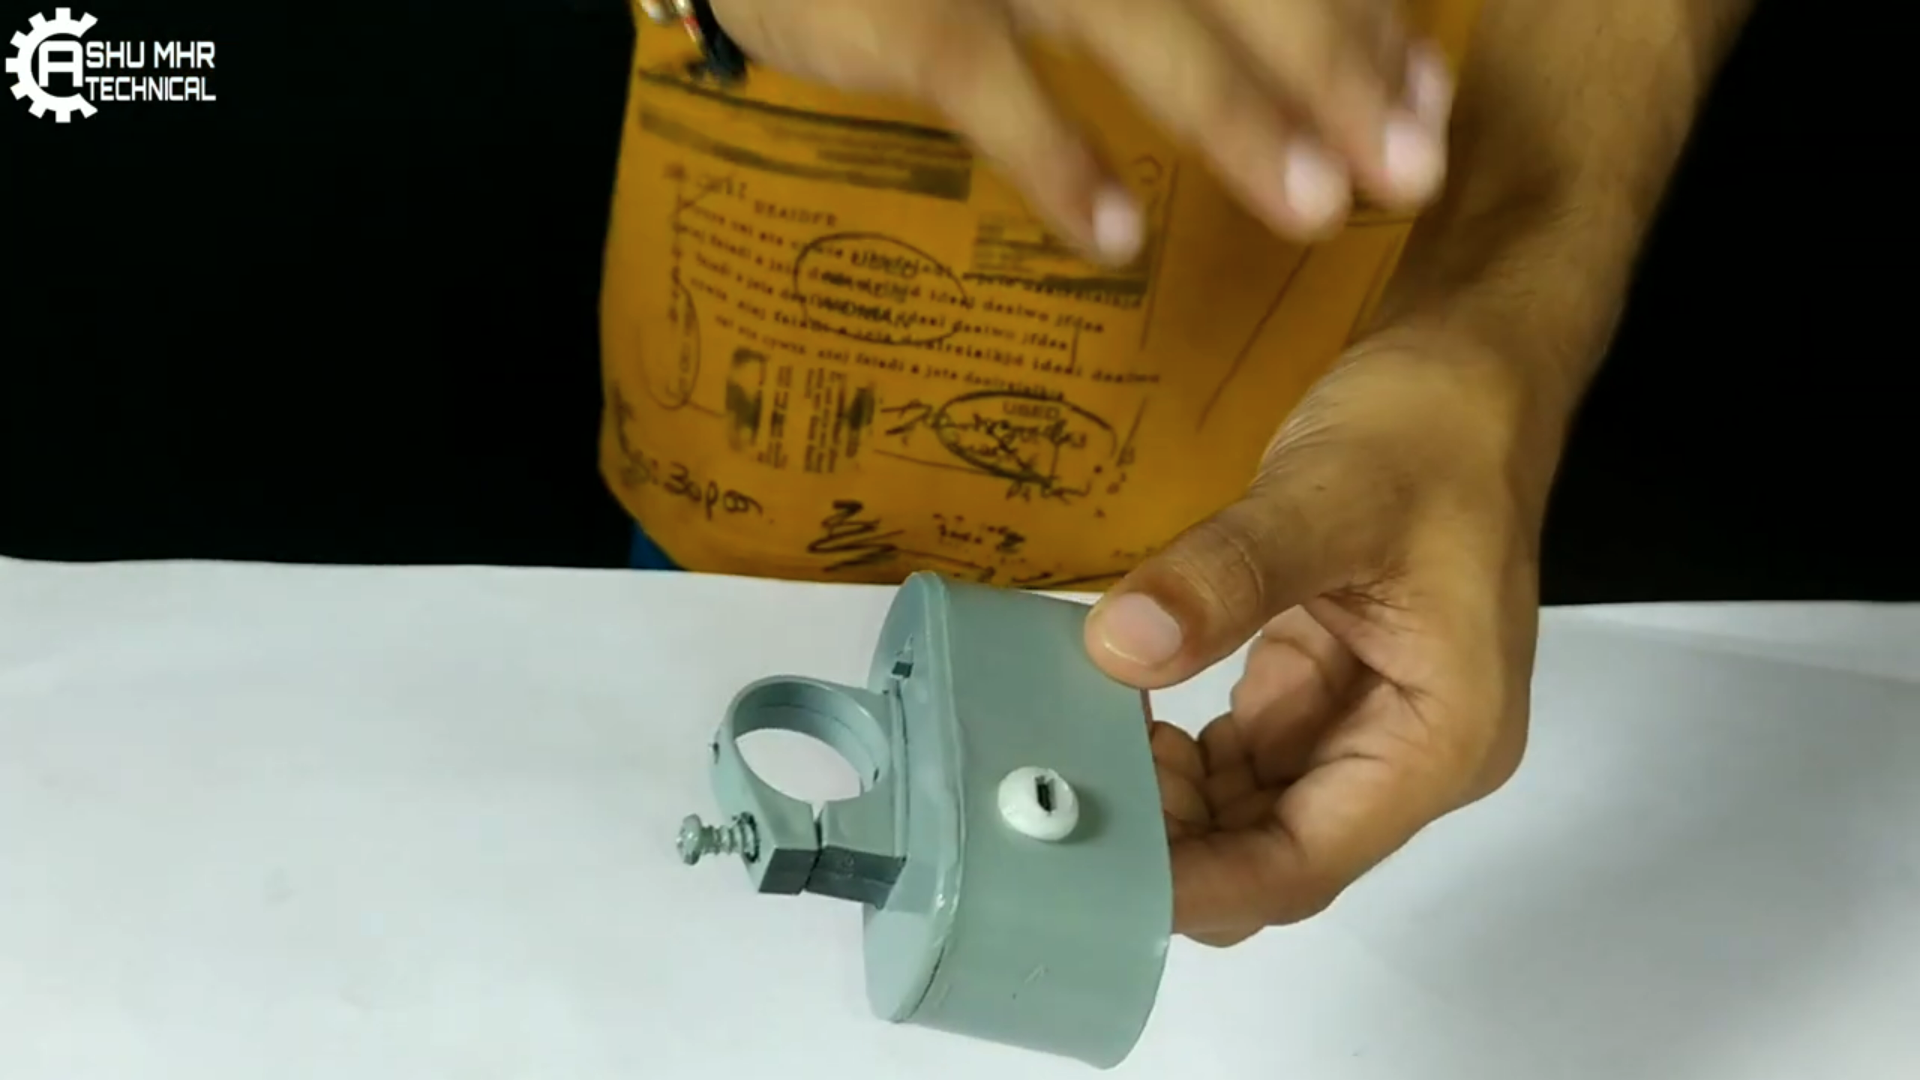
Making Custom PVC Designed Body.
Designing and molding body.(Dimensions as per your requirement).
4
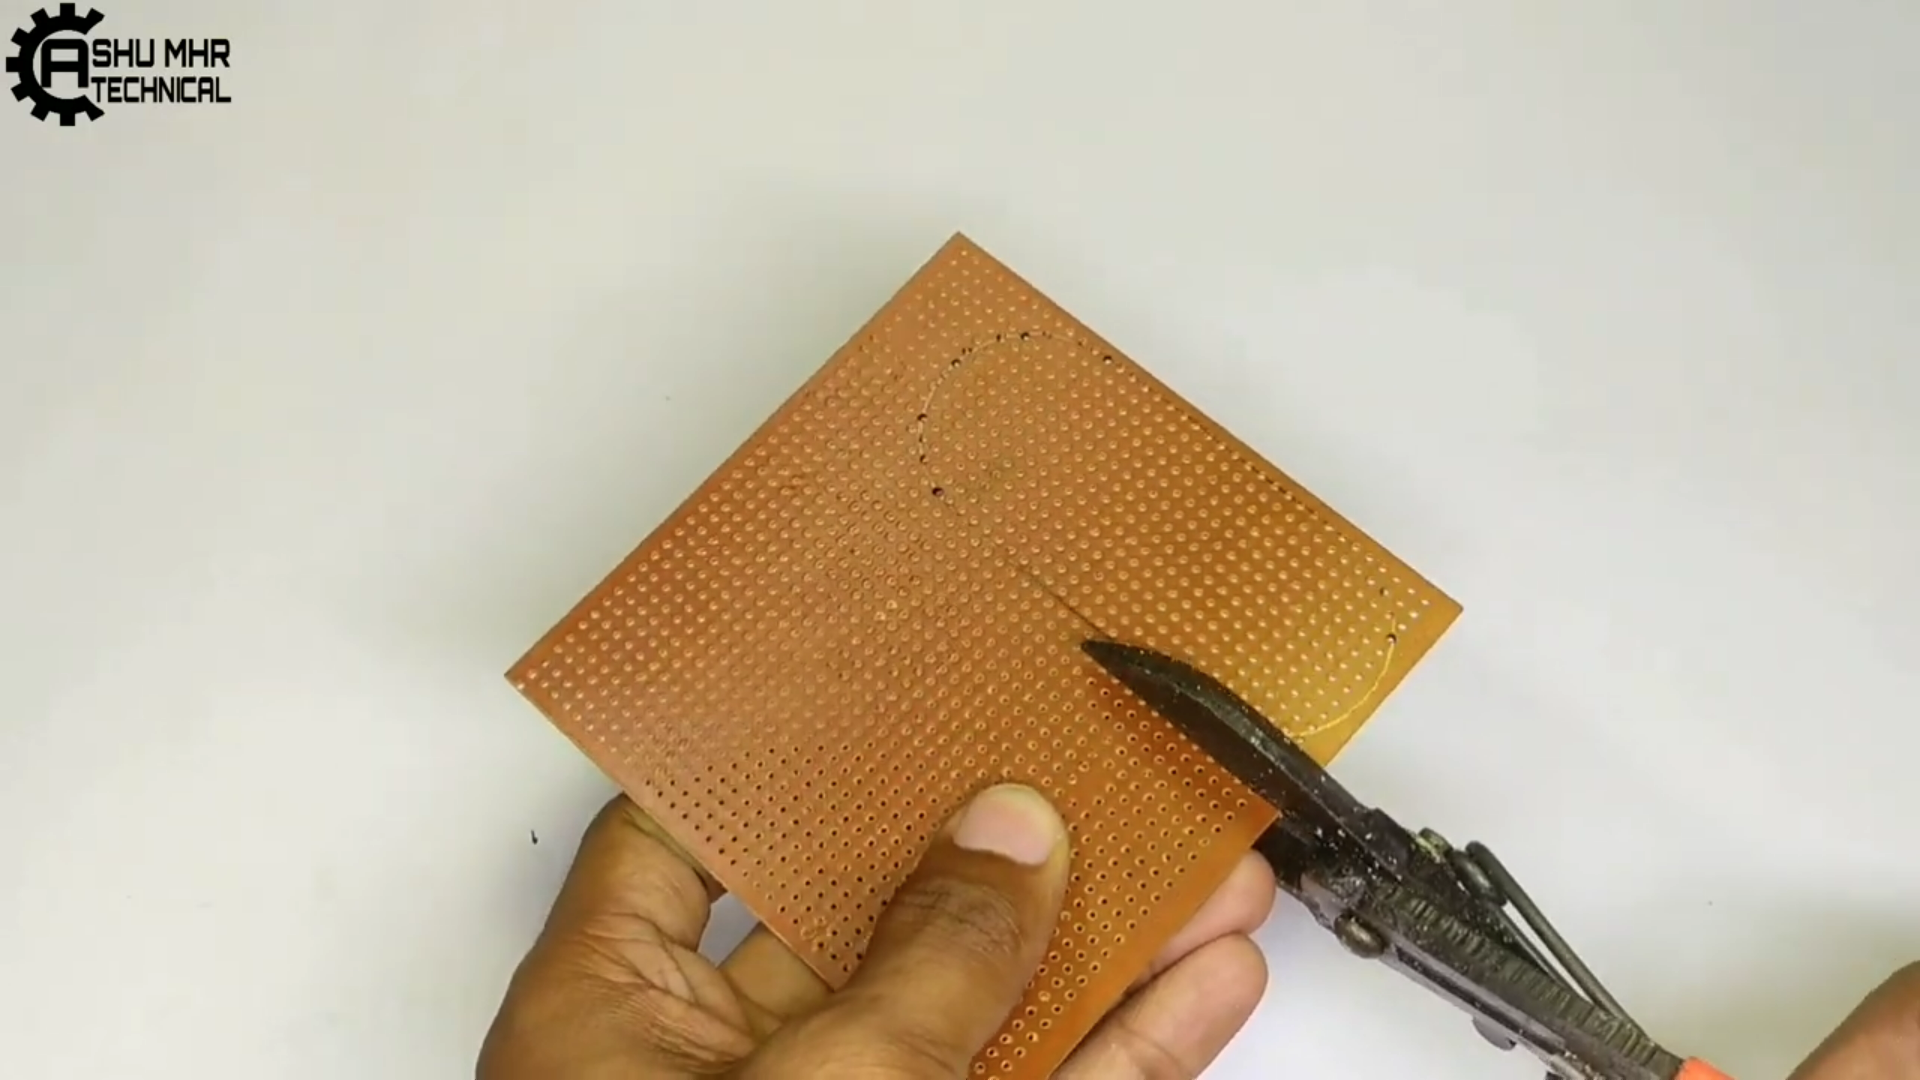
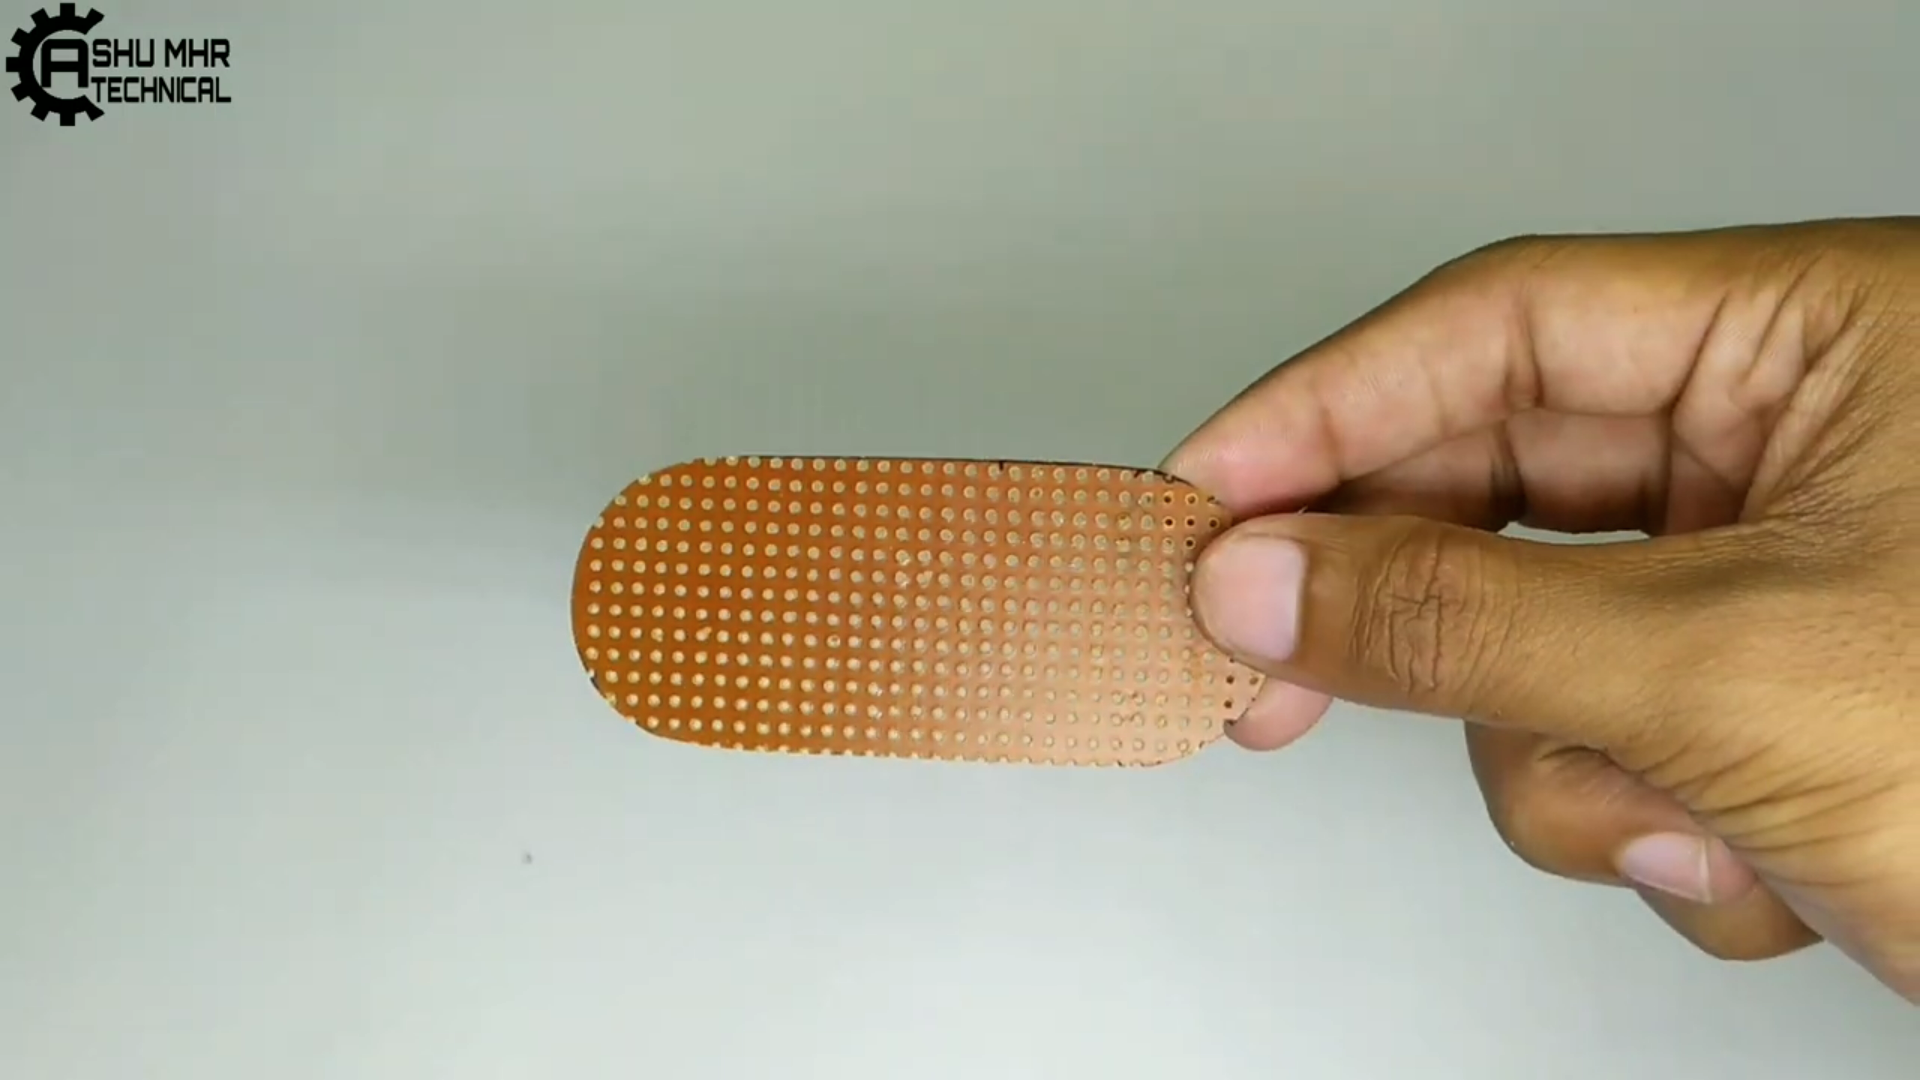
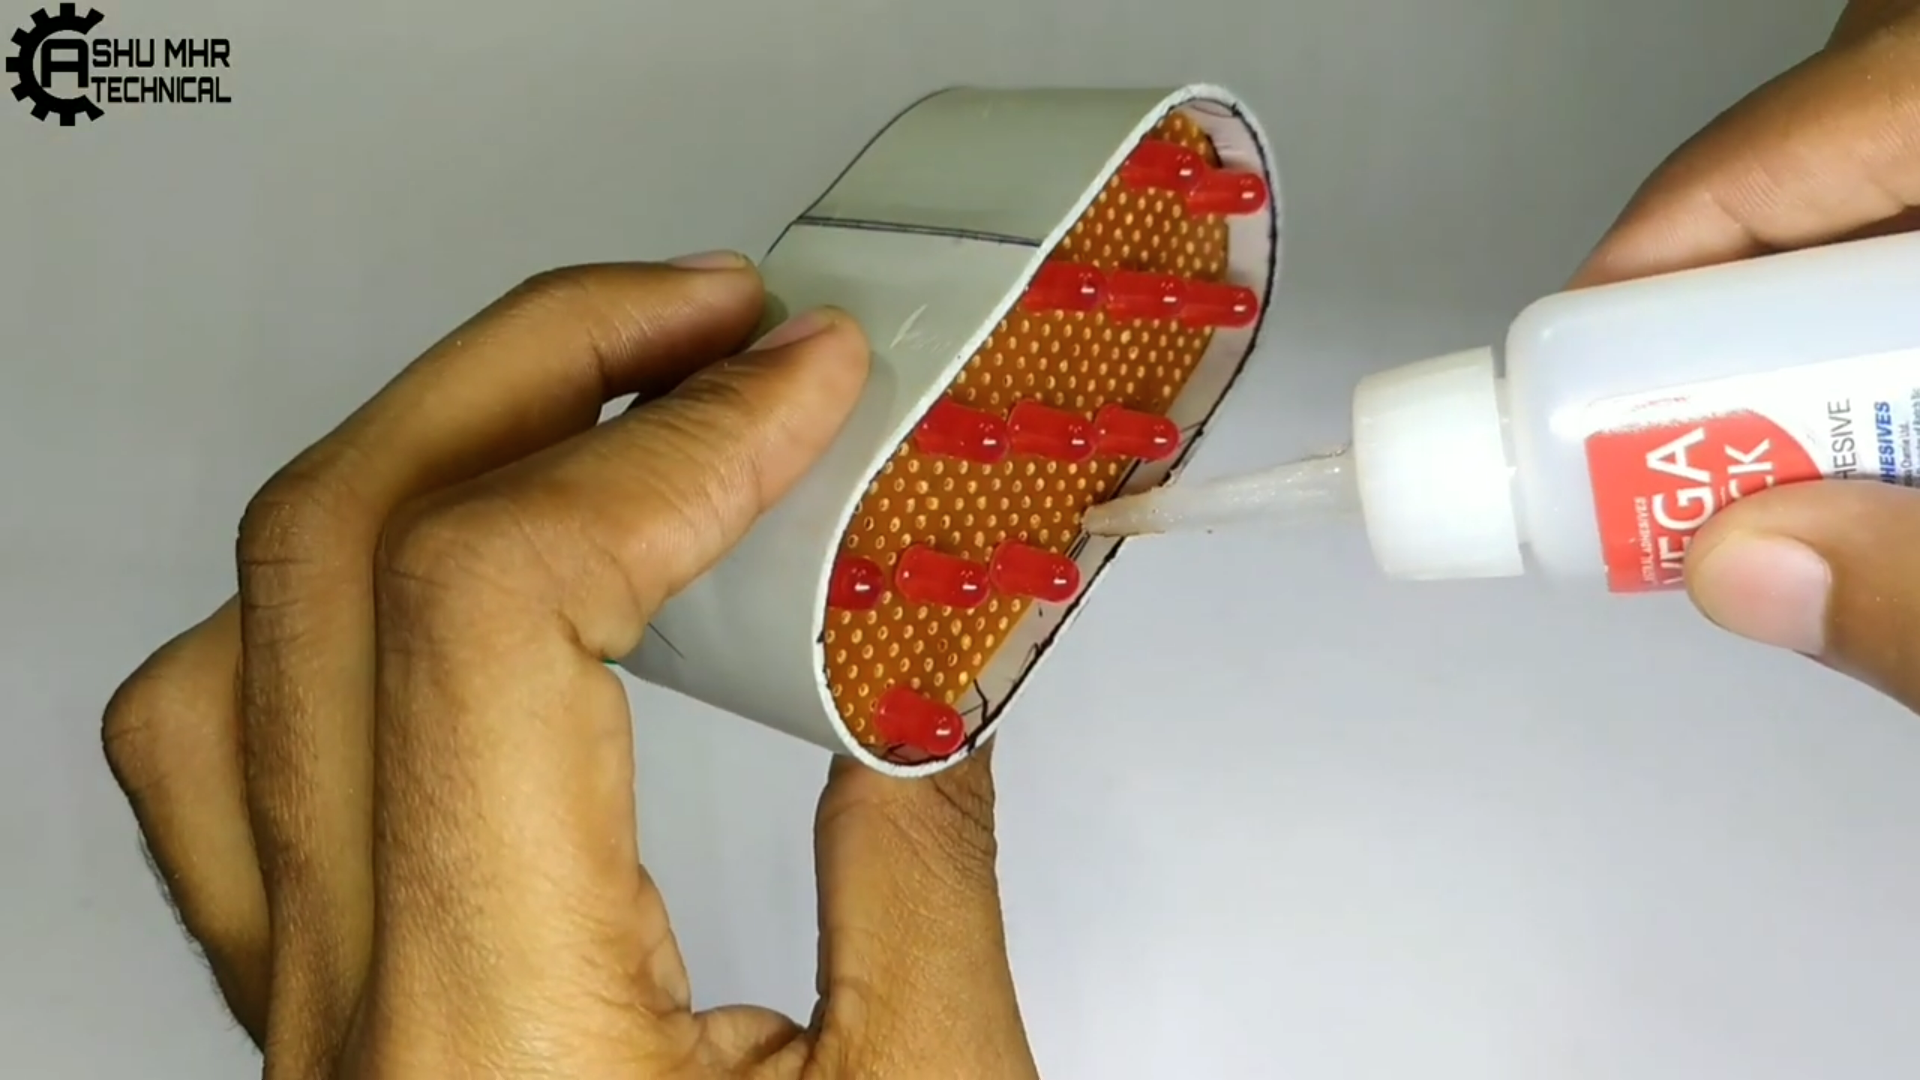
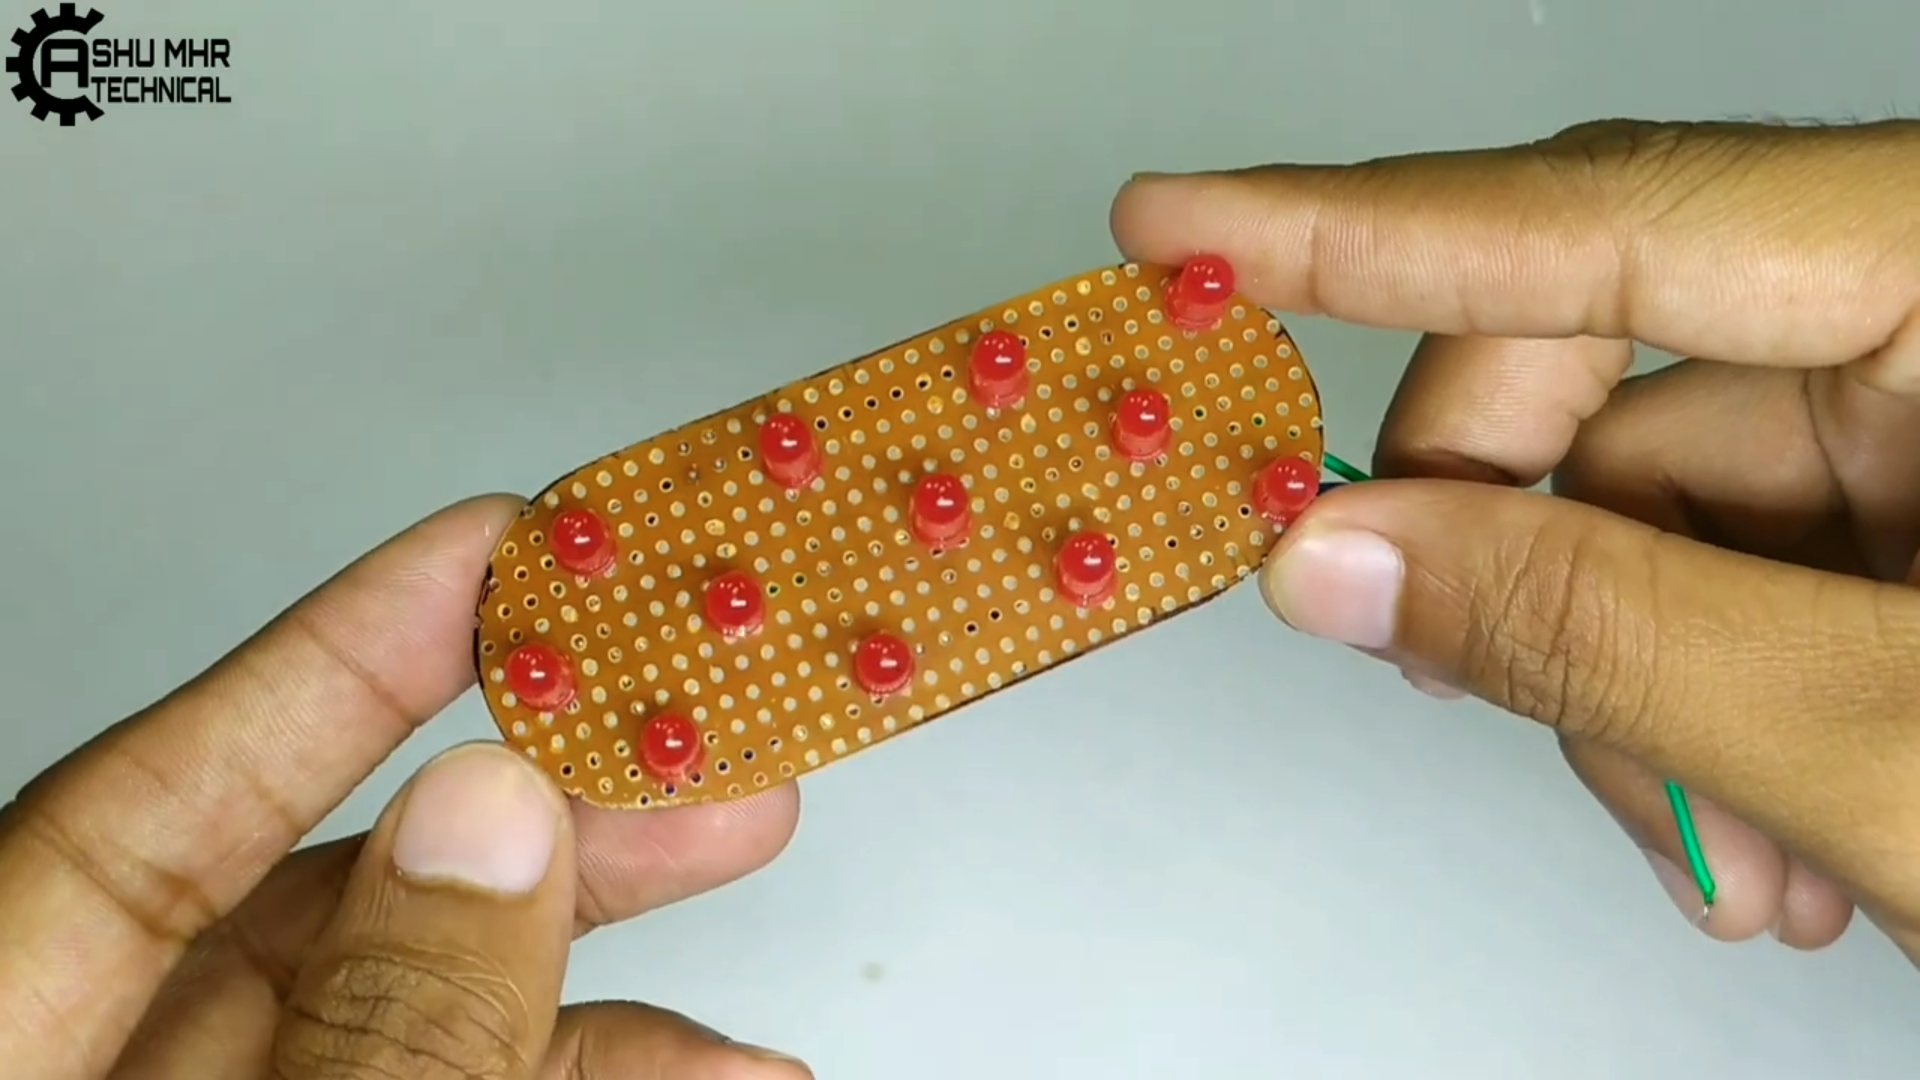
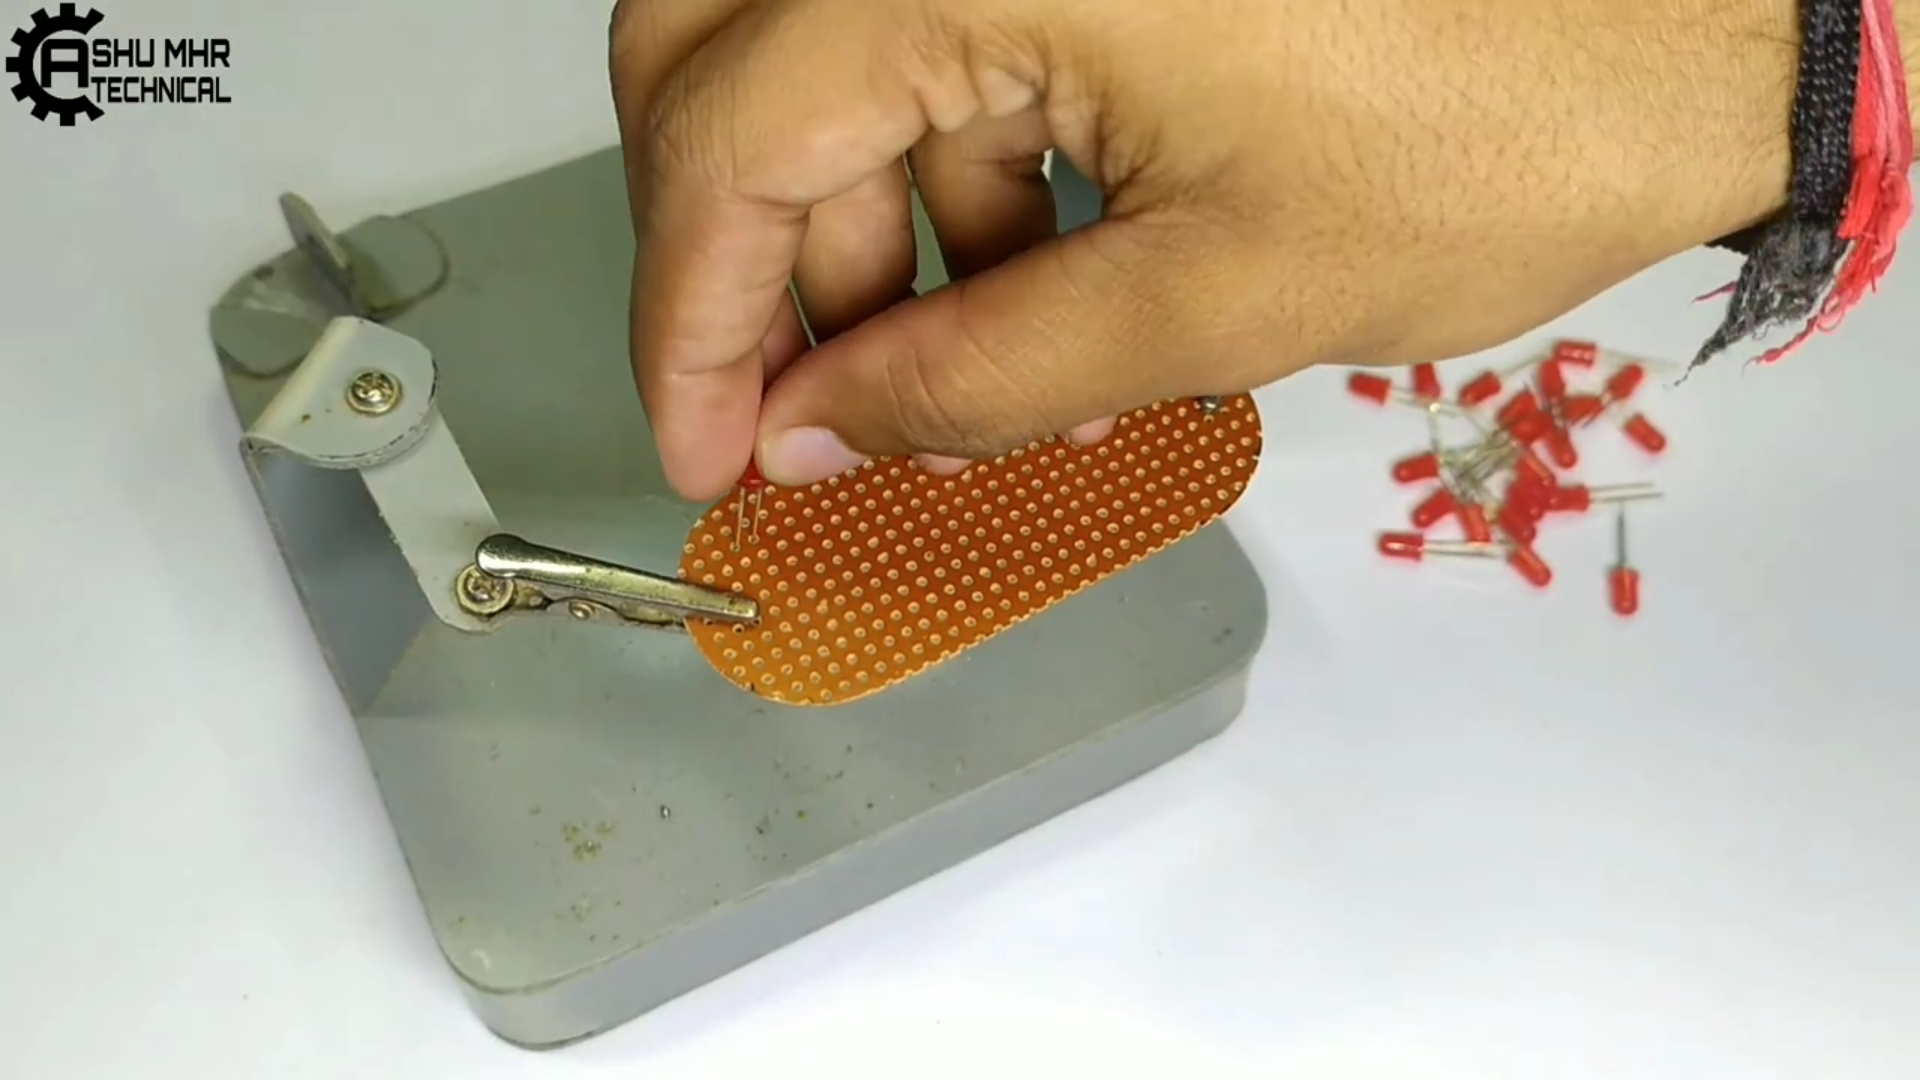
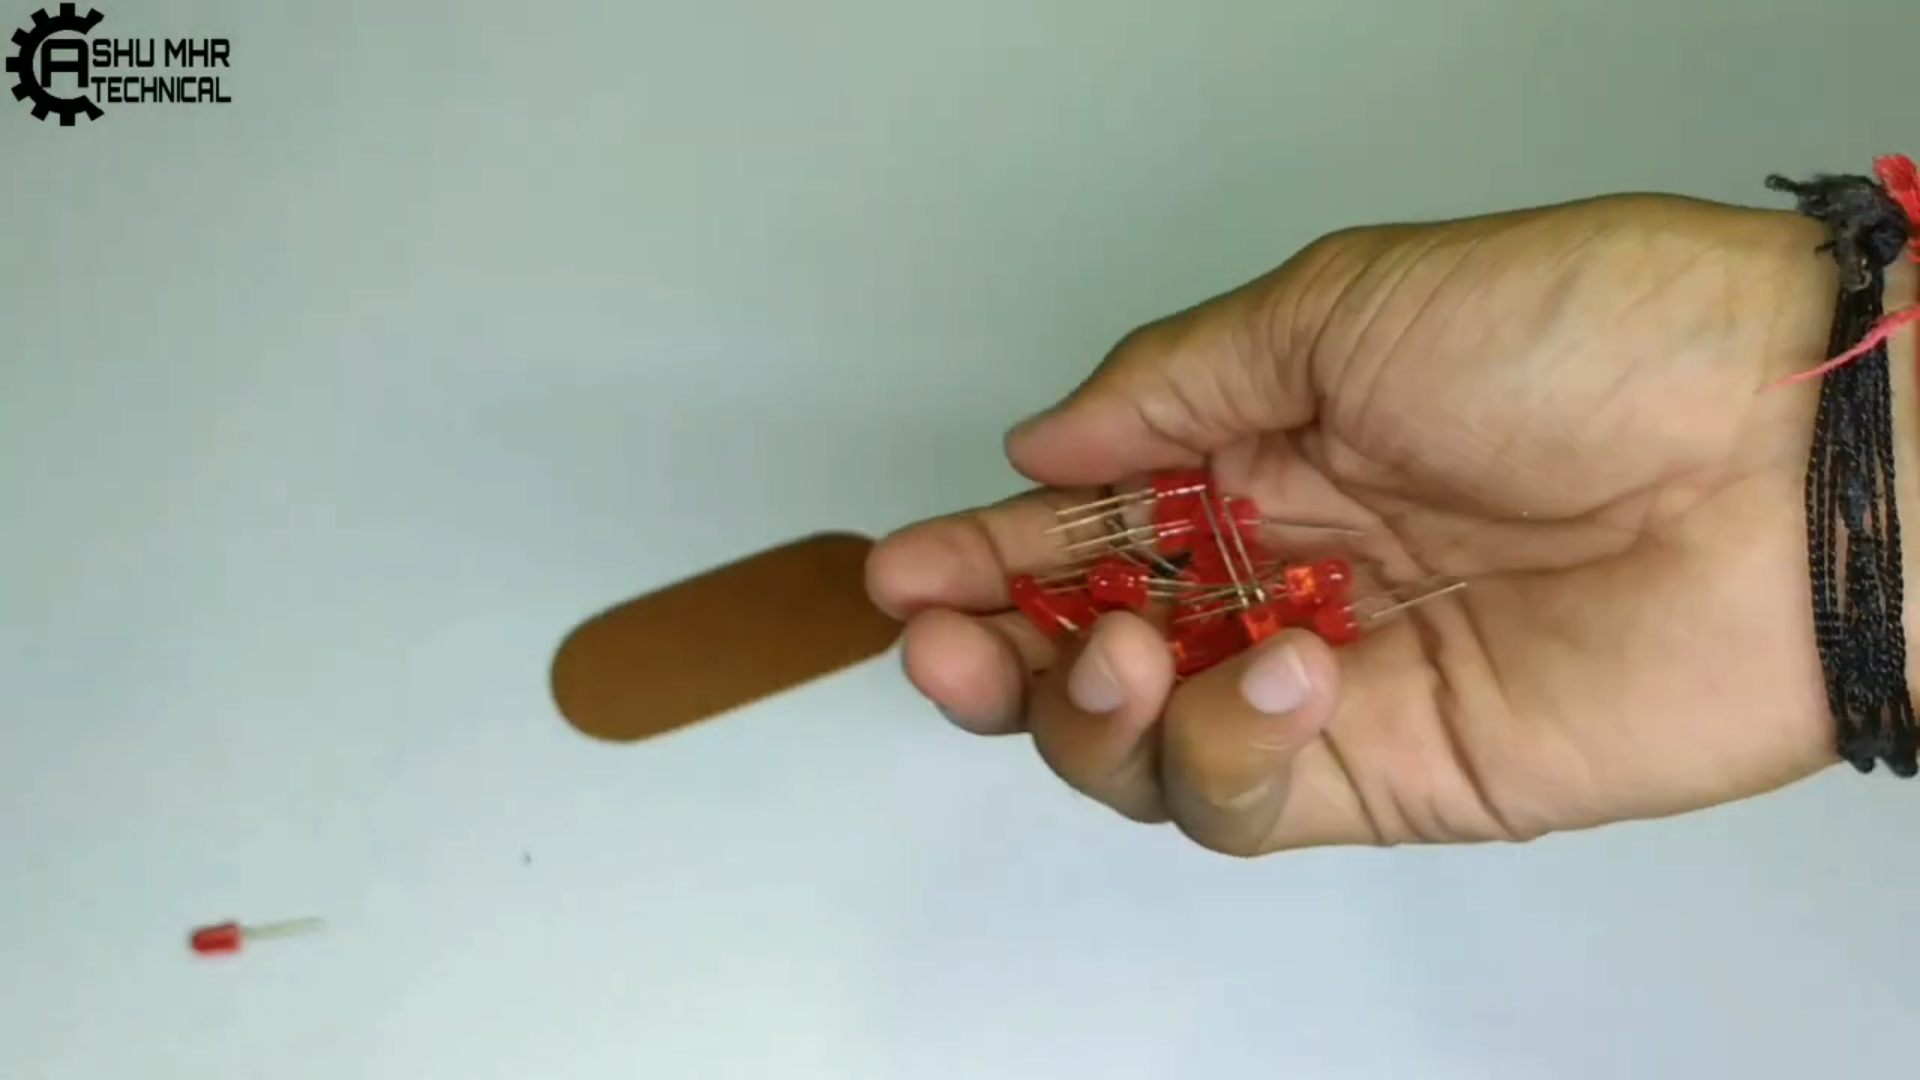
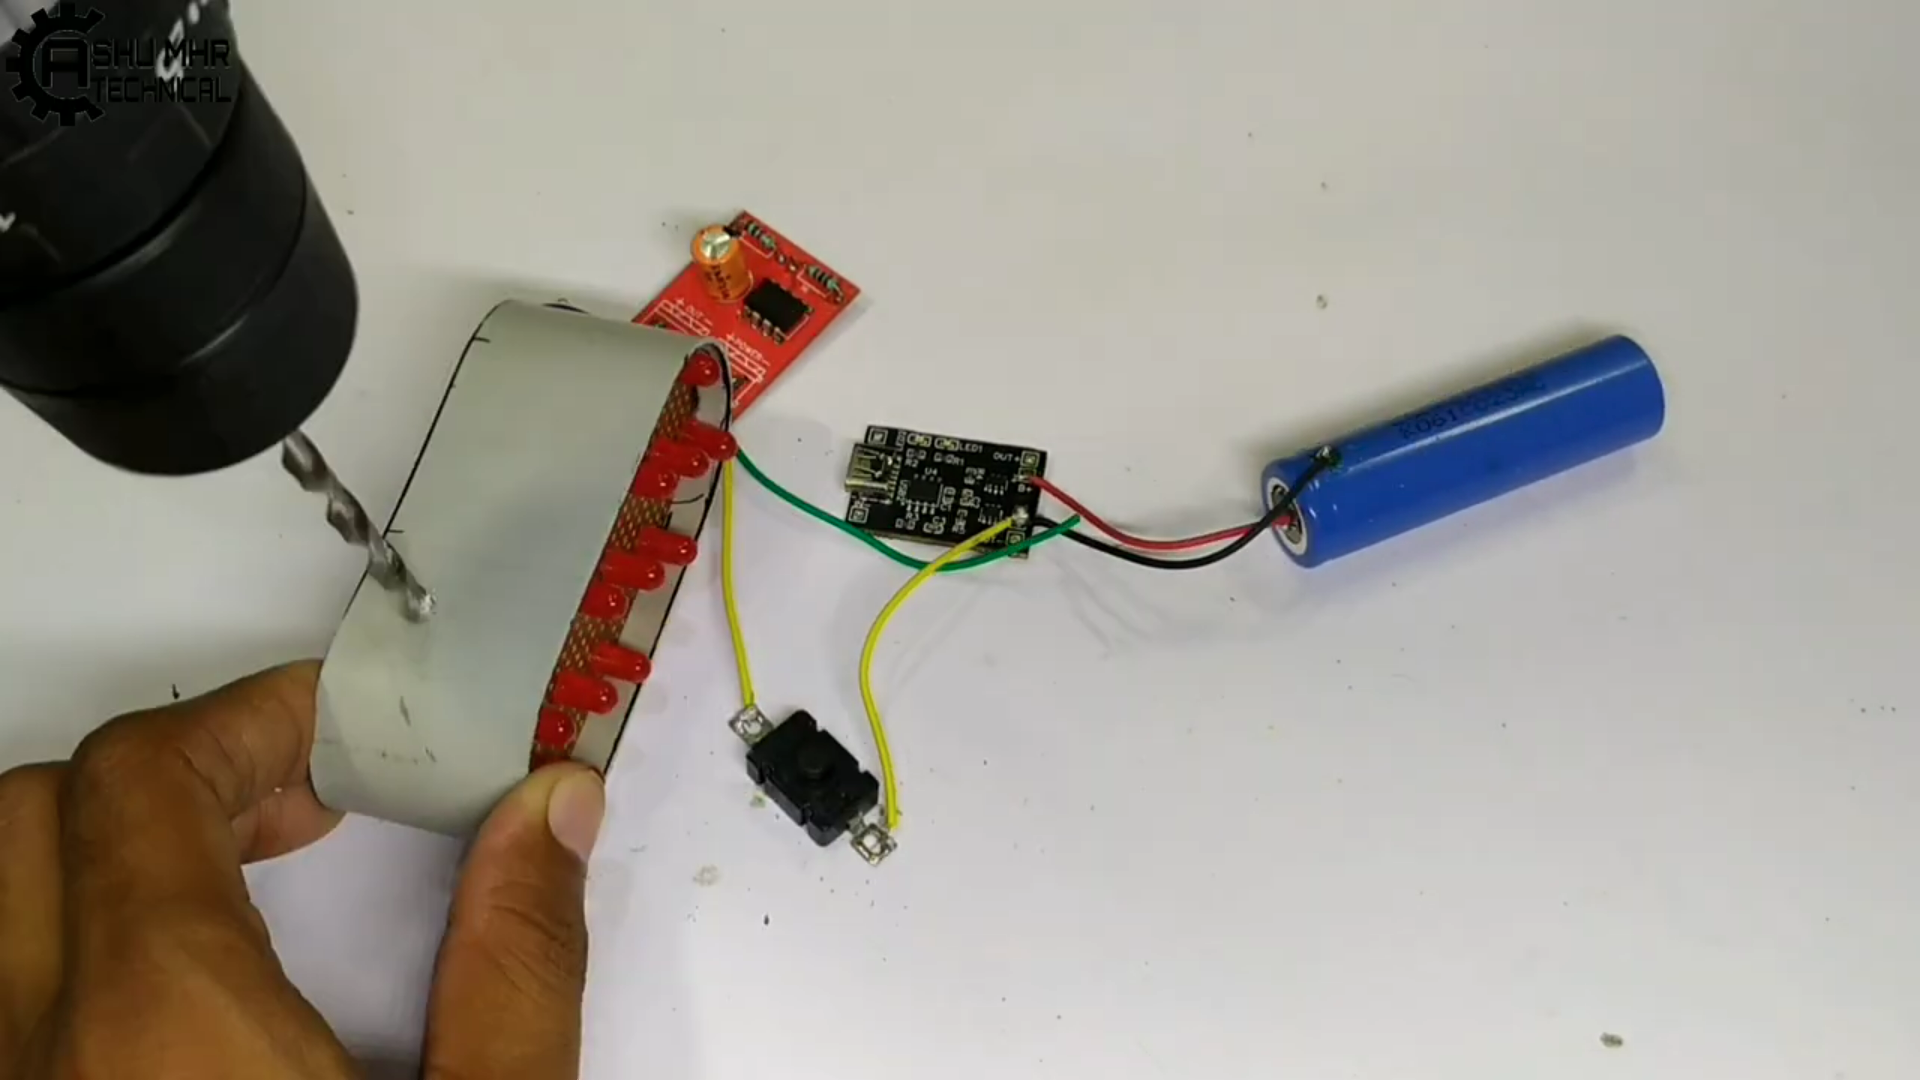
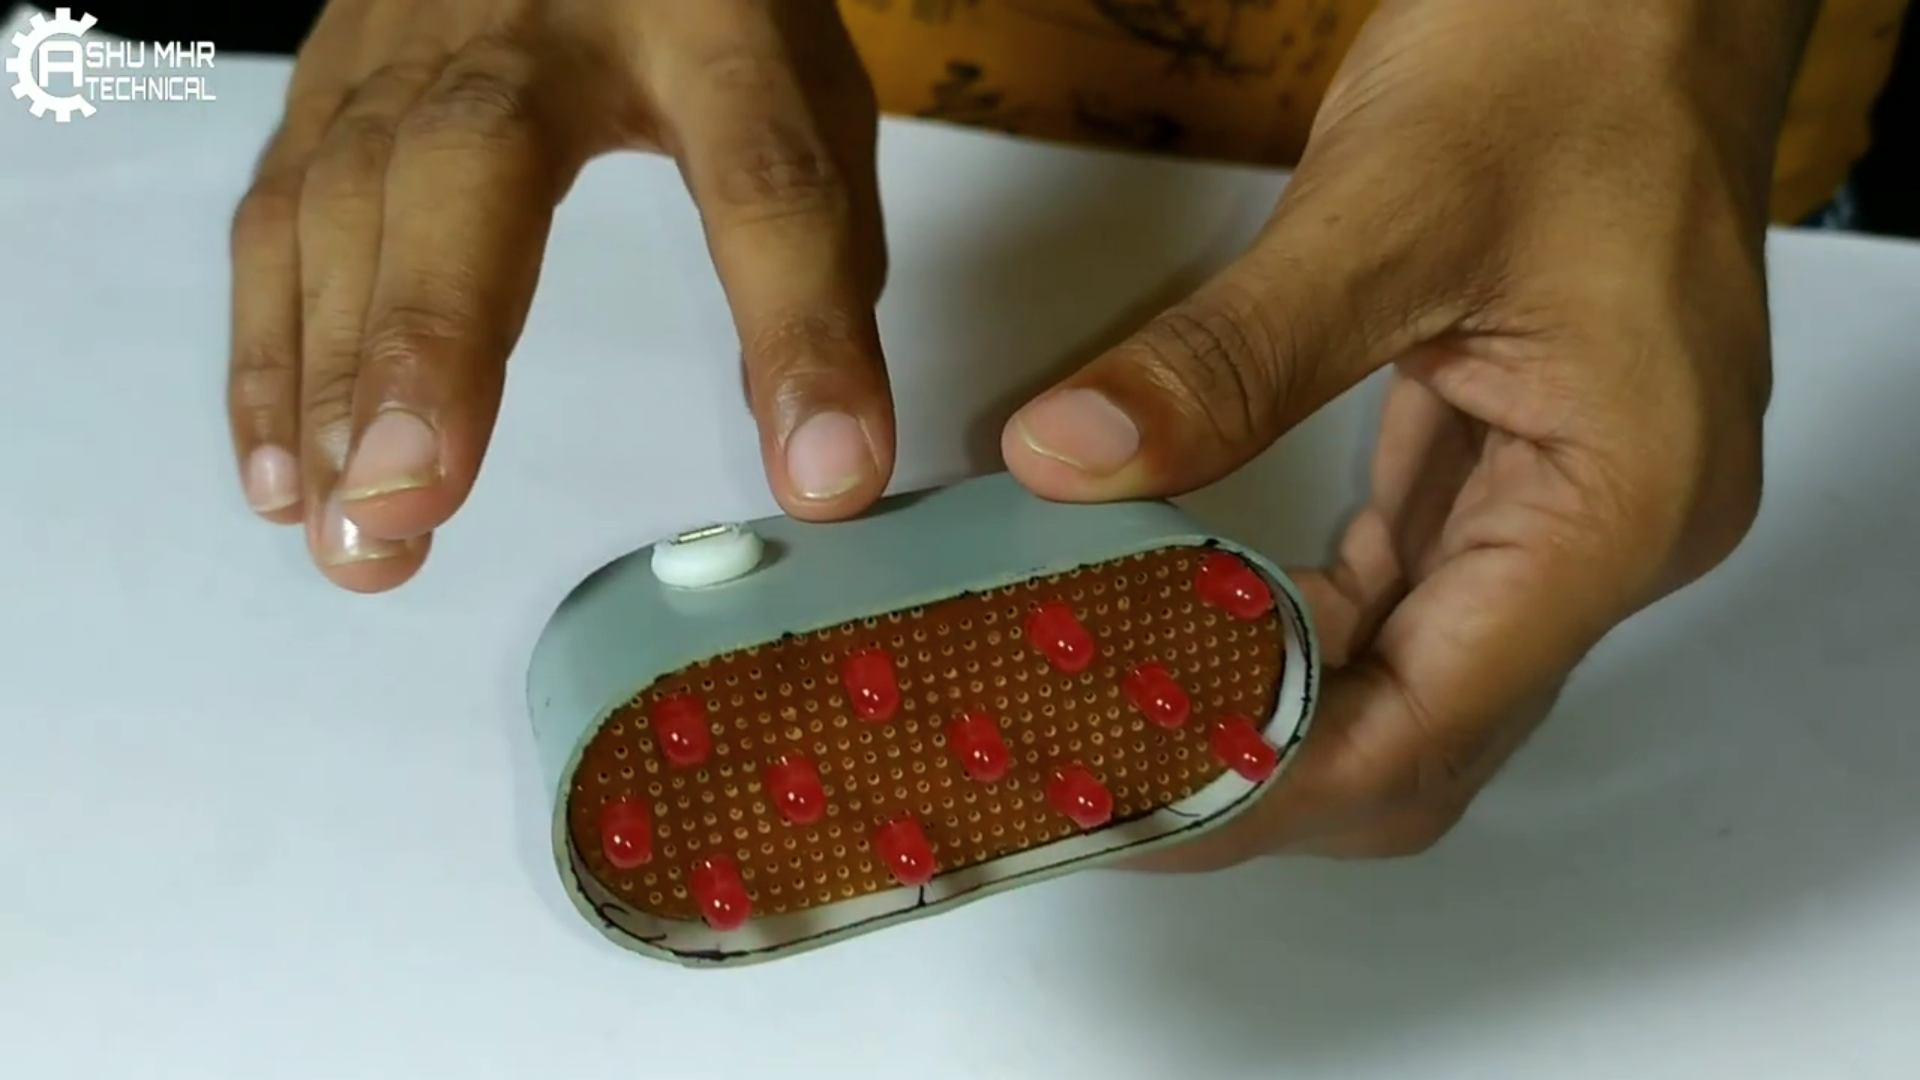
Placing Led on PCB & Soldering.
Placing Led on PCB & Soldering it in parallel connection.
Then Sticking the PCB to custom designed PVC enclosure.
5
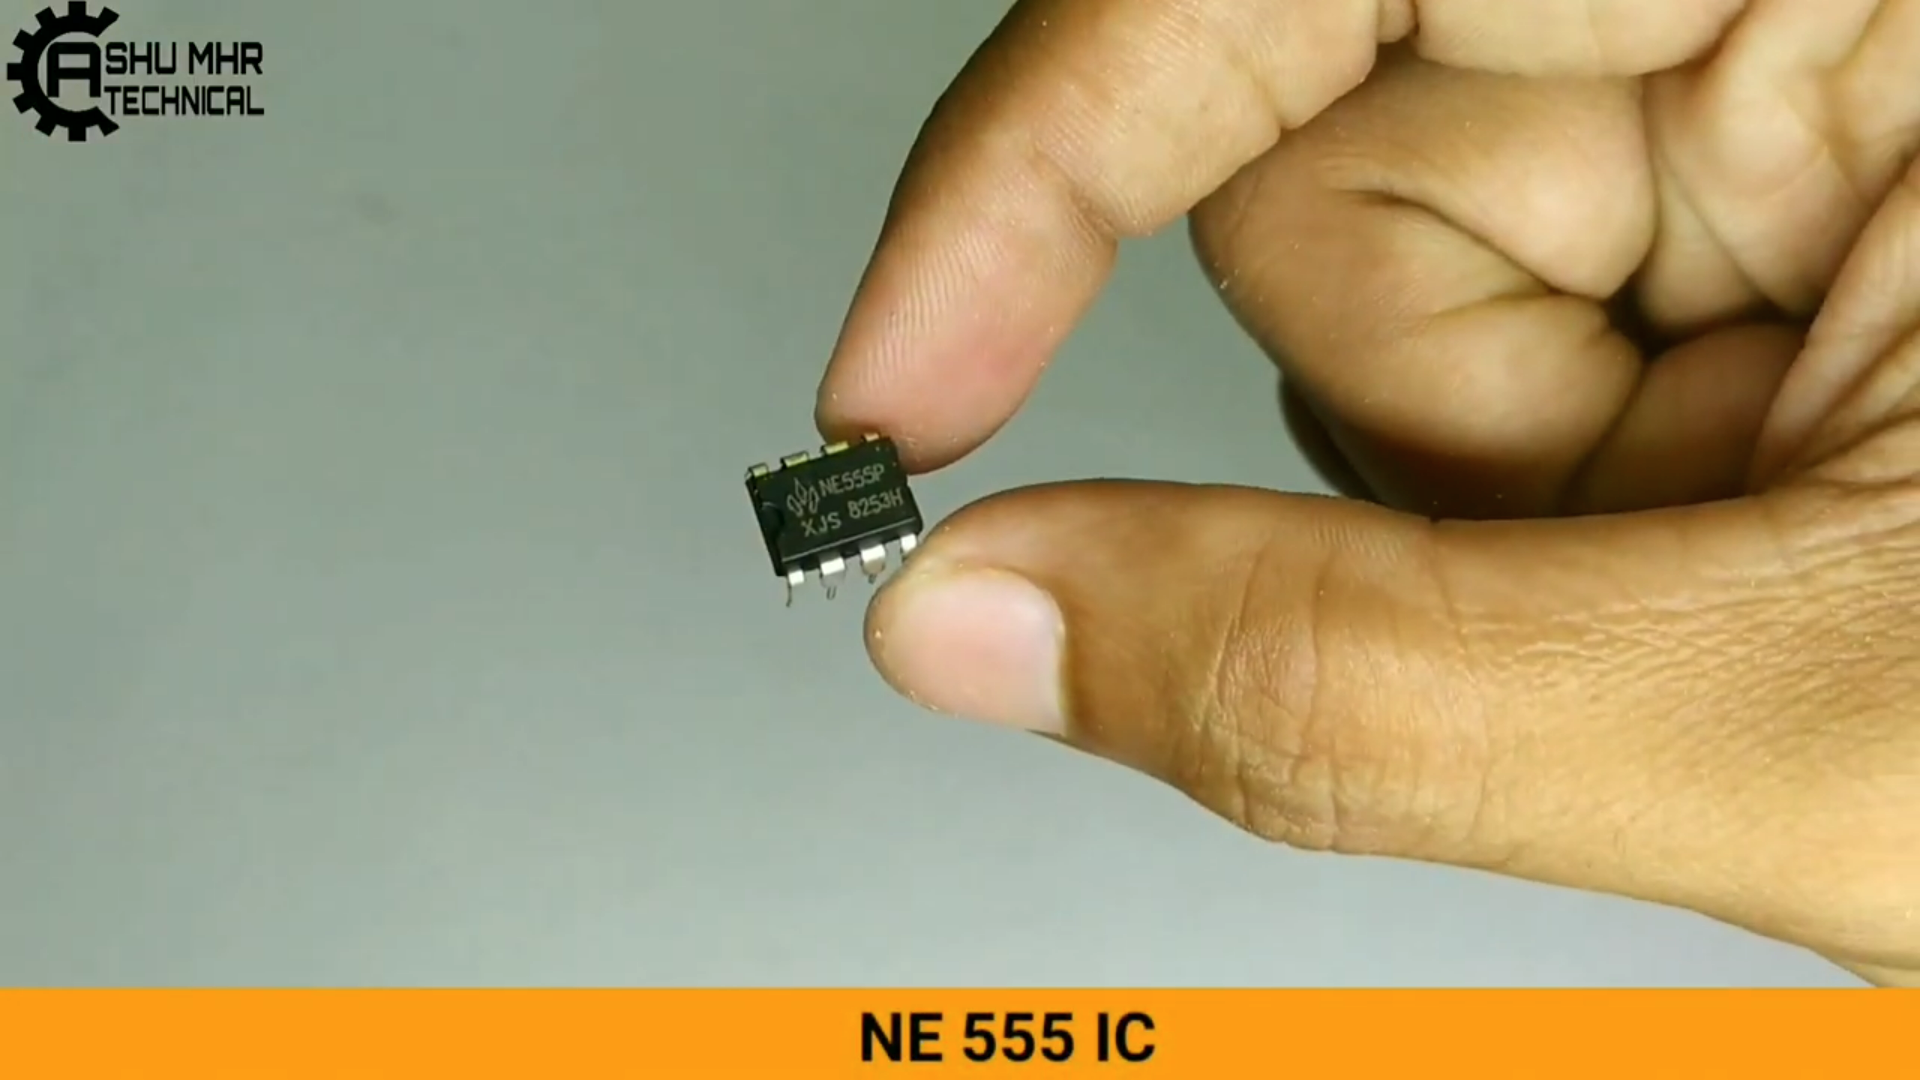
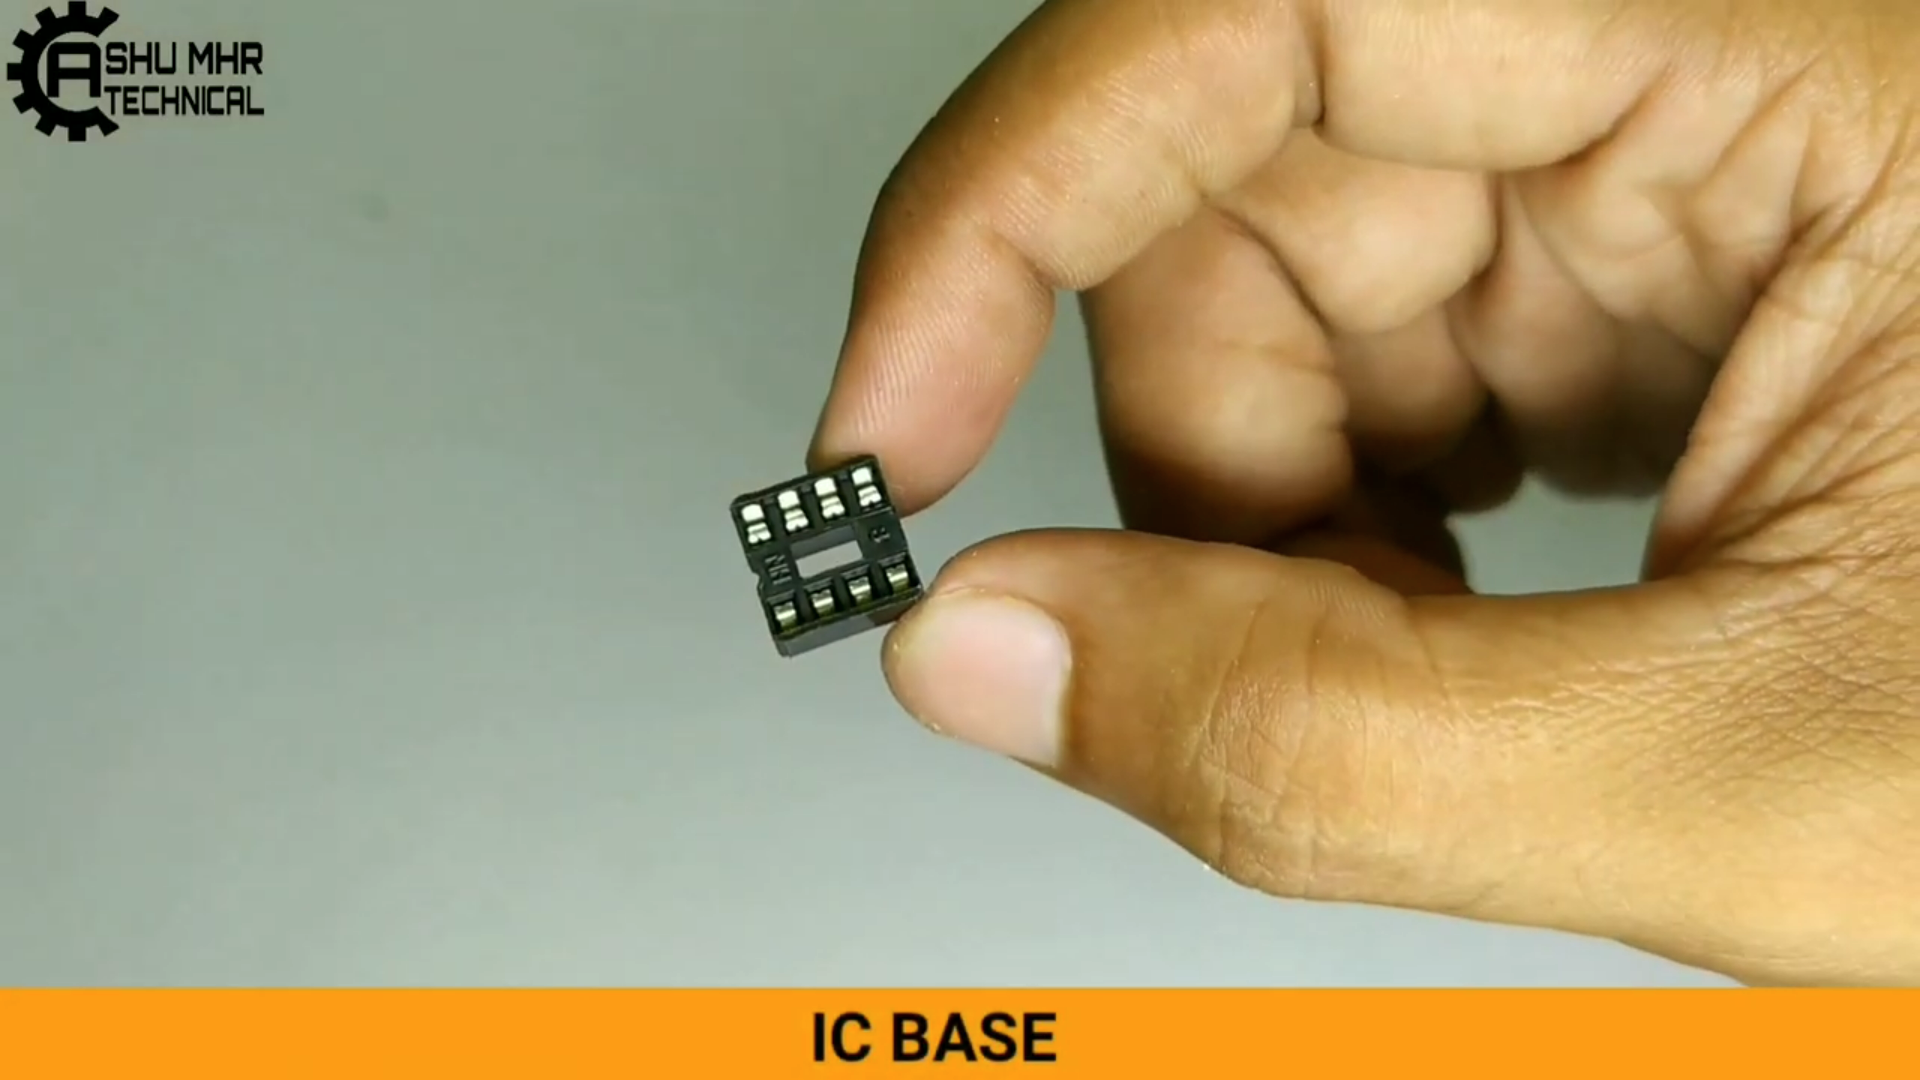
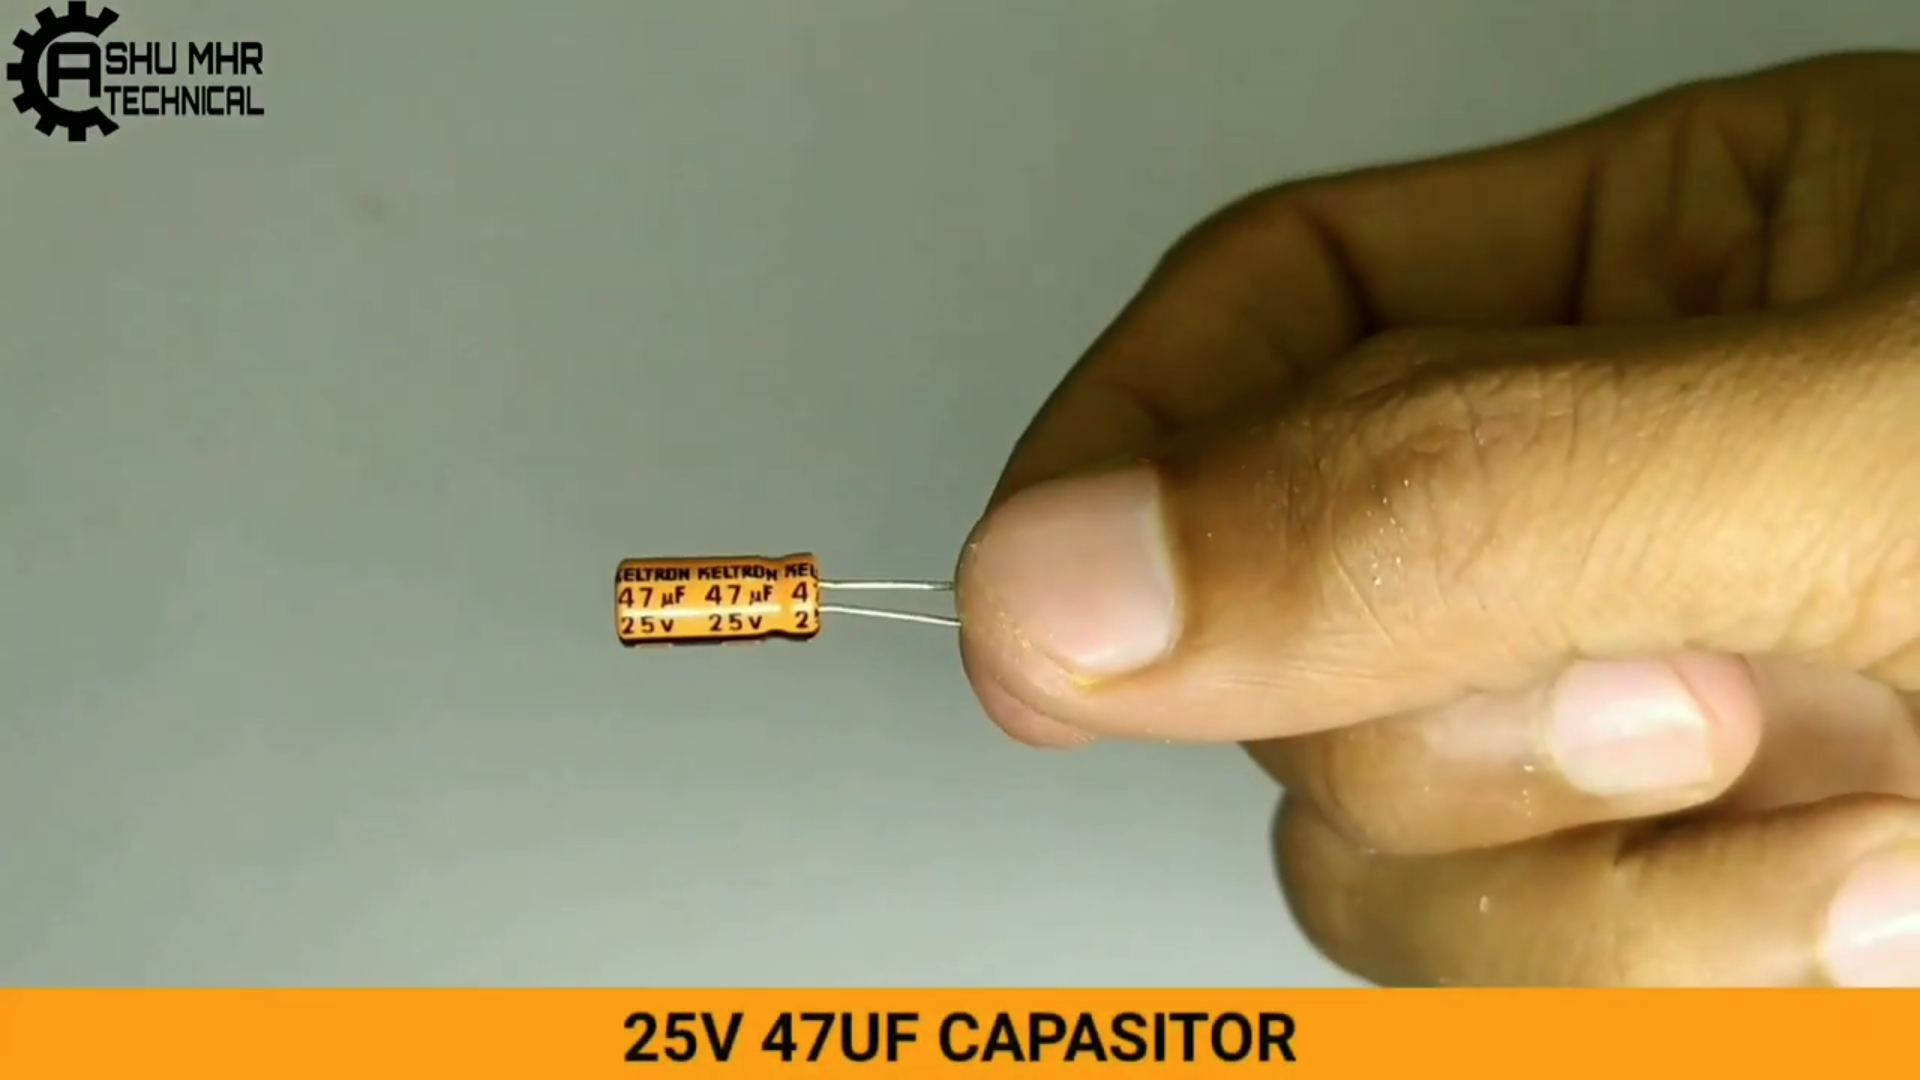
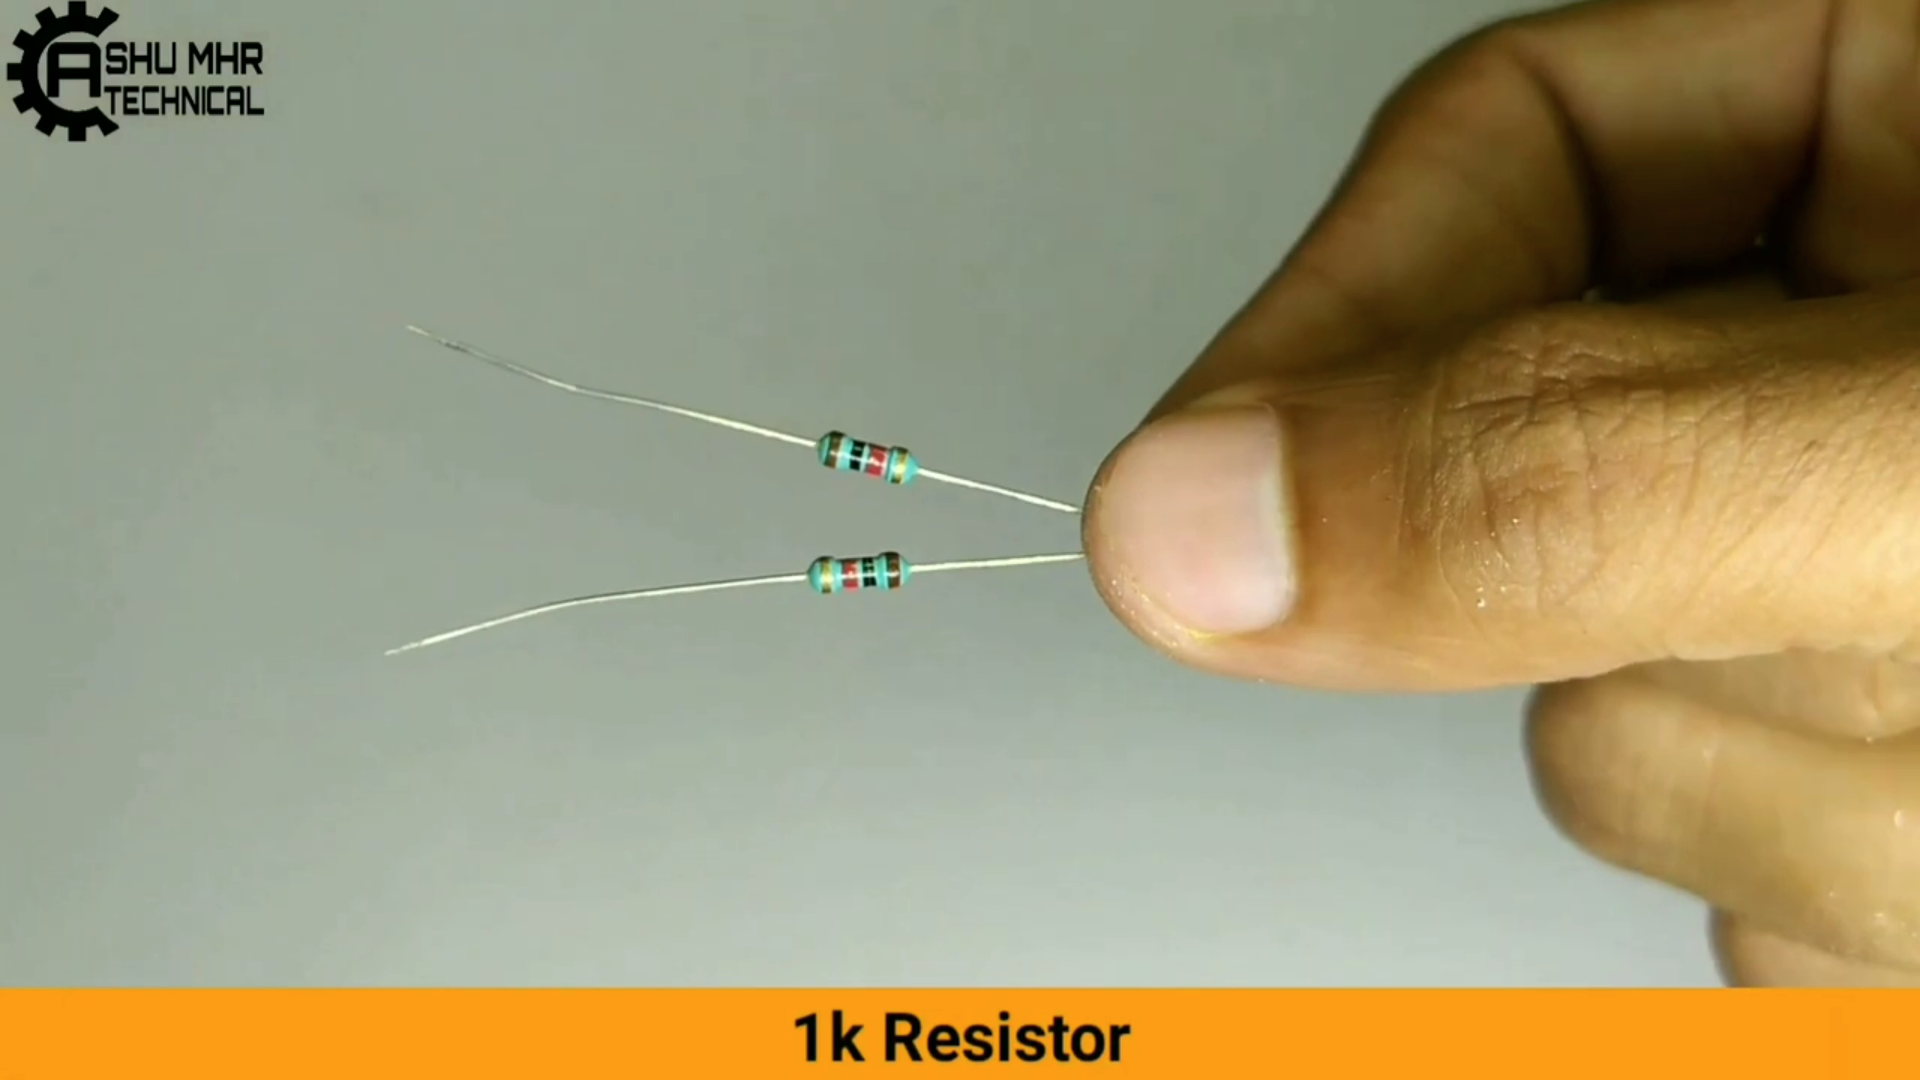
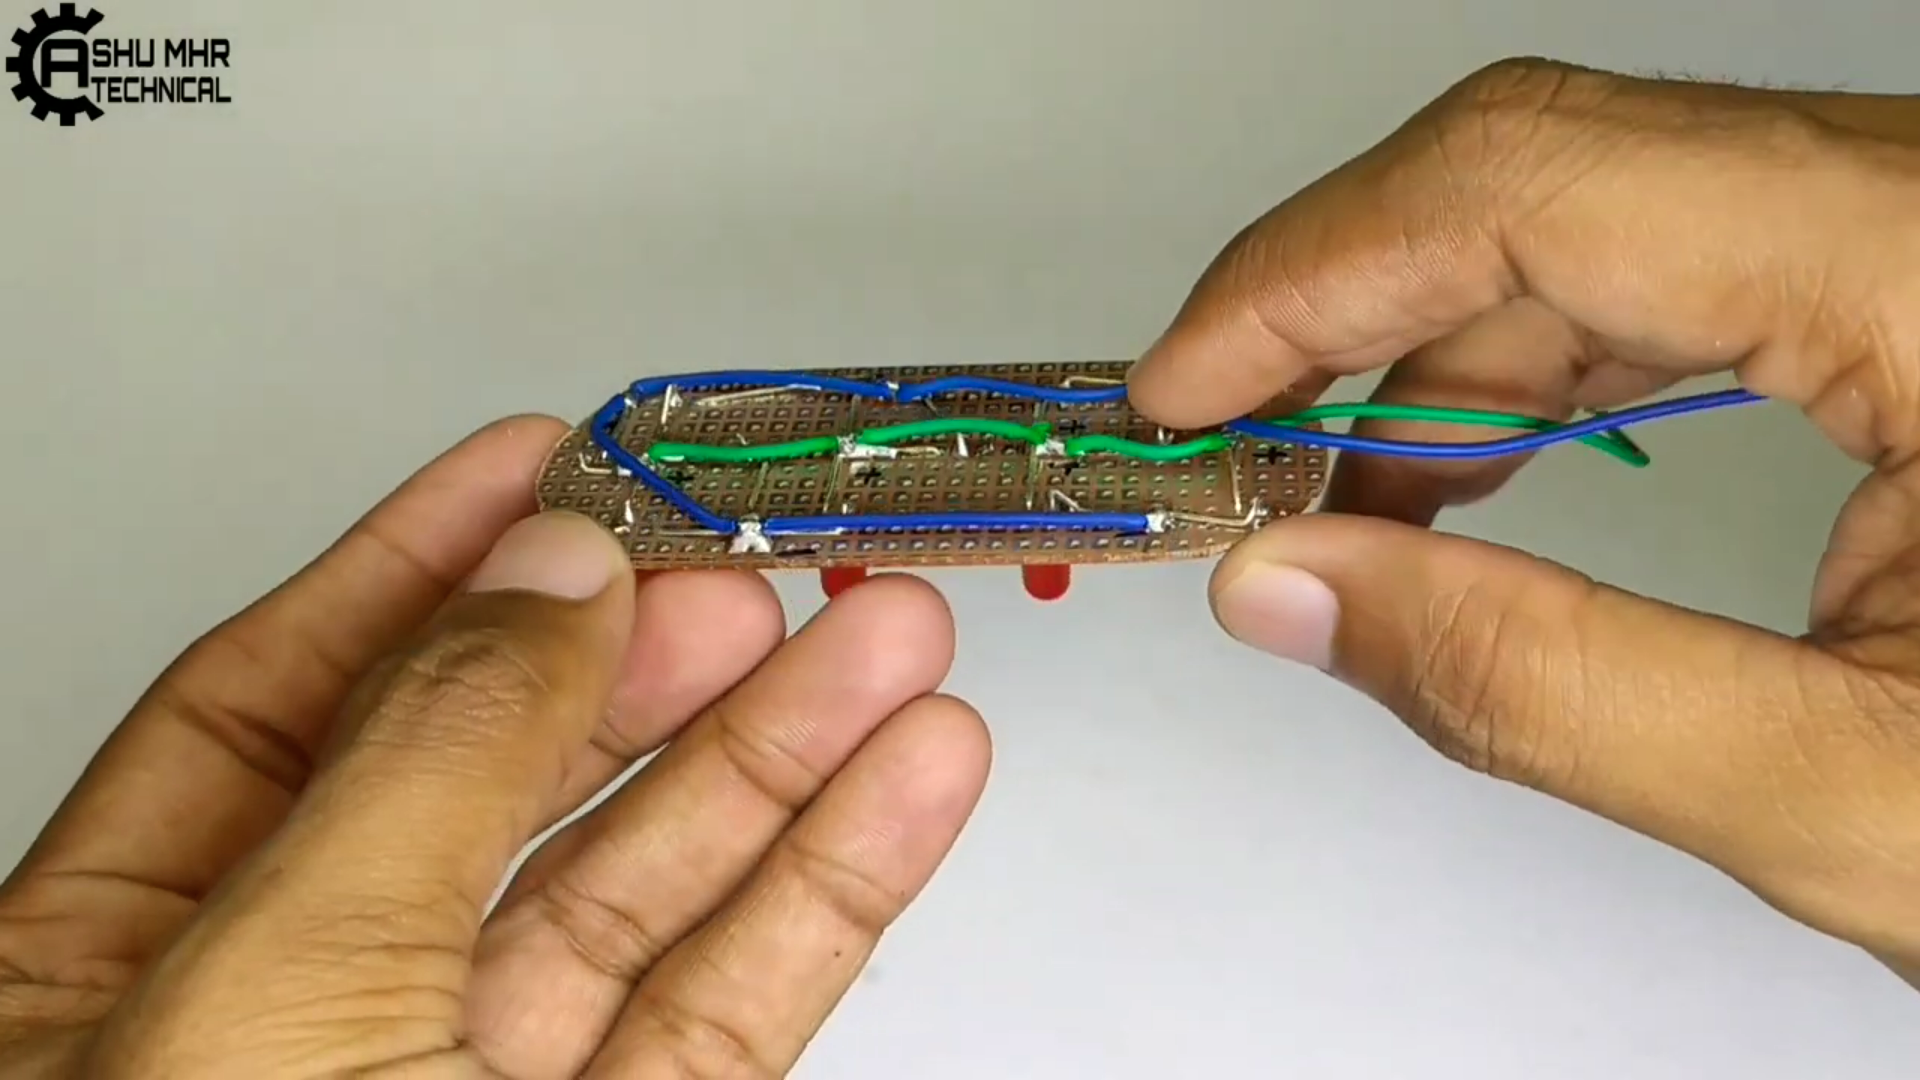
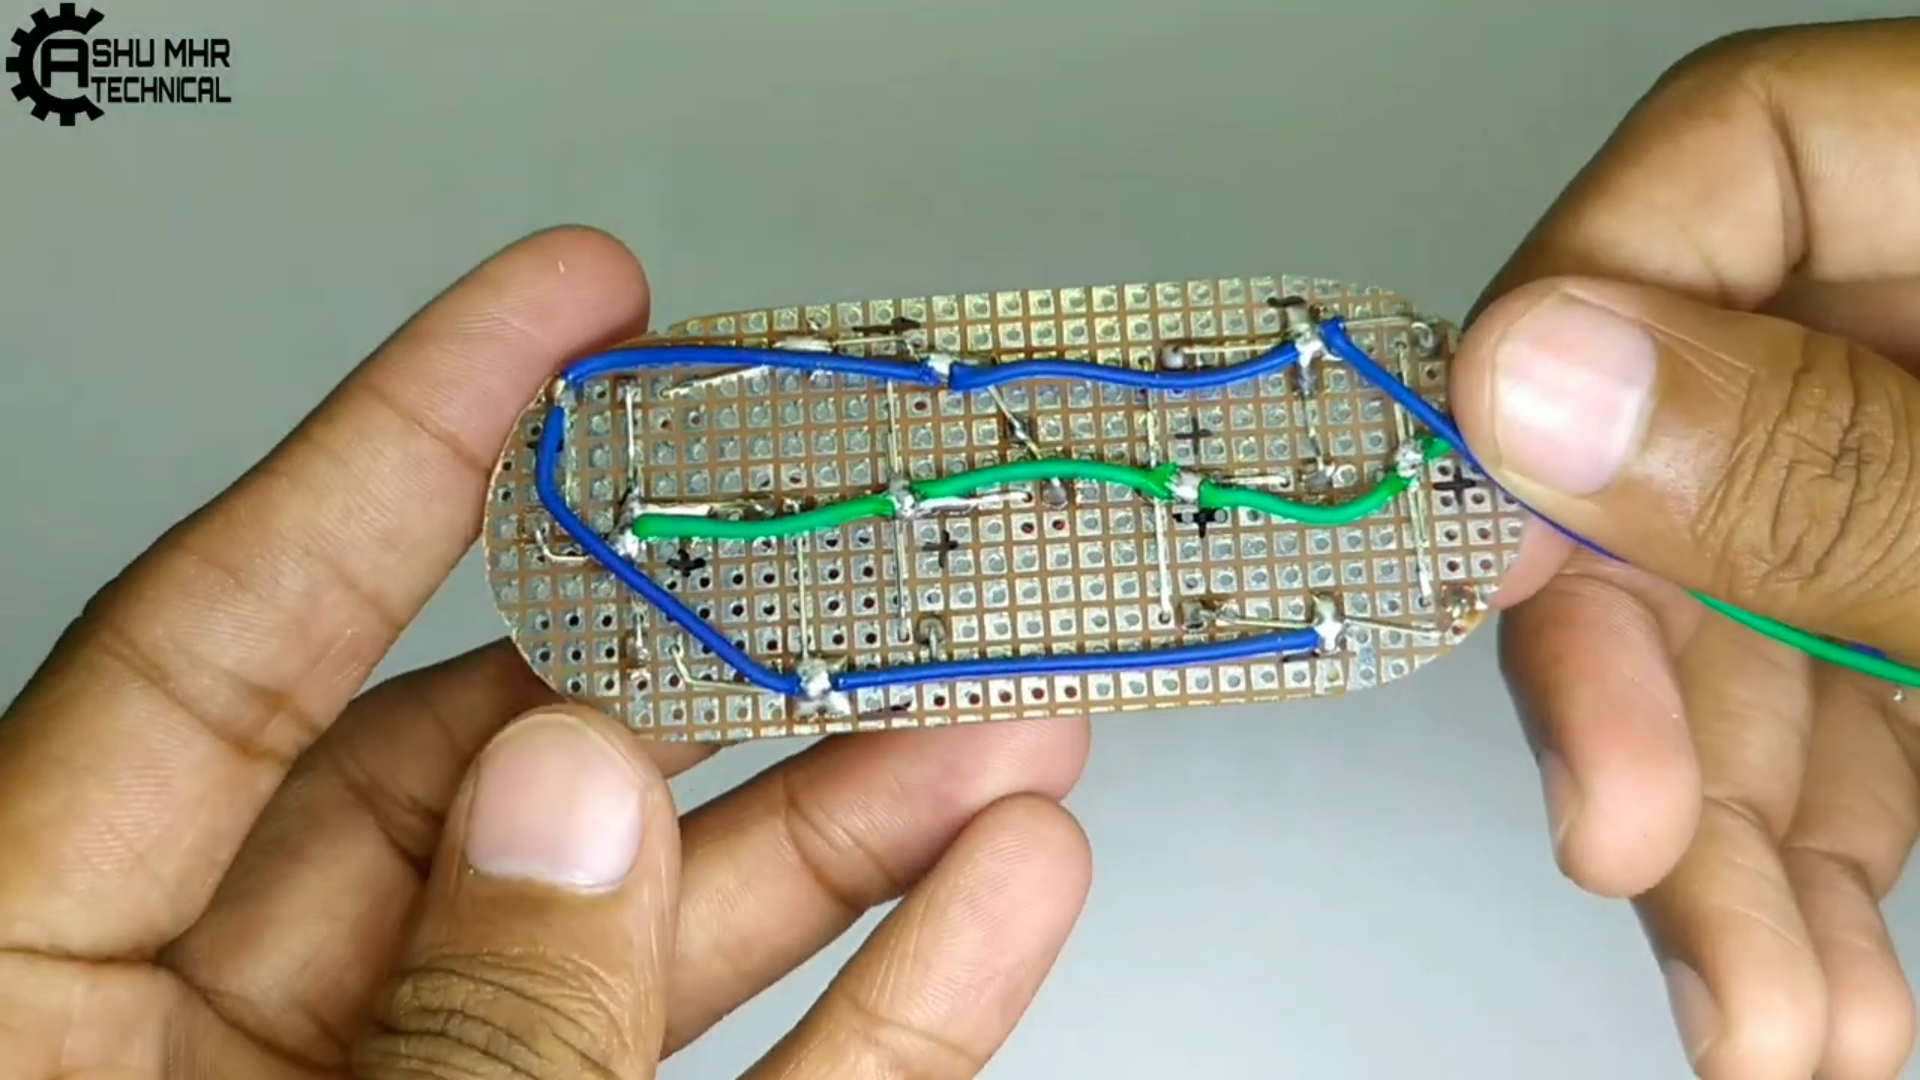
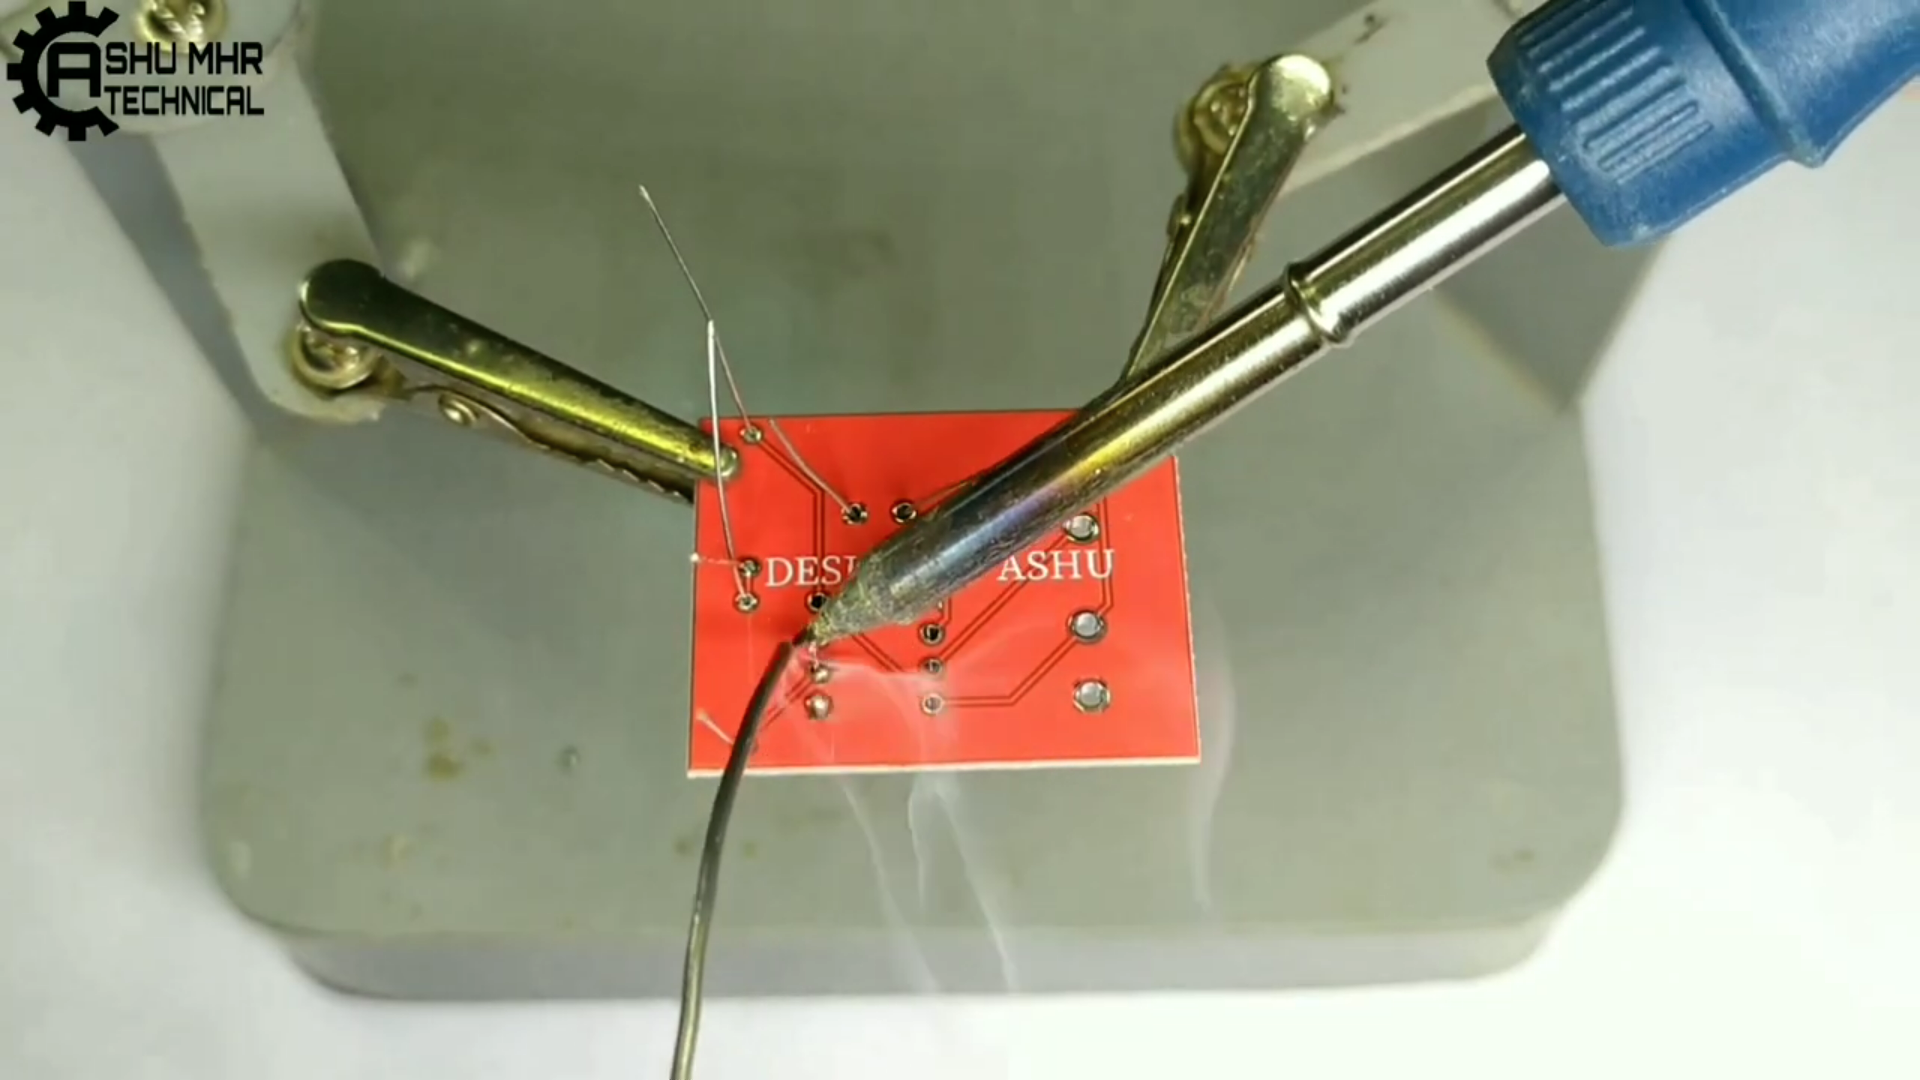
Place All the Components on PCB and Solder It Properly.
Soldering the components to PCB.
6
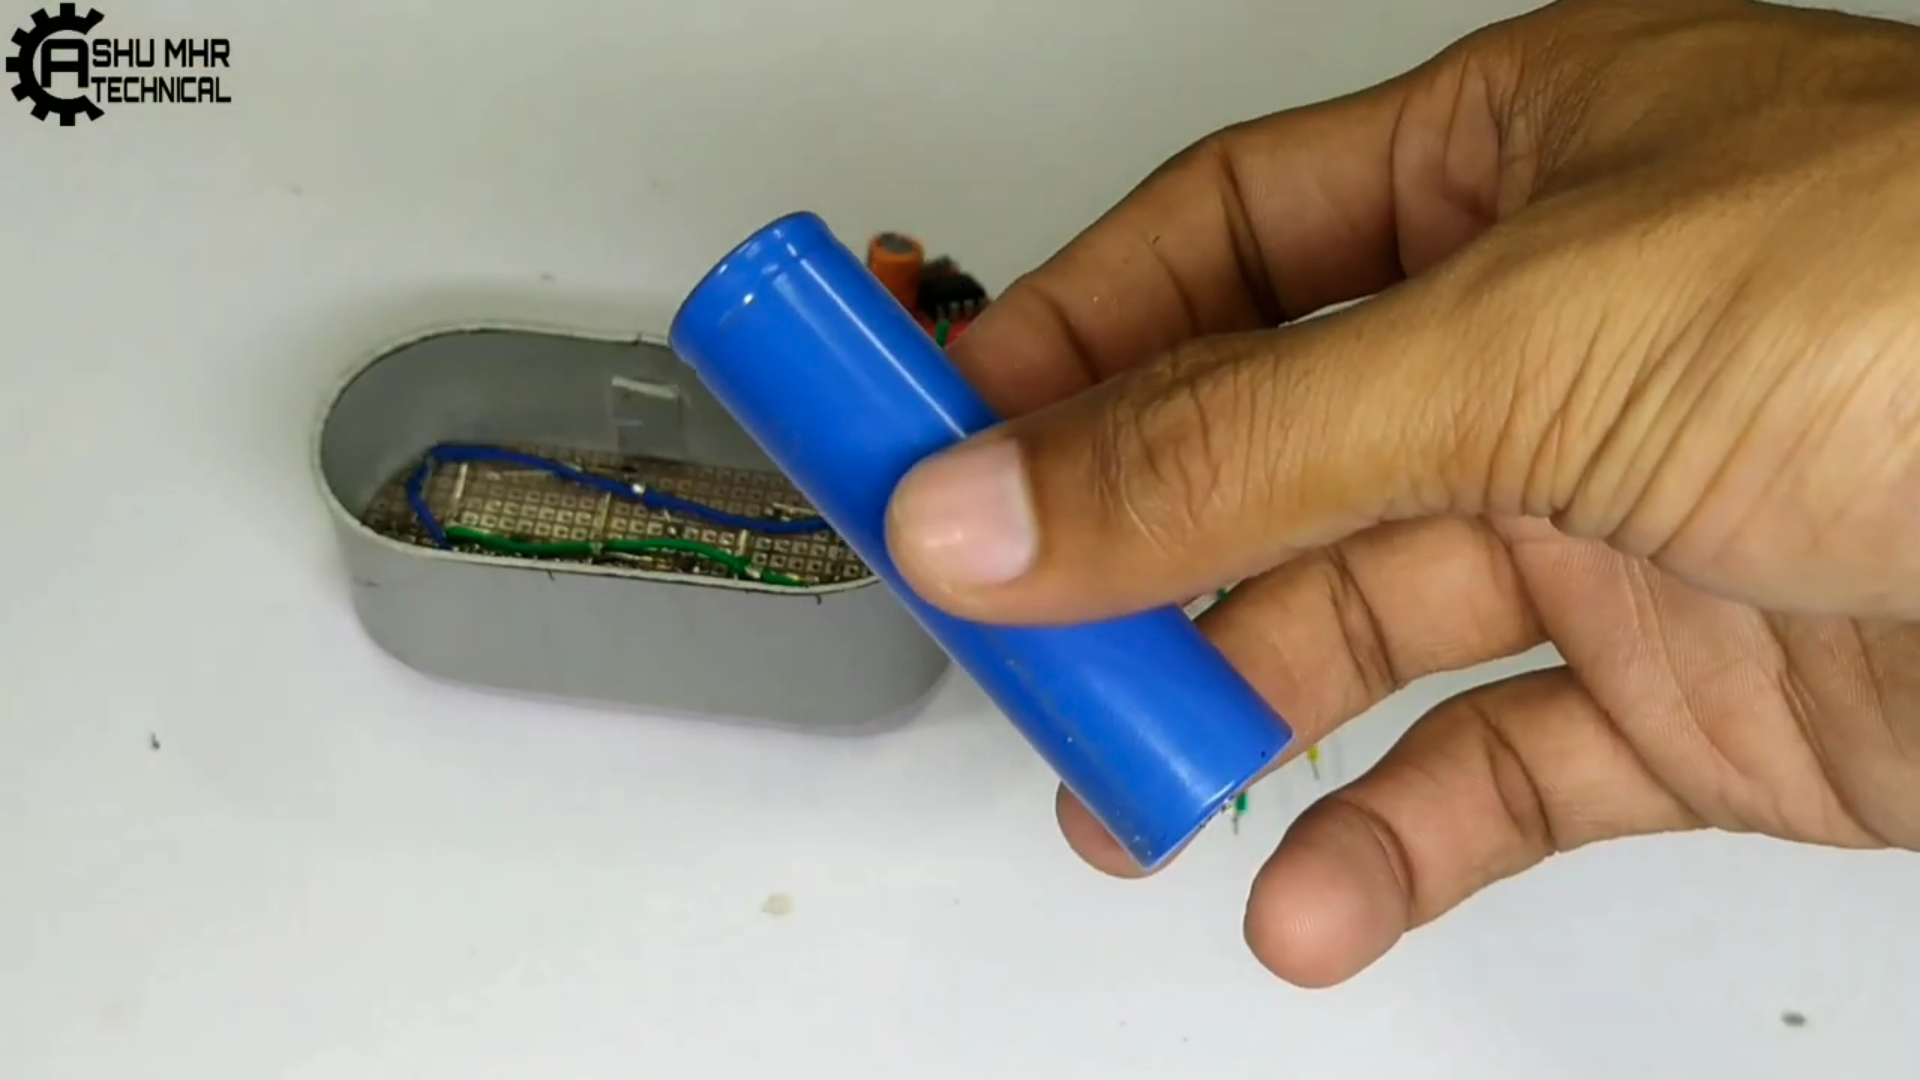
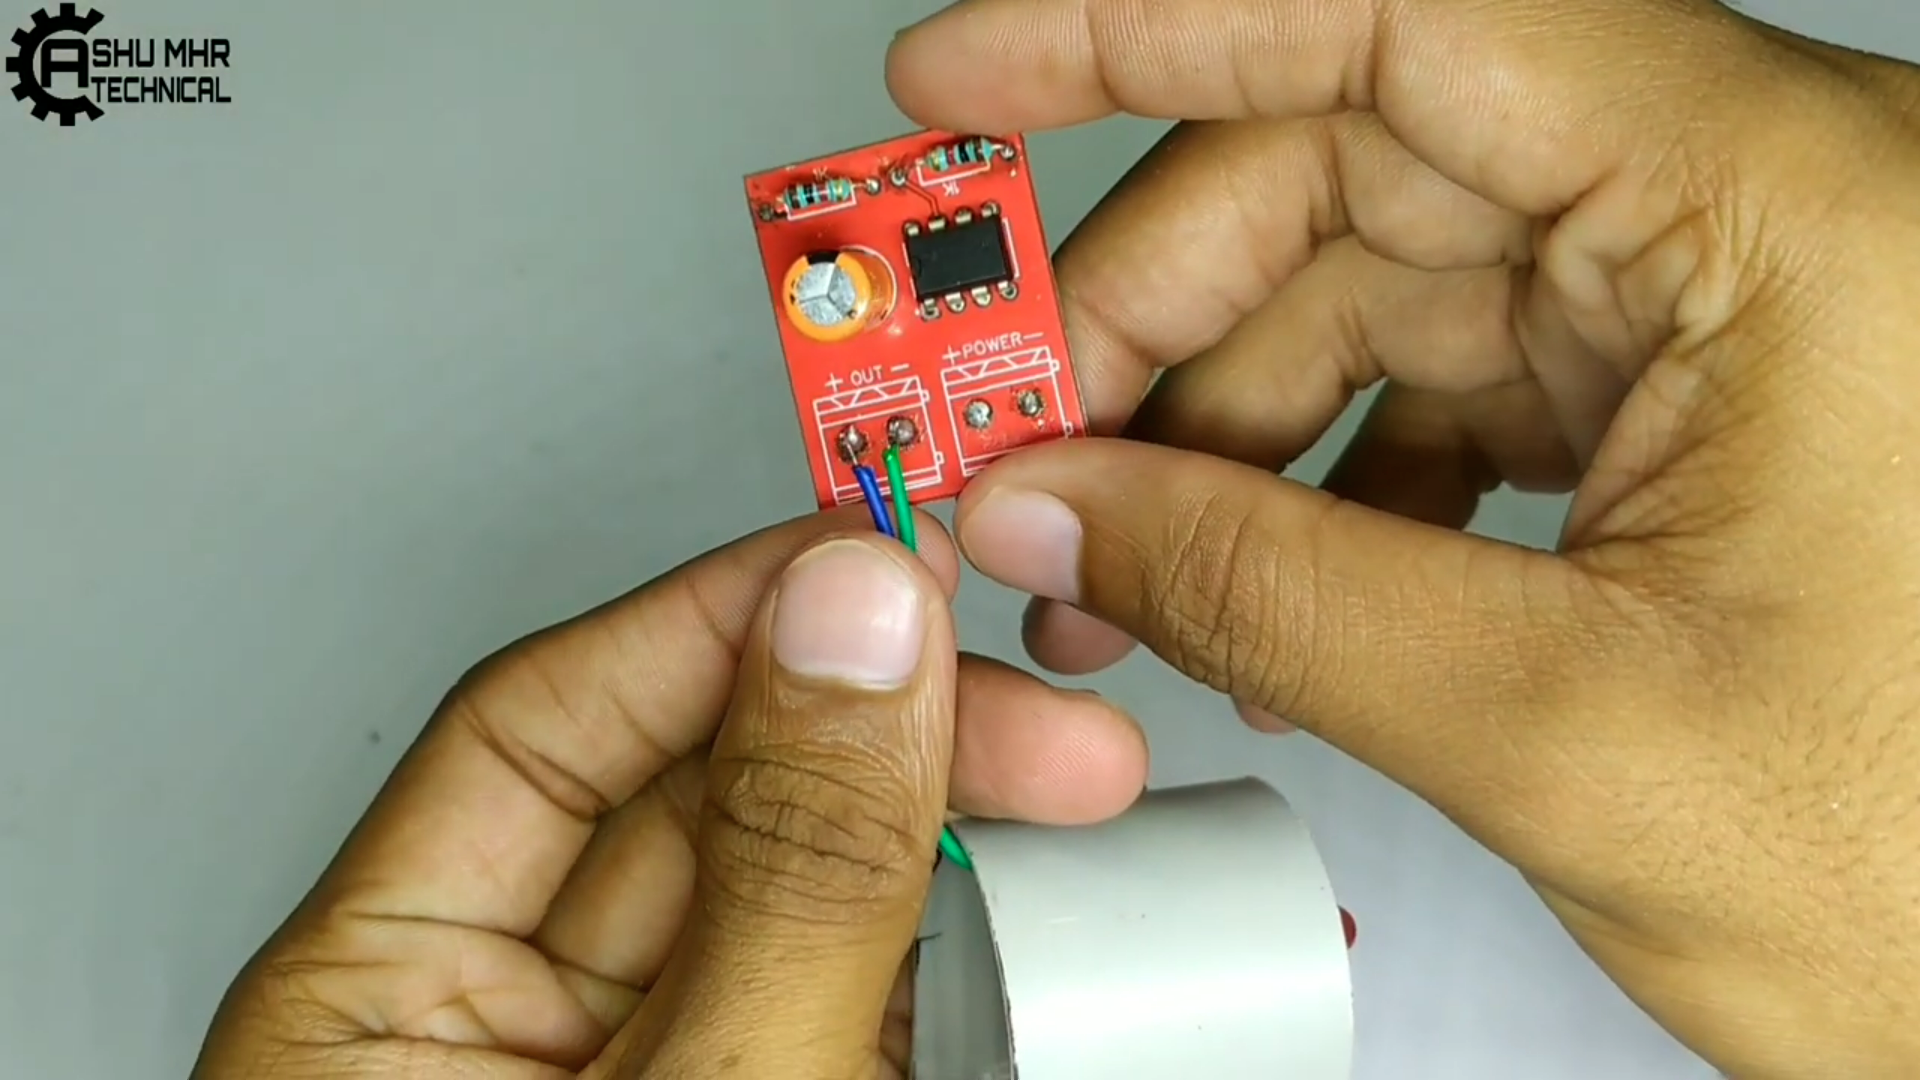
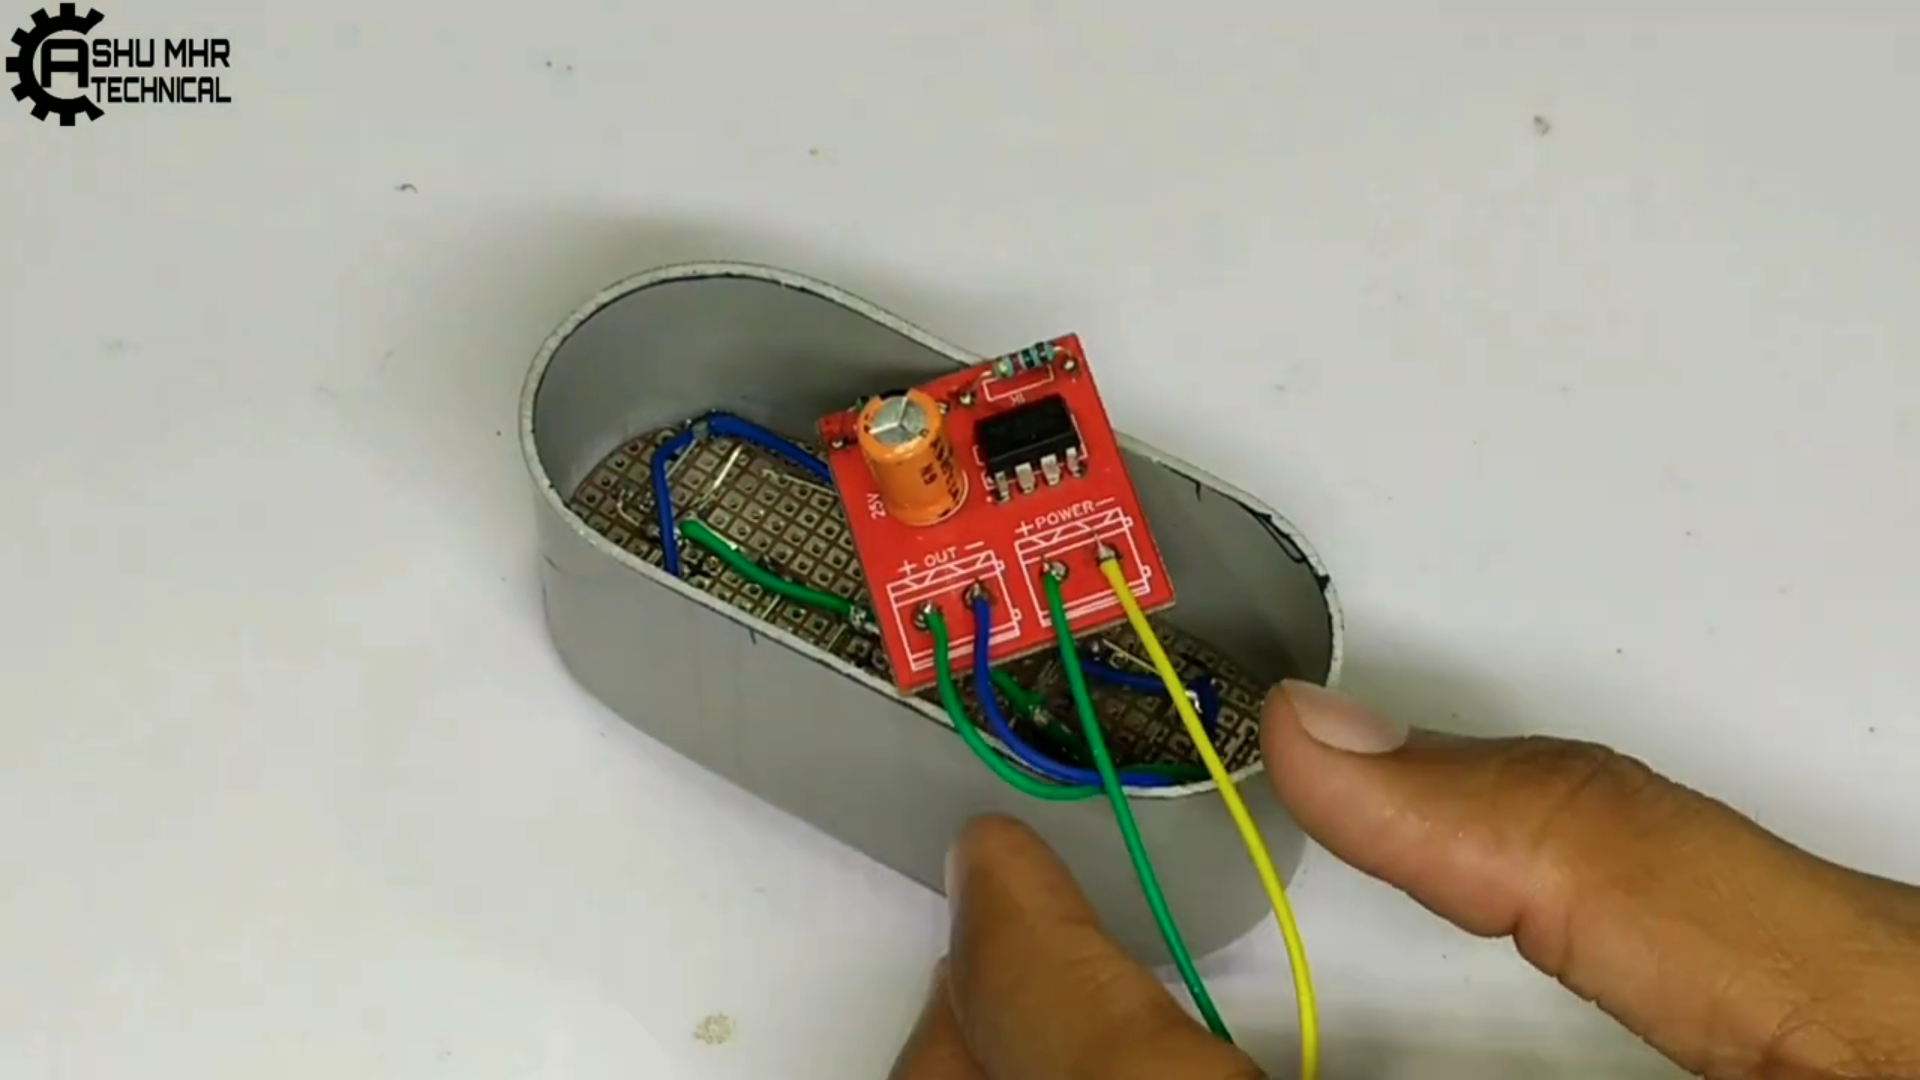
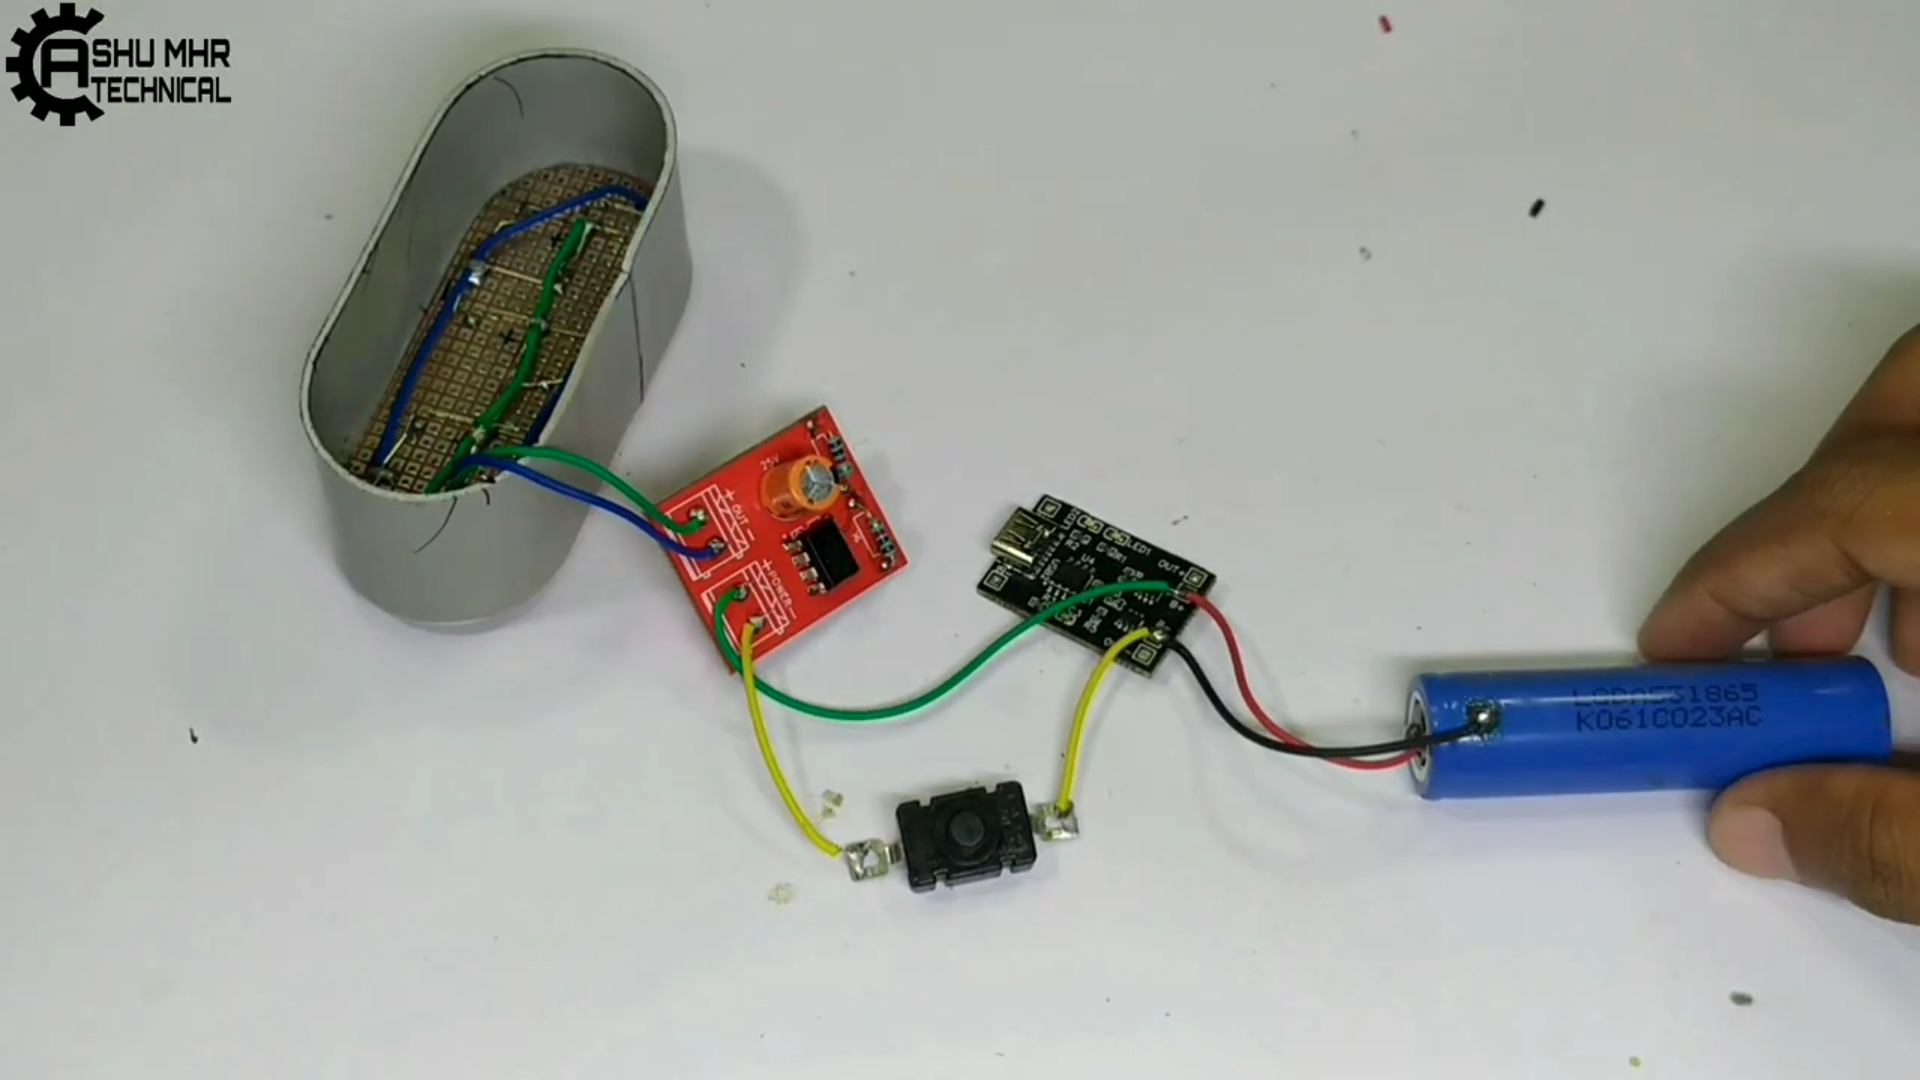
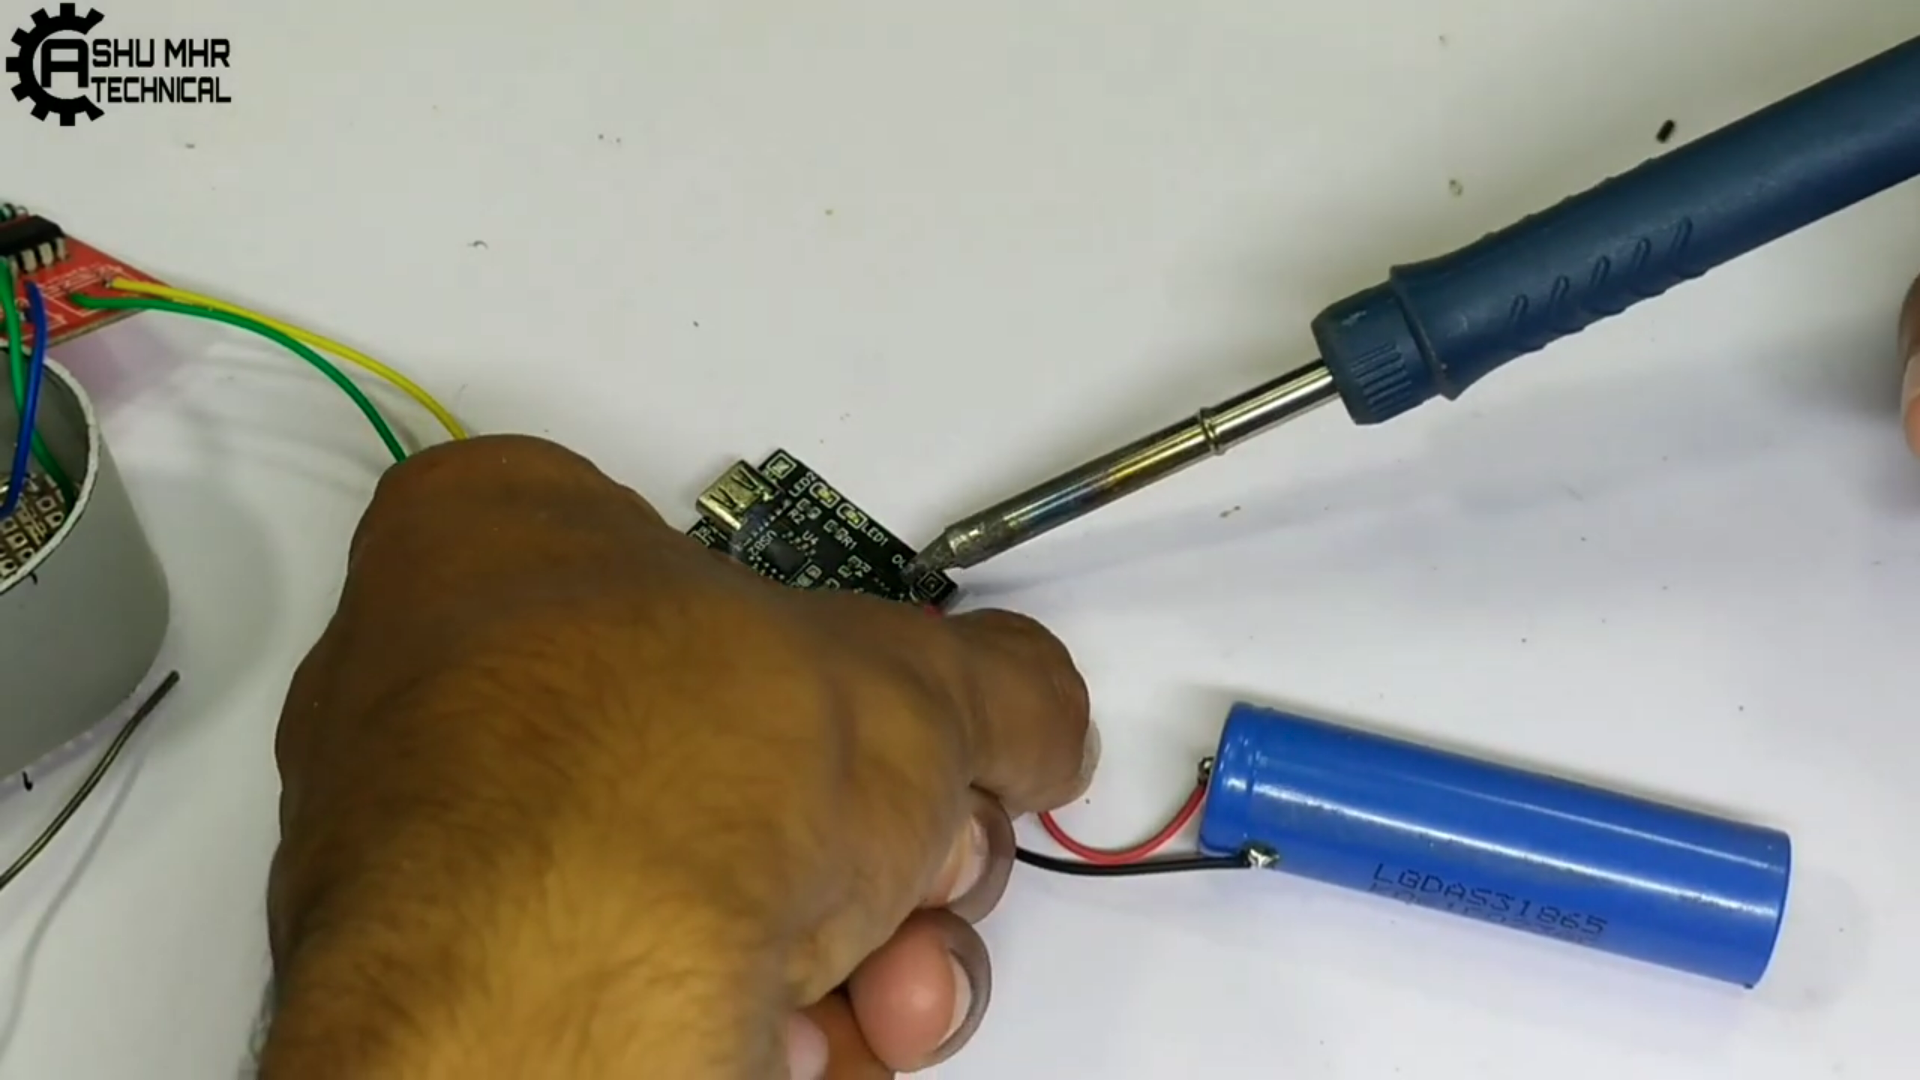
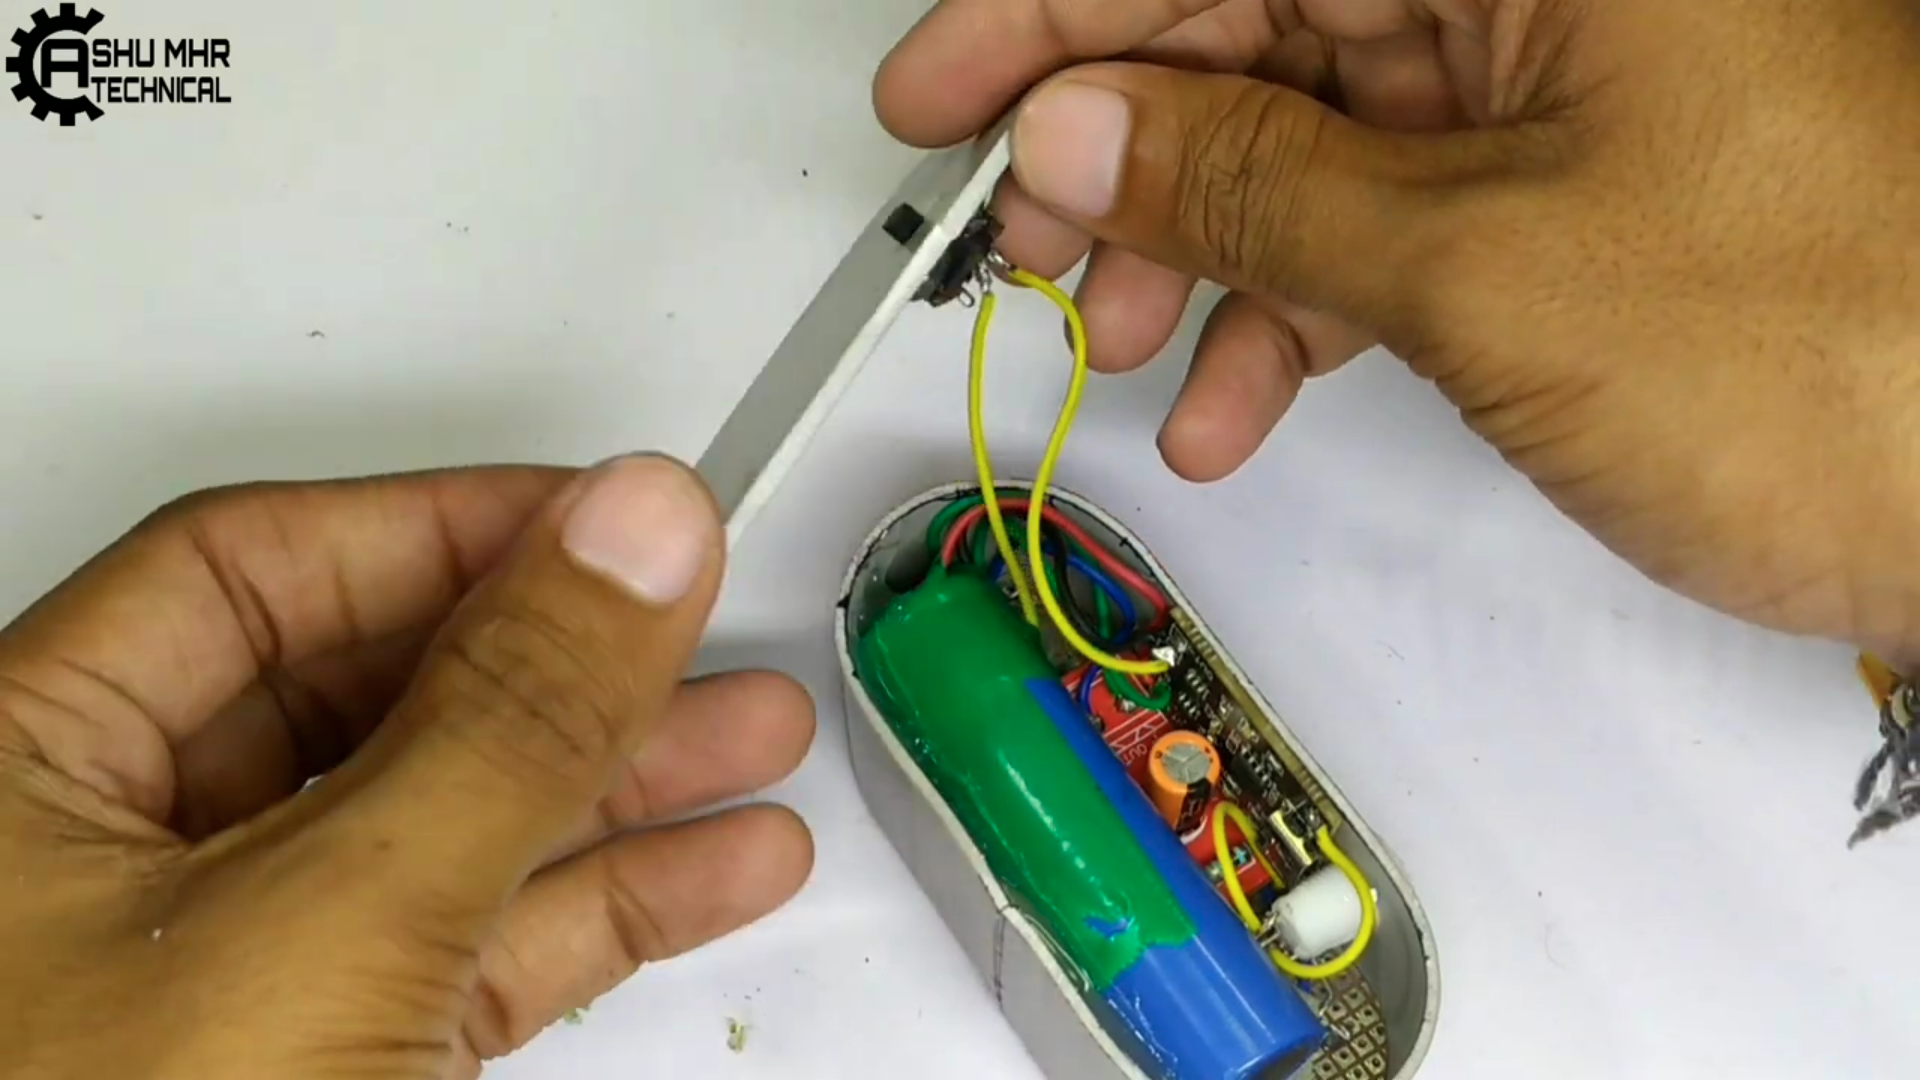
Connection of Battery and Charging Circuit.
Connecting Battery And Charging Circuit To PCB.
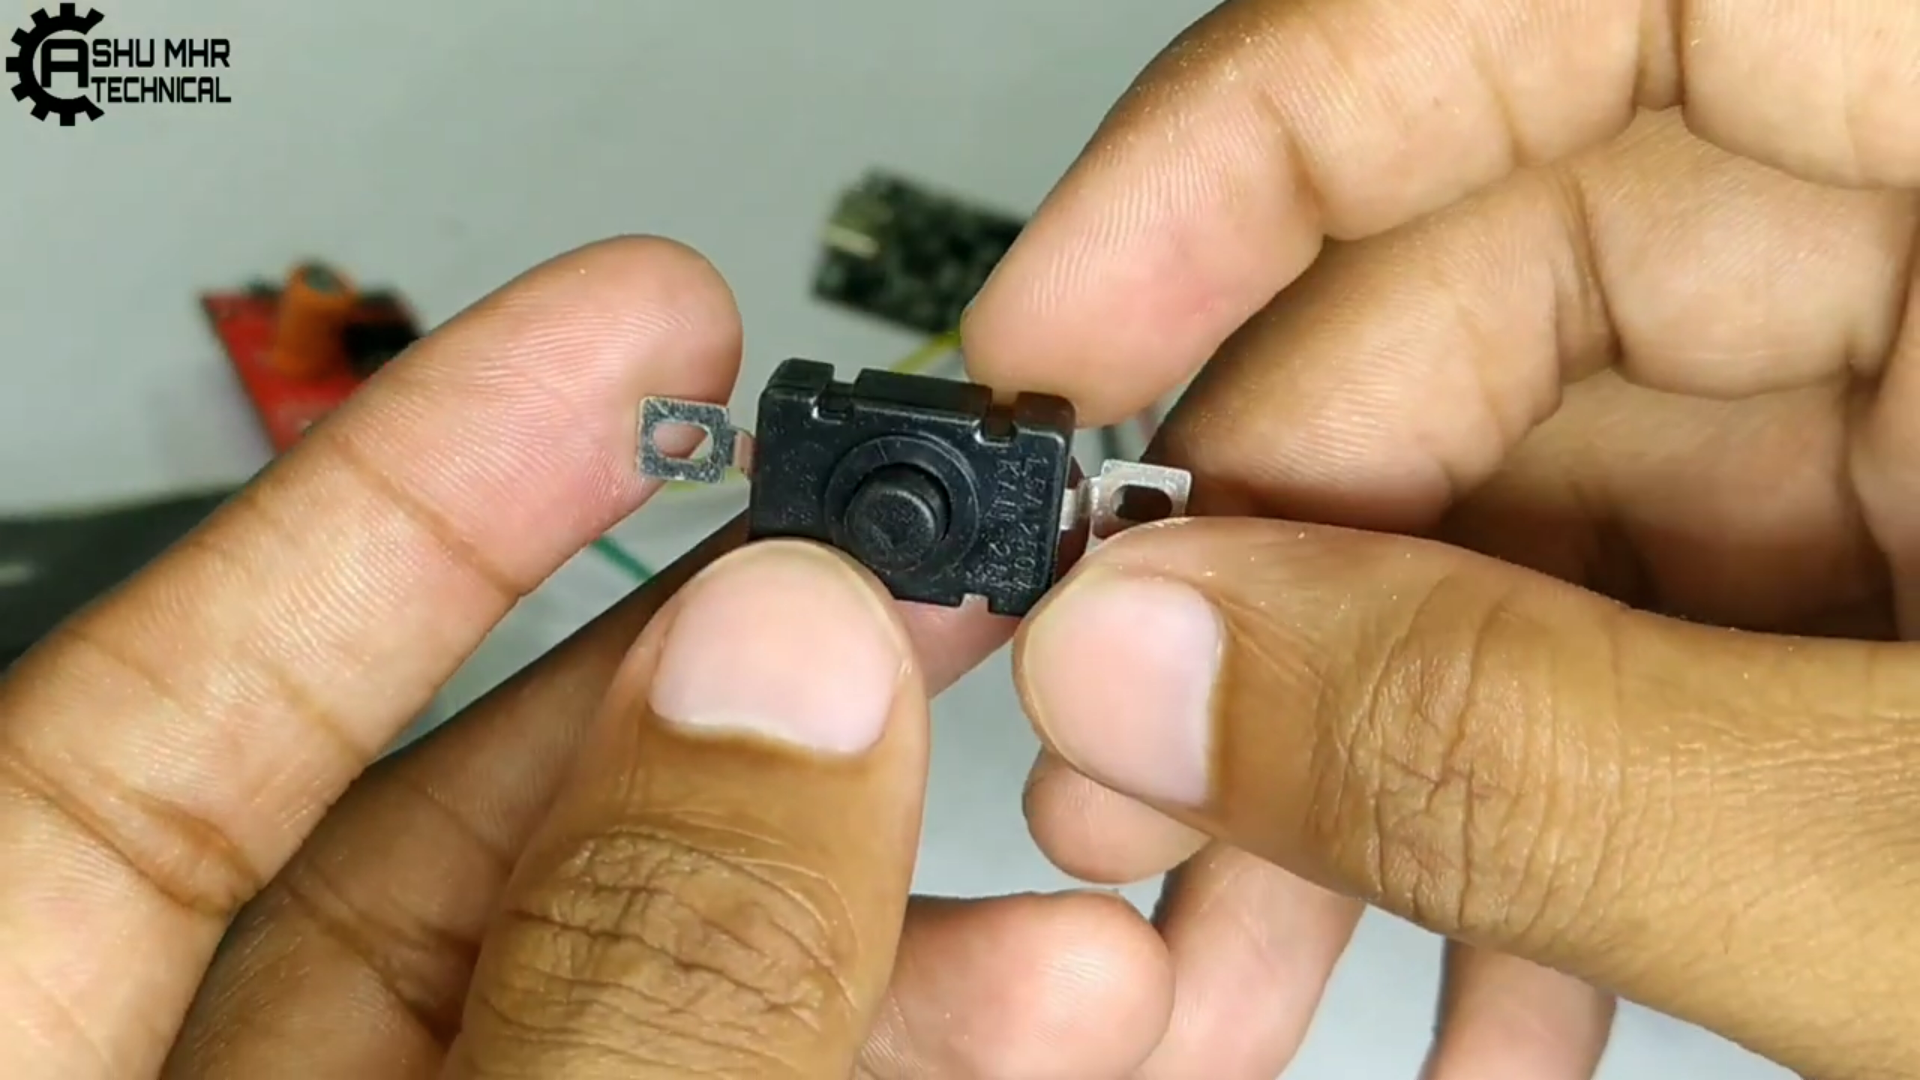
Solder the battery connector to charging module and add a switch in between negative terminal.
All the polarities are mentioned on the PCB.
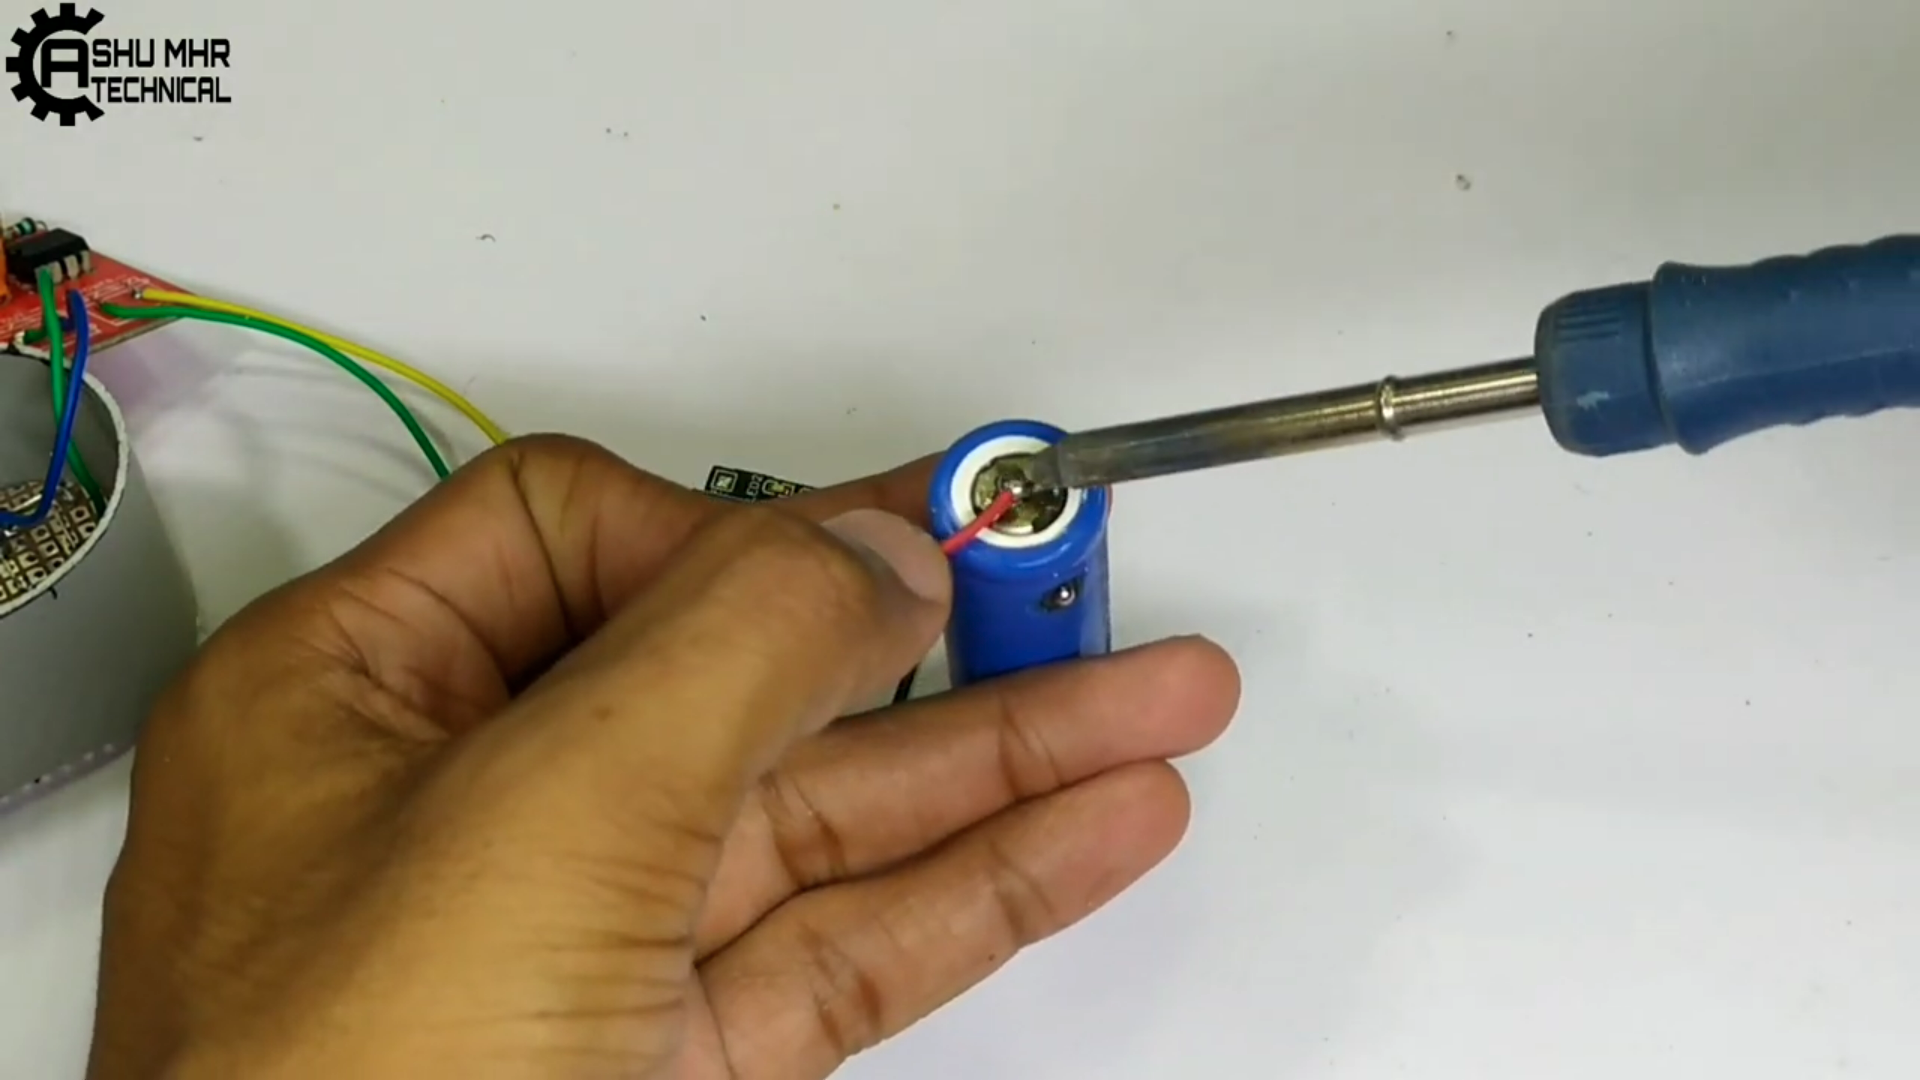
7
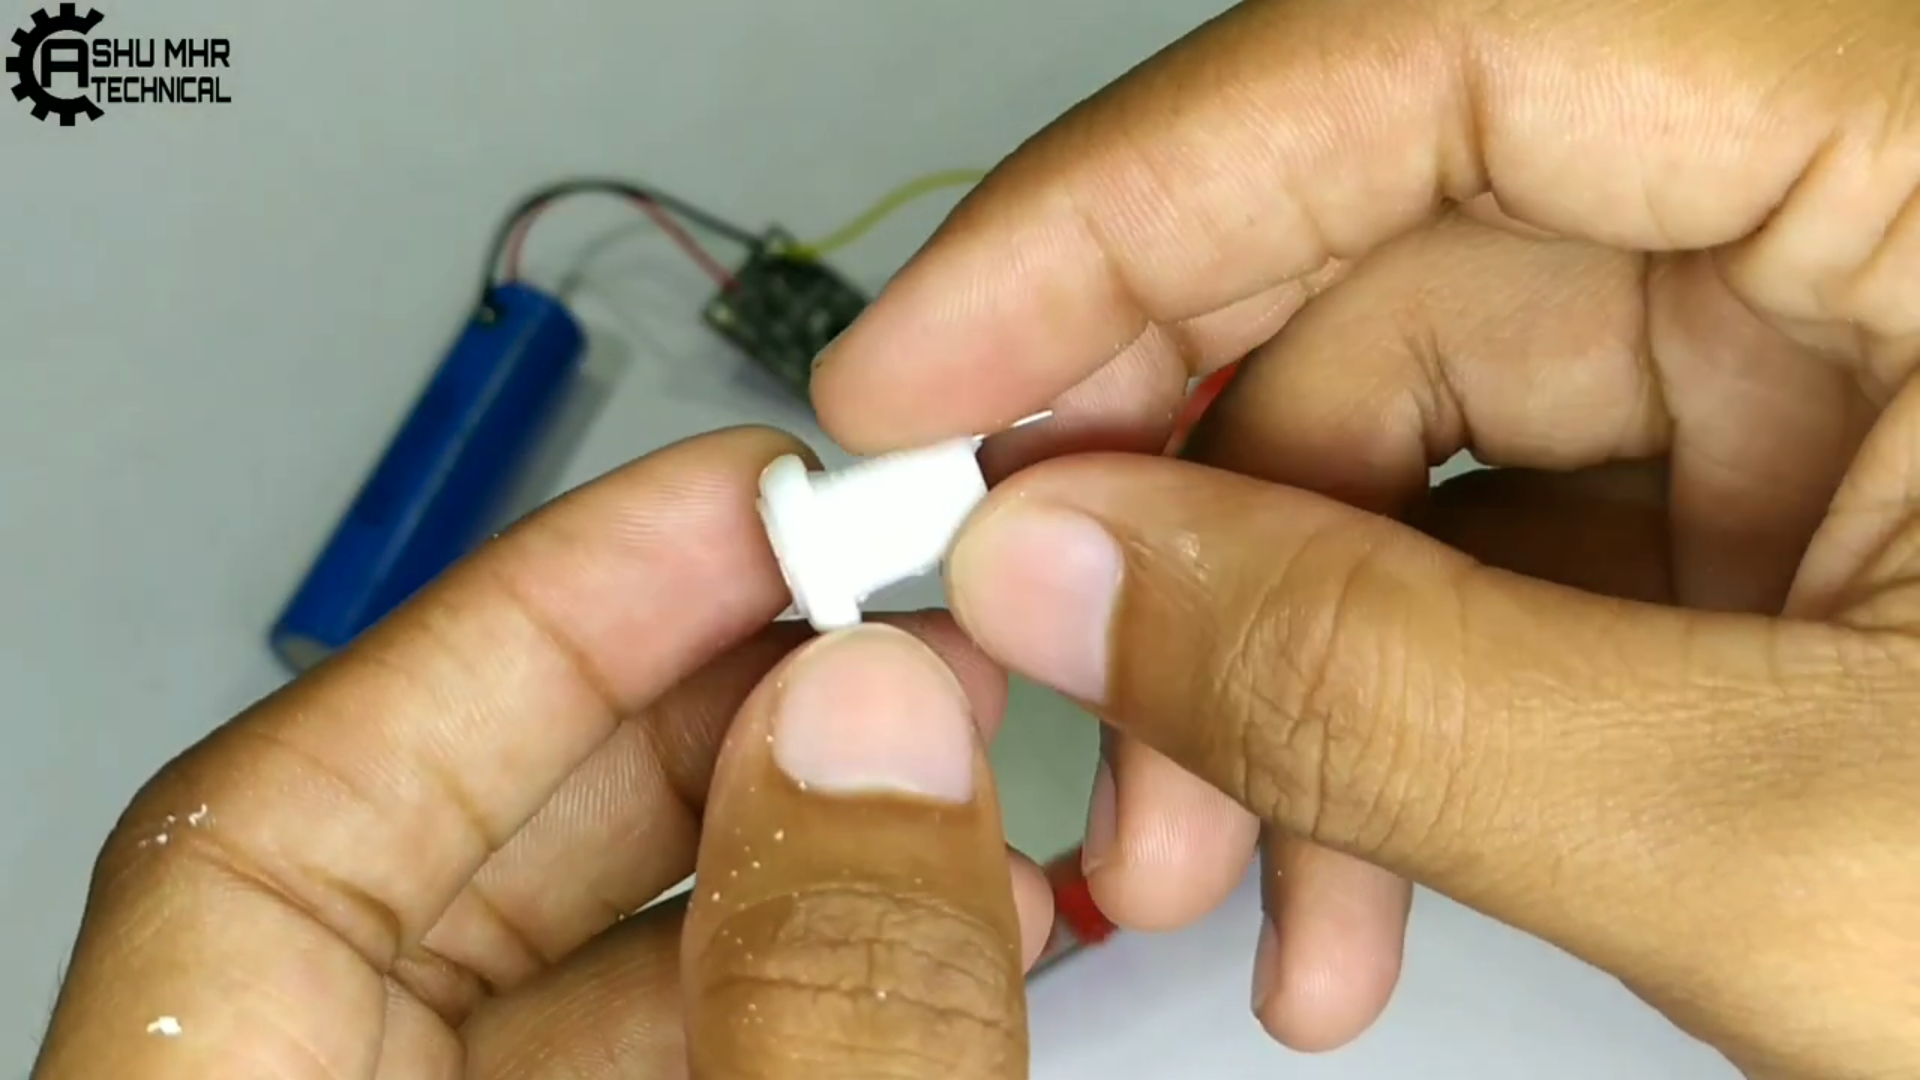
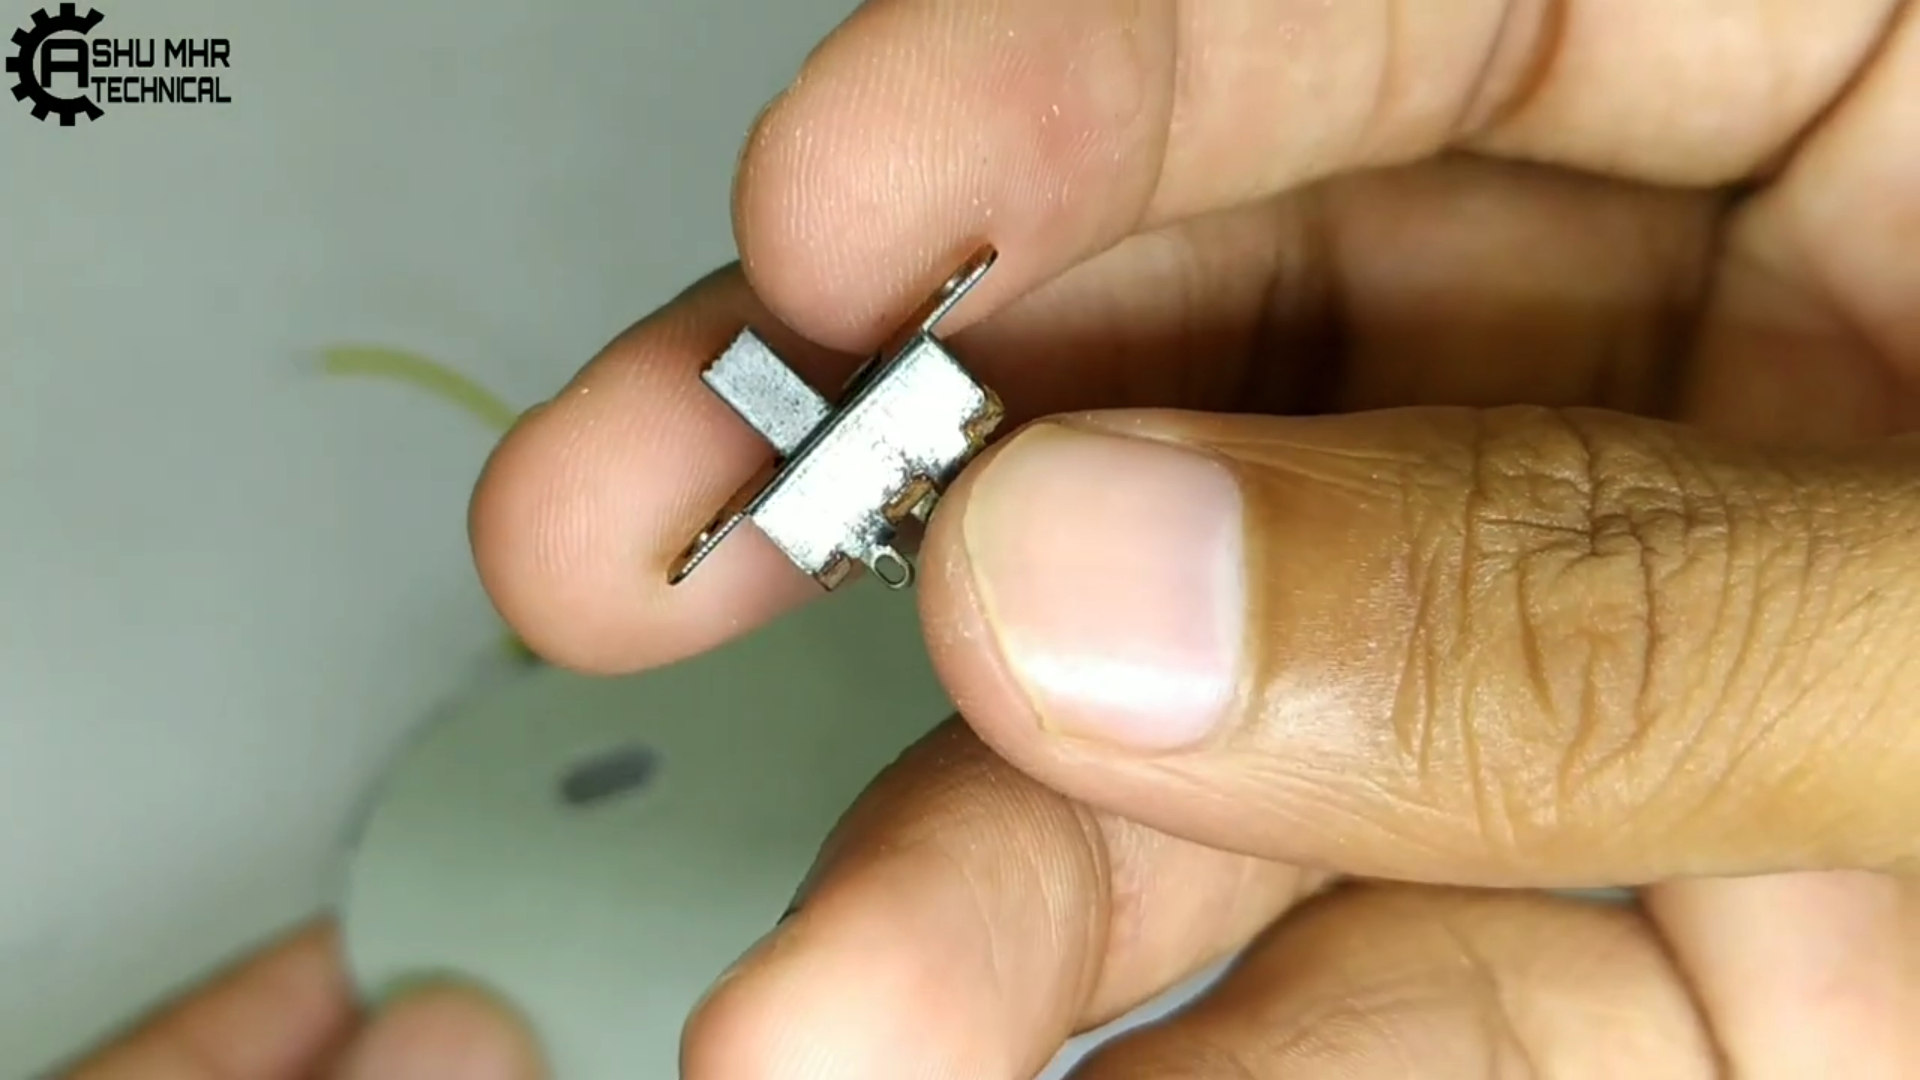
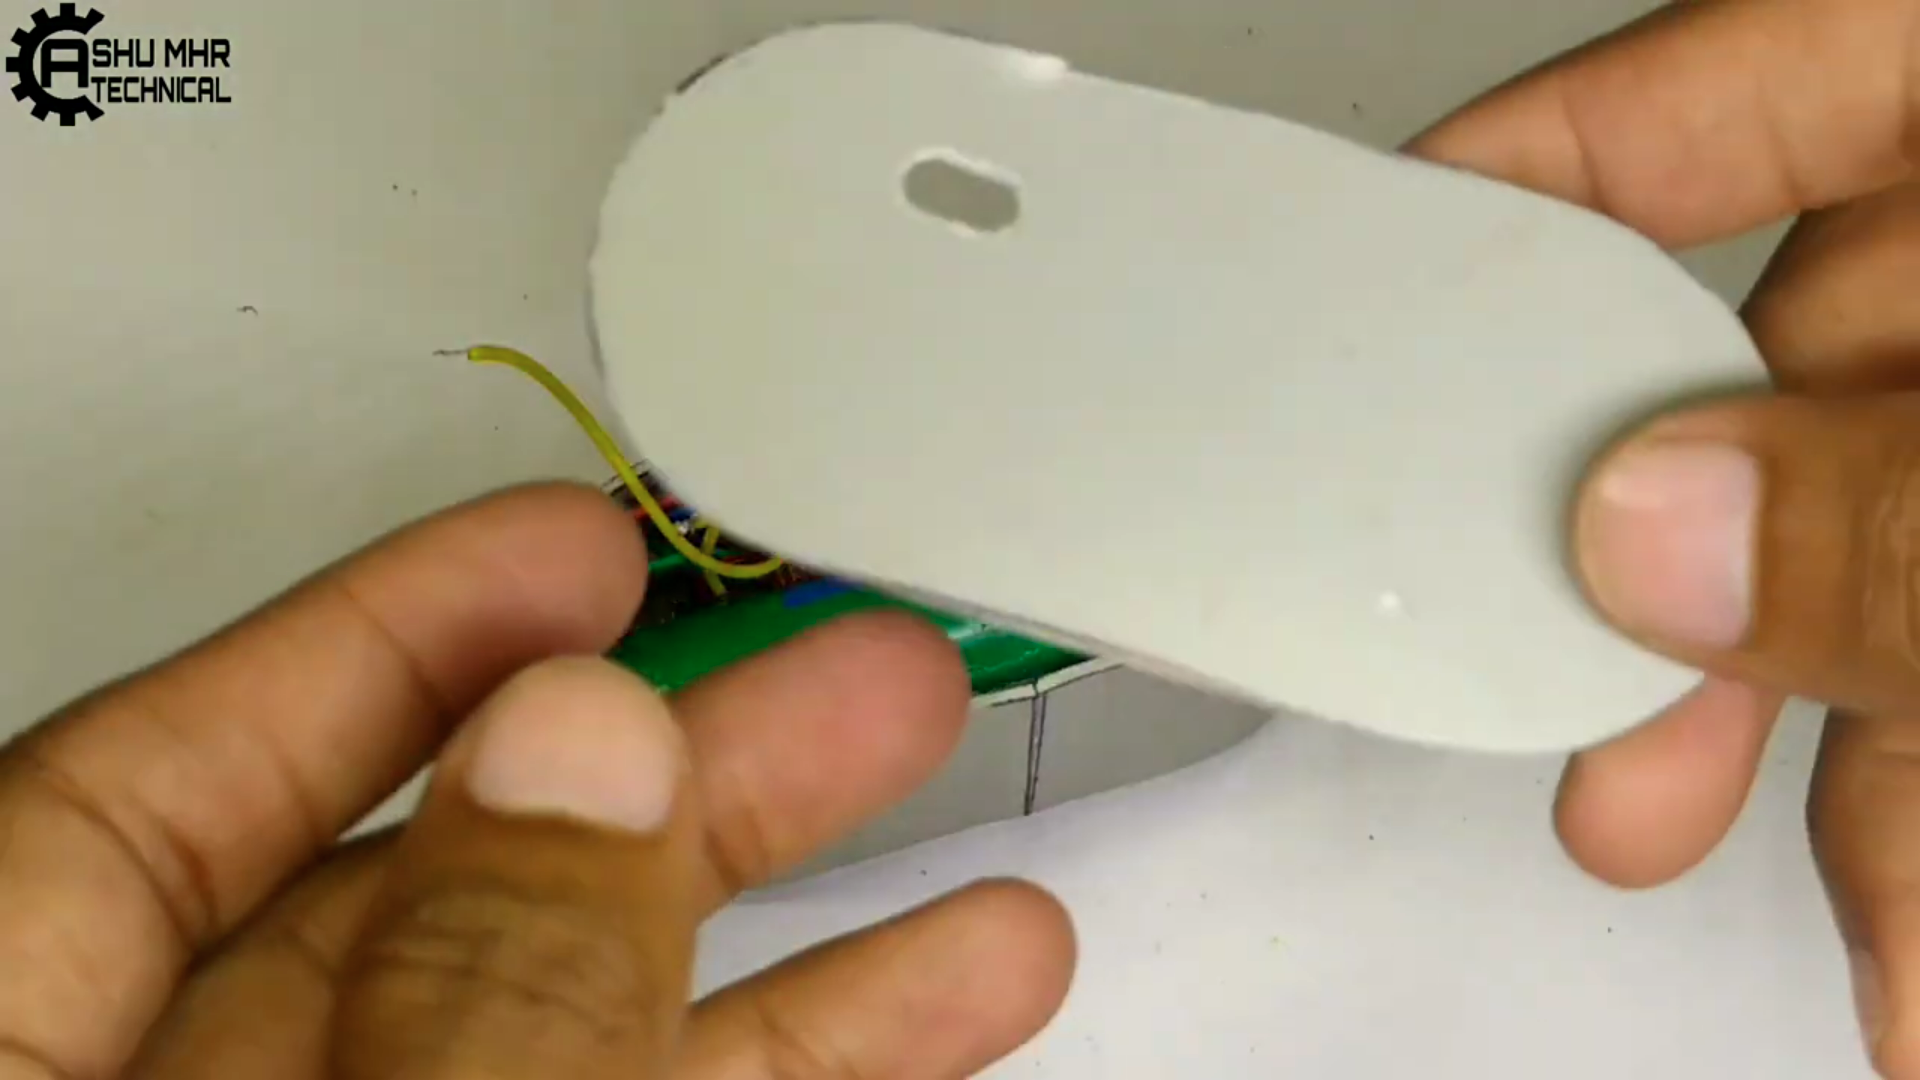
Soldering Remaining Connections & Enclosing the Body.
Now solder the wires from LED, Battery, and Switch.
Then stick all the remaining joints of PVC body with super glue.
8
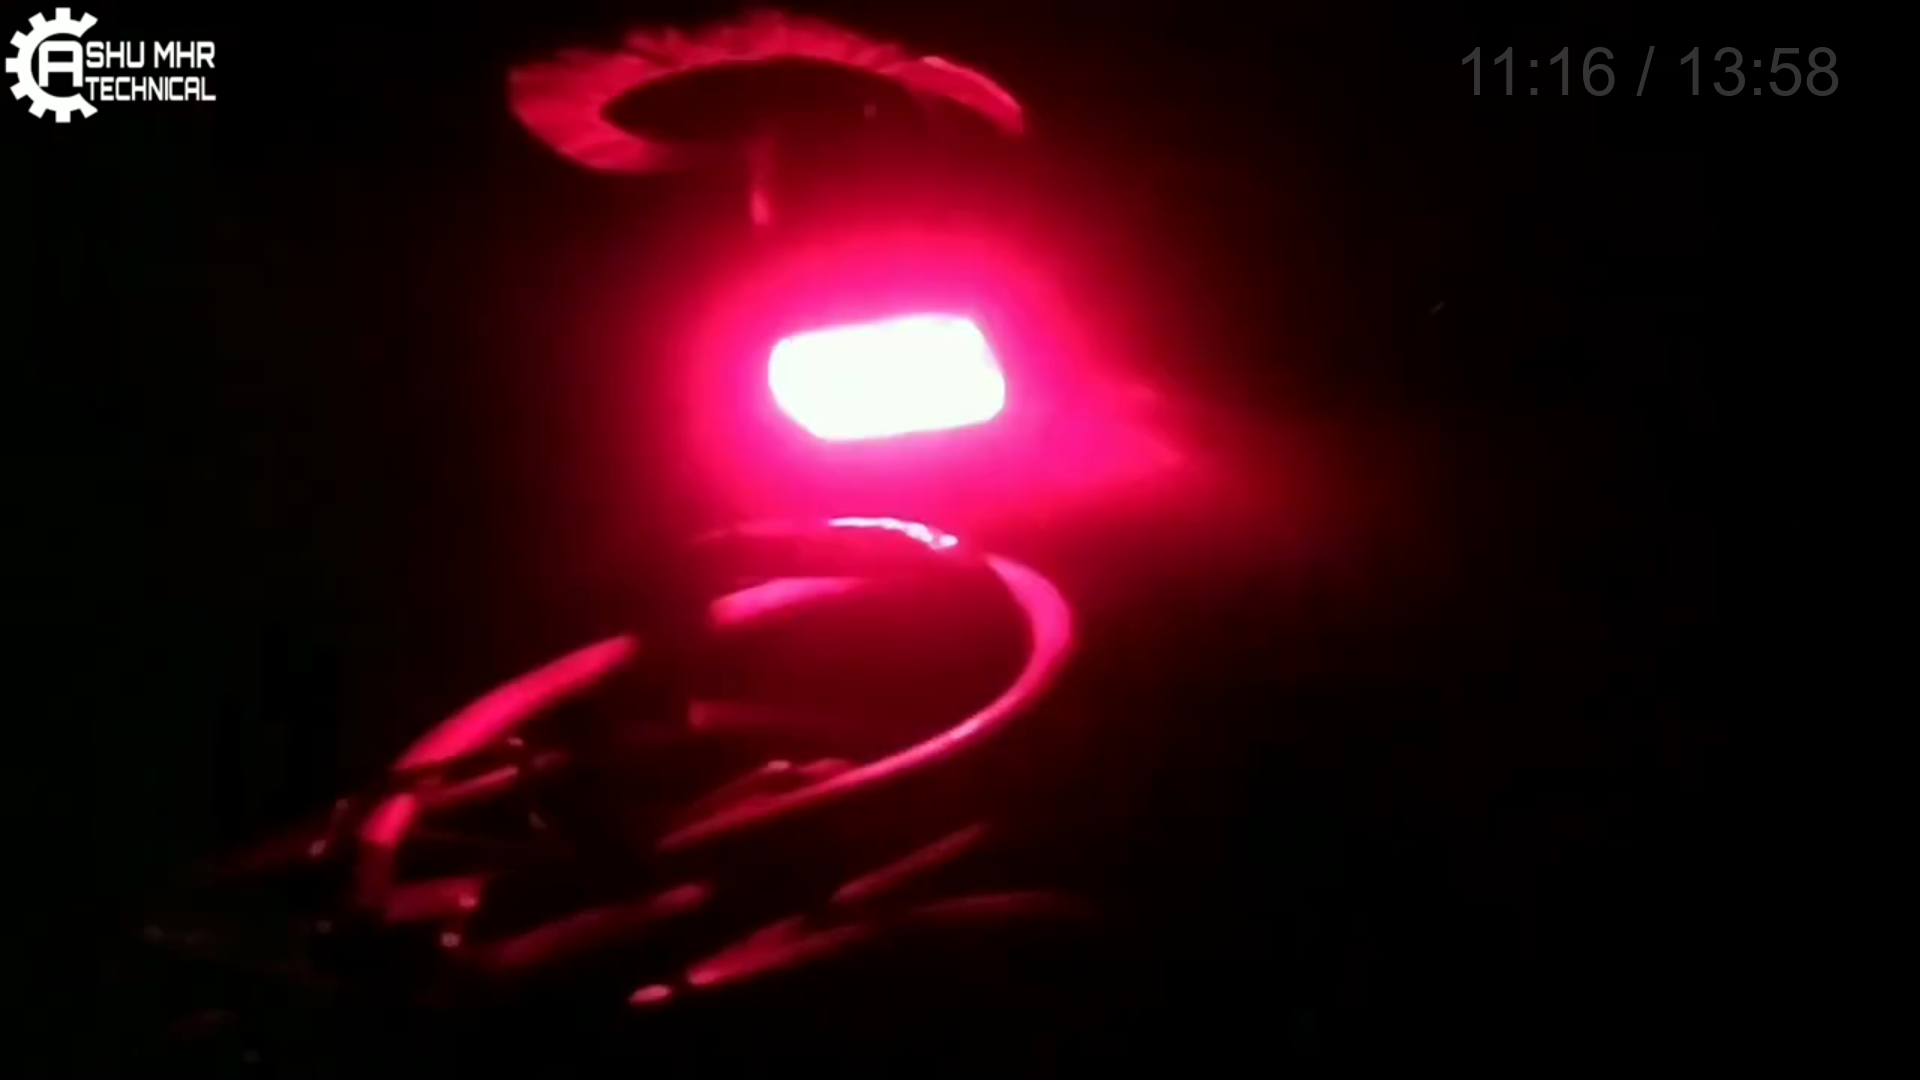
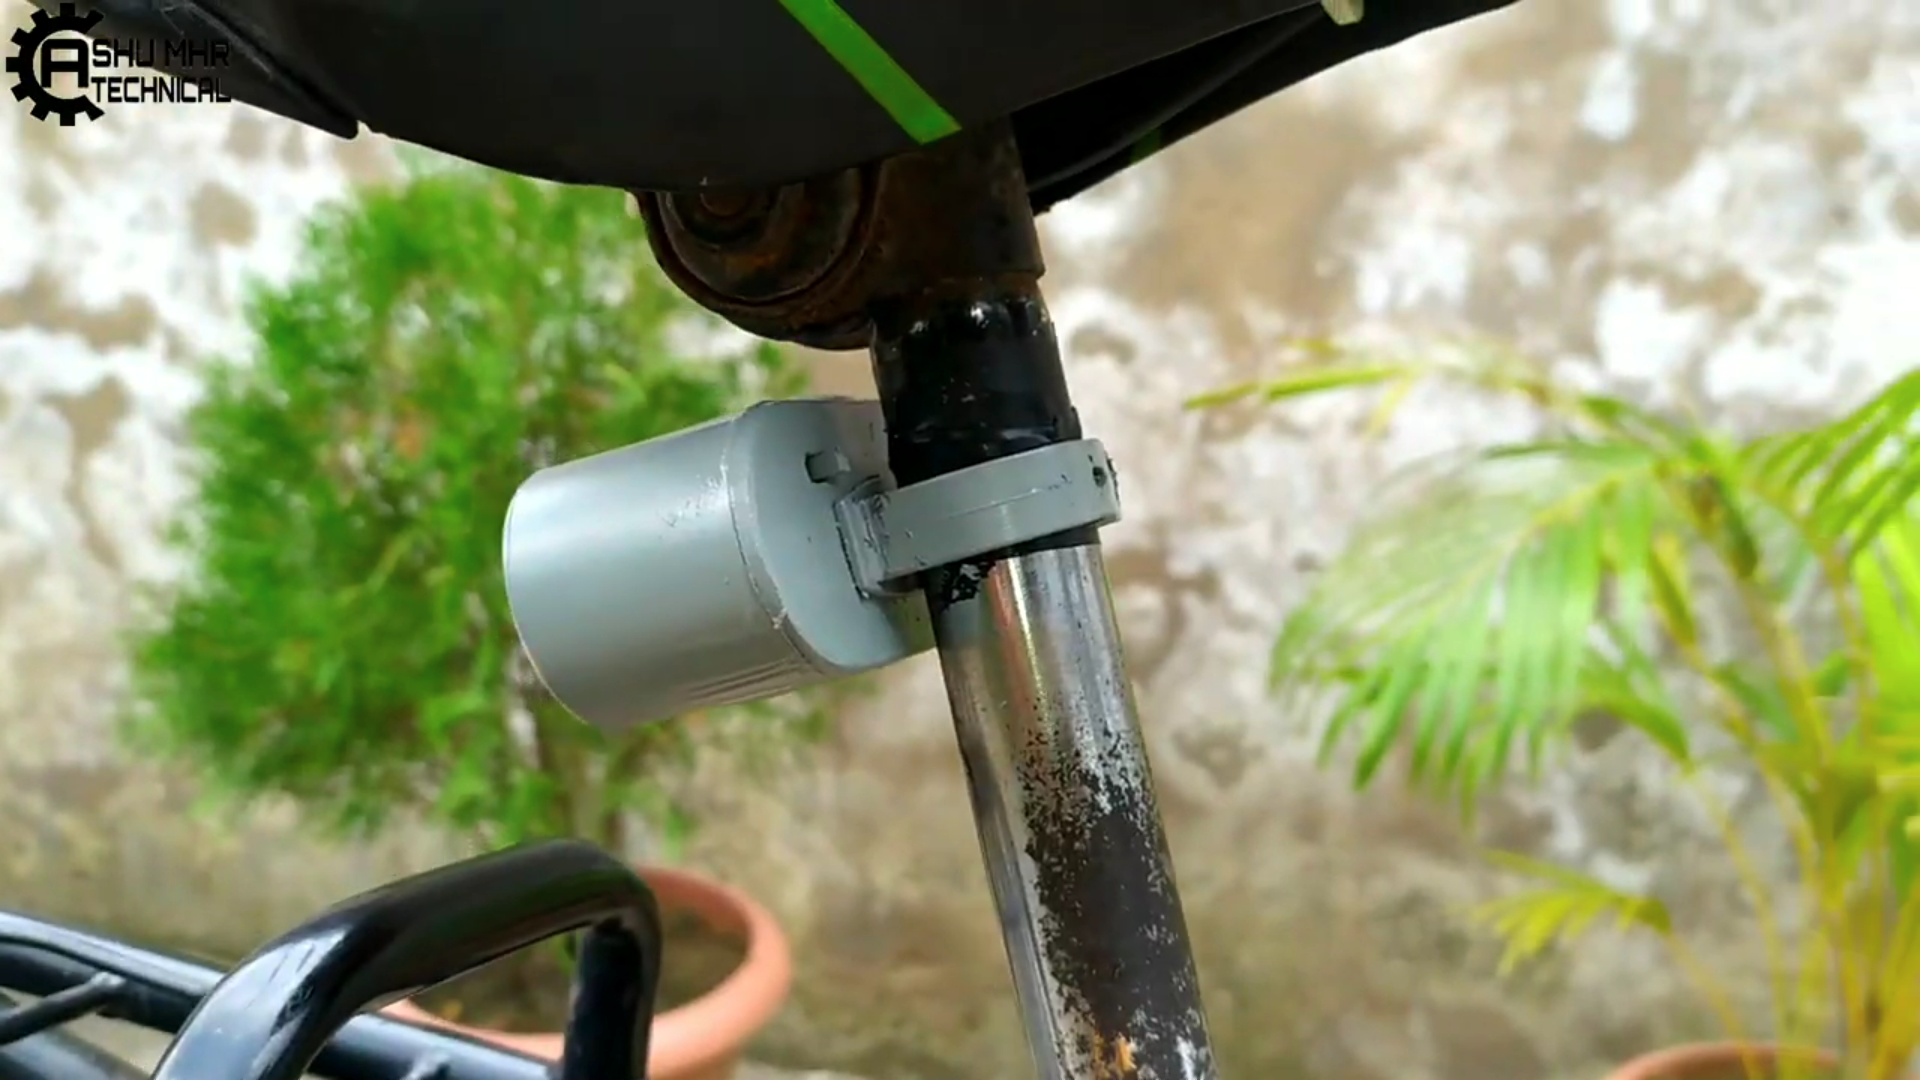
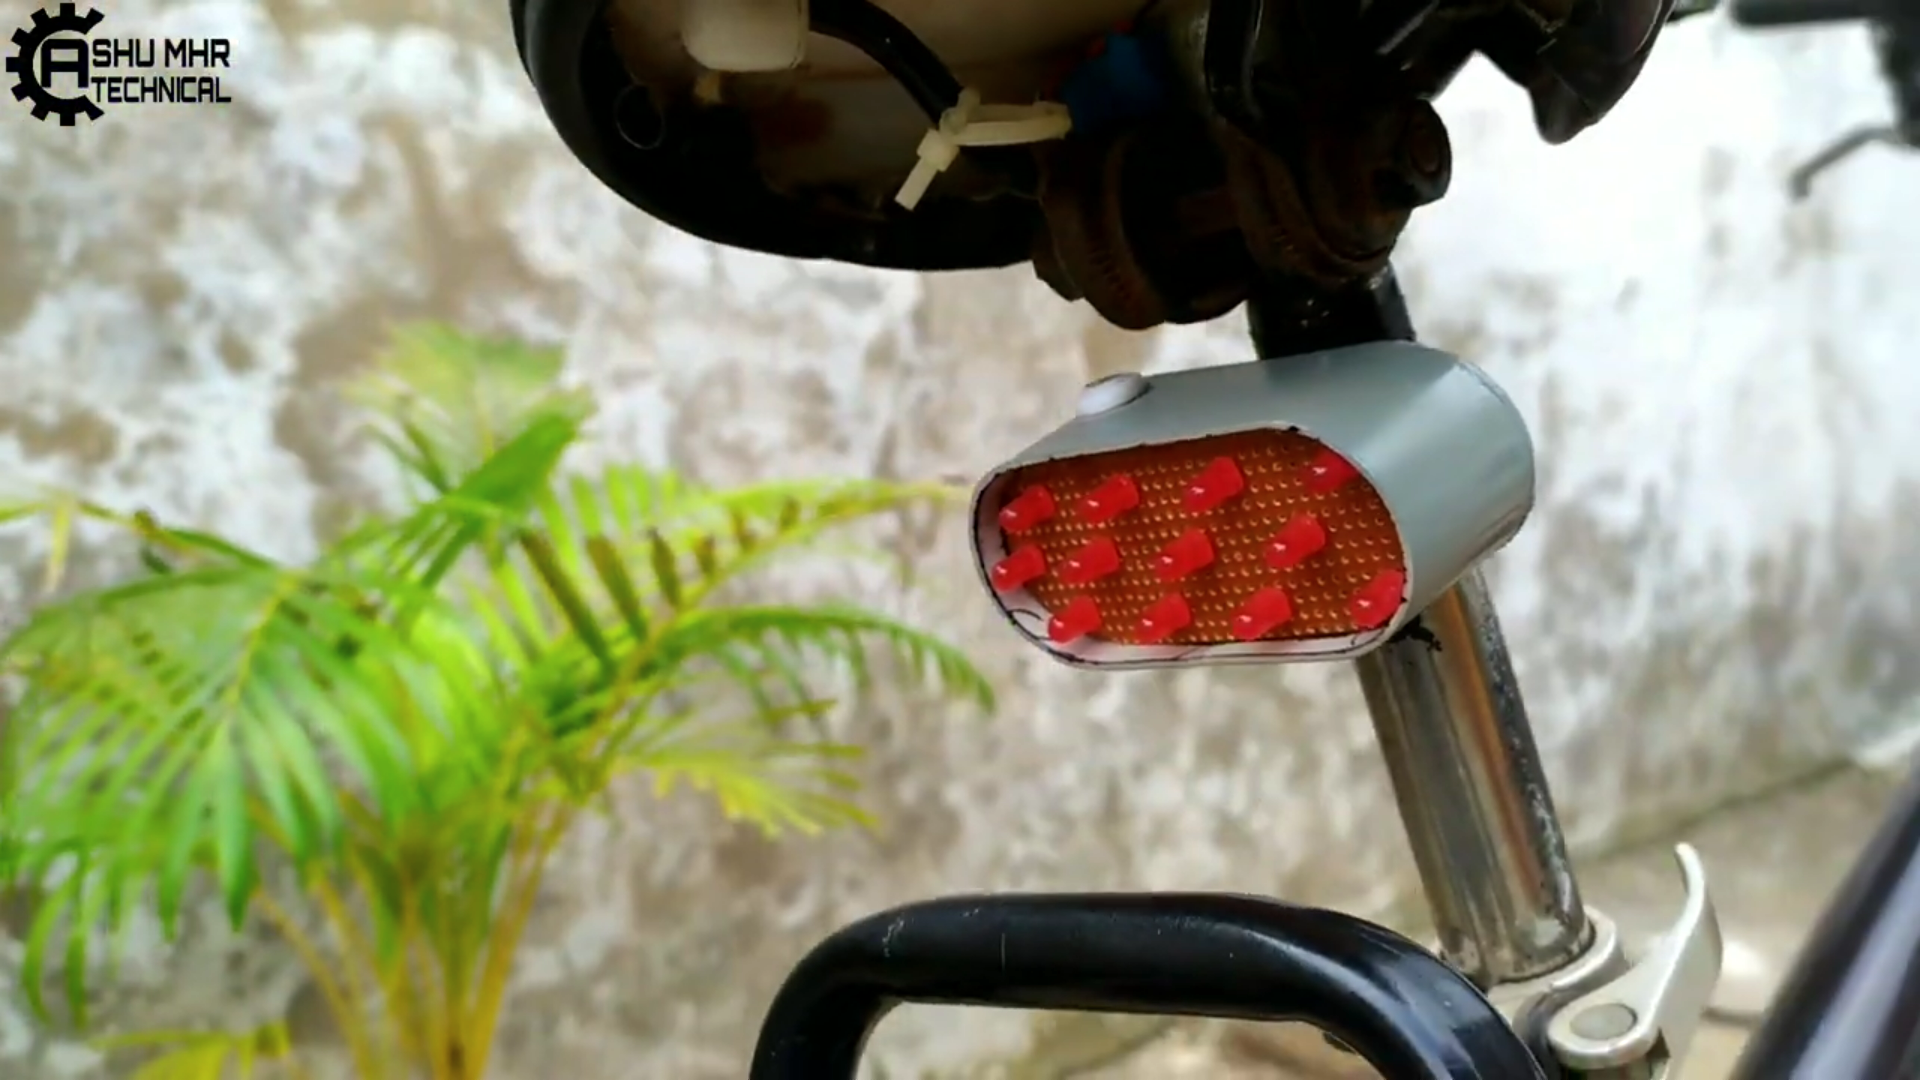
Testing.
Finally testing the DIY Cycle Tail Lights.
Keep yourself safe with cycle tail lights! Make your bike safe with these quick, easy DIY cycle tail lights!
New users will also get some coupons while registering at JLCPCBvia this blue link.
Thank you for reading this guide, hopefully, this guide provides full steps to help you to create your own DIY Cycle Tail Lights. If you have any questions please post them in the comment section below.
 ASHUMHRPROJECTS


Discussions
Become a Hackaday.io Member
Create an account to leave a comment. Already have an account? Log In.