Dennis Johansson
-
The result
10/14/2022 at 17:29 • 0 commentsI'm very happy with the result. After spending a lot of time studying the service manual It also feels like I have a better understanding of the inner workings of the Microkorg. Now I can continue enjoying this wonderful machine without the need for headphones or external speakers.
![]()
![]()
![]()
![]()
![]()
-
Putting it all together!
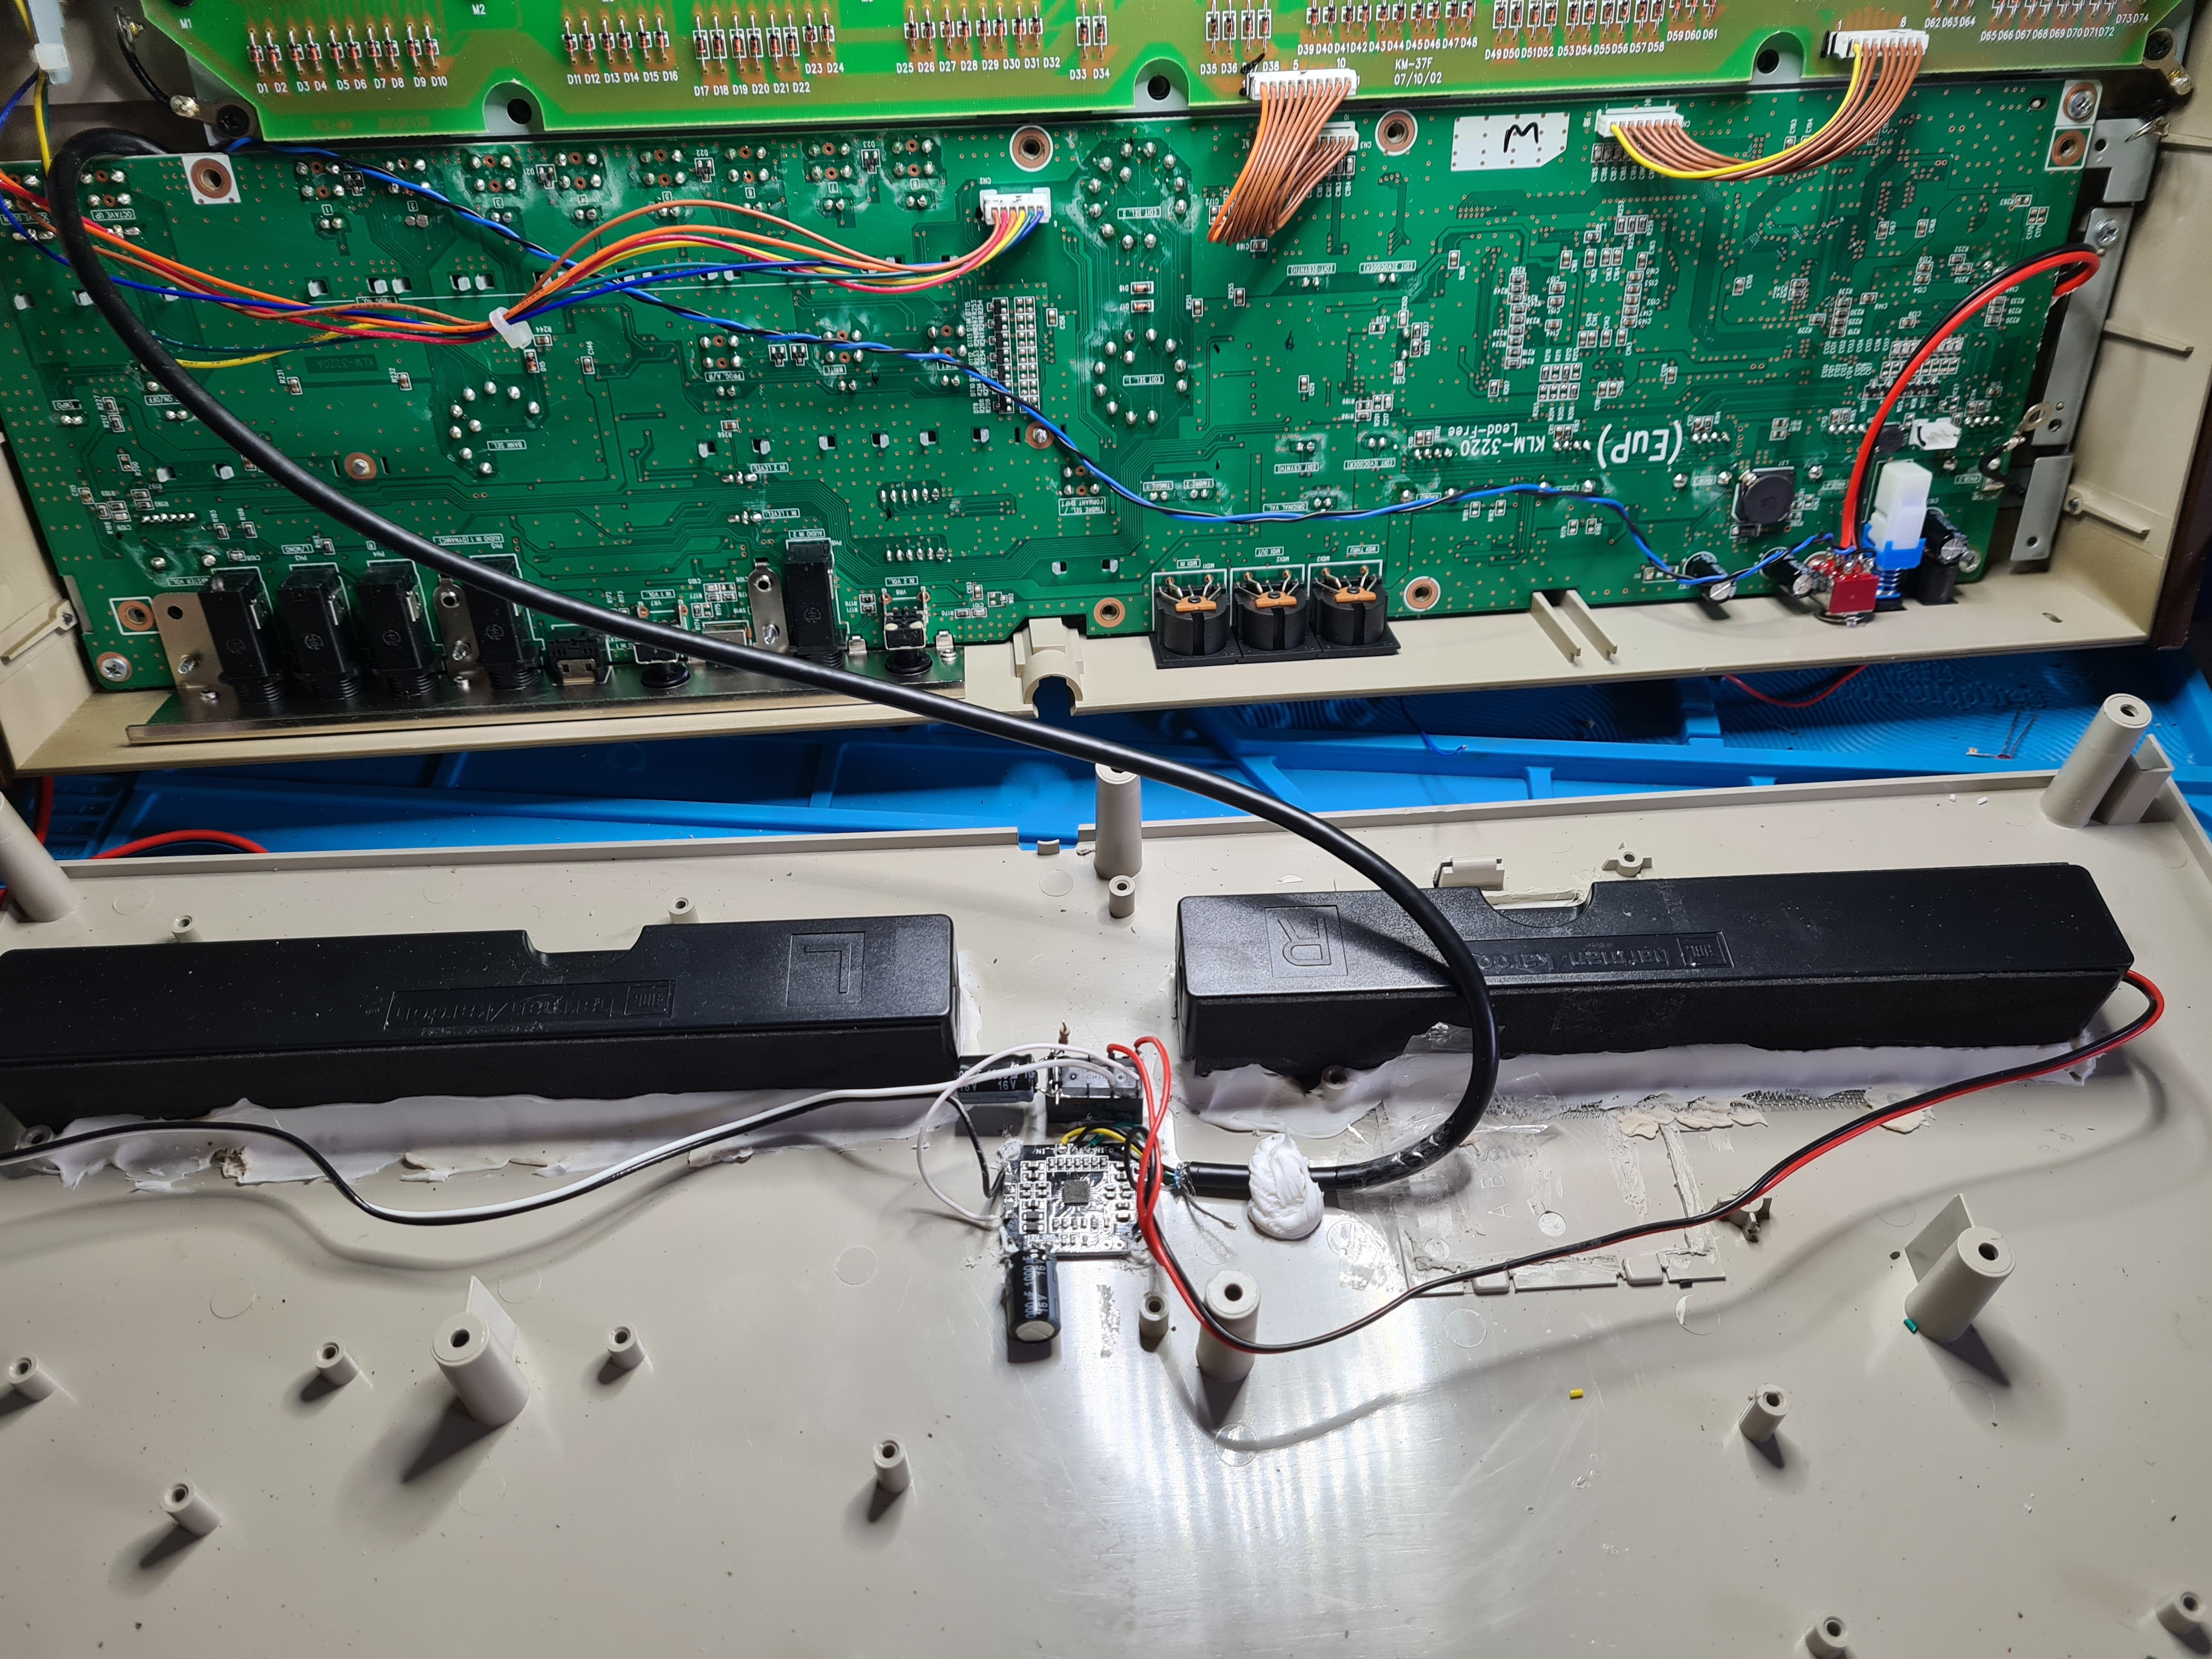
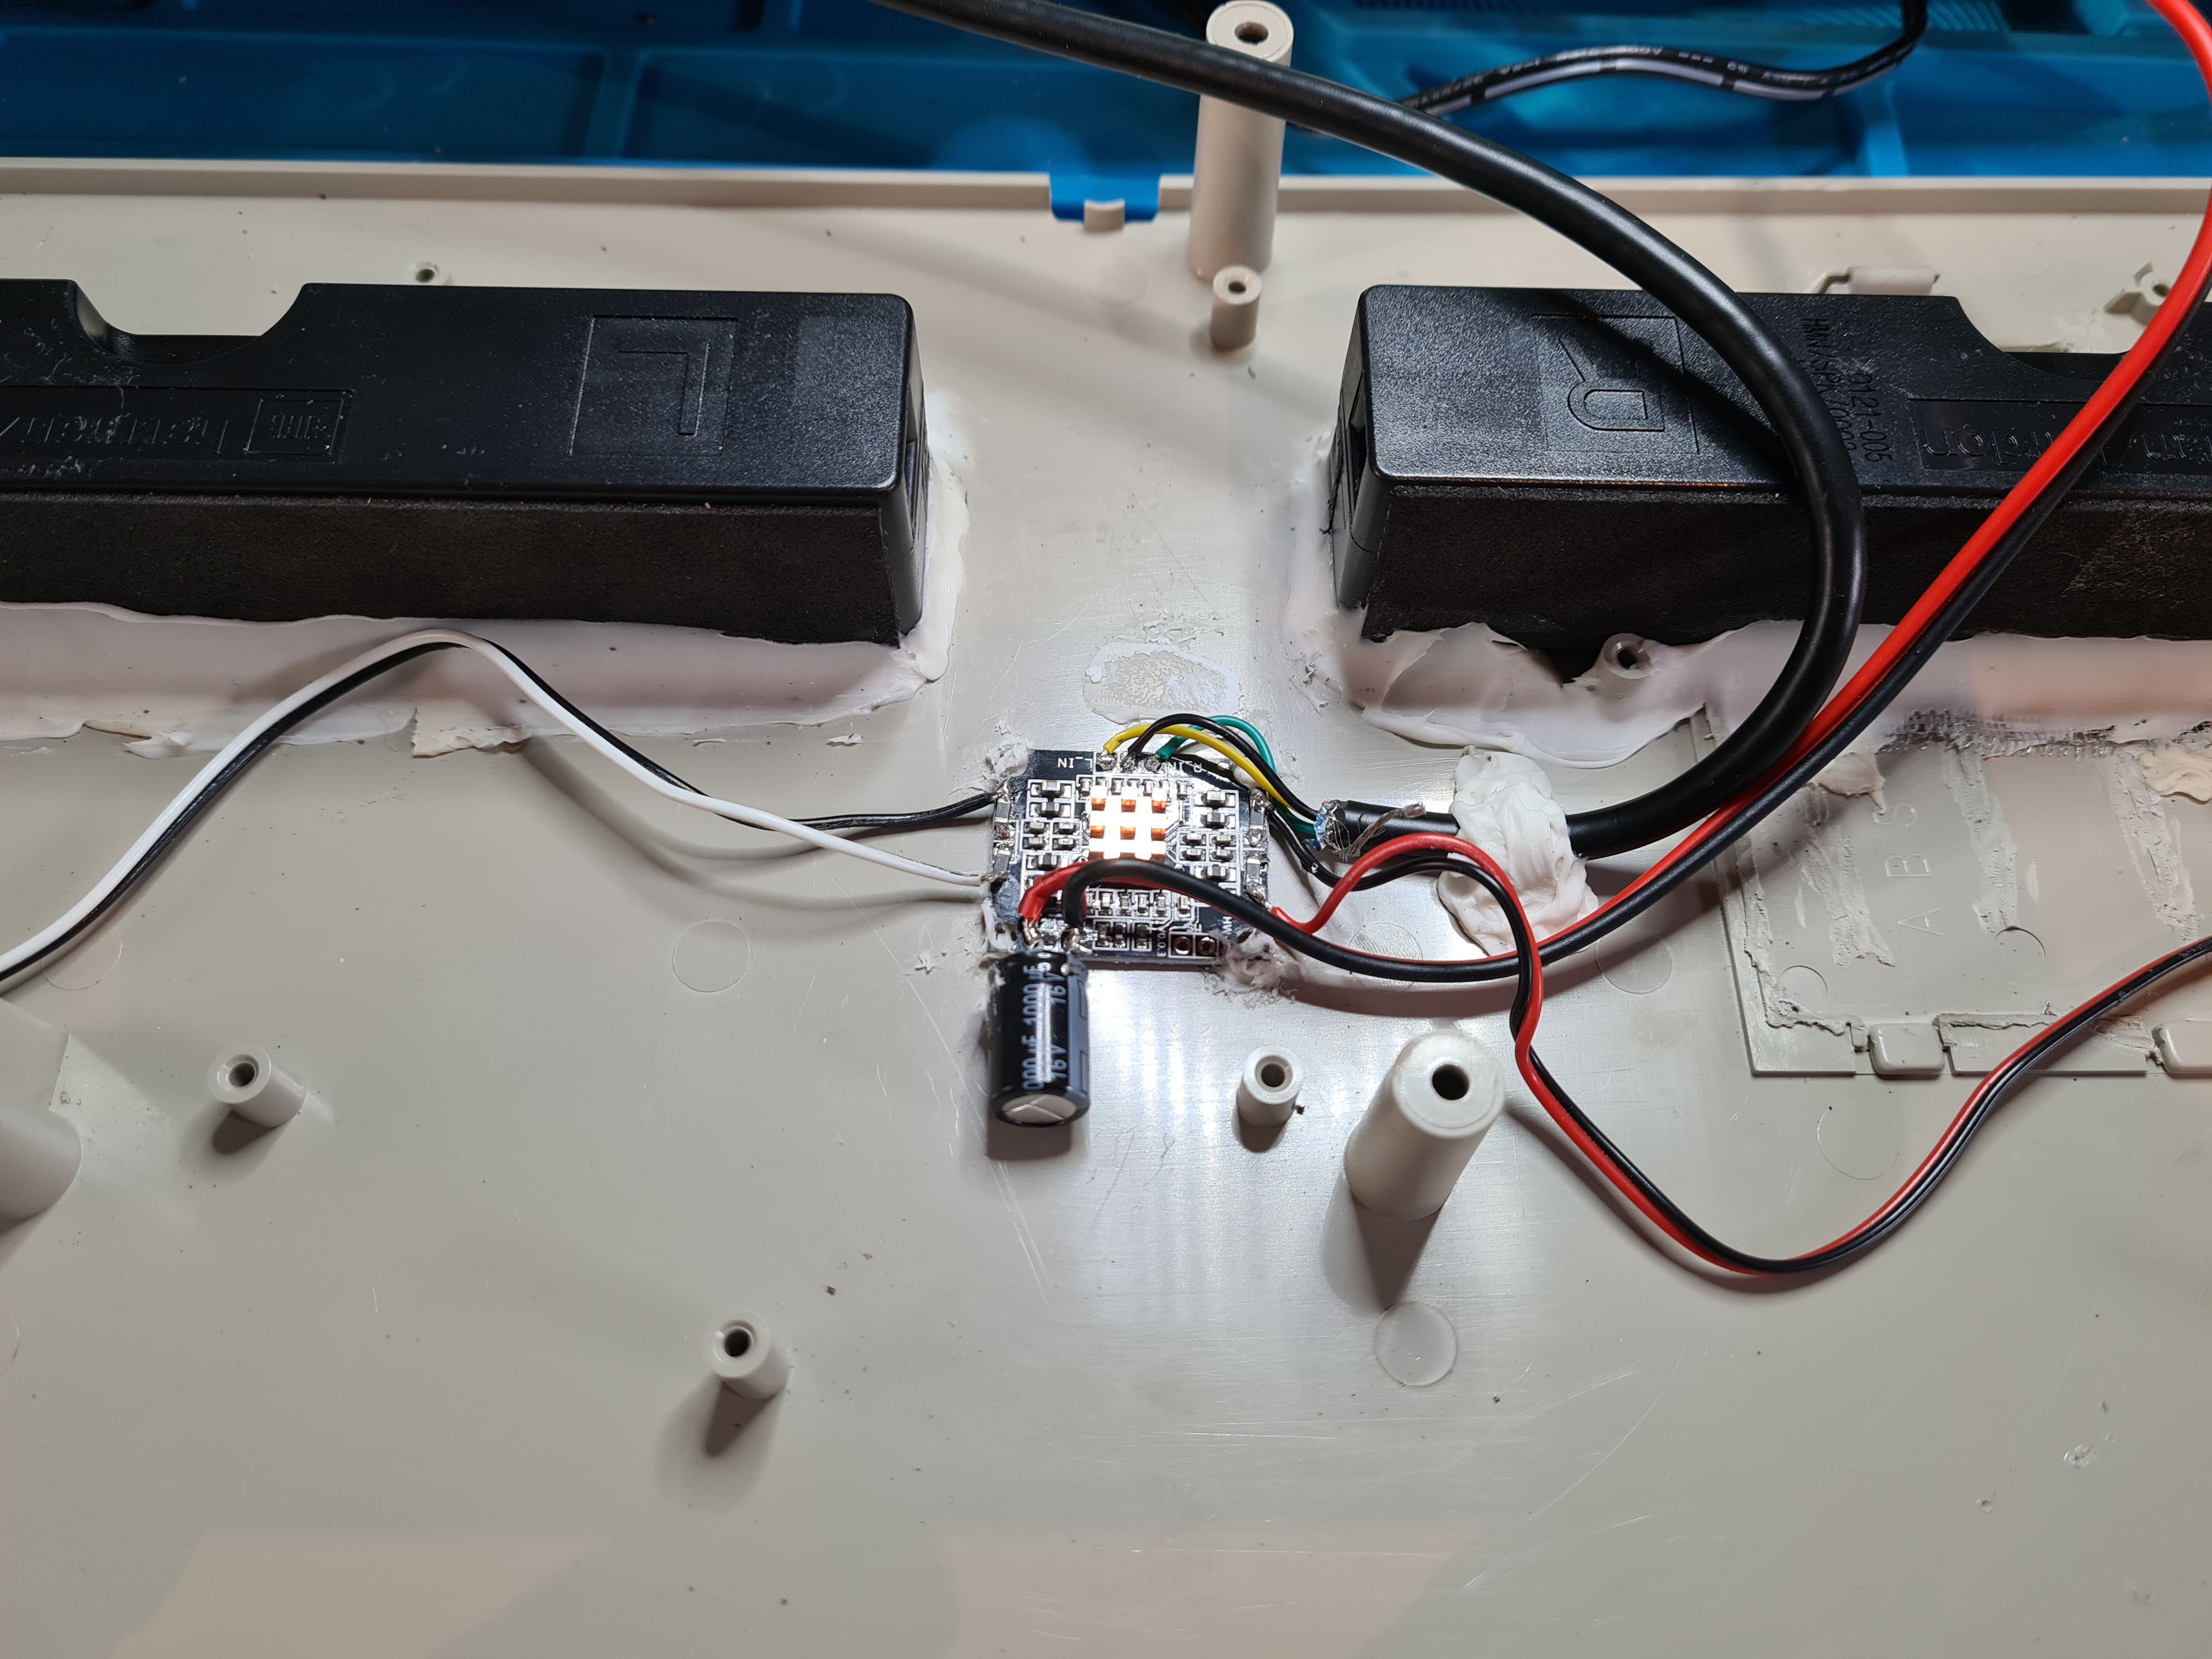
10/14/2022 at 16:57 • 0 commentsThe Microkorg case is now modded, and it's time to attach the amplifier and speakers. I glued them both to the bottom of the case. I'm using PL600 adhesive so hopefully they won't start moving around.
![]()
I also added a relay with RC delay to increase the time before the speakers are connected to the amplifier (in case I get Turn-on and Turn-on pops), but after some initial testing I came to the conclusion that the relay wasn't needed.
![]()
Finally I can close the lid and start enjoying my Microkorg with internal speakers! -
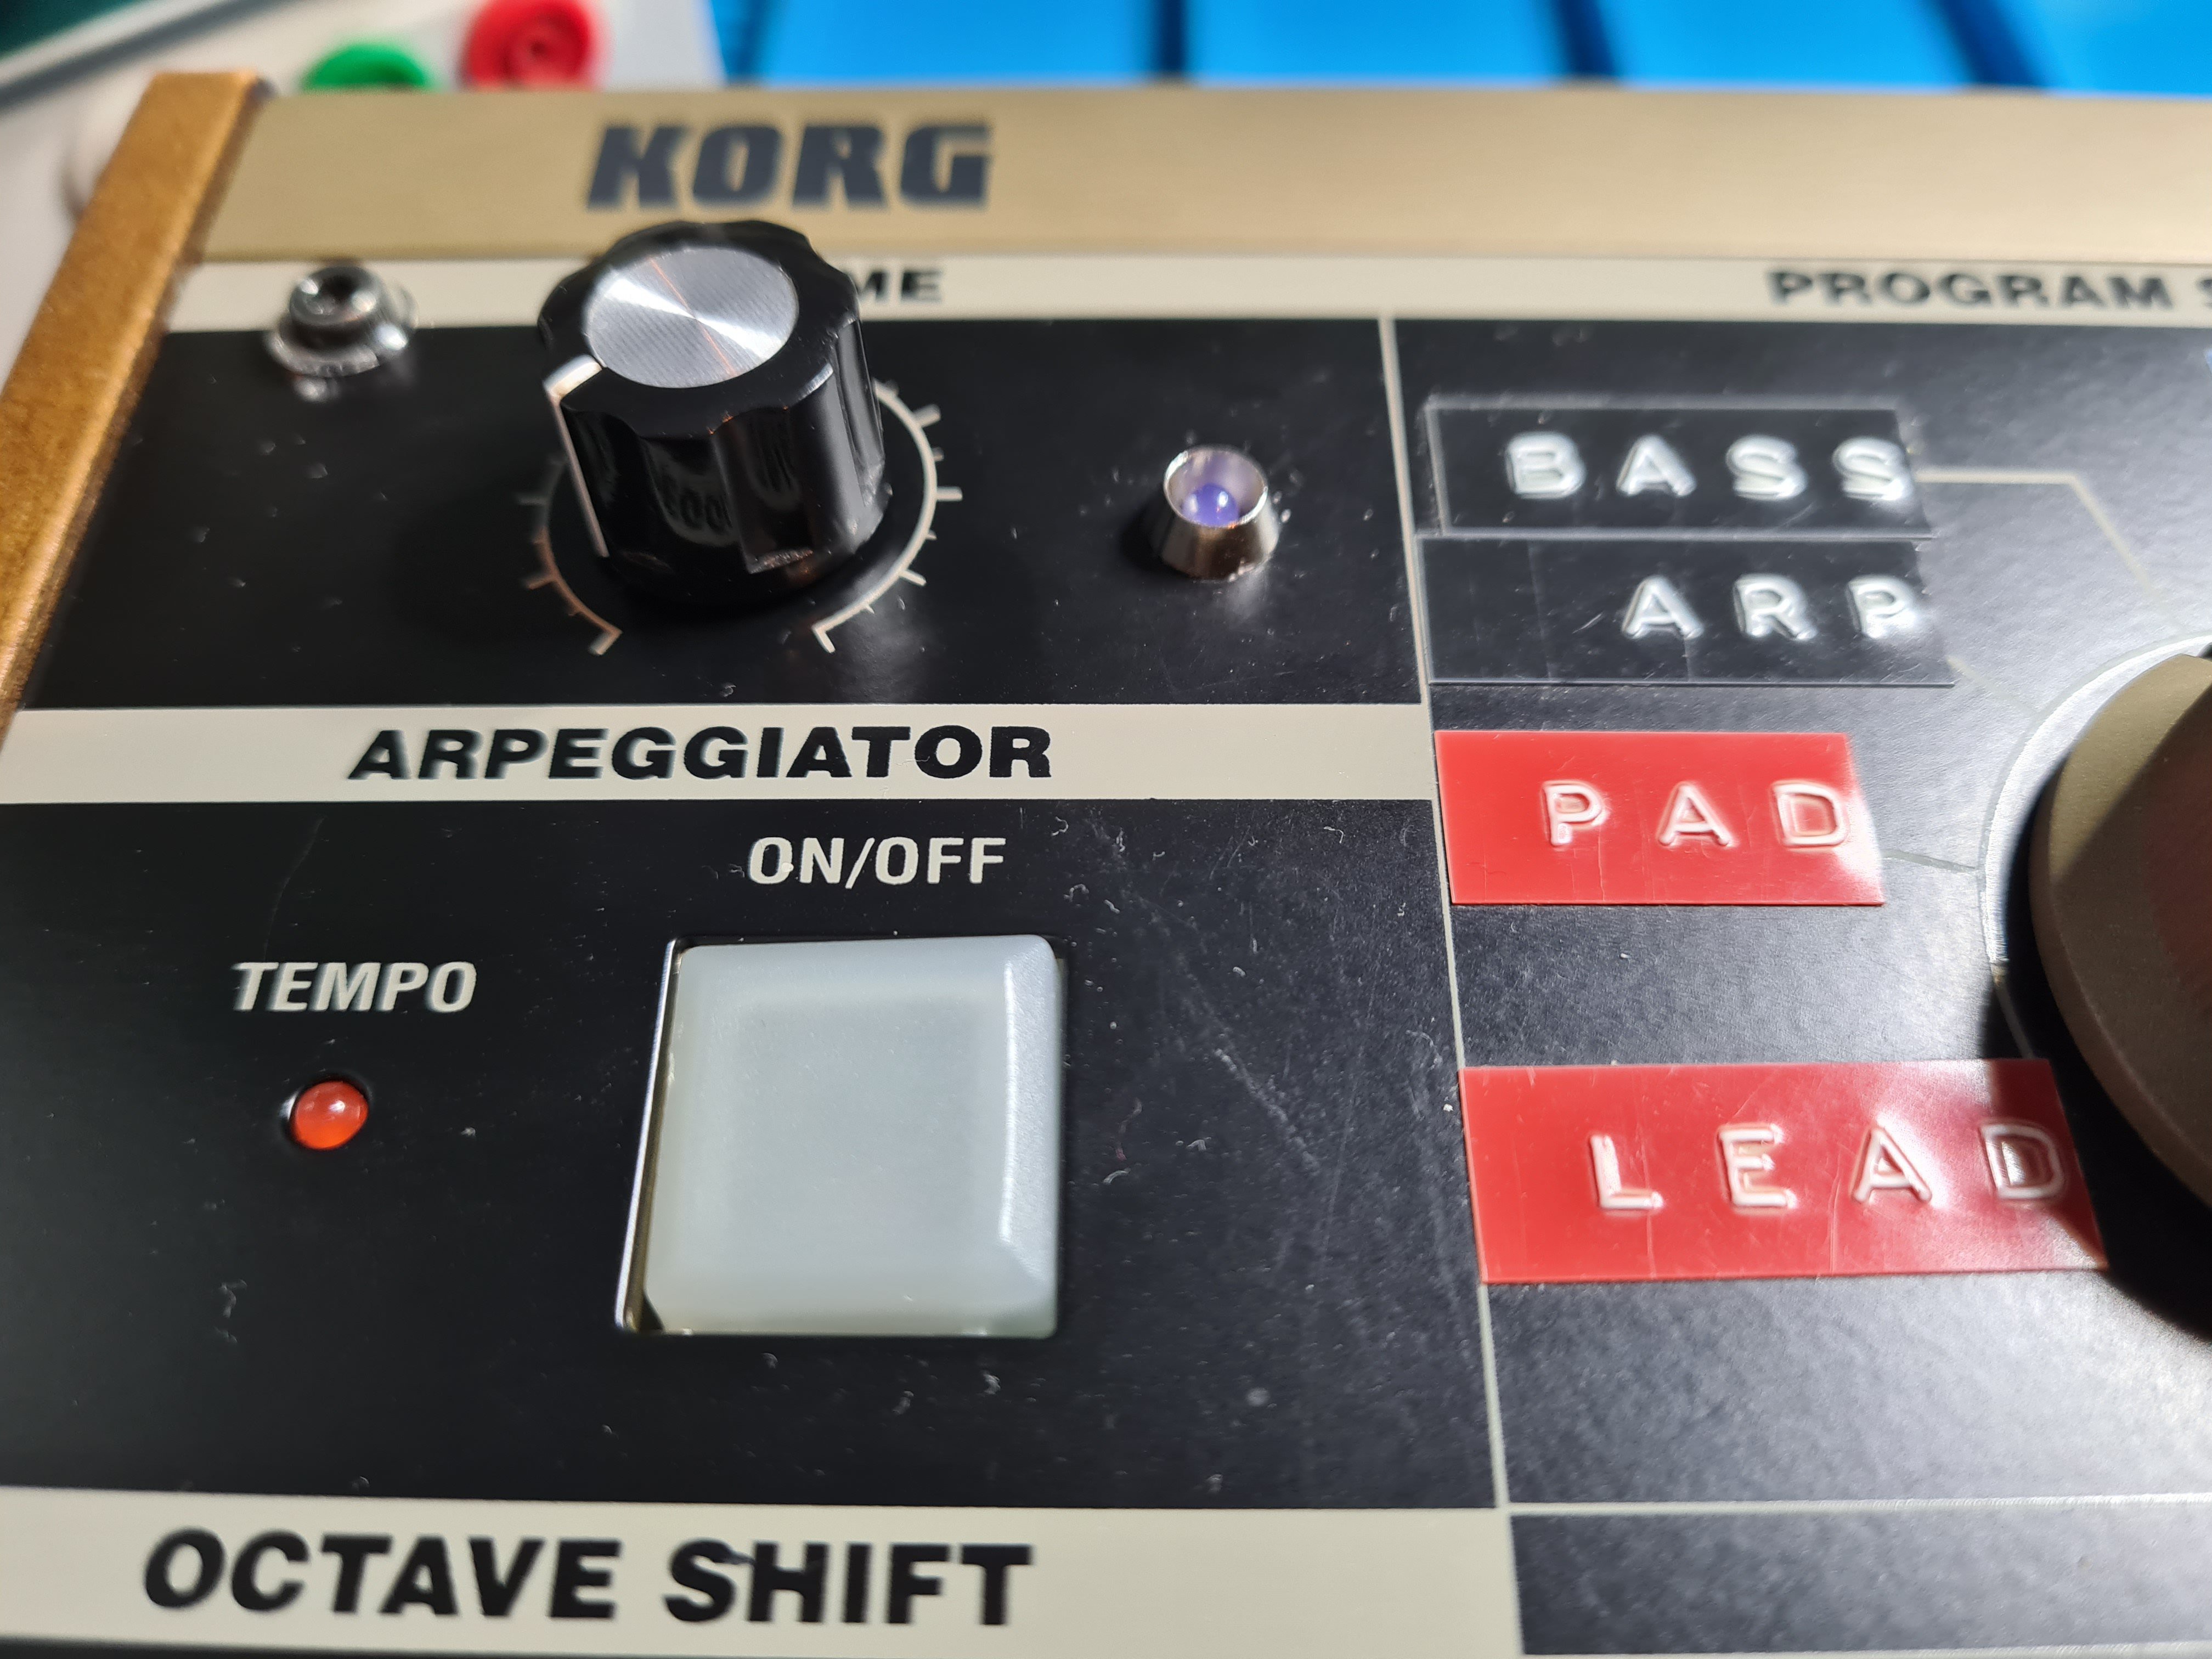
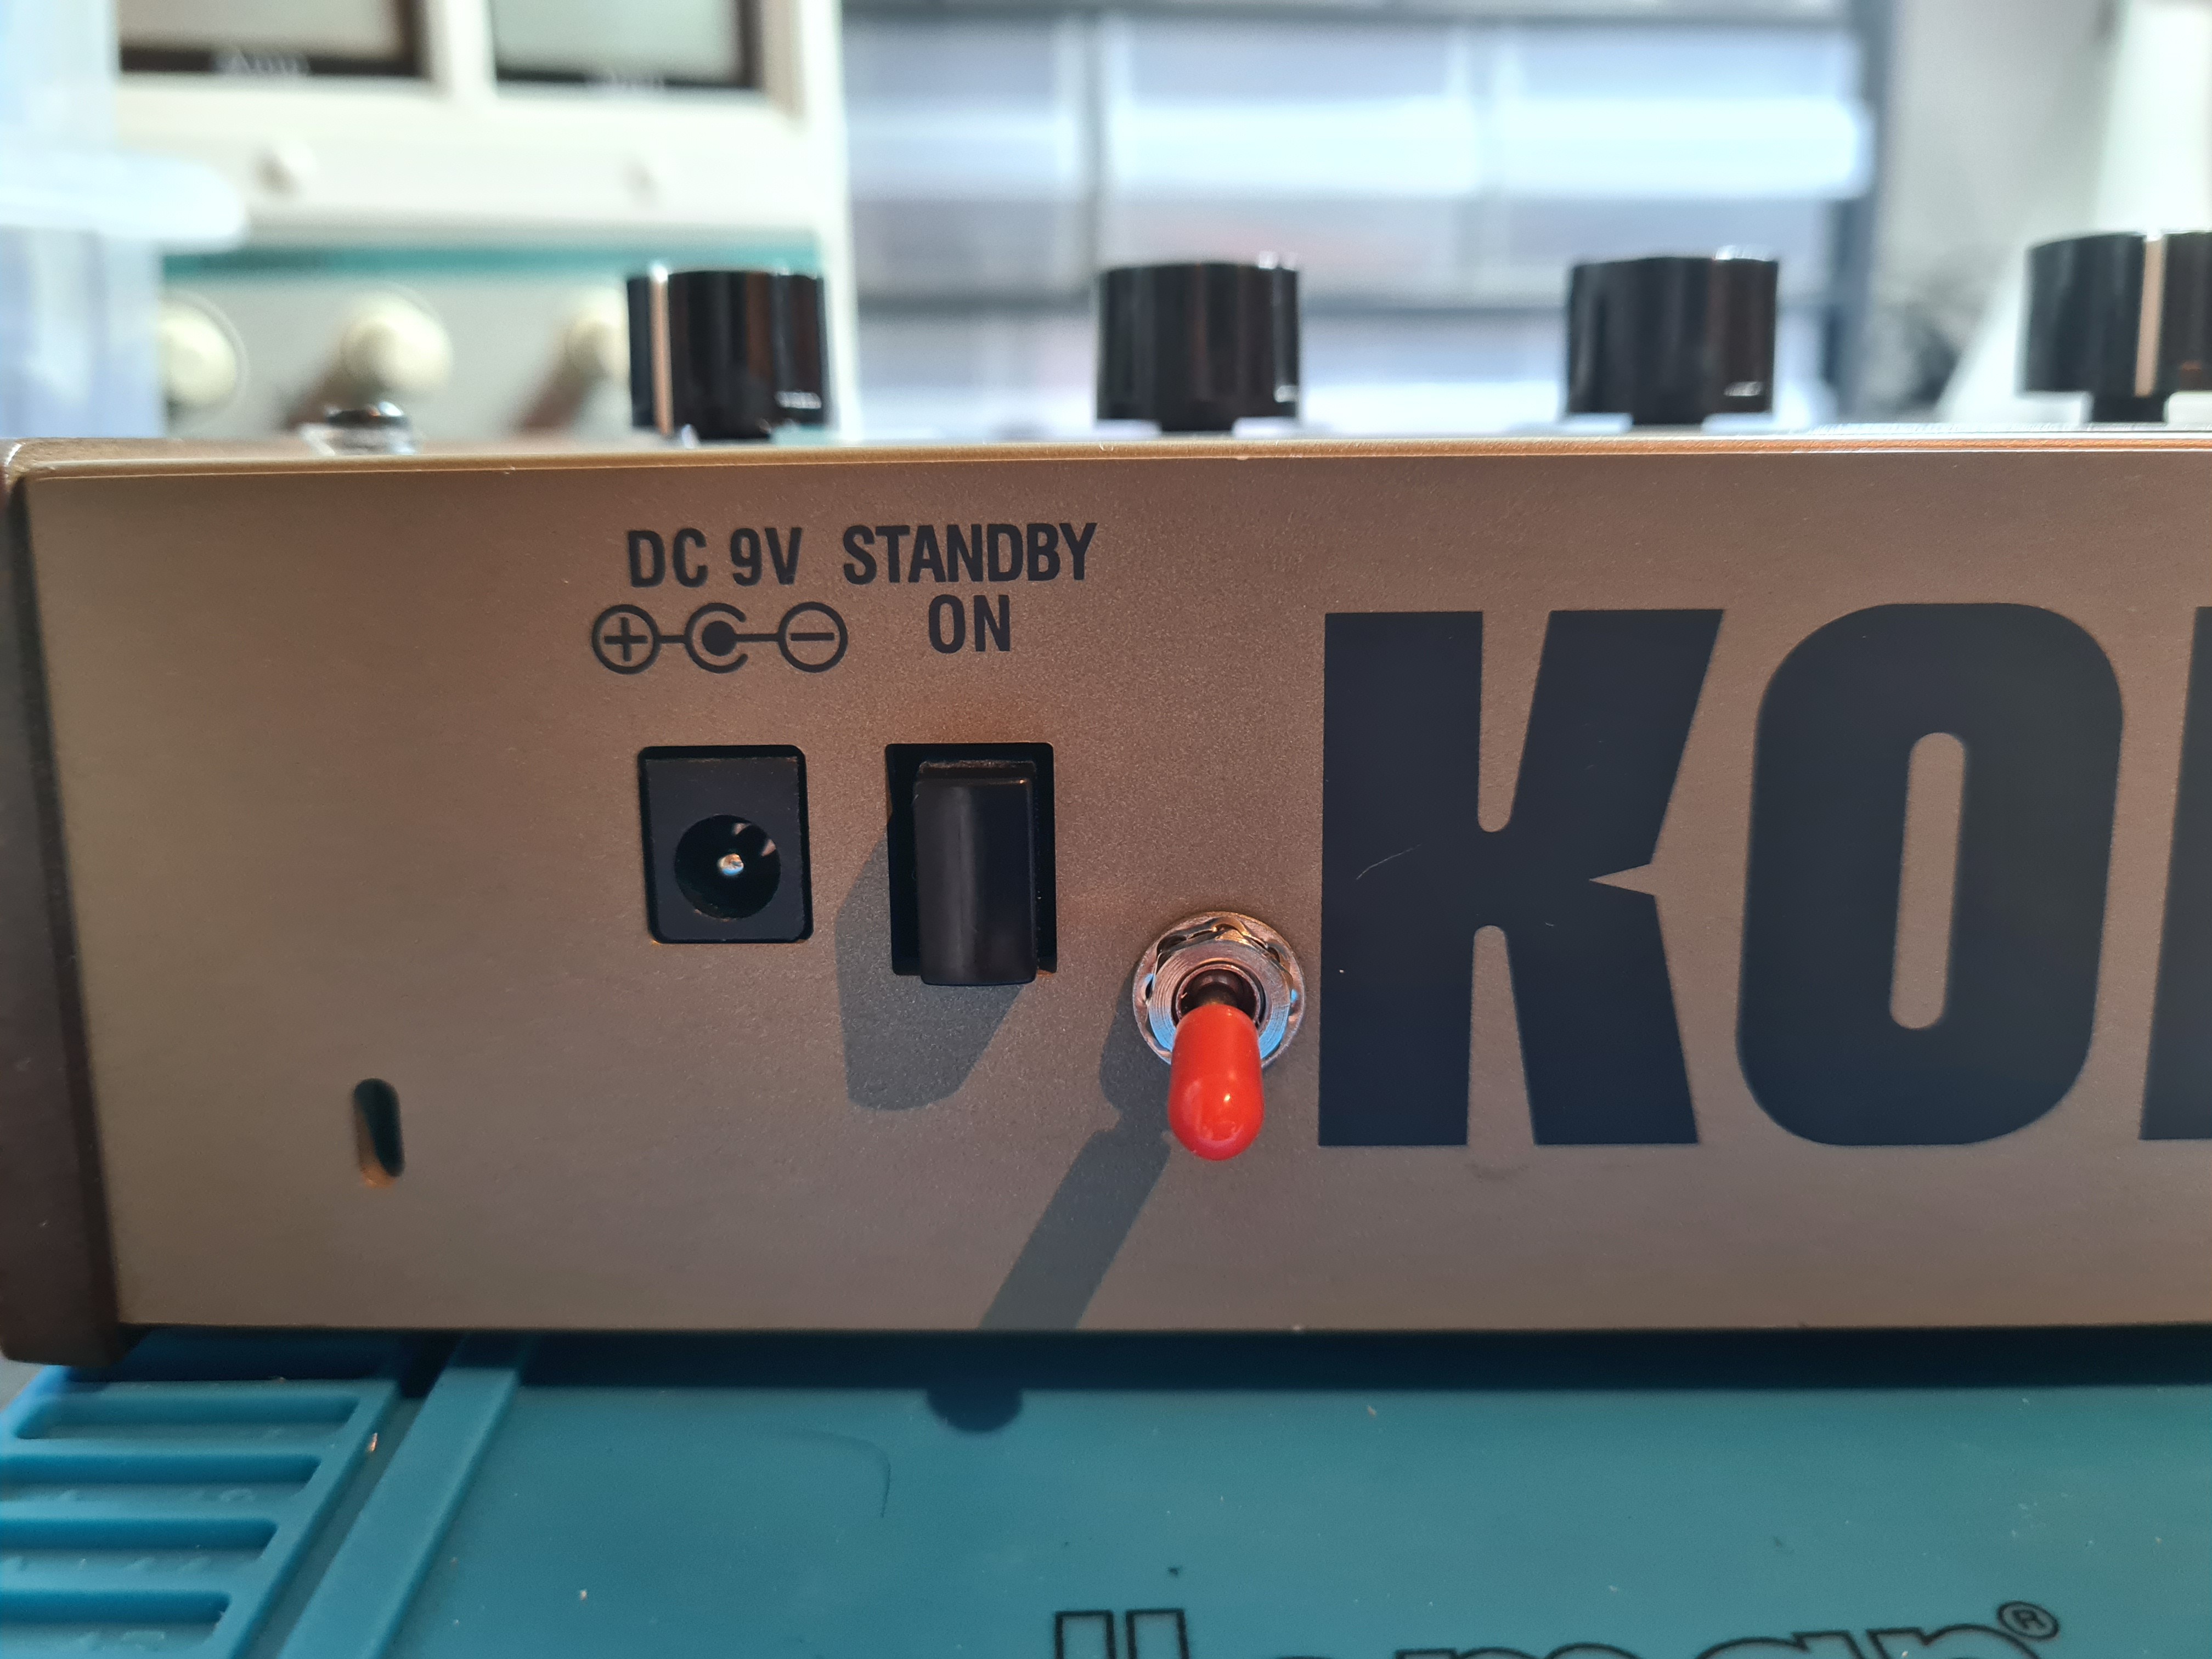
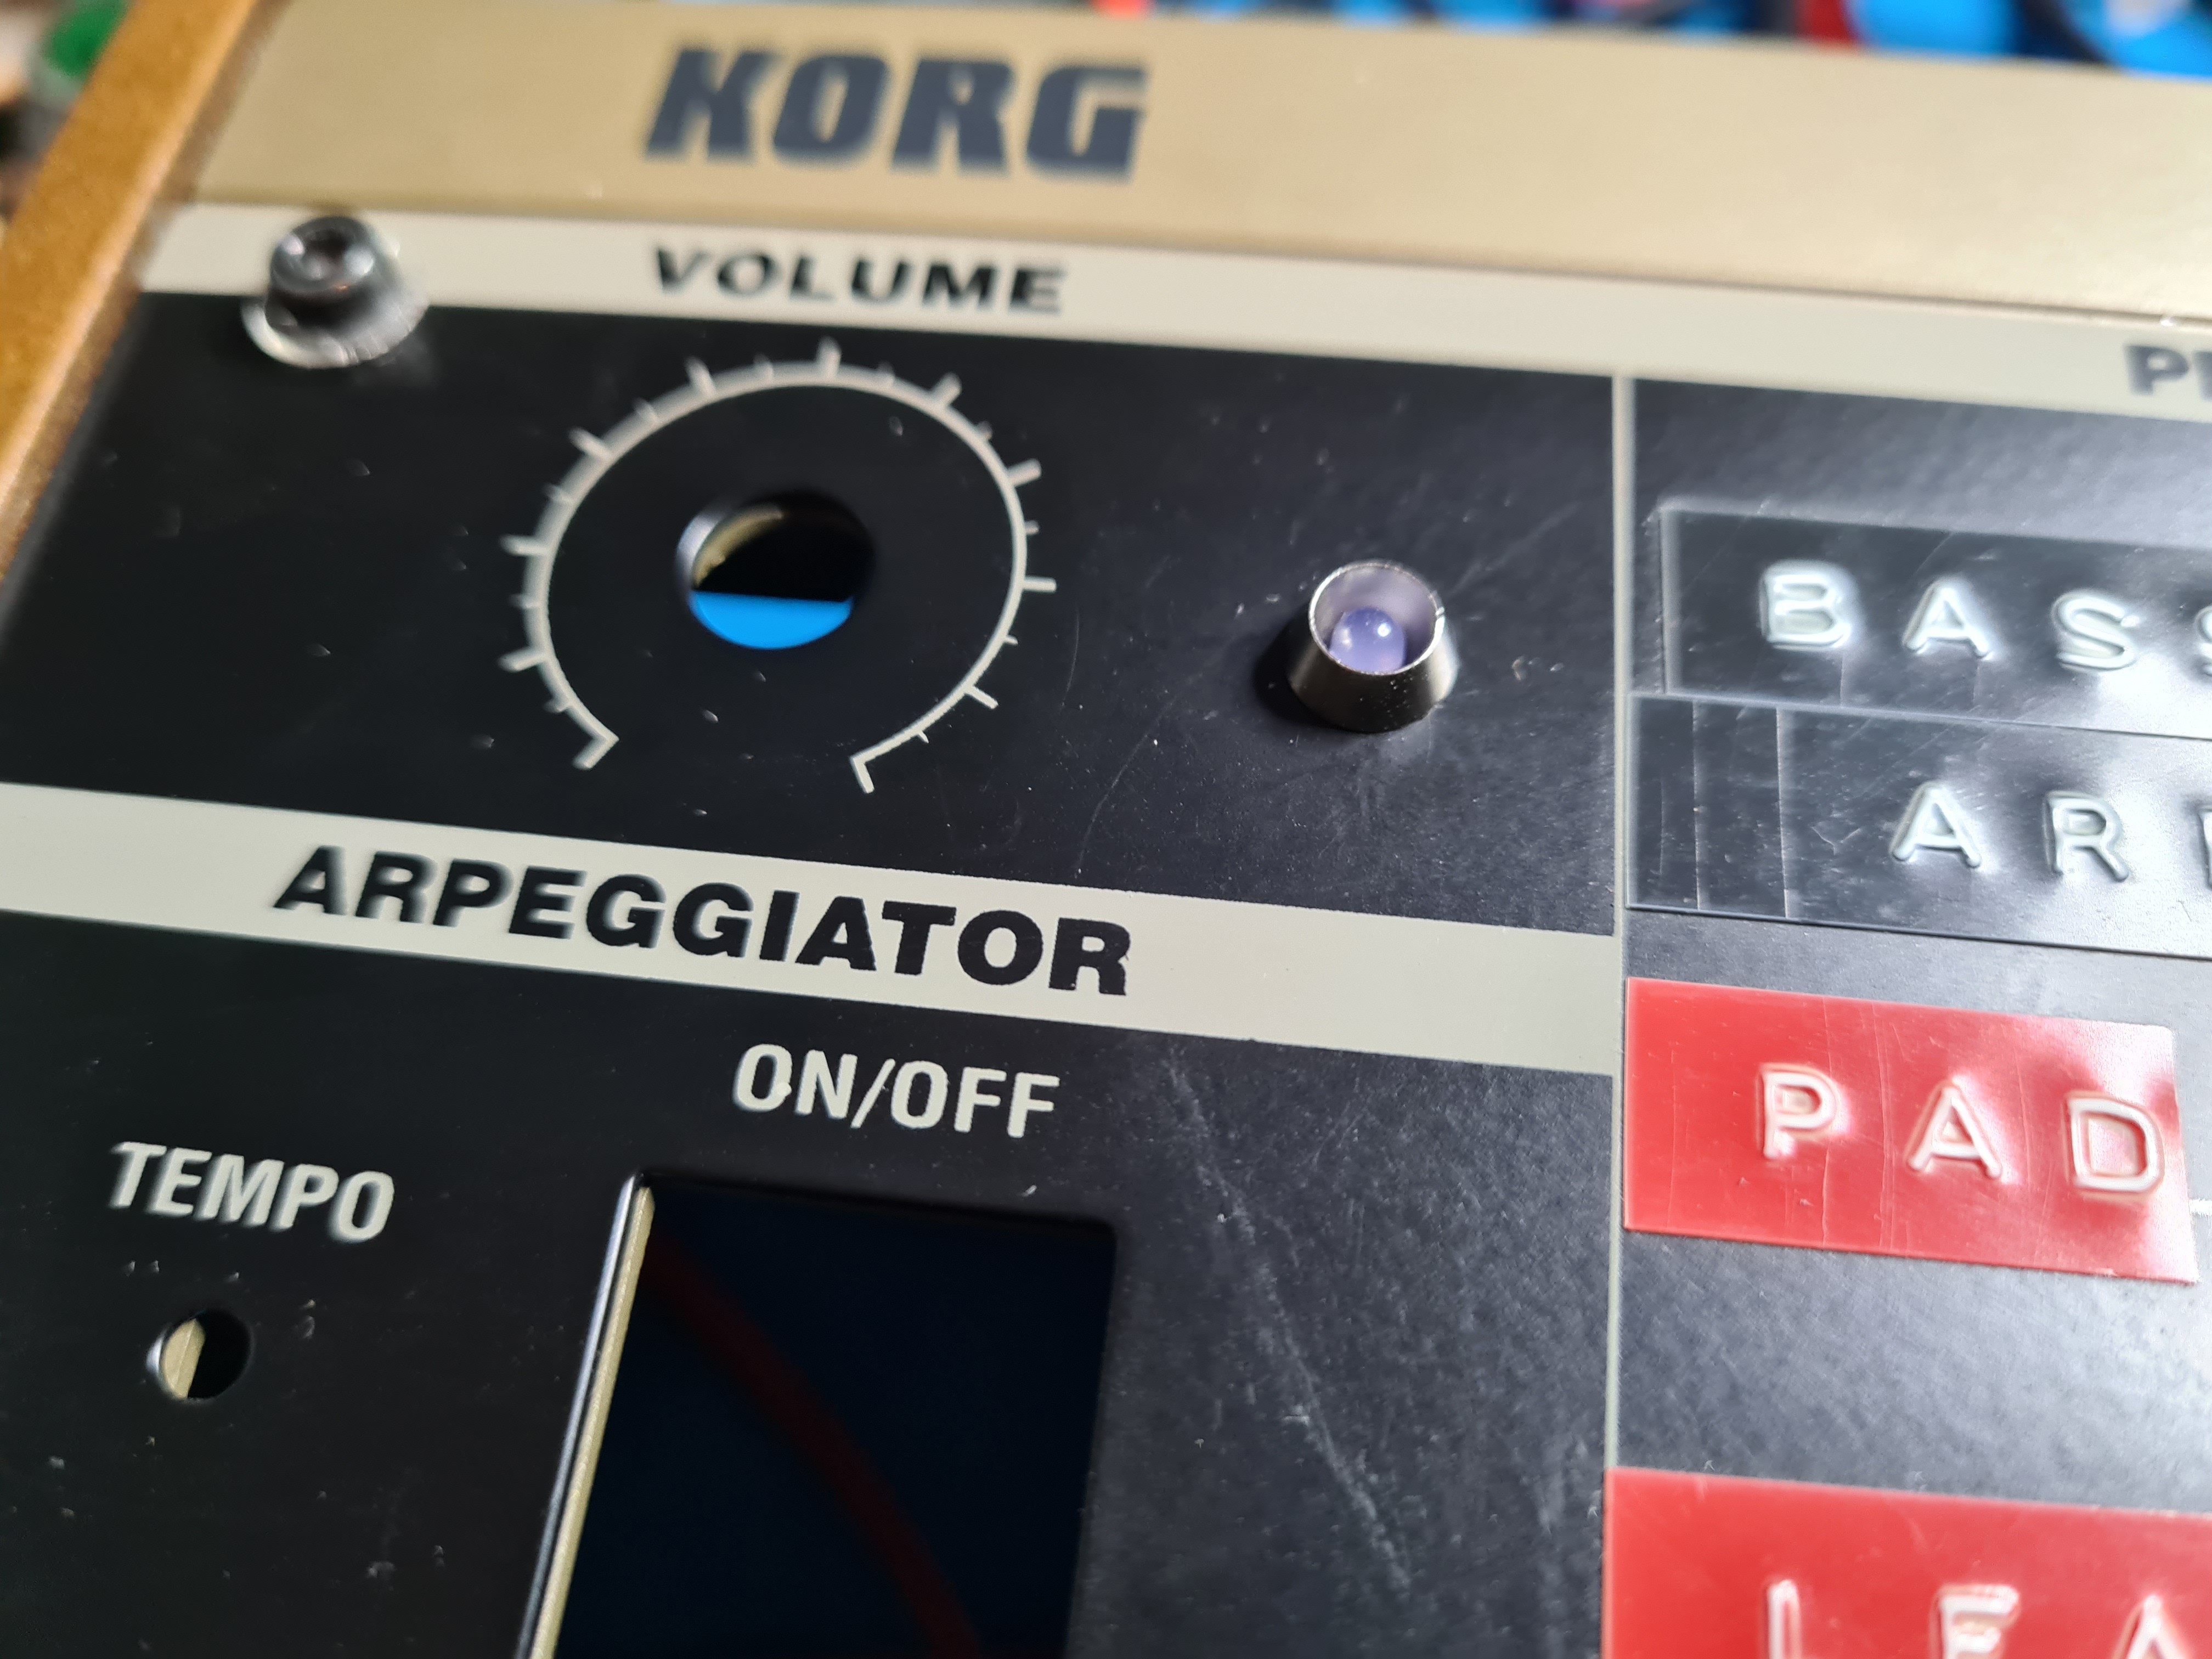
Some additional modding...
10/14/2022 at 16:43 • 0 commentsI wanna be able to turn off the power to the amplifier, so I drilled a hole in the case and added a switch
![]()
![]()
I also want a power indicator so I don't forget to turn off the power to the amplifier, so I added an LED next to the volume knob.
![]()
![]()
-
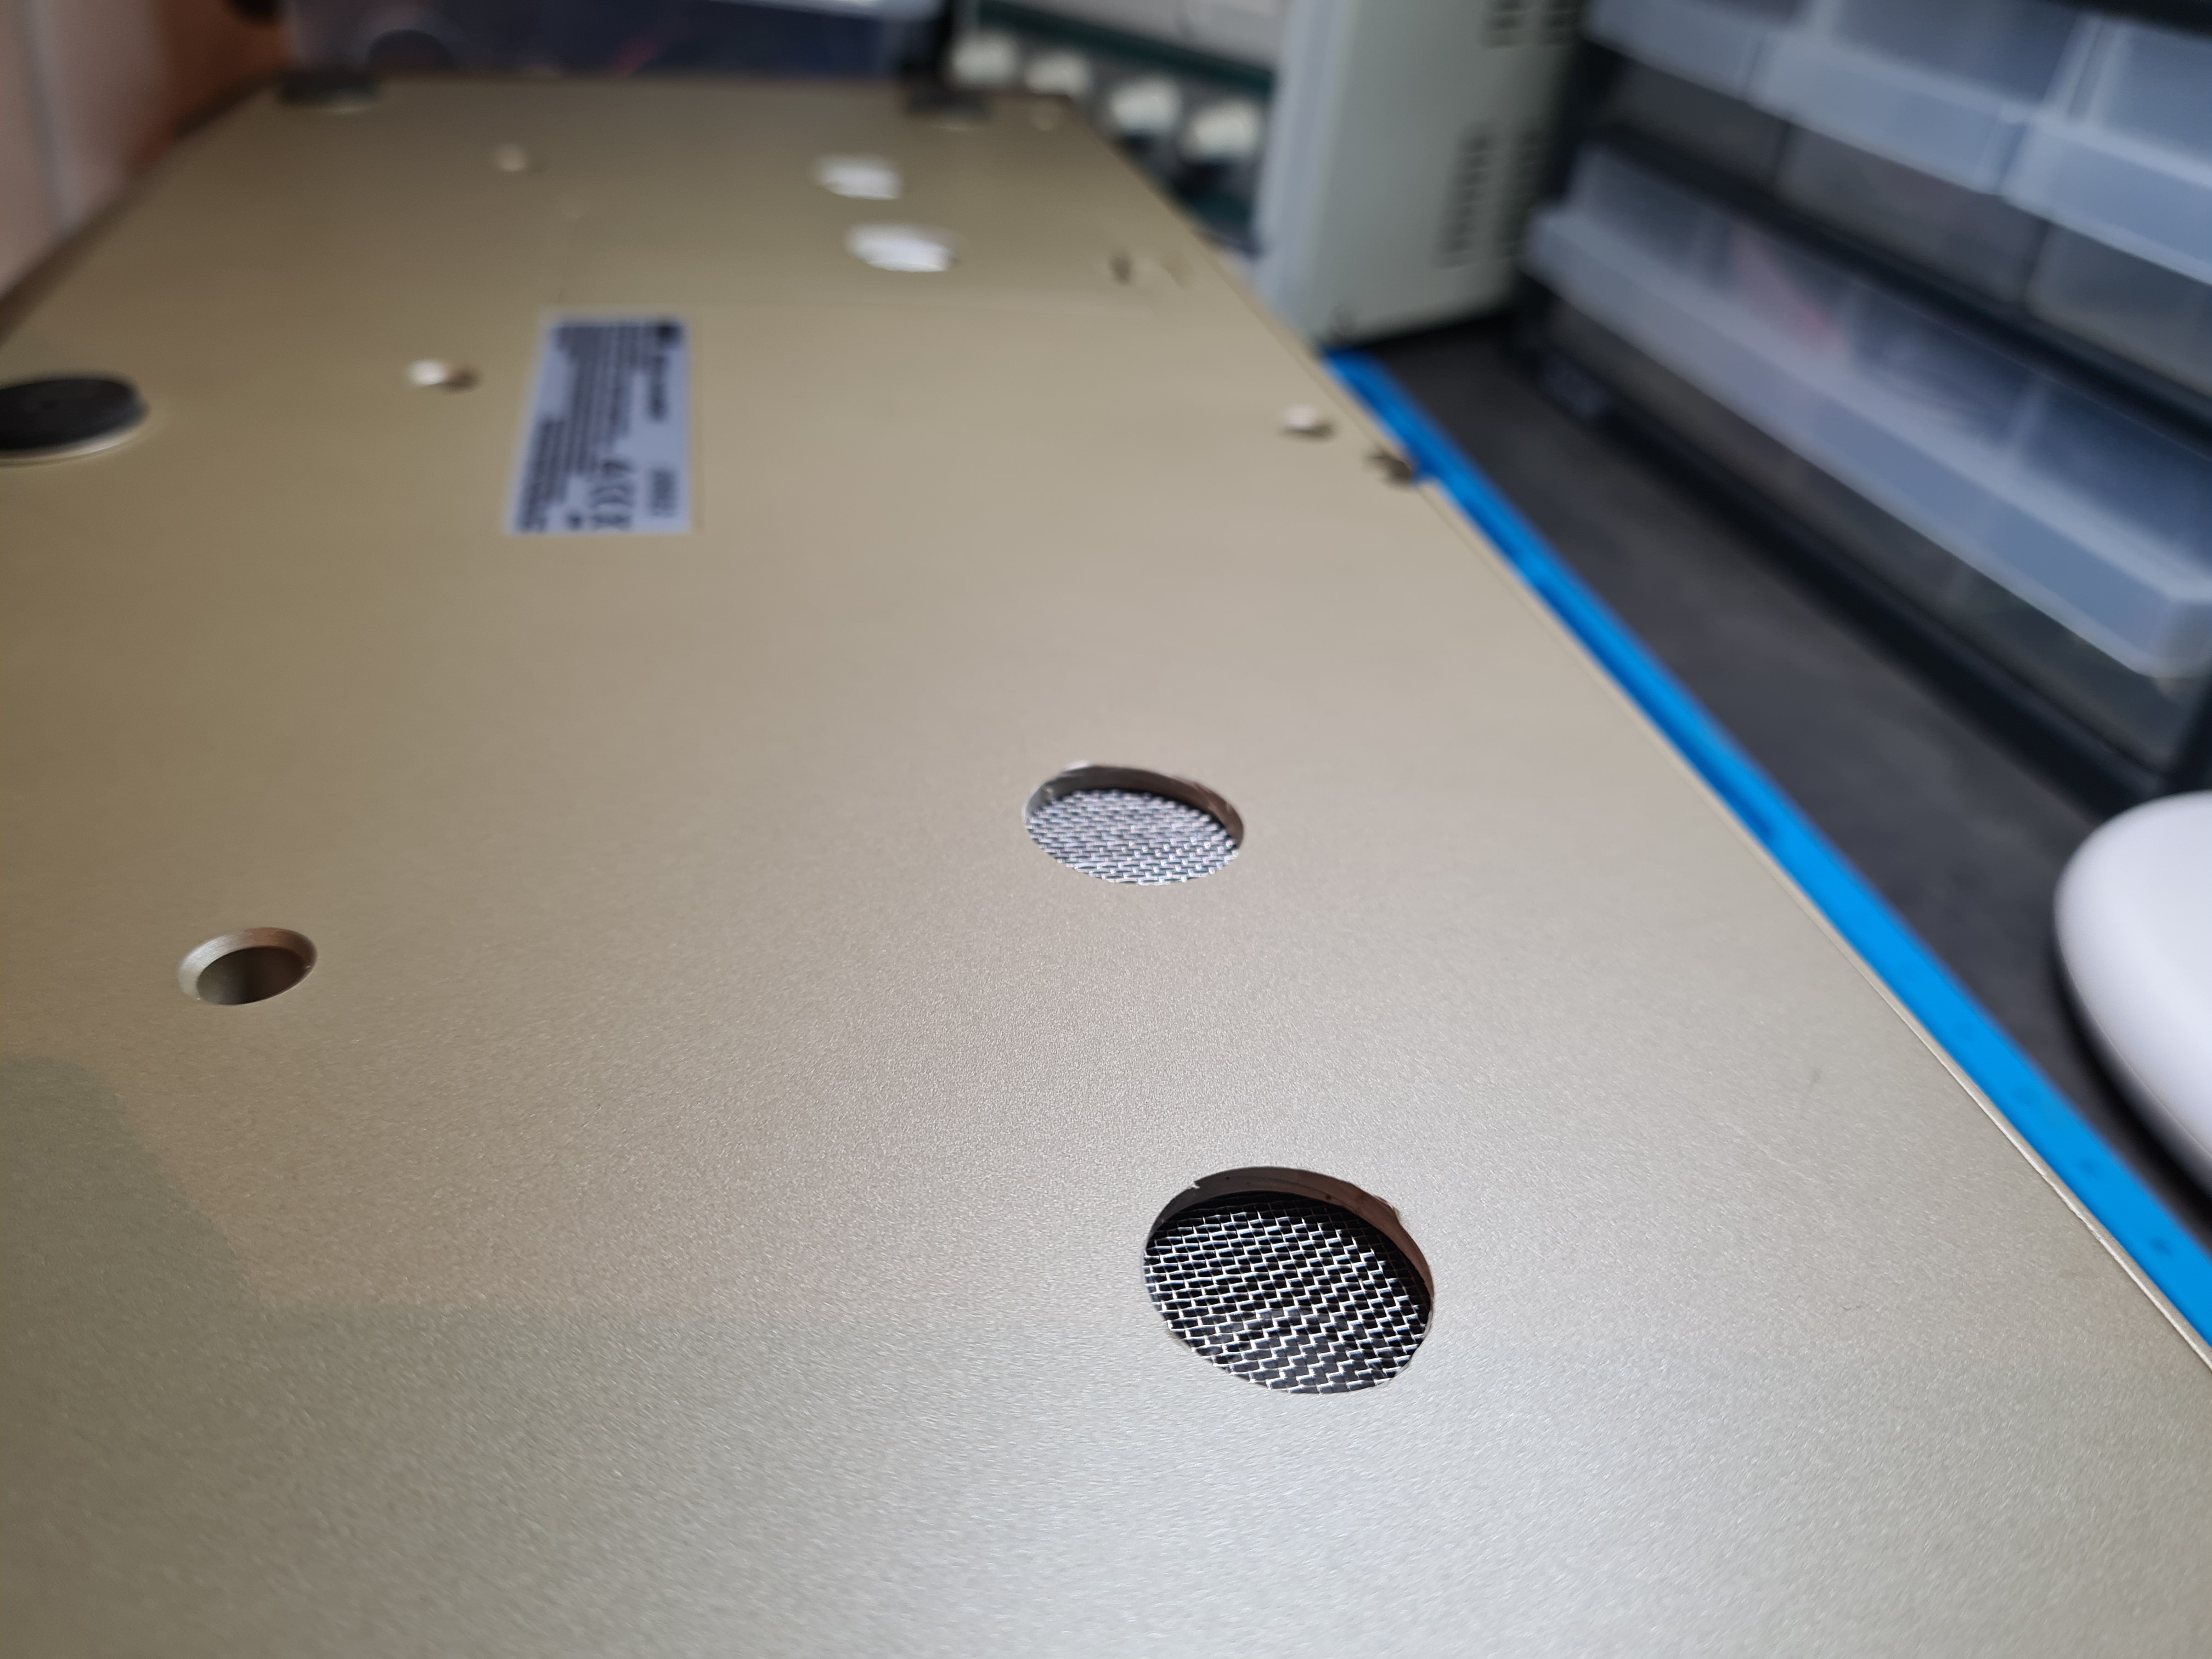
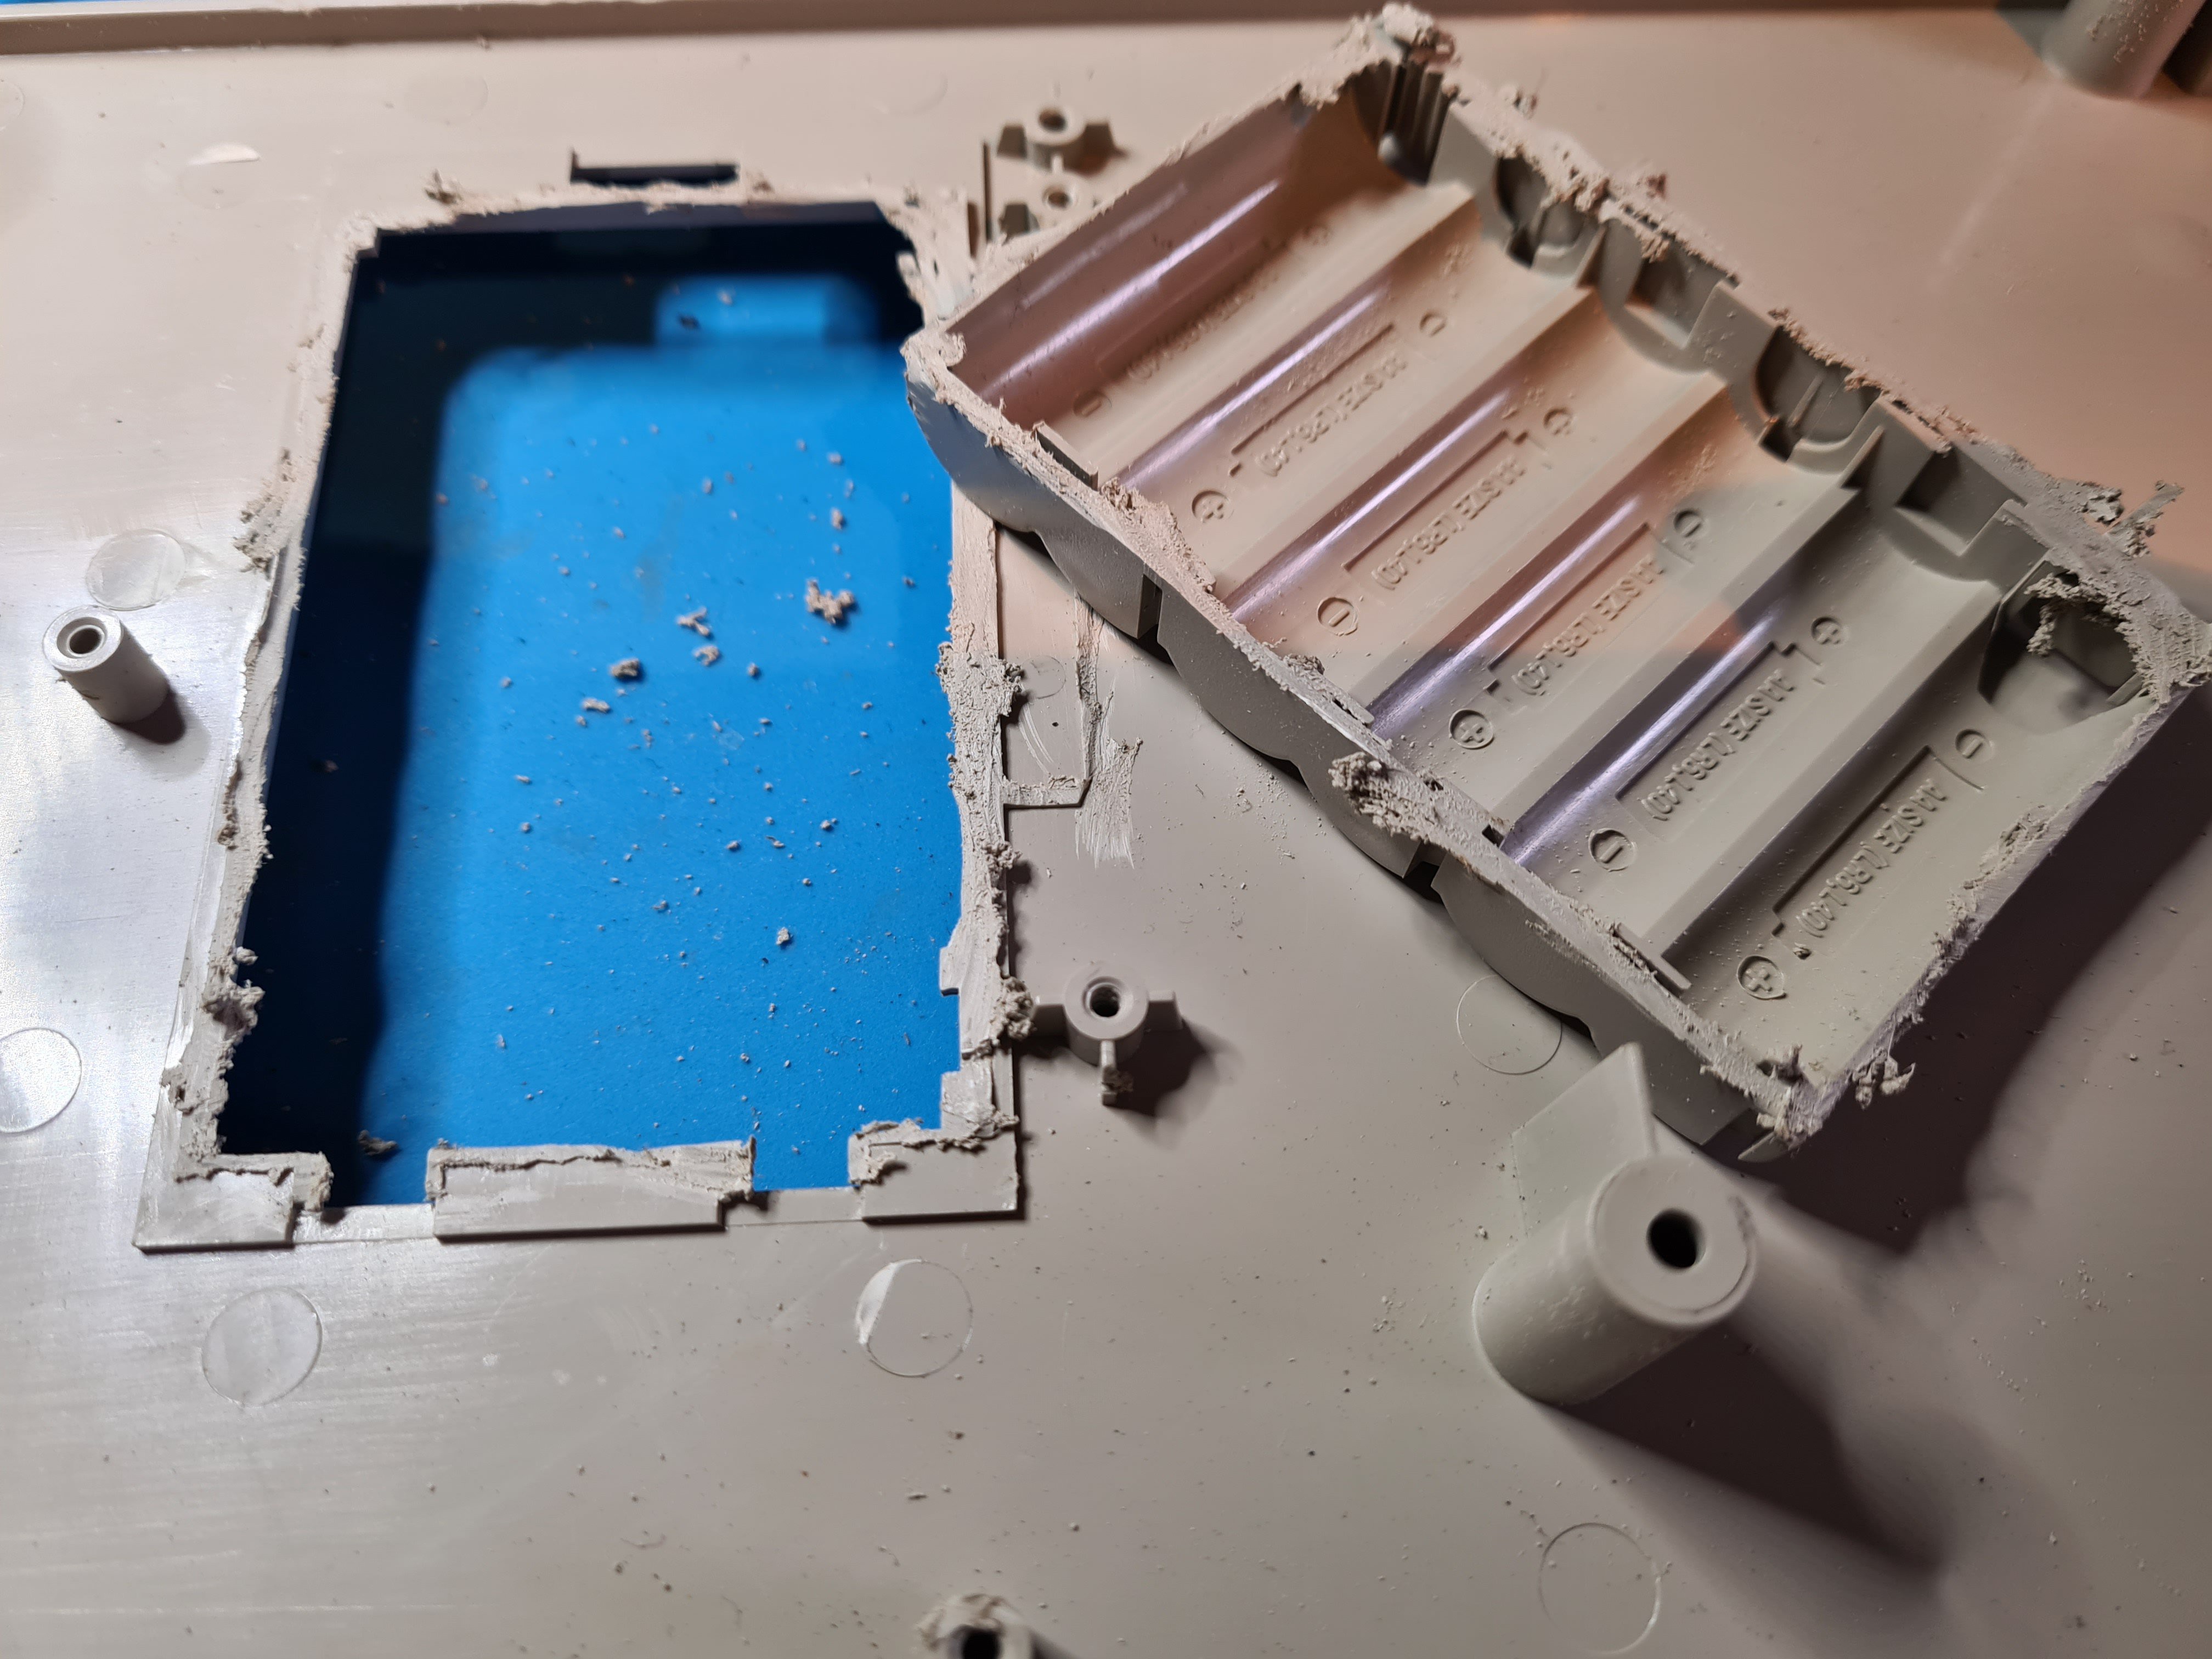
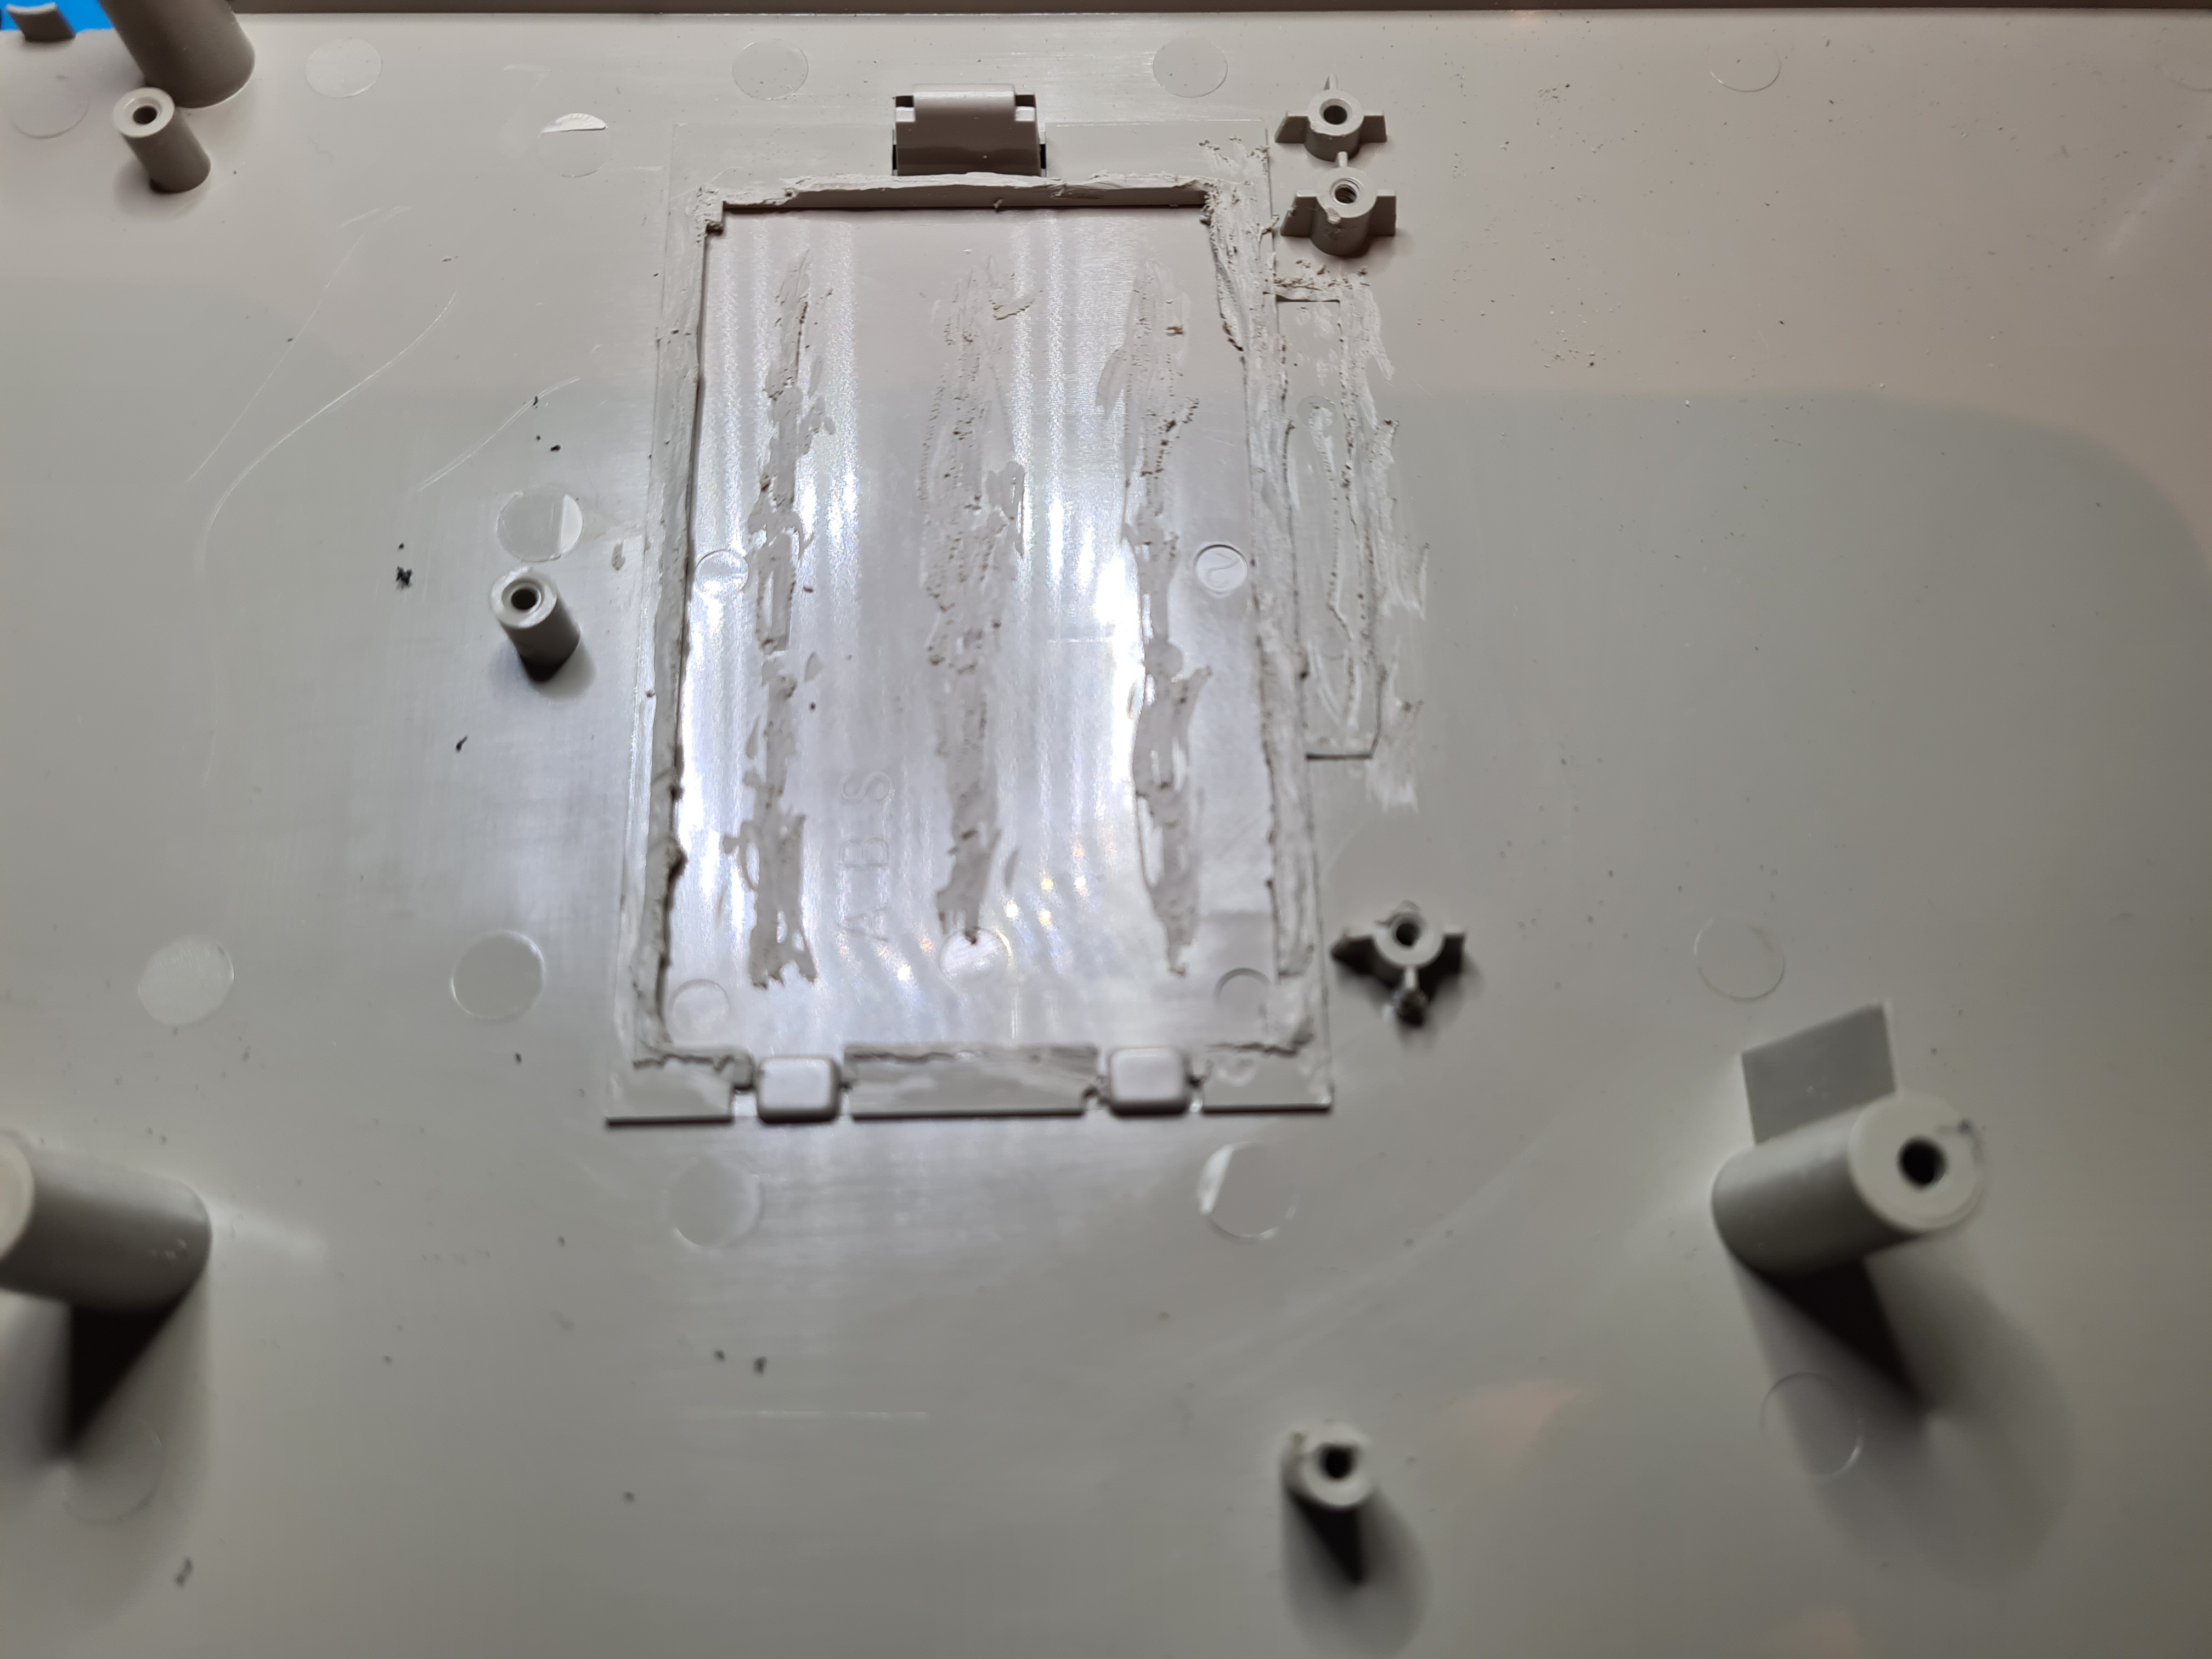
Time to mod the Microkorg case a bit
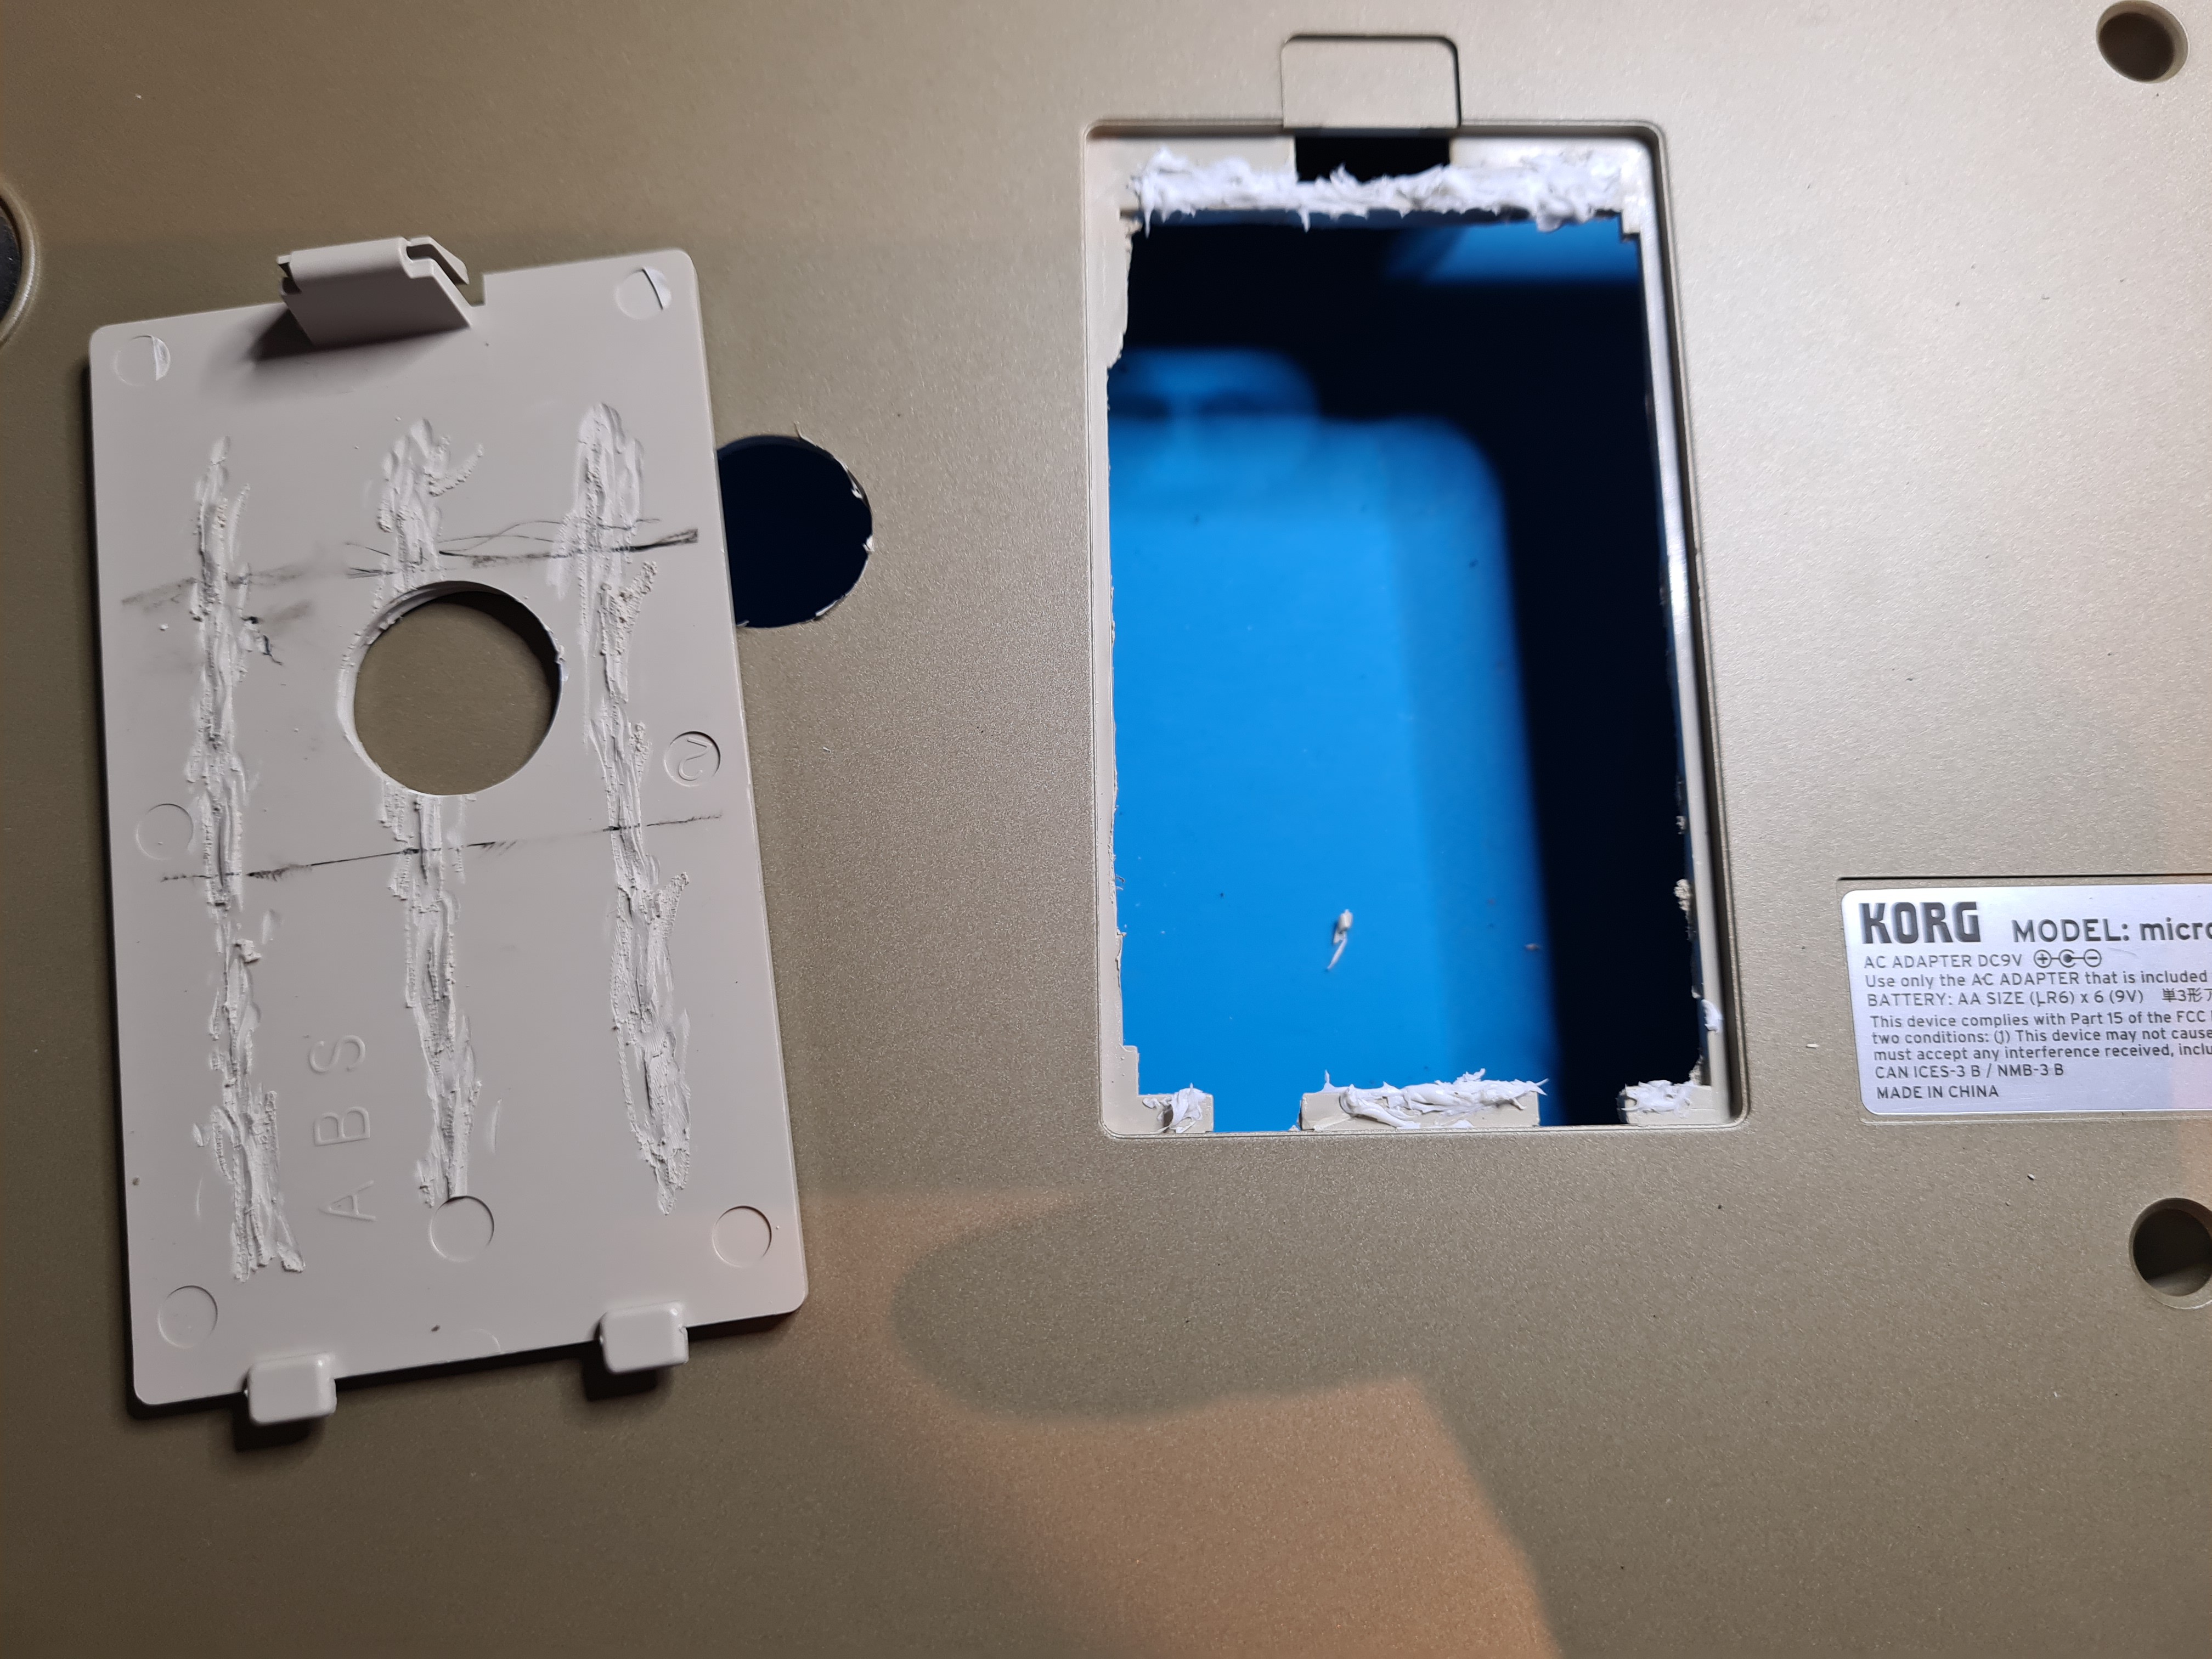
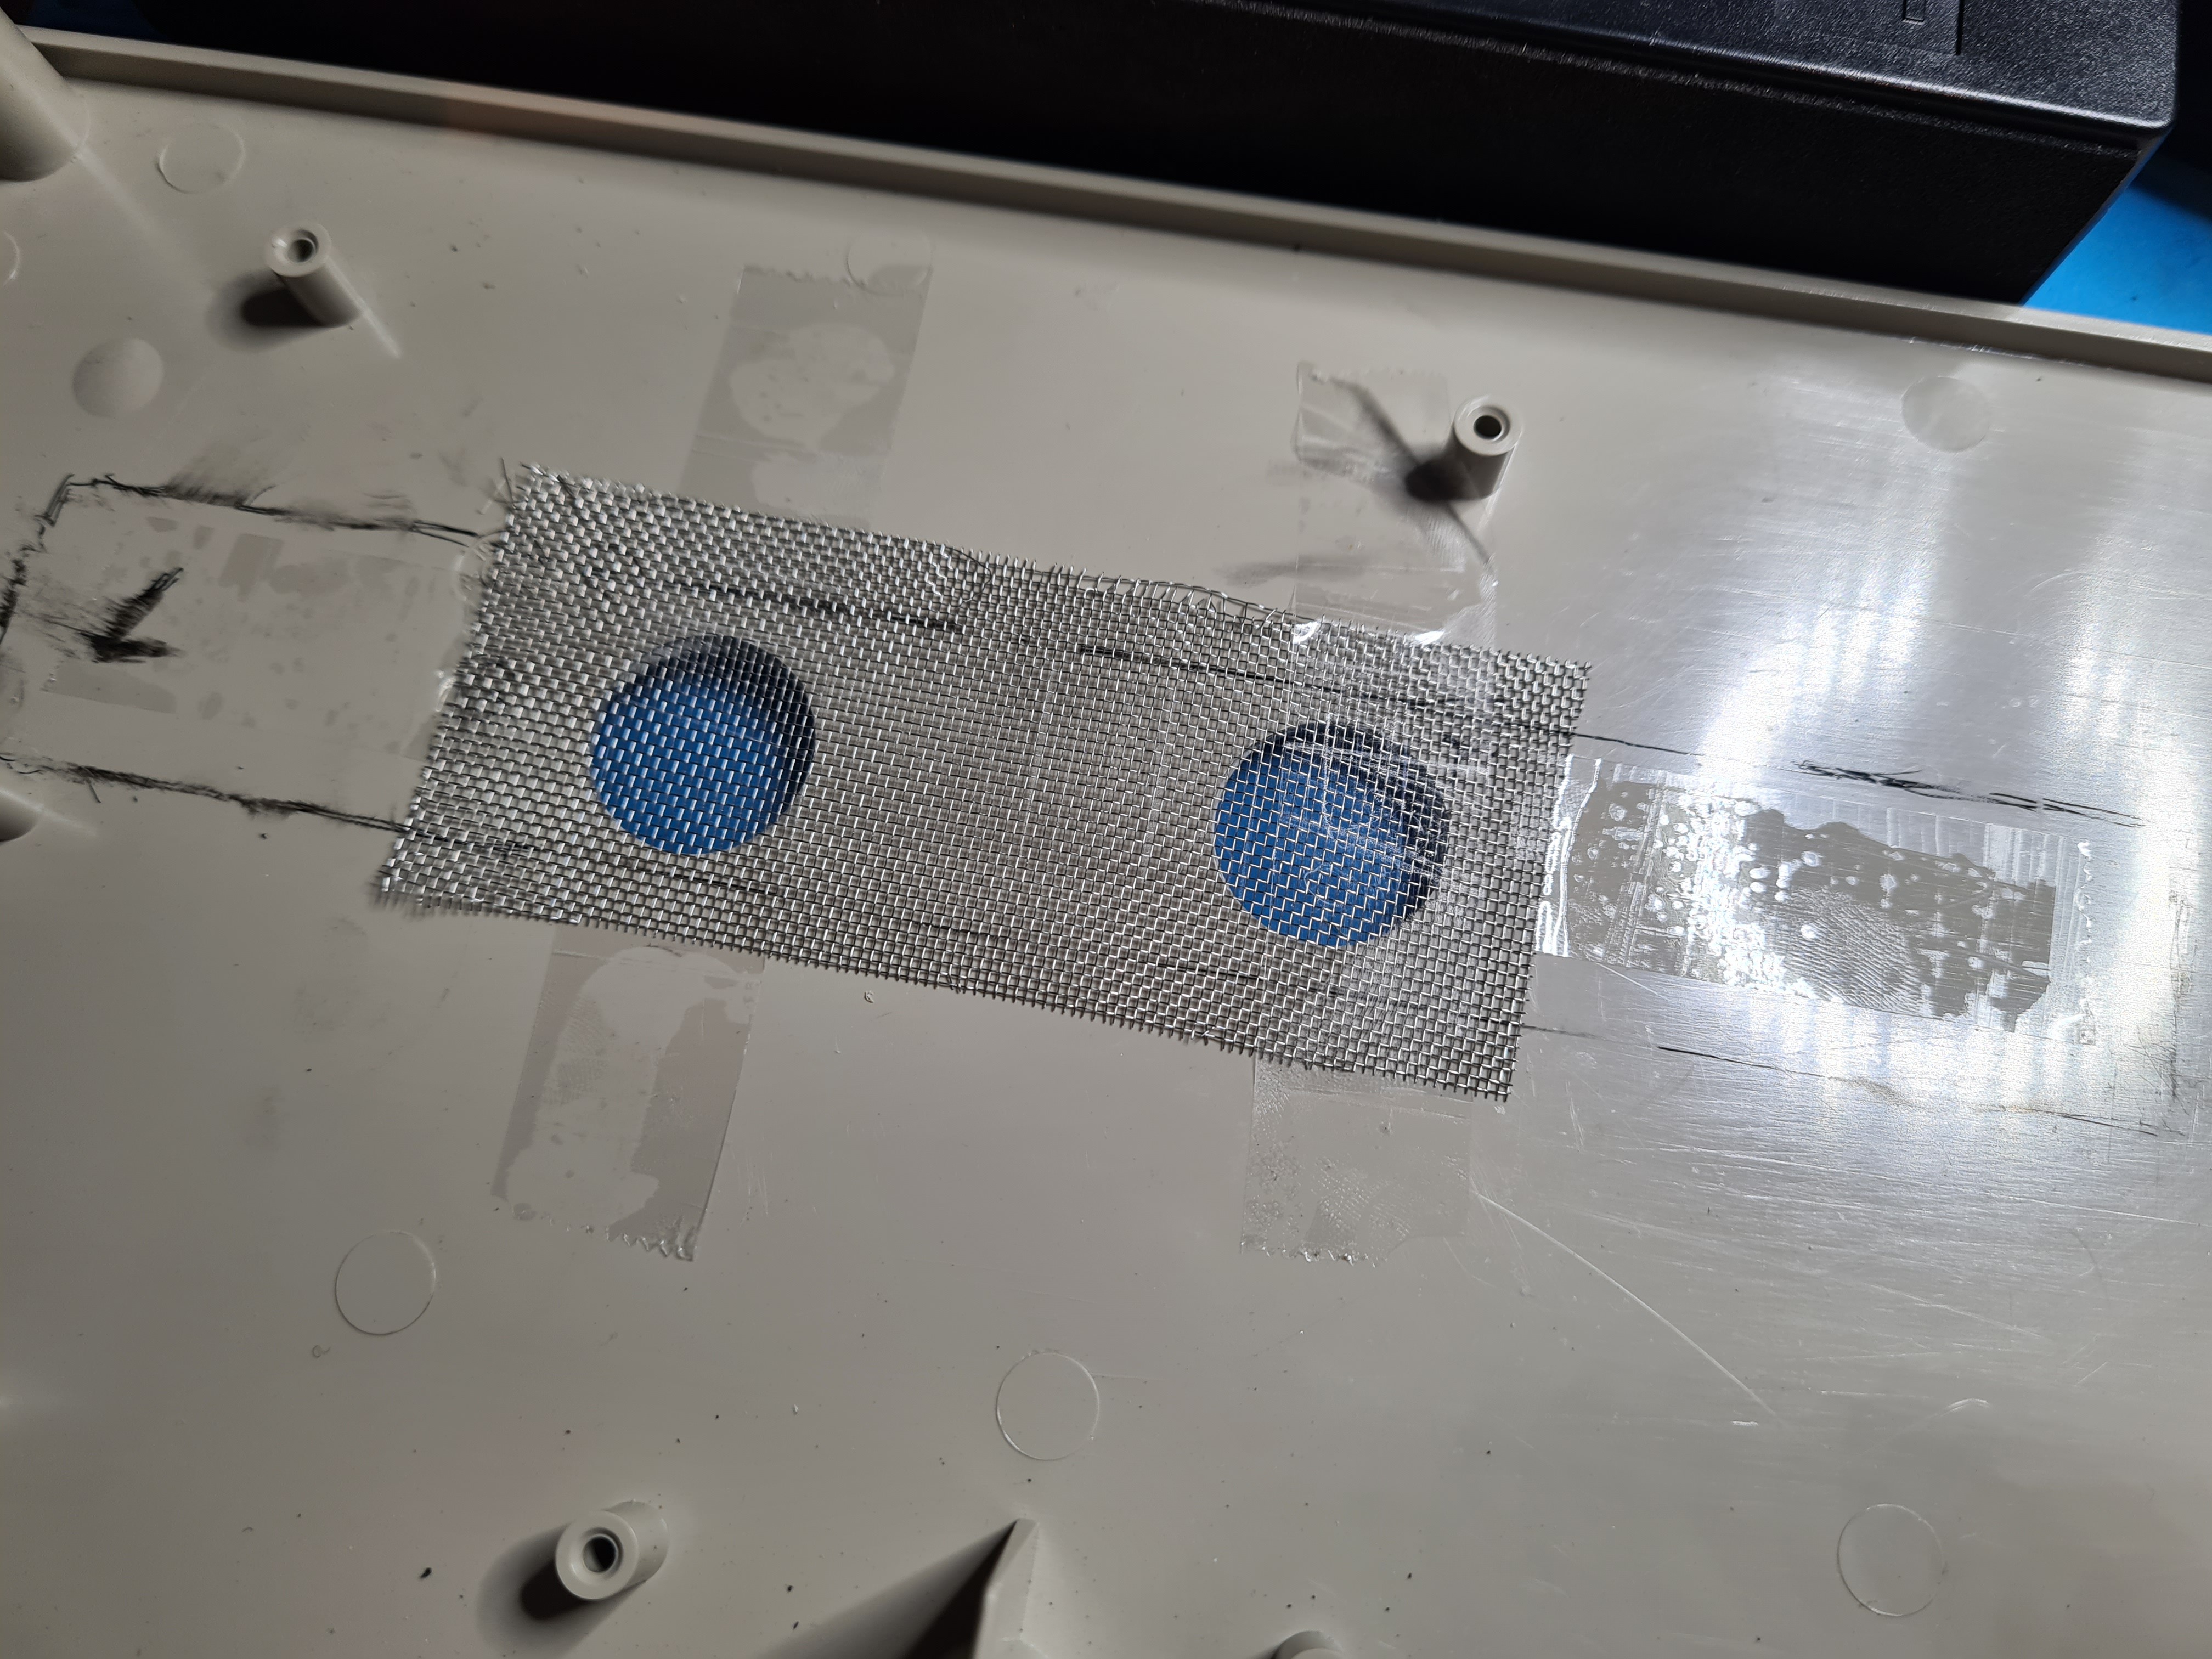
10/14/2022 at 16:34 • 0 commentsThe speakers are not going to fit without removing the battery compartment, so I simply had to remove it (It's a feature I haven't used anyway).
![]()
Since the battery hatch will not be used from now I added some glue to keep it closed. I drilled holes for the speaker cones to improve the treble, and added some metal mesh for protection.
![]()
![]()
![]()
![]()
-
Power is also needed
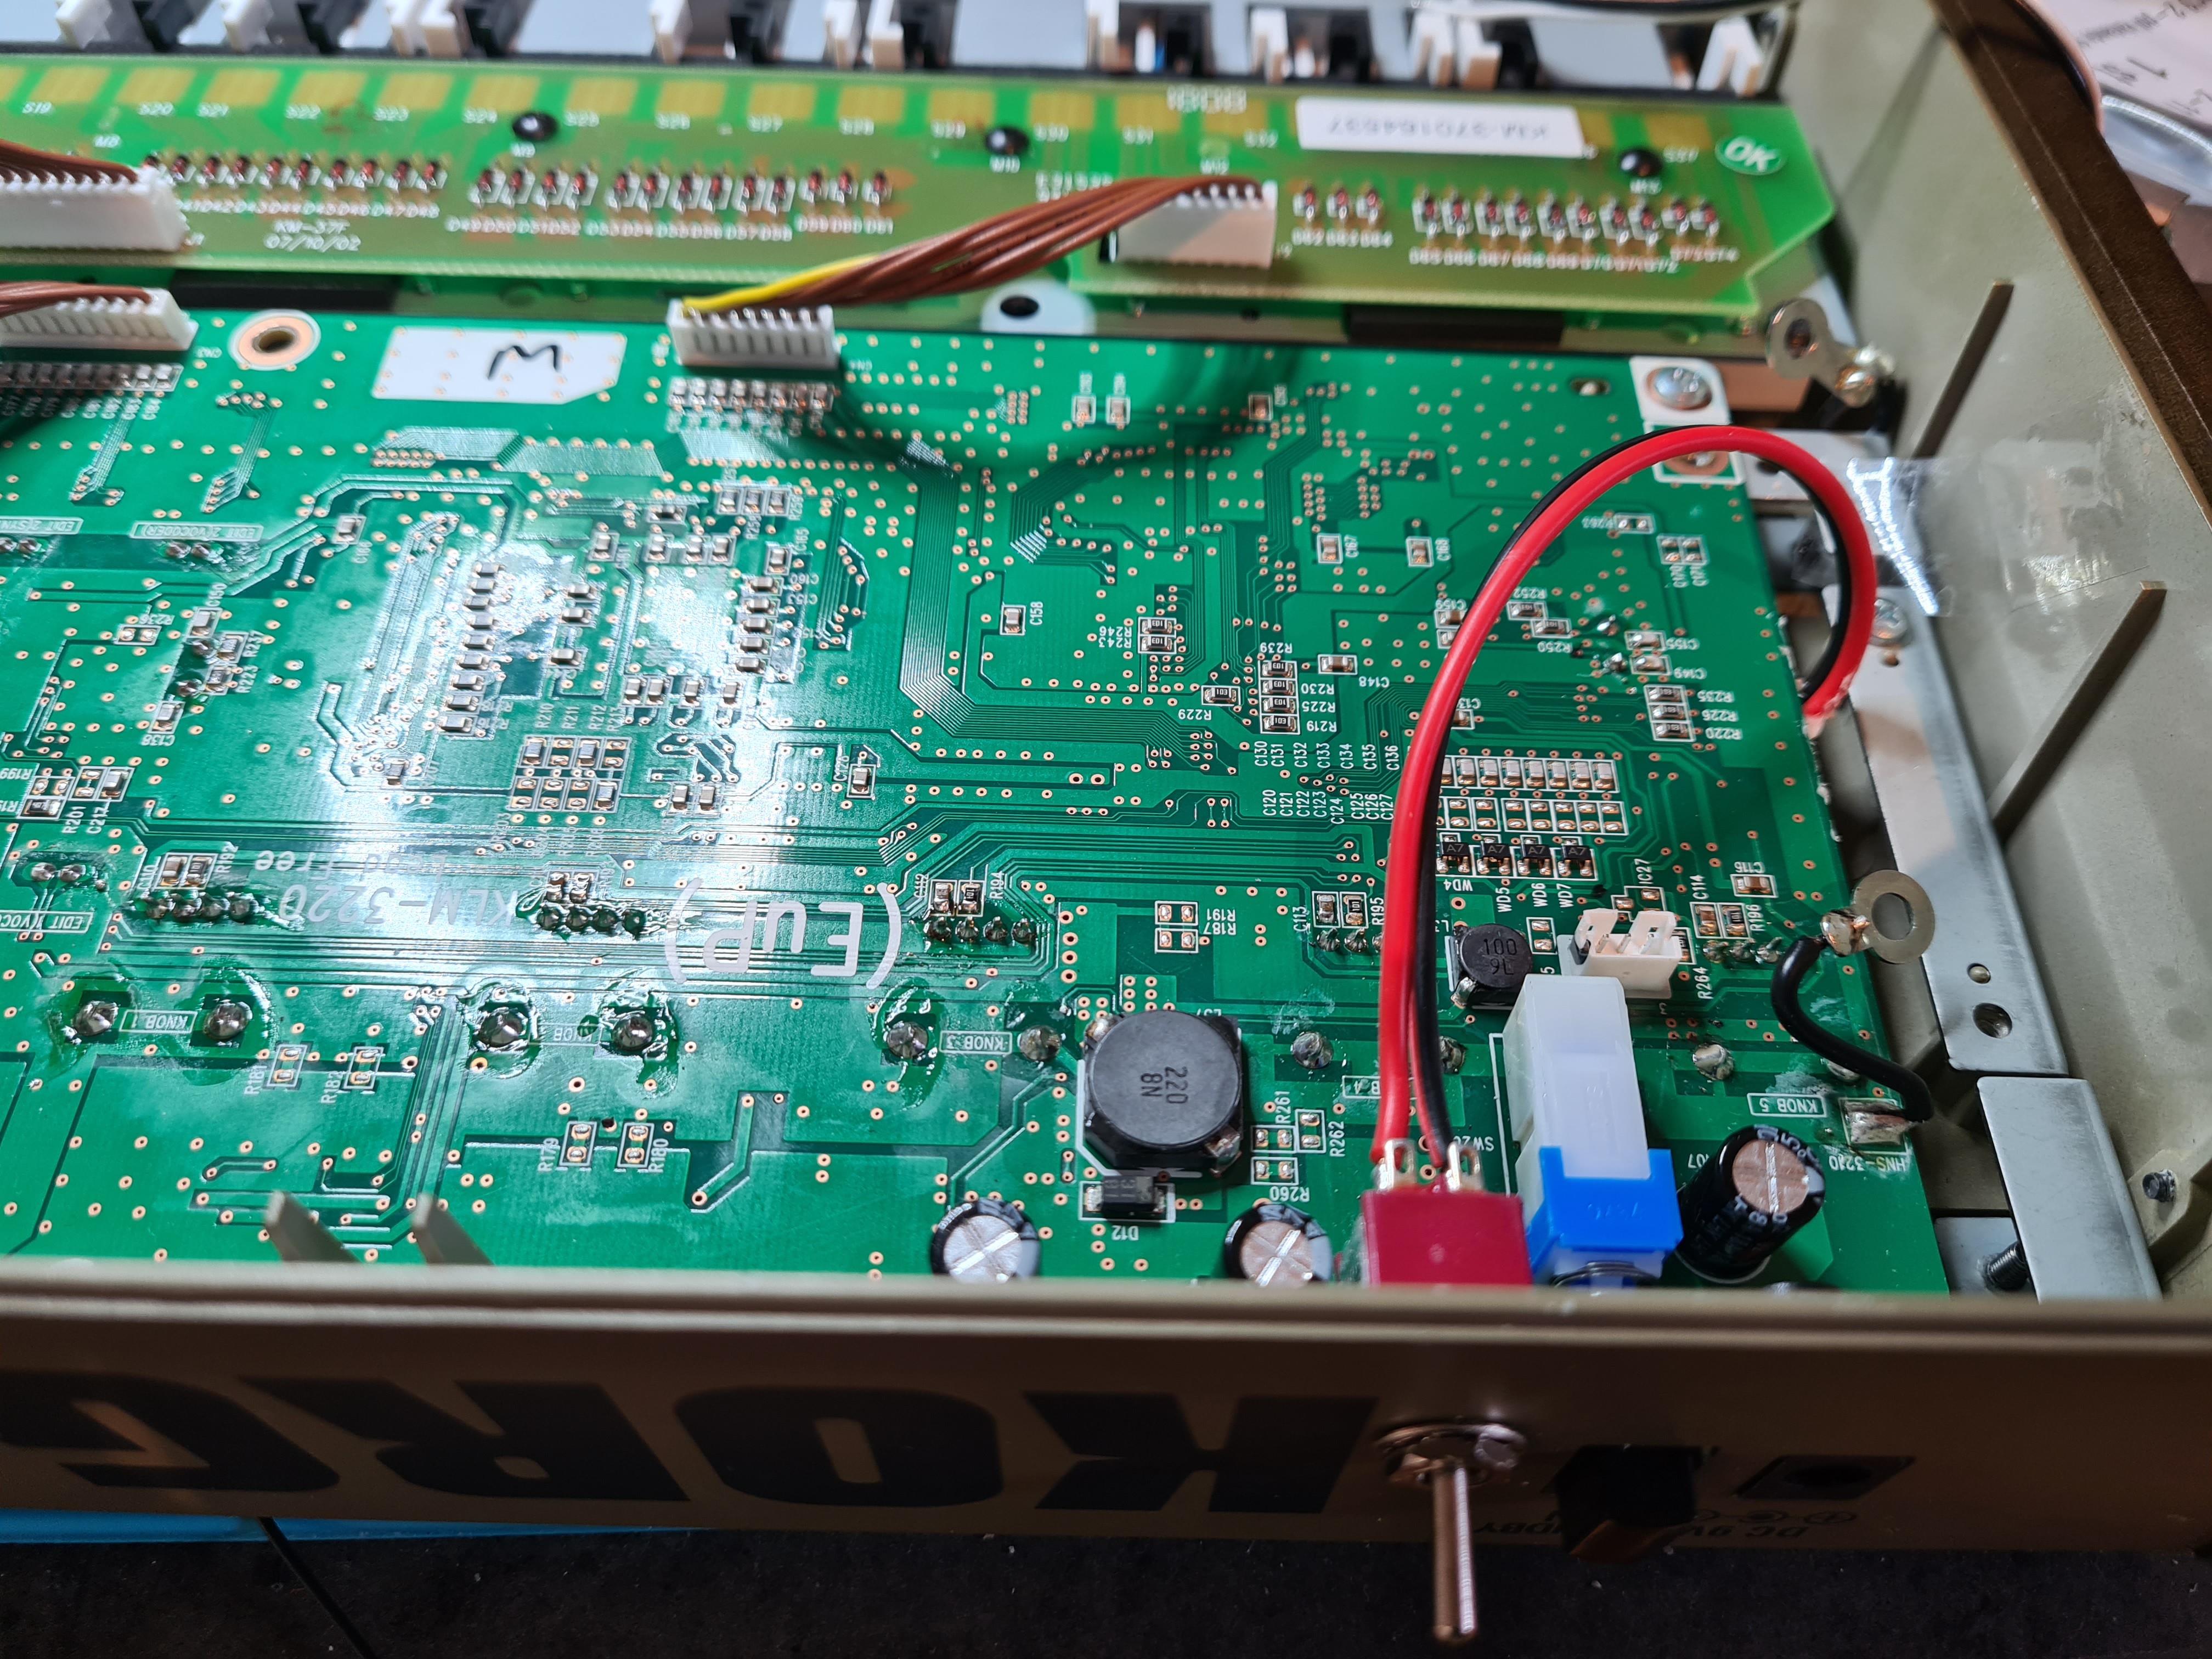
10/14/2022 at 16:11 • 0 commentsThe amplifier is not going to be a good amplifier without supply voltage. So I soldered a cable from the 9V in the Microkorg to the amplifier.
![]()
-
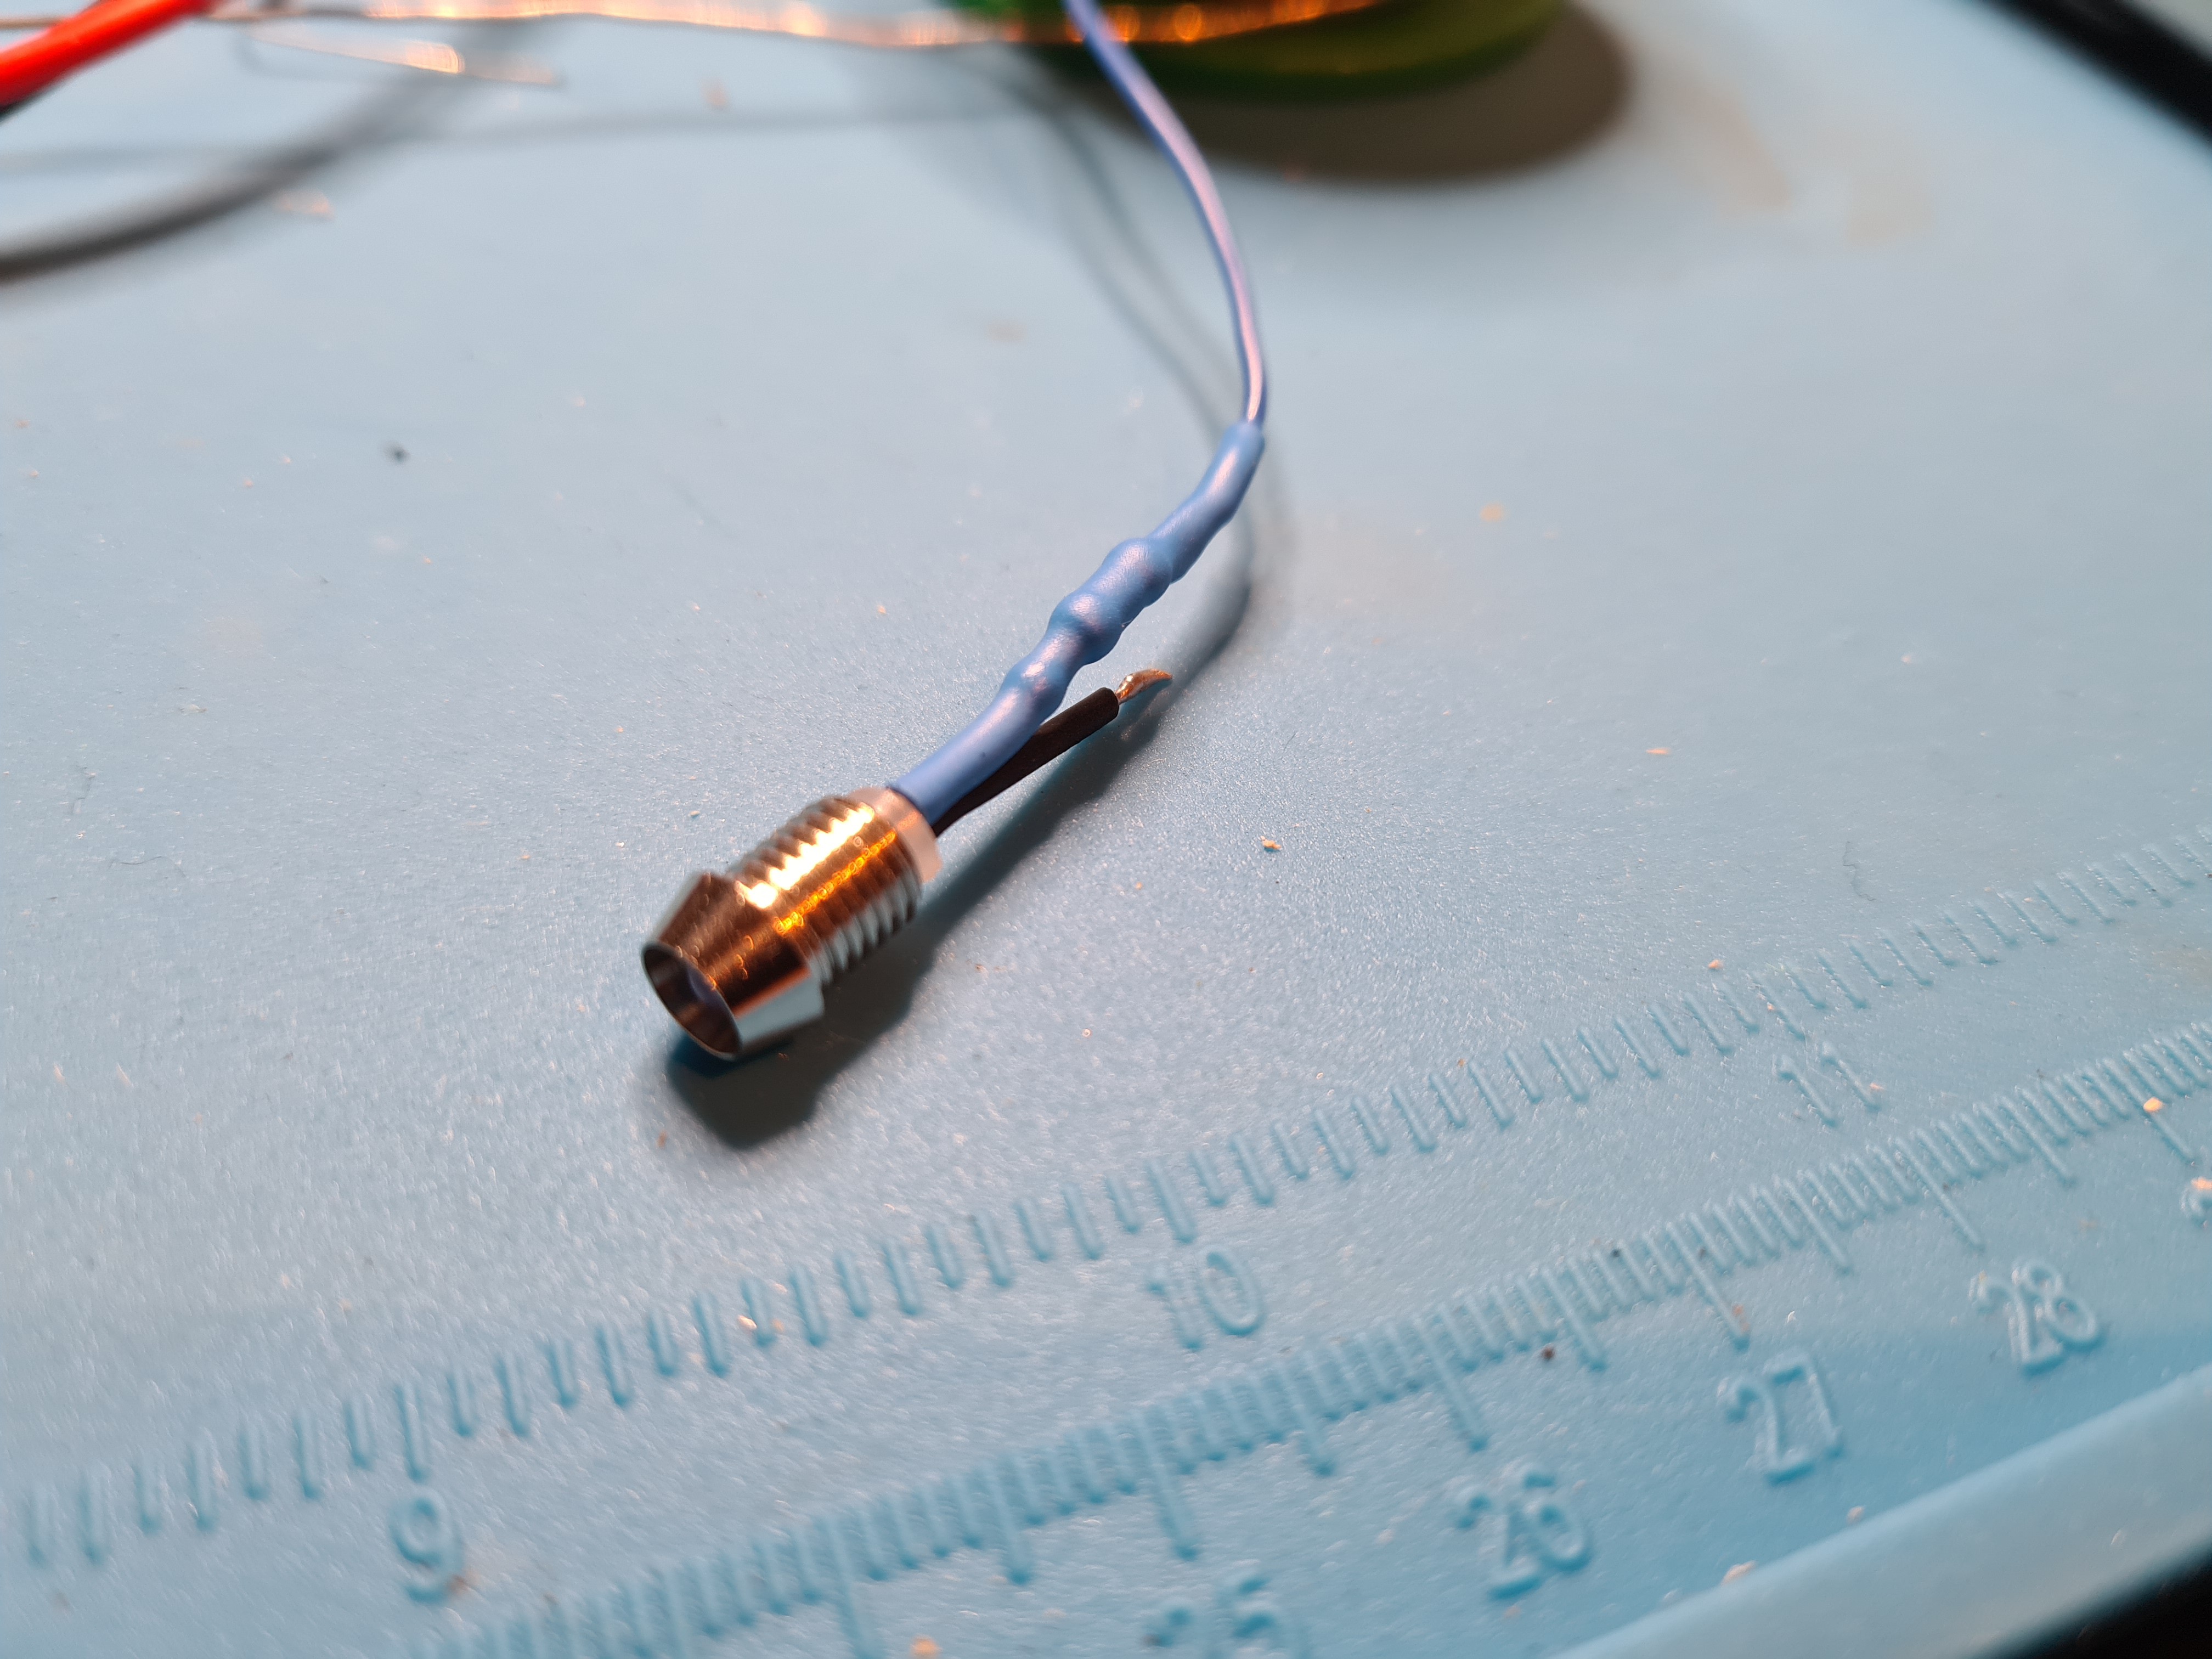
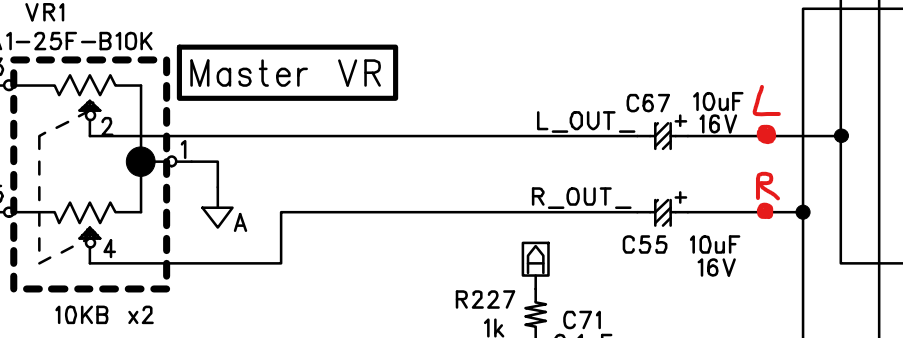
Finding the perfect spot
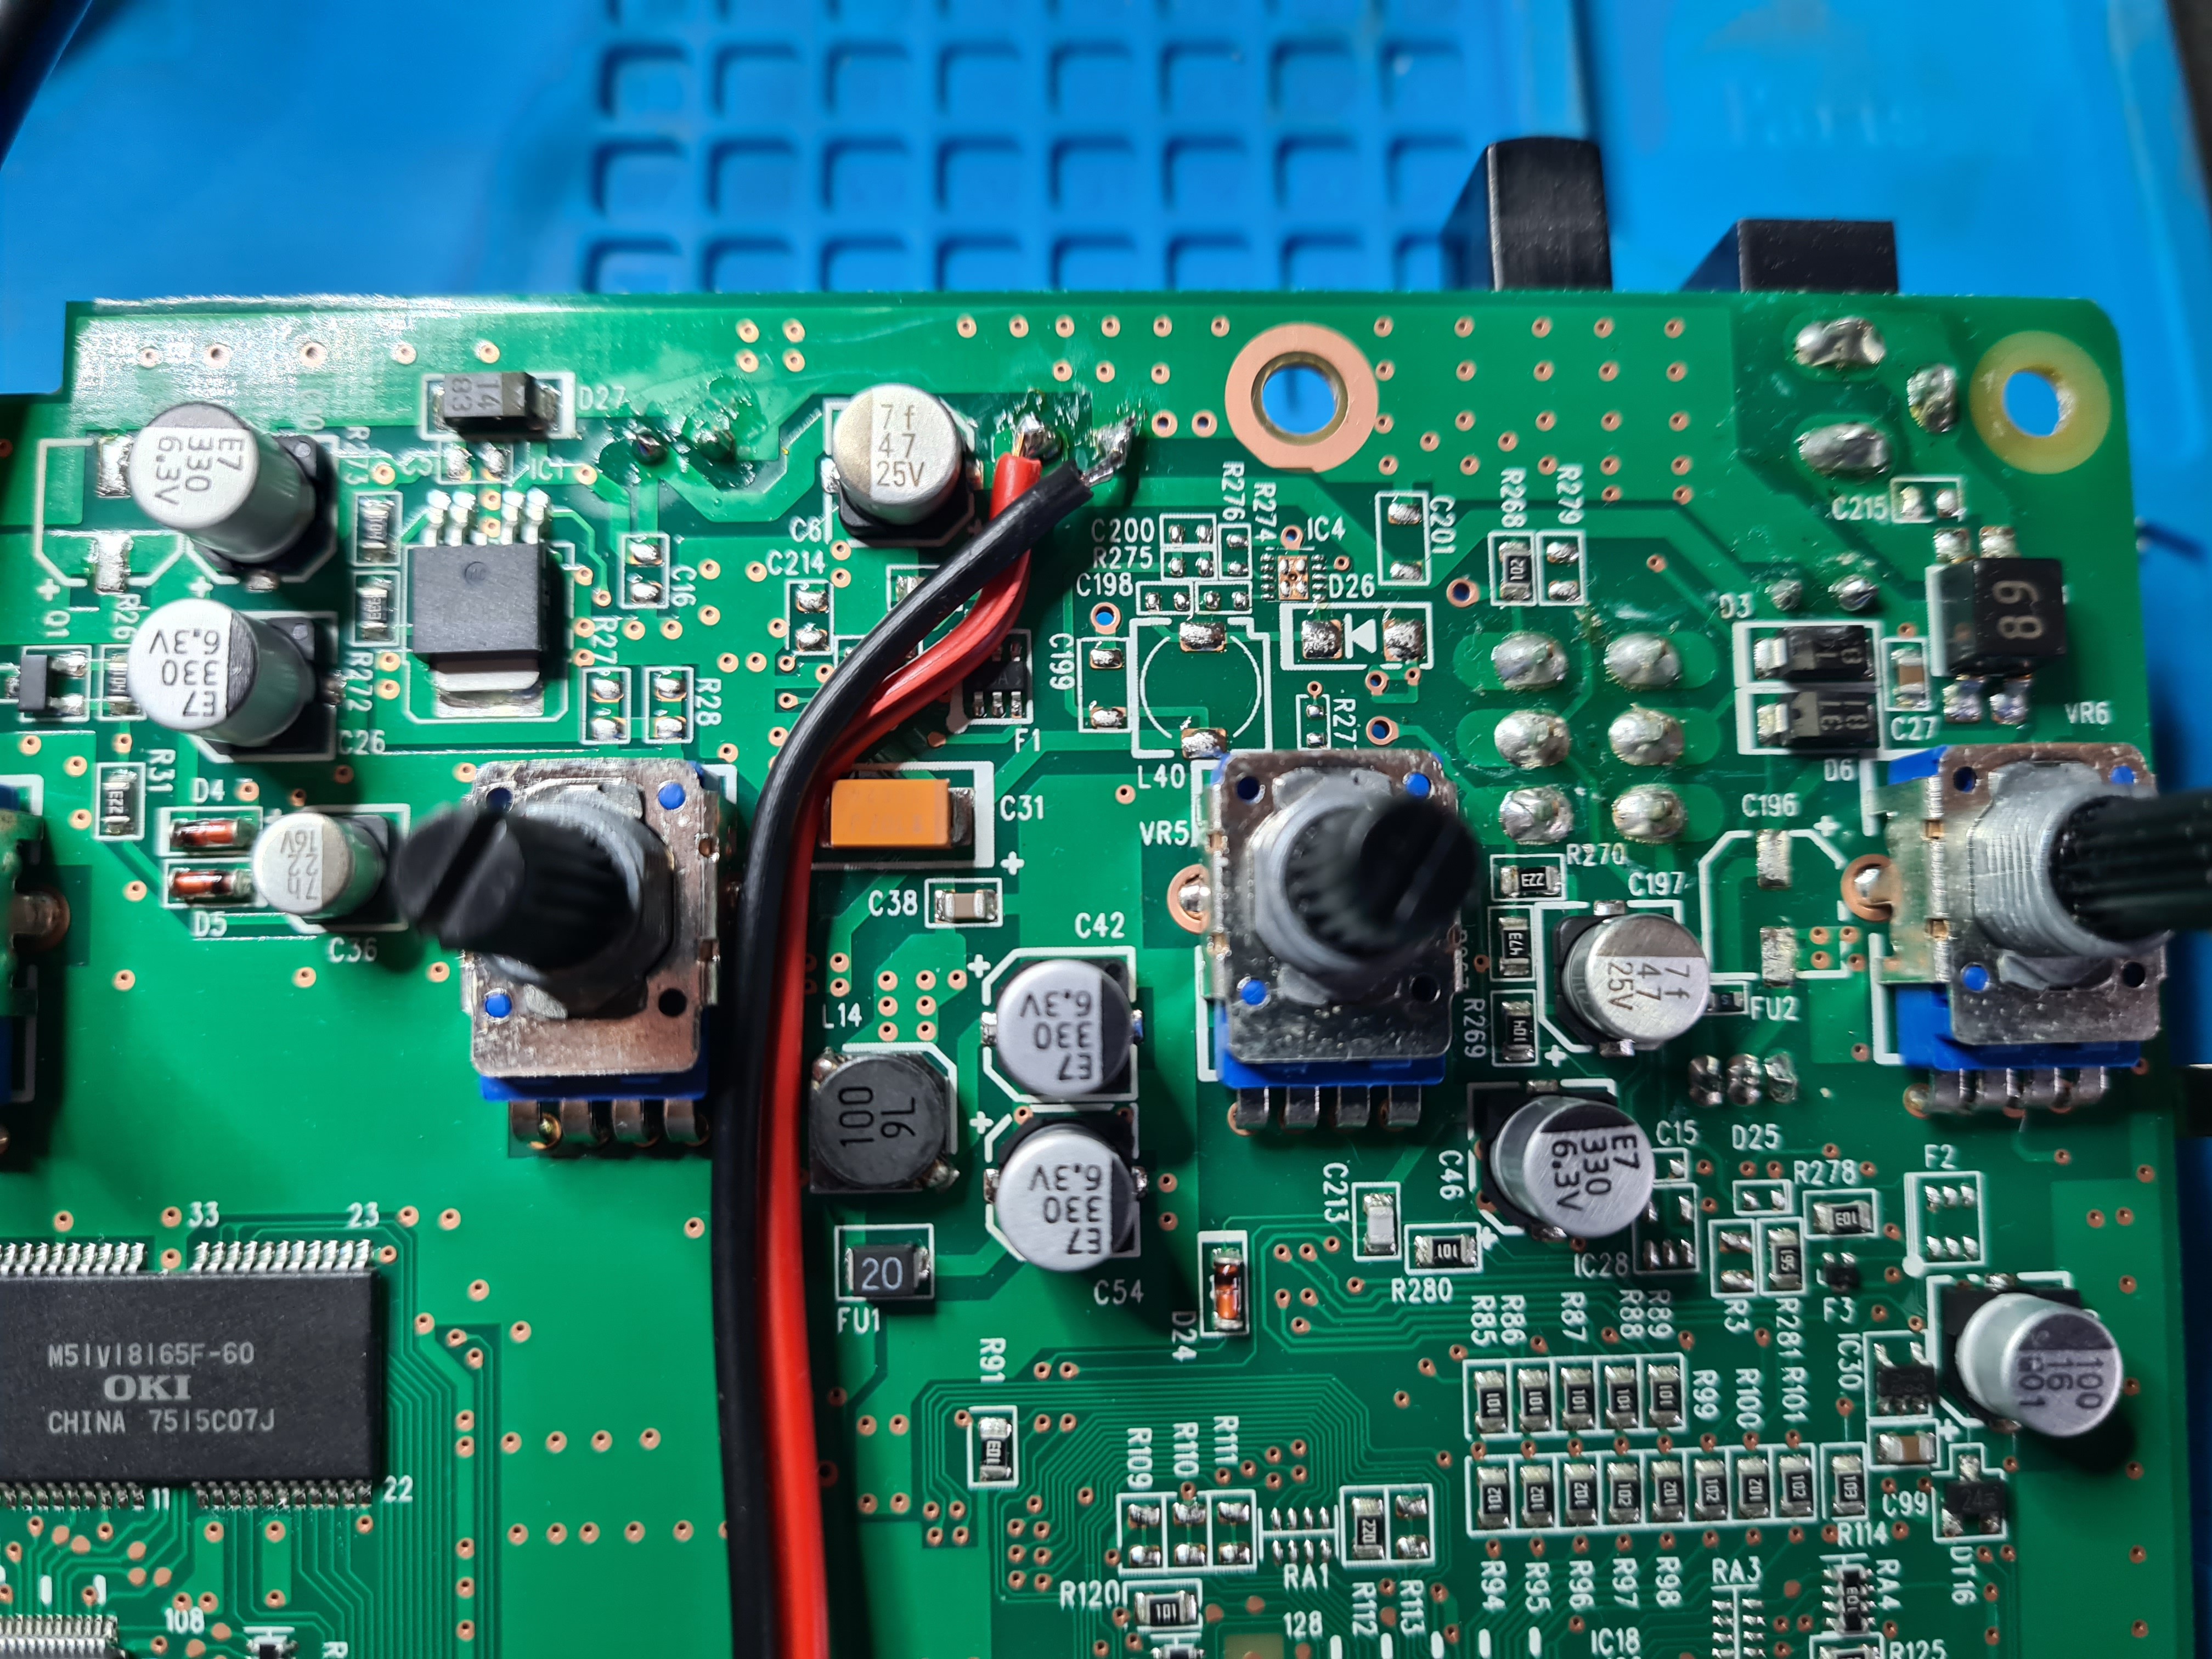
10/14/2022 at 15:55 • 0 commentsSo now I have my amplifier and my speakers, but I still need to find a good place to take the audio signal from the Microkorg to the Amplifier. I don't think using the headphone output is a good choice, so I had a look in the service manual (which pretty much includes the entire schematic!) and found a spot just before the headphone driver. This spot also allows me to adjust the speaker volume through the volume potentiometer.
![]()
I opened up the Microkorg case in search of the spot to extract the audio signal. Using the service manual as reference I was able to solder a signal cable in the right location.
-
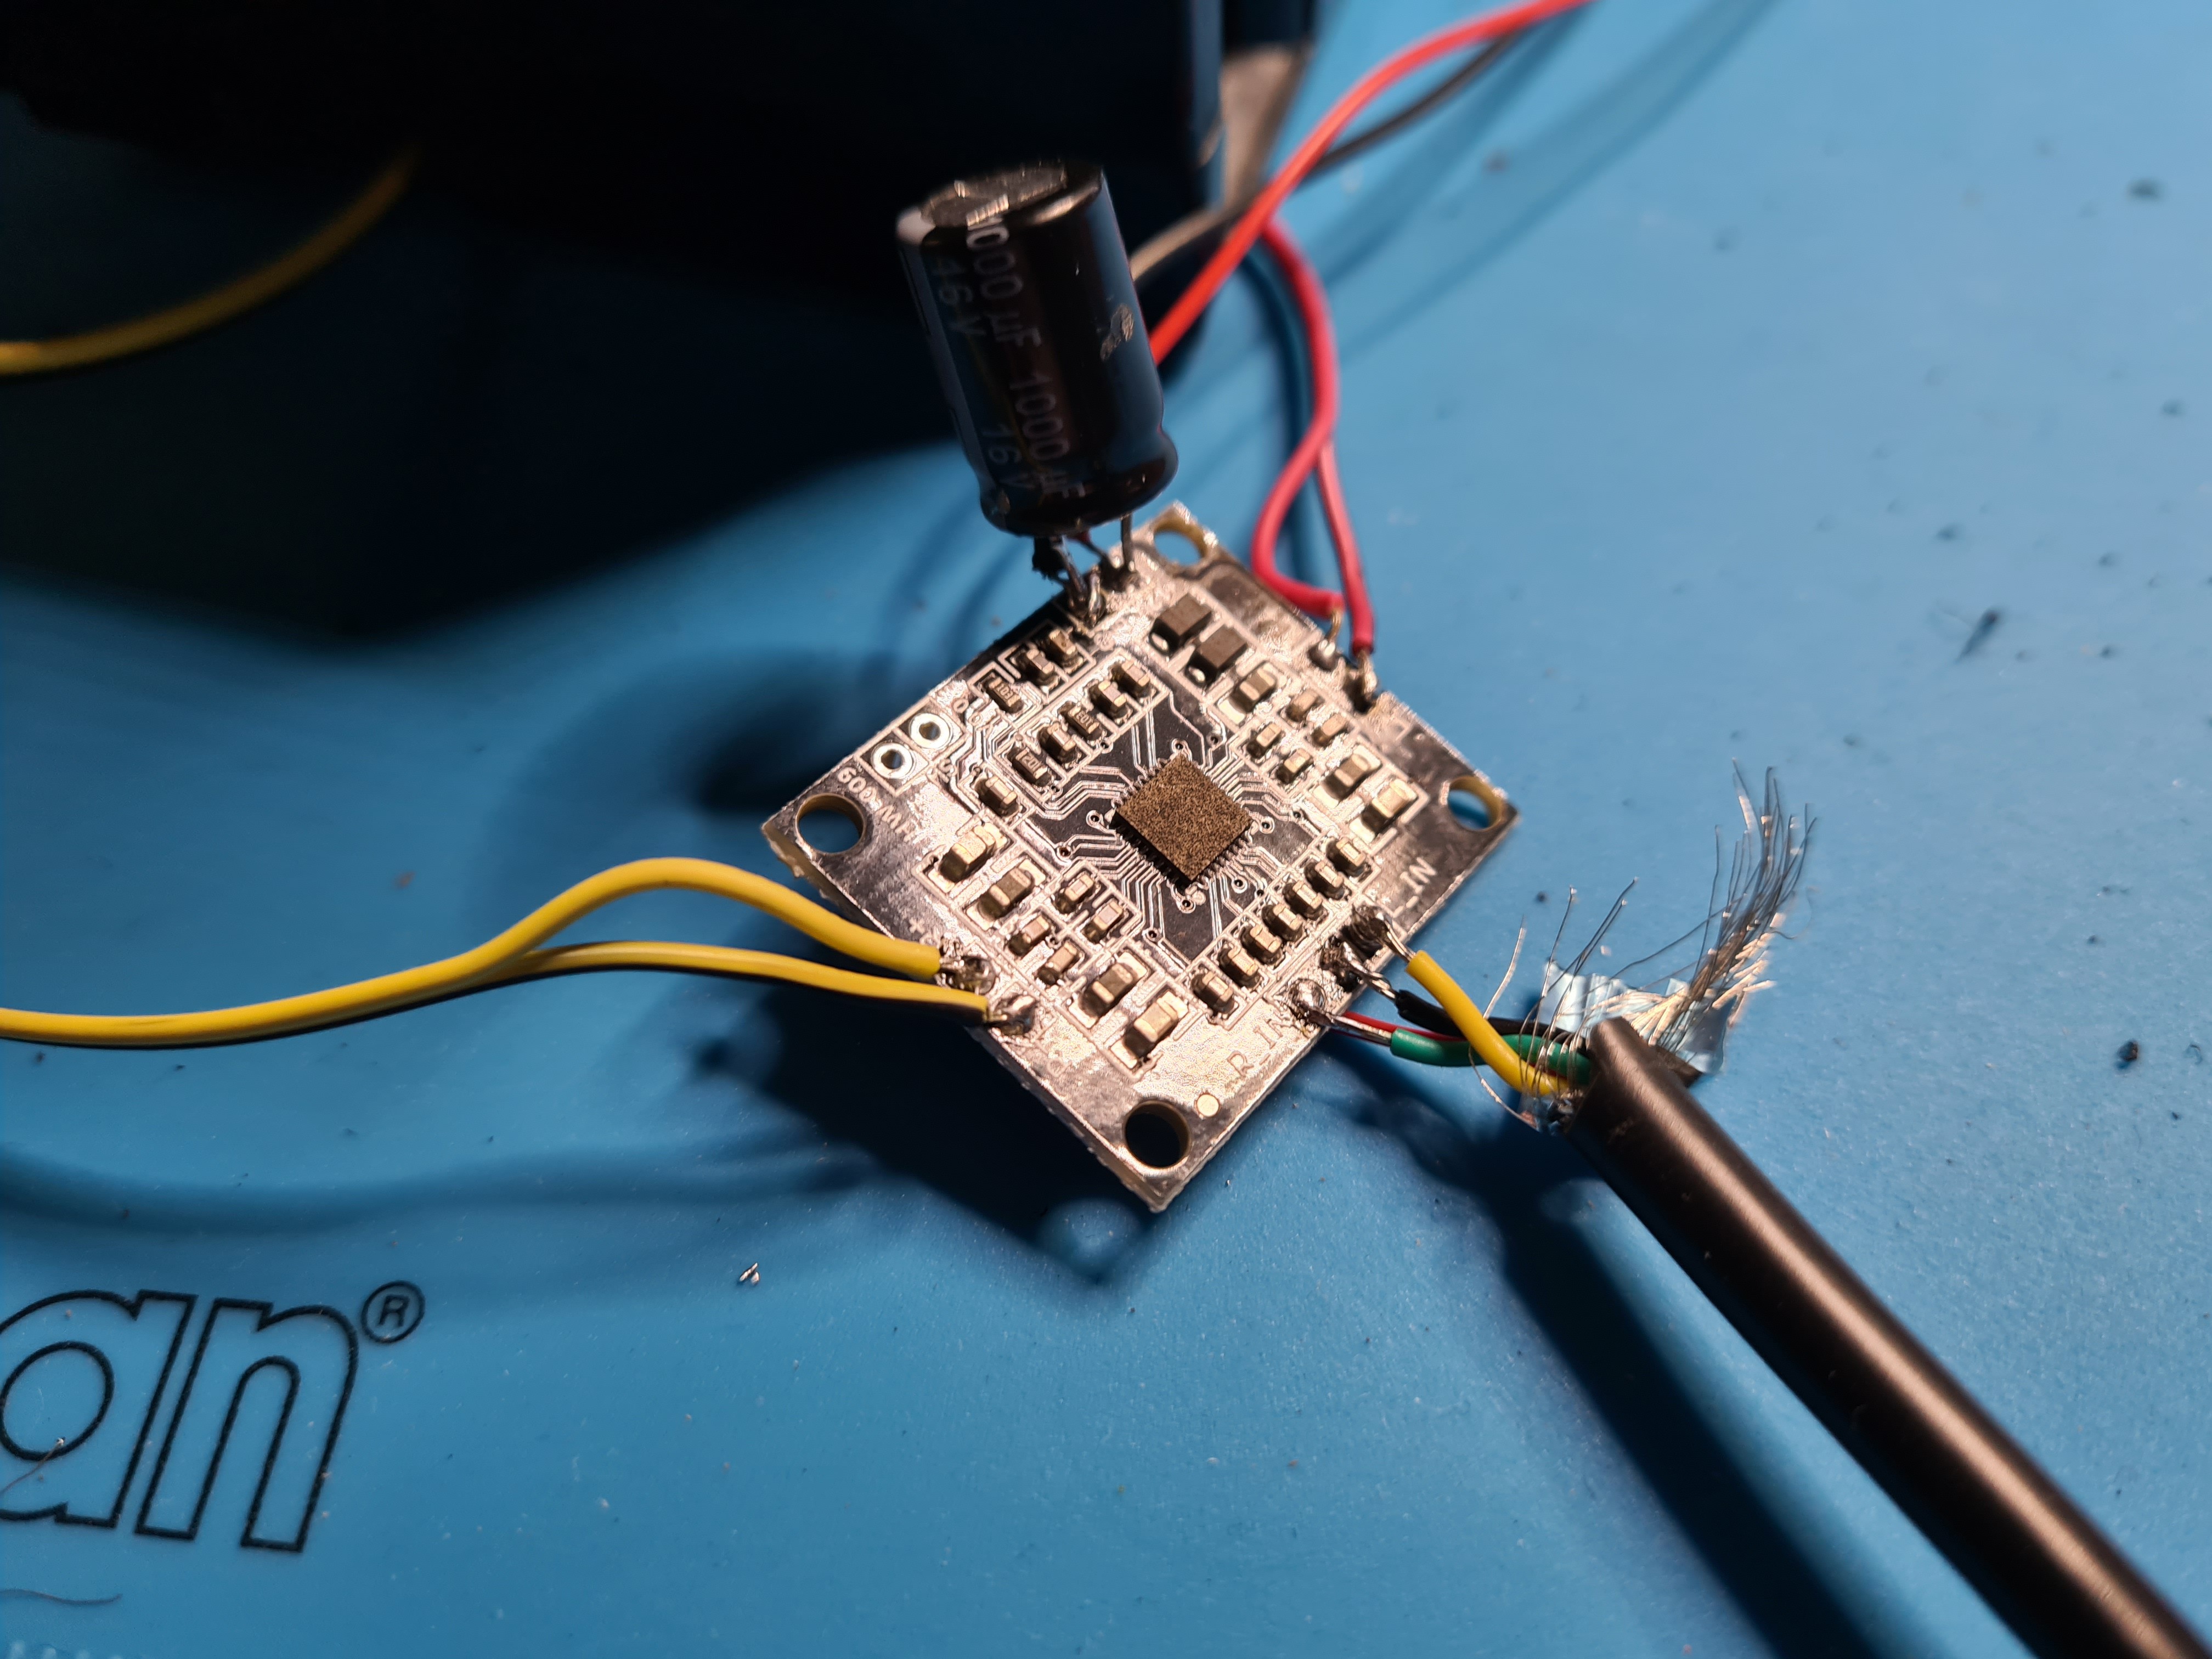
And the amplifier!
10/13/2022 at 16:31 • 0 commentsI continued searching for a better amplifier solution and found the PAM8610 module, which has higher power rating than the PAM8403. I ran some tests with the speakers from the Sharp TV and was happy with the result. It's probably not the best Class D amplifier module but I think it's good enough.
![]()
-
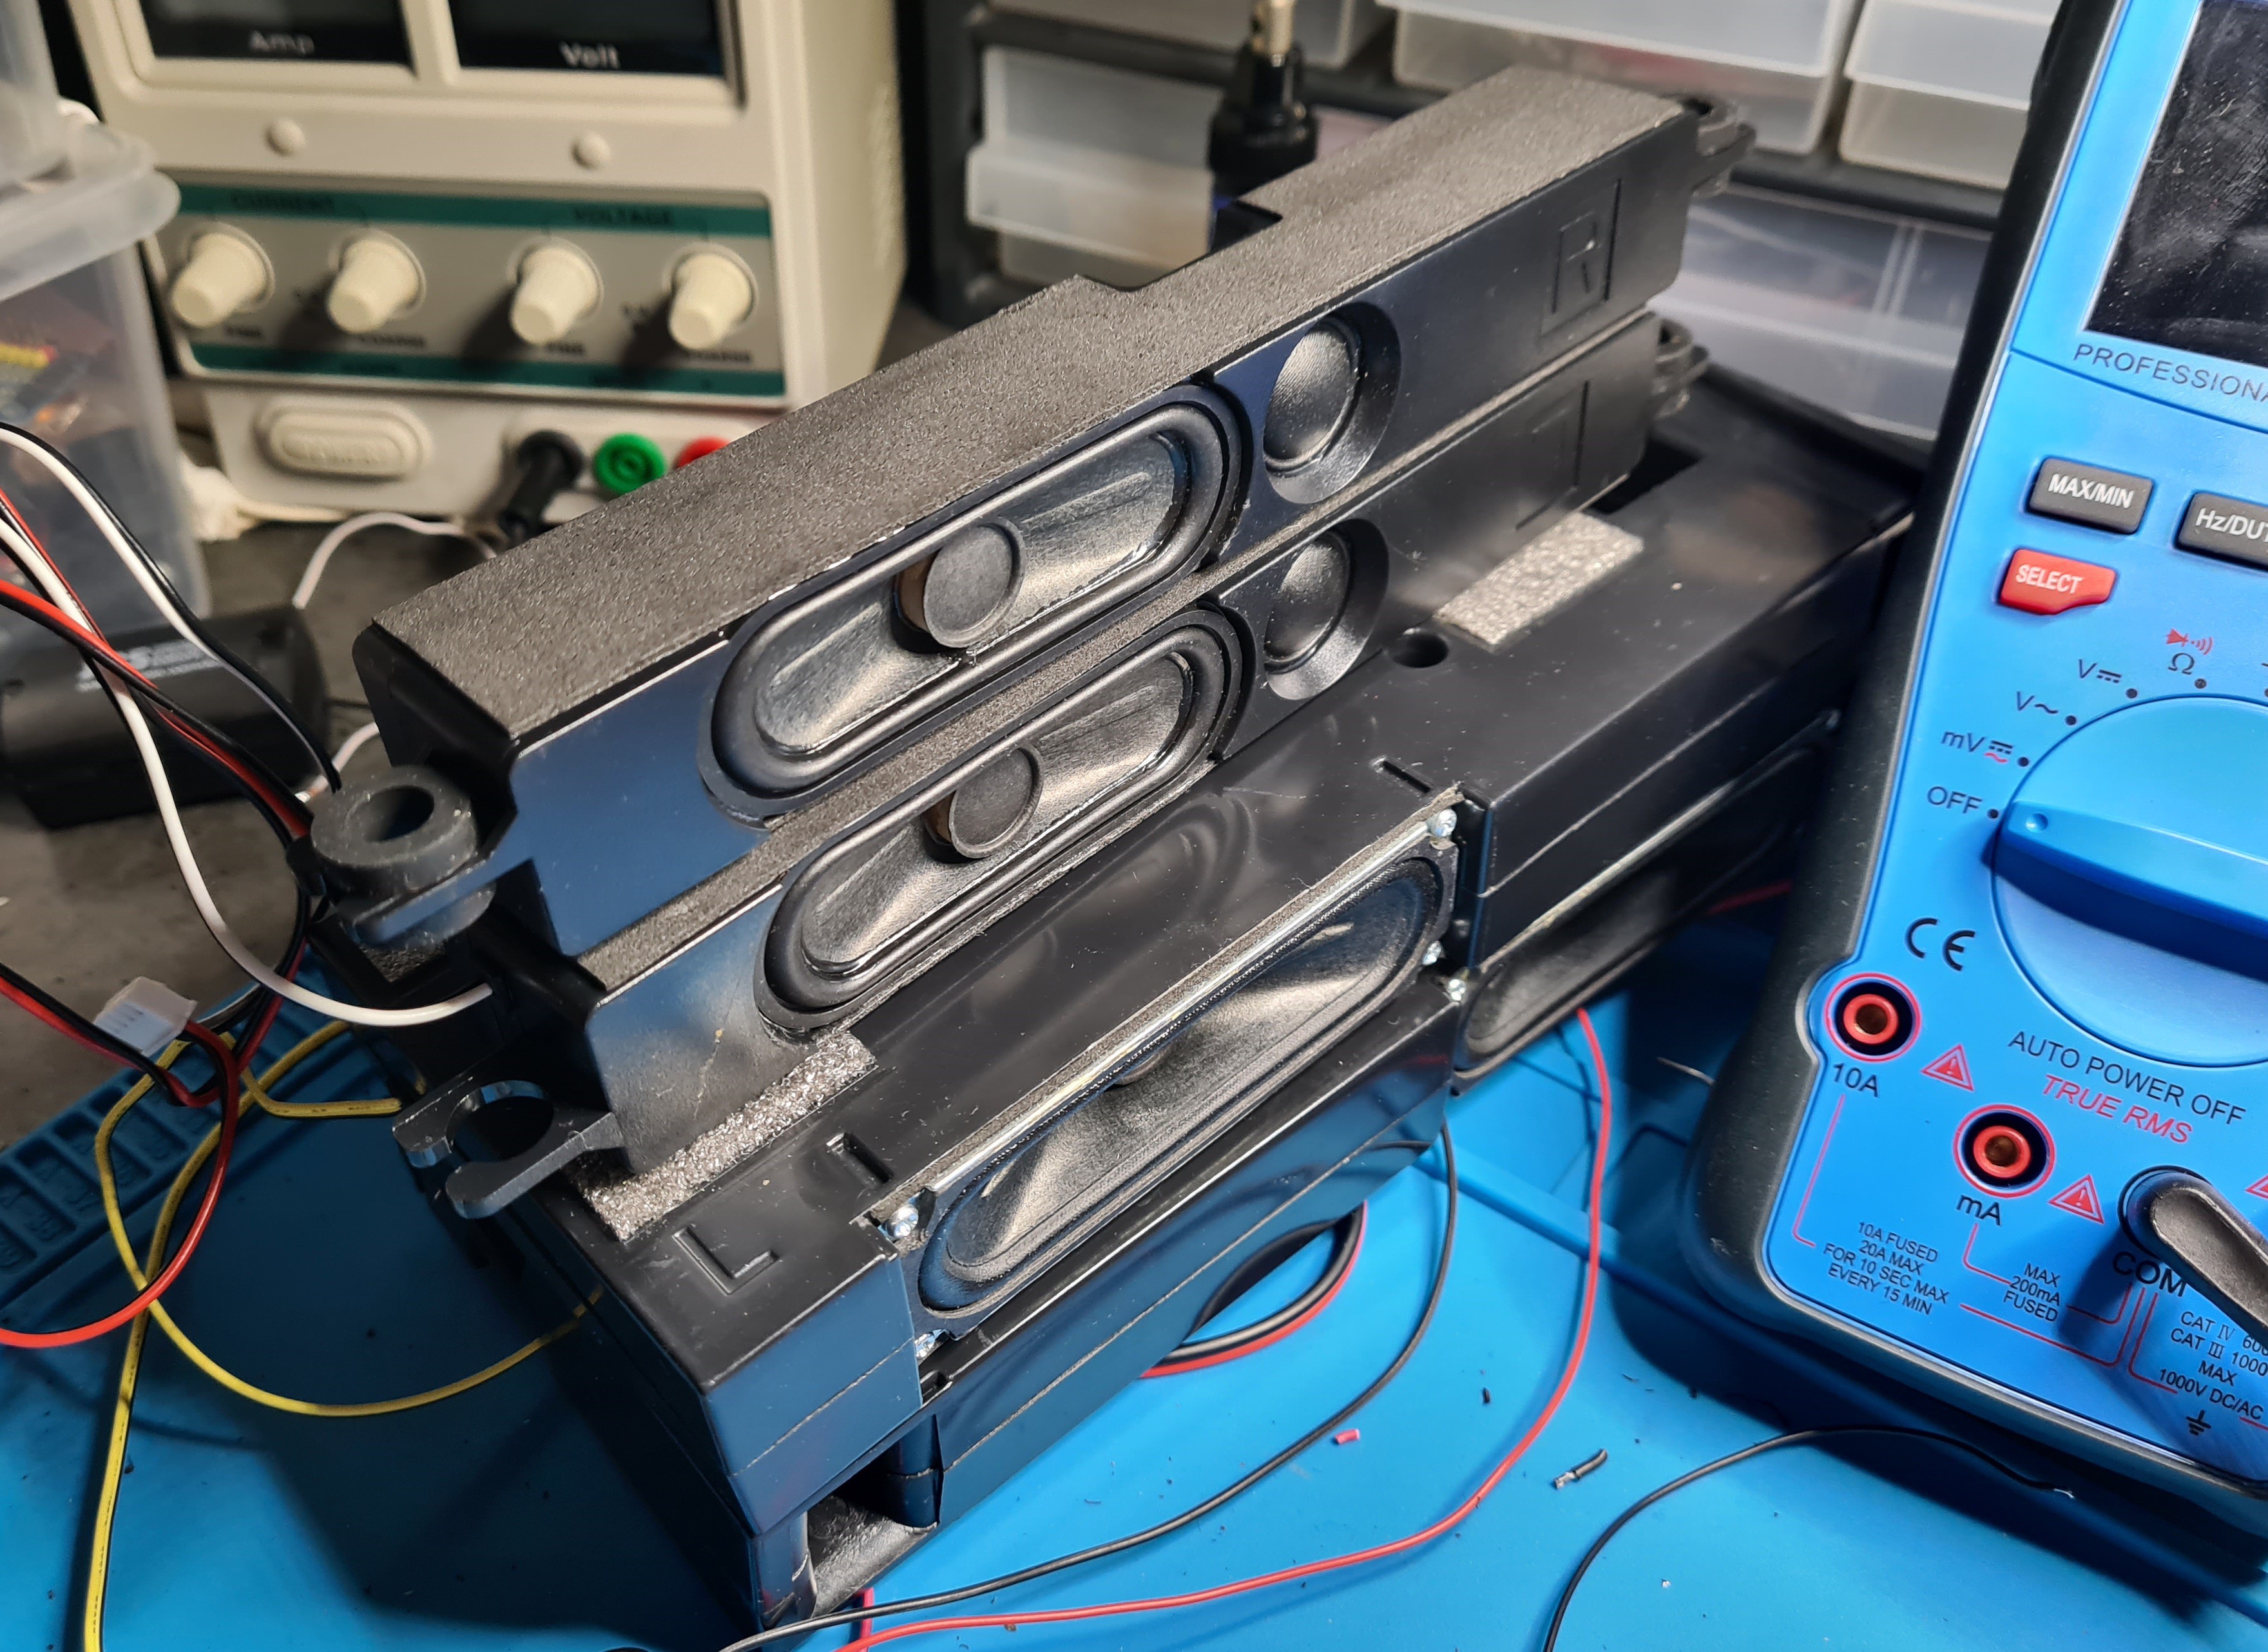
I found the speakers!
10/13/2022 at 16:22 • 0 commentsSince there is limited space inside the Microkorg the selection of speakers is quite limited, but I found a pair of used speakers from a Sharp TV that might do the trick.
![]()
-
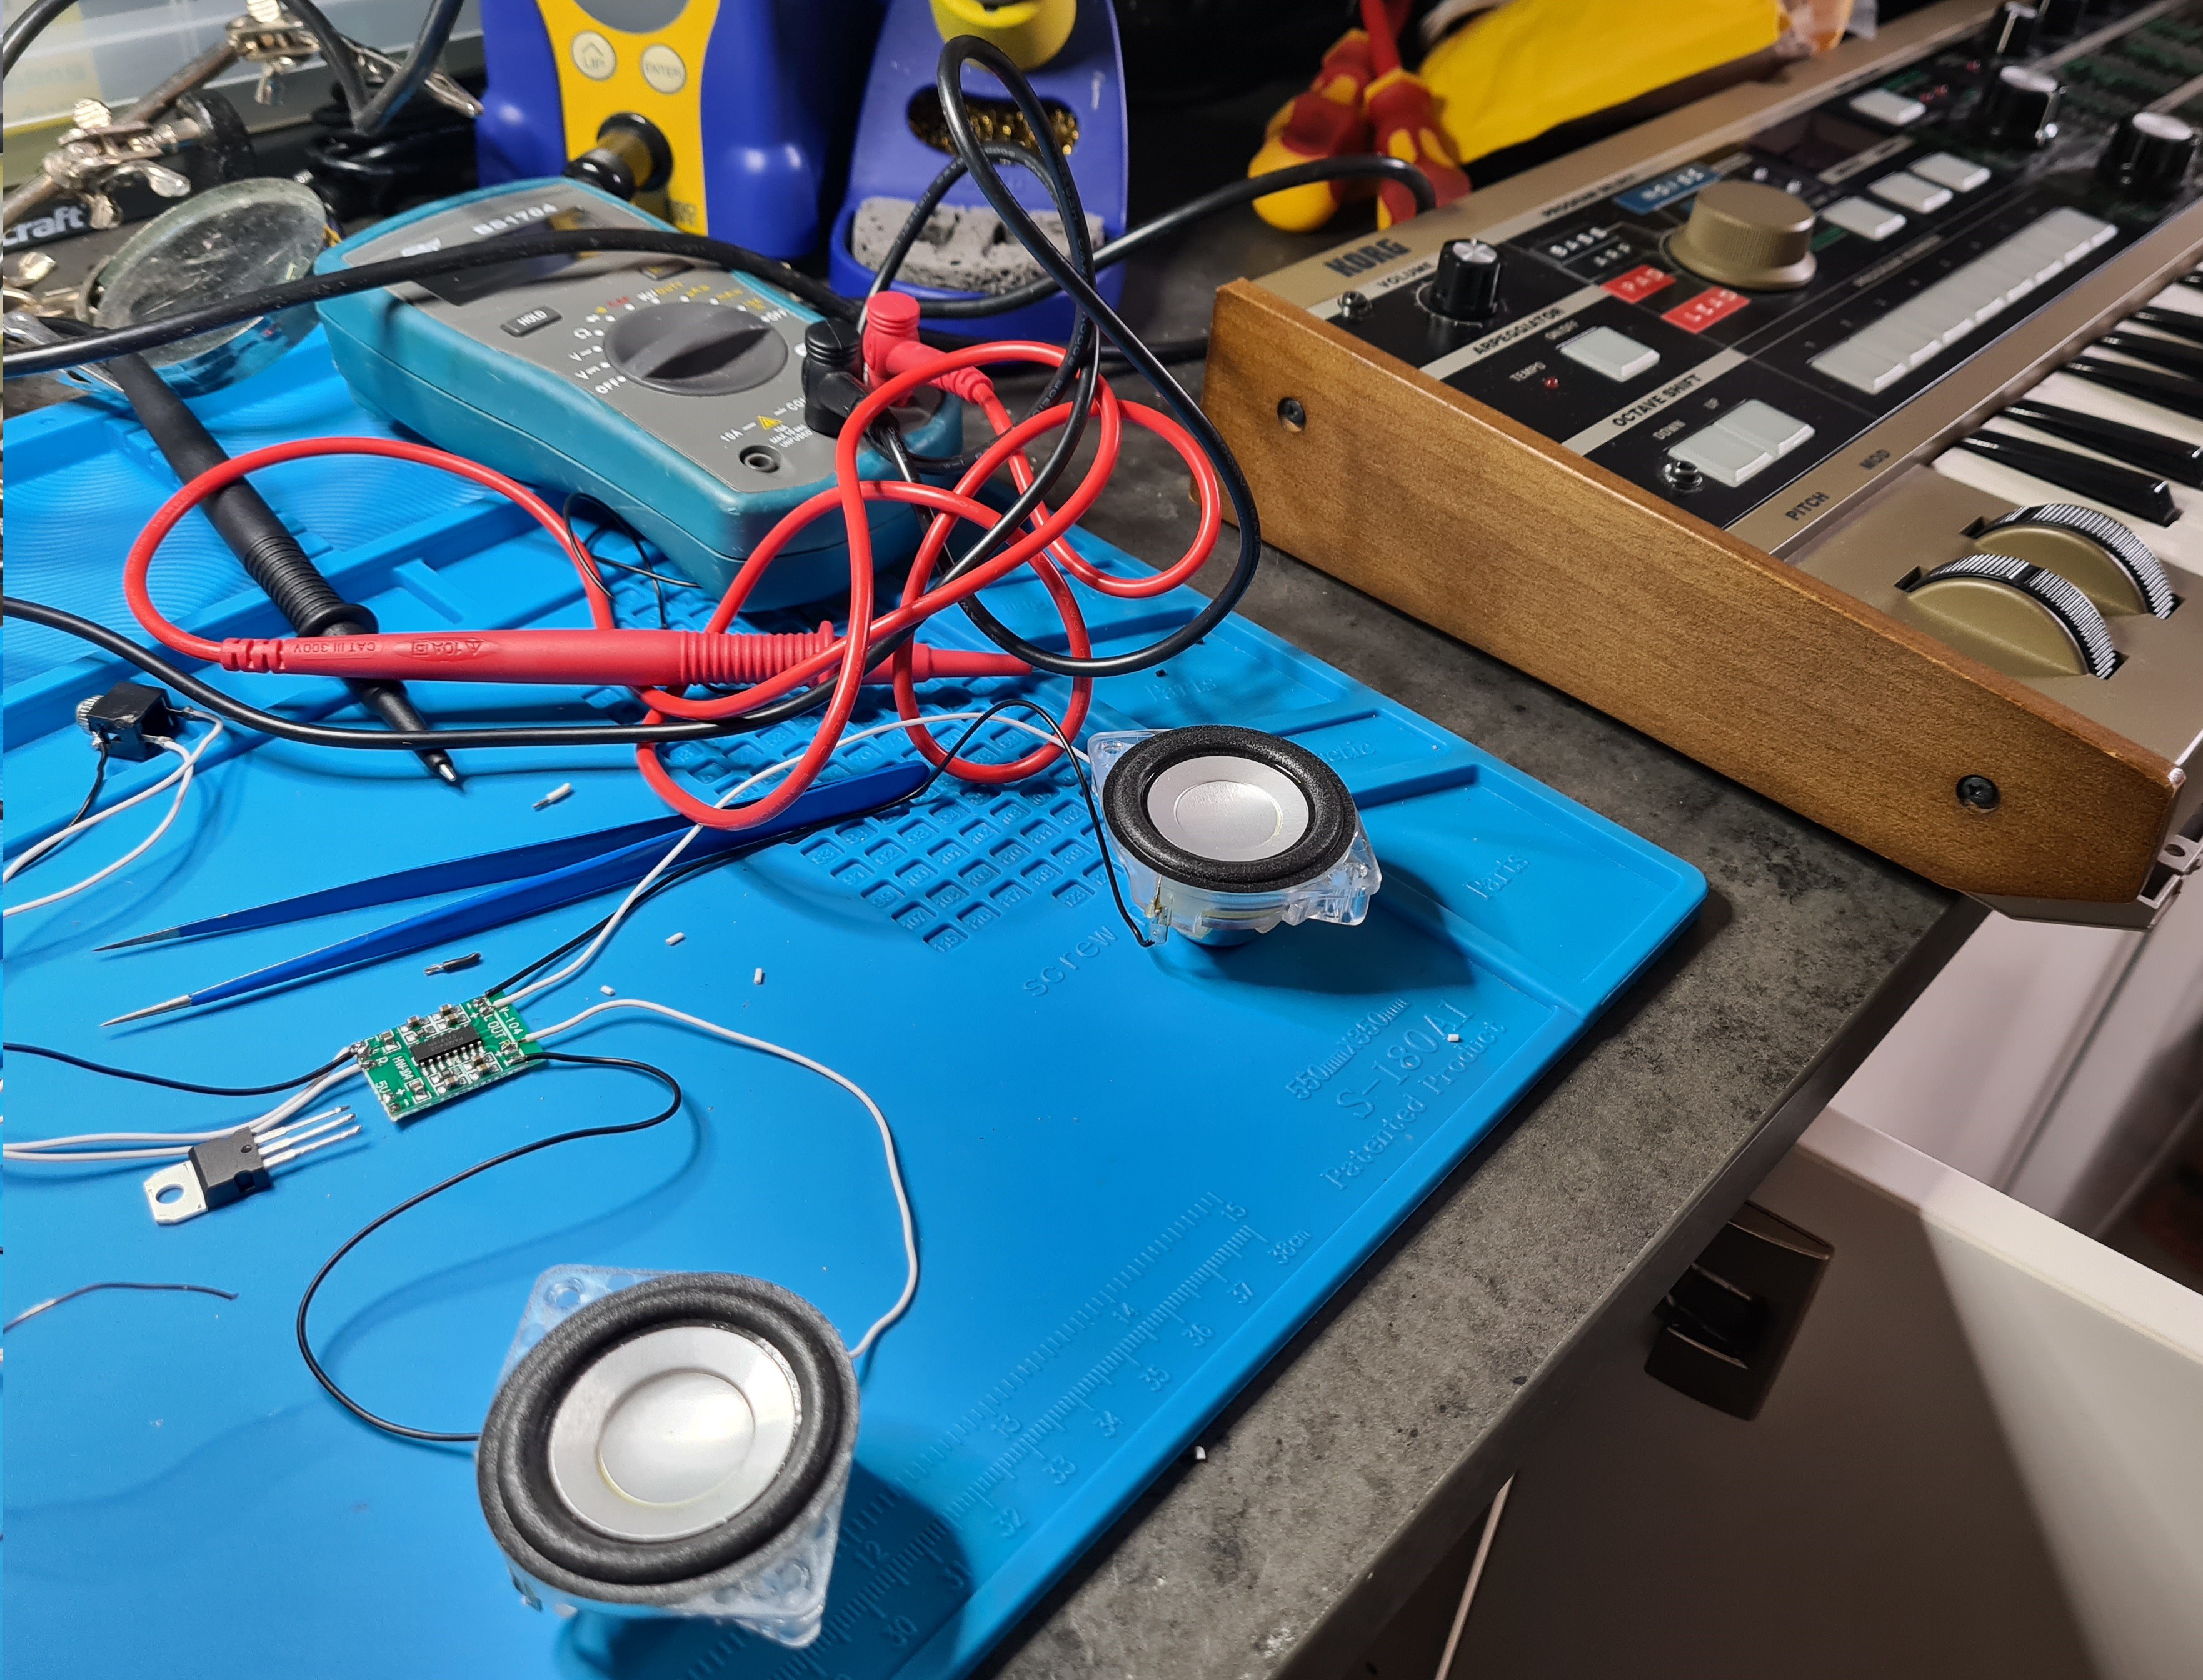
Some initial testing
10/13/2022 at 16:13 • 0 commentsI started searching for an audio amplifier and came across the PAM8403 Class D amplifier. I thought it might work as the internal audio amplifier, so I ran some tests with Visaton bf45 speakers. I wasn't happy with the amplifier (and the speakers) so I continued searching.
![]()
-
Start of a journey
10/13/2022 at 16:05 • 0 comments![]()
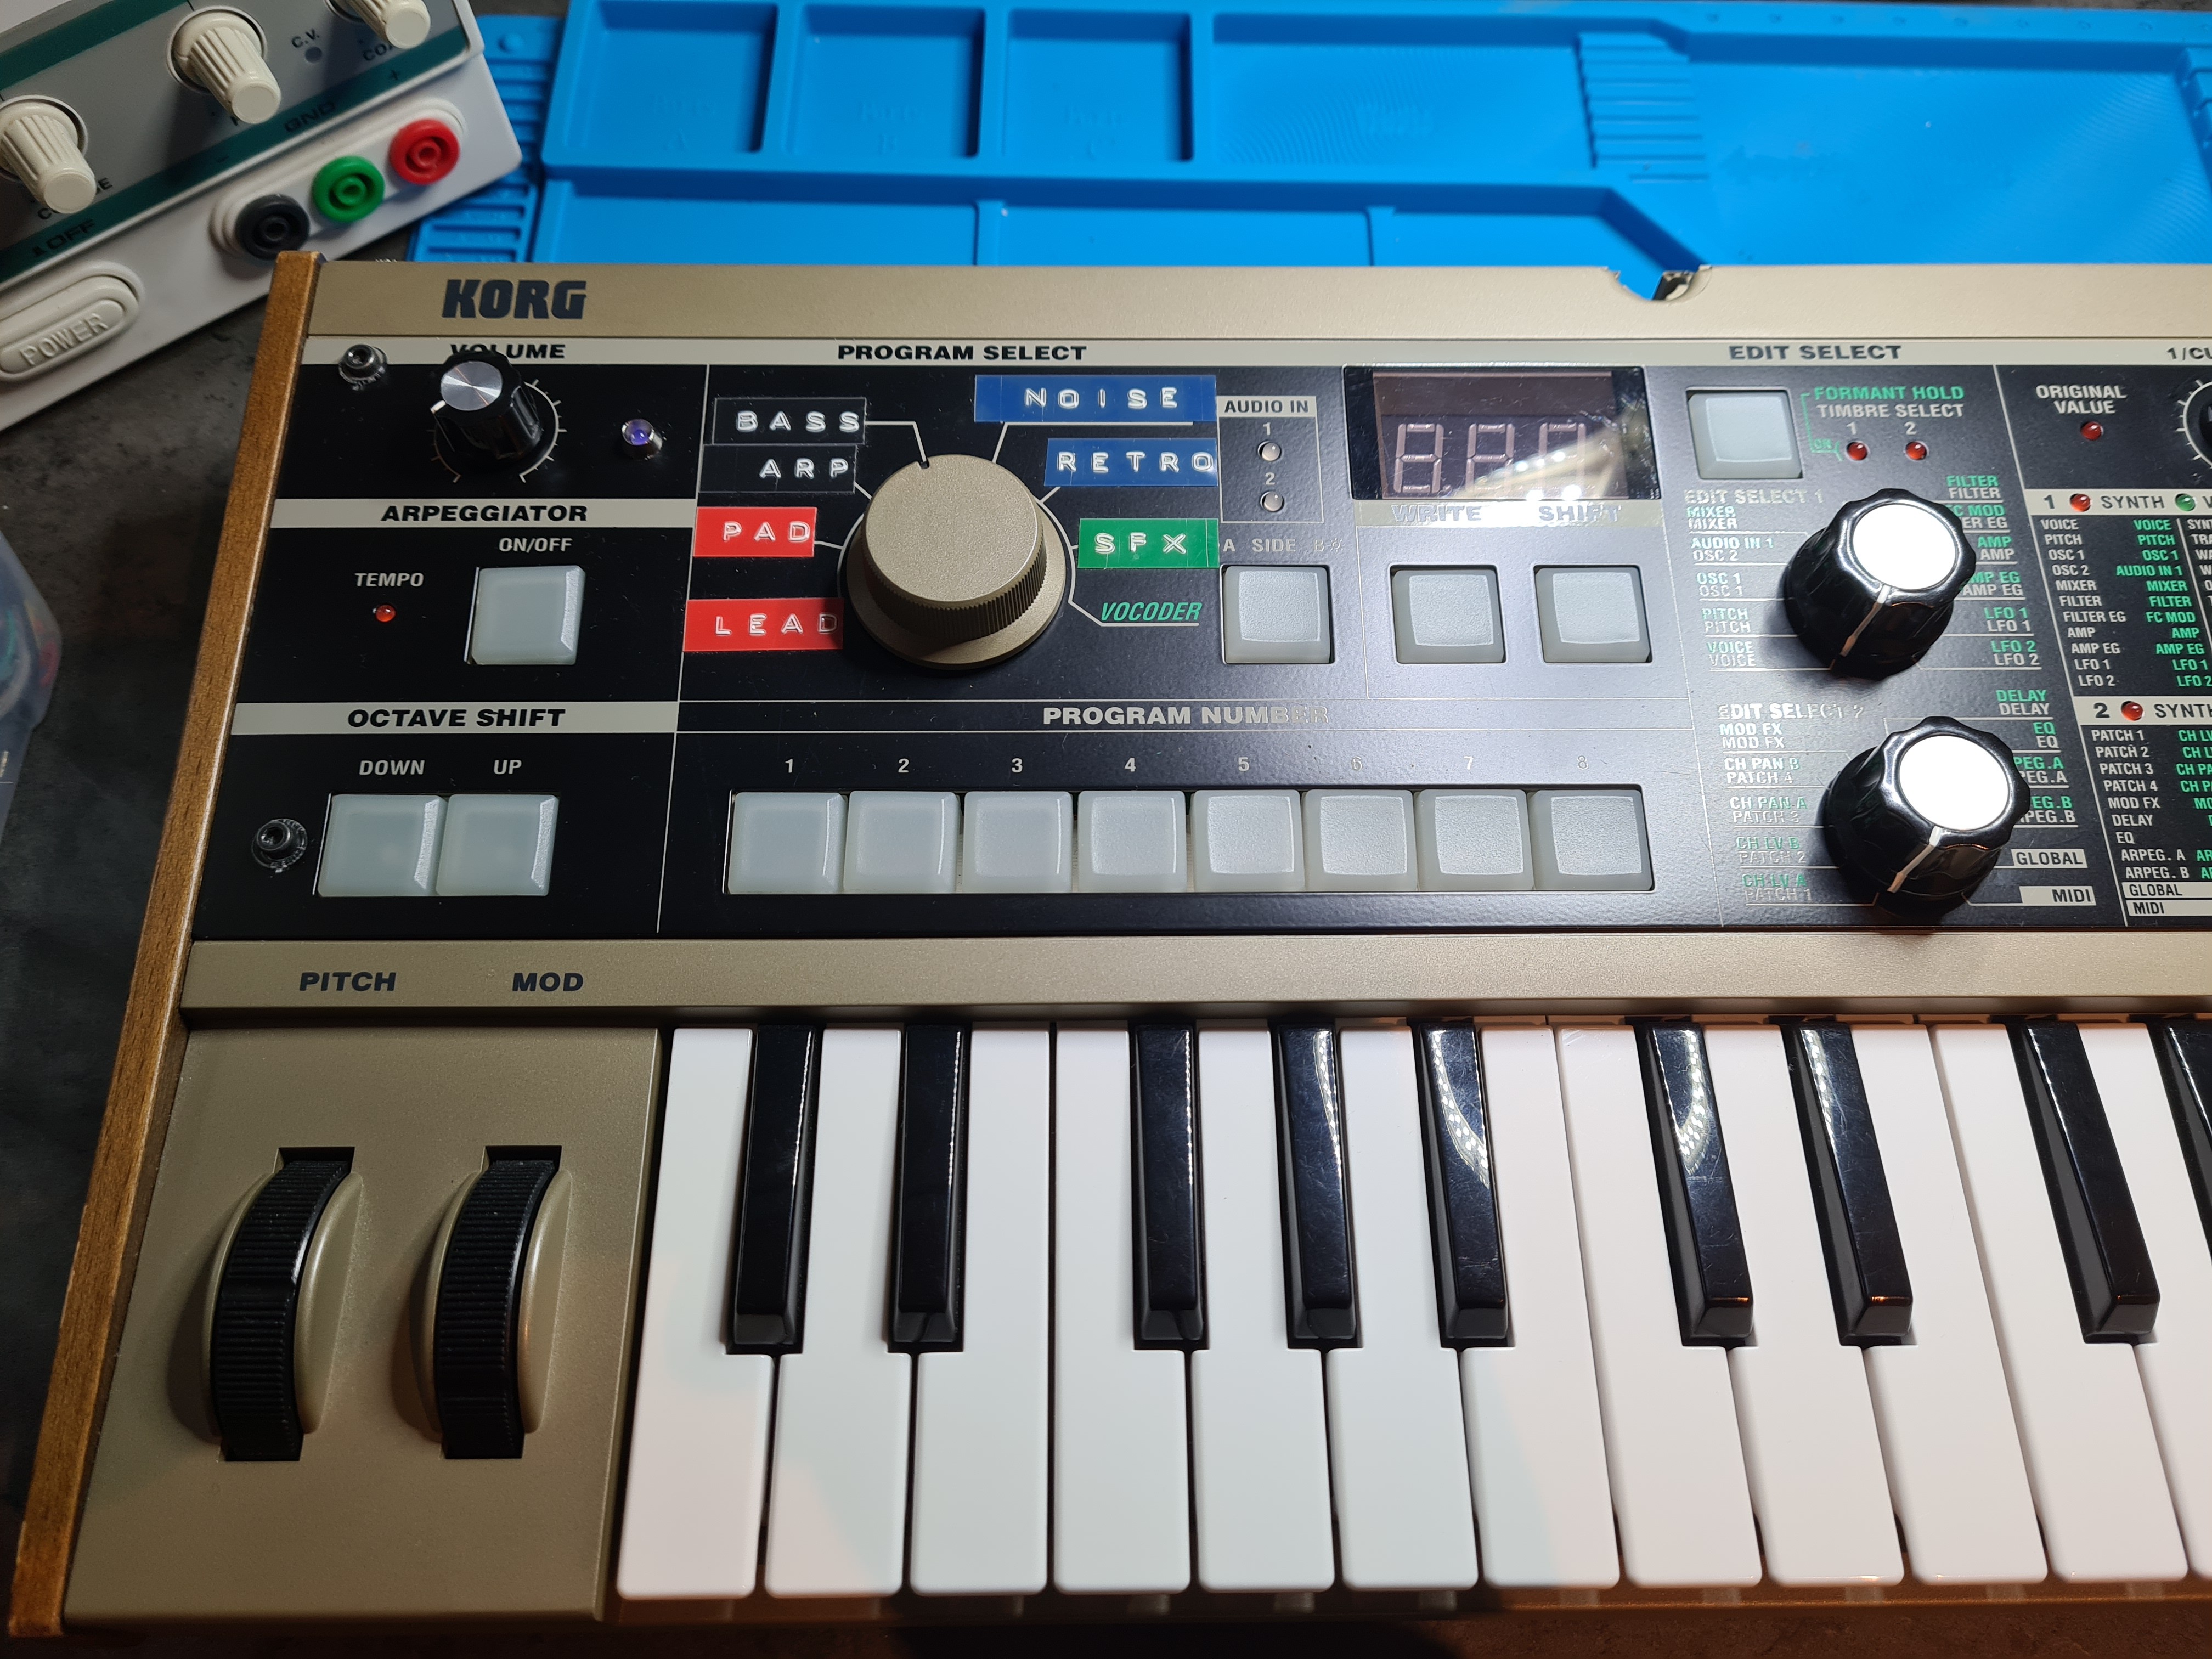
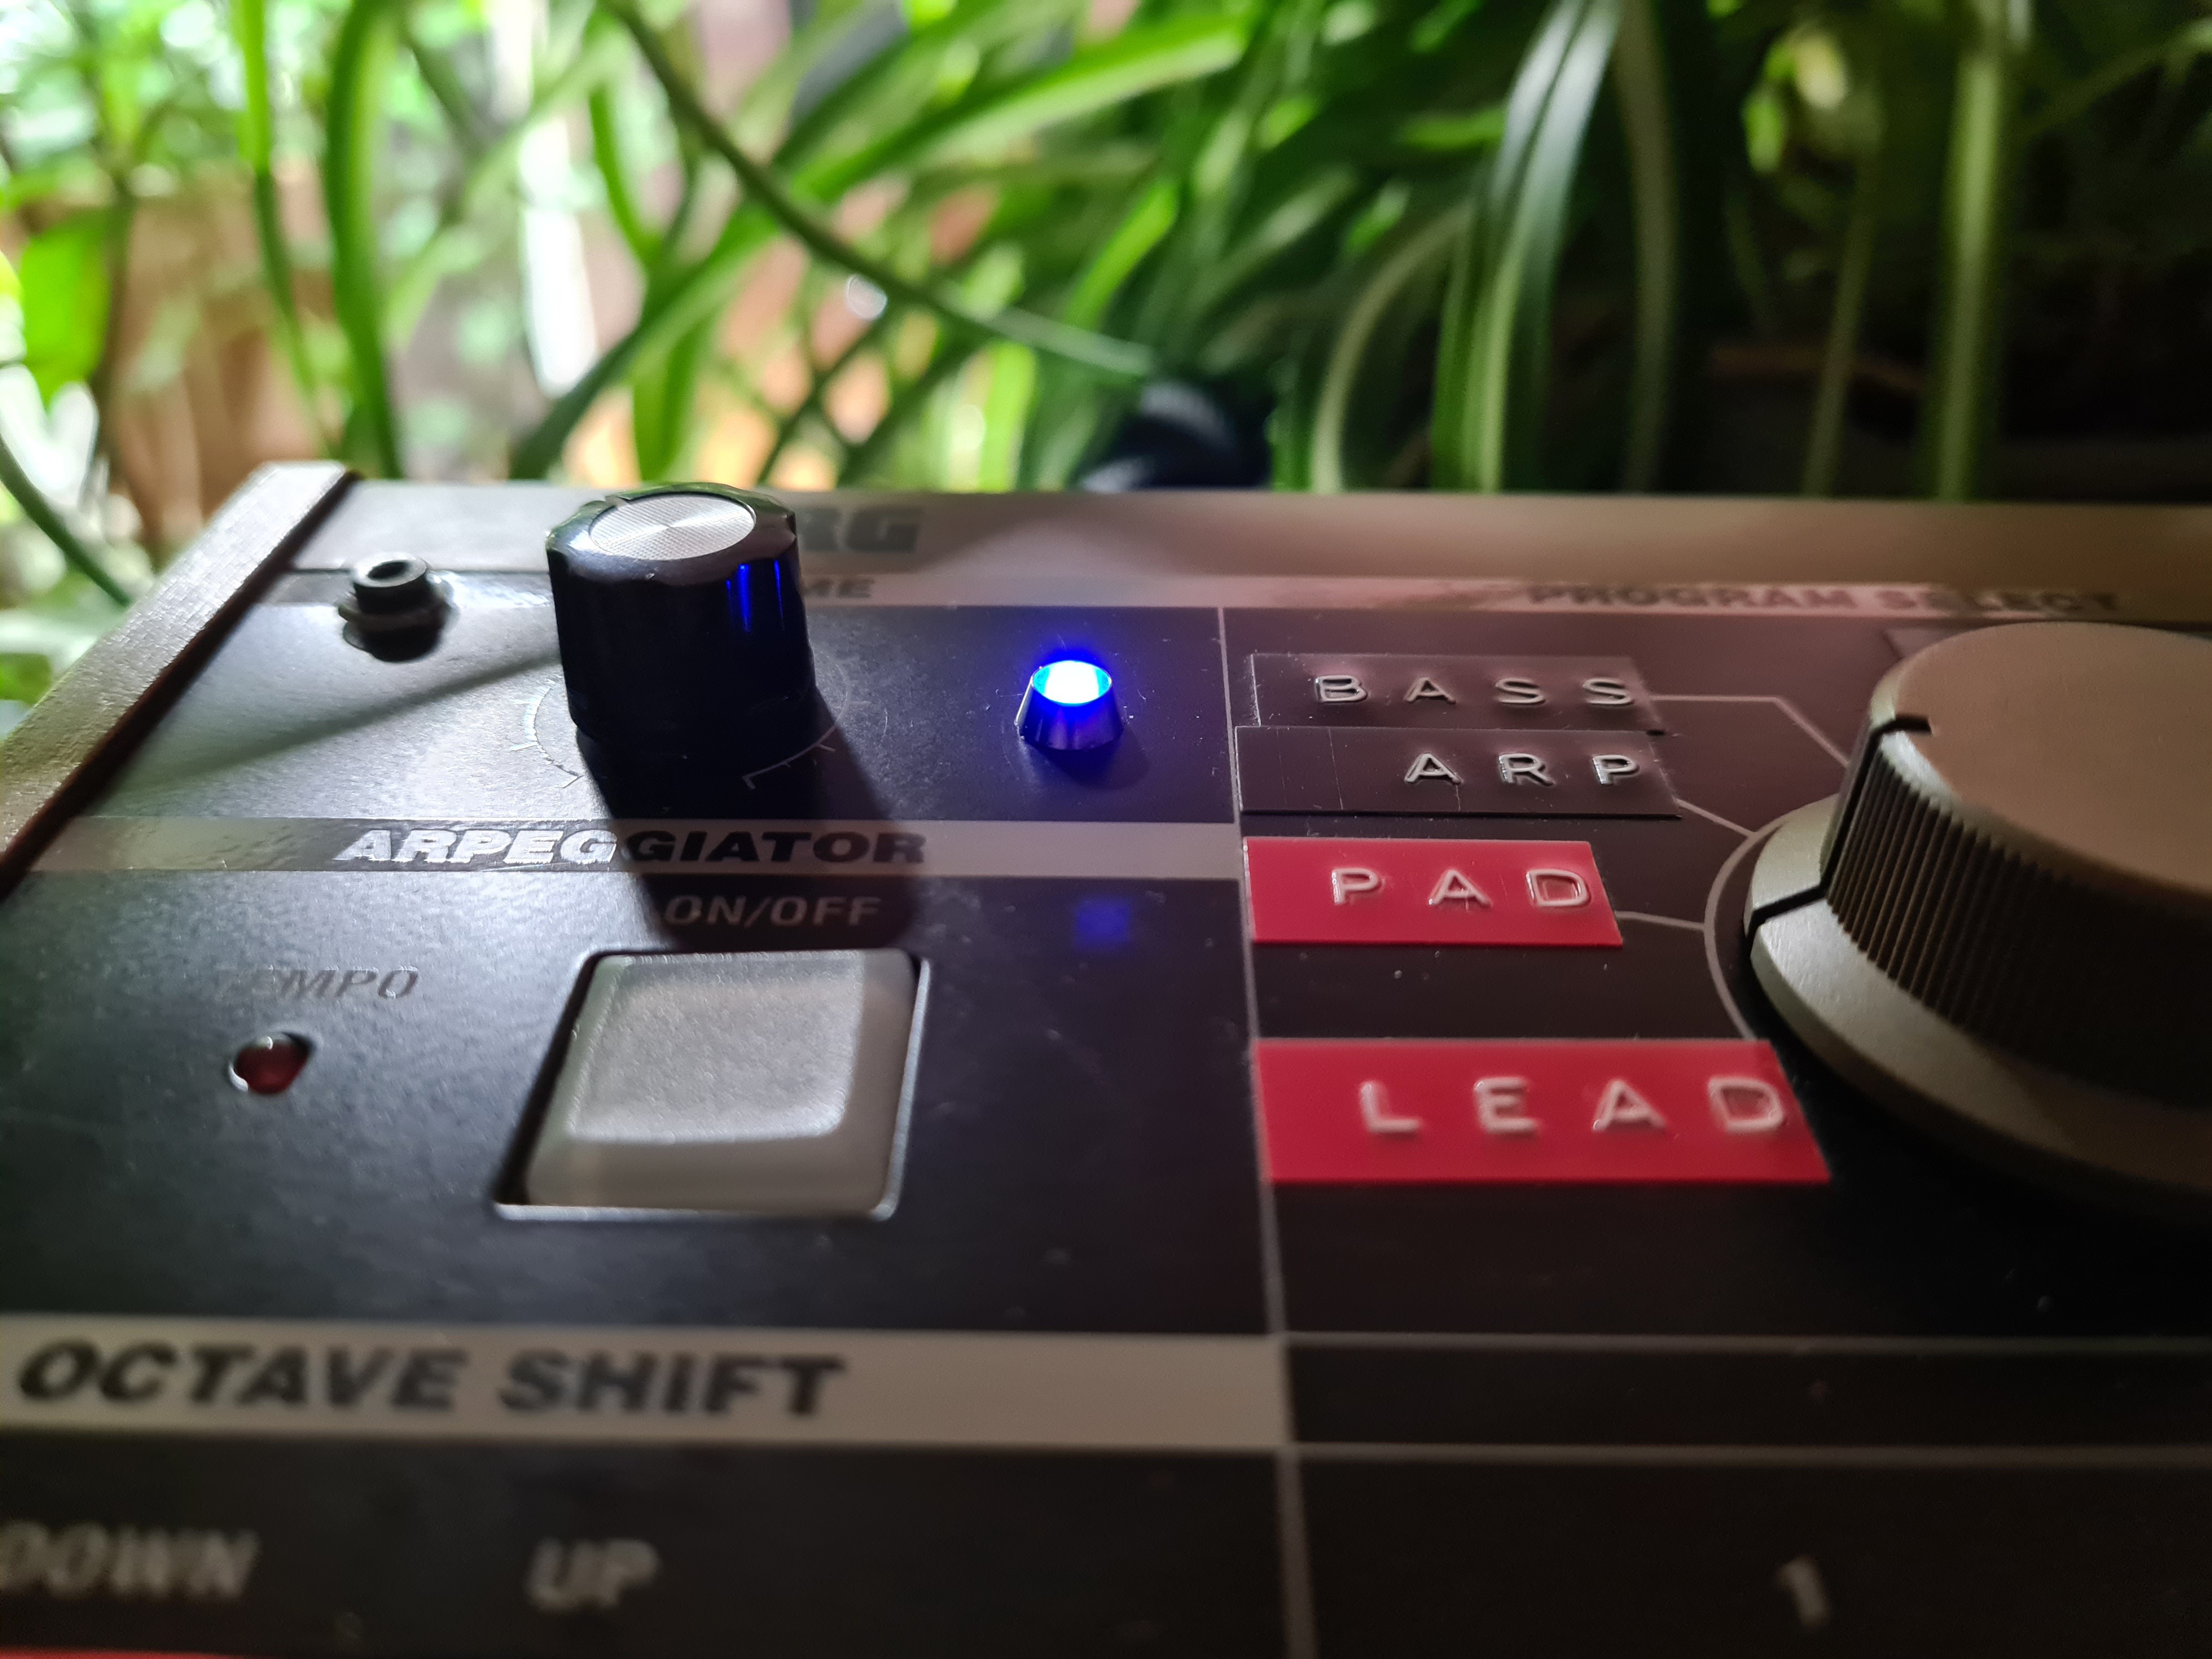
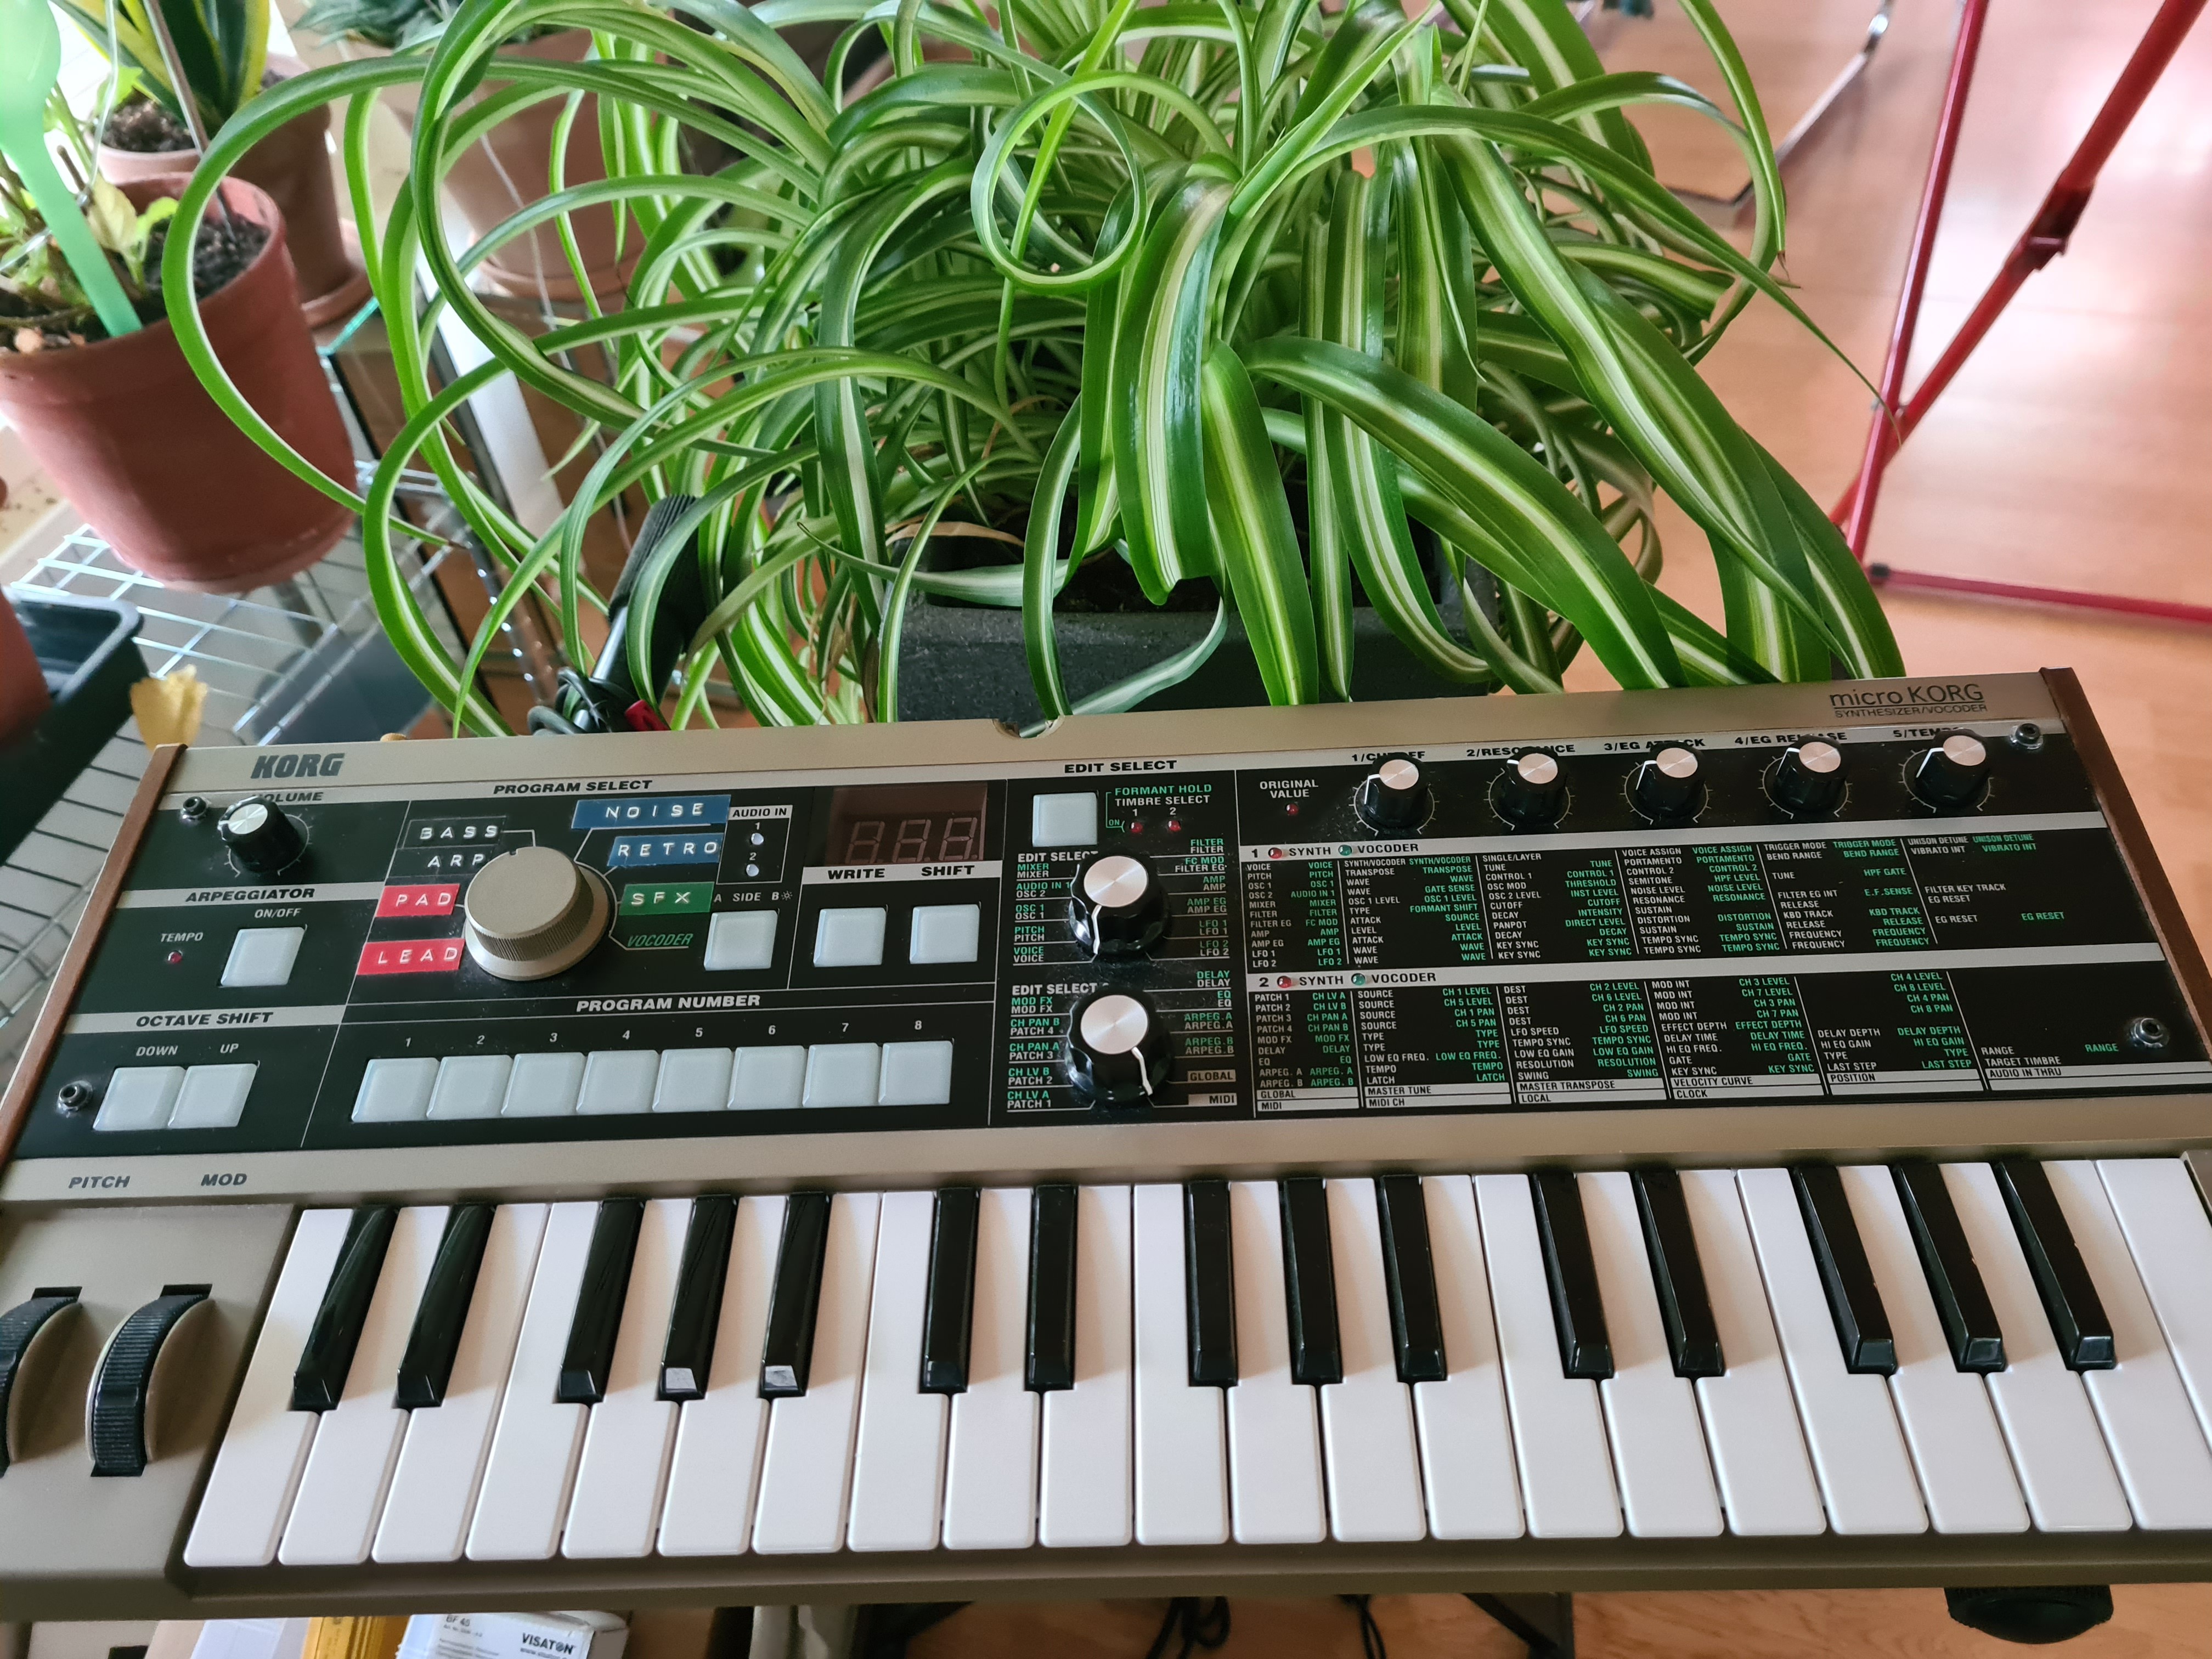
I've had my Microkorg for a couple of years now and it has served me well. I think it's a really fun machine that's capable of producing some really sick sounds, but I think it's time to deal with the lack of internal speakers.
Microkorg speaker mod
The microkorg is a wonderful machine. One of the cons is the lack of internal speakers, but that can be changed!